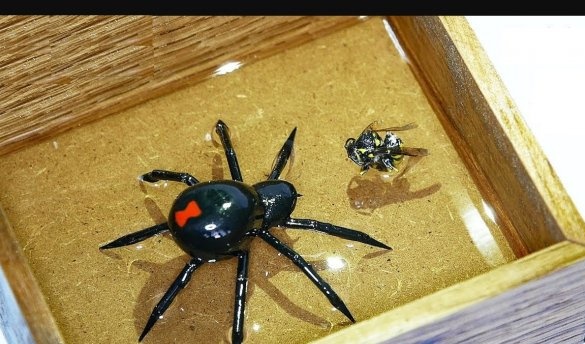
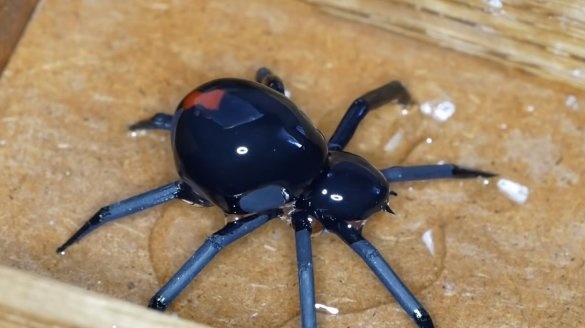
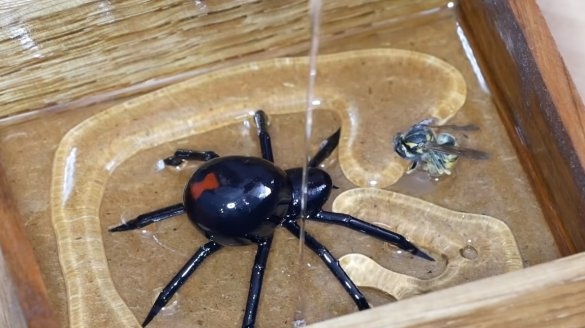
Hello to all fans of craftsmen, today we will consider how to make an interesting homemade made of epoxy resin and polymer clay. The picture is a tremendous water spider that caught a hornet. Homemade looks pretty realistic, if you make the backlight, you get a great night light. The project is simple to manufacture and does not require expensive equipment. If you are interested in the project, I propose to study it in more detail!
Materials and tools used by the author:
Material List:
-;
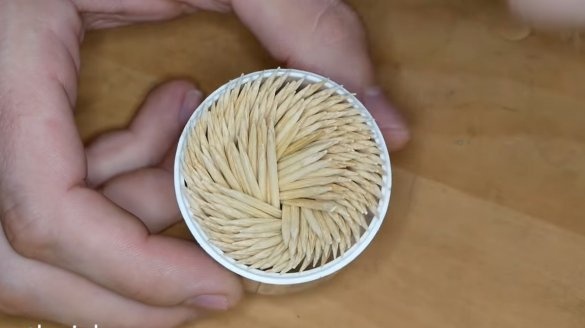
- toothpicks;
- ;
- paint;
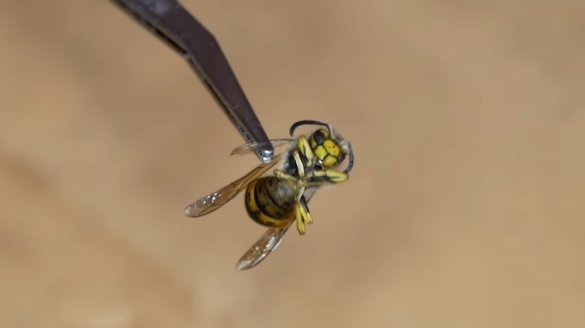
- real dried hornet or wasp;
- veneer or boards for the base;
- plasticine;
- Super glue.
Tool List:
- circular or band saw (if there is no veneer);
- surface grinding machine;
- electronic Libra;
- stationery knife;
- brush;
- ruler, pencil.
Homemade manufacturing process:
Step one. Formwork
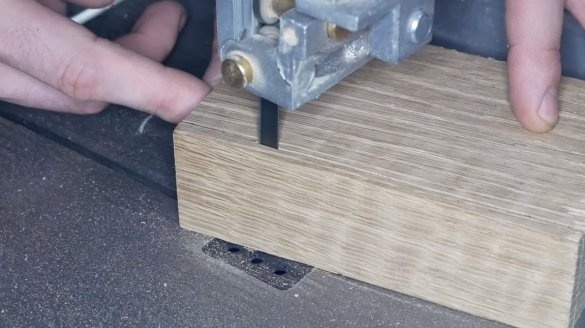
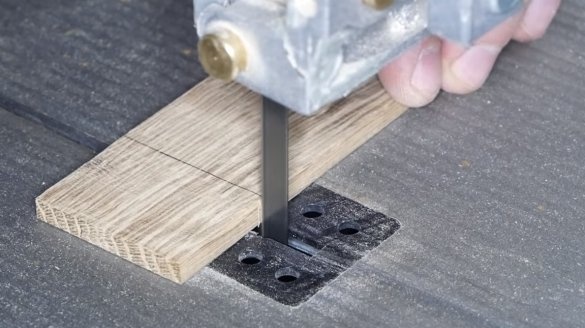
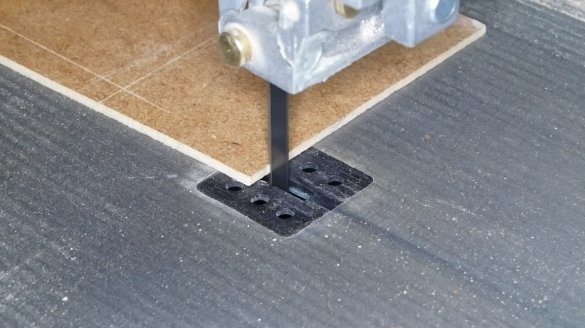
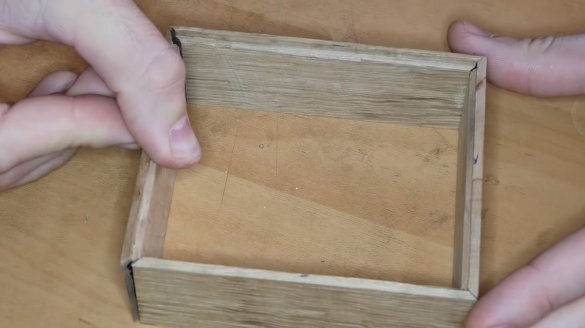
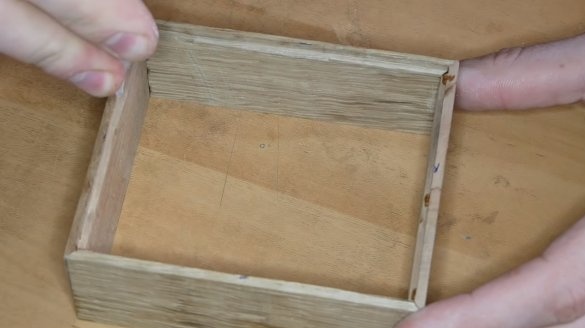
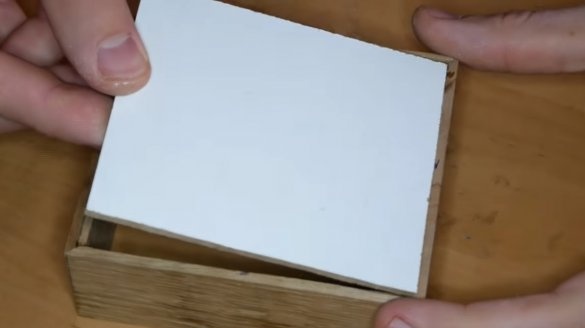
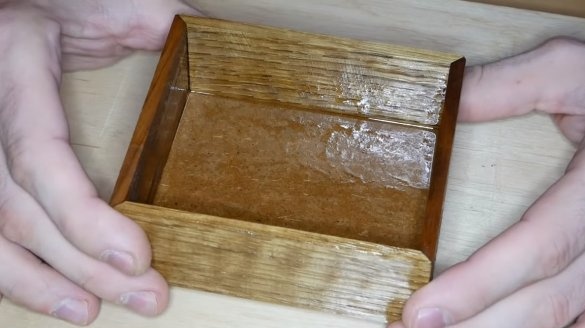
The first step is to make the formwork into which we will fill the resin. It can be made of veneer, but if there is no such material, you can cut it from a board or bar on a circular saw or using a tape cutting machine. We also need to cut the bottom, here we need fiberboard or a piece of thin plywood.
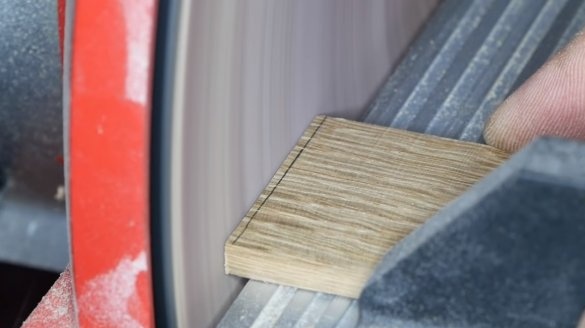
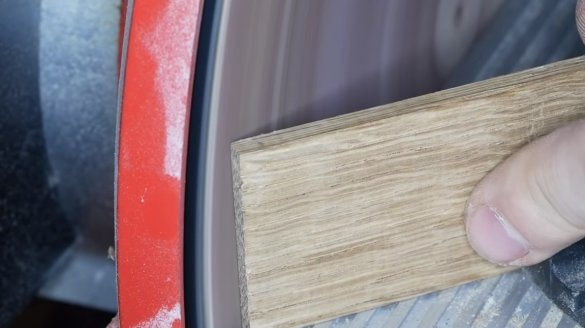
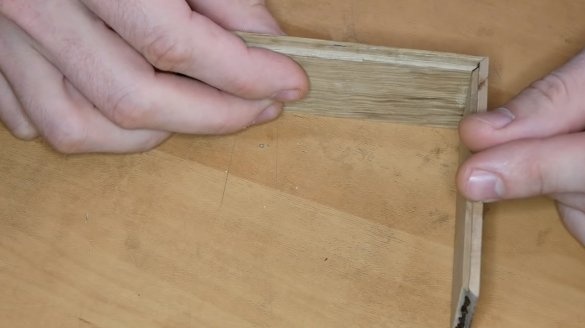
The sides must be sanded at an angle of 45 degrees, then to assemble the box.
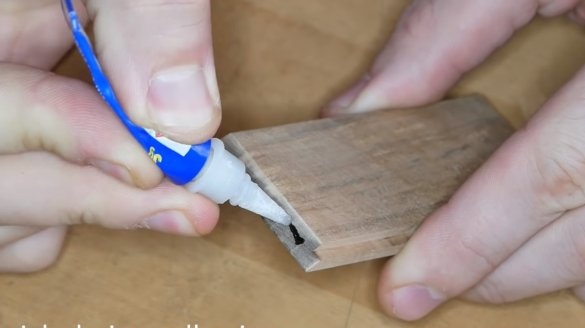
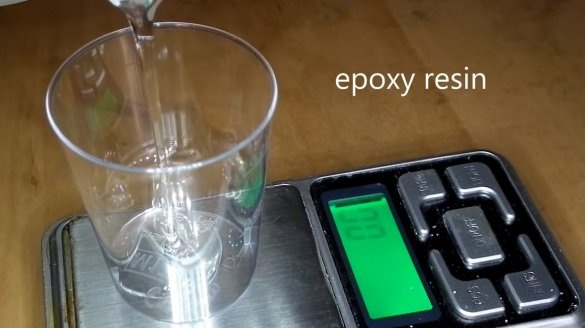
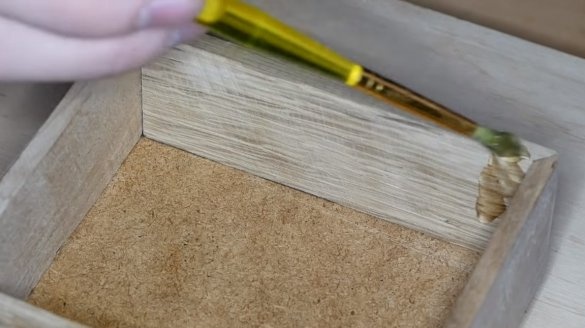
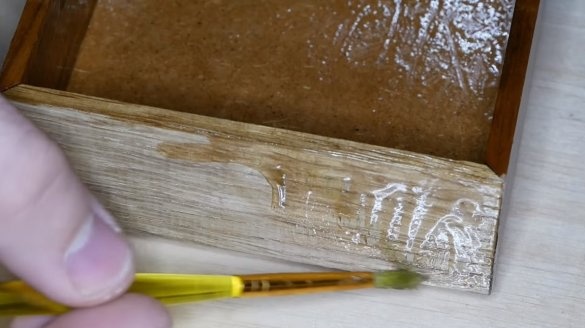
We collect the box on superglue and after that it is important for us to seal it well so that the resin does not leak. Here you can use hot glue, or you can just coat the formwork with epoxy glue. The glue sticks together well, and the base will look good.
Step Two Spider legs
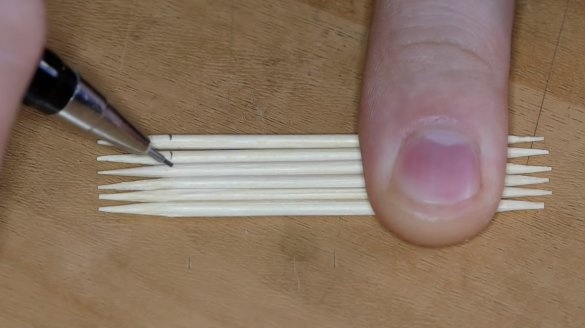
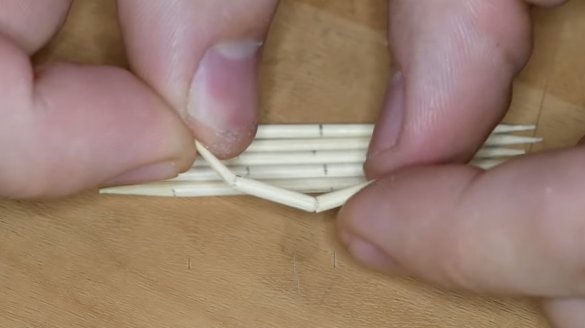
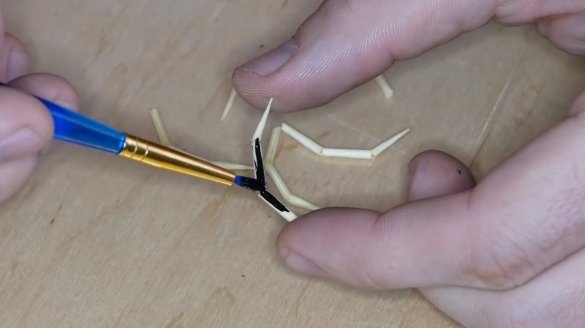
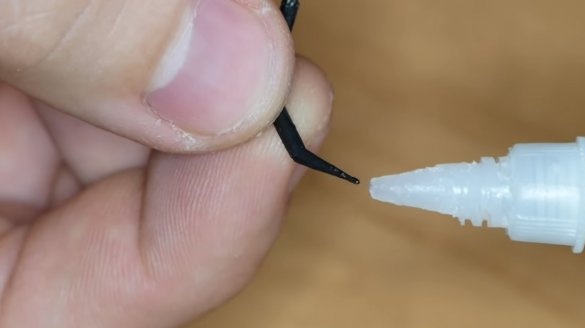
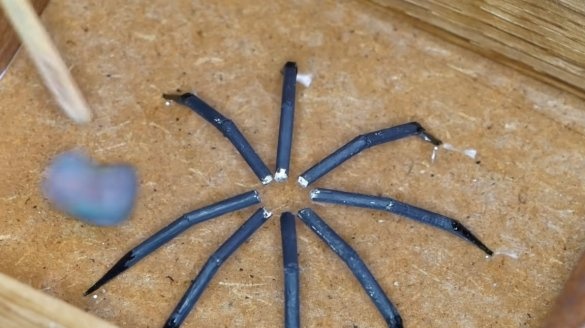
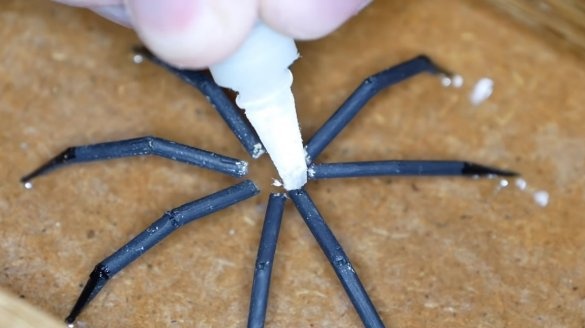
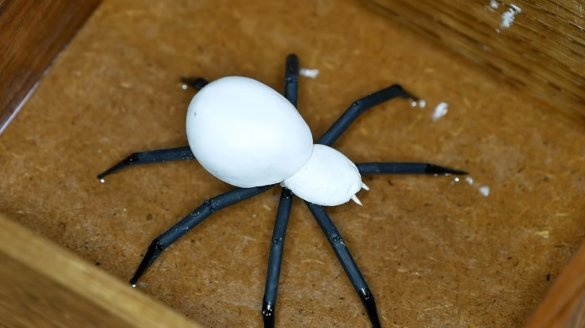
The manufacture of a spider begins with the manufacture of its legs, they will need such cheap and affordable material as toothpicks. We make markings and slightly cut the toothpicks in places where they need to be bent. Well, then we bend the legs and paint in black. Of course, toothpicks are different, depending on the type of wood, they can break.
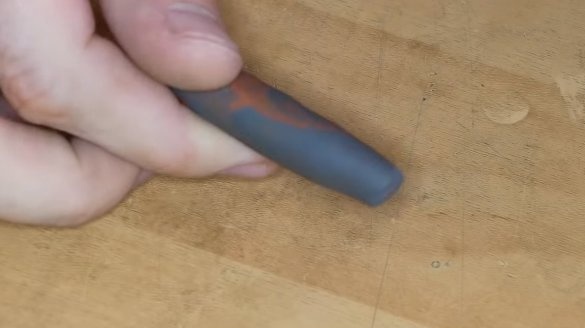
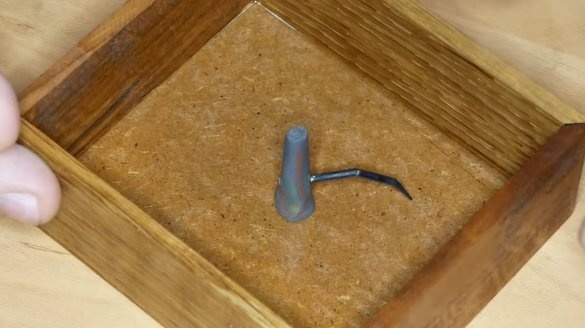
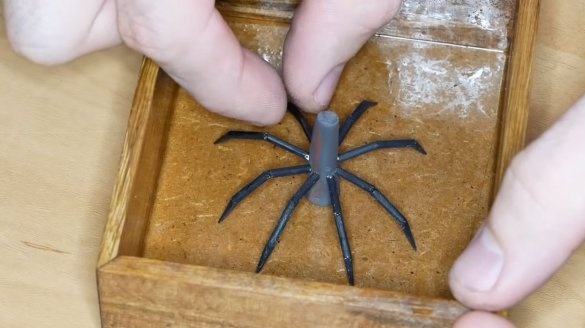
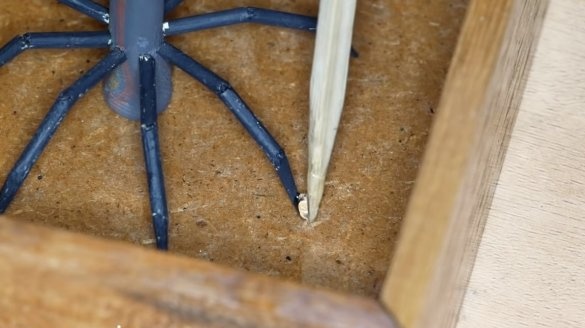
Next, the legs need to be installed on the base, for this we will make a temporary torso of the spider, form a cylinder from plasticine and install it on the base.Next, install the paws, glue their tips to the base with superglue. After that, it remains to gently pull out the clay.
Step Three Torso and finishing touches
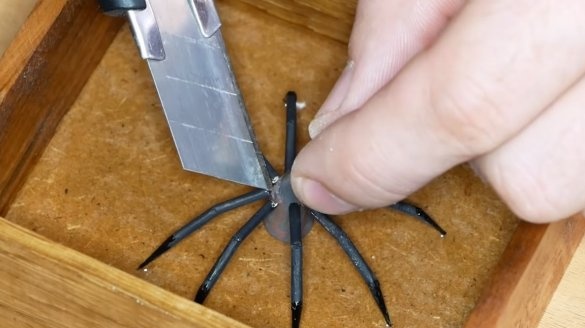
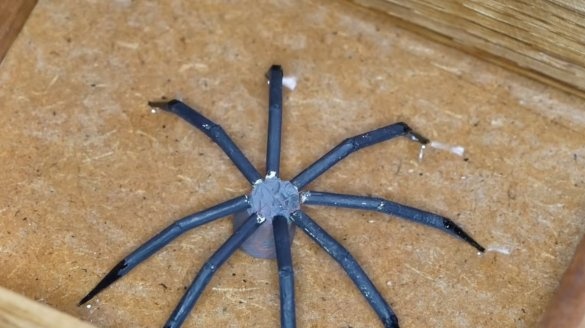
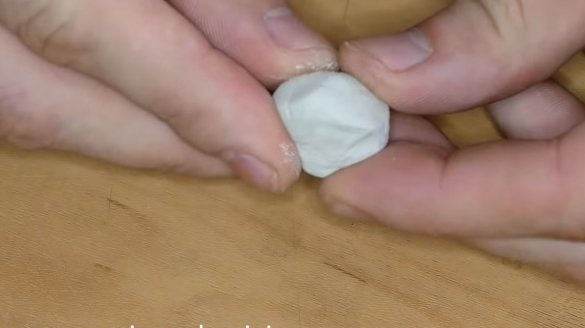
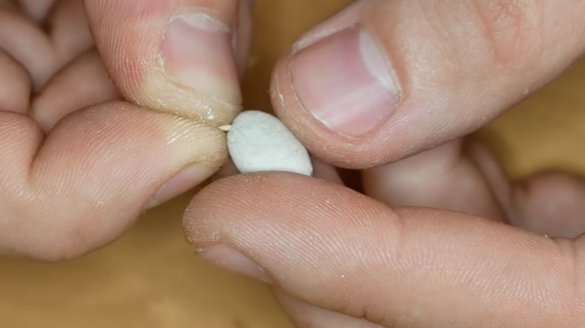
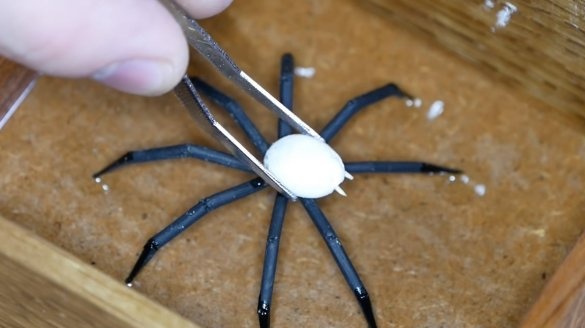
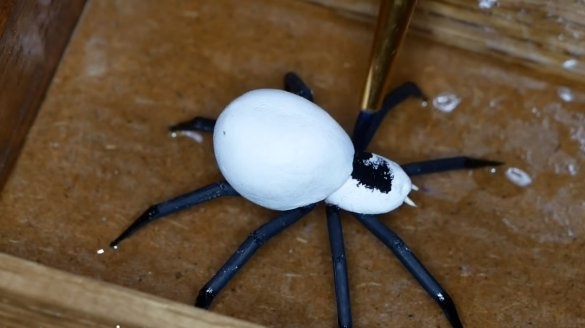
We make the body of a spider, for this we need polymer clay, and you can use a simple dough from flour and salt. We make two parts of the body in the form of an egg, on the head we set the pointed parts of the toothpicks as fangs. We install the body parts on the legs by gluing them with superglue.
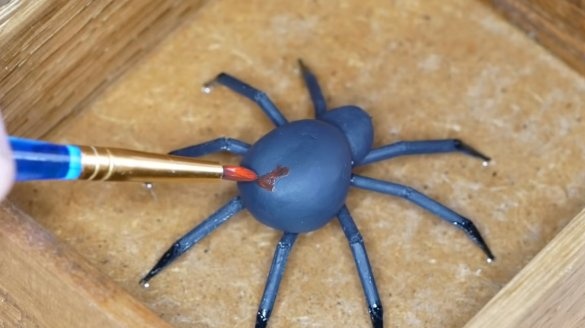
Now the spider remains painted in black, you can also apply a red cross or another pattern.
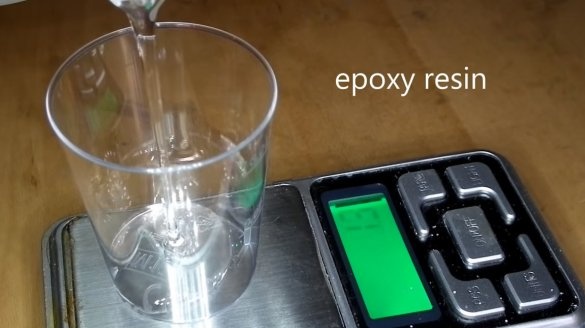
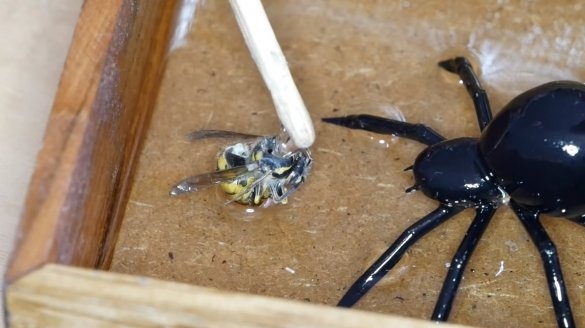
The homemade product is almost ready to do everything strong and durable, we water the spider and its paws with epoxy. We also pour a little resin into the base to simulate water, it remains to install a hornet or wasp in the resin. When the resin hardens, the homemade product will be ready. For greater realism, you can add pebbles, decorative algae, and so on.
The homemade product looks great, and to give the project more realism, you can make the backlight. This is the end of the project, I hope you liked the homemade work, and you found useful thoughts for yourself. Good luck and creative inspiration, if you decide to repeat this. Do not forget to share your ideas and homemade things with us!

