
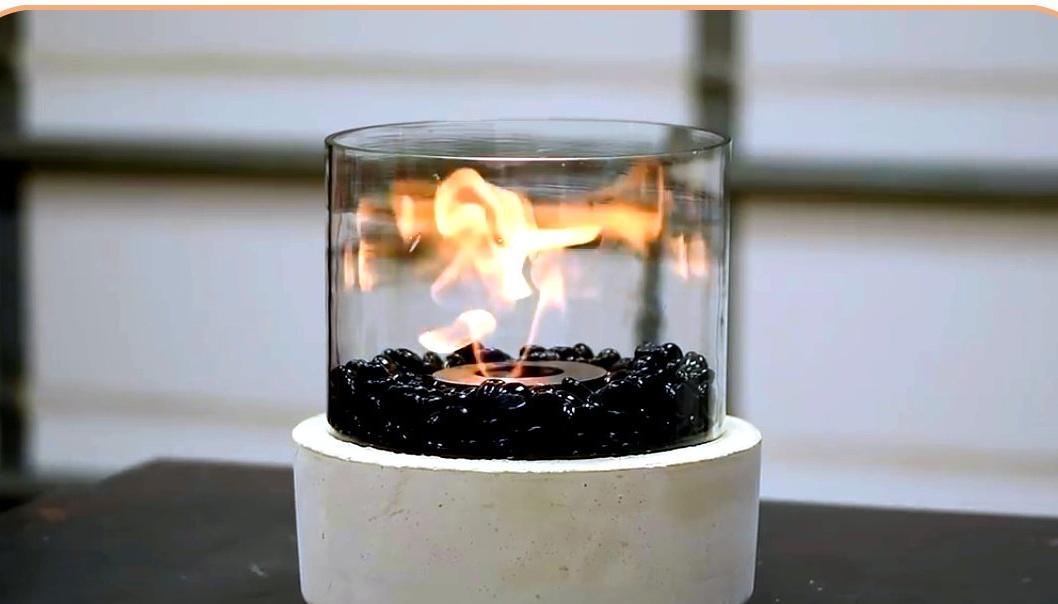
In this article, the author of the DIY Creators YouTube channel will tell you how to make a small desktop fireplace.
Materials
- Glass balls
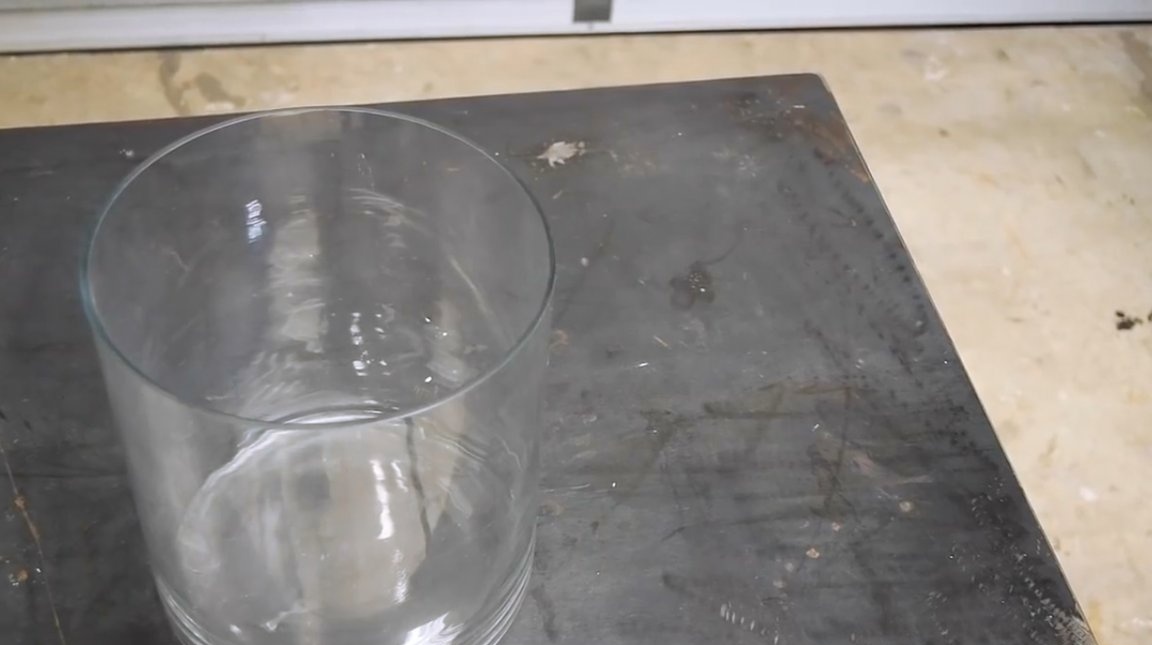
- 10 inch glass vase
- Sheet metal
—
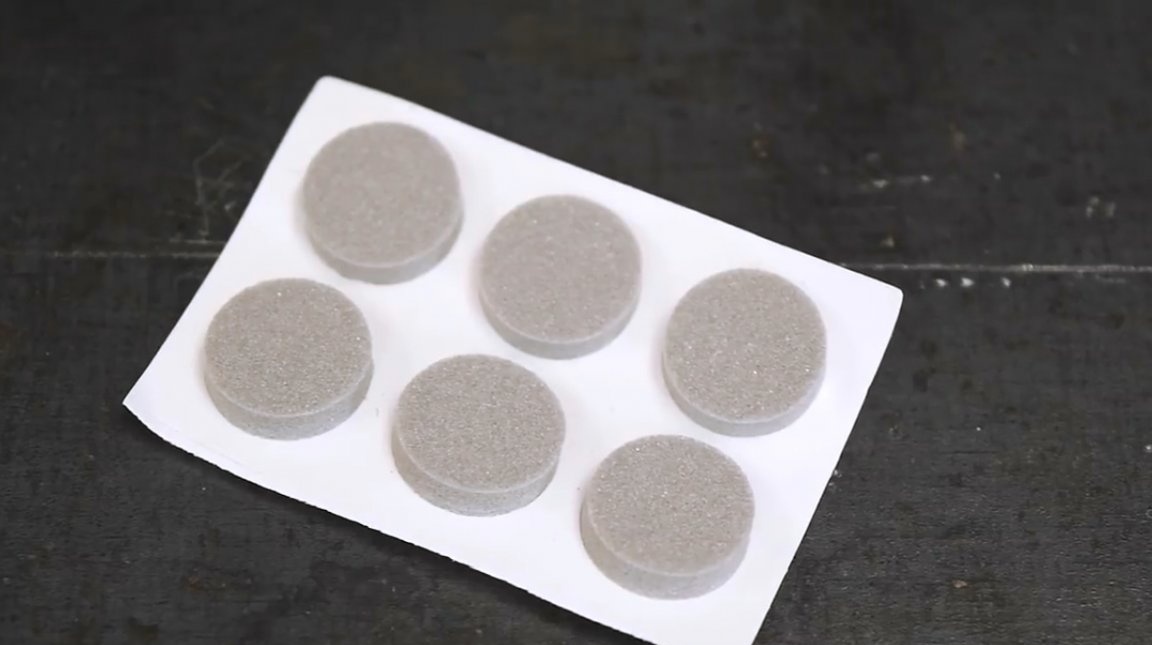
- Silicone legs
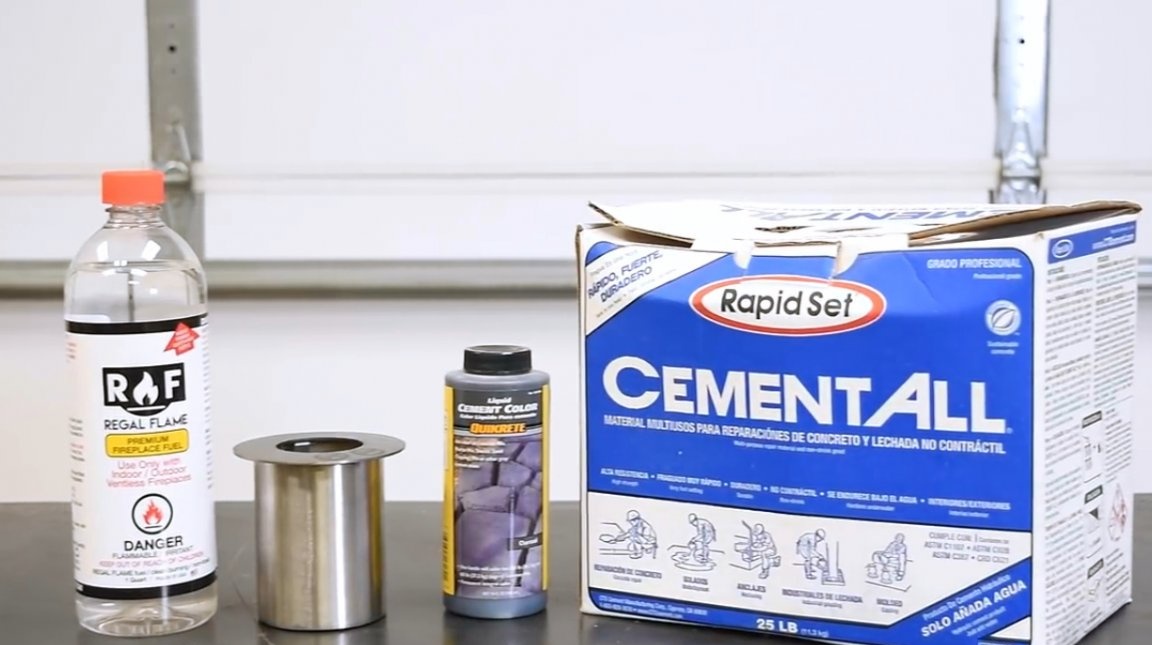
- Cement, sand
- Fuel for lighting bonfires.
Instruments, used by the author.
- Mixer, spatula
- Basin, bucket
- Knife, clamps, scissors, hammer.
Manufacturing process.
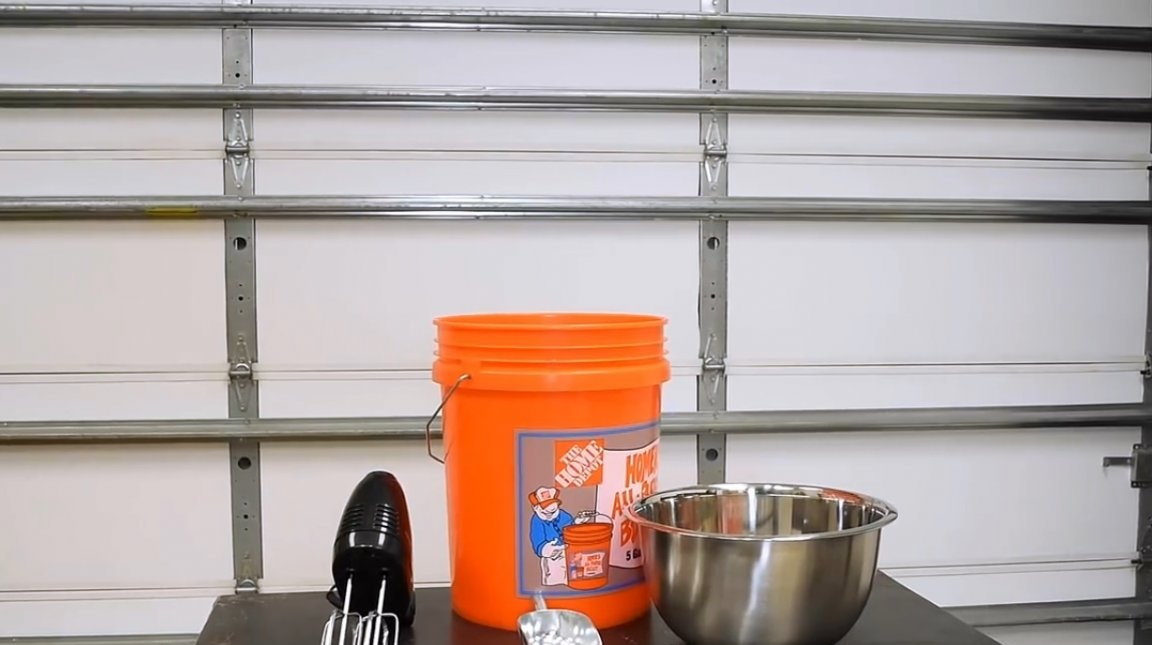
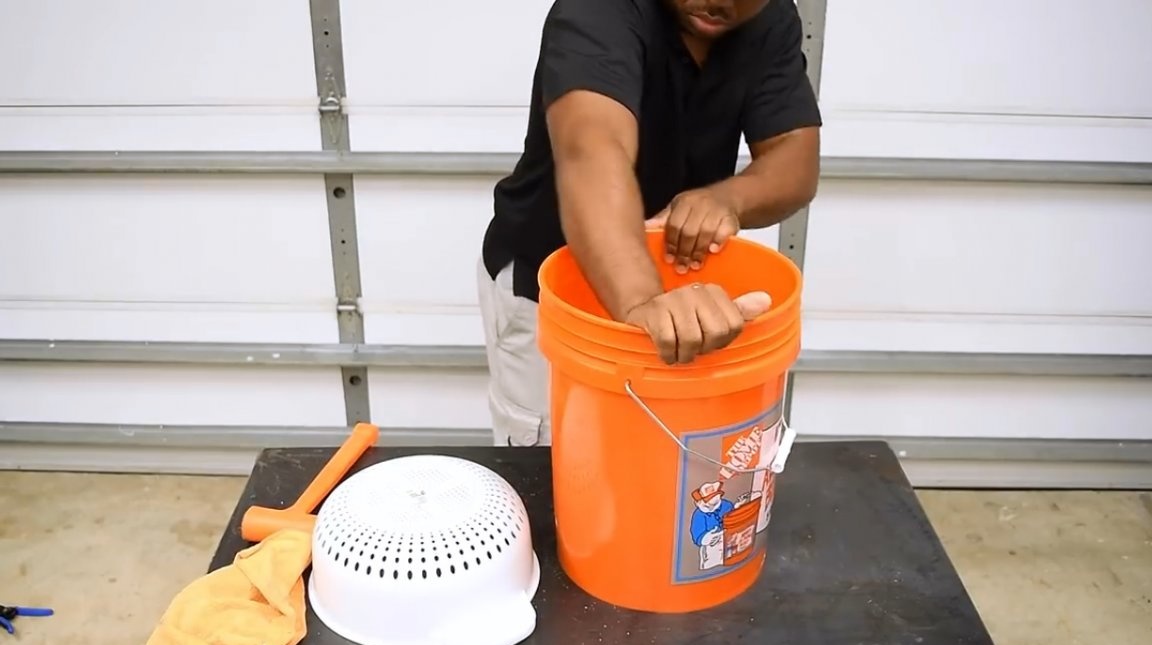
But here are the tools and objects that will participate in the project. This is an old kitchen mixer, a plastic bucket, a mixing bowl.
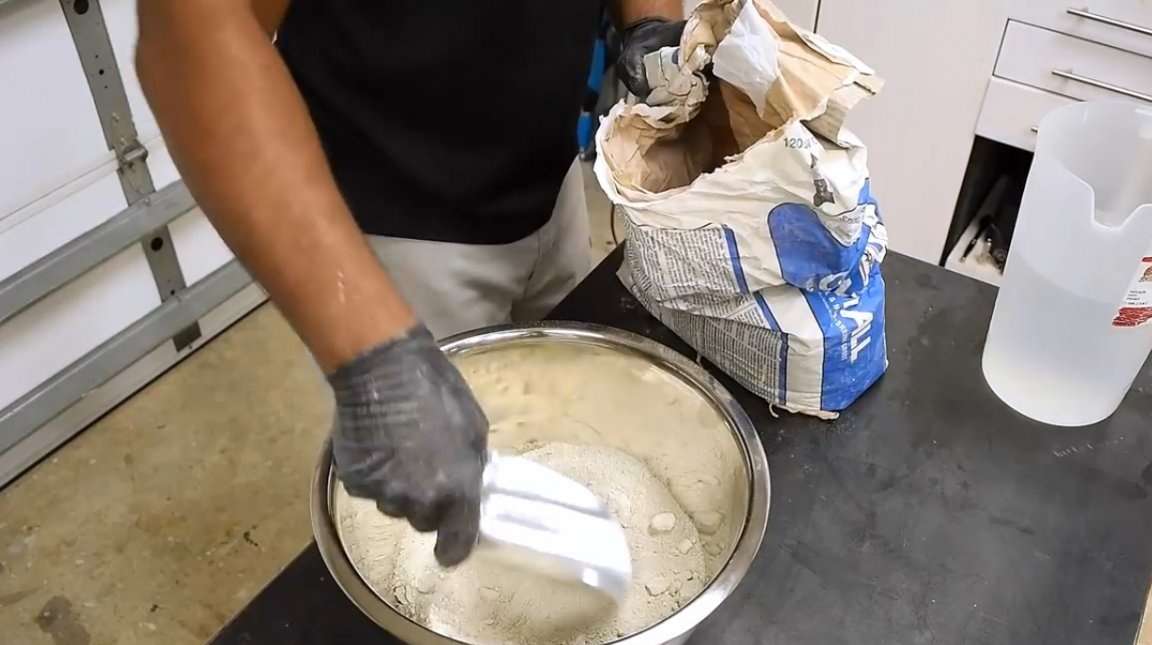
For this project, you can use any cement mixture. In the case of the author, this is a rapidly hardening cement mixture. Of course, everything will have to be done very quickly. But in an hour the lamp will be ready.
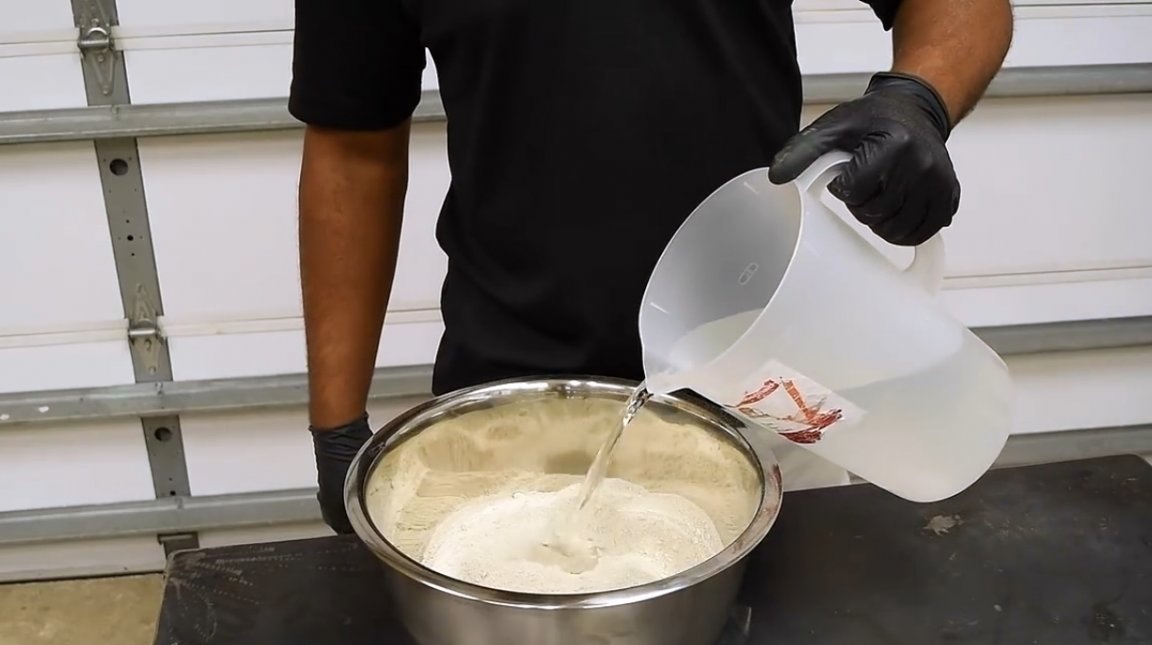
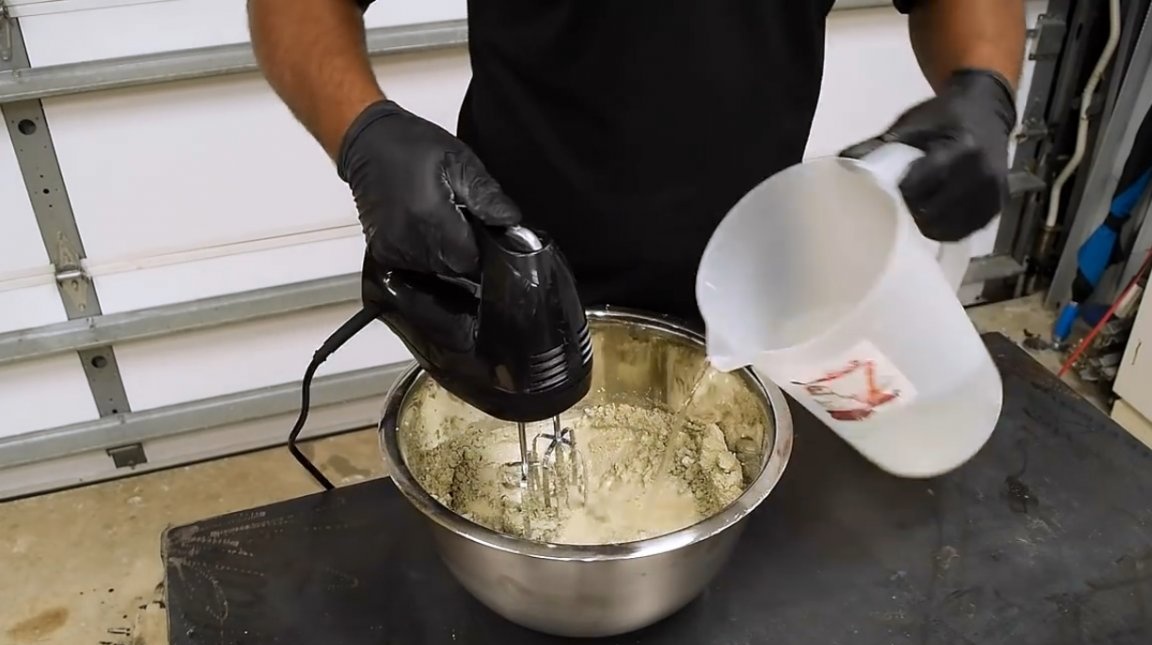
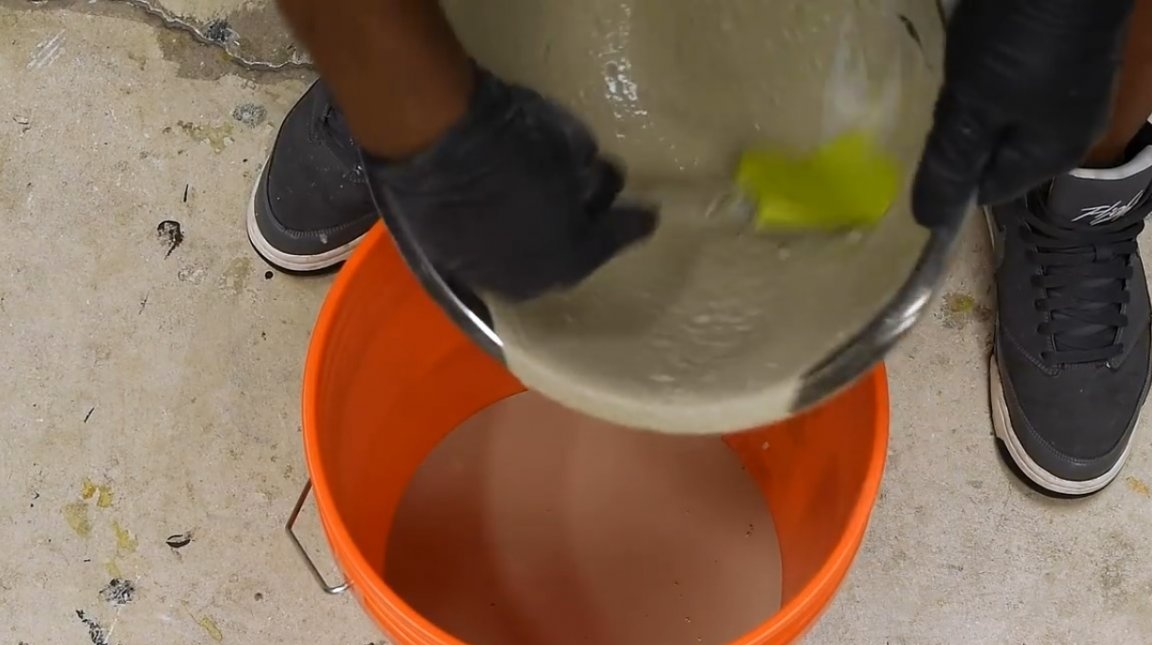
The cement mixture is poured into the bowl and water is added in portions. The mixer provides uniformity of kneading. The author did not specifically calculate the volume of the taken powder and water. But in the end, the consistency should be pasty, like thick sour cream. Such a solution can easily seep into all cracks and small cracks.
If you did not fit into one batch, and you need to do the second to add volume, keep in mind that at the place where two layers of cement are in contact, the border will be visible. This is one of the disadvantages of quickly hardening cement. Therefore, you need to try to guess with the volume.
If desired, dye can be added to the solution.
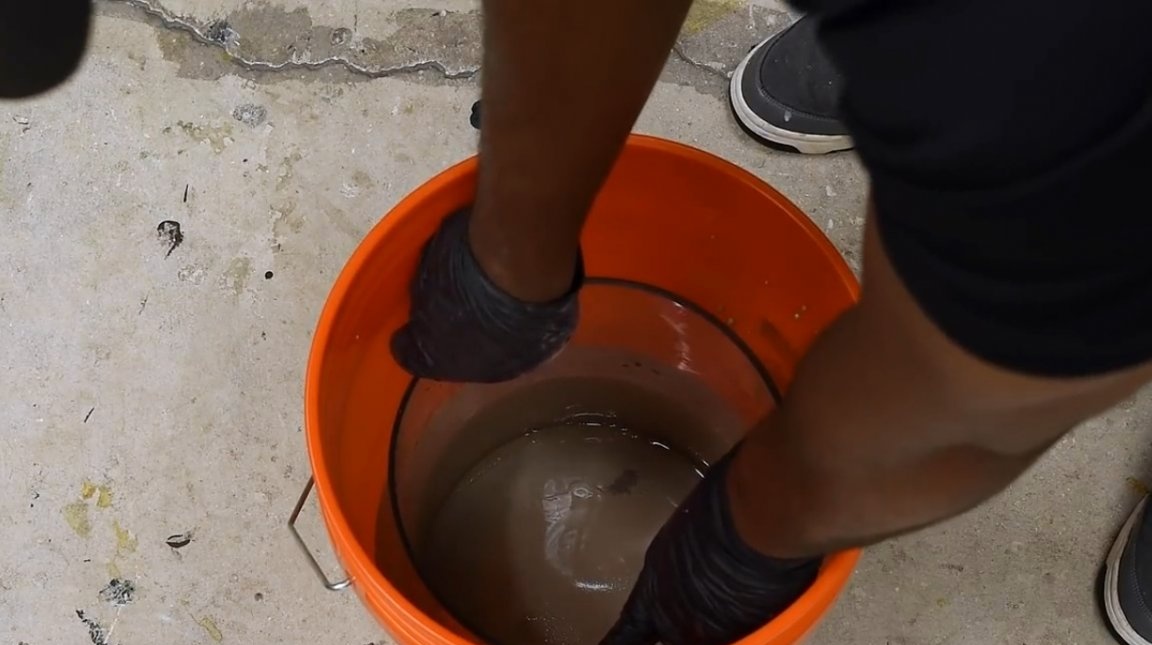
Now the author pours the composition into a plastic bucket. It is advisable to pre-lubricate the container with oil, so that it is easier to remove the frozen form after. A vase is placed on top.
The author cuts out four wooden blocks and makes deep grooves in them.
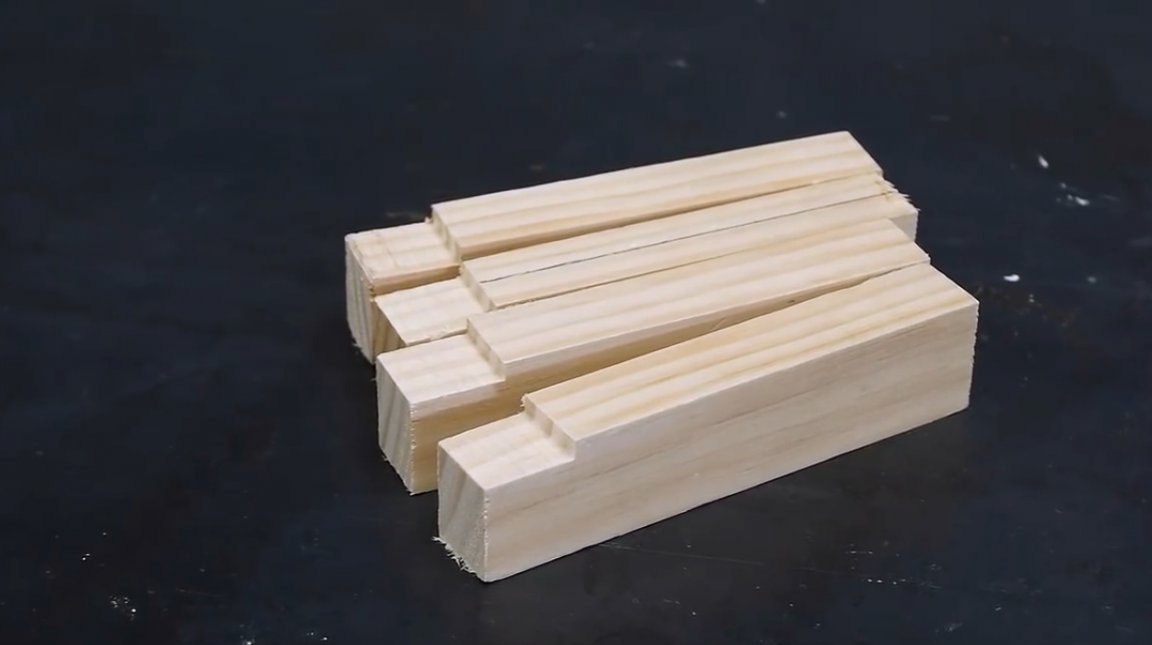
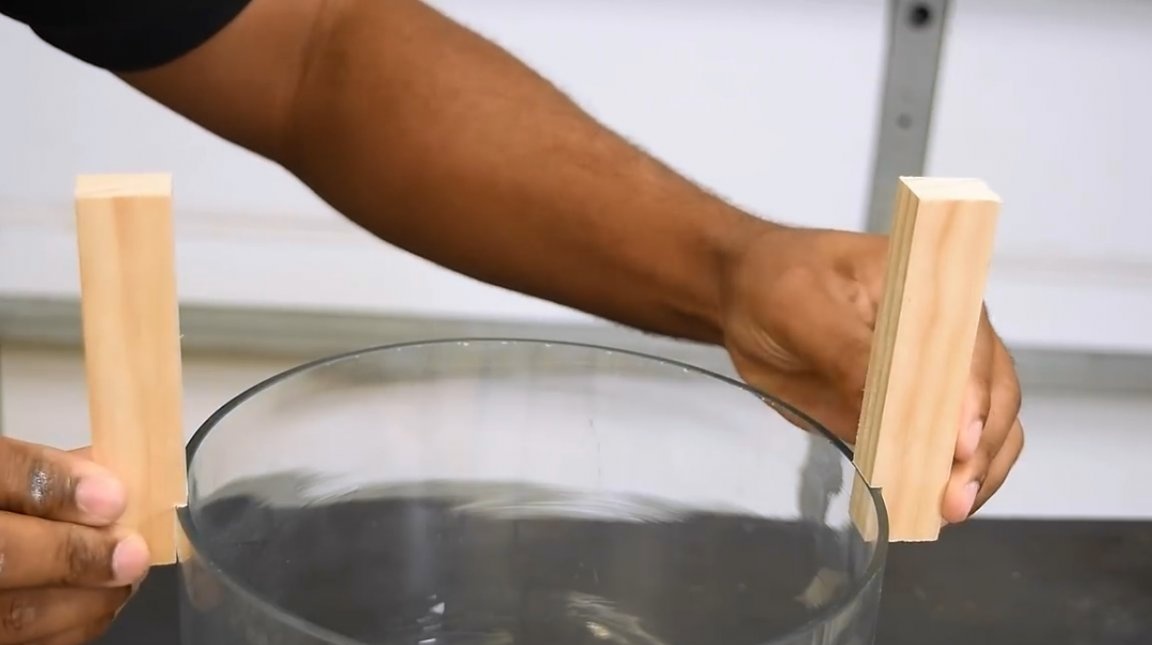
These bars should keep the glass vessel in a submerged state. They are inserted into the gap between the walls of the bucket and glass and secured with clamps. It is necessary to try to center the inner vessel as much as possible.
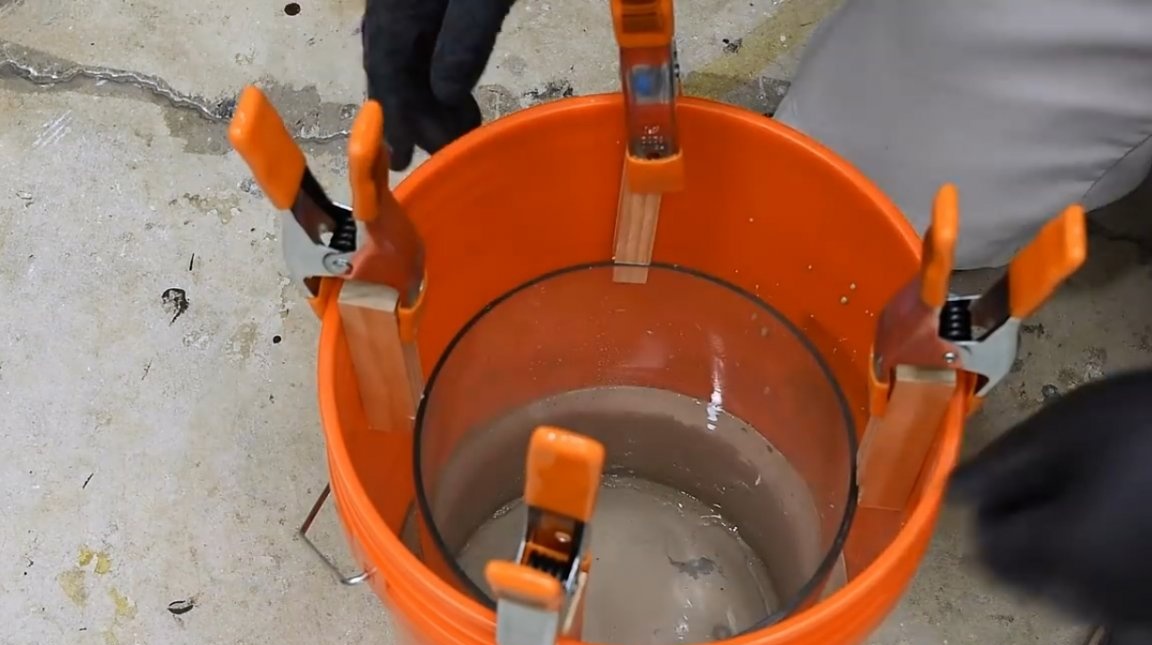
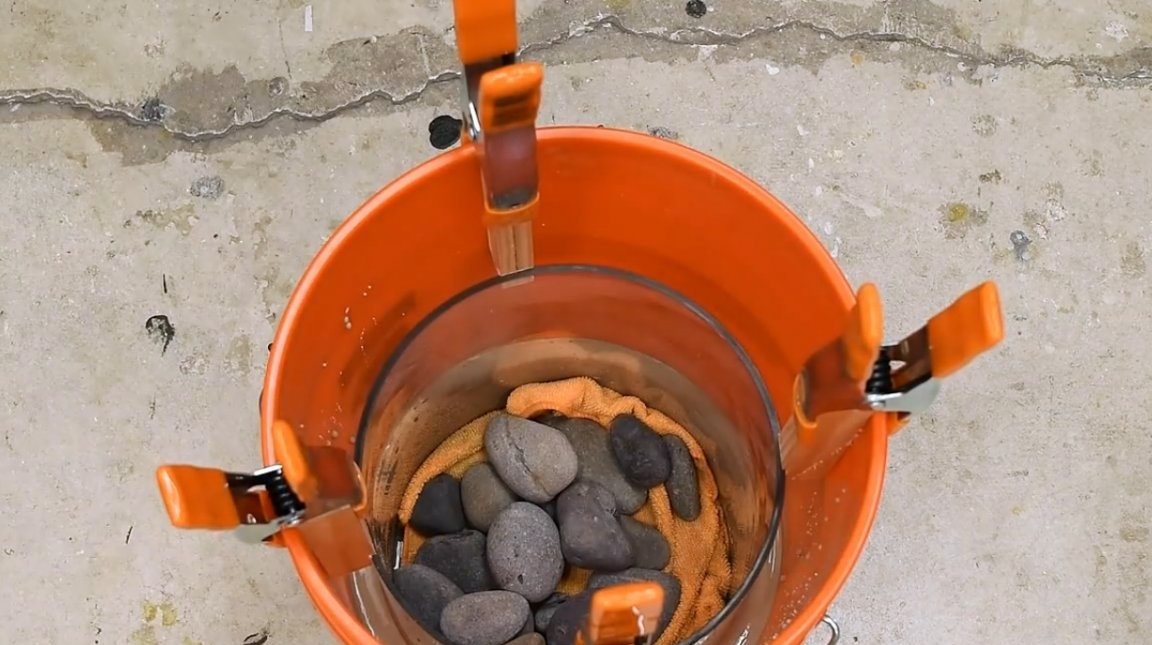
Now it is important to fix it in a central position. To do this, the author puts a piece of cloth at the bottom of the glass, and several large stones on it. Under their weight, the vessel sags somewhat into the solution and becomes more stable.
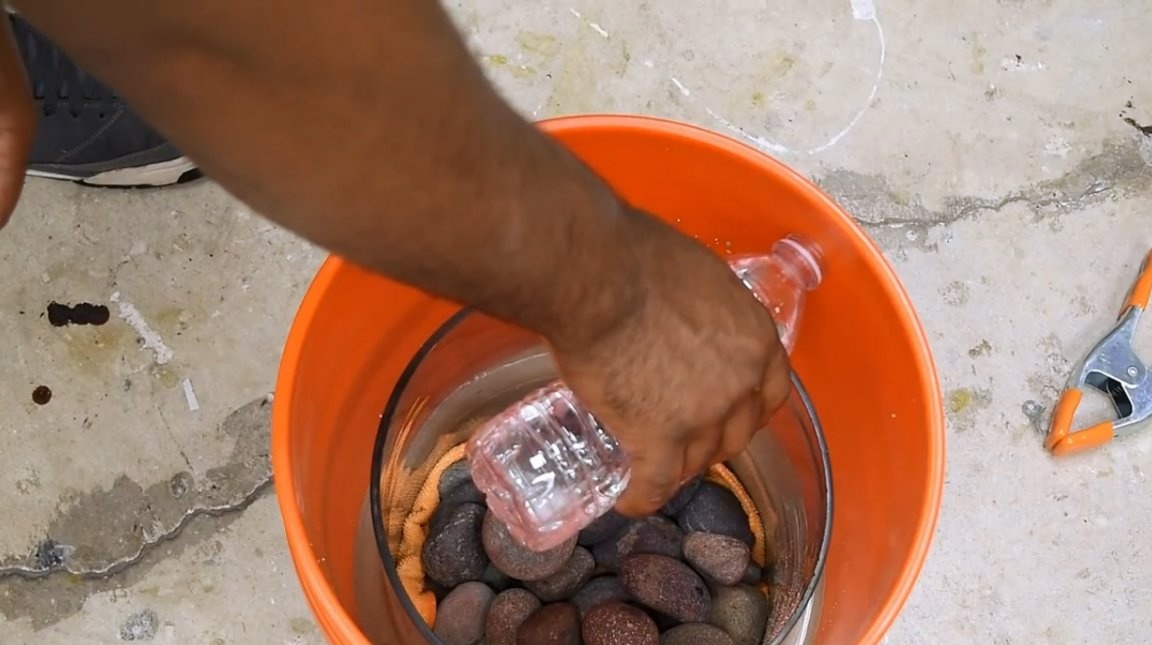
After 15 minutes, the solution begins to solidify. So that he does not overheat and does not begin to crack, the author pours on top a little water.
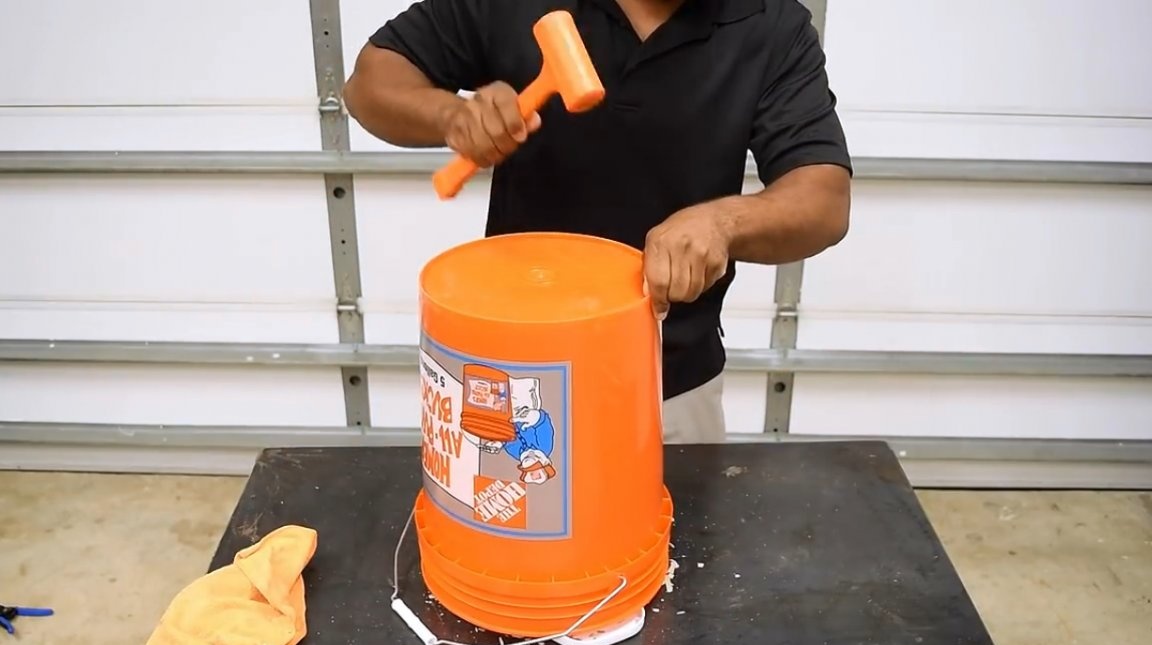
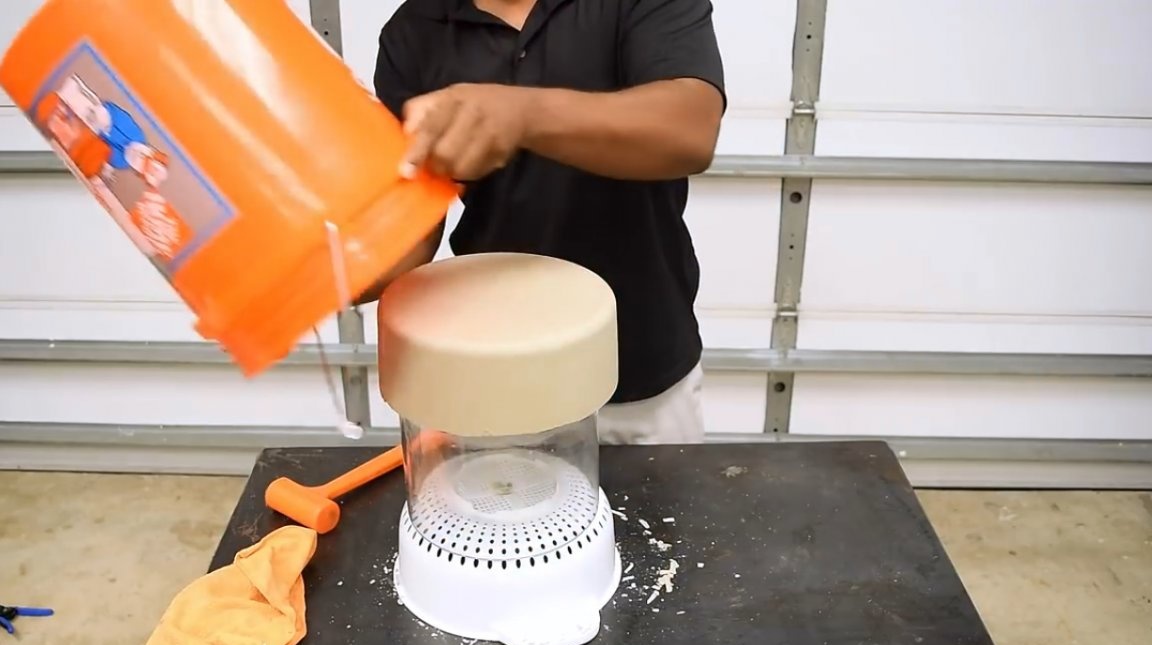
After about an hour, you can get the product out of shape. To do this, the author somewhat deforms the walls of the plastic bucket, pulling them in opposite directions
When turning the container over, you can spread something soft - cloth napkins or something similar - so that the glass vessel does not break. You can tap the bottom with a little hammer.

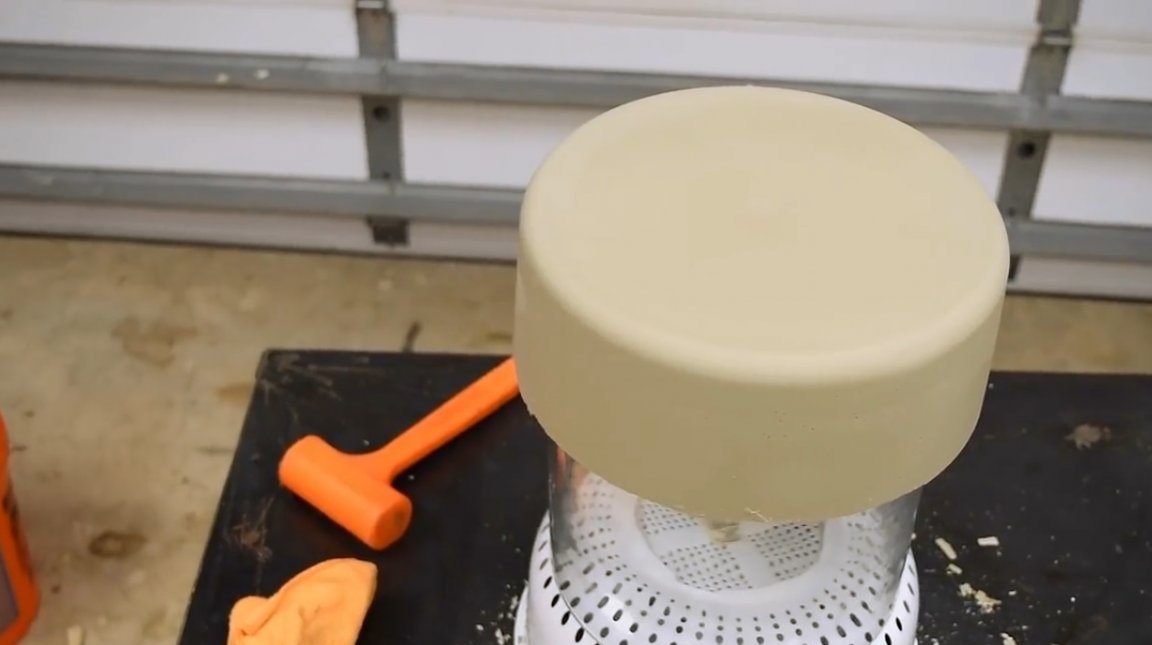
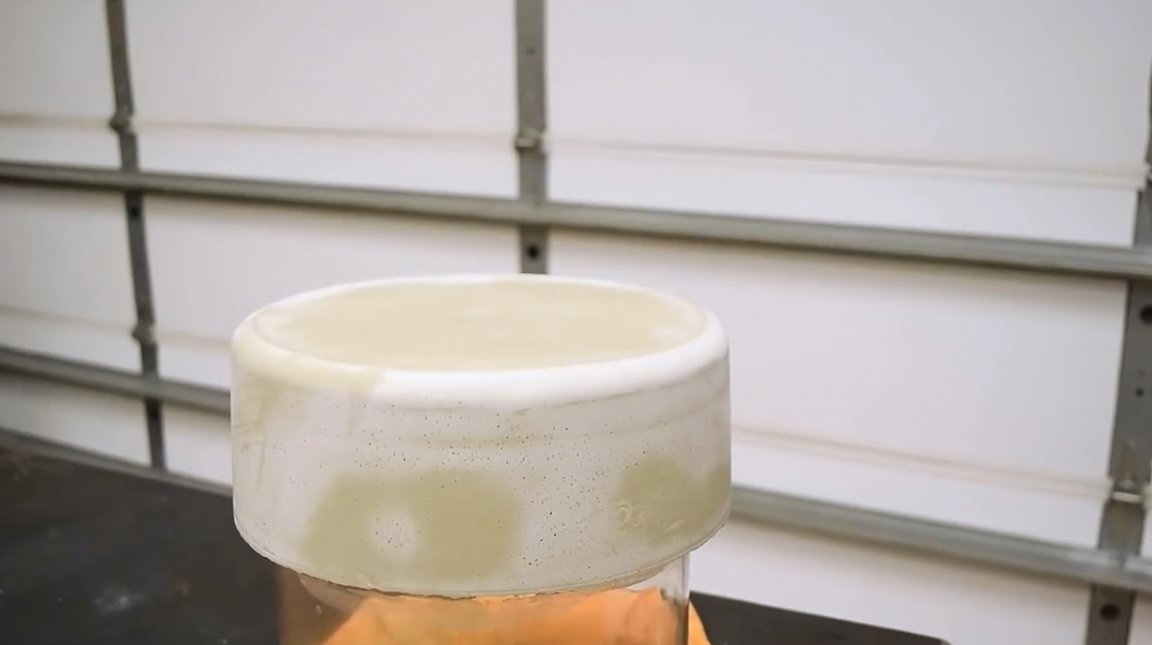
The author allows the cement form to dry. As you can see, in the photo, its bottom turned out to be perfectly smooth, without any defects.
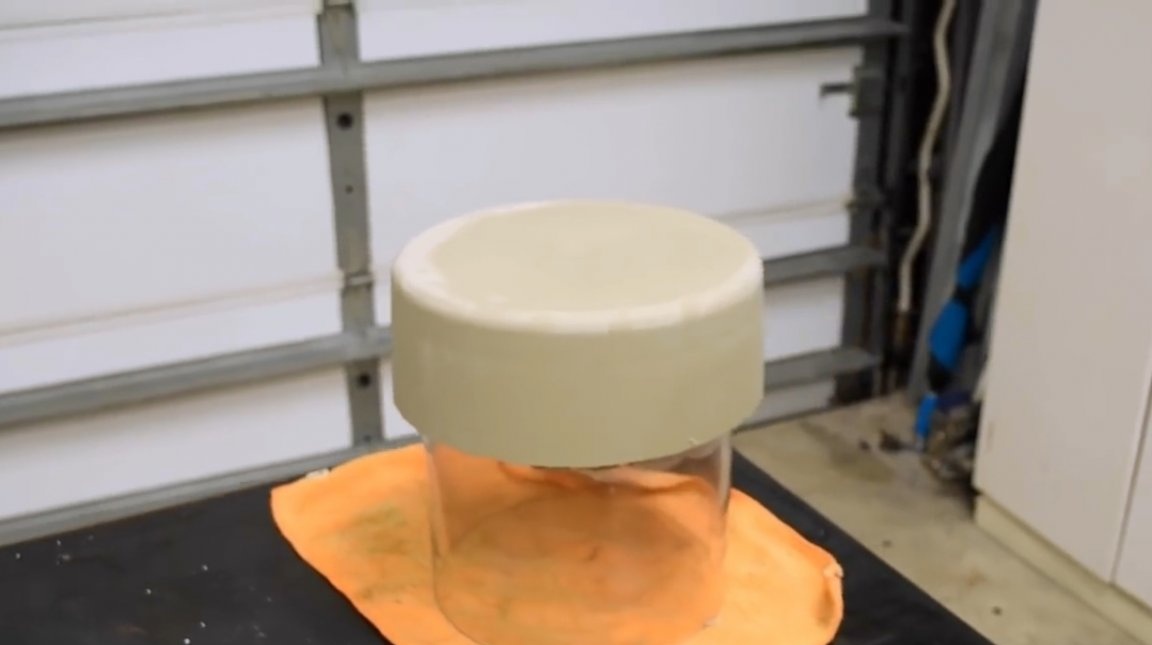
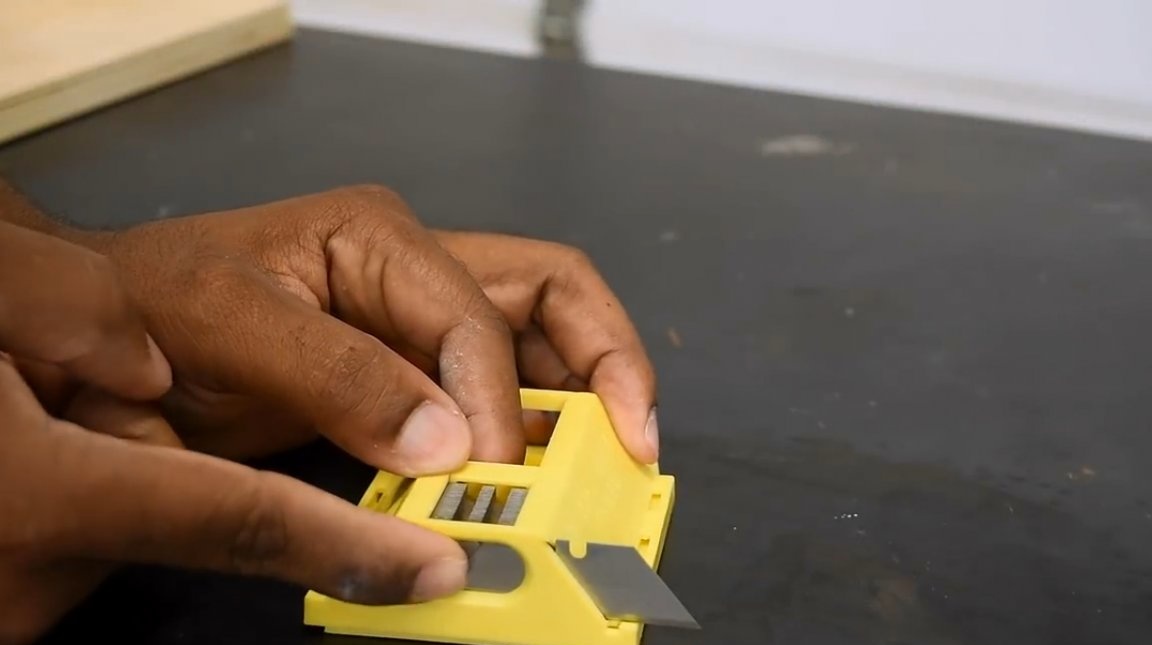
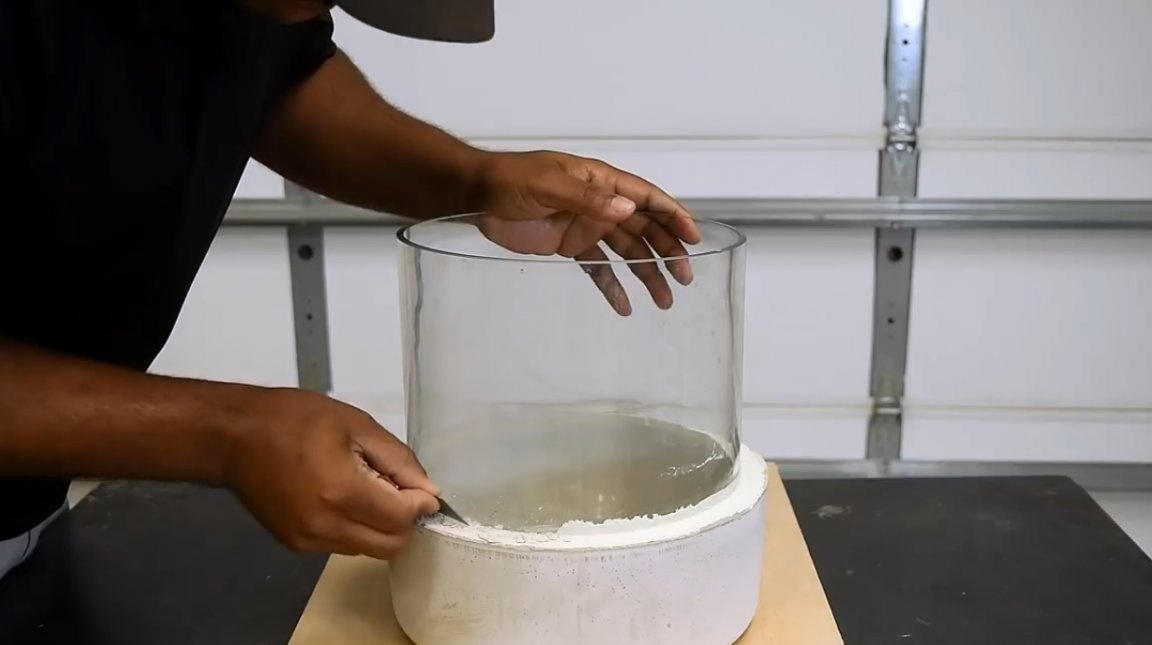
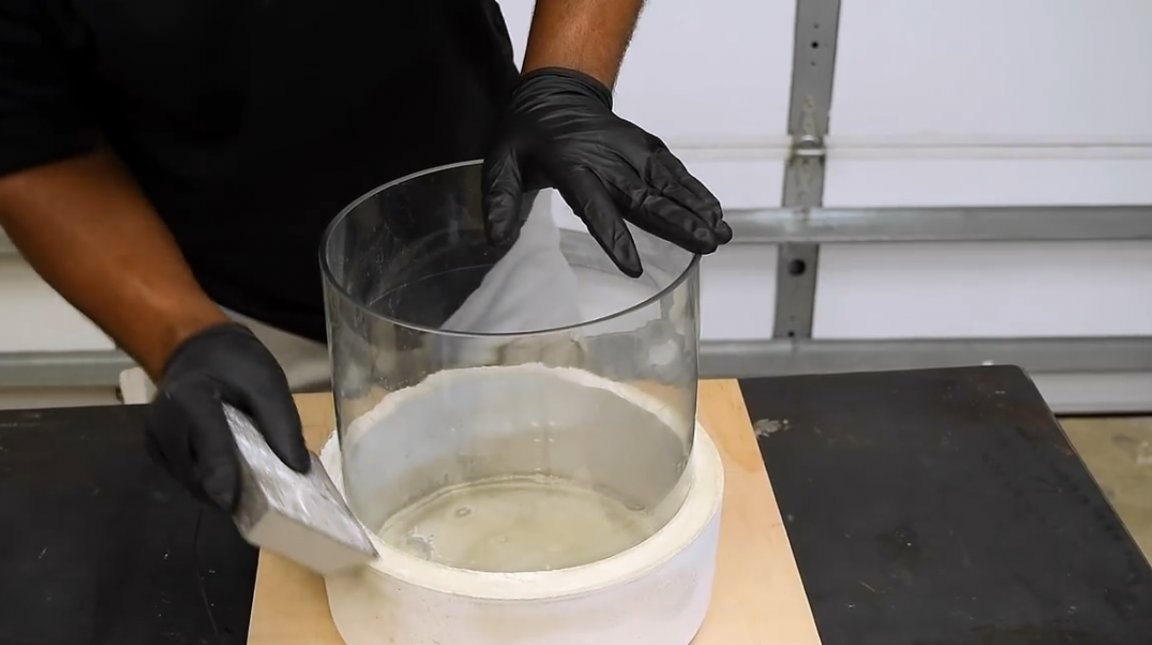
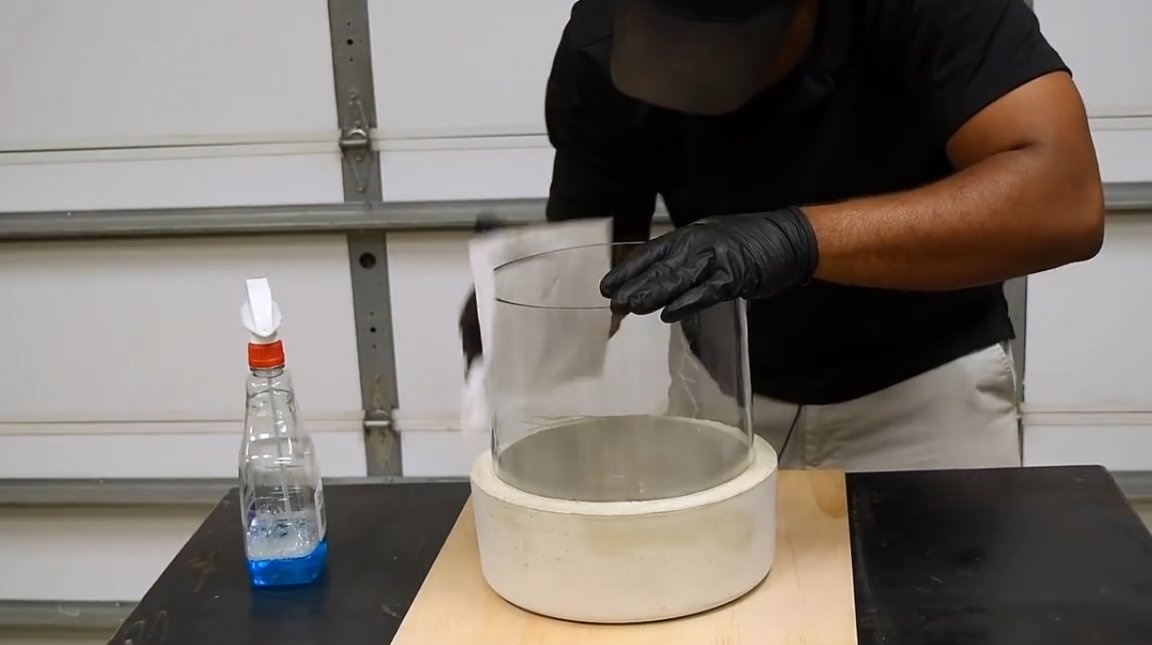
However, a cement ring is that part of the mold that will also be open to view. Using a conventional clerical blade, the craftsman removes excess material from the glass and from the upper welt of the product.
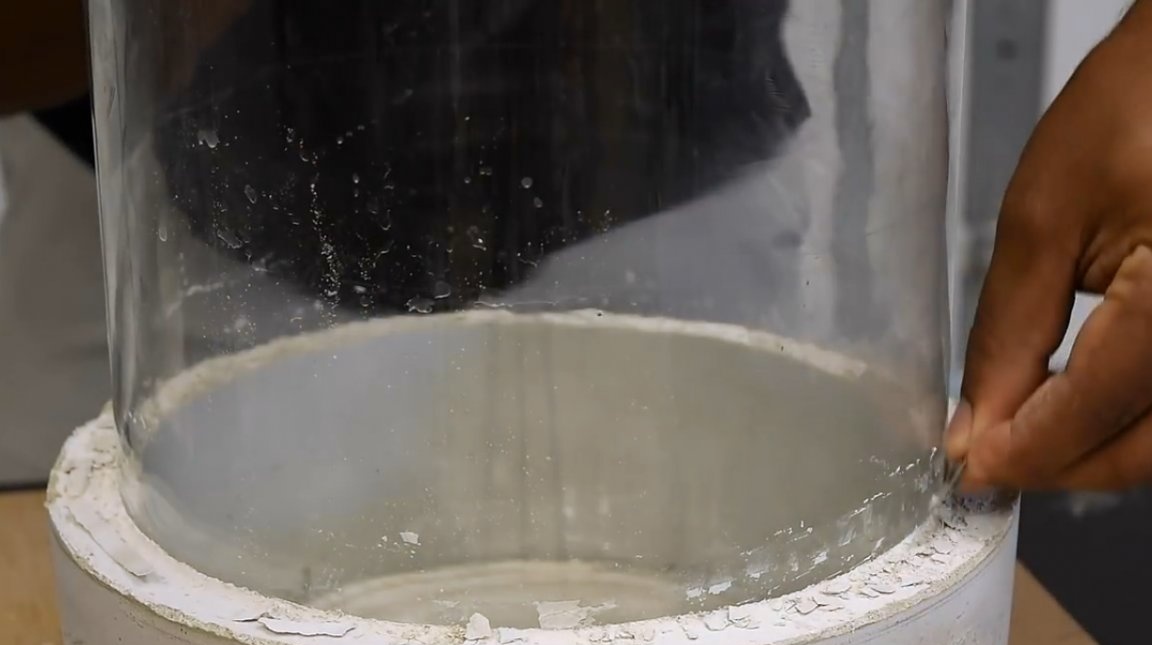
Now the entire welt is processed by the grinding unit. Nothing, if his texture remains rough. But it’s clear that we have cement.
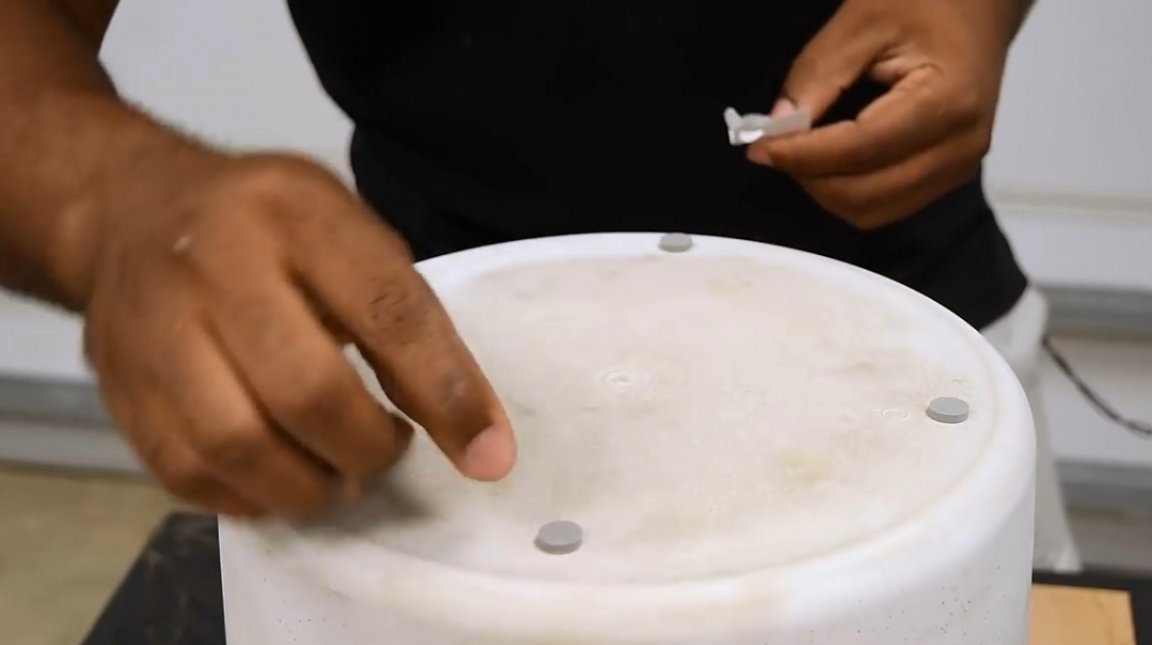
The base of the mold itself is as smooth as the inner surface of the bucket, so these silicone feet are not required to be glued.
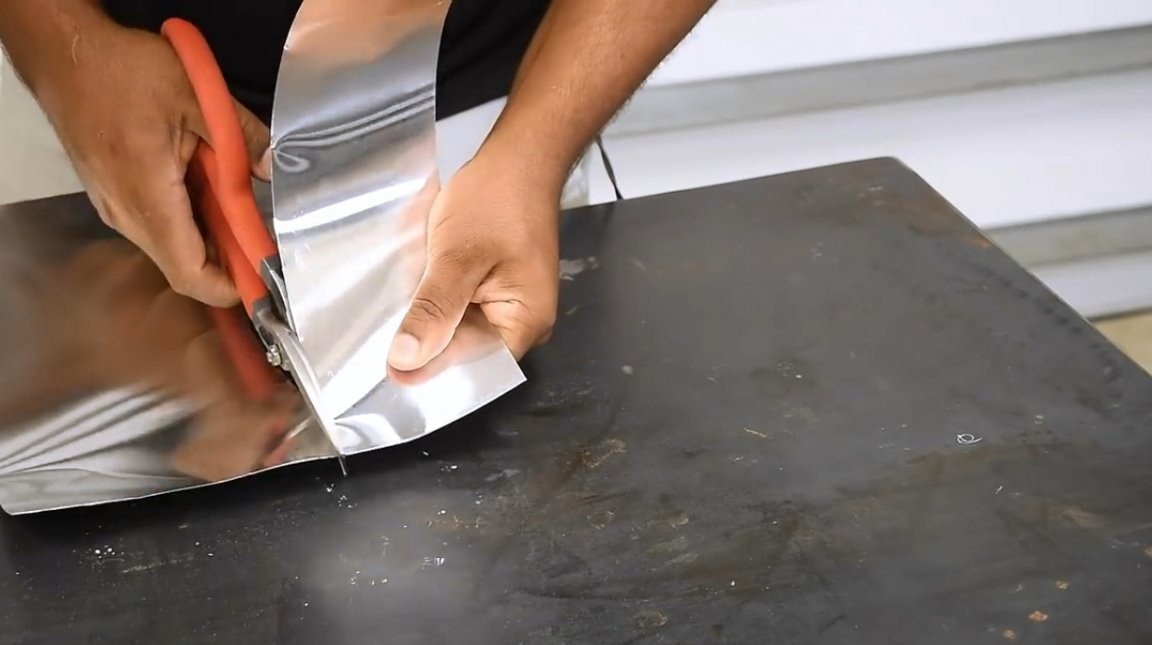
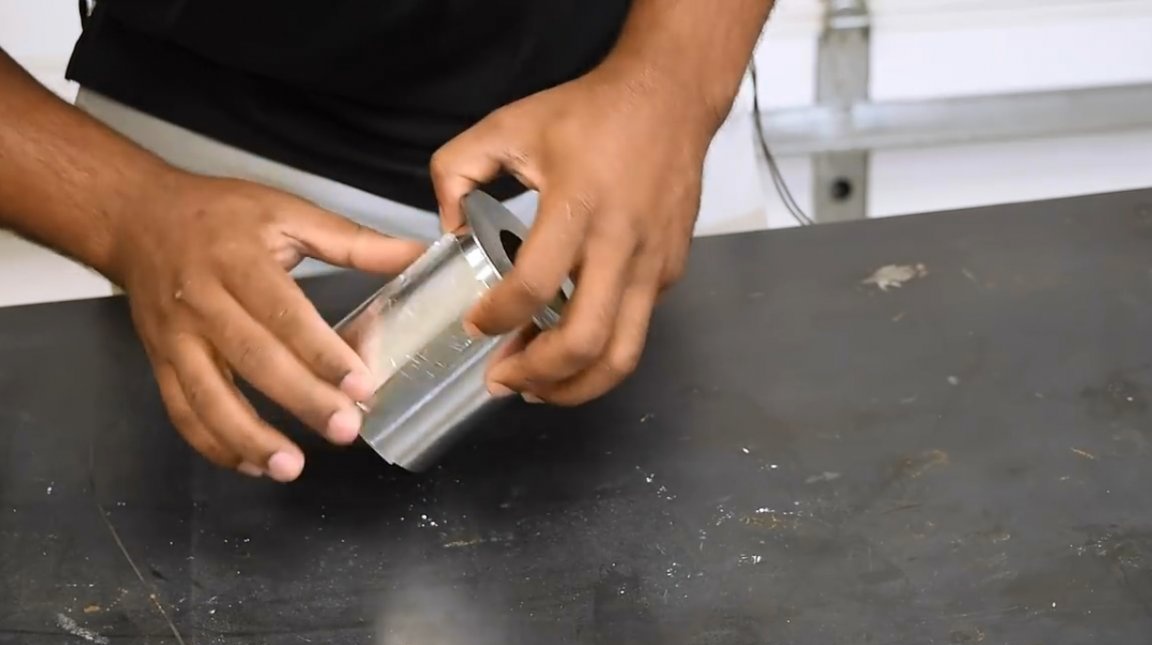
The next stage is the burner. It can be purchased at the link in the description, or made independently. With self-production, it will be necessary to fill a glass from stainless steel with glass wool, and close it with a coarse-mesh steel mesh.
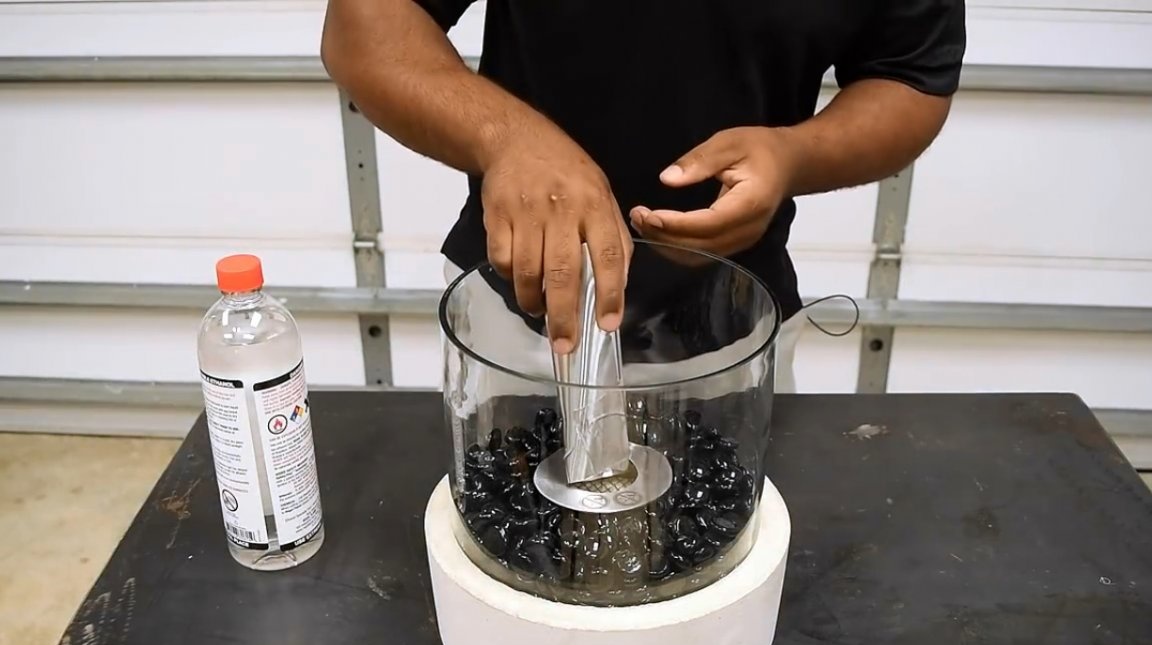
The author wraps it in a layer of dense sheet metal. This will be a barrier insulating the glass balls from the burner wall. It is needed so that it can be easily reached.

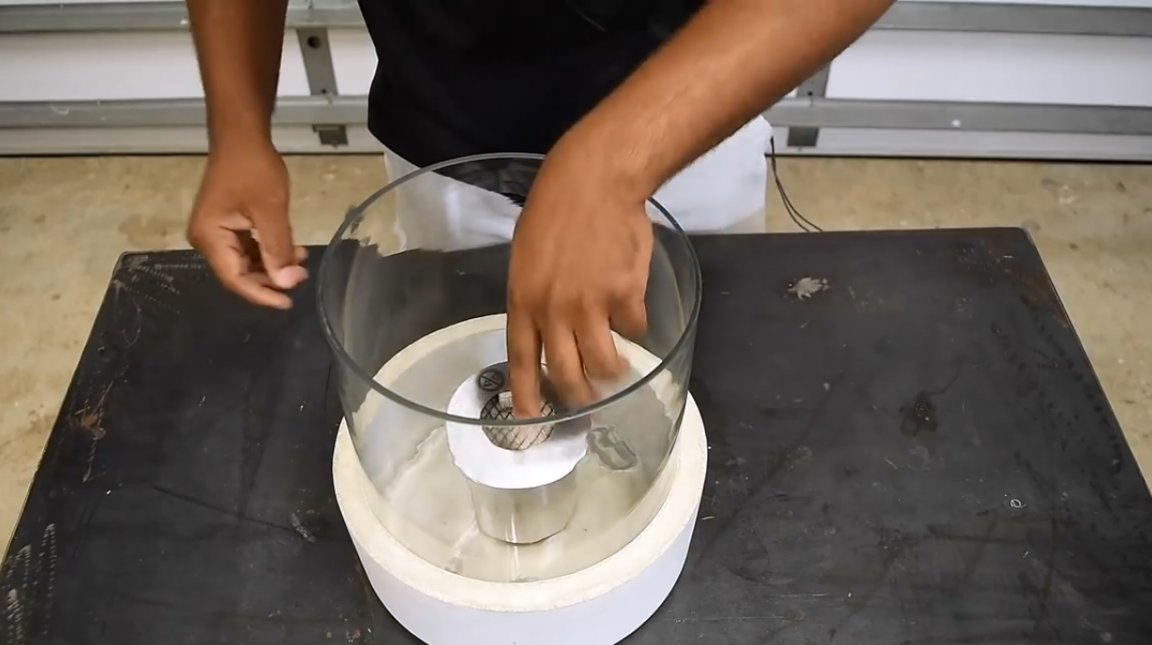
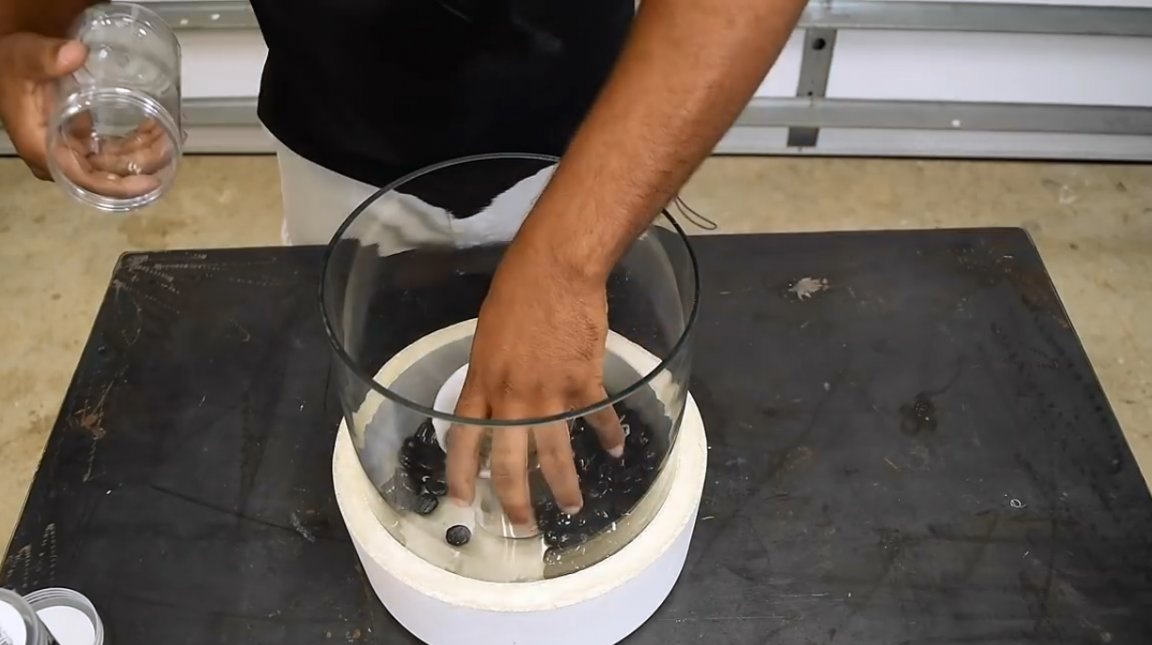
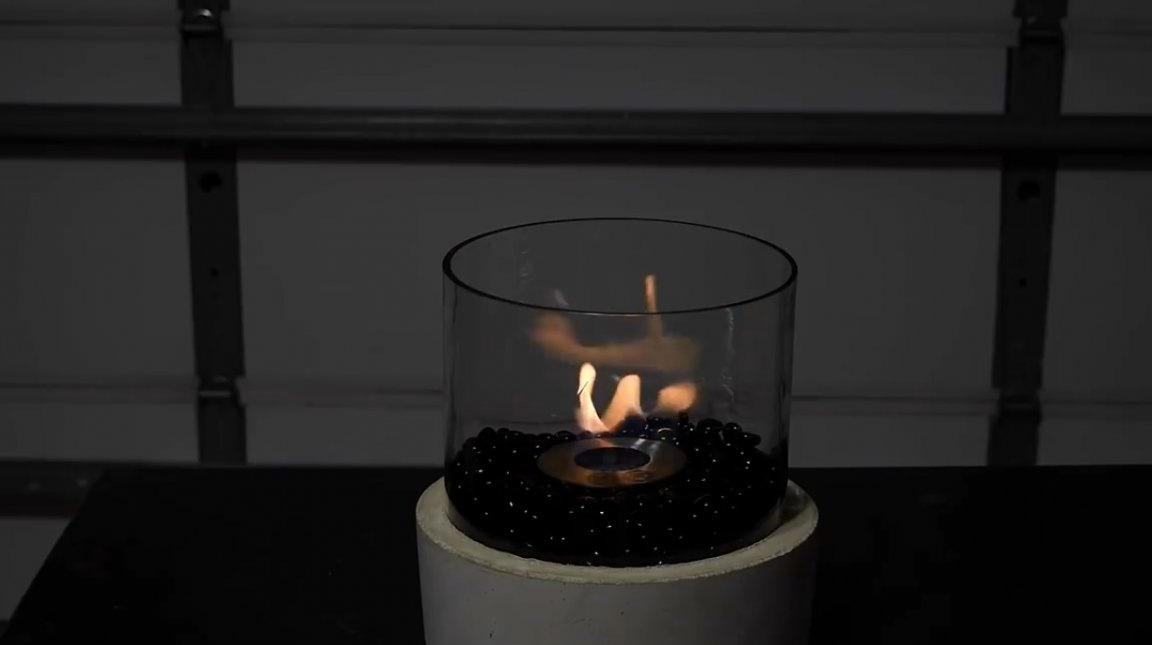
At the bottom of the glass may be a slight cone-shaped thickening. It doesn’t matter. In this case, the burner will be slightly raised. The author lays glass decorative pebbles around the circumference of the burner, but these can be ordinary river pebbles. The latter are noticeably cheaper.
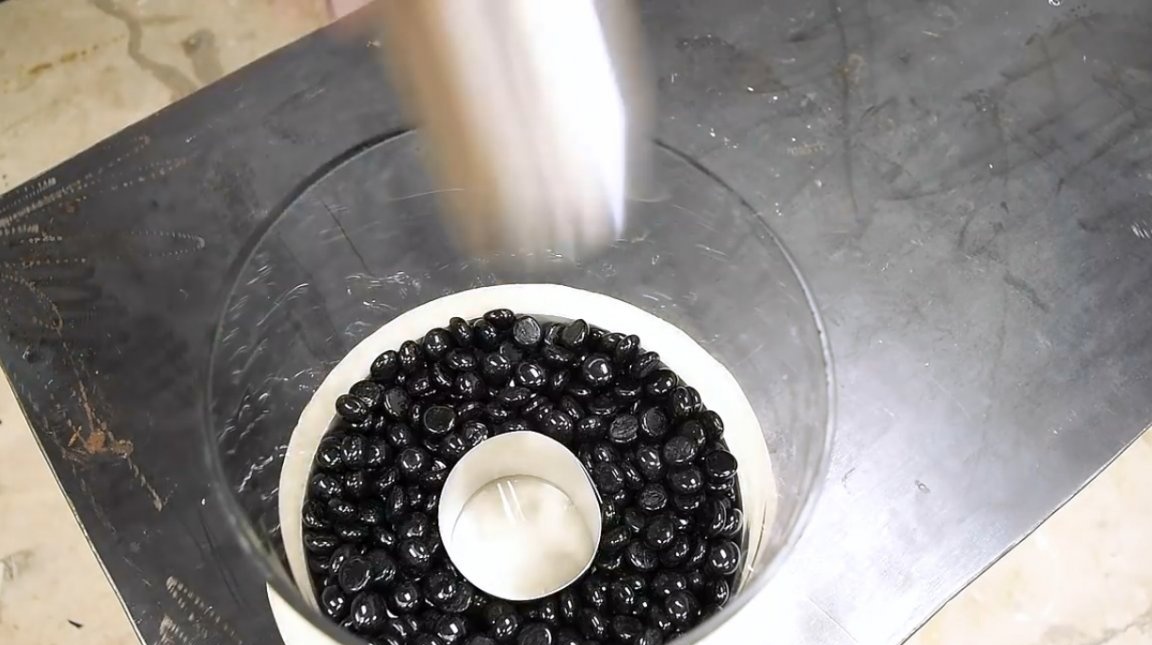
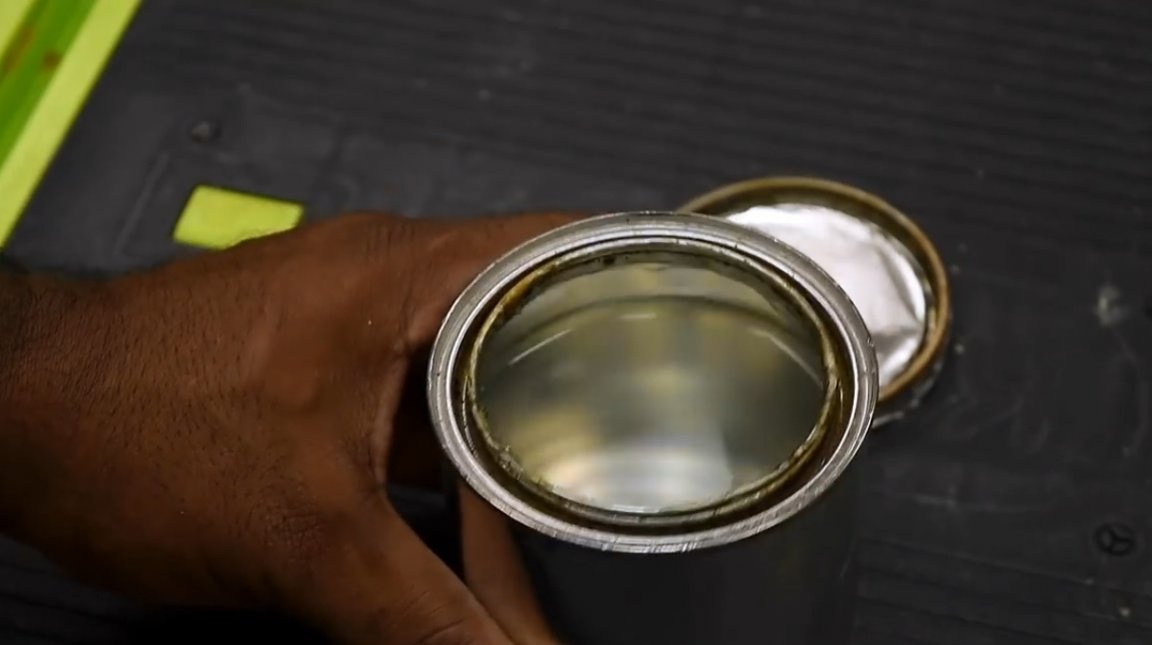
Further, the author twists a small funnel out of the same tin and gently pours fuel into the burner. Do not forget to extinguish completely the flame each time before adding a new portion of fuel.
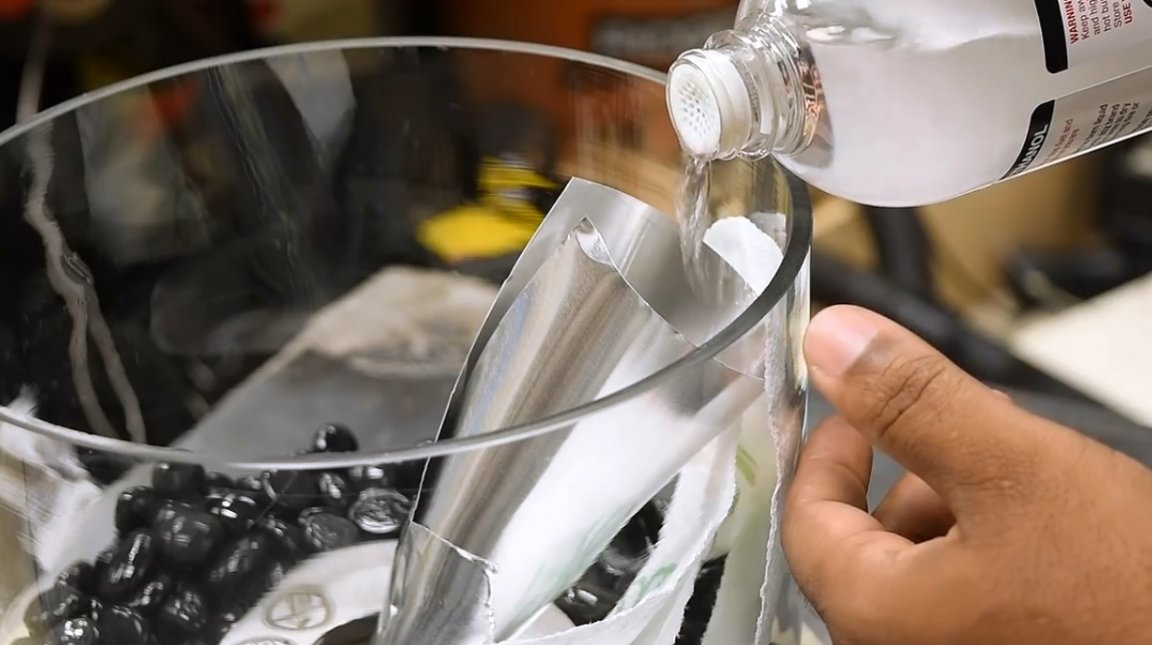
At first, the flame will be quite low, but over time it will rise. It also depends on the fuel manufacturer, and on whether it is intended for internal foci.
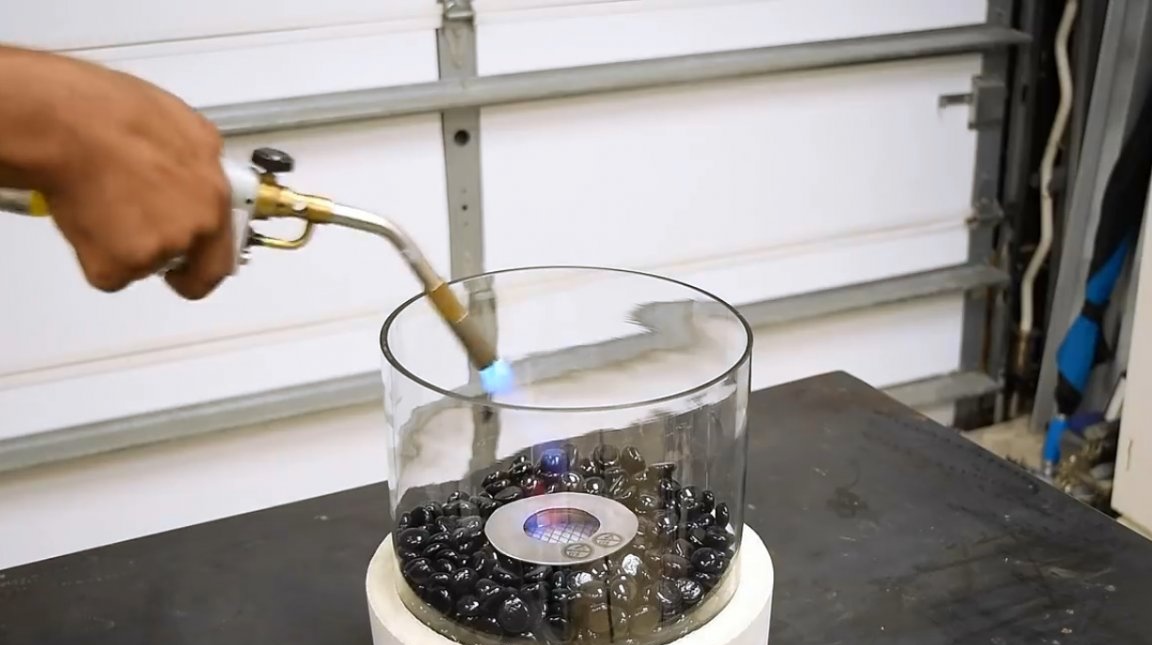

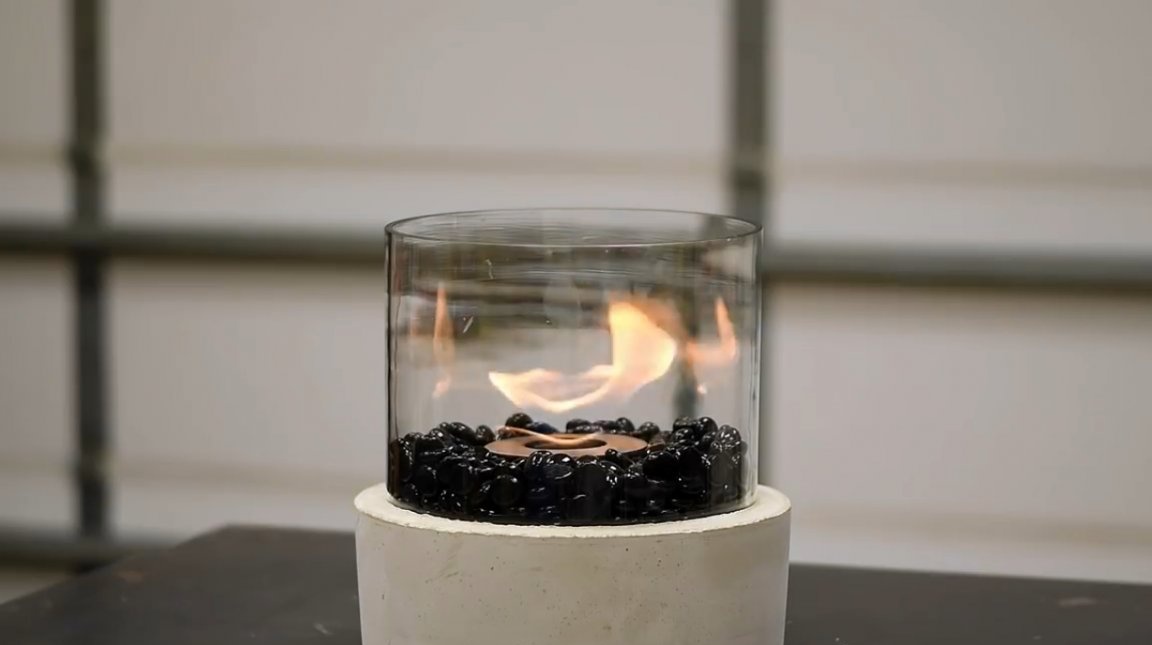
The fuel intended for kindling fireplaces burns very cleanly and consists of 100% ethanol.
In his subsequent projects, the author intends to try gel fuel.
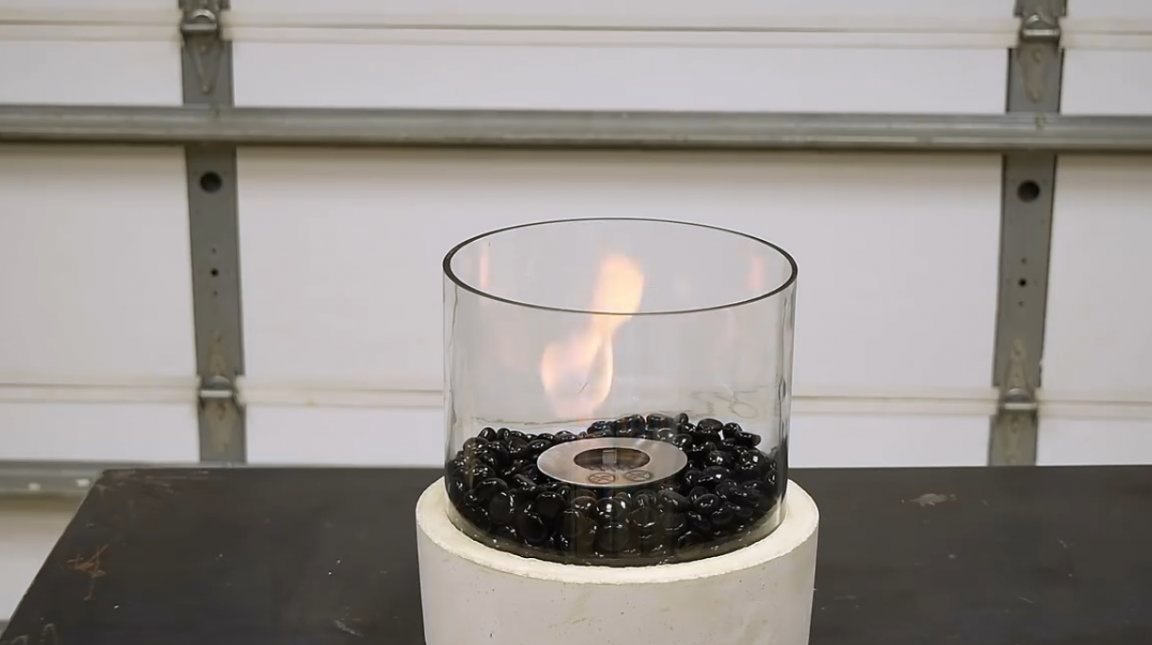
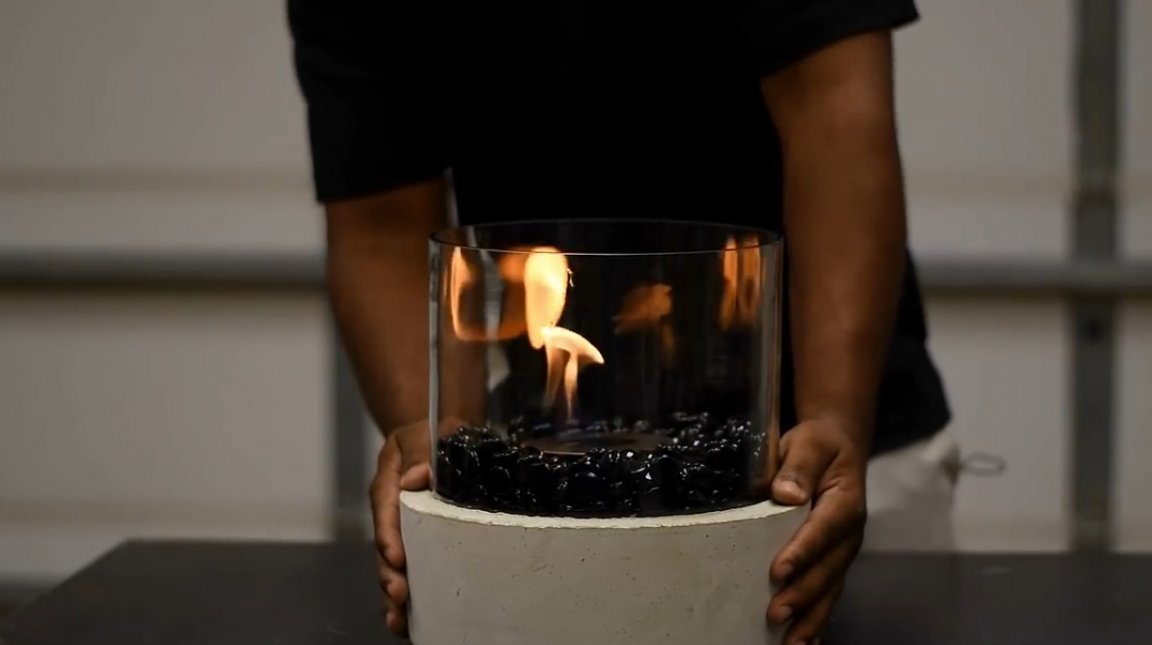
The “home fire” burned for an hour and, of course, the glass balls, the glass itself and the burner were very hot. Later, the author pulled out a torch from a glass with pliers and touched the bottom - the cement was still as cool as before. Heat, as you know, rises, and one hour is clearly not enough to heat the stone.

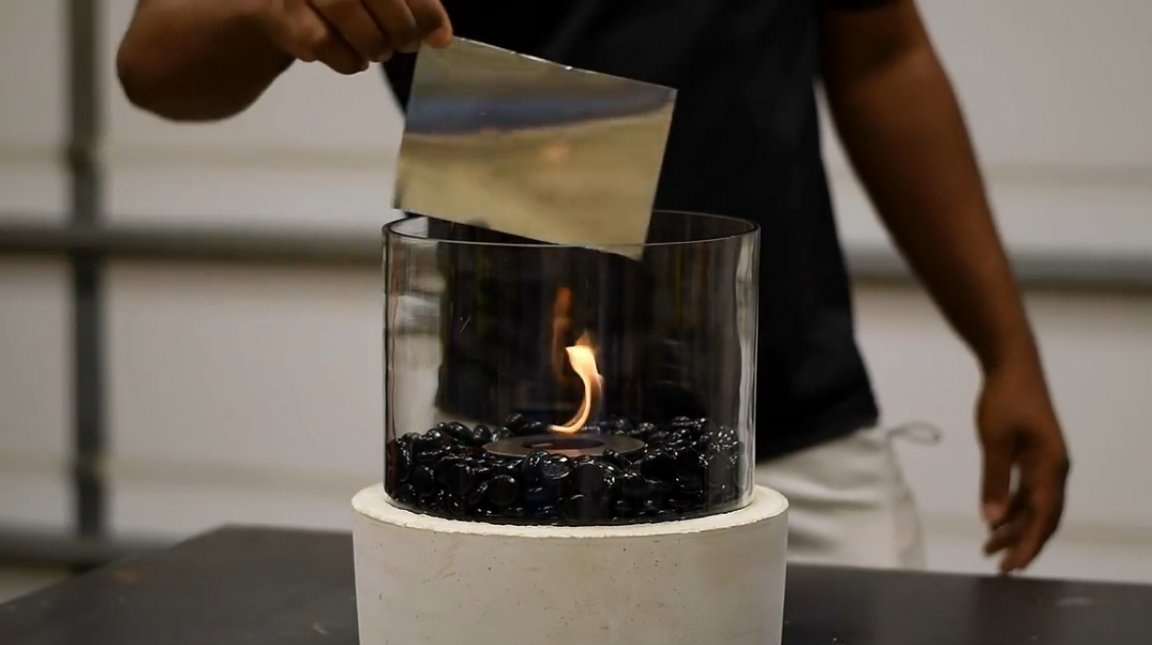
In order to extinguish the flame before the fuel runs out, it is enough to close the burner with a sheet of tin.
Such a lamp with live fire can become an indispensable component of home comfort. By the way, in a recent articles the master has already described a method of manufacturing a large fireplace.
Thanks to the author for a simple but very original idea for making a table fireplace!
All good mood, good luck, and interesting ideas!
Author video can be found here.