
In this article, the Master will present to us his work - a balsa glider. According to him, such products are very cheap and can be easily repaired if damaged. You can use them indoors or outdoors, you can add a starting gum to achieve long distances and flight heights.
Tools and materials:
-1 balsa leaf 1.5 x 228 x 50 mm;
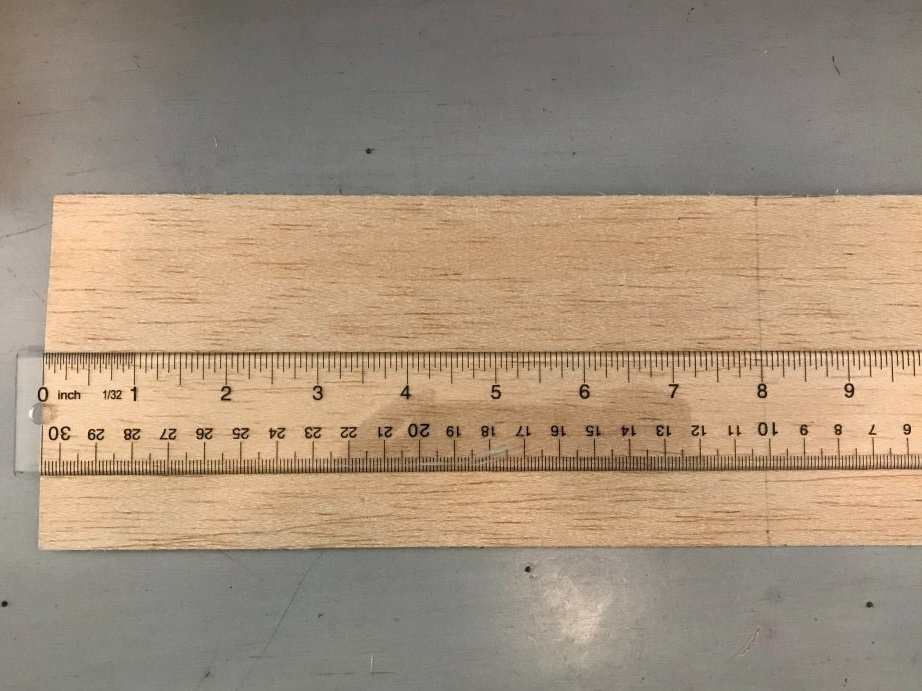
-1 balsa leaf 1.5 mm x 406 x 101 mm;
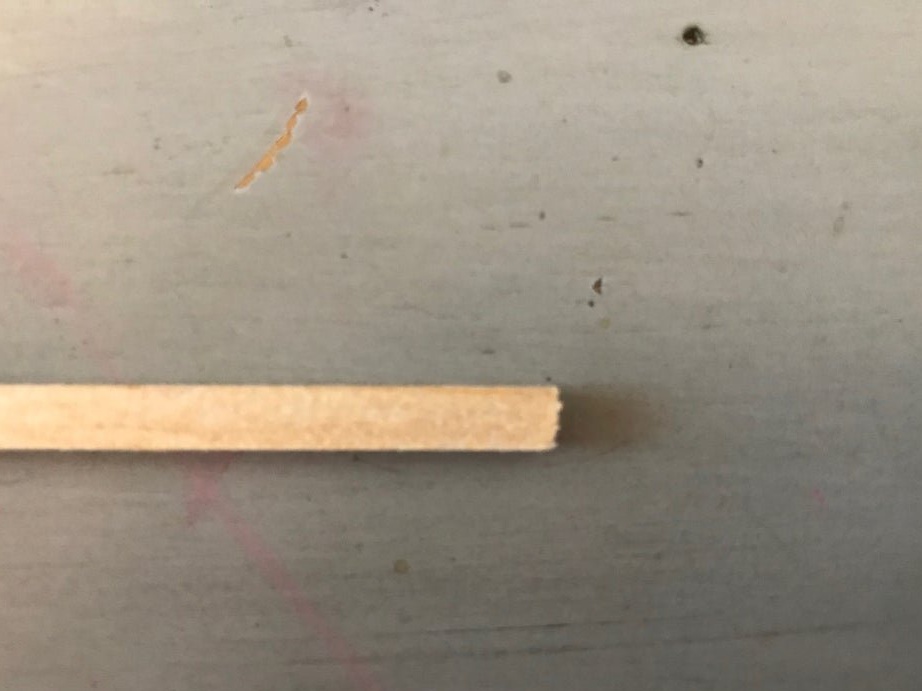
-1 balsa rail 4 x 8 x 228 mm;
-Plasticine;
-Knife;
-Pencil;
-Super glue;
-Gon;
-Sandpaper;

Step One: Wings
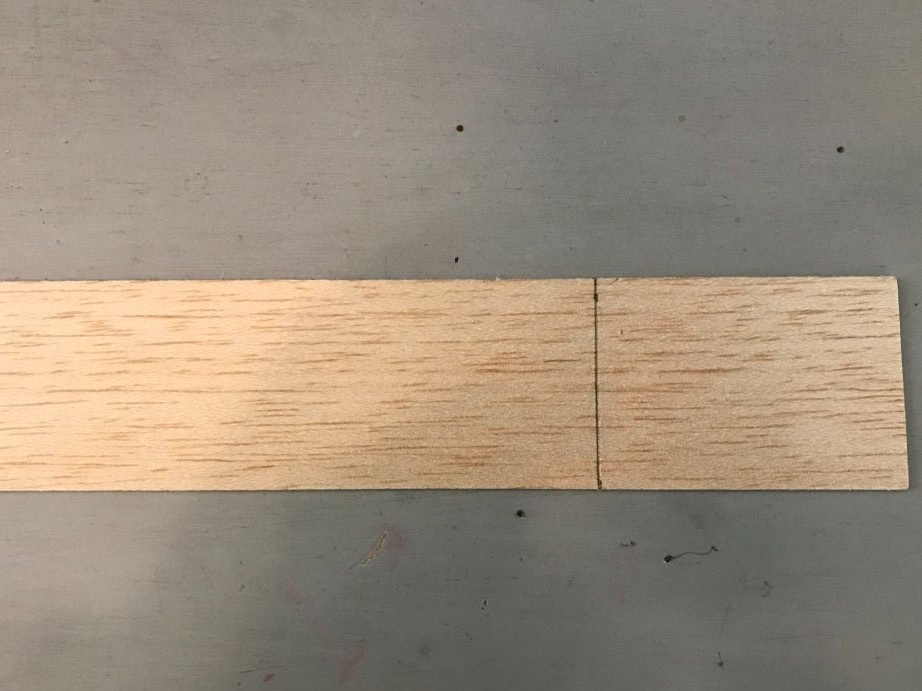
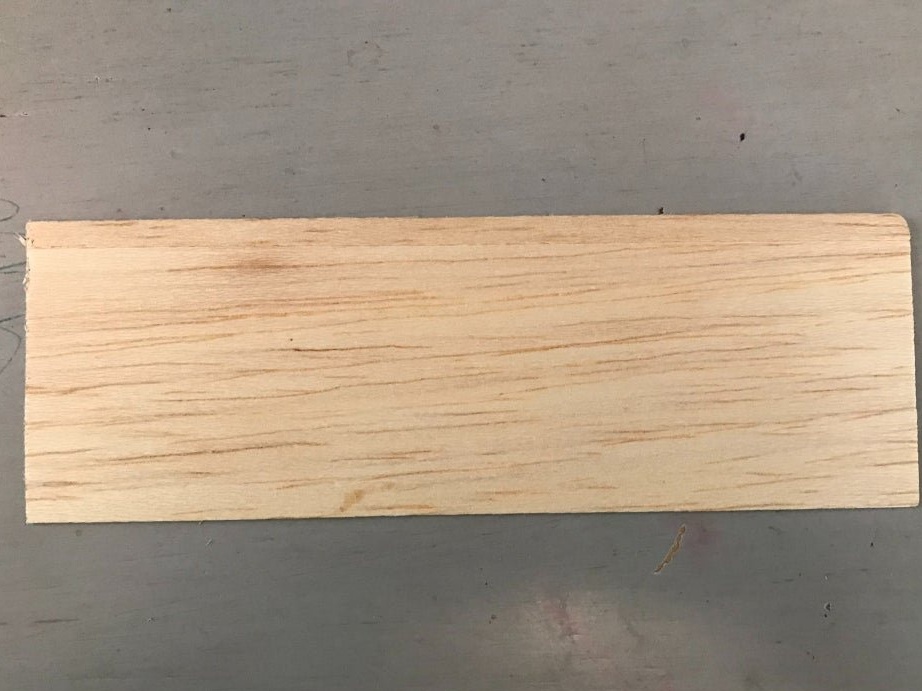
For the manufacture of wings used balsa 1.5 mm x 406 x 101 mm.
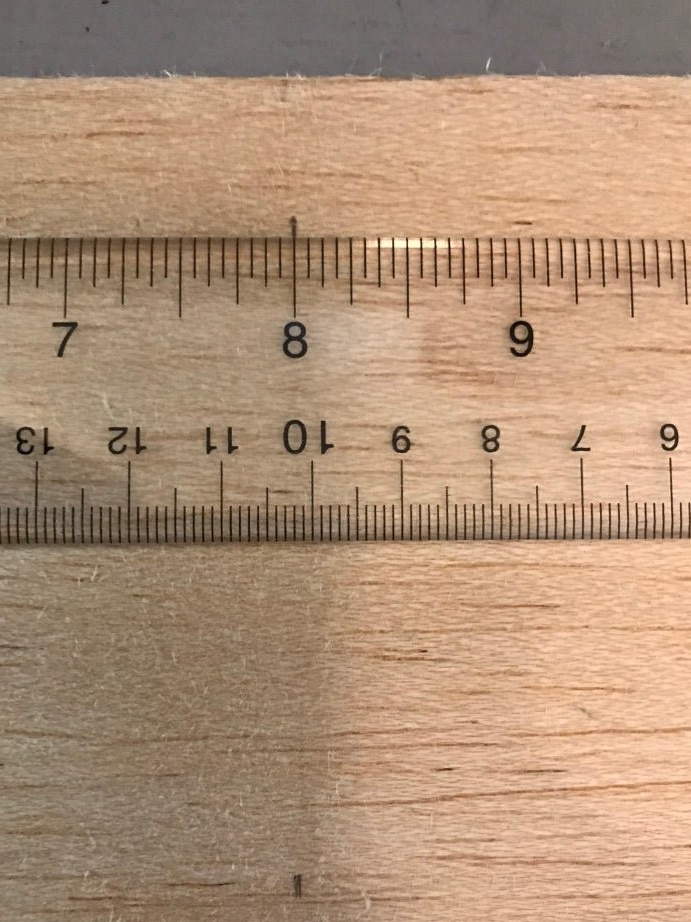
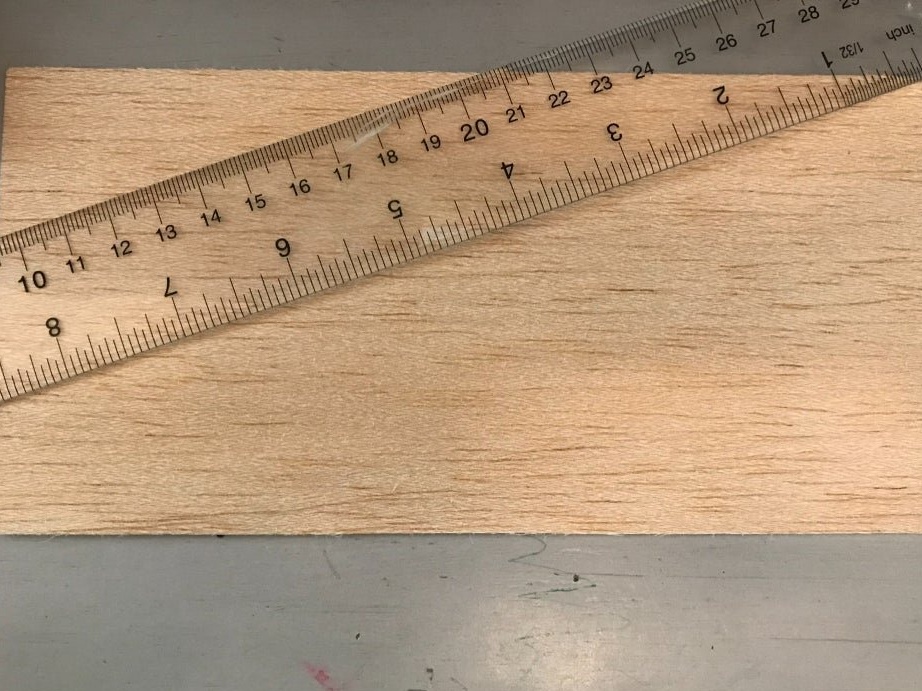
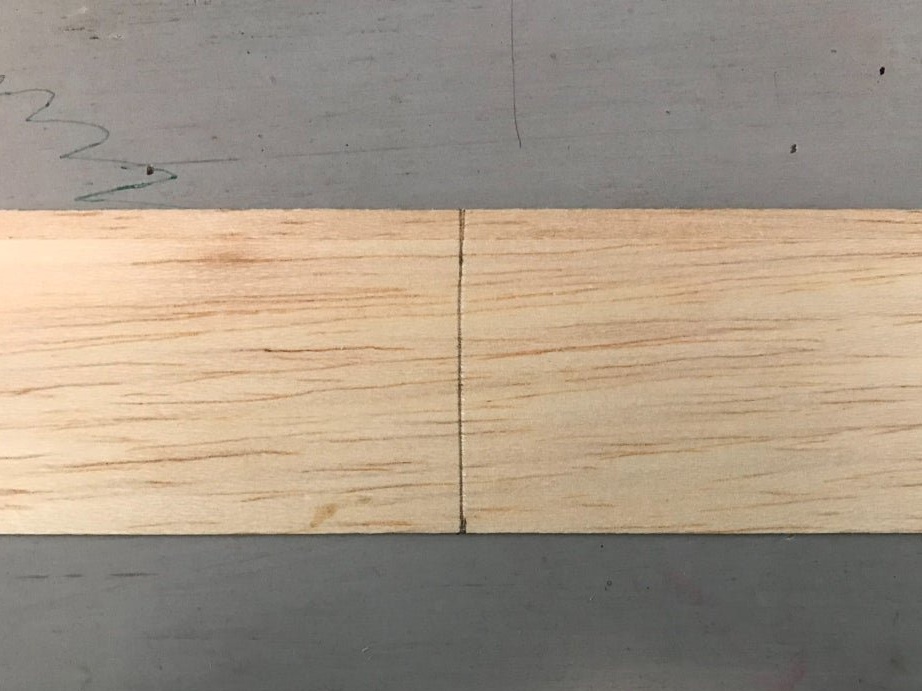
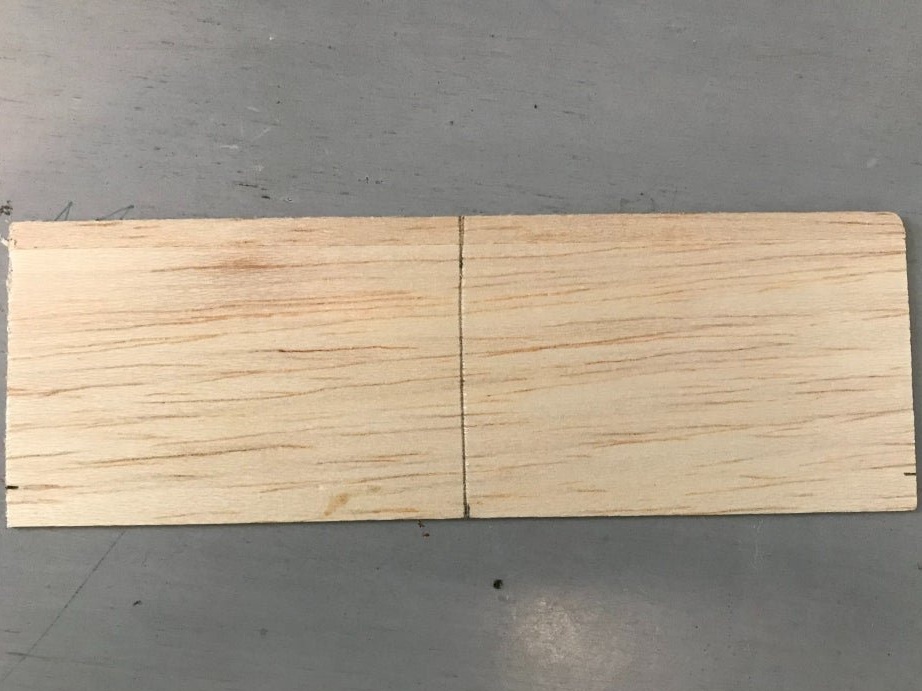
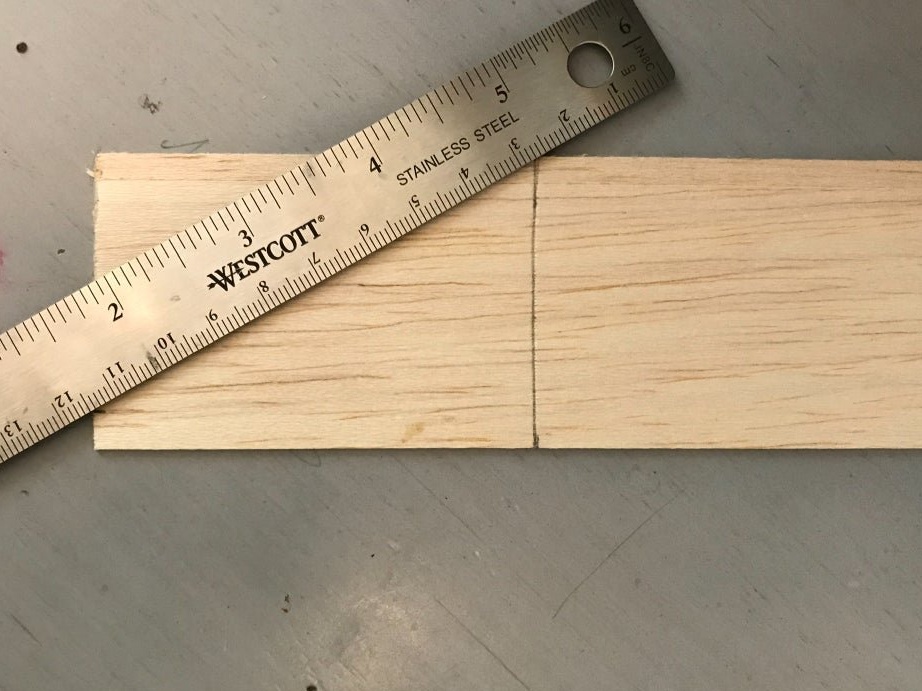
Sheet length 406 mm. We measure half from any edge (203 mm) and draw a transverse line.

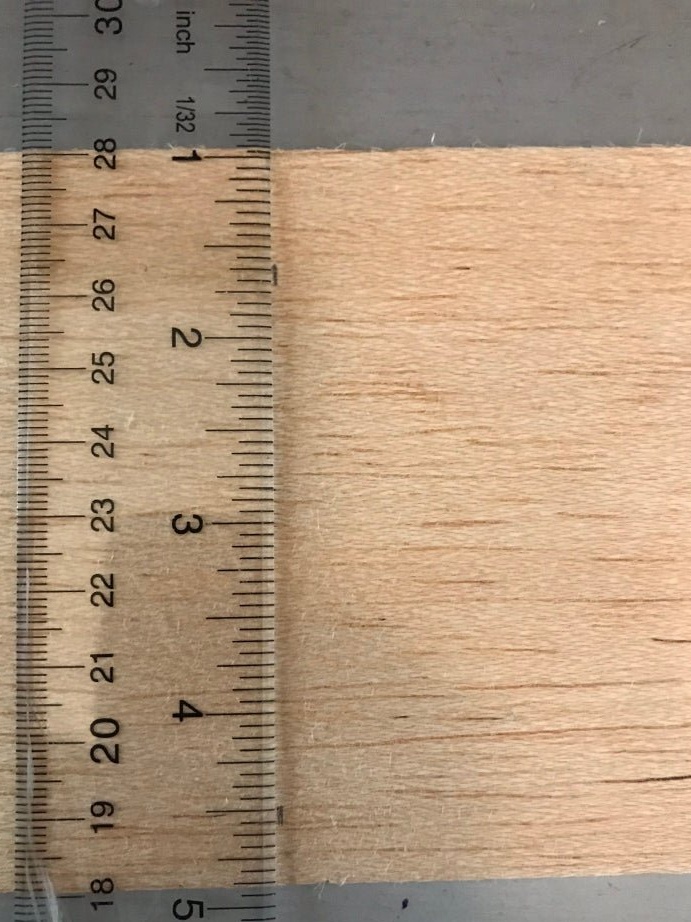
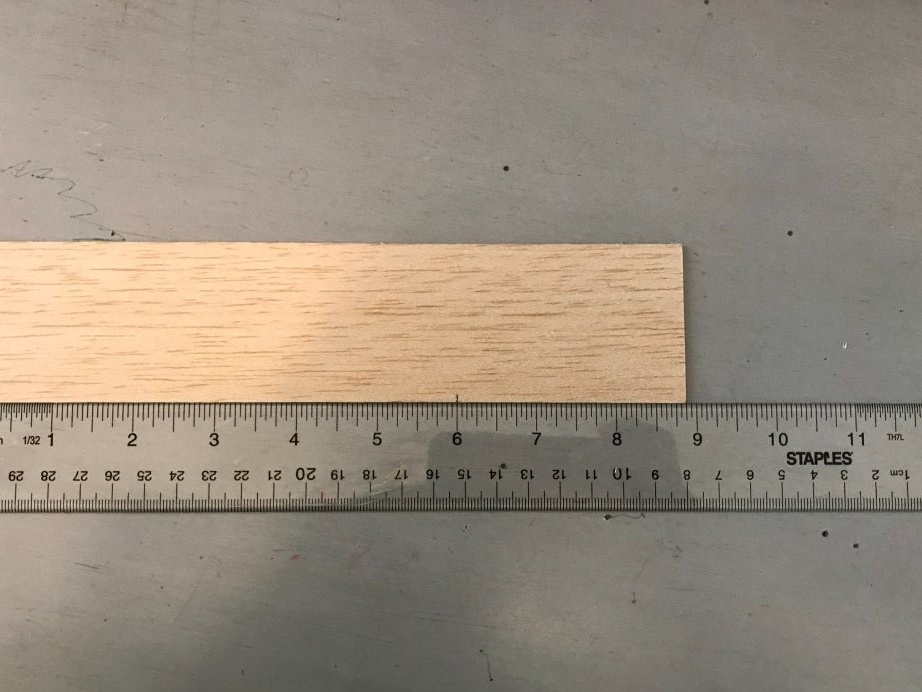
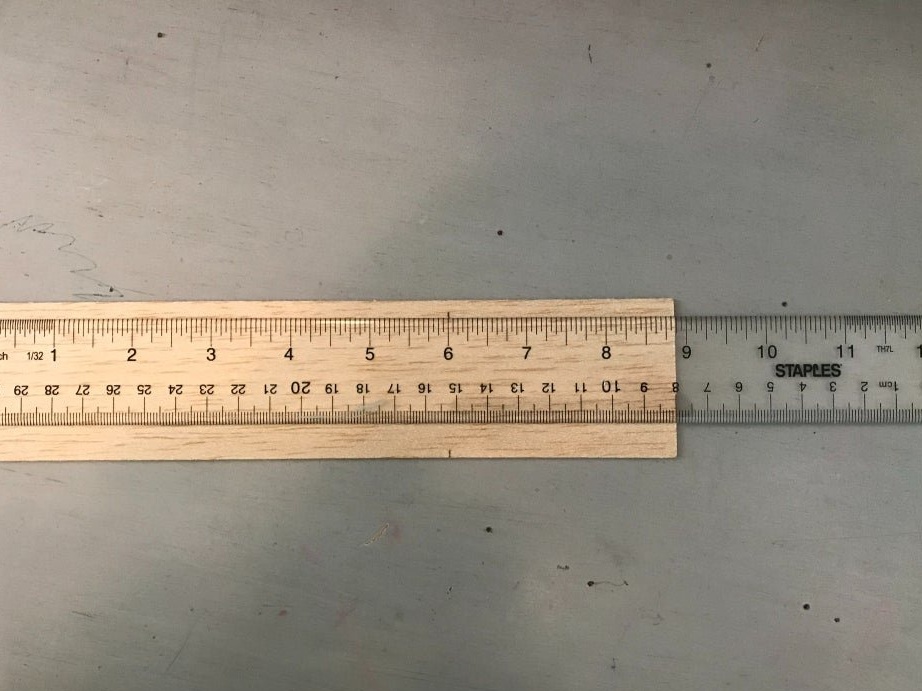
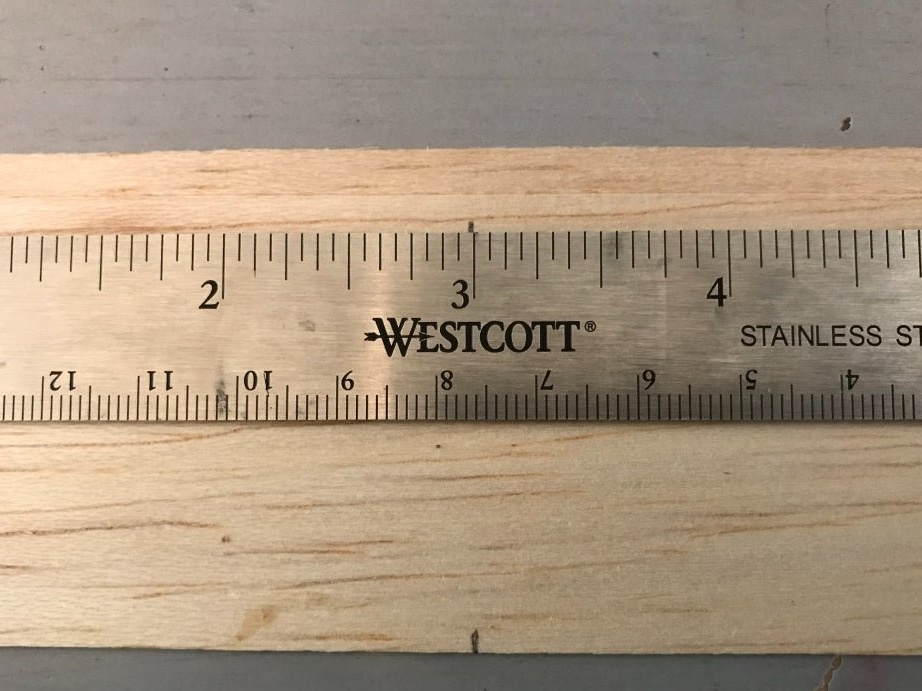
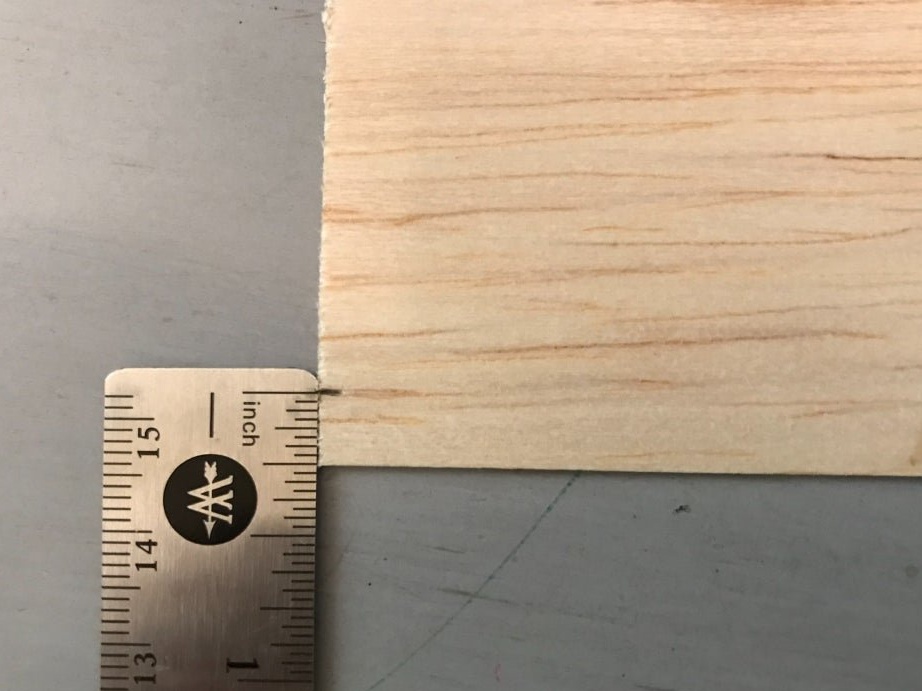
To the left and right, mark the points from the edge by 25.4 mm.
Draw a line from the right and left points up to the top of the dividing line.
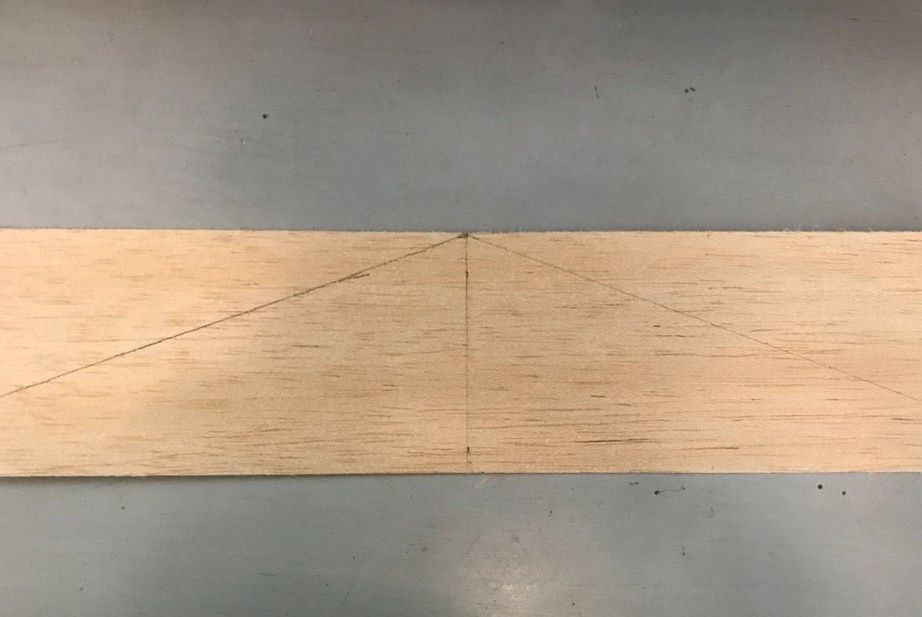
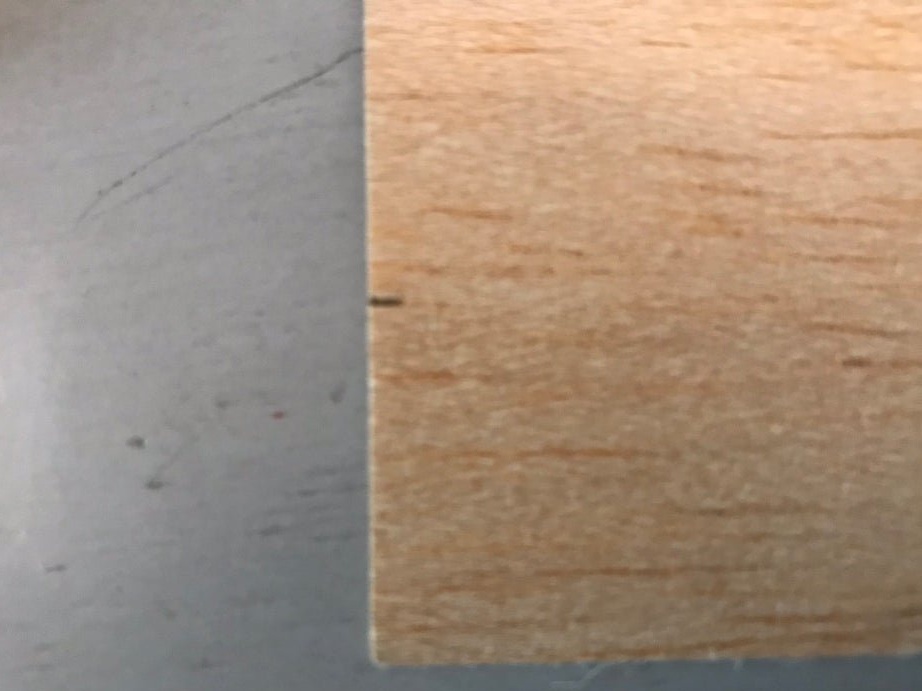
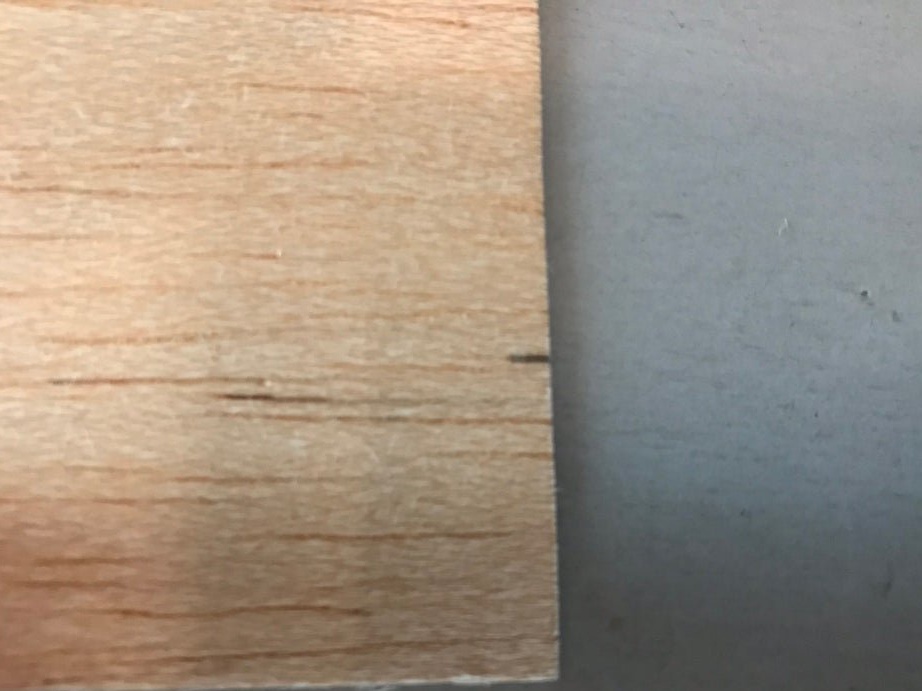
Trim the excess balsa.
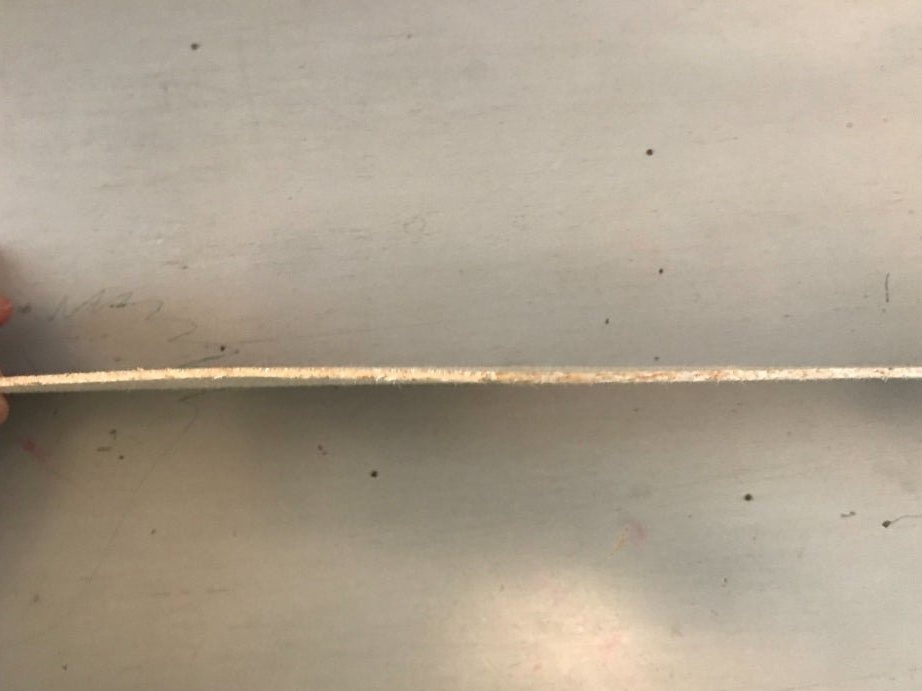
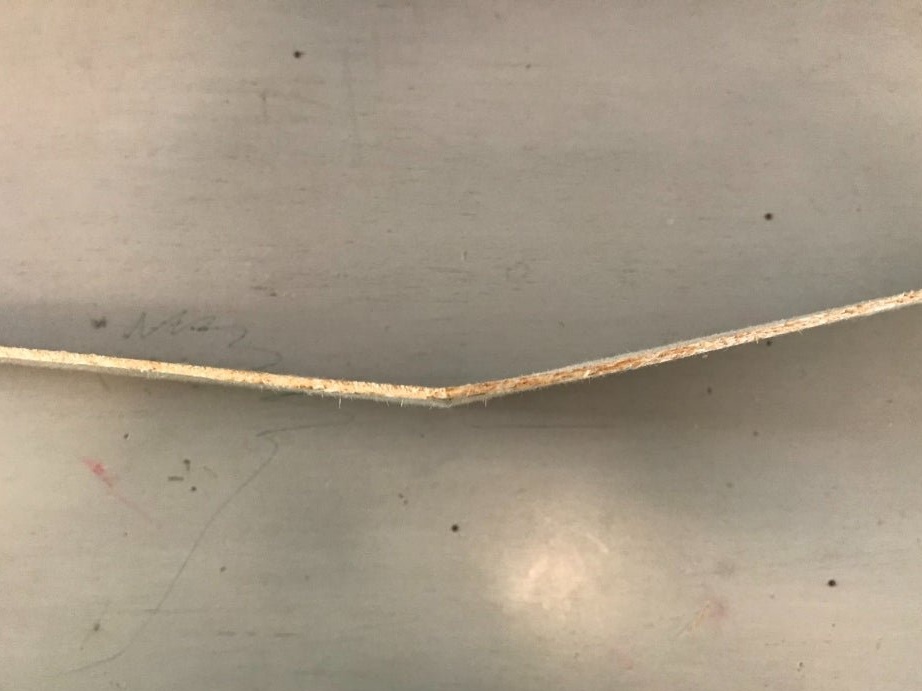
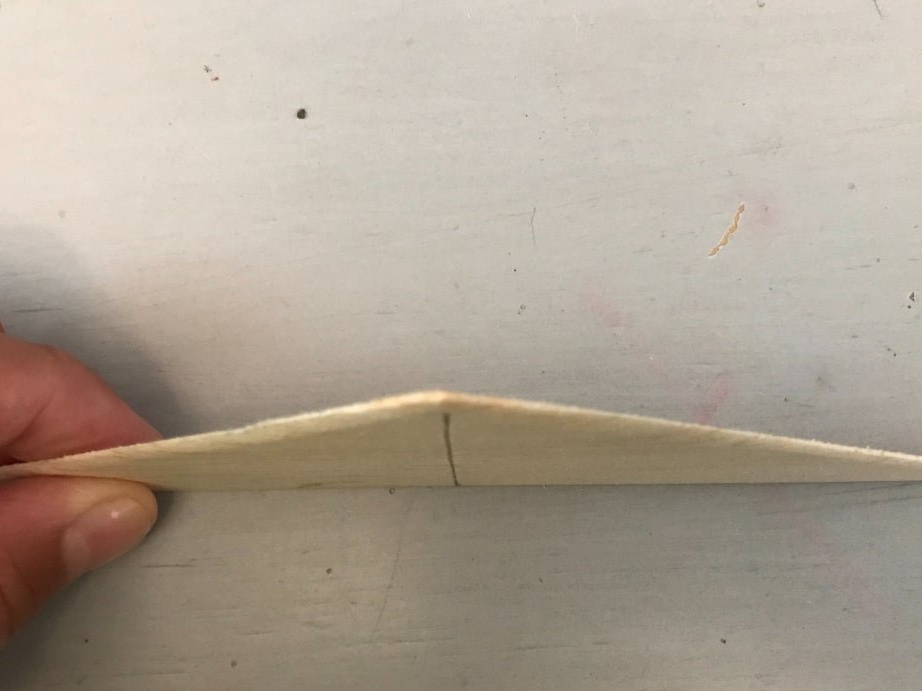
With a knife, make an incision along the transverse line and slightly bend the wing. Apply superglue along the cut line.
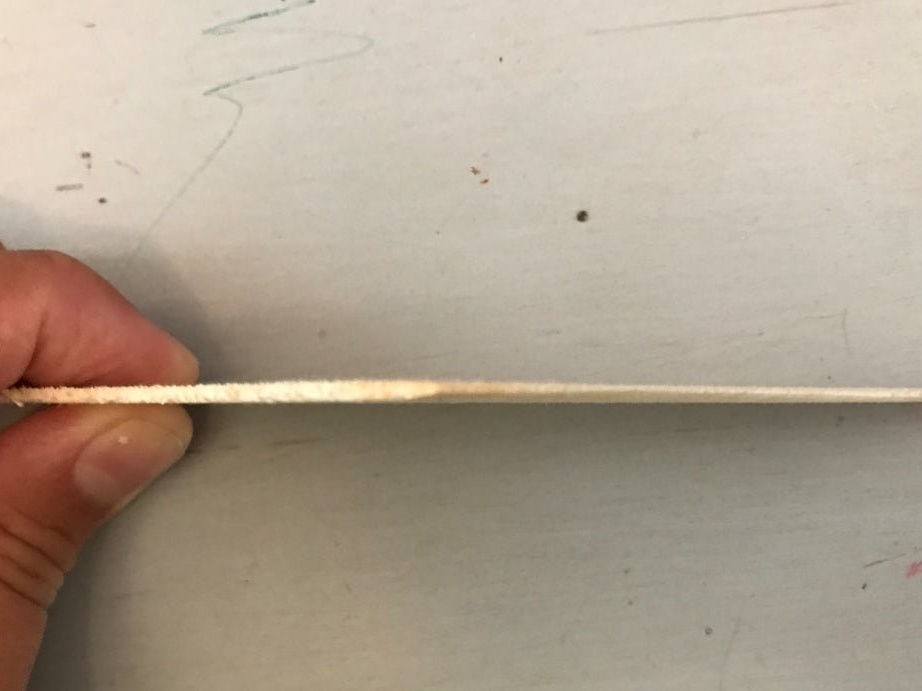
Now you need to polish the wood. Using a sanding sponge or sandpaper, sand the front of the wing to a blunt tip. Grind the back of the wing to a conical shape. Be careful when grinding the wing, as the balsa tree breaks easily.
Step two: stabilizer and keel
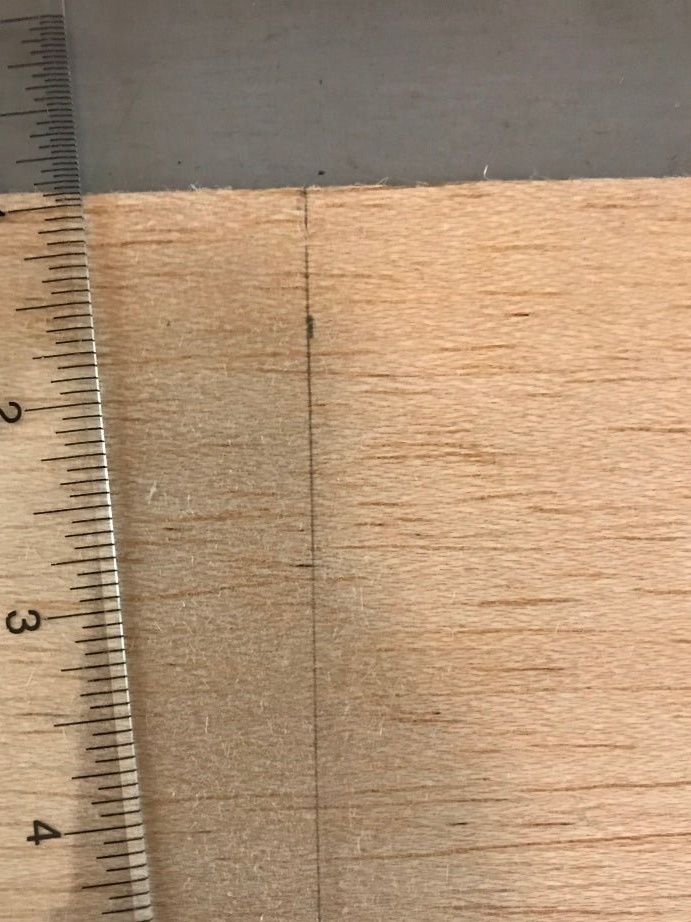
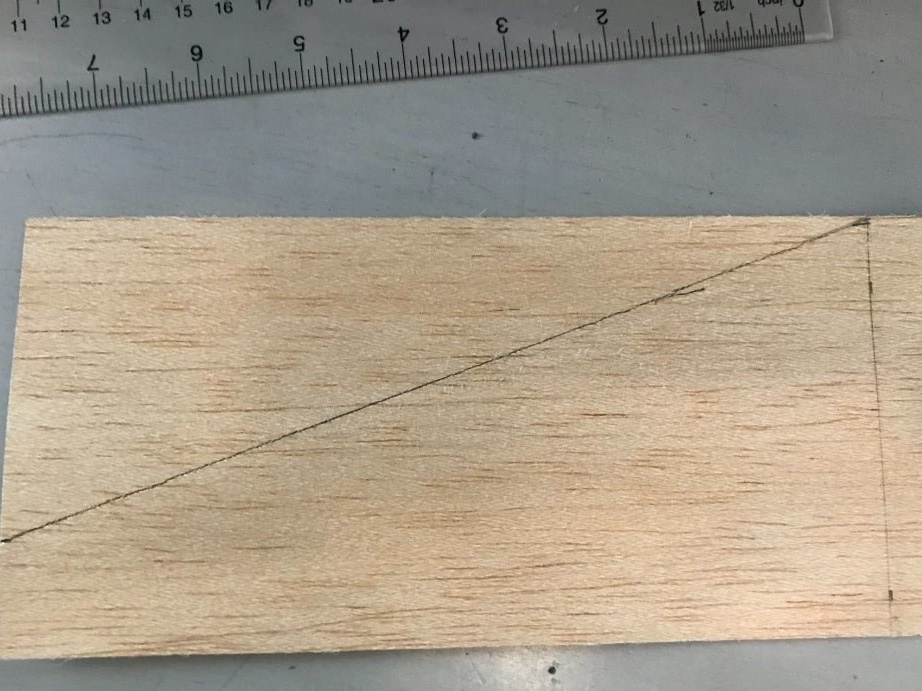
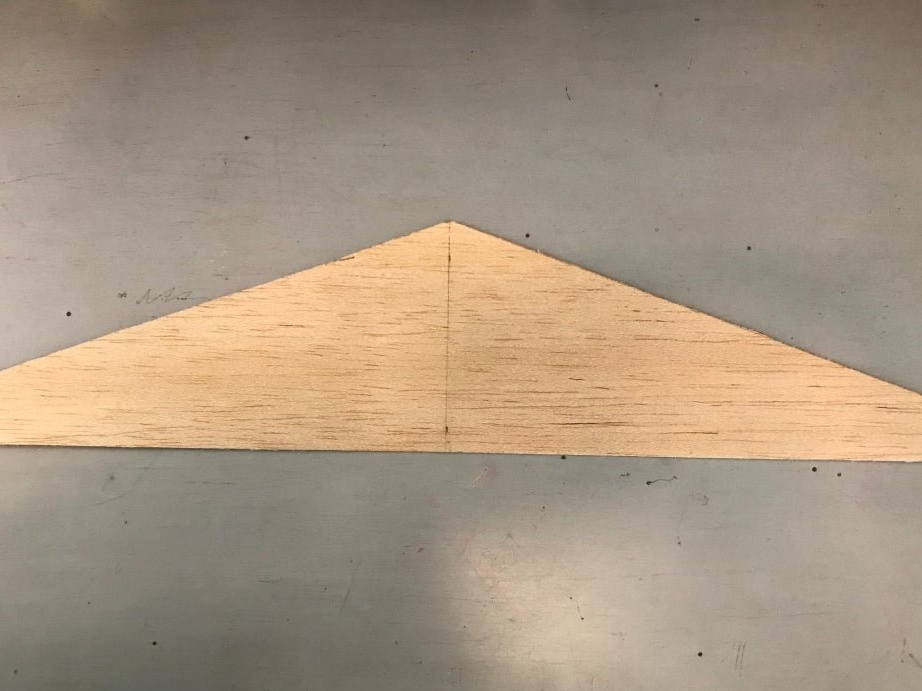
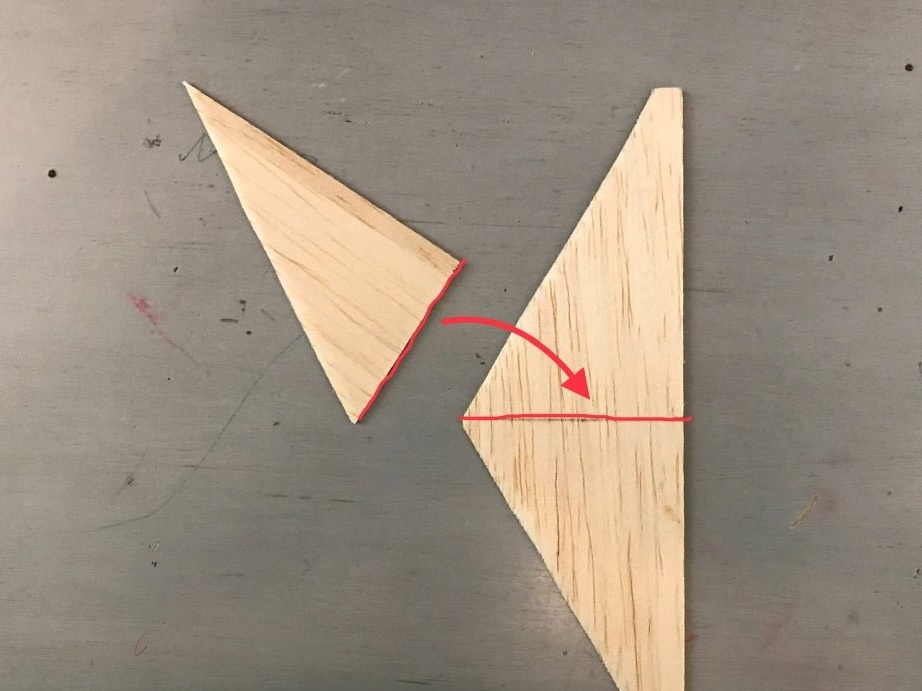
A piece of balsa 228 x 50 mm will be used for this part. Mark two points from the top and bottom two at a distance of 152.4 mm. Connect the dots with a line.
Cut along the line. Then we work with a large piece. Measure 76.2 mm and draw a line.
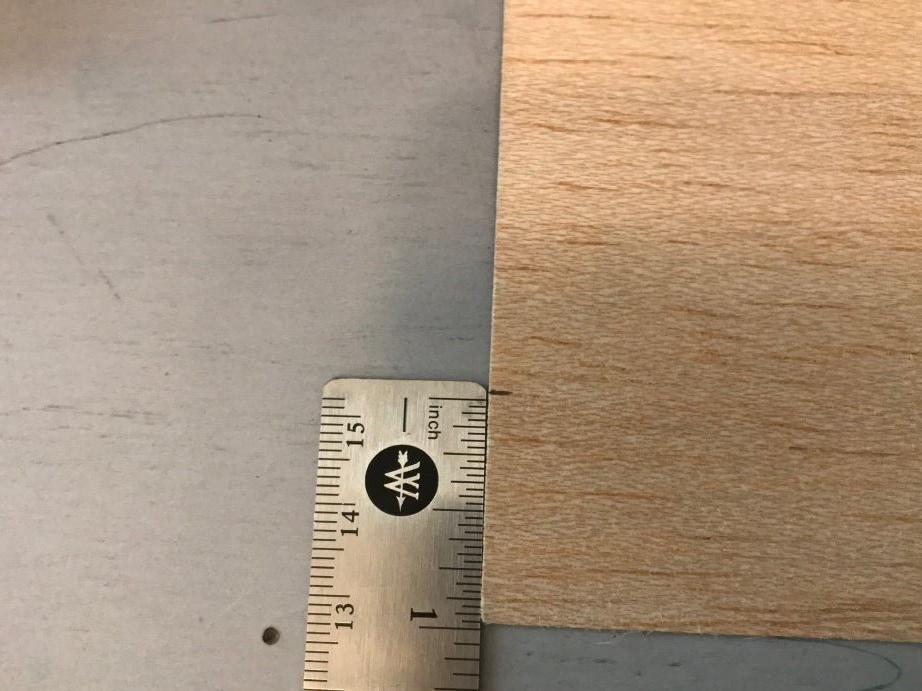
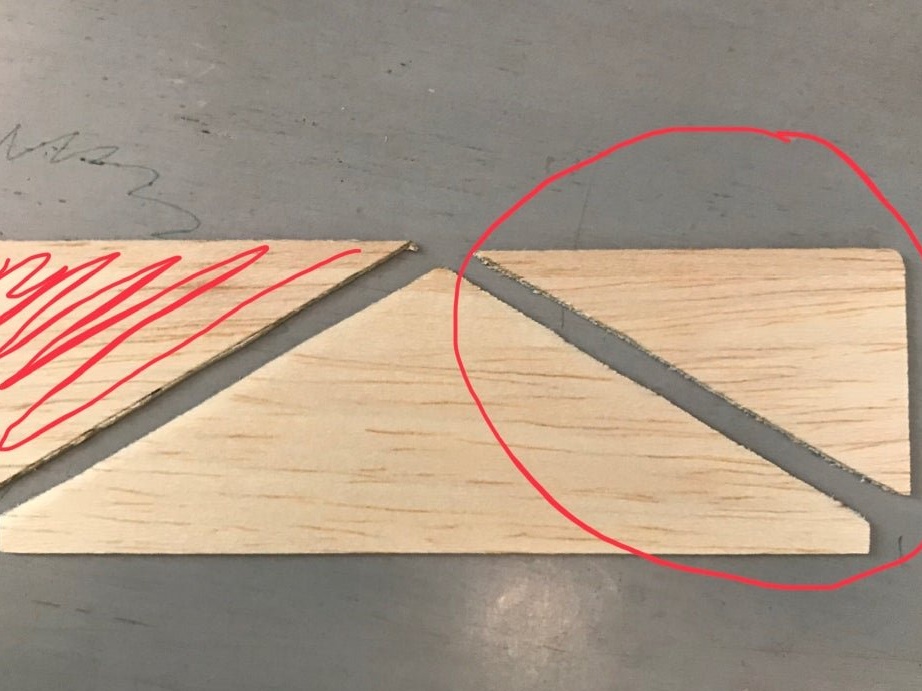
Mark 6.35 mm from the lower left and right corners. Connect these points to the top of the transverse line.
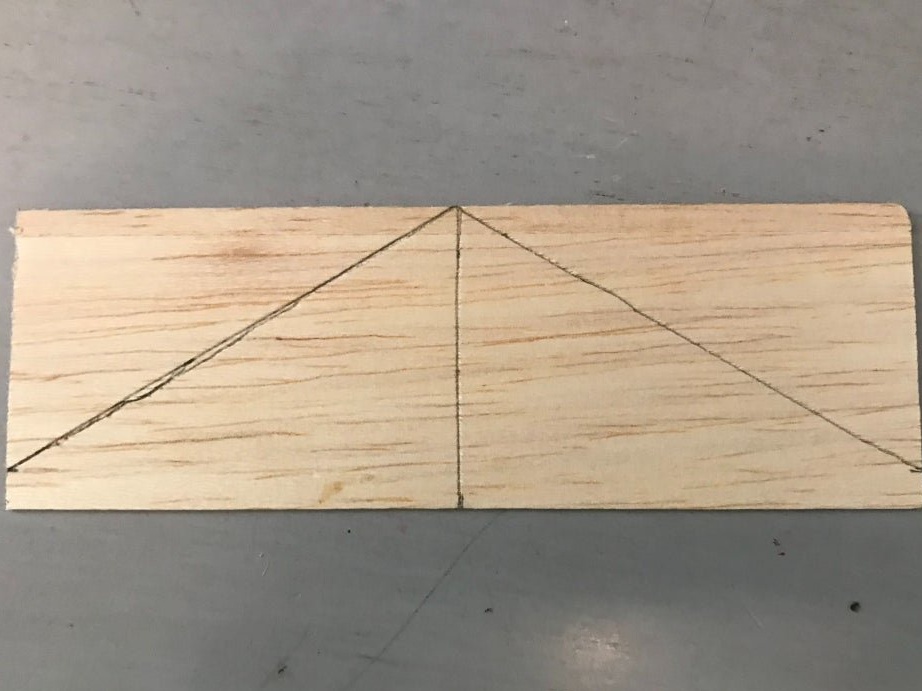
Cut along the line. For further work, you need a large triangle (A) and one small (B).
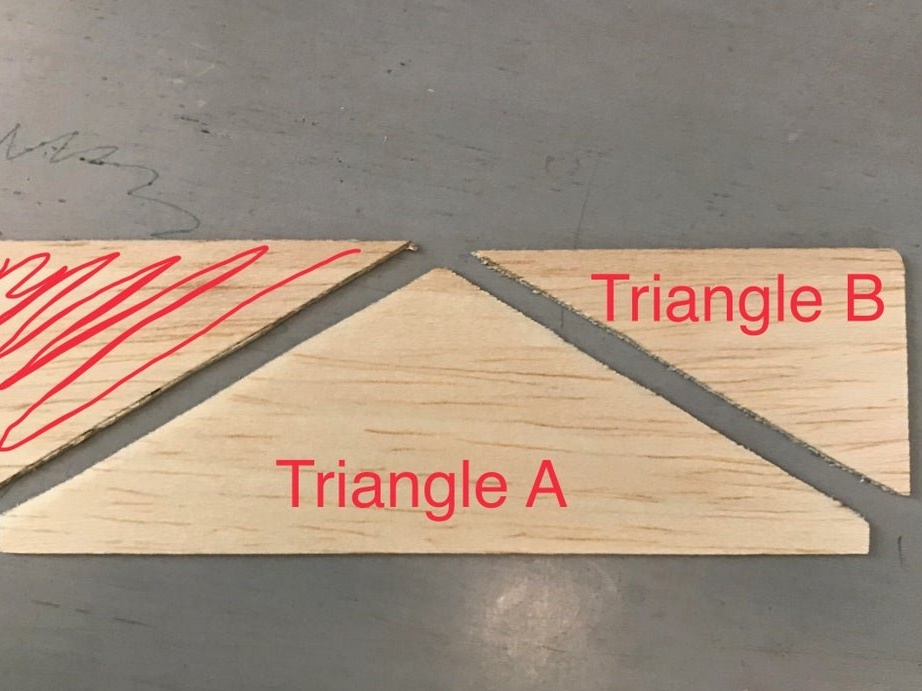
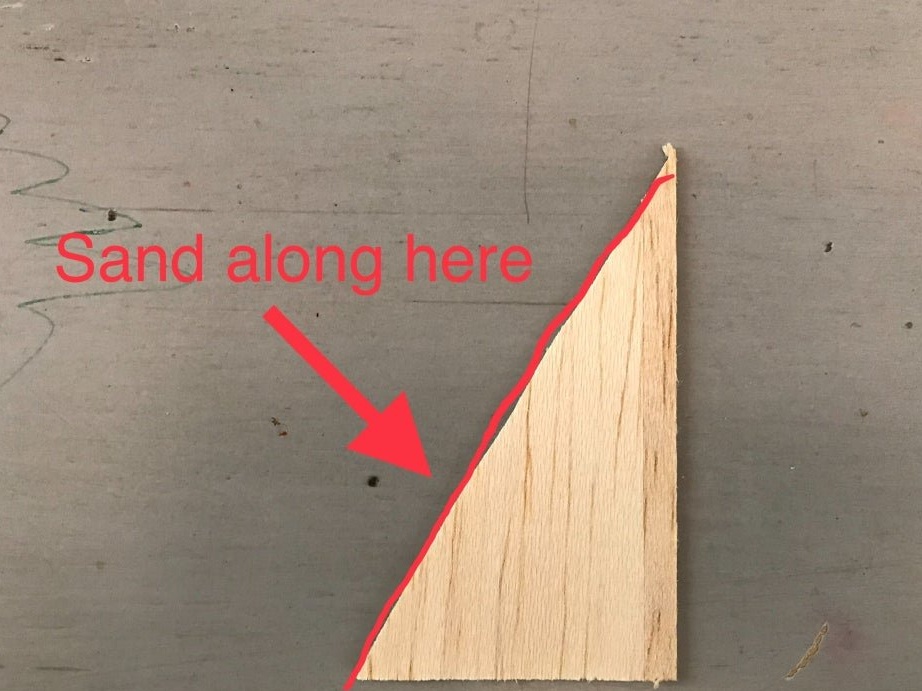
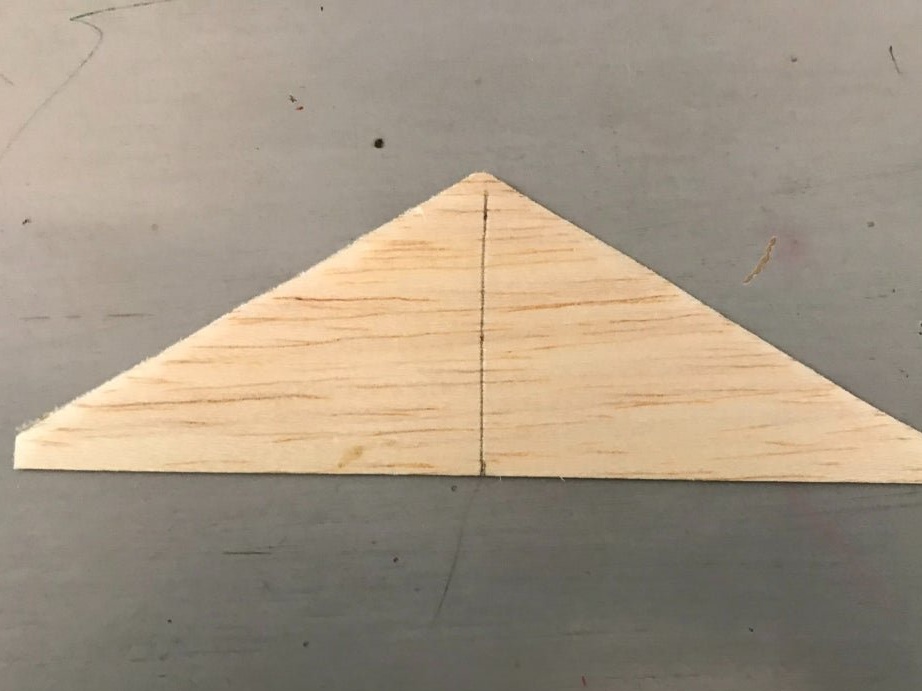
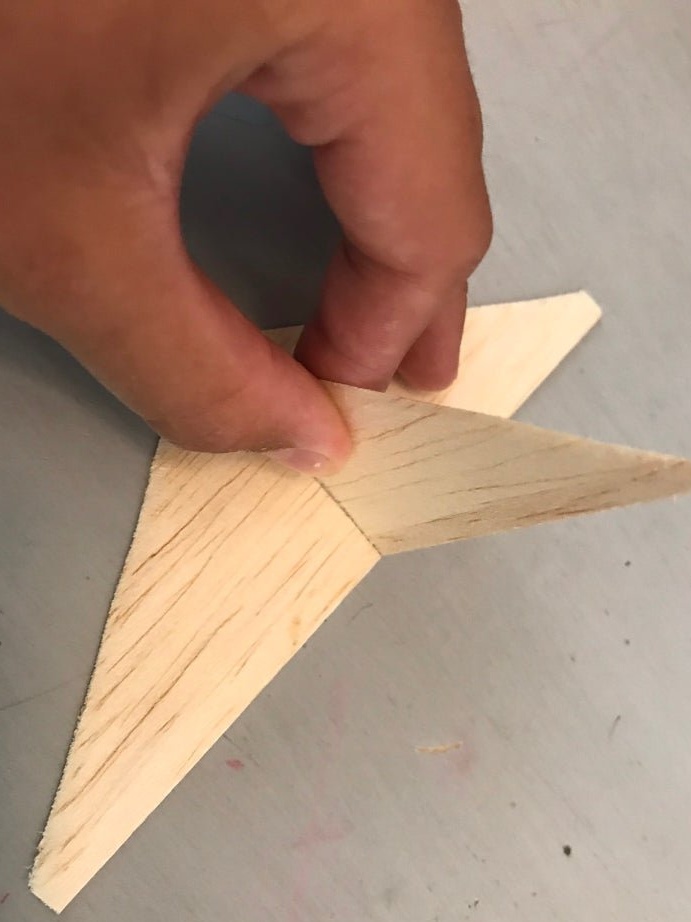
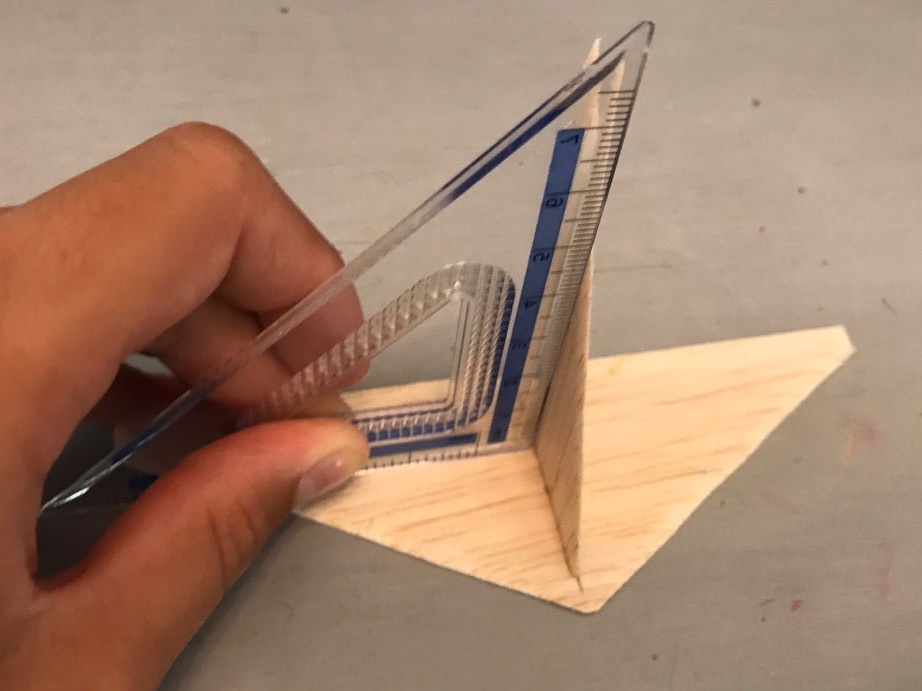
Using a sanding sponge or sandpaper, sand the front edge of triangle A to the conical edge. Also sand the front edge of triangle B. Glue triangle B to triangle A along the center line.
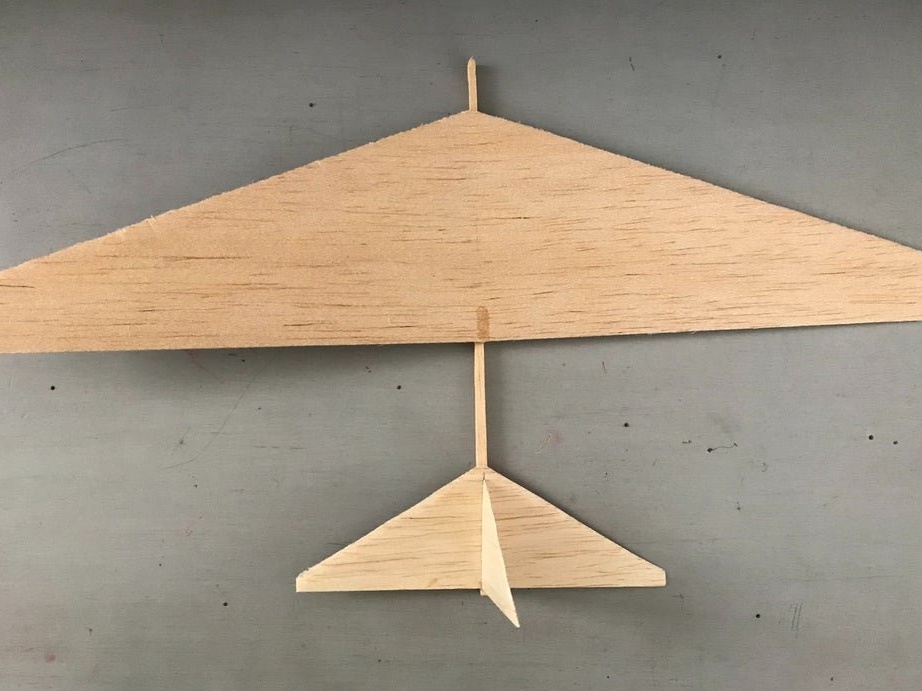
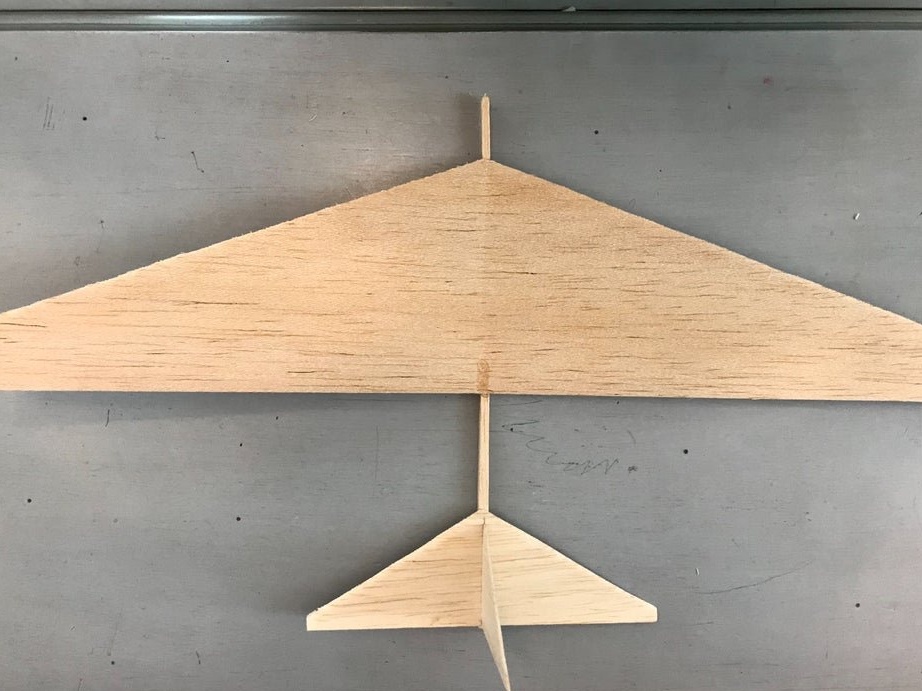
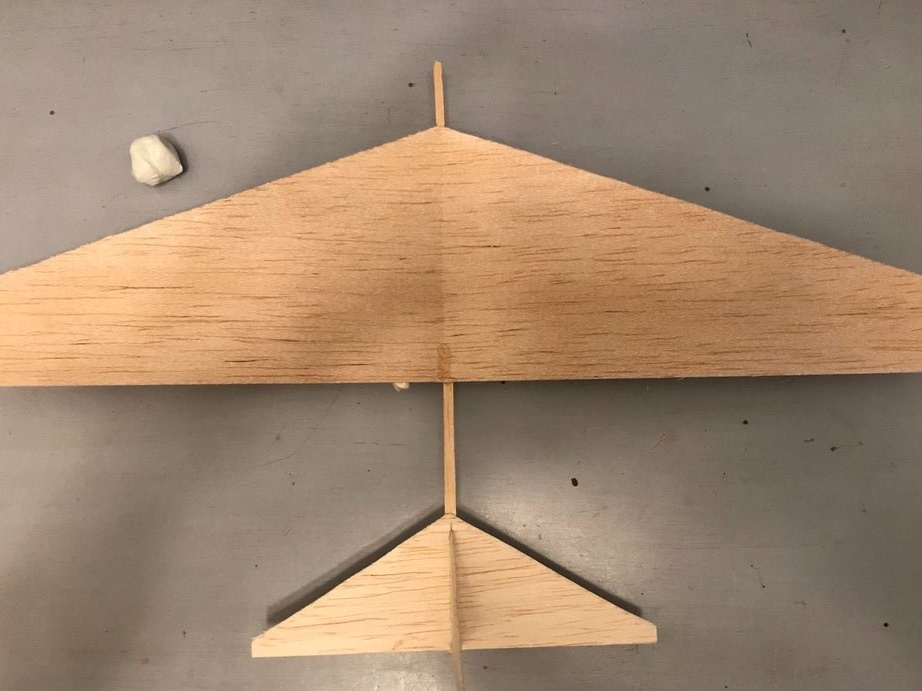
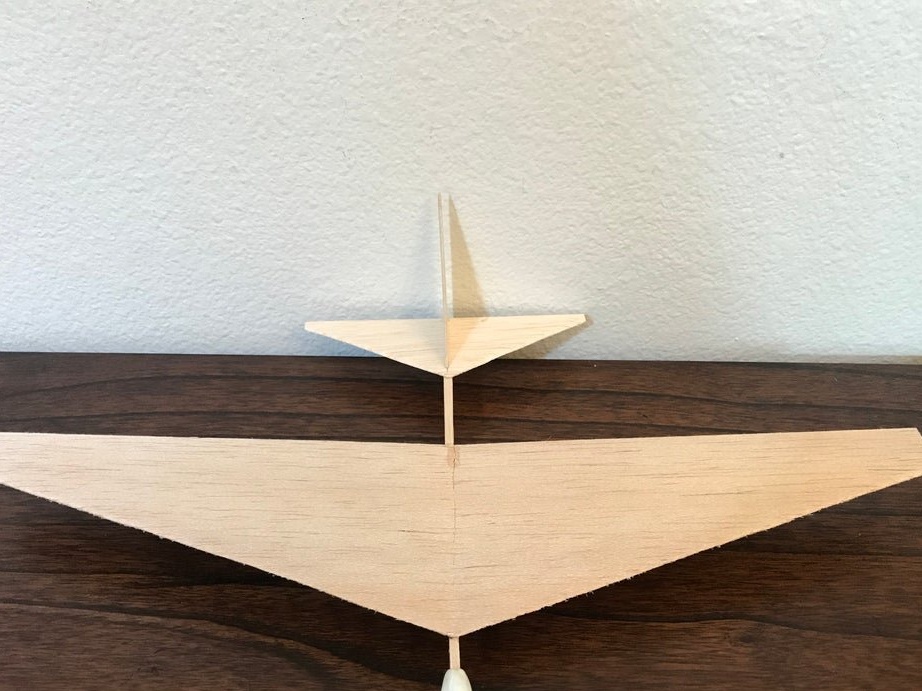
Step Three: Build A Glider
Mark 25.4 mm from the end of the rail. Glue the wing to the rail. The front center point of the wing aligns with the mark on the rail. When gluing, you need to pay attention to the same angle of inclination of the wings on both sides, relative to the rail. From the rear of the staff, mark 50.8 mm. Glue the stabilizer with the keel to the rail, aligning the front of the stabilizer and the marked point.
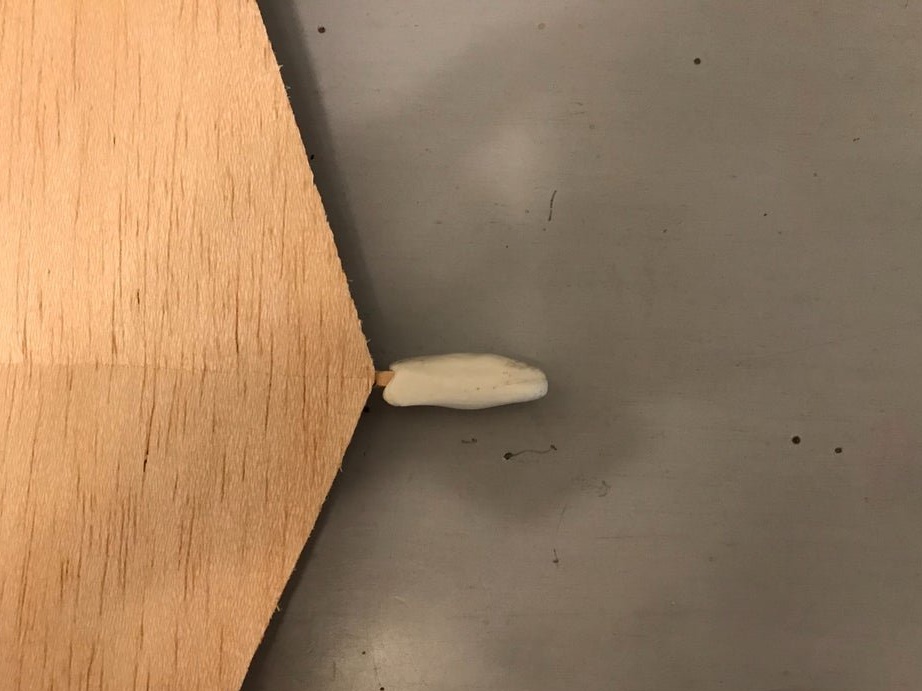
Step Four: Weight
To fly the glider, you need to add weight in front. Plasticine will be used for this.
Roll a small piece of plasticine into a cylinder about 25 mm long and 12.7 mm wide. Attach the clay to the nose.
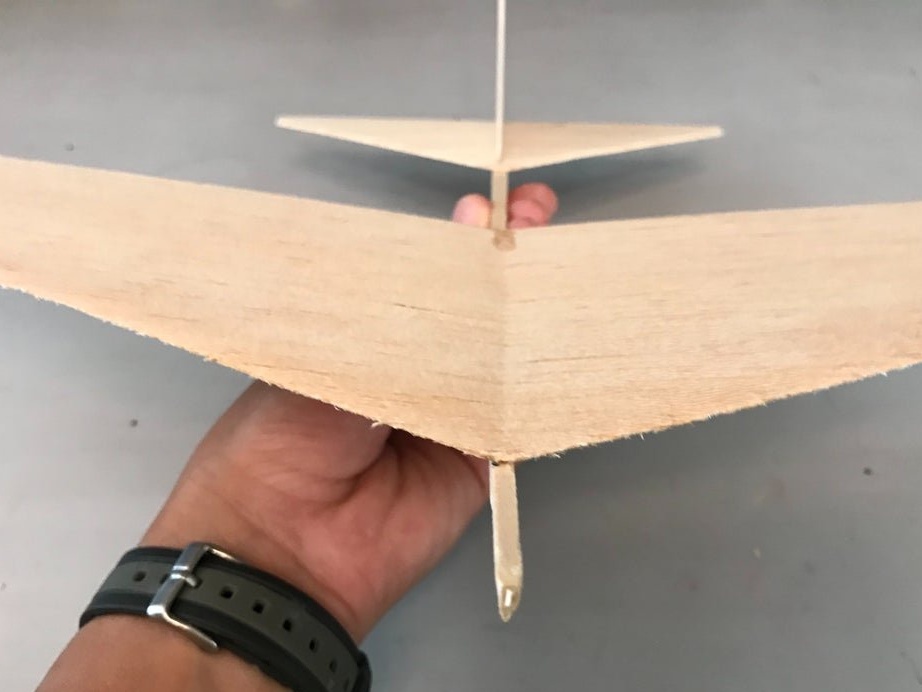
Step Five: Glider Launch
To start the glider, hold the rail under the center of the wings with your thumb and forefinger. Fold your arm back so that the plane is at shoulder level. Keeping the plane level, put your hand forward at medium speed, the plane is slightly tilted up. Release when the aircraft is approximately 30 cm from your shoulder.
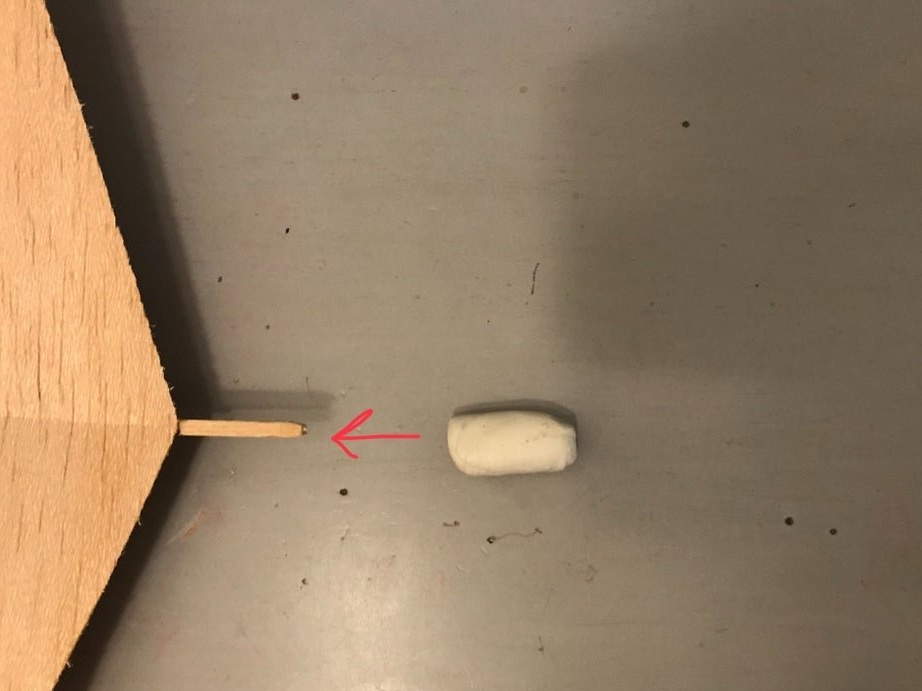
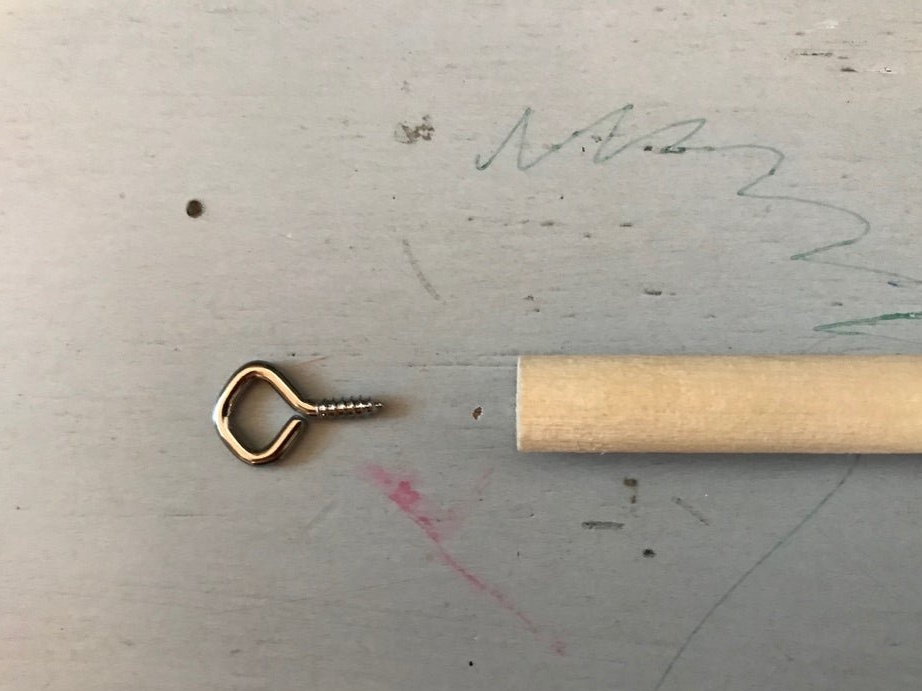
There is another way to start a glider - with the help of an elastic band. For this you will need: a wooden dowel 11 x 305 mm, an eye, an elastic band, a balsa rail 6 mm x 6 mm x 127 mm.

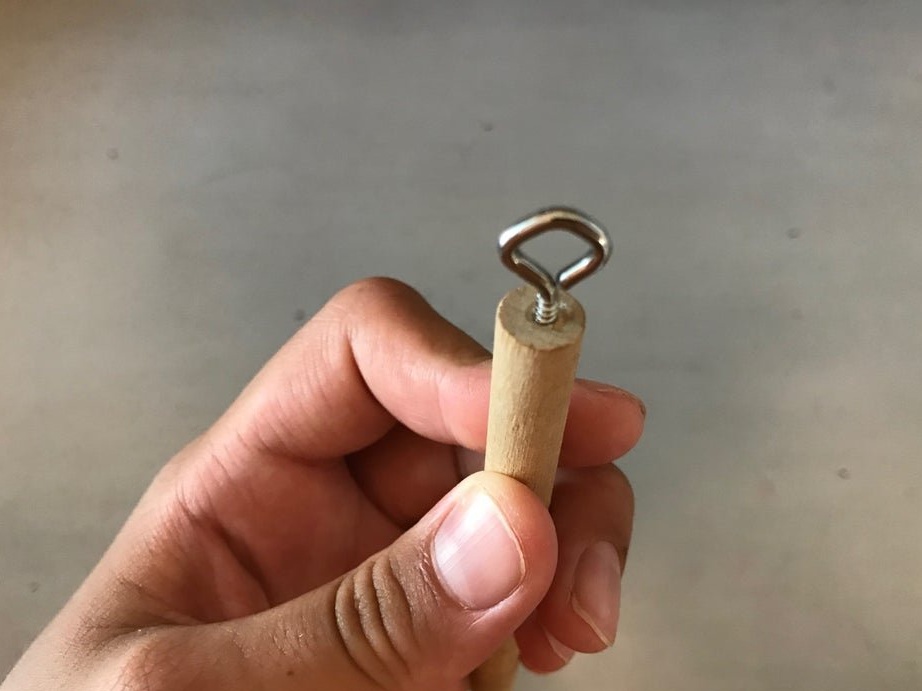
At the end of the dowel, fasten the eye.
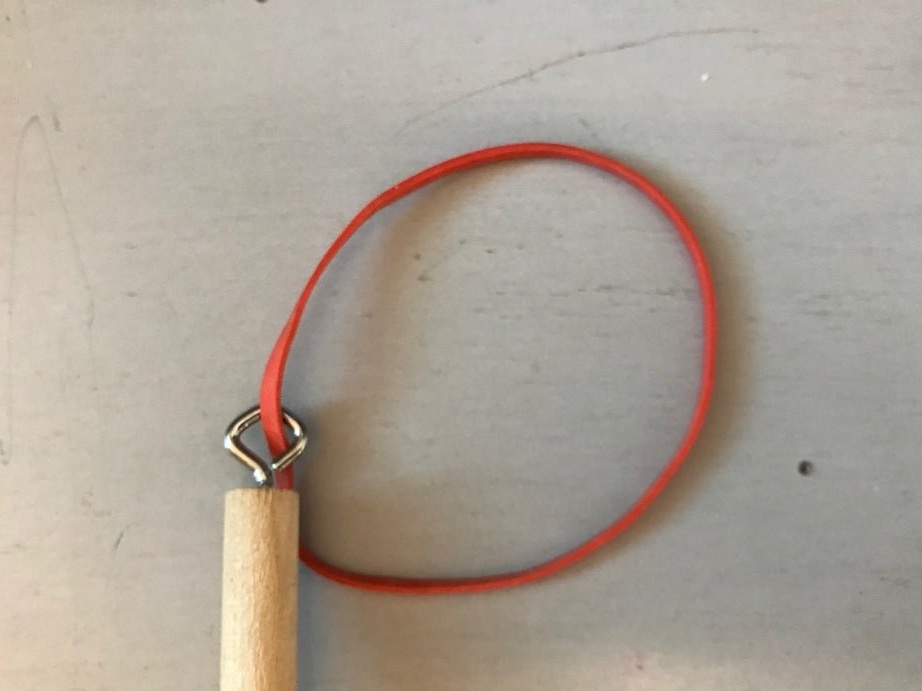
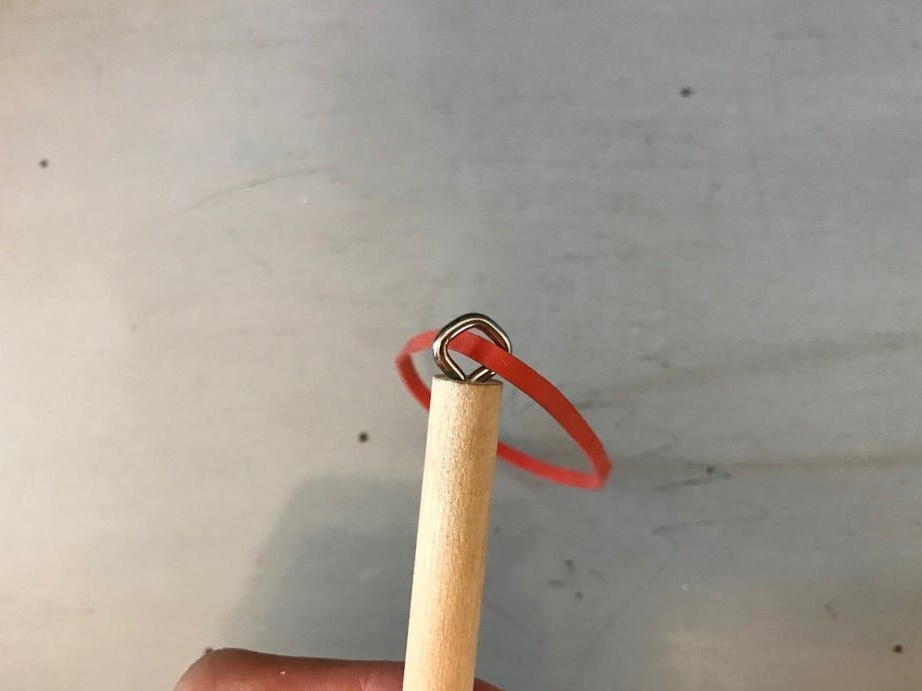
Pull the gum through the ring.
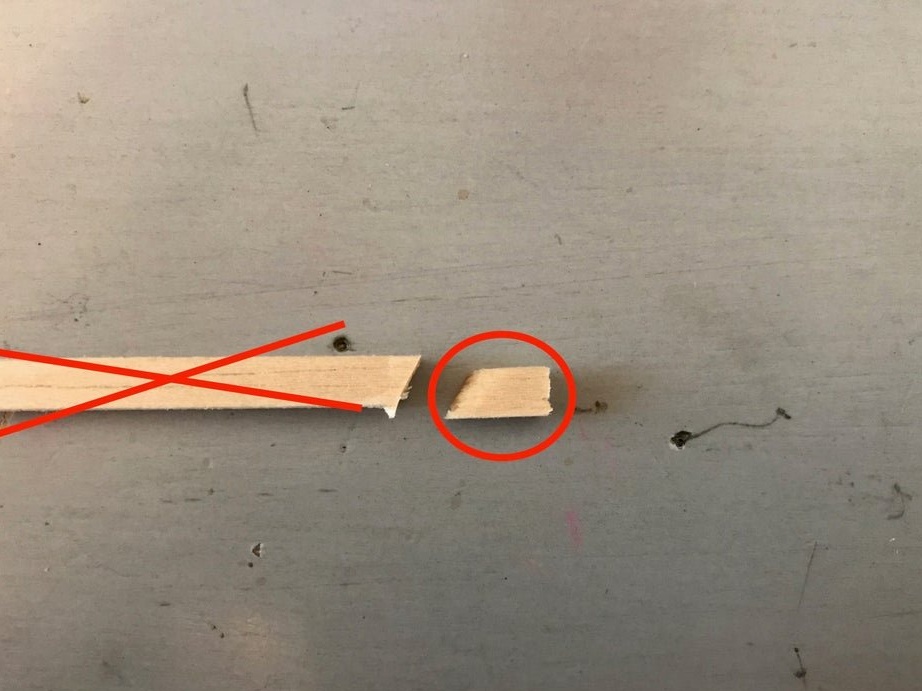
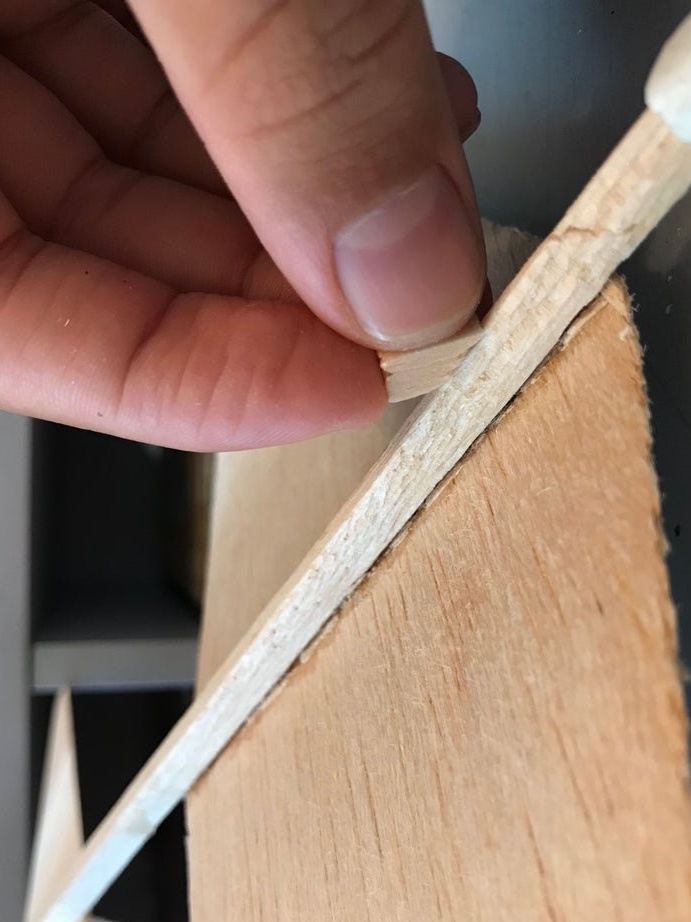
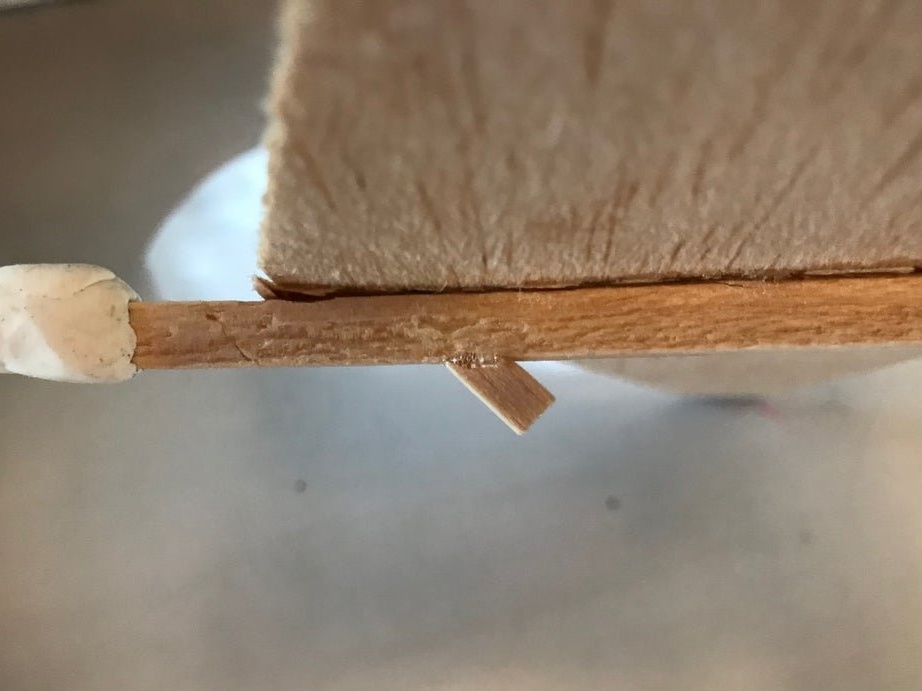
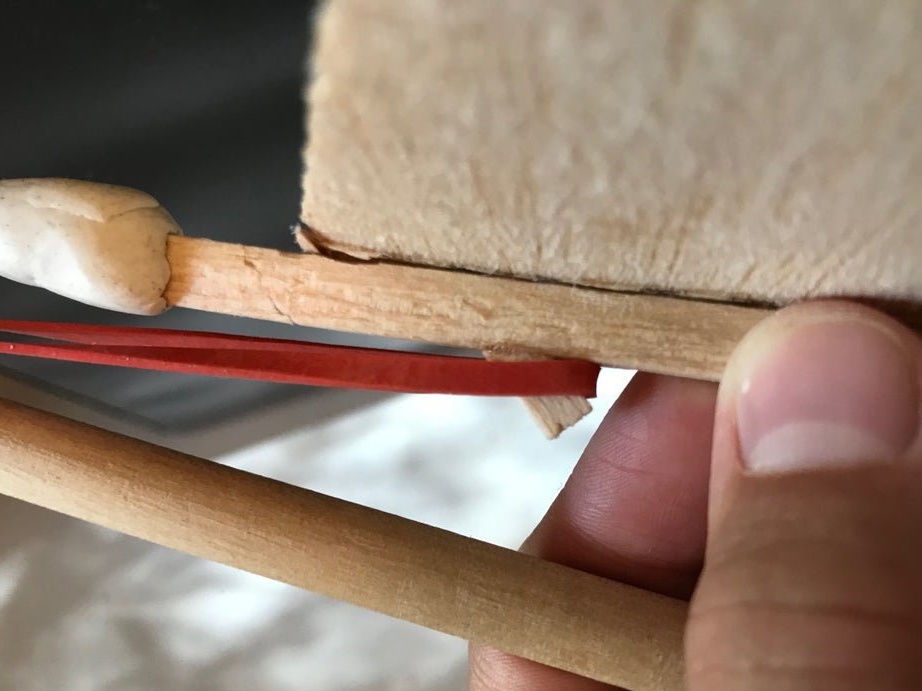
Cut a piece of 6 mm from the rail at an angle of 35º. Glue the trim to the bottom of the glider rail, approximately 5 cm from the nose of the glider. When the glue dries, you can put on the second end of the gum to pull the glider back and release.
Step Six: Troubleshoot
Hand throw
If your glider has slumped forward, remove some weight from the nose of the glider.
If the glider flies forward and then falls back, add some weight in front.
Running with rubber
If the glider does not take off, but falls down, add more weight.
If the glider takes off high in the air and then dives, you need to remove a little clay from the front. You can also try adding a very small amount of clay to the back of the beam.