
Many of you love unusual natural wood products that can decorate a room.
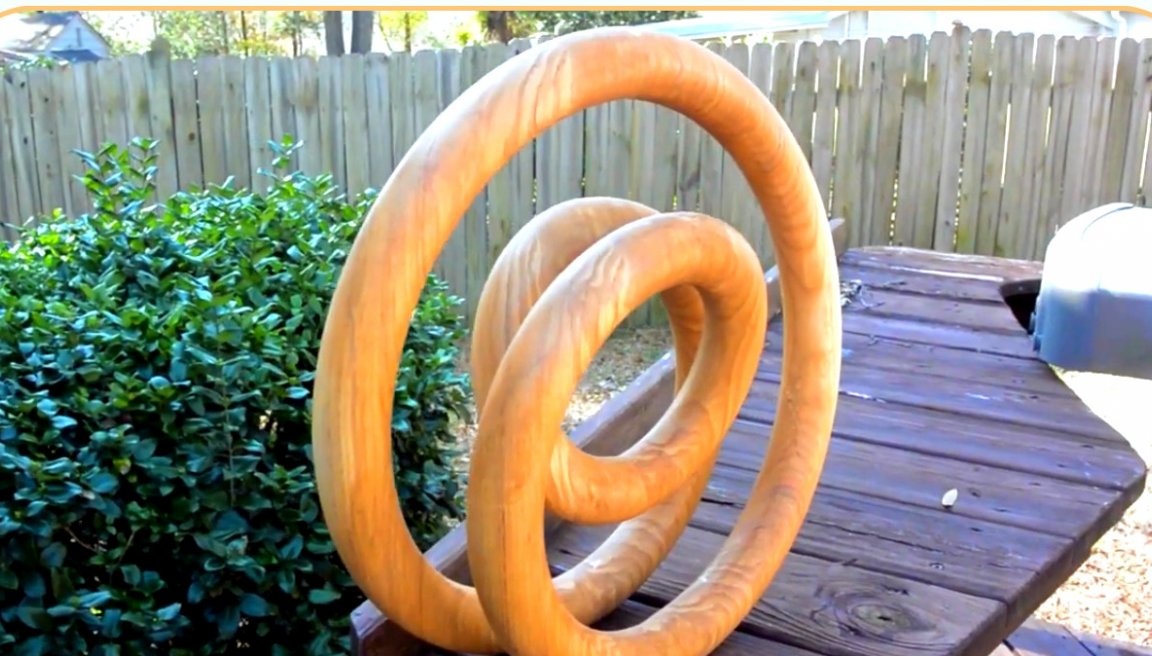
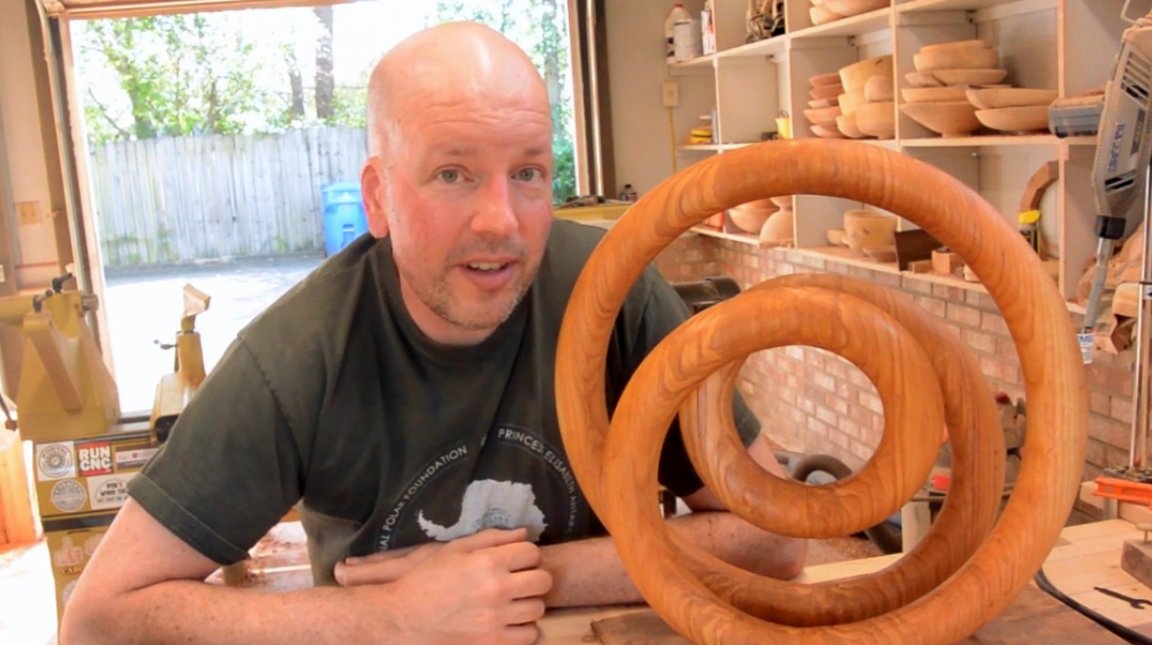
In this article, YouTube author Cammie’s Garage will tell you how he made a sculpture of an extremely unusual shape.
Materials
- Solid ash
- Boards
—
- PVA glue
- Sandpaper
- Second glue.
Instruments, used by the author.
—
—
—
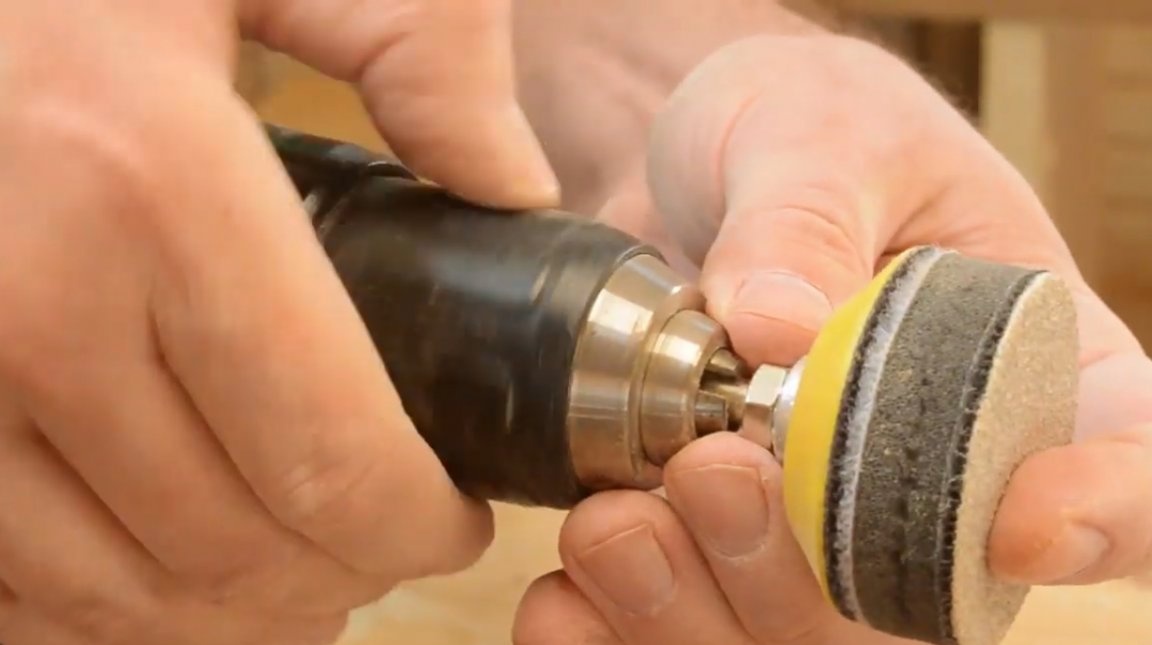
- Orbital sander
- Lathe, chisels, chisels
- Ruler, tape measure, pencil.
Manufacturing process.
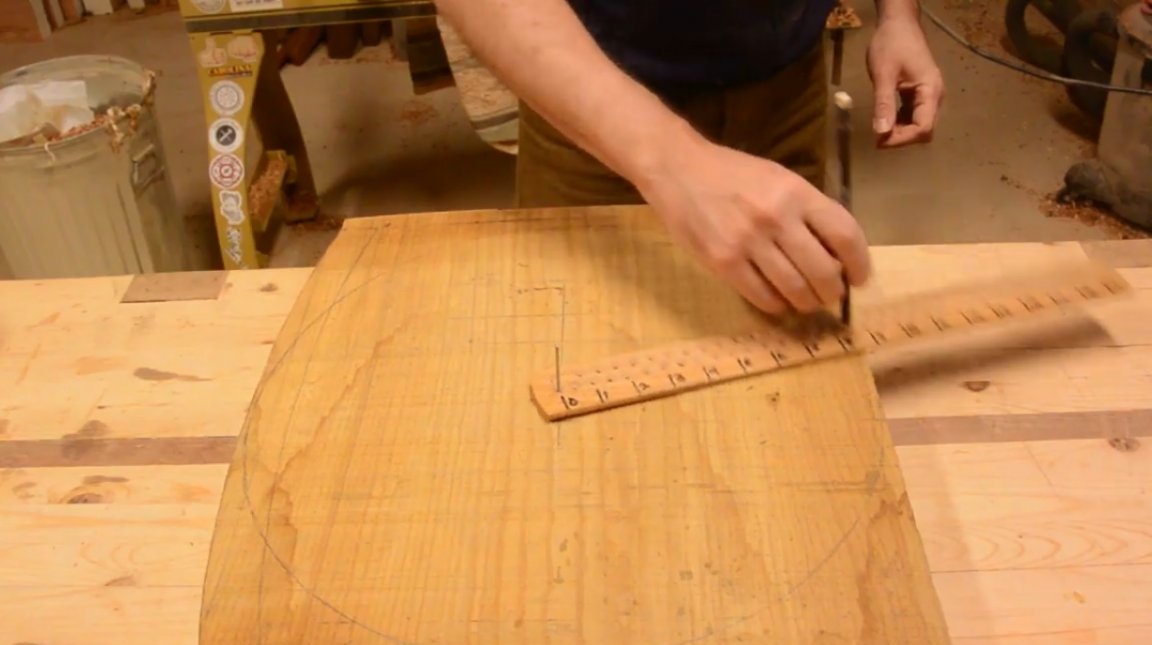
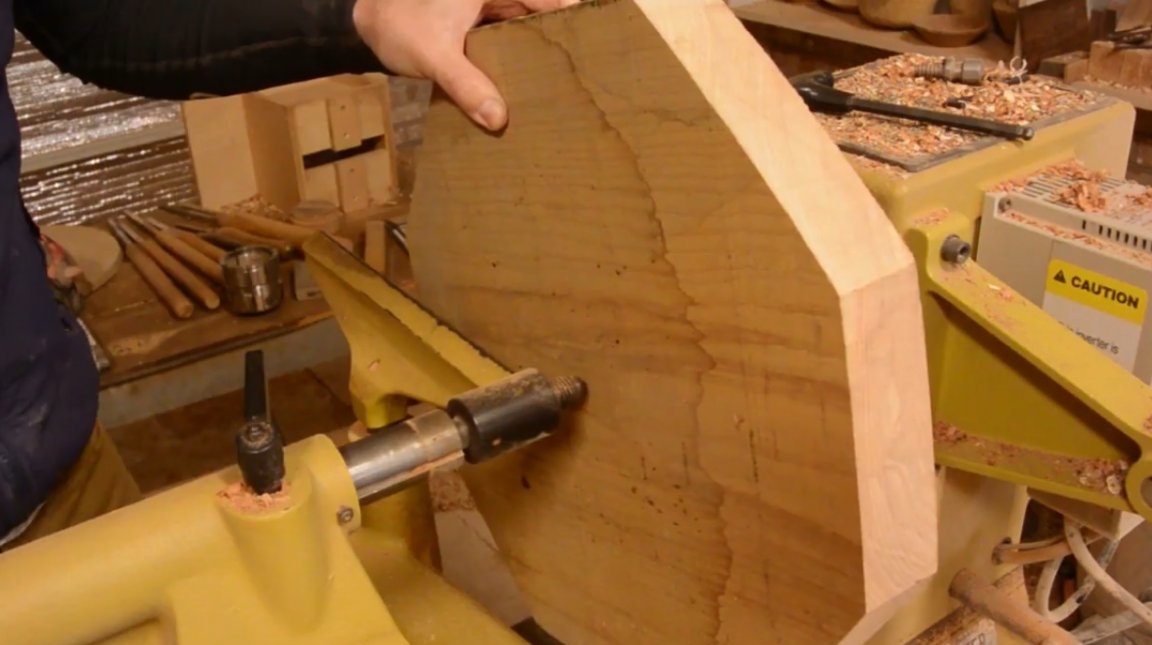
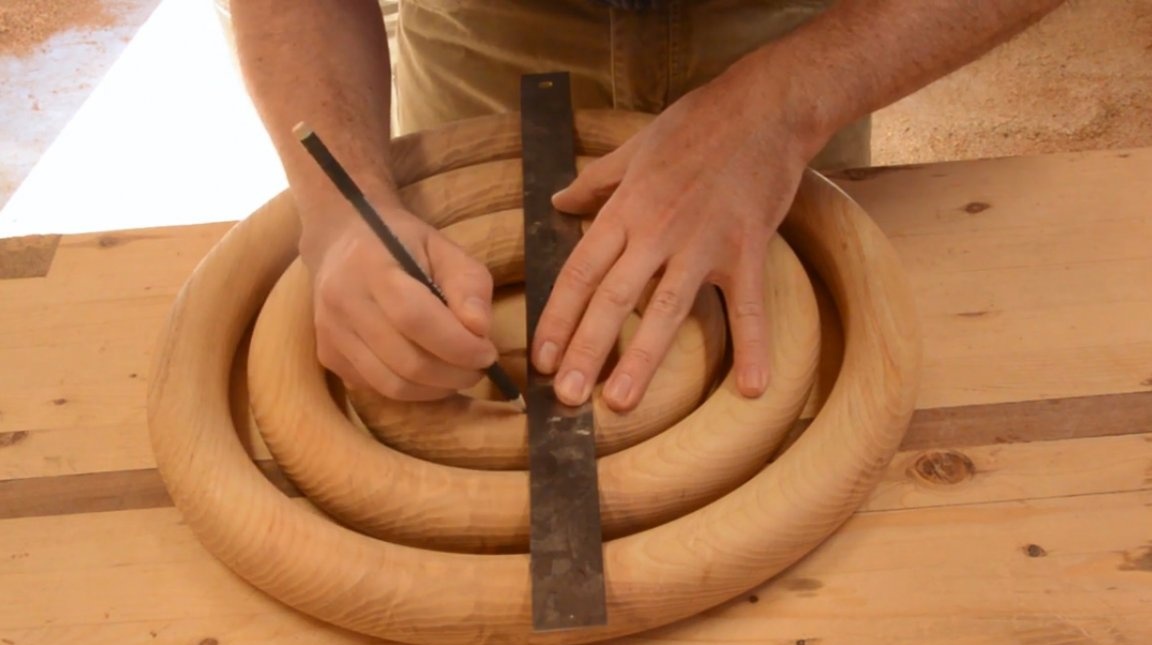
So, the master chose a suitable array of ash, using a ruler with holes drilled in it, and a clogged clove in the center of the workpiece, marked the circle.
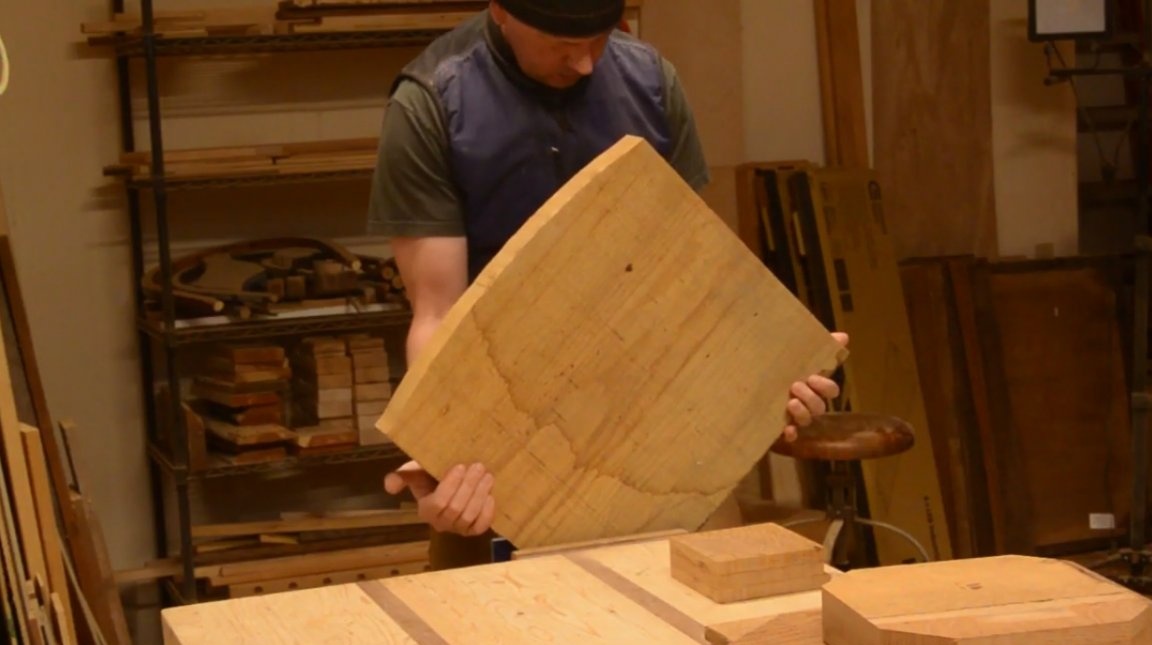
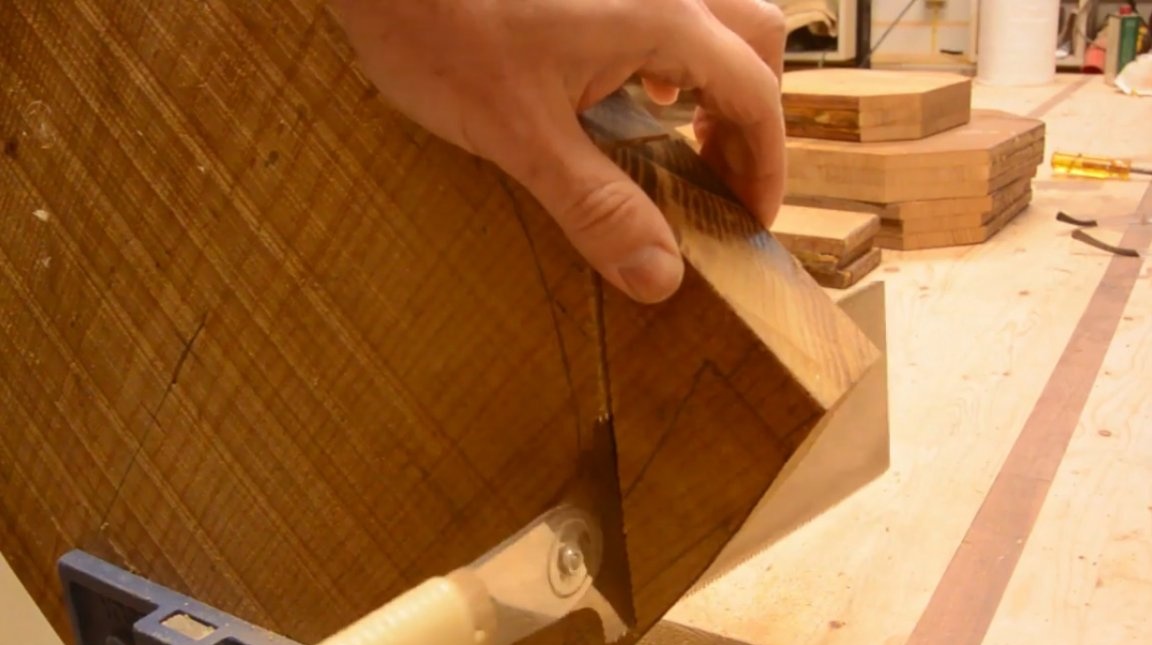
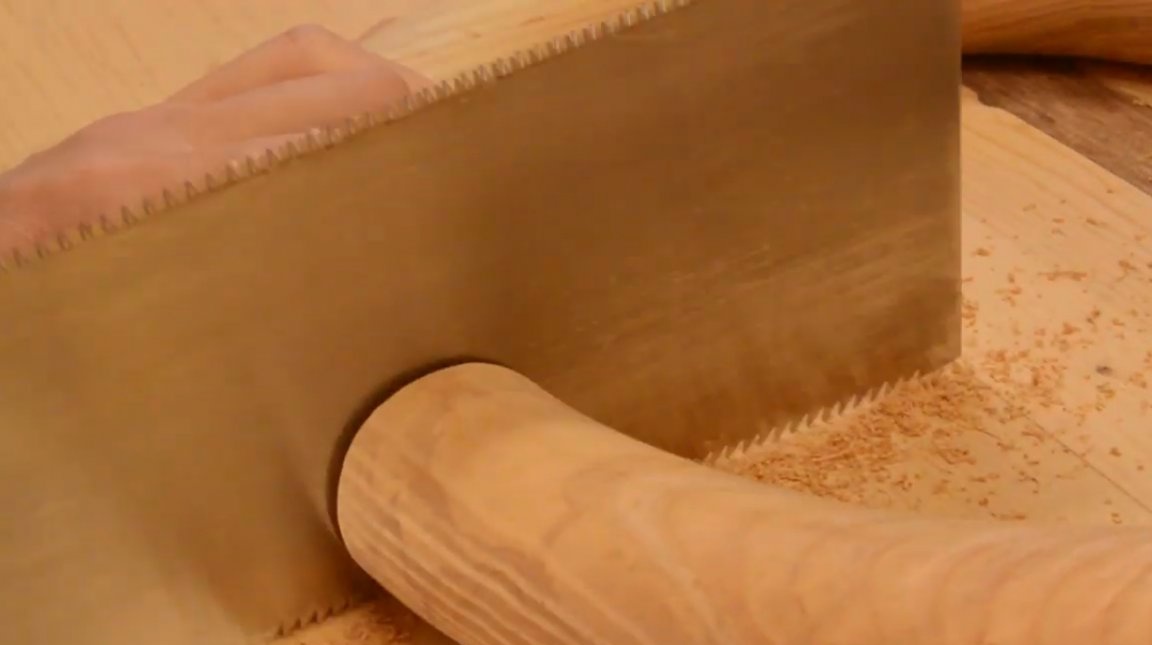
I fixed the workpiece on a workbench, and cut off the extra corners with a Japanese saw.
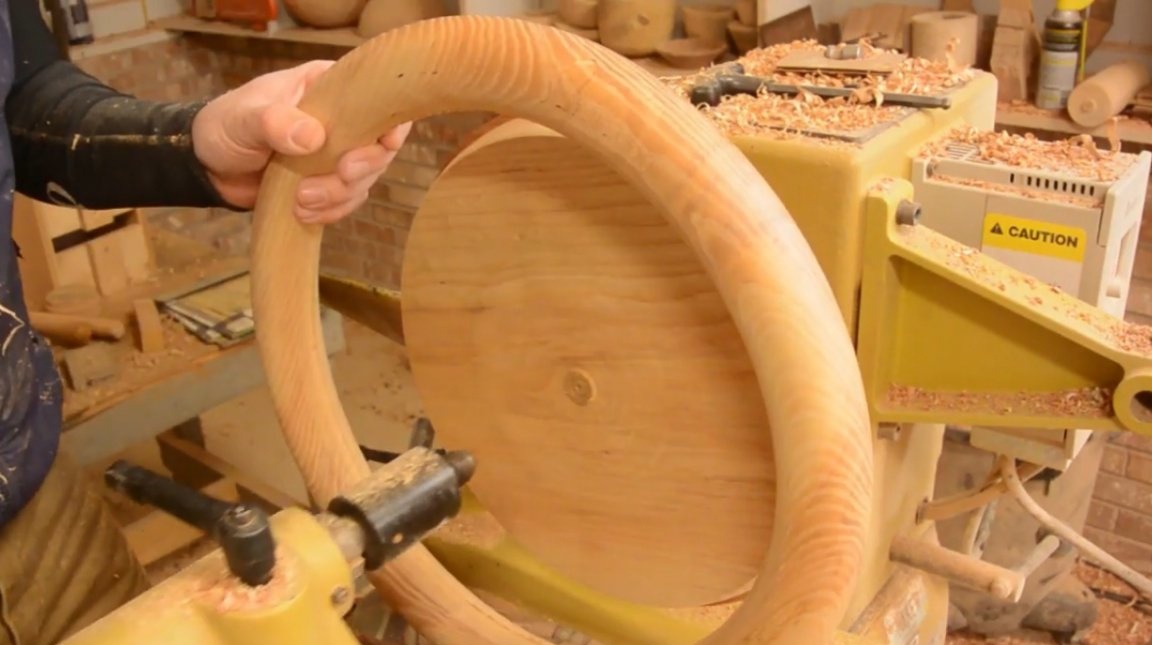
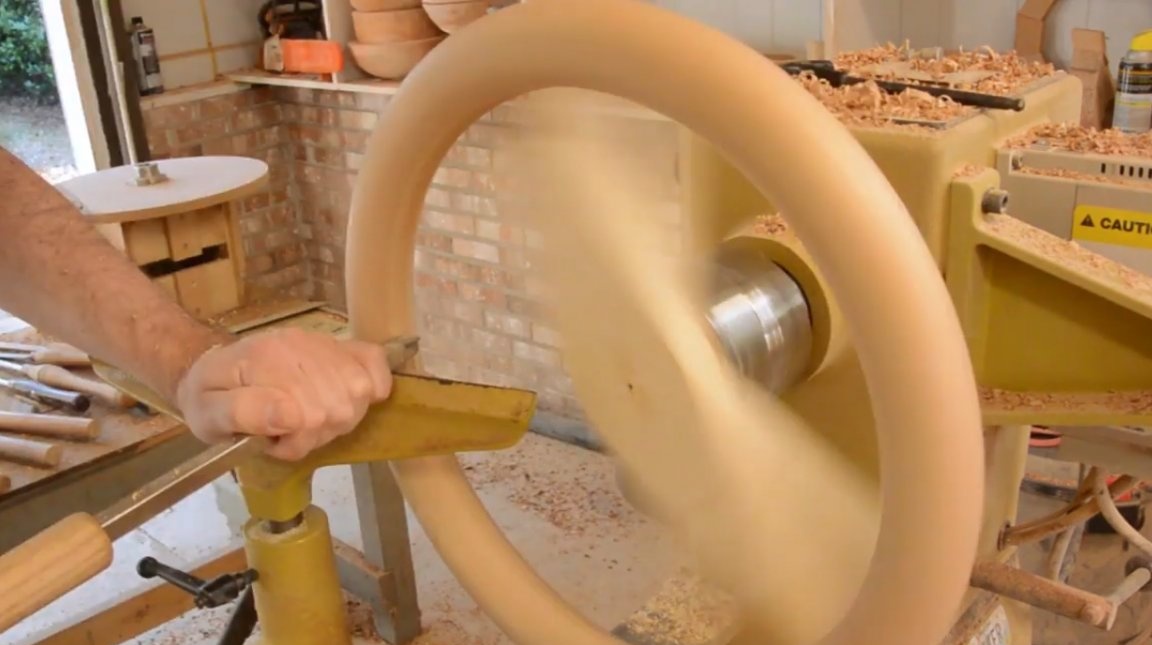
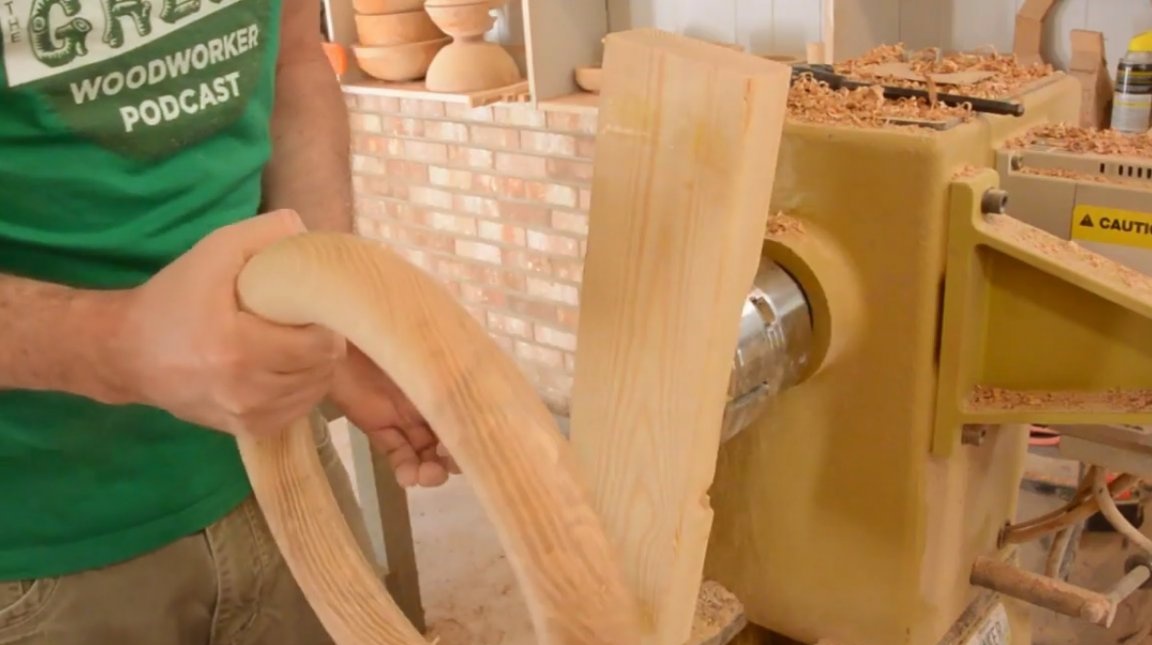
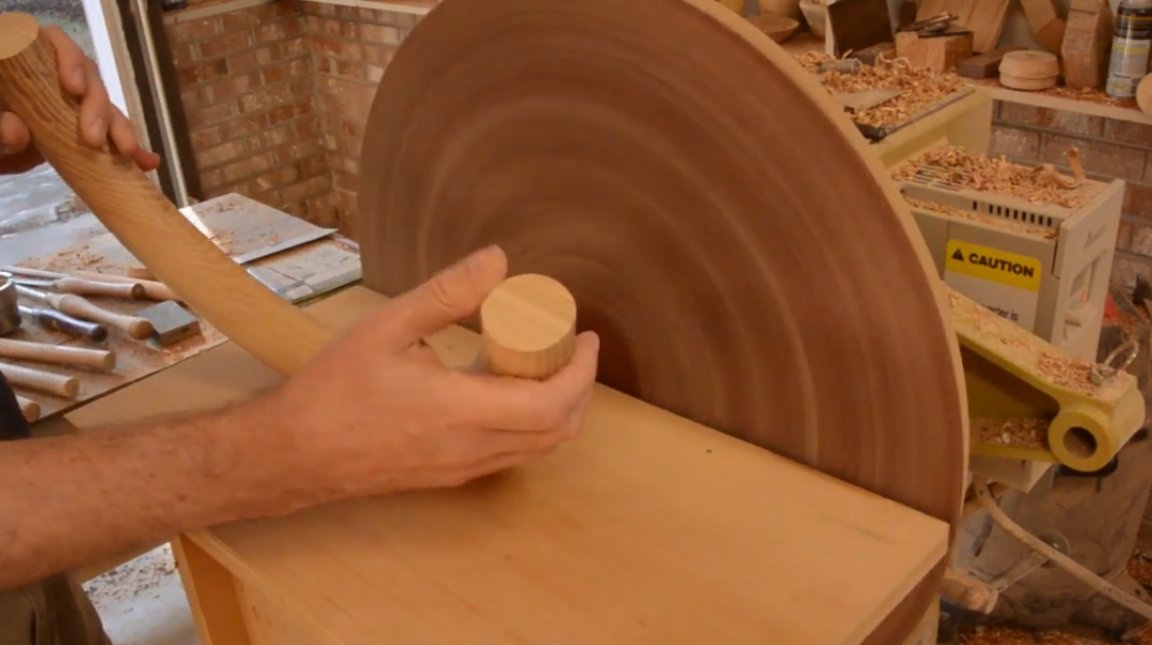
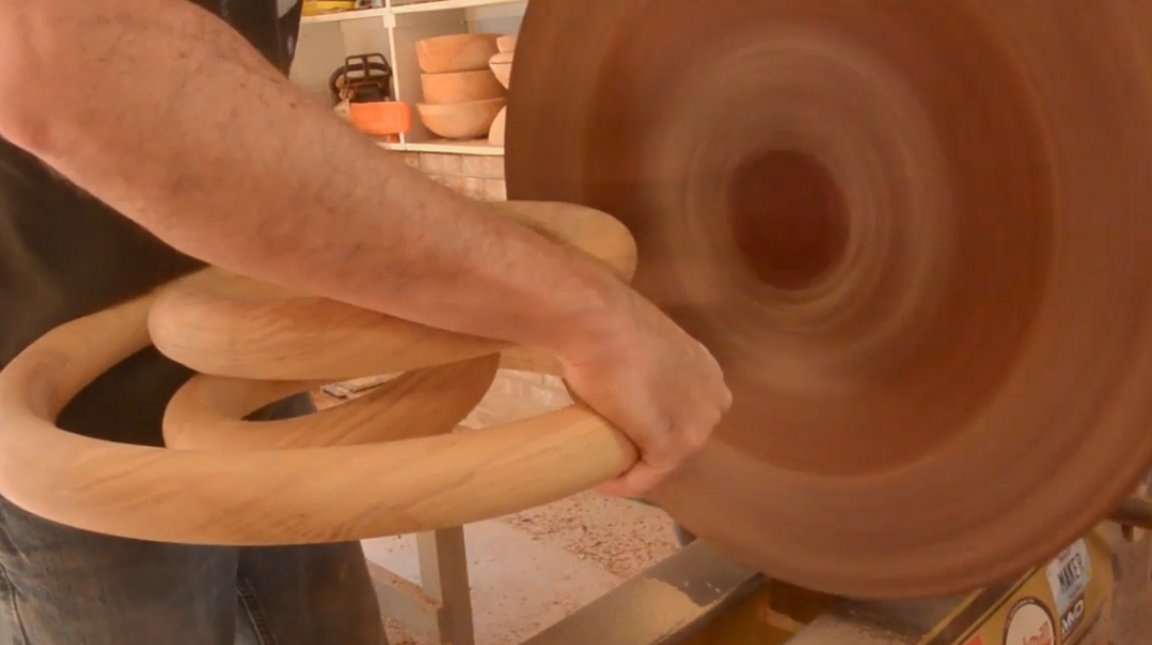
I installed the part on a lathe, and first rounded its outer edge.

Then he leveled both planes.
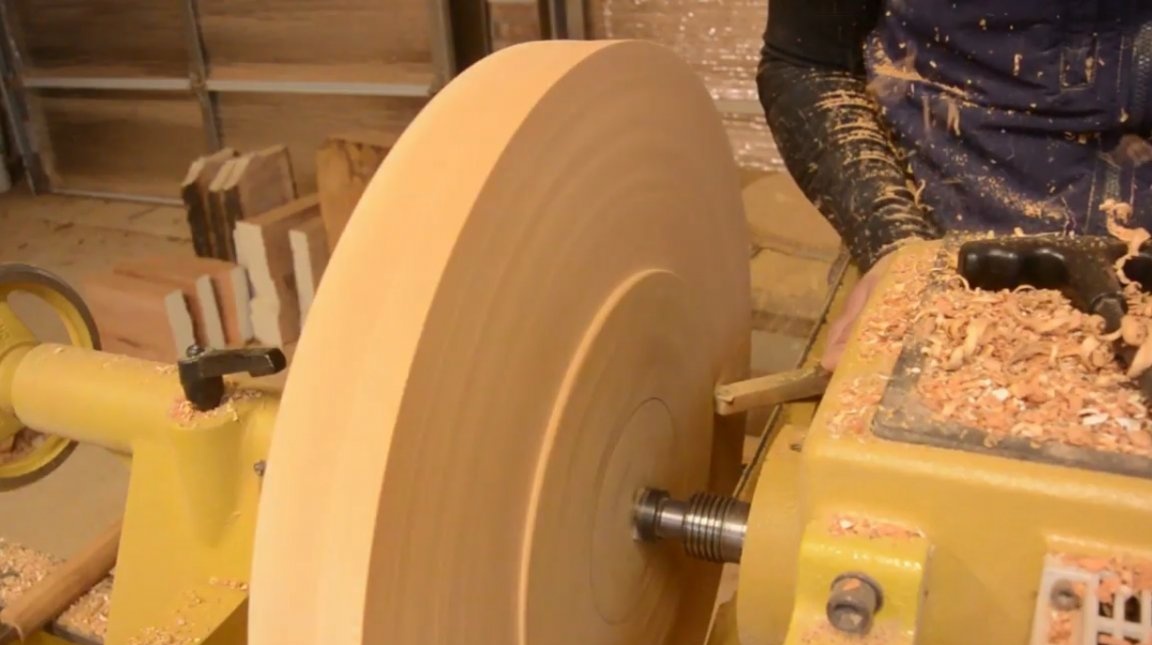
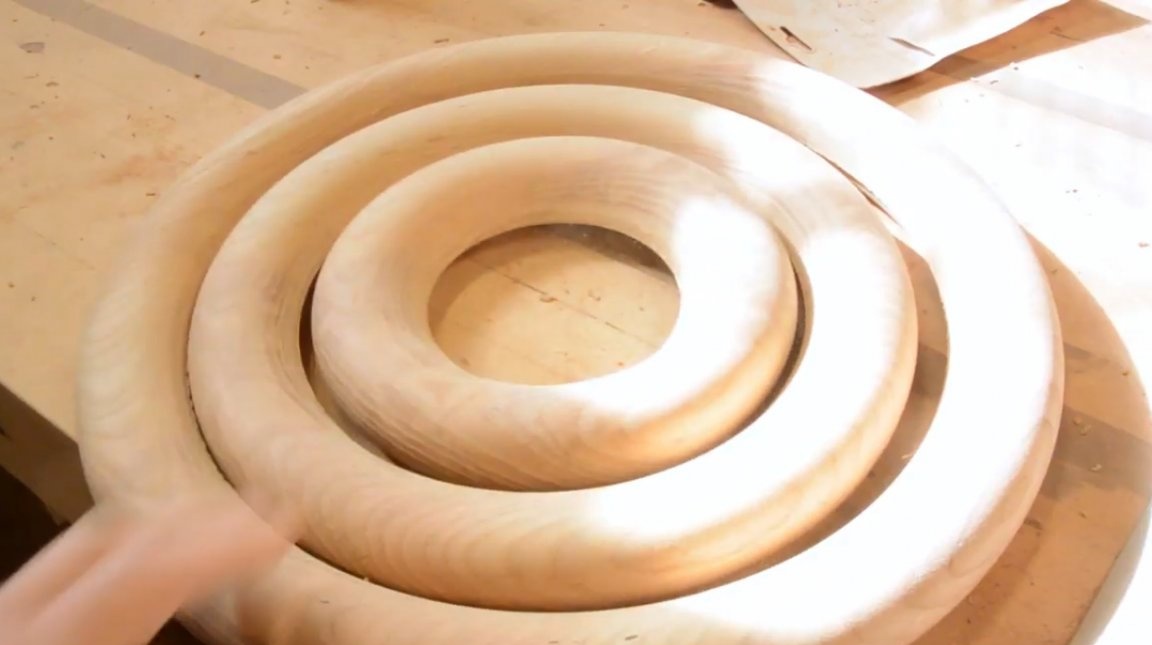
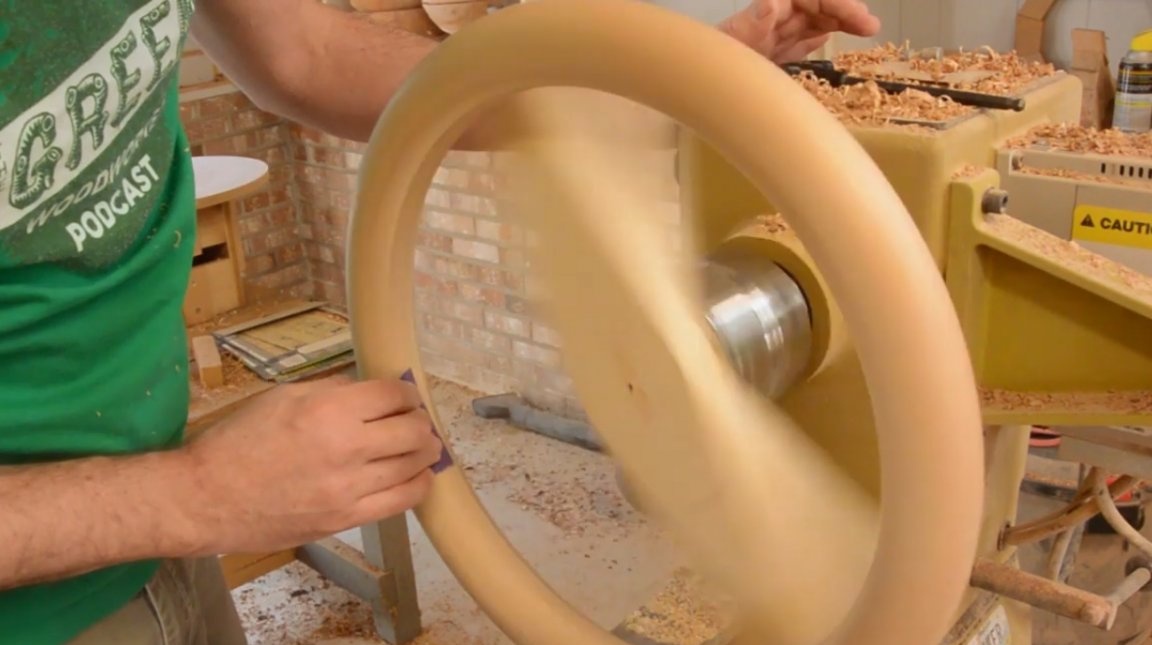
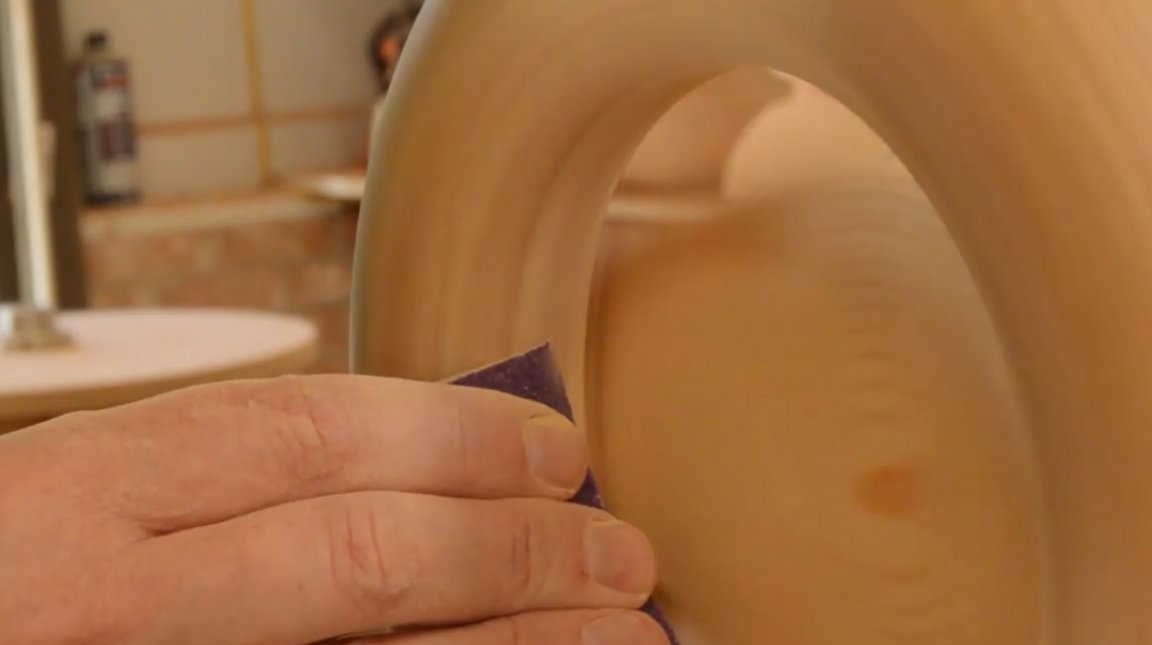
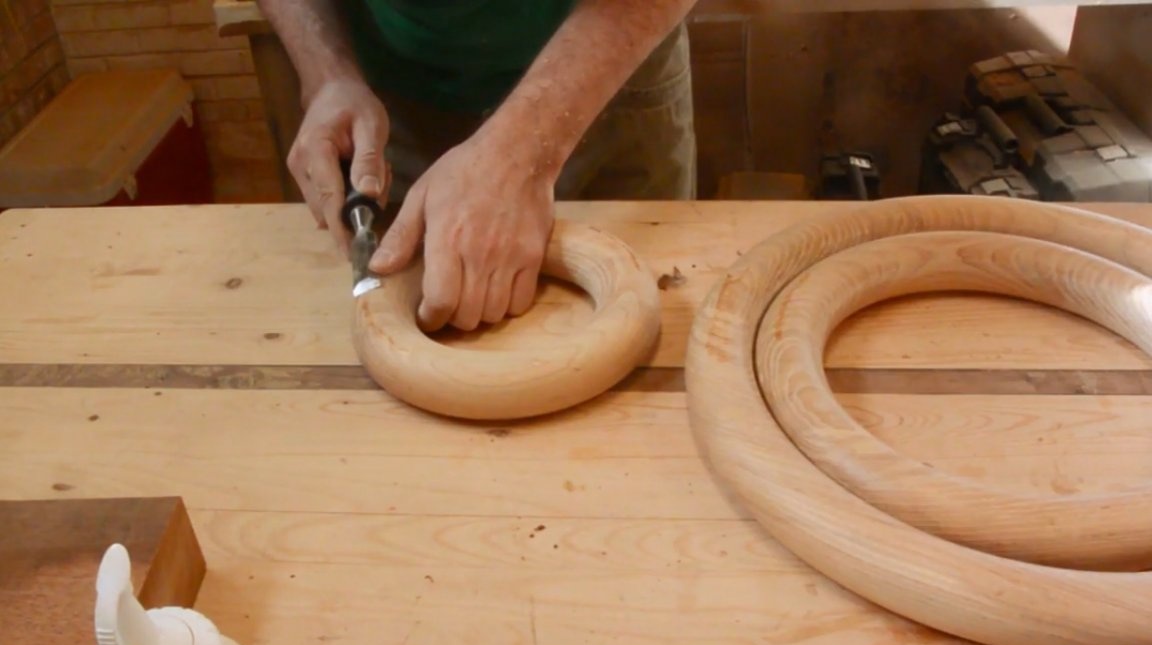
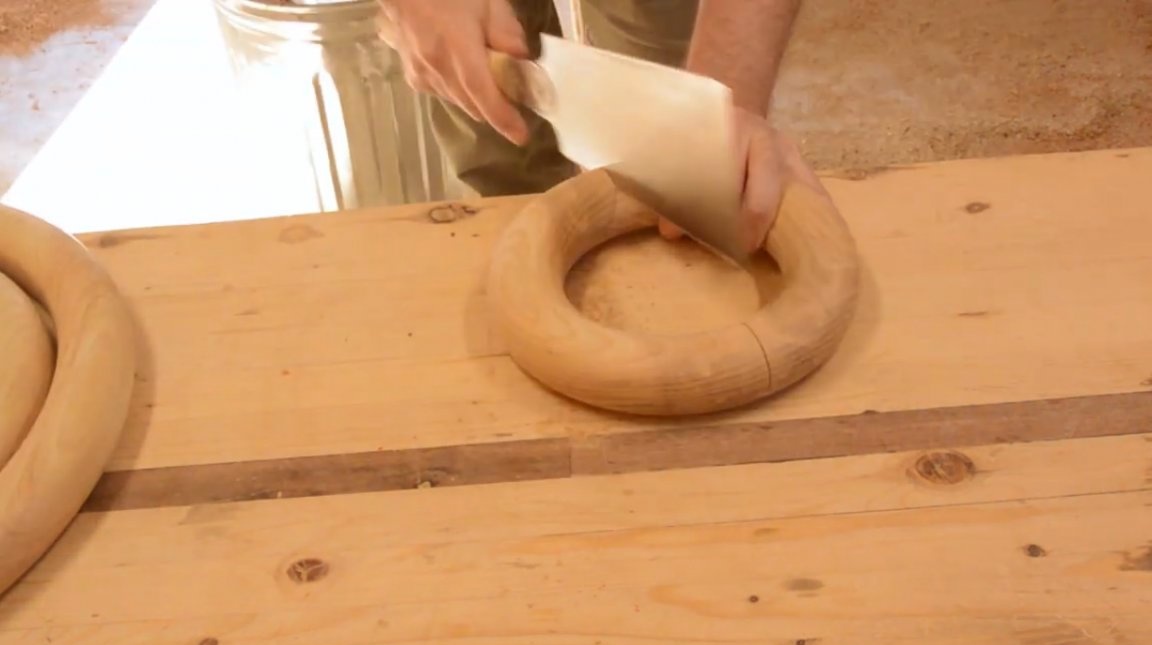
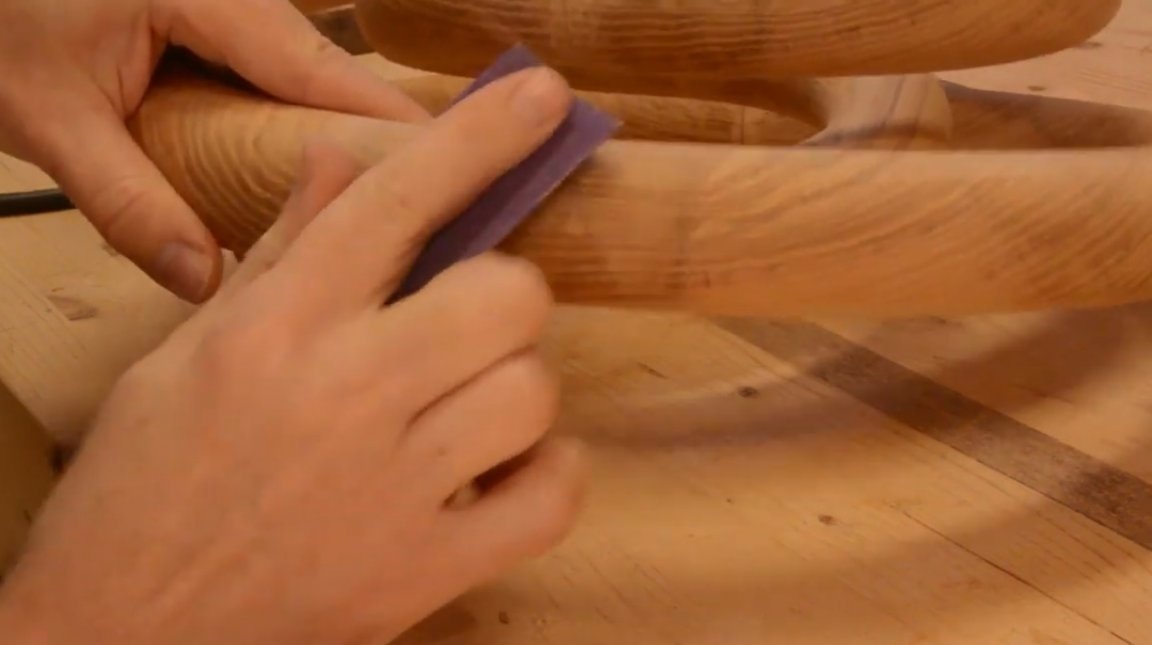
Now the master began to grind and polish the first ring. So far only its external parts are polished.
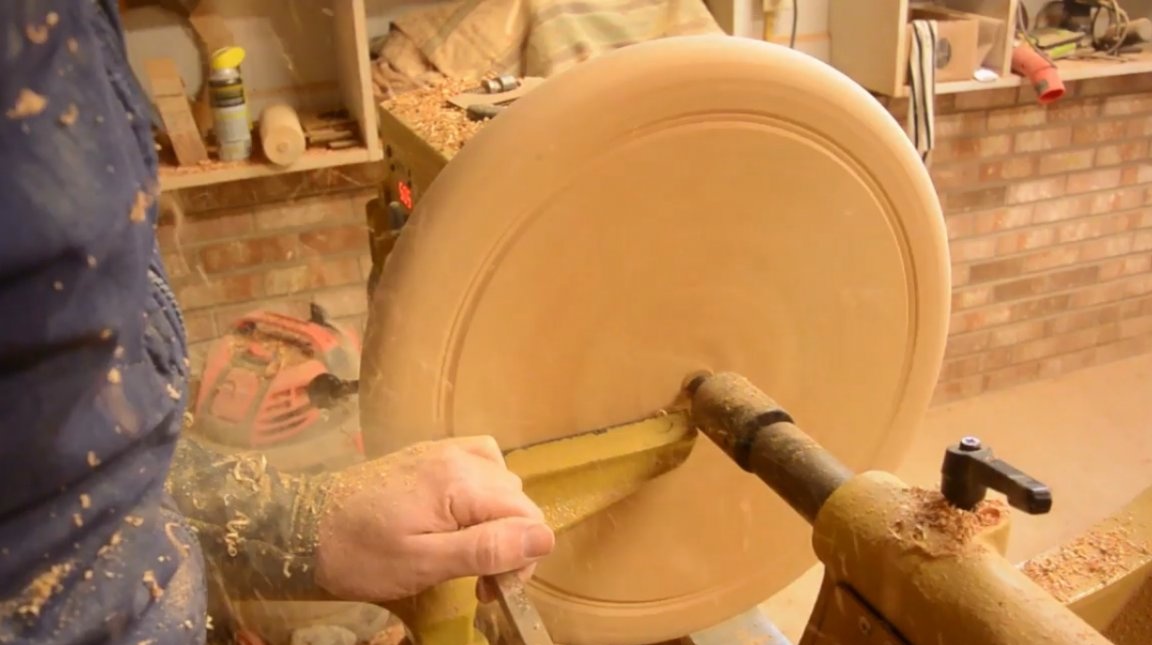
I honed the outer part of the remaining disk, and checked with the template. Then the second ring is turned and polished.
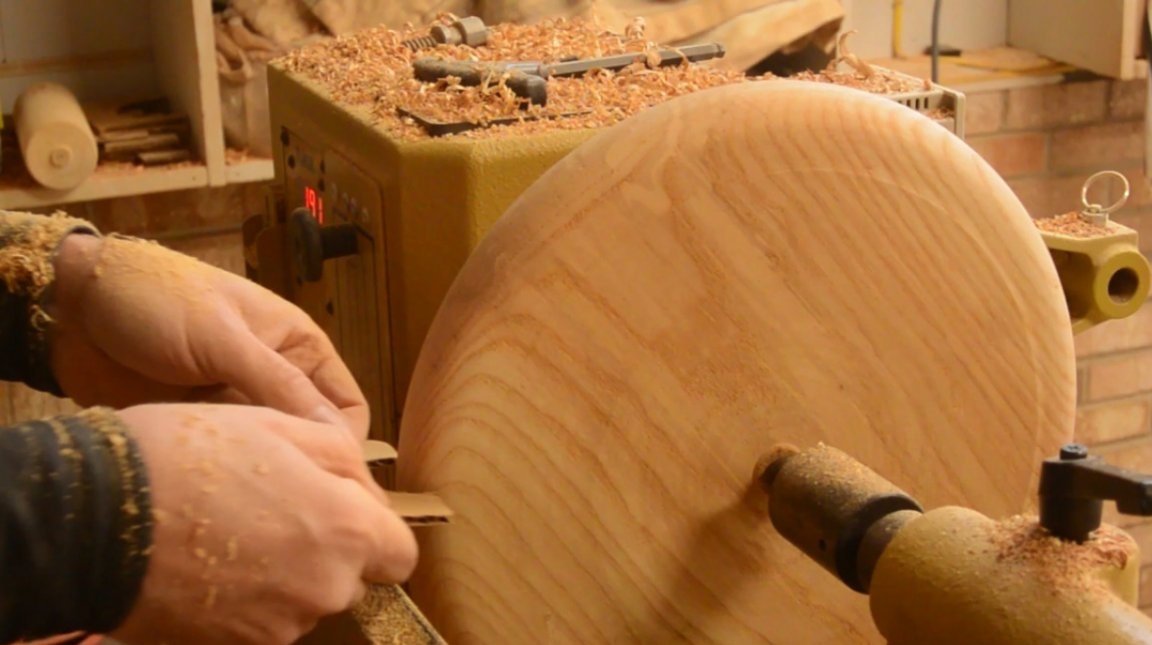
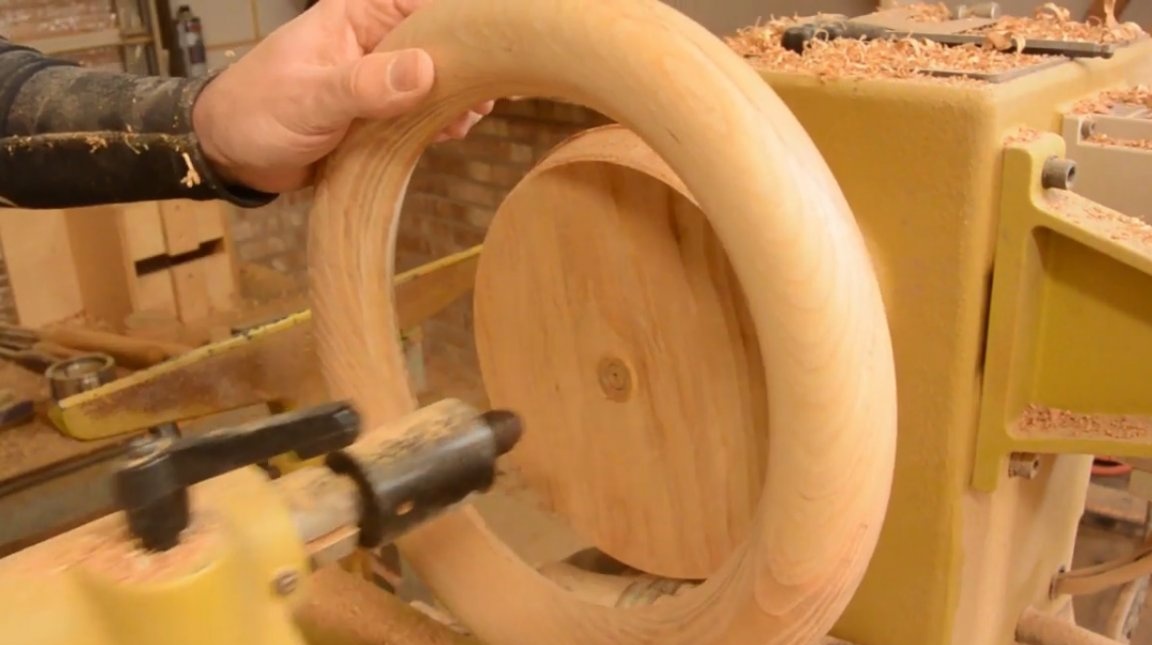
It remains to grind the last, smallest ringlet.
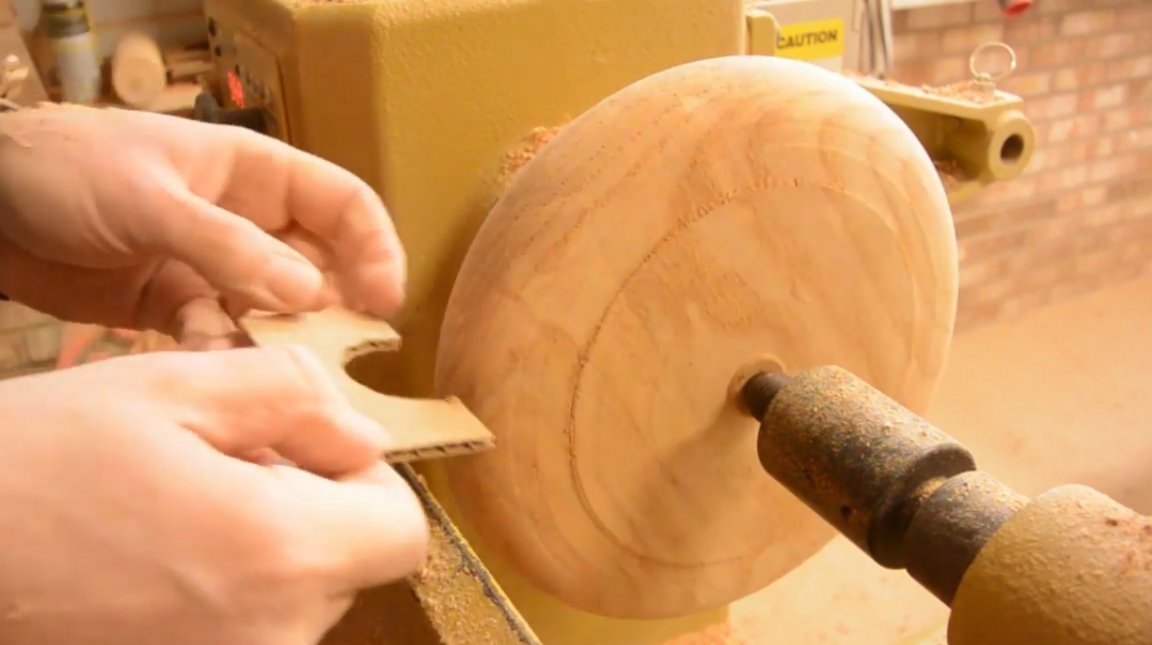
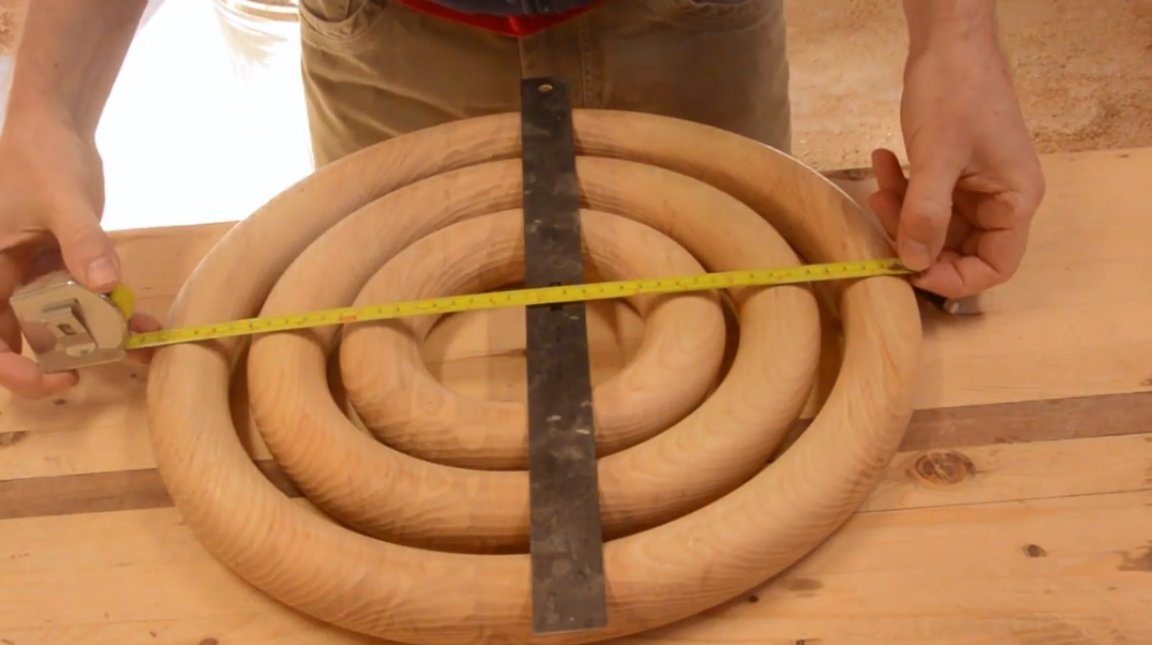
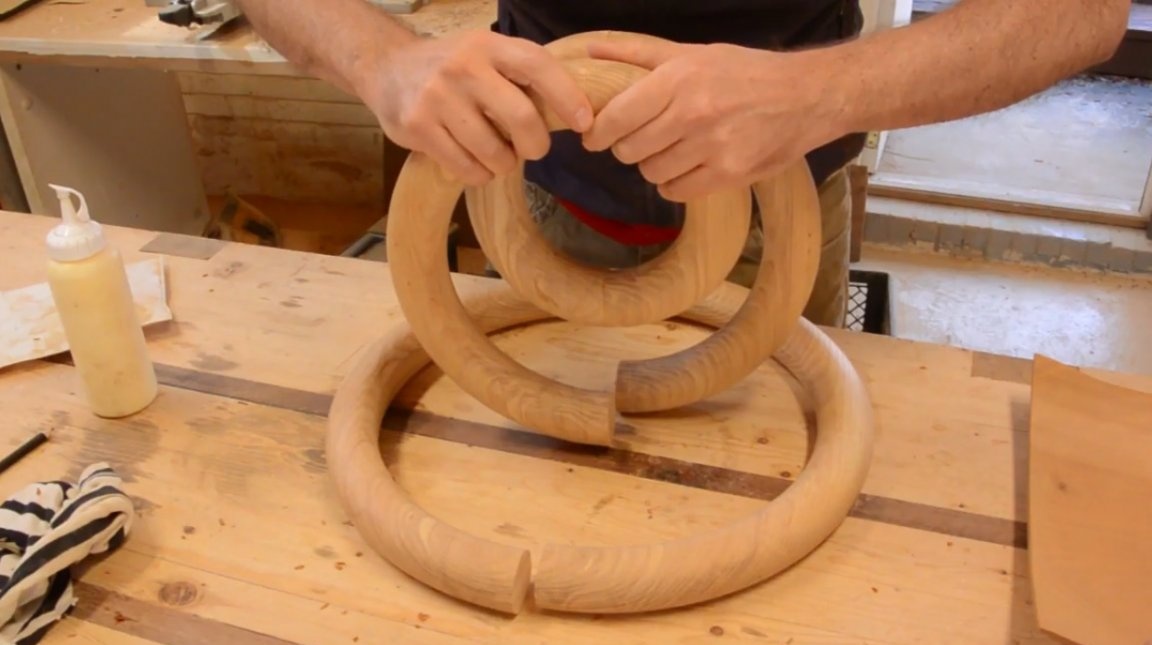
So, the outer sides of the rings are processed, and verified with the template.
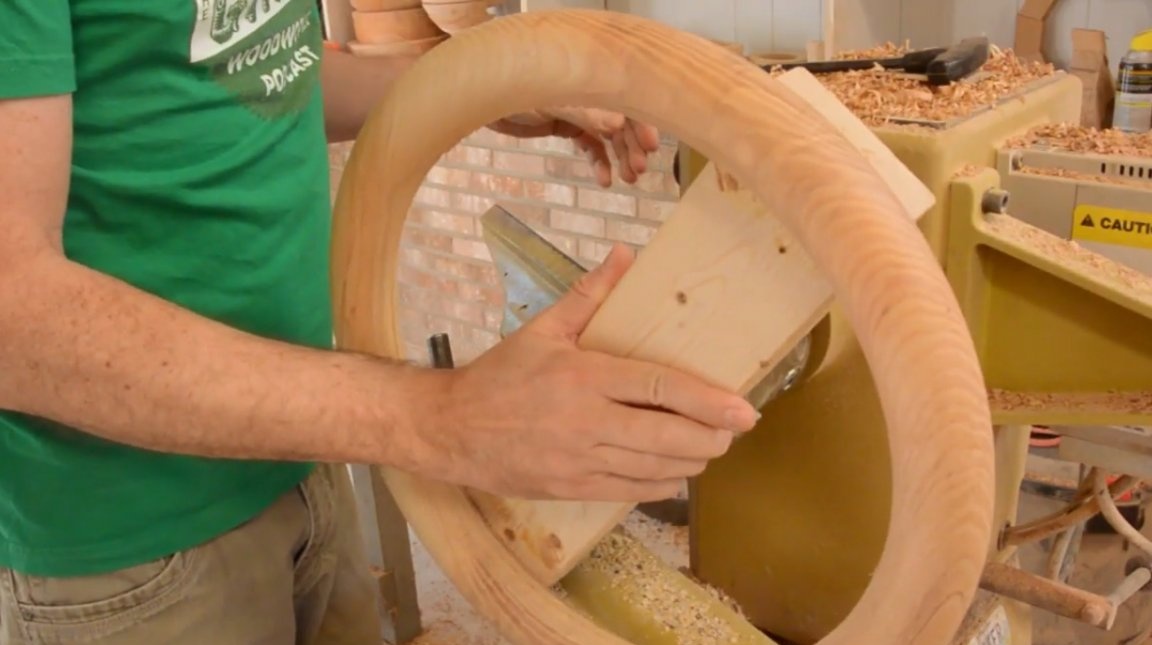
Now the wizard uses a tricky but interesting trick. He clamps the ring between two boards, centers it, and glues to the edges of one of the boards.
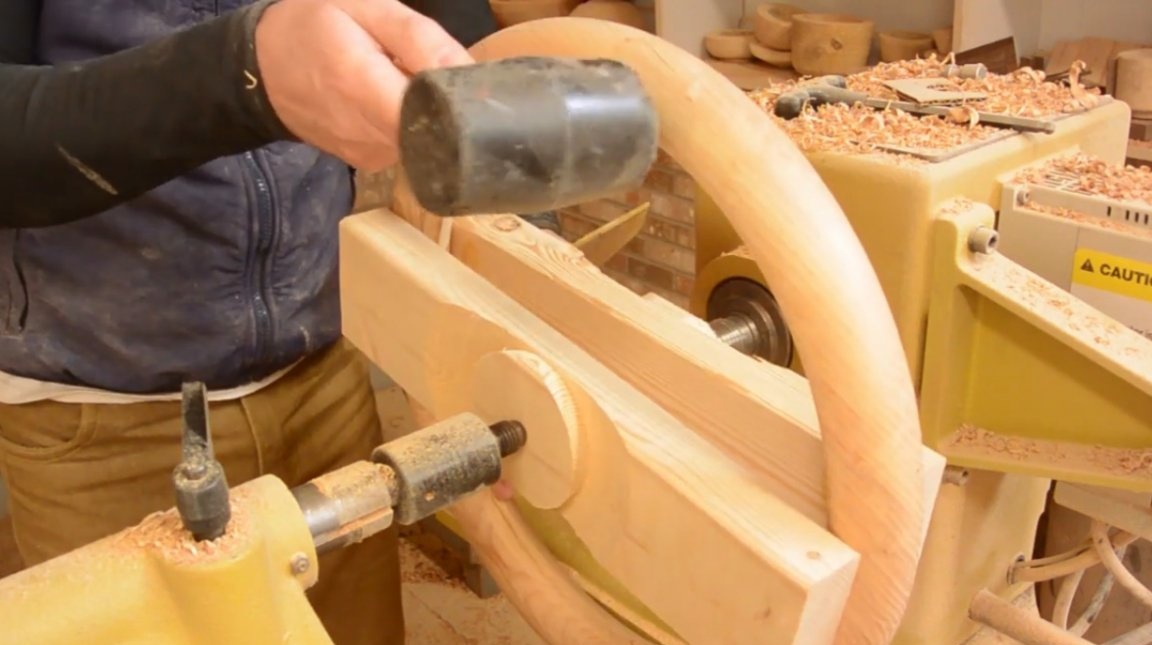
He performs the same operations with the rest of the workpieces.
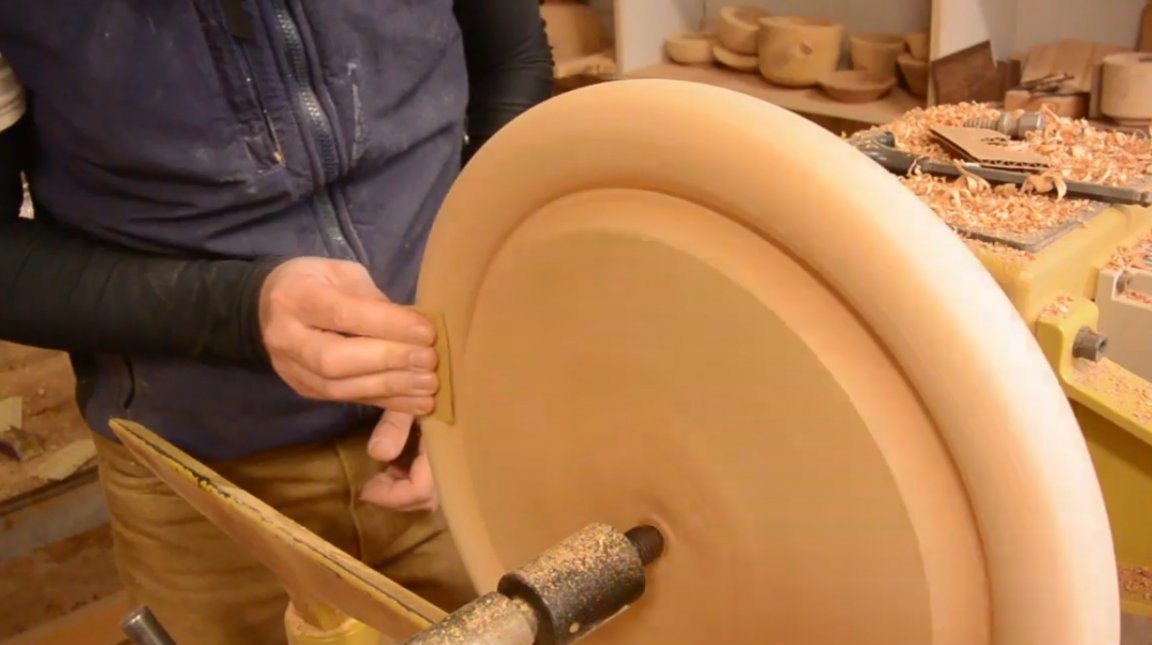
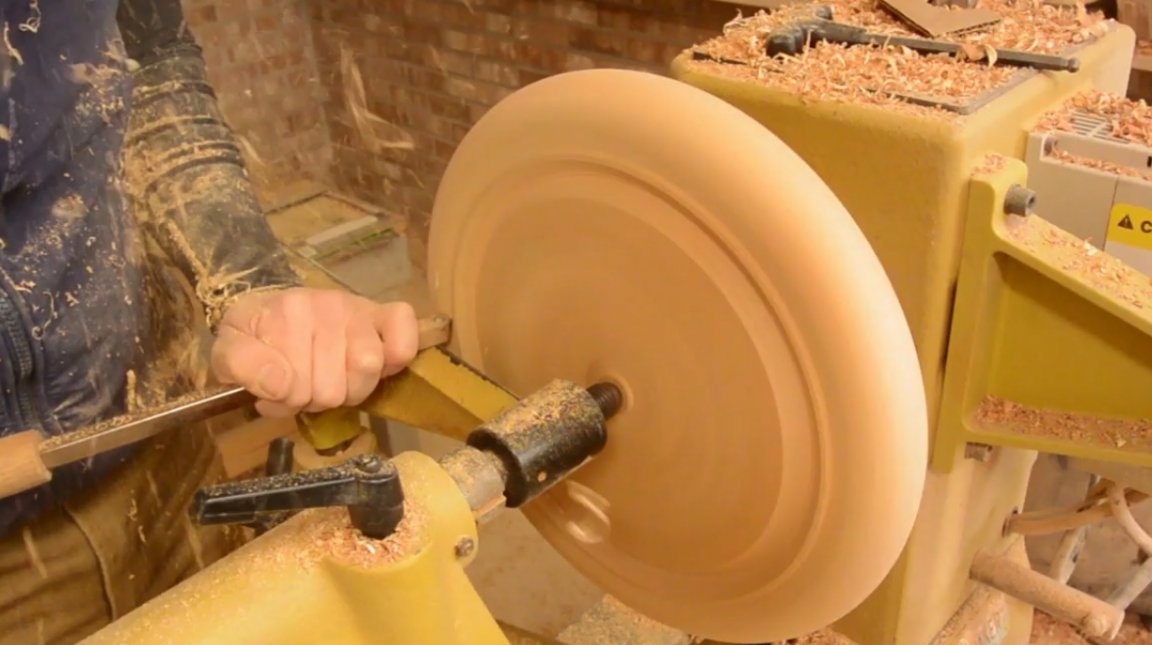
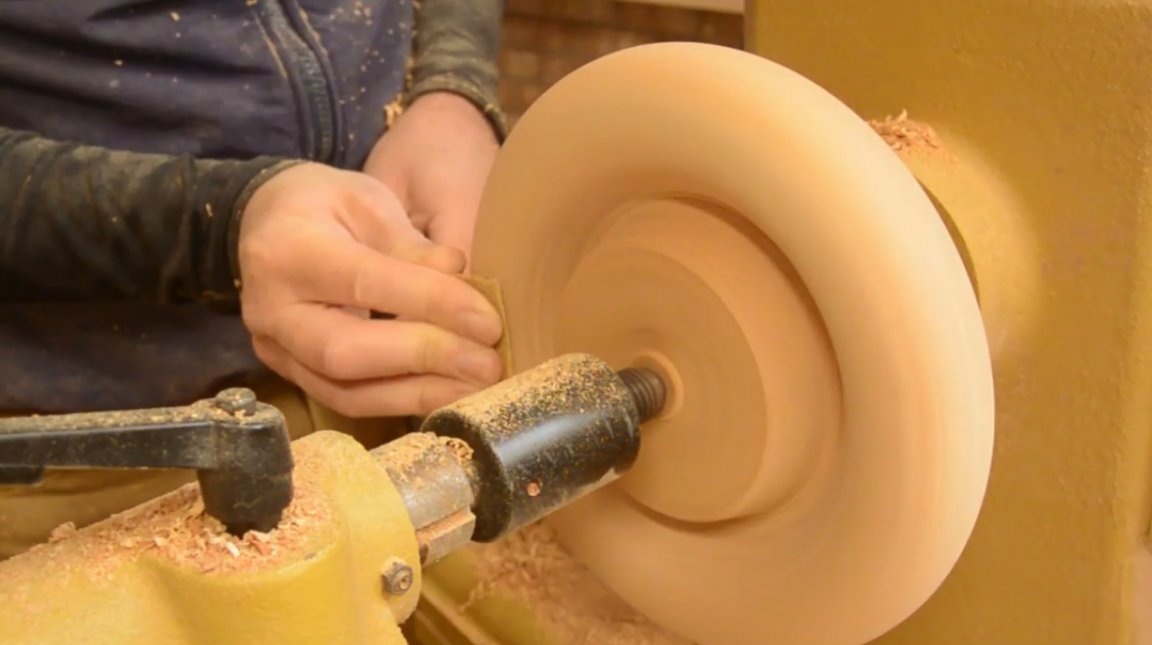
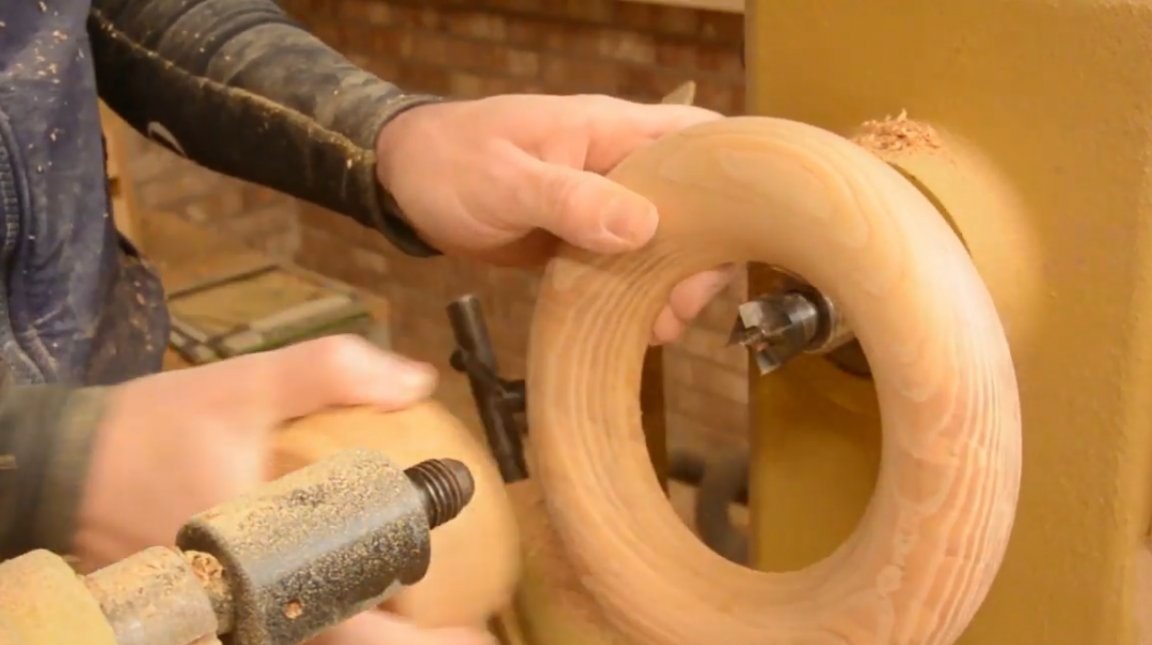
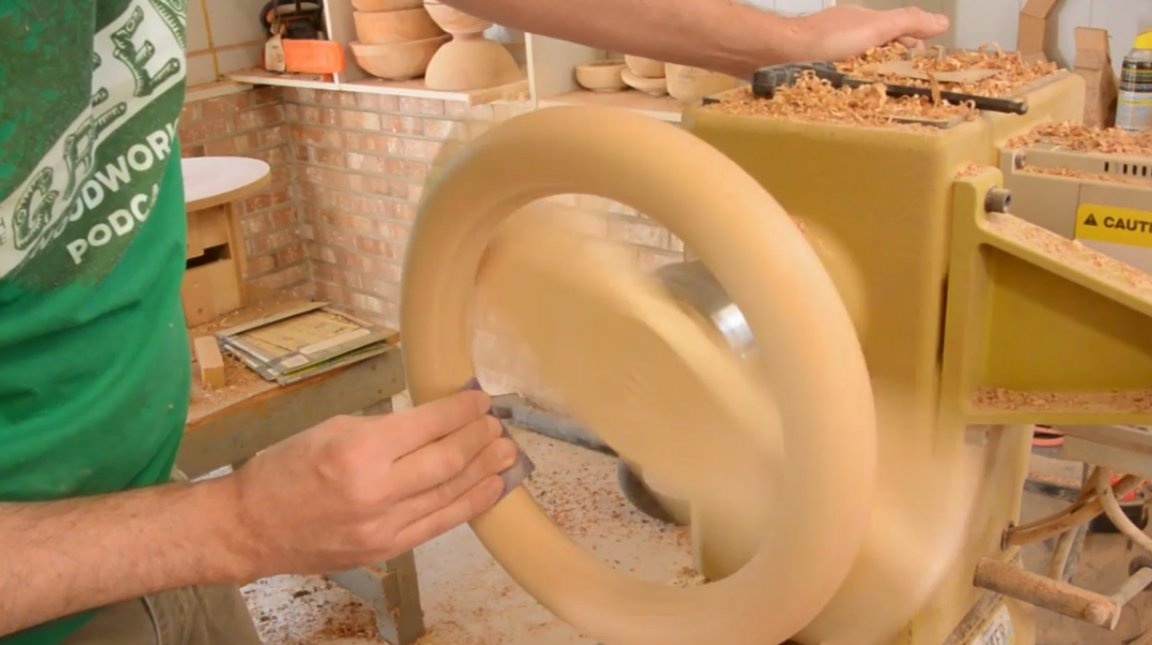
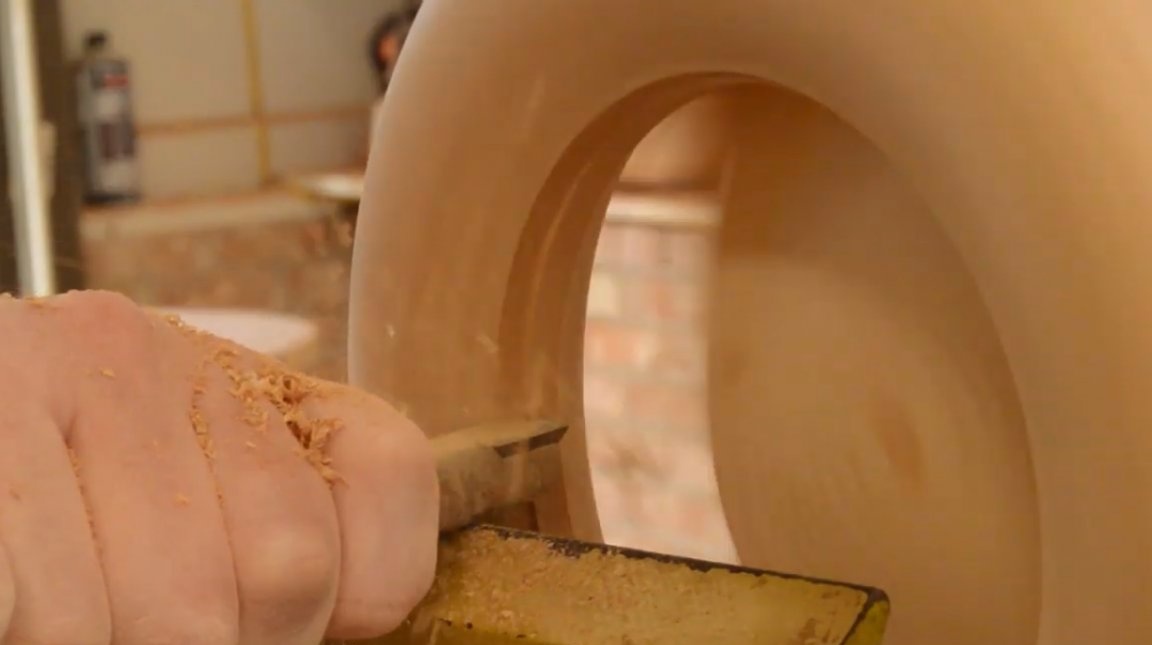
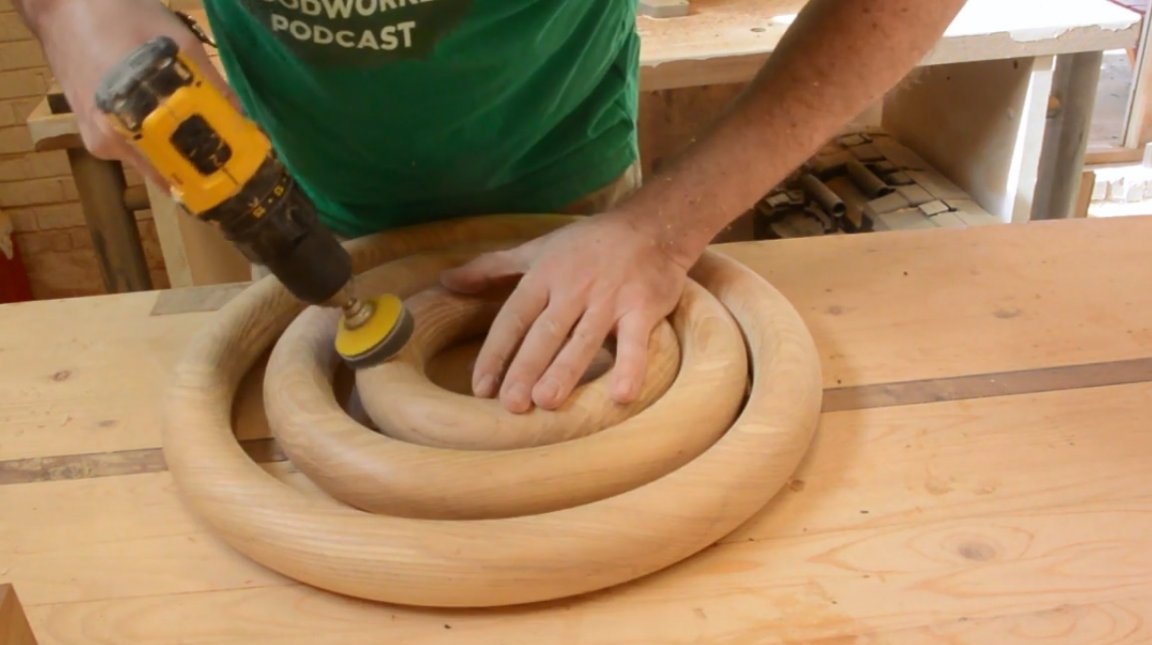
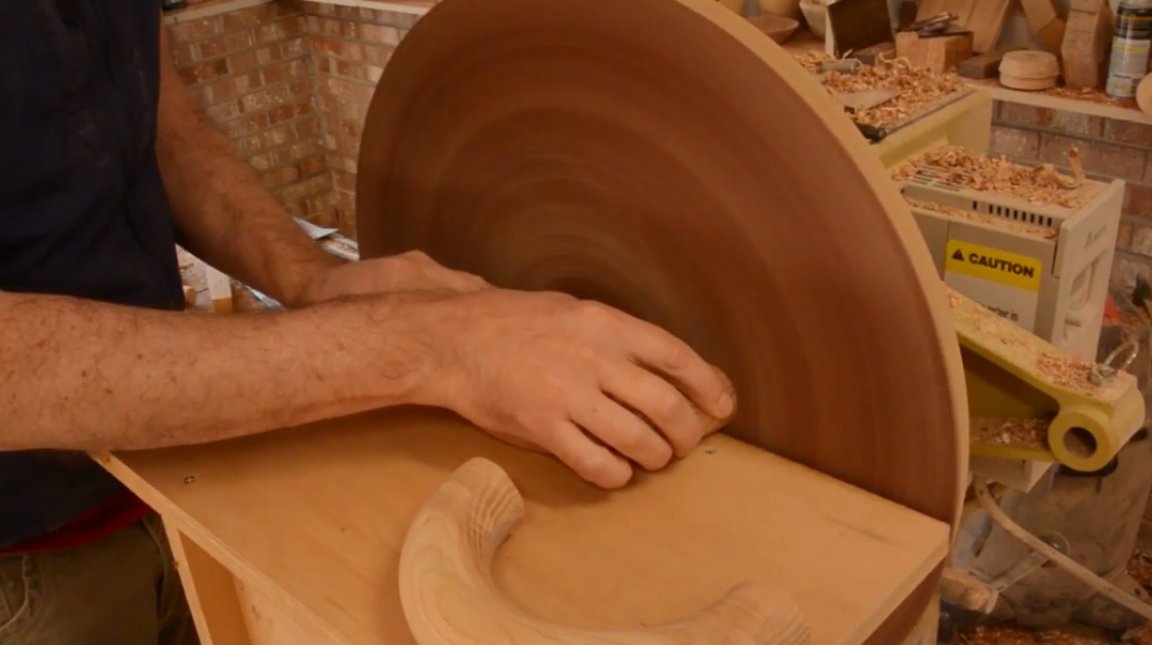
When the glue hardened, the author proceeded to grinding and grinding the inner surface of the large ring. This is a rather risky operation. Now you can precisely align the profile of the ring to an almost perfect circle.
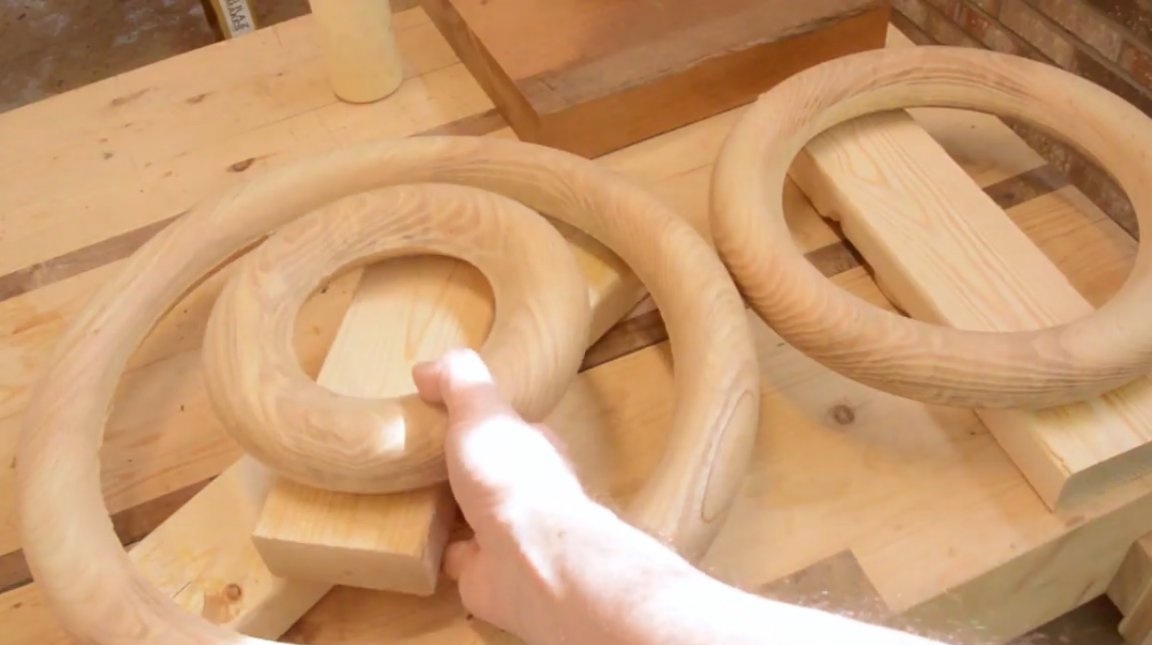
In the same way it processes the middle and small rings, then they simply break off from the board.
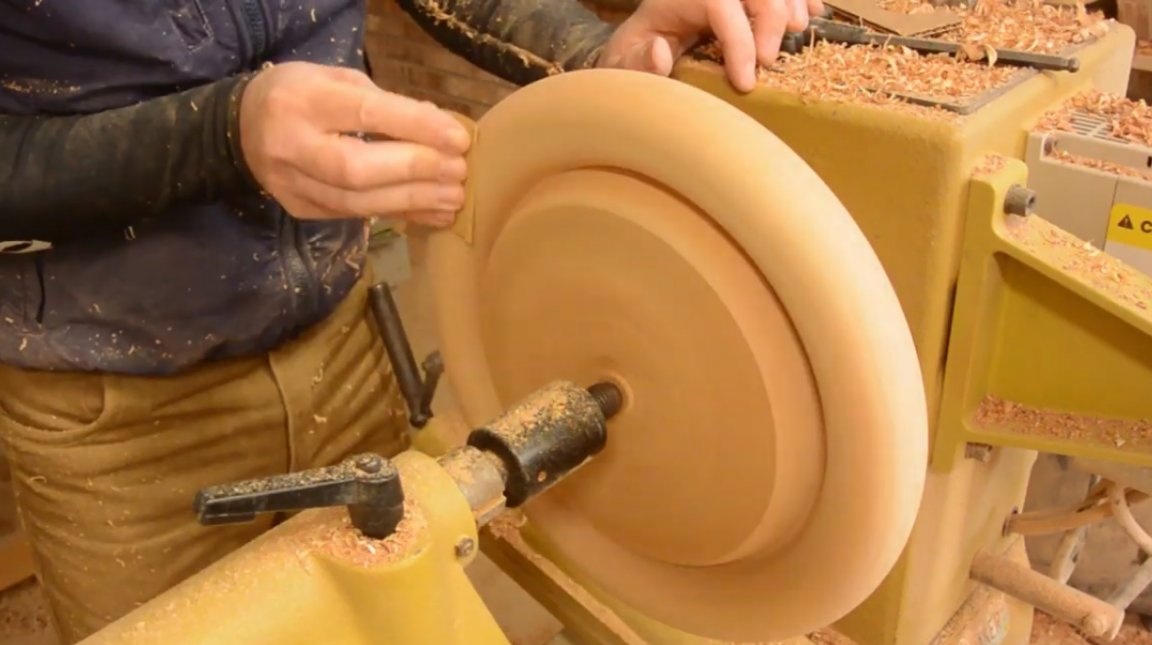
So, the rings are completely aligned, it is necessary to remove the remaining glue with a chisel.
You should also grind a little possible defects.
Next, the master aligns all the rings, finds the center, and marks the middle line on each ring.
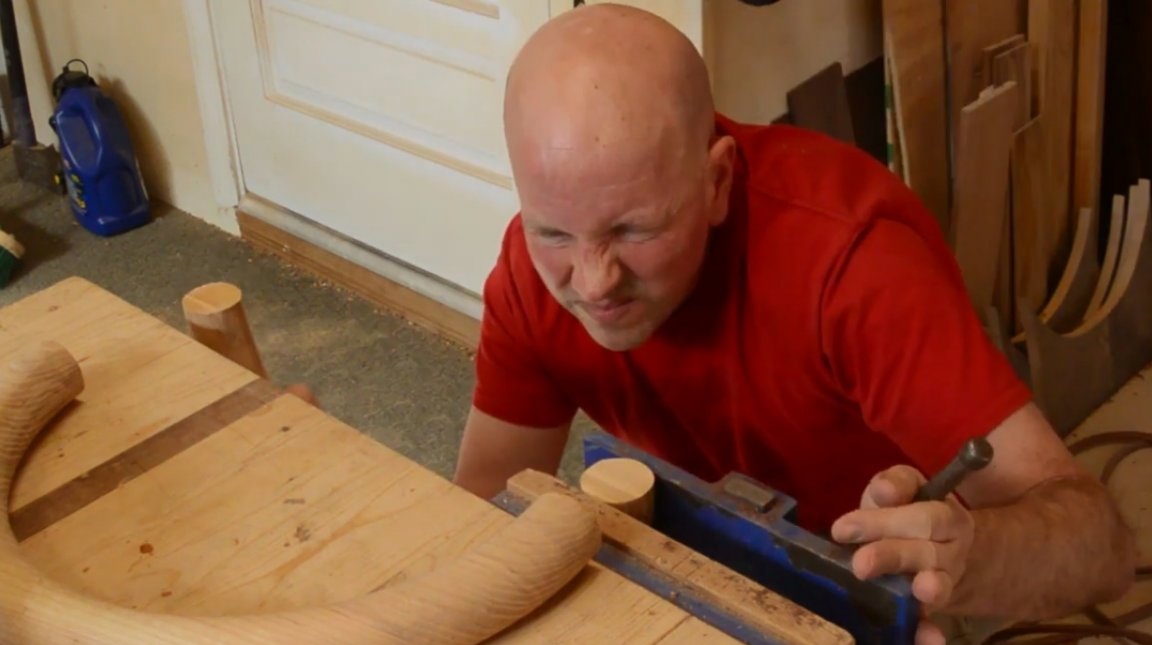
With the help of a Japanese saw, it cuts the rings into two halves.
The cut points should be strictly perpendicular to the plane of the half ring, they should be sanded.
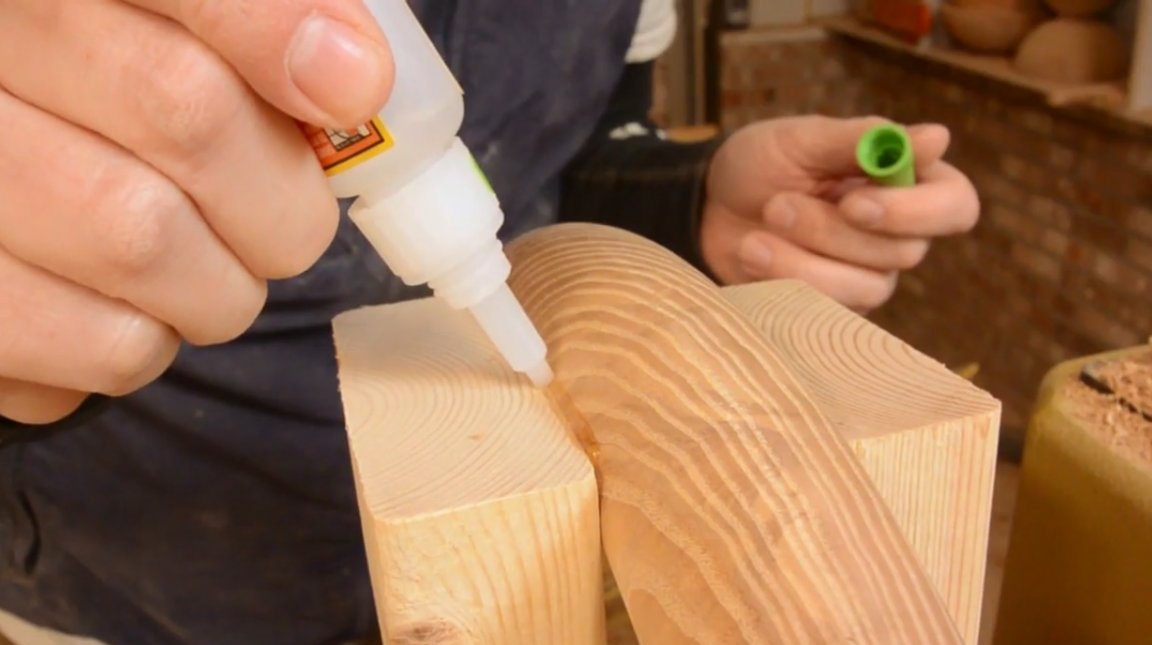
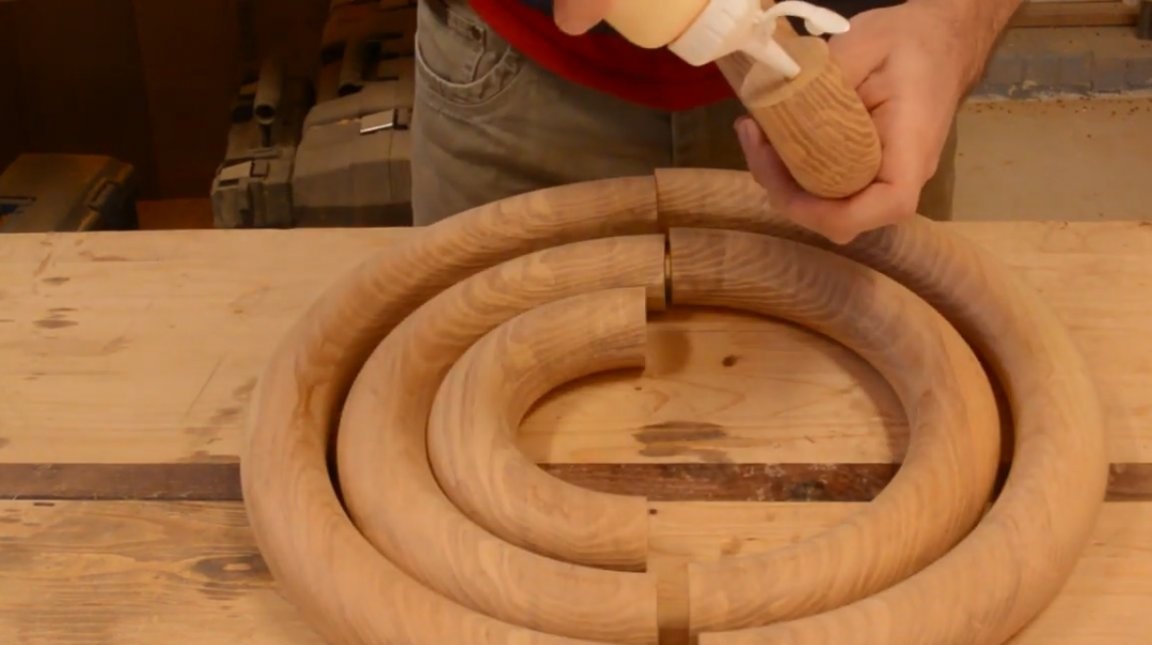
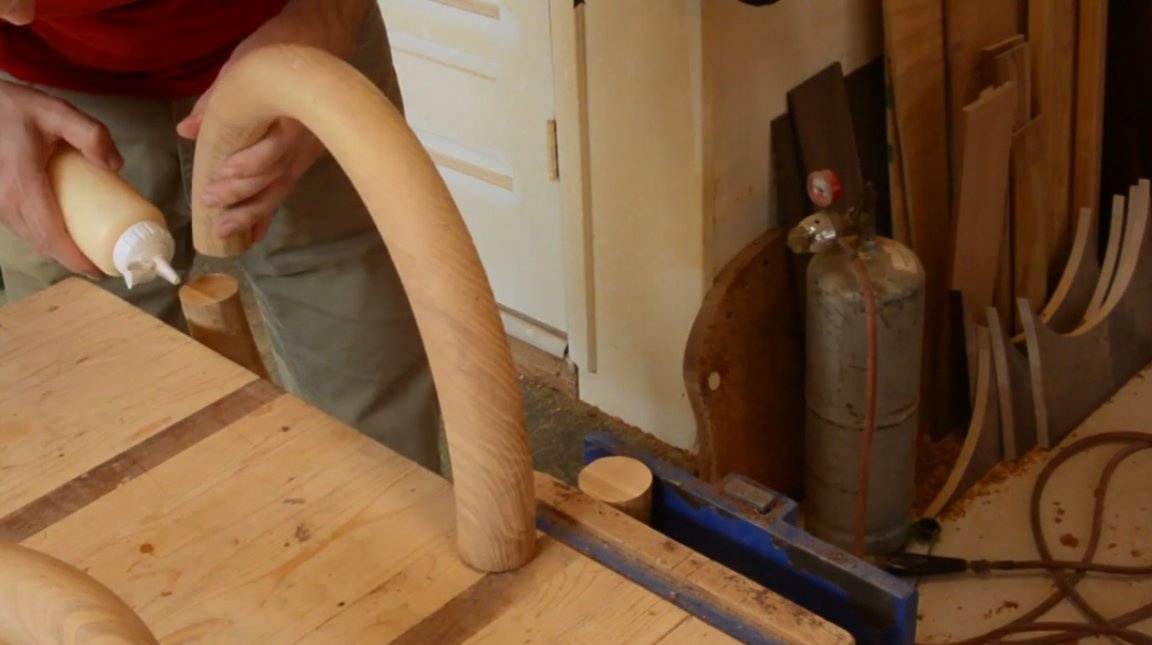
Now he proceeds to gluing the sections together. This will be done in two stages. First, elements collected from small and medium rings are collected.
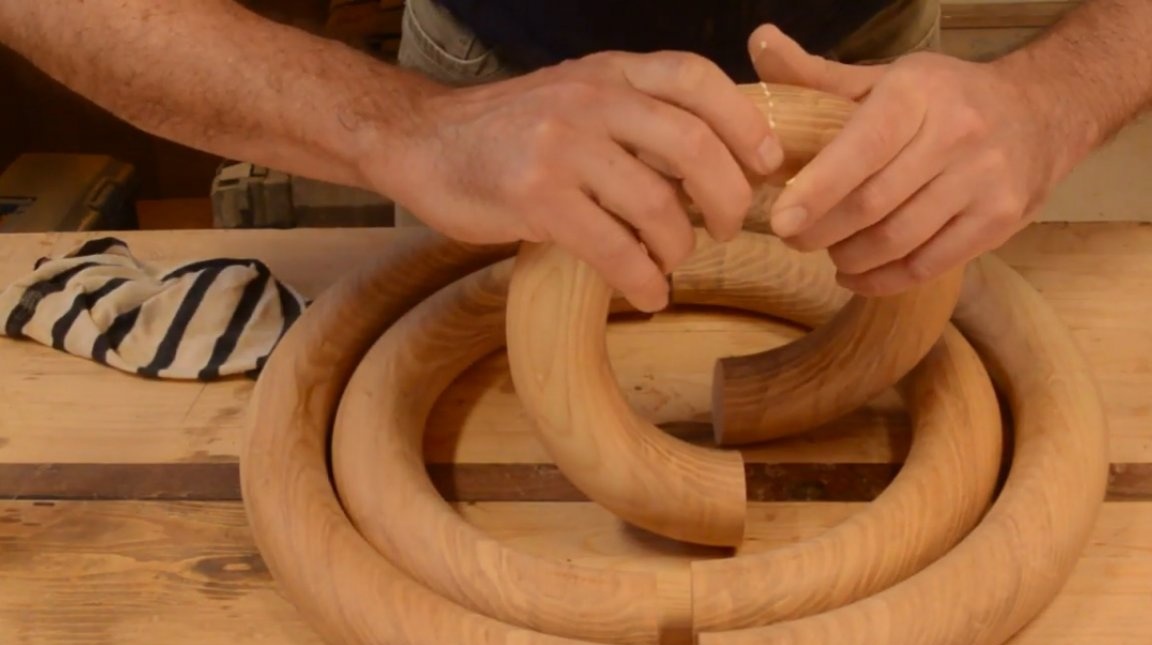

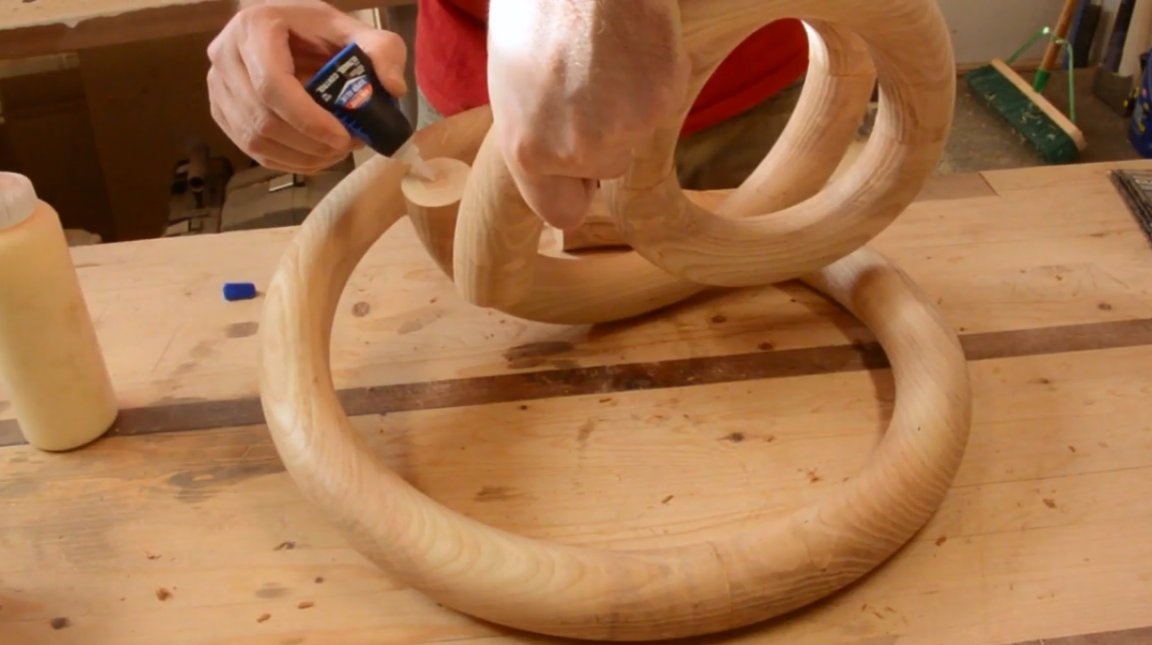
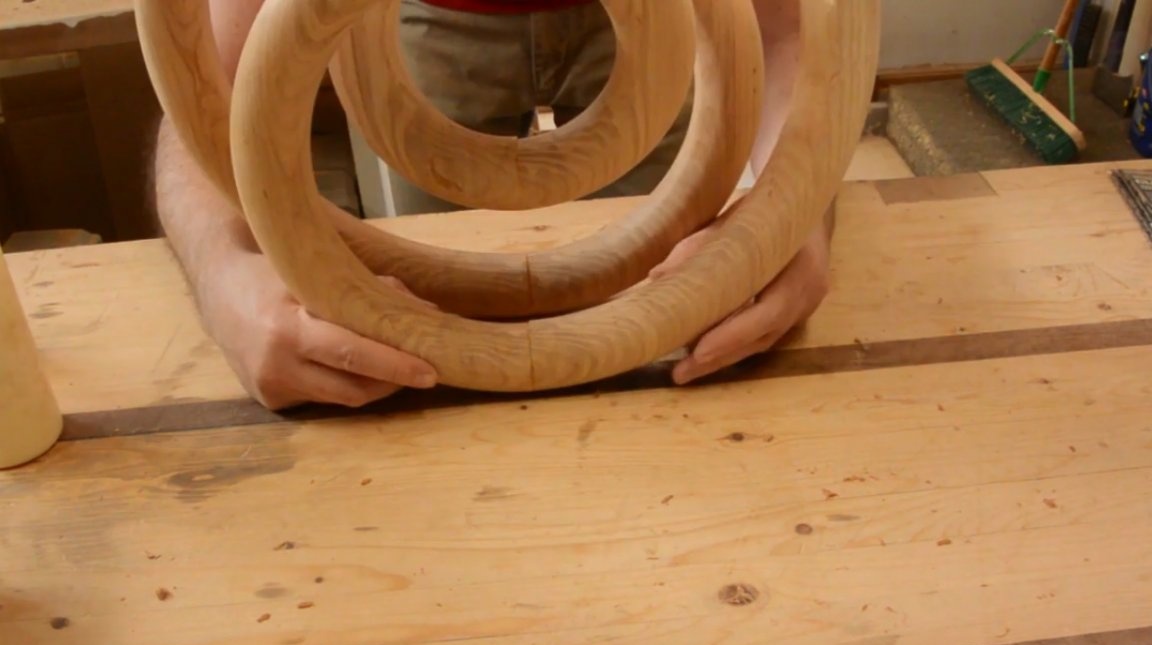
After the glue dries in the first workpiece, it fixes a large half-ring on the workbench. And then, comparing the distance between the two blanks, glues the second half-ring to the first.

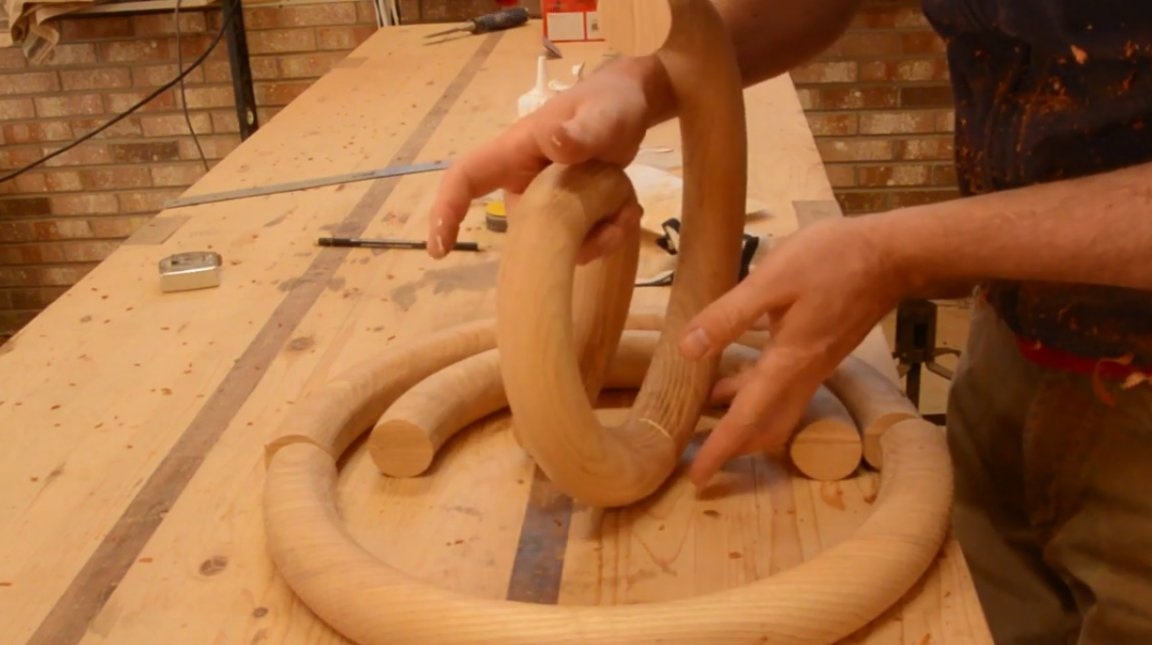
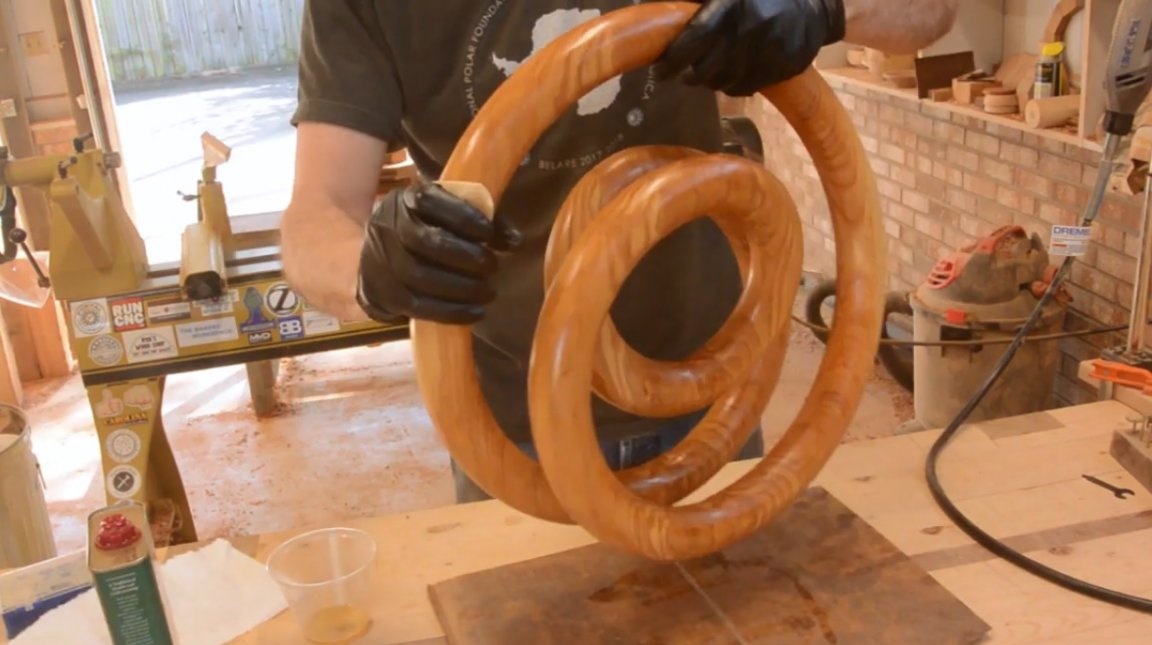
It remains to connect both spirals together, carefully aligning the joints.
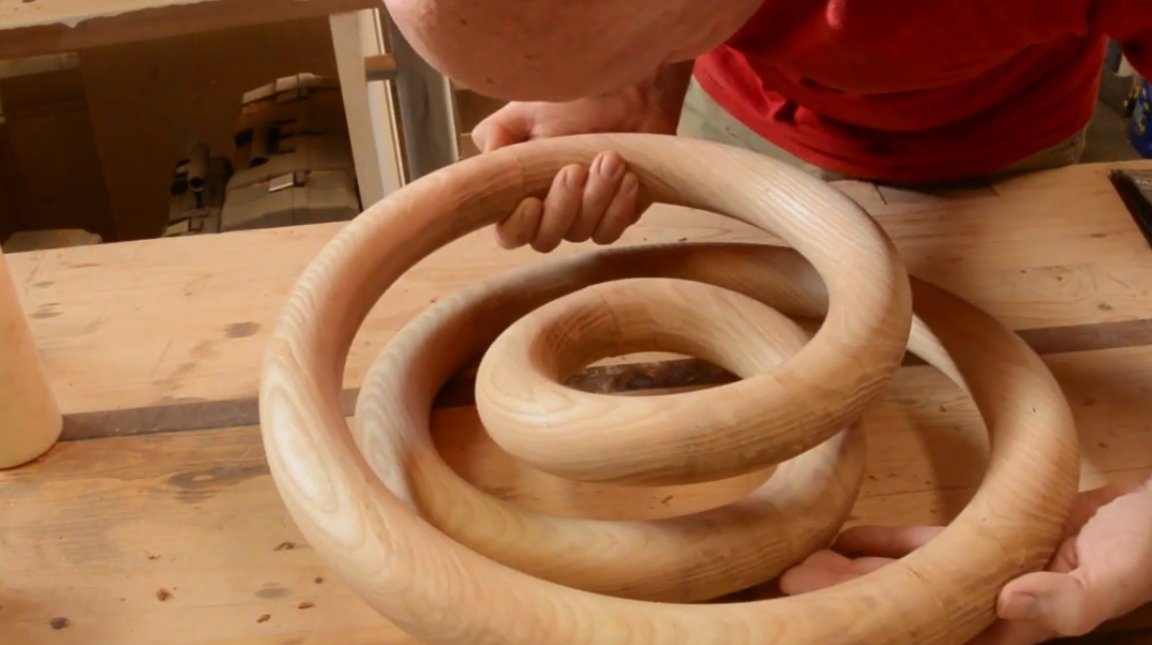
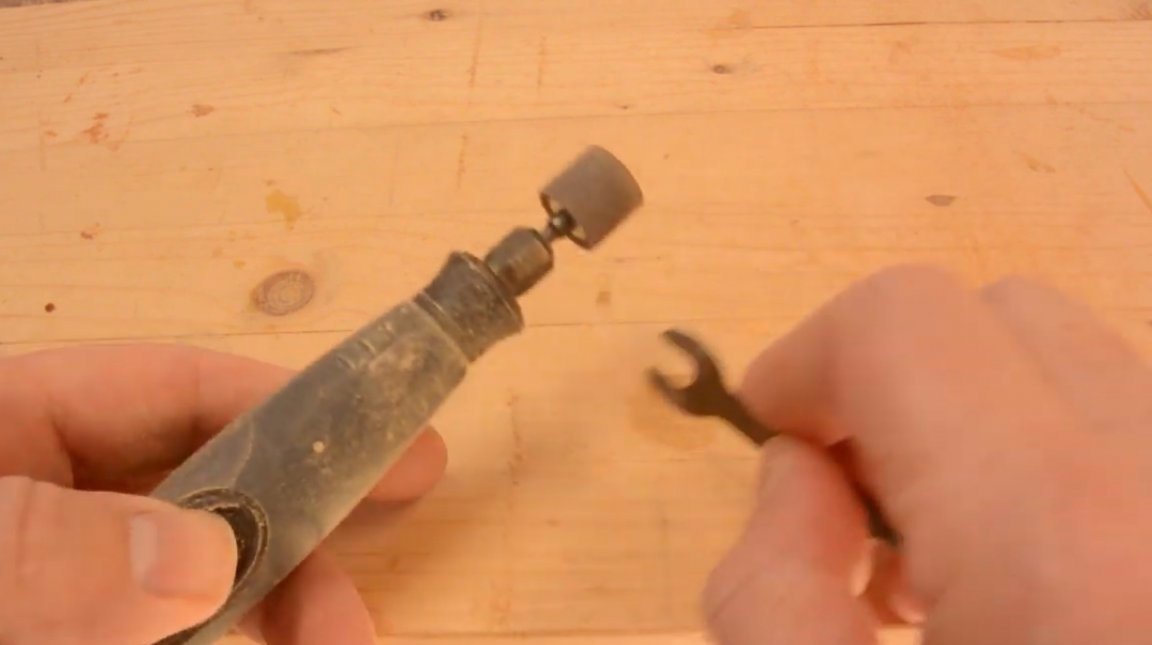
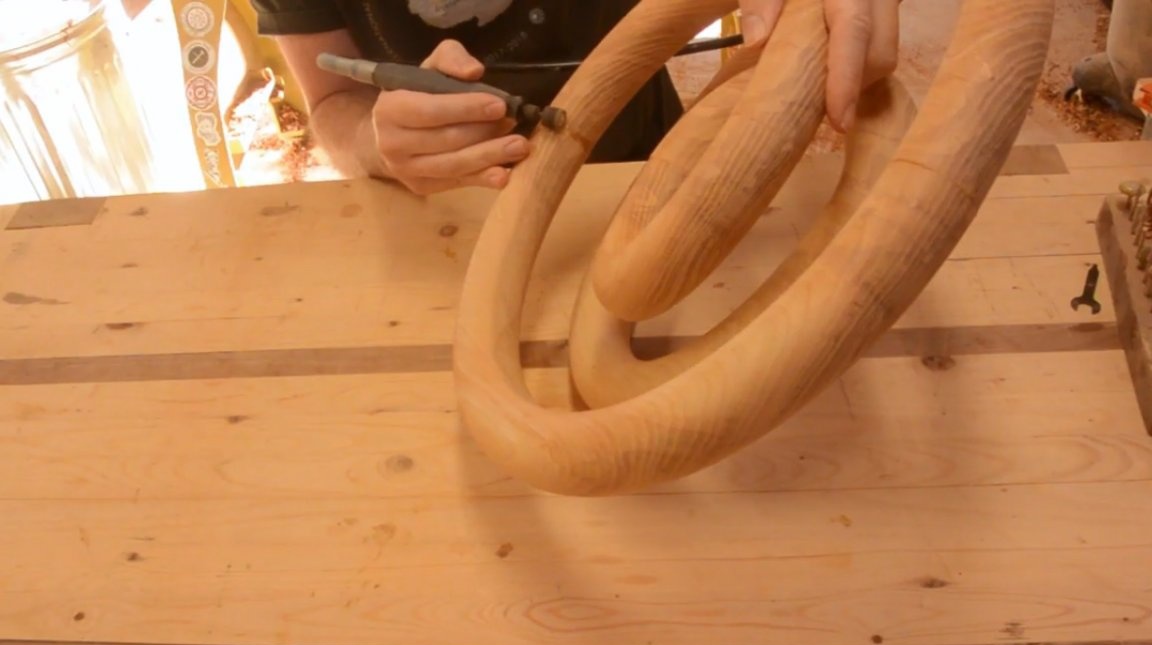
Having installed a grinding nozzle on a dremel, processes glue seams.
The lower part of the resulting structure grinds a little on a grinding machine, it should be a little flat, it will be the base.
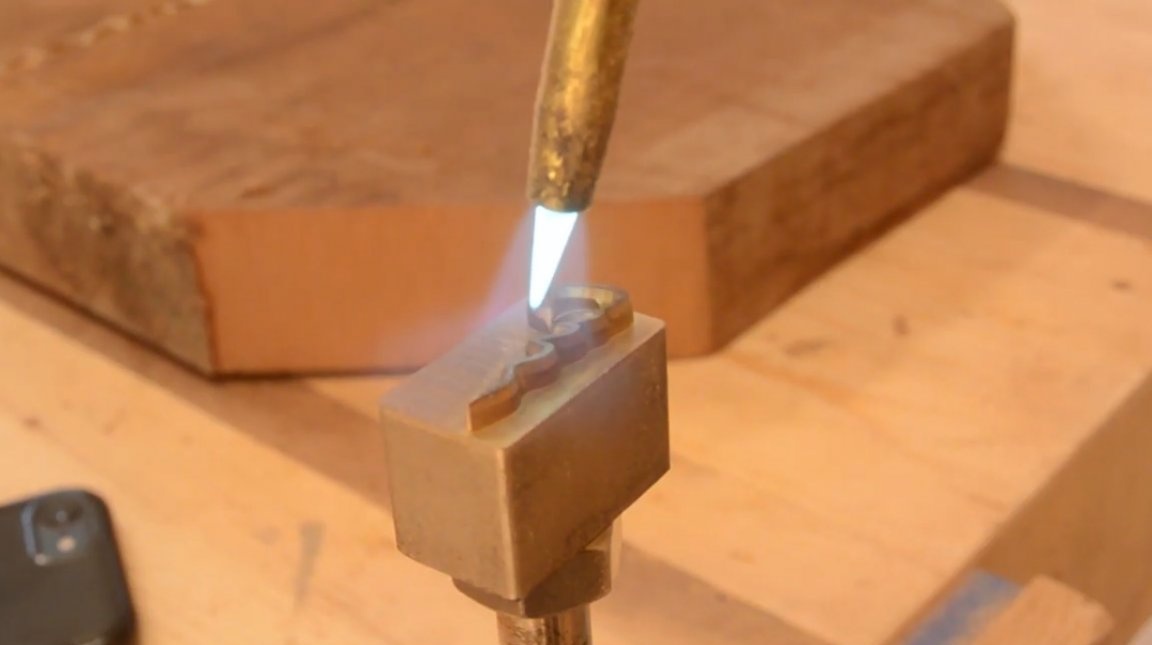
Heats the stigma, and puts it on a flat base.

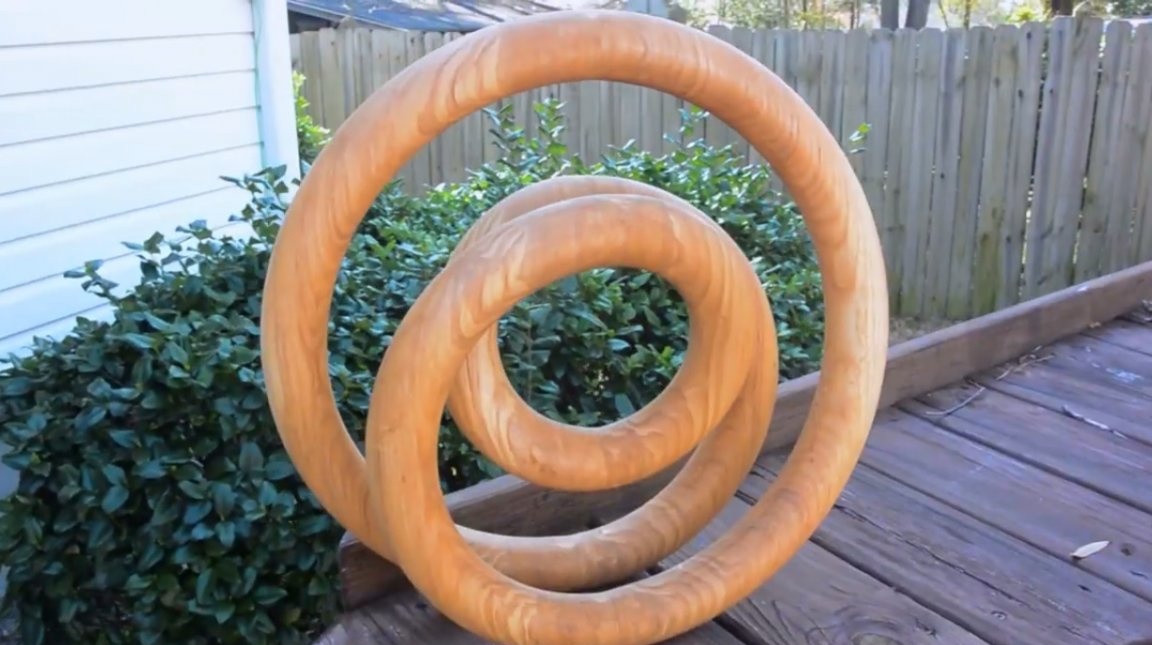
Everything is almost ready, you need to protect the product from moisture, and show the texture. For this, you can use linseed oil, wax, stain, and other impregnations.
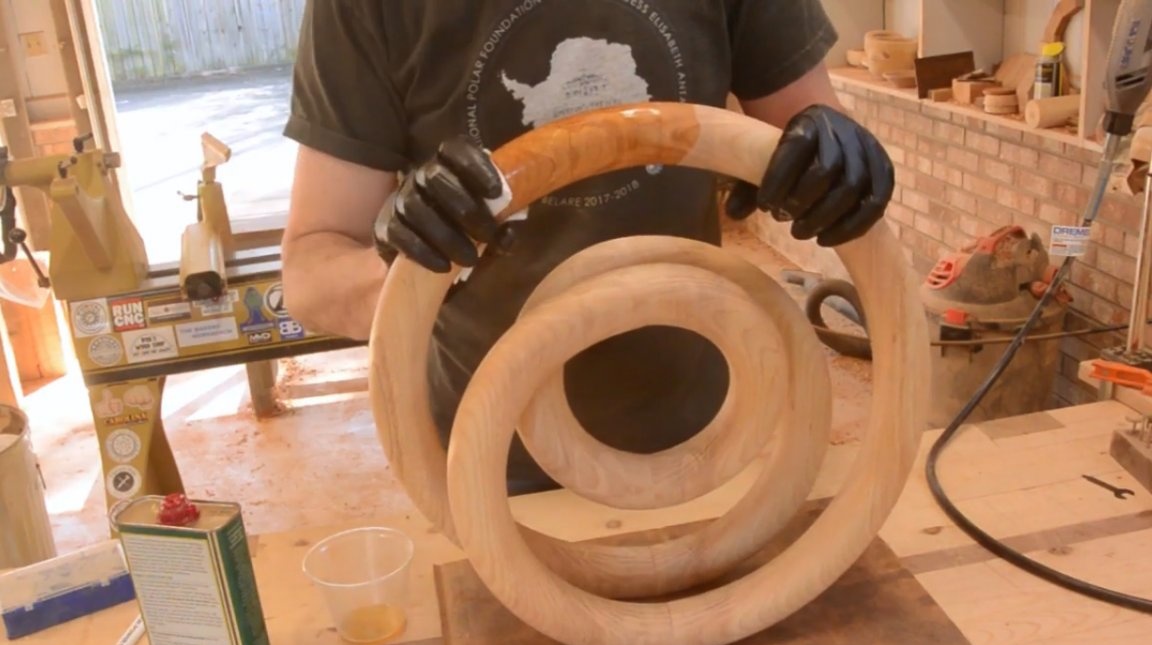
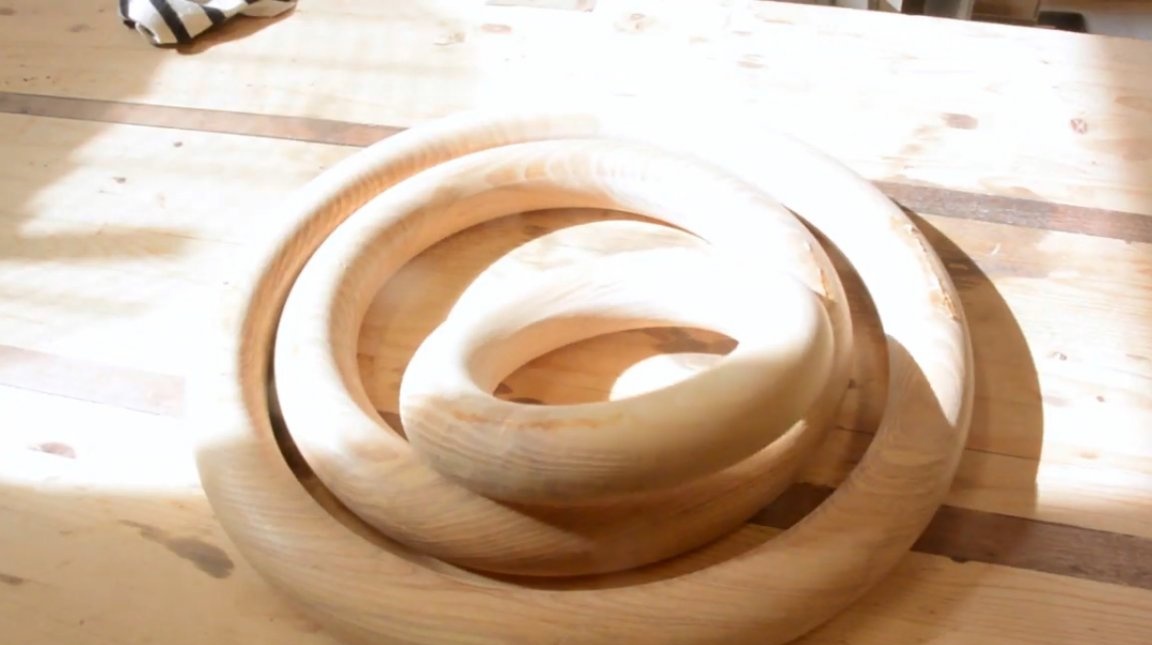
Here the sculpture is ready, the joints on it turned out so inconspicuous that you won’t immediately tell how it was made!
Thanks to the author for a very interesting wood processing technique!
All good mood, good luck, and interesting ideas!
Author video can be found here.