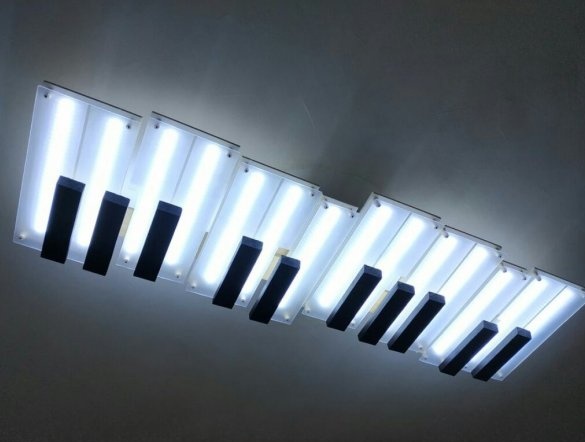
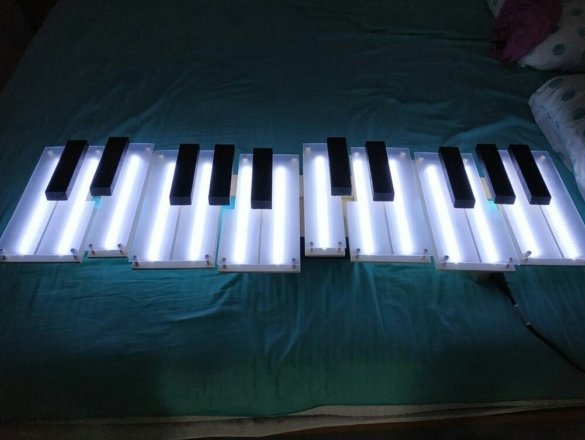
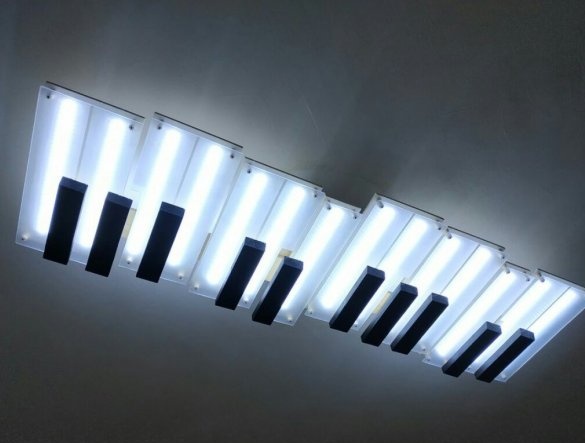
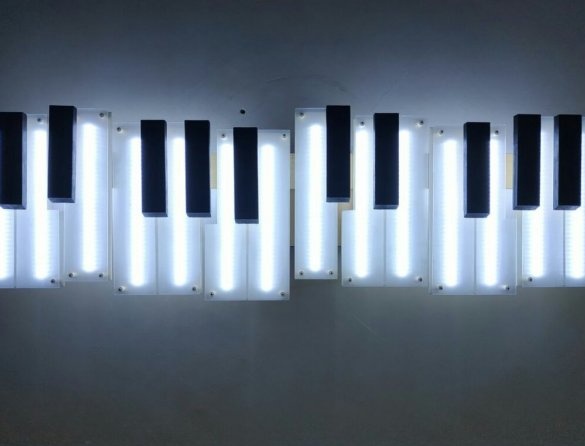
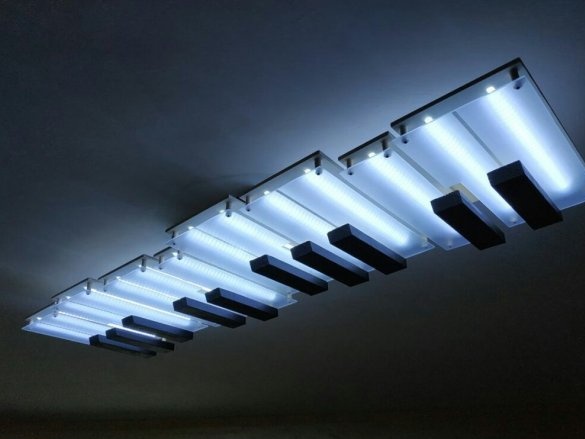
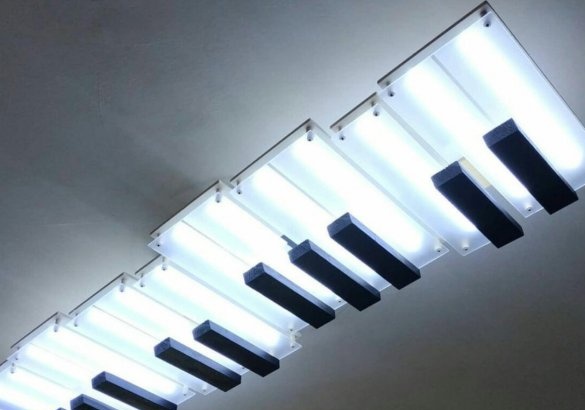
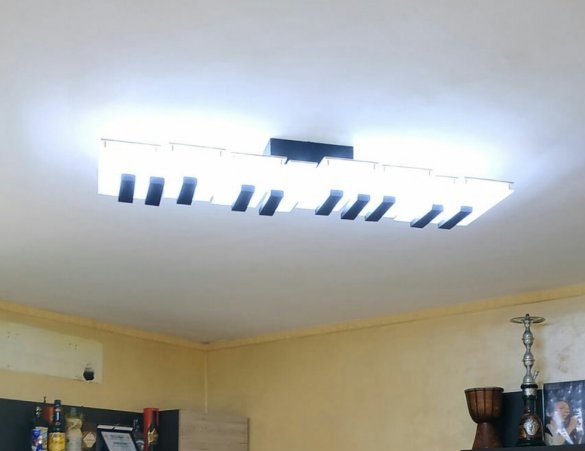
The author of Instructables under the nickname Farenheit made a ceiling lamp in the form of piano keys.
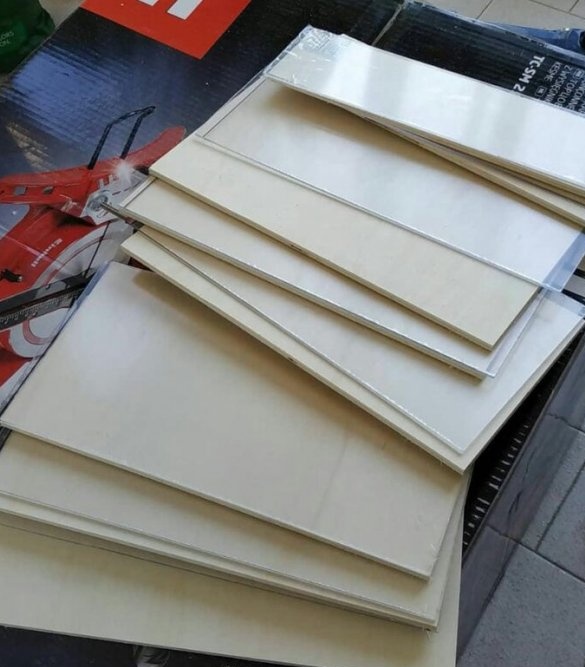
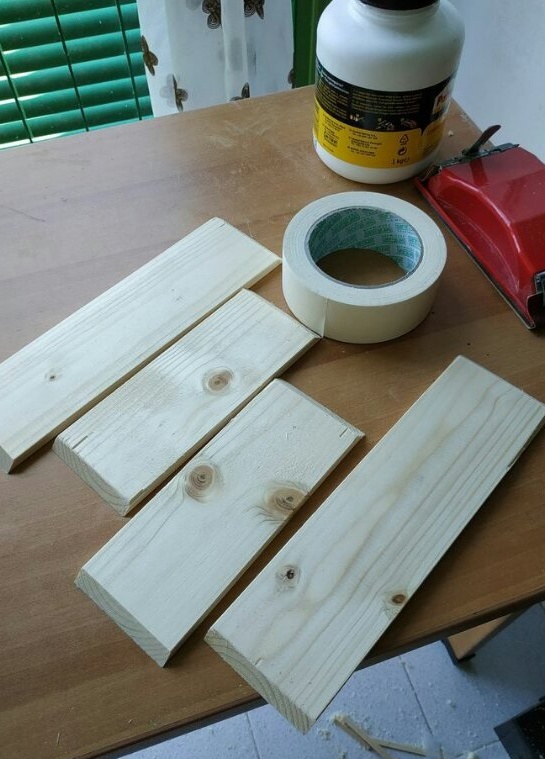
The master begins by cutting into the size of plywood and plexiglass:
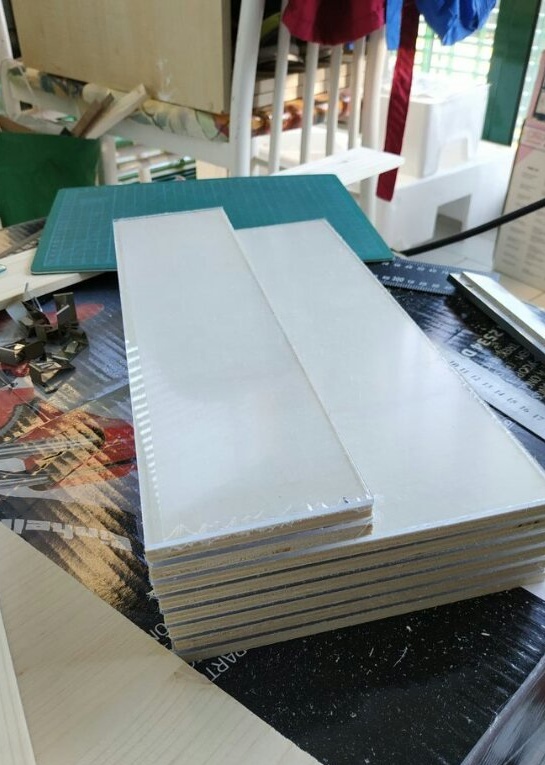
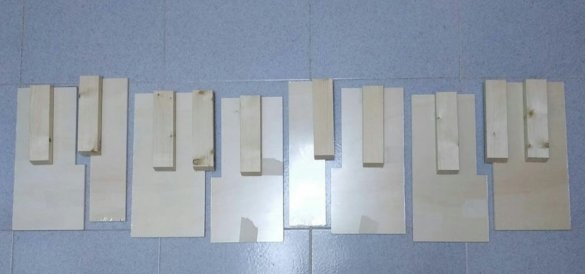
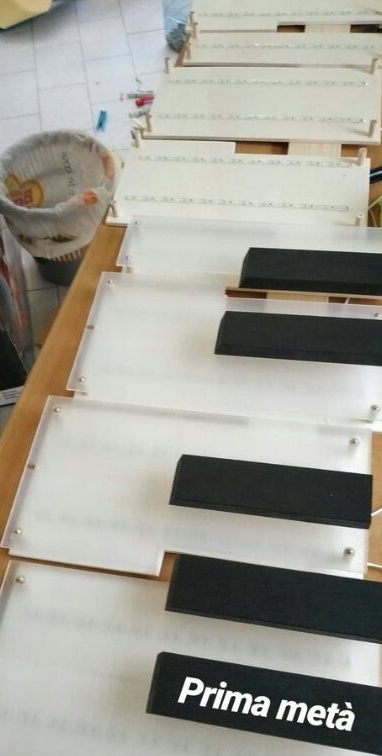
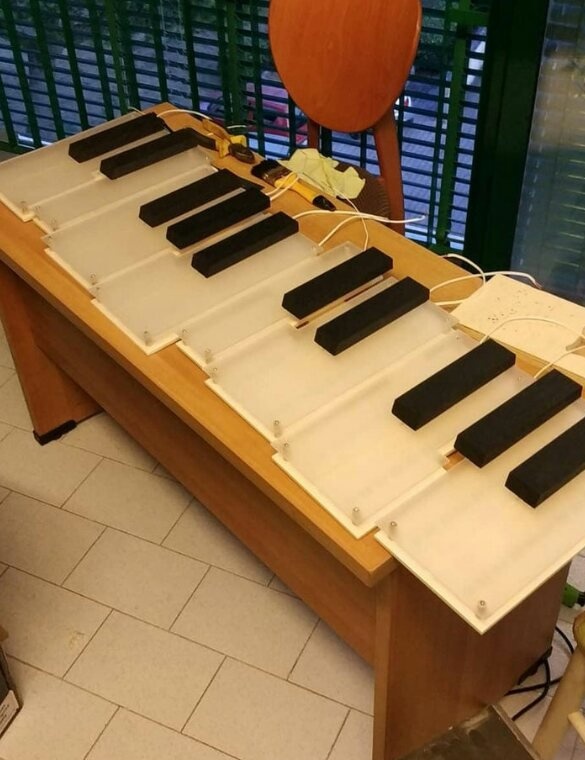
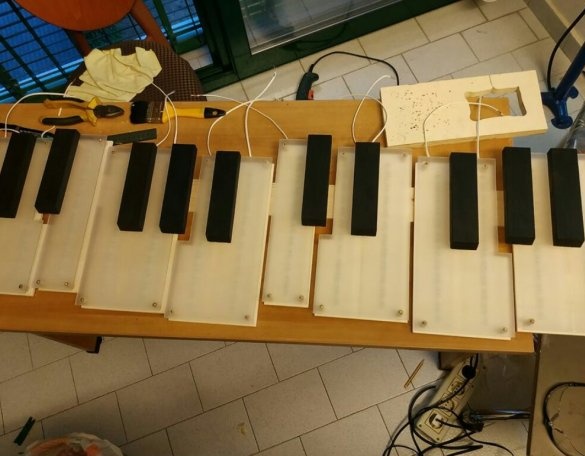
For the lamp itself, the master makes six “sandwiches” (plywood + plexiglass) with dimensions of 160x320 mm and two “sandwiches” with dimensions of 80x320 mm. According to KDPV it is clear how they are located.
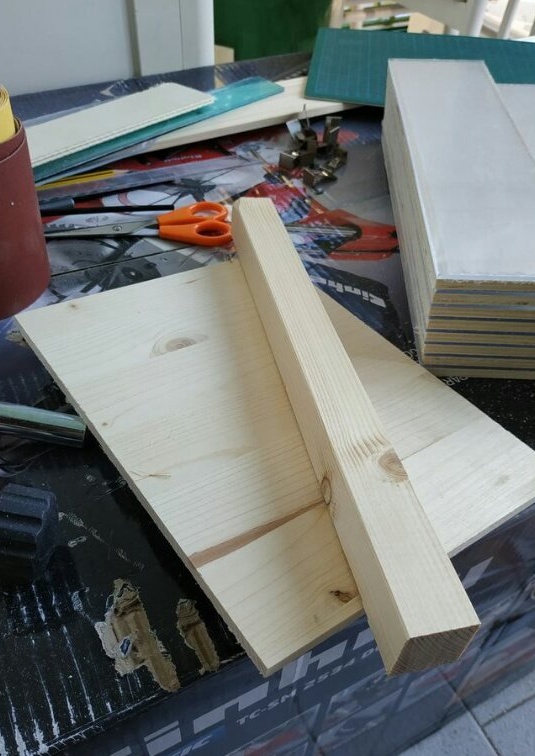
The master makes a box for placing BP from pieces of plywood with a thickness of 9 and a width of 70 mm. Two walls with a length of 250 mm and two along 190 are needed. Both lengths are external, inside it will turn out less, since the ends are made at an angle of 45 degrees.
There are 10 black keys, all of them are 20 mm thick and 45x180 mm in size. One of the ends of each key can be cut at an angle of 30 degrees (again, see KDPV), so that it looks more like the keys of a real piano.
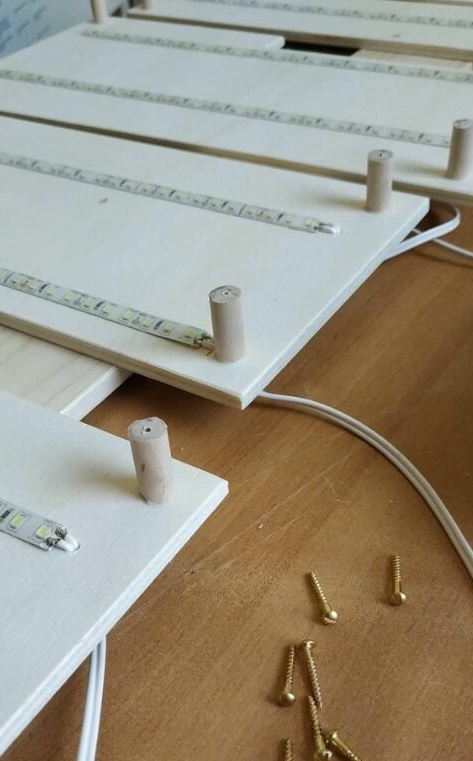
To get a gap between the parts made of wood and plexiglass, the master makes 32 wooden cylinders with a diameter of 10 and a length of 20 mm.
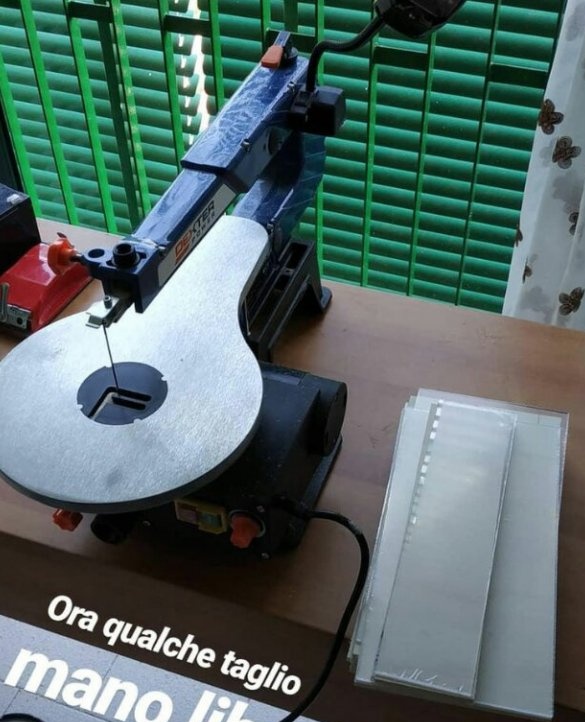
Just piano keys - it's boring. Therefore, in the proposed homemade they also "dance." The master takes on such a jigsaw machine:
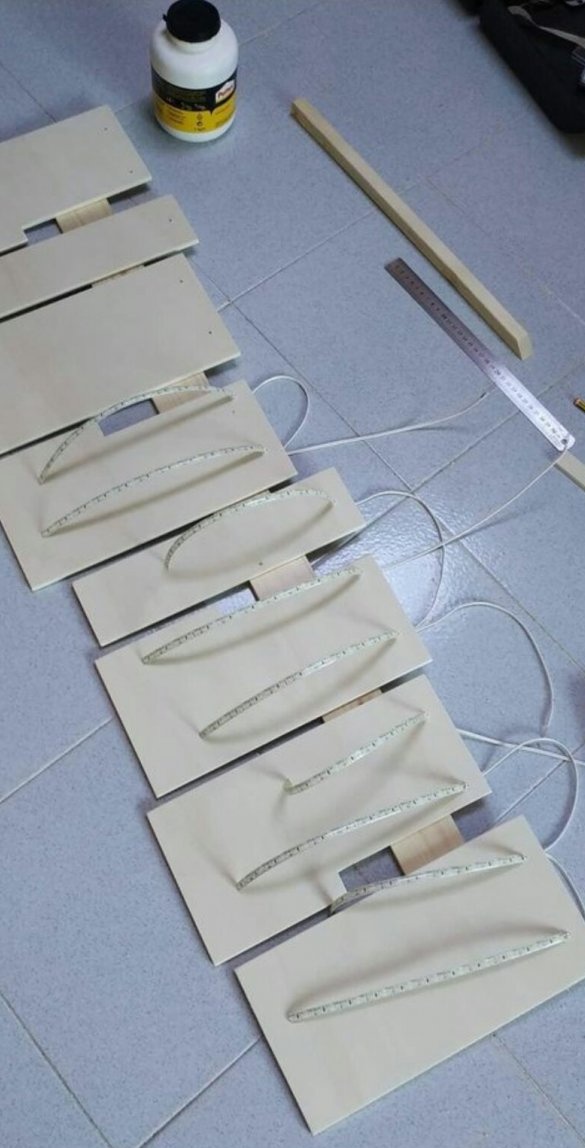
And makes additional cutouts as shown in the following photo:
The master glues all the wooden halves of the “sandwiches” to a long board with a thickness of 9 and a width of 70 mm, well, and the length is how it works, taking into account the small gaps between the parts. And glues the LED strip - two 280-mm pieces for each "key". The master recommends taking conductors between pieces of tape at least 300 mm long so that they can be hidden behind the lamp. If it is not possible to install the tape on an aluminum heat sink, it is better to reduce the supply voltage to 10-11 V, some PSUs can be adjusted with a trimmer resistor for this.
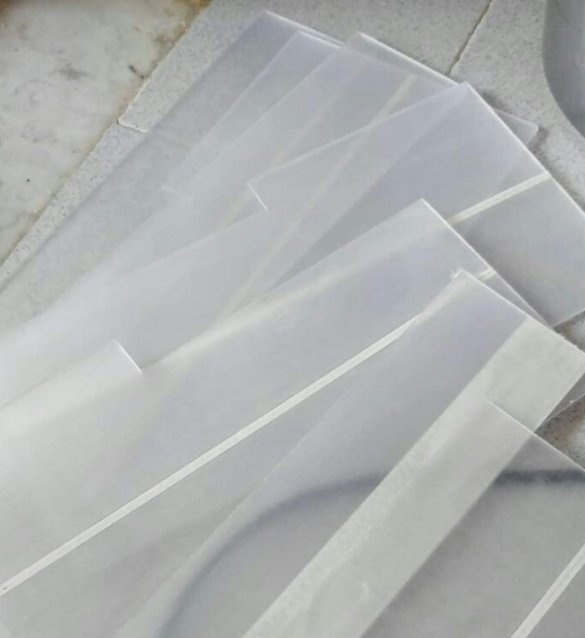
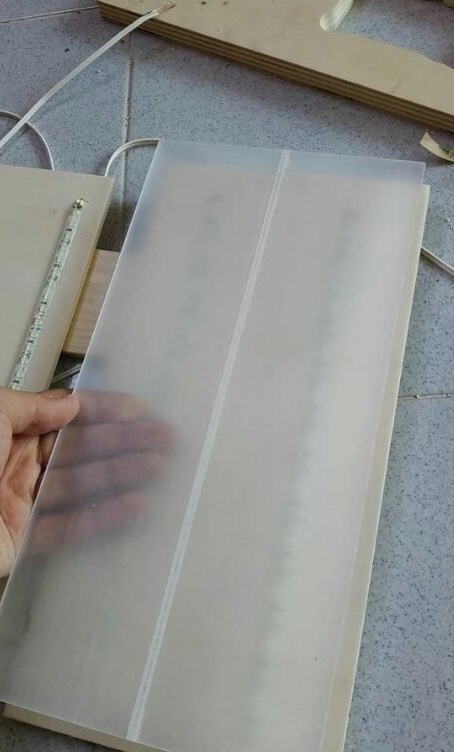
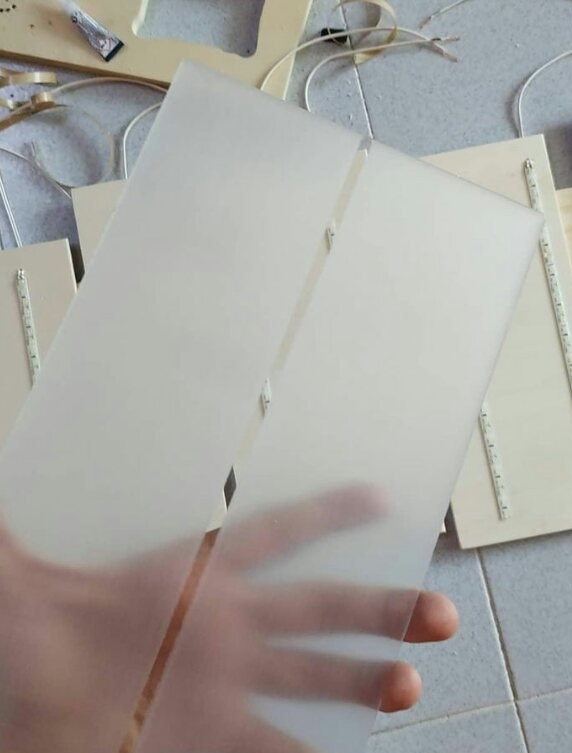
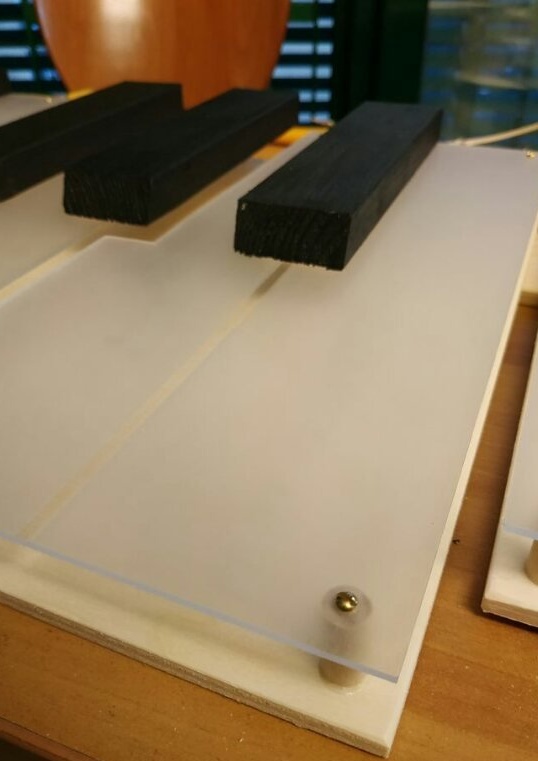
The master makes the halves of "sandwiches" made of plexiglass, first matte with sandpaper with grain 240, then with a sponge, in which one of the sides is abrasive. For those parts that form two keys at once, the master before such processing makes a dividing line of masking tape so that a glossy strip remains under it that does not scatter light.So it’s clear that these are two keys, not one big one.
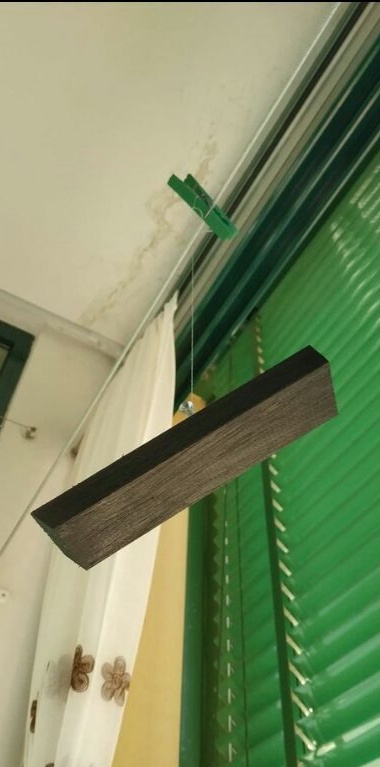
To color the black keys in one step, without turning over, the master screws in each of them self-tapping and hangs on the threads, as shown in the following photos:
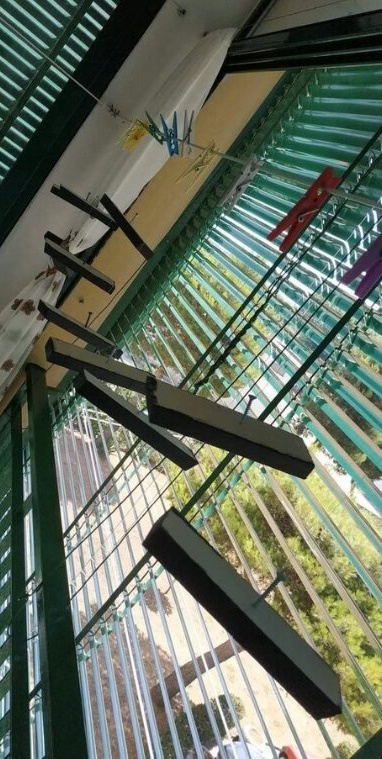
Using the wooden cylinders mentioned above as dowels, the master with self-tapping screws with a diameter of 1.5 mm connects the halves of “sandwiches” made of plywood and plexiglass:
The master makes a box for PSU:
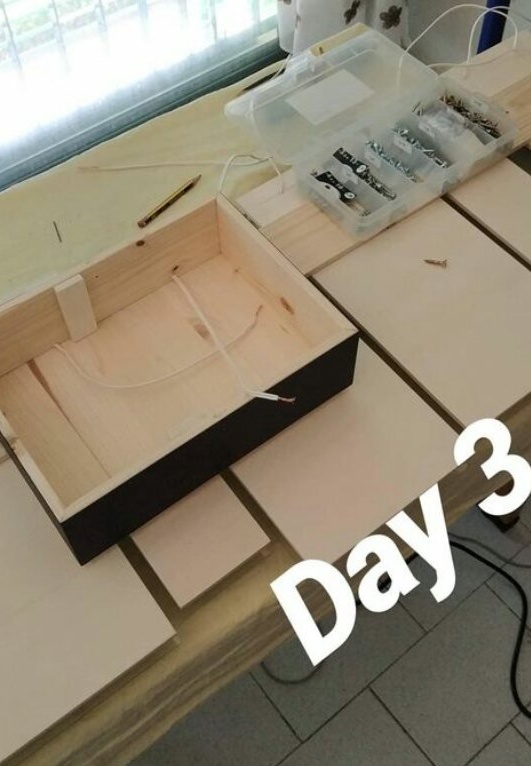
Installs the power supply there, checks each piece of the LED strip:
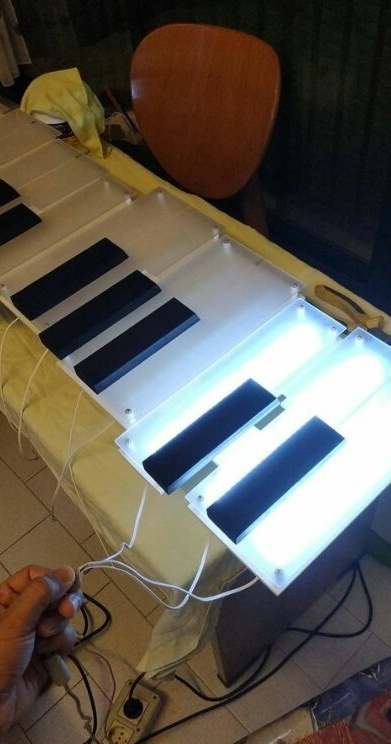
Parallels all pieces:
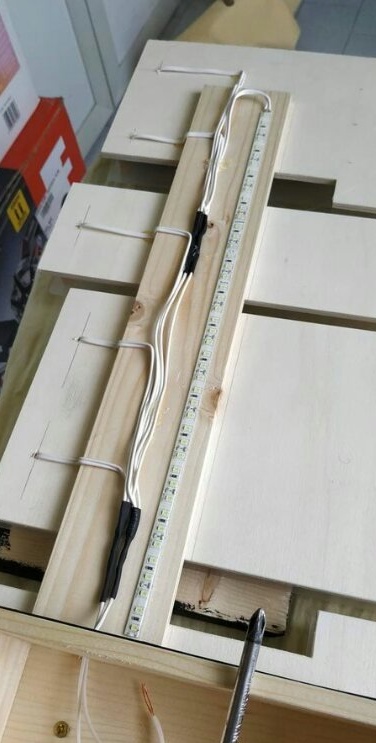
Trying on how a board with all the “sandwiches” looks on the box with the PSU:
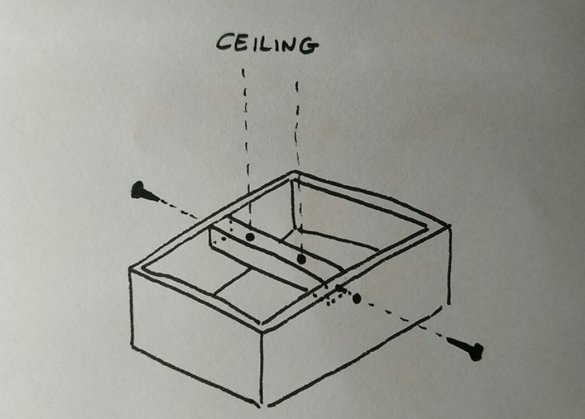
Installs this box on the ceiling as shown in the figure:
Attaches the finished lamp to the box, and you're done. To prevent it from falling off, you must additionally fix it on the ceiling from the sides.
If in your childhood you dreamed of nailing a piano to the ceiling so that it was impossible to play on it, repeat this lamp and consider your dream come true.

