I welcome the fans to craft, I propose to consider an interesting wooden chandelier that you can make do it yourself. As a material, you can use waste wood or even chopped wood with an ax. However, it is important to understand that the worse the starting material, the more serious equipment will be required to process it. The author used a variety of cutting machines, as well as a thicknessing machine to get blanks with the right parameters. Of course, the author approached the manufacture of the chandelier very responsibly, having thought over everything and made up a plan, but in general, what difference does it make if it is further processed on a lathe to the desired shape. One way or another, if you are interested in the project, I propose to study it in more detail!
Materials and tools used by the author:
Material List:
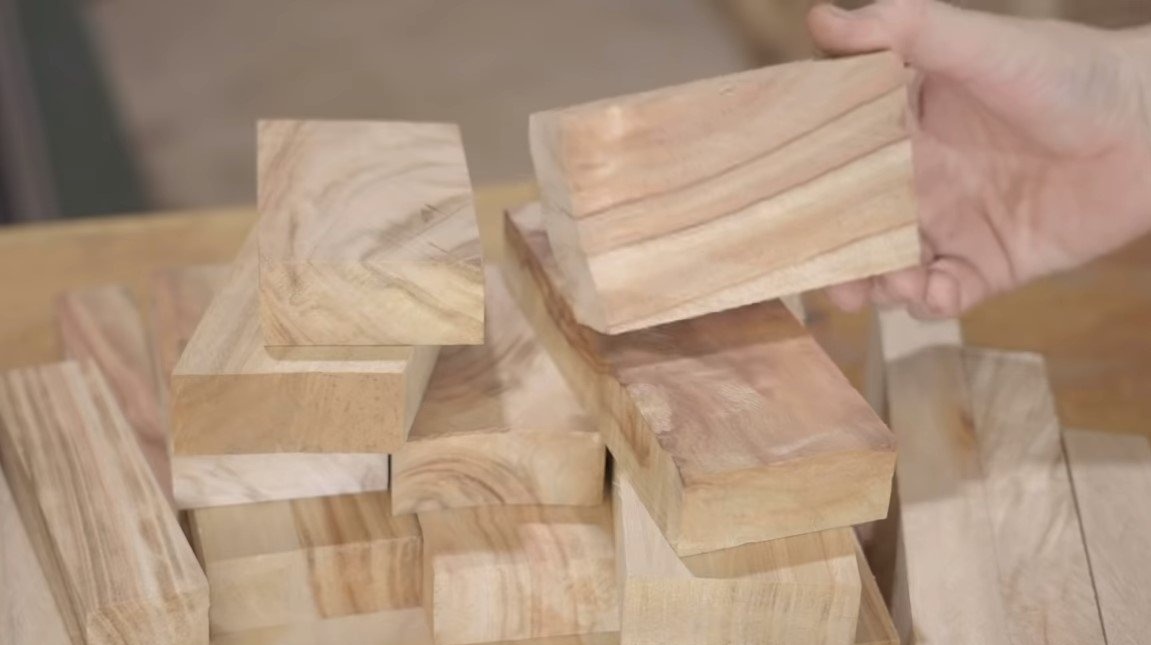
- wood waste;
- carpentry glue;
- oil or wax for wood;
- bulb holder;
- the wire;
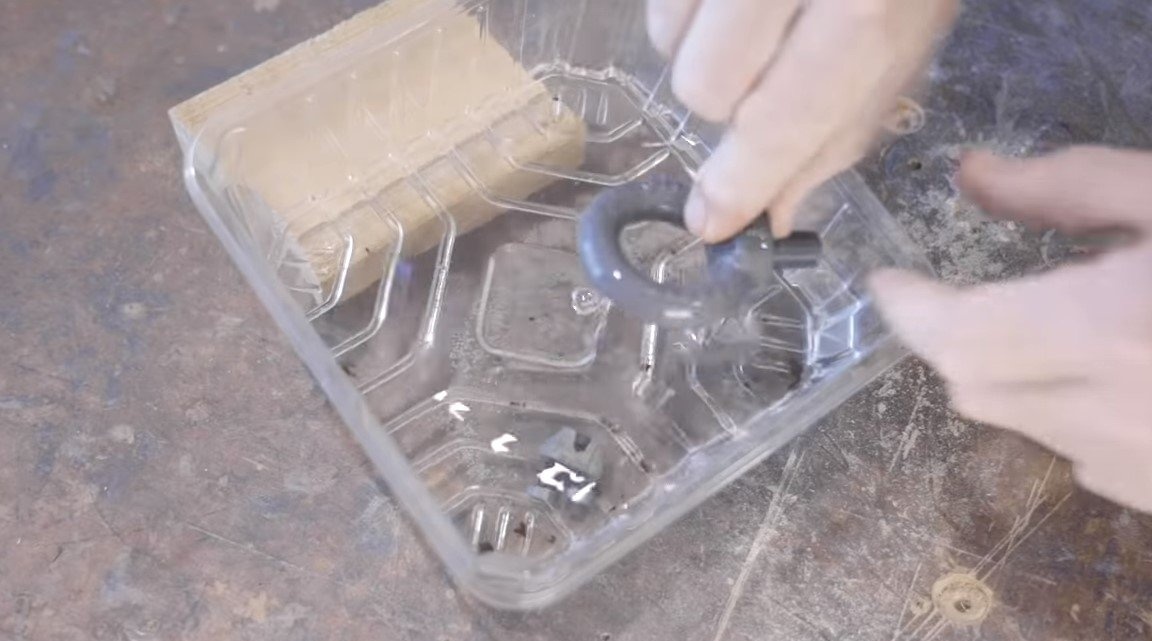
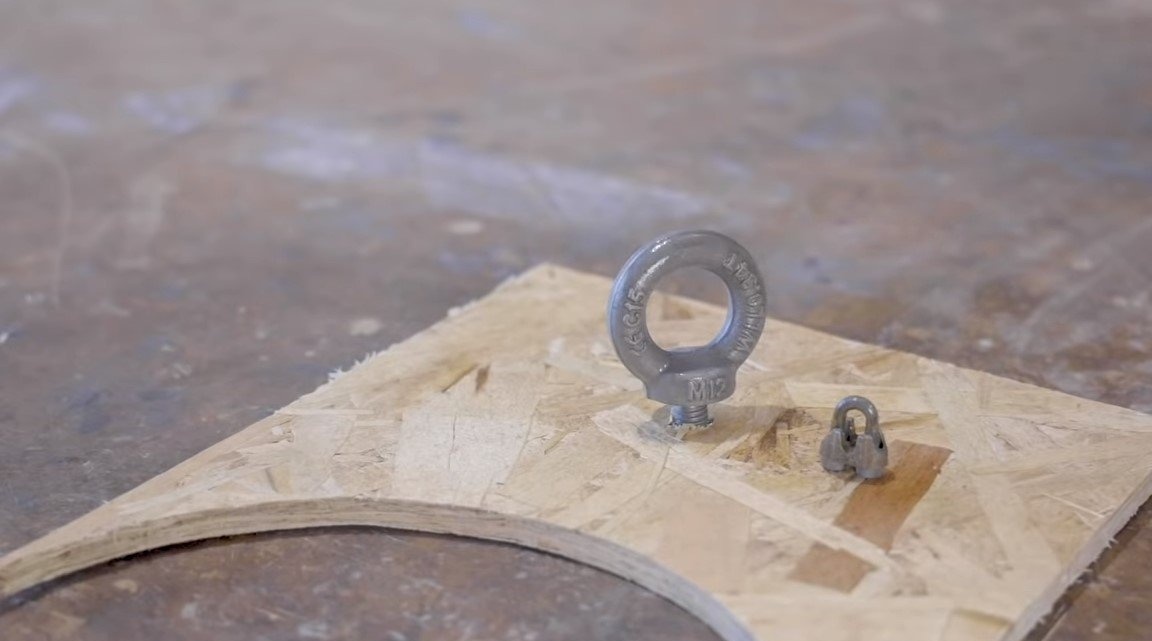
- a loop for a chandelier.
Tool List:
- drawing tool;
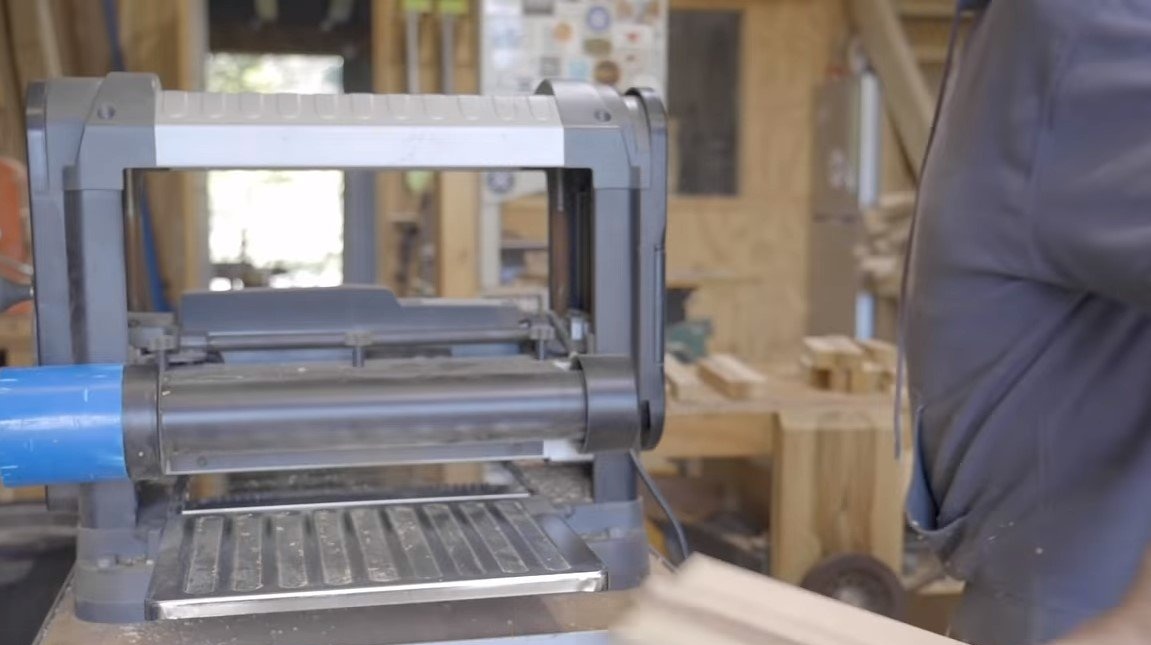
- Thicknessing machine;
- a circular saw;
- tape cutting machine;
- lathe;
- a hacksaw;
- drill;
- glue gun.
Chandelier manufacturing process:
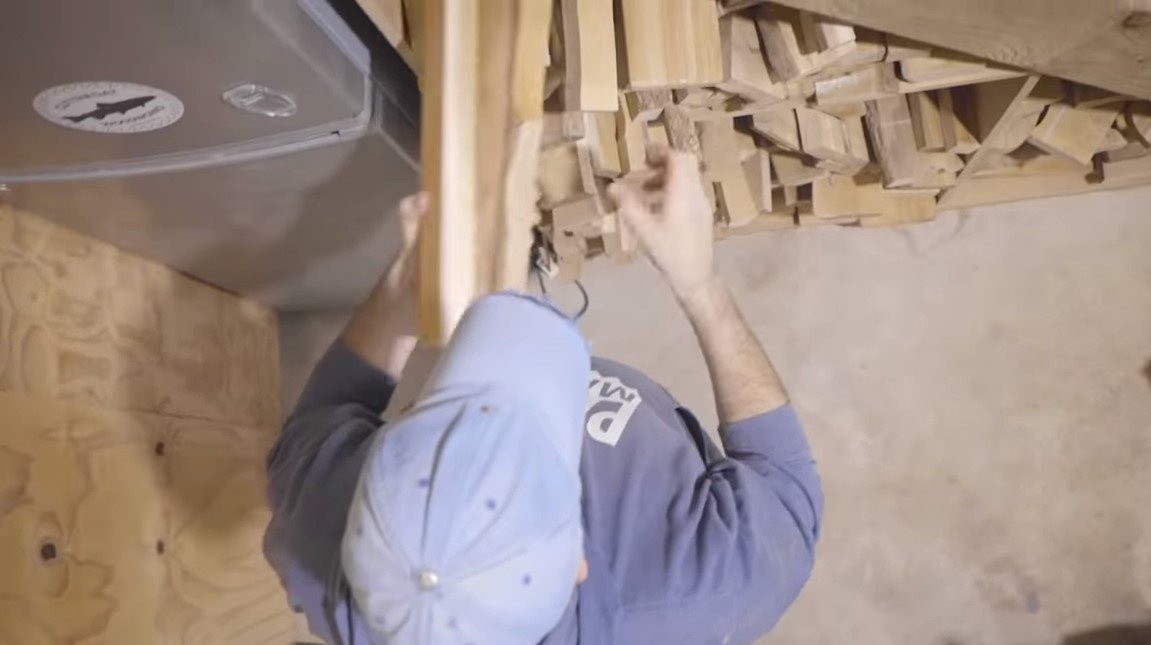
Step one. Source material preparation
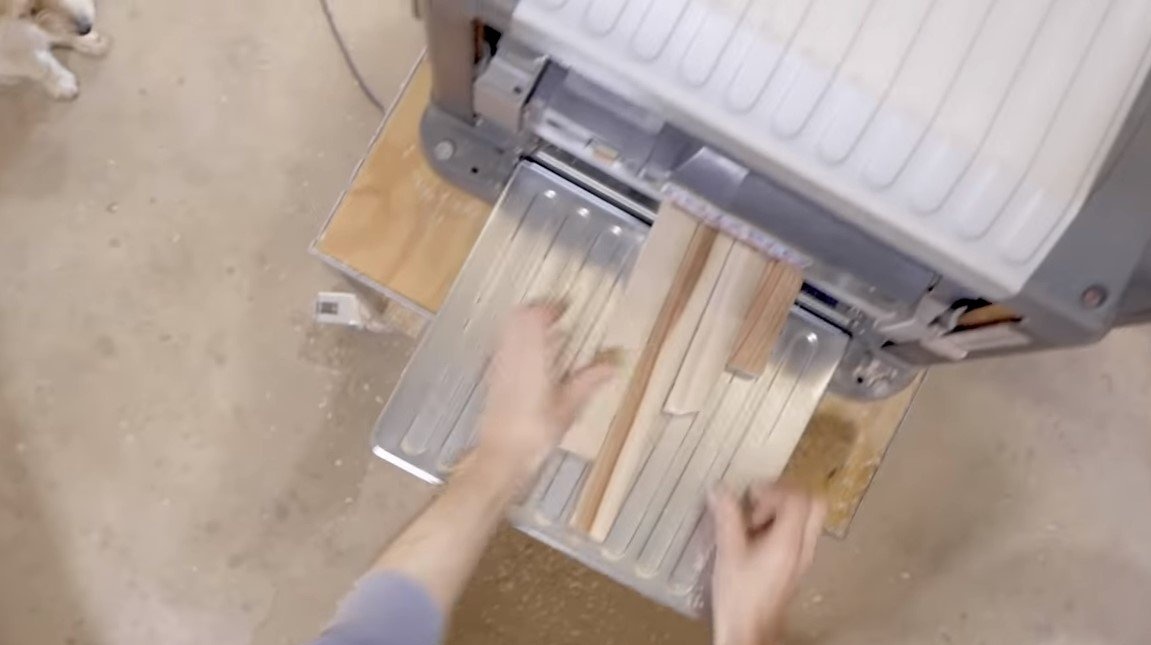
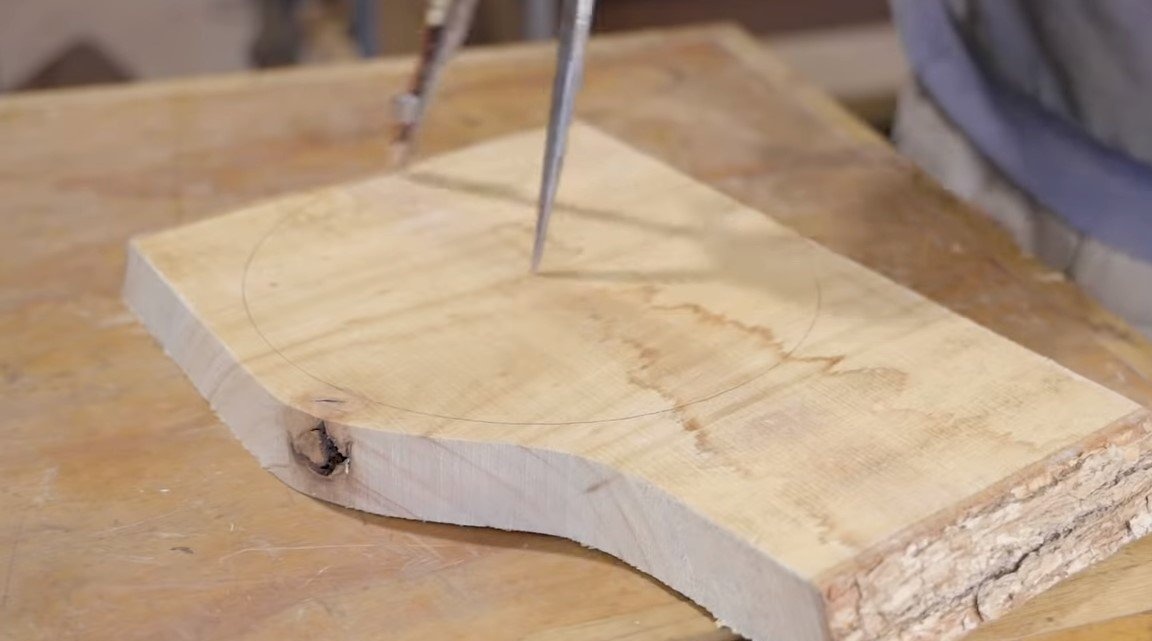
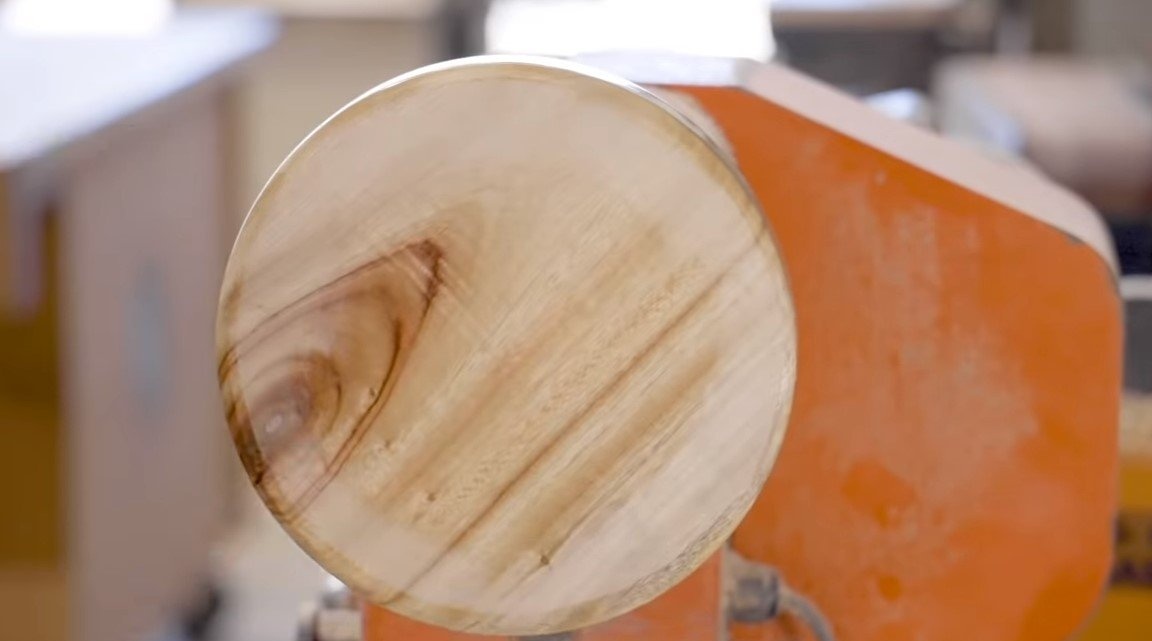
We will prepare the source material from which we will collect homemade. We will need short pieces of boards of the same thickness. As a material, saw cut from a log or other waste is suitable. We cut off the excess and then run the material through the thicknesser to get the same thickness. Due to the same thickness, it will be possible to collect circles for homemade products of the same thickness over the entire area.
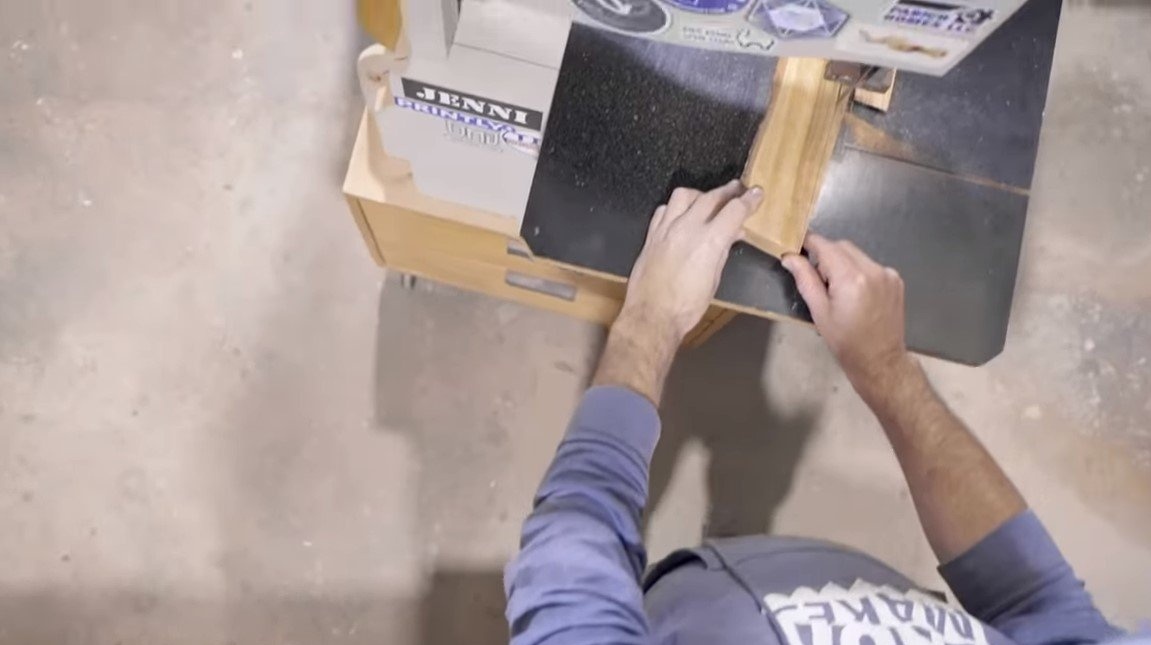
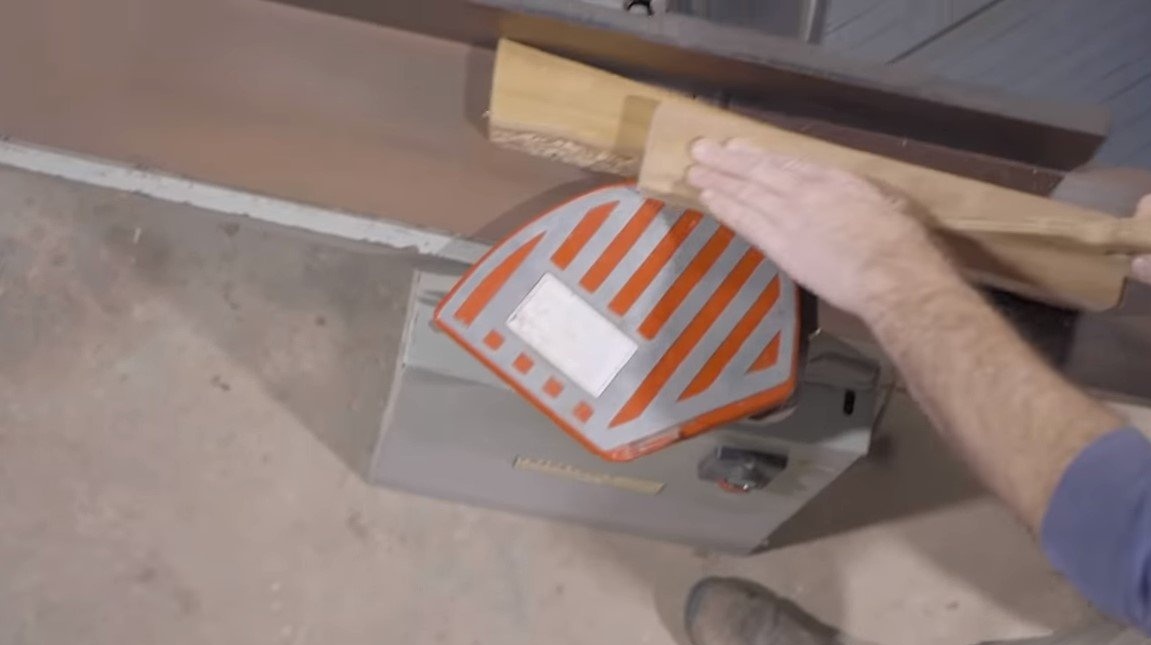
Step Two Blanks
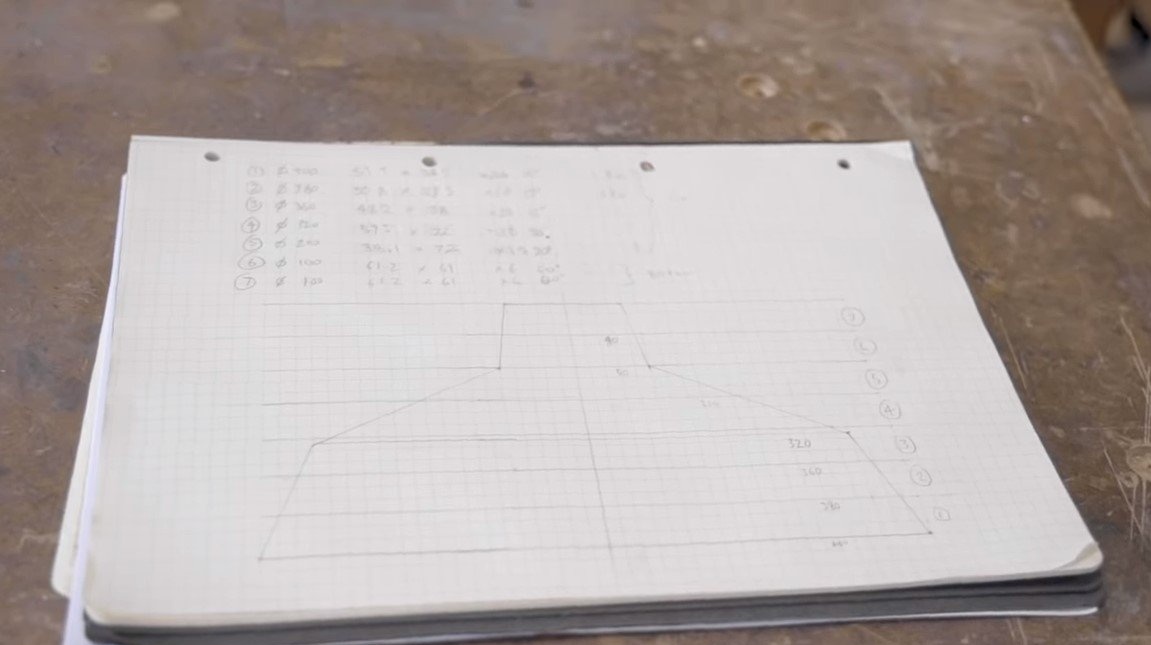
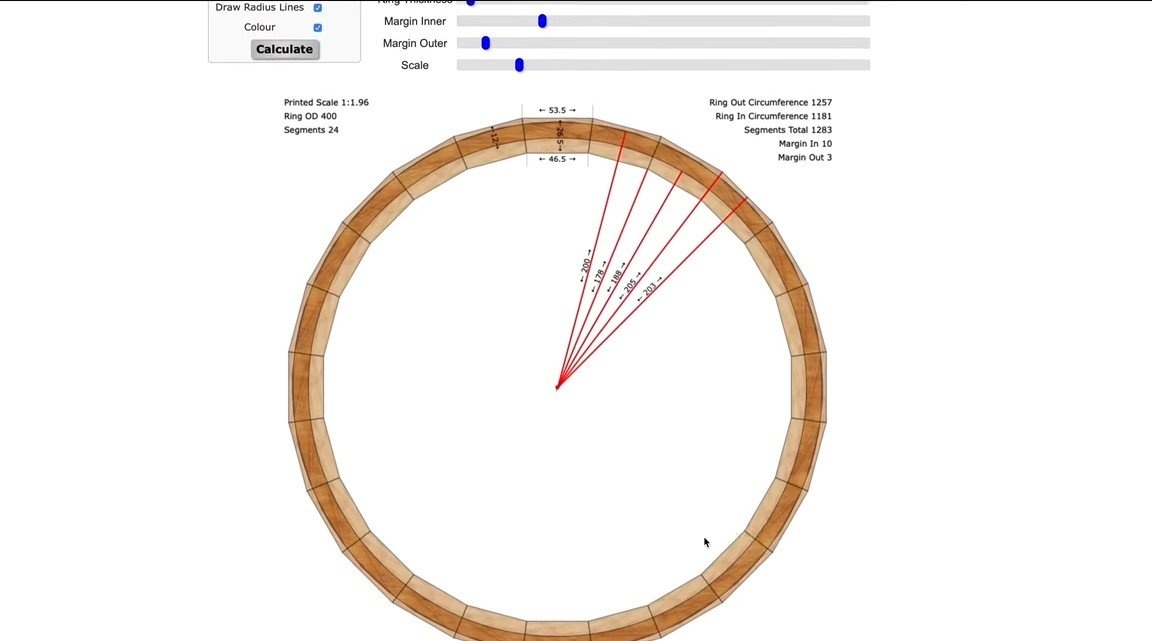
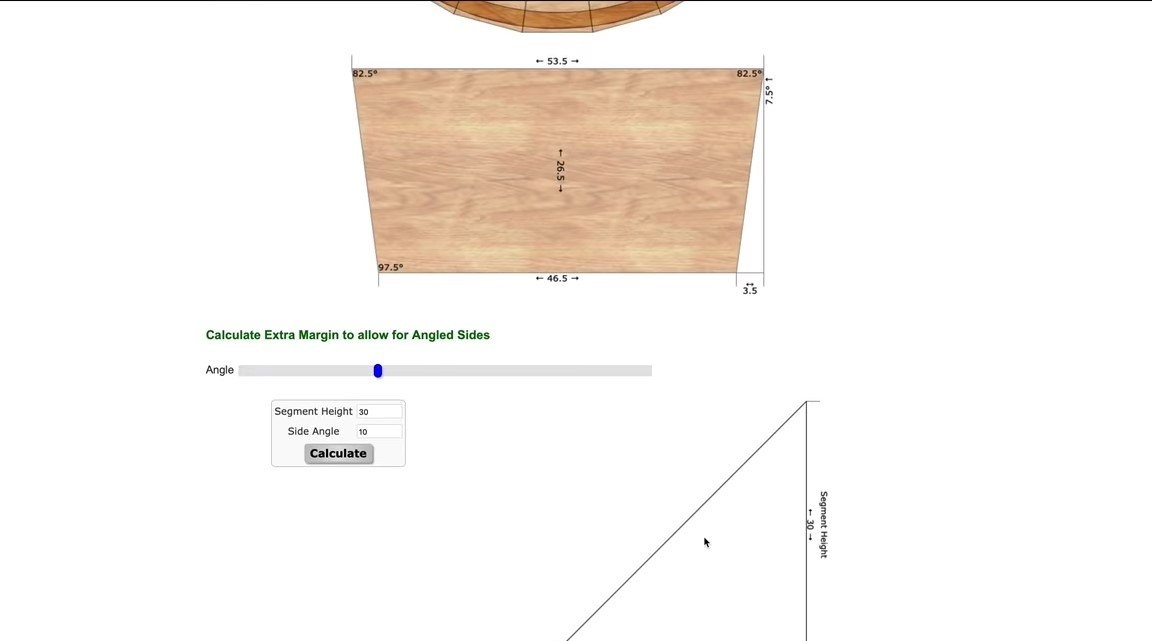
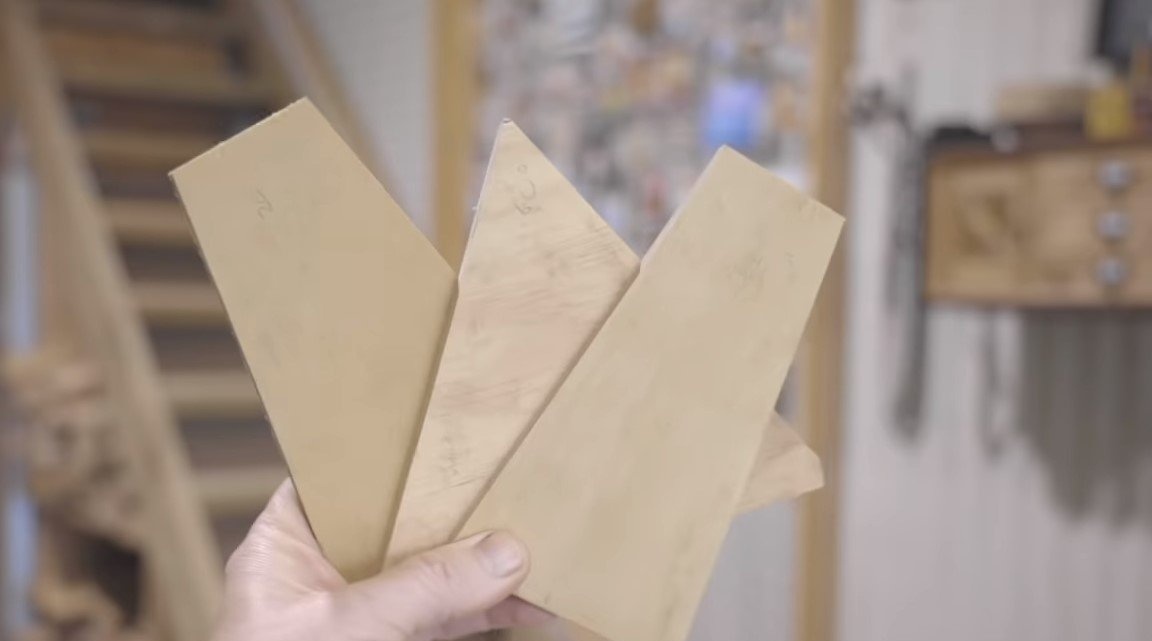
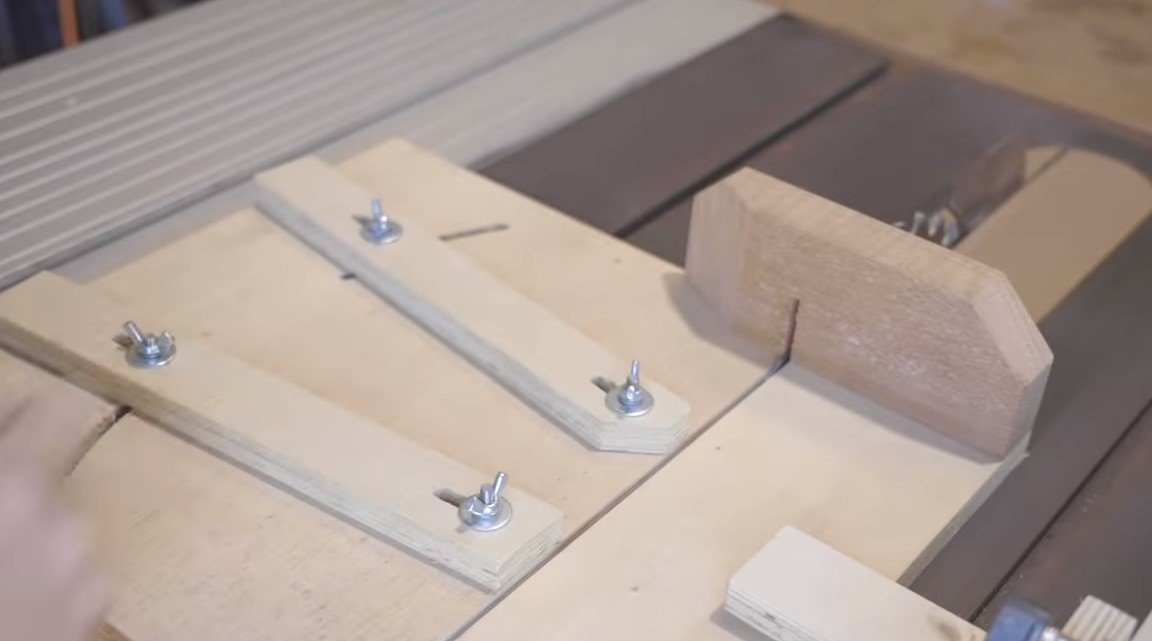
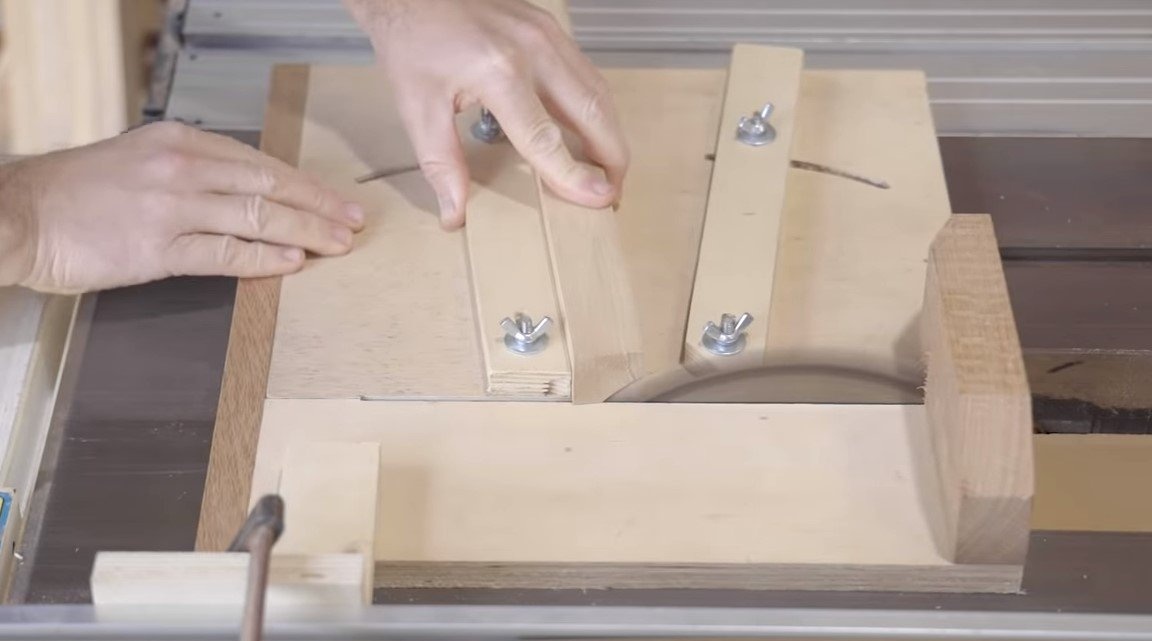
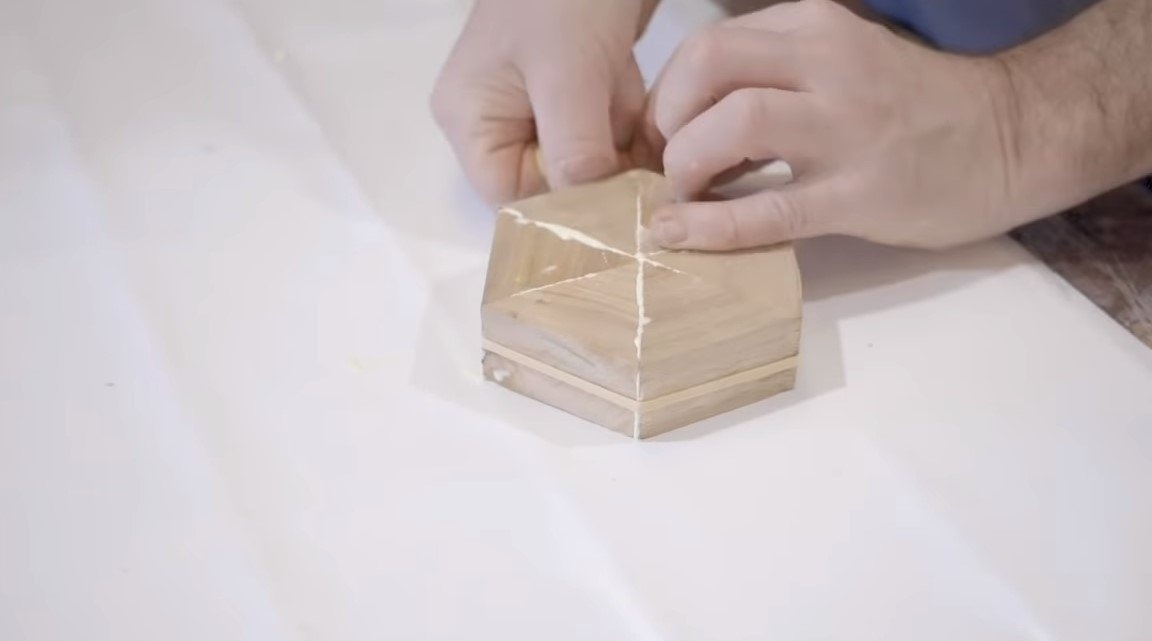
Then the author made a plan on the computer, you will need to collect several circles for the chandelier from pieces of boards, and for this you need to know at what angle to cut them. Having made the calculation, we make plywood templates with which we will cut the material. Well, then, using templates, we cut the boards of a circular saw at a clearly defined angle.
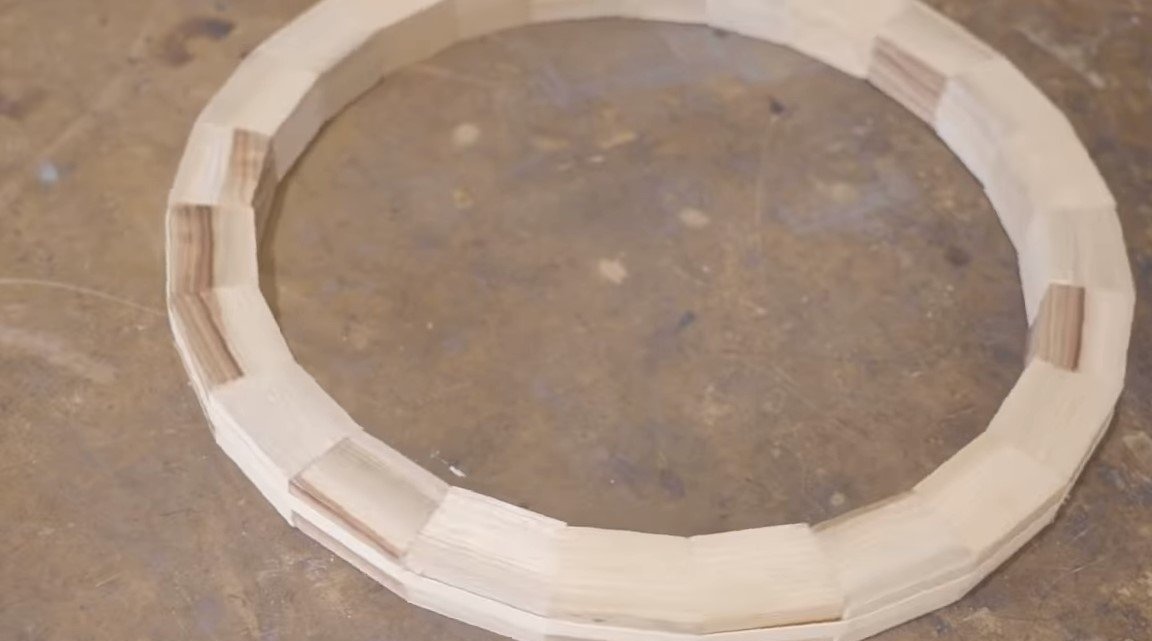
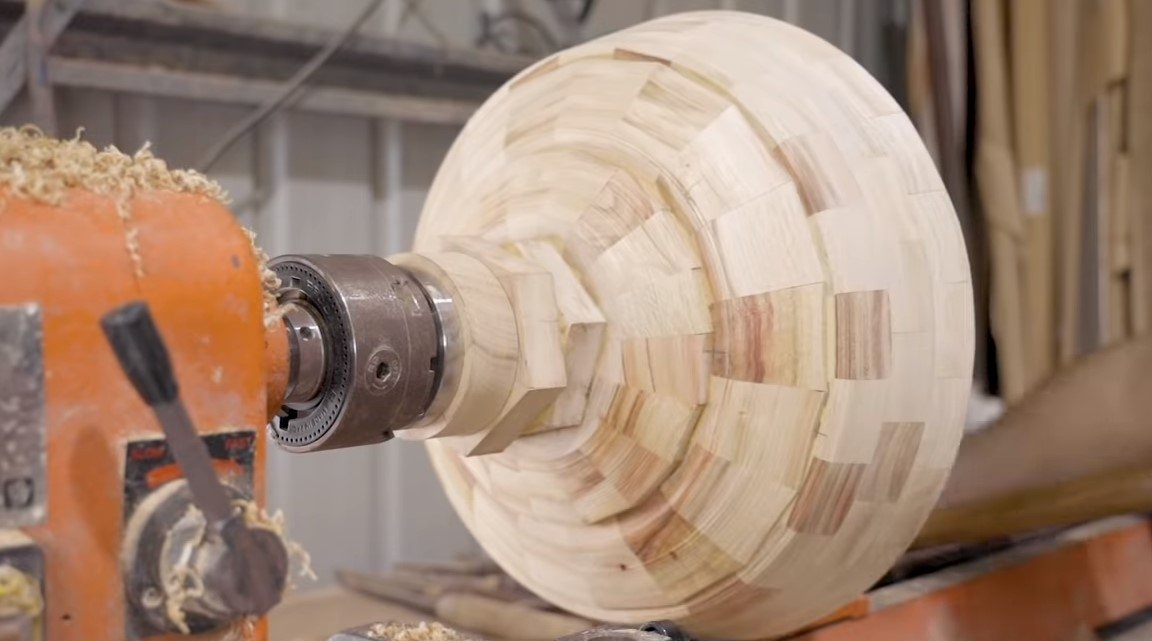
Step Three Assembly of the main part
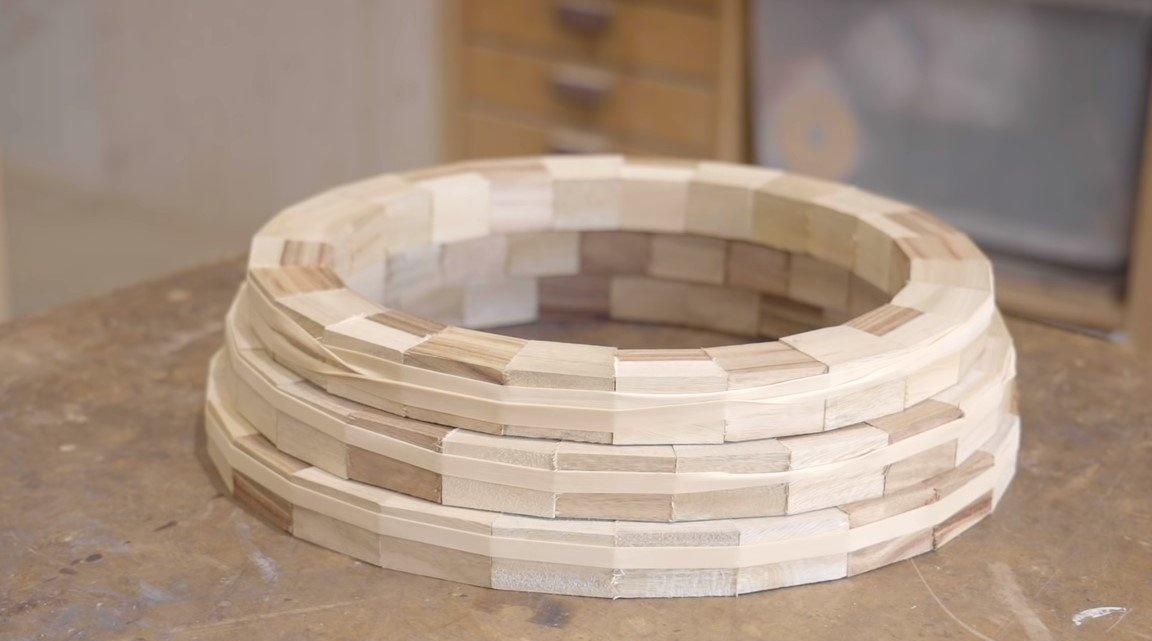
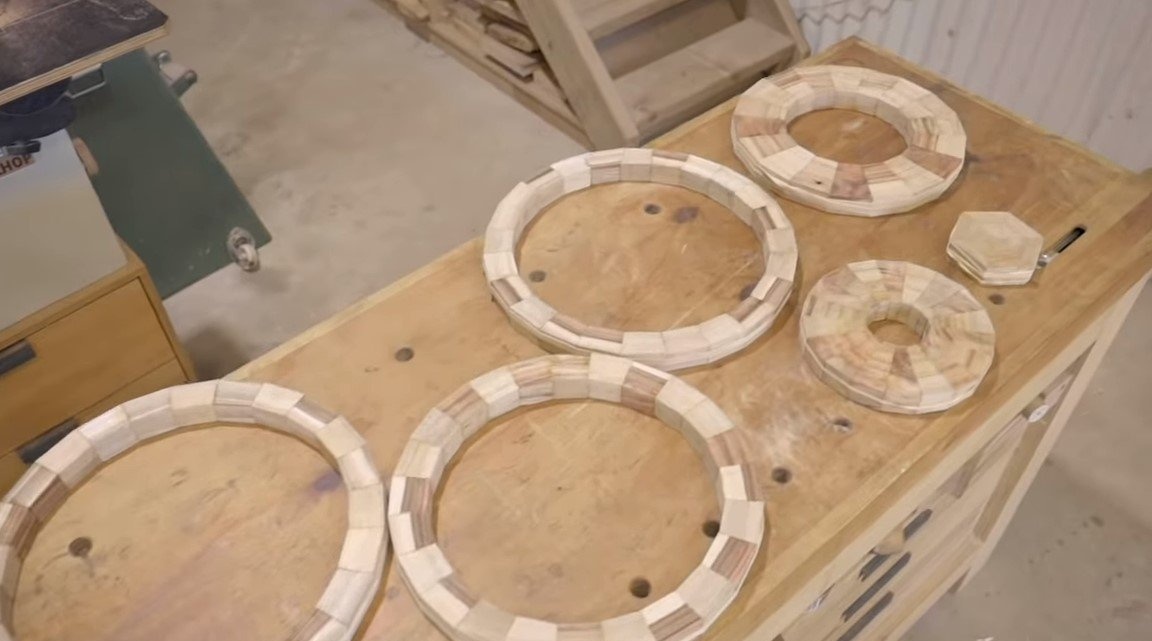
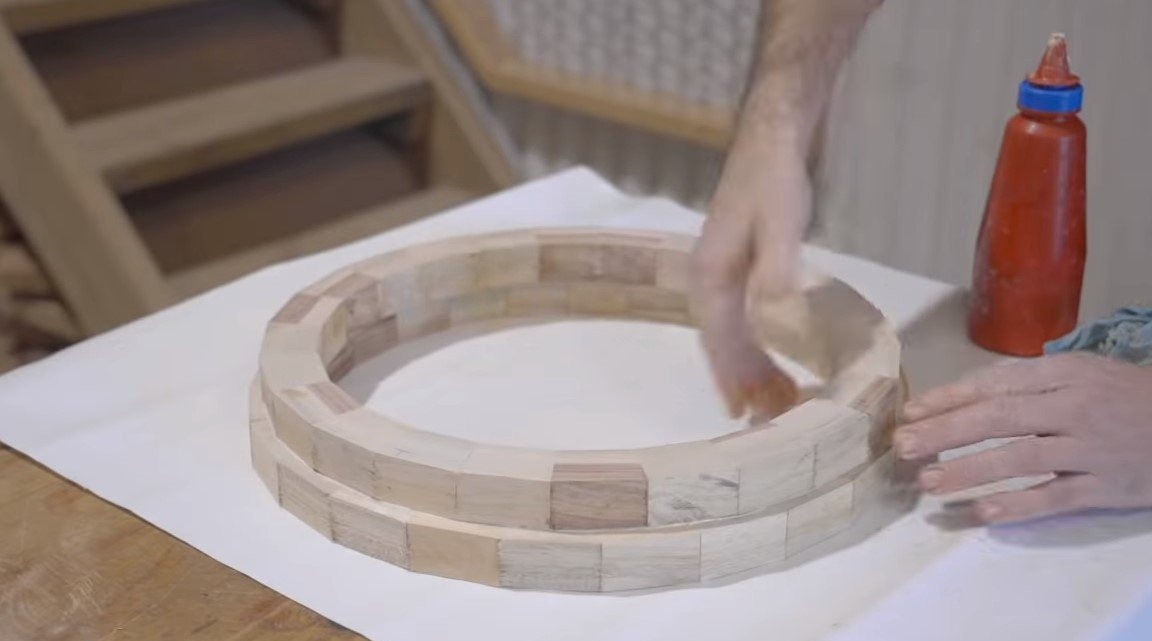
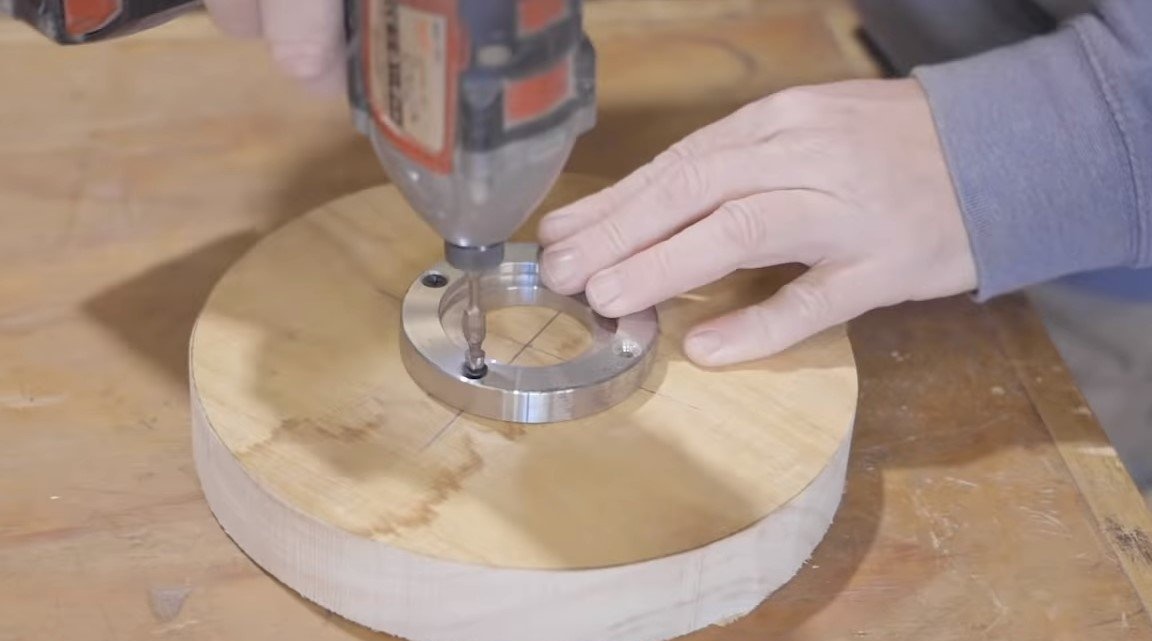
First, we need to glue the circles of wood, which then will be glued all together. In total, for the chandelier, it was necessary to collect 5 circles, as well as the top cap. We glue the circles with carpentry glue, tighten everything well, clamp and leave to dry. It is important not to heat the tree much, as it can easily be deformed.
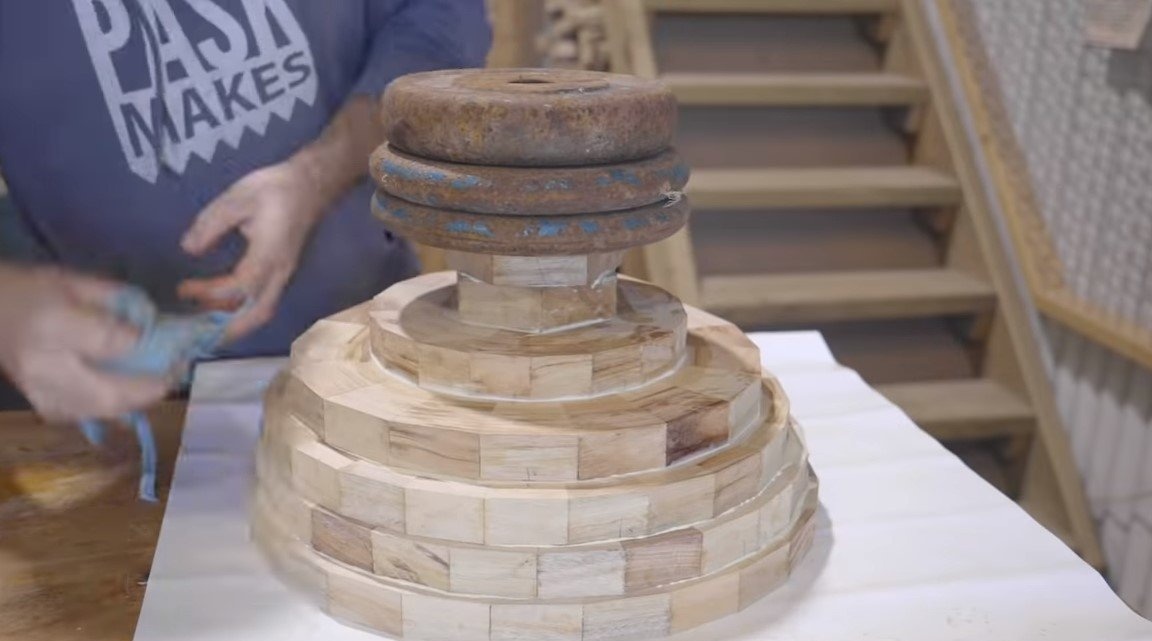
When the circles are ready, we collect together the entire structure. To make everything stick together well, we set more weights on the upper point, you can use dumbbell pancakes.
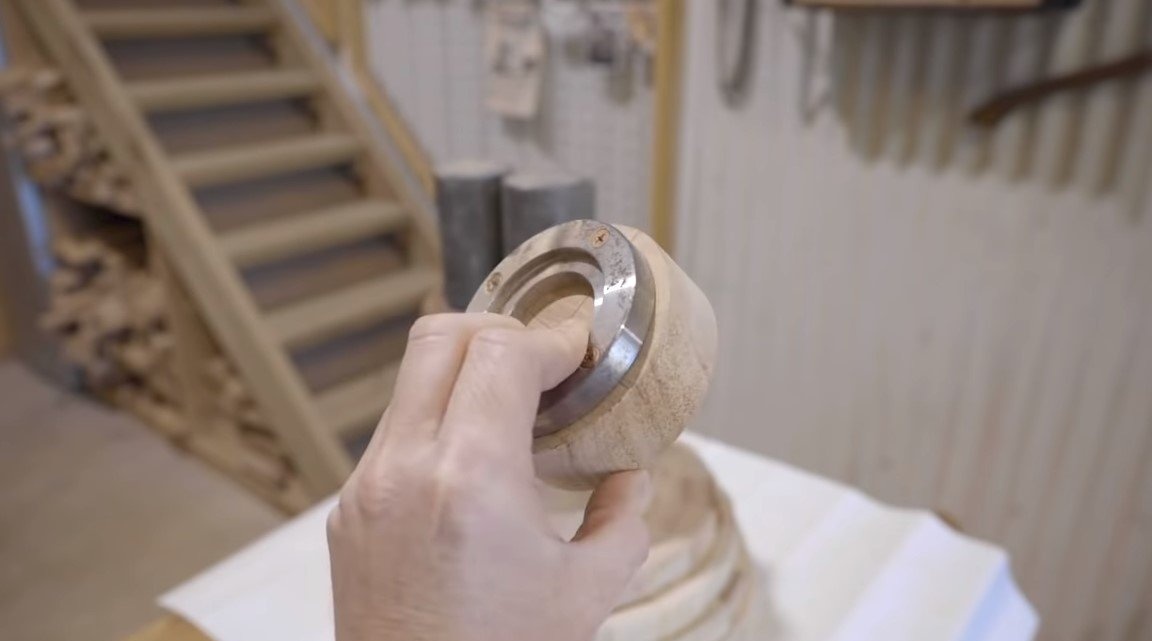
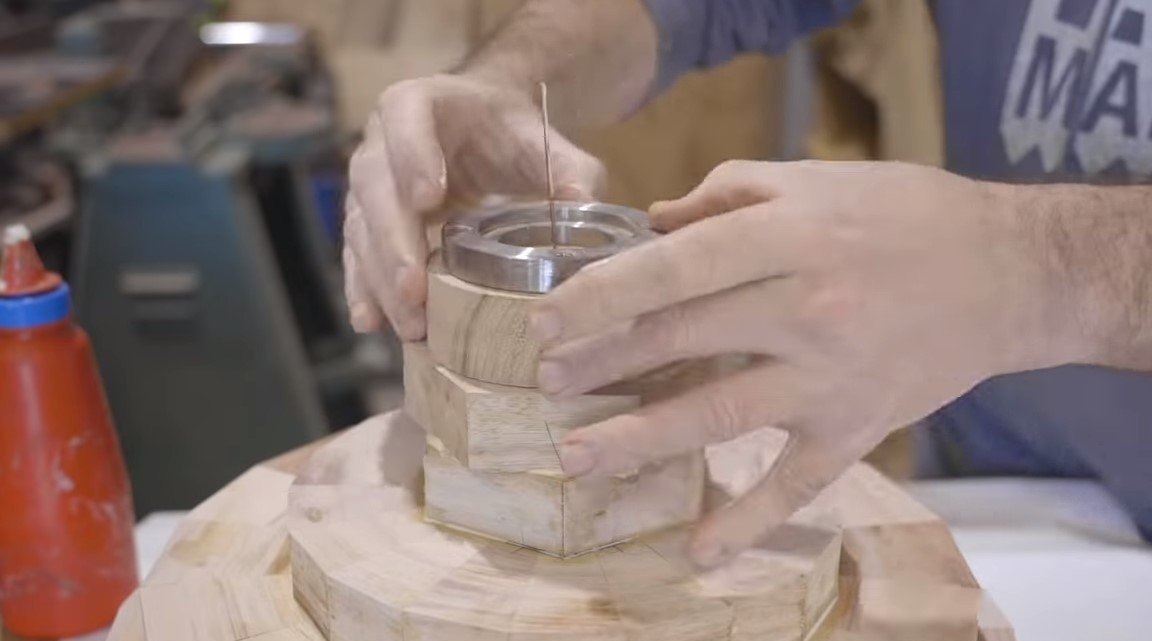
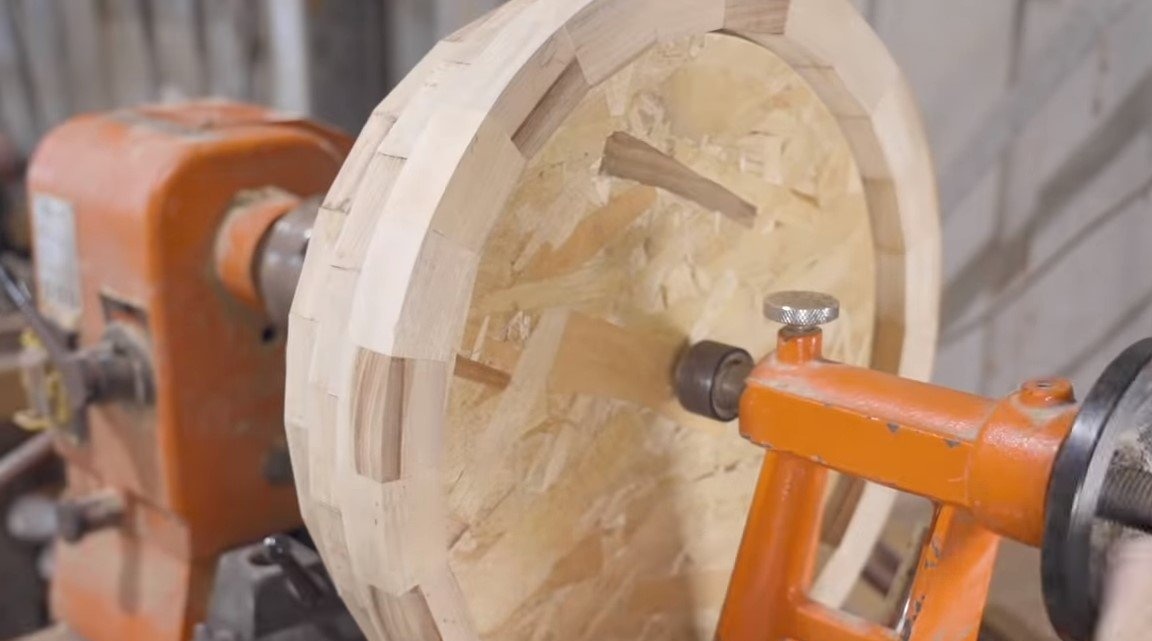
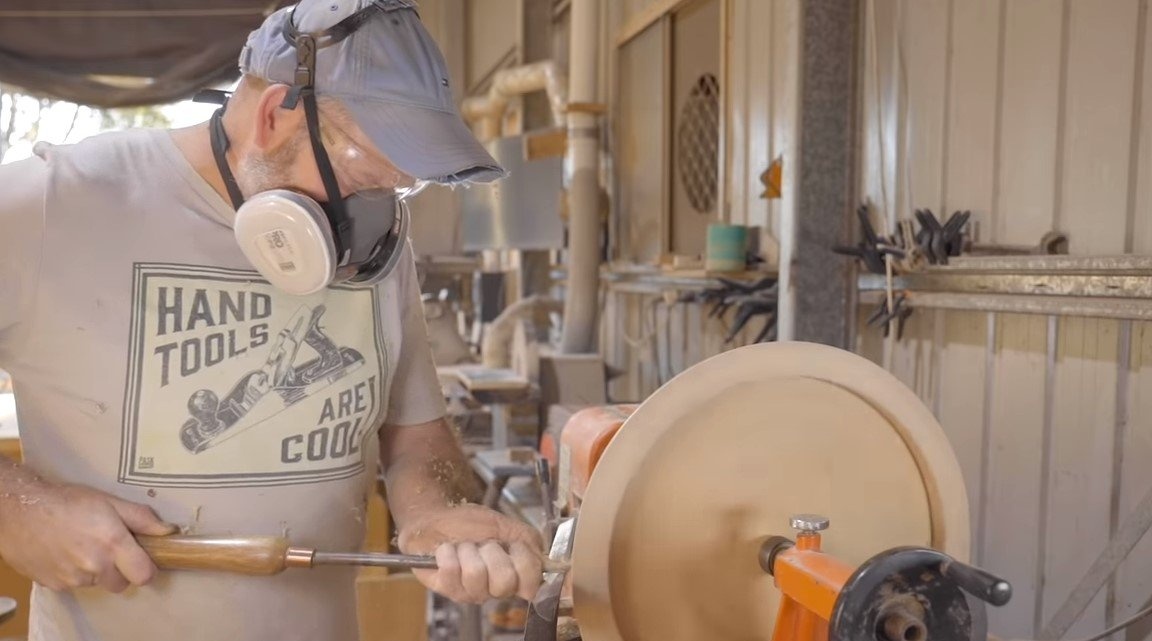
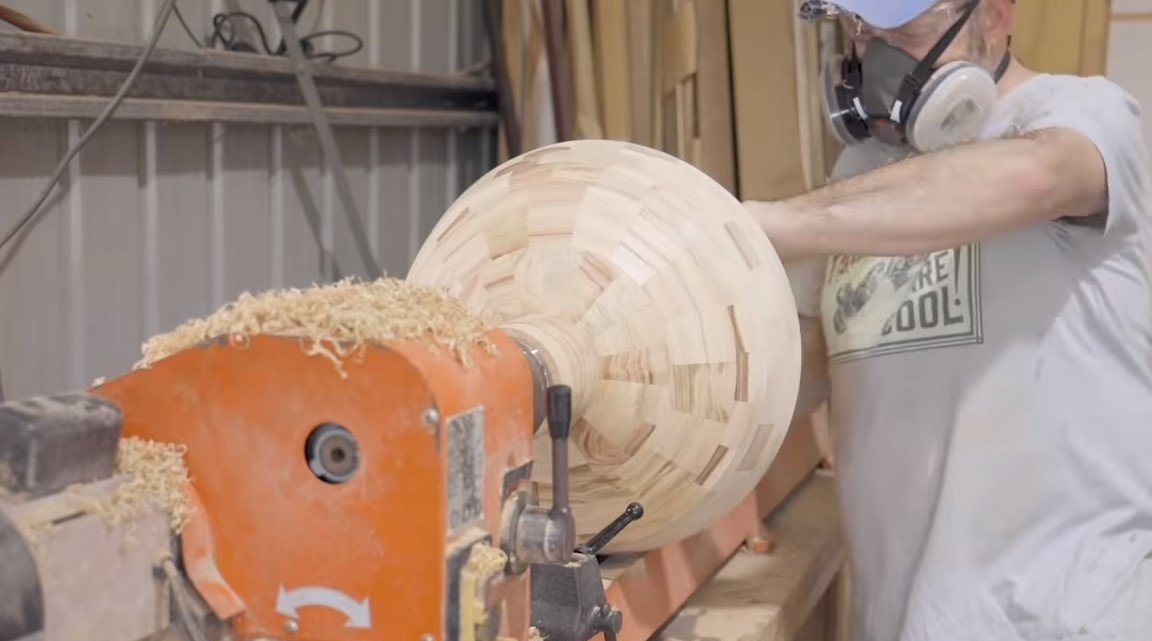
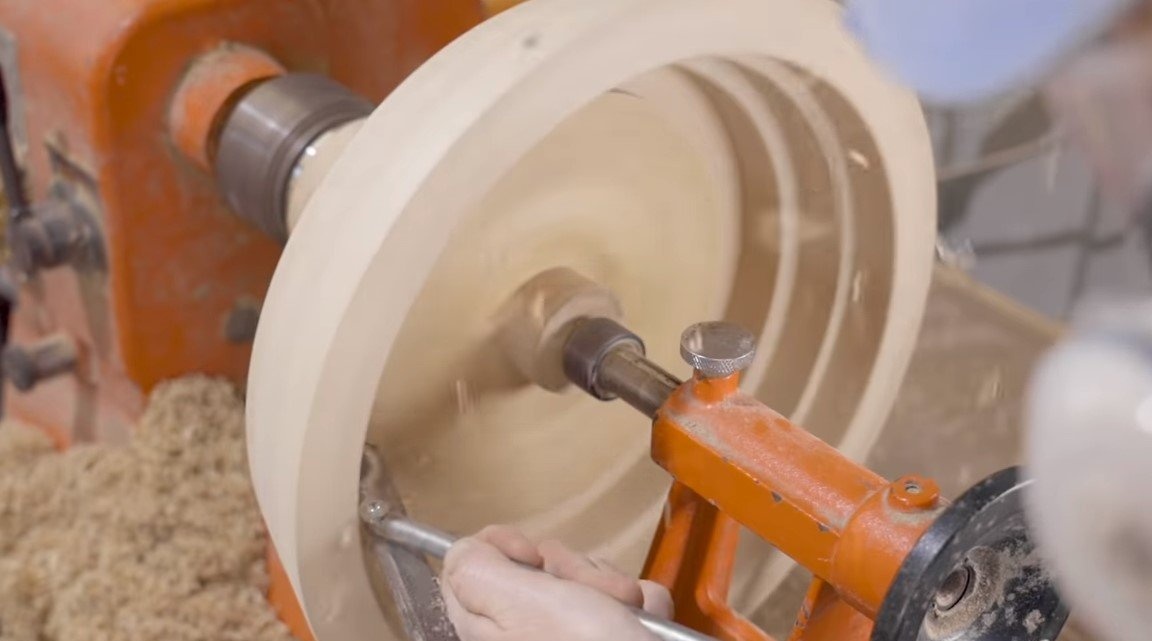
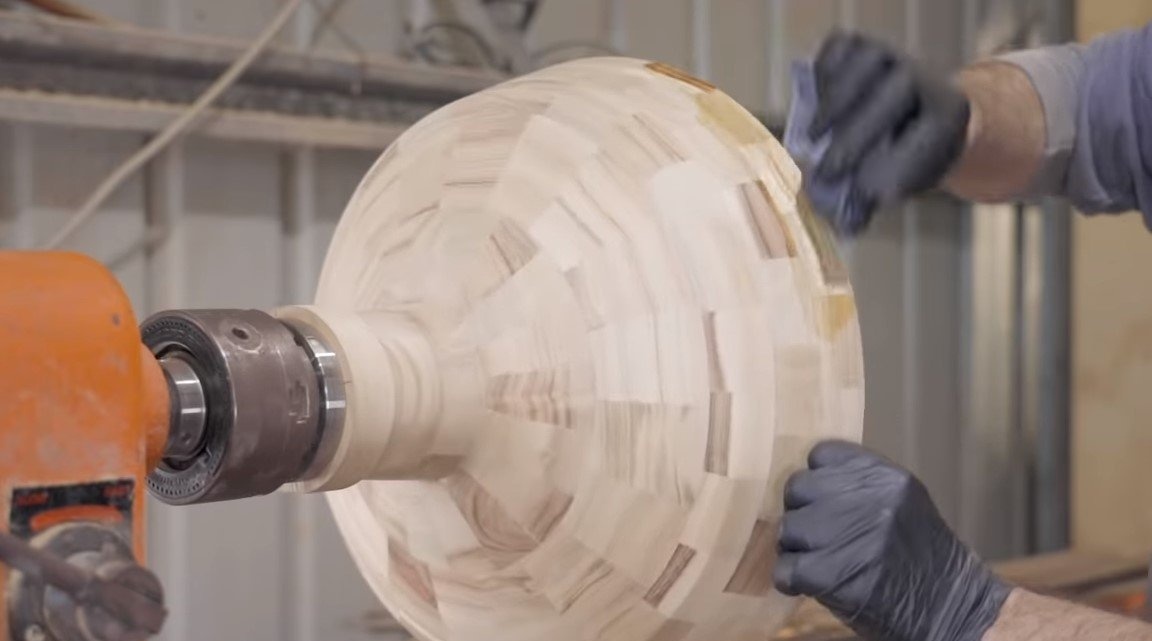
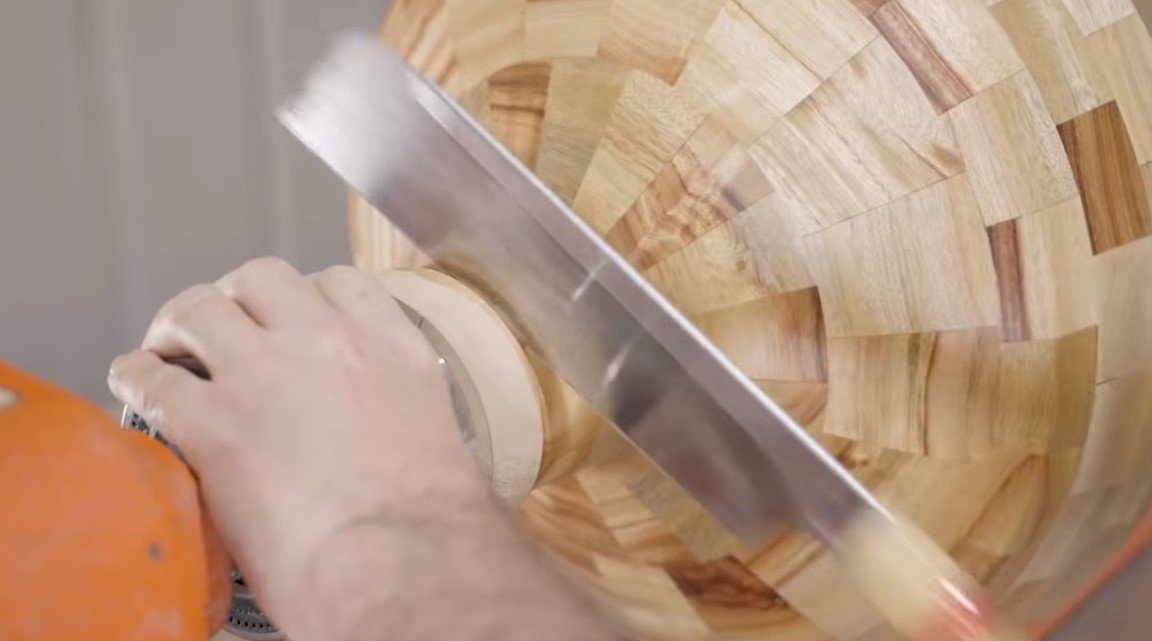
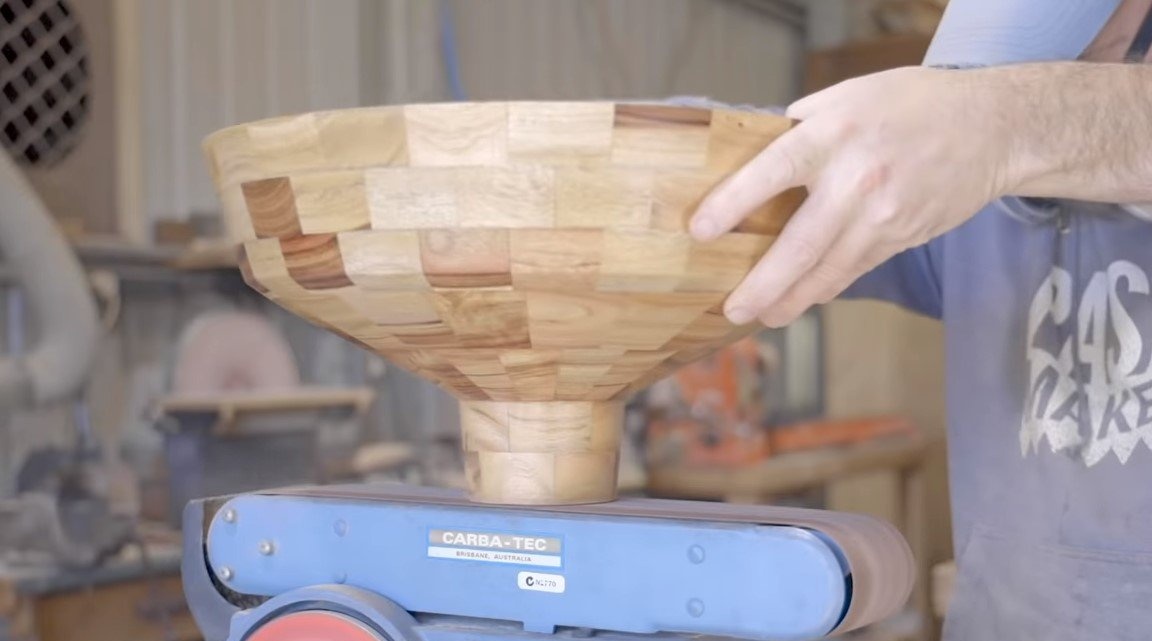
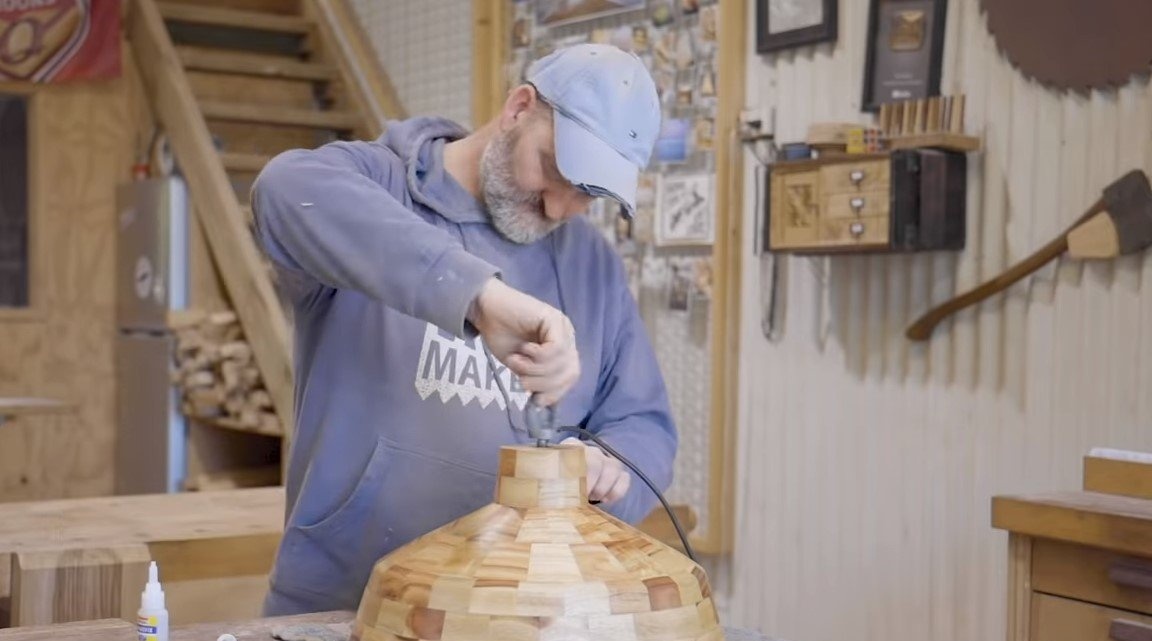
Step Four Turning works
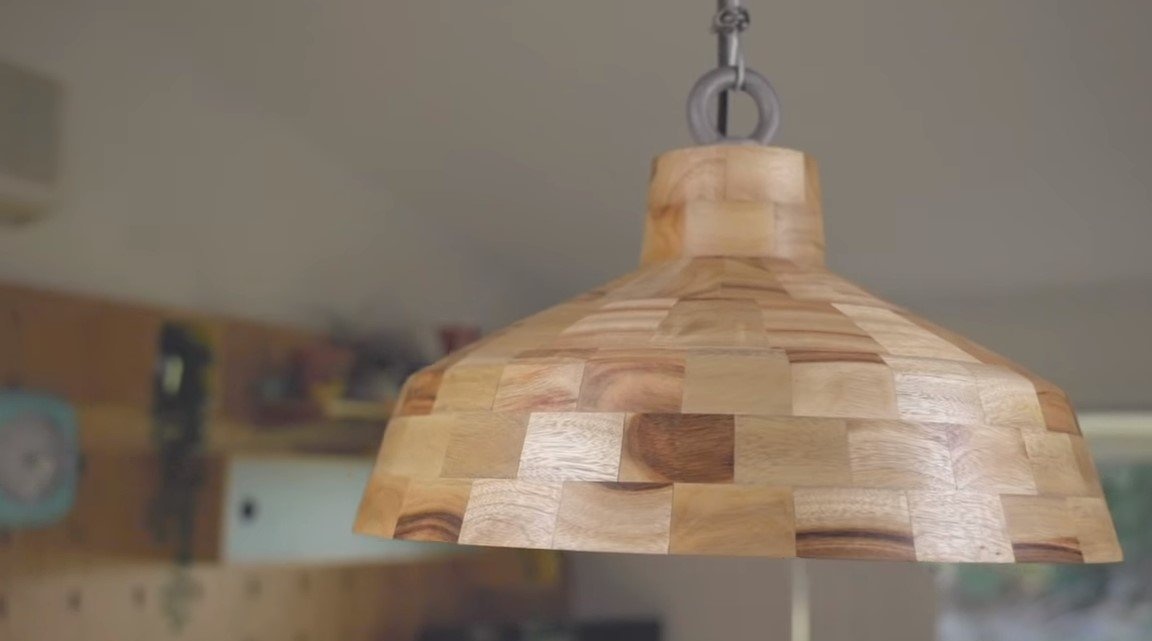
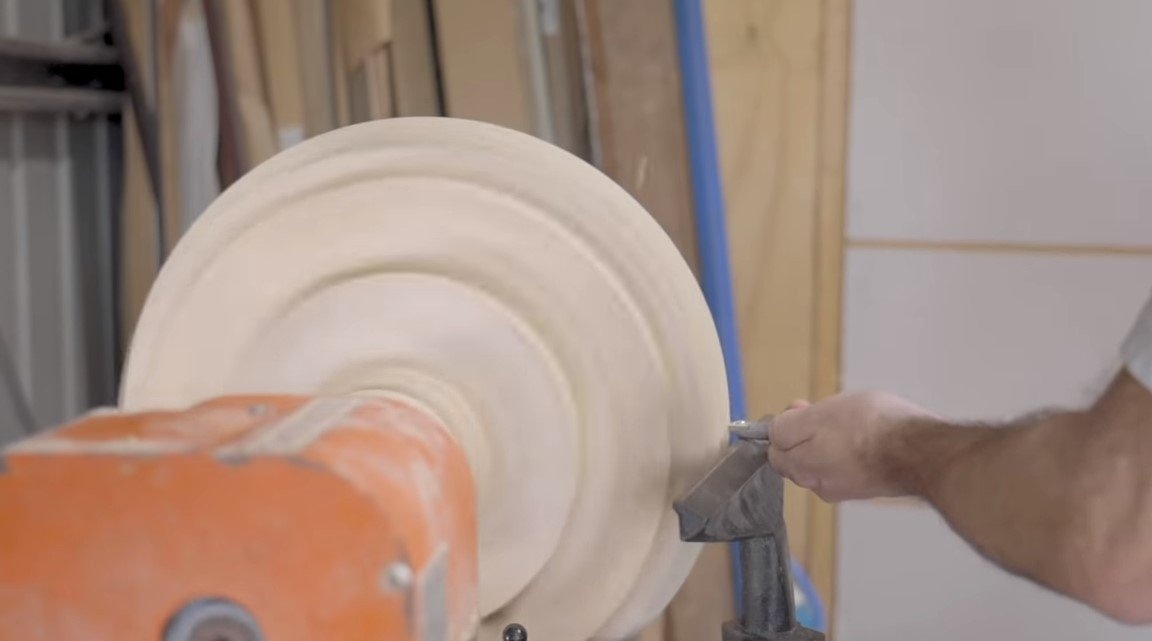
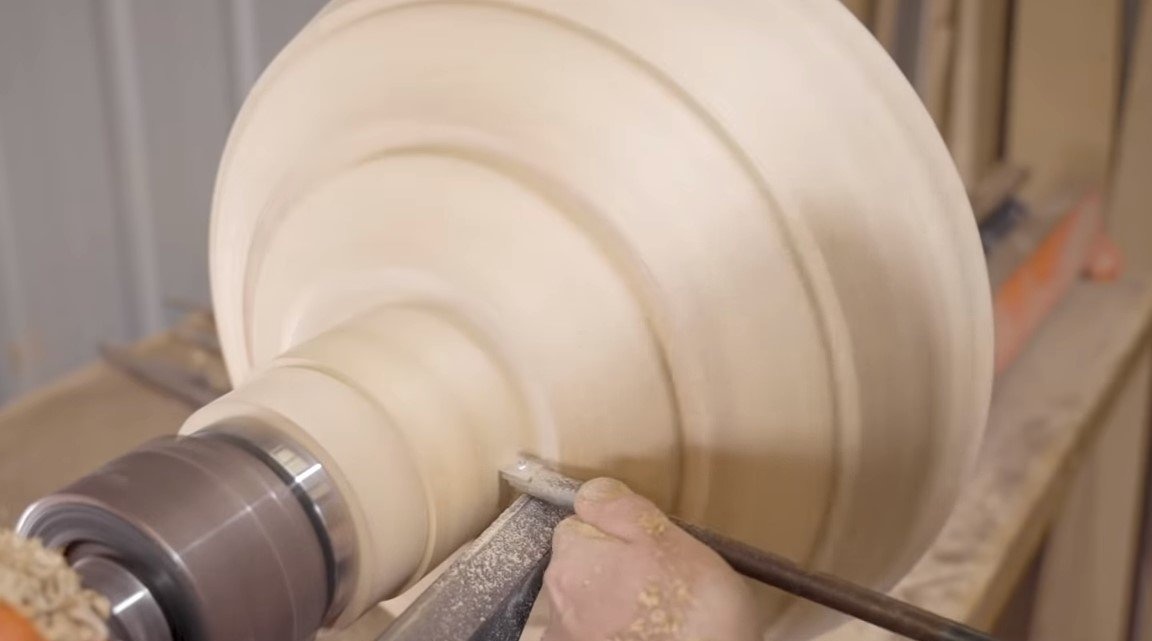
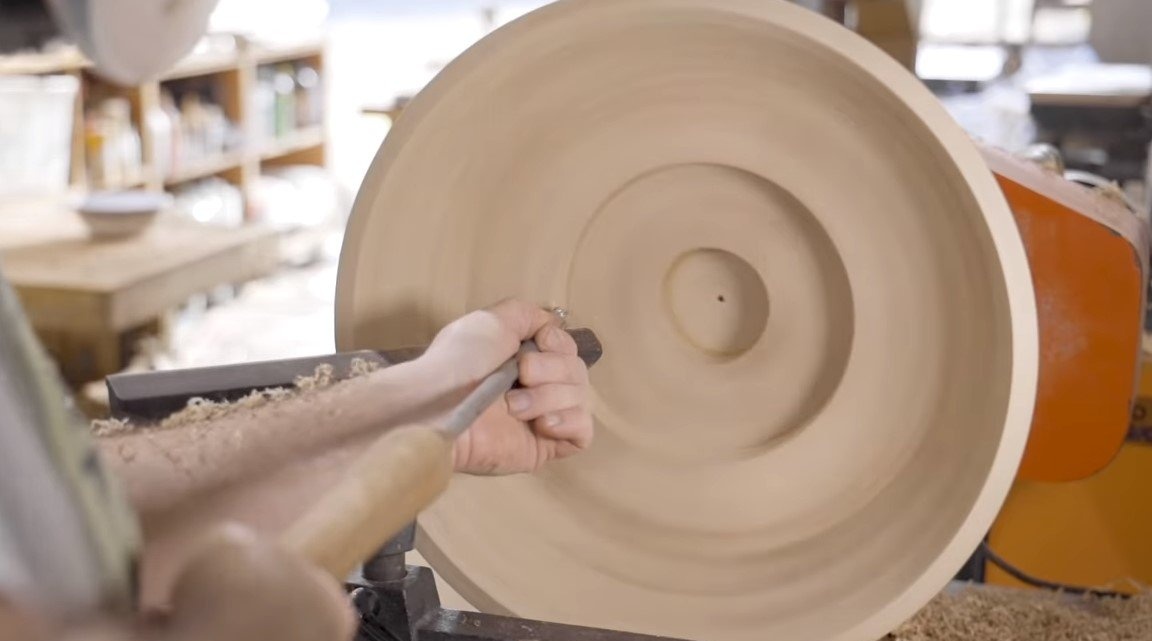
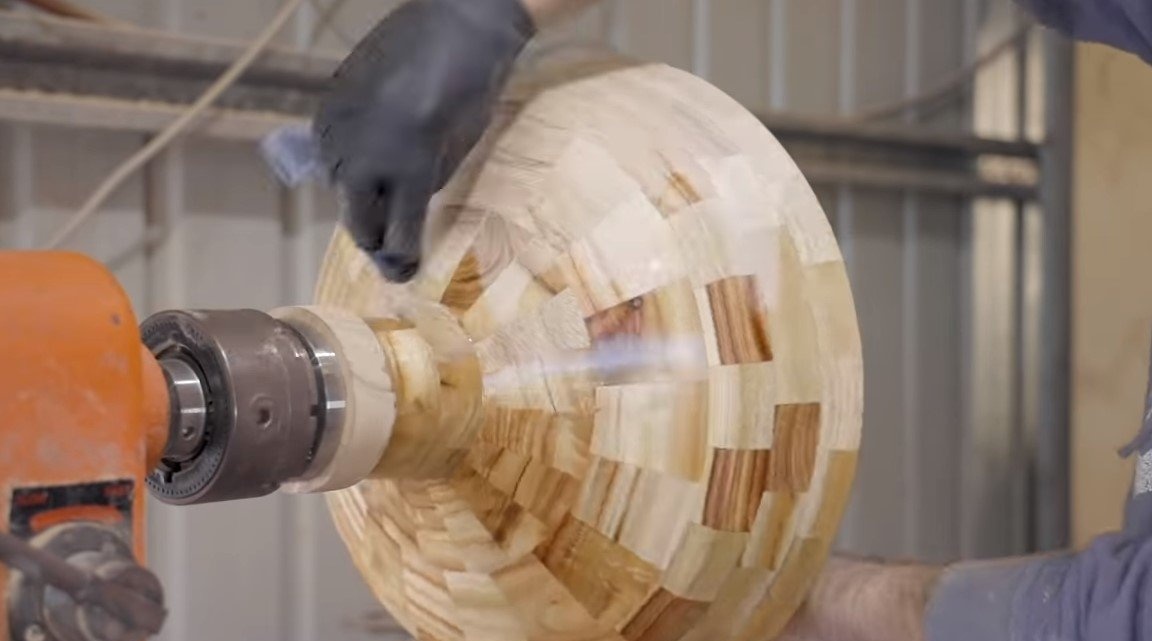
After thorough drying, you can start processing the product on a lathe. The author fastens a washer to a narrow part of the product, which is clamped in the lathe chuck. Also, for additional support, an OSB circle was installed inside the chandelier.
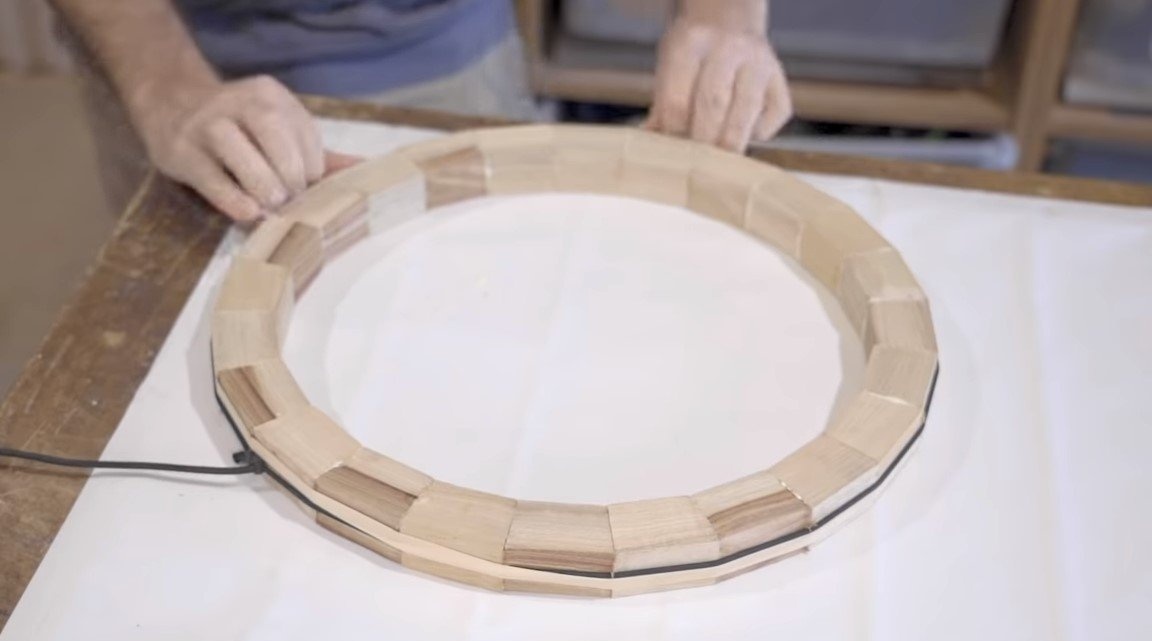
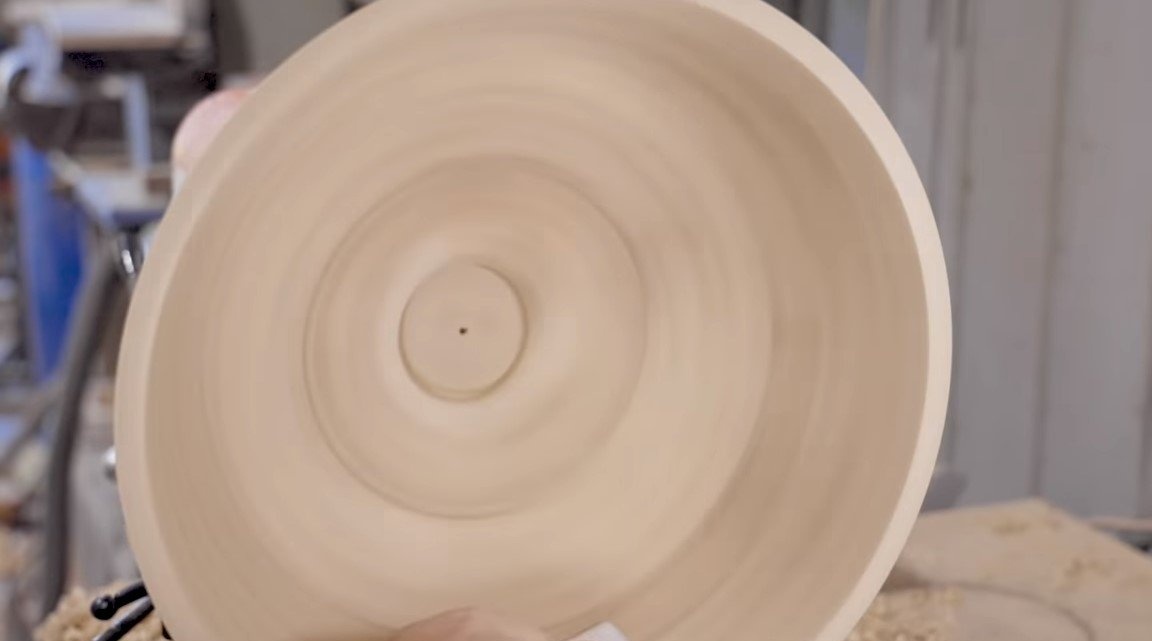
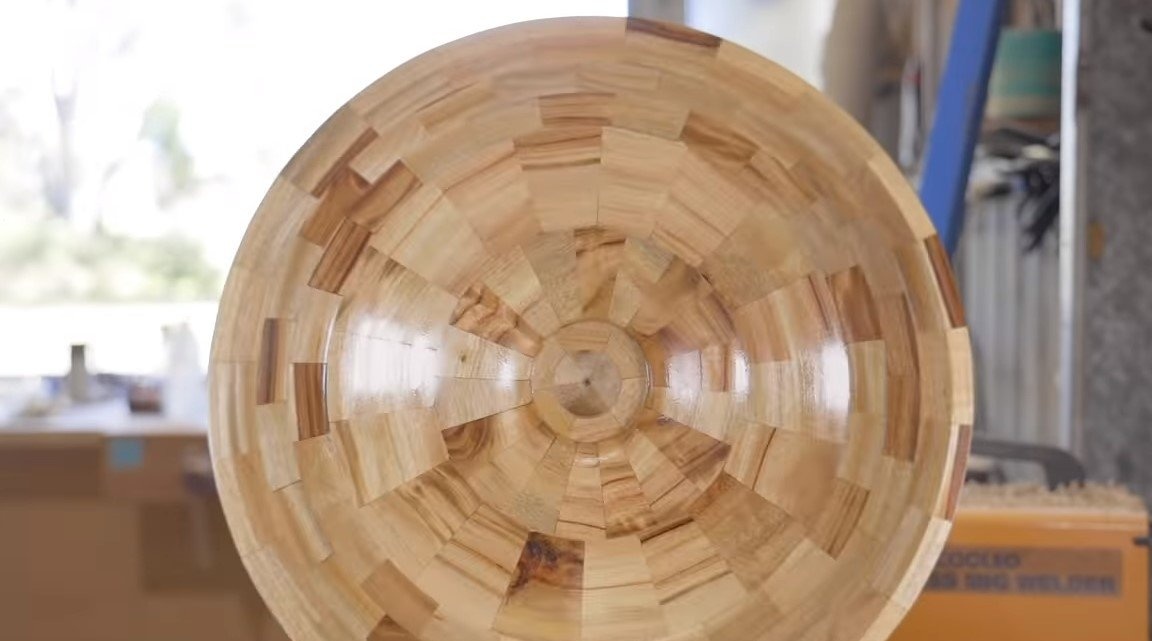
Having formed the desired profile, we carefully grind the product with sandpaper to a smooth state. As a result, it remains for us to cover the tree with oil or wax for the tree, the product looks amazing!

Step Five Assembly and installation
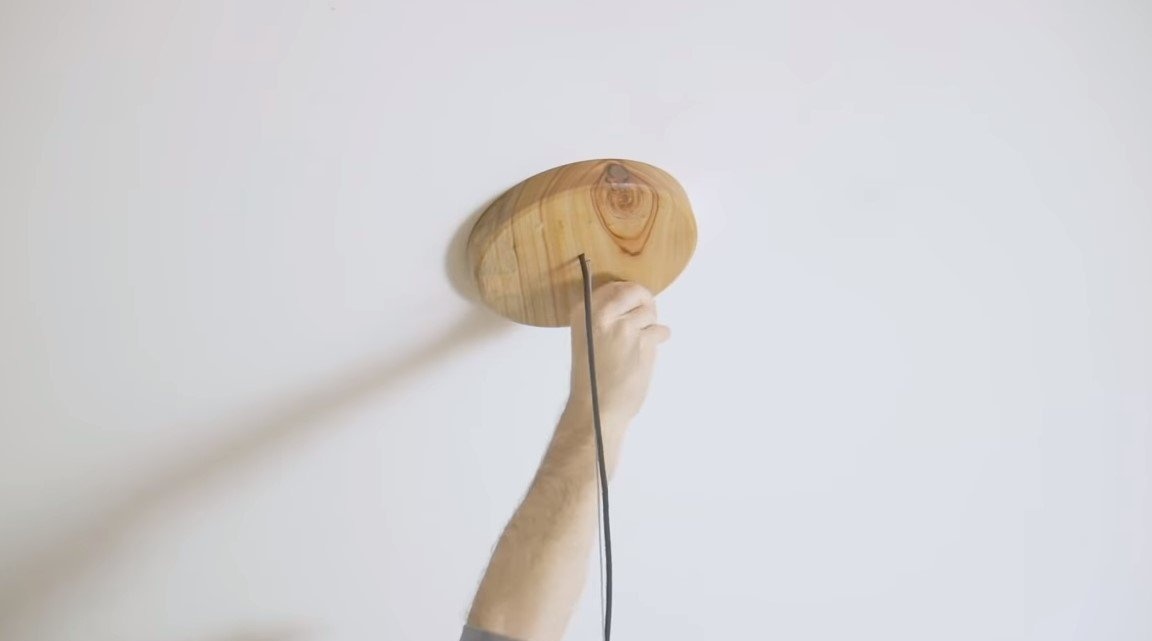
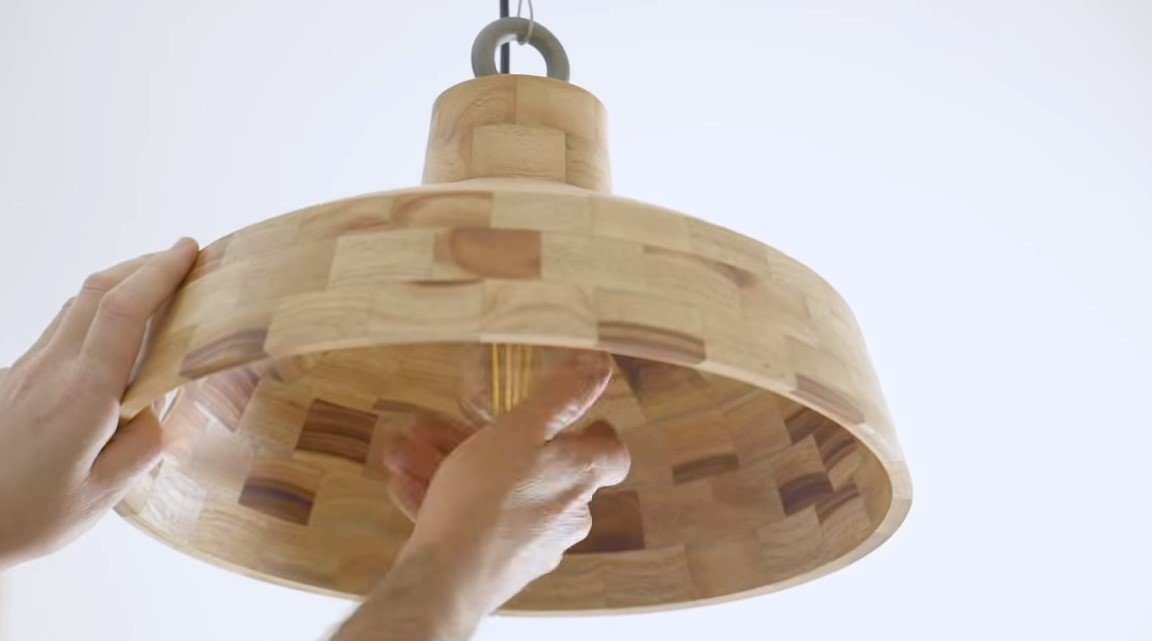
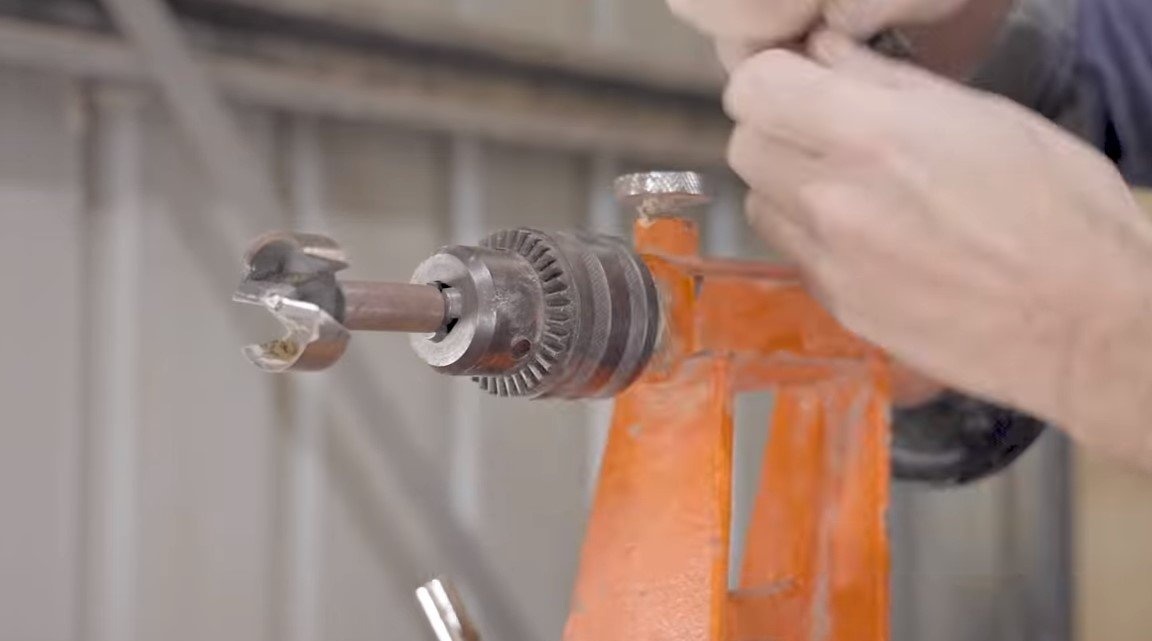
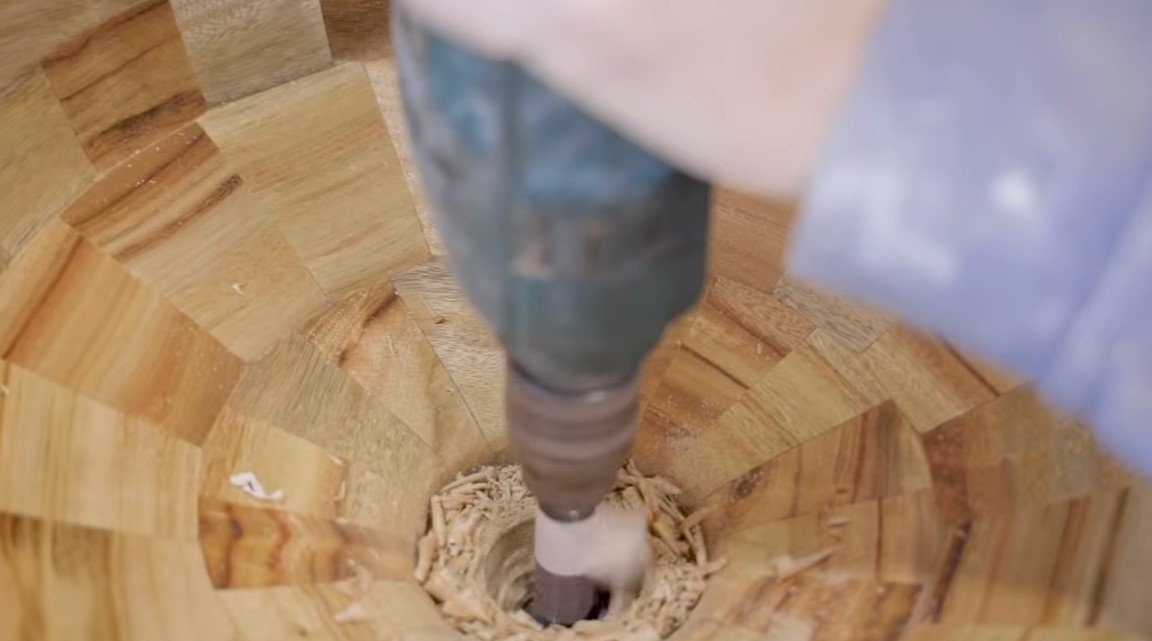
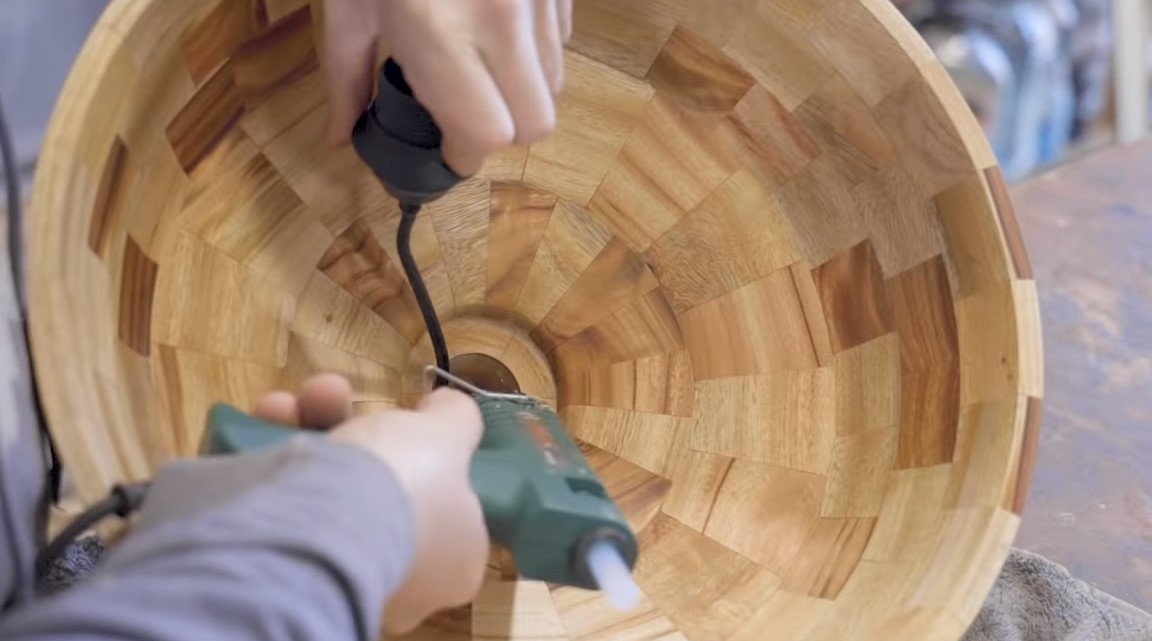
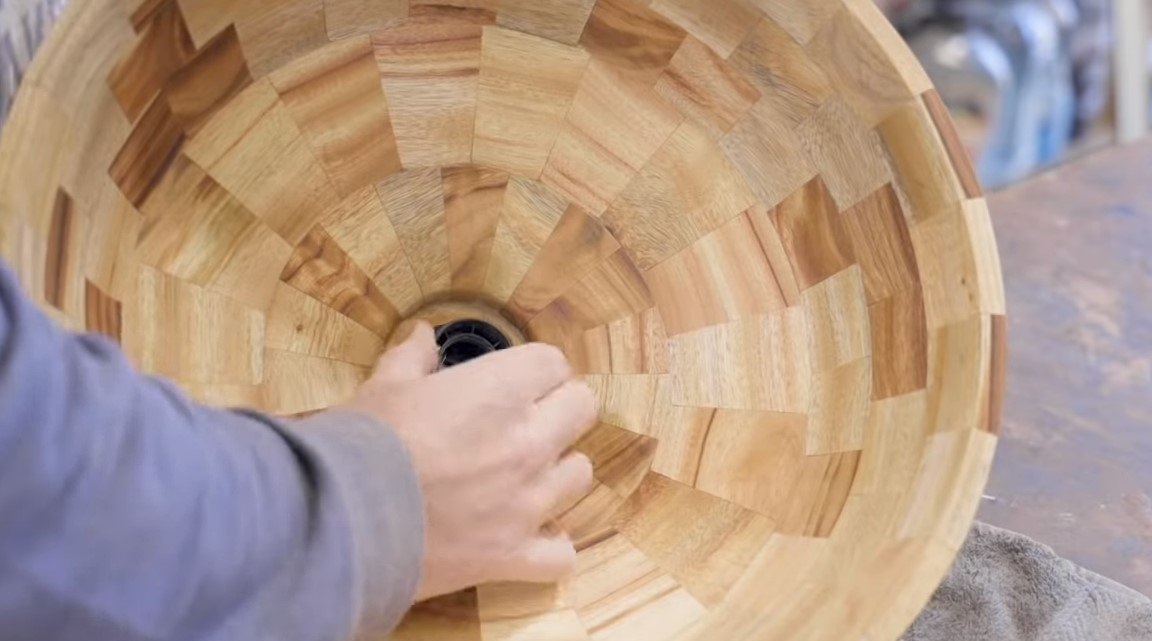
We remove the product from the lathe and drill a hole for the cable, fasten and install the bulb holder. If you use LED bulbs, you can fix the cartridge with hot glue.
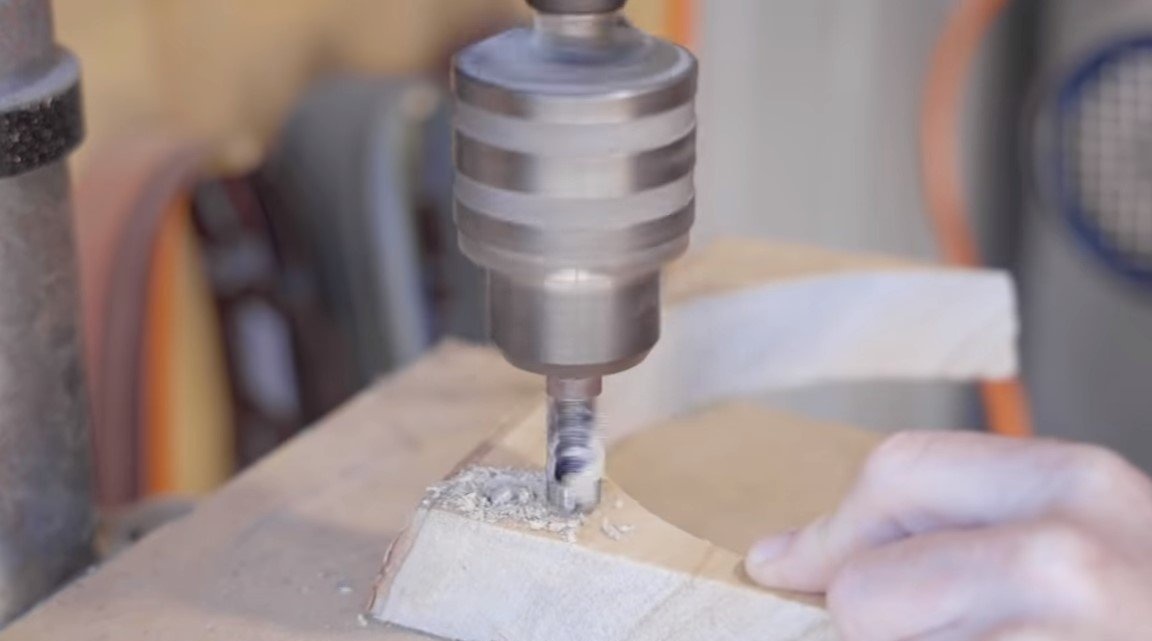
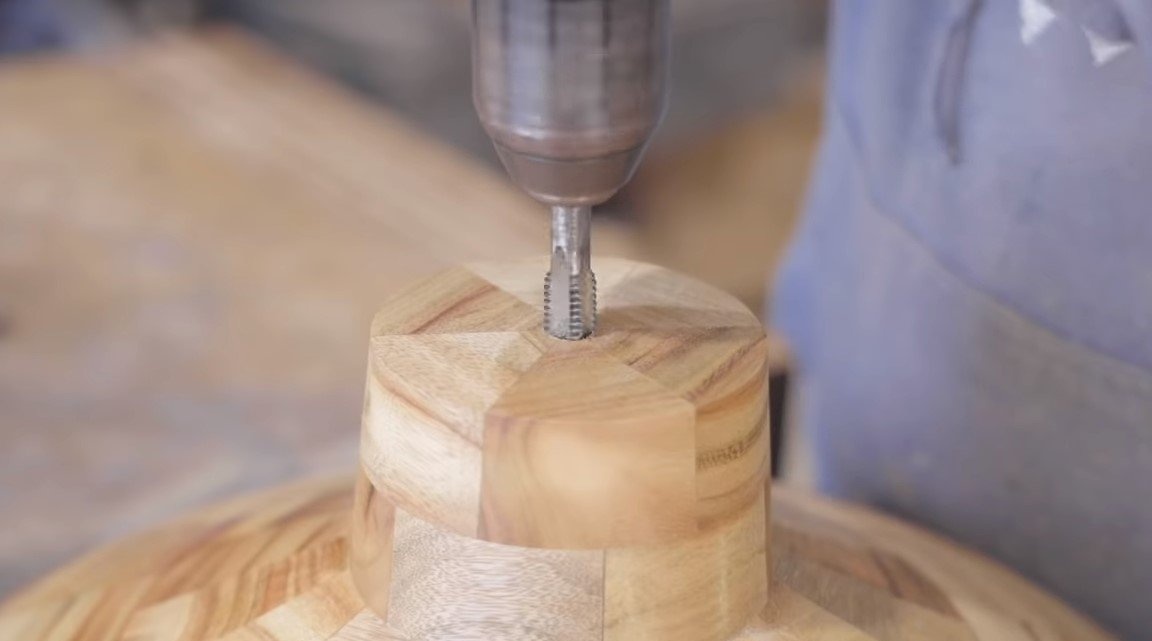
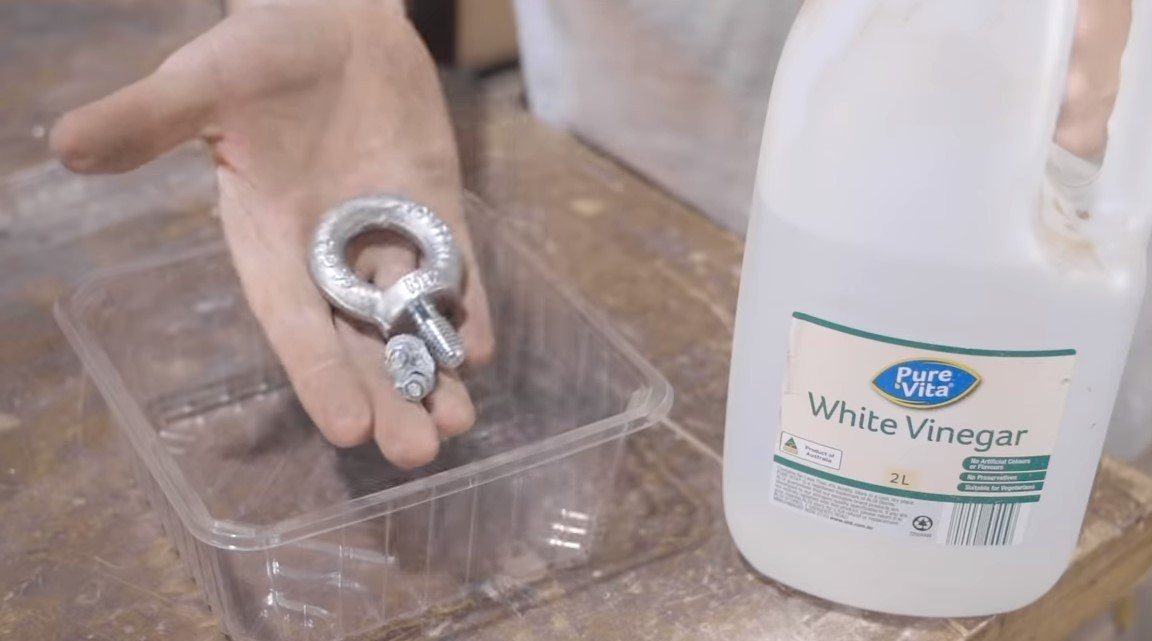
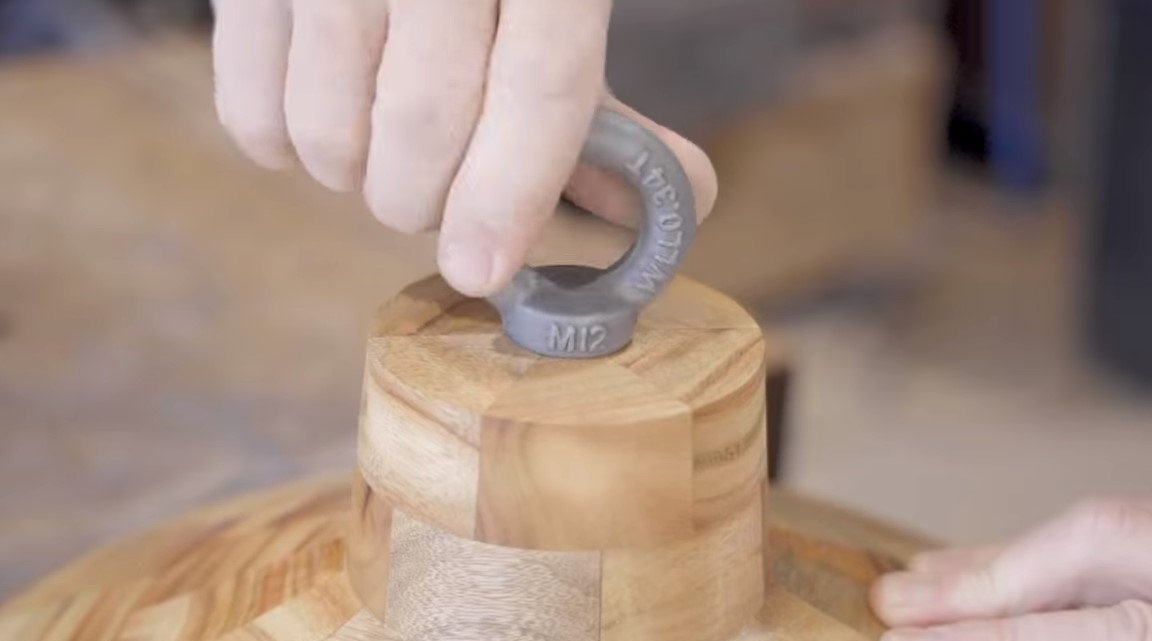
We also need to fix the loop with which we can hang the chandelier. The author decided to make a loop in antiquity, dropping it in vinegar, as a result, the loop became dark. To install the loop, a hole was drilled and threaded. We wrap the loop in the tree, applying glue to the thread.
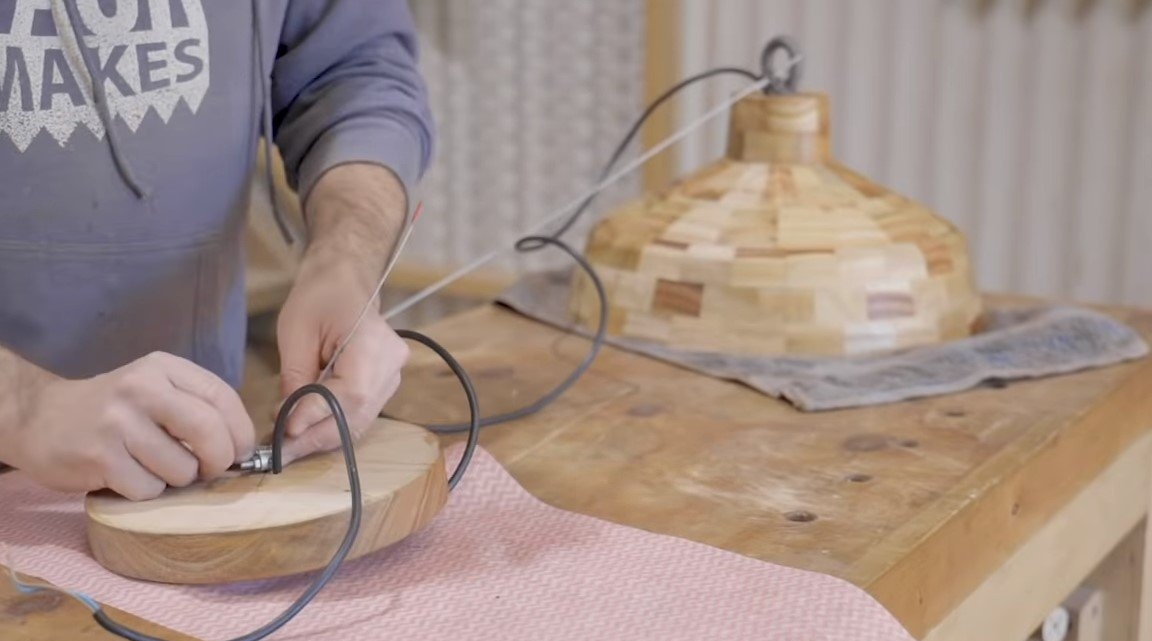
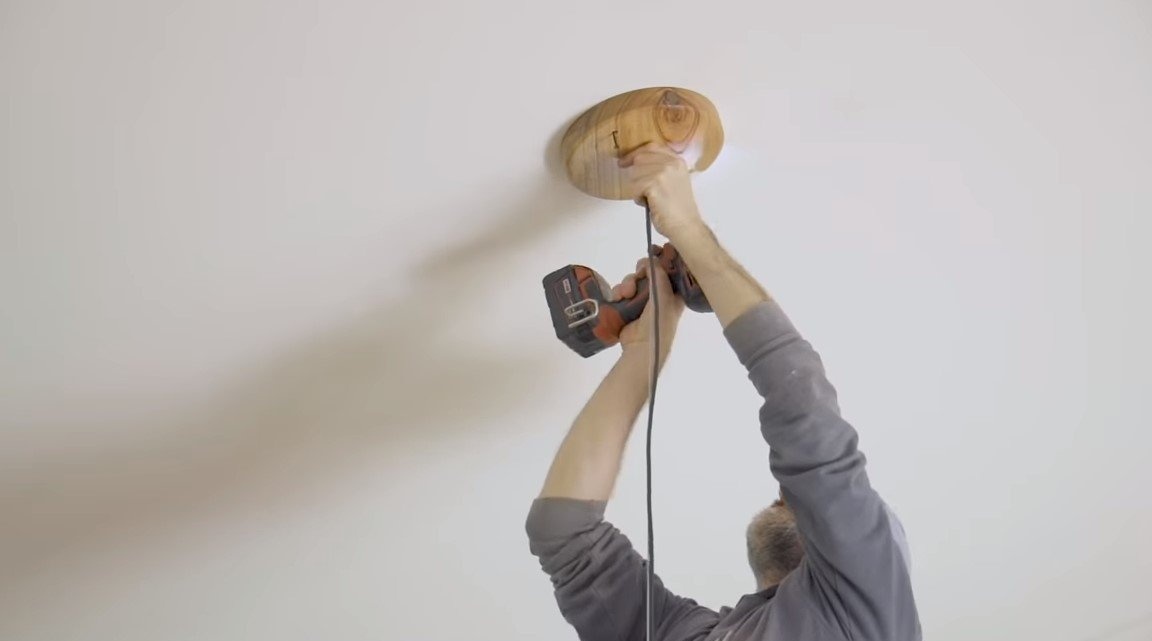
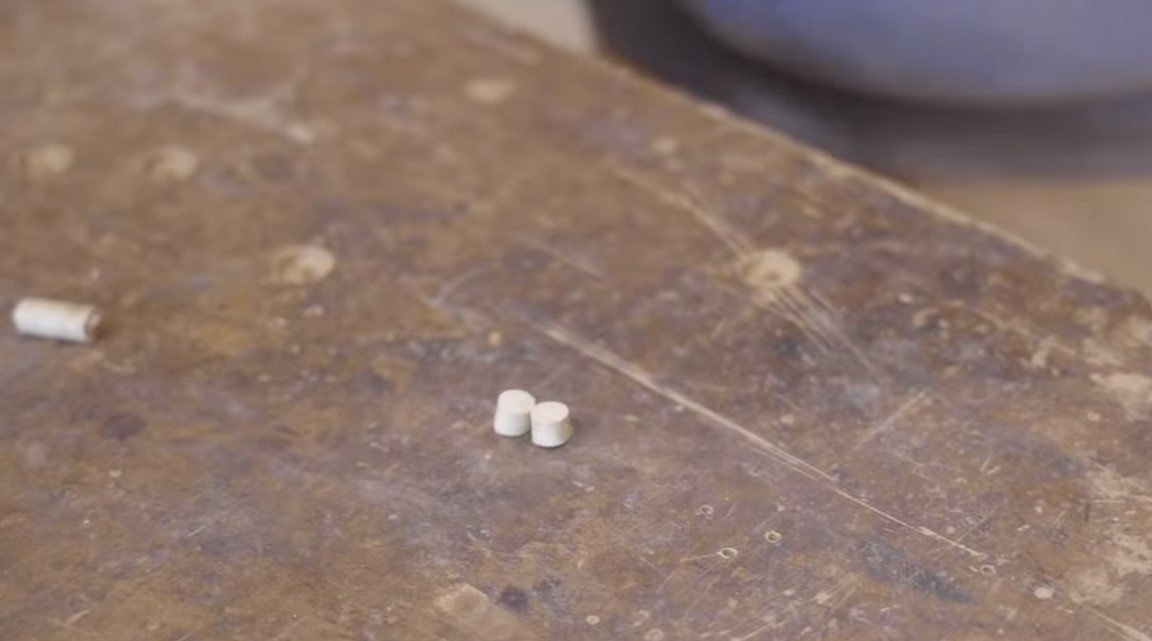
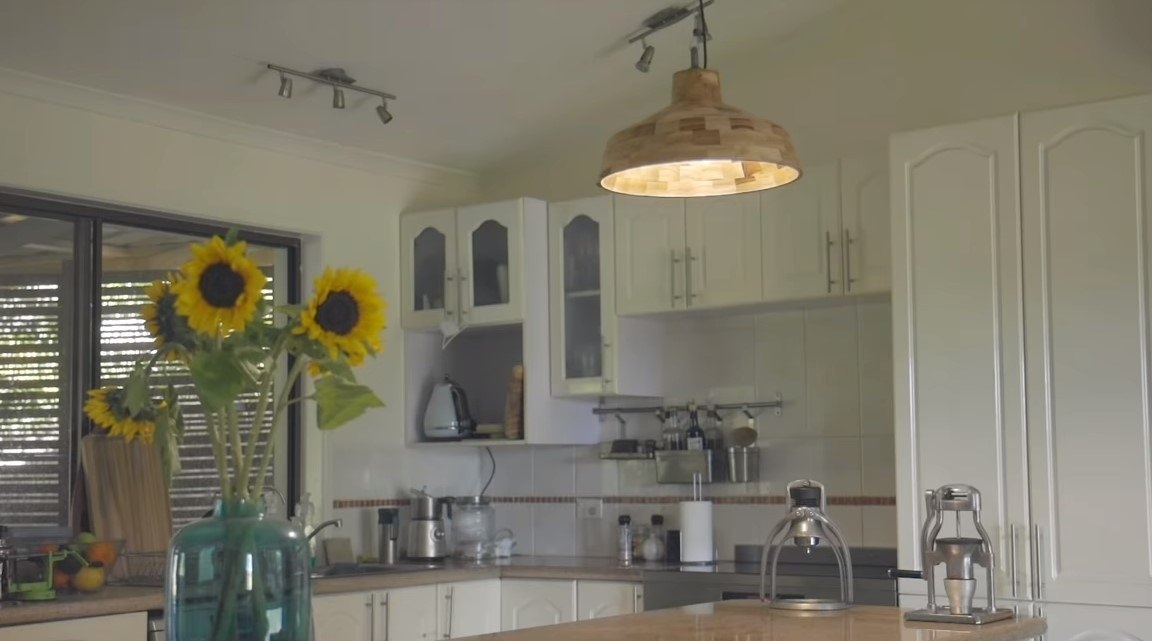
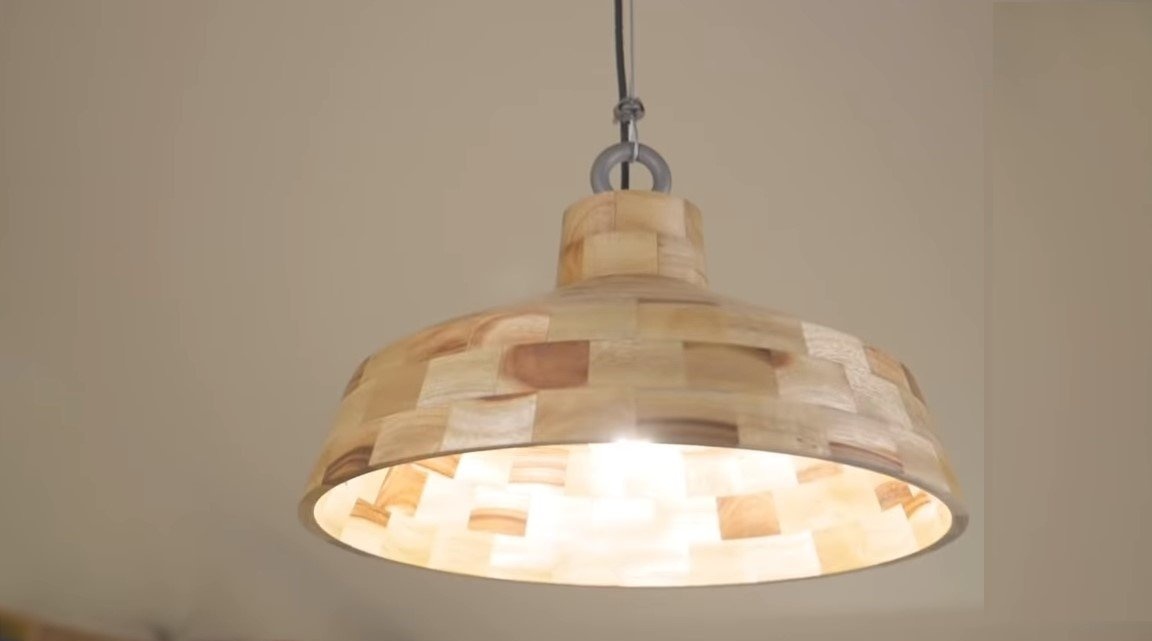
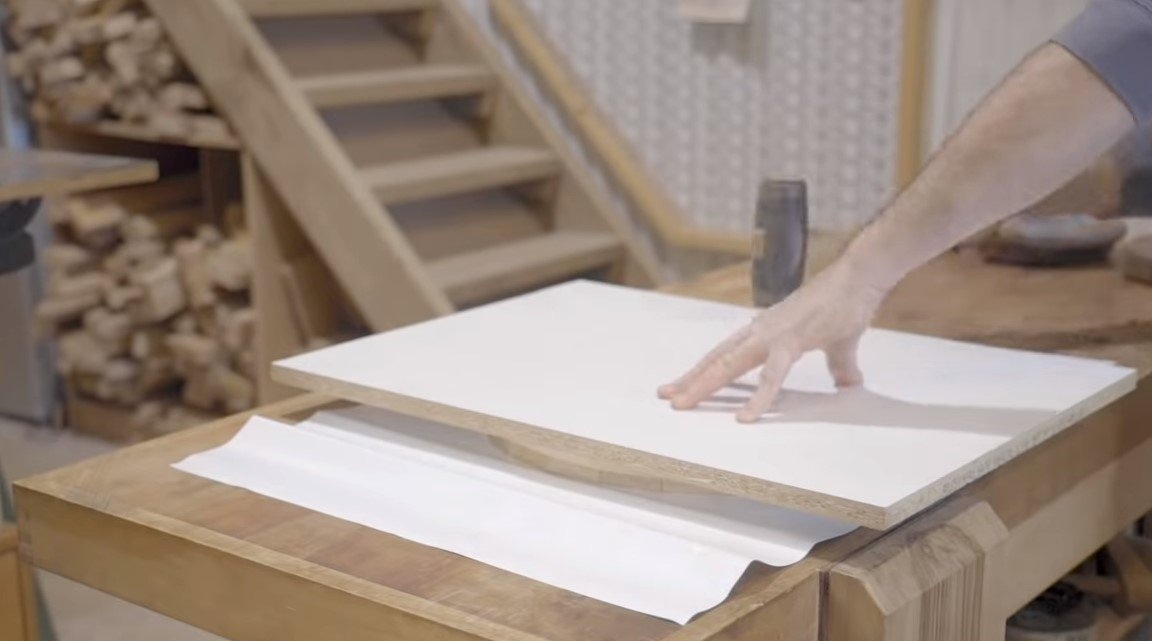
To hide the cable entry point into the ceiling, we grind a wooden circle from a tree, on it you can install a hook or loop or hook, with which you can hang the chandelier. We screw the circle to the ceiling with screws, and screw caps are closed with wooden corks. The chandelier will effectively hang on a chain or twine. That's all, now the homemade product is ready, the chandelier looks delightful. As bulbs, it is best to use LEDs that do not heat up. Using incandescent lamps may cause a fire.
This homework is completed, I hope you liked the project, and you found useful thoughts for yourself. Good luck and creative inspiration, if you decide to repeat this, do not forget to share your ideas and homemade things with us!