

Sandblasting involves the use of sand. And this, in turn, is bad for the workshop. I have a lathe and an extra abrasive is not needed, and this is dusty. A big plus of the camera is tightness and reuse of sand. Fill it there, close the lid and work. As the sand loses its abrasive properties, that is, grains of sand are destroyed upon contact with the part and their edges are rounded, it is poured from the bottom of the chamber and a new one is loaded.
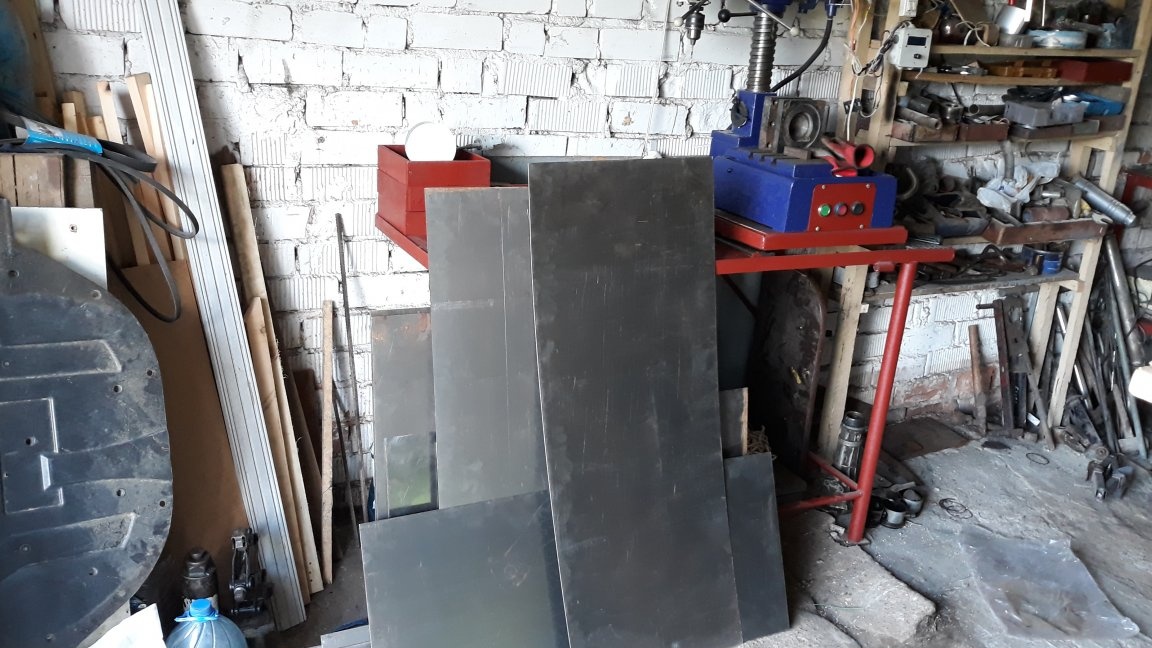
For the manufacture of the camera used sheet metal with a thickness of 1.5 mm. To connect the walls I bought an aluminum corner 15 × 15mm.
Used tools and materials:
Drill or screwdriver
Riveter and Riveting
Welding, electrodes (preferably semi-automatic)
Grinder, circles
Metal sheets and corner
Aluminum corner (15 * 15, 20 * 10)
paint (can in cans)
LED lamp
Compressor fittings
Gun and hose
Rubber gauntlets
River sand
Lattice
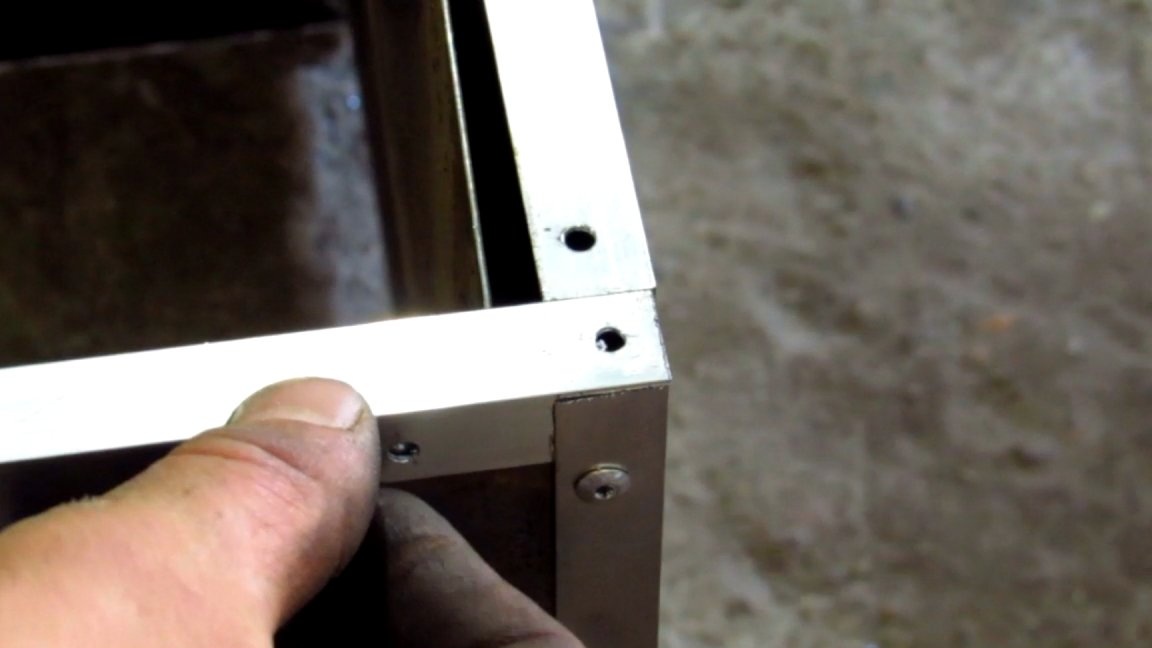
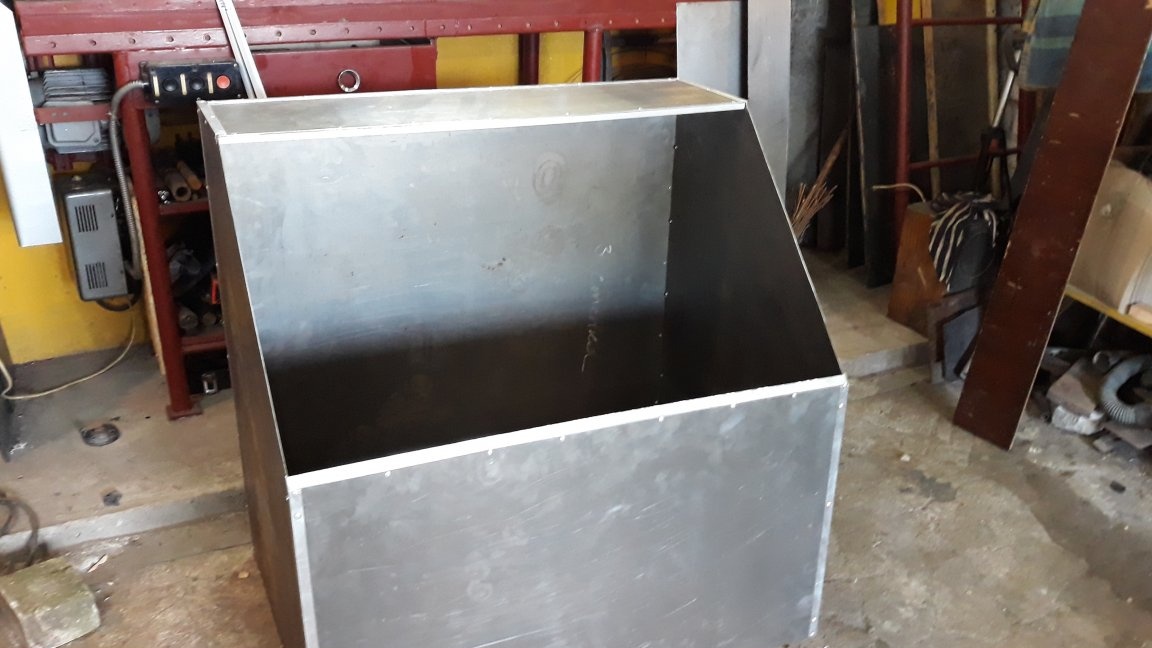
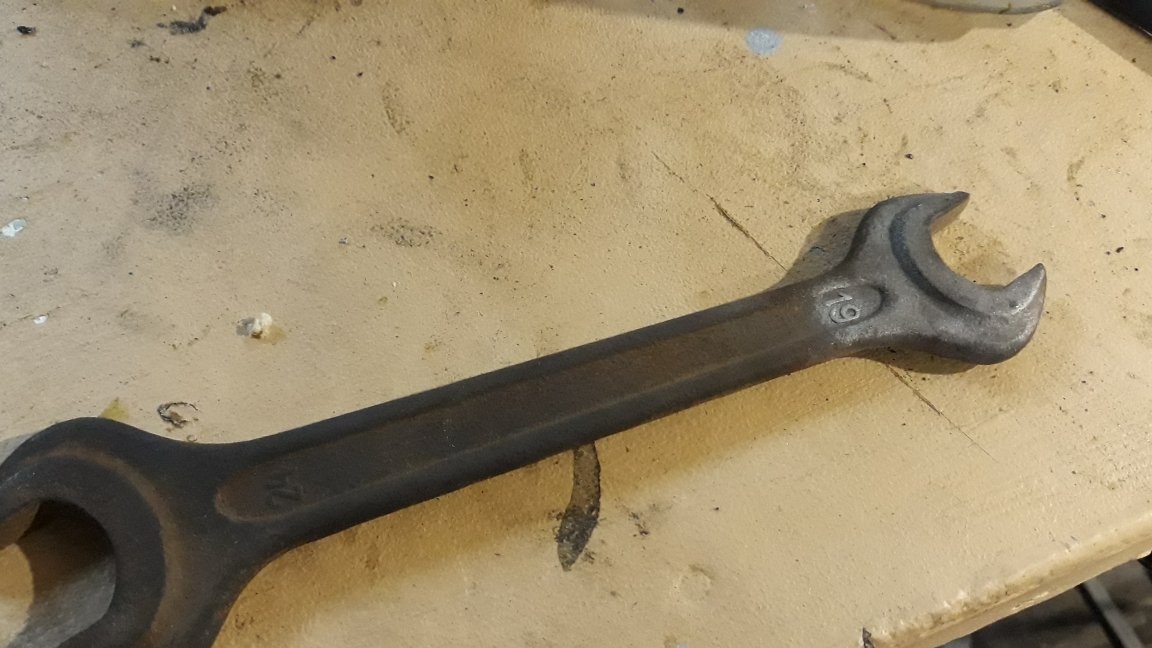
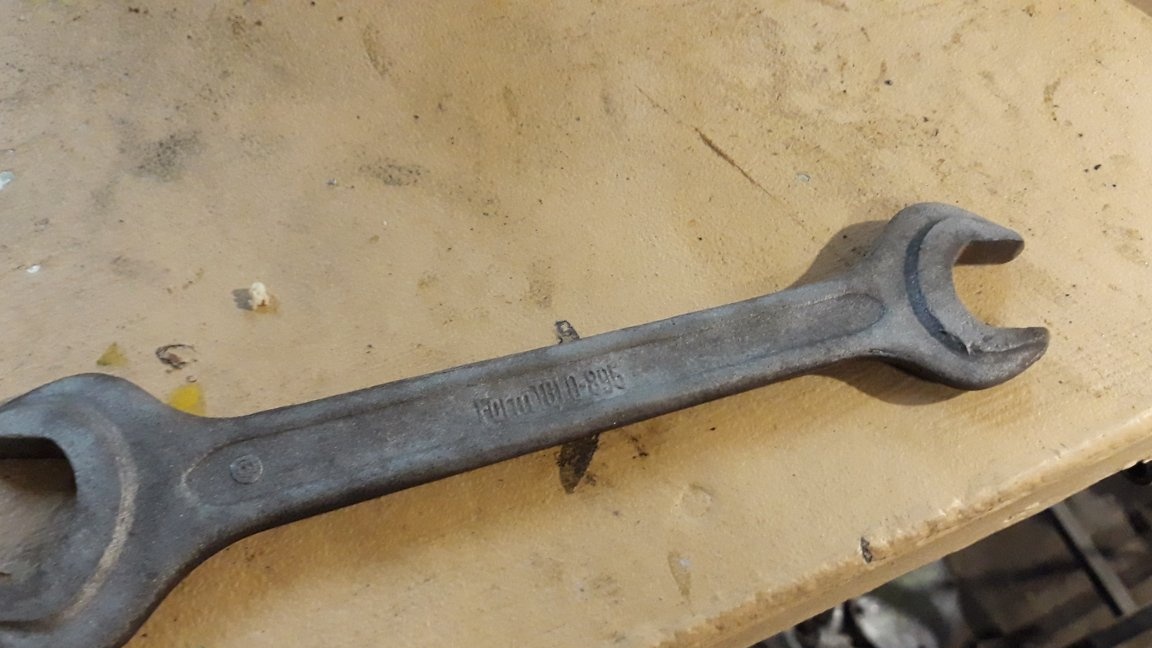
He connected the riveting parts with a riveting gun. It took about 100 rivets. I wondered the size of the place and occupied space in the workshop. Also there should fit a car drive up to 19 inches.
As a result, it turned out:
Width 87 cm.
Depth 61 cm.
Per. walls 50cm.
Rear Height Walls 88cm.
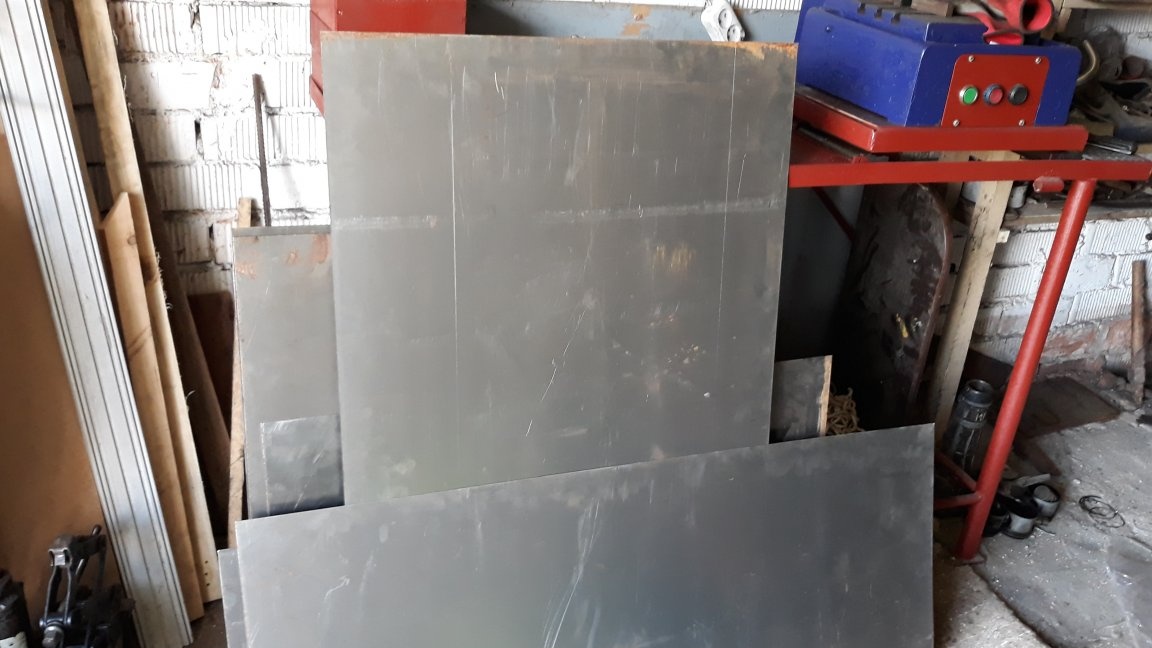
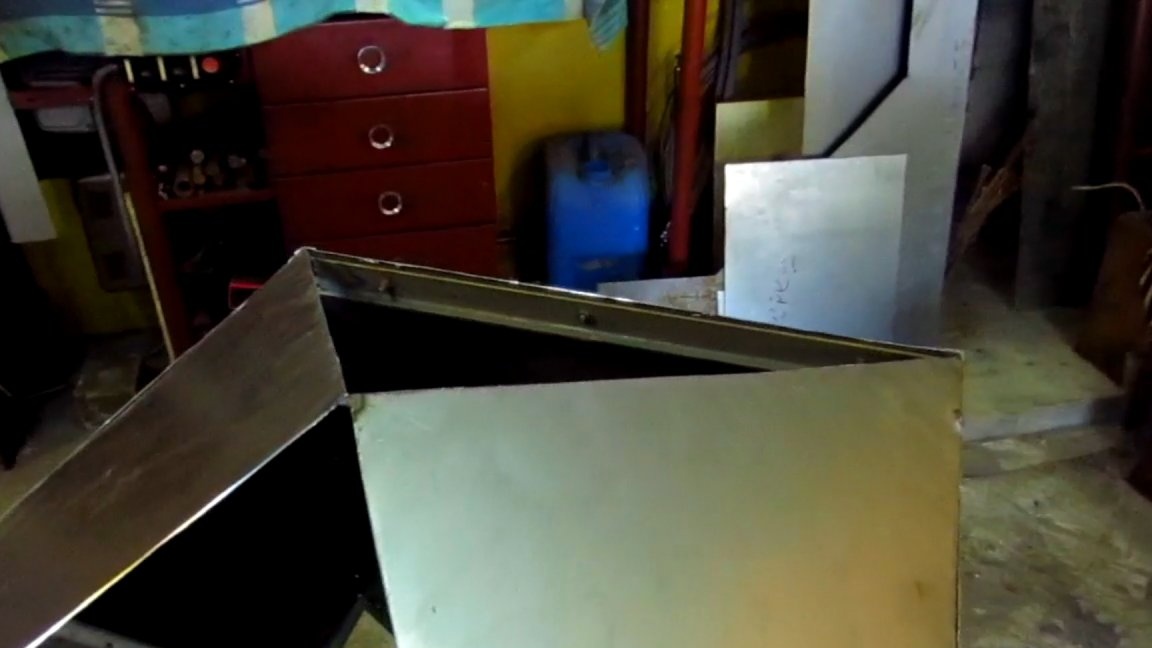
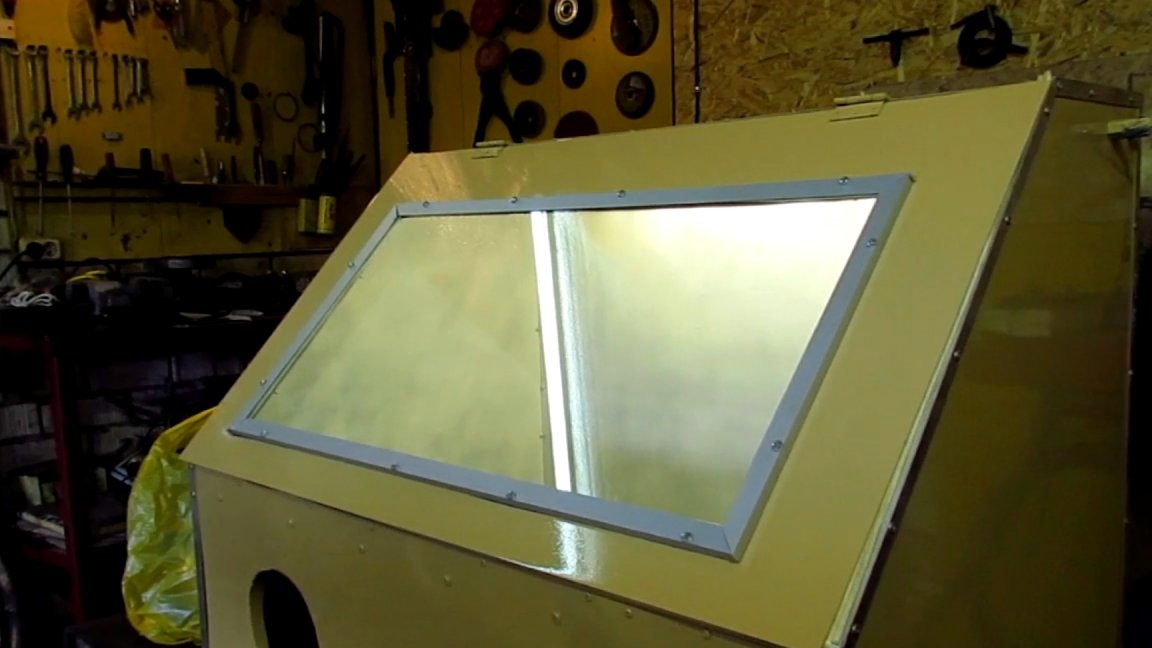
On the assembly of the box, I see no reason to paint. Everything is simple here. We cut the sheets to size, join the parts, apply a corner, drill holes and rivet with a gun. When the box is ready, you need to put a metal corner around the perimeter from the inside. And also weld the jumper. This will increase rigidity and the grill will fall on it.
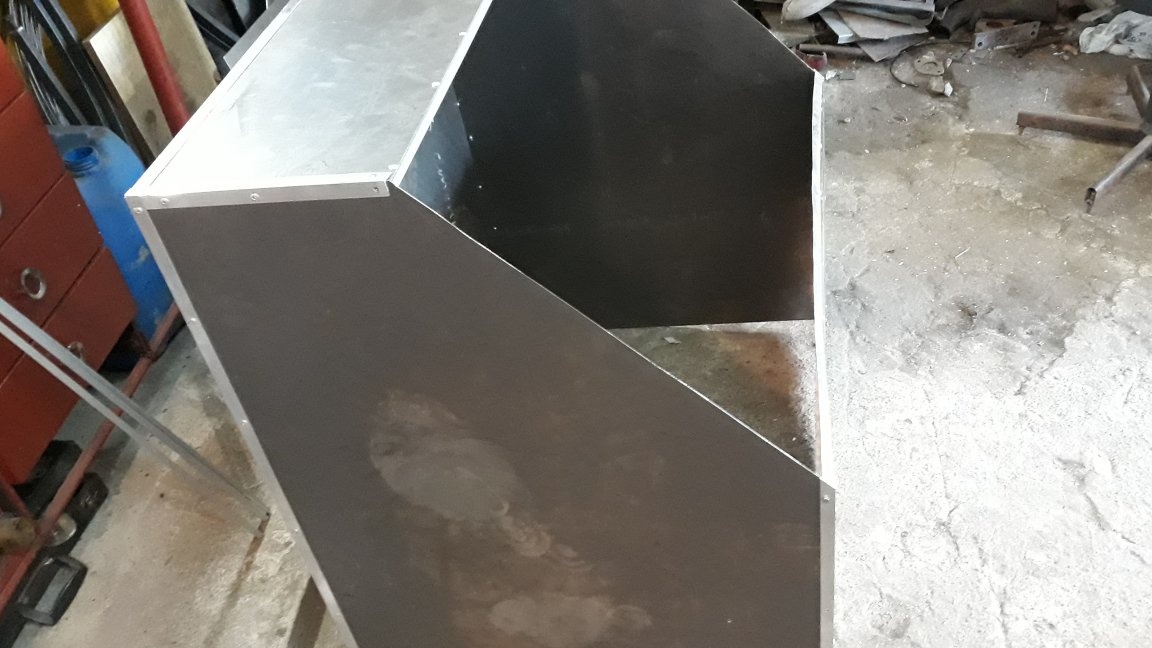
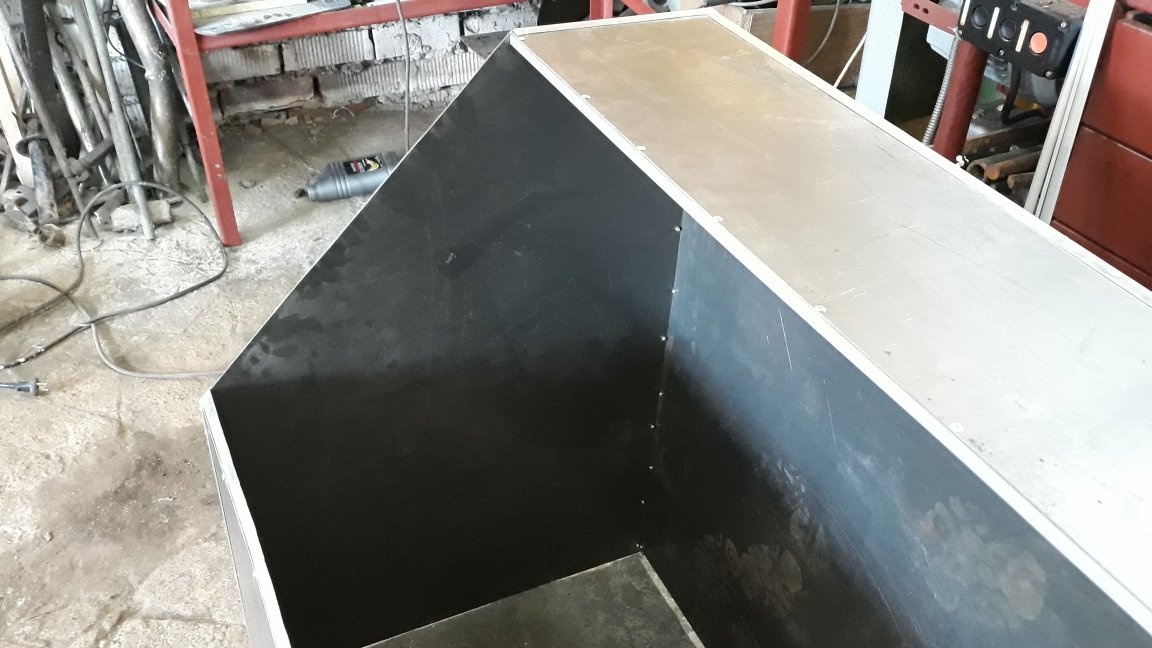

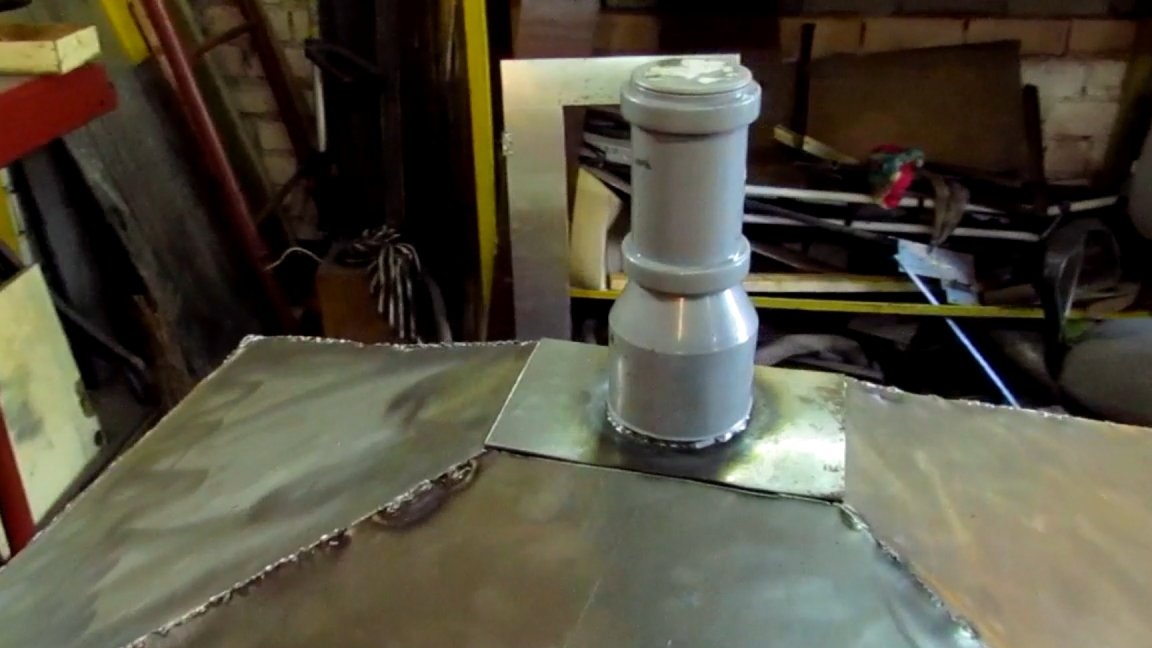
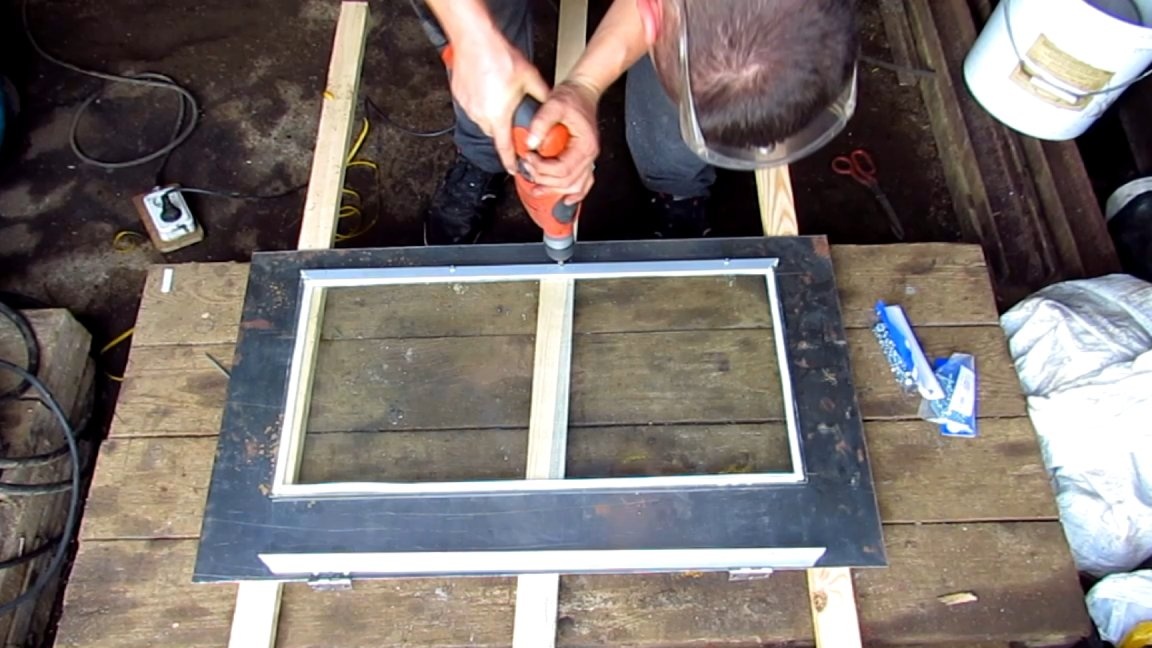
Now the bottom. I have it made in the shape of a pyramid. So sand is better collected at the bottom of the chamber. There is also a stub. The bottom had to be welded. A continuous seam can not be done. And so that the sand does not wake up, you can go through the seams inside the sealants. The hinged lid is attached to the top by two hinges. It has a viewing window cut out. It is fastened with aluminum corners from a different long shelf with M5 screws. A rubber door seal is glued between the cover and the glass.
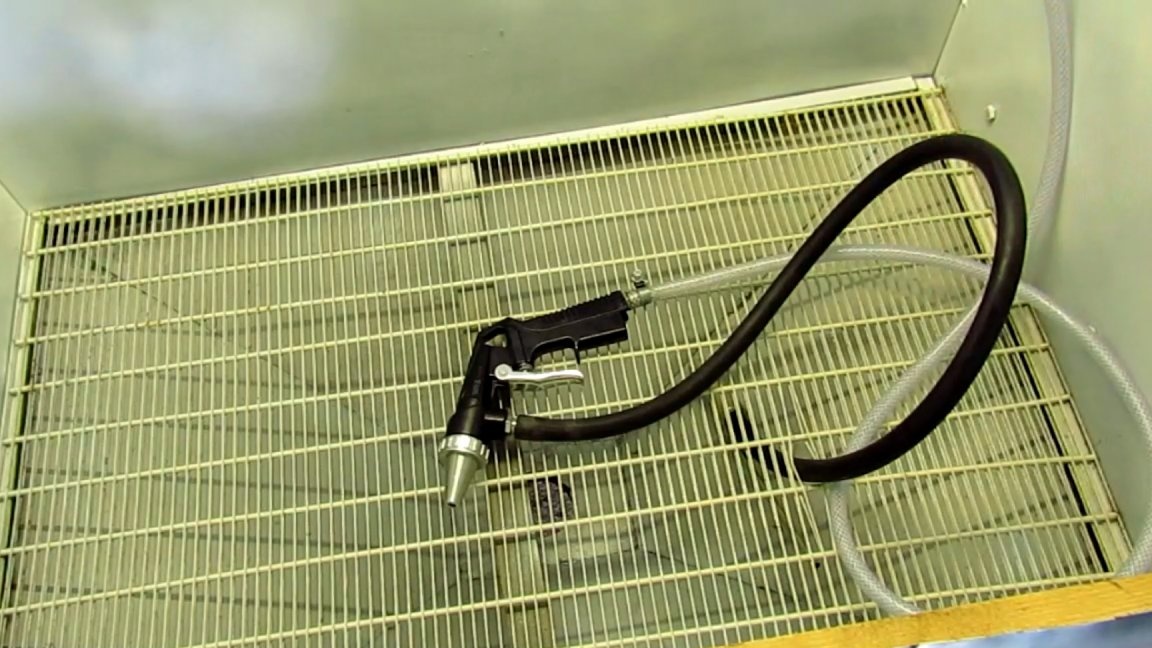
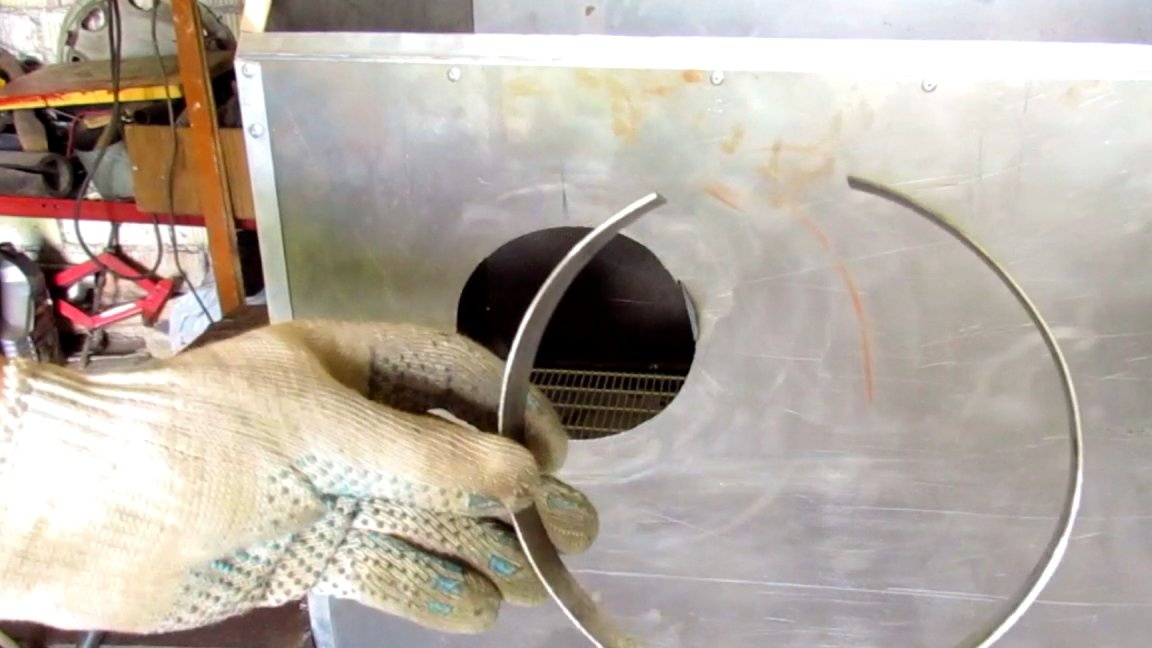
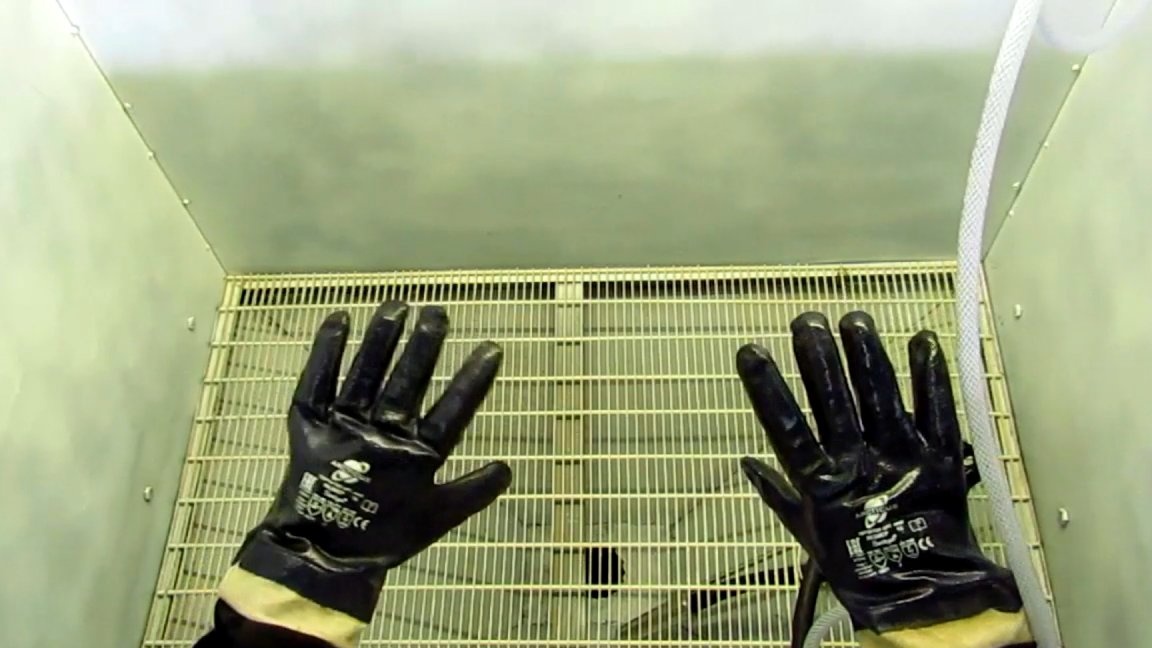
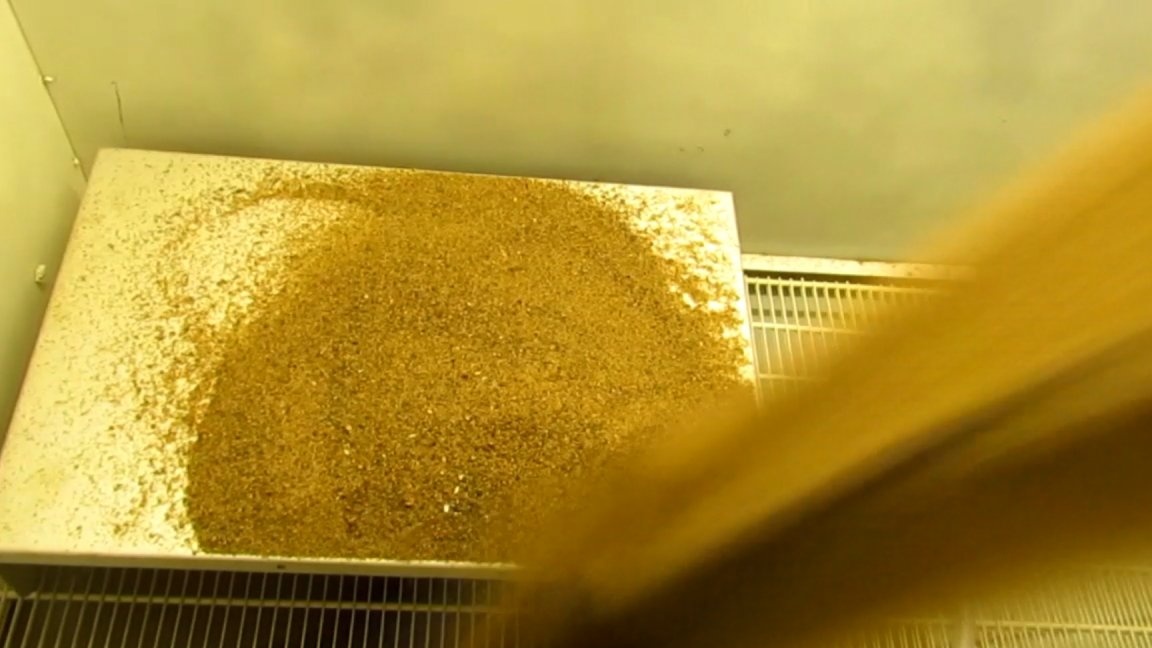
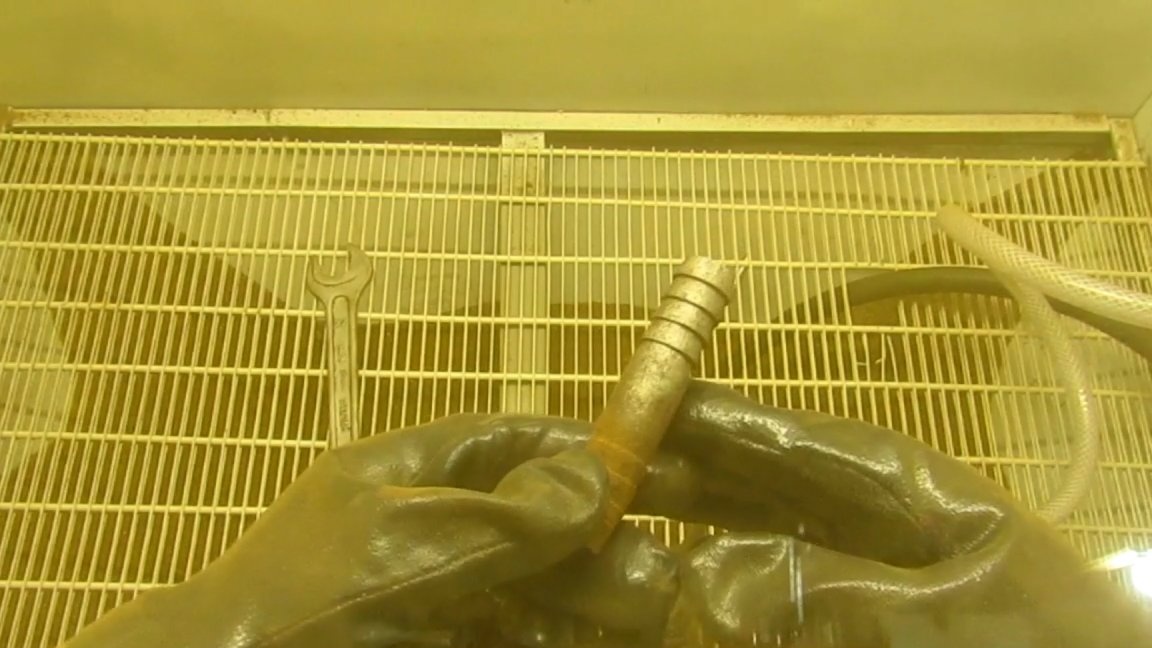
Now equipping the camera. I used the back wall of the refrigerator as a grill, cutting it to size. Inside, the camera was painted white for better visibility.A LED lamp in a plastic case 60 cm long is attached at the top. I drilled a hole for the wire in the side wall. He put a piece of the hose cut along it and firmly inserted it into the hole. Also nearby was a fitting for connecting the hose to the compressor.
I had to buy a sandblasting gun. We had two types in the store. One with a sand tank, the other with a hose through which sand is sucked. I took the second one. At the end of the hose there is a special nozzle with a tube for the fence. I also bought a reinforced hose for supplying air from the fitting on the side wall to the gun. Air consumption for the gun is 180 lit / min. My compressor produces 225 lit / min. It seems to be enough. He also broke several bars in the grill and put a fence in there.

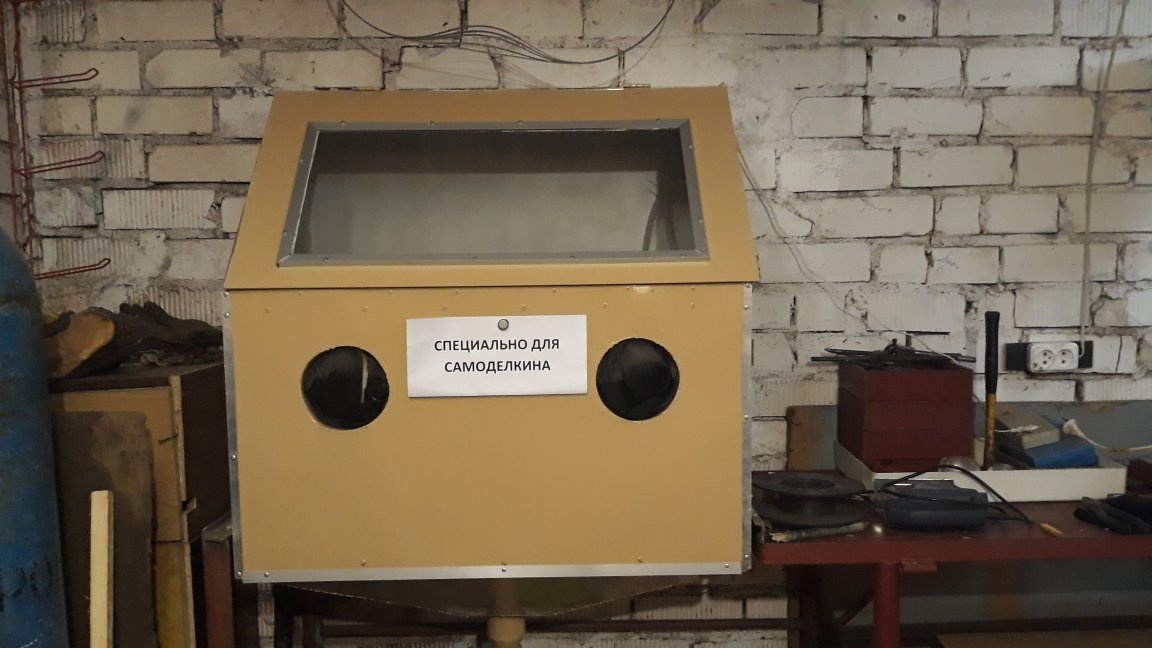
To protect hands from sand in the front wall, I cut two holes at a shoulder-width distance. He bent two rings from a strip of metal and welded it from the inside. They wear long gloves. Used plain rubber with fabric edges. To them sewed trim legs of dense material. Long they turned to the elbow. These mittens are worn on welded rings and secured with large metal clamps.
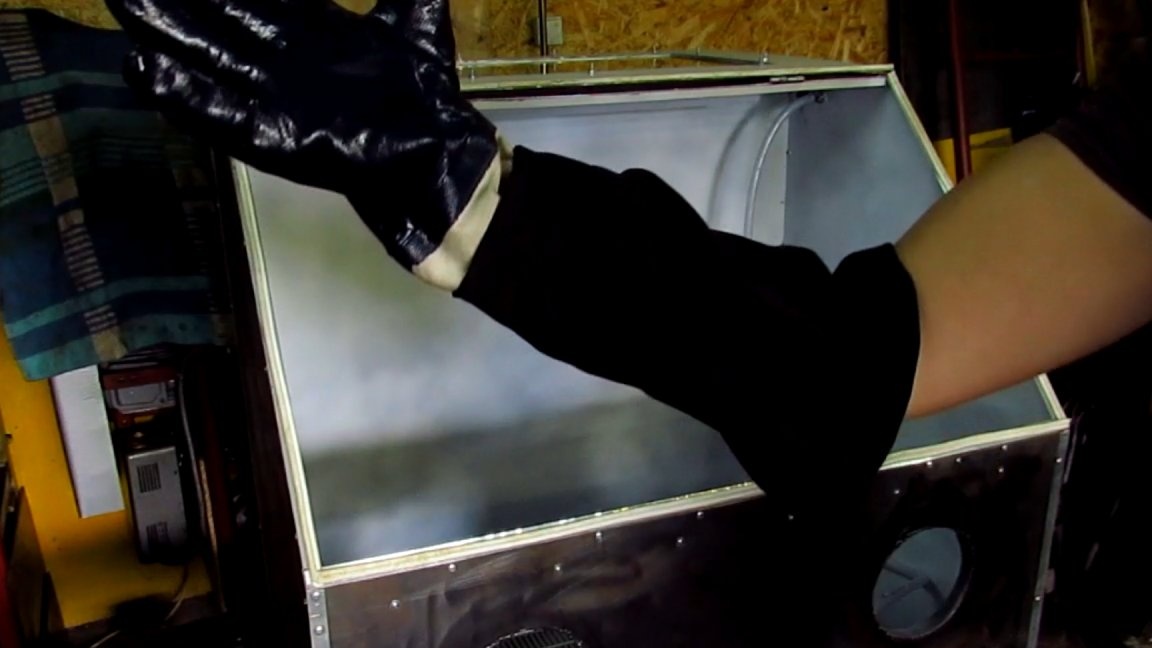
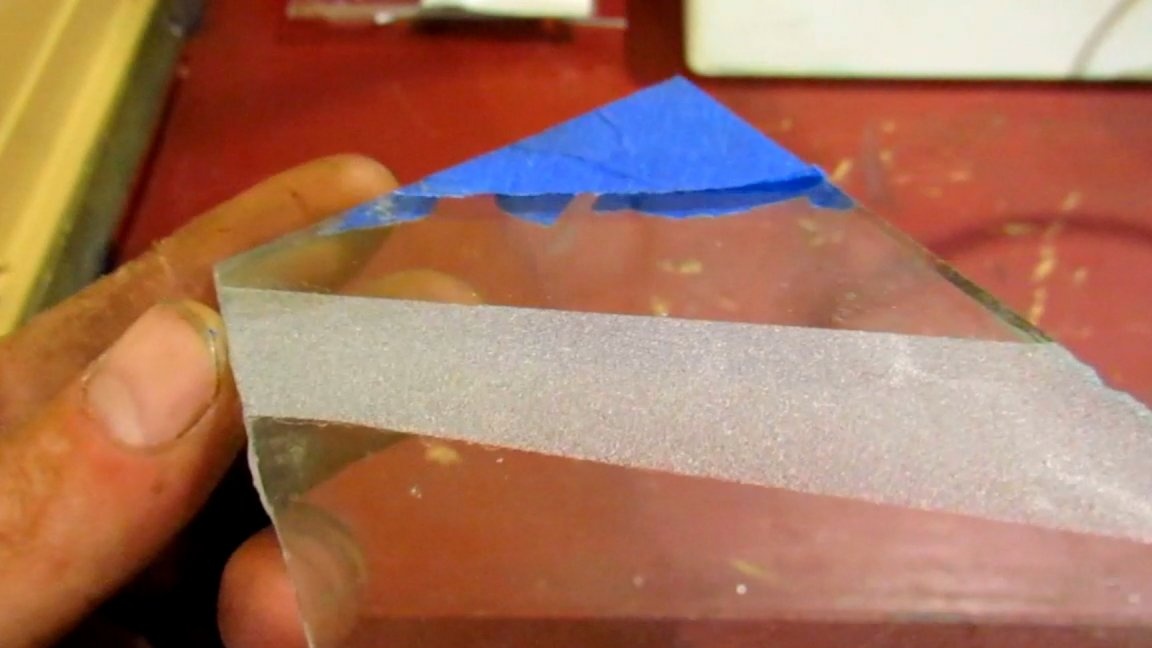
The camera itself is installed at such a level that the arms bent at the elbow are at the same height with the holes. This is for convenience. After the assembly of the chamber, all the walls were degreased and painted with sand enamel. I decided not to paint the aluminum corners and sealed them with masking tape. It seemed to me prettier.
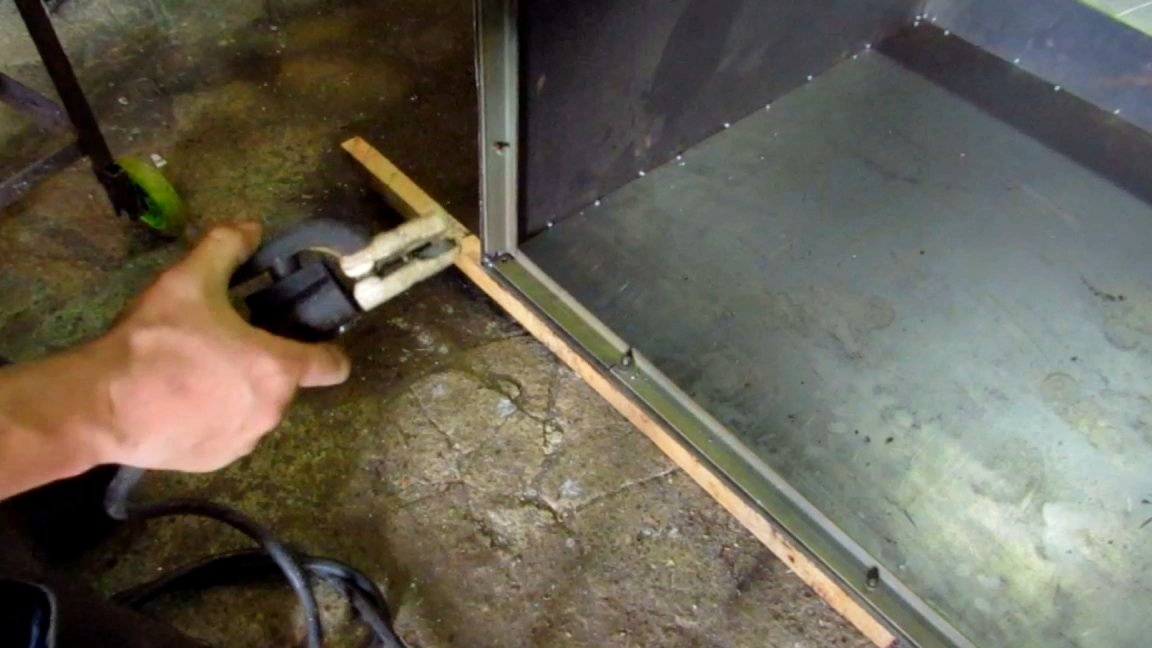
To install the camera in the right position, I had to cook the legs. I drilled holes along the edges of my drawer and bolted the corner pieces. One side rests on a table with a drilling machine. On the other hand, the legs are made of 32 pipes. Between themselves, everything is welded with jumpers and braces with an existing table for rigidity. Below is a bucket for pouring sand. Height allows.
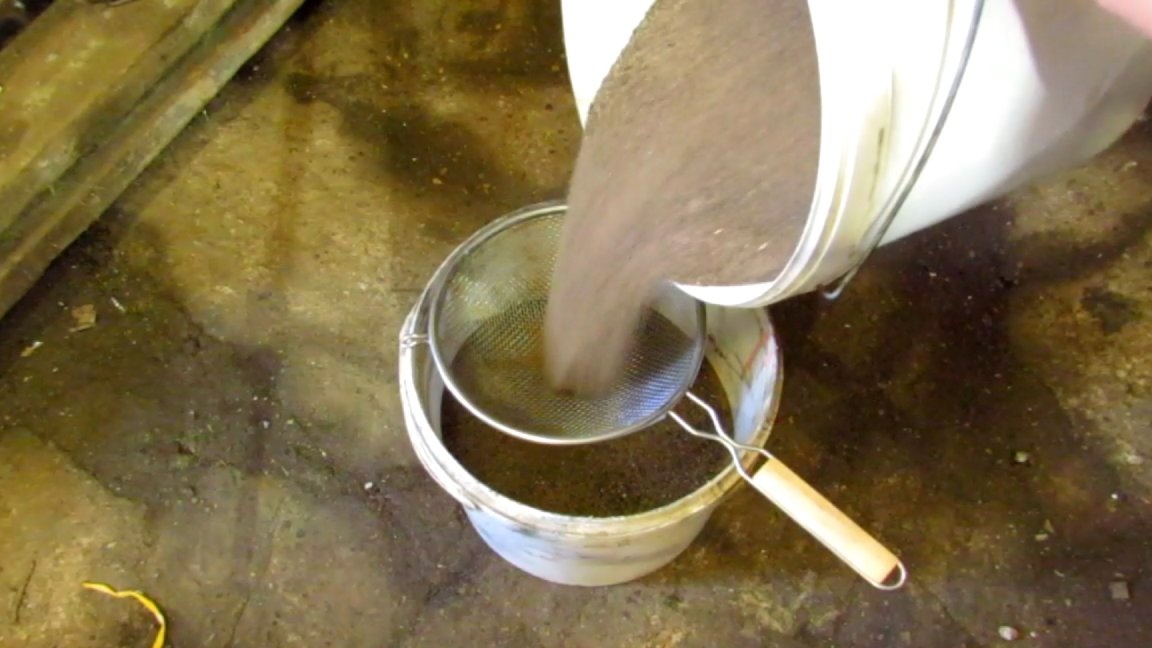
Now a little about the sand itself. The first one you can not use. It needs a river, preferably washed. There is also a ready-made sand of different grain sizes. But you need to spend money on it, and this option does not suit me. And it is not on sale in our stores. Fortunately, a large river flows through our city and there is such a sand a wagon and a small cart. It’s easier for me to drive up and take as much as I need. For sifting in the household, I bought a large bucket with a sieve. One layer of the mesh had to be removed, since it is too small. There was a grid with a mesh size of about 2.5 × 2.5 mm. We have one place on the outskirts of the city where two huge piles of such sand are poured. Nature does its job. After rains, the top layer of sand is about 5 cm thick with virtually no dust. And when the weather is dry, then this layer is dry. And to collect it in the right amount is not difficult.
Now the order of work. Open the lid, pour sand into the chamber, lay the workpiece there and close the lid. We connect the compressor hose and pump up the necessary pressure. We put our hands into the holes with gloves and sandblast the part. Sooner or later, the moment comes when the sand ceases to process the surface and there is a lot of dust in the chamber. This means that part of the grains of sand collapsed and turned into dust, the remaining grains of sand became smooth. Yes, and garbage from workpieces is also present. Then we substitute the bucket from below, open the plug and pour sand. Before falling asleep a new portion do not forget to close the cap. Everything is simple.
Thanks for attention. More details about the manufacture of a sandblasting chamber can be seen in the video.