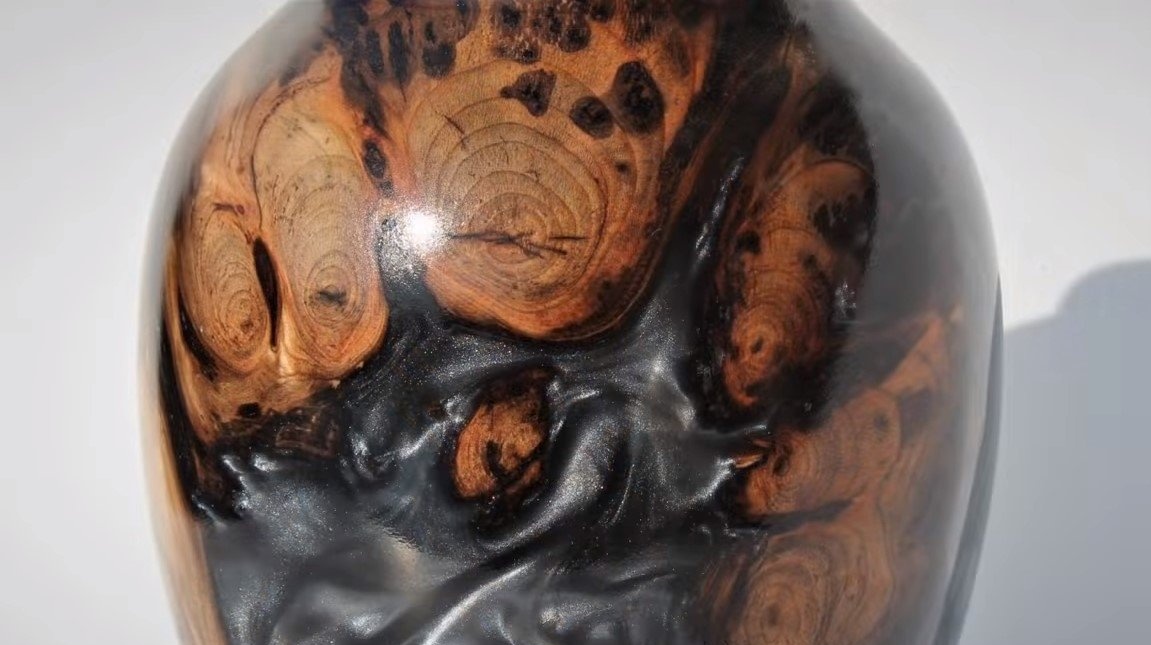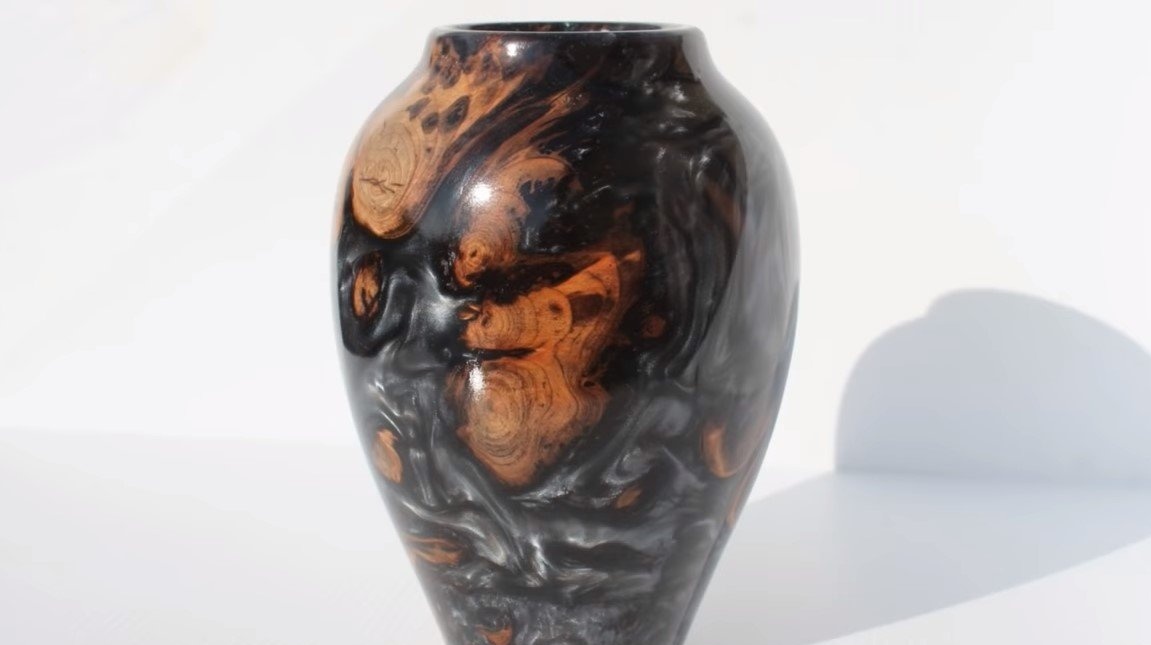
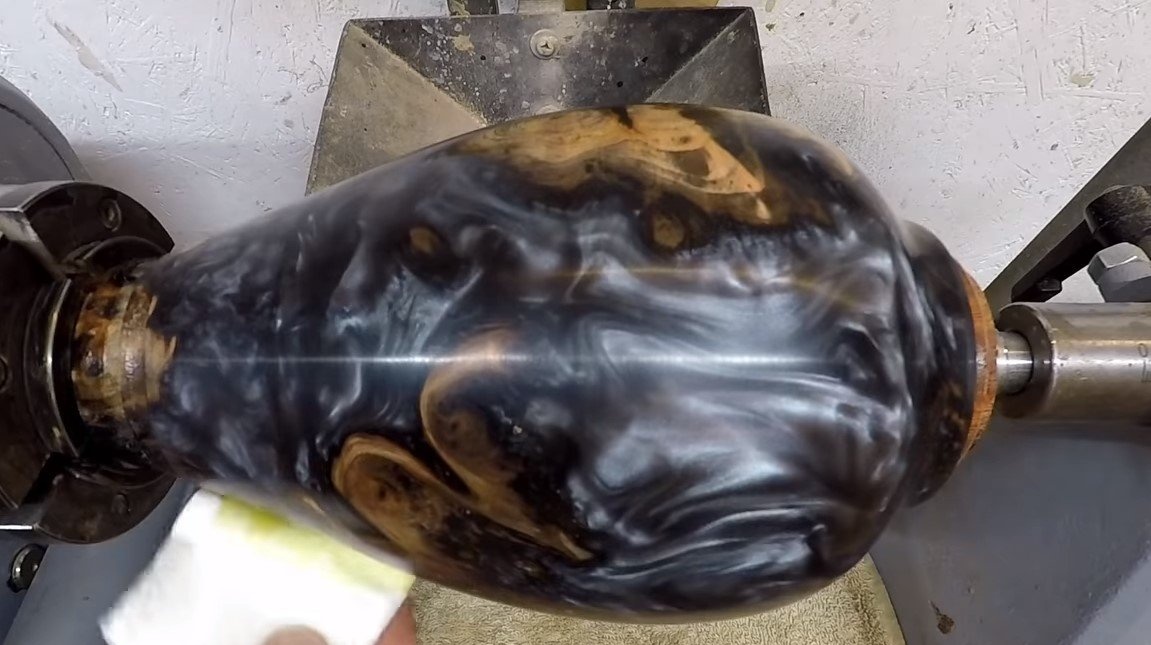
I welcome all fans to craft, today we will consider how to make a chic vase from hemp and epoxy. To implement the project, you need a lathe, so if you don’t have one, you can only drool over while looking at homemade. The author added a pearlescent dye to the epoxy, which gives the impression that it’s not a vase at all, but a distant planet of a bizarre shape, through which oceans and seas flow. If desired, such a homemade product can be highlighted, then it will look generally masterpiece, the vase can be used as a night lamp. If you are interested in the project, I propose to study it in more detail!
Materials and tools used by the author:
Material List:
- a piece of trunk or stump with a beautiful structure;
- epoxy resin for pouring large volumes;
- dye for resin;
- oil or varnish.
Tool List:
- lathe;
- Super glue;
- formwork for pouring resin.
Homemade manufacturing process:
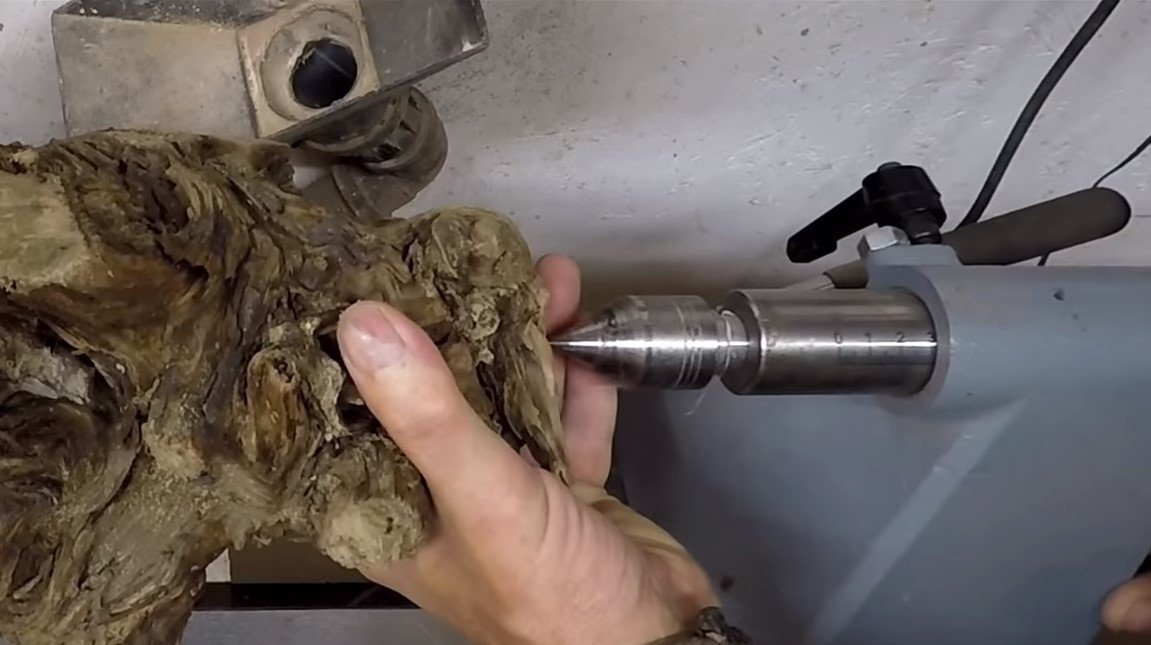
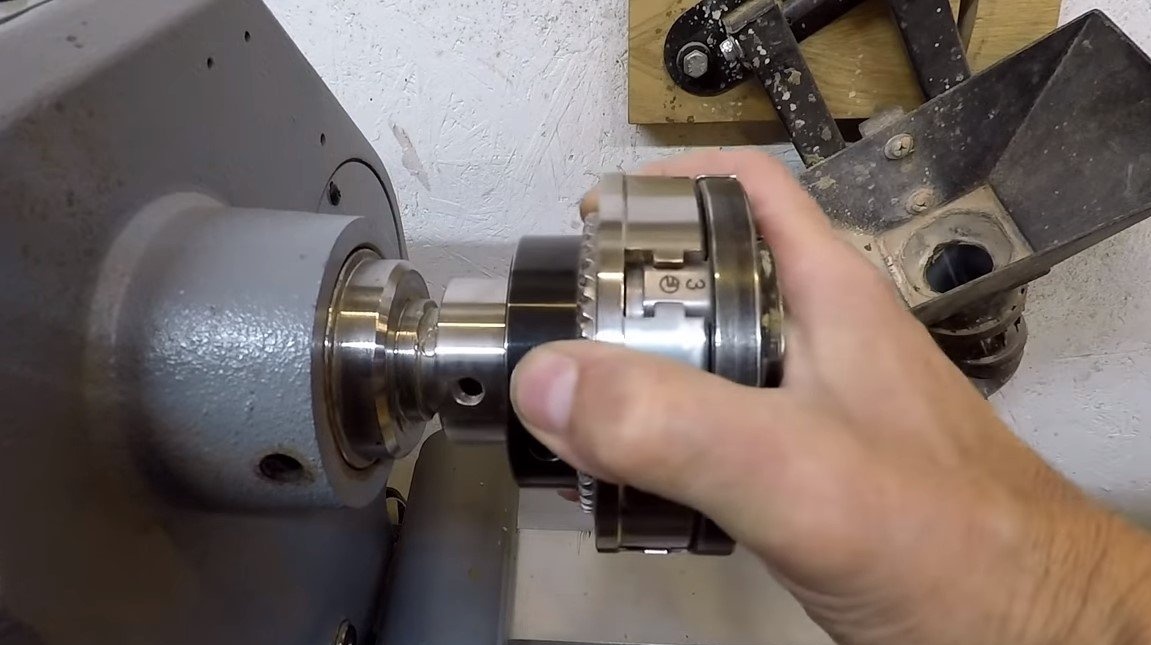
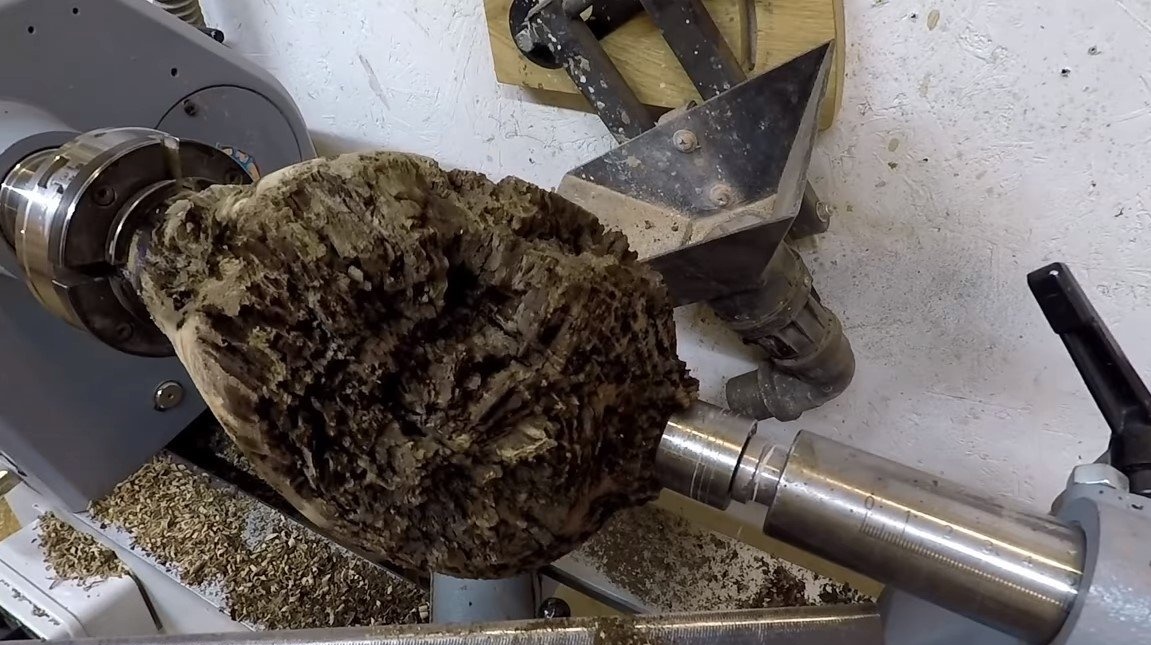
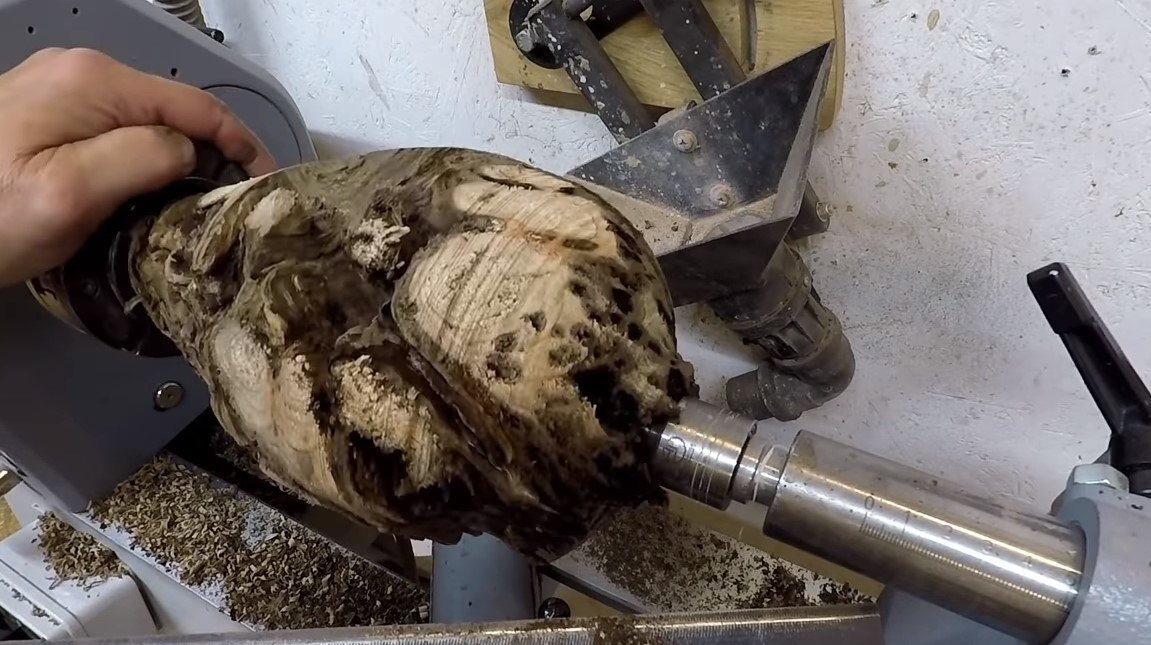
Step one. We form a profile
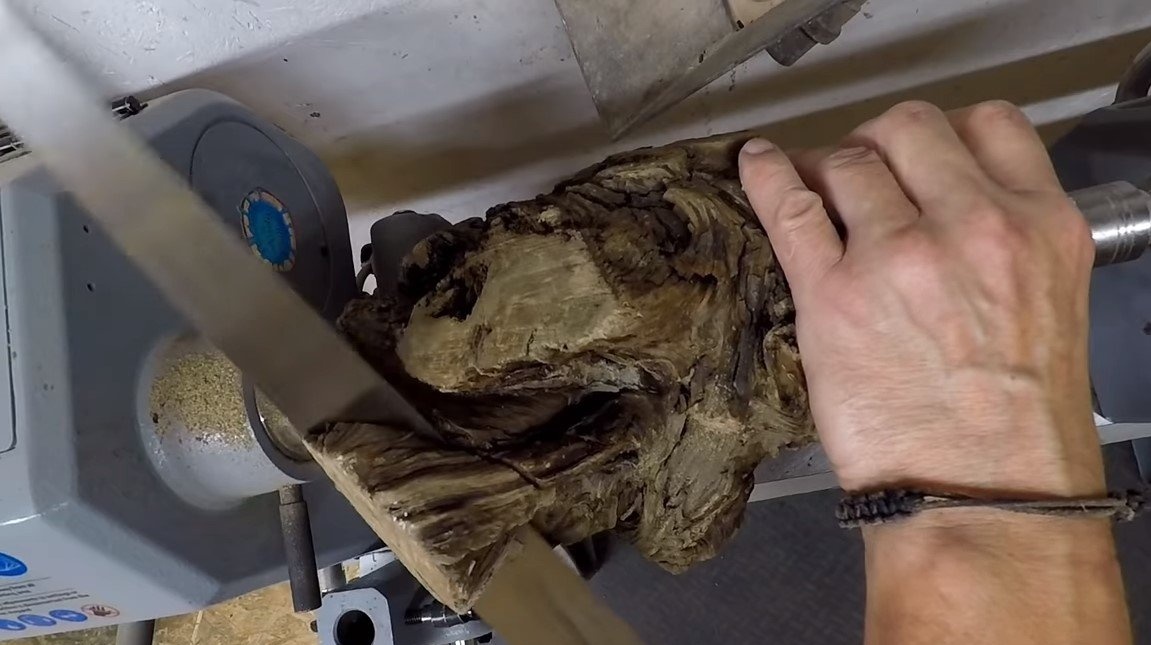
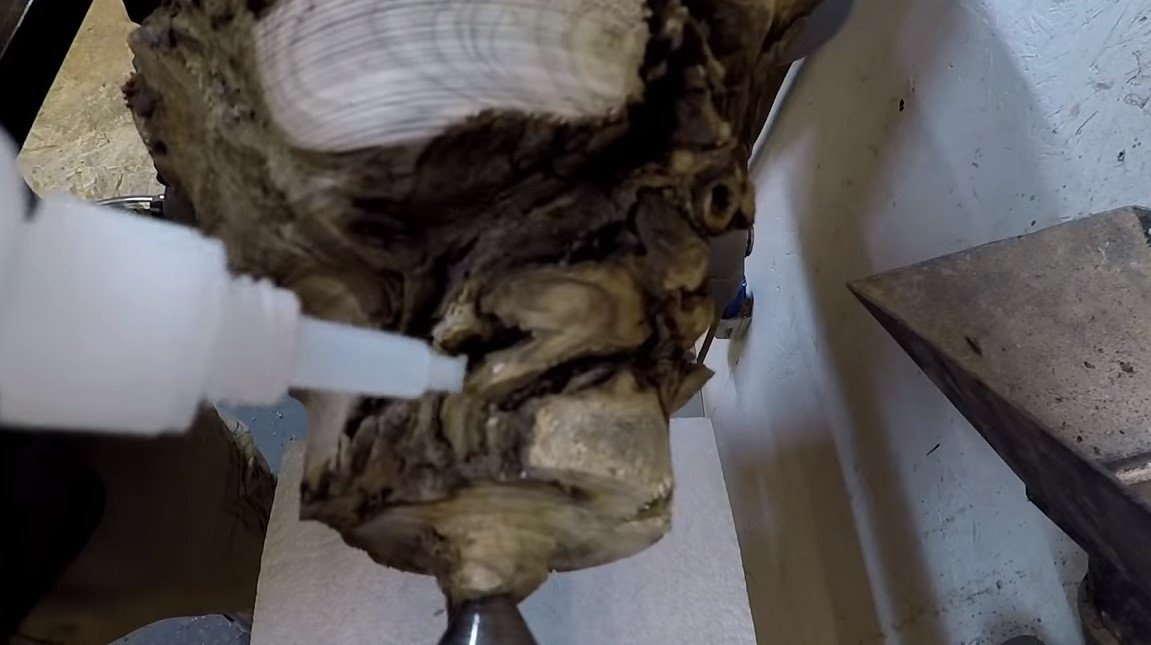
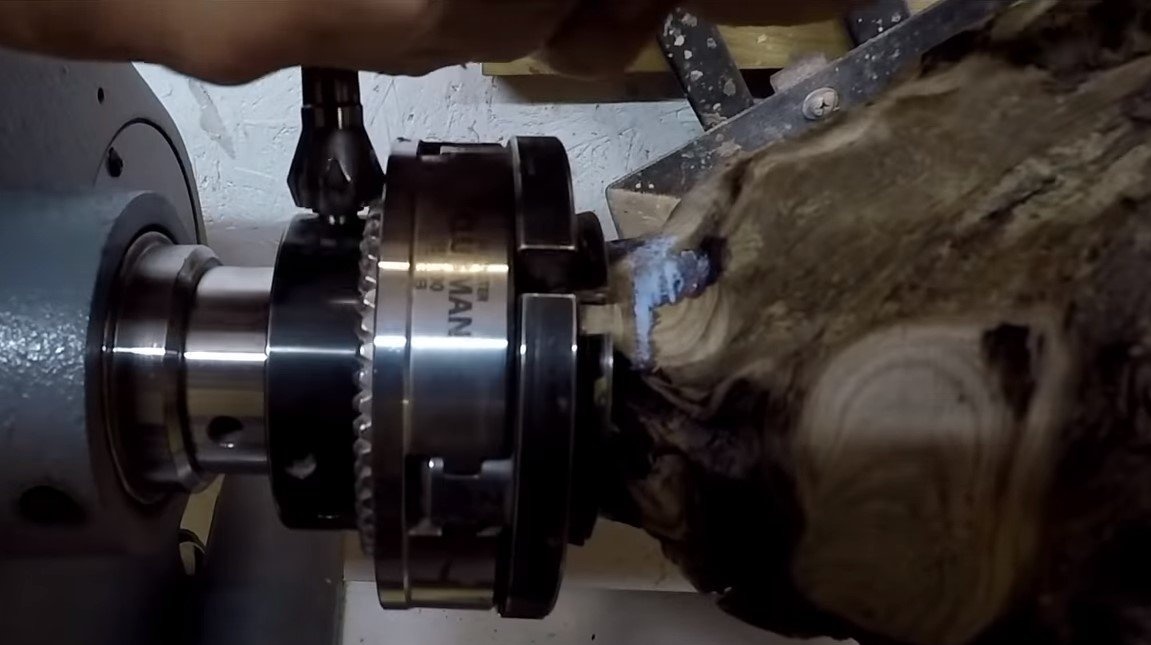
We clamp the workpiece into a lathe and get to work. A piece of a rotten stump or a piece of a trunk is suitable as a blank, usually ants make interesting patterns. So that the wood does not fall into pieces during processing, we glue the problem areas with superglue. It is especially necessary to glue the part that is attached to the lathe chuck with glue.
We form the profile we need, in our case it will be a vase. If some important pieces fall off, they can be glued with superglue.
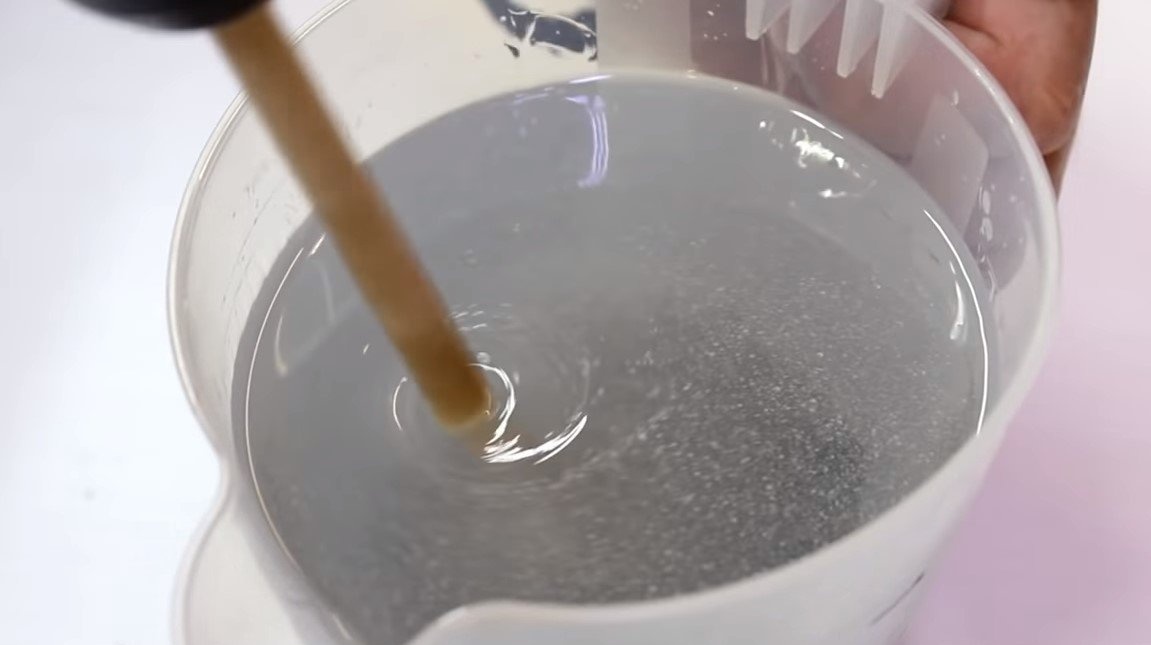
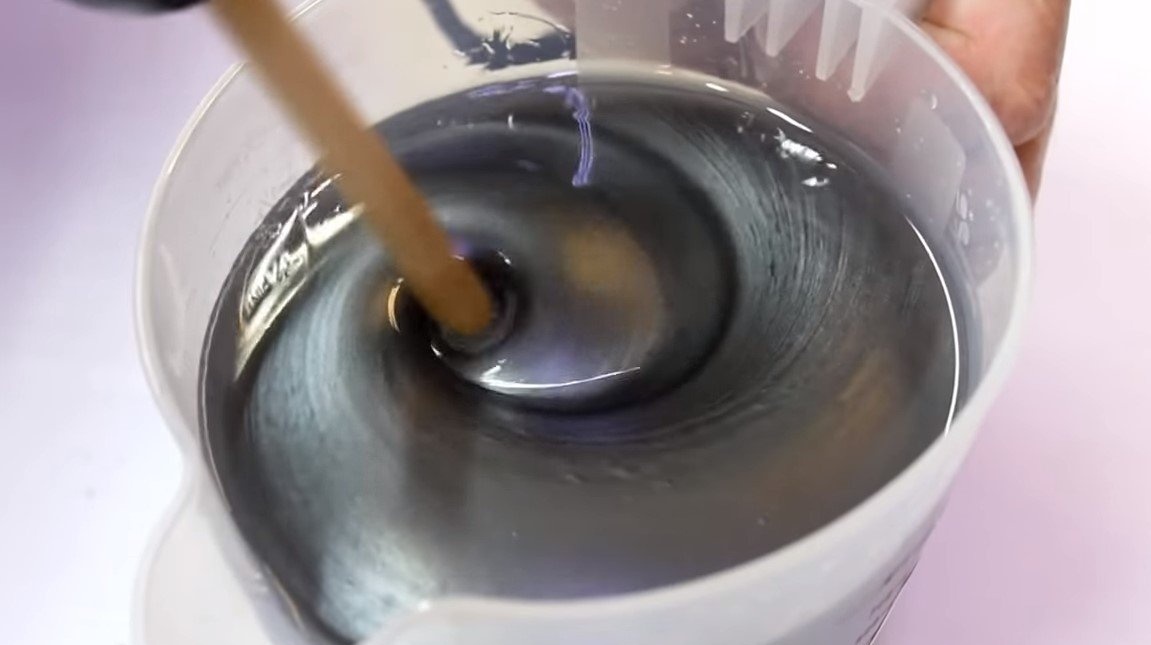
Step Two Pouring
We install the workpiece in a vessel of acrylic or plastic, well, then you can mix the resin with the hardener, and fill it into the mold. To obtain the desired effect of water, the dye should be in the form of powder.
As for the tree, it needs to be dried very well, you can throw the workpiece into the oven for a while. It is also advisable to purge all the niches with a compressor so that no debris floats into the resin, however, it will not interfere much. Typically, the resin hardens within a day, but it all depends on the specific brand of resin and the proportions of the hardener.
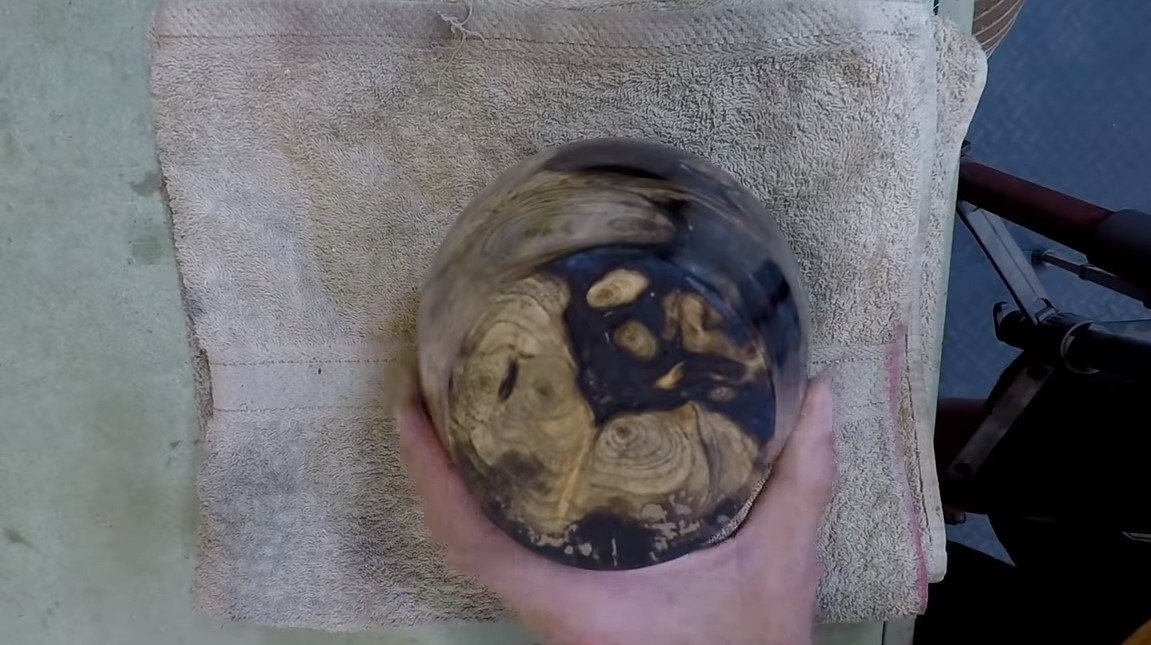
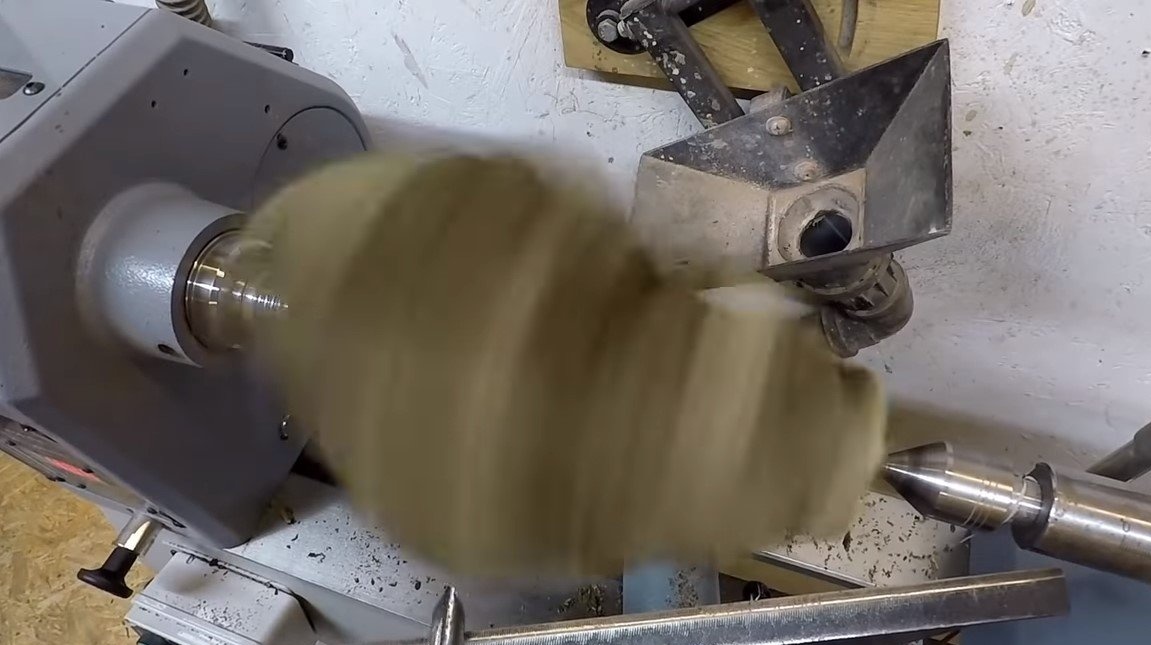
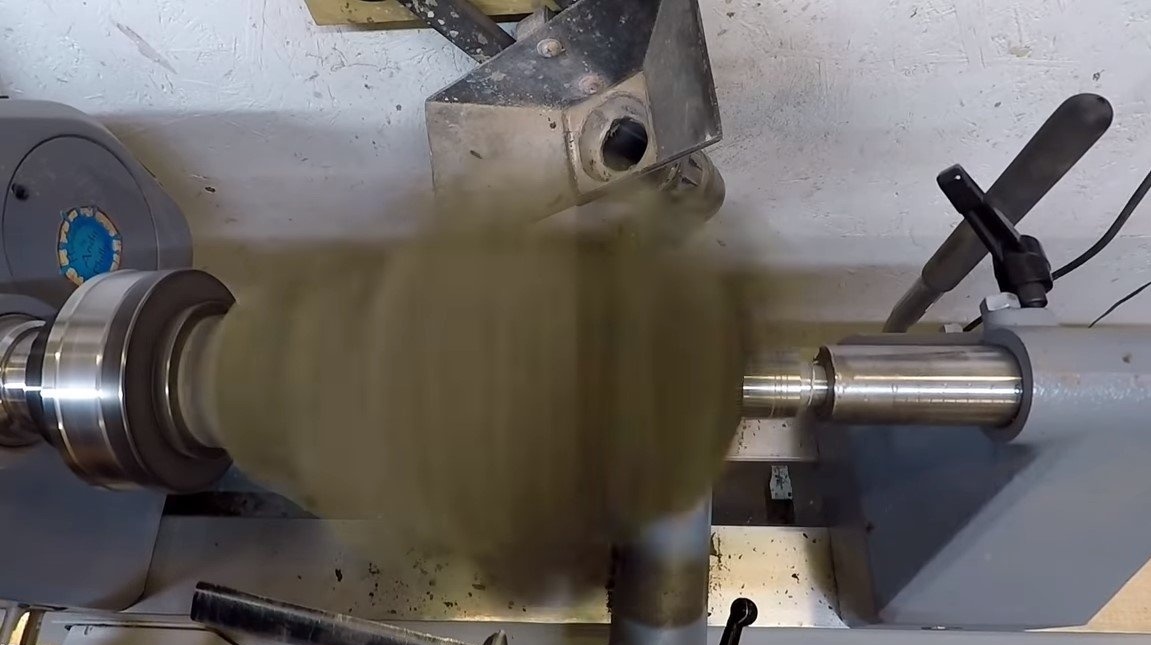
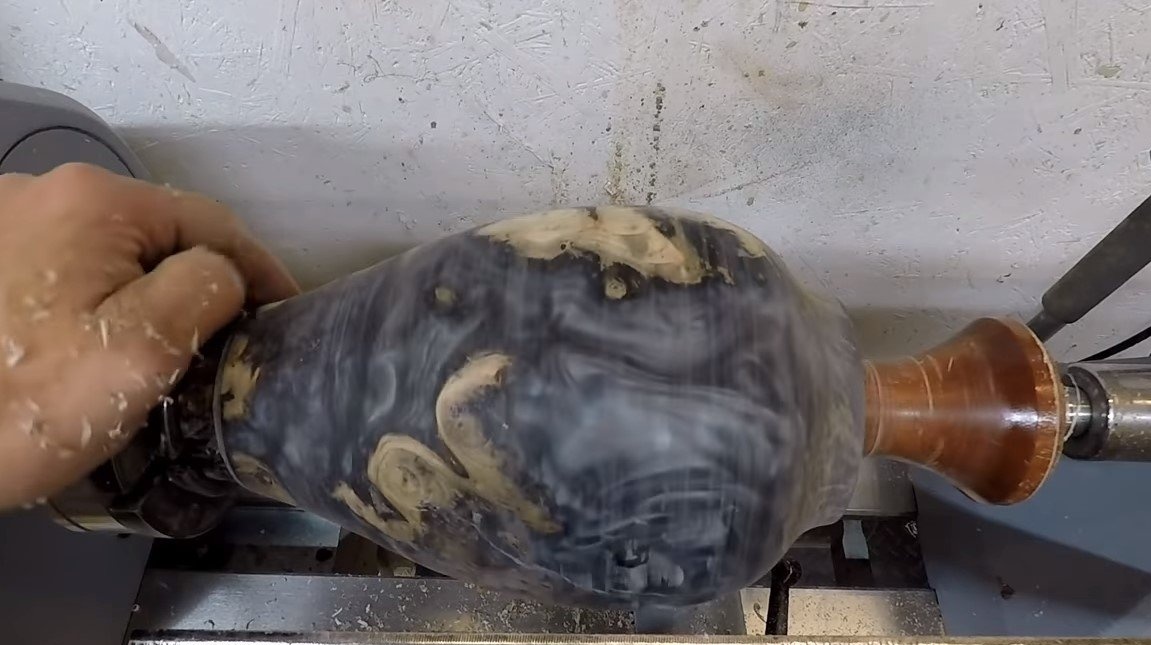
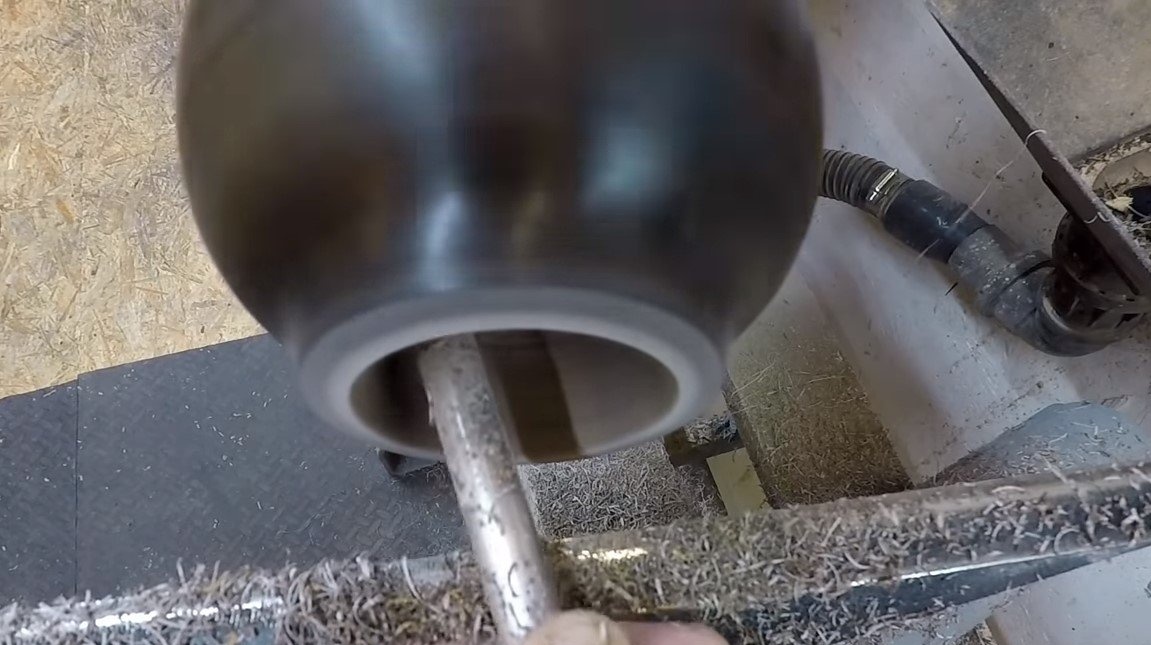
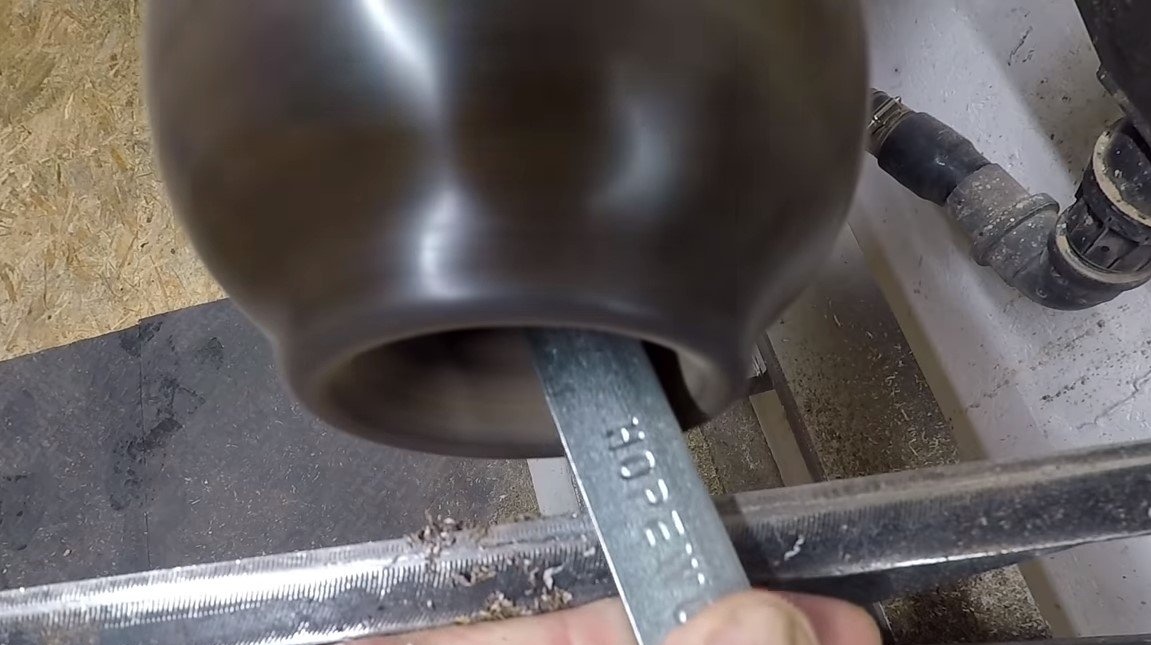
Step Three Turning
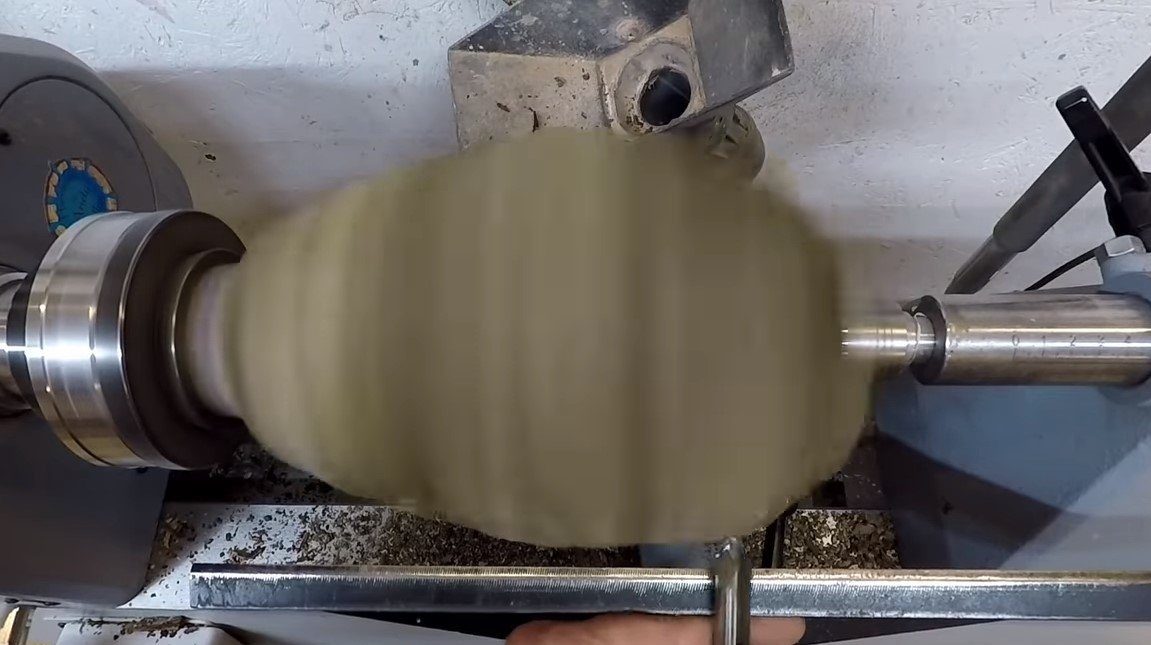
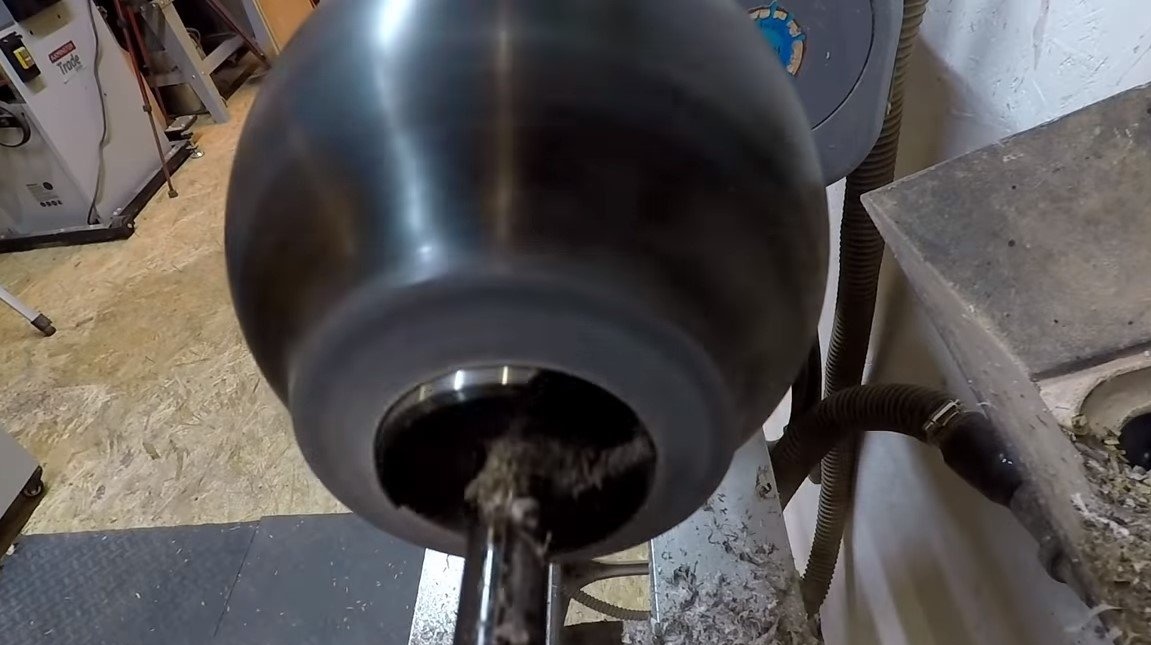
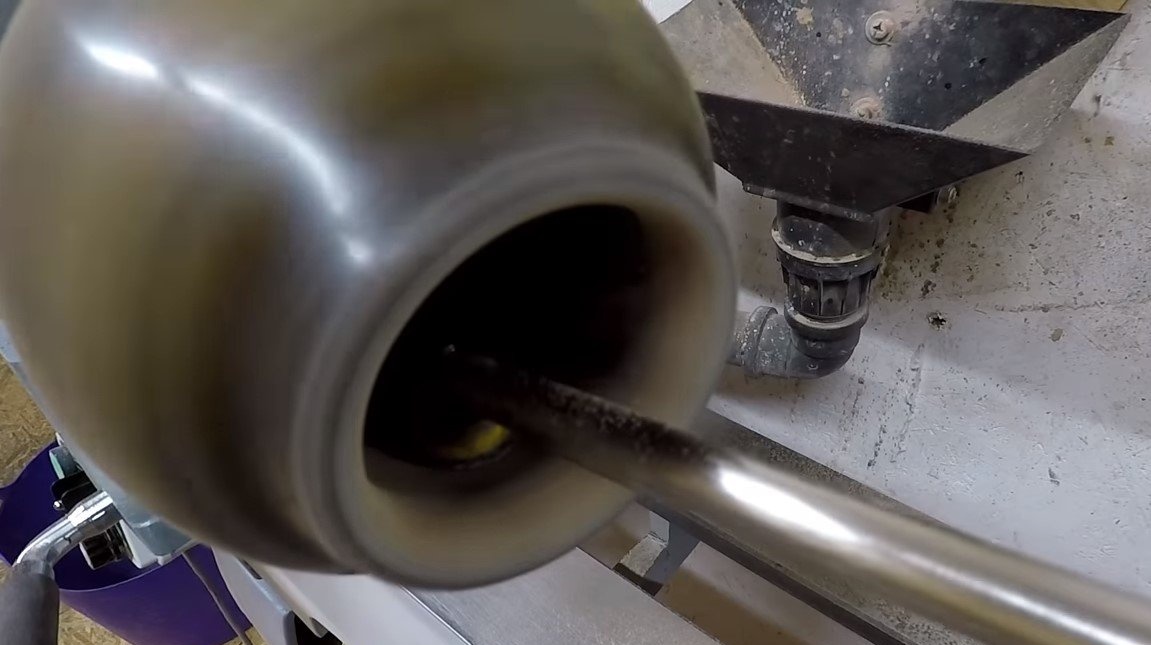
We again clamp the workpiece into the lathe and proceed to processing. Plastic formwork can be cut directly on a lathe, or you can remove it in advance if it is not difficult. We form the desired profile and cut out the vase inside. When grouting resin, it always turns into a large number of noodles, so it would be nice to build a protective shield.
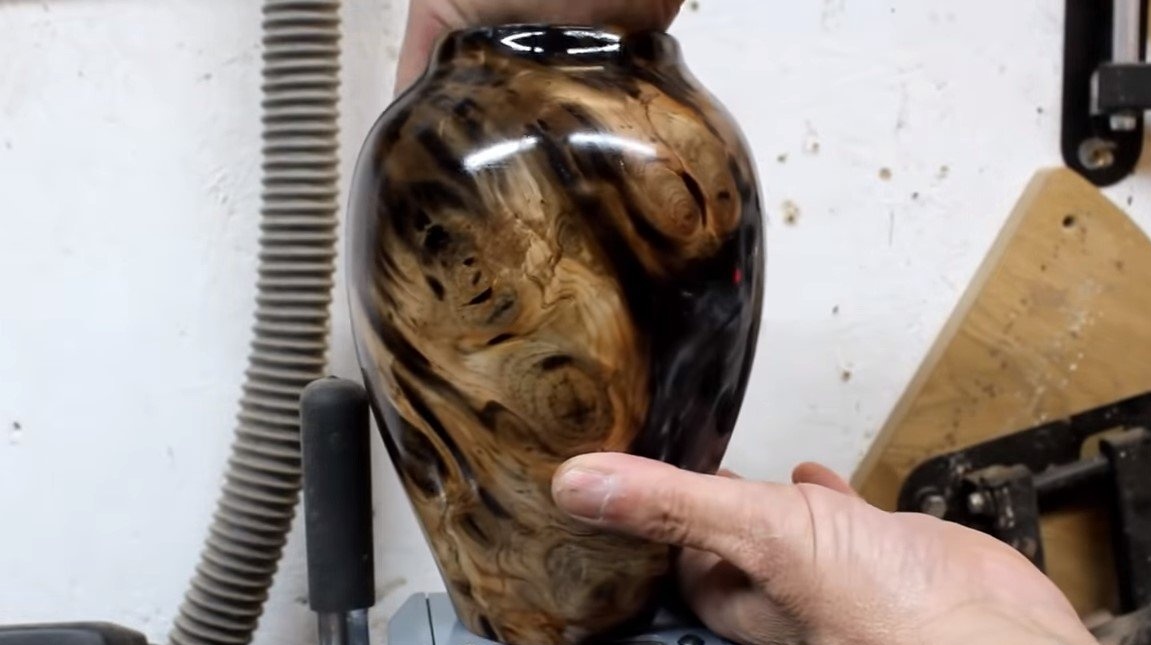
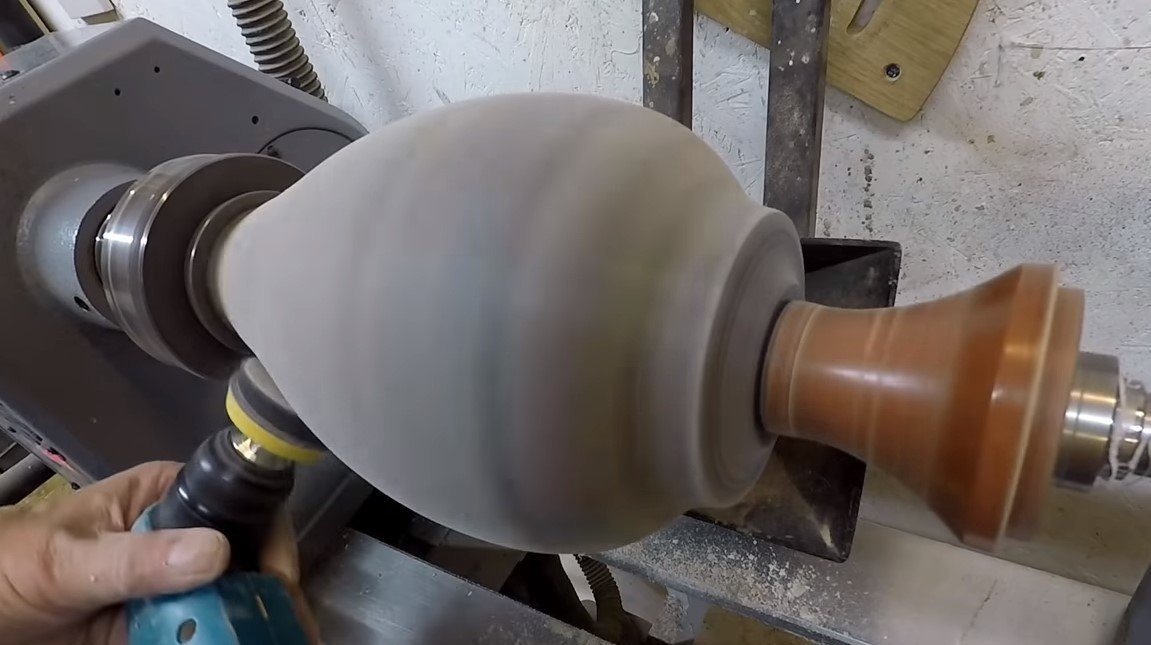
At the end, the vase will have to be properly sanded to a perfectly smooth state. To make the resin transparent, you need to polish the product.

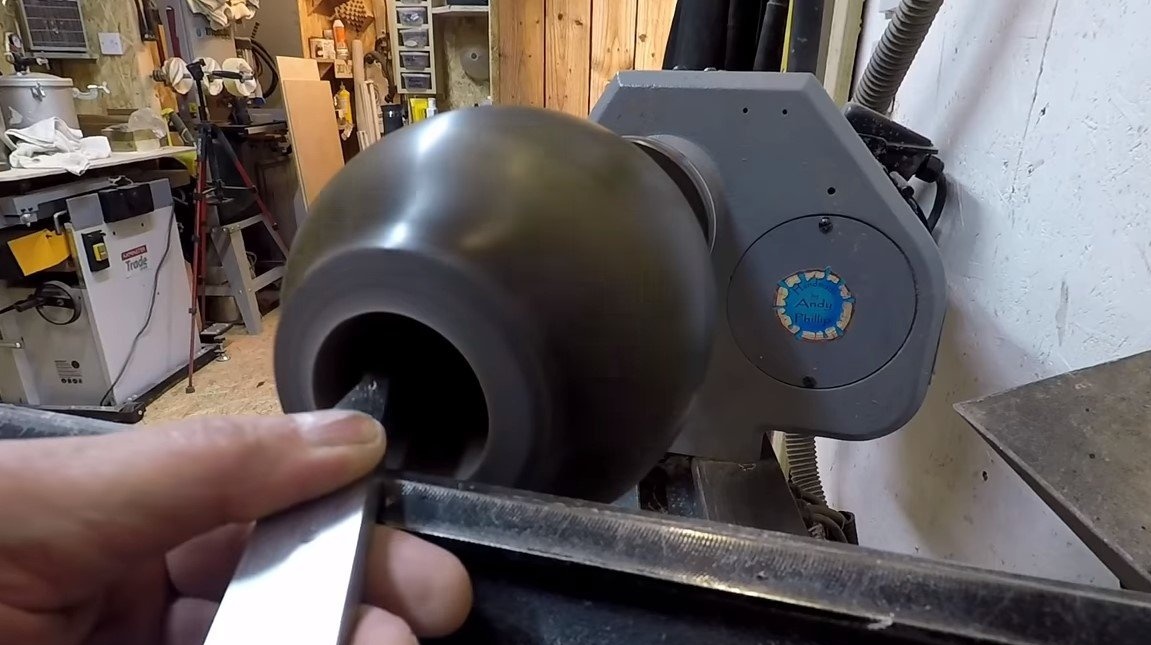
Step Four The final
Finally, we polish the vase well with wax or apply a thin layer of epoxy. Now the epoxy will again become crystal clear and the product will look great. Also, to protect the resin from ultraviolet radiation, it is advisable to apply a layer of protective varnish to the product.
This is the end of the project, I hope you liked the homemade work, and you found useful thoughts for yourself. Good luck and creative inspiration, if you decide to repeat this. Do not forget to share your ideas and homemade things with us!