
From the article below you will learn how to do it yourself make a cube that will be inside a large cube - a puzzle. The following description and instructions are taken from the Matthias Wandel YouTube channel.
Step 1: Materials and Tools Required
- birch timber 72 mm wide;
- table saw;
- roulette;
- a pencil;
- pantorouter (or Forstner's crown);
- bits on the dovetail pantorouter 12 mm;
- a rectangular chisel for a pantoroter 19 mm;
- knife;
- a chisel;

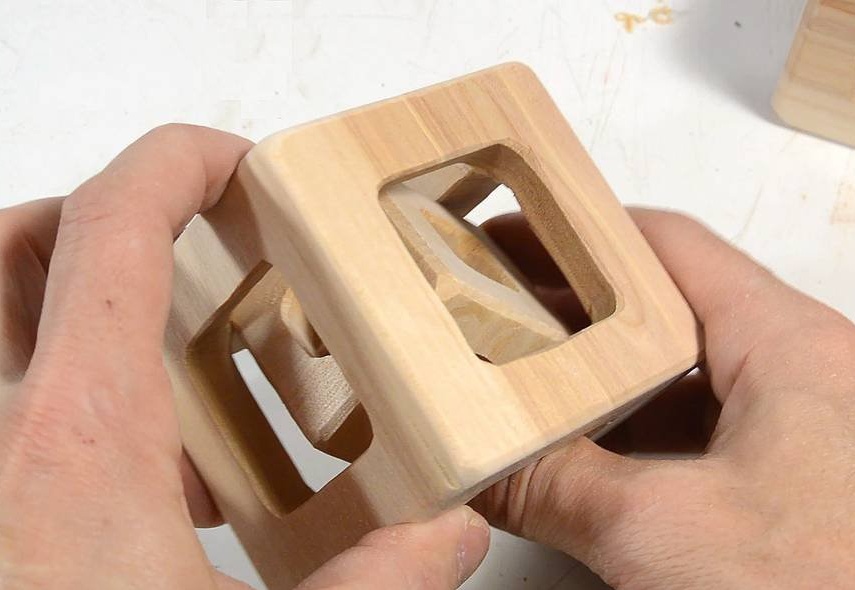
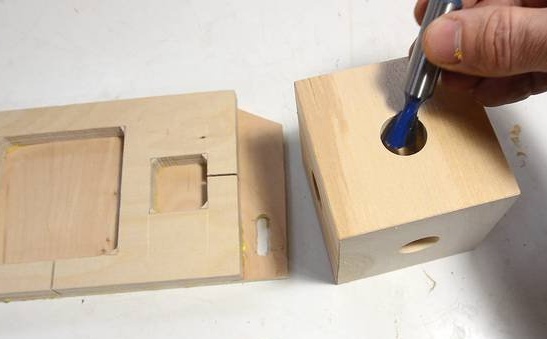
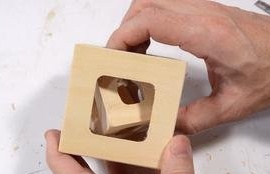
A cube inside a large cube is made by drilling with a large Forstner crown on all six sides until a small cube inside is almost empty. Then with the help of a knife he is freed in the corners.
But these square holes will look more impressive if you cut them with a pantorouter. You can get a larger cube on the inside without getting as close to the outer edges of the small cube as would be the case with round holes from the crown.
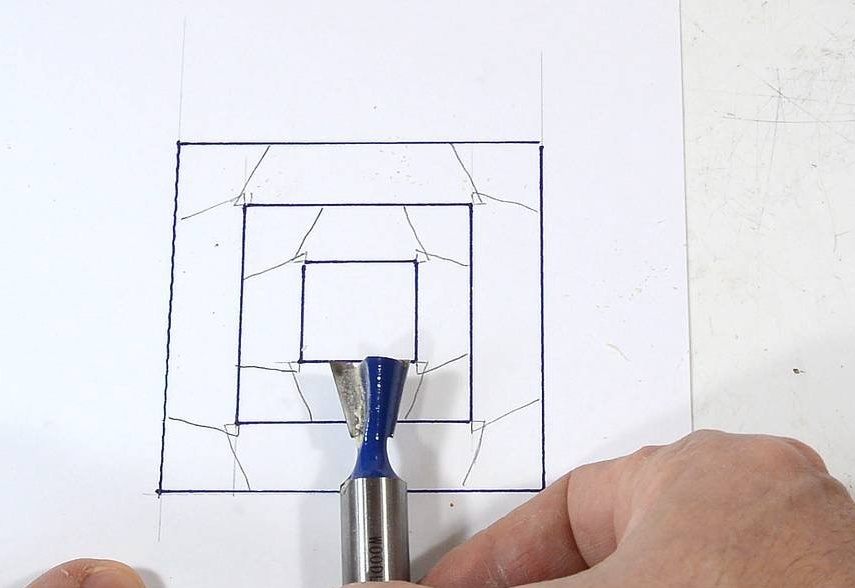
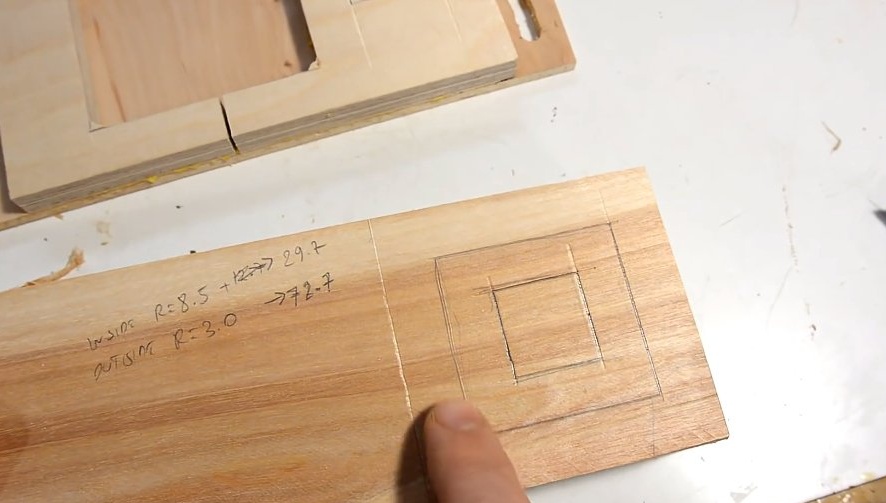
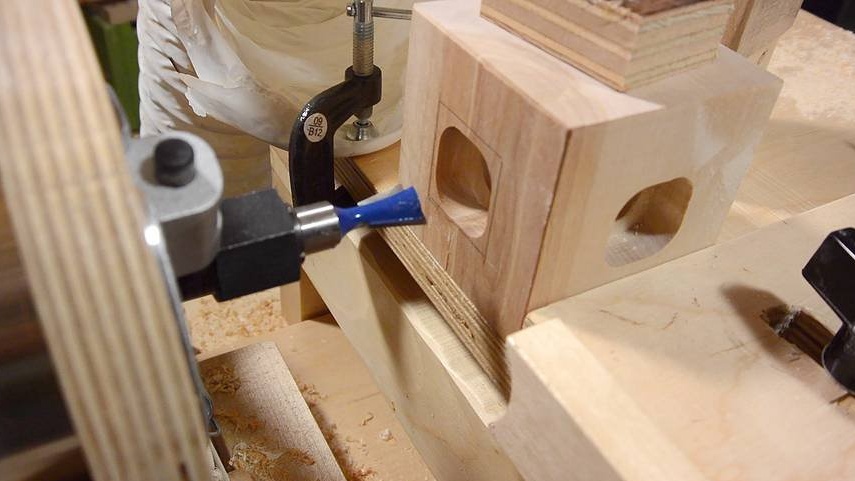
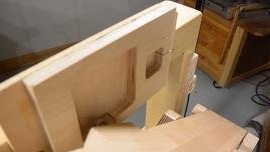
In addition to this, the master decided to make square holes using the dovetail pantorotter bit so that the holes were larger from the inside. A template was prepared for this.
The disadvantage of using a swallow tail is that the bit cannot cut at the very beginning of the work. Therefore, the master had to pre-drill several holes on each side of the cube.

Step 2: Cutting a Small Inner Cube
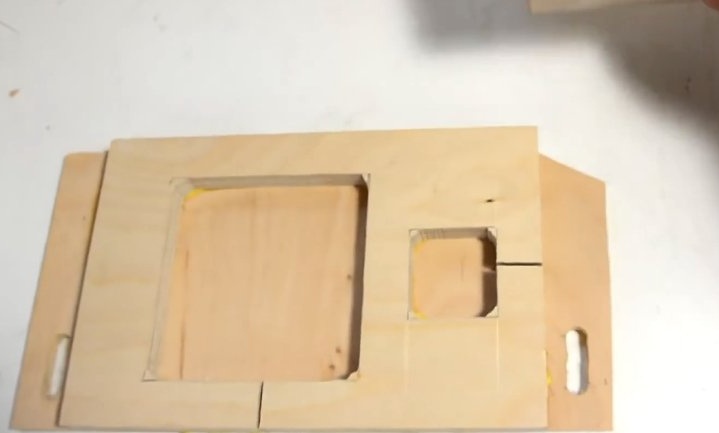
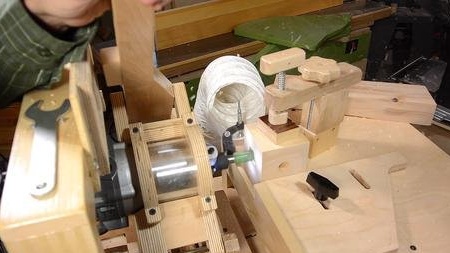
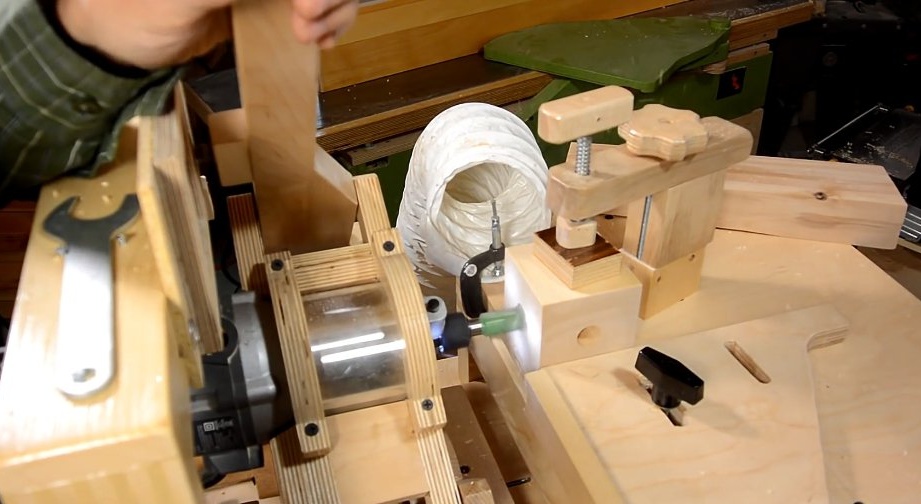
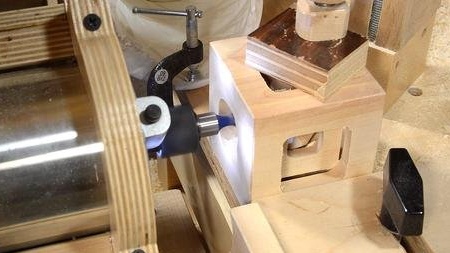
First, the master decided to cut the inner cube. But before cutting the inner surface with a dovetail, the master needed to make room for the convenience of further cutting the middle cube. Therefore, he used a 19 mm rectangular chisel with a smaller template to cut out a less deep part of the cavity to make room.
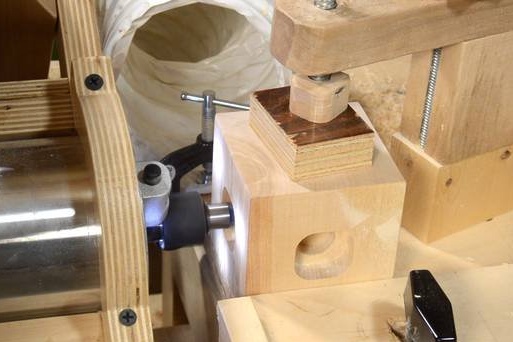
After the first cavity cut out, the master had enough space for processing the internal cavity with the help of a dovetail.
Step 3: Checking Cutting Depth
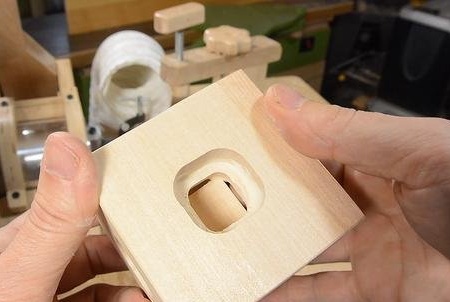
Milling using a dovetail bit is that there is no way to gradually increase the depth.There is a shallow passage at the wide end of the bit that cuts the material.
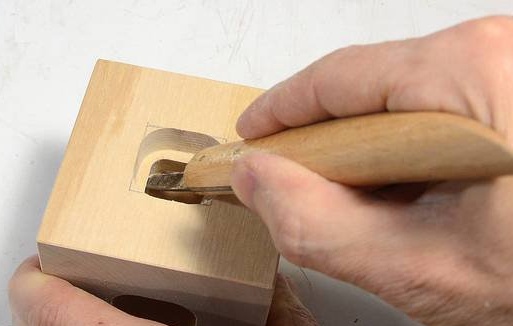
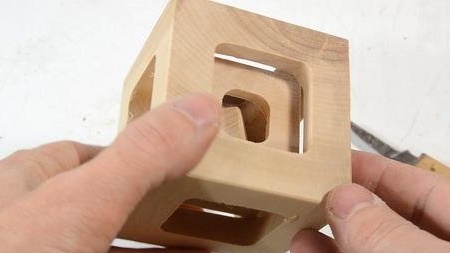
After milling all four sides of the cube, the master cut the material from the corners with a cutting knife to free the inner cube. The material on which the cube was held was less than it would be if the master used round crowns. However, the corners of the holes still remain rounded and hold the cube slightly.
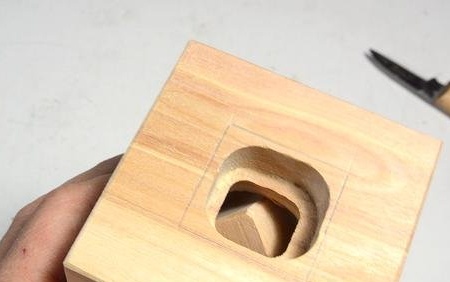
Having liberated the inner cube, the master also chamfered from its edges to make it more mobile inside.
Next, the wizard switched to a large template.
Step 4: End Cuts
Some niches at the edges were not deep enough, so the master installed the cube in the milling machine and milled some edges in different directions to make the niches approximately the same.
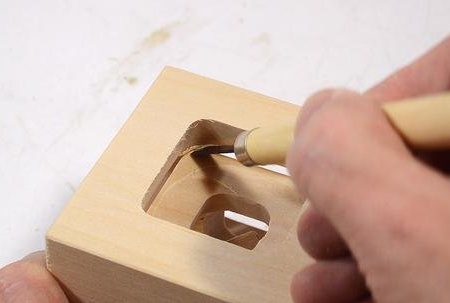
At first, the master tried to free the corners with a cutting knife, but was afraid that he might cut the cube into pieces. Therefore, he switched to working with a thin chisel to free the corners.
Like the smallest inner cube, the middle cube was difficult to rotate freely, so the master smoothed the corners.
(I’ll add from myself: it’s not entirely clear what the essence of this puzzle is, probably to puzzle over its manufacture.)
If you like homemade author, then try to repeat and make.
Thank you for attention. See you soon!