From the article below you will learn how to do it yourself assemble a trolley for a welding machine based on an old office chair. The following description and instructions are taken from the Matthias Wandel YouTube channel.
Step 1: Tools and Materials Required
- a cross with wheels from an office chair;
- table saw;
- jointer;
- old plywood box;
- plywood 12 mm thick;
- plywood 19 mm thick;
- PVA carpentry glue;
- compressor nail gun;
- clamps;
- screwdriver;
- screwdriver;
- a pencil;
- handle for the box;
- washer in the size of the handle - 2 pcs.;
- roulette;
- sandpaper;
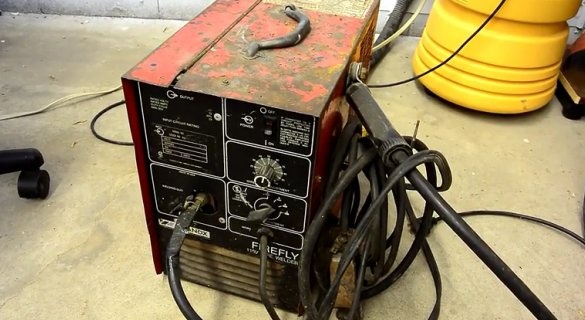
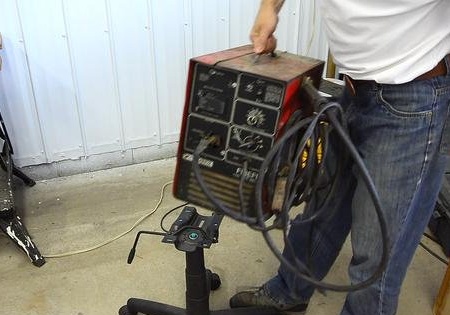
The master wanted to make a cart for the old welding machine. At first he wanted to make a stand and use castors for office chairs, but then decided to use the entire base of the chair as a whole. The master found a broken office chair with a good base, suitable in size.
But the base was slightly below ideal height.
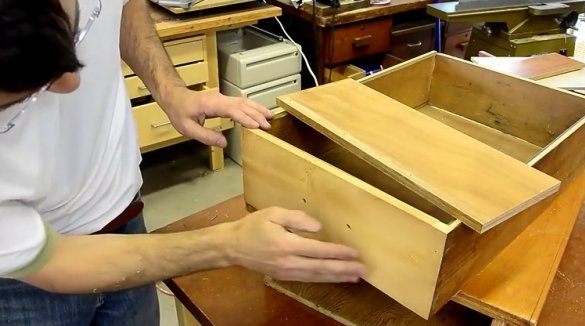
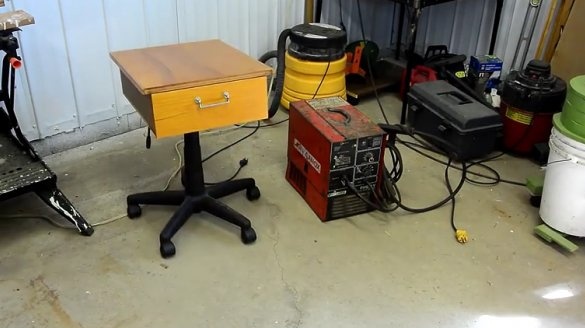
The next thought was to increase the height of the rack by adding a box with a drawer. In the photo there is a test of the concept of the future rack by folding pieces of plywood and an old box from the table into a stack. It seems that this height is correct.
Step 2: Making a Box Case
As a material, the master used old plywood.
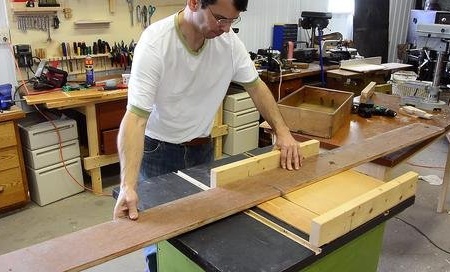
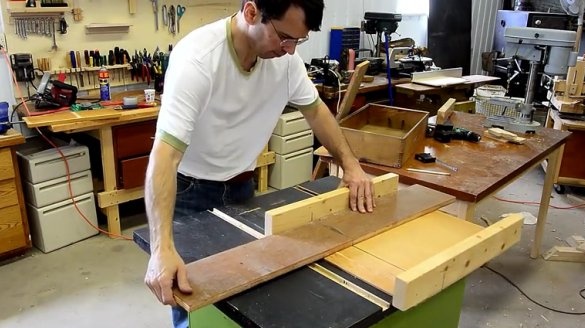
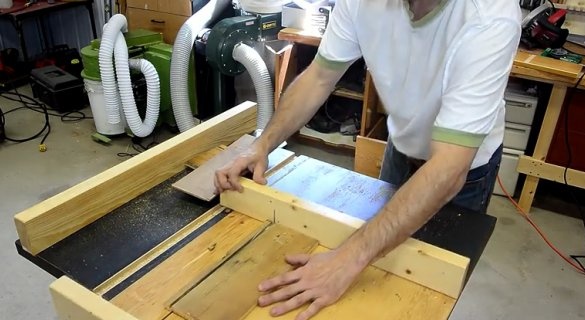
Here, the master cuts the remnants of plywood from the garage shelves.
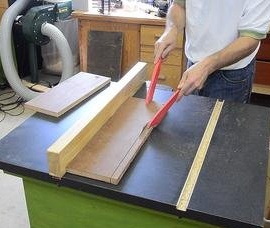
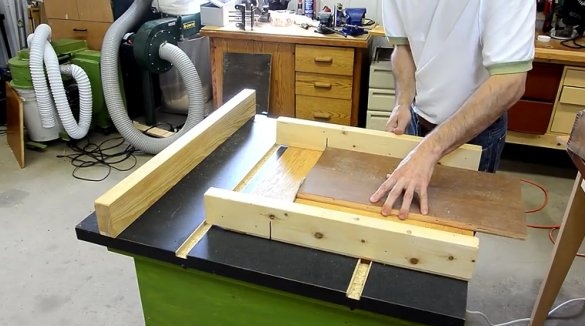
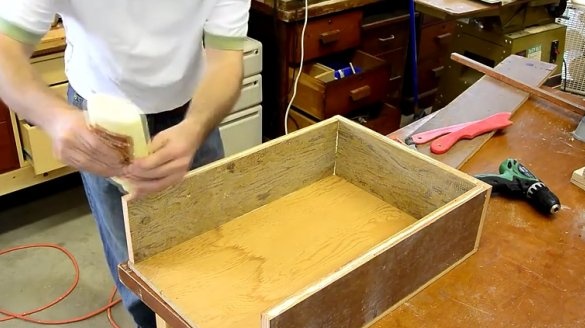
The edges were a little rough. Therefore, the master cut them on both sides to get good parallel edges. Then he cut the parts to the required length to make sure they were rectangular.
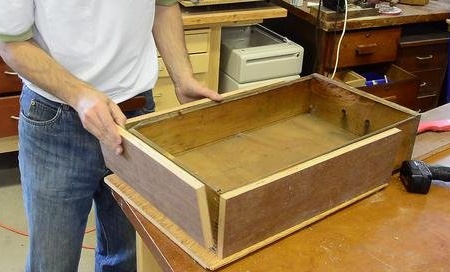
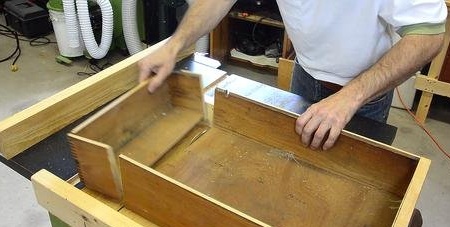
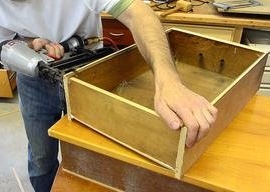
Checking how the new parts will fit around the old box that the master wants to reuse.
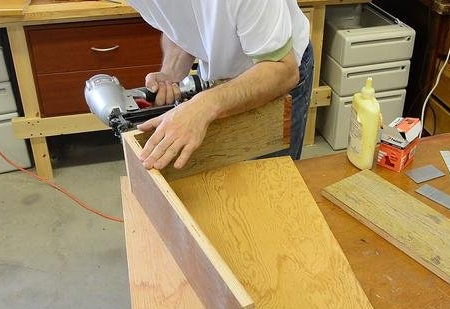
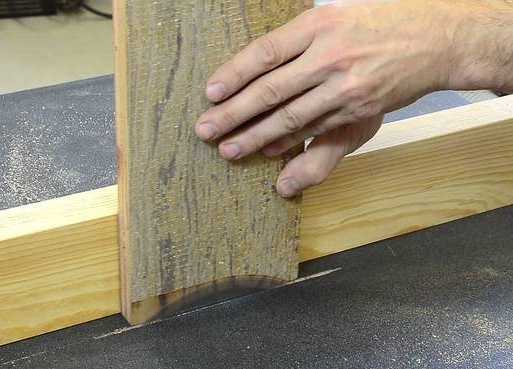
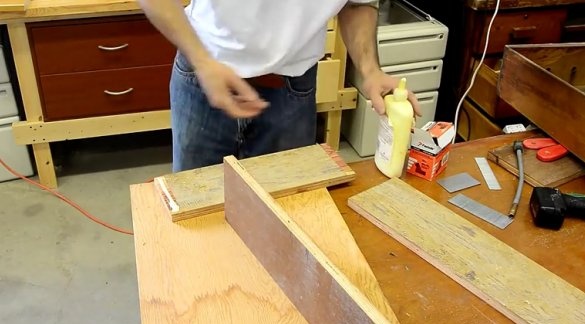
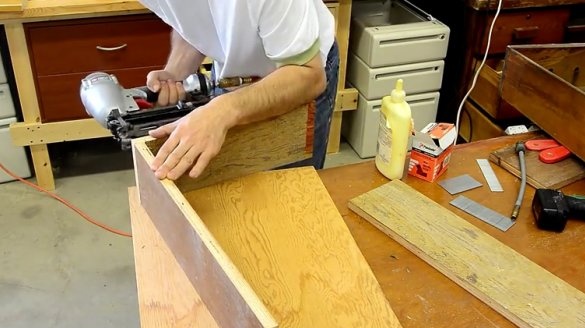
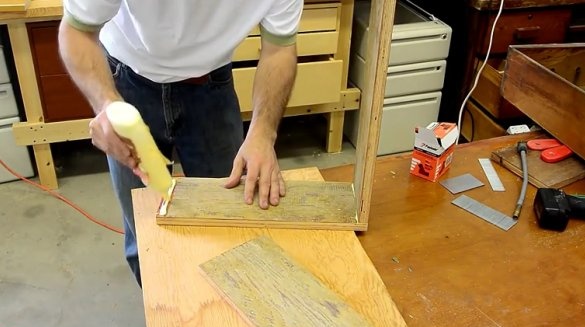
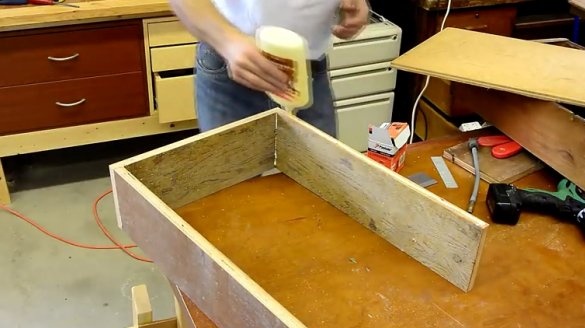
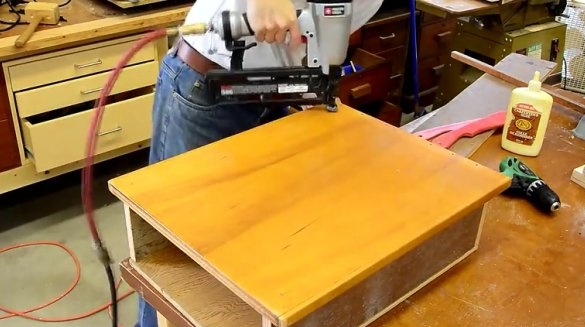
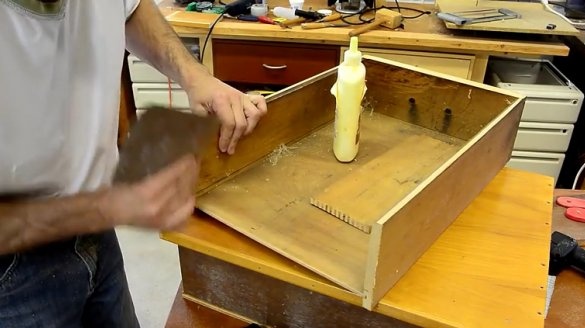
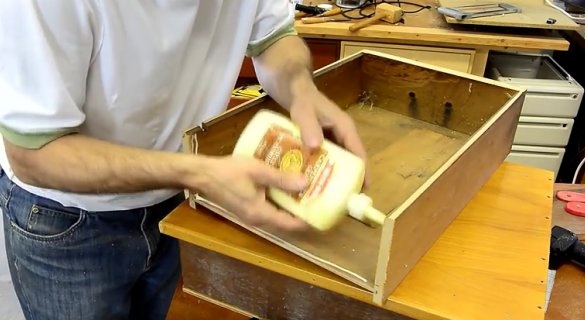
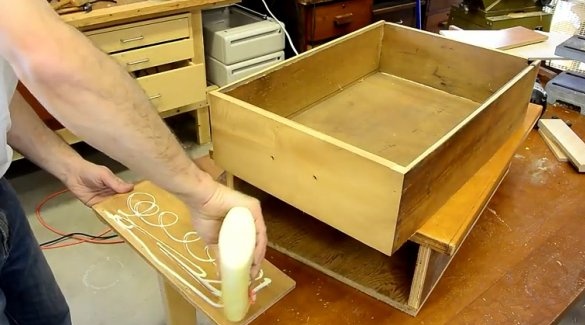
Then the master glues and nails the parts together. Remains of glue remained on one side of the plywood, so the master cut the joint on the saw.
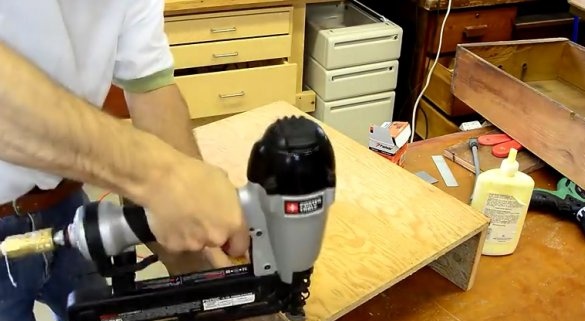
The bottom is made of plywood 12 mm thick, which is also glued and pierced with nails.
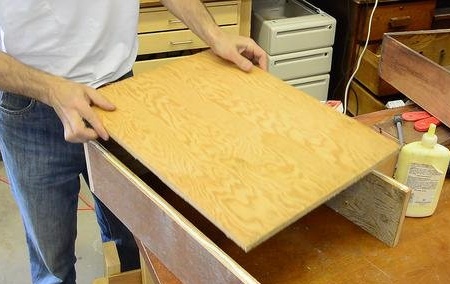
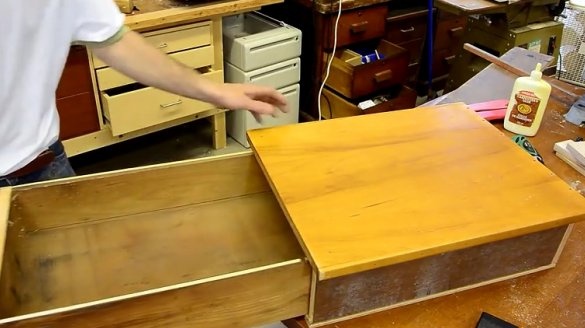
A larger piece of plywood, already painted, forms the top cover of the box. This plywood has good edges on both sides. This item is made of old of furniture. She was just the right size. In fact, the entire project was made from a suitable waste size. Nothing was customized.
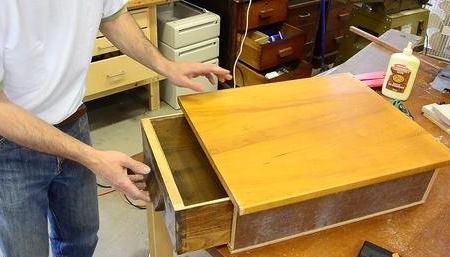
The box was about 10 cm longer than the master wanted.
Step 3: fitting the box
Therefore, the master shortened the back of the product by 10 cm. Then he cut the back panel from the cut part, again glued it and nailed it to the back of the box.
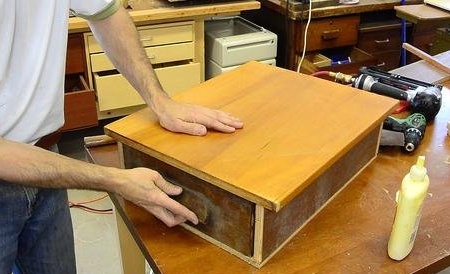
Now the box is suitable, but it looks awful, even for a welding trolley.
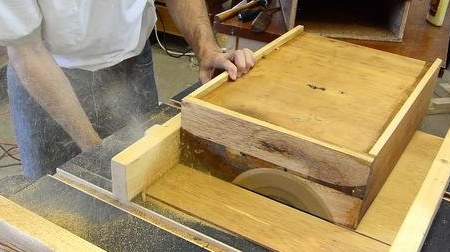
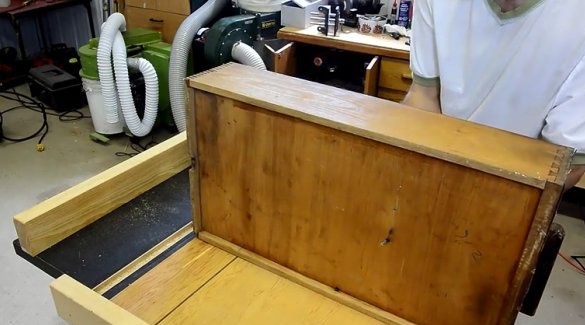
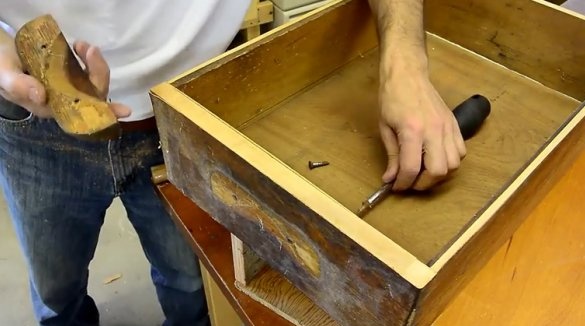
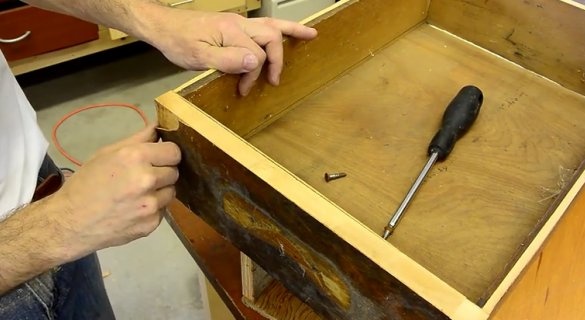
The master removed the handle, then tried to cut off part of the veneer on the table saw, but the saw could not cut the entire veneer.
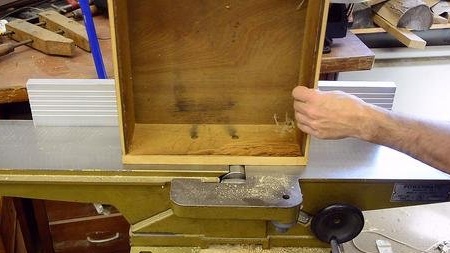
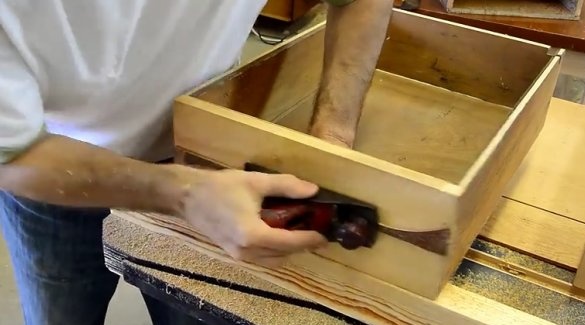
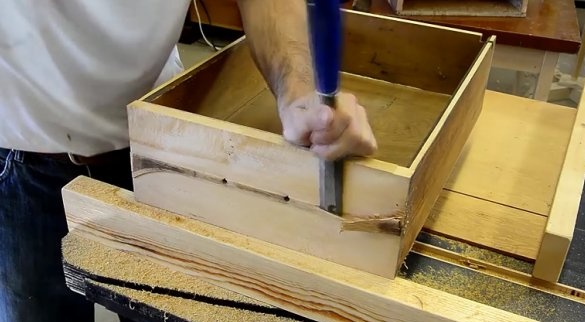
The master tried to remove the rest of the veneer with a chisel and a planer, but in the end, he simply planed it on a jointer. On the jointer there is always a danger of blunting knives on metal or sand on old material.
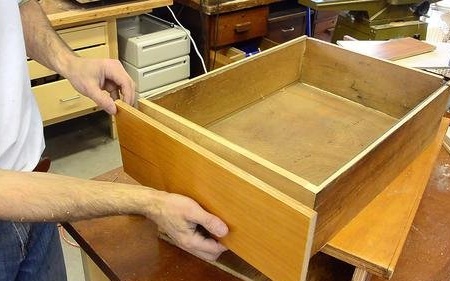
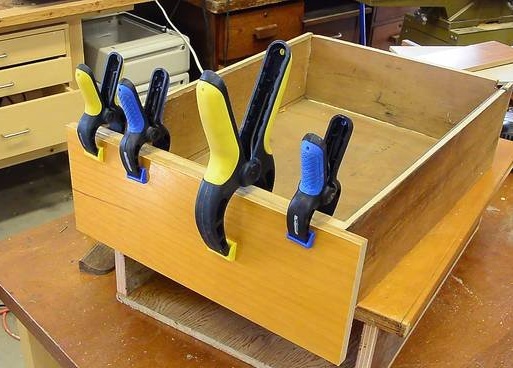
The tree on the front of the box didn’t look very beautiful, so the master used a pre-processed piece of plywood as a new facade for the box. He made it a little bigger so that he covered the bottom and sides of the drawer.
Step 4: Attaching the Cross to the Office Chair and Handle
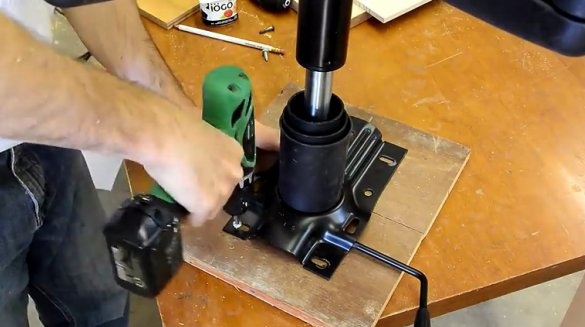
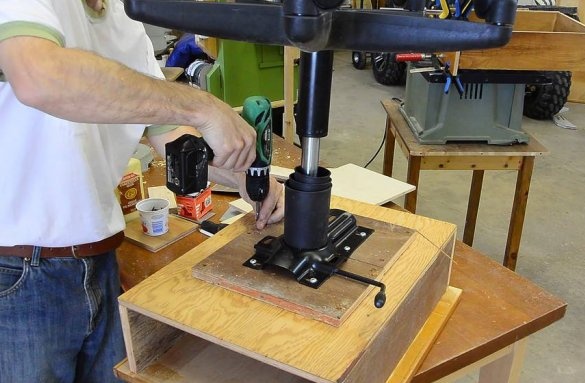
The master added a piece of 19 mm plywood to the bottom of the box for mounting the base of the office chair. He did not want to screw the base of the chair directly to the bottom of the box, since it was only 12 mm thick.
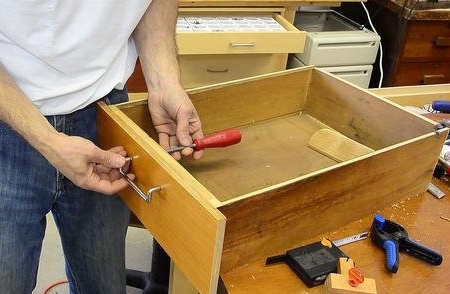
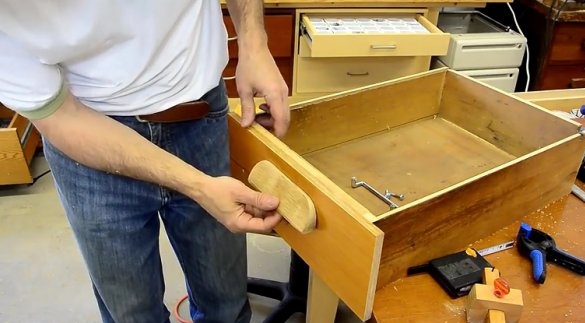
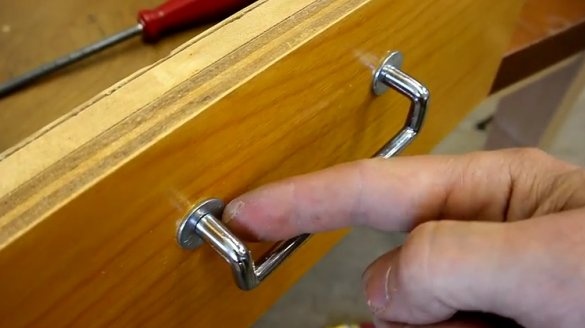
Finally, the master screwed the old handle to the box, which is also used.
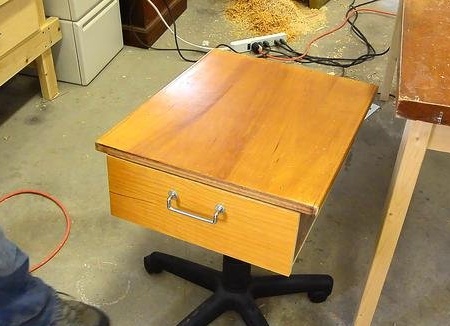
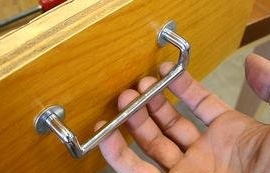
He was thinking about reusing an old wooden handle (which looked good after it had been sanded), but it didn’t fit the already lacquered box.
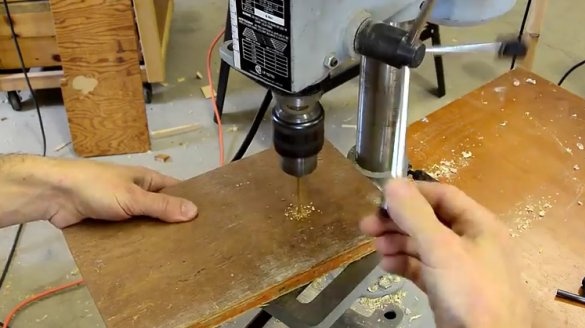
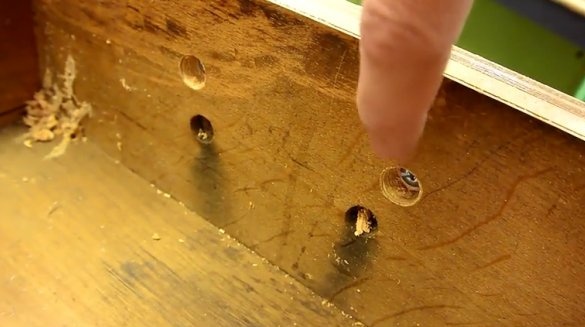
It turns out that the master drilled holes for the handle screws too deeply. Therefore, I had to put two washers under the handle.
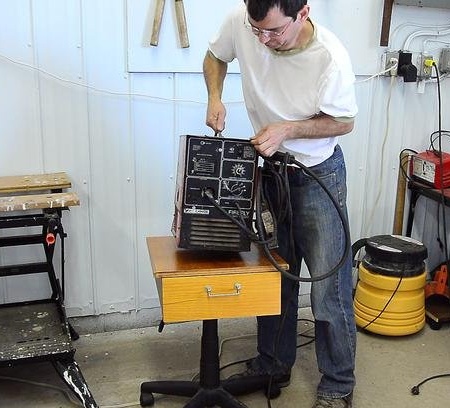
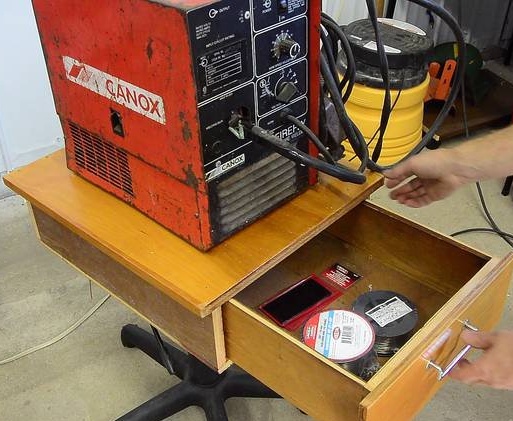
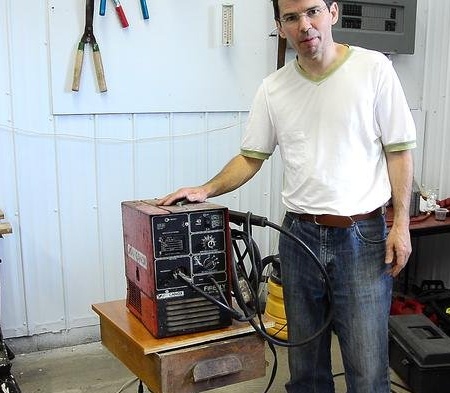
The welding machine is placed on a trolley.

The box is useful for storing extra welding wire, tips and lenses for a protective mask. Nice to have a place for such things.
If you like homemade author, then try to repeat and make. Thank you for attention. See you soon!

