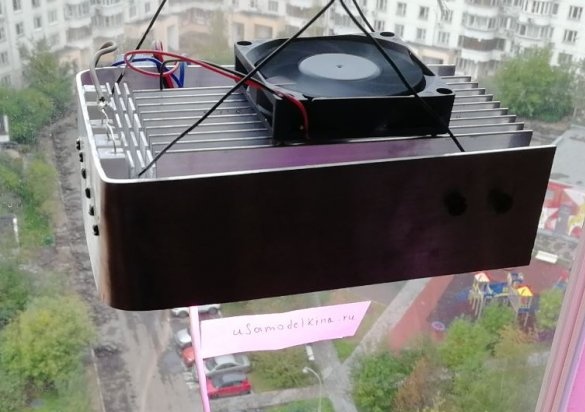
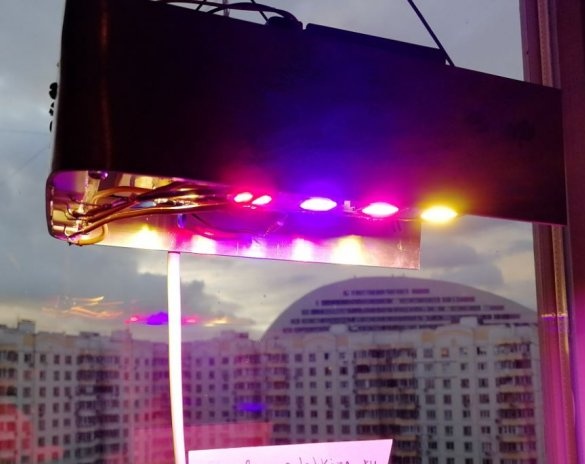
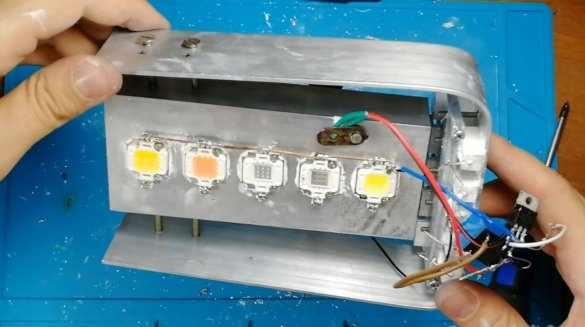
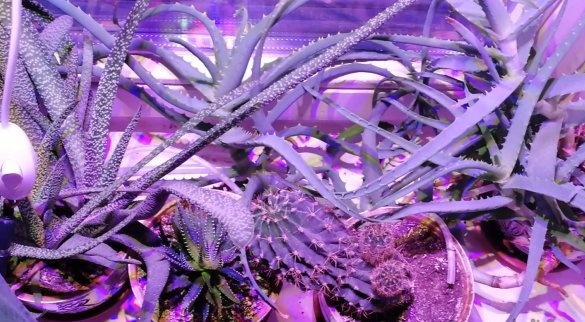
I once wanted to do something using LED matrices. It was interesting to connect them without a special driver, to think over the cooling system and the emergency shutdown circuit when overheating. I decided to make a phyto-lamp for plants with a capacity of about 50 watts. As a result, we got such a device:
Related videos
Component Selection
To begin with, I thought about which matrices to choose. A lot of questions are raised by the effectiveness of LED matrixes for plants. Information on the Internet is extremely contradictory. Some sources write that the spectrum does not matter much, plants grow under any LED lighting and even under incandescent lamps. In others, they write on the contrary that the spectrum of the emitted light is very important and you need to take only high-quality proven lamps. Because I do a lamp no matter how much for plants (they already grow pretty well, in principle, especially after automation of irrigation), how much in order to do something using matrices, I decided to take a chance and take the matrices from the Chinese on Ali Express. I looked at reviews in stores, after the phrase "strawberries are delighted", I decided that there was a chance of success.
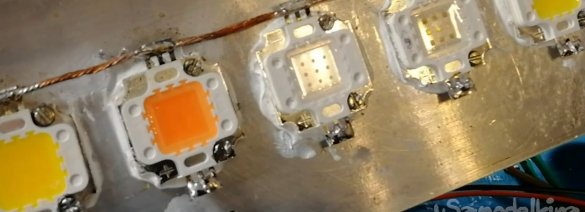
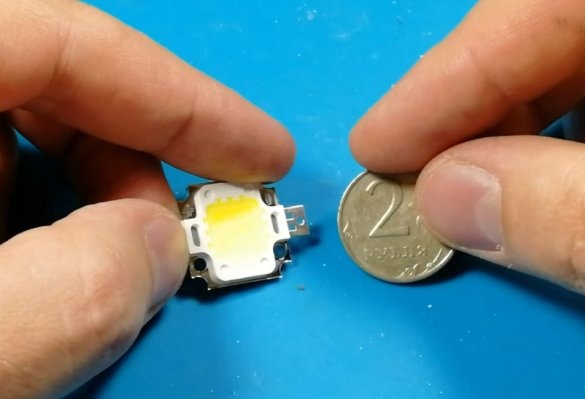
According to information from the Internet, I came to the conclusion that it is better to take several small matrices under the same total power, instead of using one large one. In large matrices, the density of crystals per unit area is very high, which adversely affects cooling and, as a consequence, durability. The choice fell in the direction of 10 Watt matrices with Ali Express. Each matrix contains 9 crystals (or groups of crystals, I'm not sure until the end) between which there is a lot of free space.
Each matrix is about the size of a 2 ruble coin.
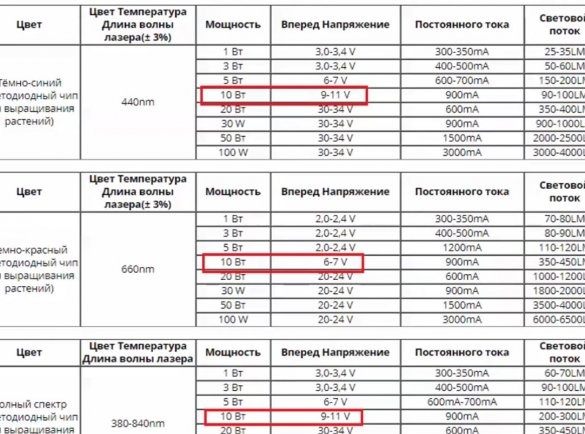
Power consumption 9-11V (except for one matrix, which requires 6-7V), current up to 900 mA.
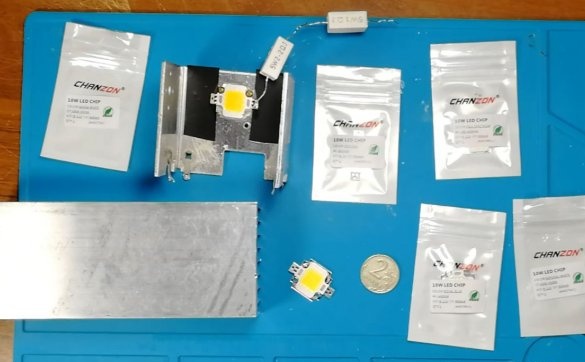
The supply voltage is convenient (more powerful matrices require 24 and 36 V), I just had a 12V and 5A power supply and a slightly lower voltage would not be a problem. I decided to use matrices of different spectra in the lamp. In total, I chose 5 matrices: a full range, red, blue, warm white and just white. Hope some of this works.
Now that the matrices are selected, you need to think about how to connect them. You cannot directly connect to the power supply. It is necessary to limit the current to 900 mA.I decided not to complicate everything and limit the current classically - with the help of resistors. The voltage on the power supply is stabilized, so there should be no problems.
Resistor Calculation
To extend the life of LED arrays, I decided not to load them to the maximum, but to operate at a voltage of 9.5 V and limit the current to 800 mA.
We will have a voltage drop: 12-9.5 = 2.5V
We consider resistor resistance:
2.5 / 0.8 = 3.2 ohms.
We consider resistor power:
0.8 * 0.8 * 3.2 = 2 watts.
I used 3.2 ohm at 5 watts resistors
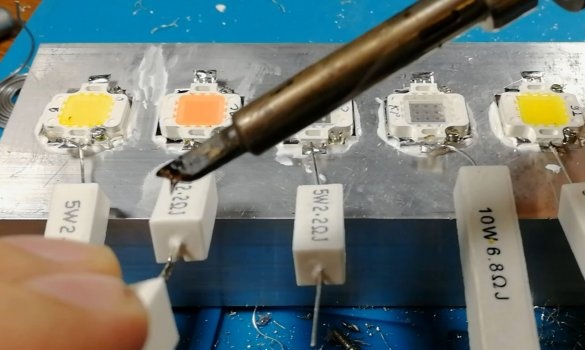
Because I did not have 3.2 Ohm resistors, I connected 2.2 Ohm and 1 Ohm resistors in series.
For another type of matrix (where the voltage is 6-7V), I decided to limit the voltage in the region of 6.5V, the current - 800 mA
Voltage drop: 12-6.5 = 5.5 V
We consider resistor resistance:
5.5 / 0.8 = 6.8 ohms
We consider resistor power:
0.8 * 0.8 * 6.8 = 4.3 watts
I took a resistor with a margin of 10 watts
Cooling
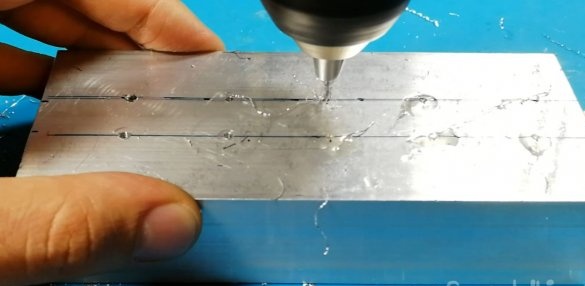
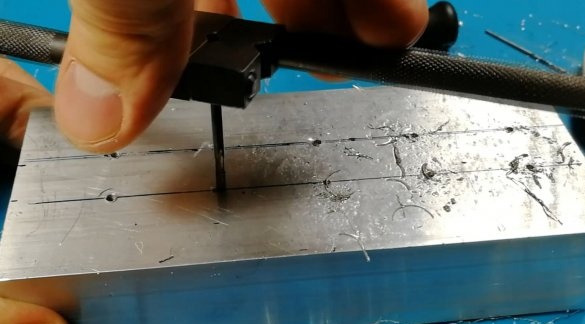
Now it was up to the question of cooling. I drilled holes in the radiator, cut the M2 thread and fixed the matrices with screws, after applying thermal paste.
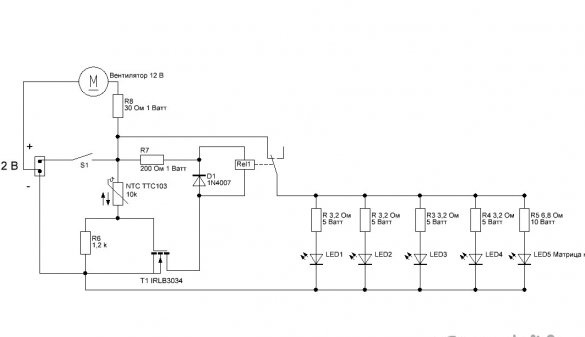
Despite the fact that I used a massive radiator, for half an hour the temperature gradually rose to 80 degrees. Added a 70 mm fan. The voltage of the fan was reduced with the help of the resistor R8 (the general diagram below) in order to reduce the speed and noise. In the current version (with a fan), the temperature did not rise above 35 degrees.
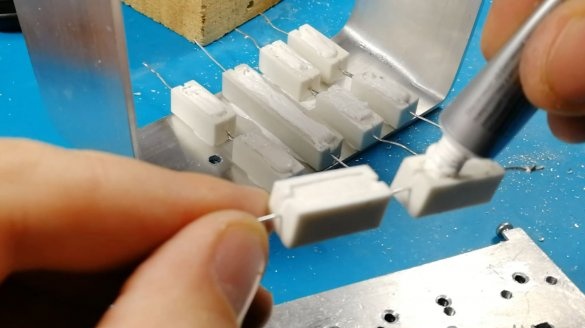
Matrix resistors heat up to 100 degrees. I decided to establish cooling for them too. He coated the resistors with thermal grease and sandwiched them between a long aluminum strip and a small radiator.
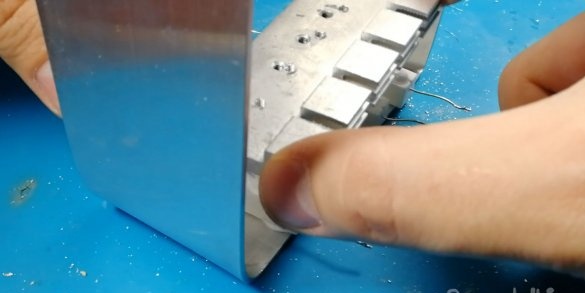
He bent the aluminum strip into an arc and fixed it around the radiator with matrices. The arc is attached to the main radiator using 4 M4 screws (pre-drilled holes and cut the threads).
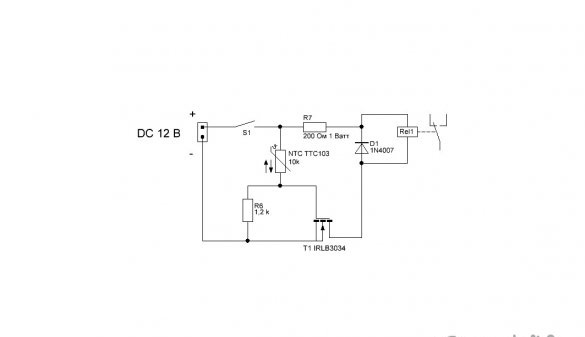
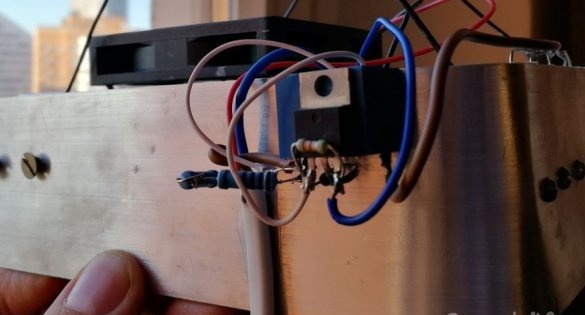
I decided to make an emergency shutdown system in case of overheating, in case the fan fails. Matrix power will automatically turn off when the radiator temperature rises to 40 - 45 degrees. To do this, I put together a simple circuit on a thermistor, field effect transistor and relay.
The principle of operation is as follows: with increasing temperature, the resistance of the NTC thermistor decreases (it "opens"), the voltage at the gate of the field effect transistor T1 increases and it opens. The relay is closed by default. The field effect transistor T1 switches the relay and the circuit opens. After the temperature drops, everything happens in the reverse order: the field effect transistor T1 closes and the relay switches to its initial closed state. The NTC thermistor and resistor R6 form a voltage divider. By changing the resistance of the resistor R6, you can adjust the threshold. To protect the field effect transistor from inductive relay emissions, a diode D1 has been added. Because My relay coil is rated at 5 V, and I have 12 V power, I added an R7 resistor to reduce the voltage.
The general scheme:
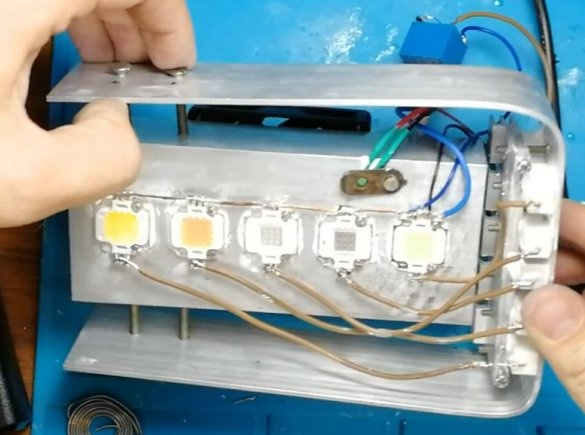
It remains to finally collect and fix everything over the plants. Soldered wires for each individual matrix. I mounted a thermistor on the radiator next to the matrices.
I glued the emergency shutdown system to the case on the back with superglue.
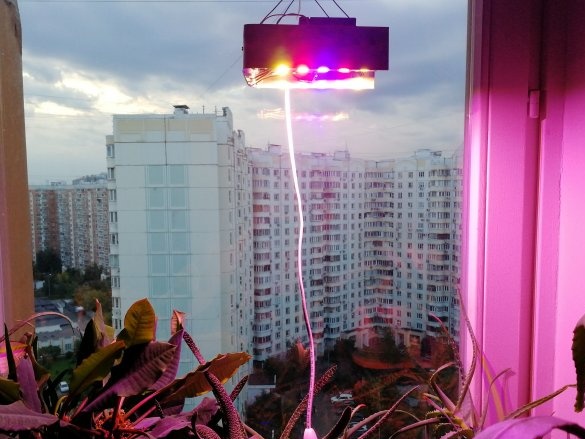
I hung the lamp over the windowsill with the help of wire and polyethylene ropes.
It shines quite brightly, I like it.
The project has the potential for revision. For example, you can add Arduino, a real-time module, a field effect transistor and make on and off in time.


