
From the article below you will learn how to do it yourself make a frame for a large photo. The following description and instructions are taken from the Matthias Wandel YouTube channel.
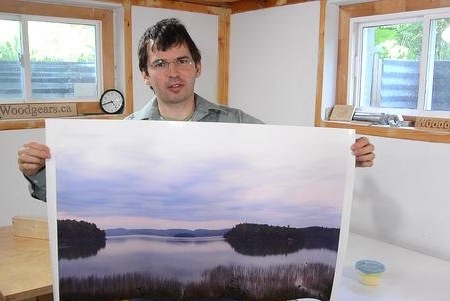
The master needed a frame for a large photograph.

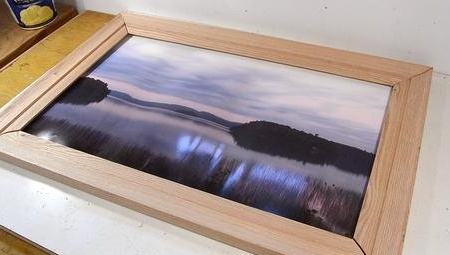
The photograph he wanted to frame was a large printout overlooking the lake.
Step 1: Materials and Tools Required
- table saw;
- band-saw;
- jointer;
- roulette;
- clamps;
- a pencil;
- a planer;
- oak board;
- PVA glue;
- oil paints for drawing;
- brush;
- colorless varnish;
- finish nails;
- scraper;
- screwdriver;
- drill 1.5 mm;
- feather 6 mm .;
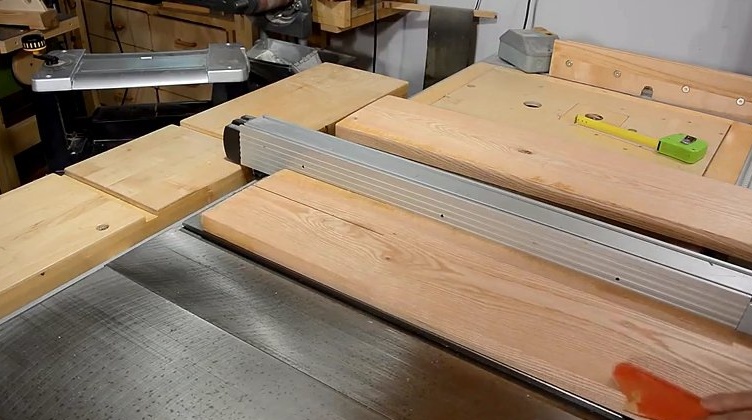

As a material for the frame, the master chose an oak board, which he drove on a jointer to the same thickness.
Step 2: Making Boards for the Frame
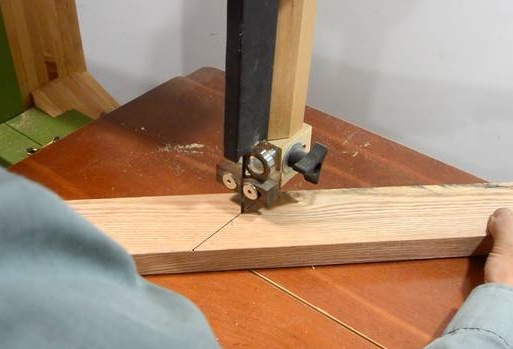
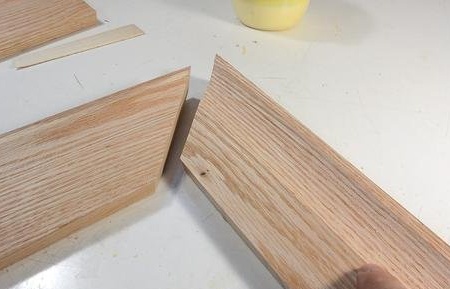
The boards were long enough to form the left and right sides of the frame. Before cutting the molding profile, the master previously cut an angle of 45 degrees on a band saw.
Using a table saw, the master cuts the bevel on the back of the frame. In the frame, the boards should be at an angle, but the side adjacent to the wall should be flat.
Step 3: Cut the wavy profile on the boards of the frame
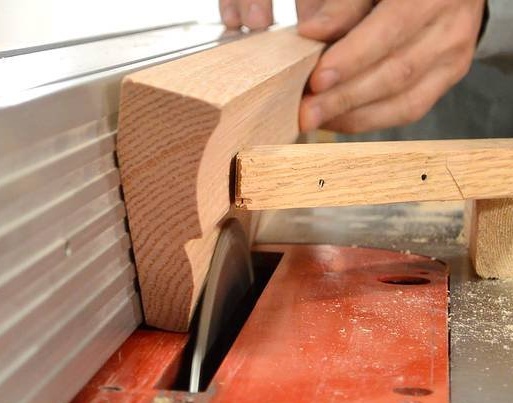
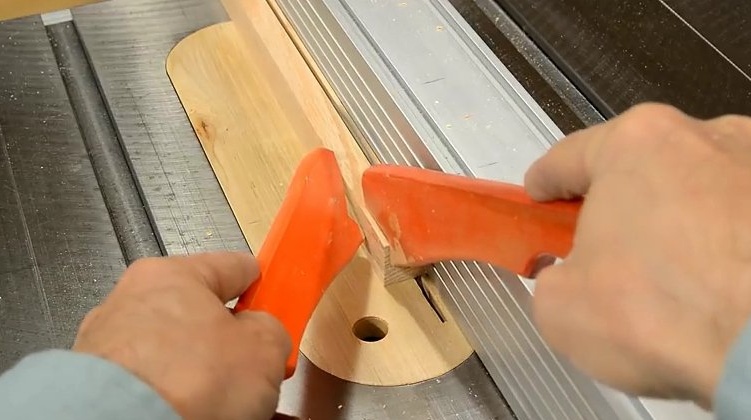
With the help of certain stops, the master cuts a cavity in the board in the front, as close as possible to the outer edge.
To do this, he uses a table saw, conducts wood above the blade at an angle and sequentially performs deeper cuts.
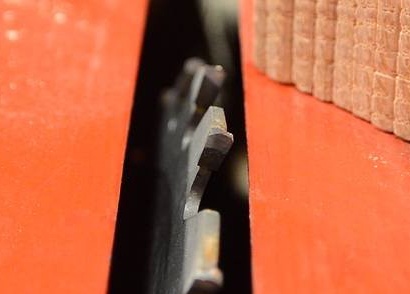
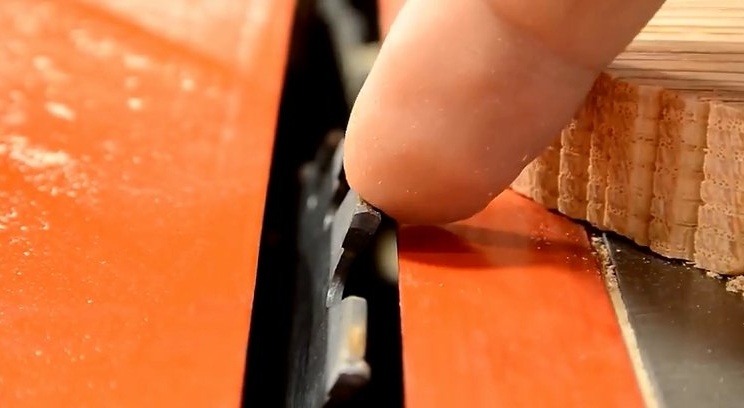
The cavities are relatively smooth. To achieve this result, the master "rounded" the tops of the teeth of the saw blade. He used an 18 cm damaged disc with a missing tooth. To sharpen the teeth on the disk, the master used a table saw, holding the disk stationary.
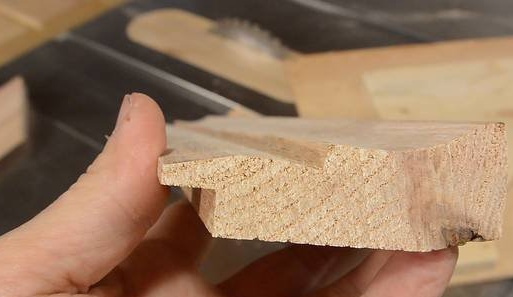
He wanted to get a visible edge along the length of the entire frame, so he decided to make the other part of the profile a convex curve, with a step between them.
The master cut this profile in two passes.
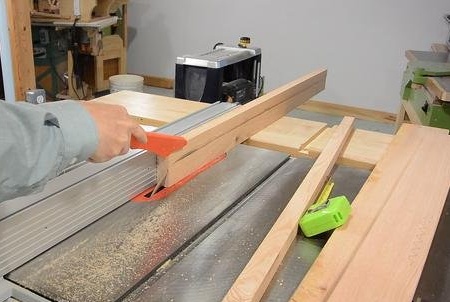
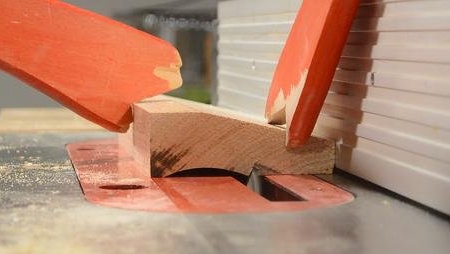
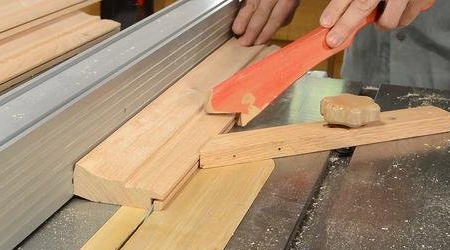
This photo shows how the second cut is performed to remove the triangular section. Then a third cut is made at a slightly different angle to get closer to a more convex shape.
Sharpening the disc is very important for this type of cutting, because the disc has a slight inclination to the material being processed. Thus, disc teeth tend to tear wood from the board. Therefore, the master lifted the worktable and pressed it with a bar so that it rose just above the place where the saw blade cuts.
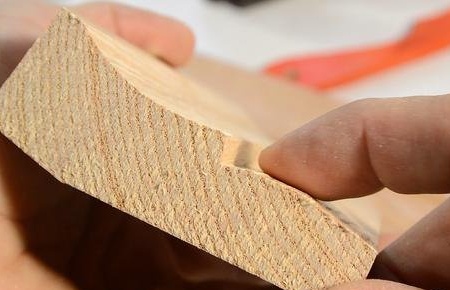
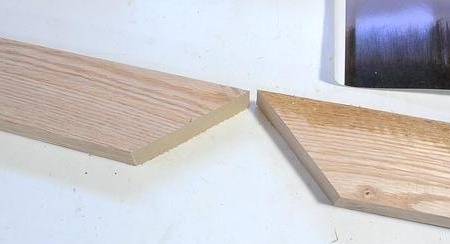
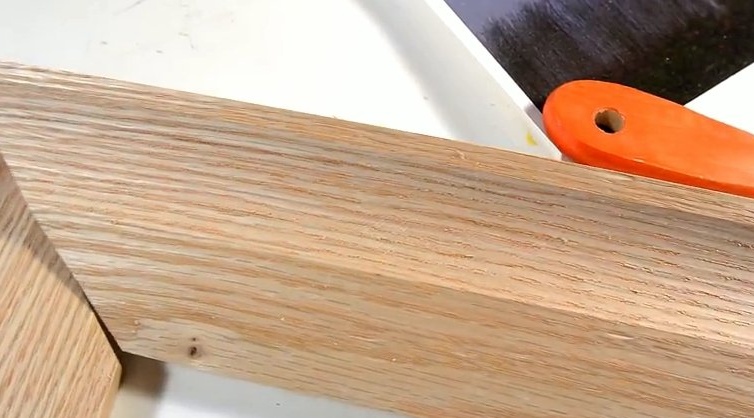
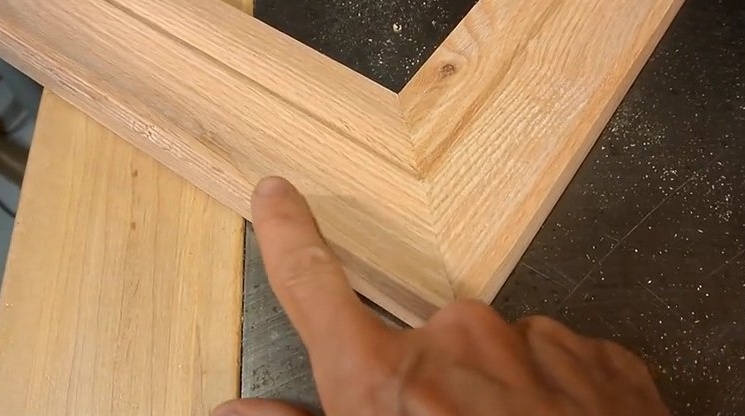
Immediately after cutting, the board looks convex, albeit with small angles.
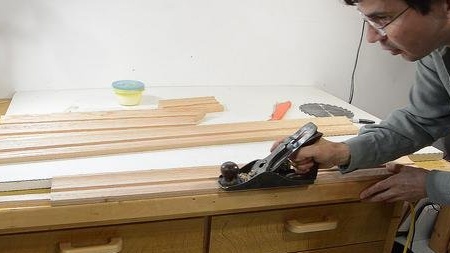
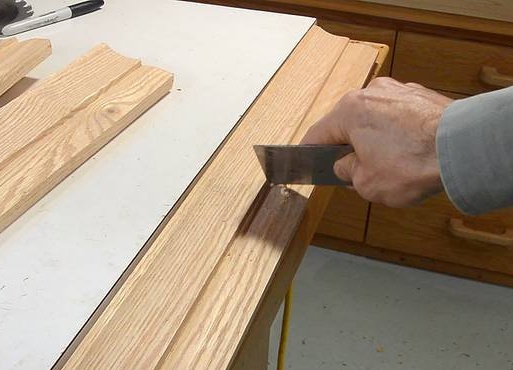
Then the master used a planer to smooth the corner. I also had to use a scraper to smooth the angle closest to the step.
Next is cutting a groove so that there is where to insert the glass and the picture.
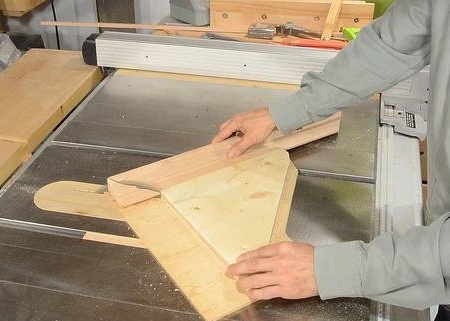
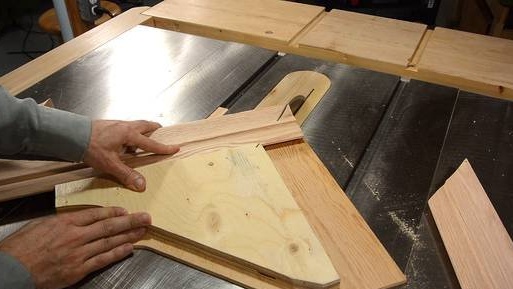
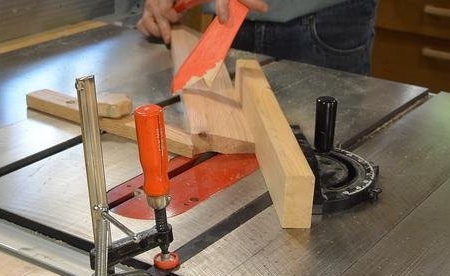
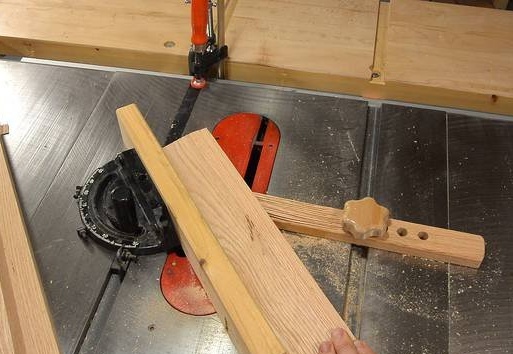
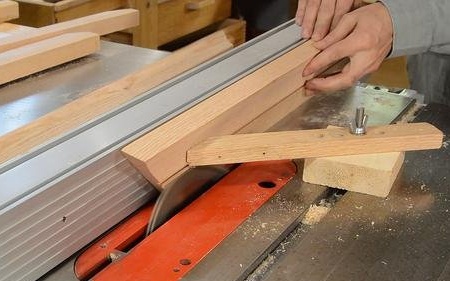
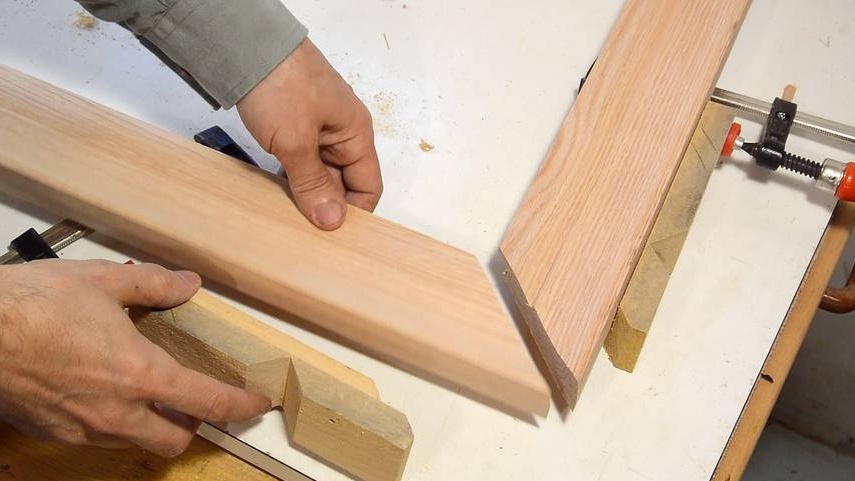
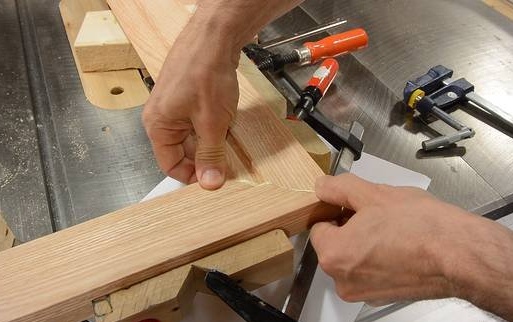
Then the master cuts the details of the future frame at an angle of 45 degrees, using a slide for this.
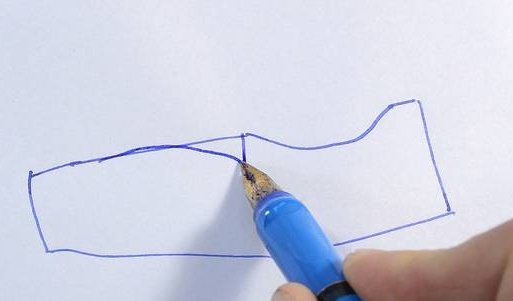
A quick check of the dimensions of the frame parts in the figure. So far so good.
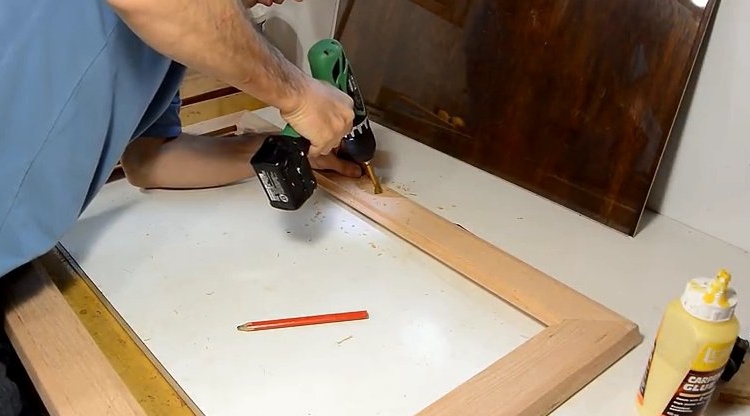
Step 4: Assembling the Frame
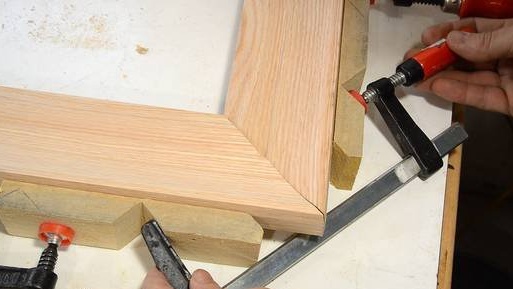
For correct and even bonding of the frame, the master uses clamping cannulas of his own manufacture. They provide a place for clamps to be attached and ensure that the clamping pressure is applied exactly perpendicular to the joint surface. Thus, it is possible to clamp one connection at a time and check alignment. Much better than trying to make all the connections at the same time using a tape clamp or other frame clamp system for painting.
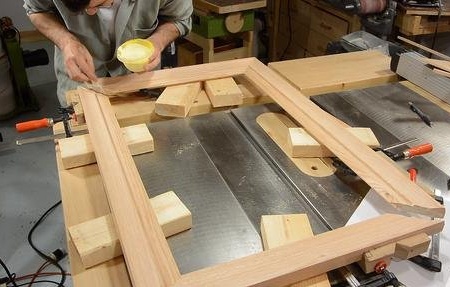
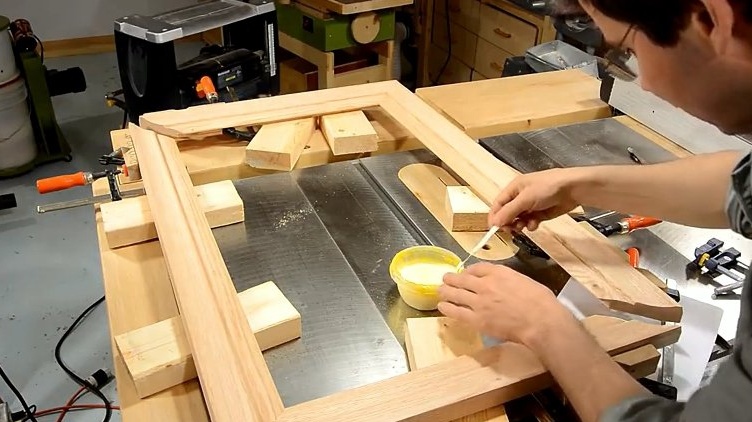
After gluing two L-shaped parts and drying the glue, you must simultaneously glue the remaining joints.
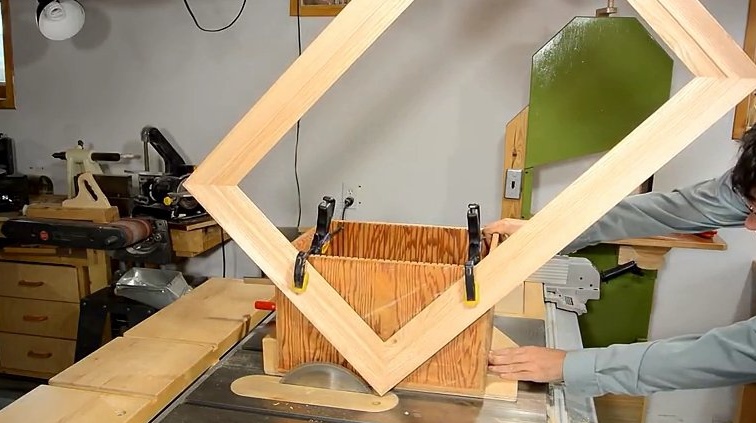
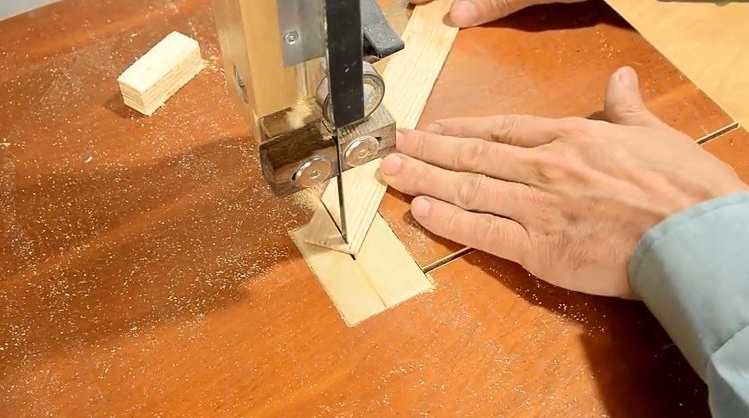
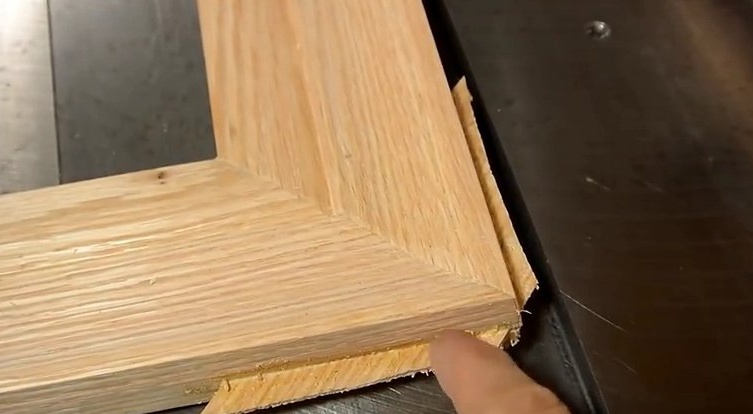
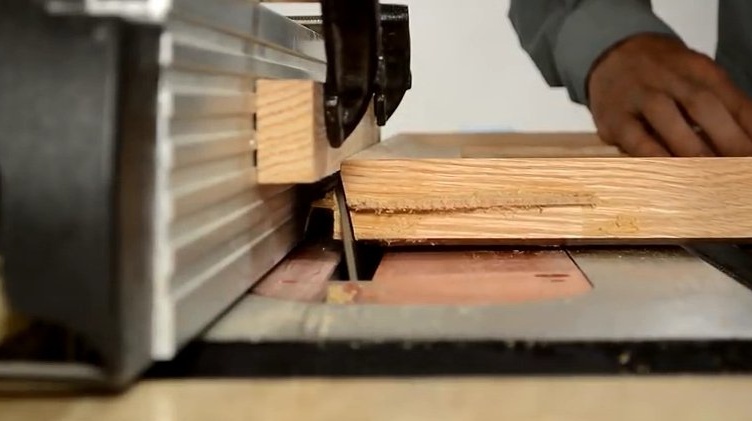
Then the master makes cuts in the corners of the frame using a table saw. Propyl turned out to be about 2 mm thick with a disk.
Exactly the same thickness, the master cuts wood chips on a table saw. Edges edges at 45 degrees on a band saw.
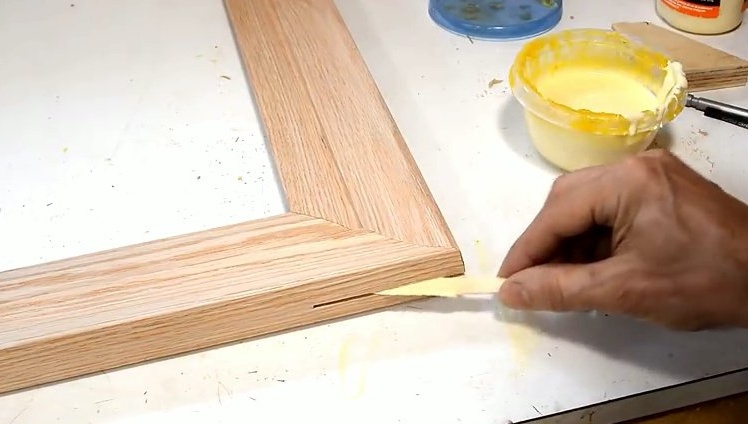
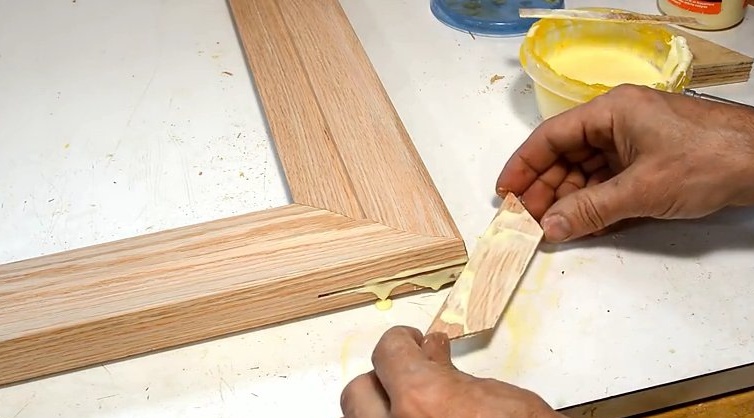
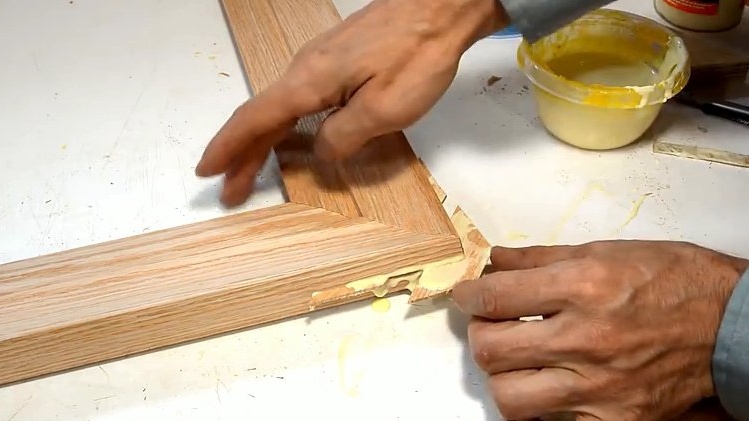
When everything is prepared, the master glues the cut-out groove with PVA glue and fastens the corner joint of the frame with wood chips.
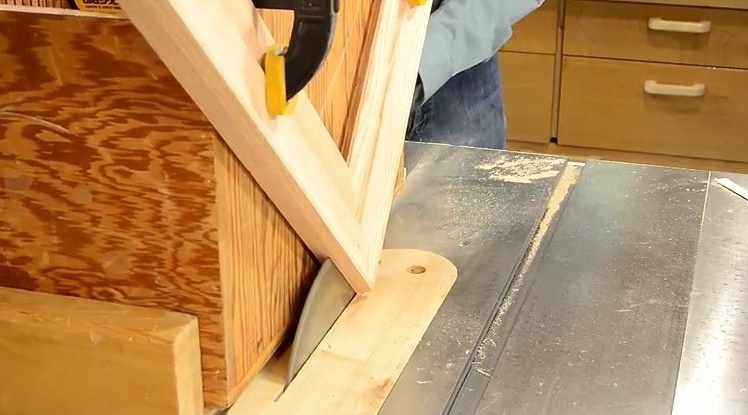
Then the master cuts the edges of the frame around the perimeter at an angle of 30 degrees on the table saw.
Step 5: Final touches
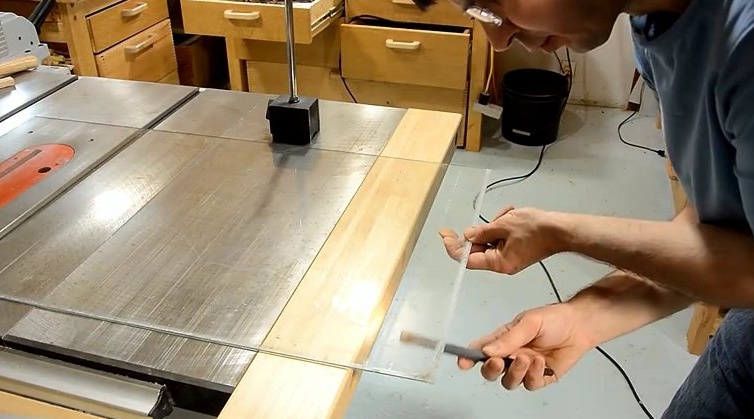
The master pulled out the glass for the frame from the old window. Using a glass cutter, he cut the glass to the desired size.
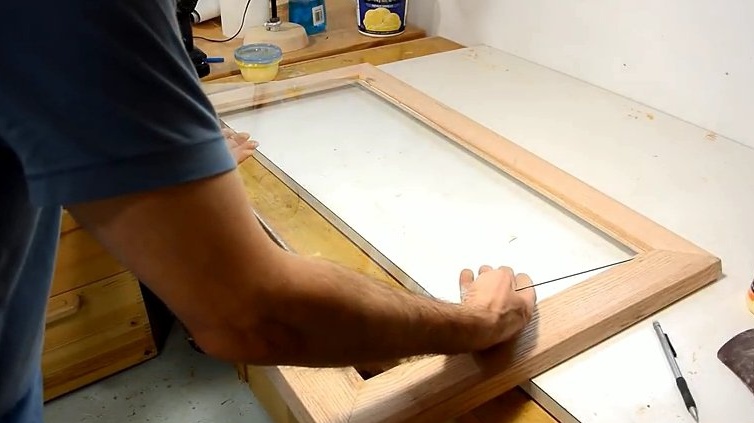
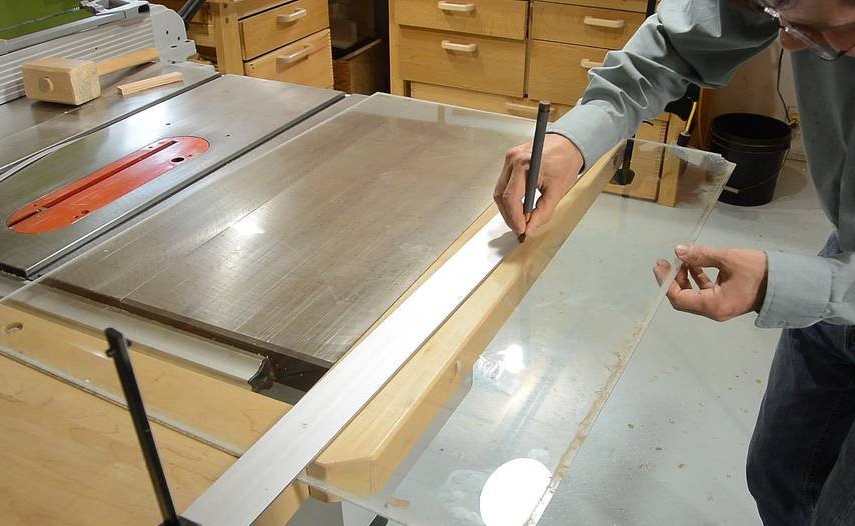
The master measures the finished glass to fit the frame.
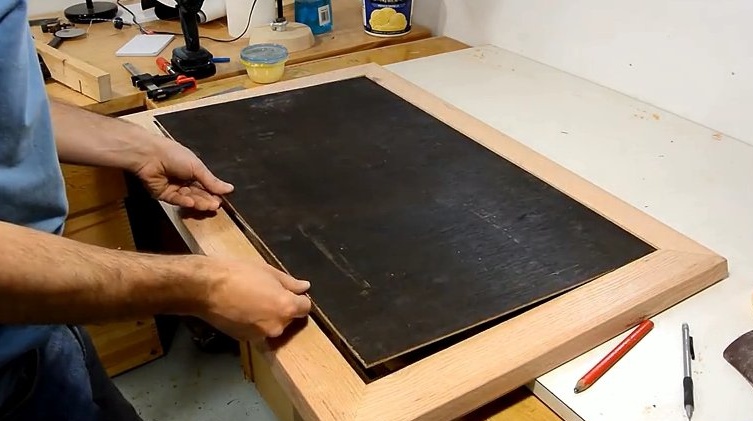
A pattern is laid on the glass, which is pressed from above by pre-prepared plywood.
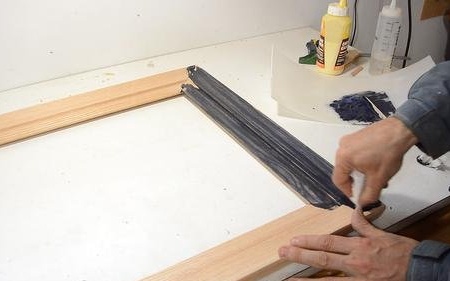
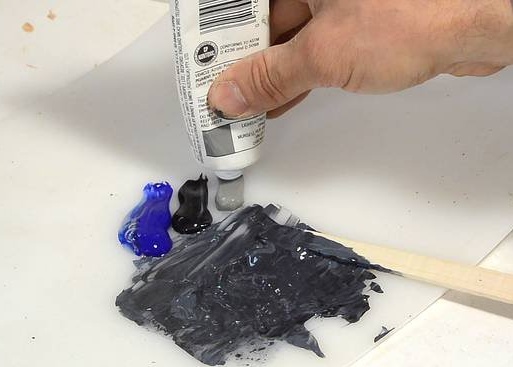
The master decided that the dark blue color would fit his drawing, so he mixed oil paints for painting, black, blue and gray, and then rubbed them into a frame ...
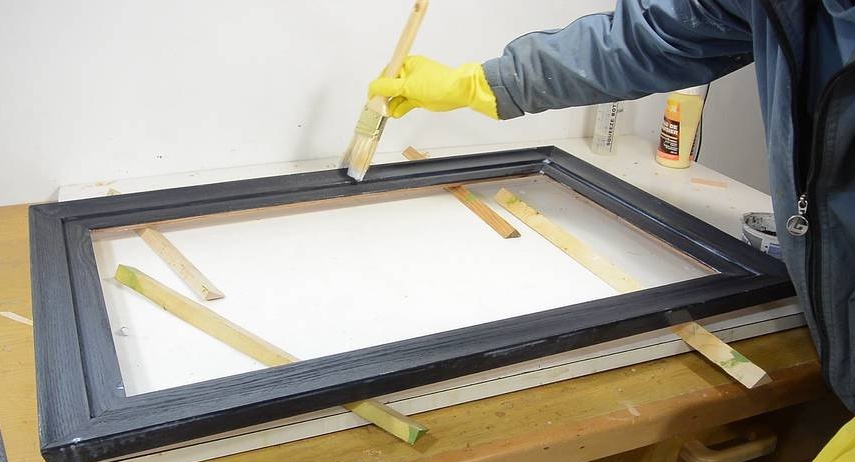
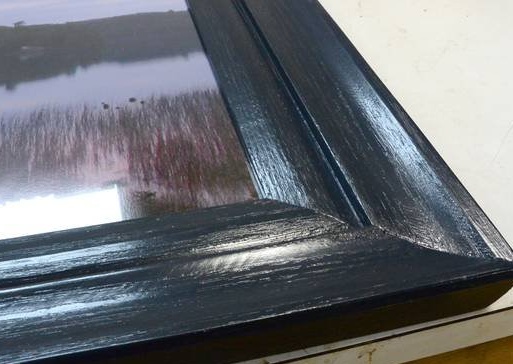
... then on top of the paint, the master applied three layers of colorless varnish to protect the paint and give it a shine.
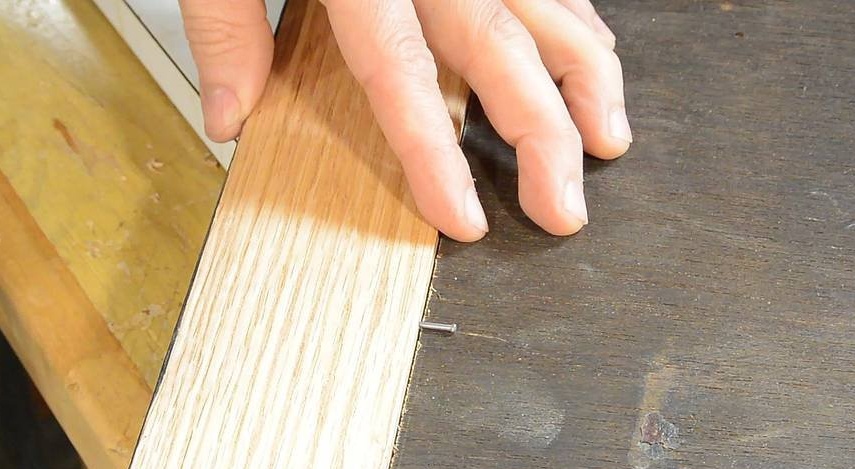
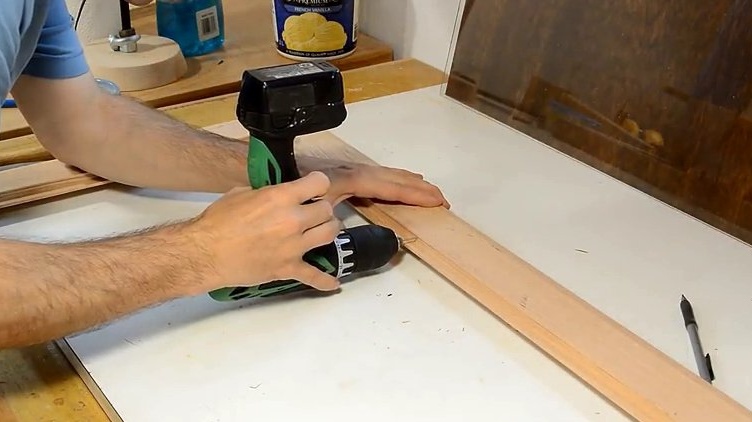
In the final work, the master used the finishing nails to keep the photo in place. They fit snugly into the pre-drilled holes so that you can push them in by hand.
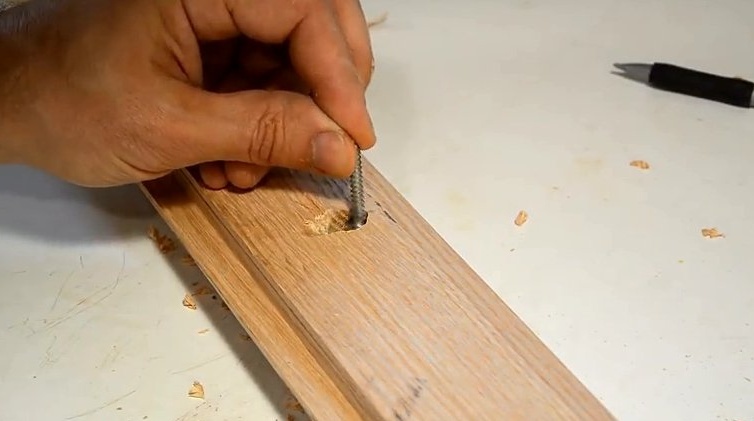
With a pen, with a diameter of 6 mm, the master drills two holes at an angle of 30 degrees. Holes are not drilled through and through. These holes will serve as a fastening of the picture to the wall, simply put on self-tapping screws.
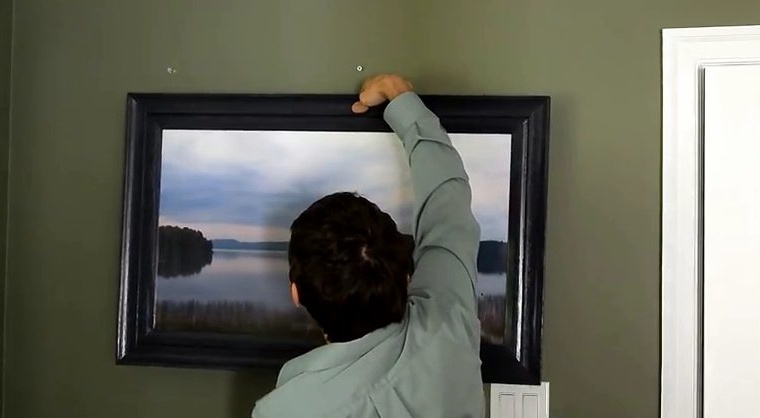
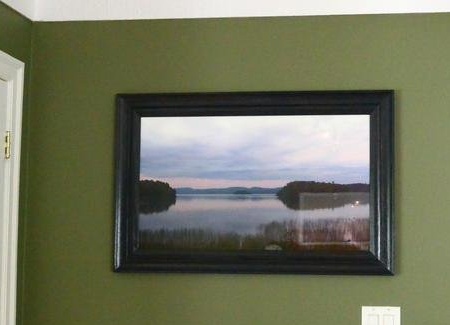
And here the picture is already hanging on the wall.
P.S. The master, of course, was very confused with the manufacture of the profile he needed for the picture frame. In fact, there are knives for jointer with ready-made profiles. If you did not find a suitable knife, then you can always make it yourself. Abroad, apparently everything is different or the master is simply not in the know.
But, as an execution option - very entertaining, there would be a desire.
If you like homemade author, then try to repeat and make.
Thank you for attention.
See you soon!