
In this article, the author of Modustrial Maker’s YouTube channel will describe the process of creating a battery-powered portable wireless LED transformer. It is also controlled via bluetooth, and can perform the function of color music. Sounds tempting, right?
Materials
—
—
—
—
- Maple board
- U-shaped aluminum profile
- Neodymium magnets
- Washers, wood screws
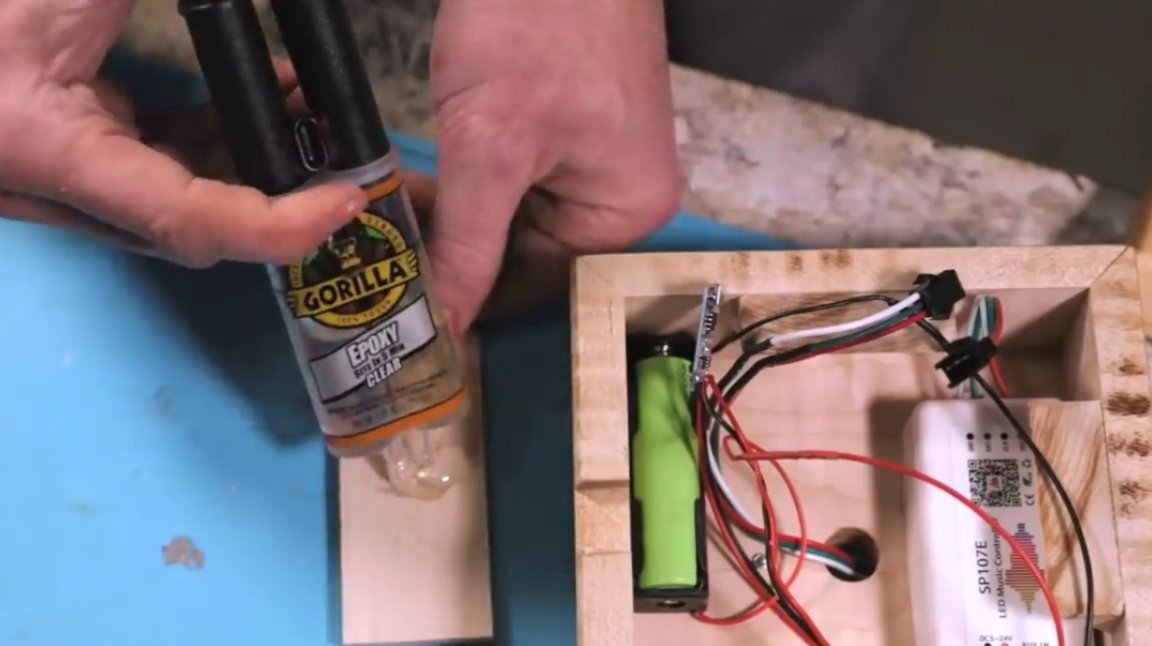
- Two-component injection molding epoxy
- Impregnation for wood
- PVA glue, second glue
- masking tape
- Wires, solder
- Spray paint.
Instruments, used by the author.
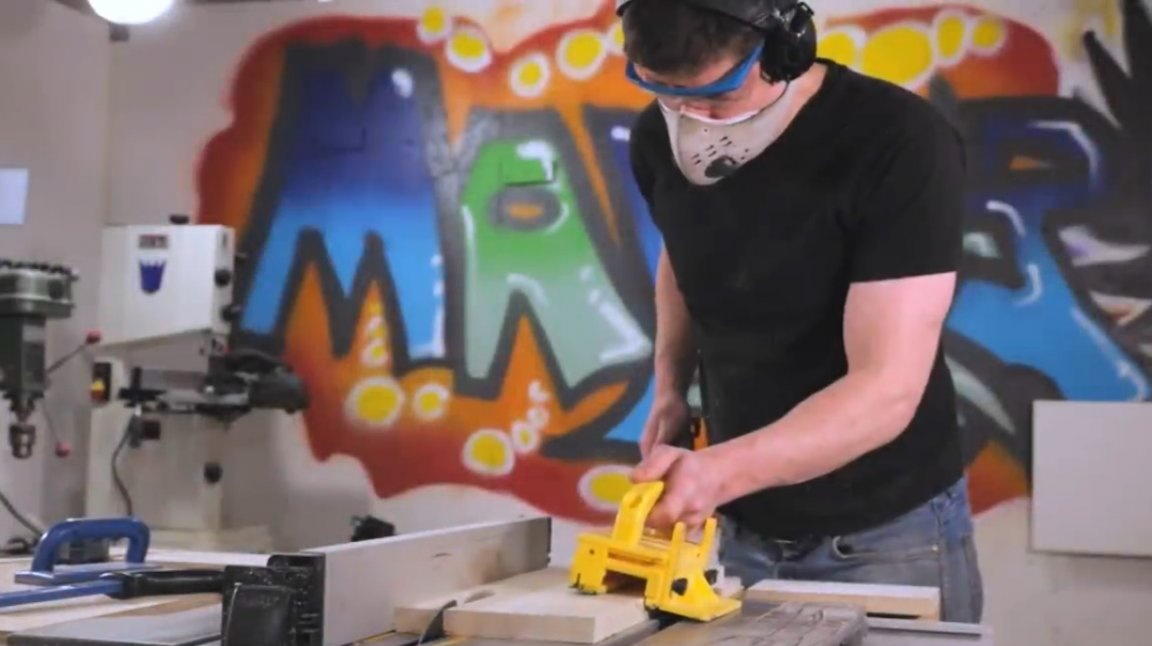
- Circular and miter saws
—
—
—
—
—
—
—
—
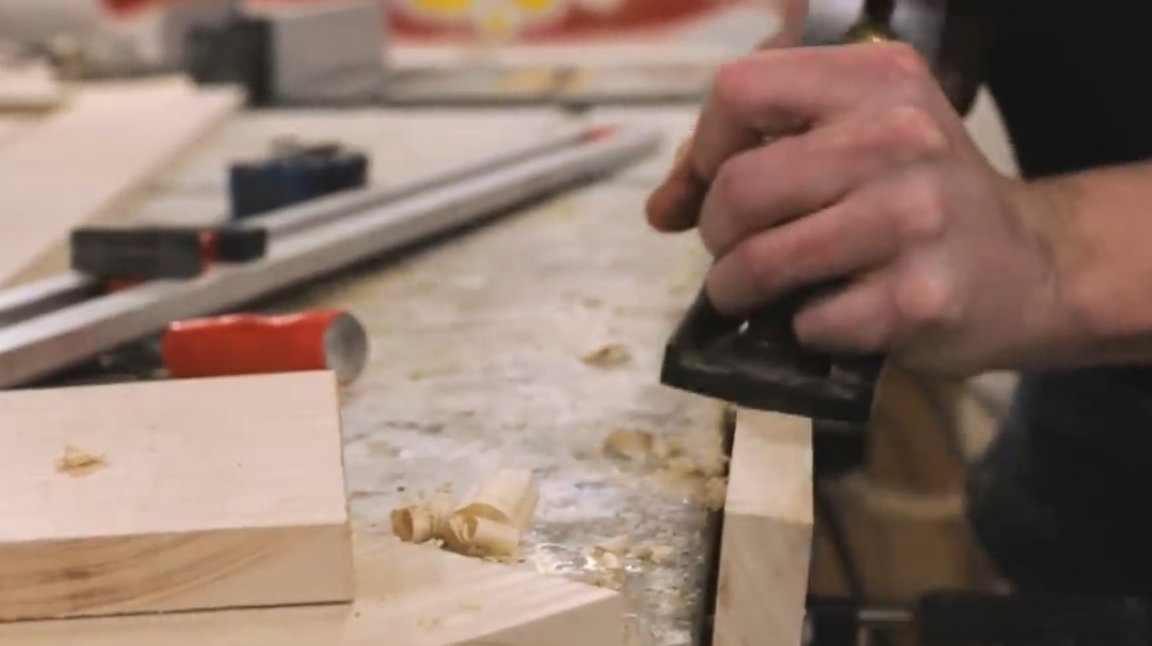
-, a chisel, a plane.
Manufacturing process.
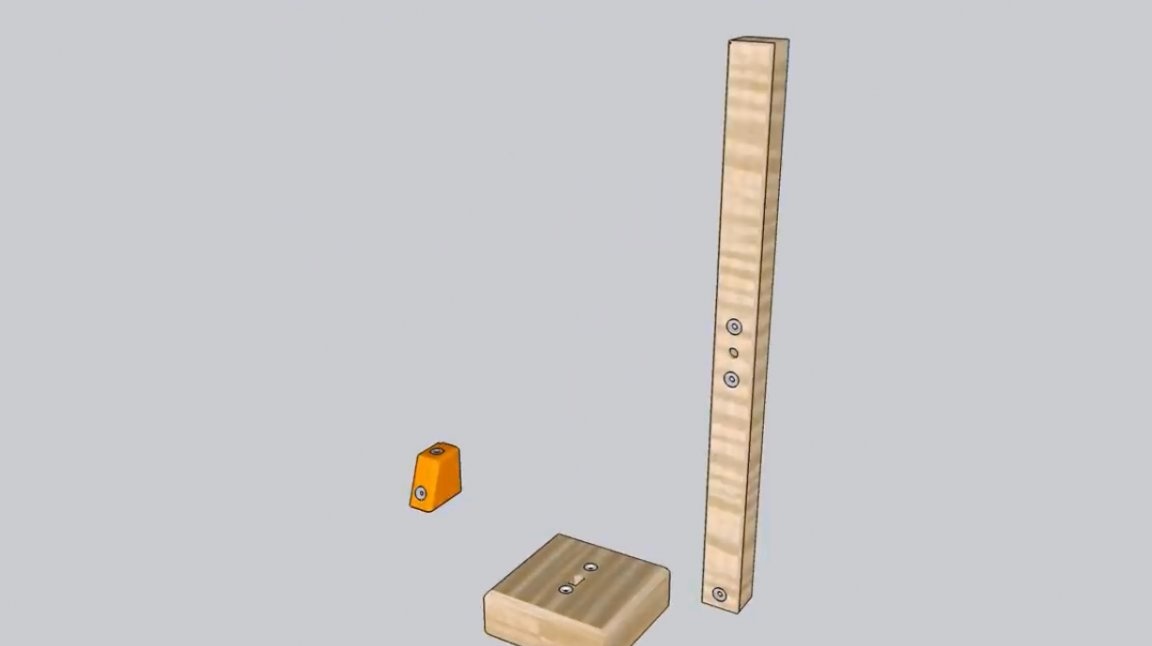
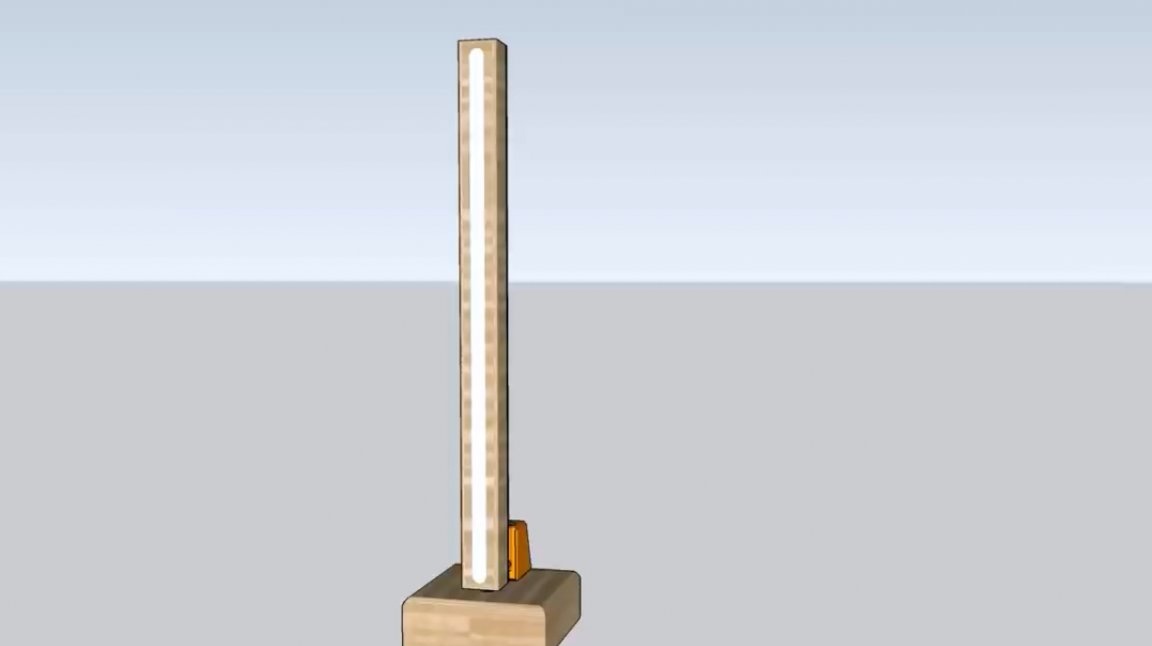
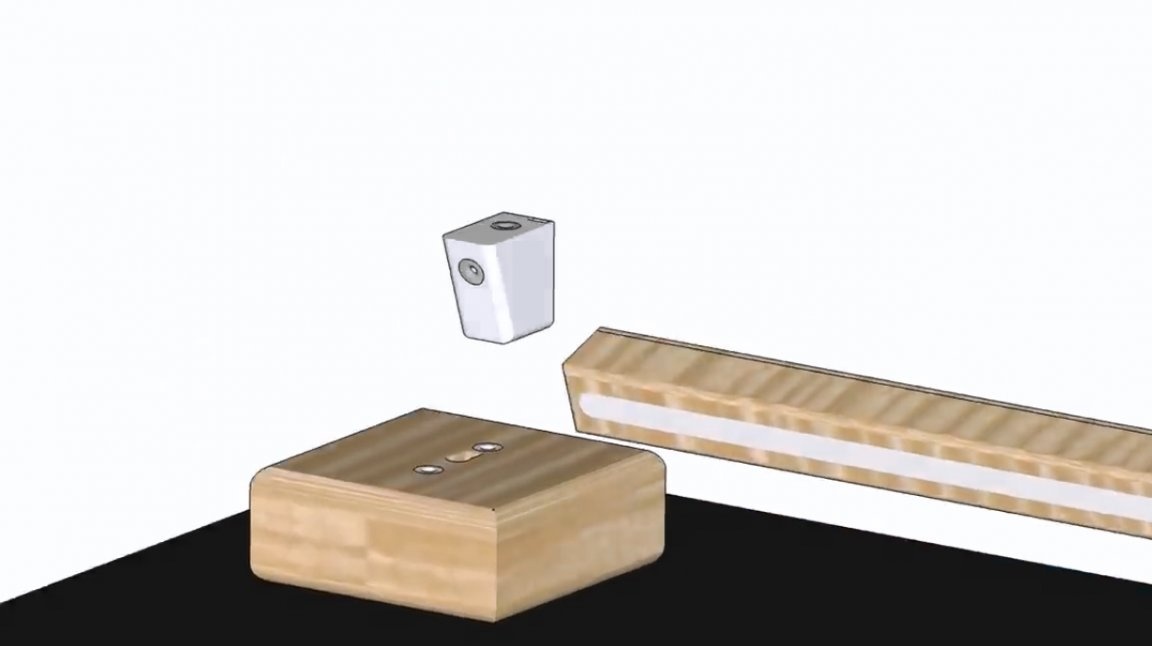
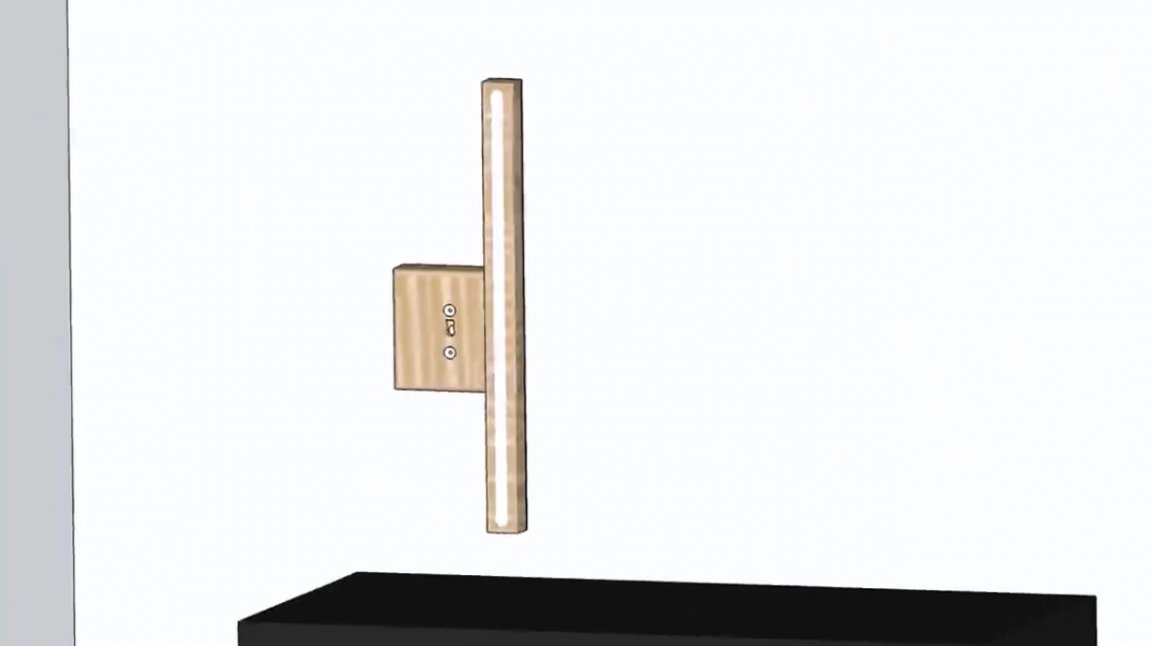
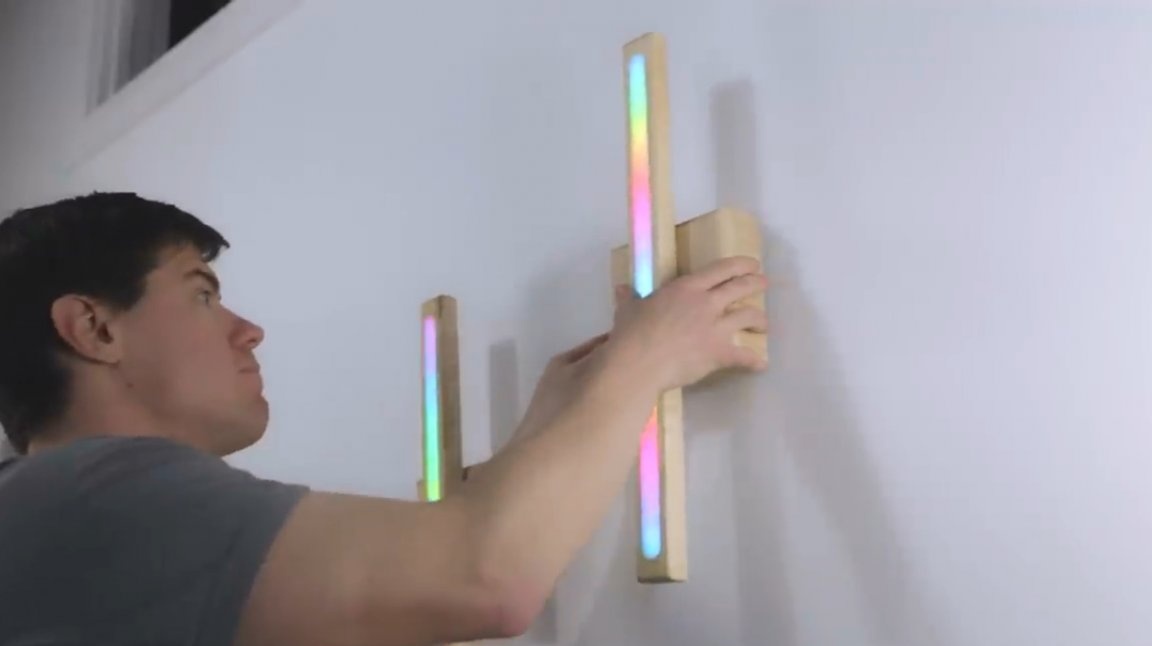
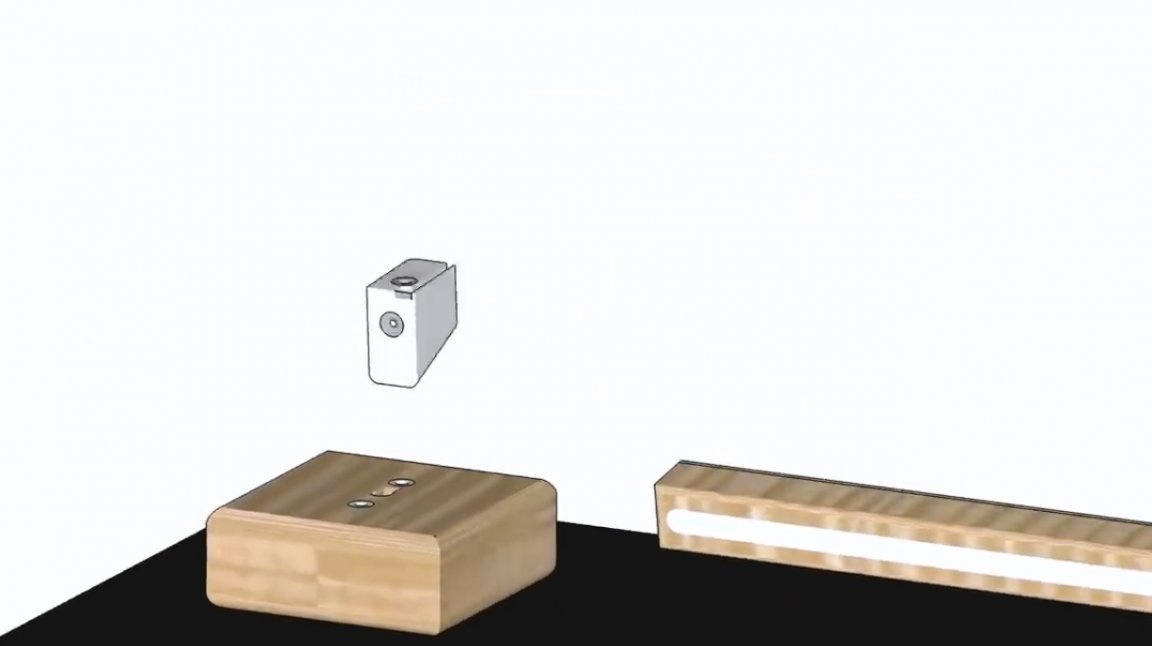
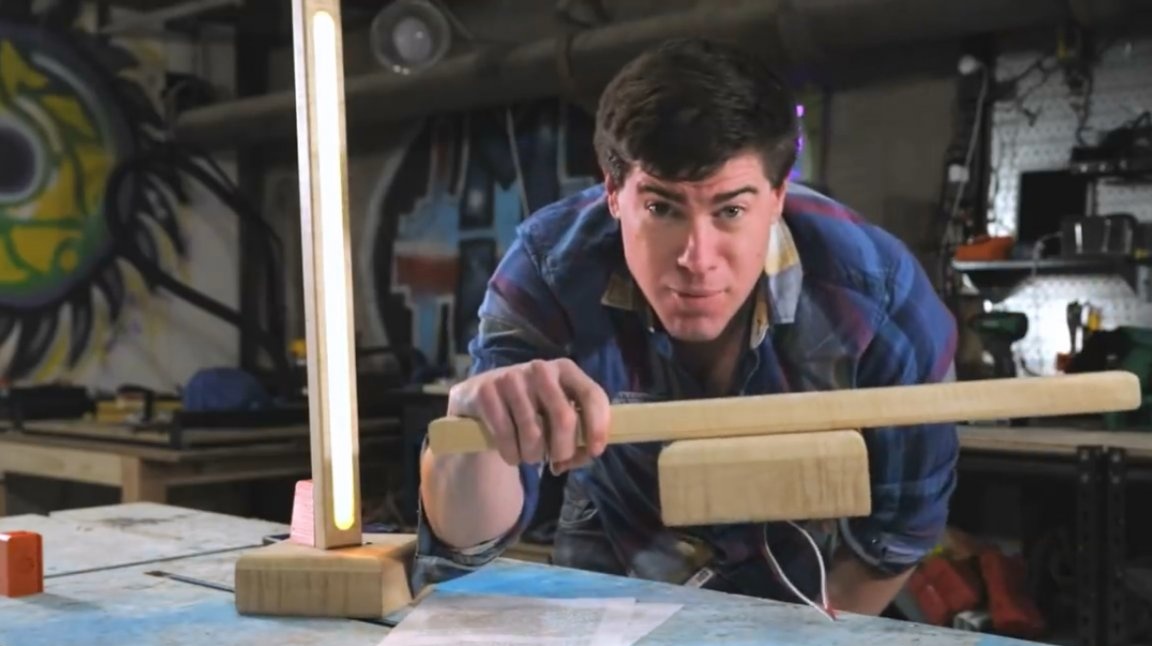
First, the wizard offers a look at the computer layout of the future lamp. It is extremely simple, and consists of three elements: the base, the light panel and the “smart” multivariate support block. This unit has several magnets that allow it to be attached to the base from different sides. So that the support block can fix the LED panel at different angles.
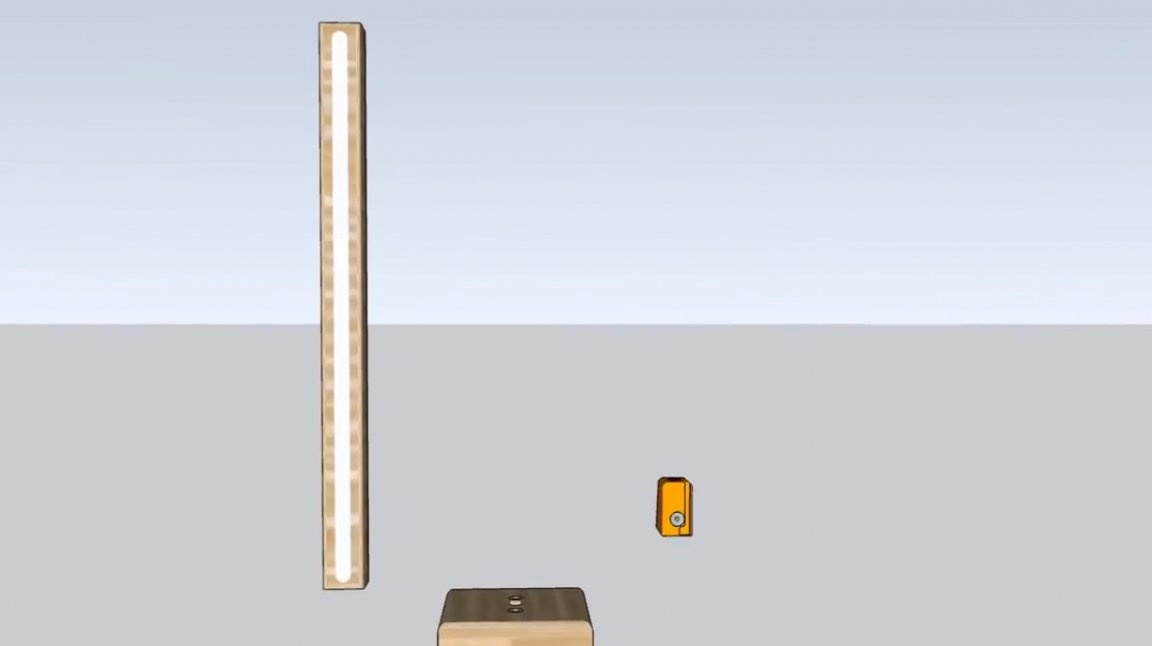

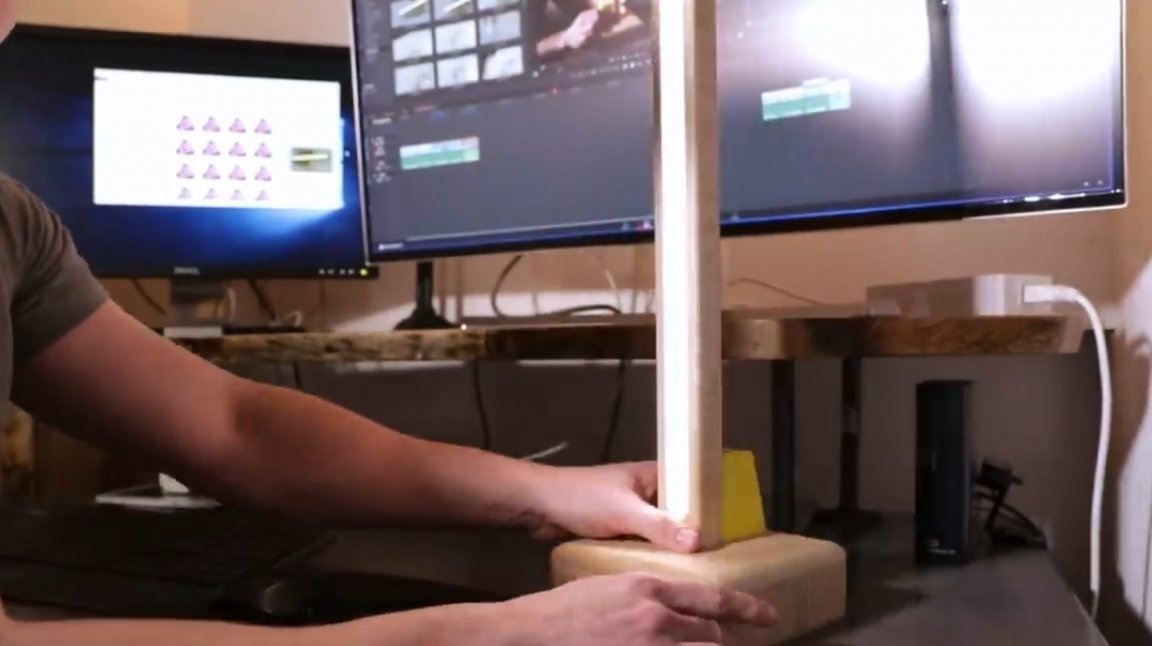
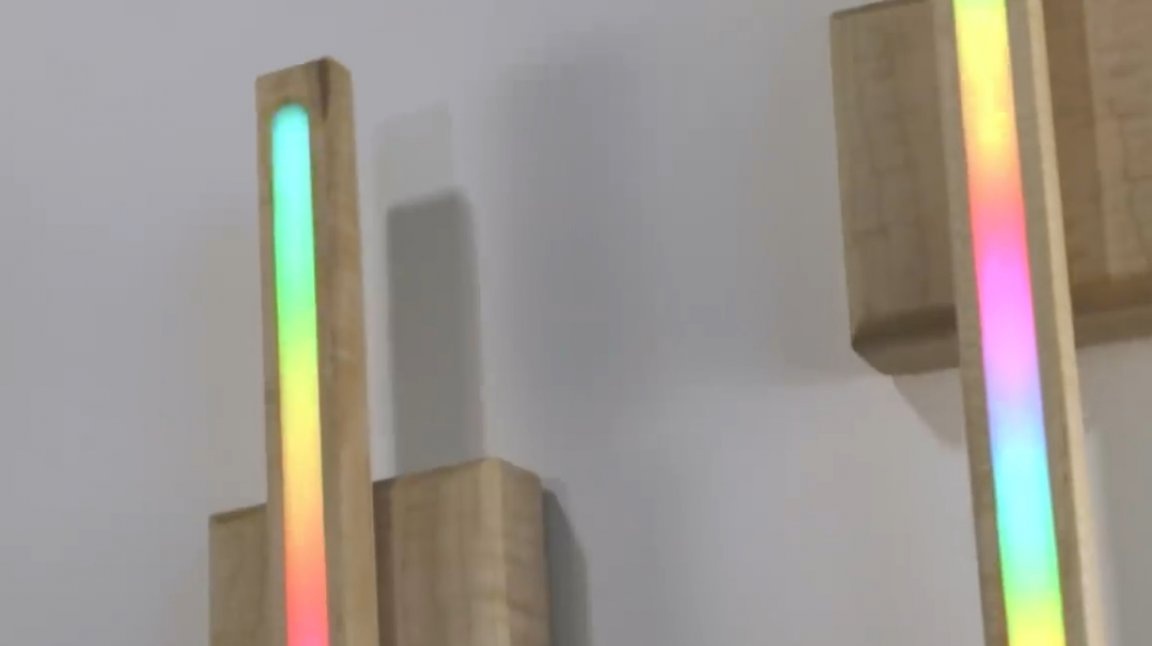
For example, this is how a vertical lamp is assembled.
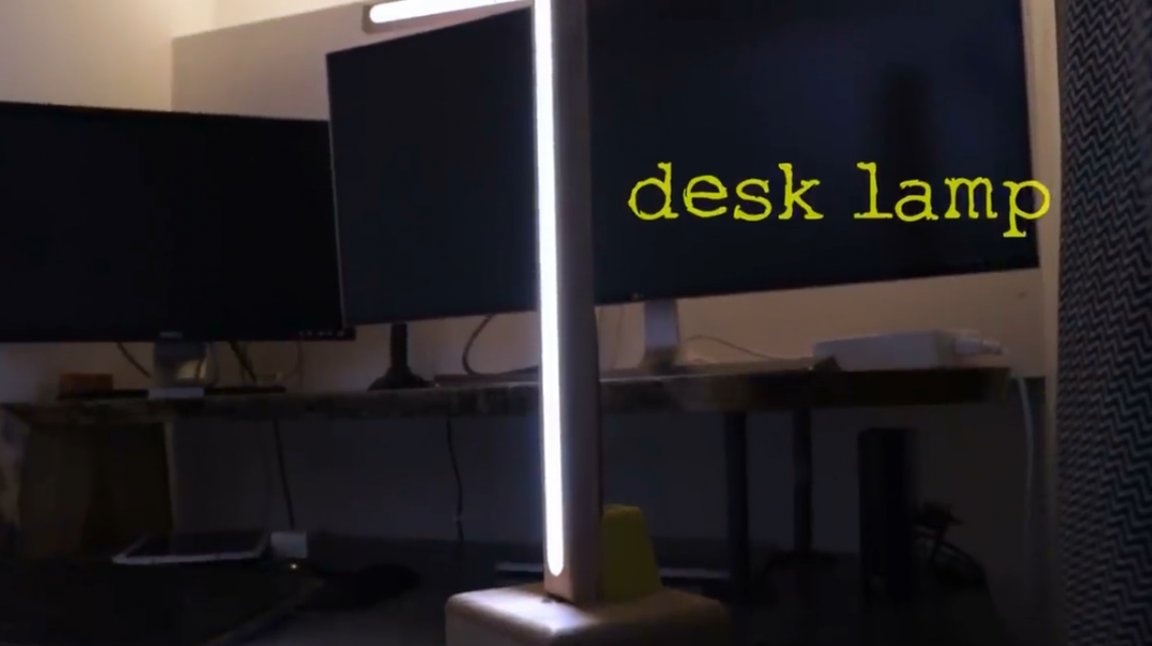
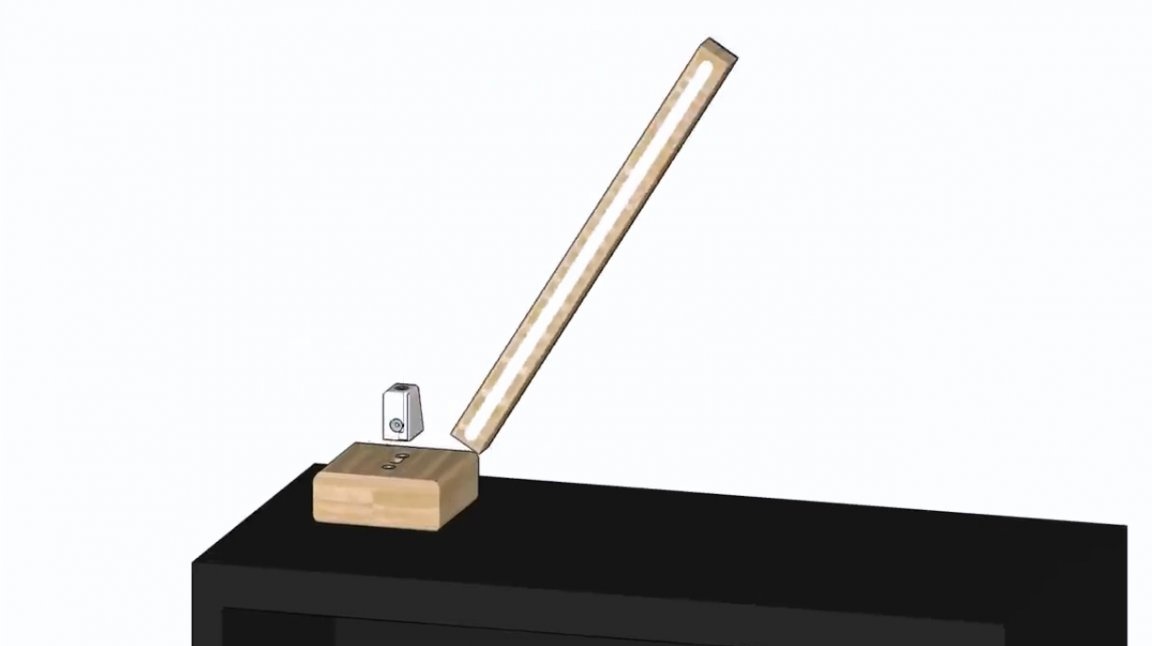
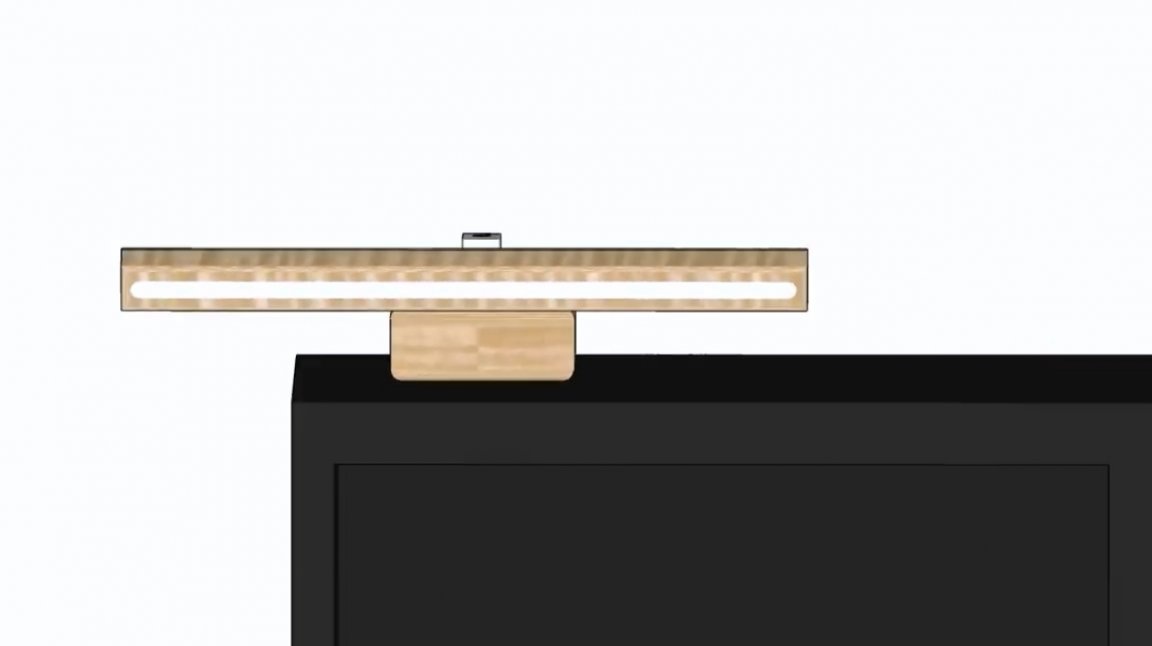
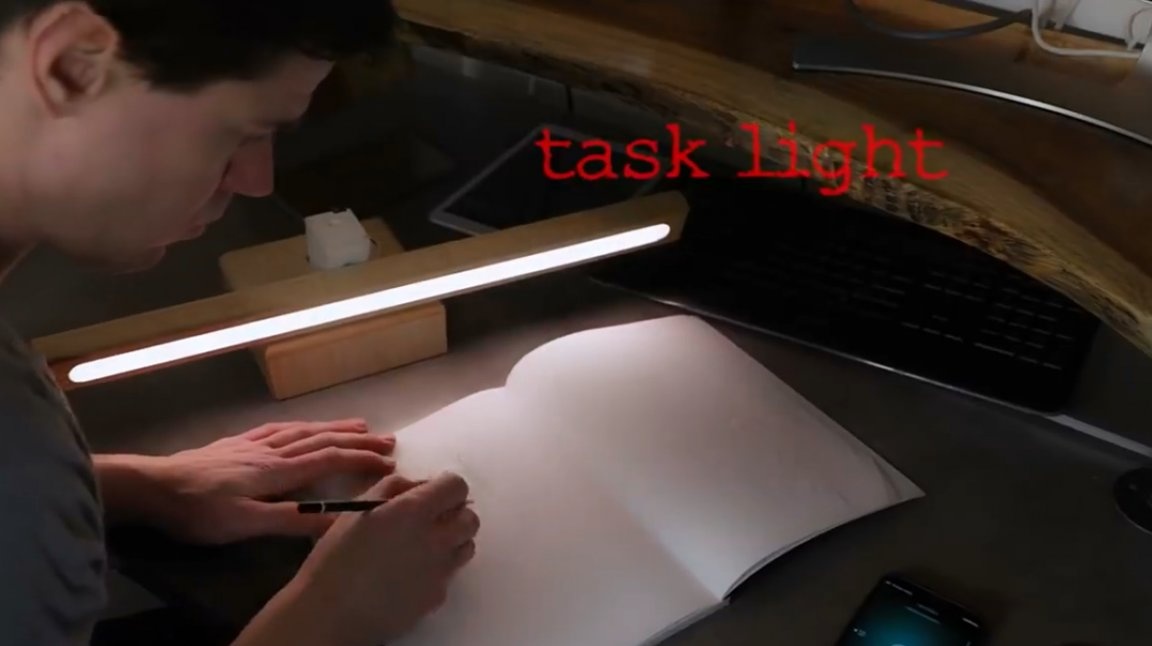
Very quickly it can be turned into a reading lamp.
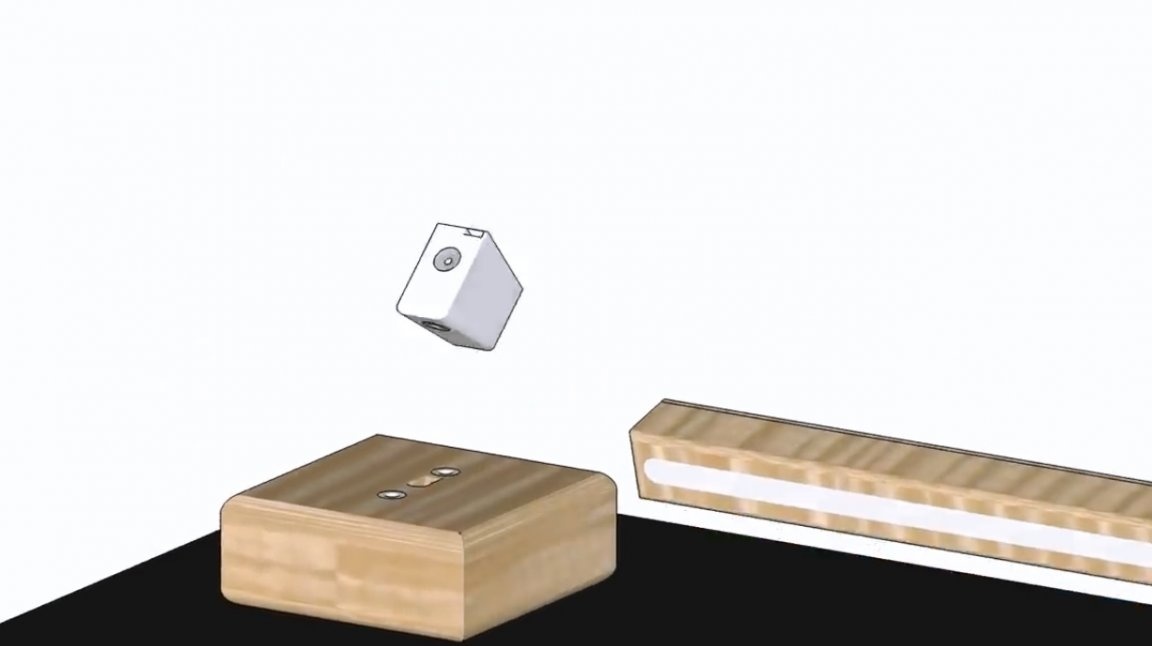
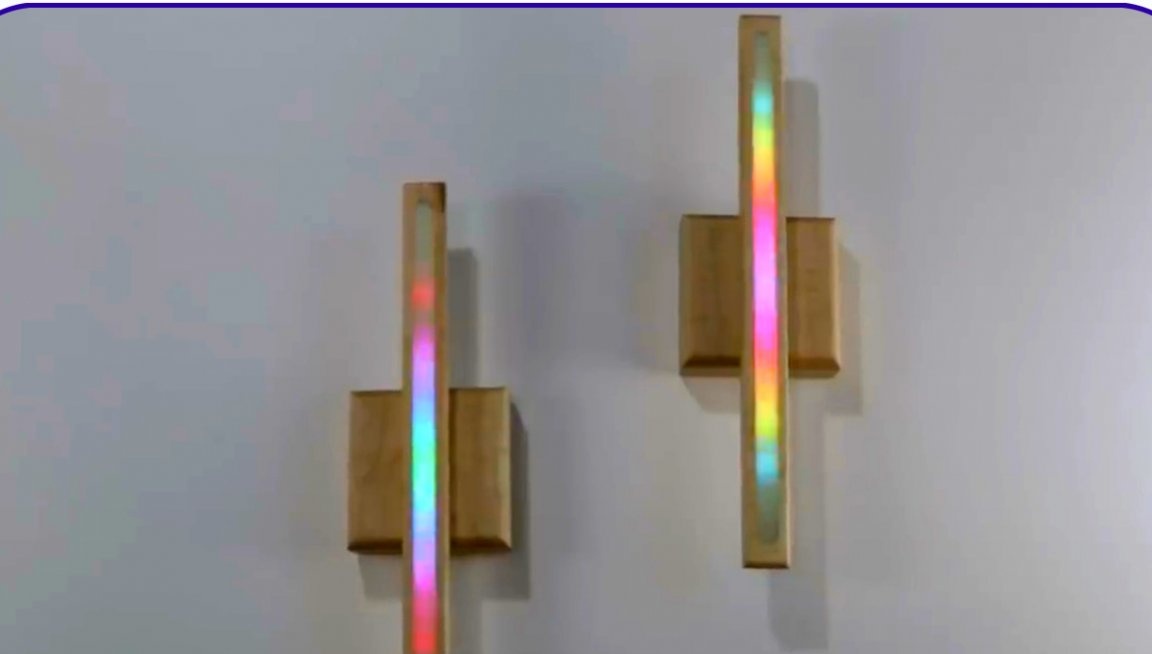
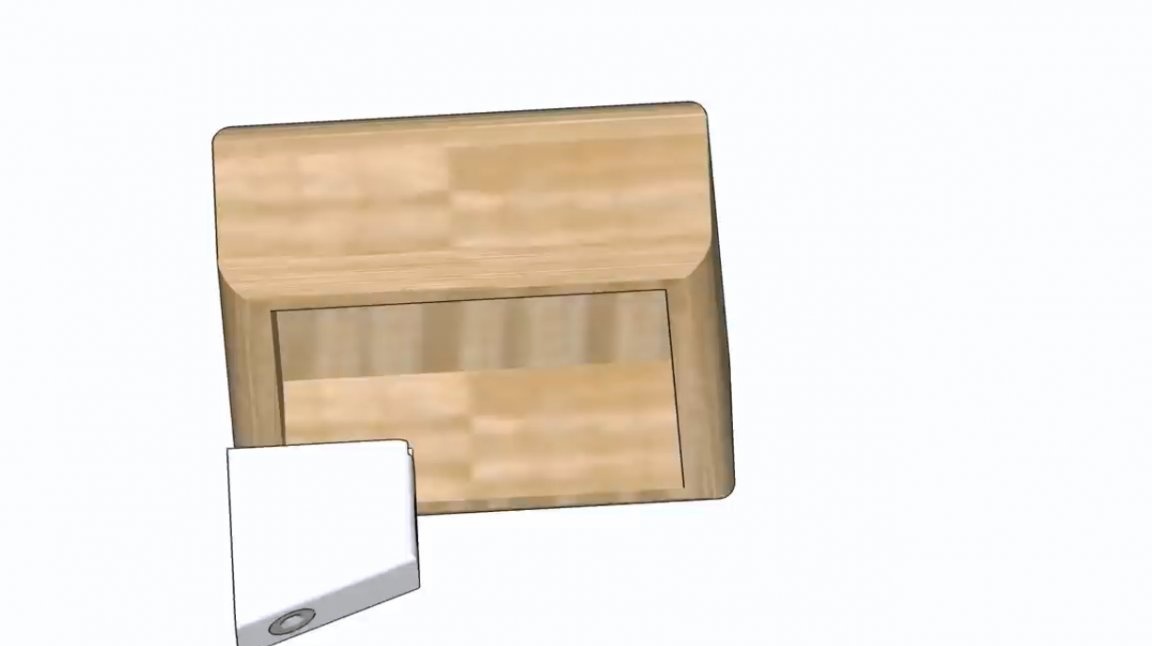
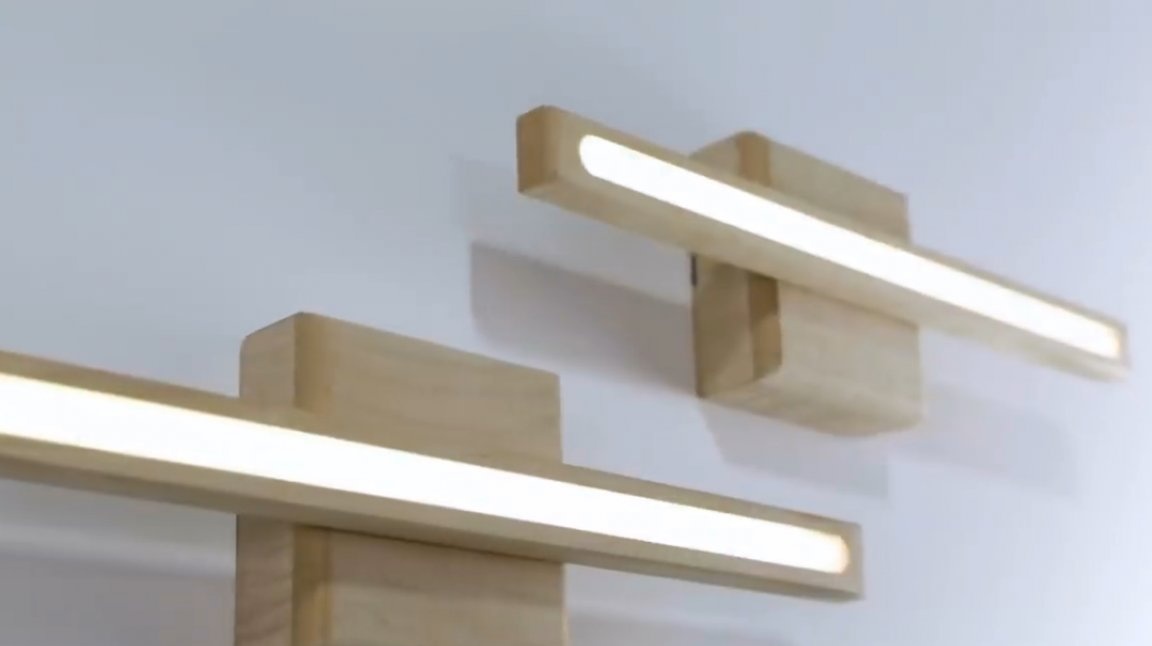
The block can also be hidden inside the wooden base, if you plan to use the lamp, like a wall sconce, or hanging lights.

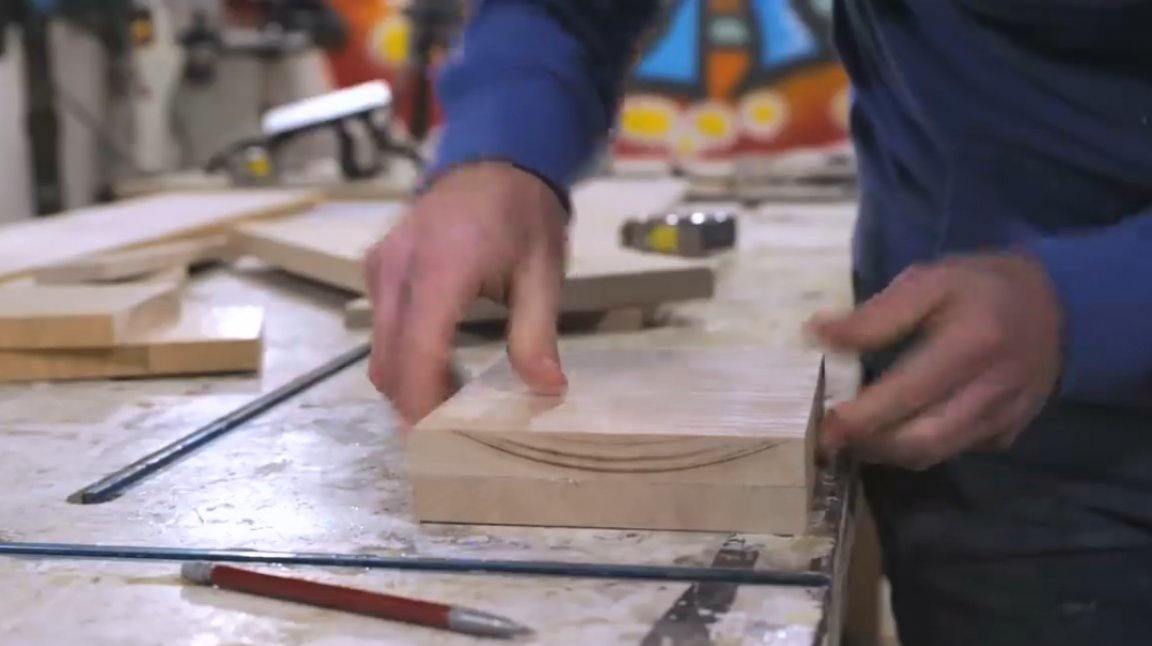
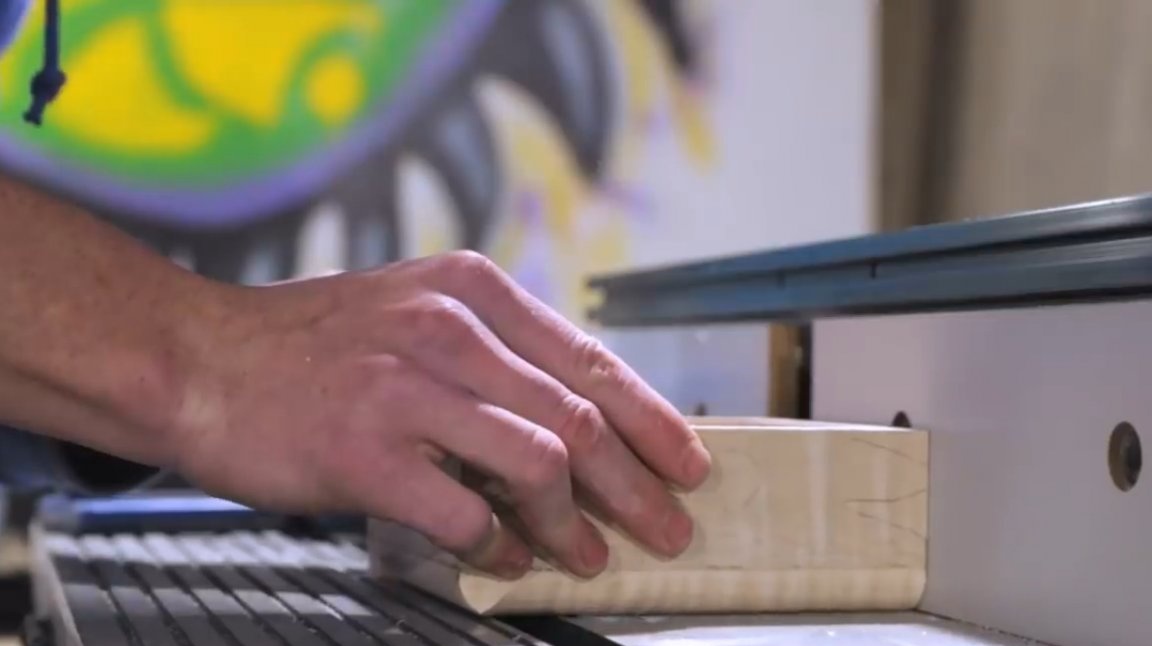
Maple boards will serve as material for the project. They have a very attractive pattern. Author's boards have been lying for more than a year, and have the shape of a “propeller”. Therefore, you need to carefully select flat areas. To begin with, he will manufacture base parts.
The base of the lamp is extremely simple - it is a box with an open bottom. First cut out the lid and bottom of the box.
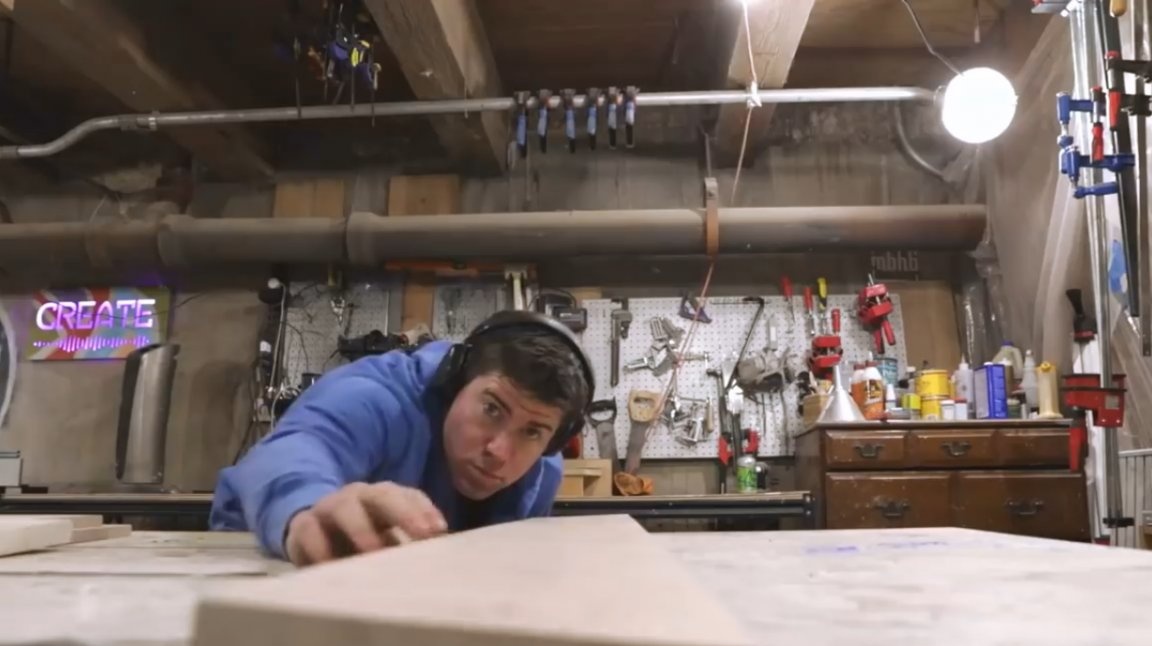
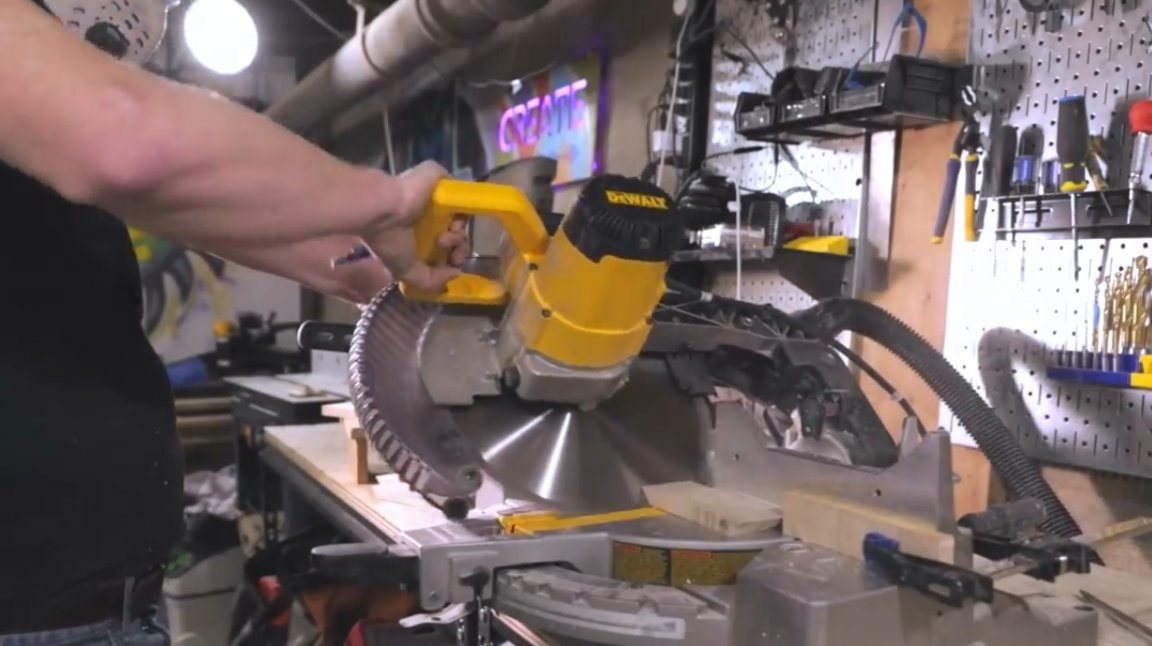
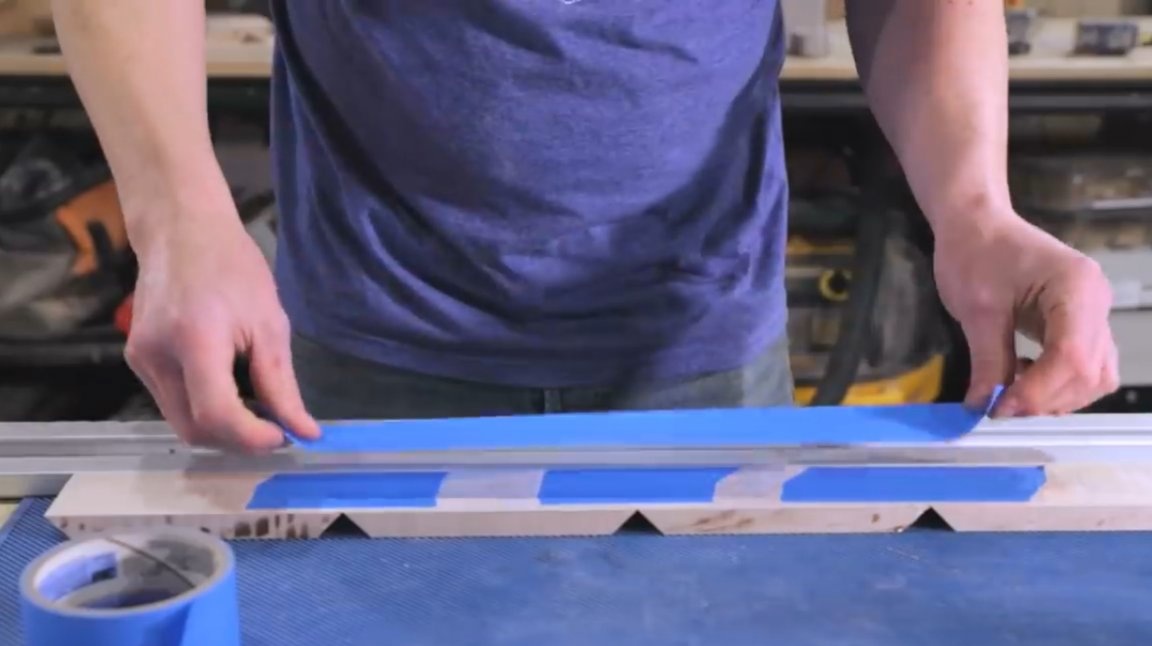
The miter saw cuts the board into 4 blanks, the edges of which are cut at an angle of 45 degrees.
Folds the blanks in one row, sticks tape (this can be a masking tape).
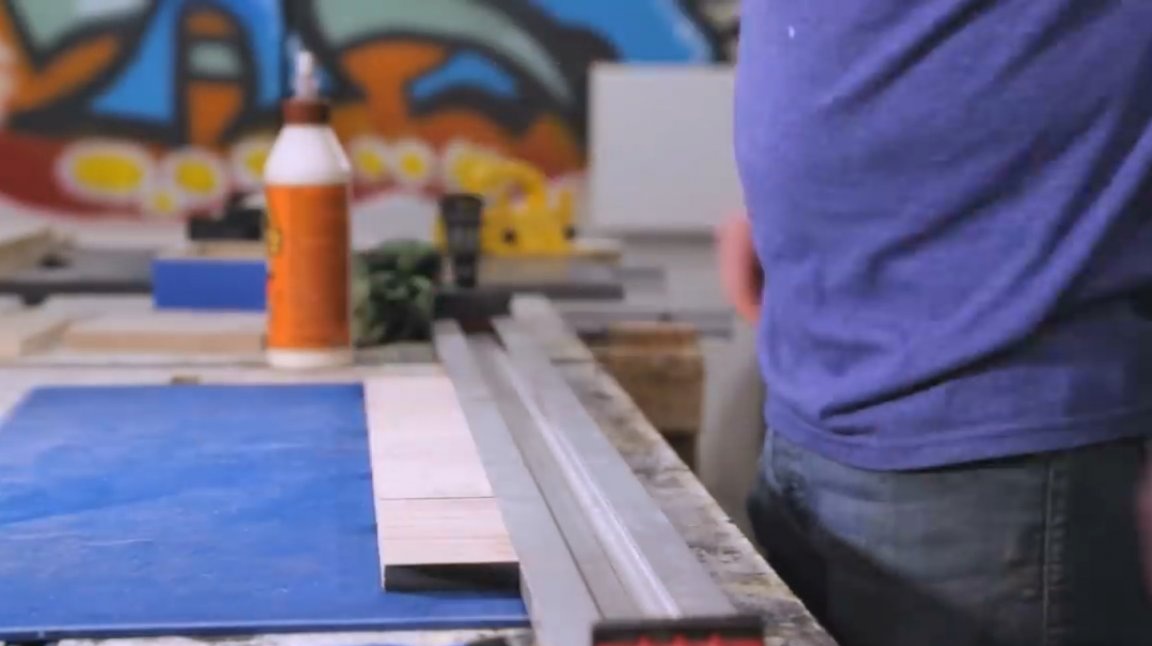
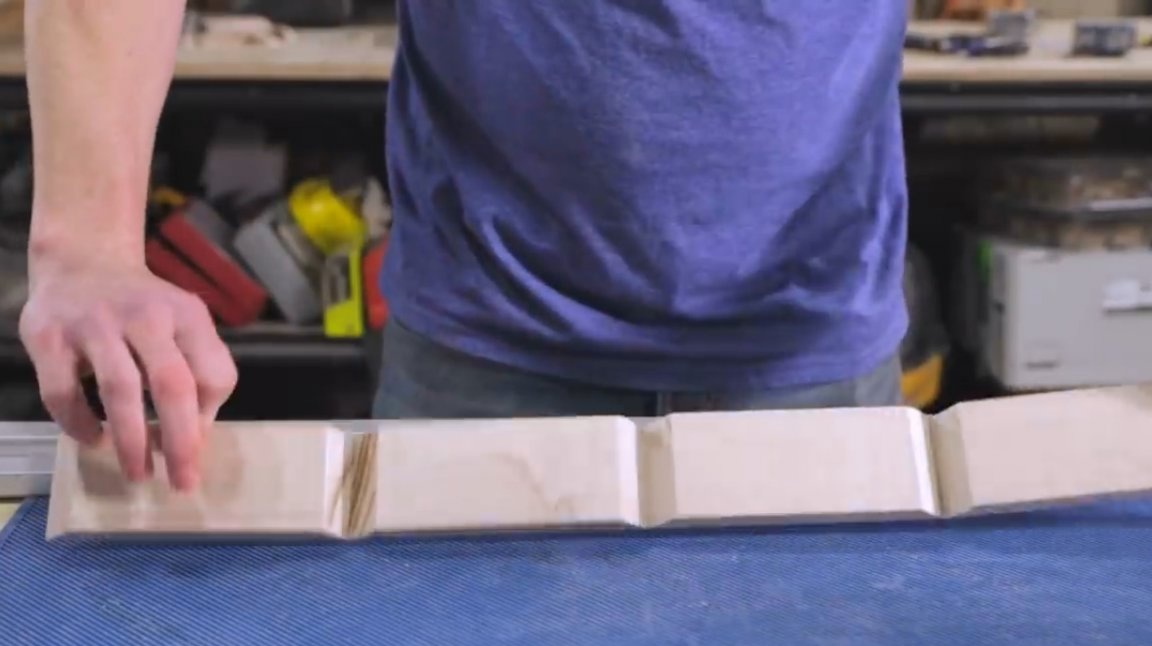
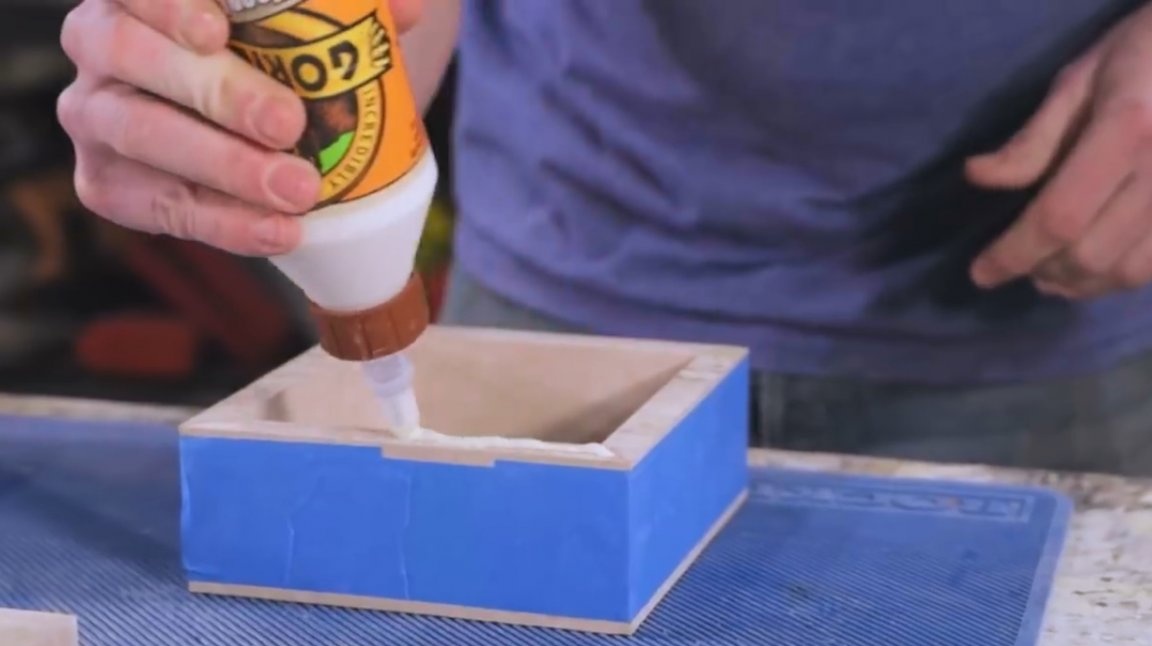
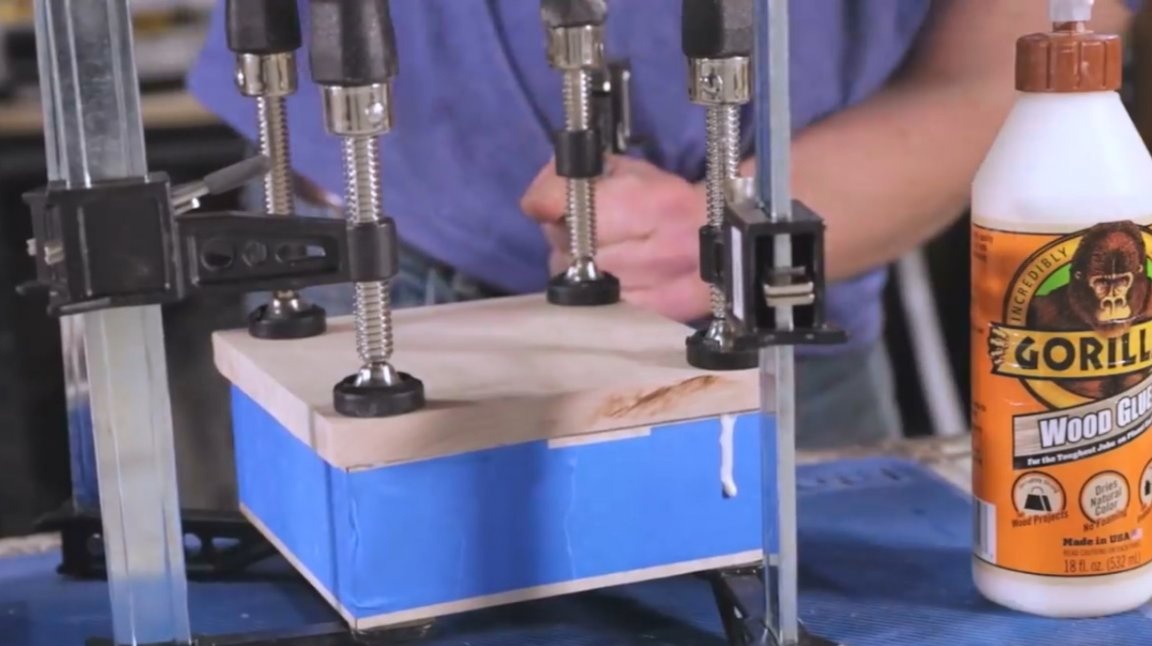
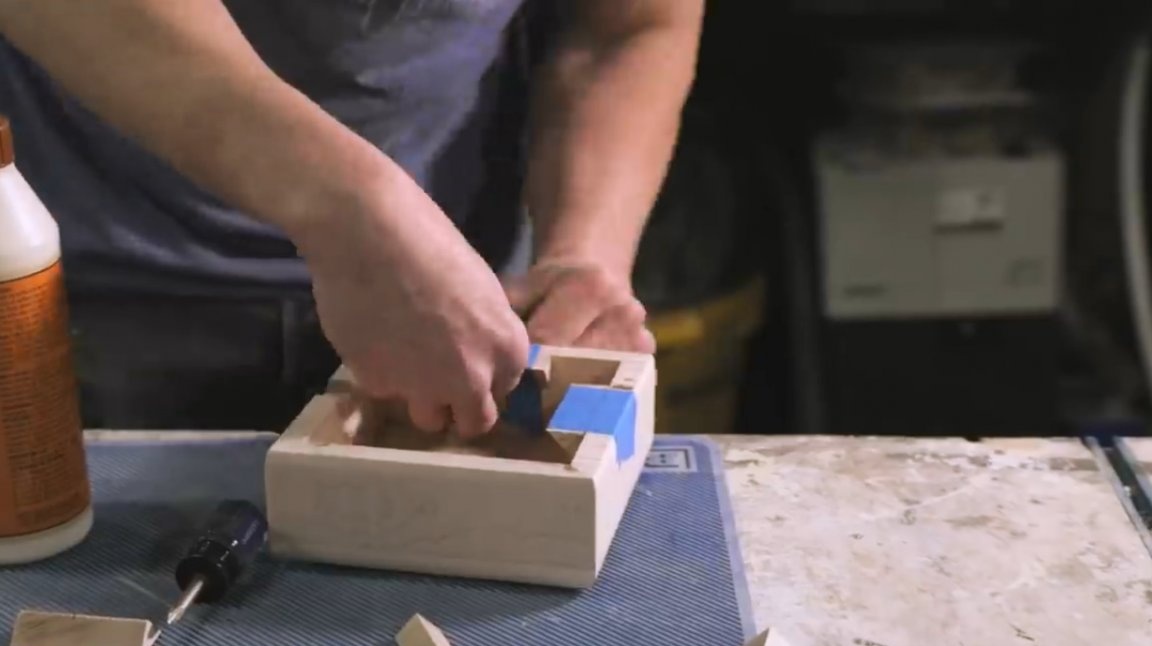
Coats the edges of cuts with glue on wood and folds the frame of the box.
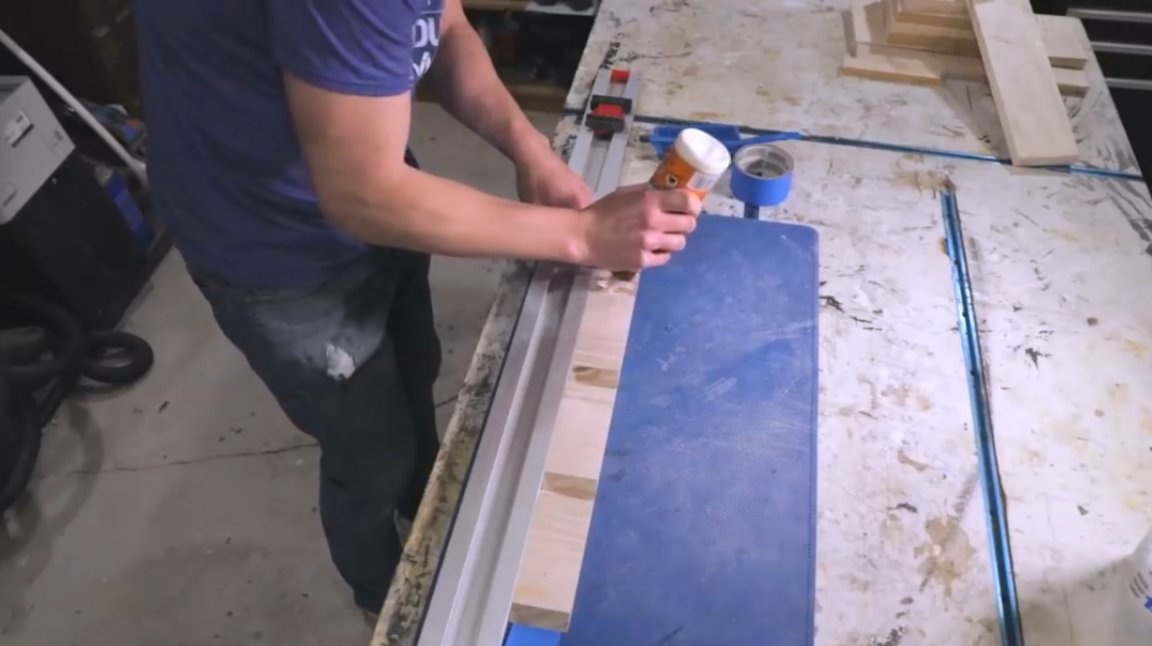

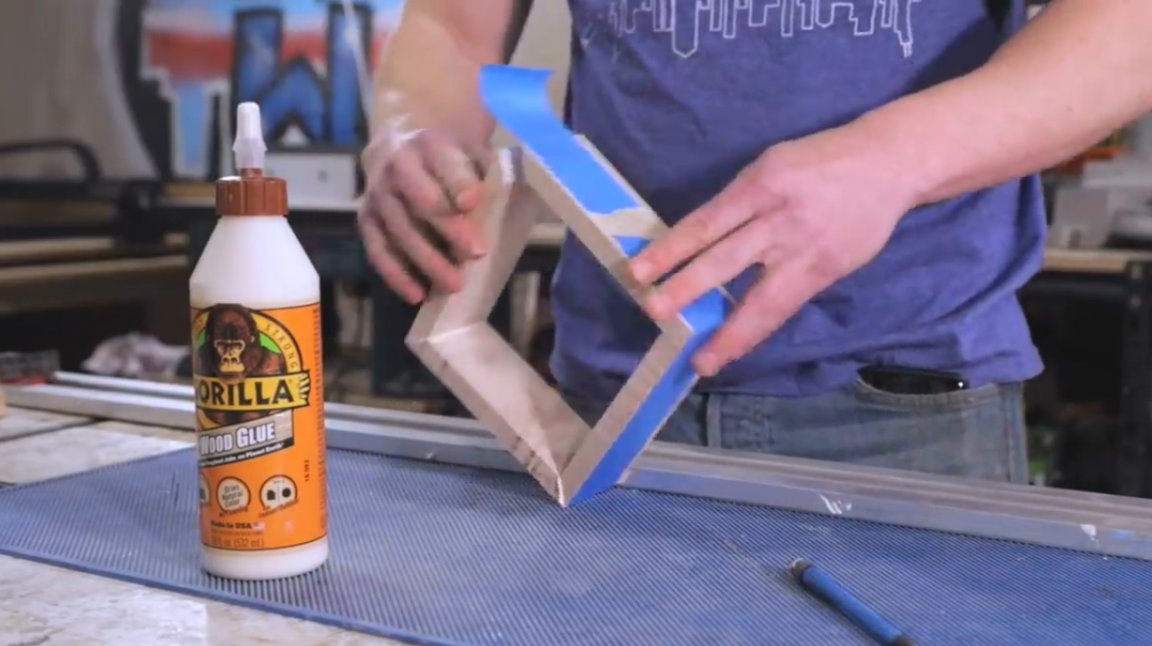
Excess glue is removed with a rag.

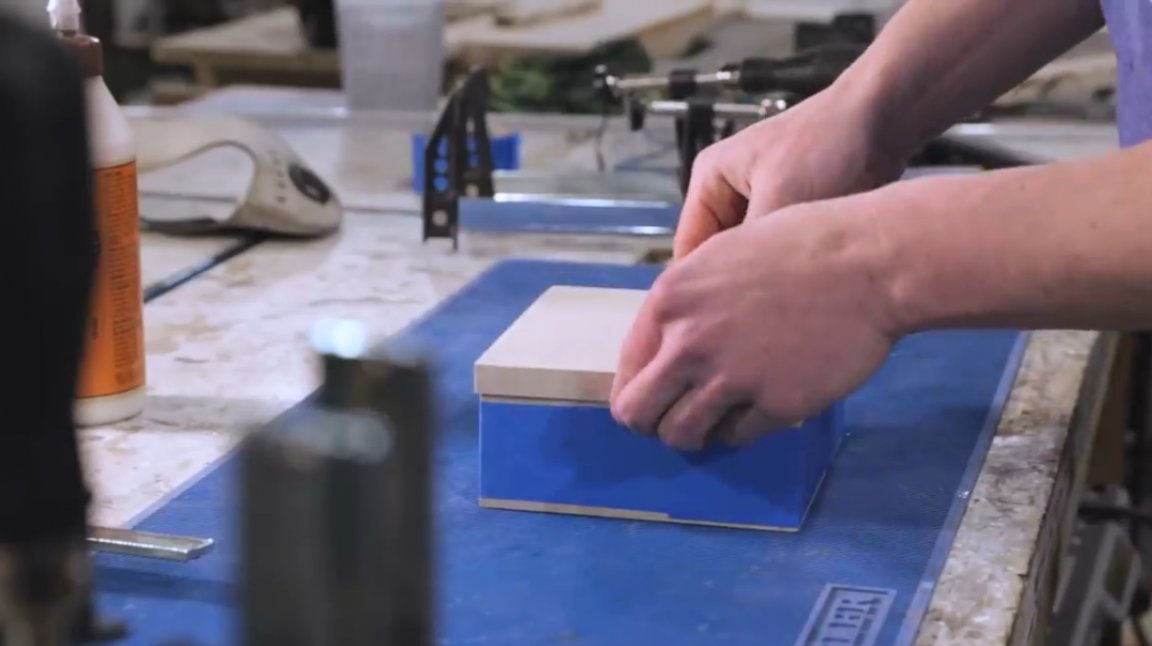
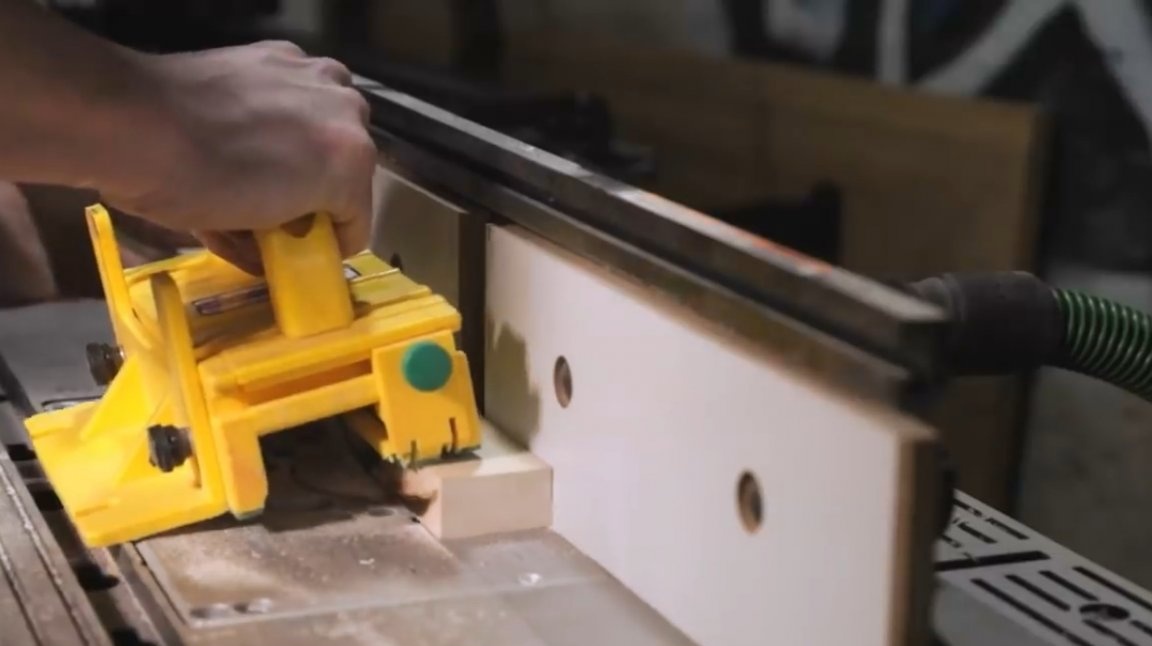
The craftsman deliberately cut out the lid of the box several larger than necessary sizes.In this case, after the glue dries, it becomes possible to process the edges with a milling cutter, making them perfectly even with respect to the walls of the box.


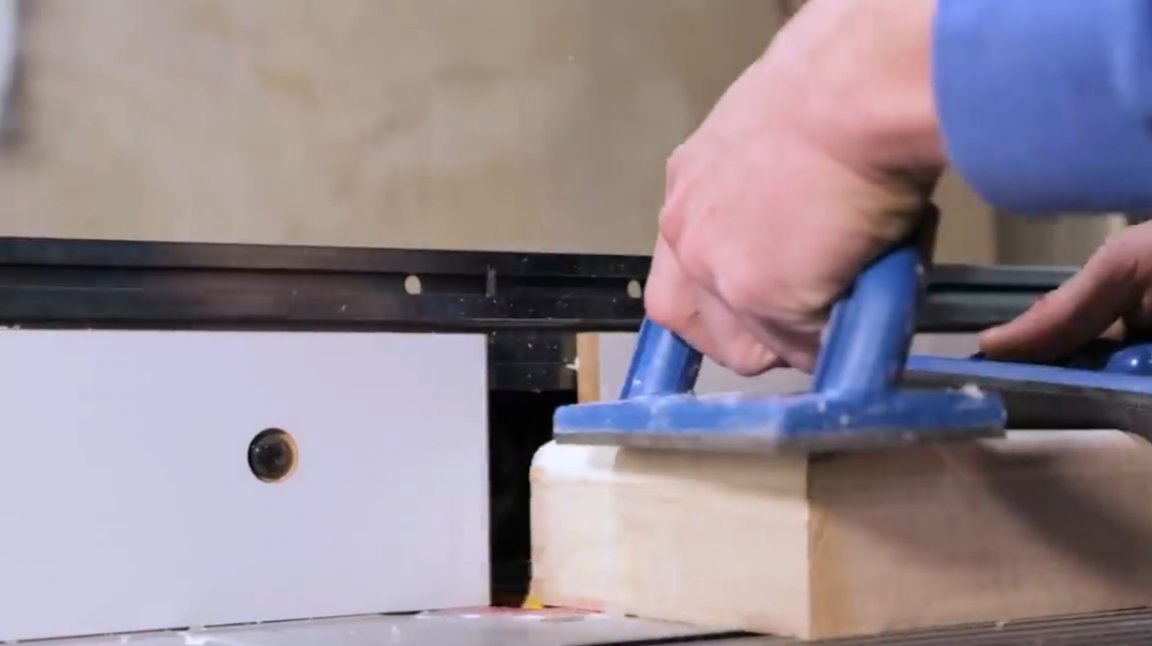
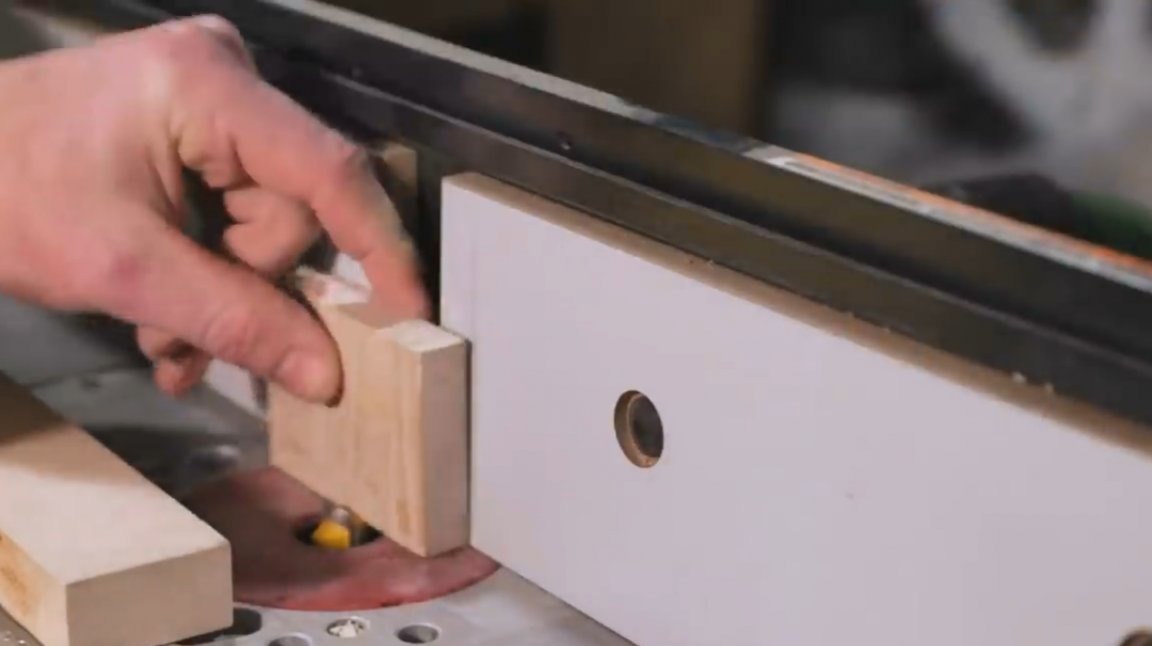
Then, on the milling table, the author processes the base and corners of the box with a radius cutter with a thrust bearing.
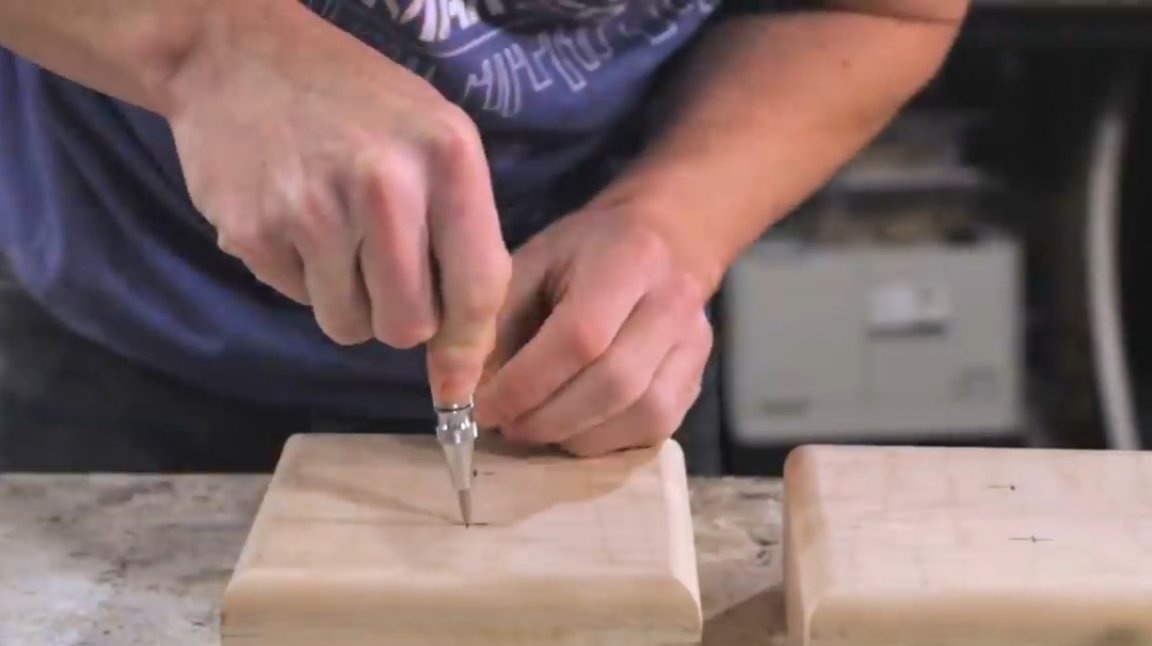
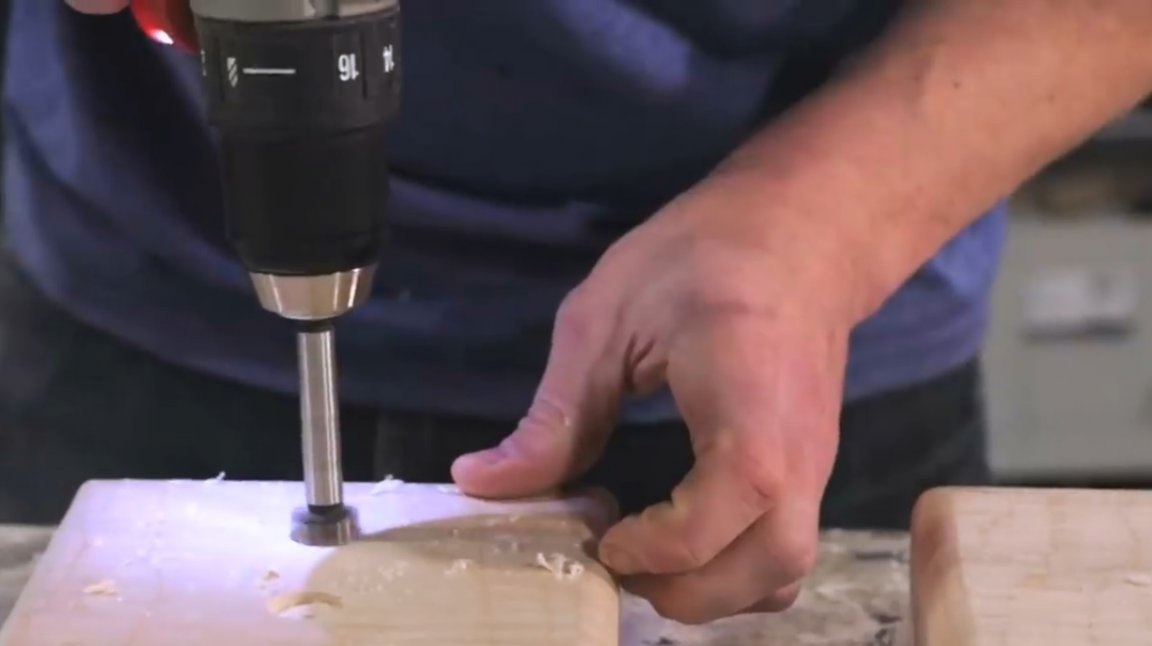
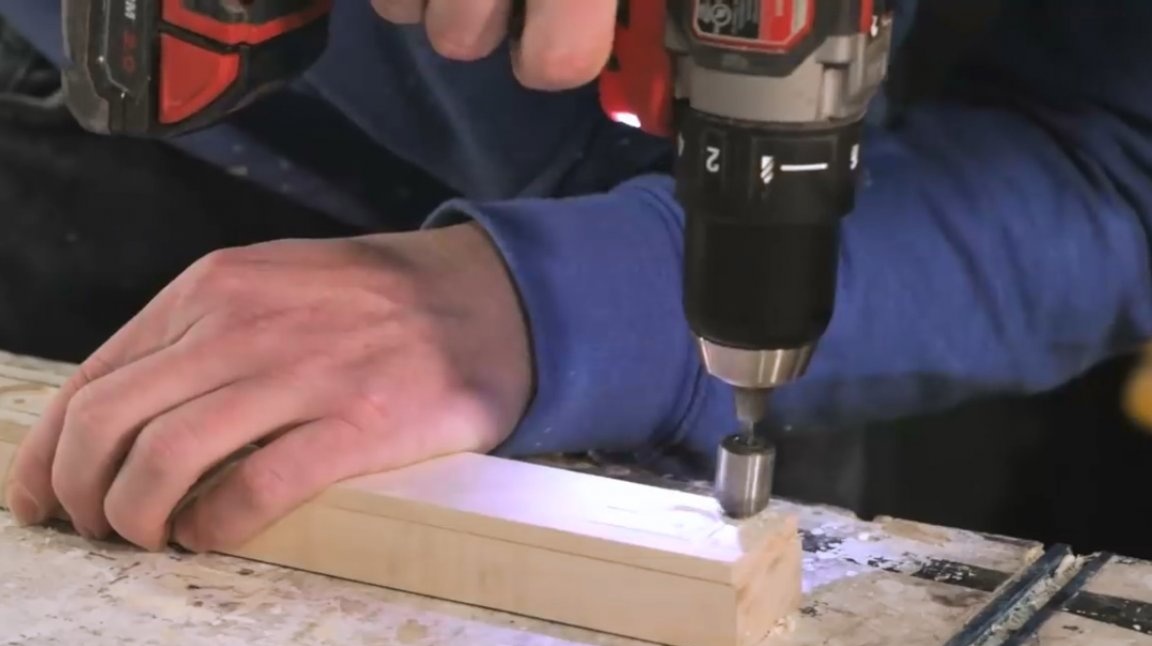
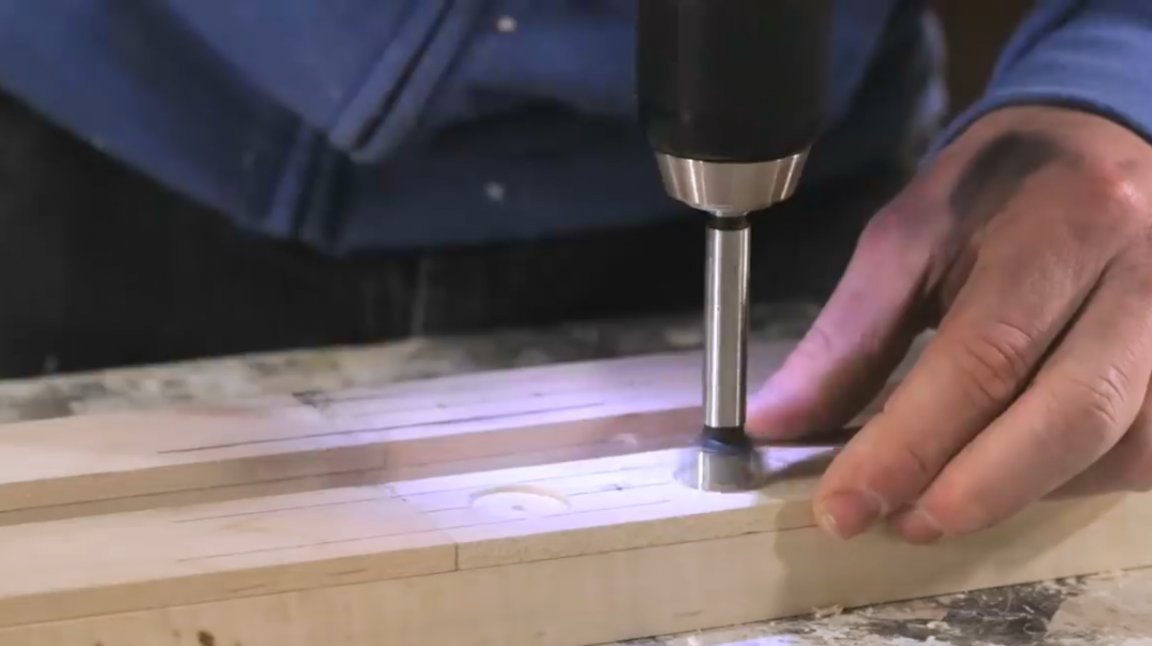
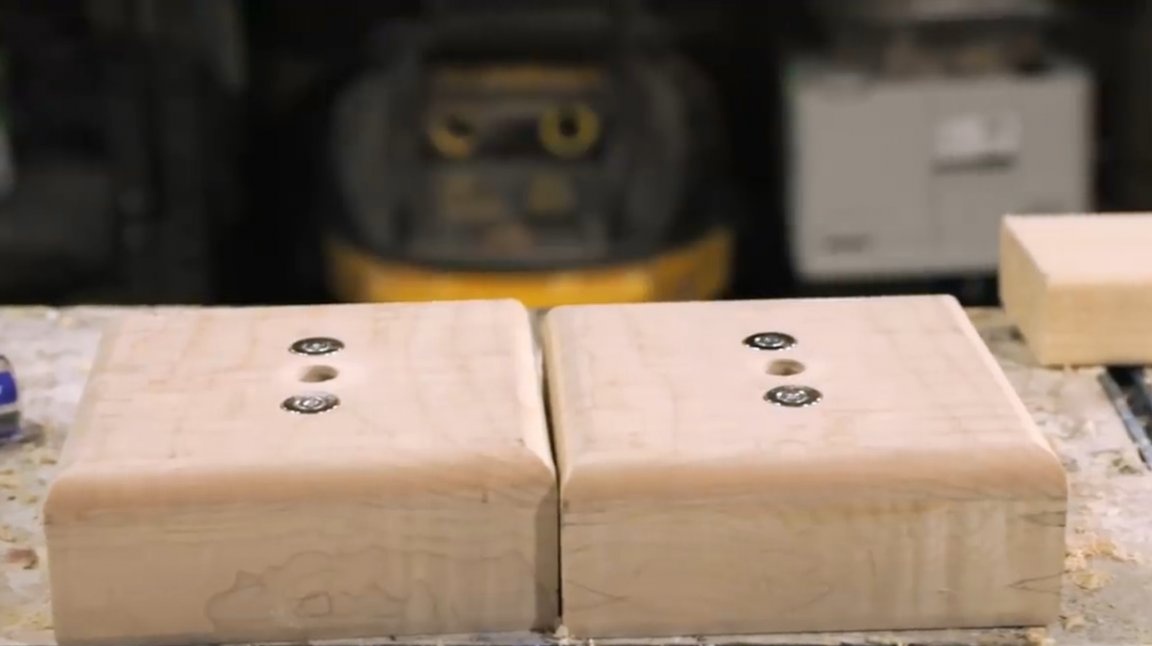
The master selects the Forstner drill according to the diameter of the neodymium magnets, then the grooves are drilled where they will be inserted. These are quite powerful magnets, despite their small size.
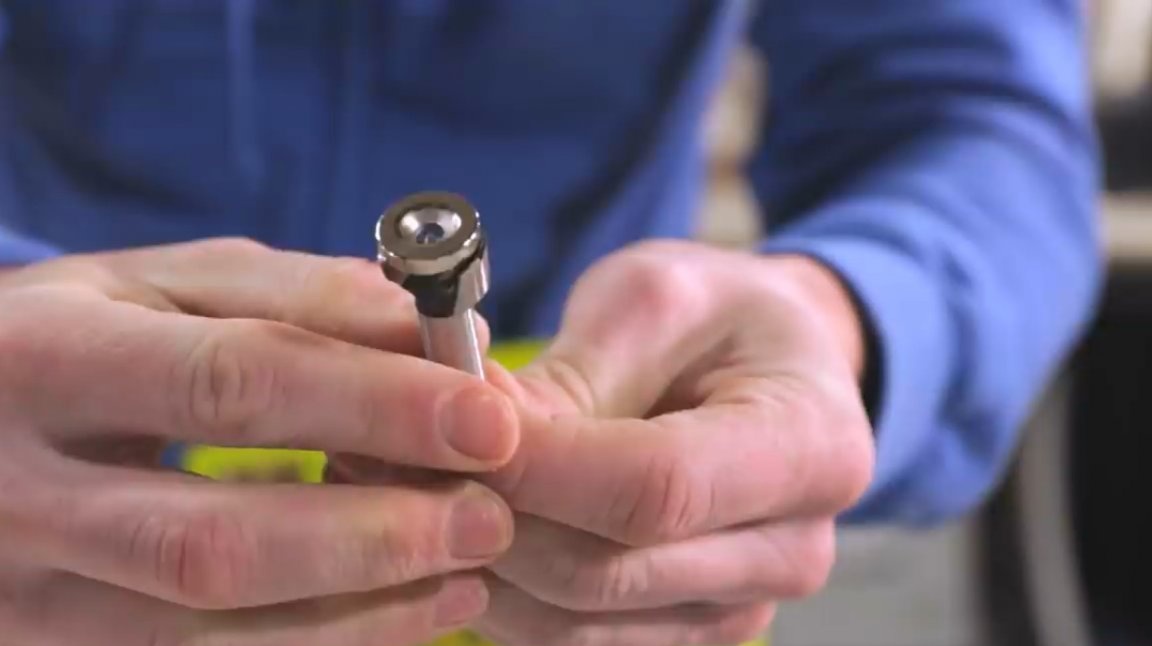
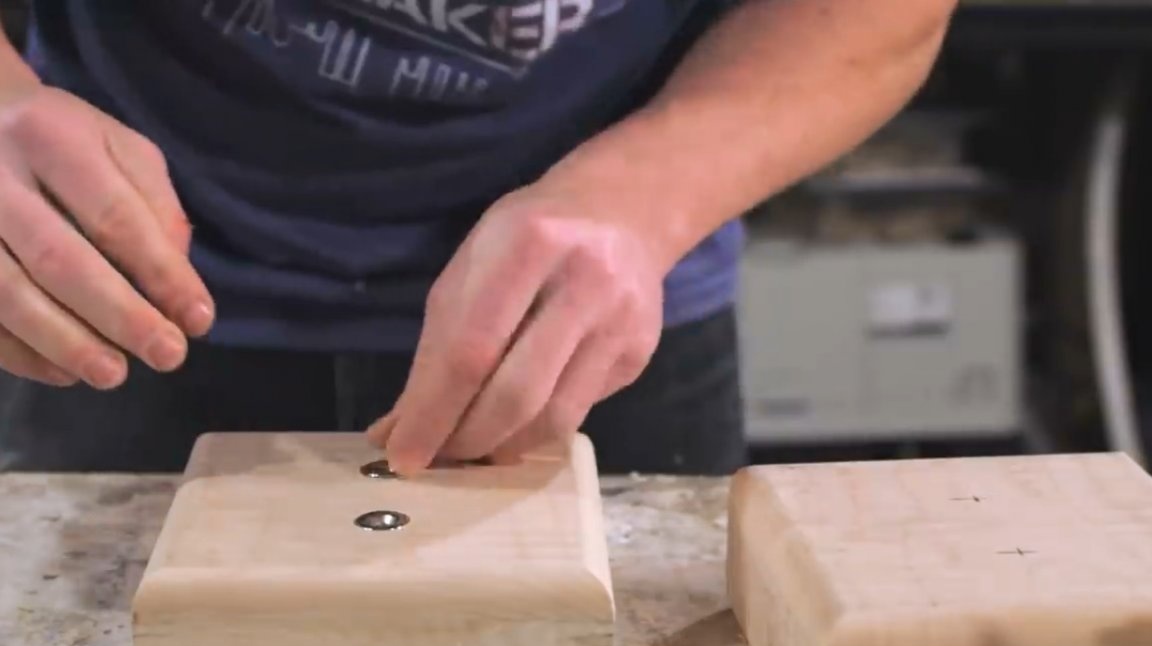
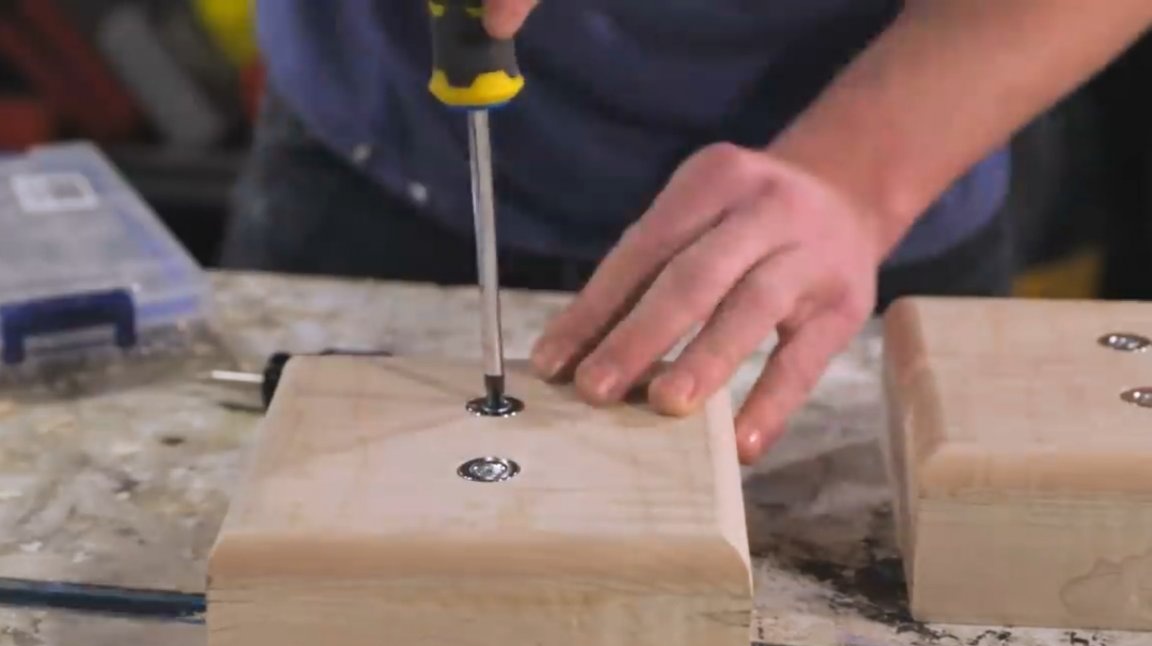
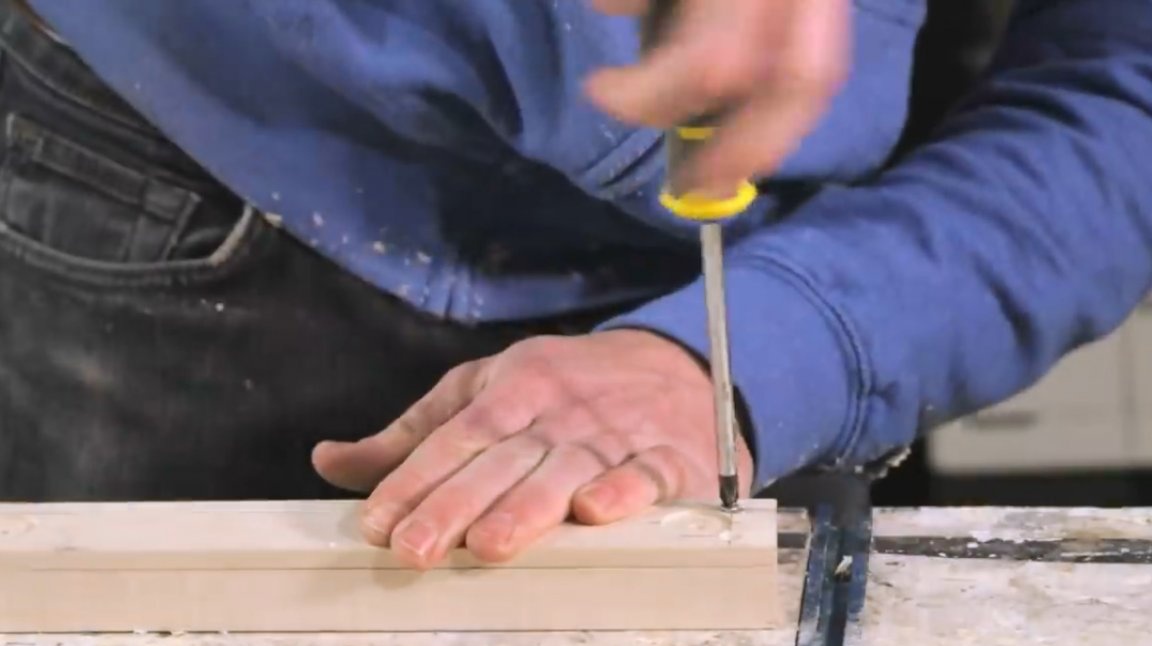
The magnets lay flush with the surface of the upper panel, now it will be very easy to fix them in place with screws.
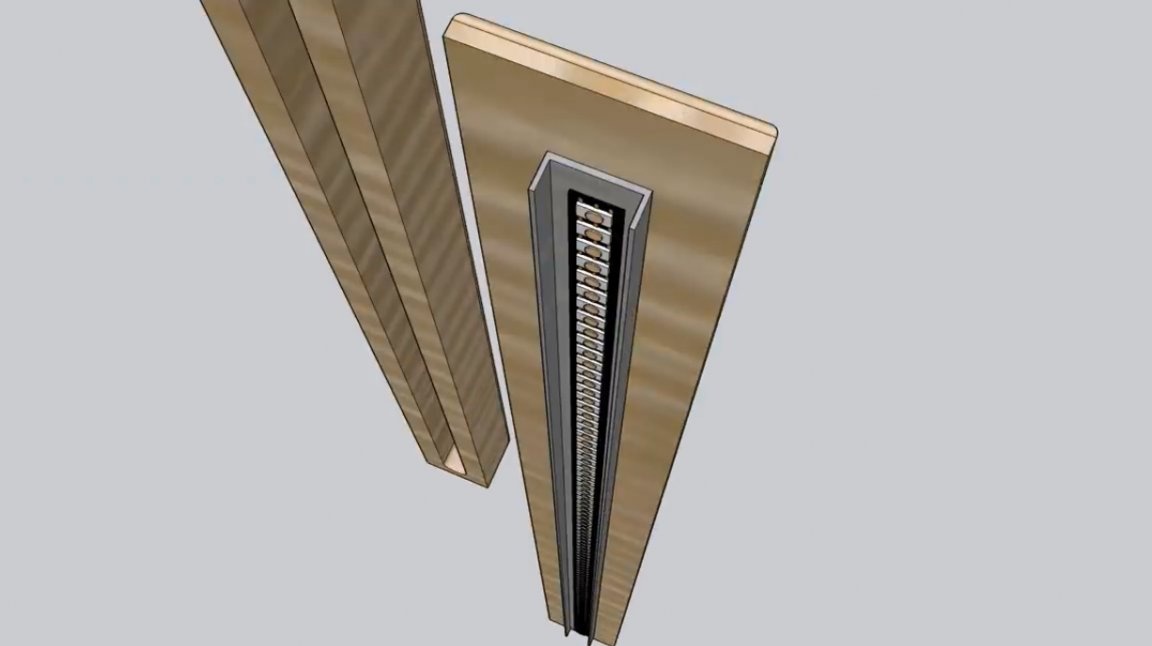
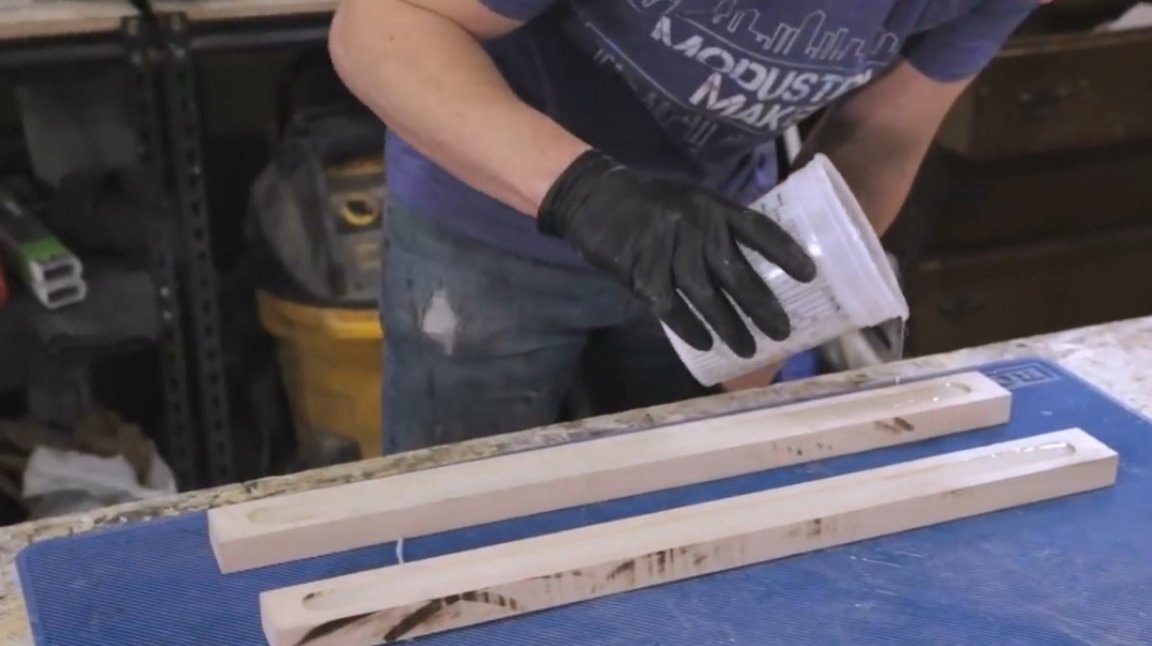
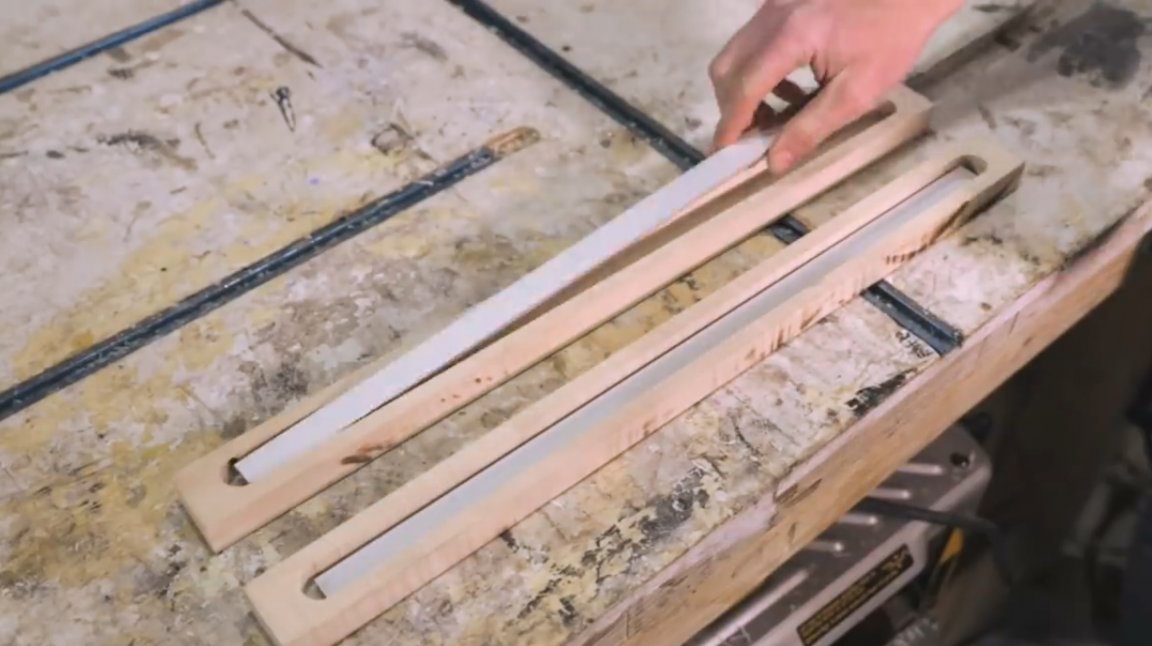
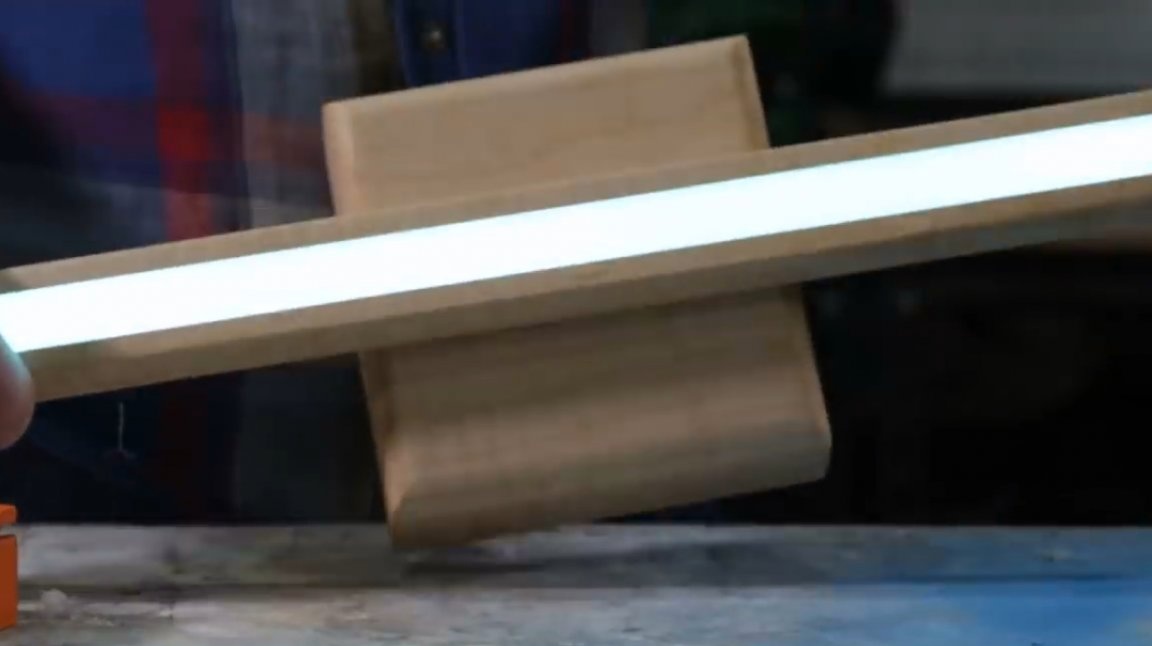
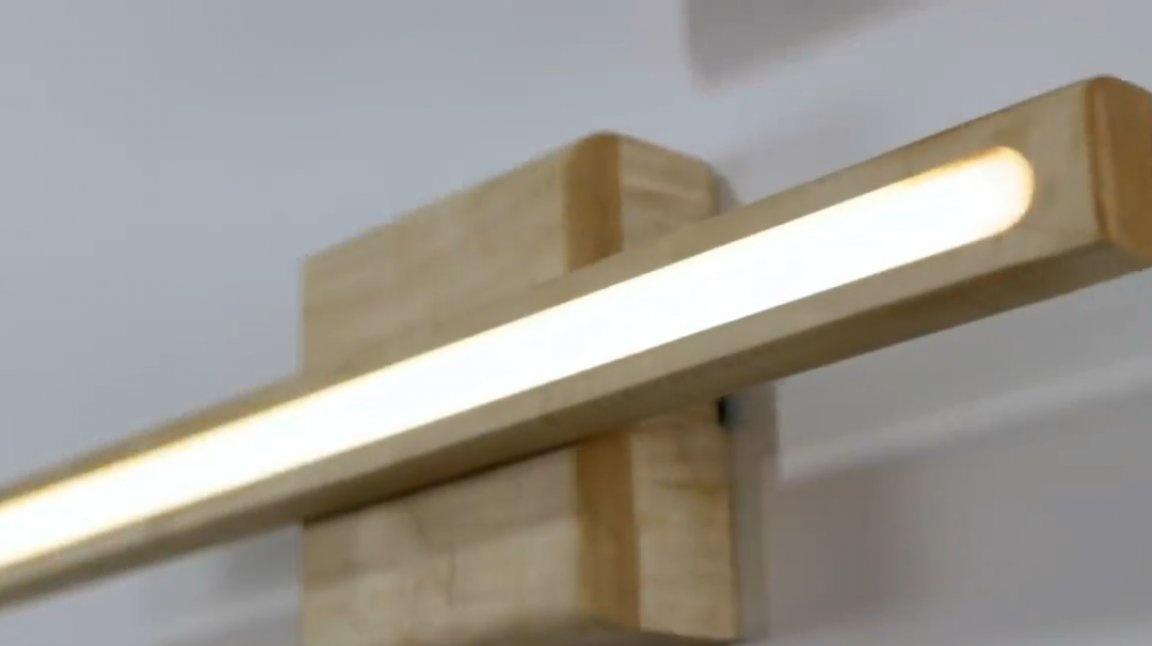
The next step is the manufacture of an LED panel. Her case is made of maple wood with an epoxy insert, and with a removable back panel. An aluminum U-shaped profile will be attached to this panel. A tape will be attached to it.
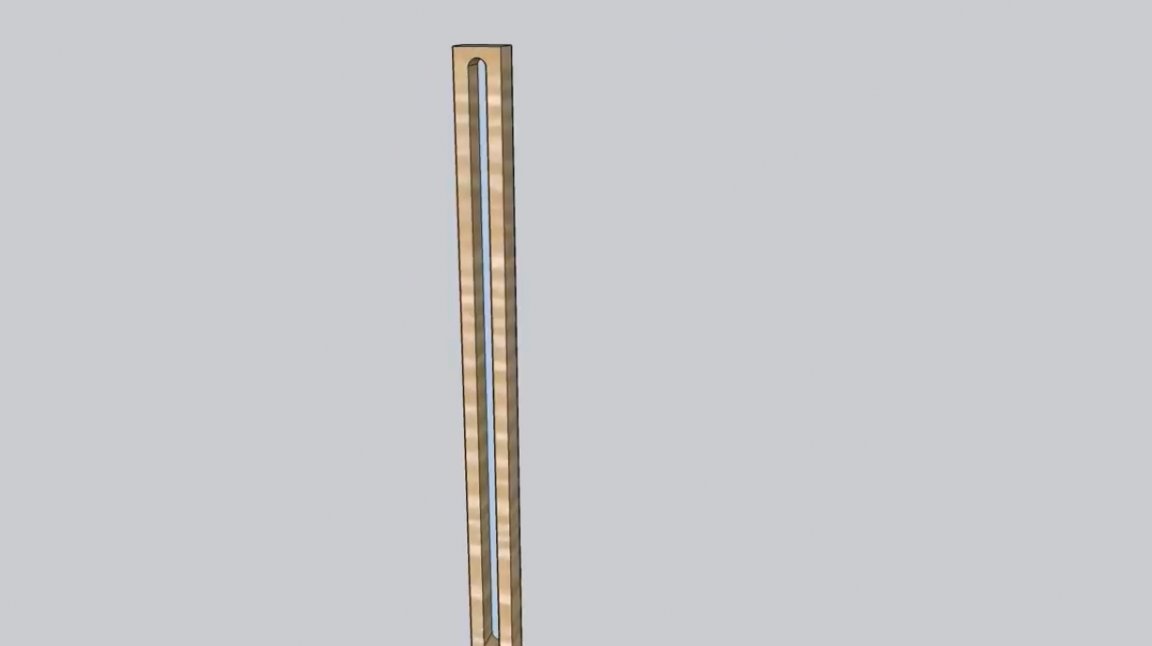
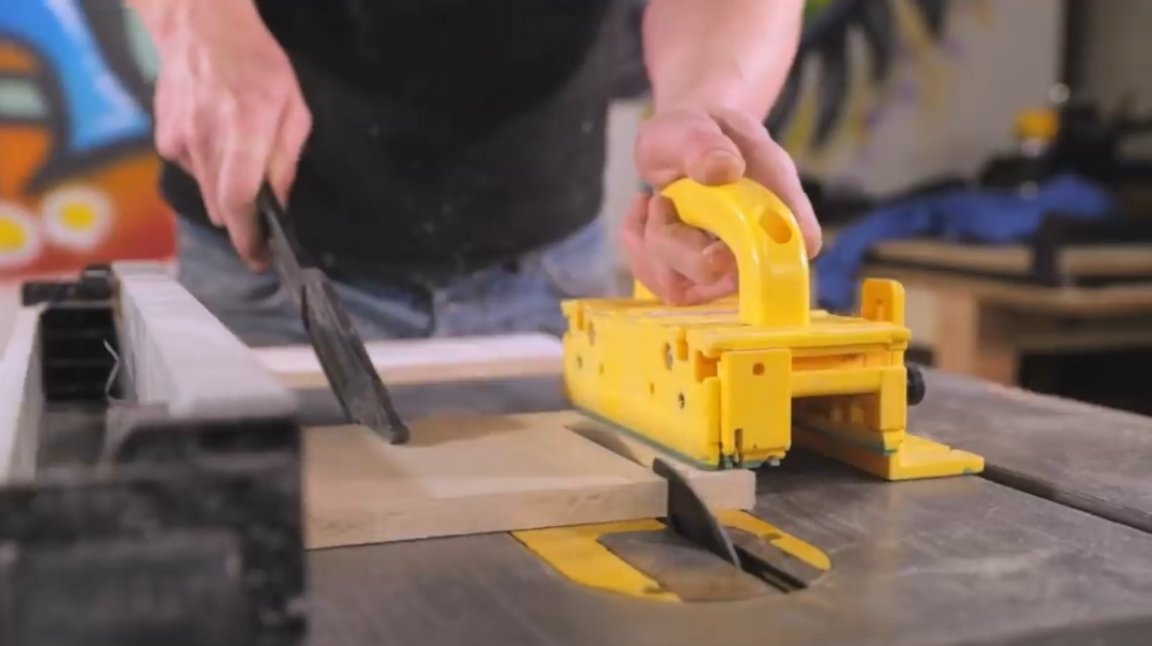
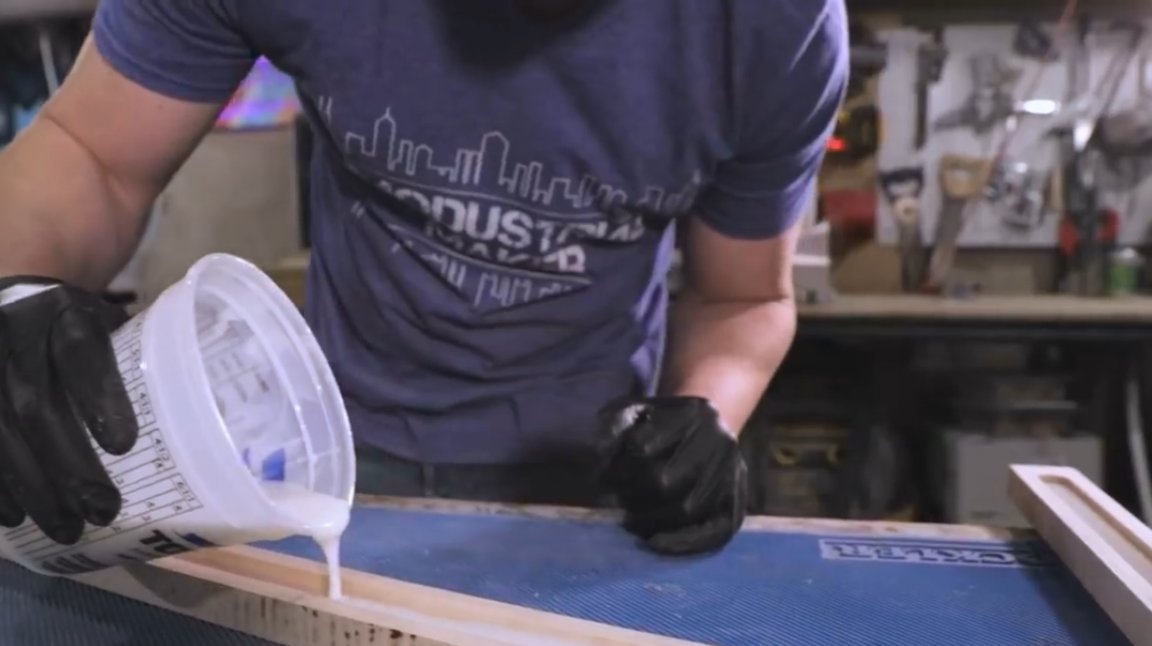
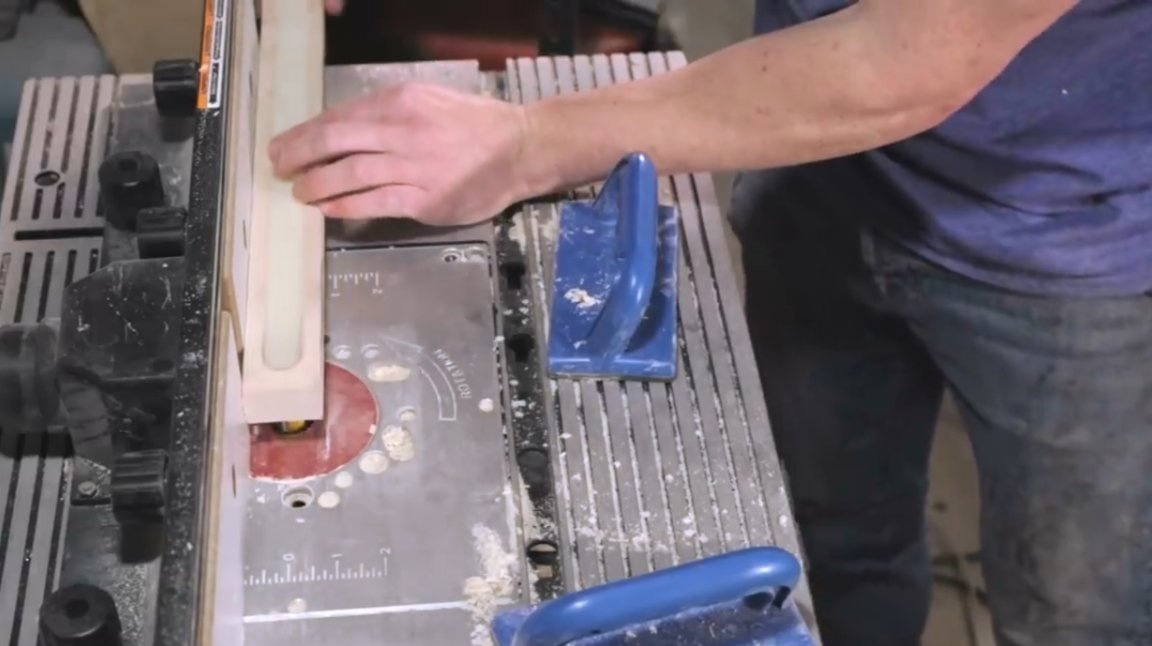
A cut under the LED strip, about half an inch wide, is cut out on the milling table.

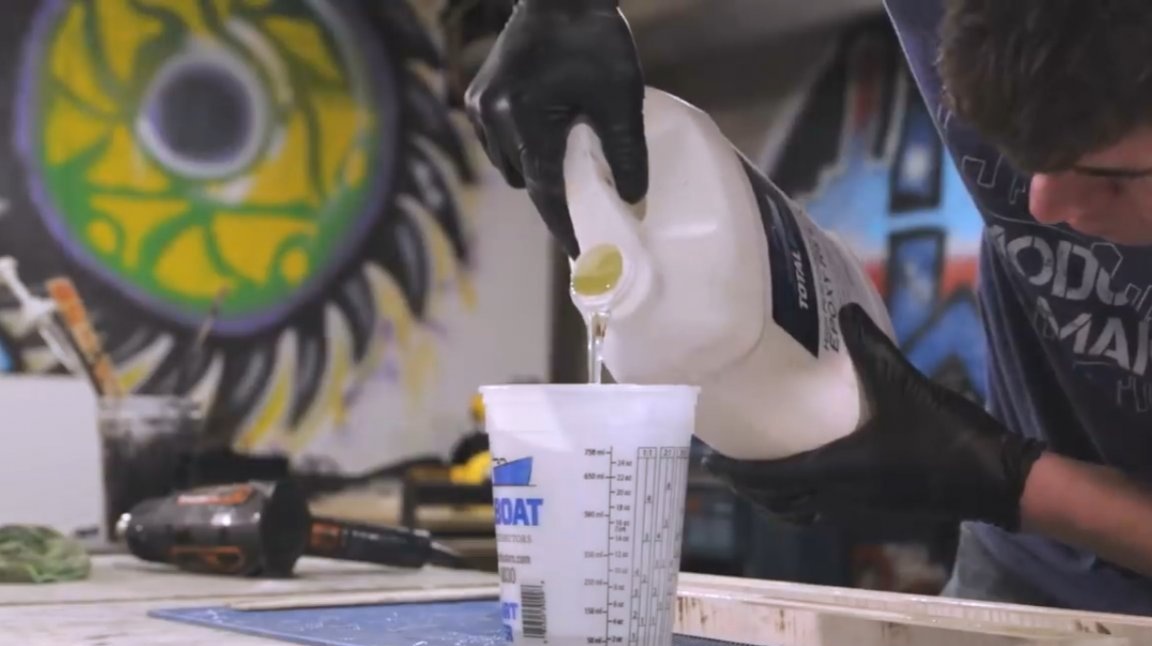
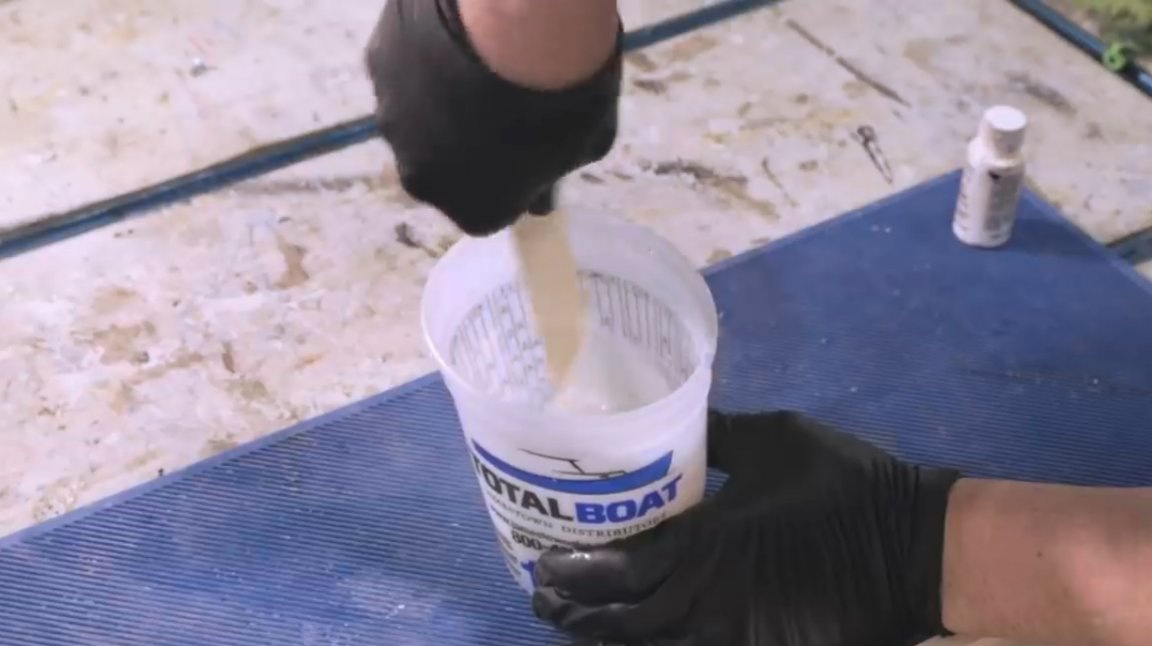
Further, in a total capacity, epoxy resin and hardener are mixed in a 2: 1 ratio. After that, a little white pigment is added to it, which will slightly diffuse the glow of the LEDs, combining many separate point light sources into a single whole.

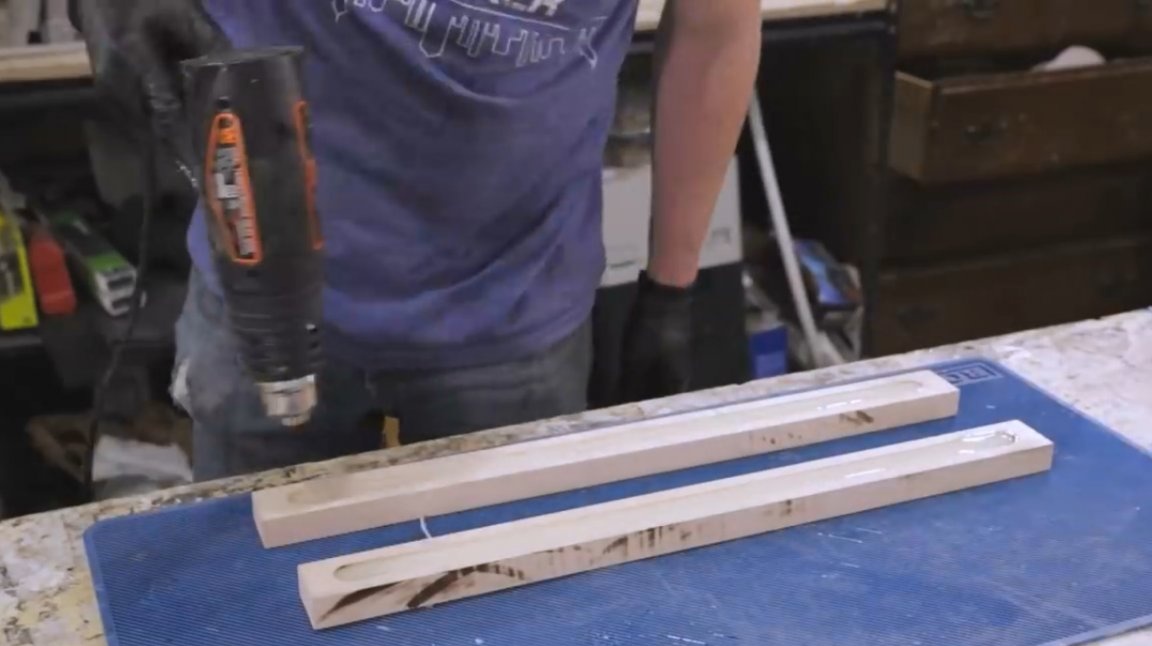
After polymerization of the first layer, a layer of pure epoxy is still applied on top. The result is a frosted glass effect. In order to remove small bubbles from the surface, the author uses a technical hairdryer.
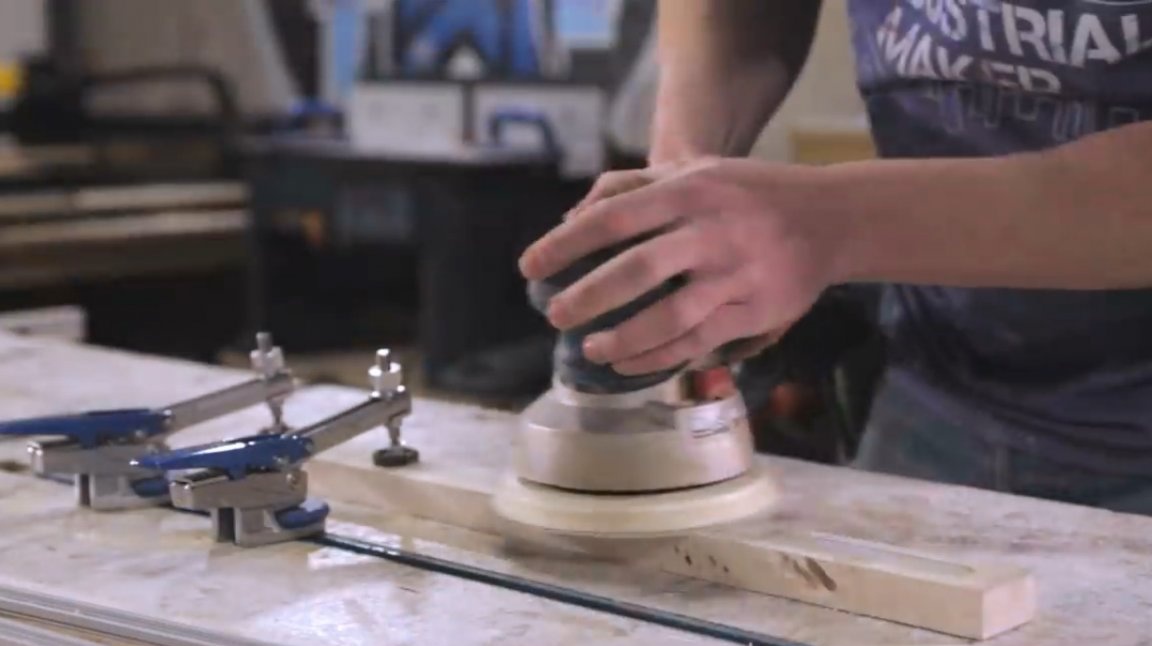
After the second layer hardens, the surface is polished with an orbital machine with a felt nozzle.
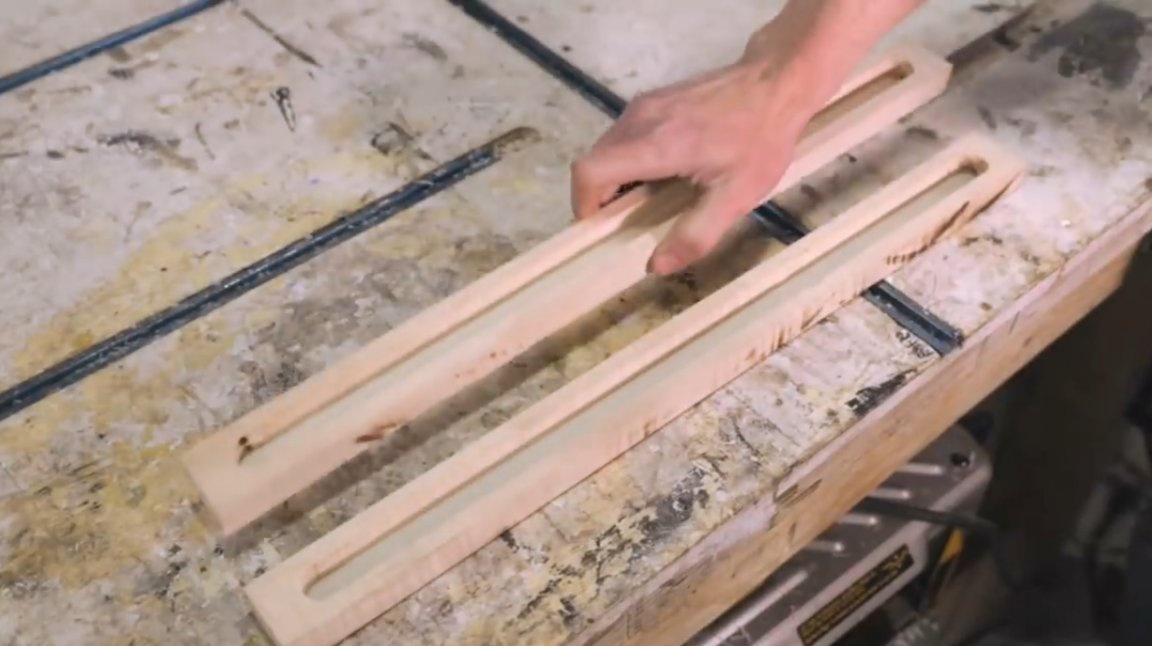
Now in the panel, in the back of it, you can cut out the cavity for the LED strip. The author makes it a milling cutter in several approaches. So he gently cleans the whole tree and gets to the resin itself.


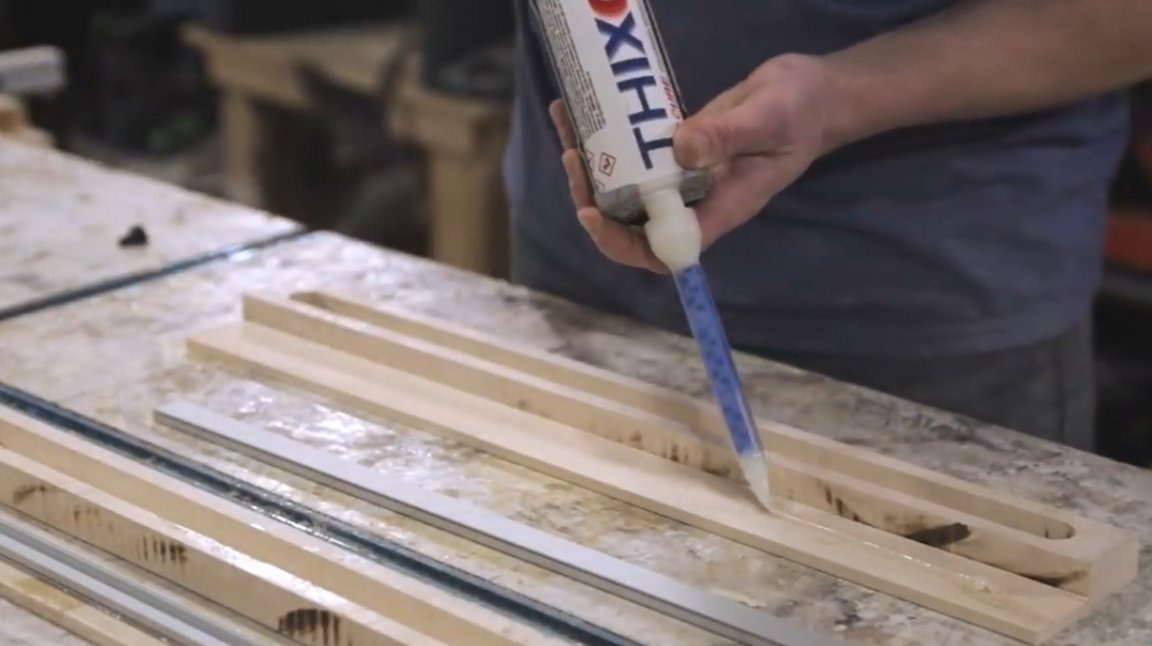
Then one small portion of the quick-setting epoxy is kneaded to fix the aluminum profile to the back panel.
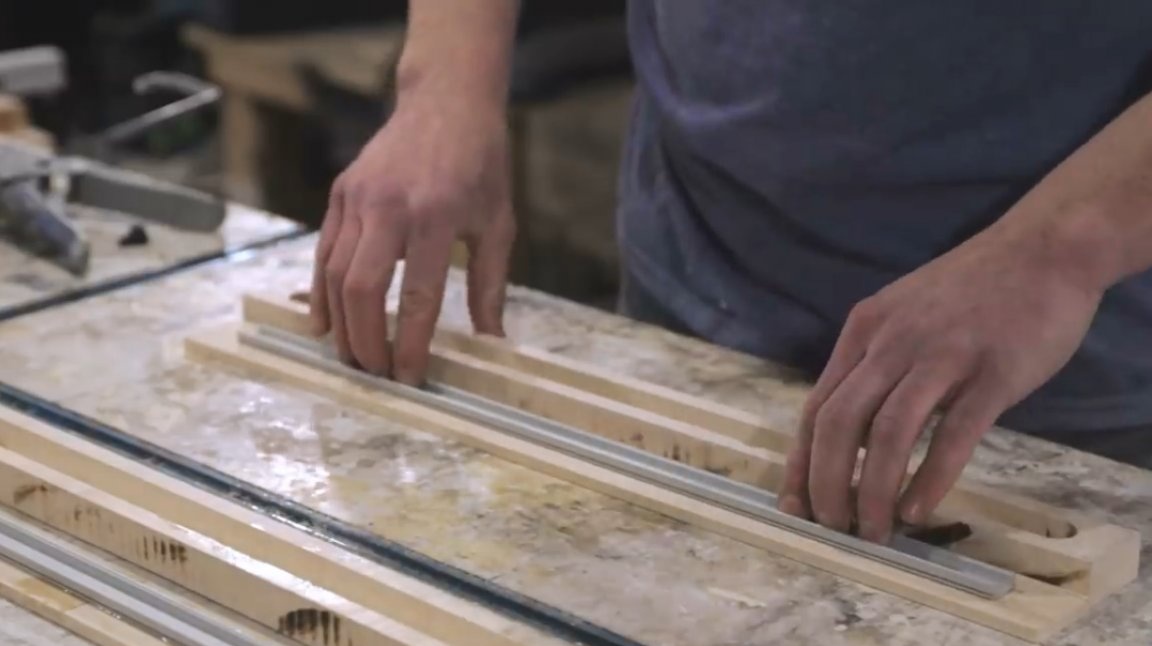
The back panel is screwed to the diffuser with screws.
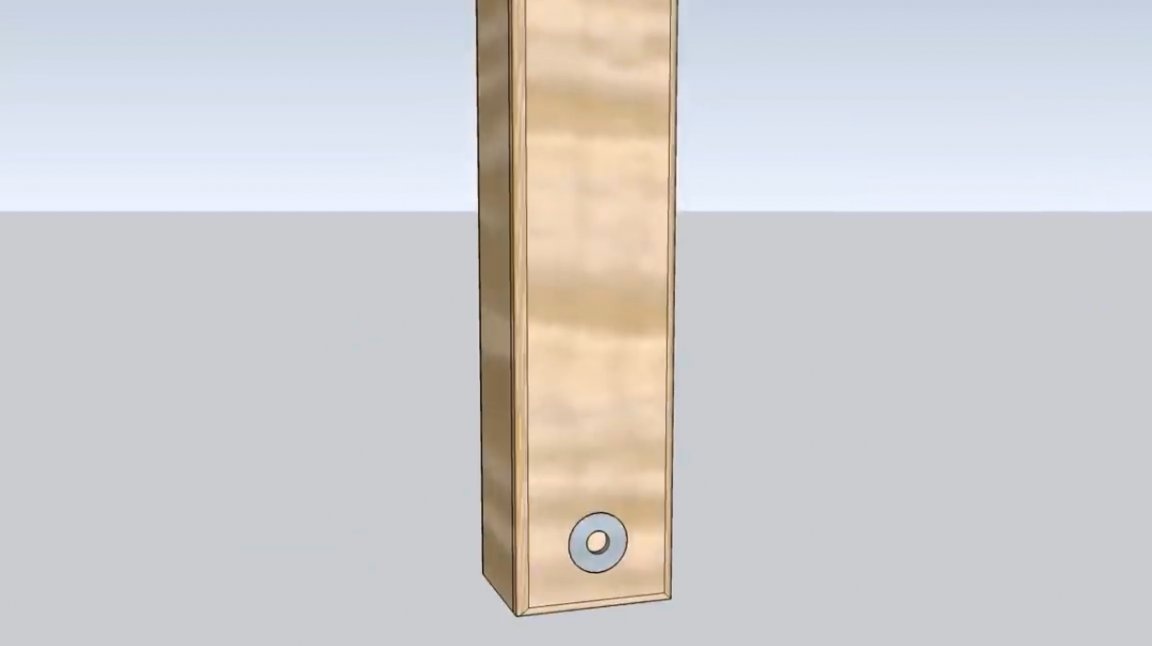
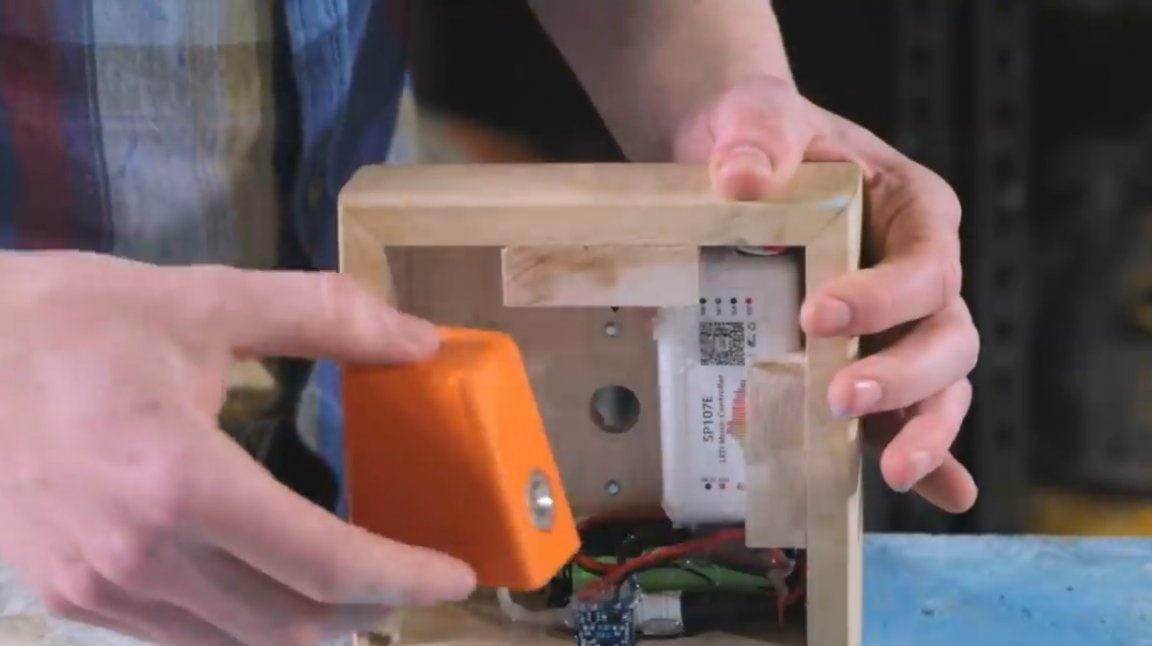
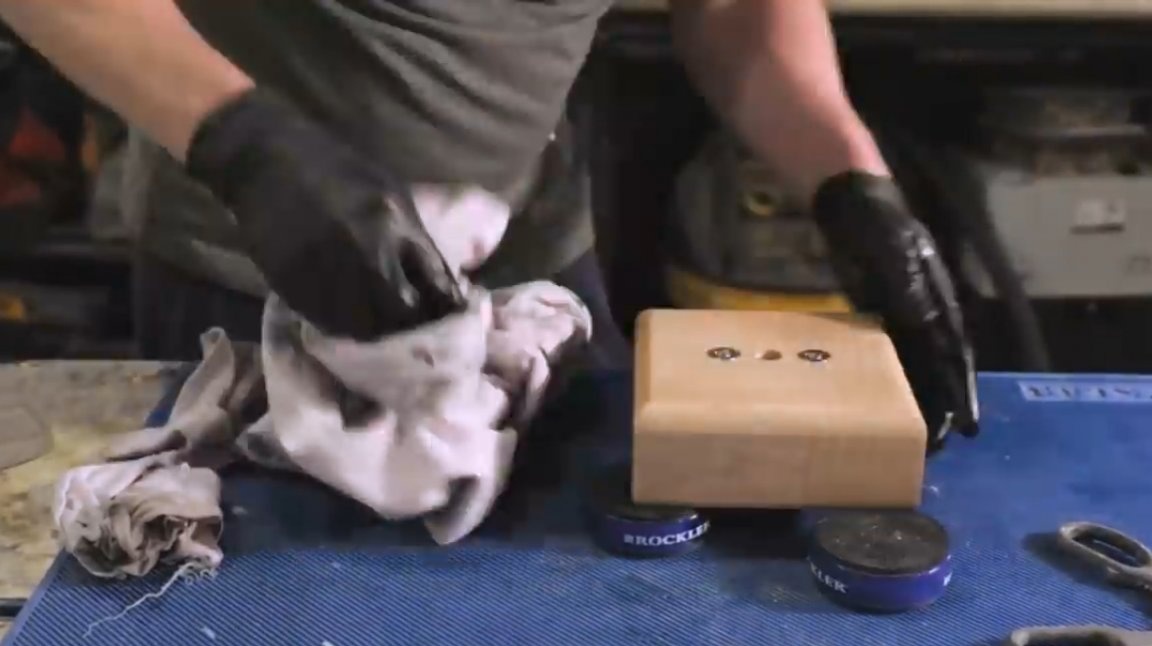
At the last stage, washers are glued on the back side of the LED panel, which, interacting with the magnet, will allow you to connect the lamp to the base in various configurations.
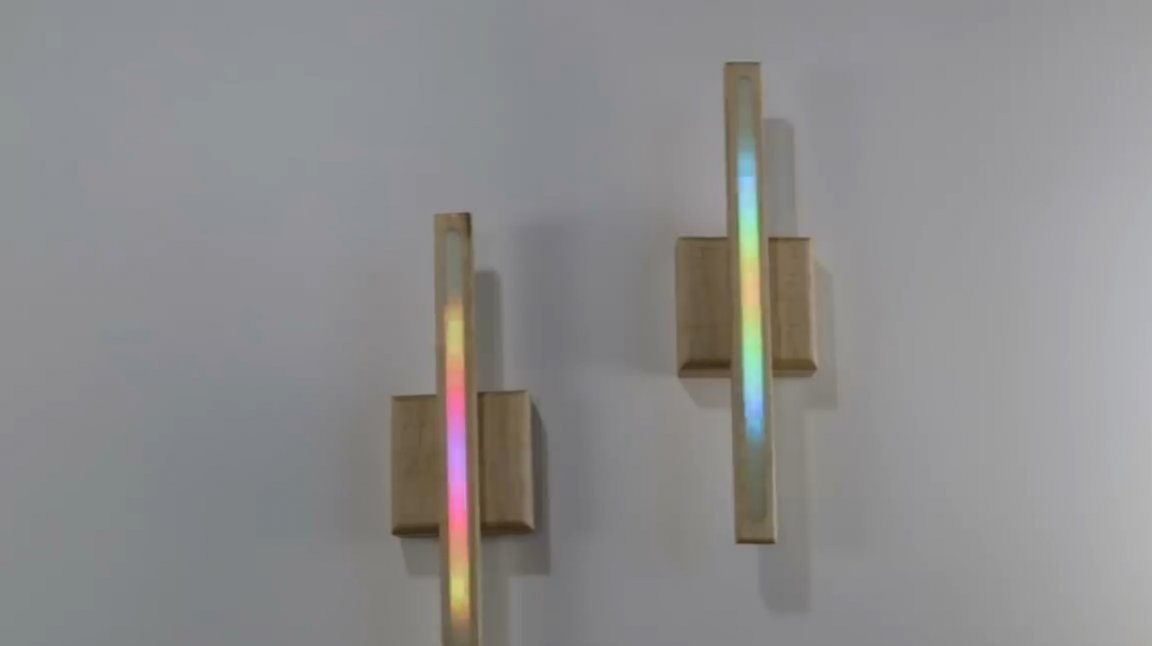
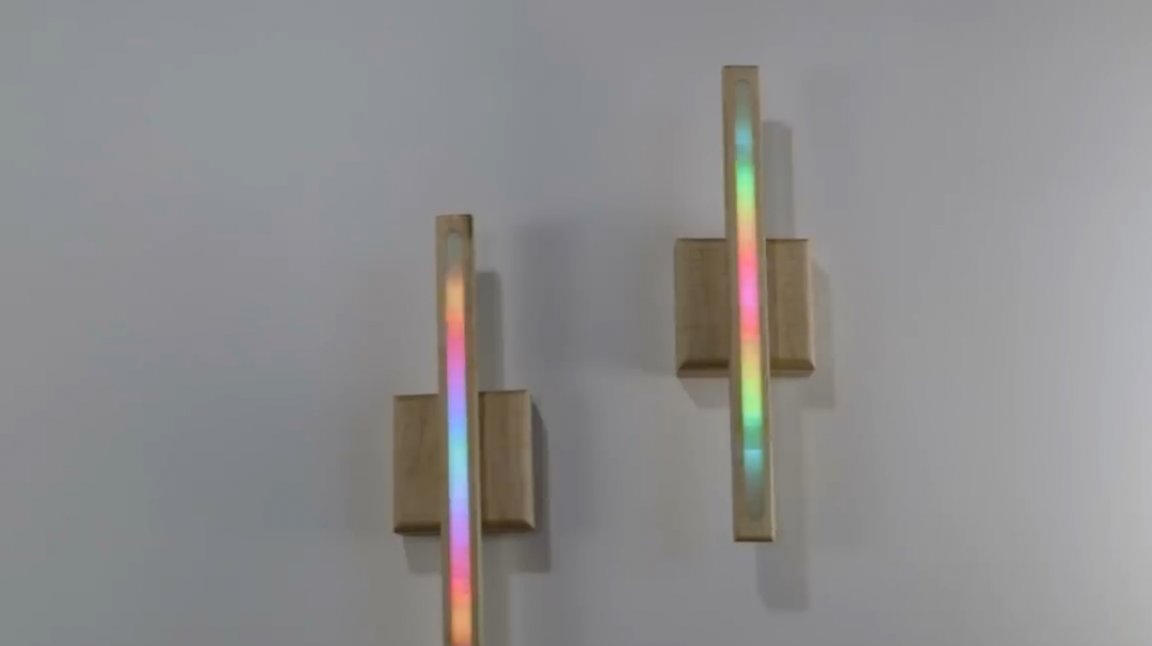
You will need two such washers in the middle of the structure, which should coincide with the two magnets on the base. In this case, the lamp can be used as a sconce.
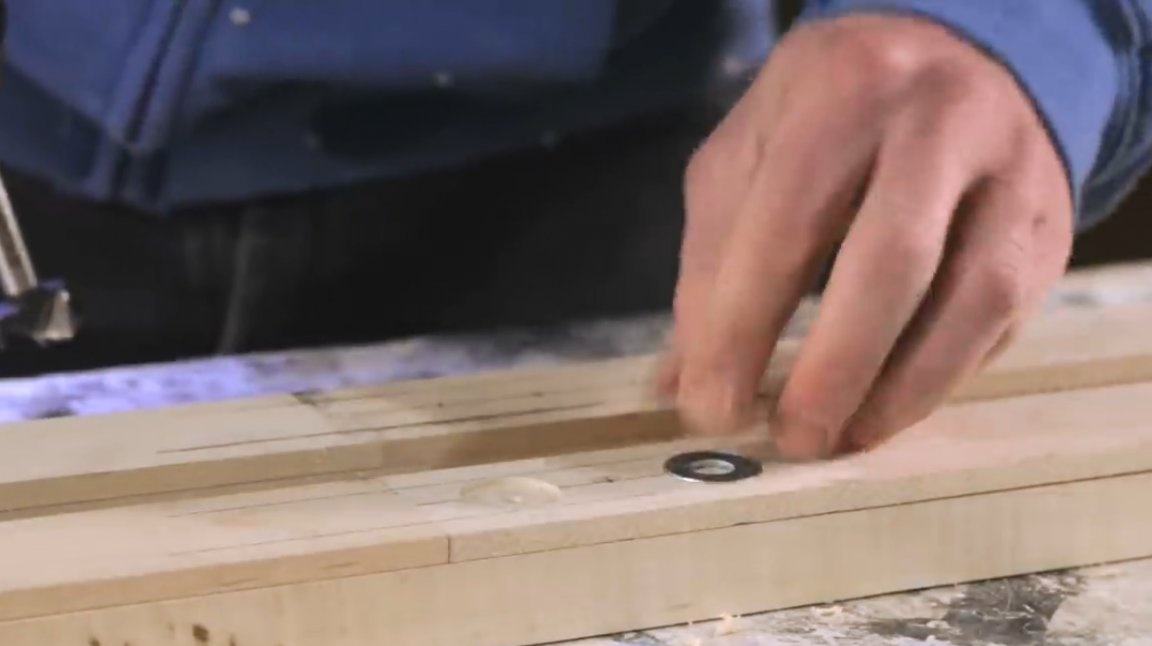

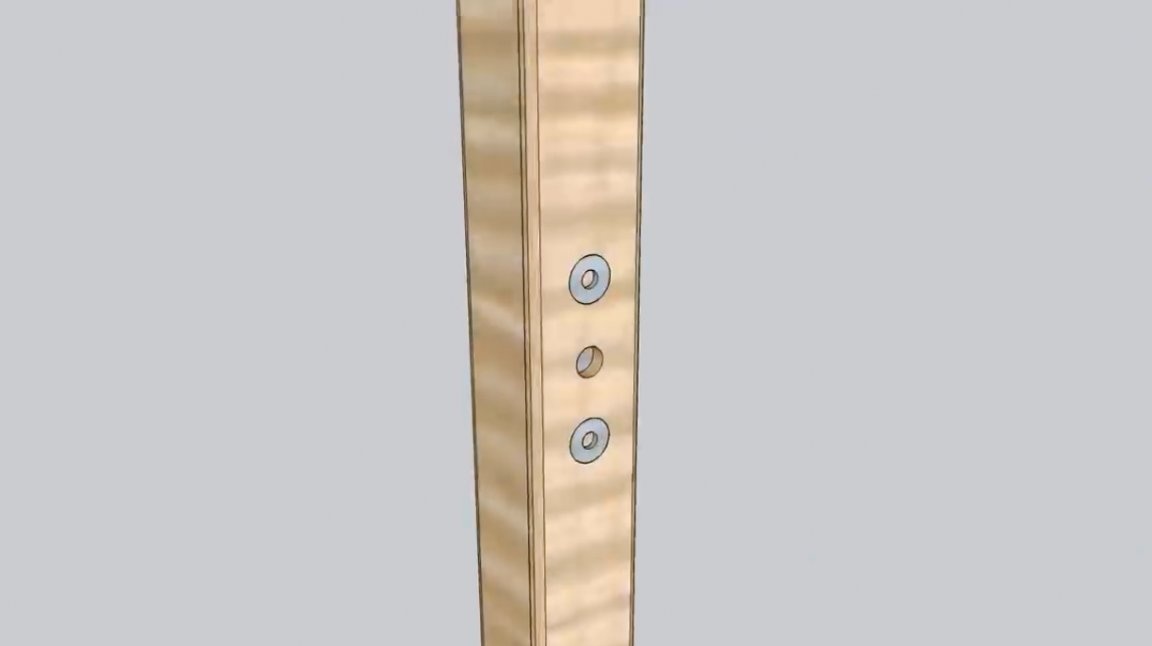
Another washer is attached to one of the ends of the panel. It is designed for a magnet built into the support block. In this position, the lamp can be used as a table lamp in its vertical position or in horizontal.
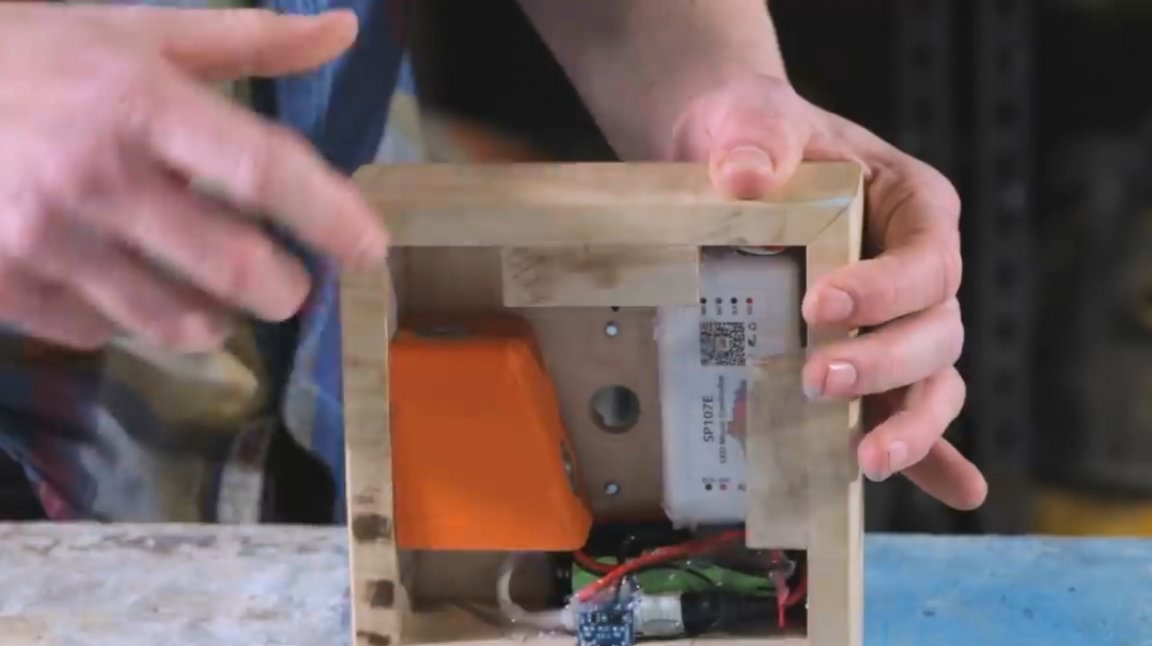
If this block is not needed, it can be magnetized to the inside of the base.
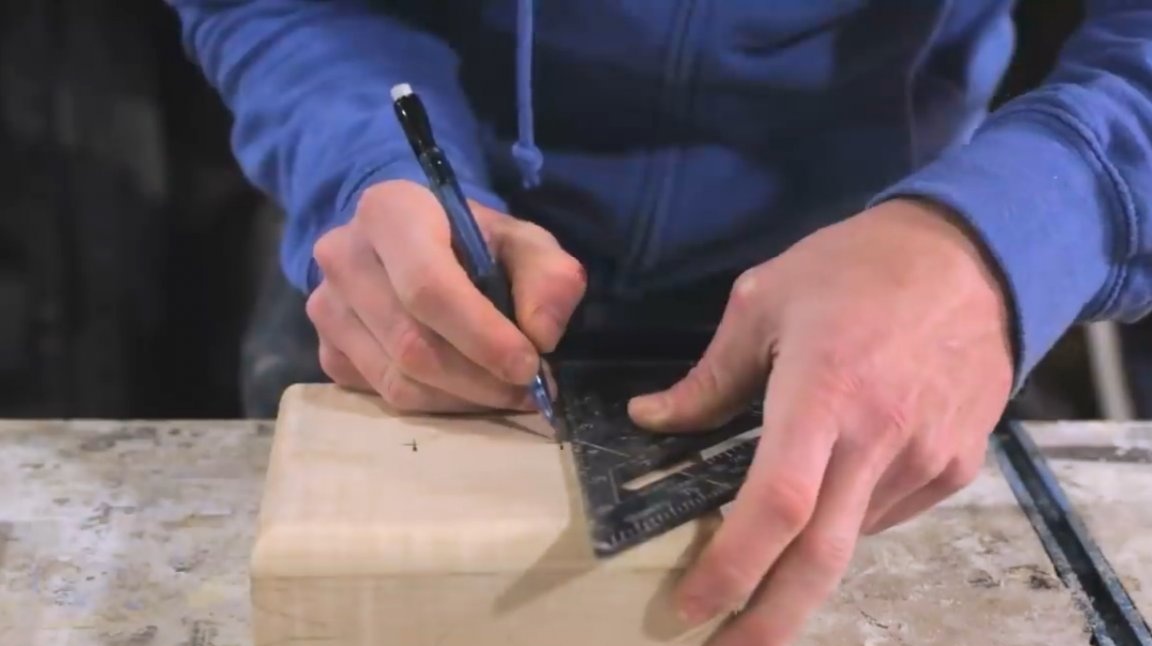
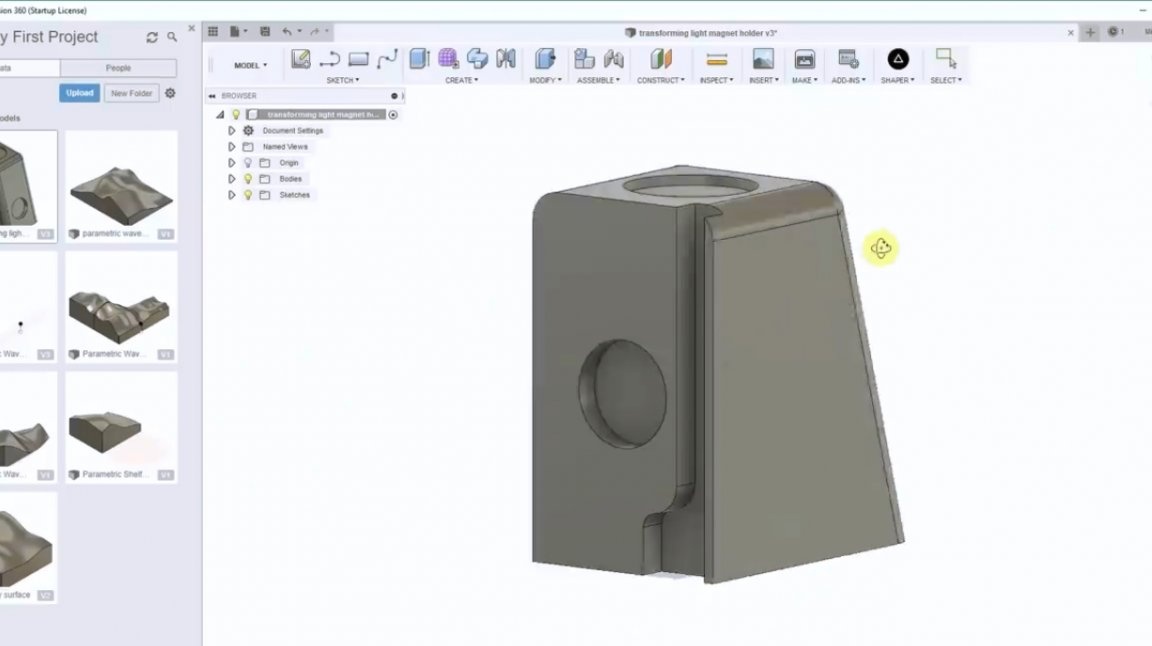
The author himself could make the supporting block out of wood. He works out his form and small nuances using a 3D modeling computer program. So he outlines the cavity for magnets and washers, a slot for the power cord and other structural details.

Several test blocks were made on a 3D printer.
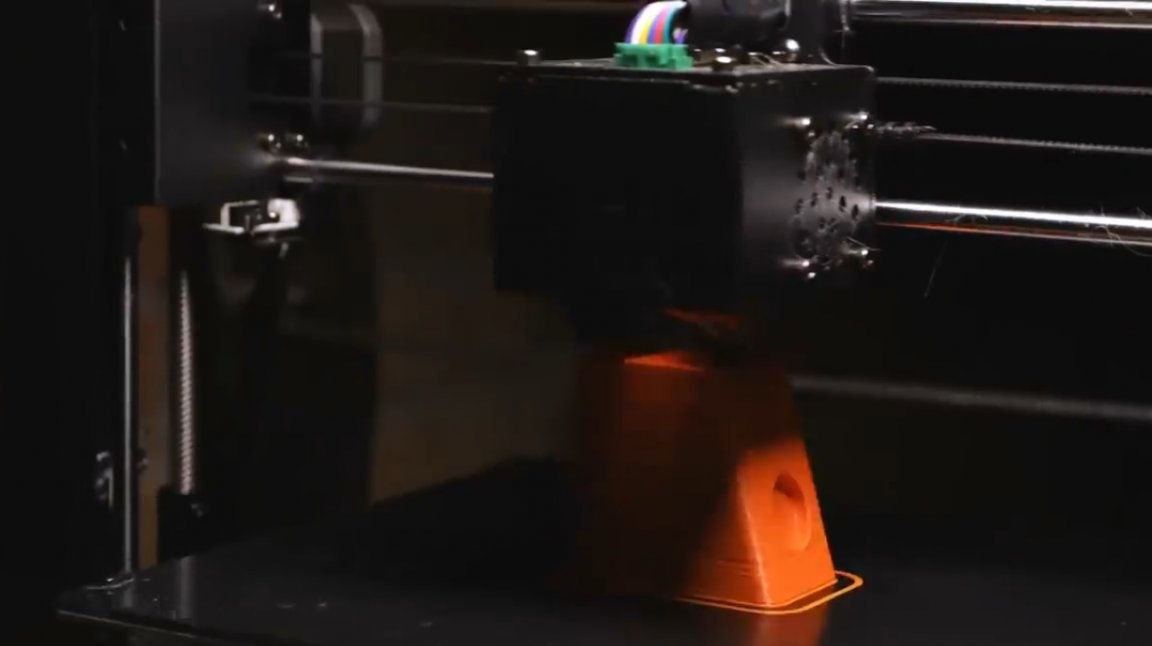
The final version of the block, then properly erased with sandpaper in order to get rid of the numerous grooves left by the printer.
Next, the support block is painted in the desired color.
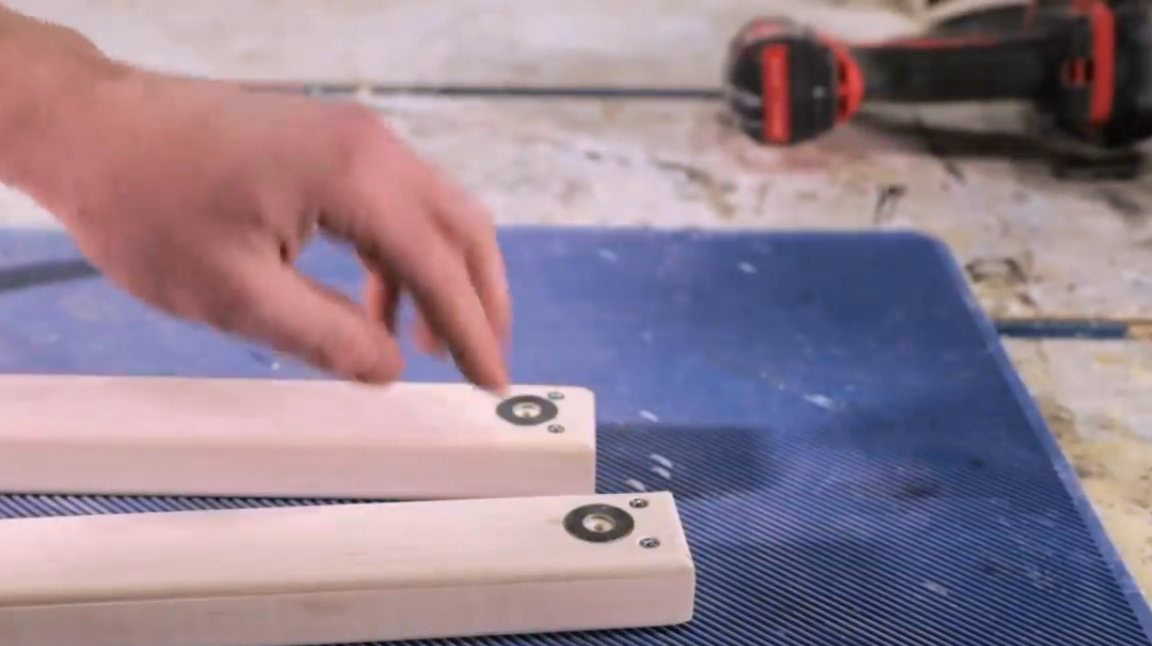
The author glues wooden corners to the lamp housing. Now the lamp can be hung both vertically and horizontally.
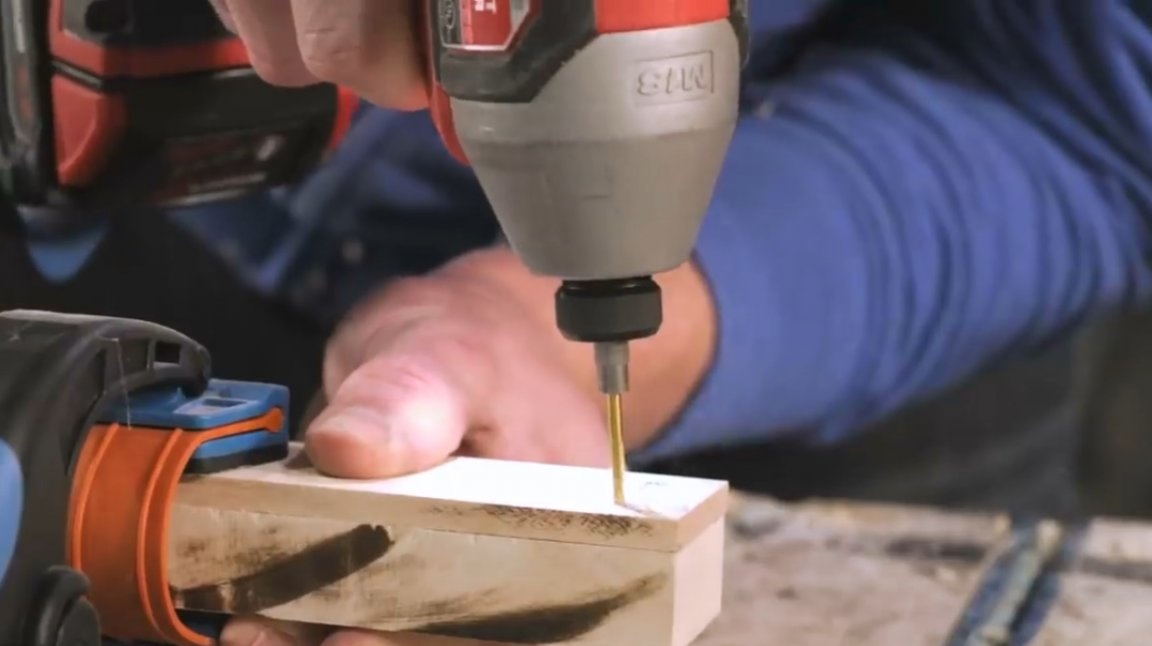
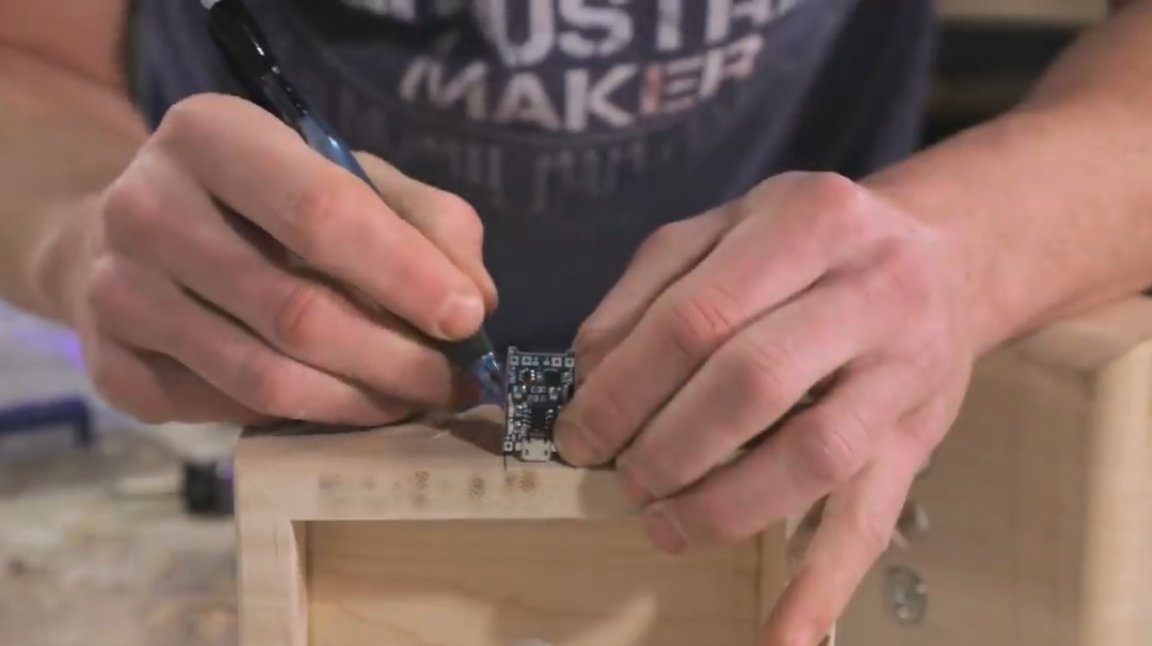
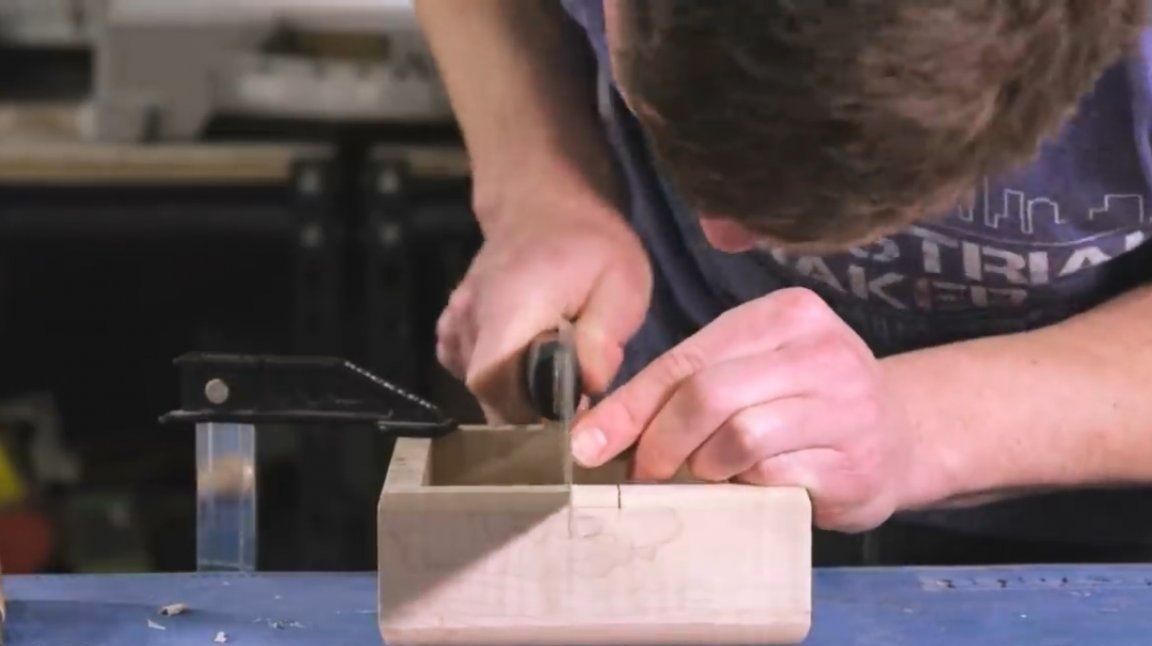
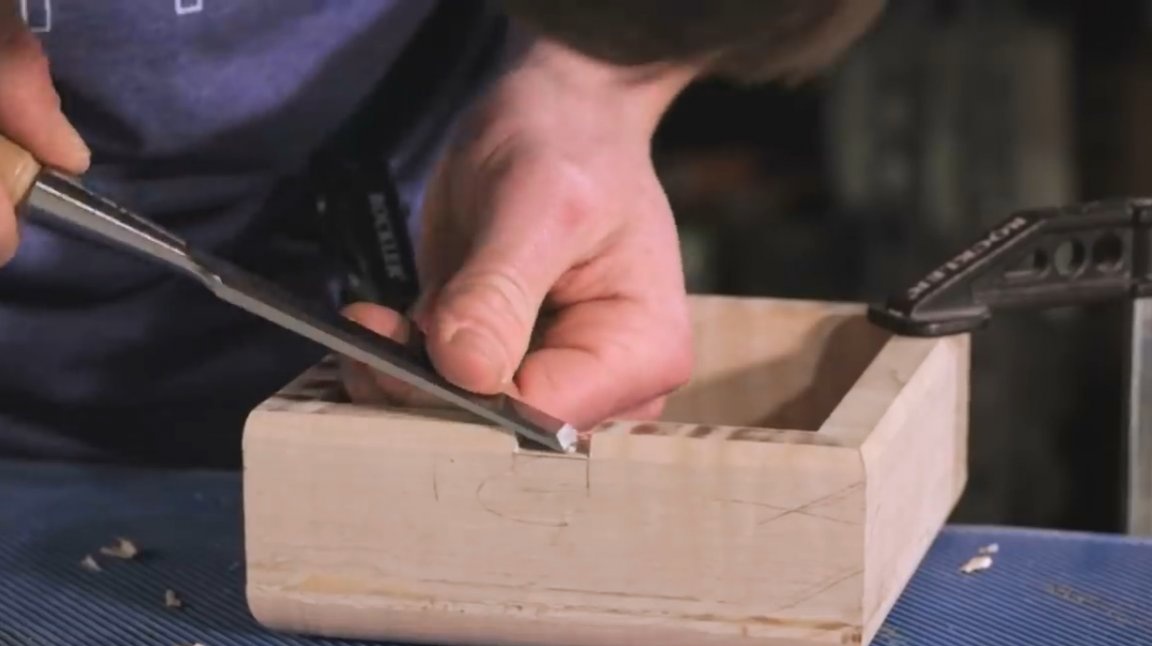
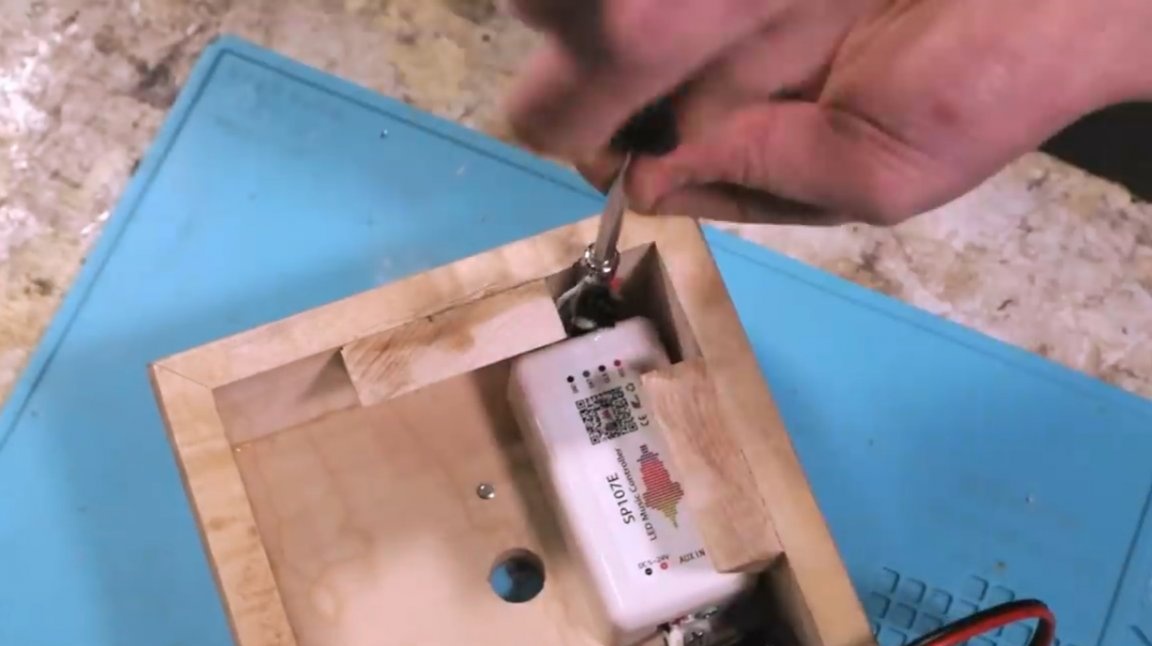
Now he cuts through a Japanese saw, and then selects a chisel groove under the USB-connector for the battery charging module.
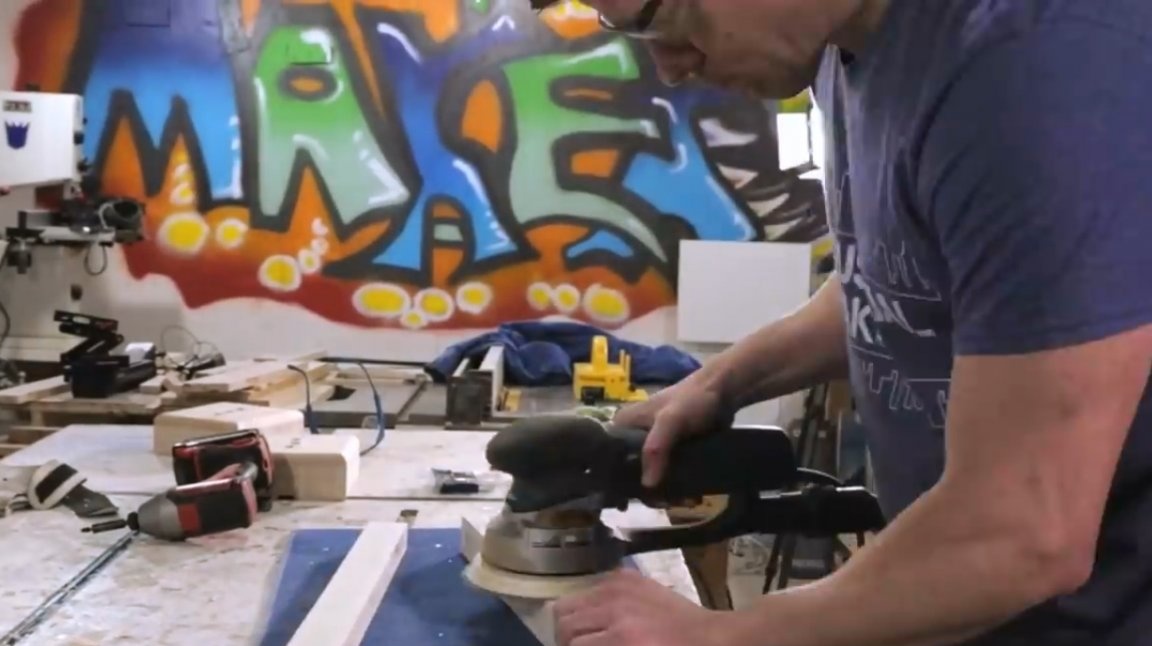
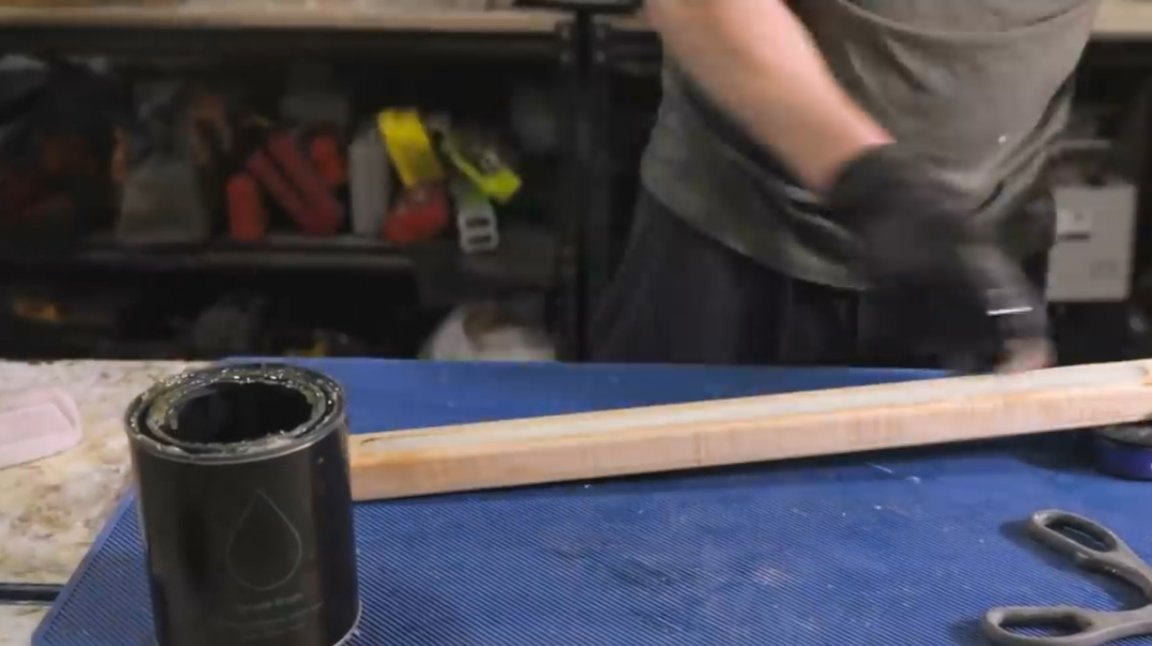
Before installing electronics, the master cleans all surfaces with a grinder, and soaks in linseed oil.

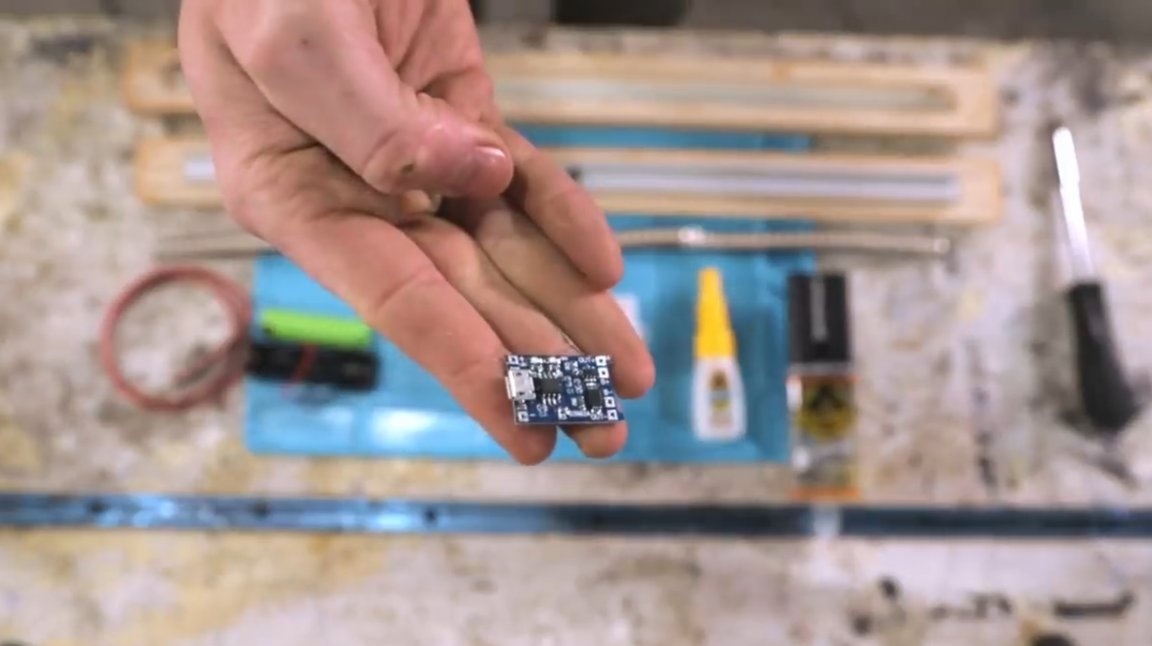
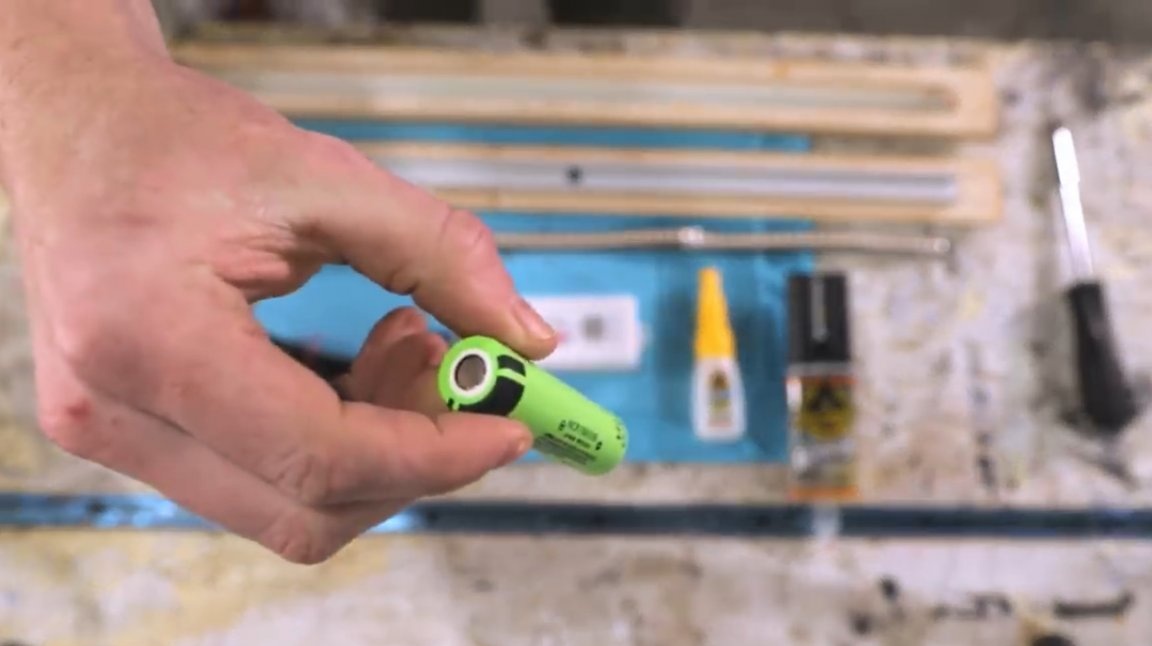
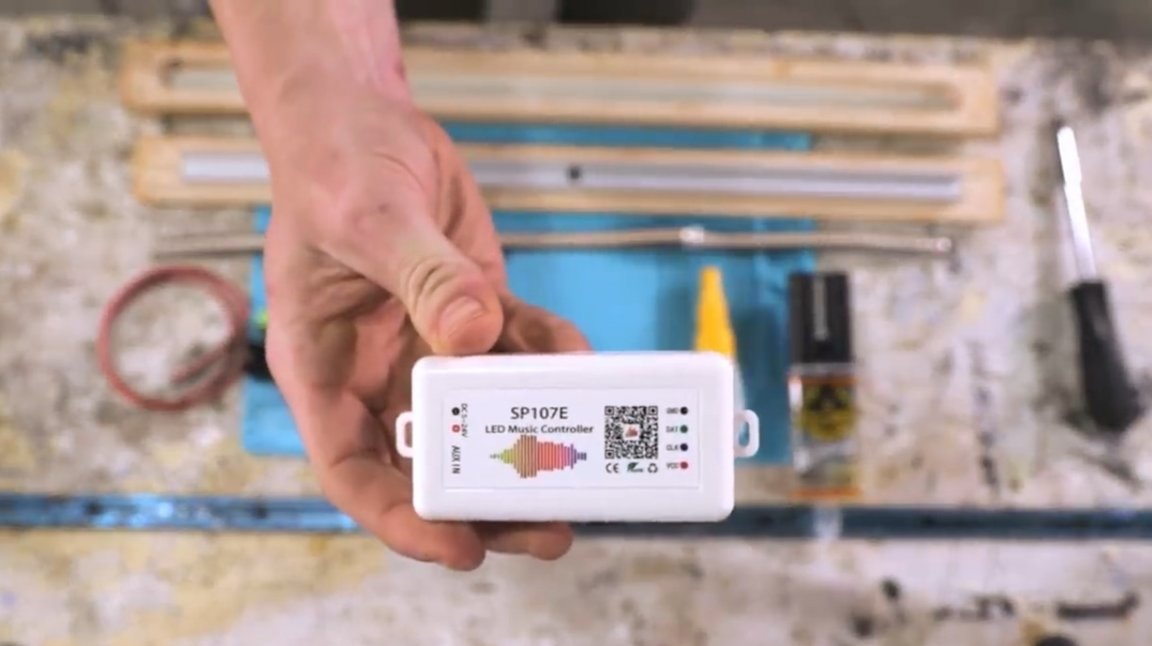
From electronics, you will need a charge controller, a 18650 lithium-ion battery, and, controlled via bluetooth from a smartphone.
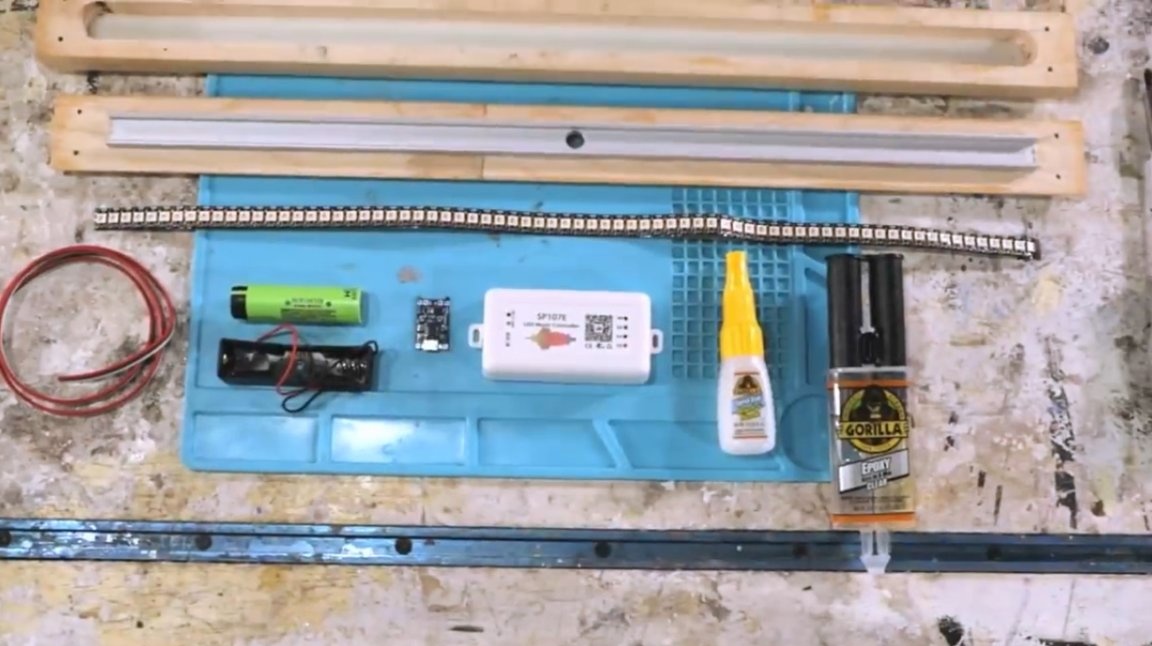
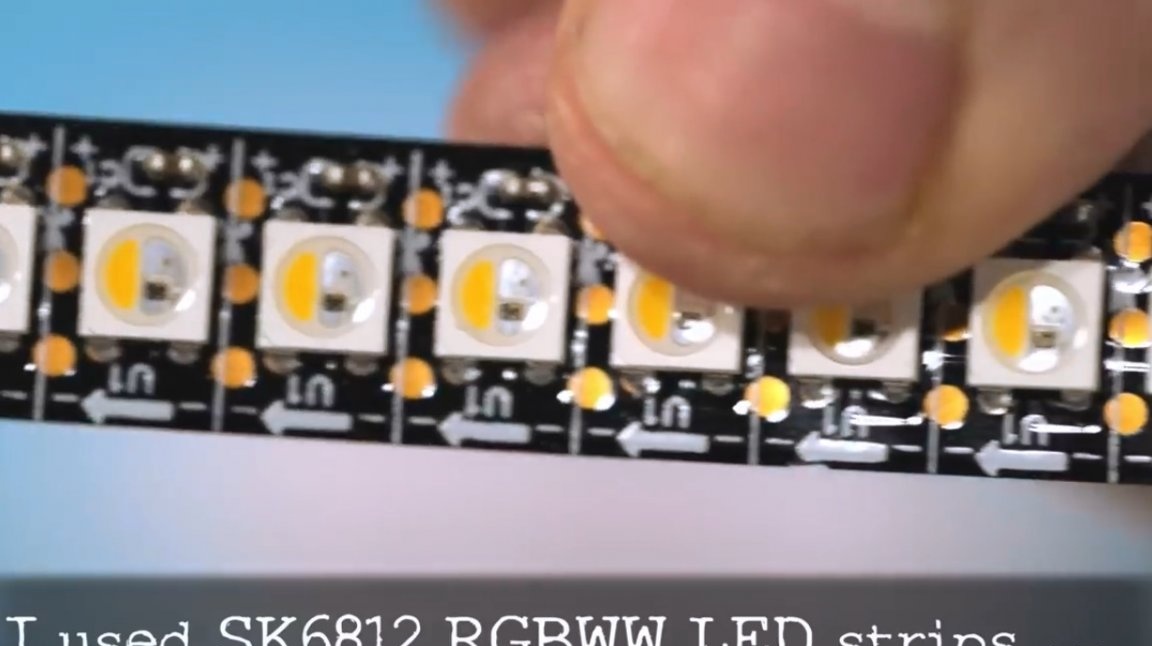
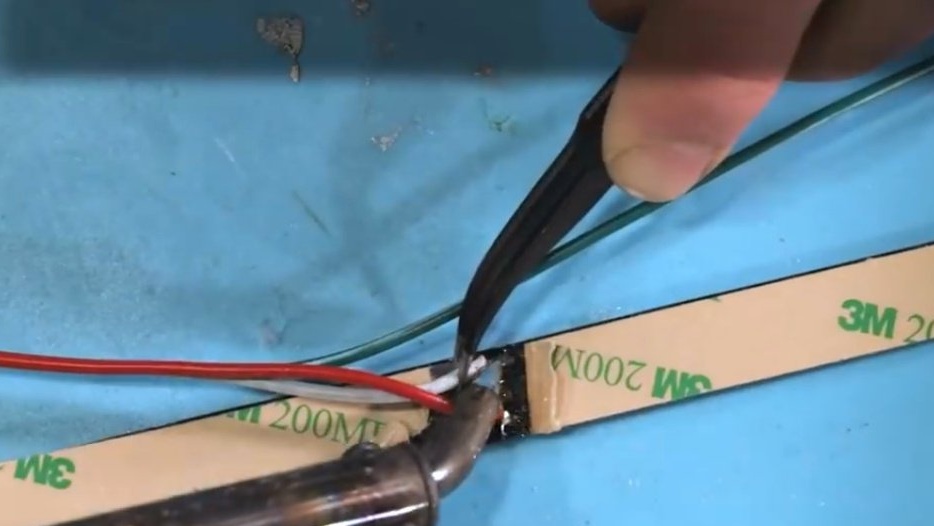
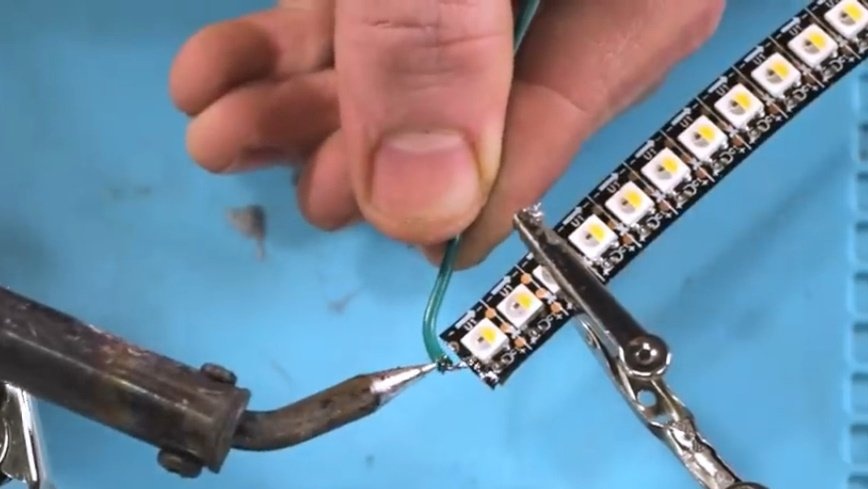
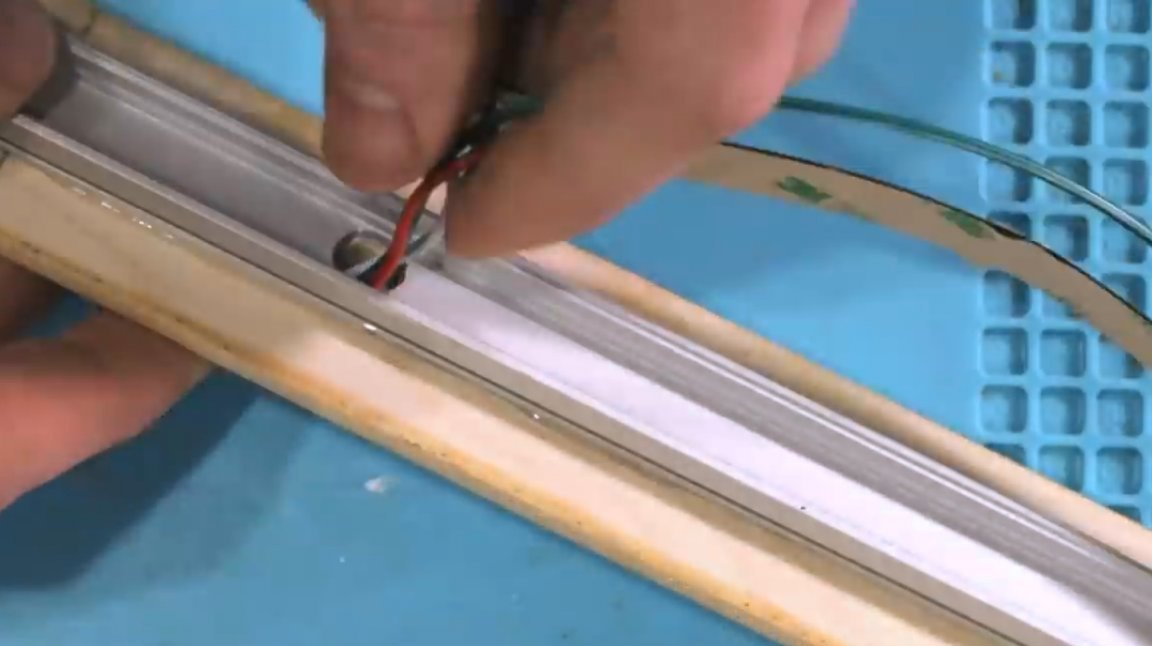
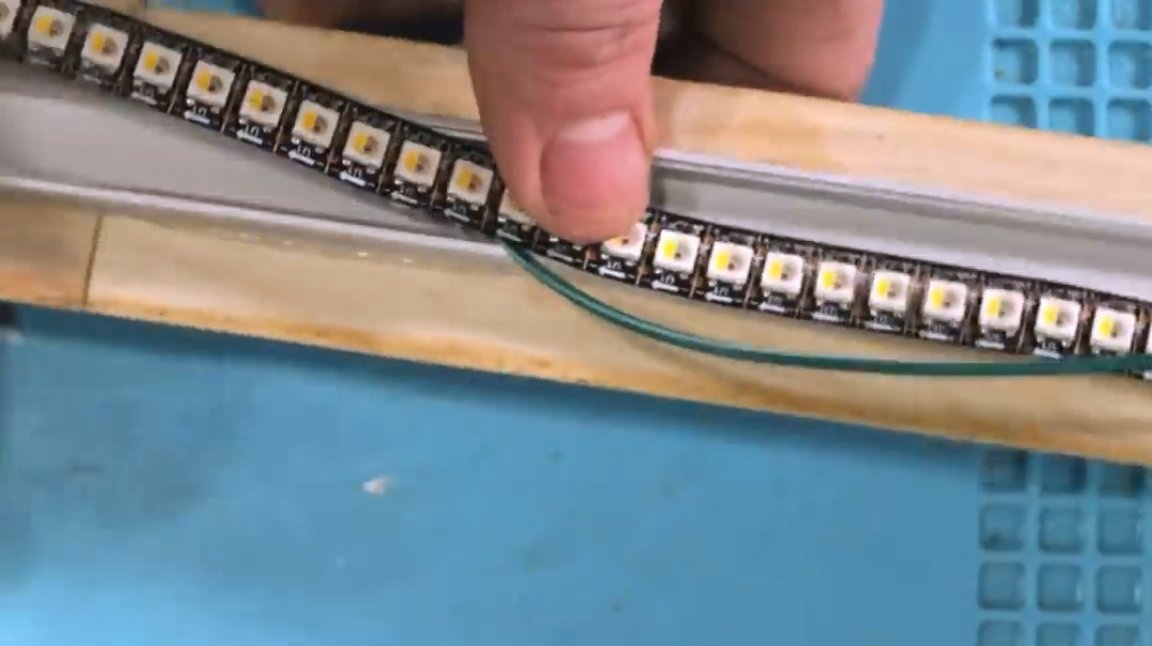
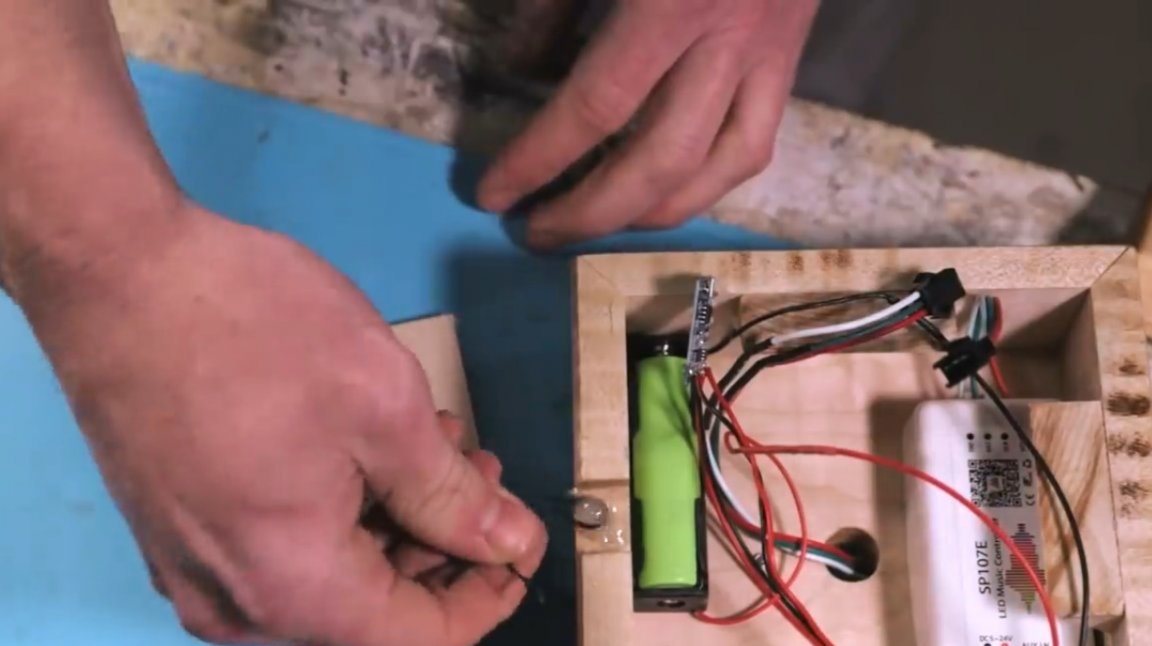
The wires are soldered to the LED strip, and it is glued into the groove.
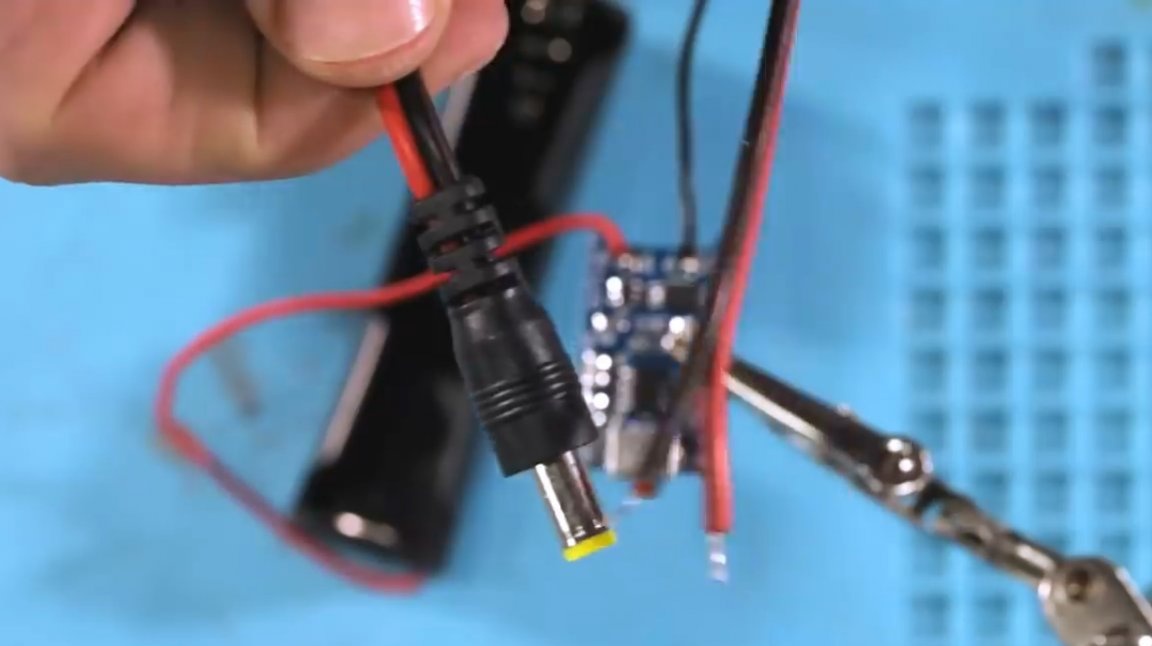
The battery and connector are connected to the charge controller.
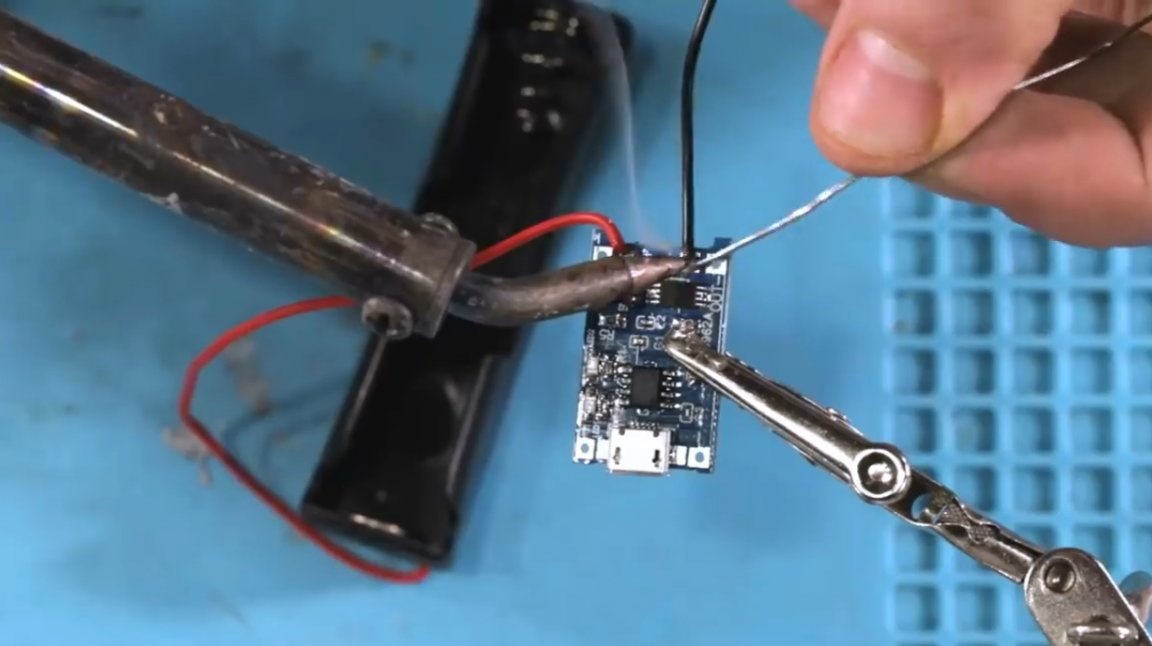
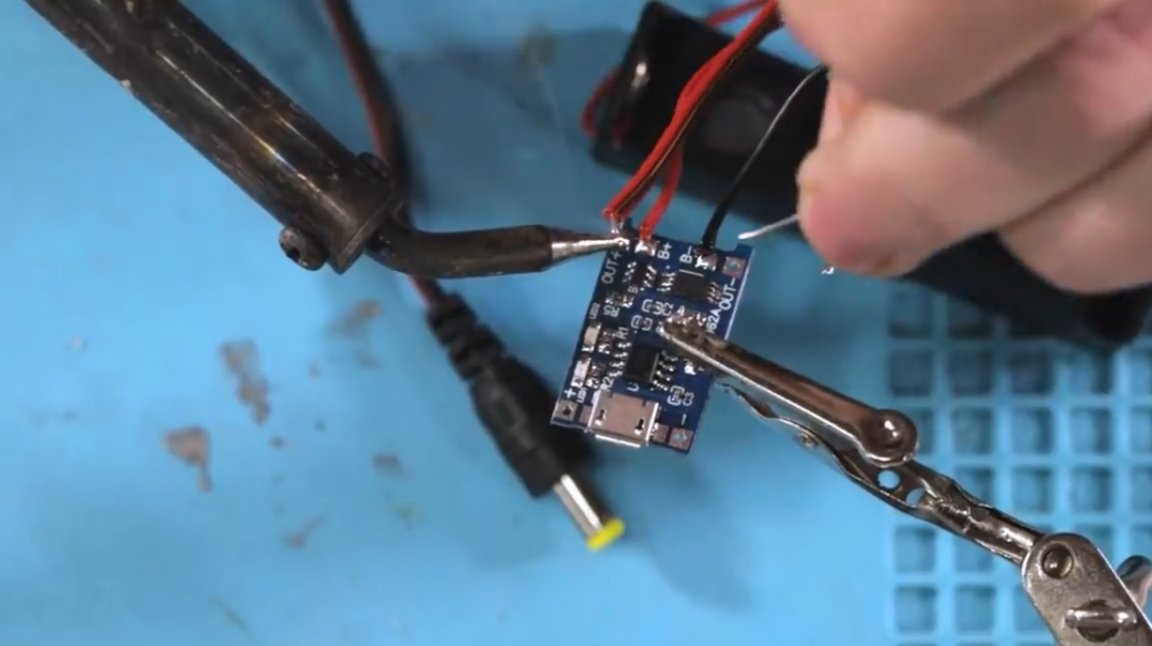
Then, an LED strip and power are connected to the control controller.

Even with the considerable weight of the base, panel magnets calmly hold it.
Now you can turn on the lamp using the application.

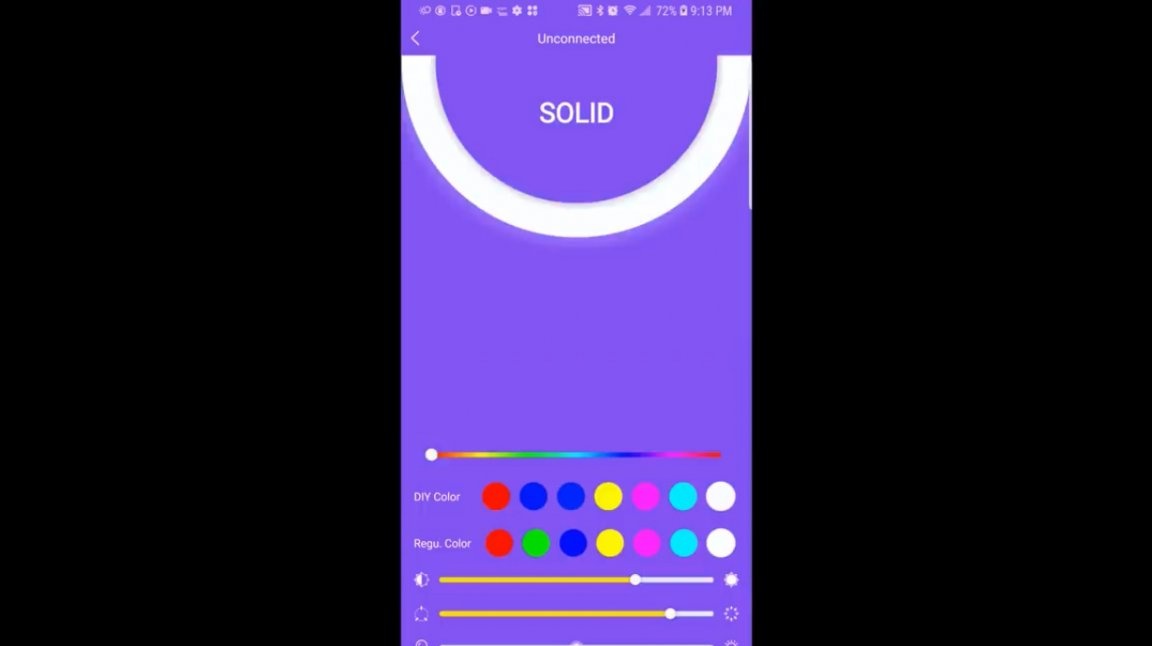
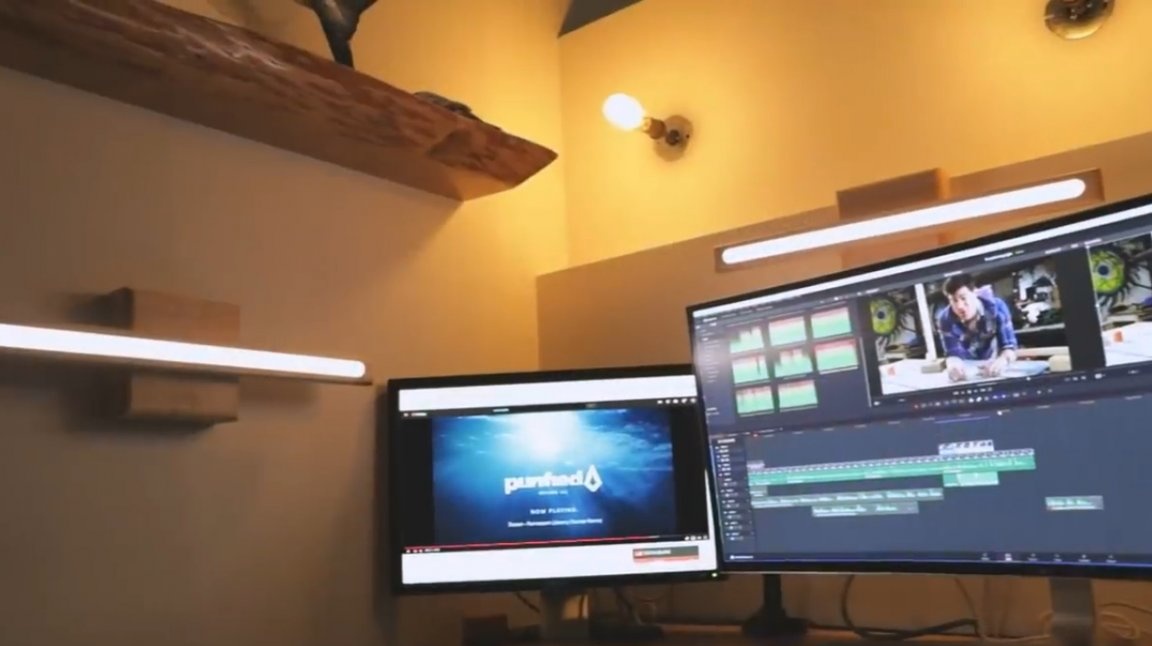
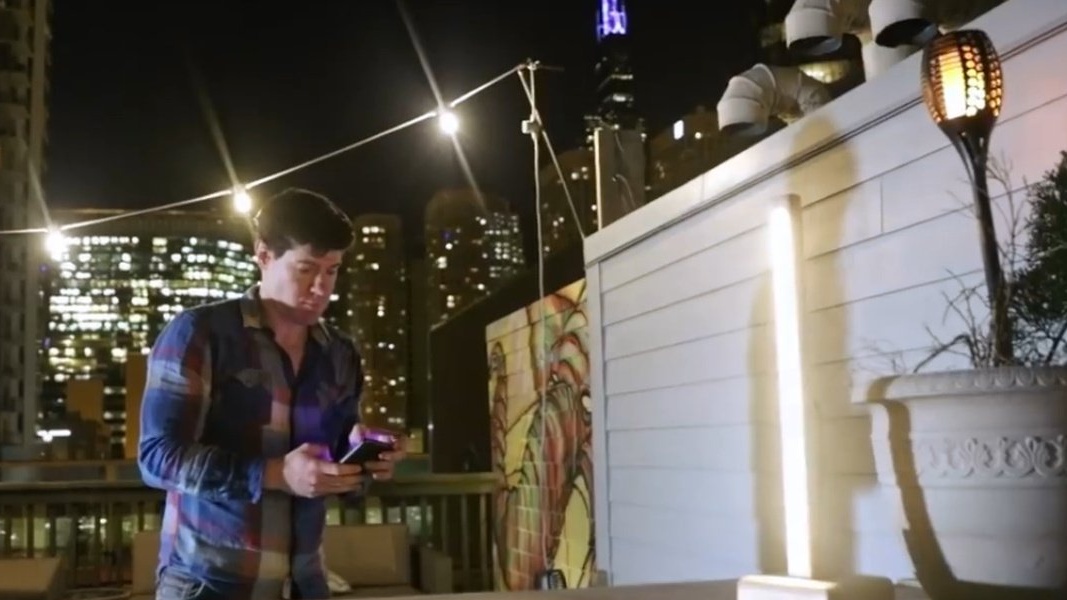
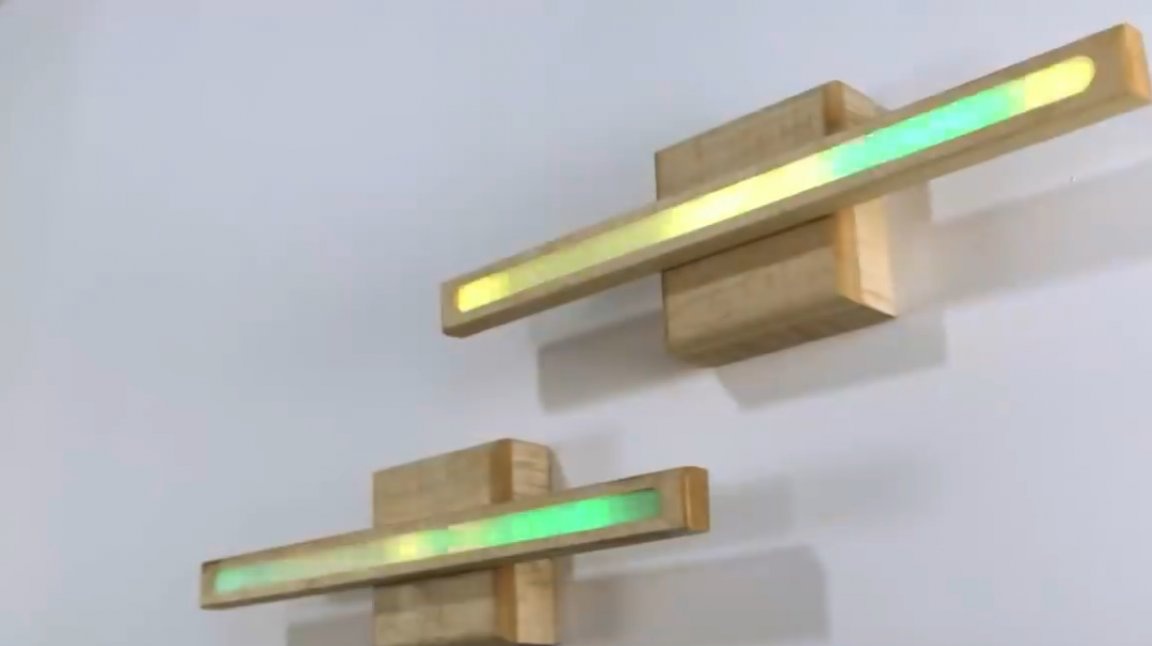
Or enable color music mode. Then he will sparkle with multi-colored lights.

Thanks to the author for the rather simple design of a universal lamp!
All good mood, good luck, and interesting ideas!
Author video can be found here.