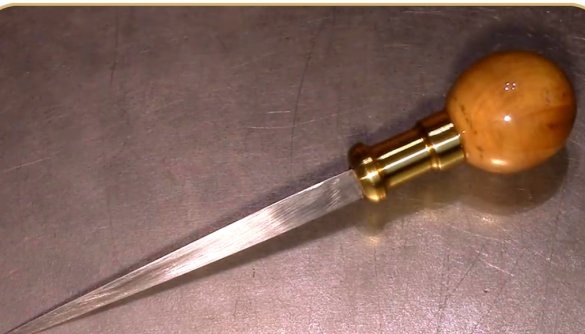
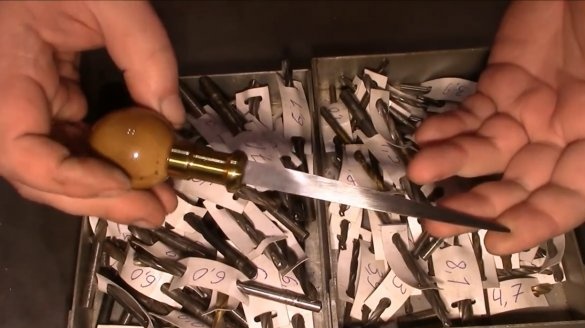
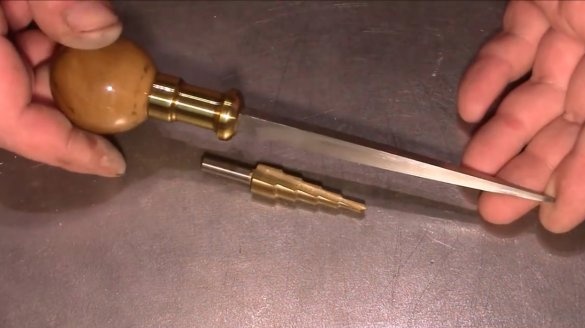
In this article, the author of the YouTube channel "TOKARKA" will tell you about the manufacture of an interesting tool - a scan. It is useful for increasing the diameter of the holes manually.
Materials
- Old triangular file
- wooden handle
- Brass round timber
- Hairpin M12
- Epoxy adhesive
- Machine oil
- Parquet lacquer
- Sandpaper
- Flux, solder, GOI paste.
Instruments, used by the author.
- Belt sander
-, grinding and cutting discs
—
- Grinding and turning machines
- Small bugle
—
- Vise, awl.
Manufacturing process.
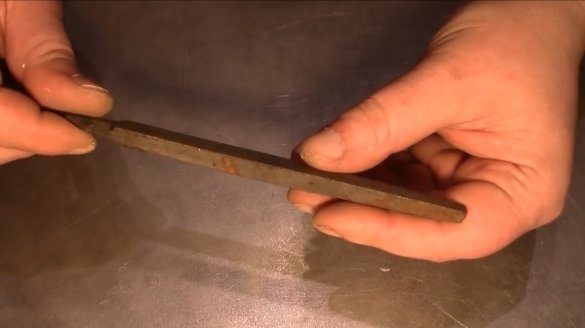
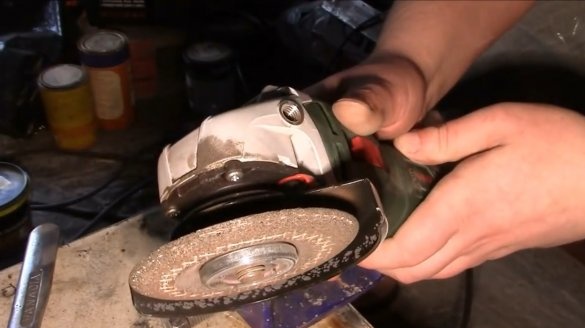
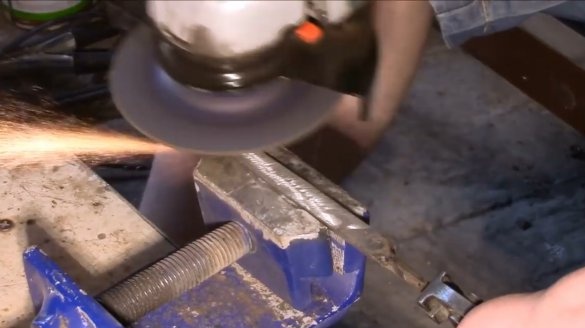
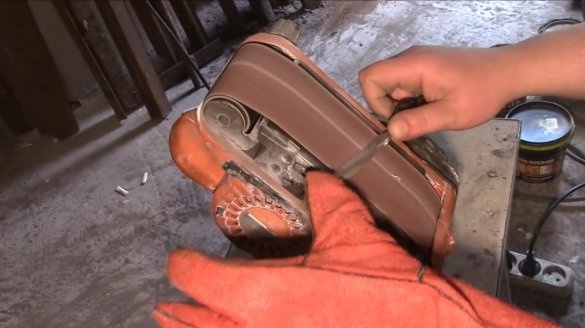
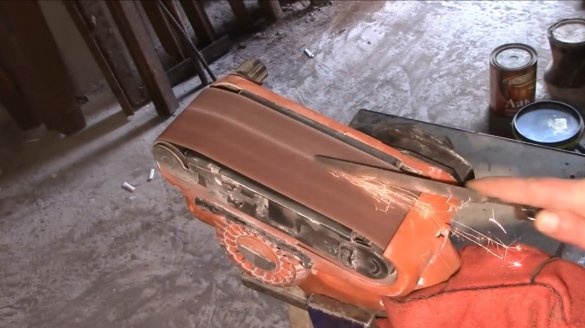
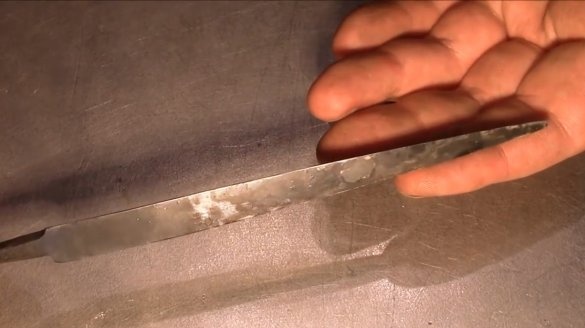
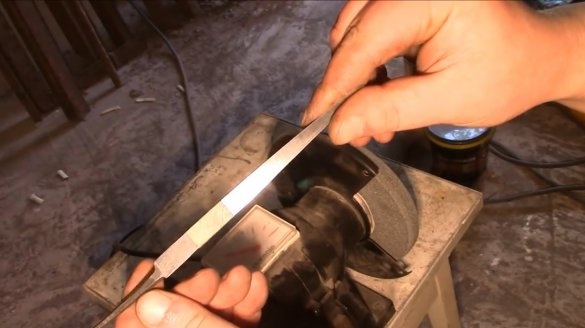
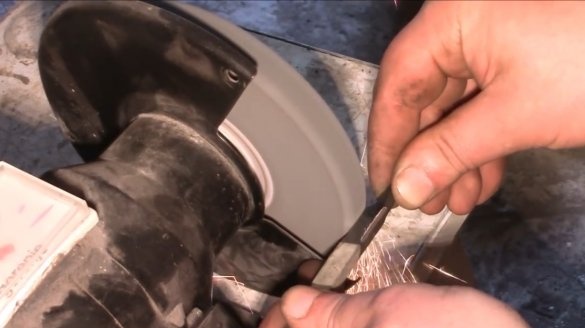
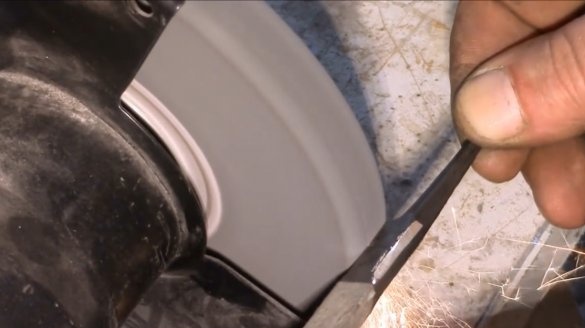
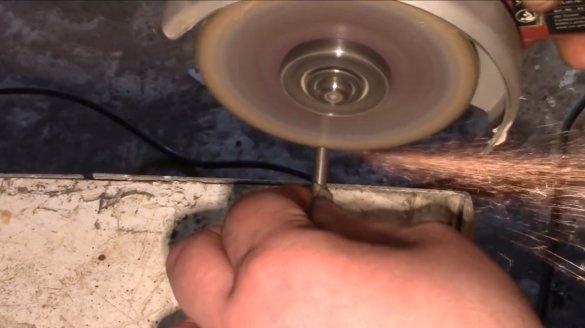
So, the master found an old triangular file. To begin with, he grinds its edges with a grinding disc.
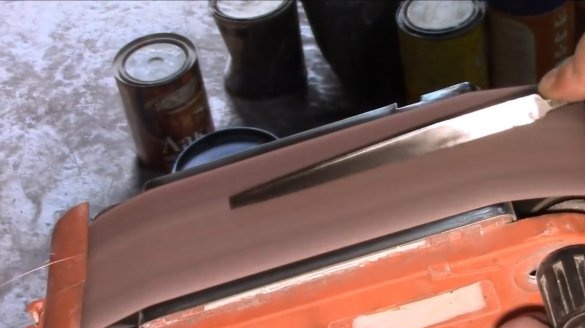
He finishes surfaces on a belt sander. This is a rather lengthy process, it is necessary to cool the workpiece in water.
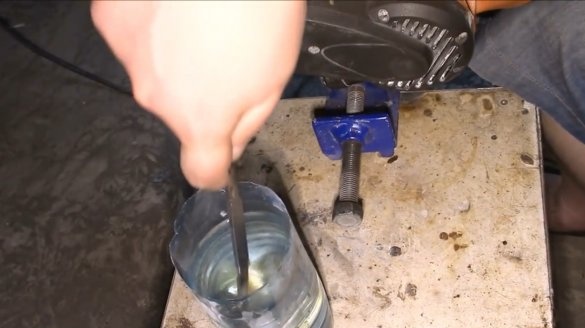
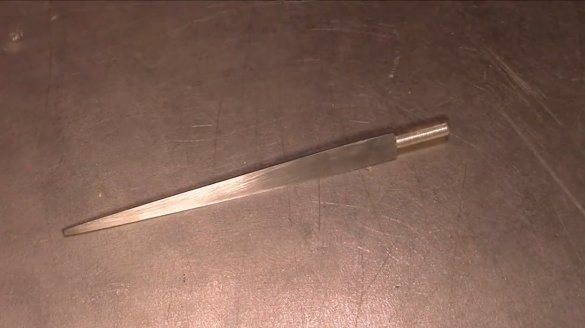
Now the workpiece must be hardened. The author heats it in the simplest furnace to a crimson color, and cools it in oil. After that, you can make a metal vacation.
By the way, in this article you can get acquainted with the method of manufacturing a simple hearth.
Next, the master grinds the back of the file so that the handle can be attached to it.
The standard shank can be cut, and the main part of the tool is ready!
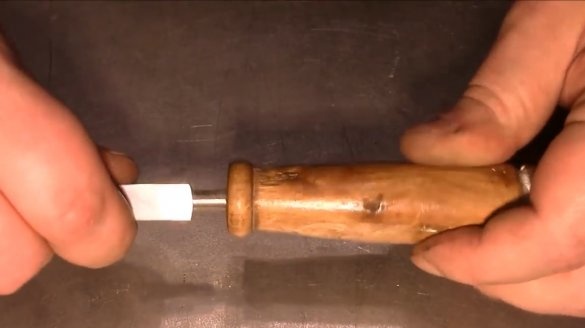
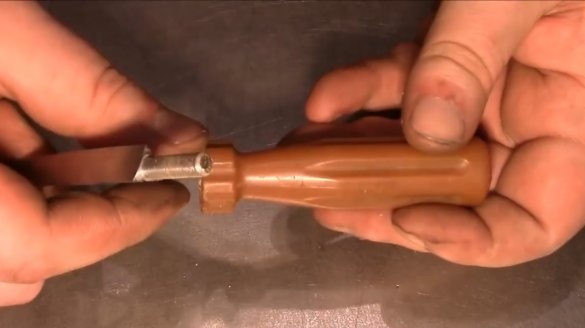
As a handle, you can use old handles from chisels, or screwdrivers. In order to prevent the shank from turning in them, it is necessary to make a notch on it with a grinder, and connect using epoxy glue.
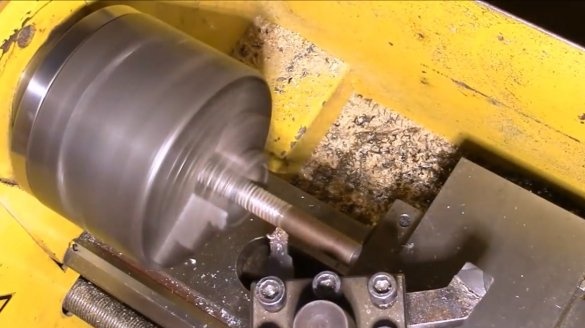
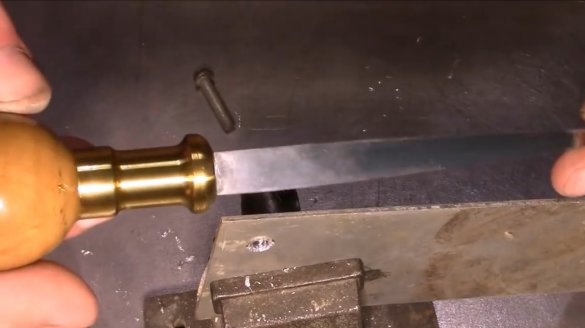
But the author has a lathe, and he will make the handle independently. First, he grinds the M12 pin, leaving 35 mm of thread. On one side, it will be twisted into a spherical handle, and on the other, it will be soldered into a brass adapter.
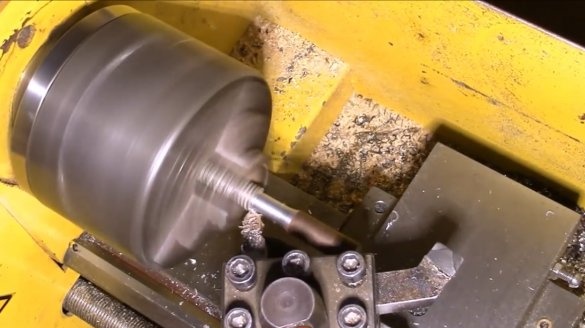
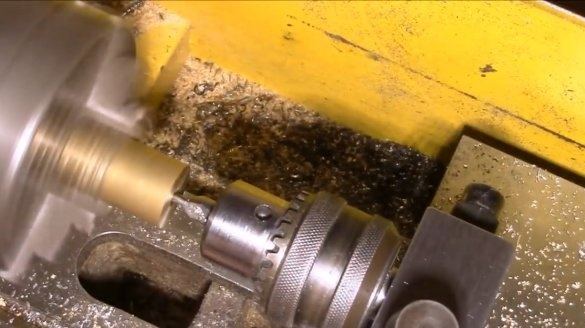
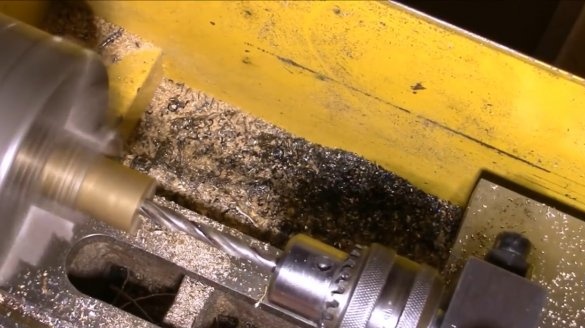
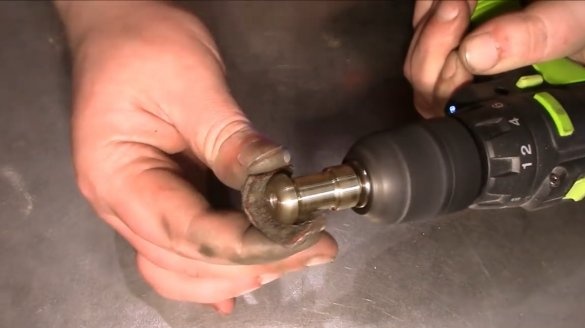
Then he drills a through hole in the brass round timber.
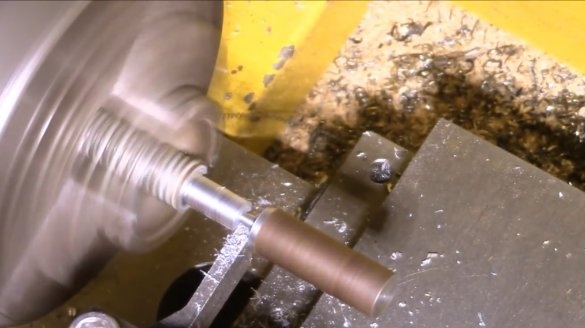
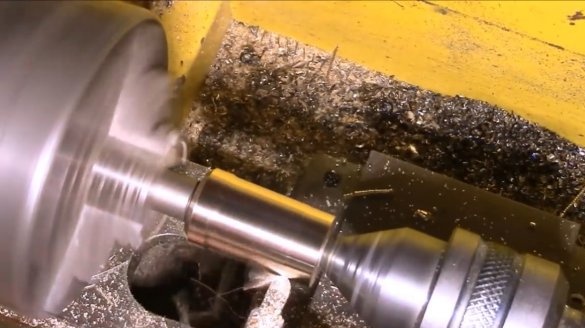
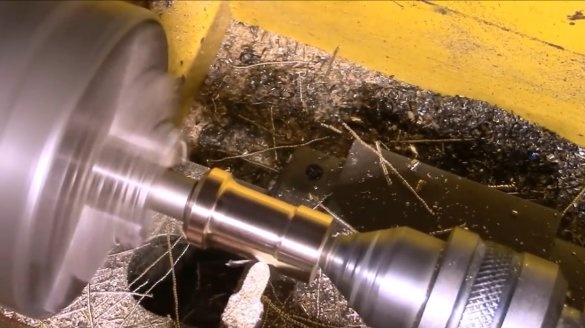
And grinds the part to an acceptable shape.
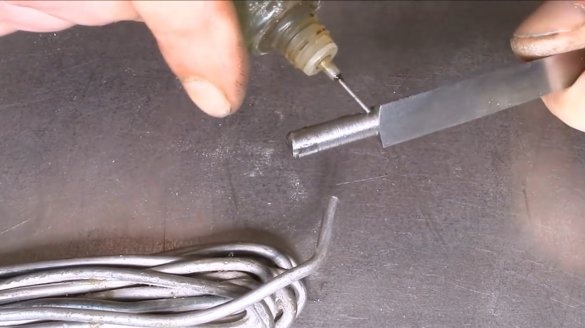
Now he will need to tin the file shank and the studs.
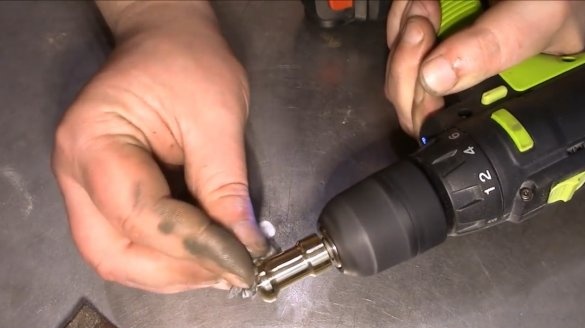
He immediately soldered the hairpin into the brass adapter, sanded it with sandpaper, and polished it using GOI paste.
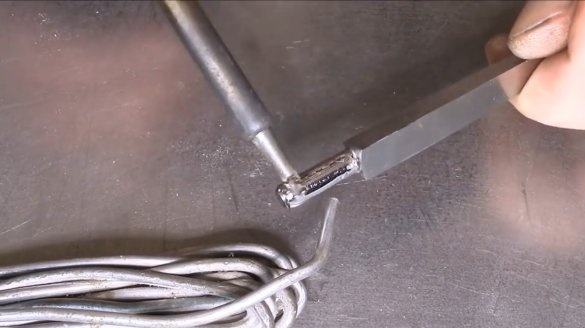
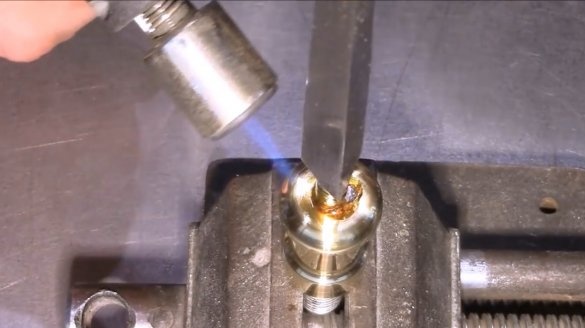
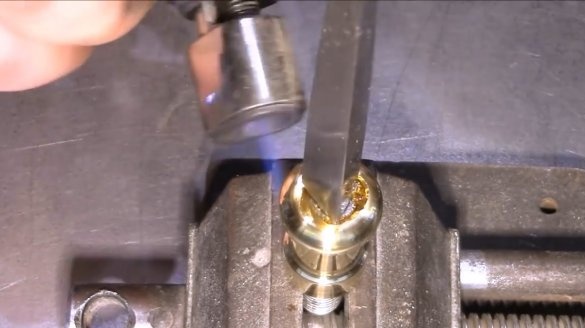
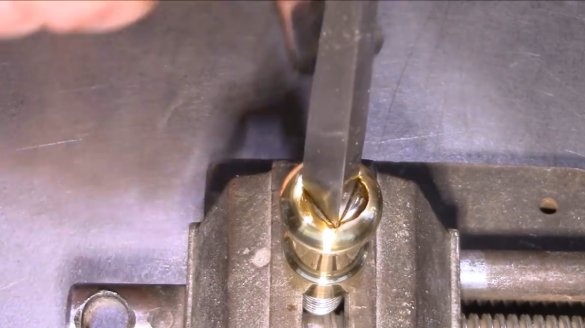
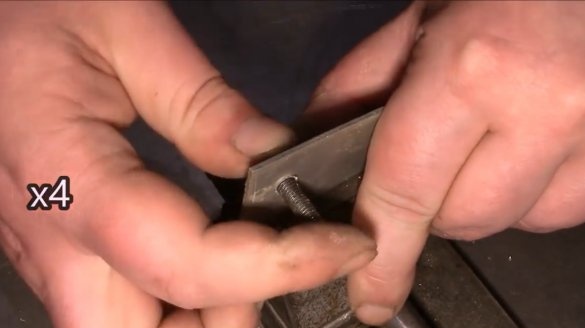
I fixed the workpiece in a vice, heated it with a gas burner, and soldered the file shank.
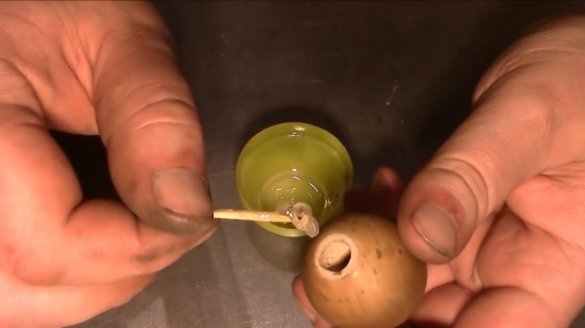
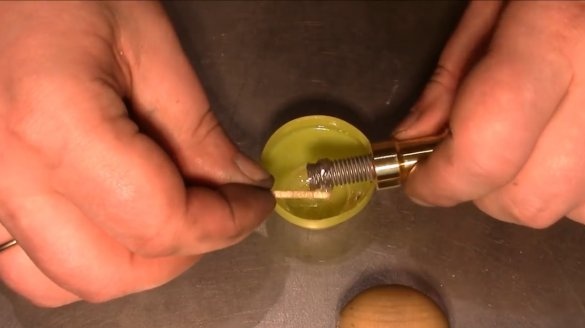
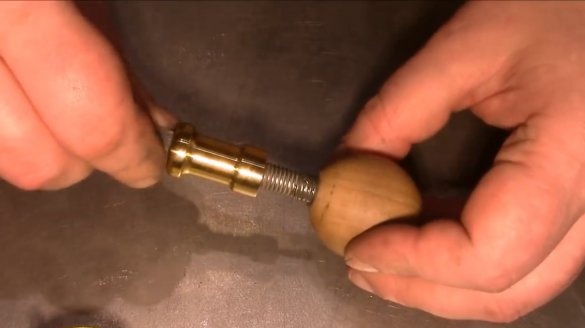
Also, the master found a finished wooden ball with a suitable hole. The stud is glued into it with epoxy glue.
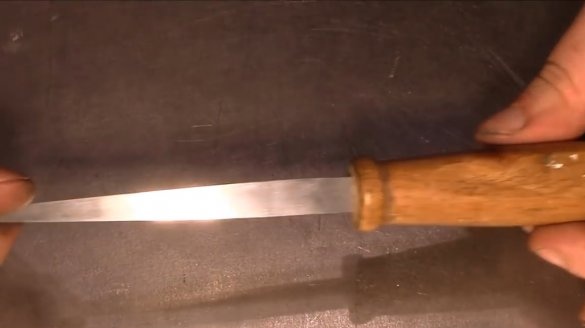
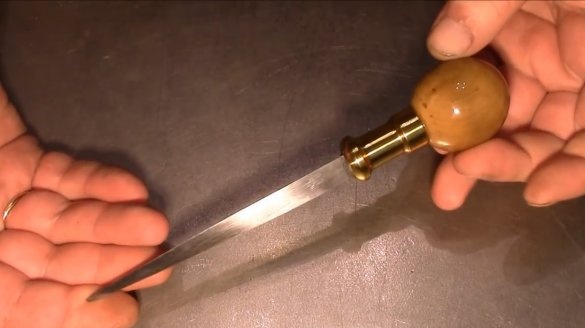
The master covered the wooden handle with several layers of parquet lacquer, it is dry, and the instrument is ready for testing!
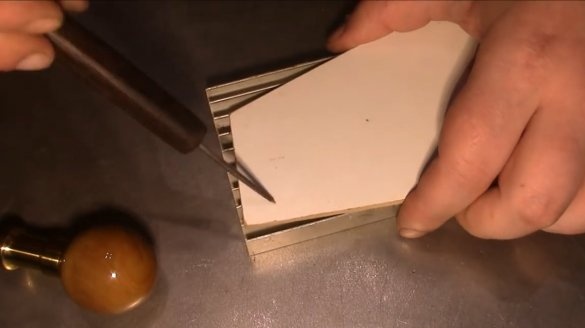
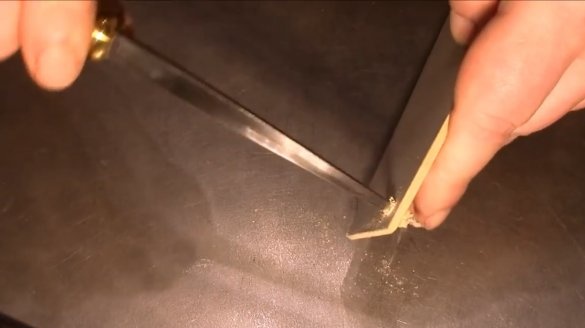
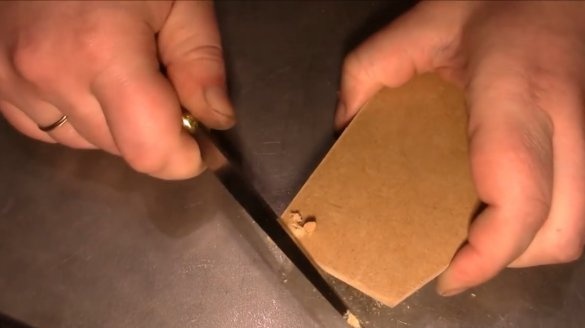
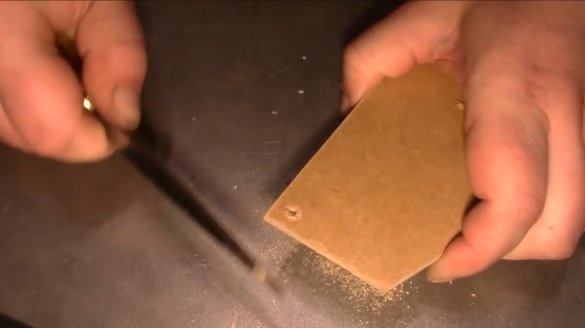
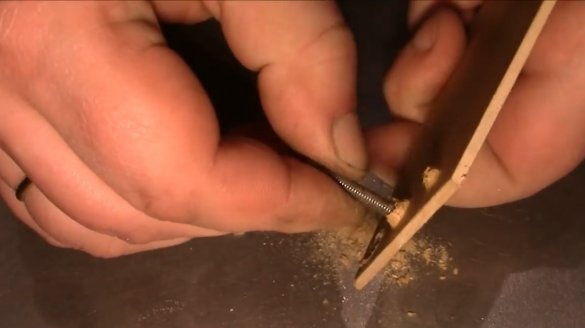
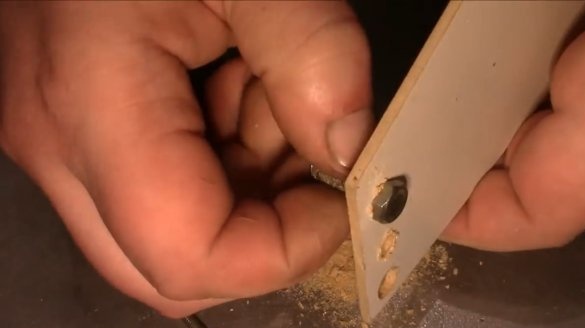
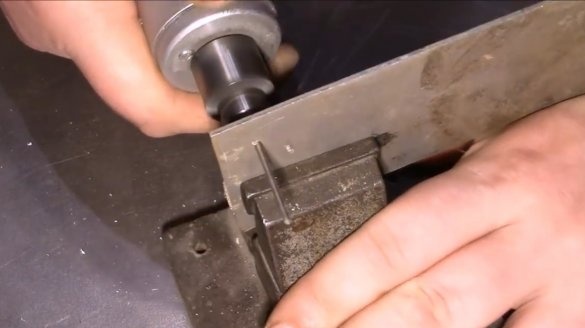
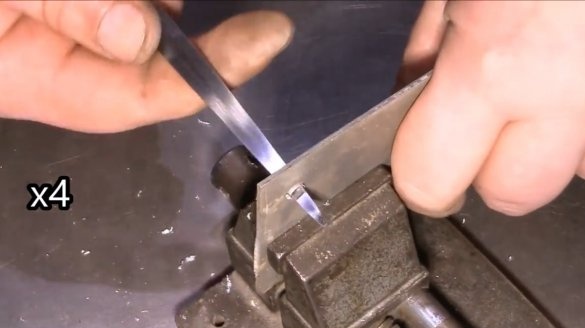
The first test will be a piece of fiberboard. The author pierced him with an awl, and made a few revolutions of the scan. Small burrs are easily cut with the sharp edge of the tool.
The material lends itself very easily, and the holes are obtained in literally seconds.
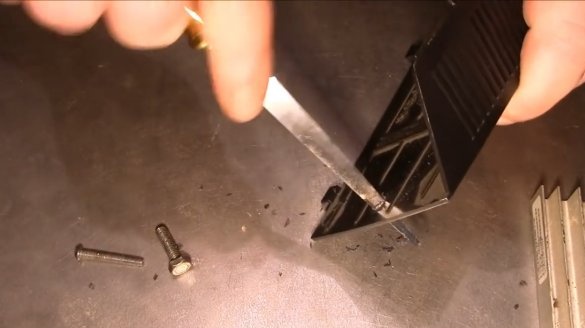
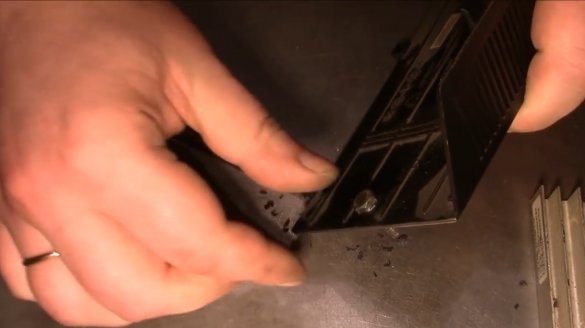
In a plastic case, even without a preliminary hole, this tool made it very quickly.
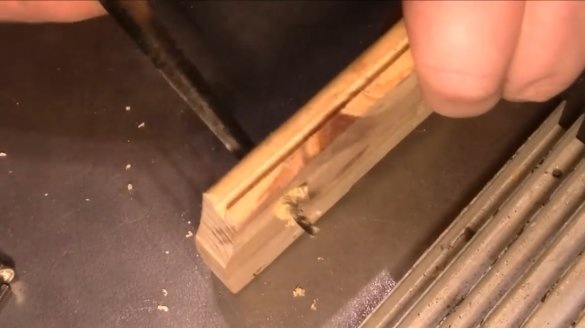
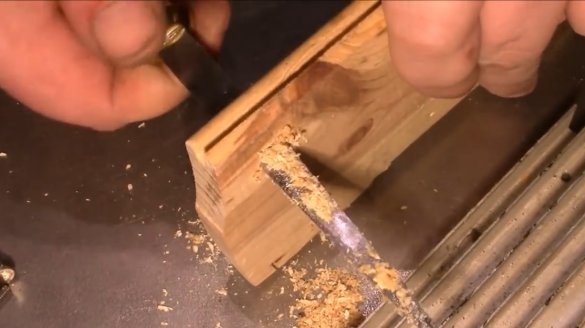
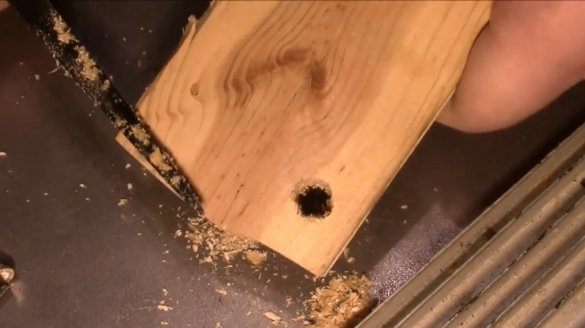
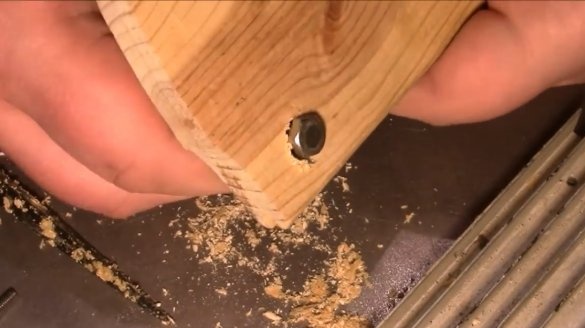
And the wooden board also surrendered almost immediately.
Here is such a "substitute" drill, the closest analogue of which is a step drill, it turned out.
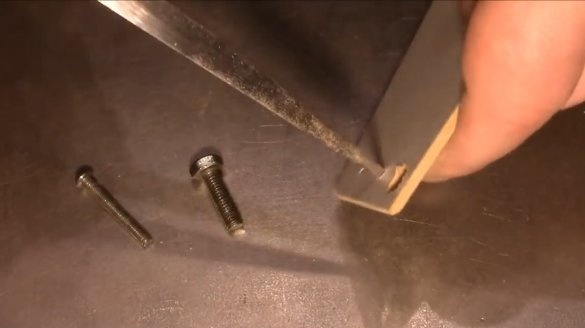
The author pre-drilled an aluminum sheet with a thickness of 2 mm, and with a little effort was able to expand the hole.
Thanks to the author for the simple but useful device for home and workshop!
All good mood, good luck, and interesting ideas!
Author video can be found here.

