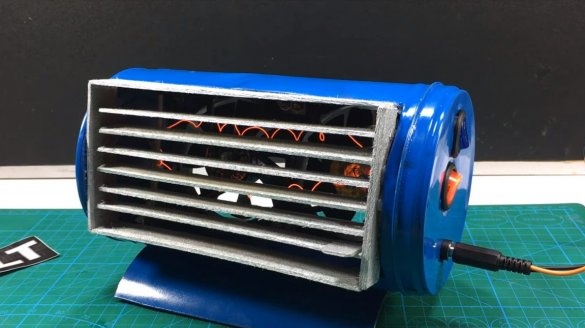
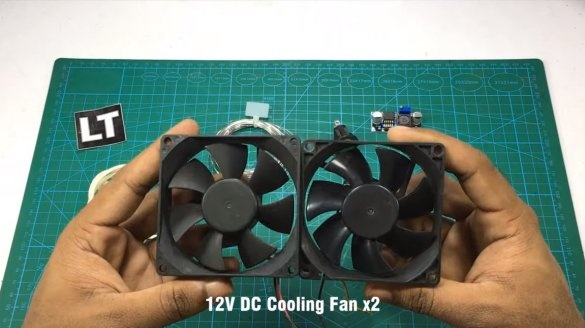
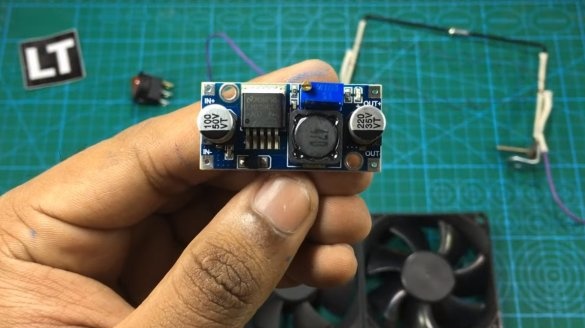
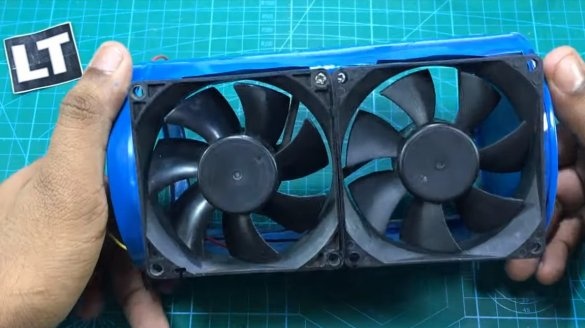
Hi everyone, today we will look at how to make a very simple 12V fan. Air flow in such homemade create two fans from the computer to 12V. Fans blow quite well, if you place such a fan near you on your desktop, you can get a pretty good stream of cooling air. Also inside the homemade product there is a heating element that you can turn on if you need to keep warm. Of course, the power of the fan heater is very small, but it can help warm your hands to a comfortable temperature. However, the power can be made even larger, it all depends on the length of the nichrome wire, and you can feed the homemade product from 24V, for example, and the fans can work through a step-down module. If you are interested in the project, I propose to study it in more detail!
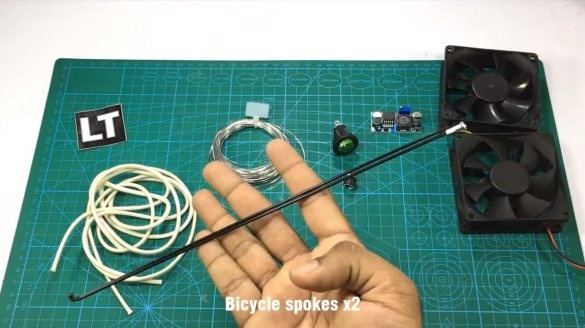
Materials and tools used by the author:
Material List:
- a metal can from under baby food or the like;
- ;
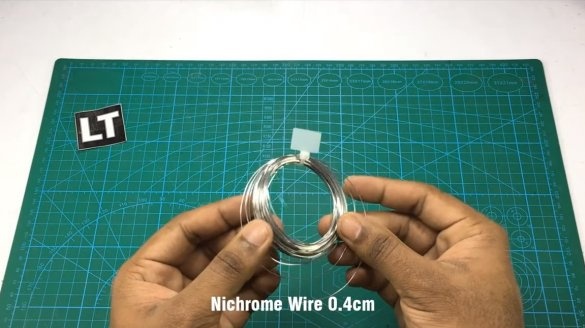
- nichrome wire 0.4 mm;
- two switches and a socket for connecting a power supply unit (16A);
- insulating tube made of fiberglass 0.3 mm;
- ;
- needles from a bicycle;
- screws, nuts and more.
Tool List:
- drill;
- marker;
- scissors;
- soldering iron;
- jigsaw;
- Super glue;
- ruler.
Homemade manufacturing process:
Step one. Installing fans in the chassis
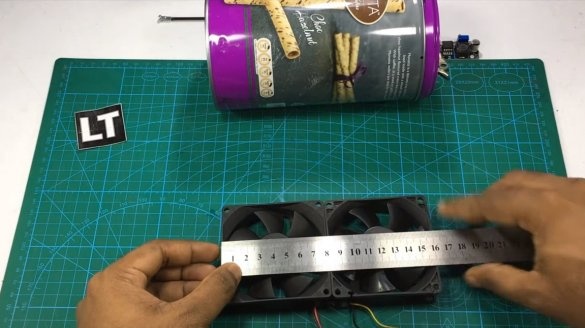
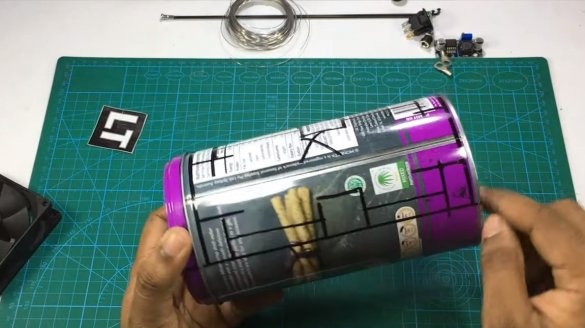
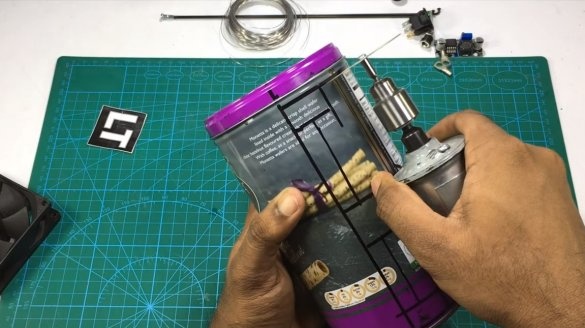
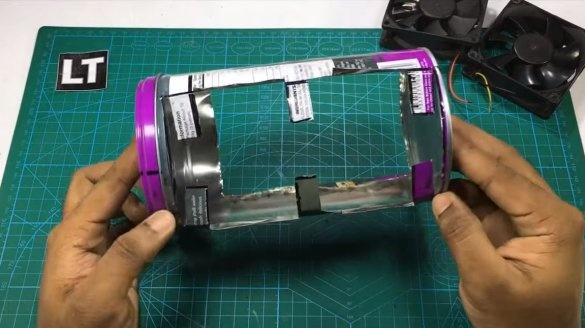
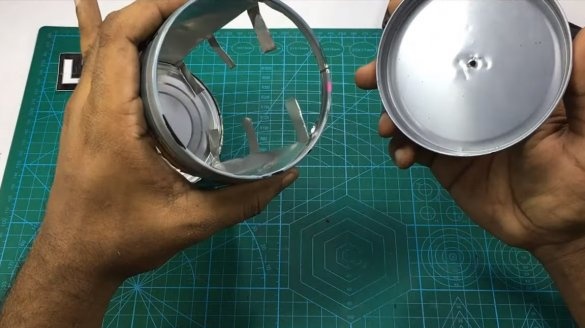
First of all, we mark the places for installing the elements on the case and cut out the excess. The piece of metal that was formed as a result of cutting the front window is not discarded, it will be the basis.
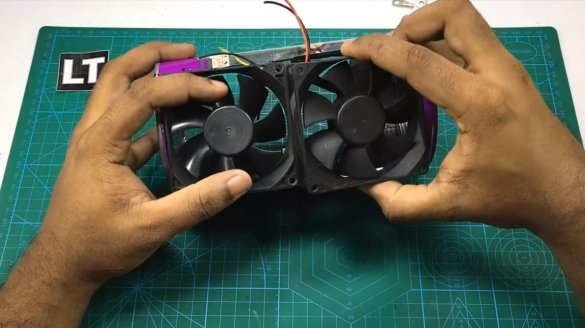
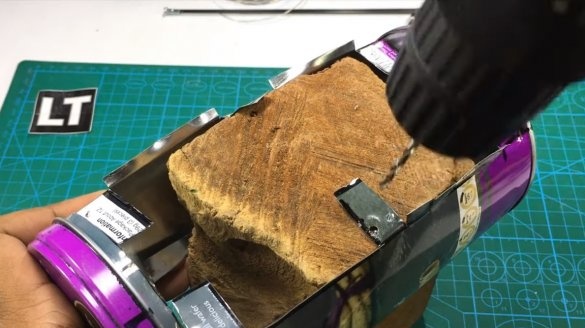
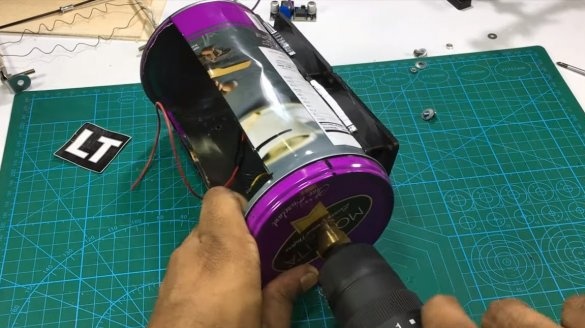
Next, we drill holes in the mounting ears of the can and fasten the fans with screws and nuts. Holes can also be punched with a nail.
Step Two Heating element
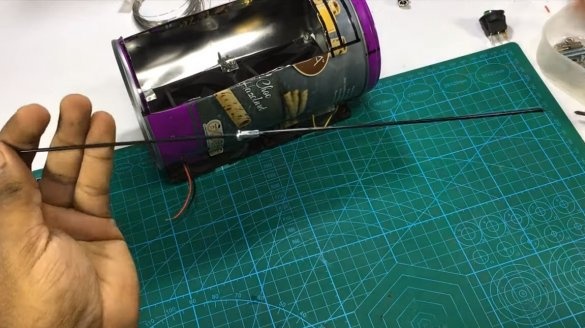
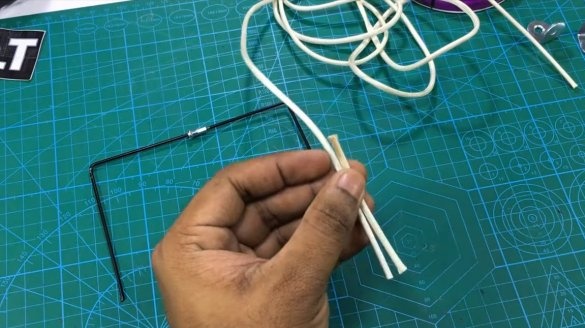
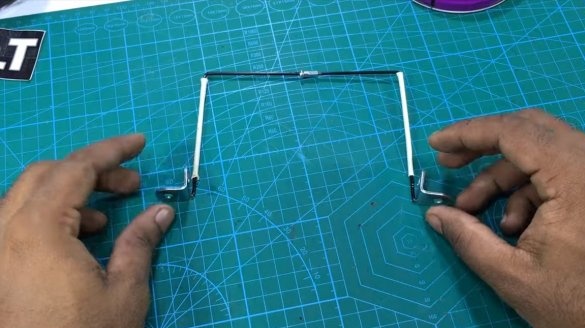
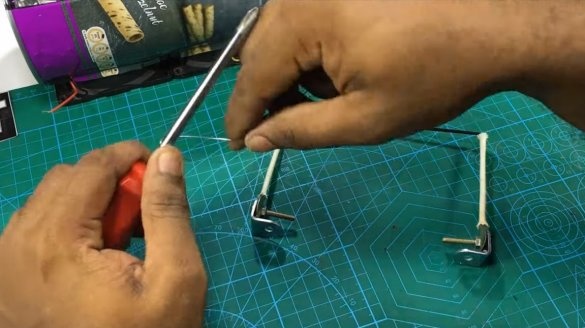
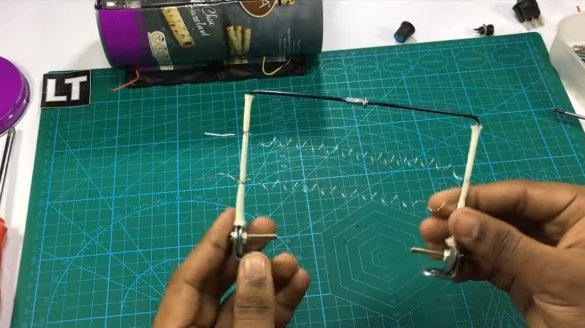
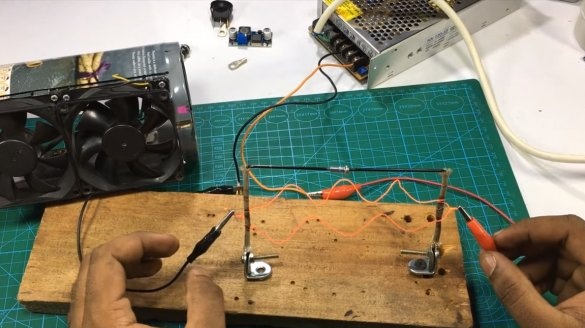
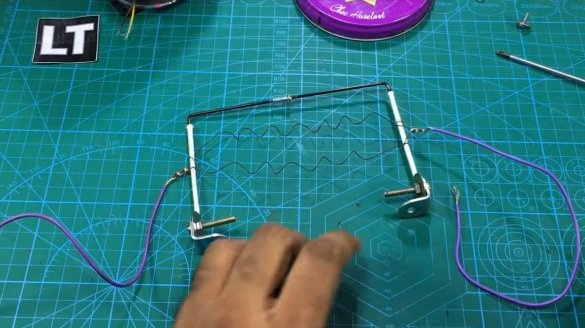
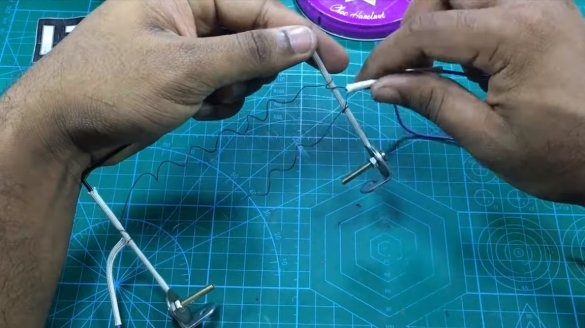
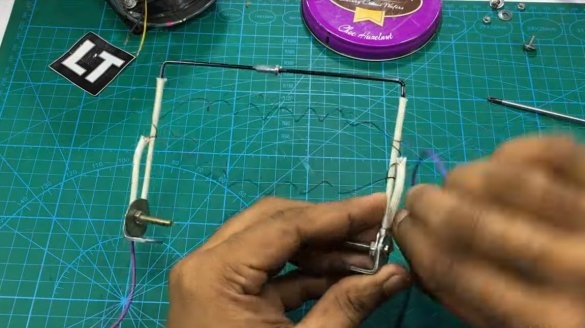
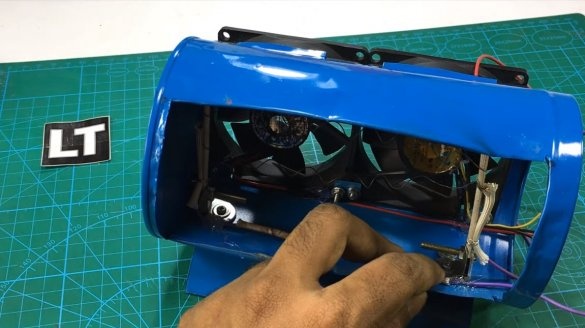
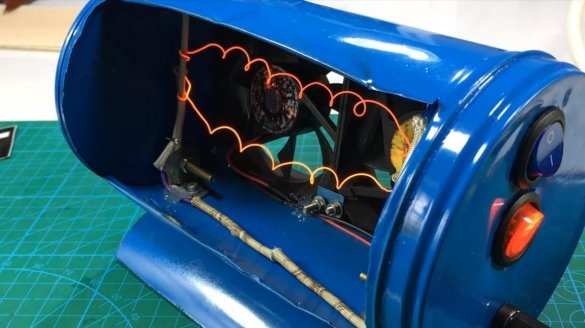
The heating element is a 0.4 mm nichrome wire, the longer its length, the greater the voltage and current strength will be needed to heat it. For the spiral, the author made a frame of knitting needles, and so that the wire does not come into contact with the metal, we put insulating heat-resistant tubes on the needles. The frame will be attached to the fan housing through the mounting brackets.
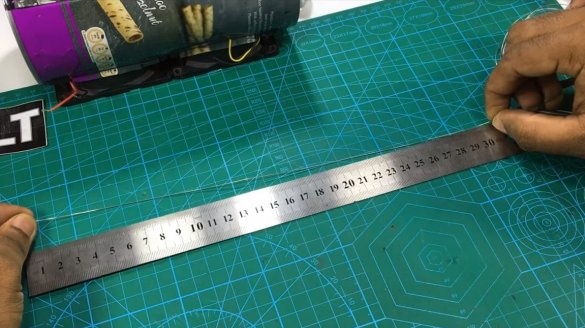
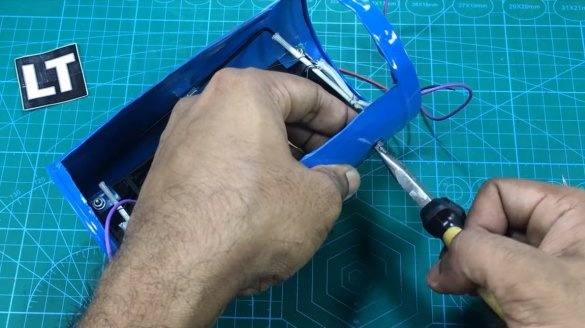
Now we make a spiral, first the author cut two pieces of wire about 30 cm long and twisted spirals from it. But then the spirals were redone, the author made them from shorter pieces, since the power supply could not heat up the spiral originally made. It is optimal for the spiral to glow in red rather than bright yellow, in the latter case it will burn out faster. There are special calculators on the Internet for calculating spirals. We attach power wires to the terminals of the spiral and install insulating heat-resistant tubes.
Step Three Control Panel
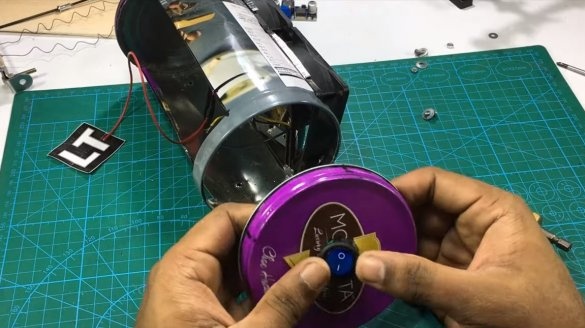
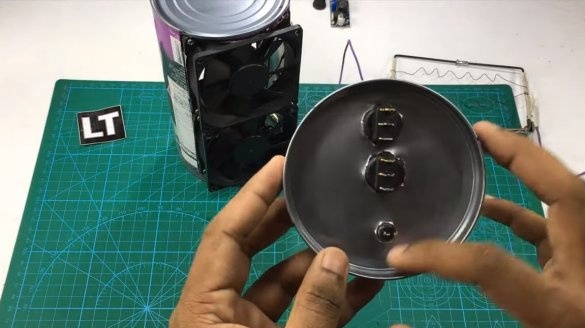
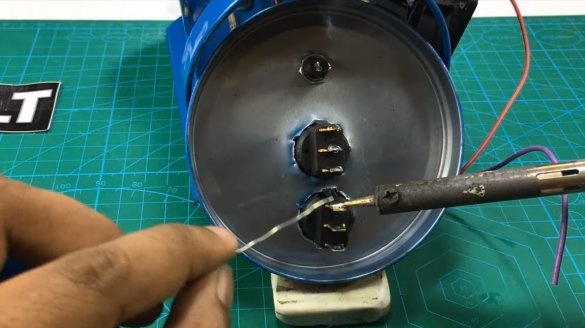
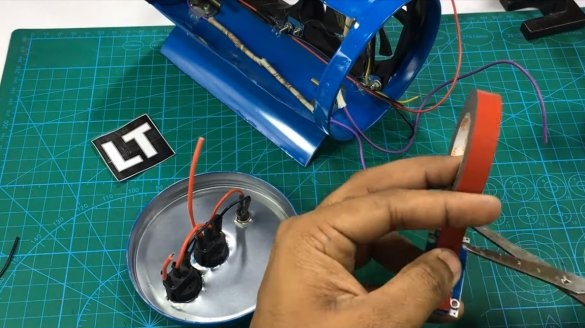
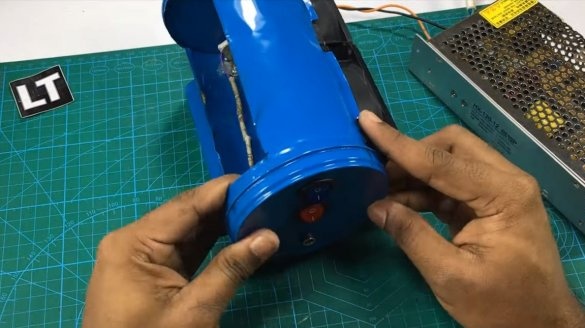
We make a control panel, which consists of a fan switch, a heating element switch, and also there is a socket for connecting a power supply. We drill under the details of the place in the lid and install.
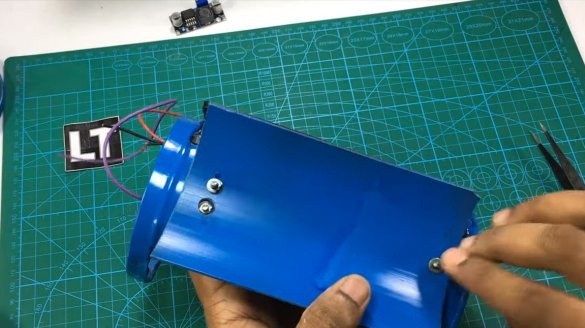
Step Four Painting and assembly
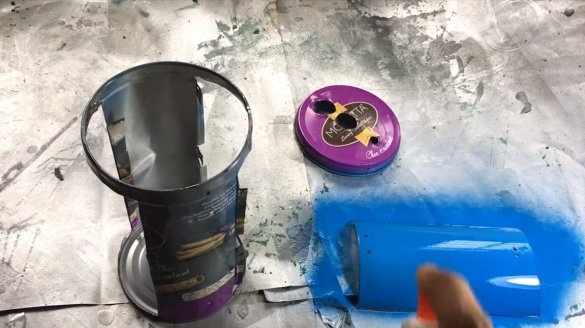
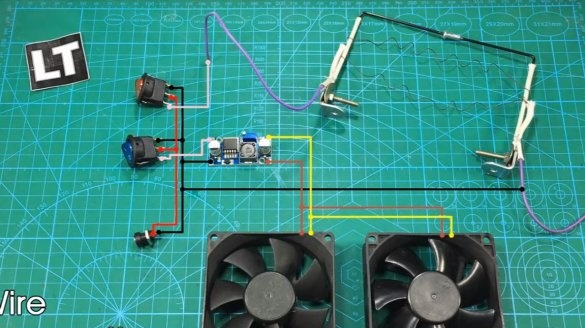
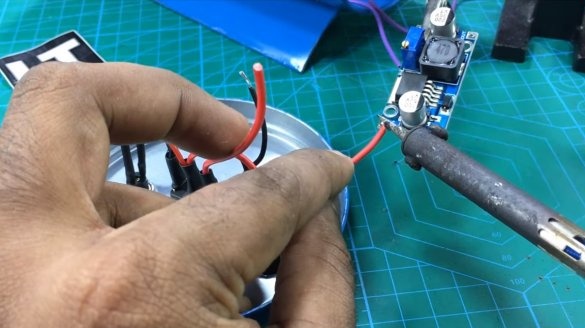
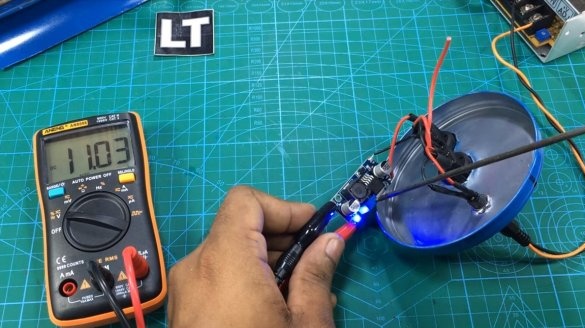
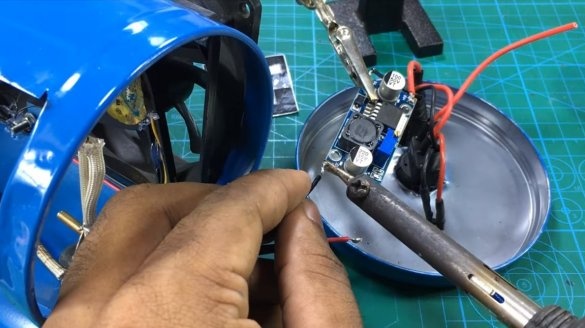
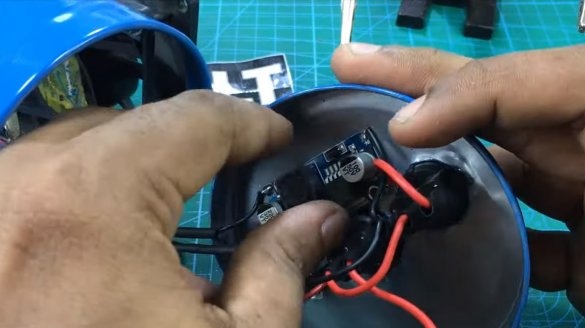
We paint the body parts from the spray can and you can collect everything. We solder the wires, the author also established which is not needed in the circuit, since the fan is powered by 12V voltage. We carefully fix all the wiring on the case, you can apply hot glue, but note that it can melt from heating.
Also we fasten the cut out part of the can as a base.
Step Five Jalousie
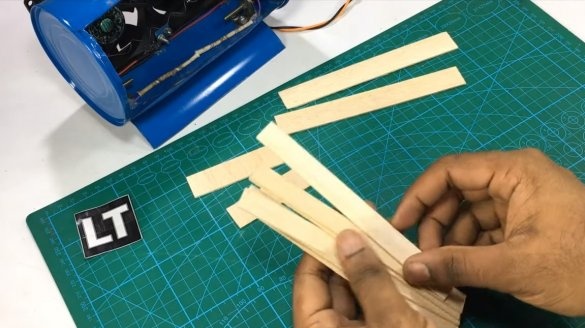
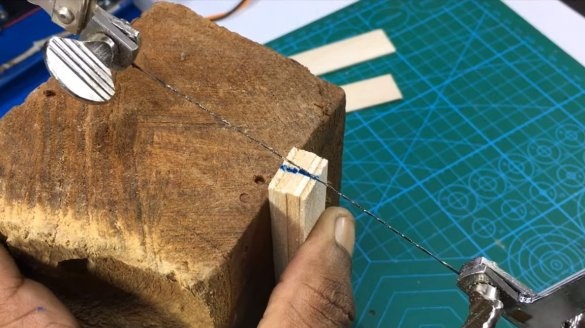
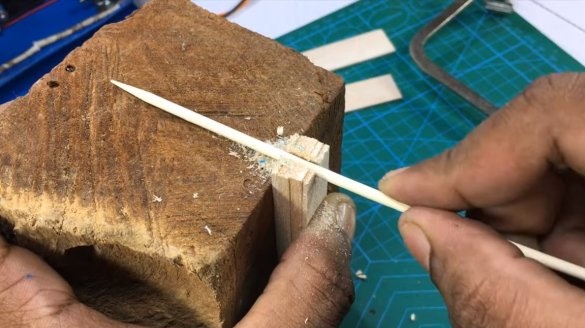
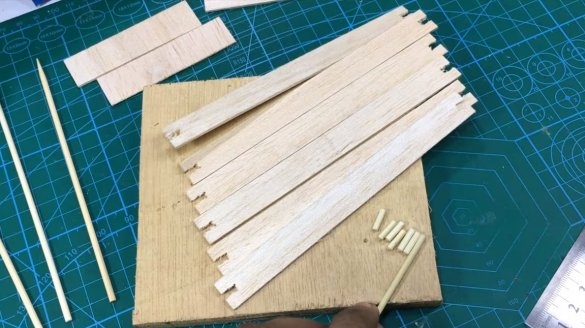
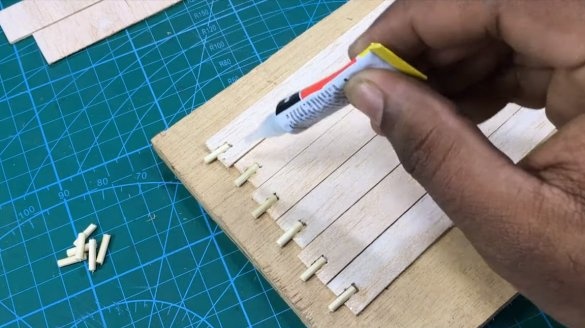
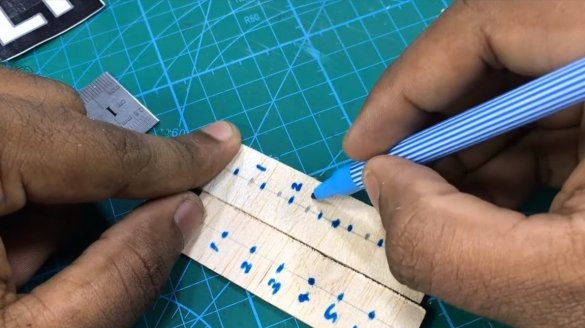
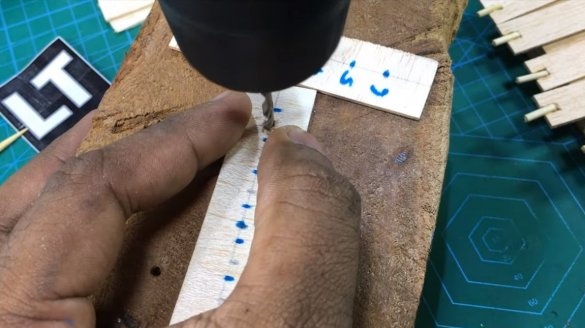
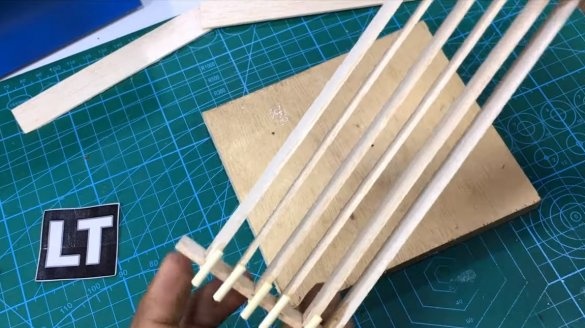
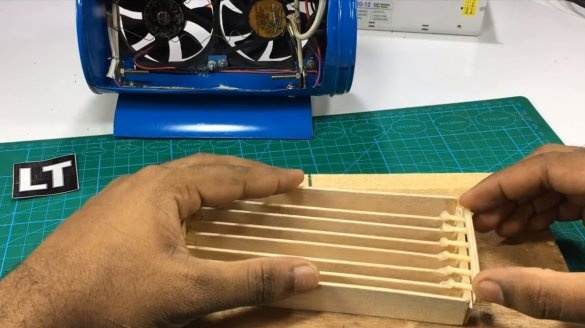
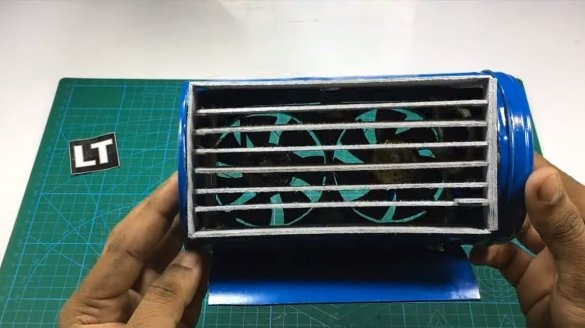
In order to be able to direct the air flow, make blinds for the fan, their author made of thin plates, toothpicks and superglue. The blinds were painted silver under the metal.
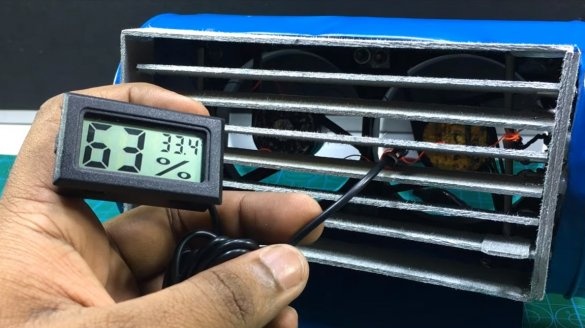
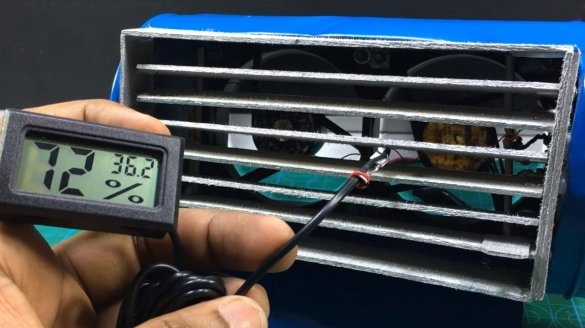
That's all, after this homemade product is ready, everything looks pretty neat. When you turn on the fan with a heater at the outlet, the air temperature is slightly above 30 degrees and the heating element does not completely darken. Of course, such a fan will not raise the temperature by many degrees, but at least psychologically it will be warmer for you. And for cooling, such a fan will work quite well for itself, especially if you put a bottle of frozen water at the back of the fan.
This is the end of the project, I hope you liked the homemade work, and you found useful thoughts for yourself. Good luck and creative inspiration, if you decide to repeat this, do not forget to share your ideas and homemade things with us!

