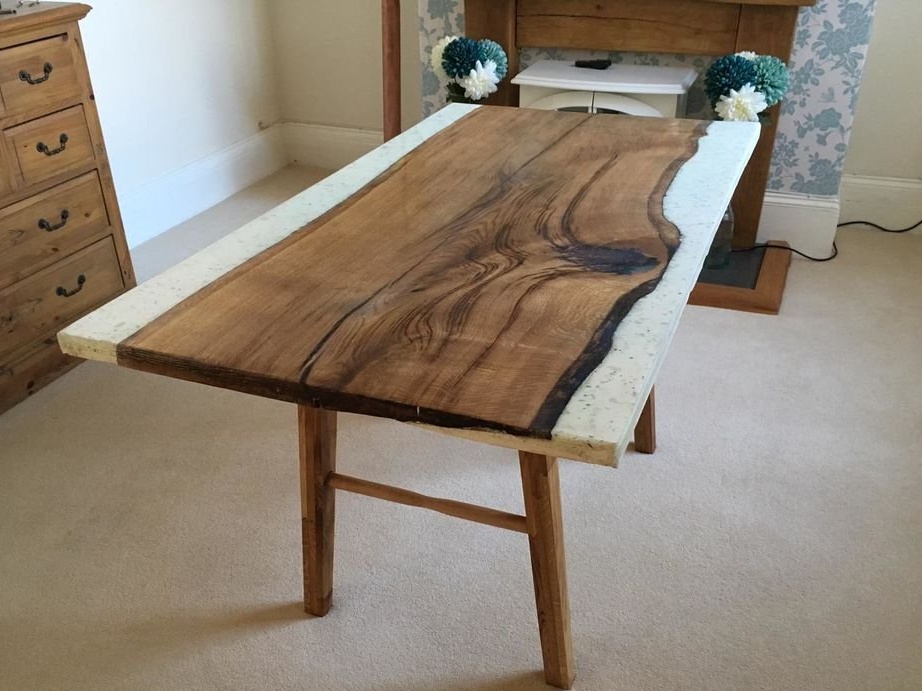
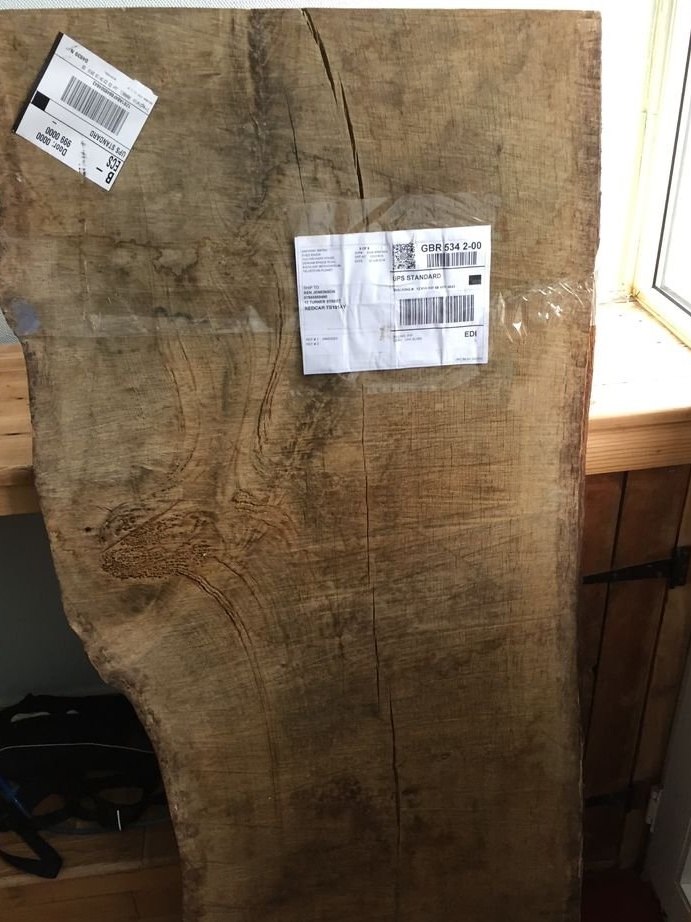
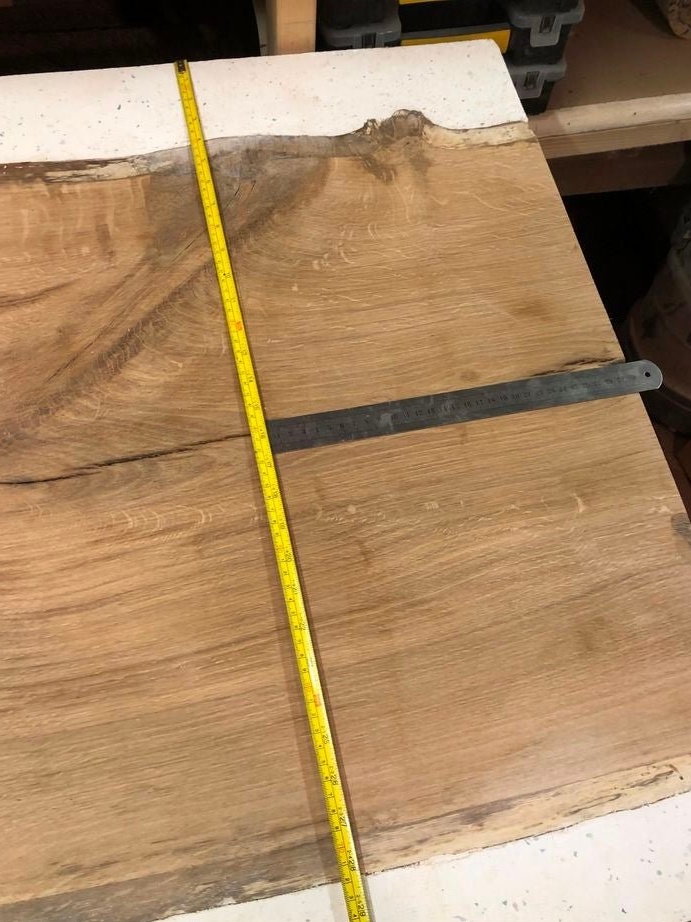
The master bought a house and the question arose of purchase of furniture. In particular, I needed a large dining table for the dining room. The master decided to make a table on his own. For this, several slabs of oak were bought, 150-180 cm long and 5 cm thick.
Tools and materials:
-Oak slab;
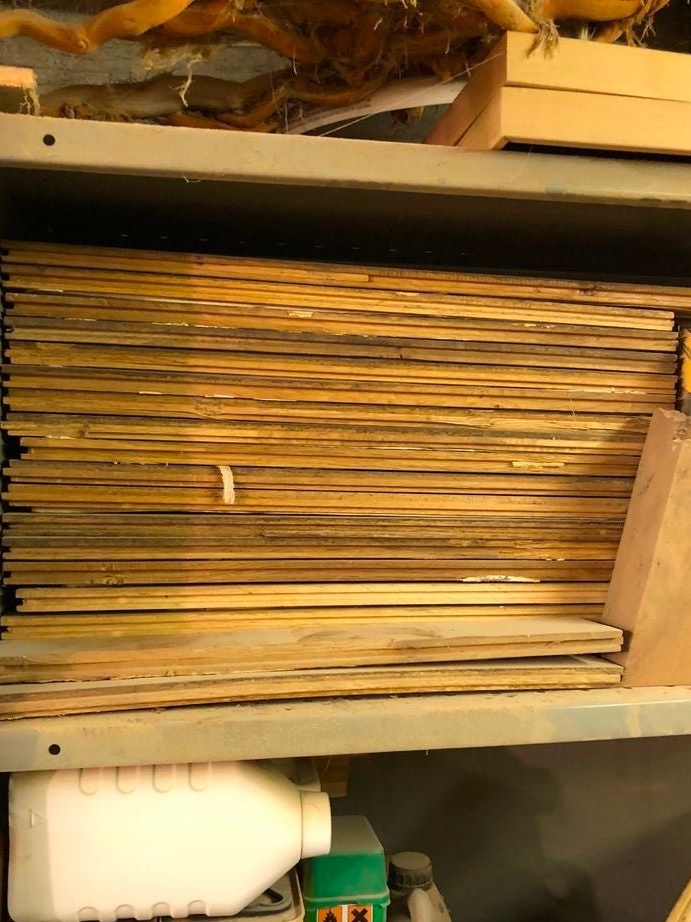
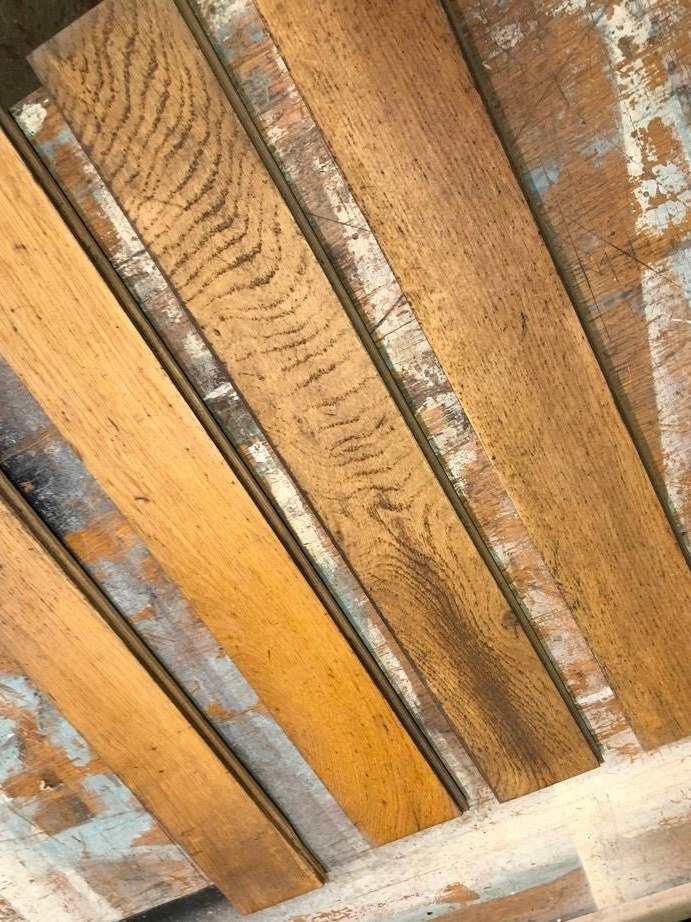
-Old oak flooring;
-Beech;
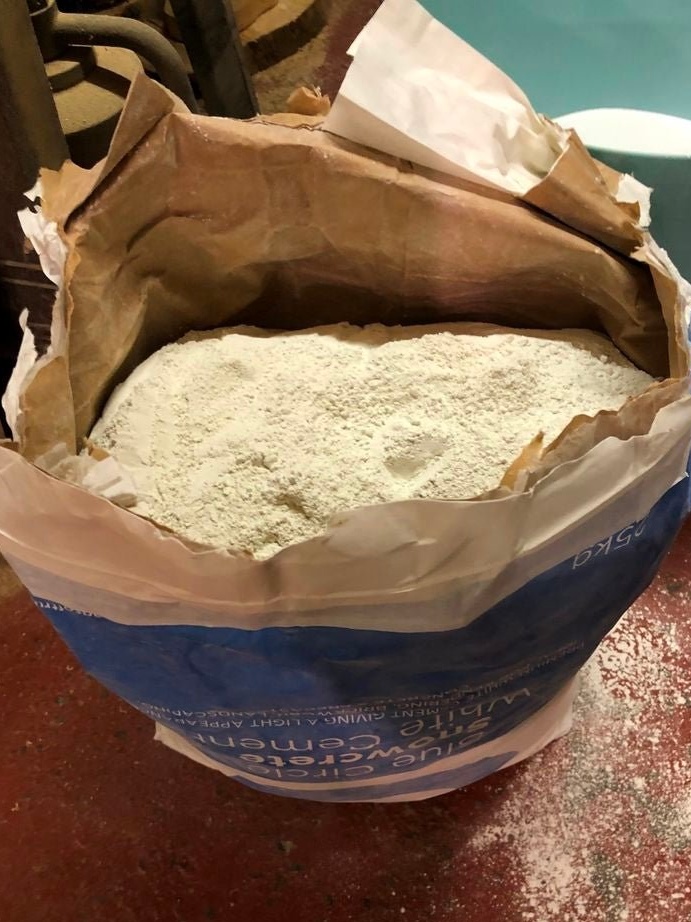
-White Cement;
-White aquarium sand;
Reinforcing fibers;
- Crushed stone from a decorative stone;
-Water;
-Plasticizer;
- Plywood sheet 2400 mm x 1220 mm x 11 mm;
Reiki
-Silicone sealant;
- Joiner's glue;
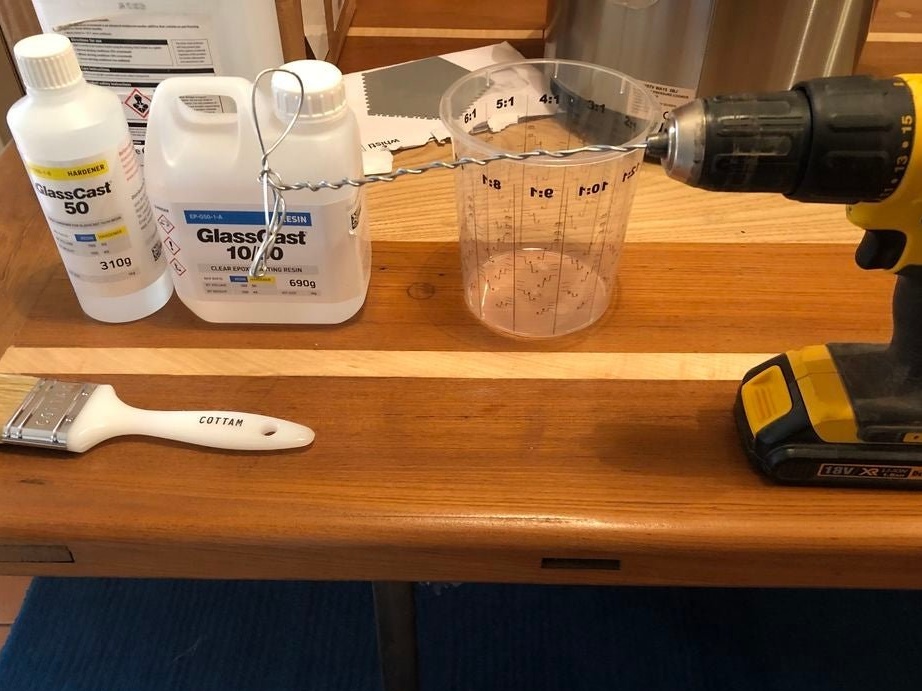
Epoxy resin;
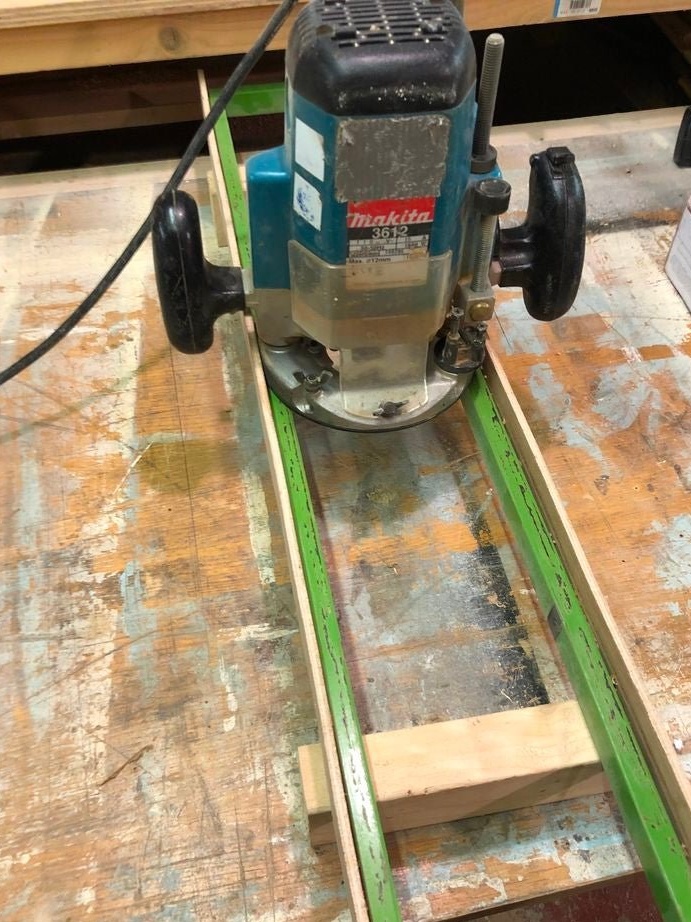
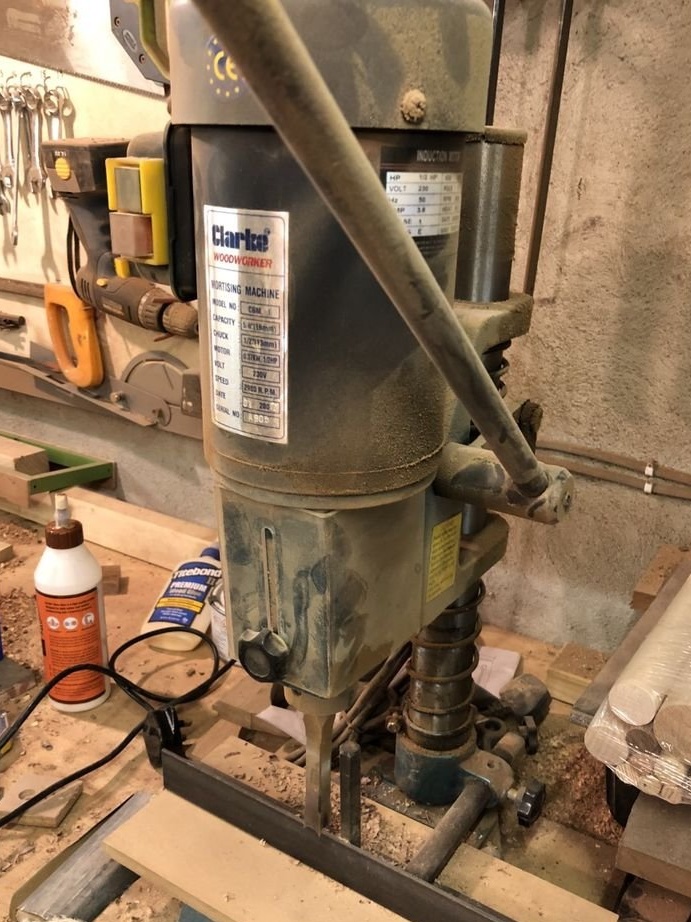
Milling cutter with guide;
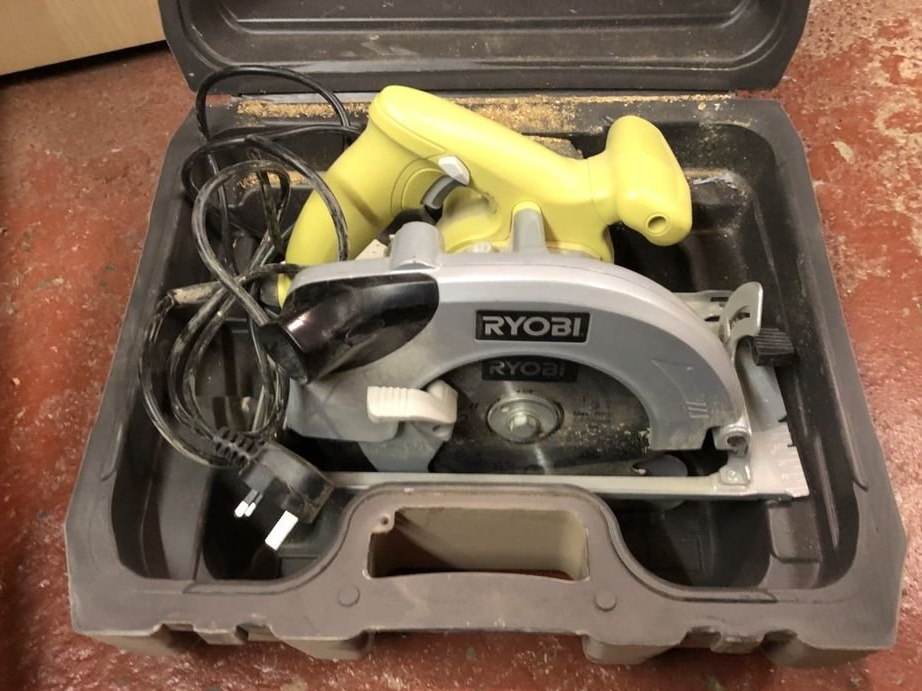
-A circular saw;
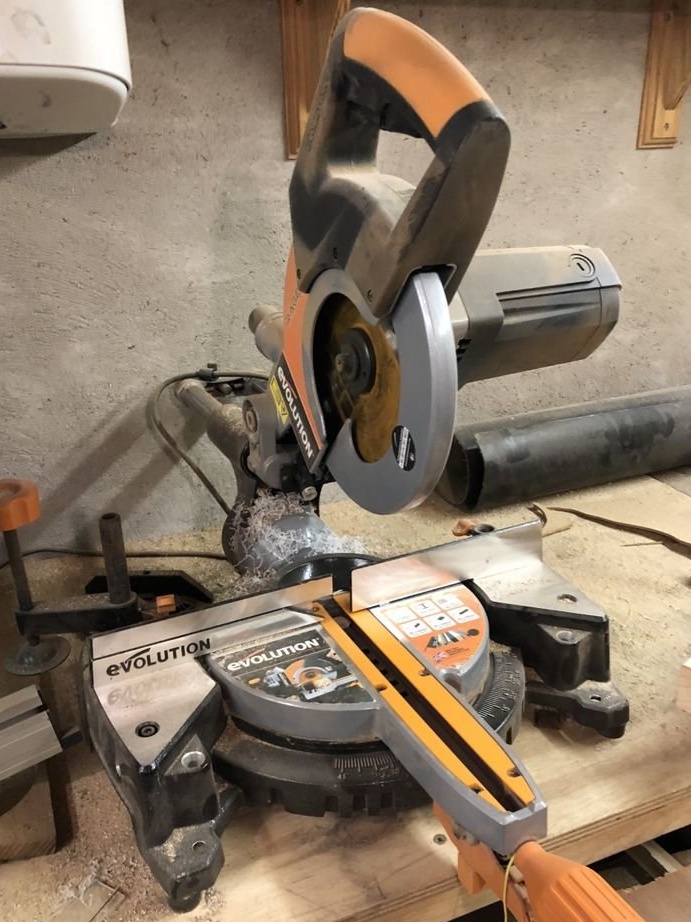
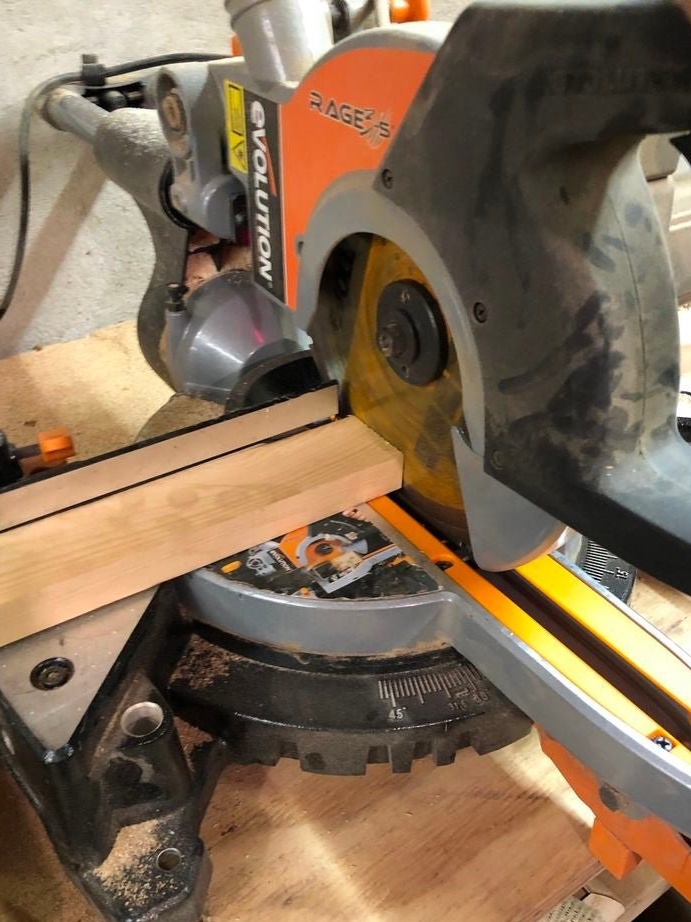
-Miter saw;
-Circular Saw;
- Reysmus;
-Grinder;
- Wood lathe;
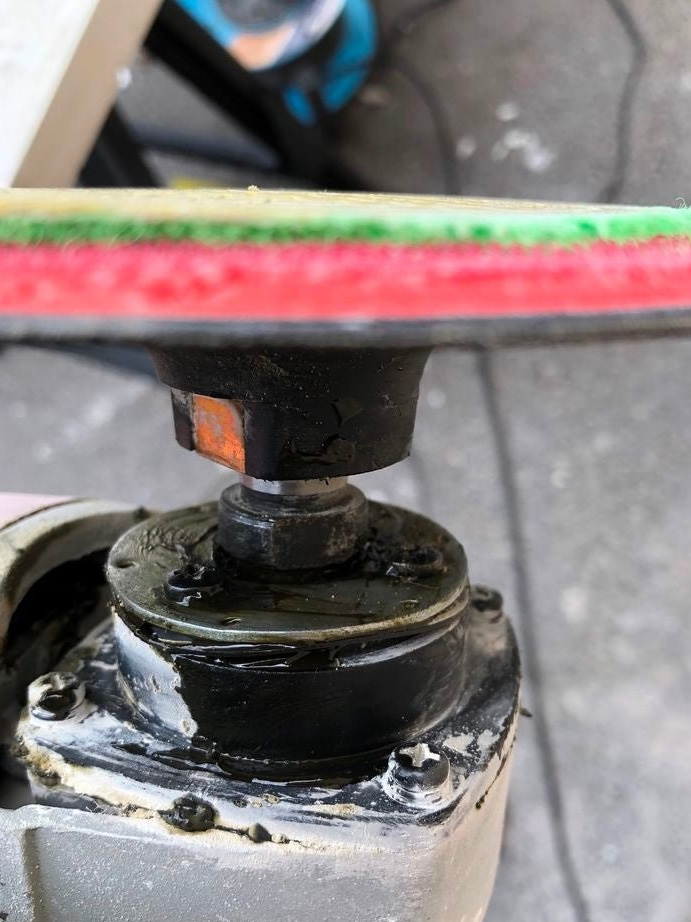
- Angle grinder 125 mm;
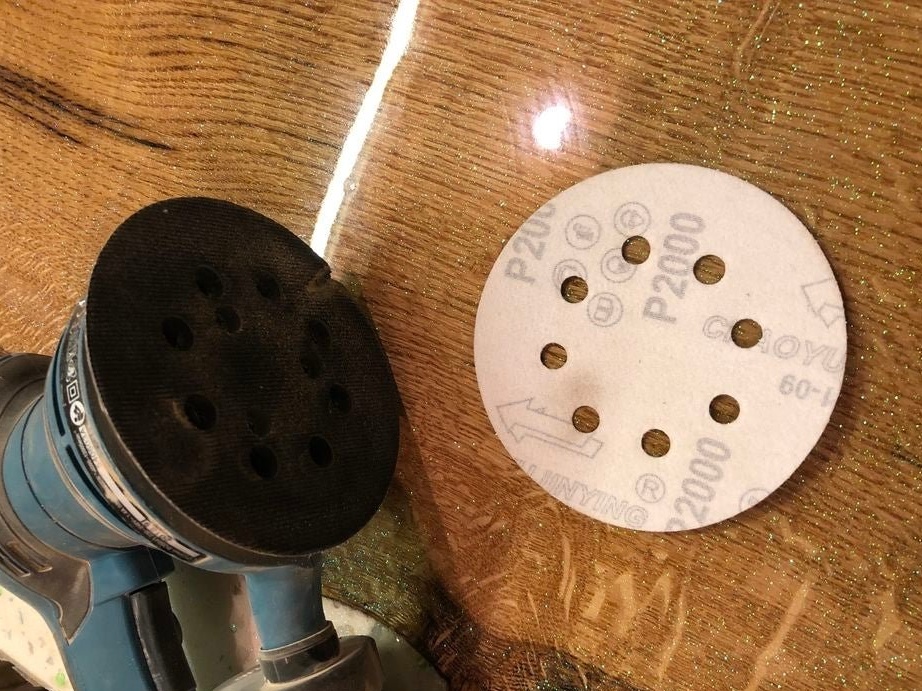
-Disk for polishing stone 50-2000 Grit;
- Grinding wheels Varying Grit 80-400 Grit;
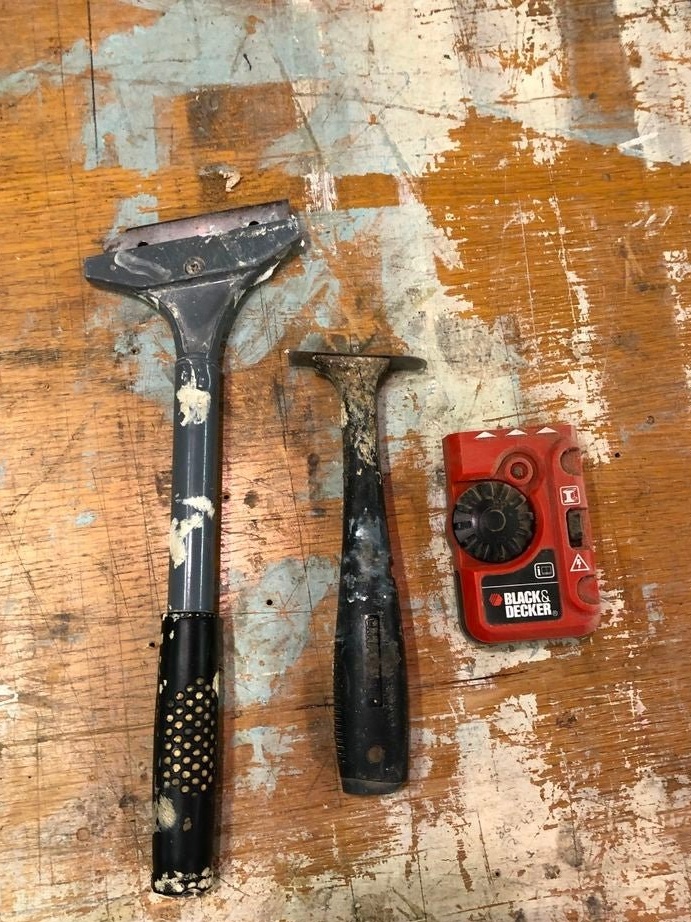
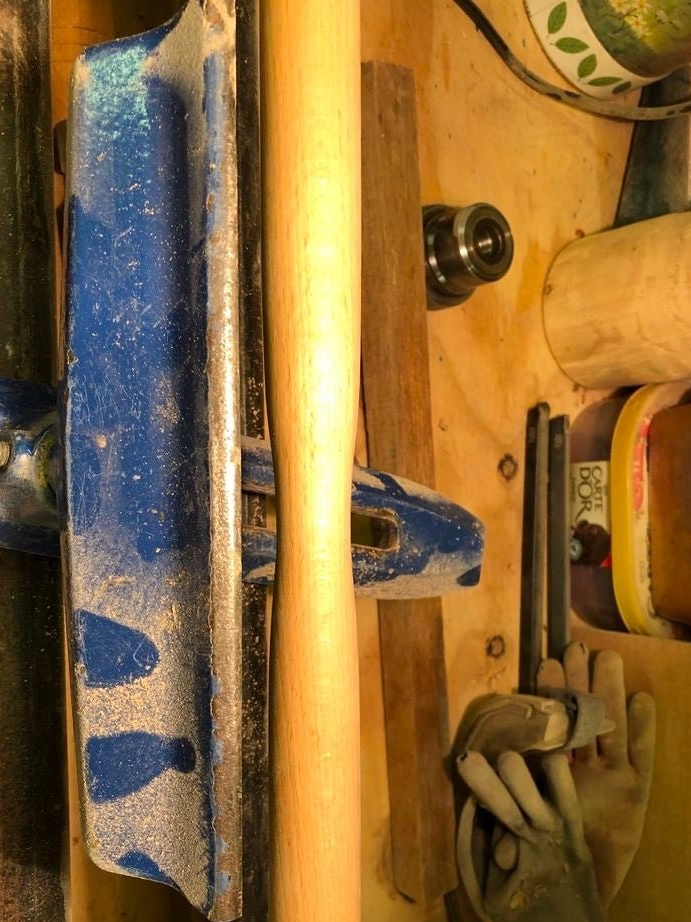
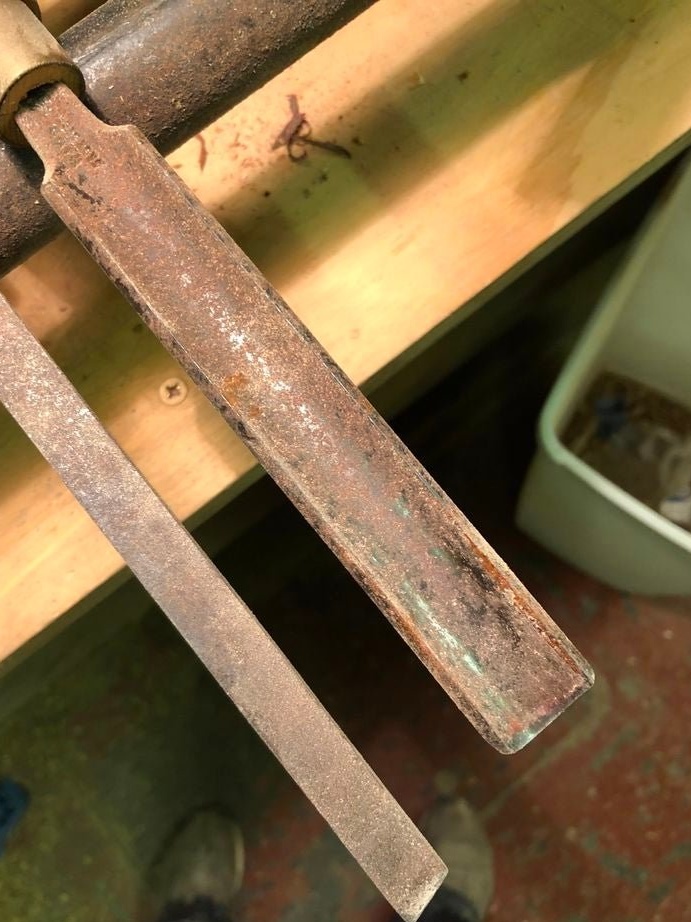
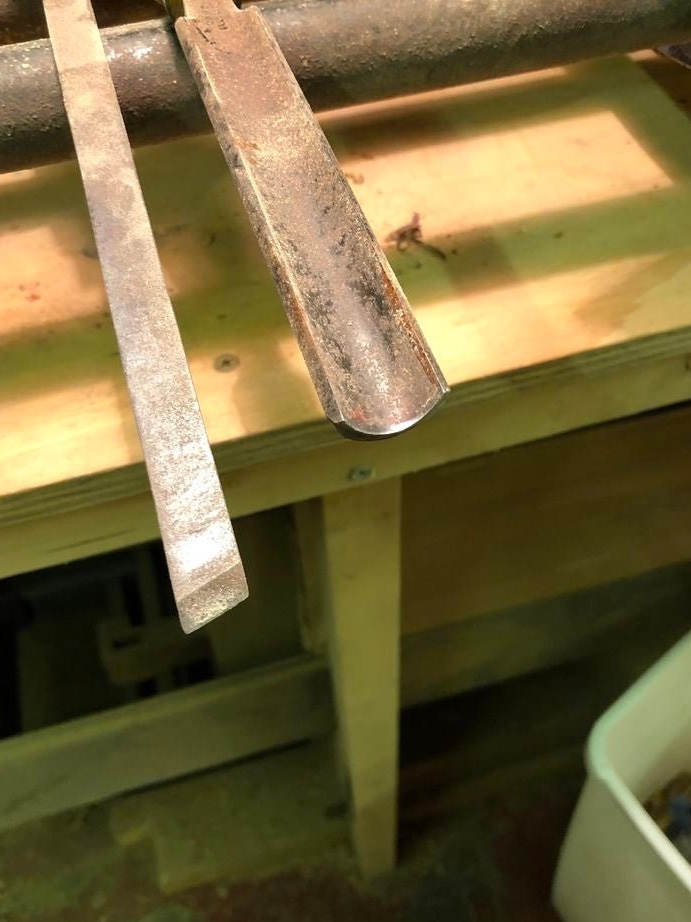
- metalwork tool;
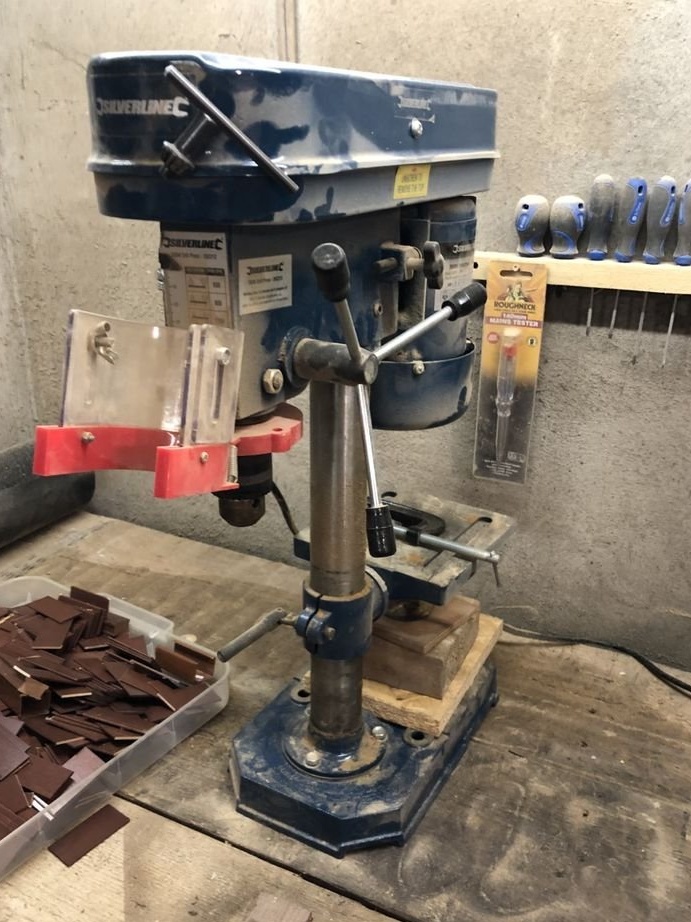
-Drill;
-Putty knife;
-Japanese saw;

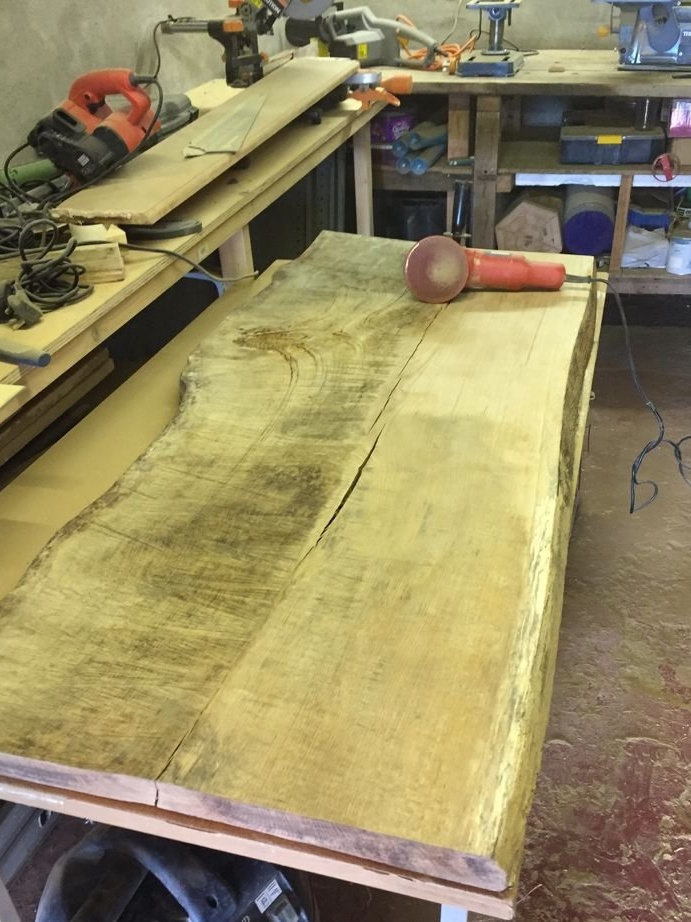
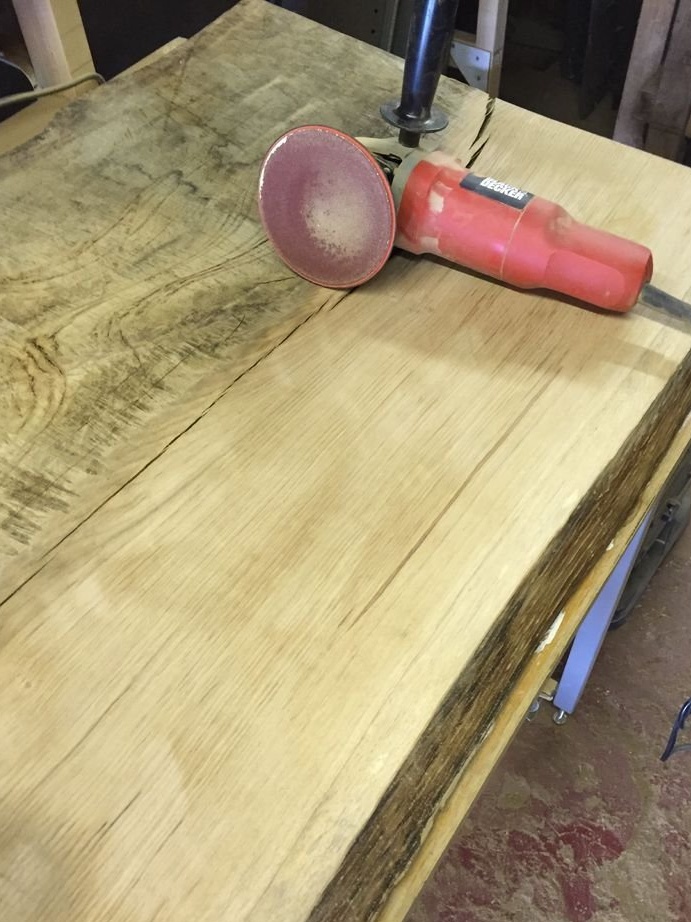
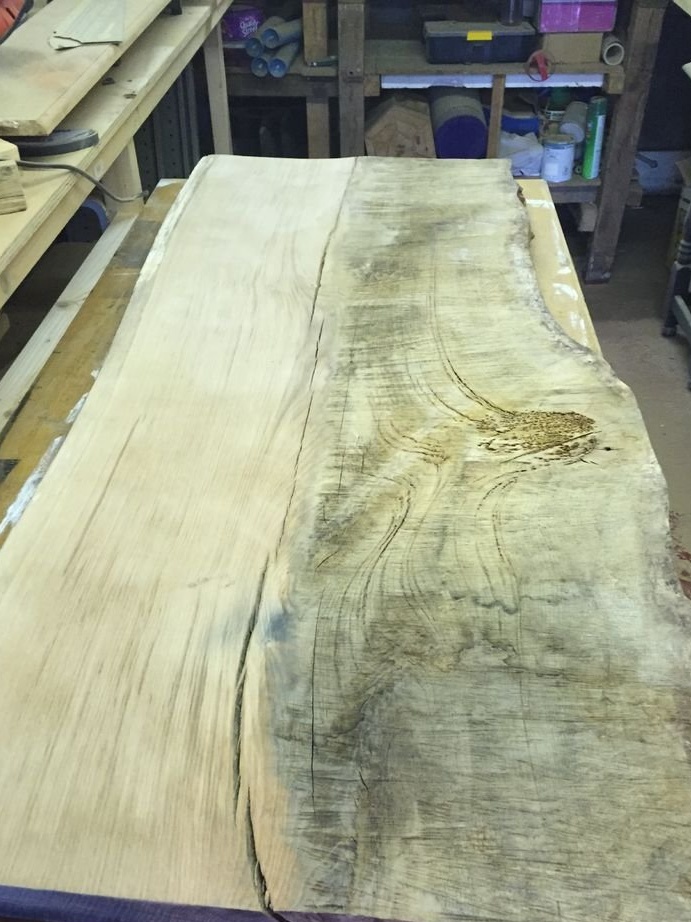
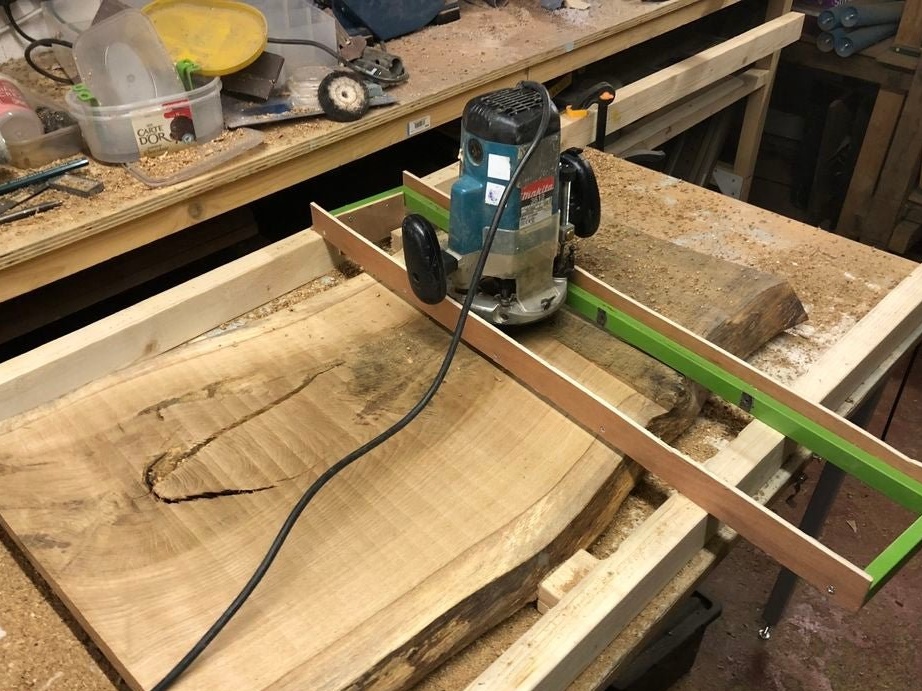
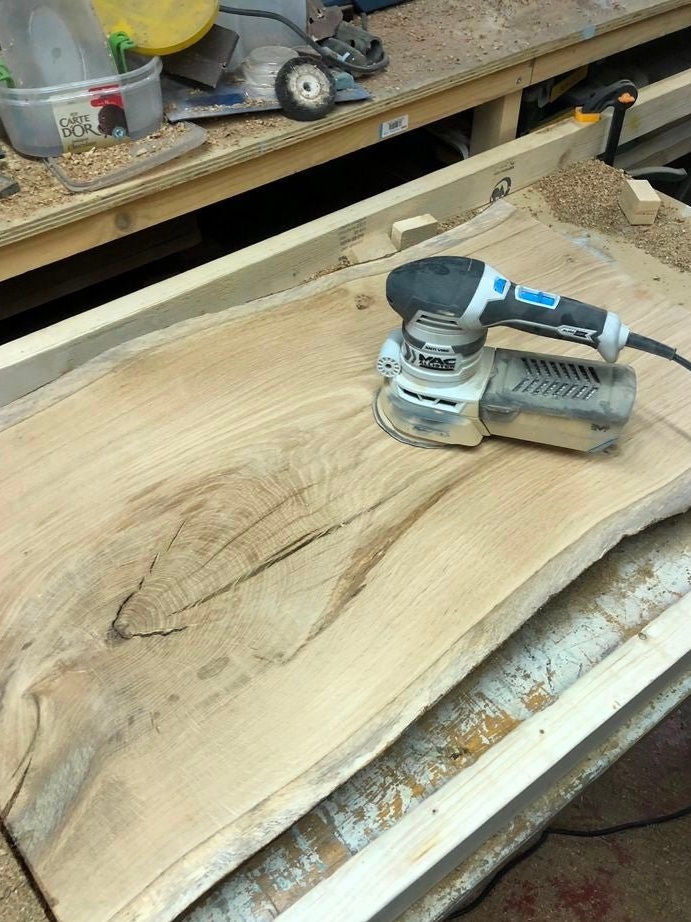
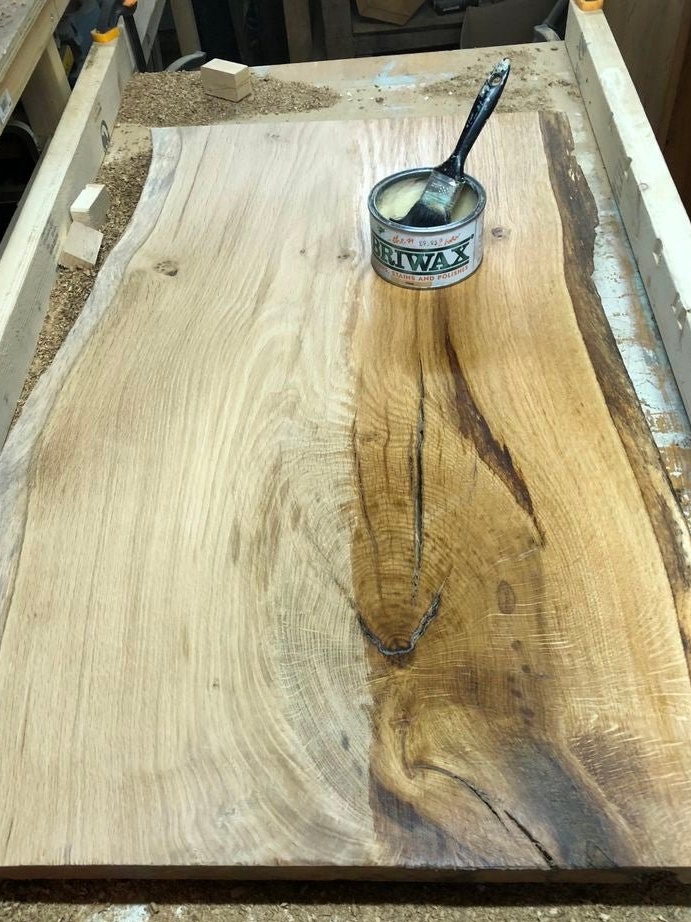
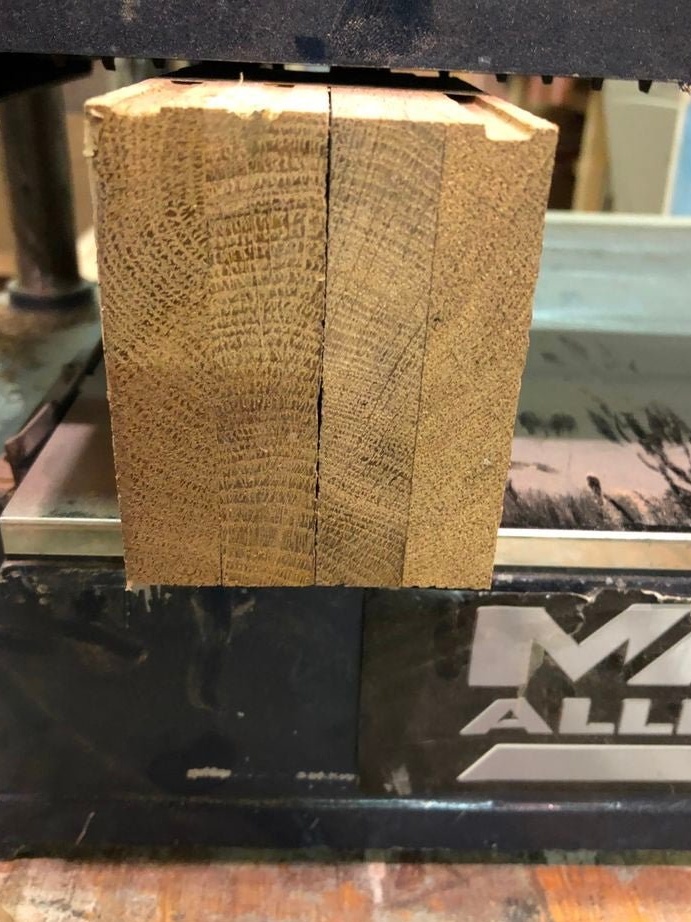
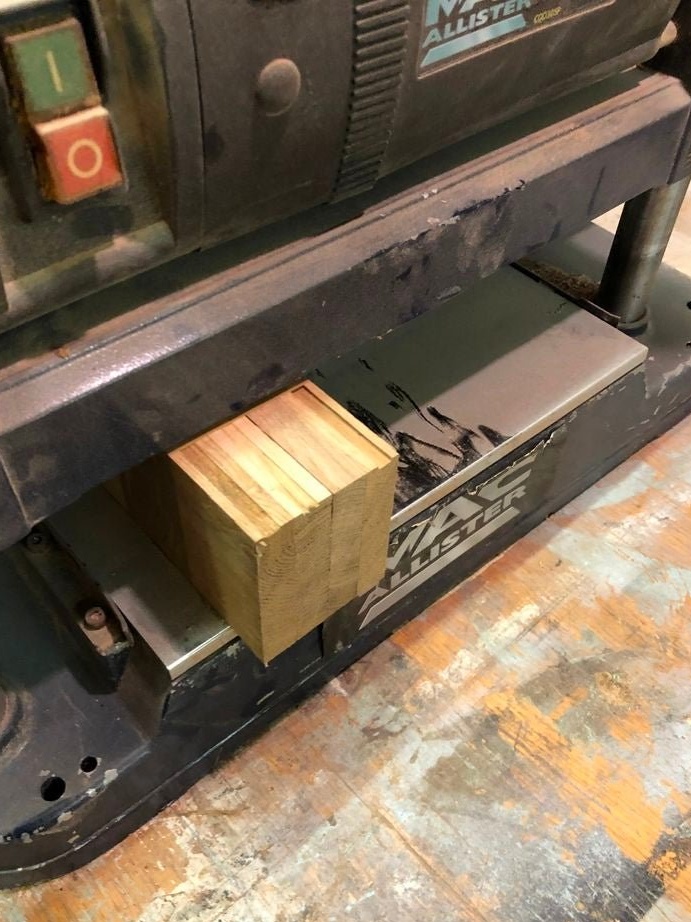
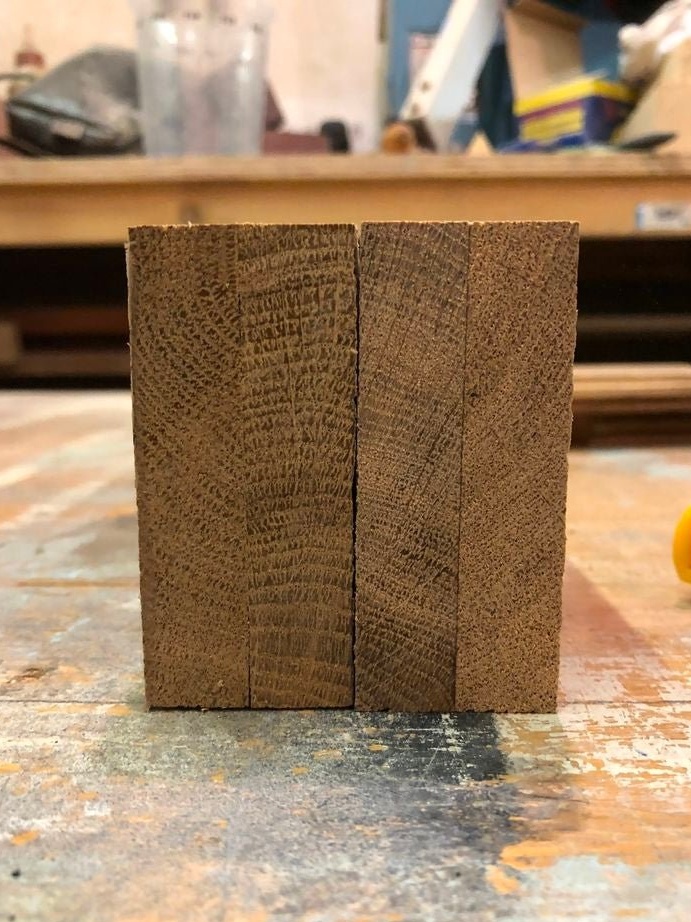
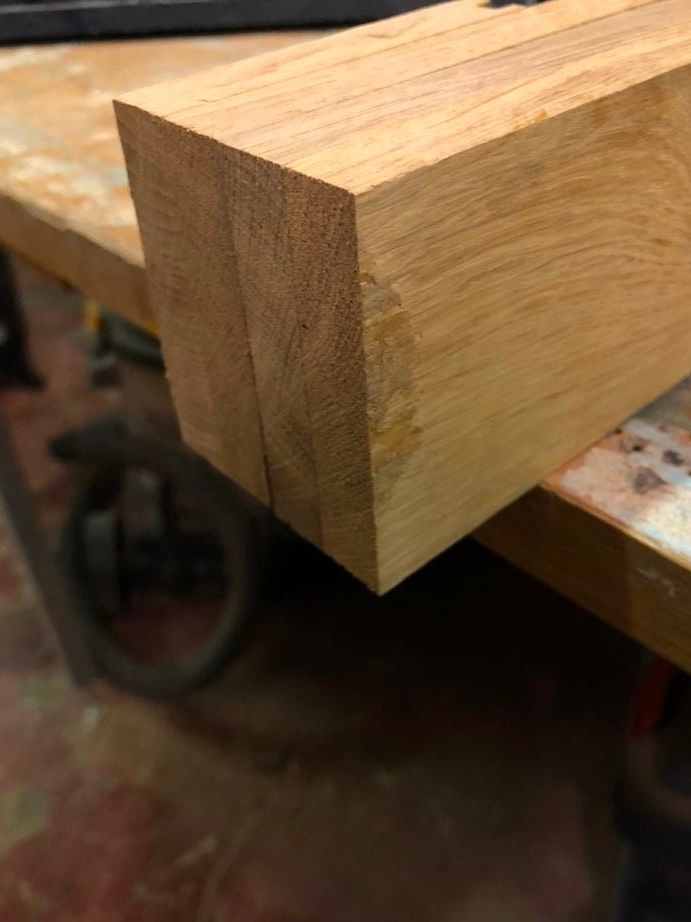
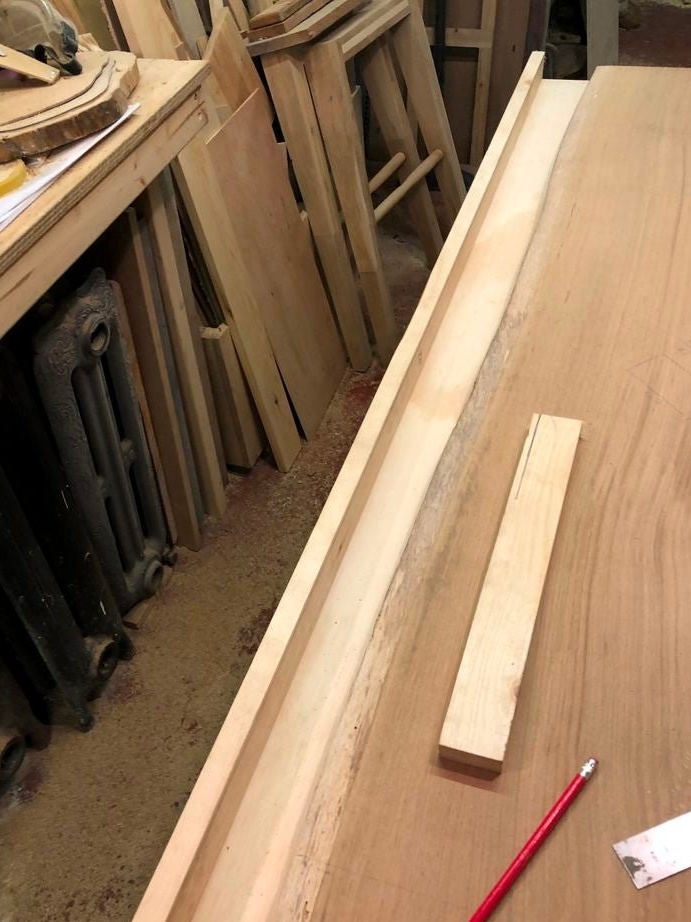
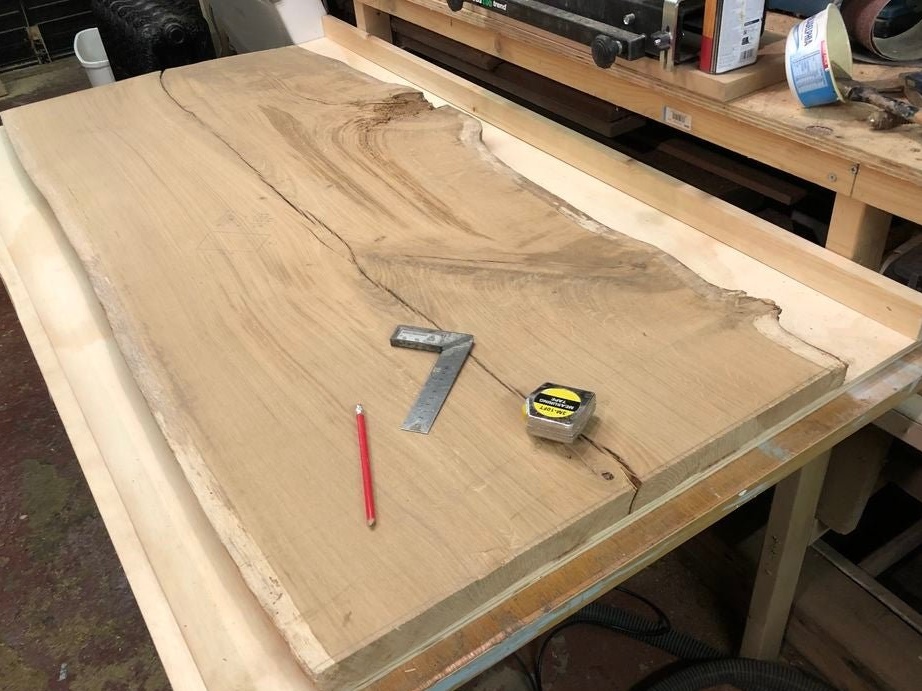
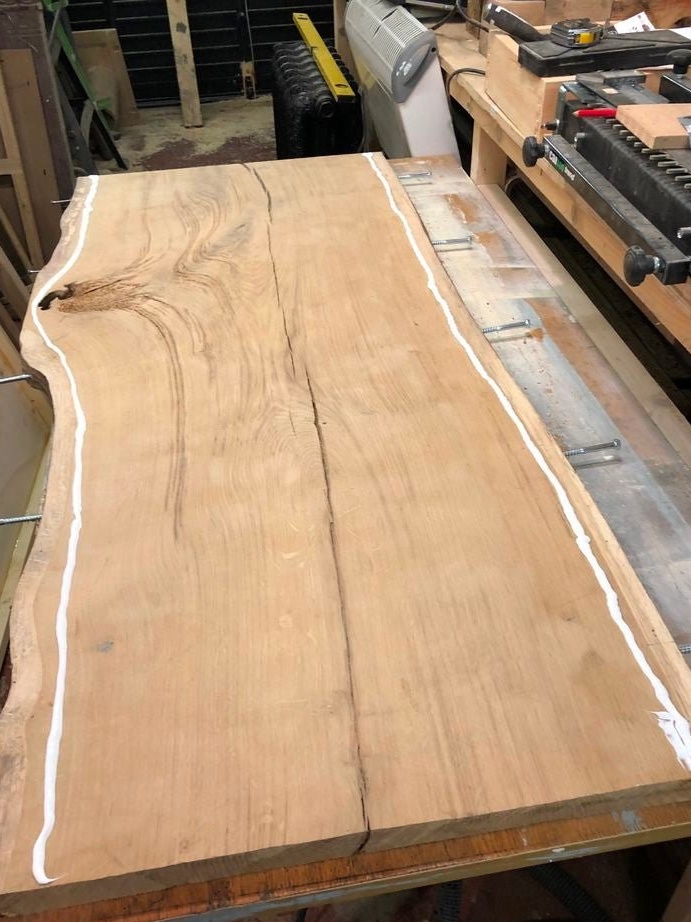
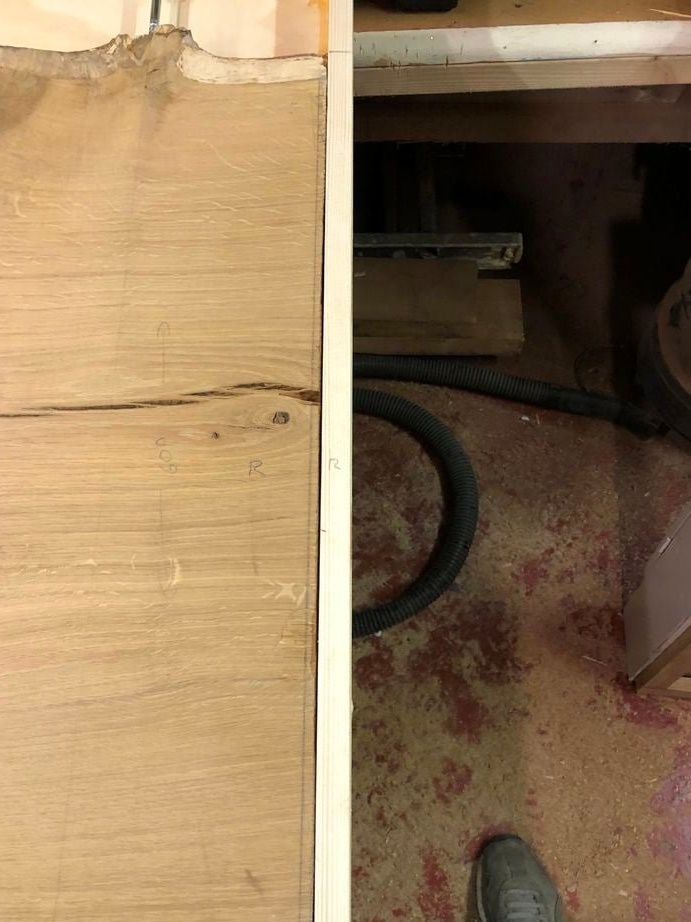
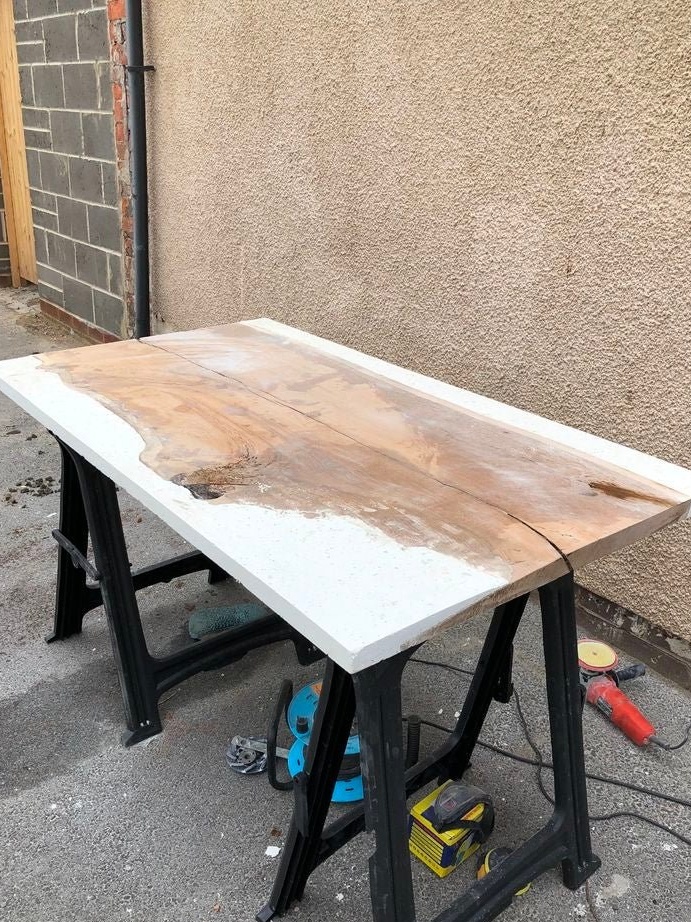
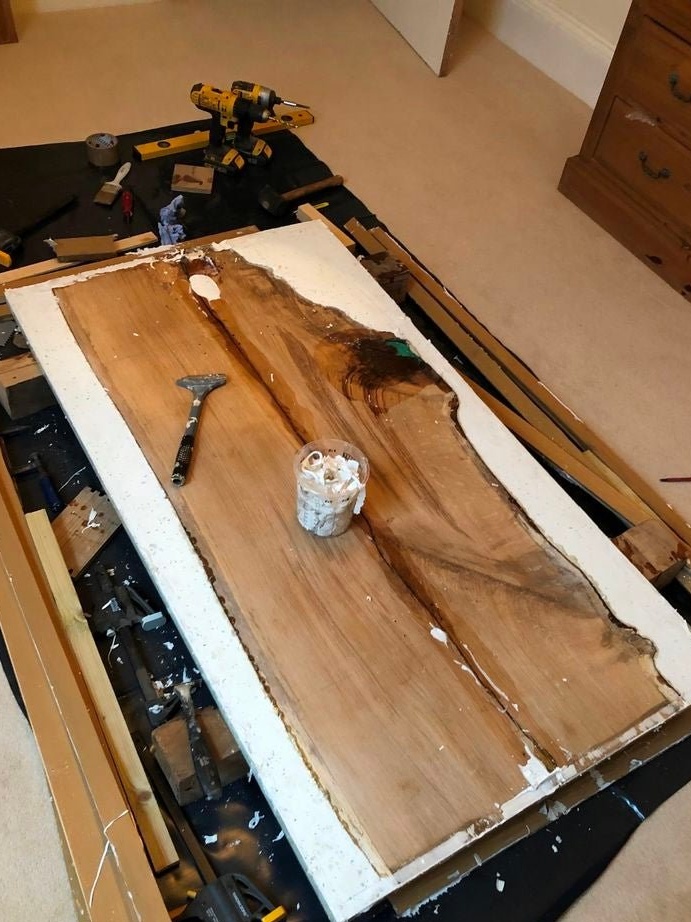
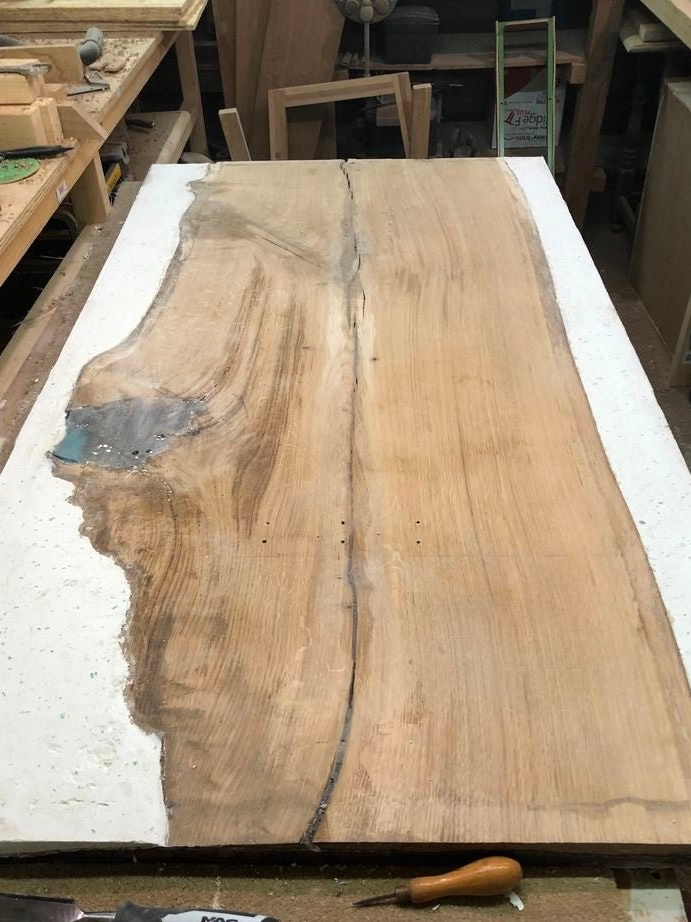
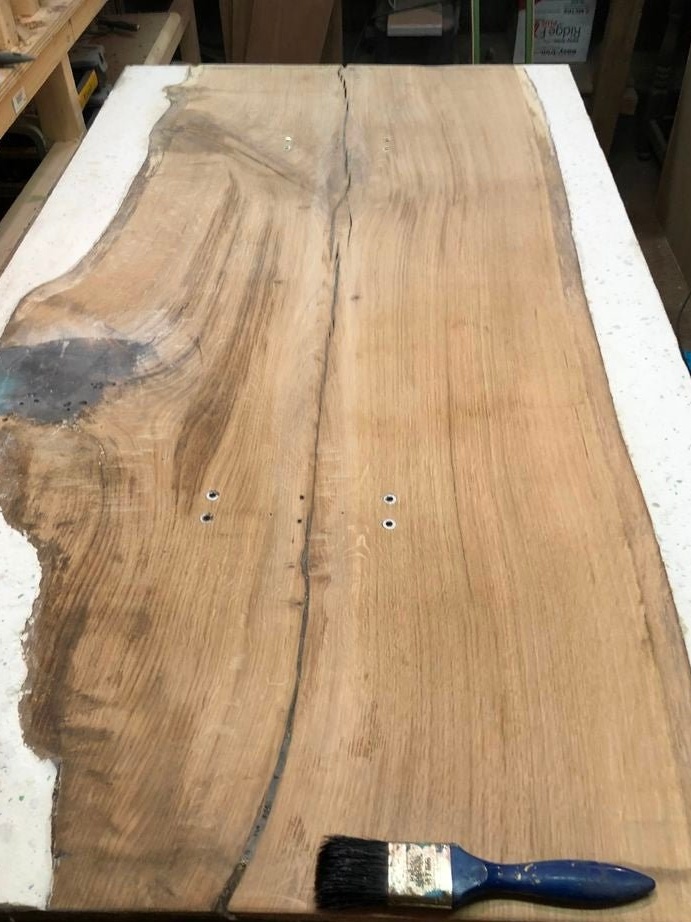
Step one: slab preparation
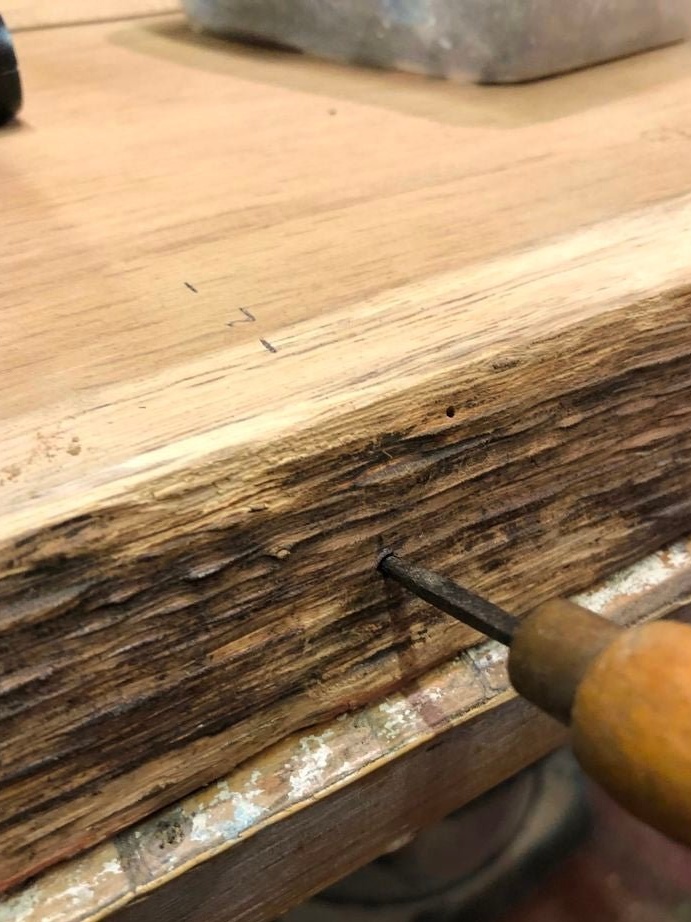
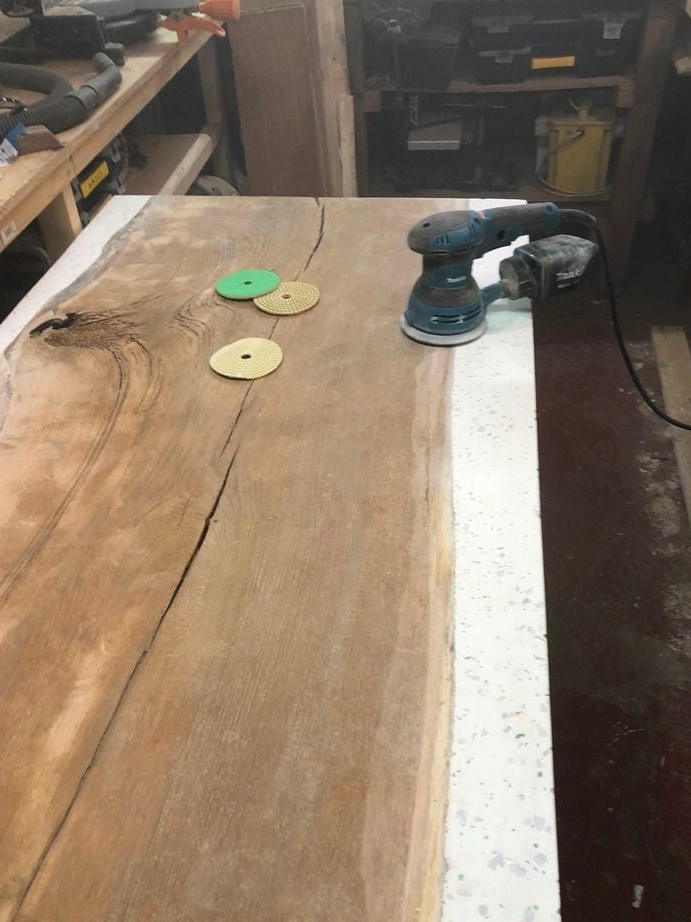
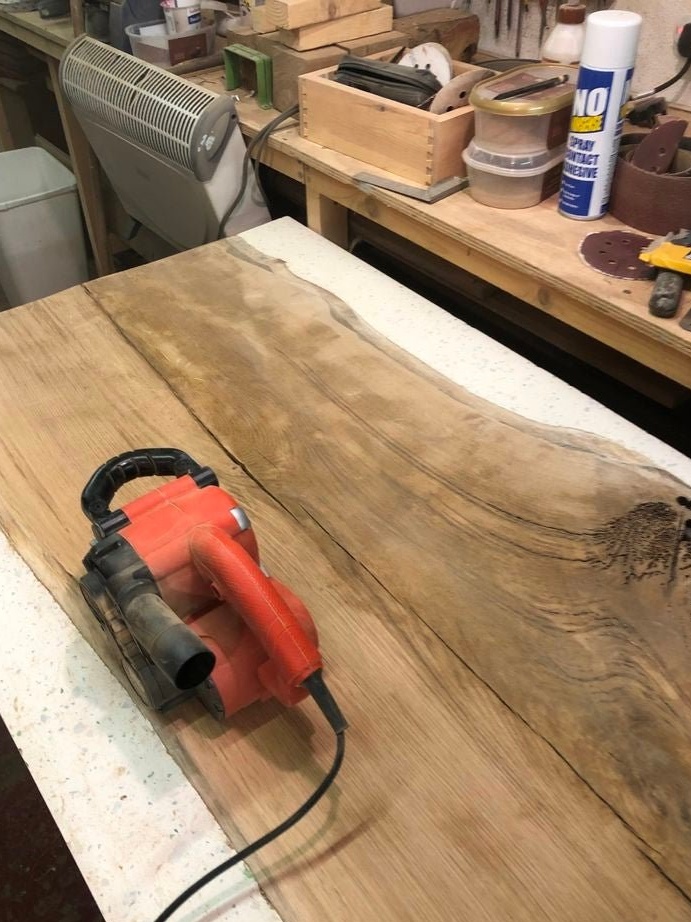
Having chosen, from the acquired slabs, a suitable master begins its processing. Cleans dirt from surfaces and sinks. Grinds slab. Applies wax.
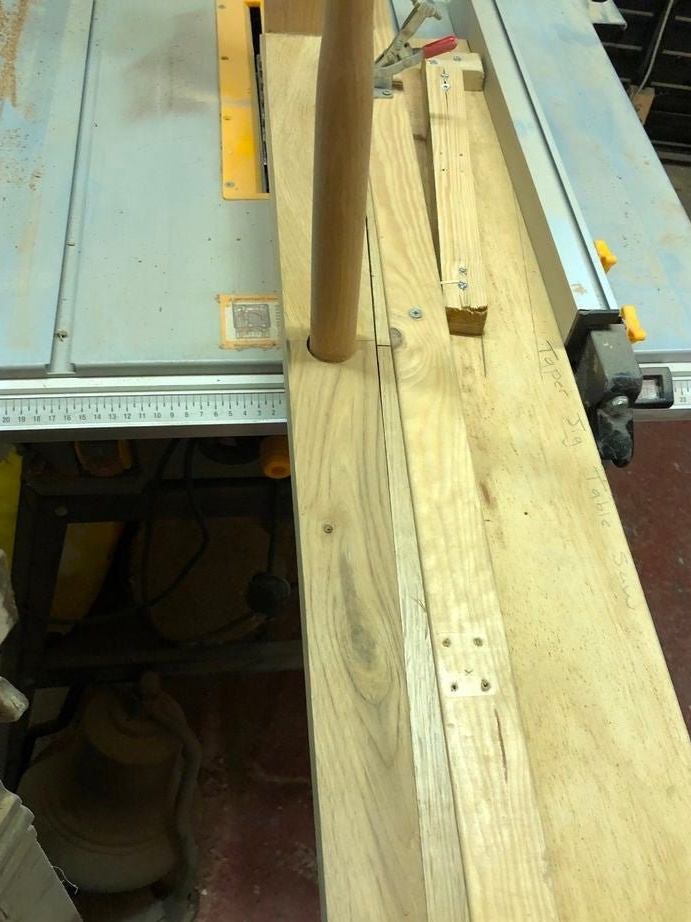
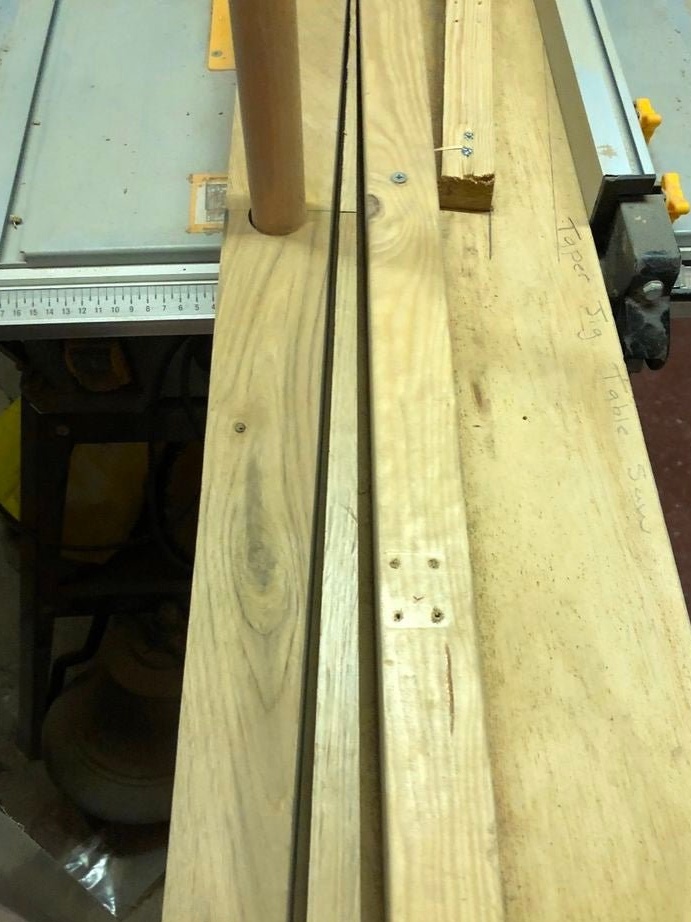
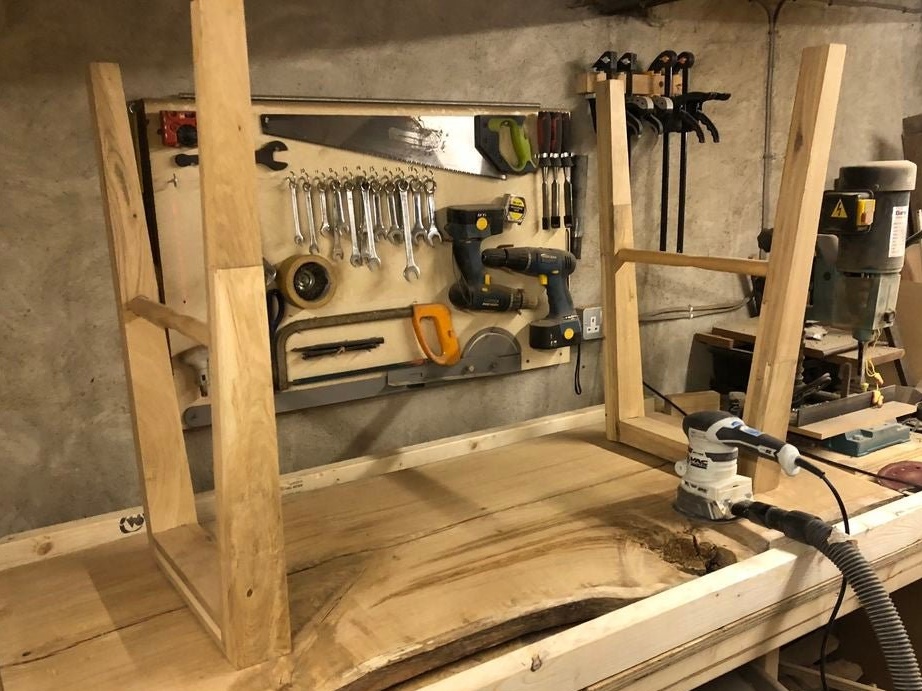
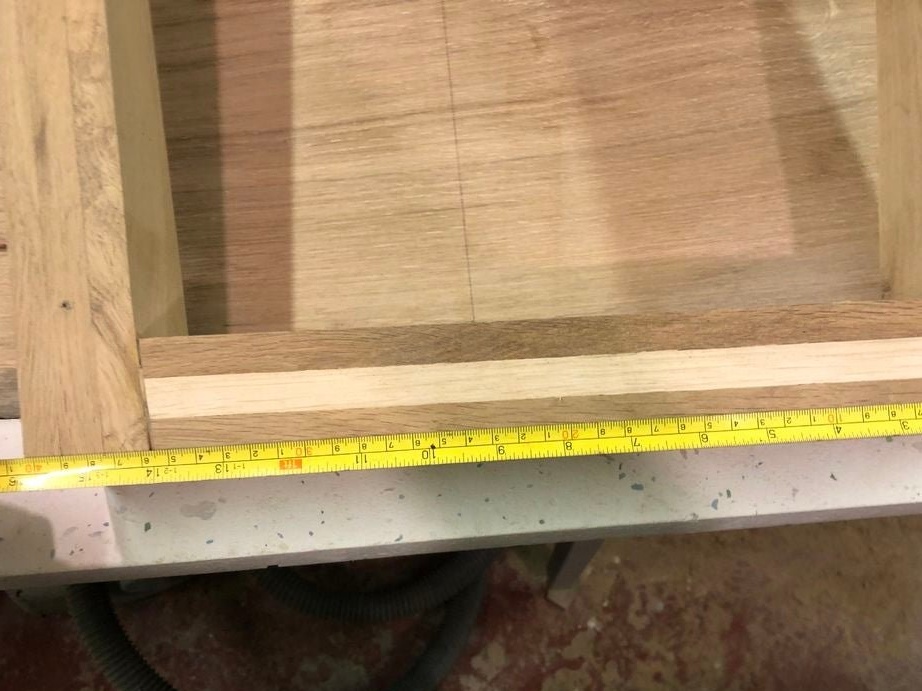
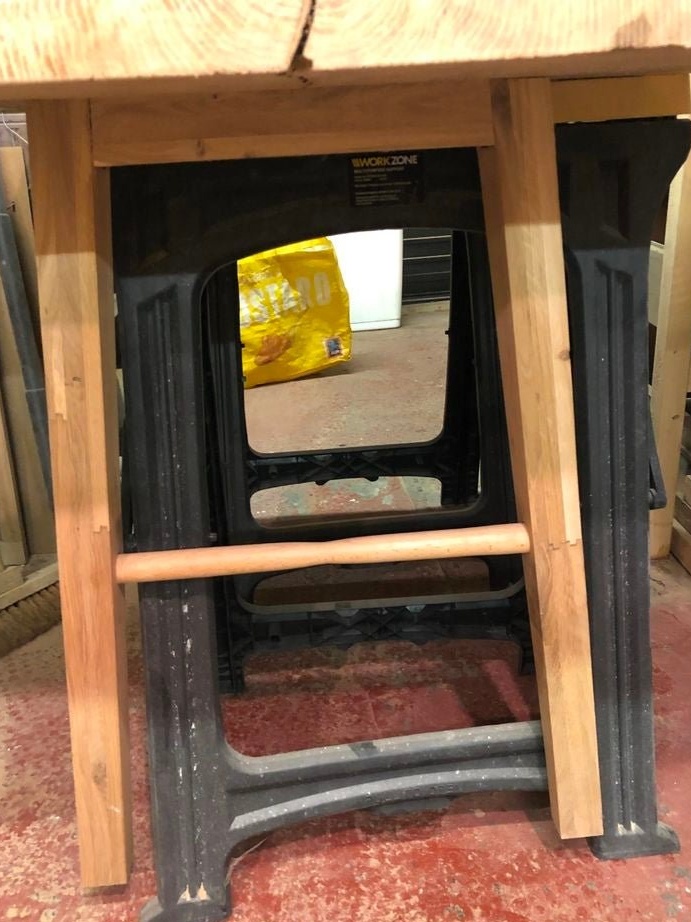
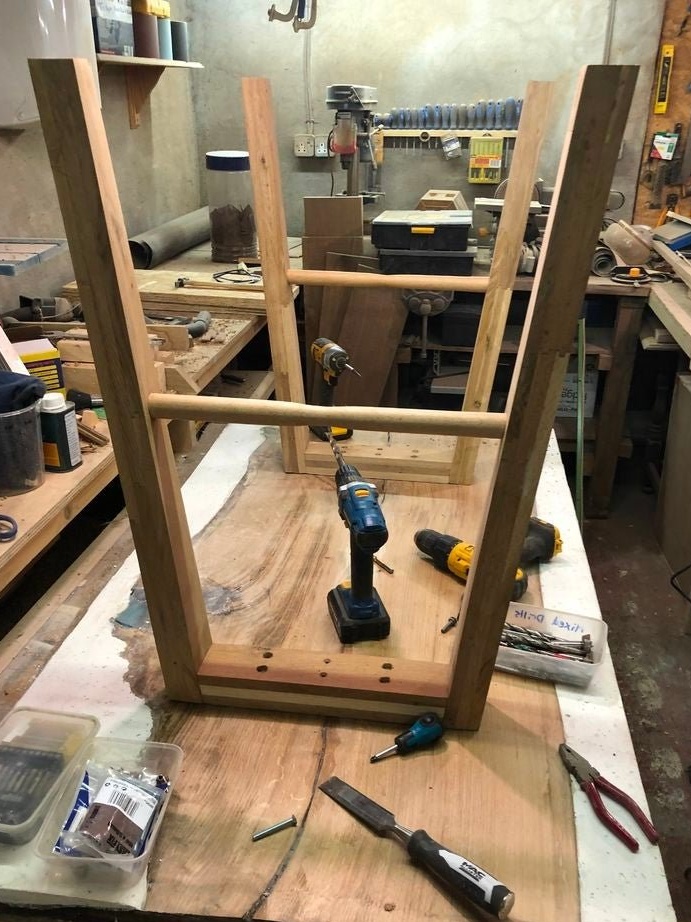
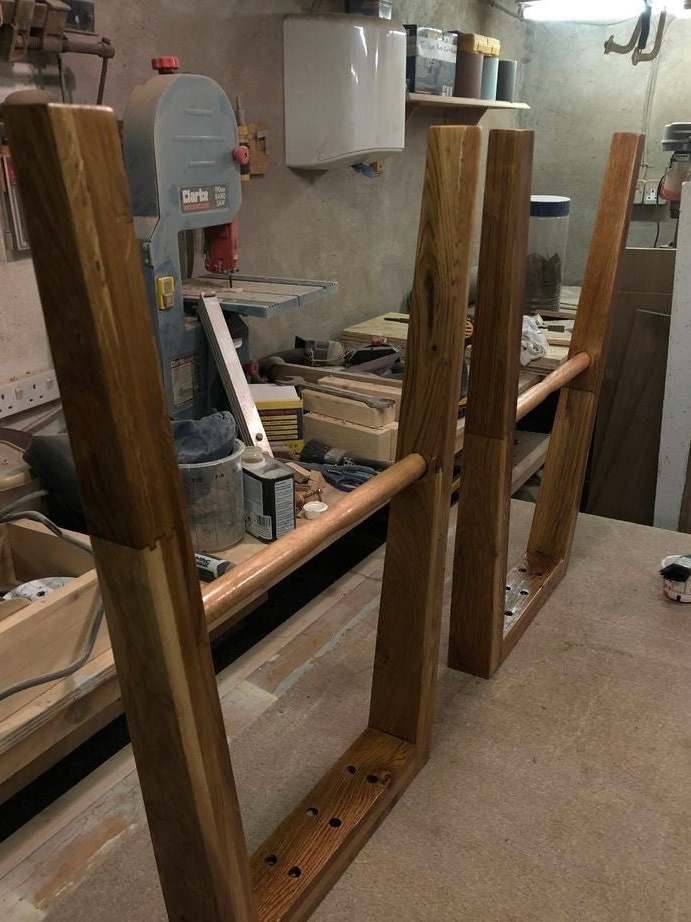
Step two: table legs
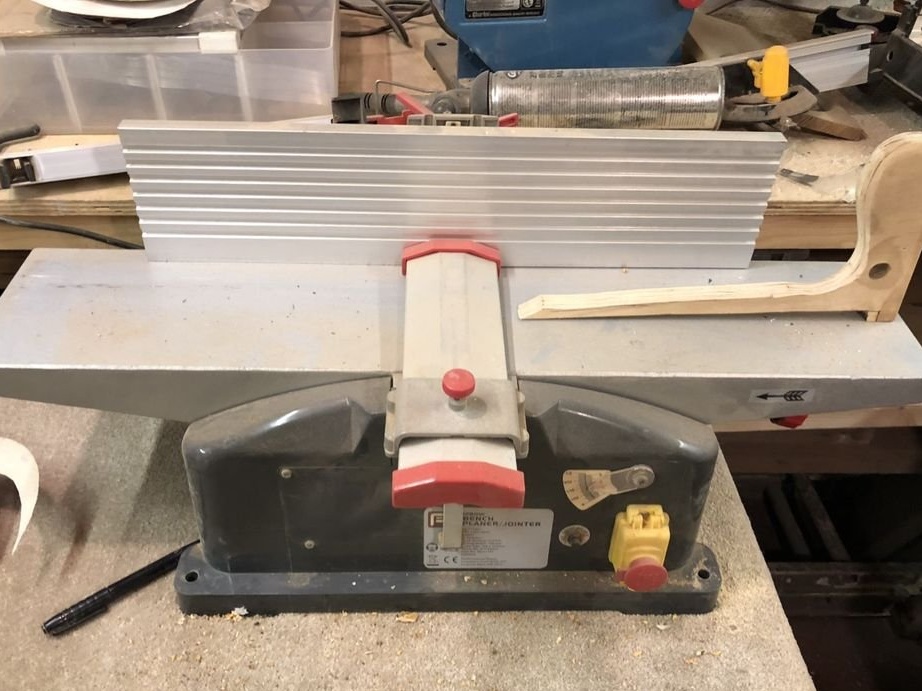
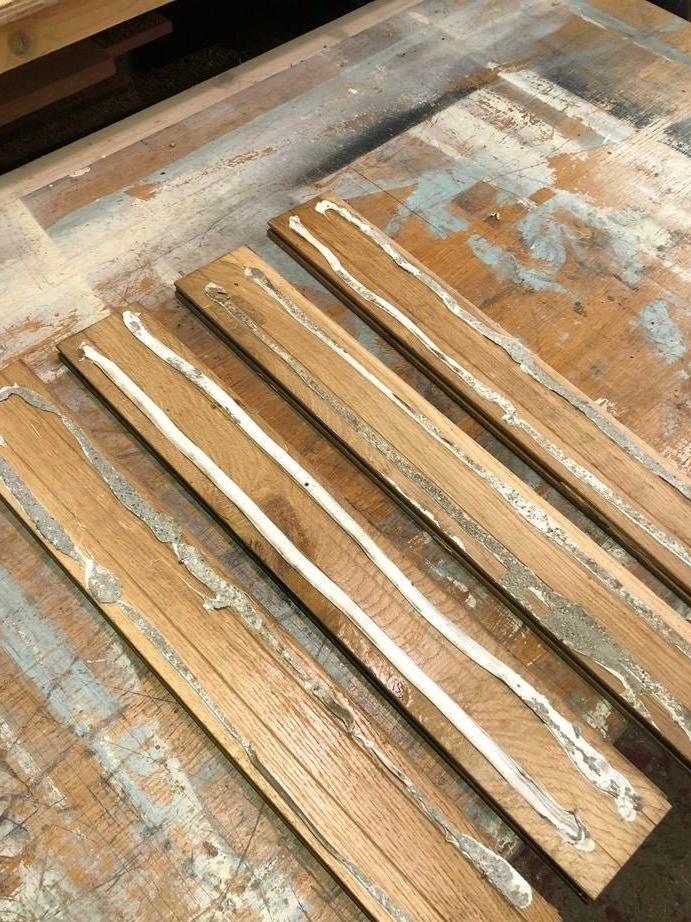
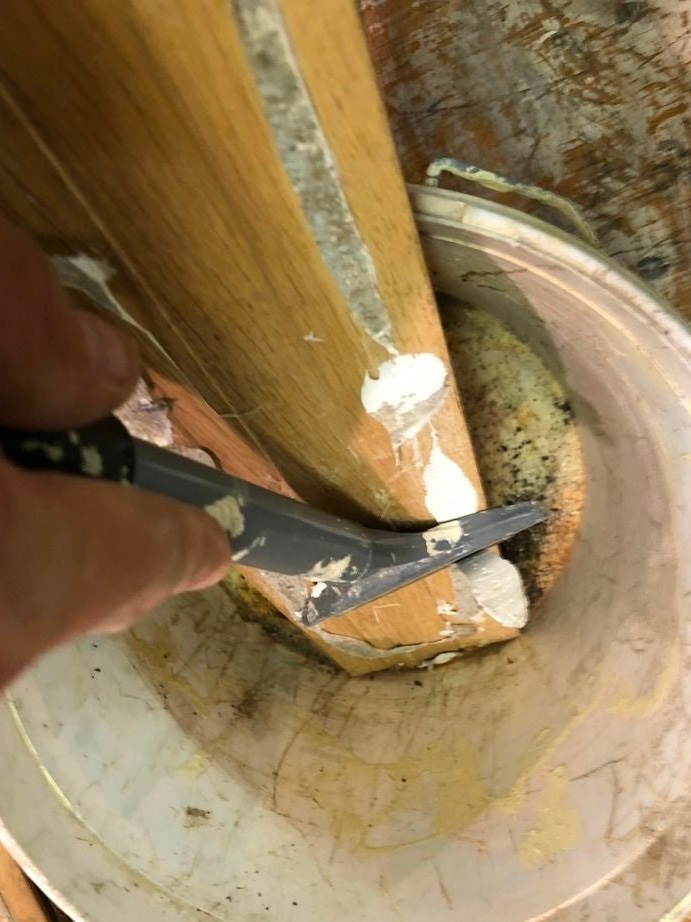
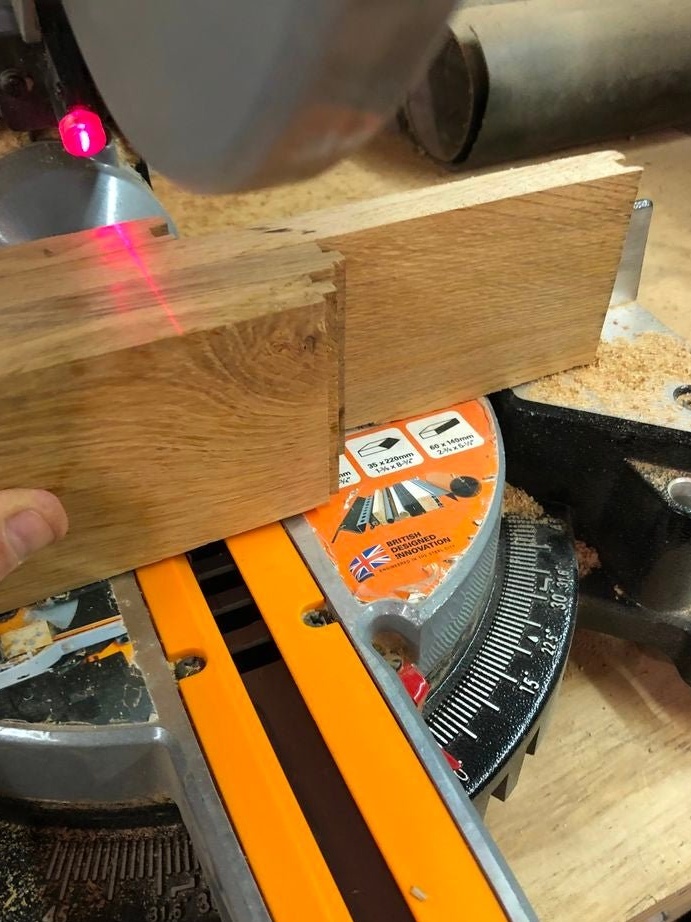
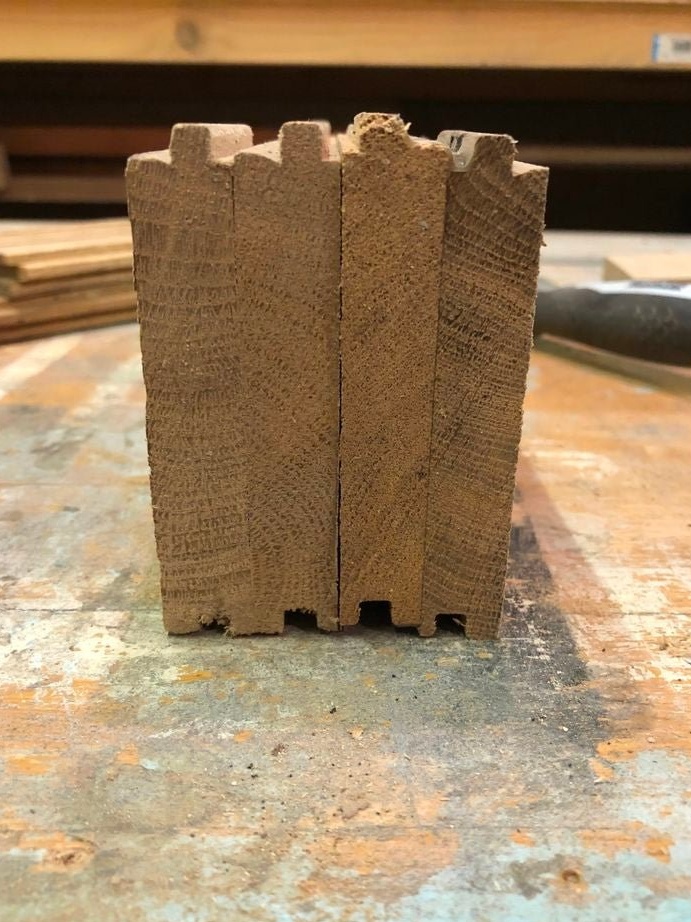
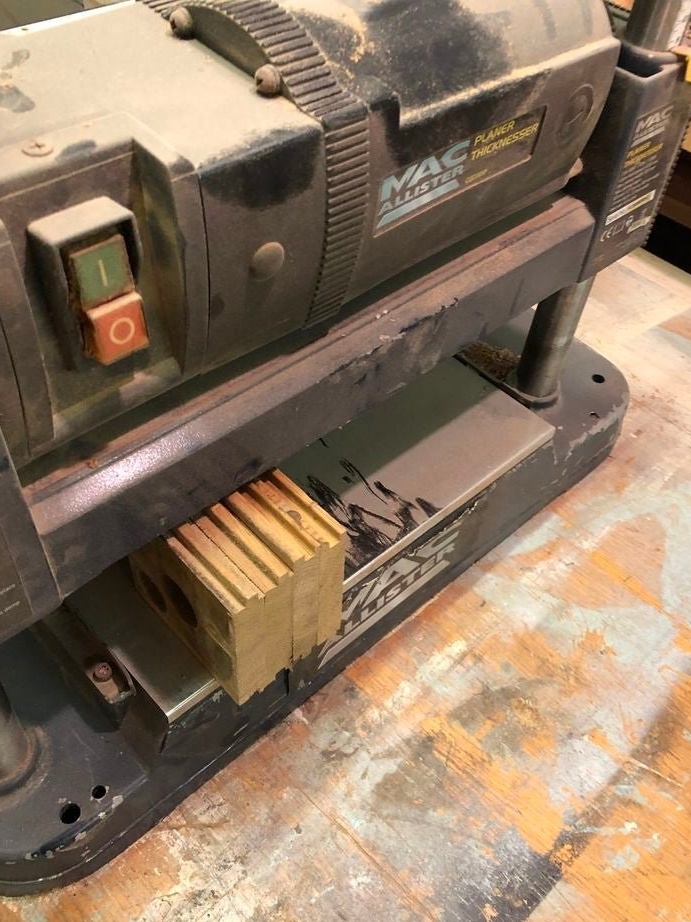
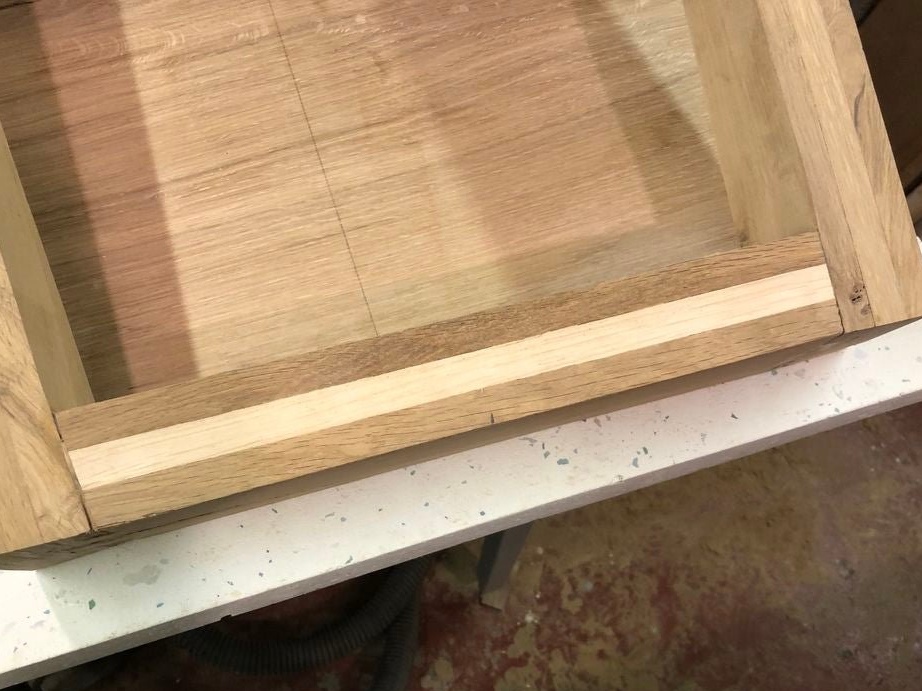
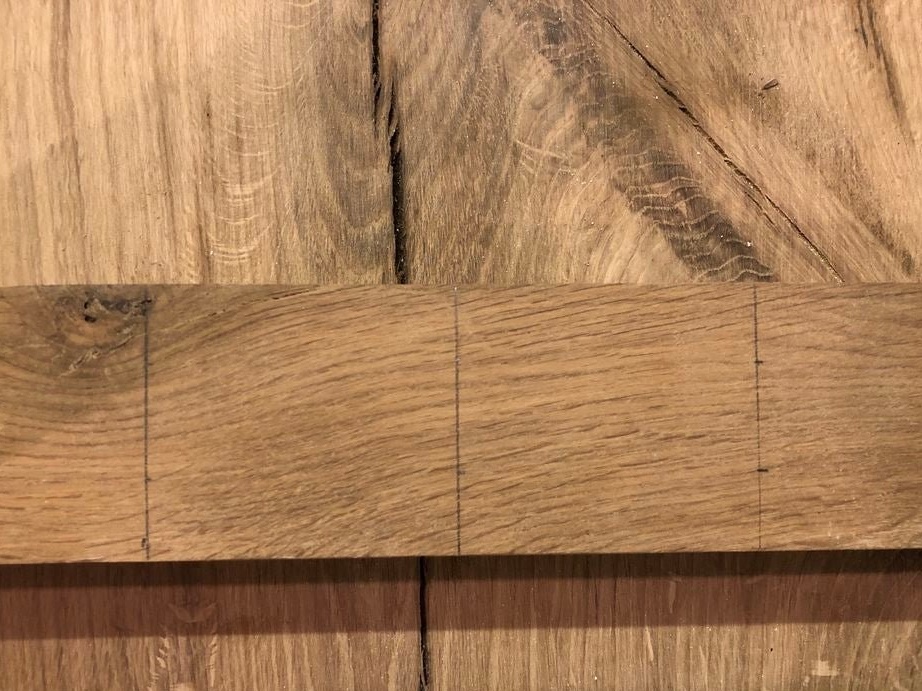
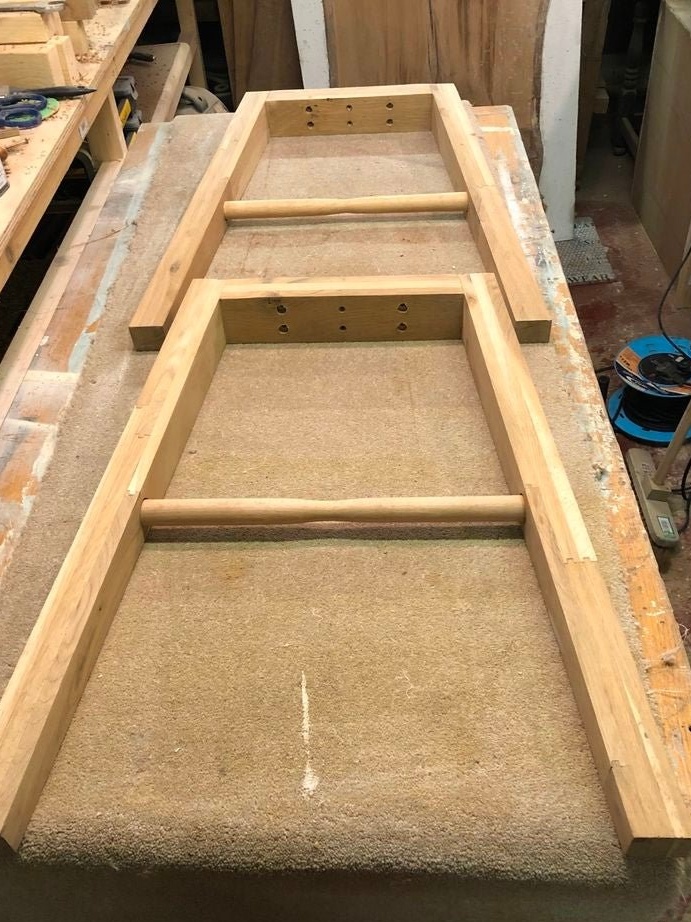
The table legs are made of old oak flooring. The master cleans it. He pulls nails from parquet and removes glue. Processes them on a planer. Trim lengthwise. Then the master glues four legs of 6 boards + bars for the frame.

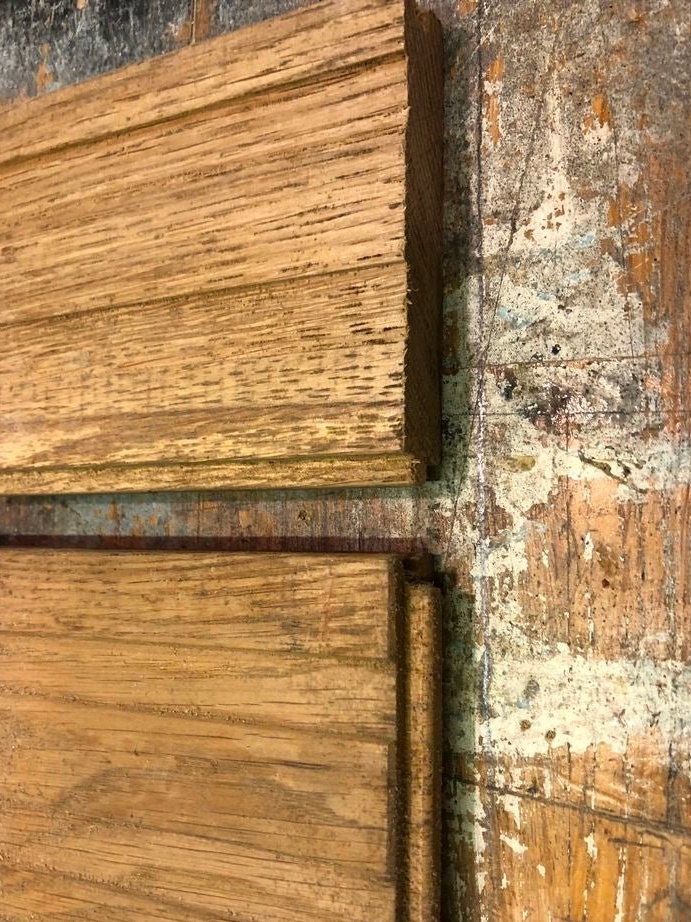
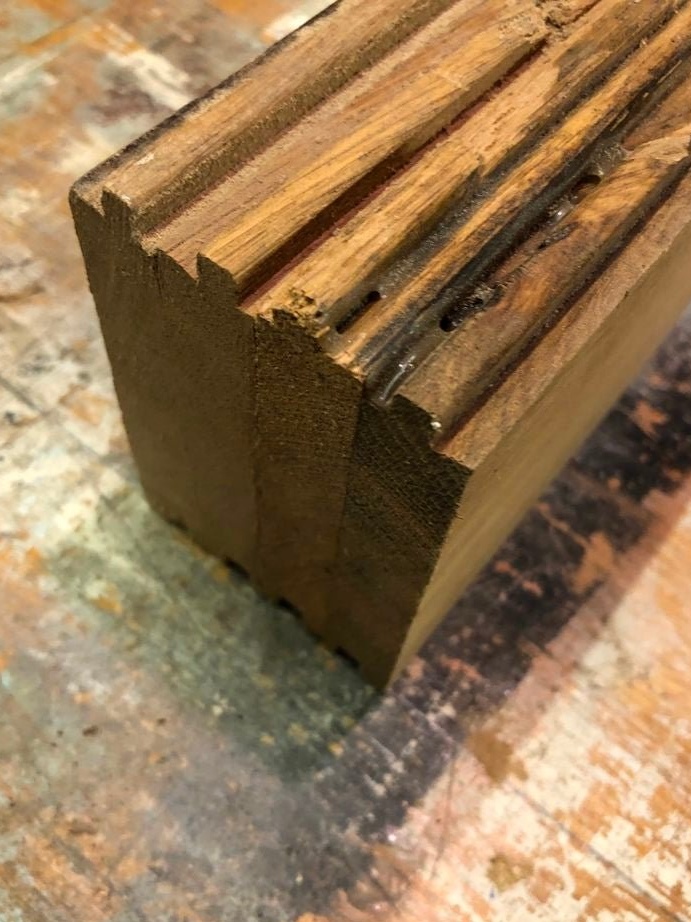
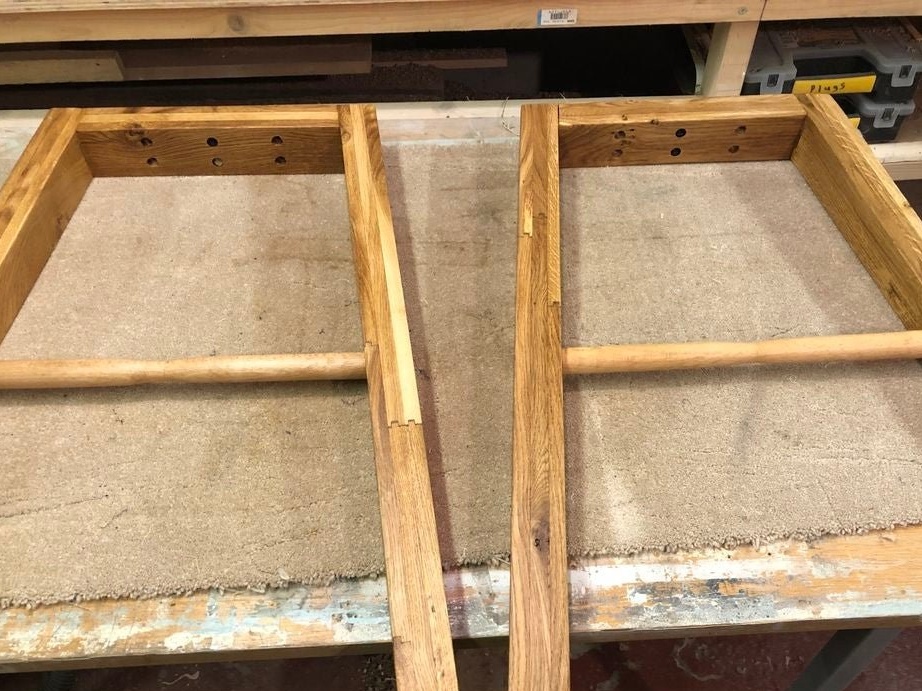
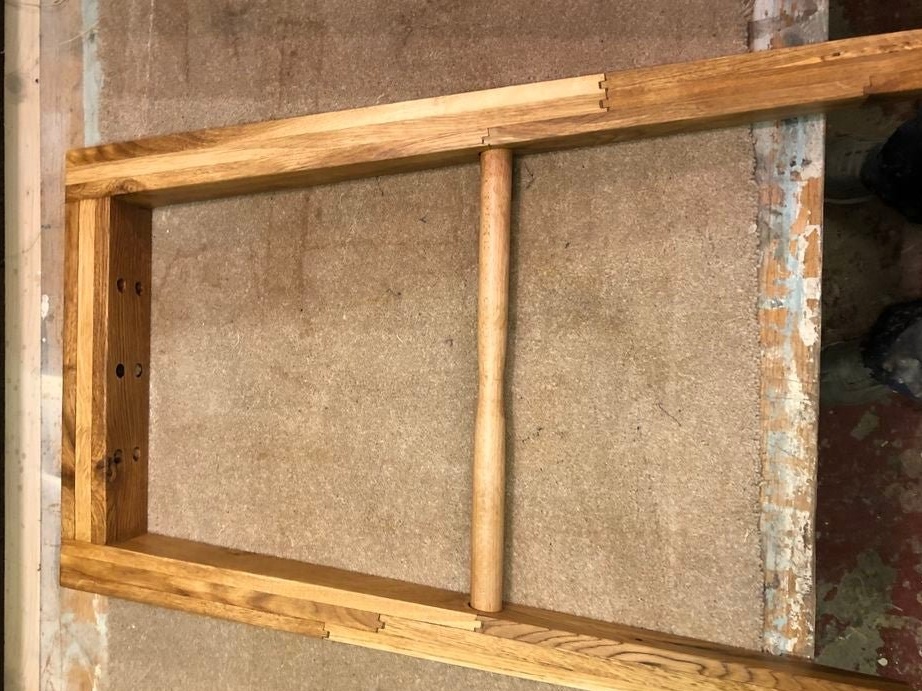
The countertop will be attached to two U-shaped legs. The upper crossbar is connected to the legs by a spike-groove method. The master makes spikes on the upper crossbeam and grooves on the legs.
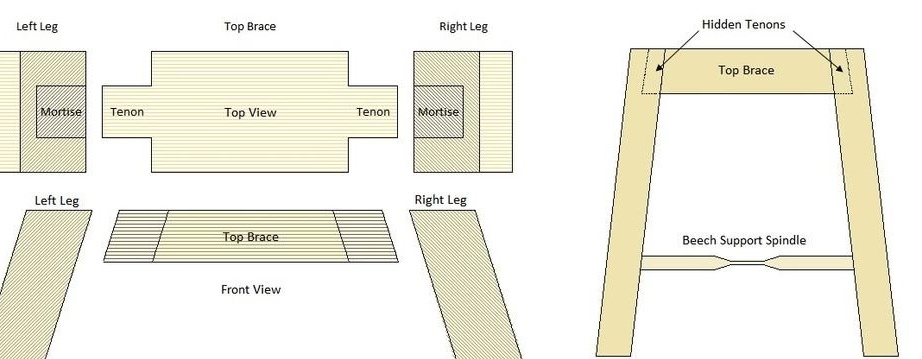
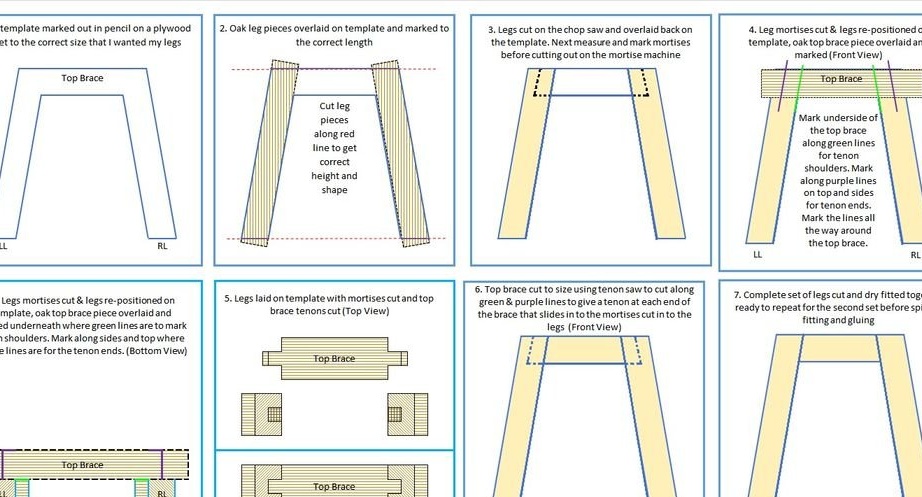
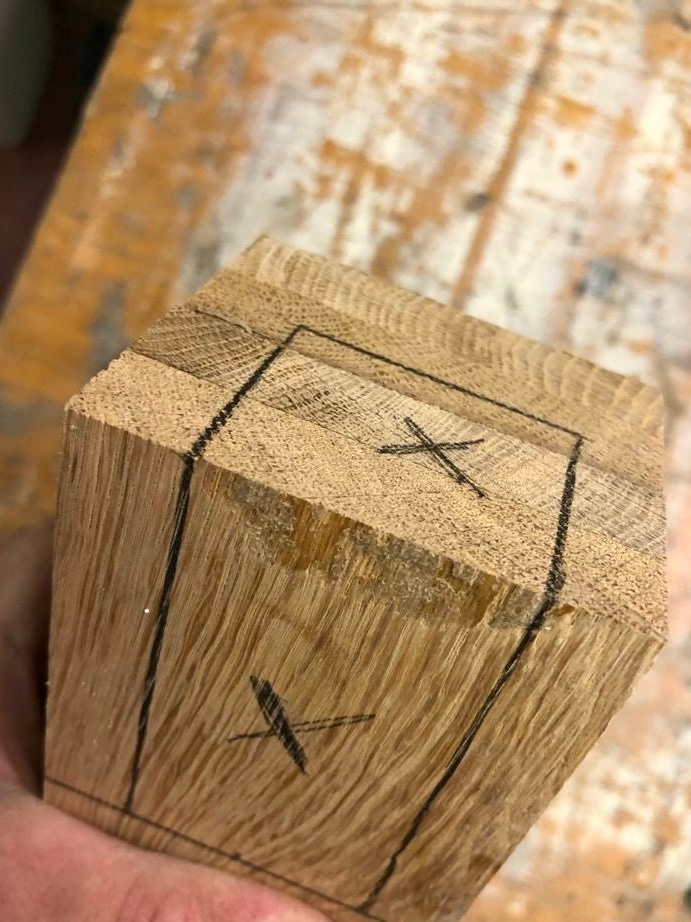
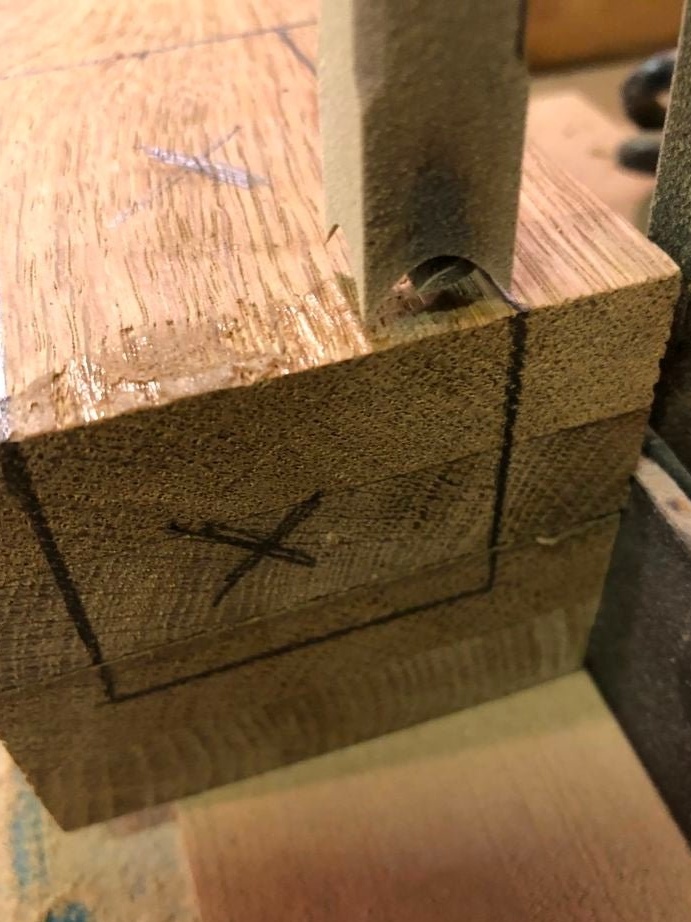
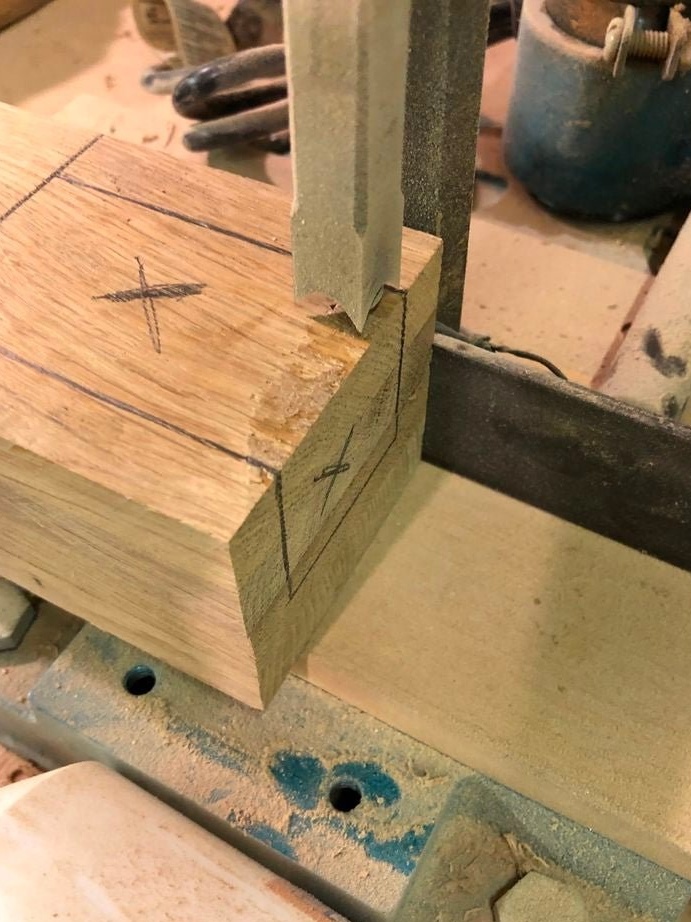

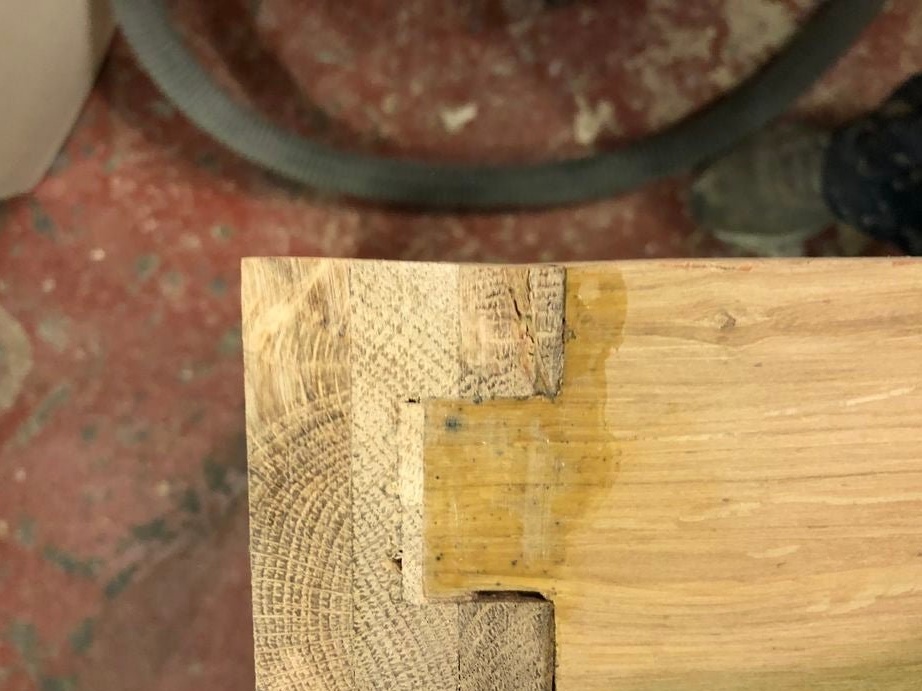
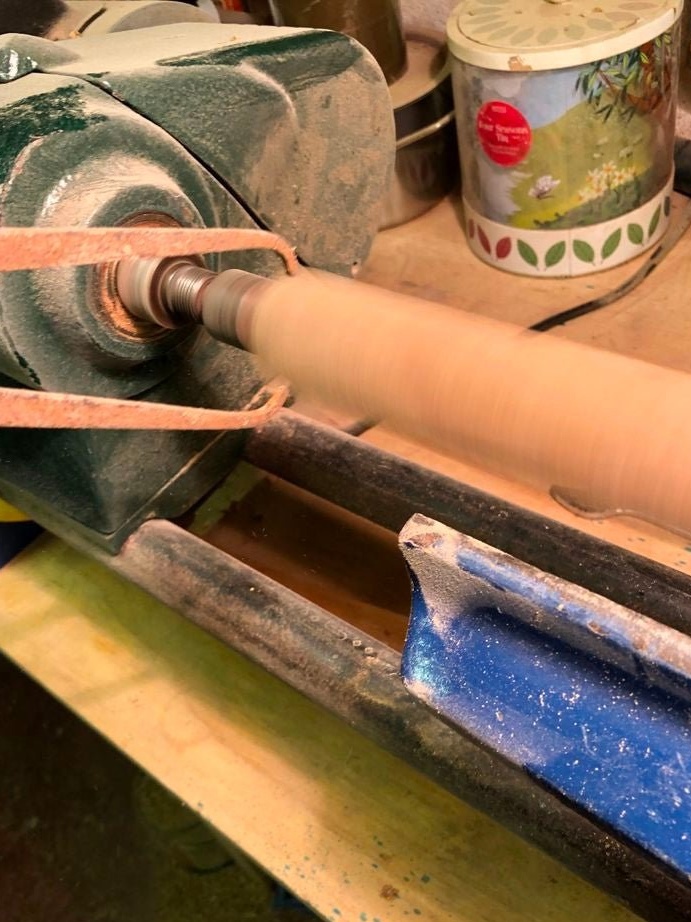
The second crossbeam holds the legs together in the middle. The master installs the workpieces in a lathe and processes them. Then cuts a groove in the legs. Pre-collects the legs.
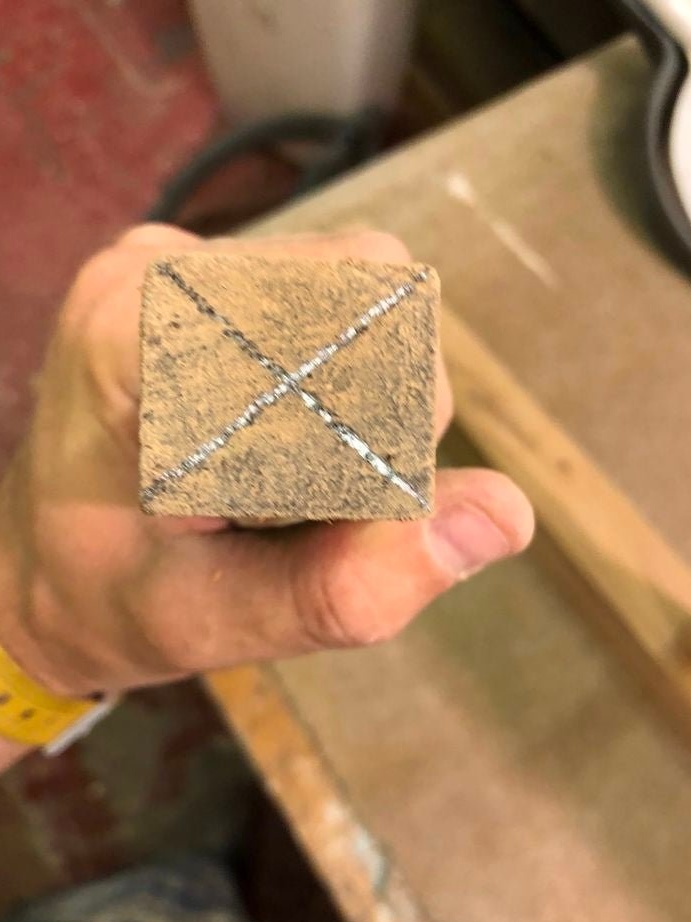
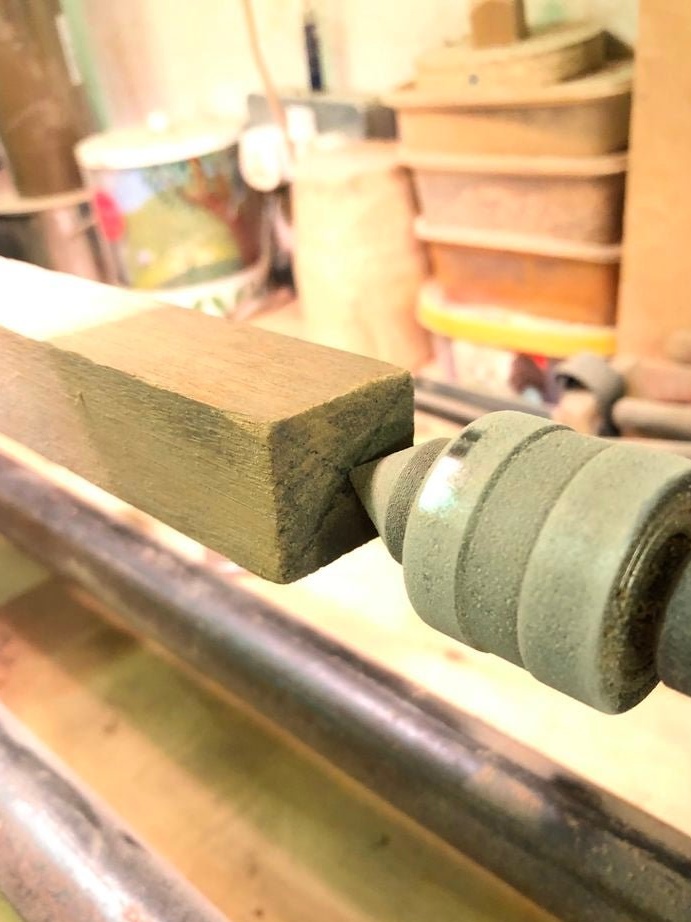
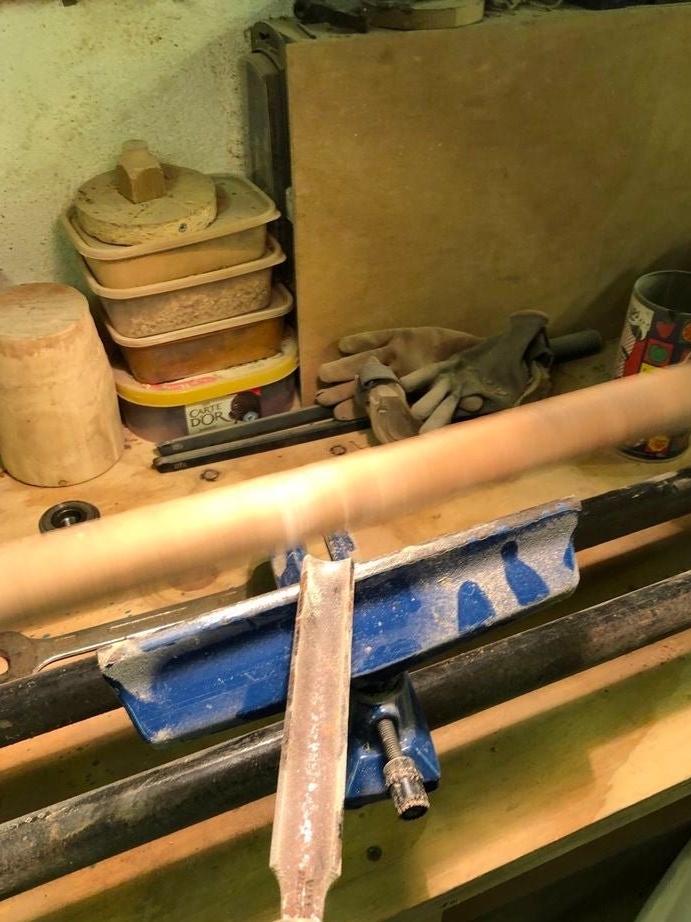
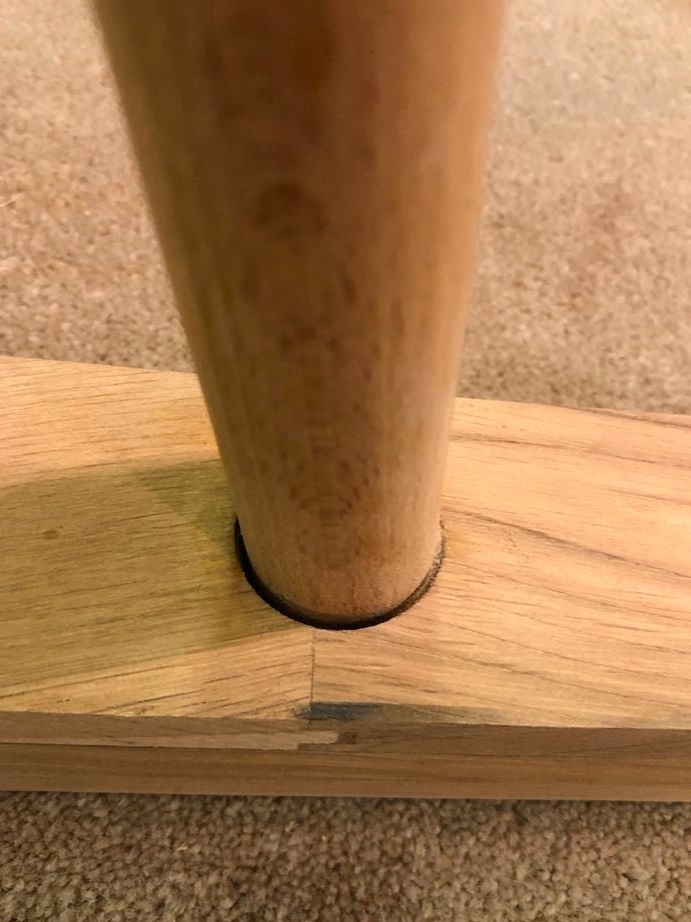
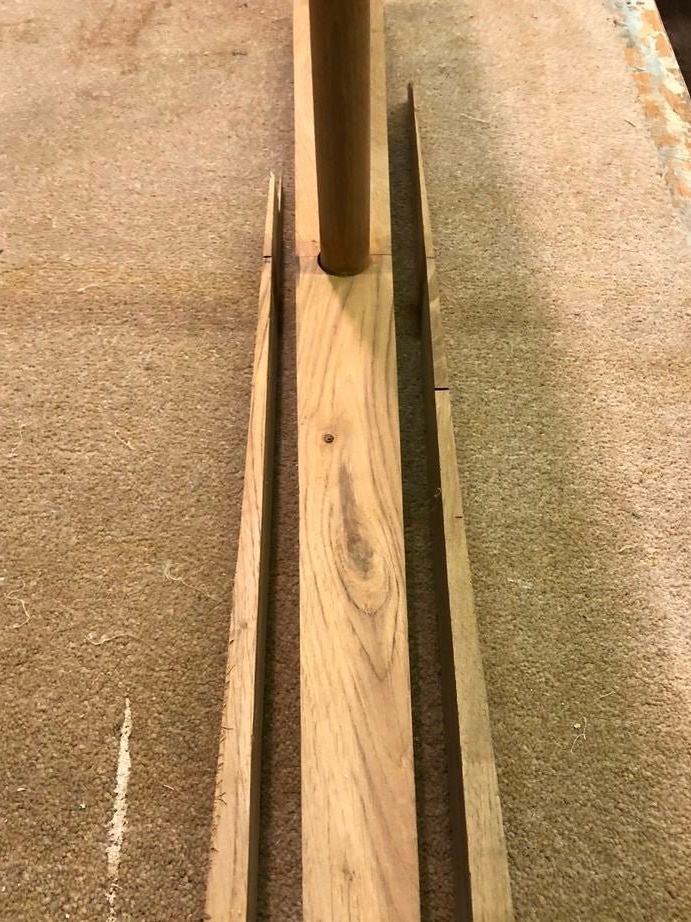
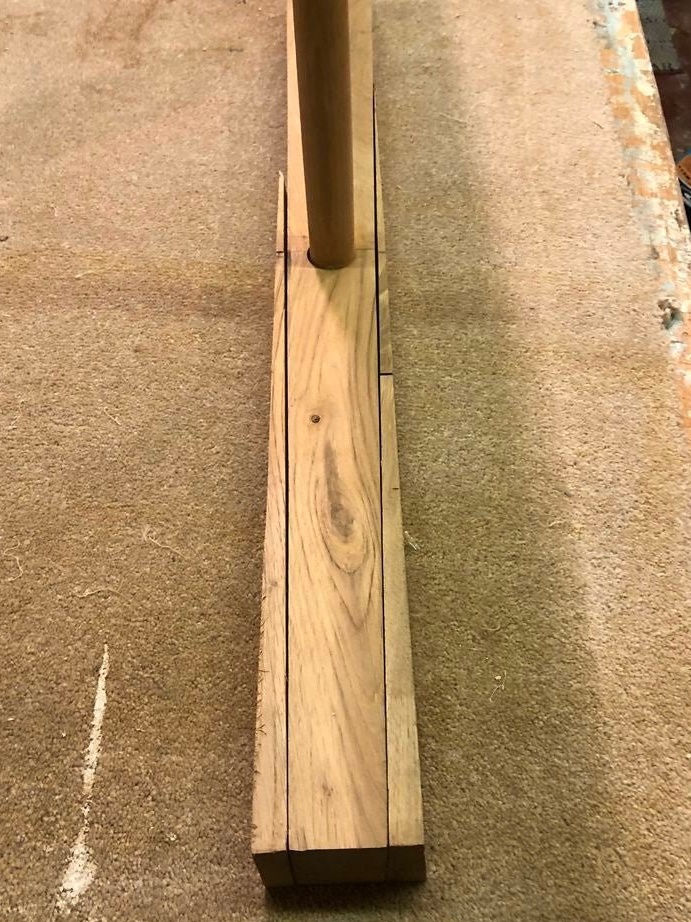
The master wanted the legs to have a cone shape. He cuts the bar diagonally and glues the workpiece to the legs.


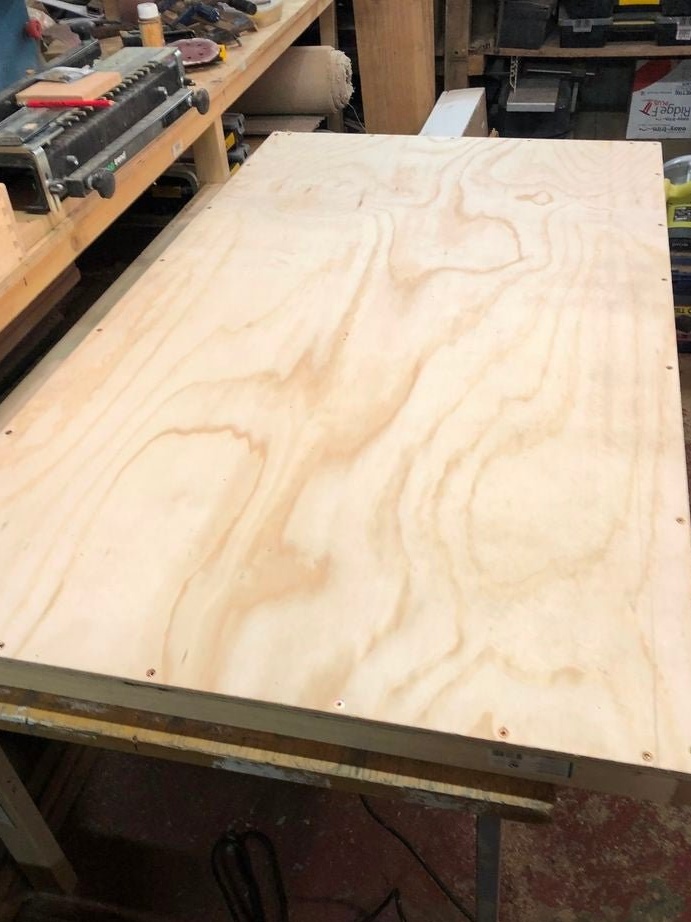
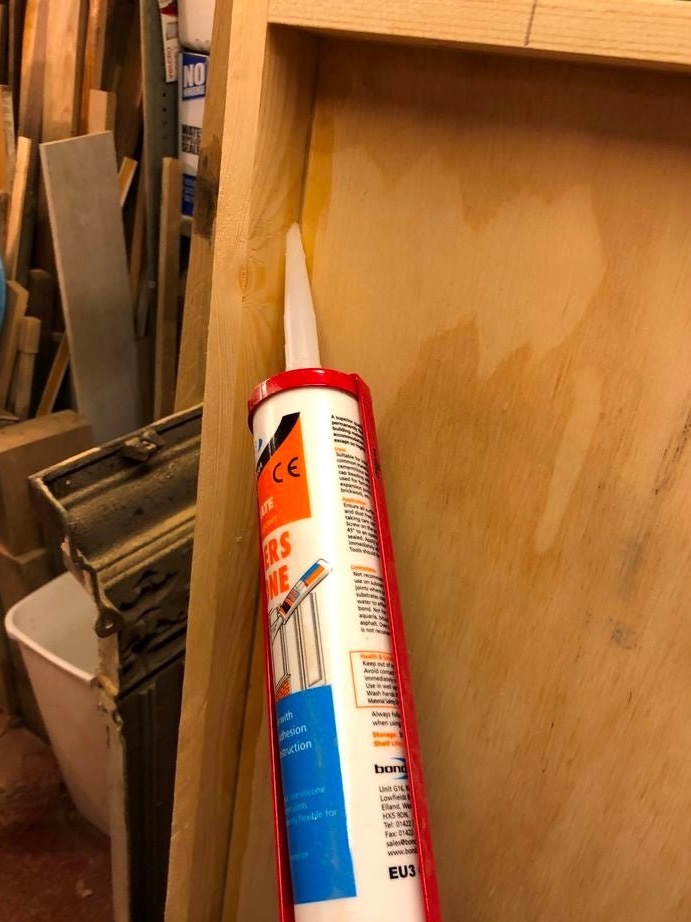
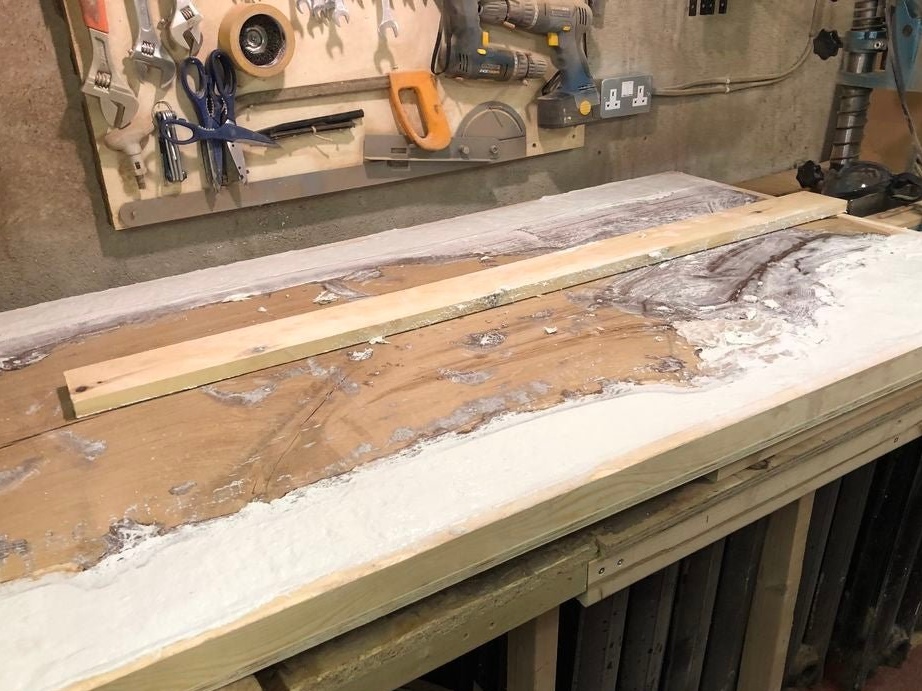
Step Three: Preparing for Concrete Pouring
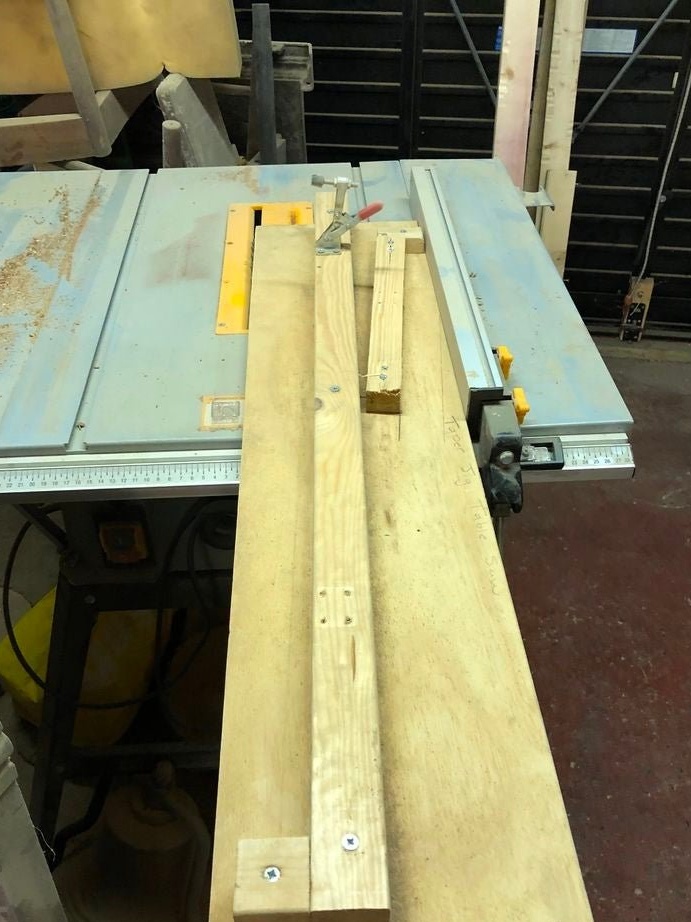
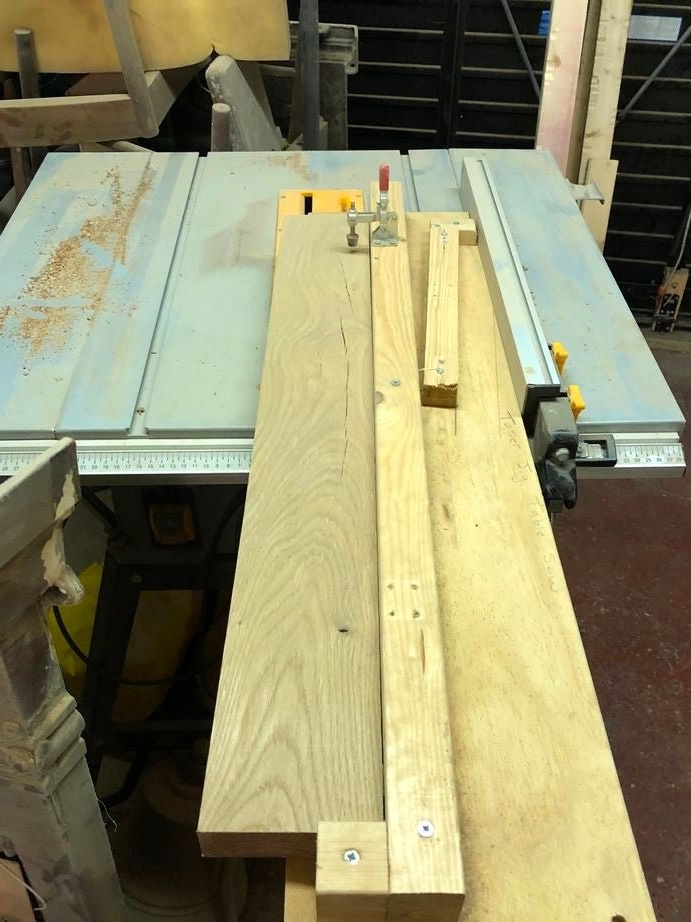
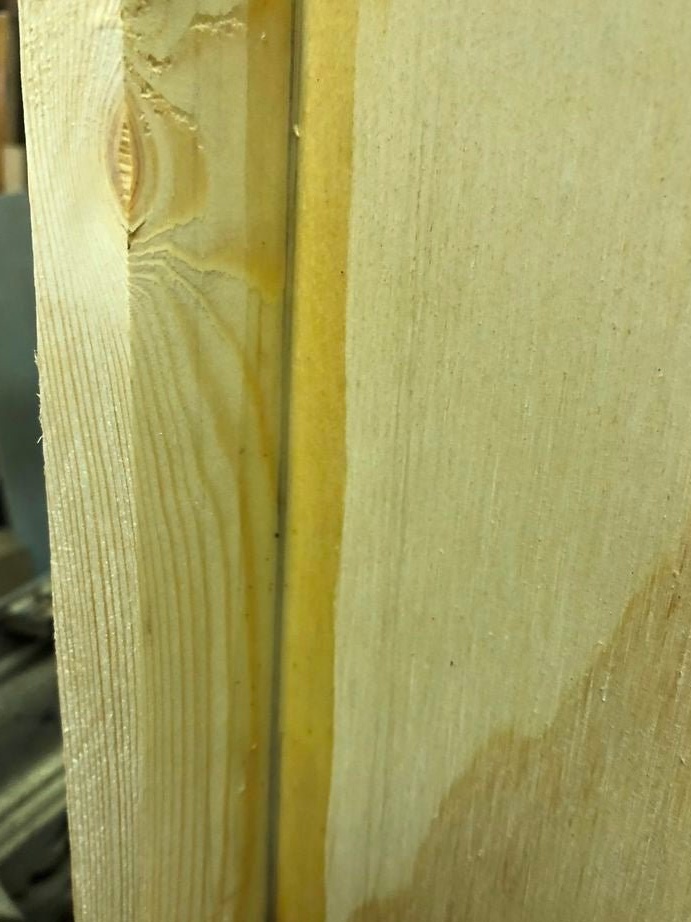
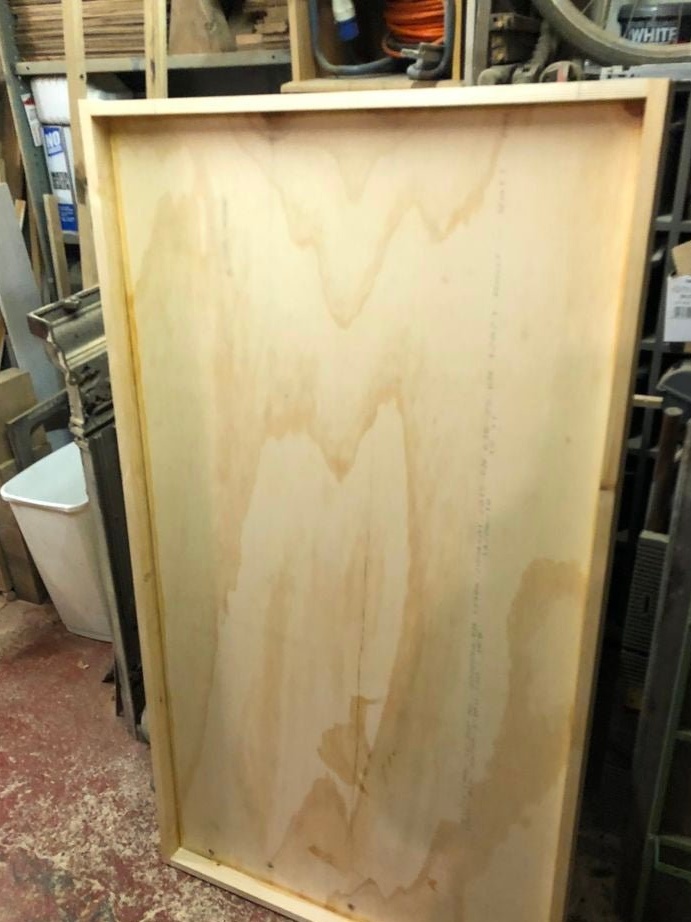
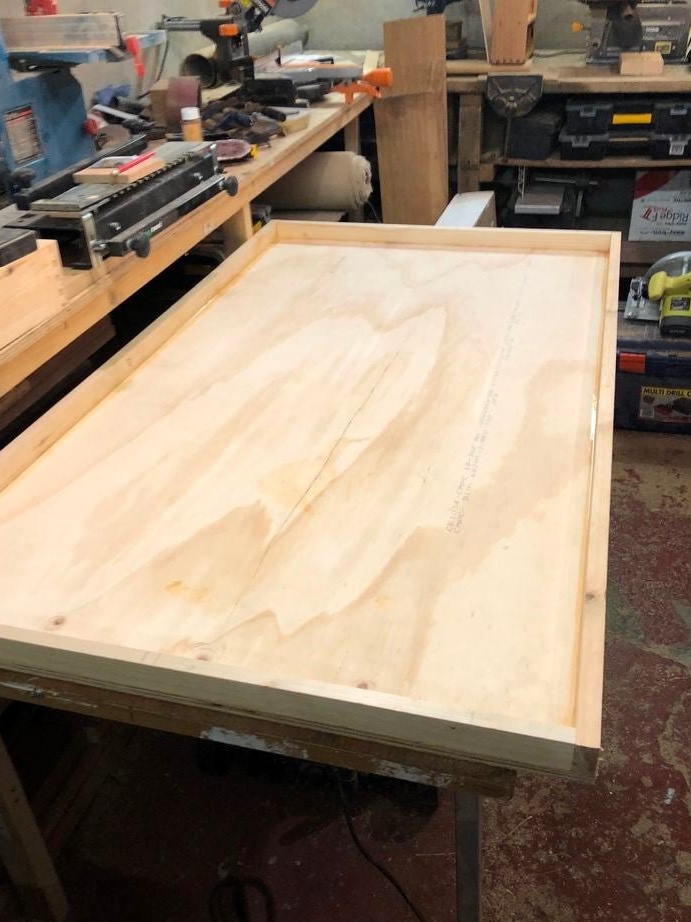
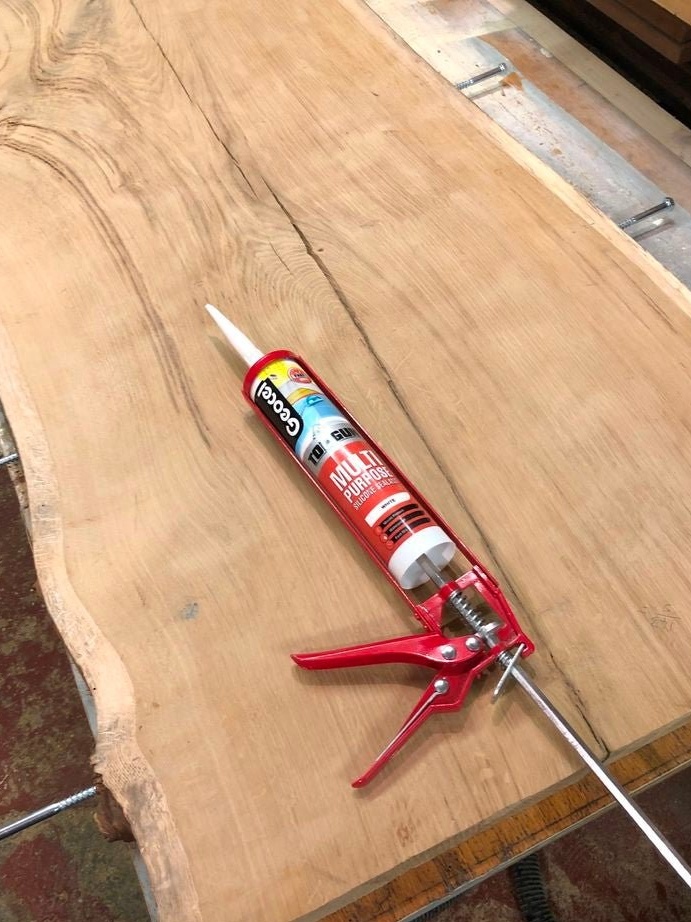
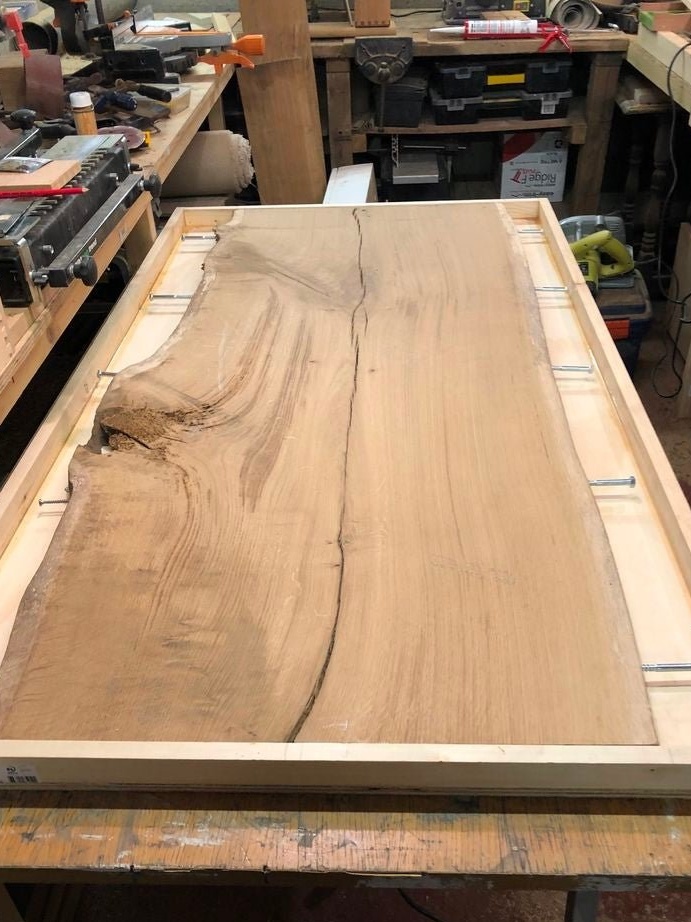
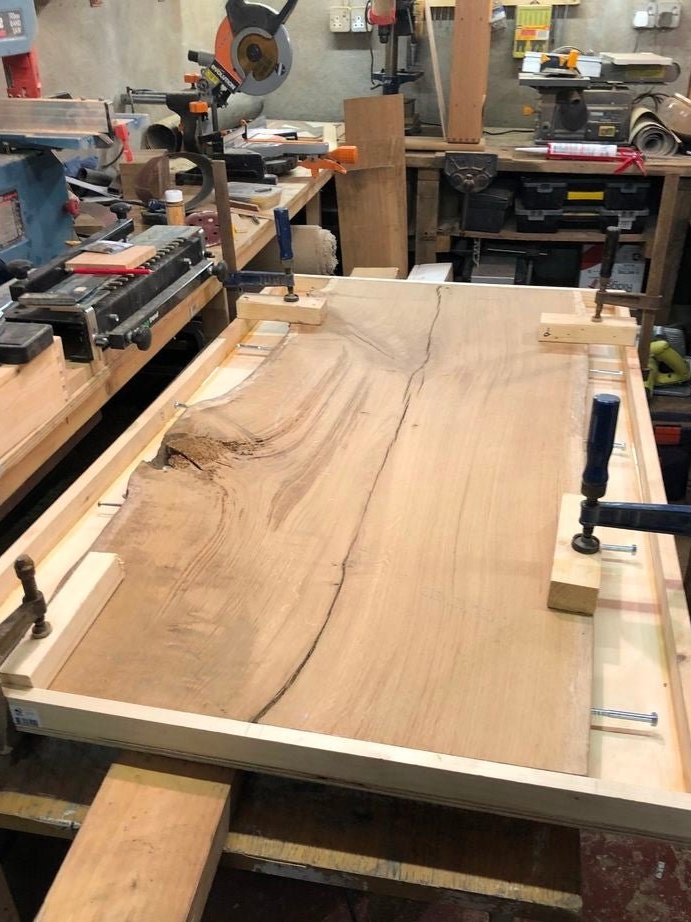
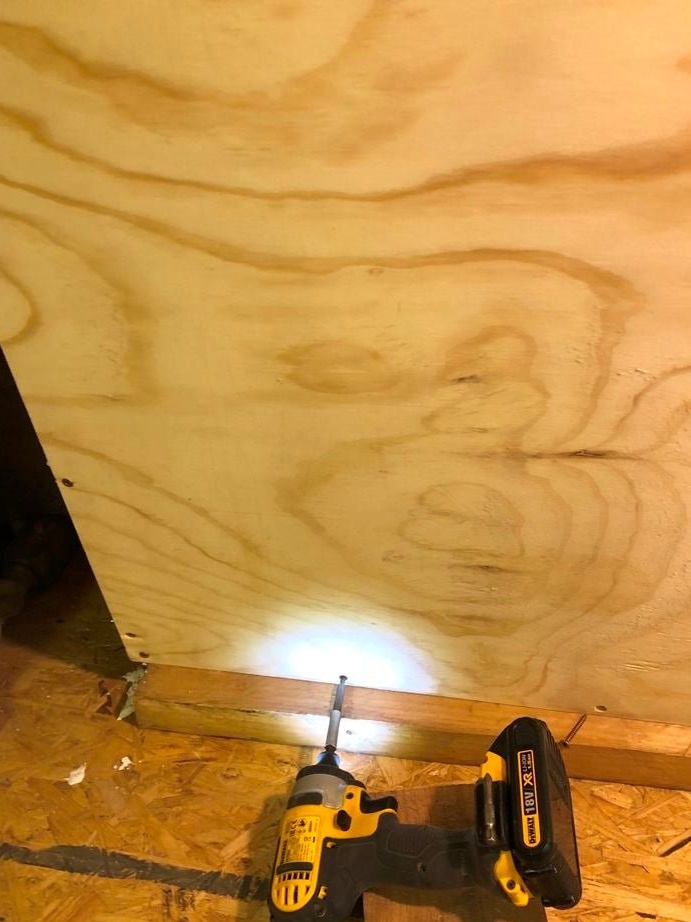
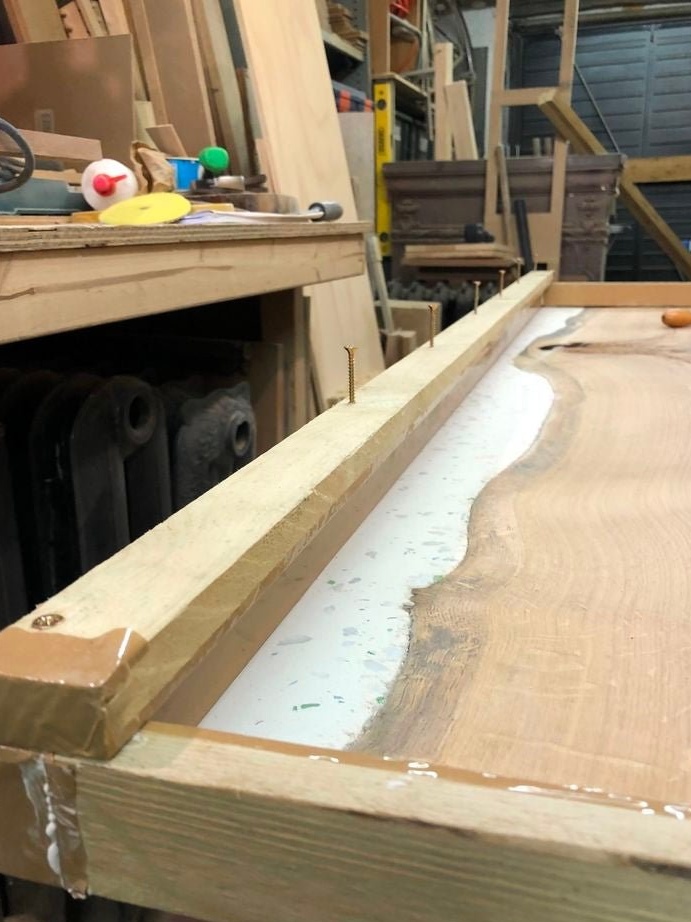
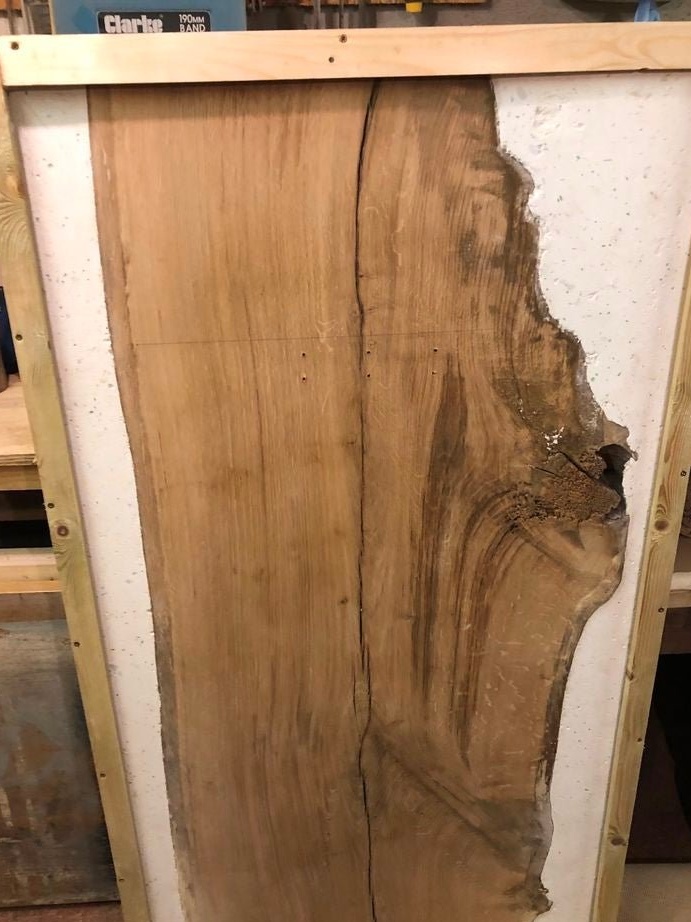
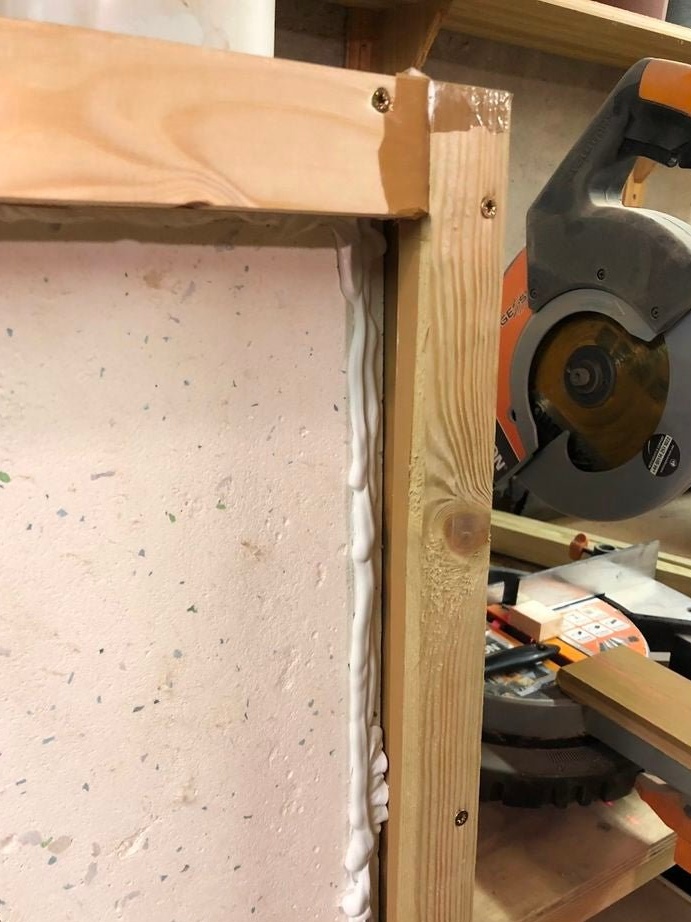
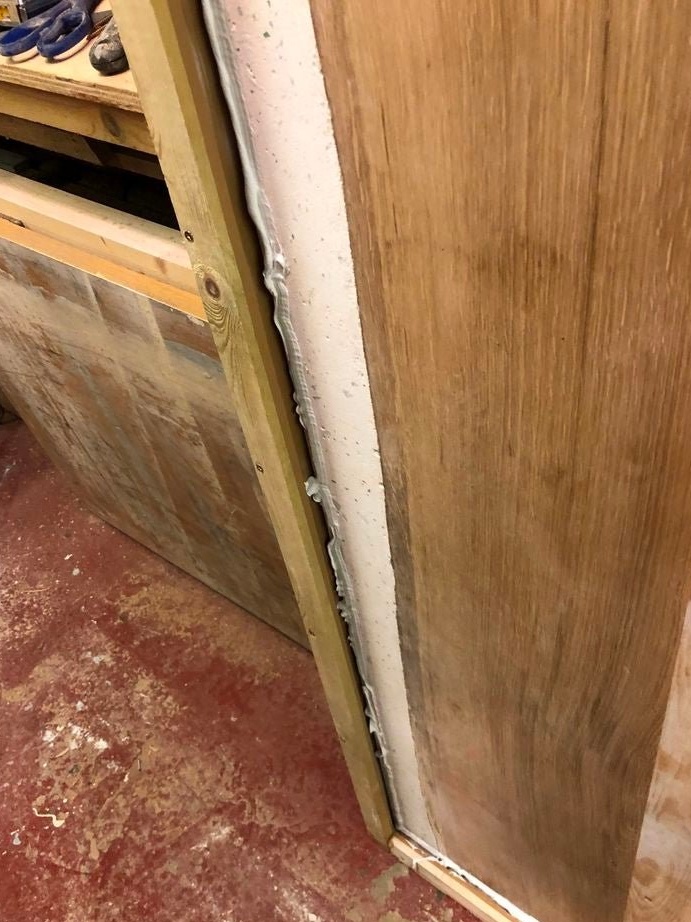
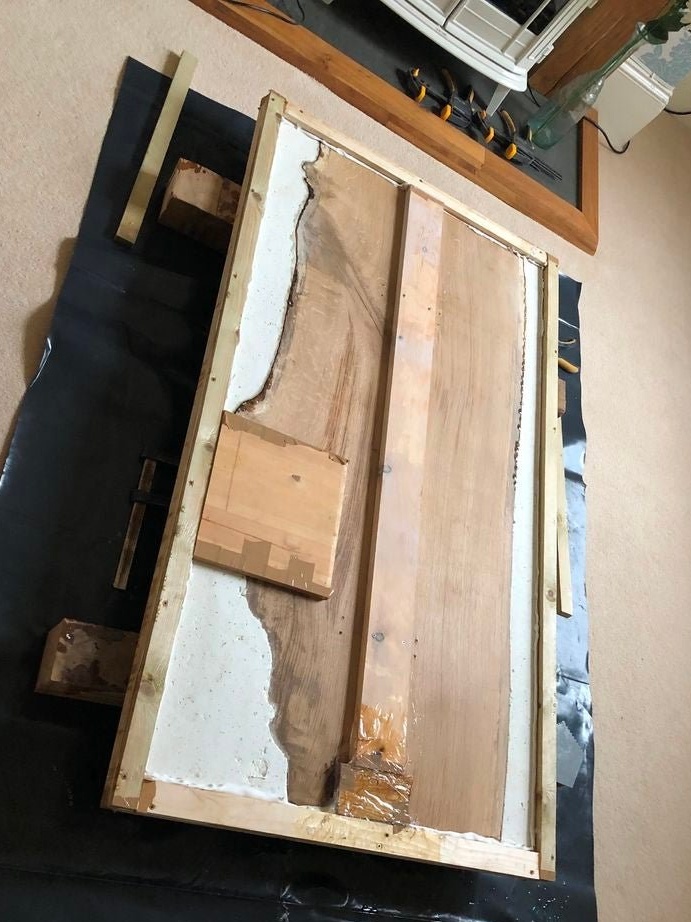
The master decided to make the edges of the table out of white concrete. First you need to prepare a form. The master makes the form from plywood. Along the edges of the plywood sheet secures the battens. The joint between the sheet and the rails is sealed with silicone.
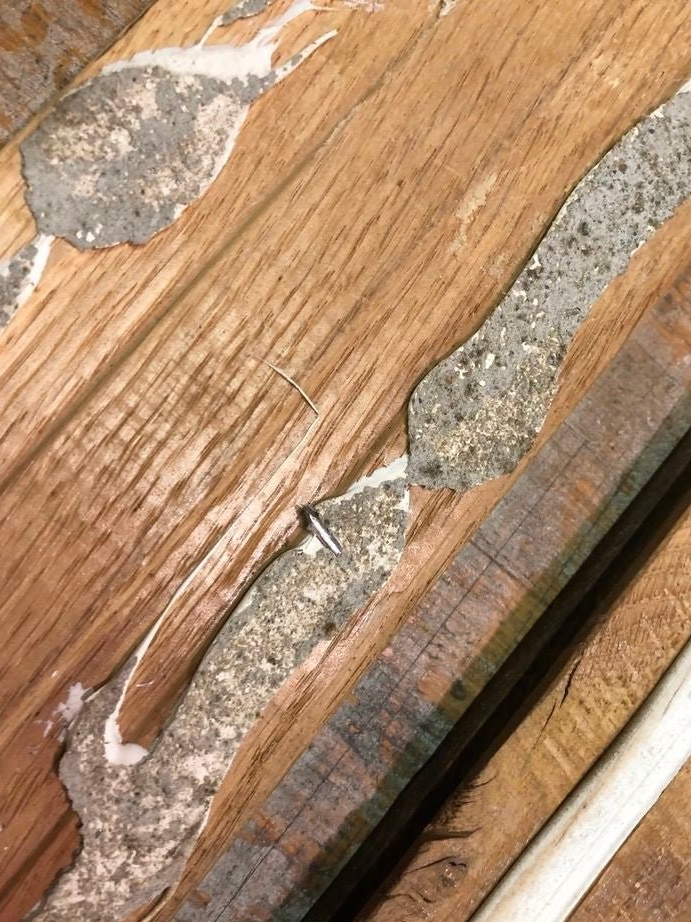
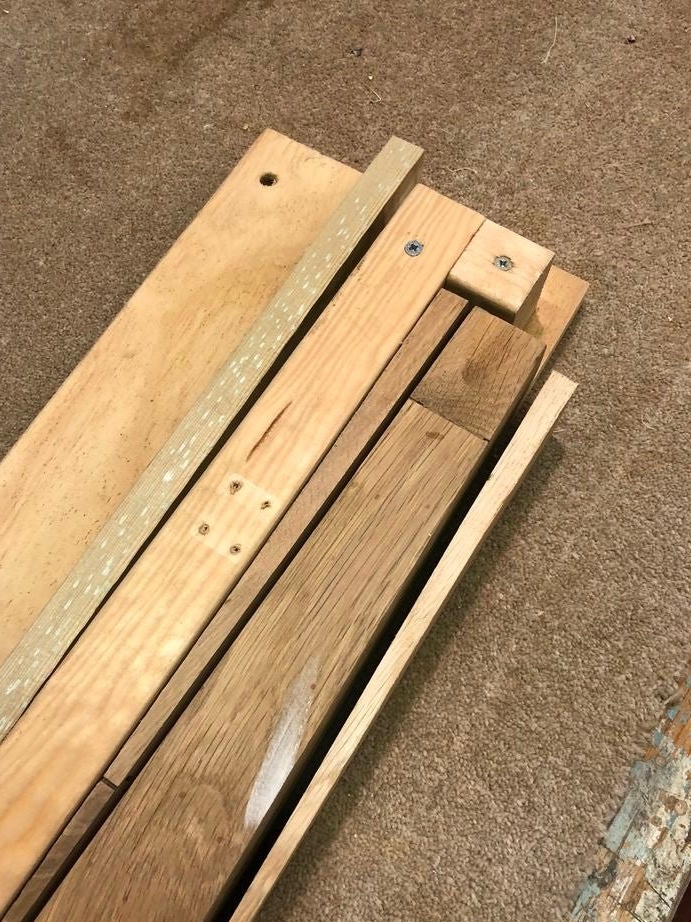
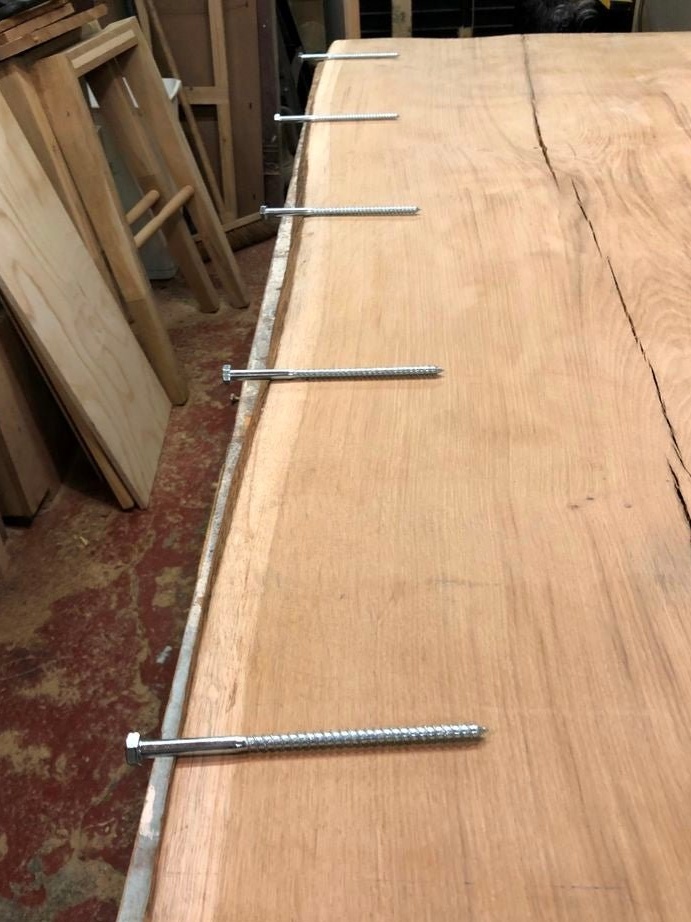
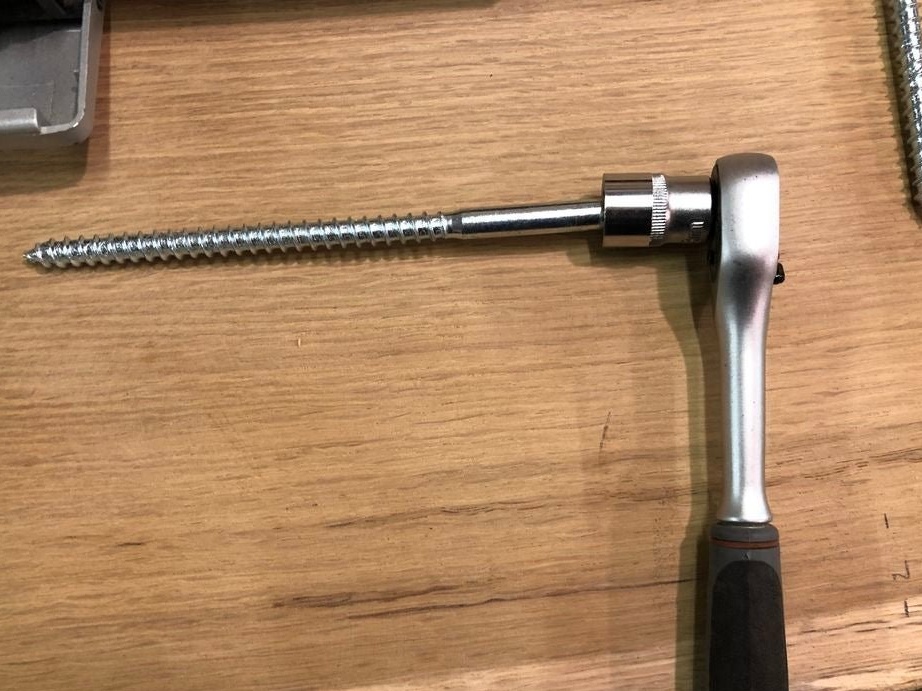
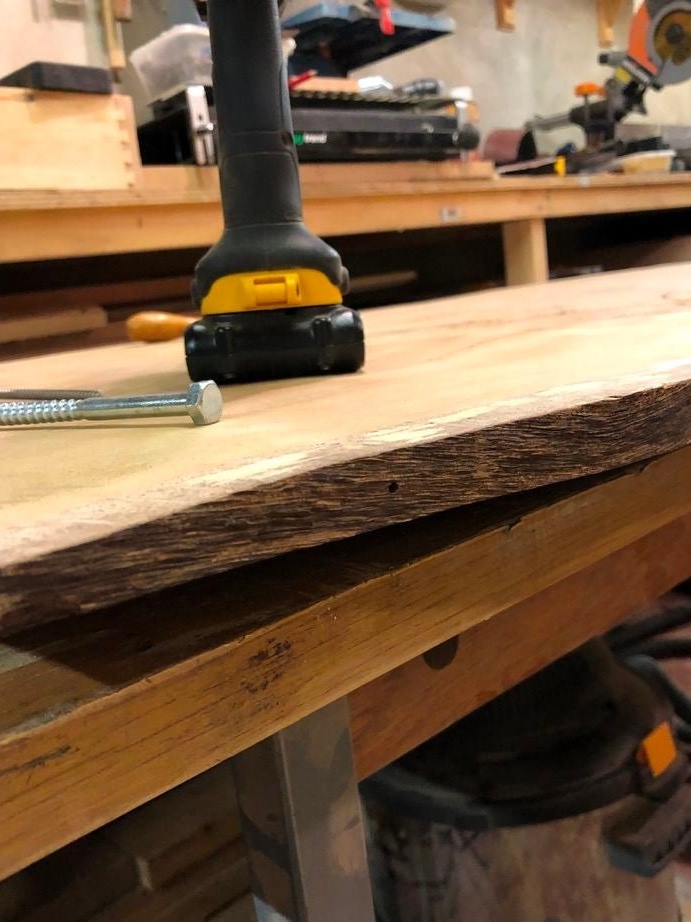
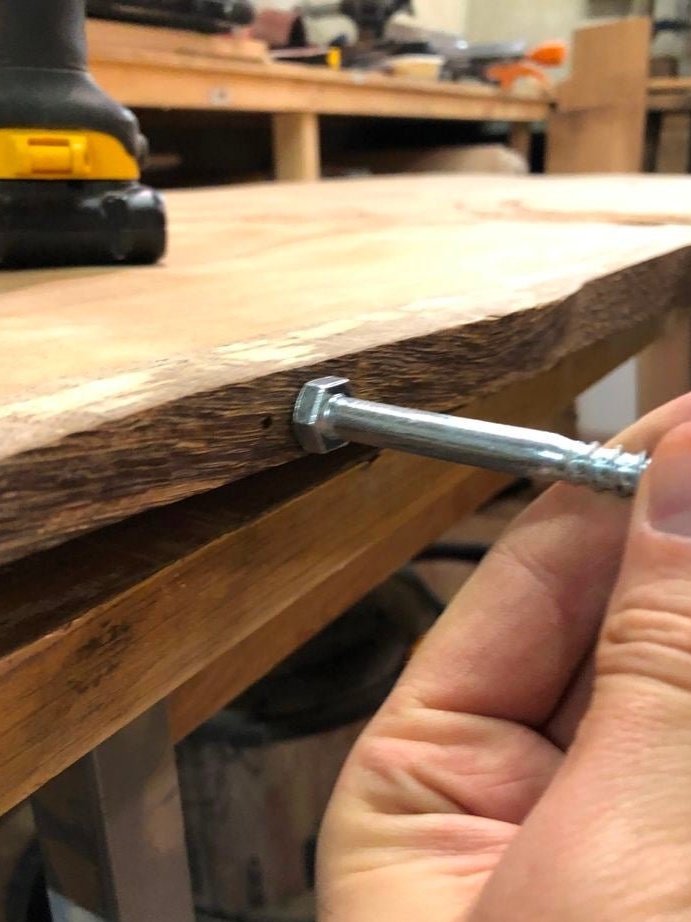
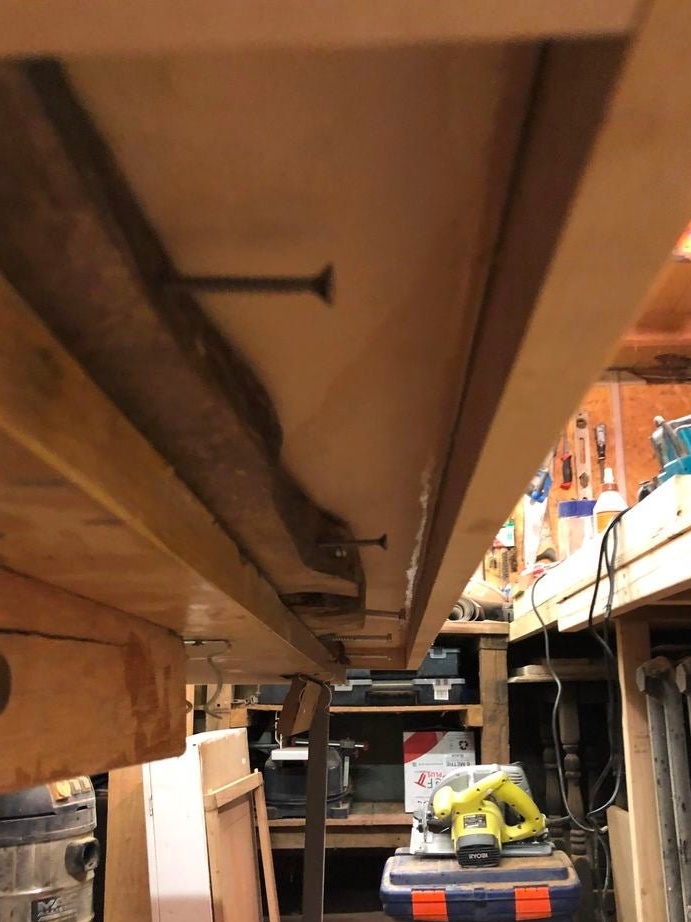
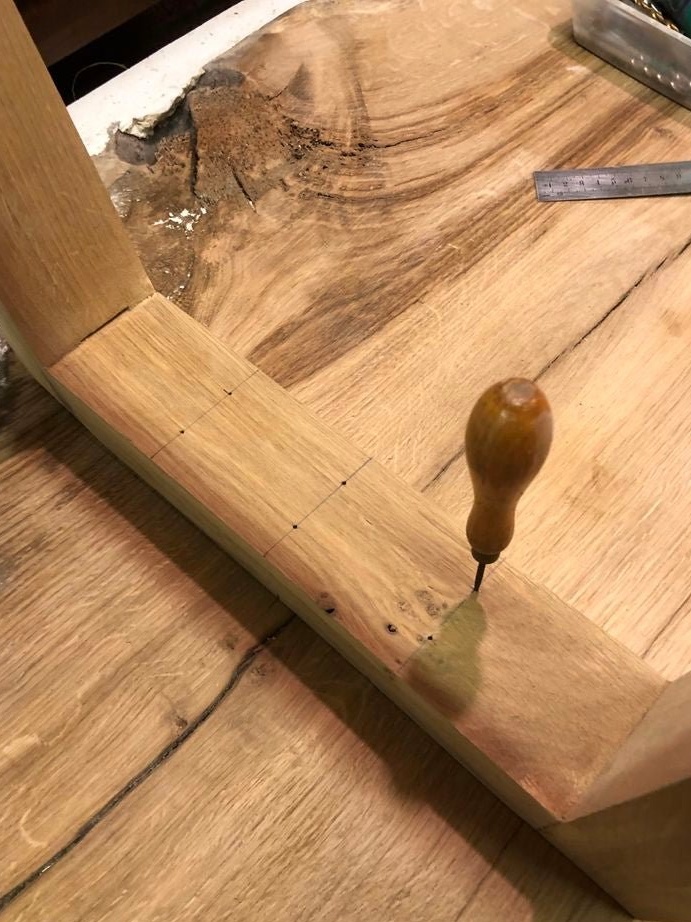
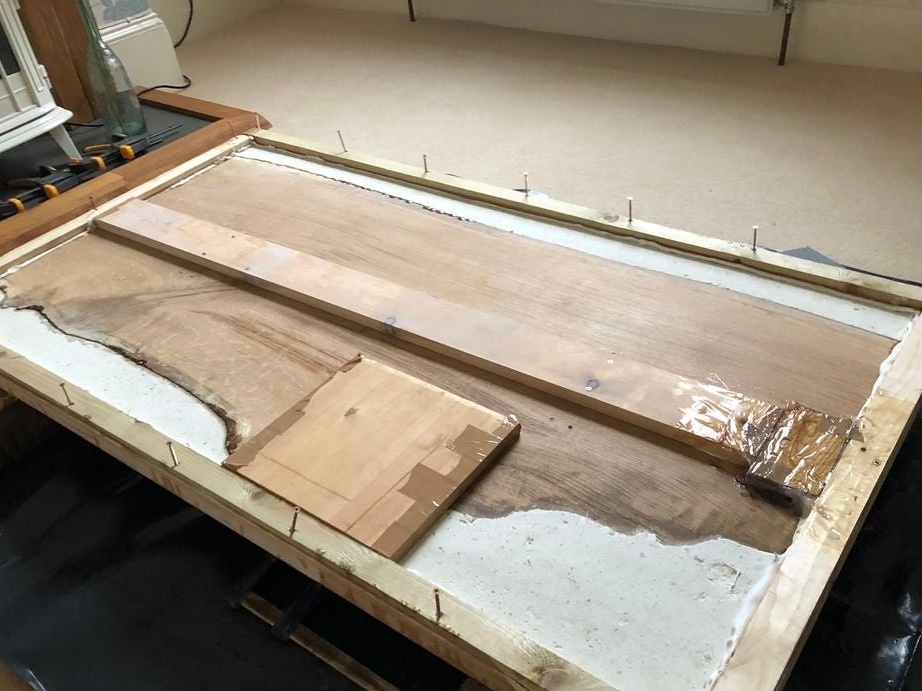
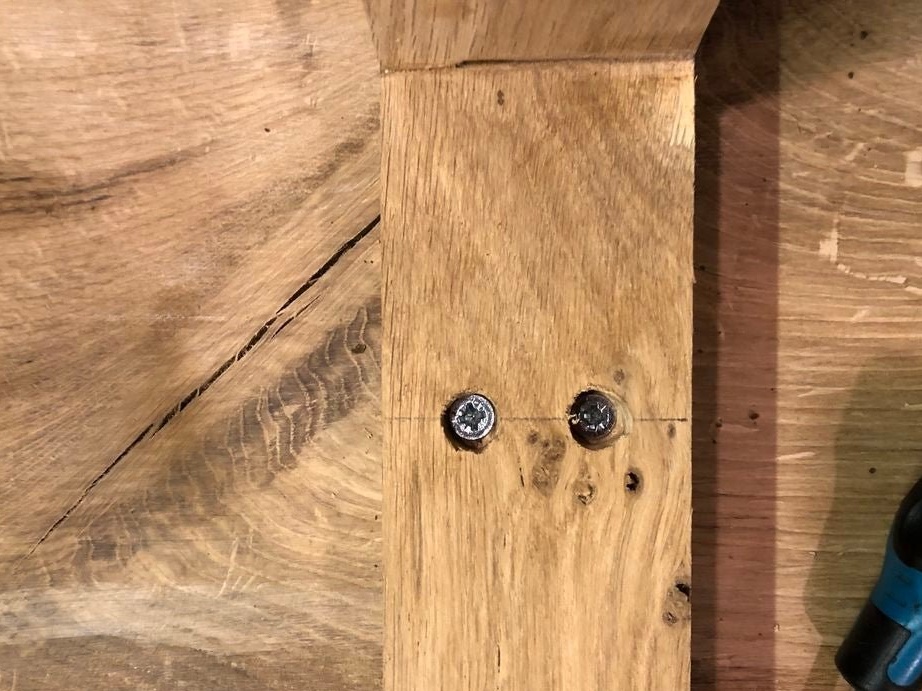
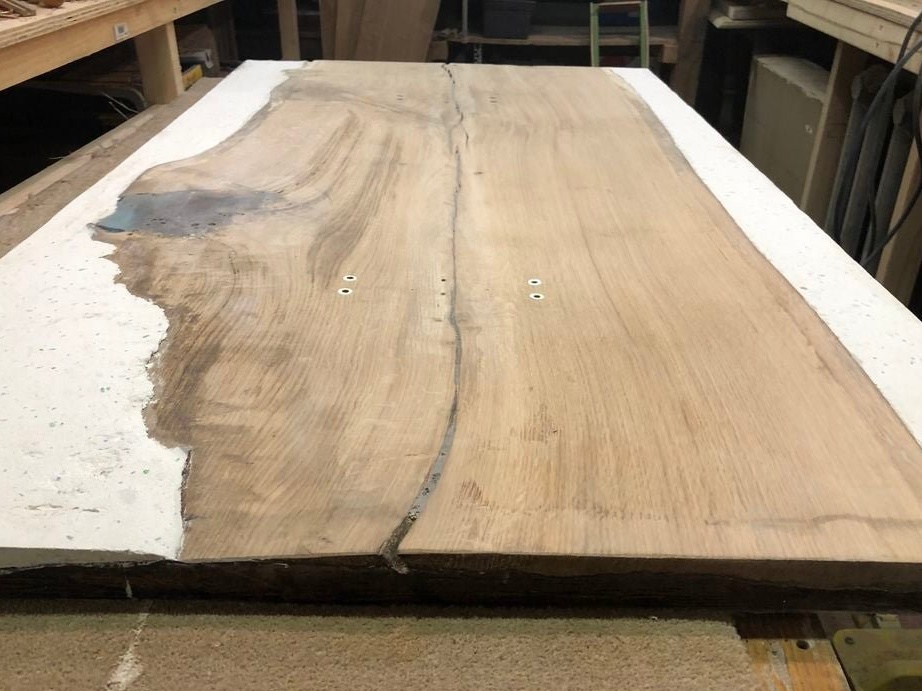
To reinforce concrete, the master uses bolts screwed into the ends of the slab.
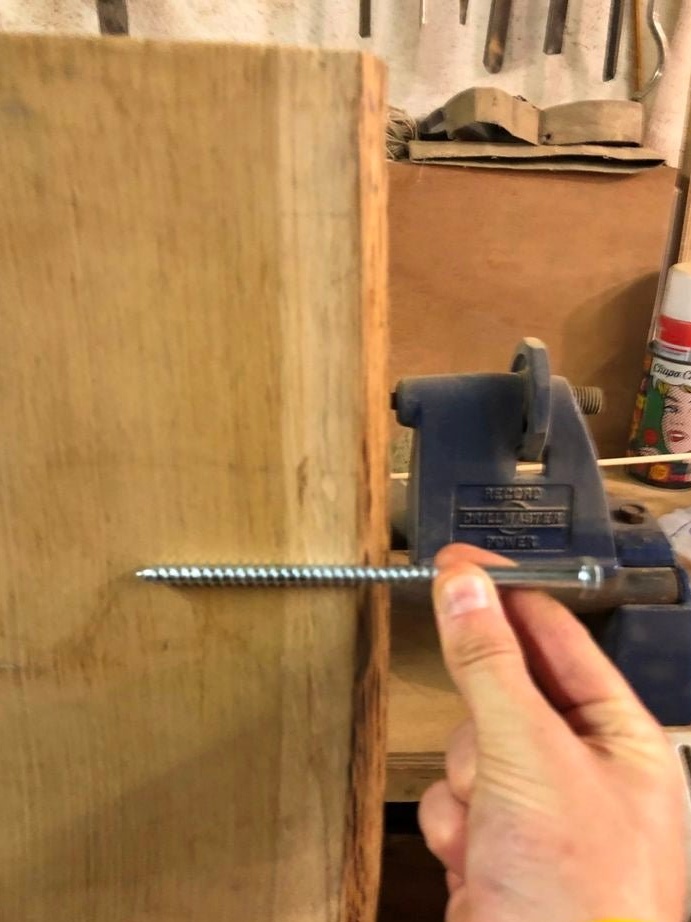
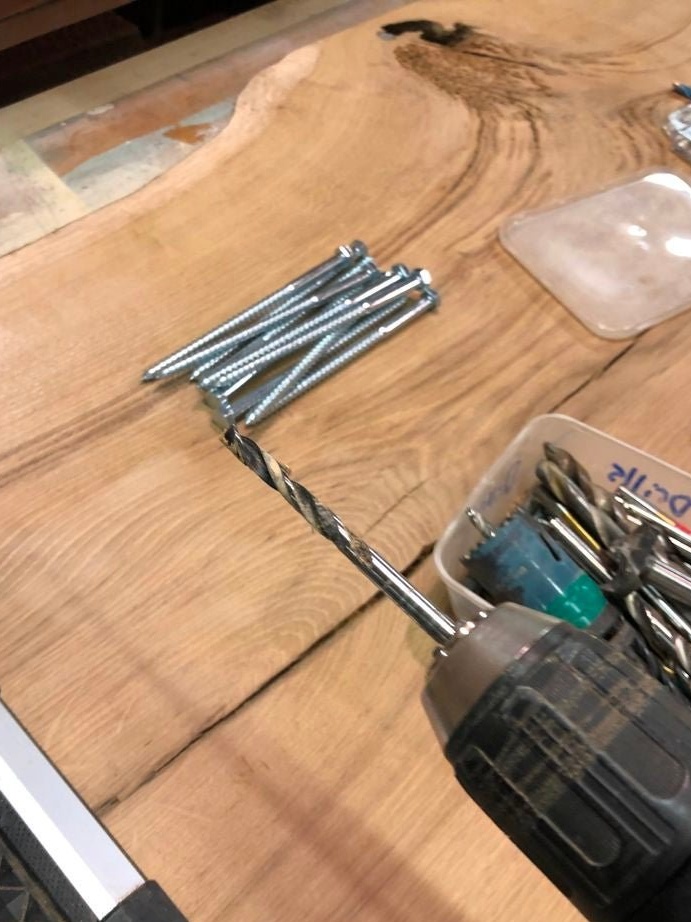
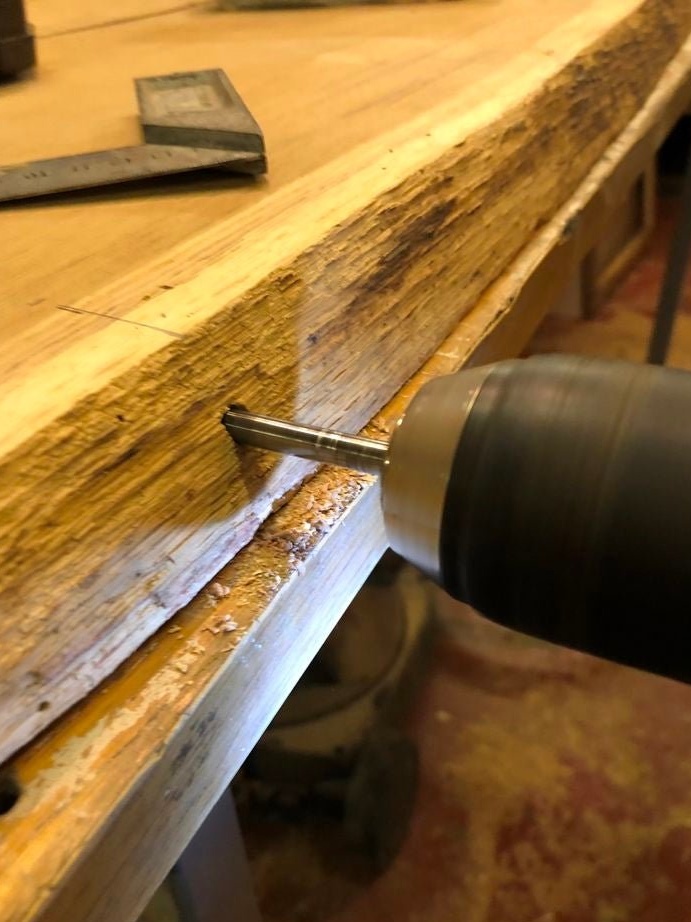
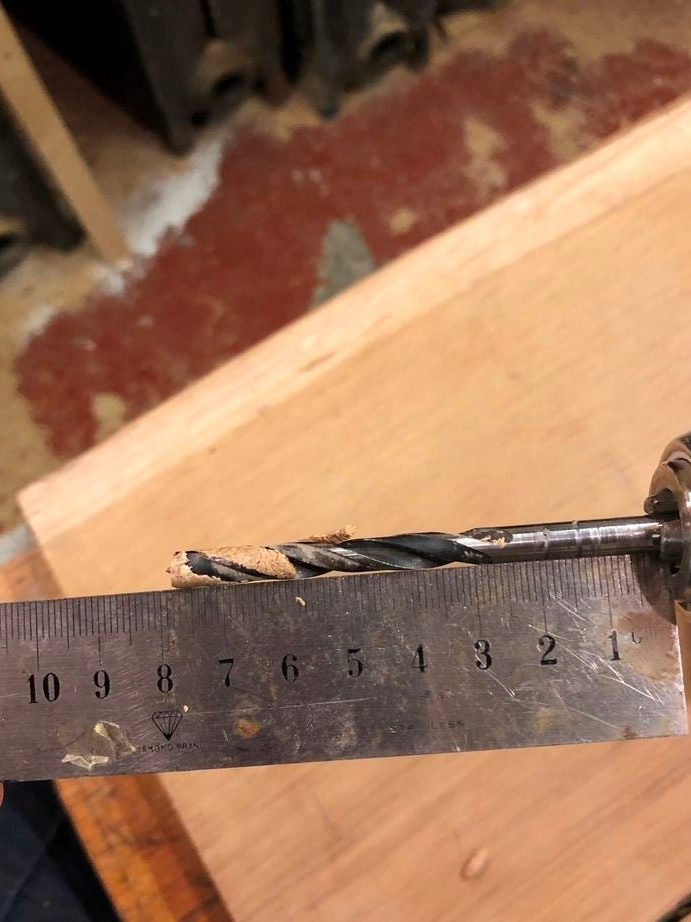
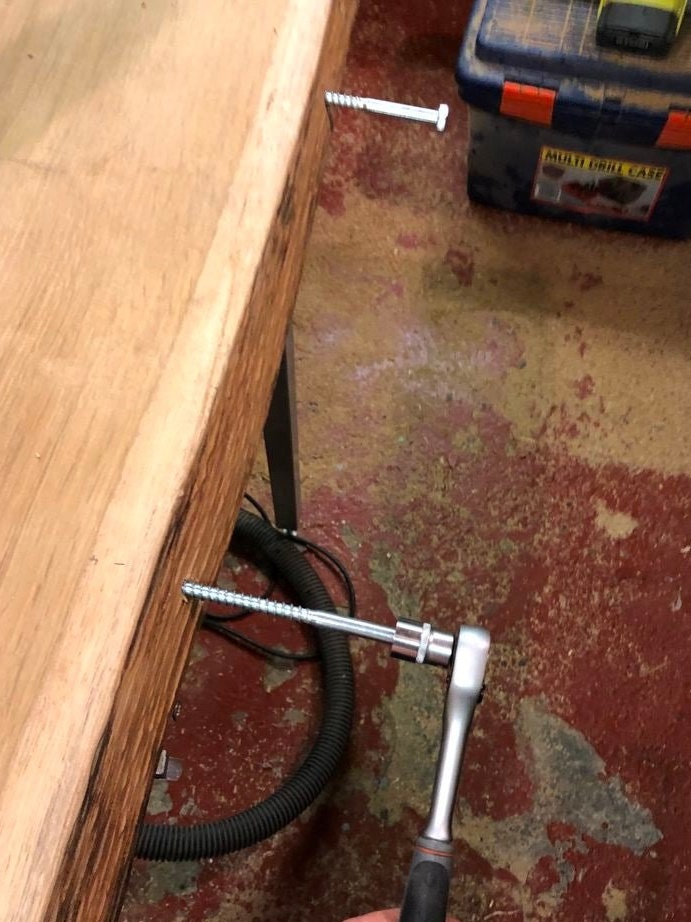
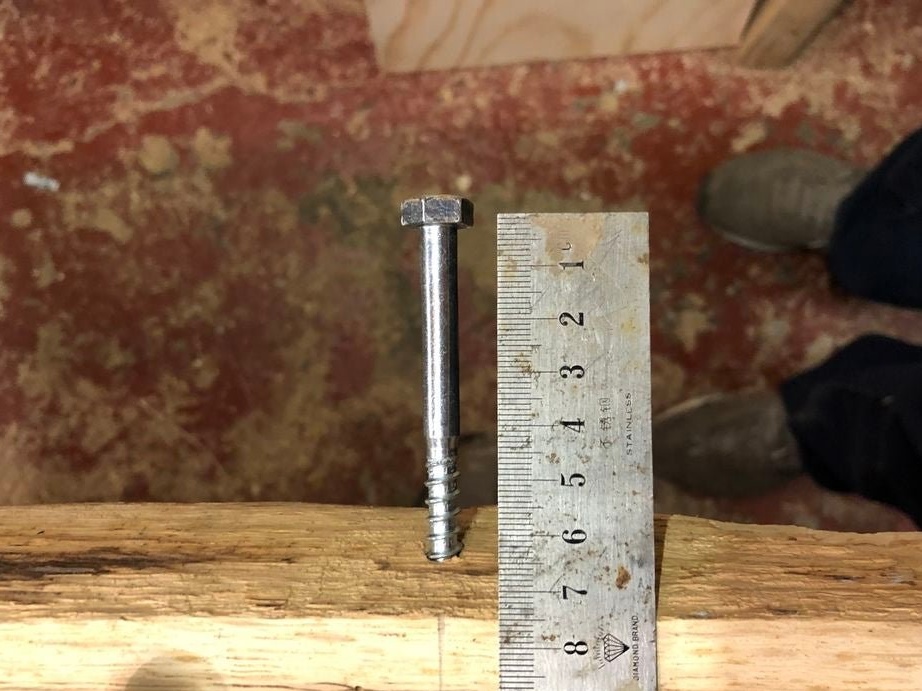
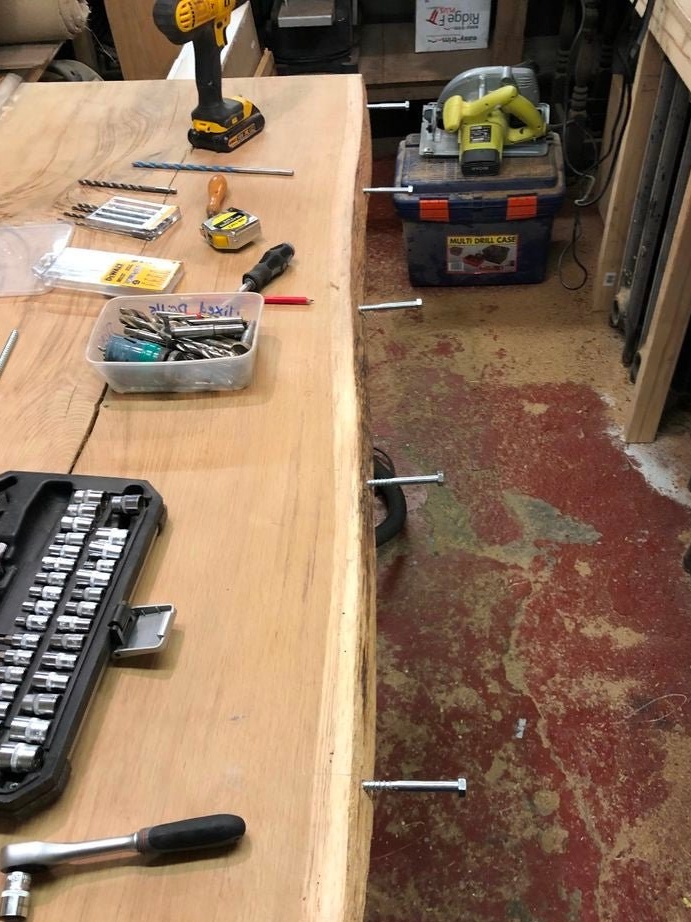
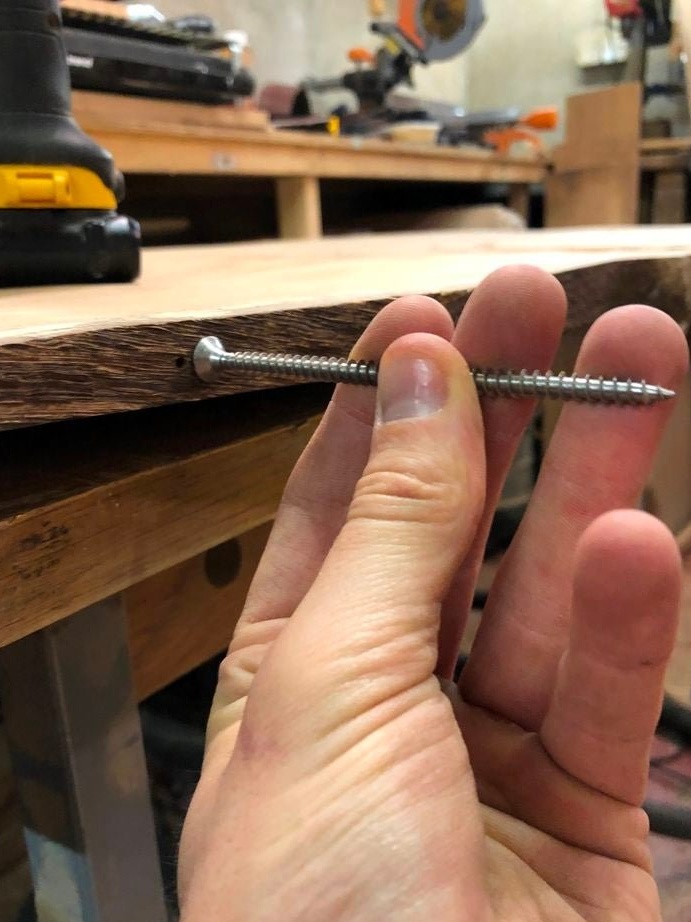
Where the width of the board does not allow the bolt to be installed, tighten the screw.
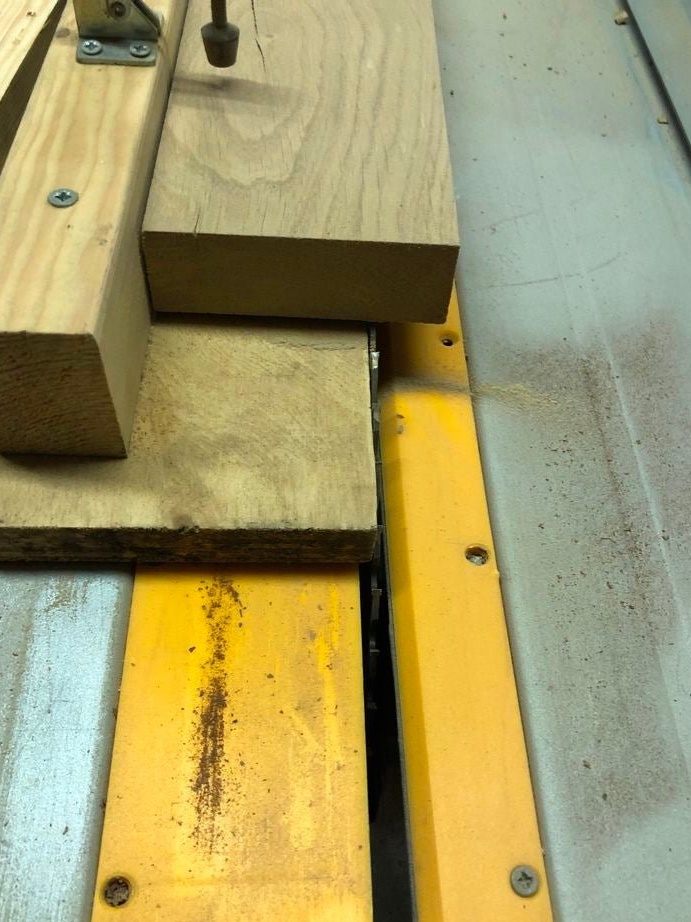
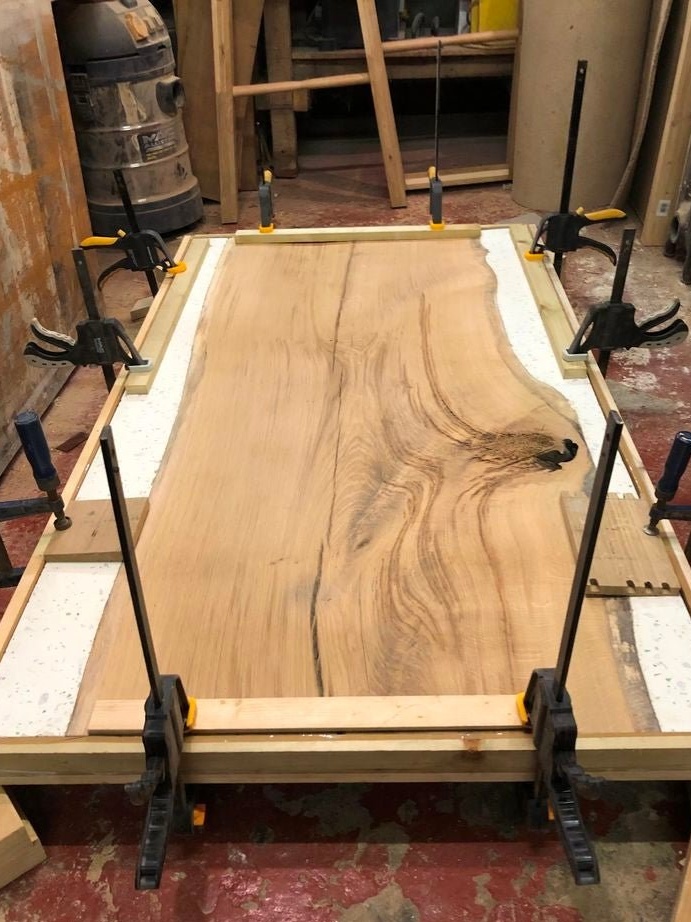
Next, the master applies silicone to the bottom of the slab and, slab, sets it into the mold. Presses with clamps. Now you need to allow the silicone to dry. Putting silicone on the bottom will prevent the concrete from flowing out.
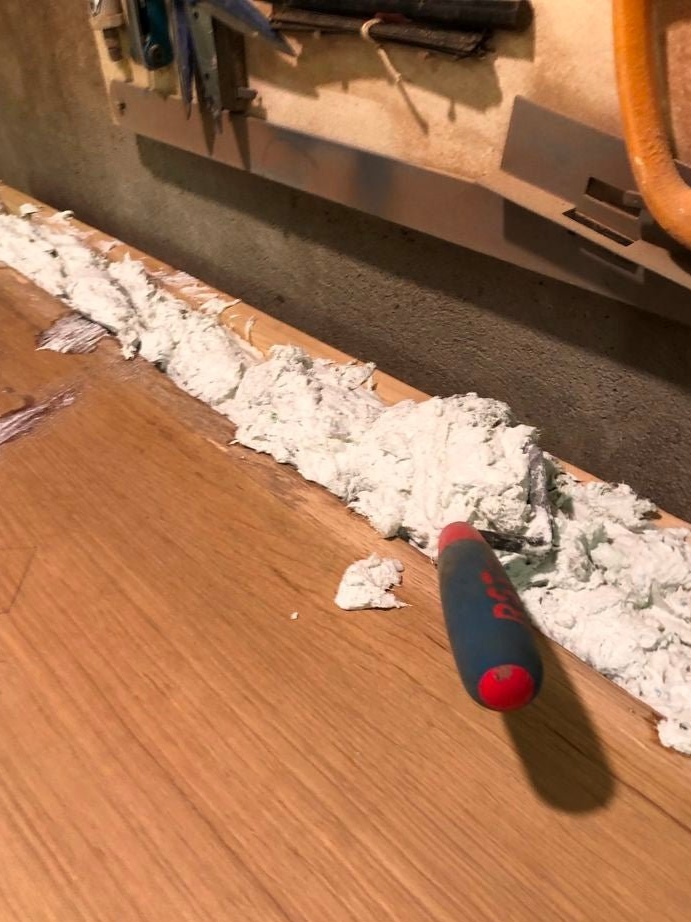
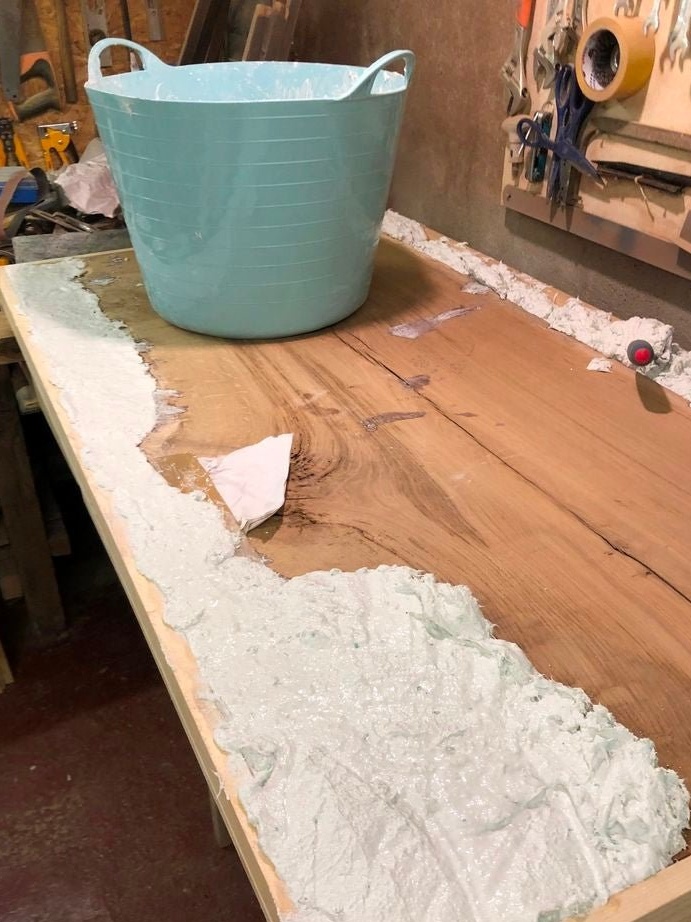
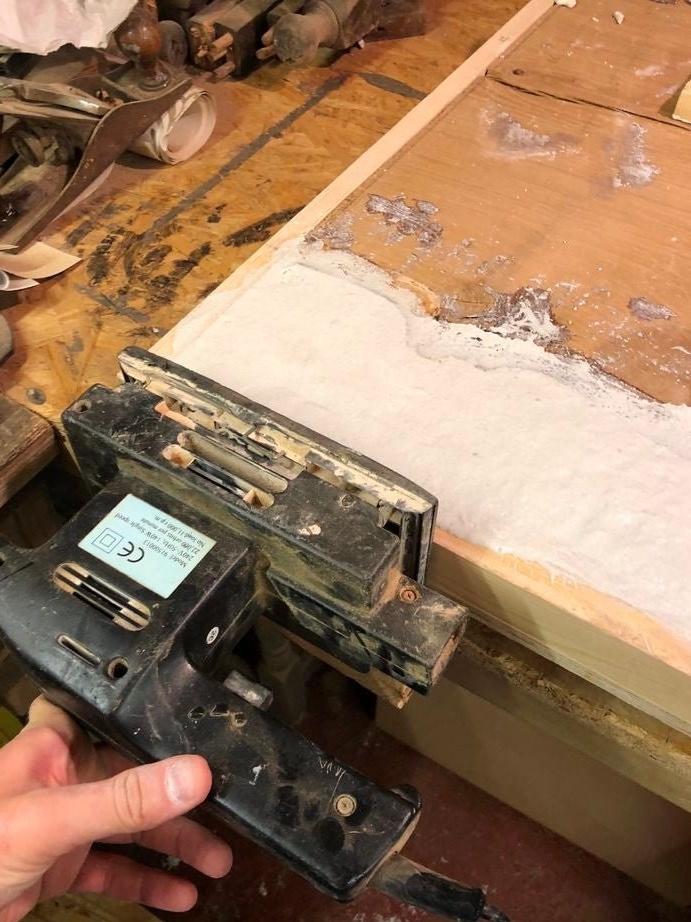
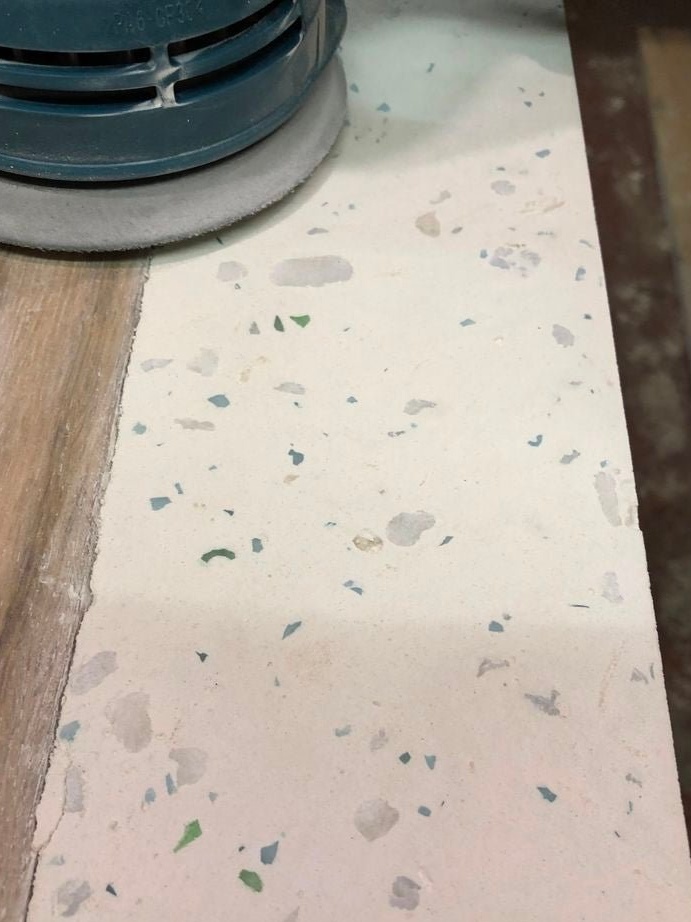
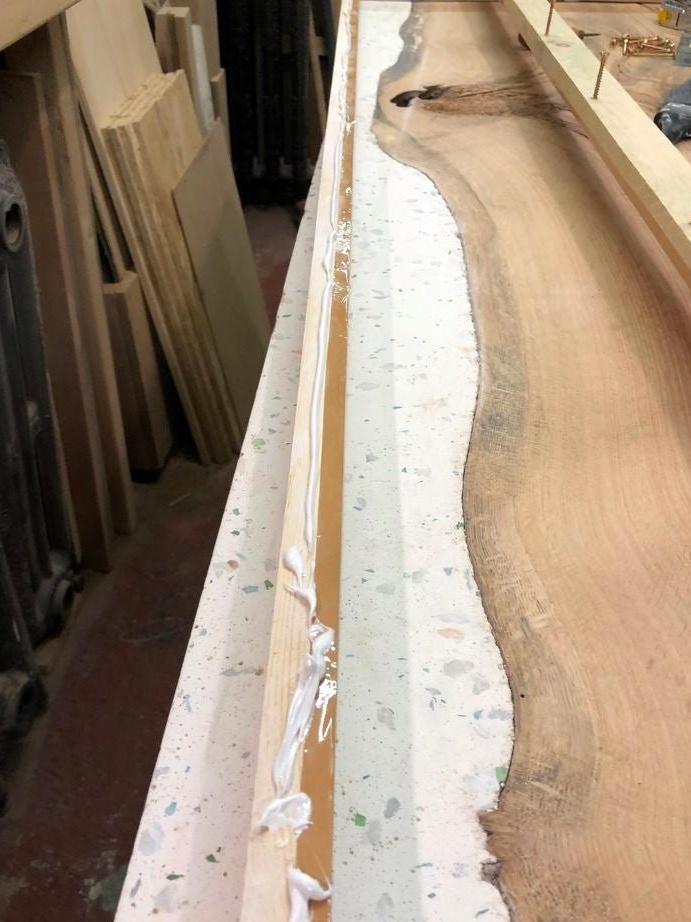
Step Four: Concrete Pouring
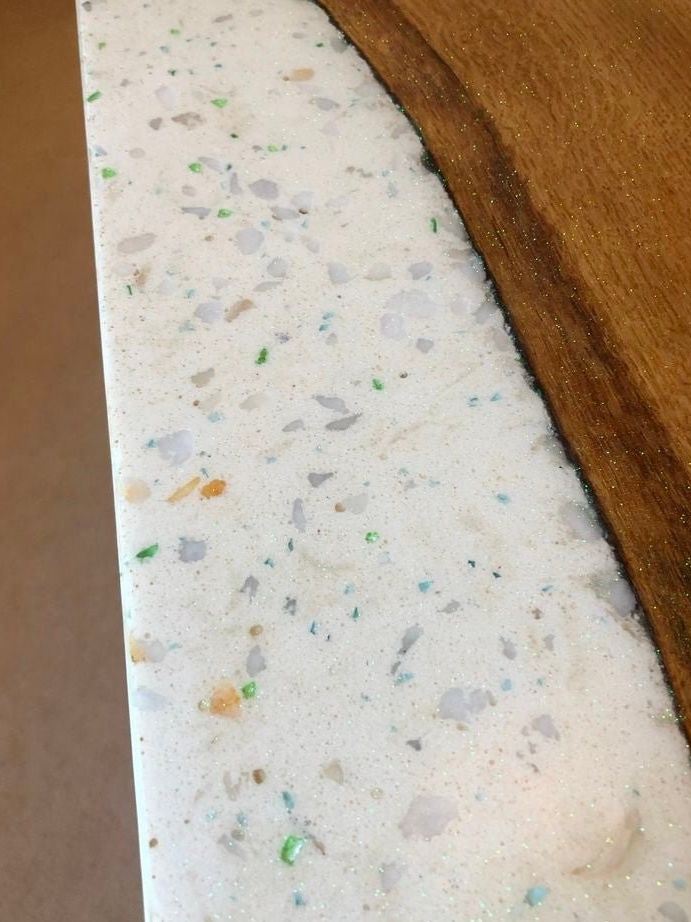
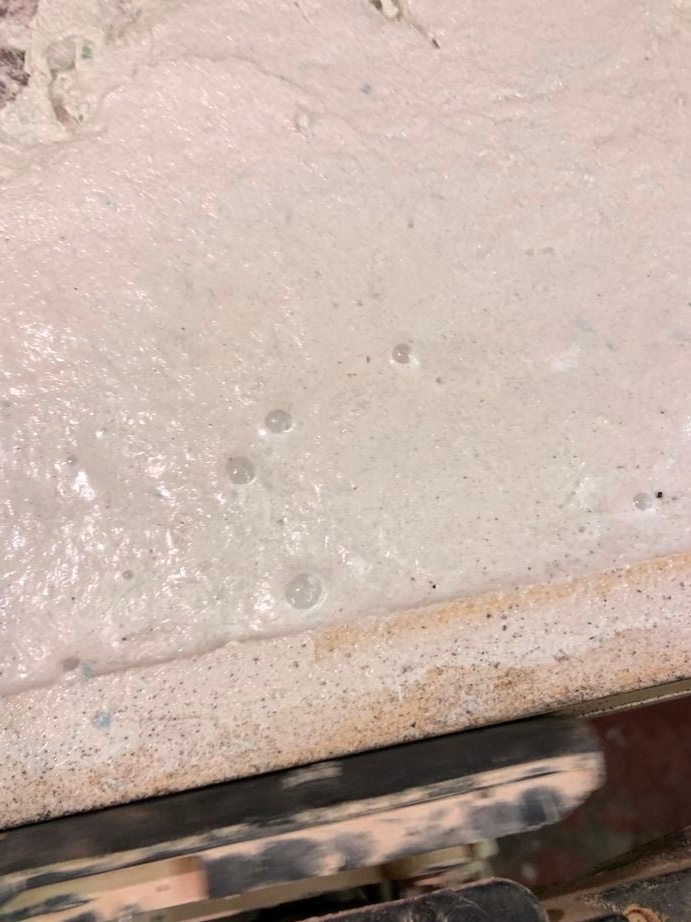
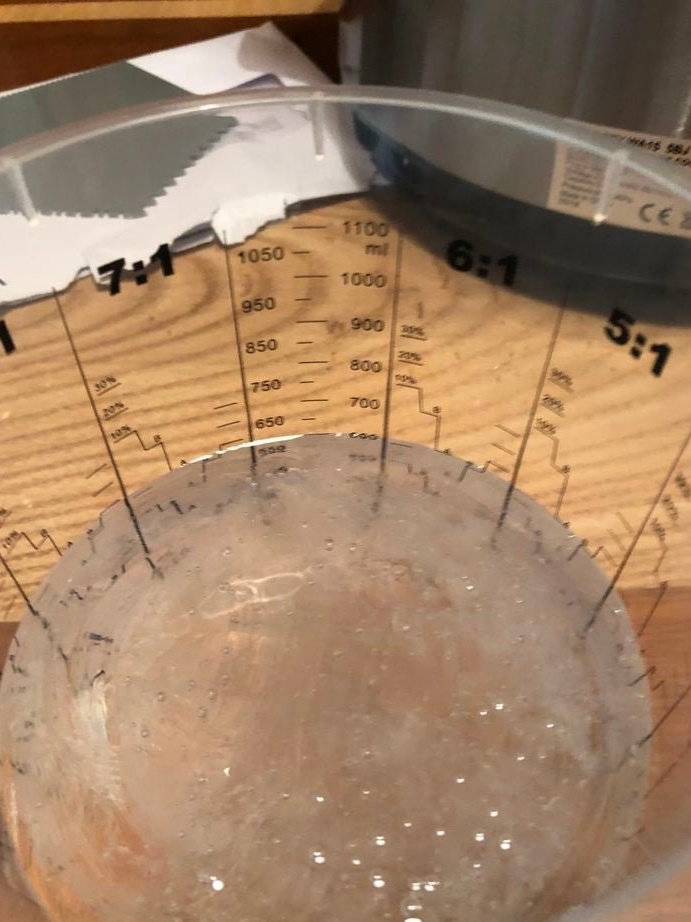
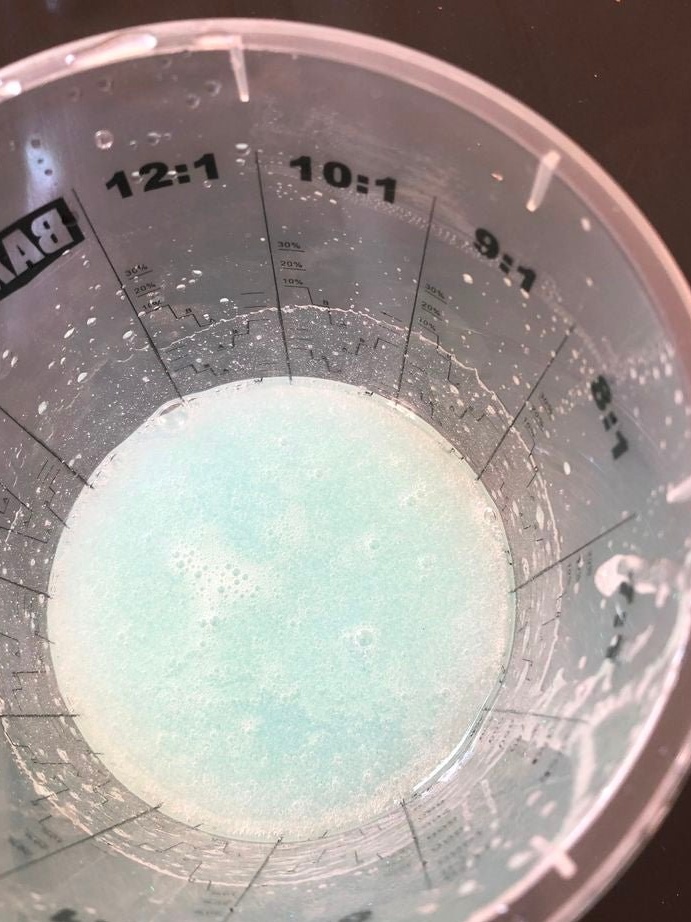
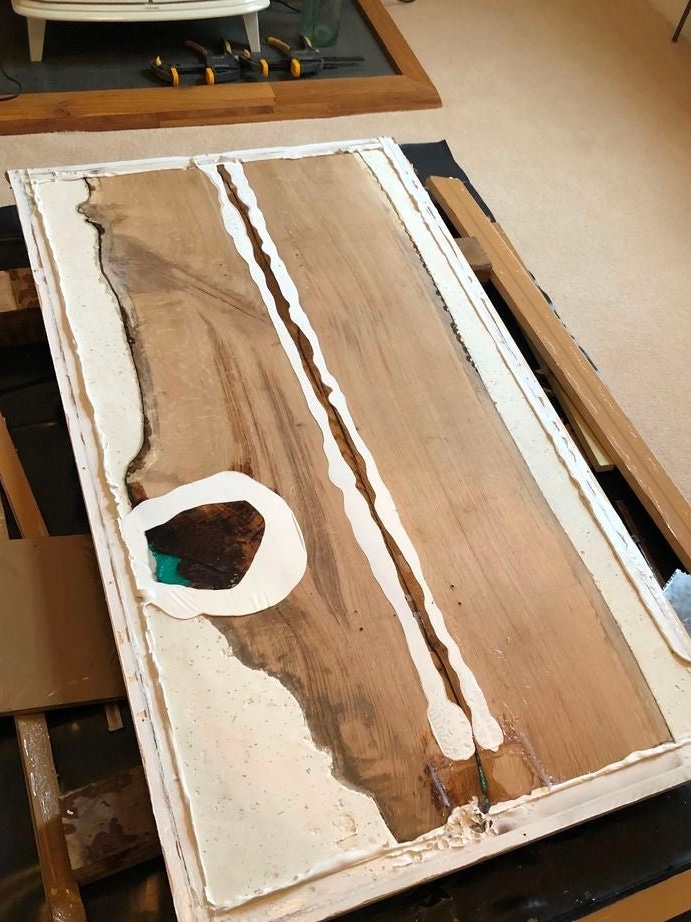
For pouring, the master uses the following solution: one part of cement, two parts of sand, one part of filler. As a filler, the master used fiberglass, decorative stone, sparkles. Sand master used light quartz. Puts all this in a container, adds water and a plasticizer. Stirs with a mixer.


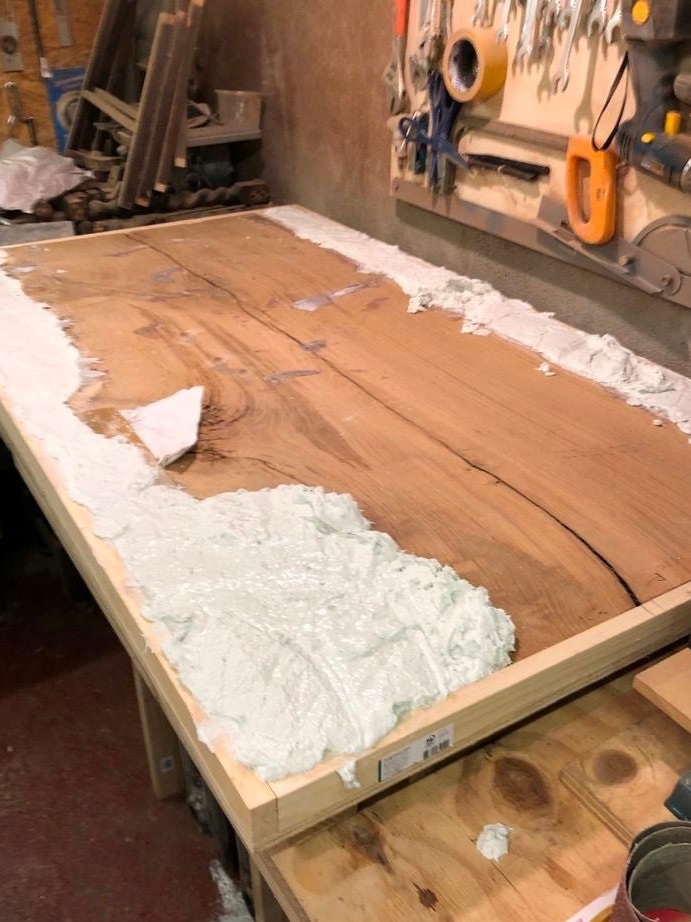
The finished mixture is laid out in a mold, smoothed and tamped. Leaves for a week, until the concrete dries.
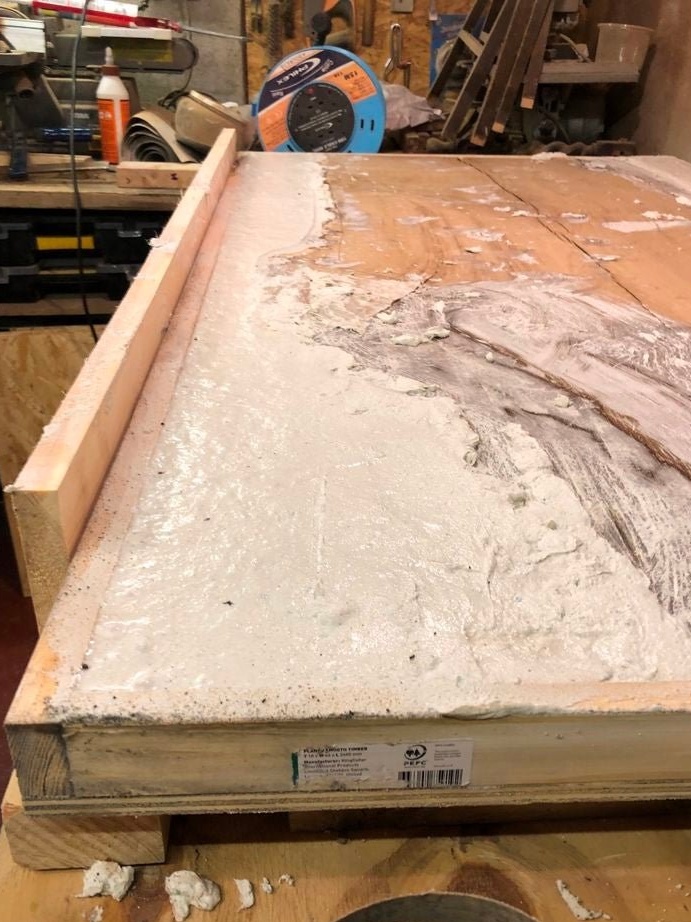
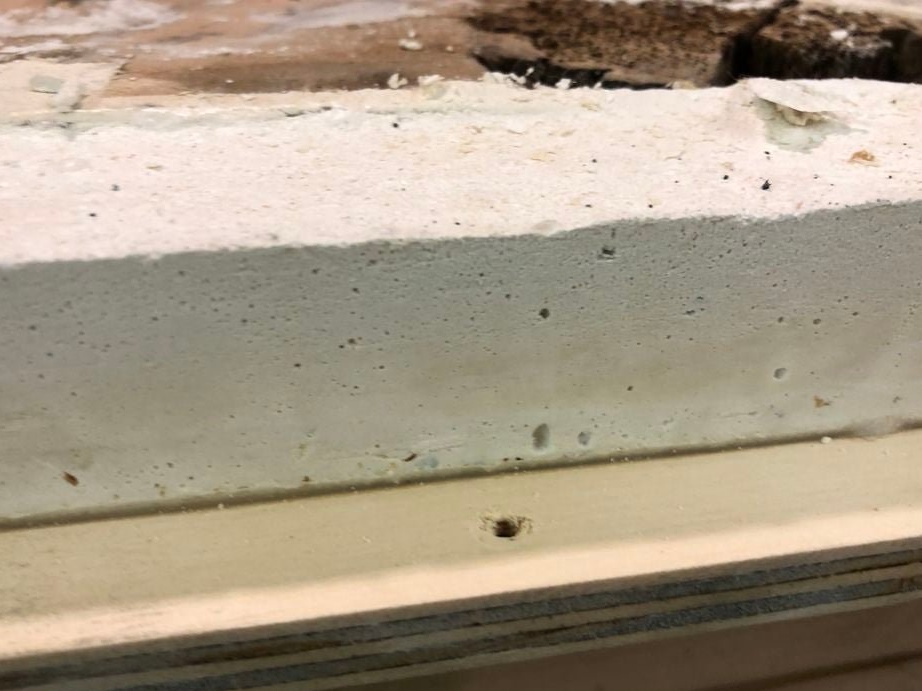
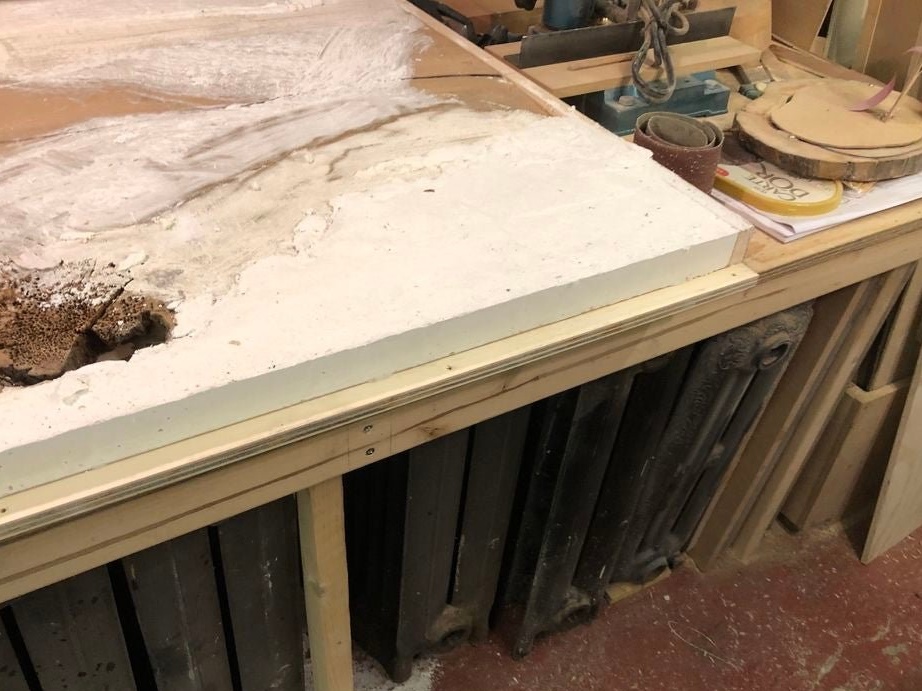
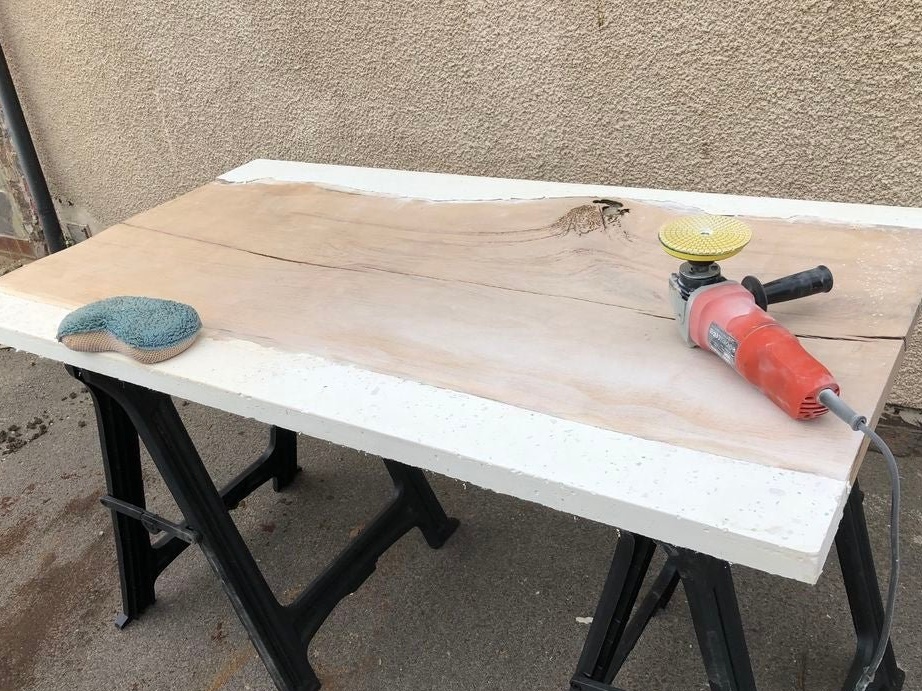
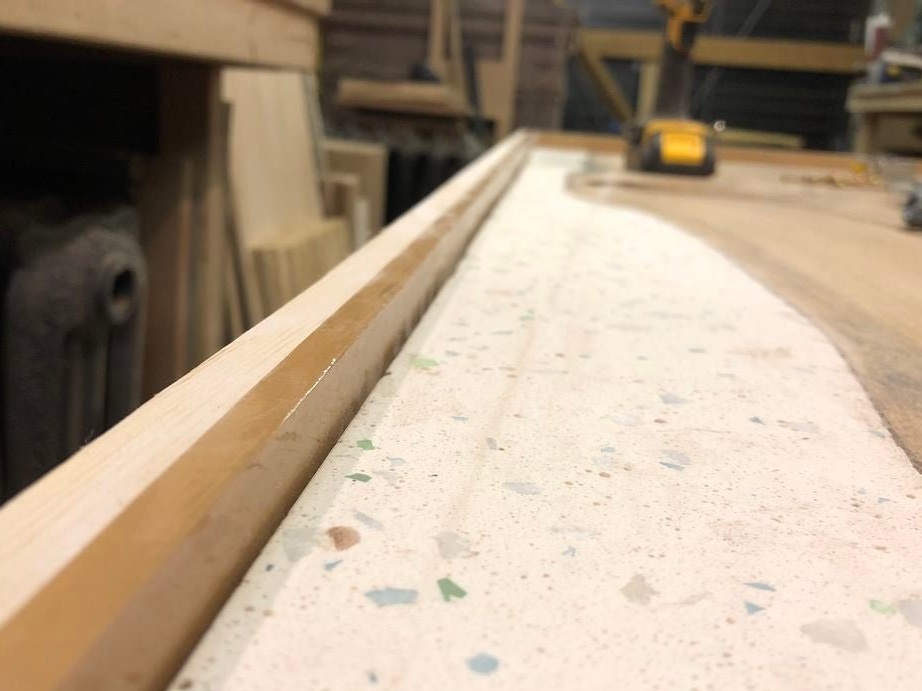
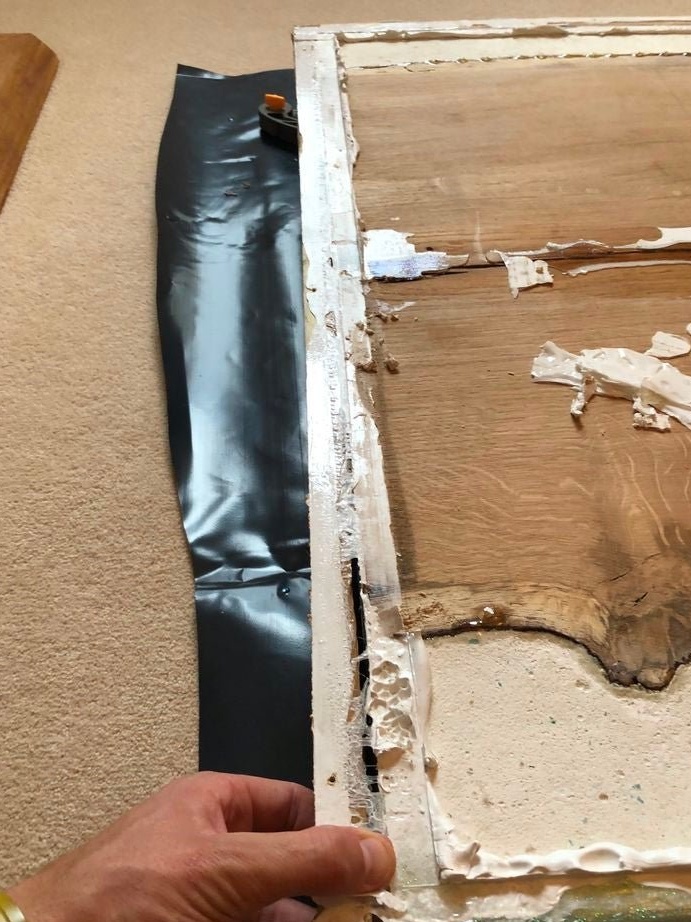
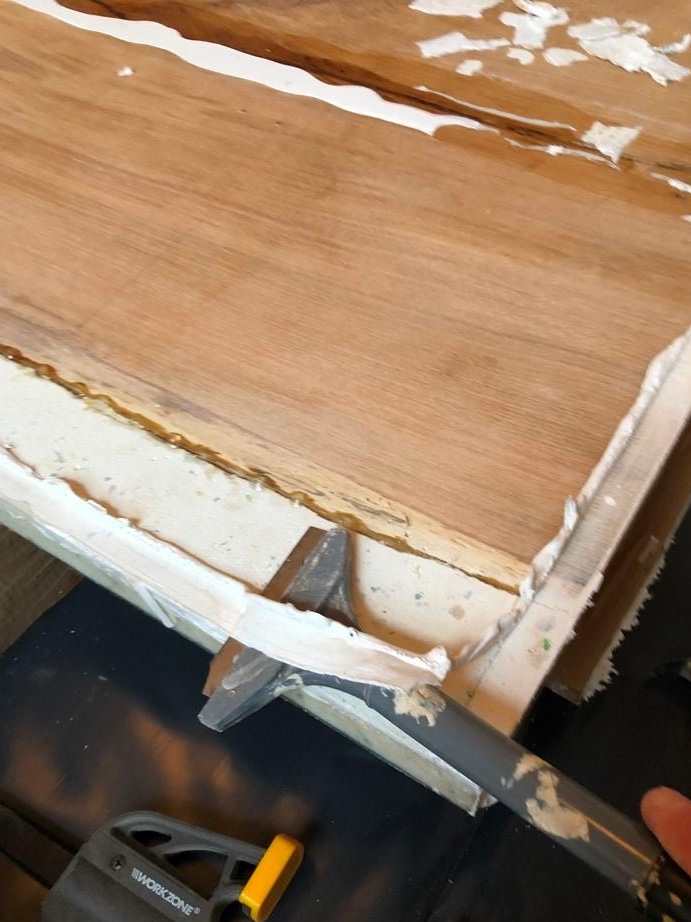
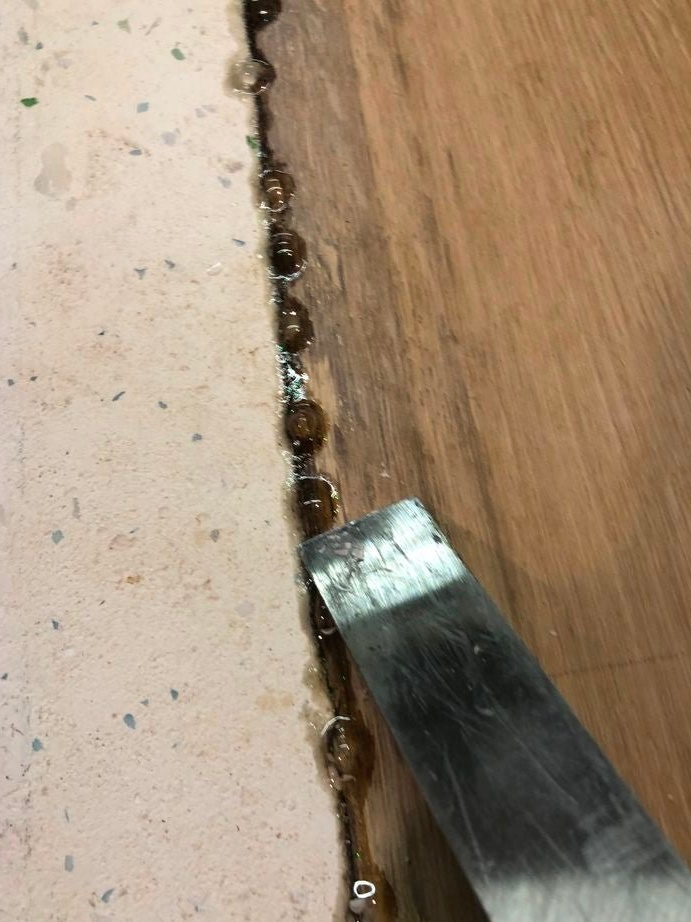
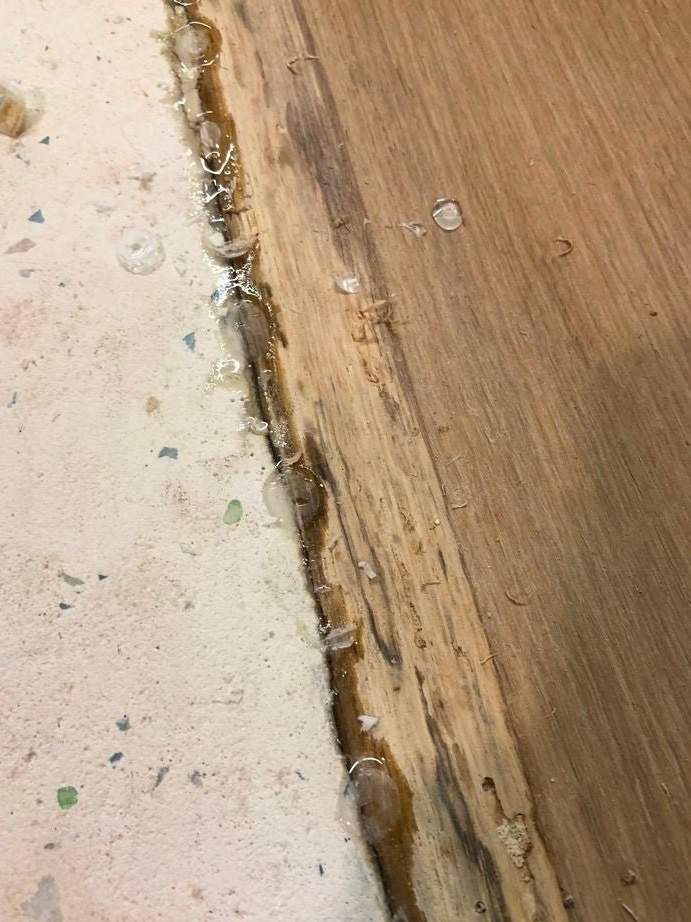
Step Five: Formwork Removal
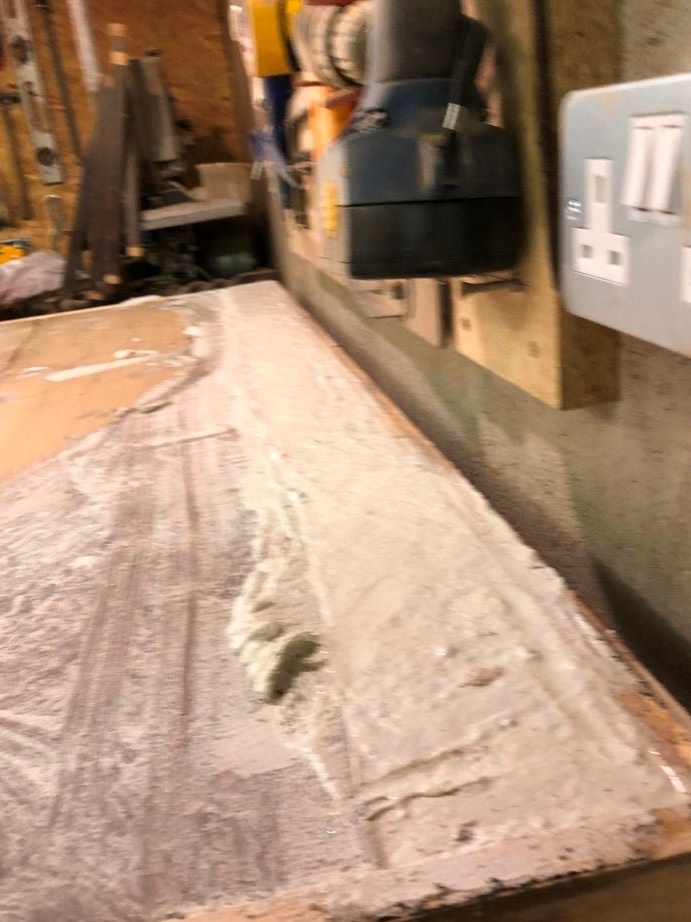
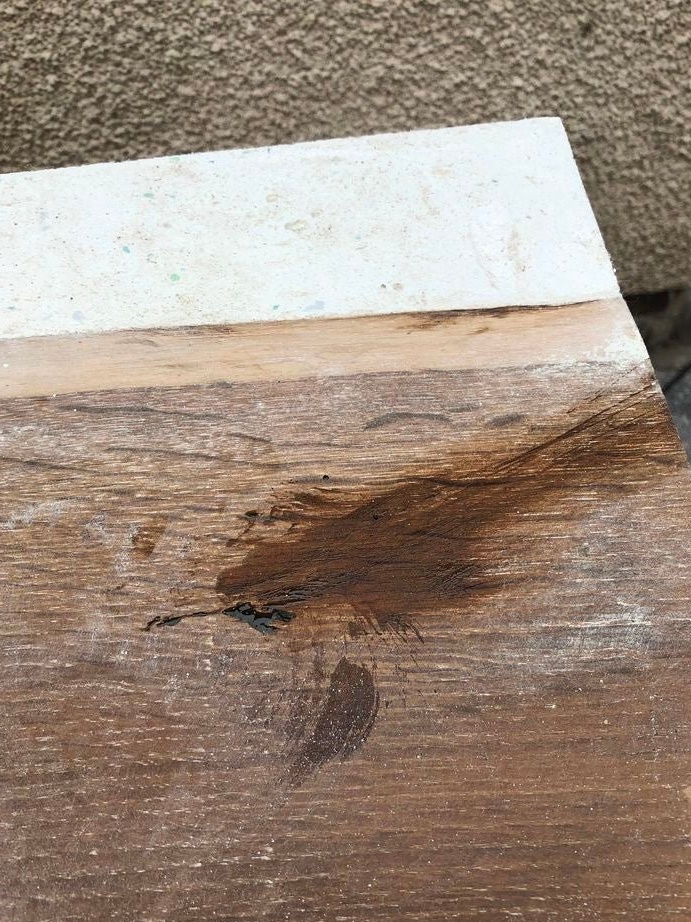
A week later, the master turned the countertop and removed the formwork. Fills the sink with concrete. After the concrete has hardened, it polishes and polishes the surface of the countertop.

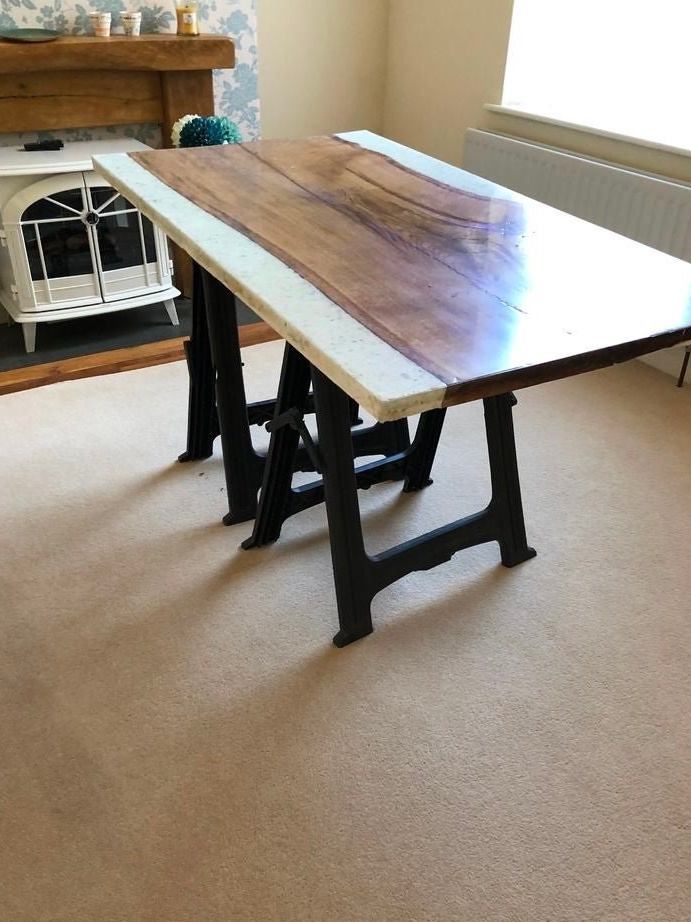
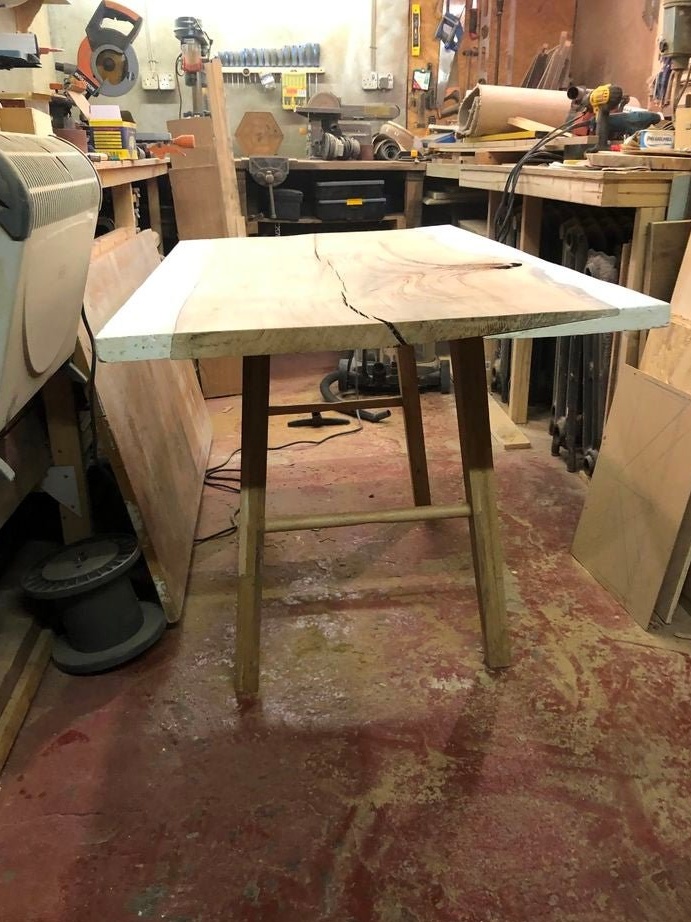
Step Six: Assembling the Table
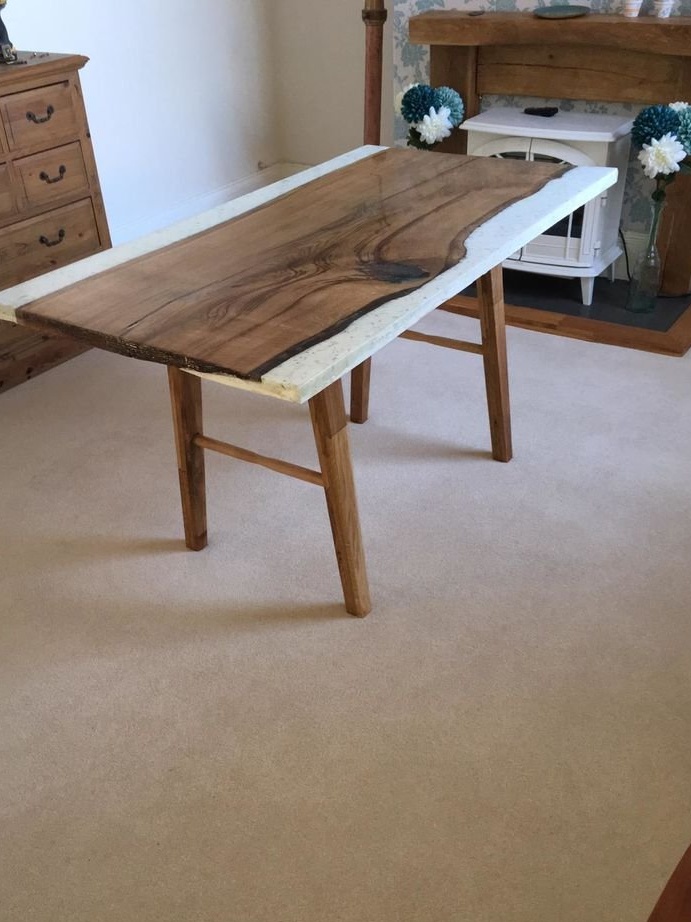
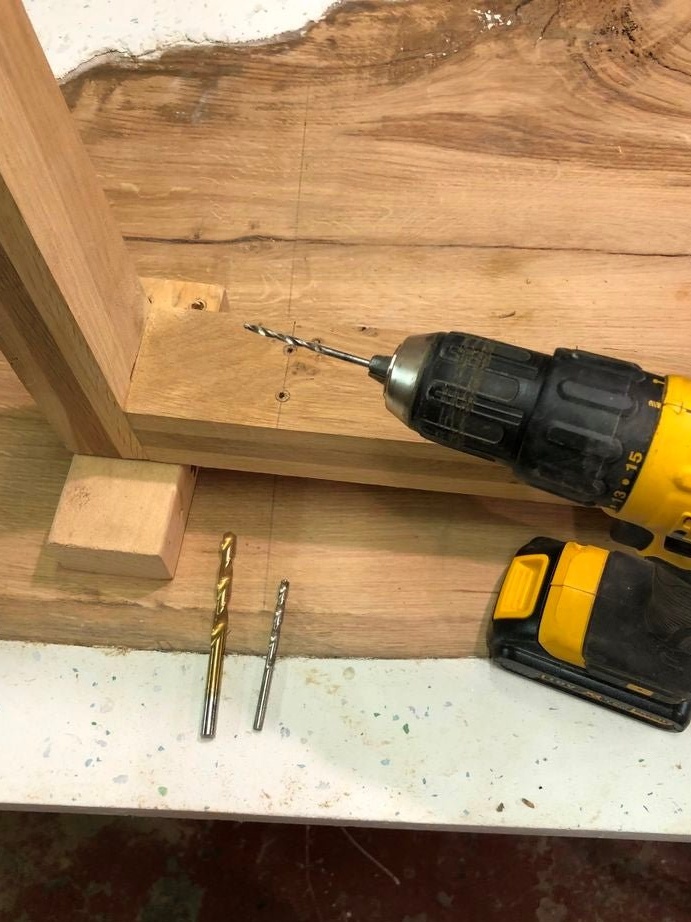
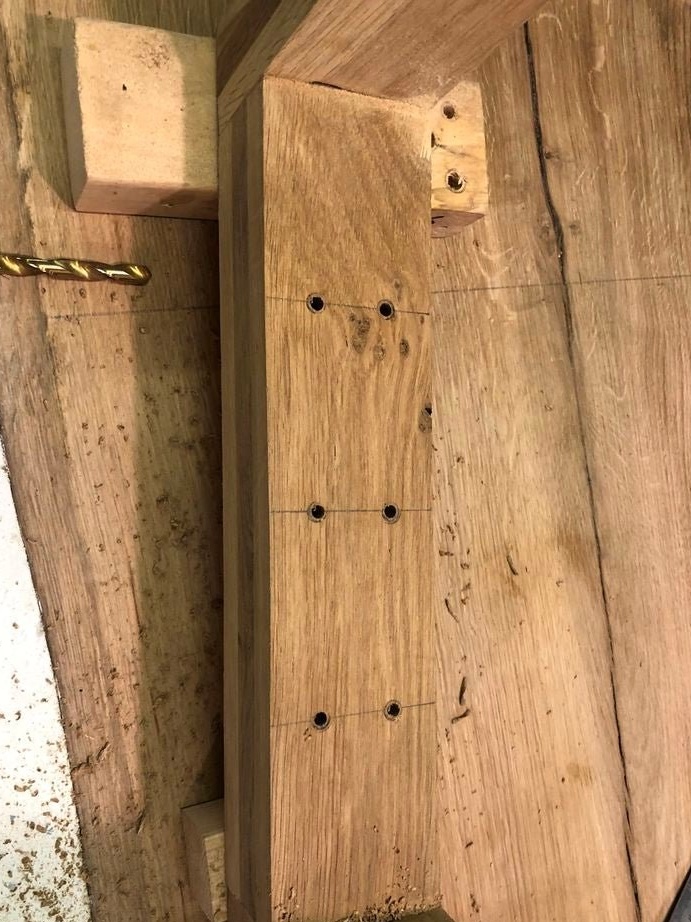
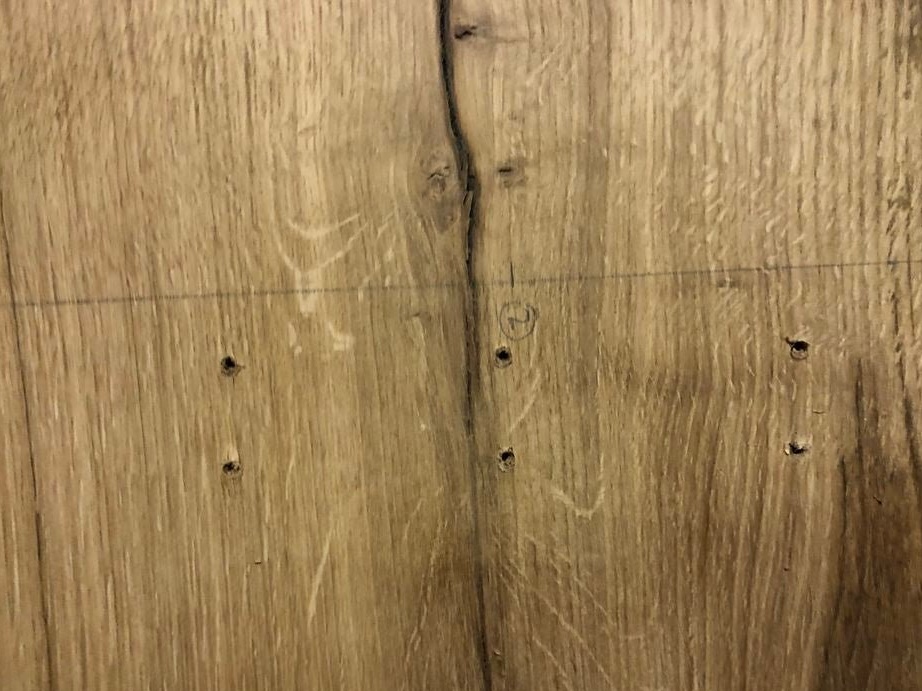
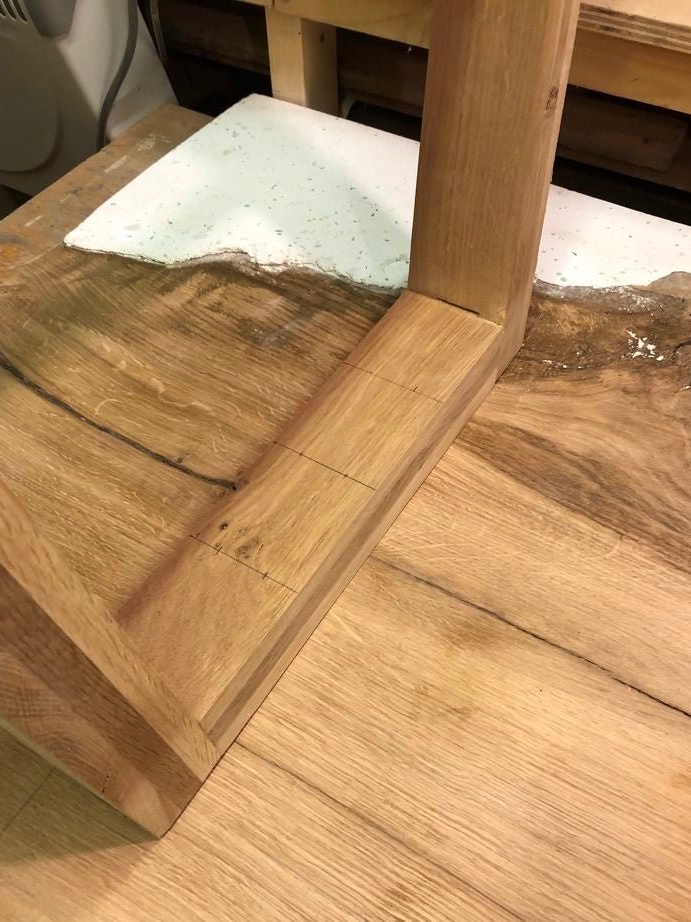
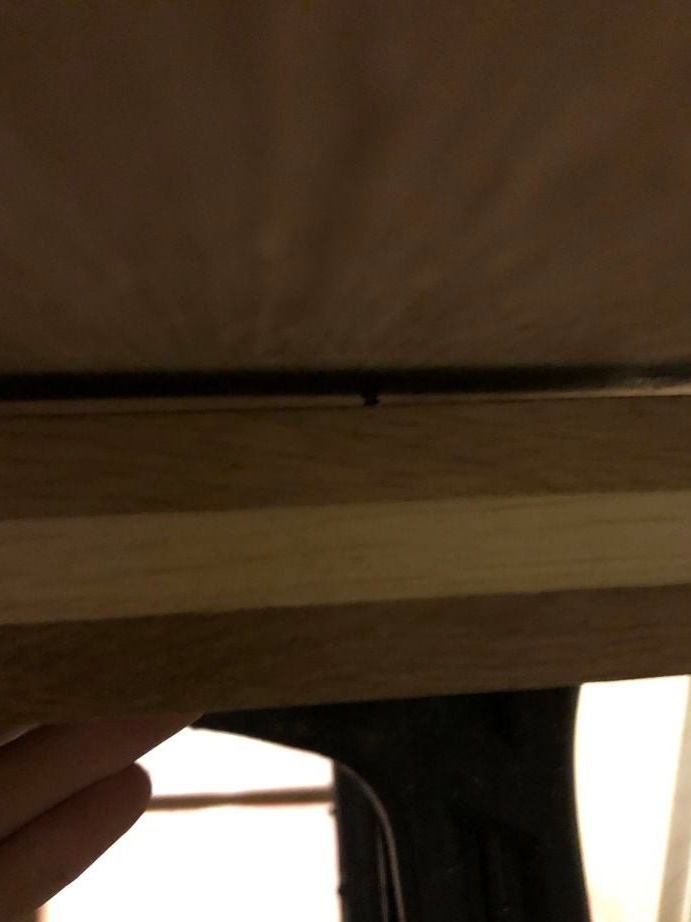
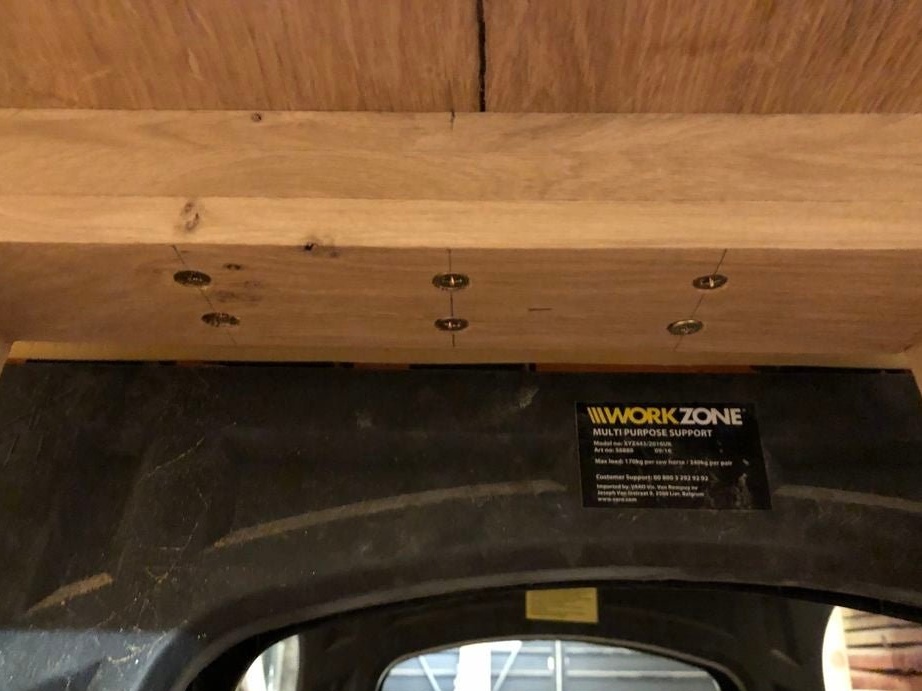
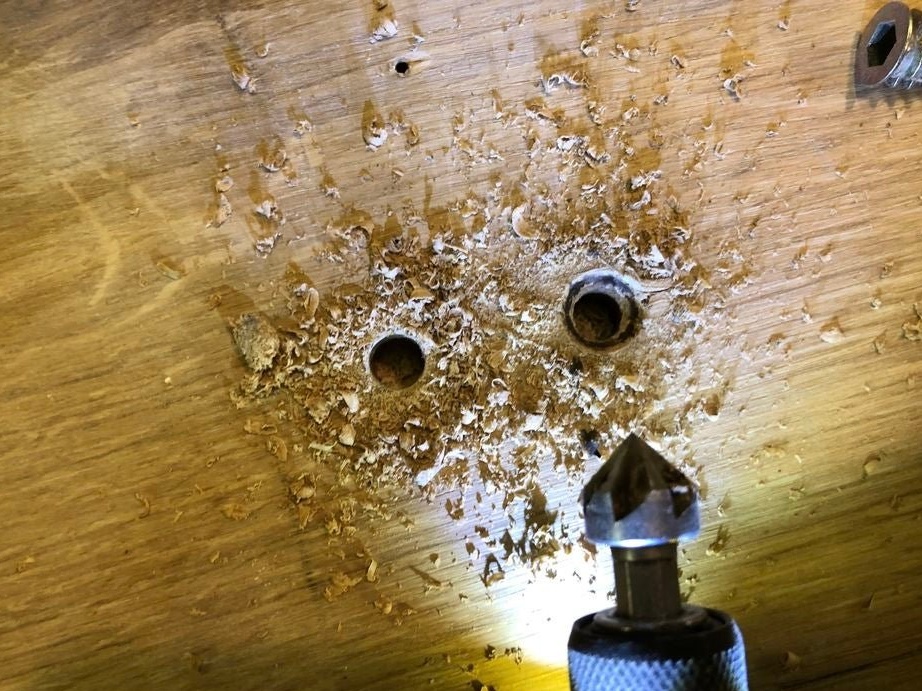
Now you can fix the countertop on the legs. The wizard marks and drills a series of holes. Screws the legs to the bottom of the countertop. Turns the table to its normal position.

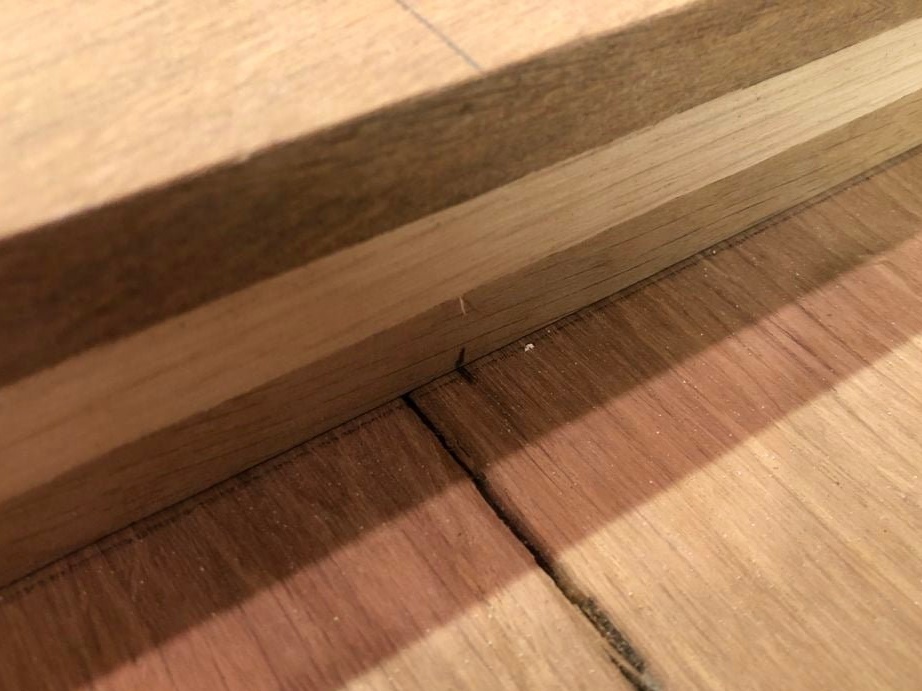
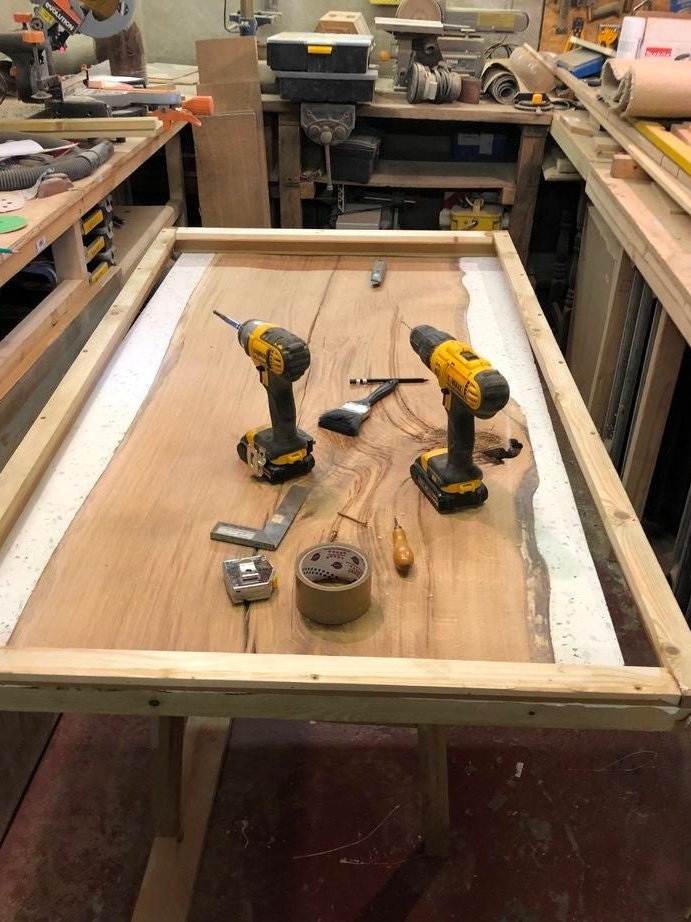
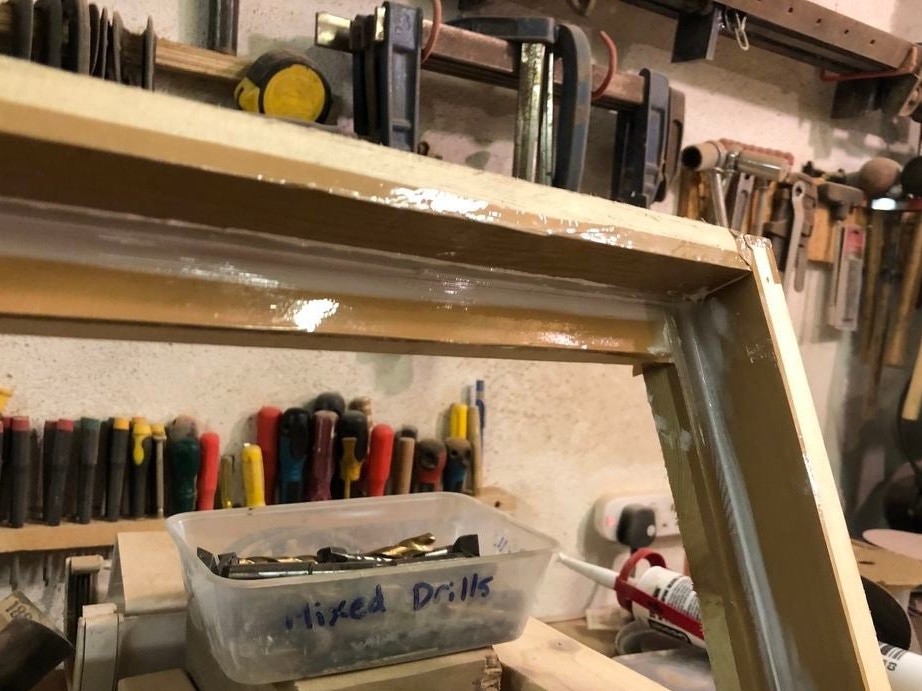
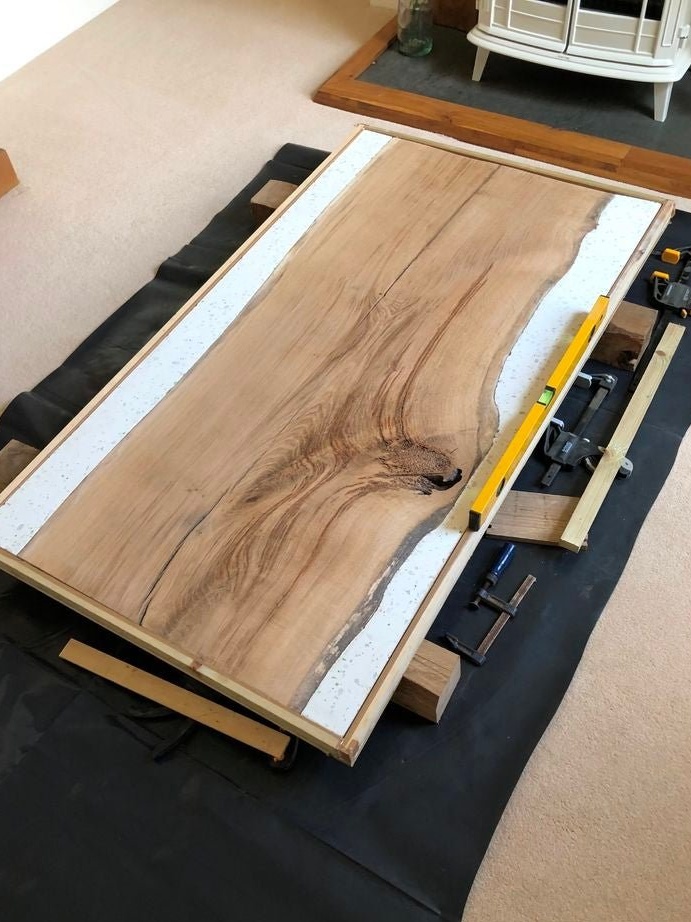
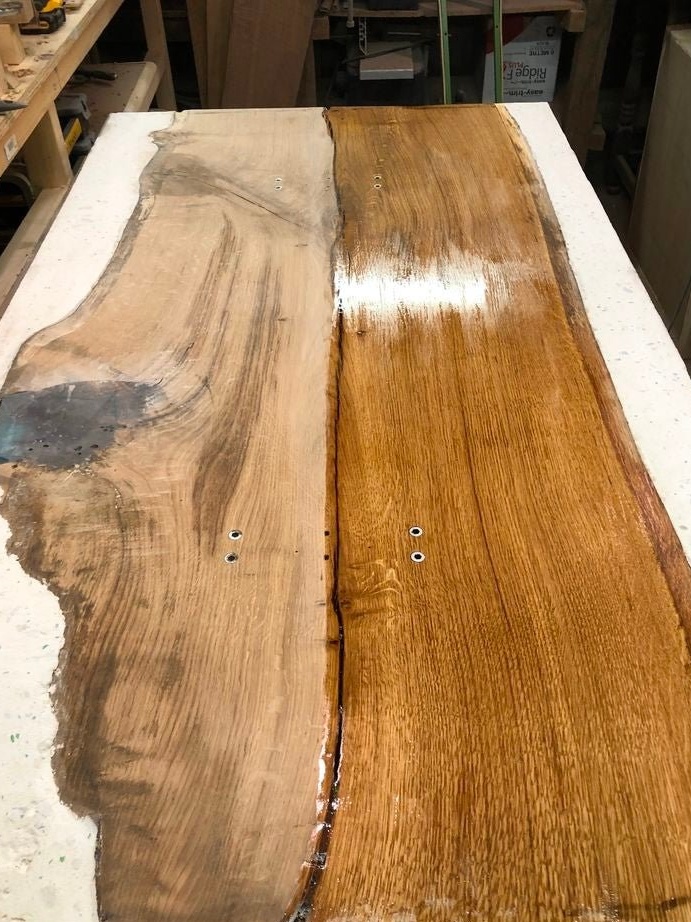
Seventh step: epoxy casting frame
Before pouring the resin, the master makes a frame from the rail. Reiki papered with tape. The smooth surface of the tape will not allow epoxy to stick. The joints of the frame are sealed with silicone.

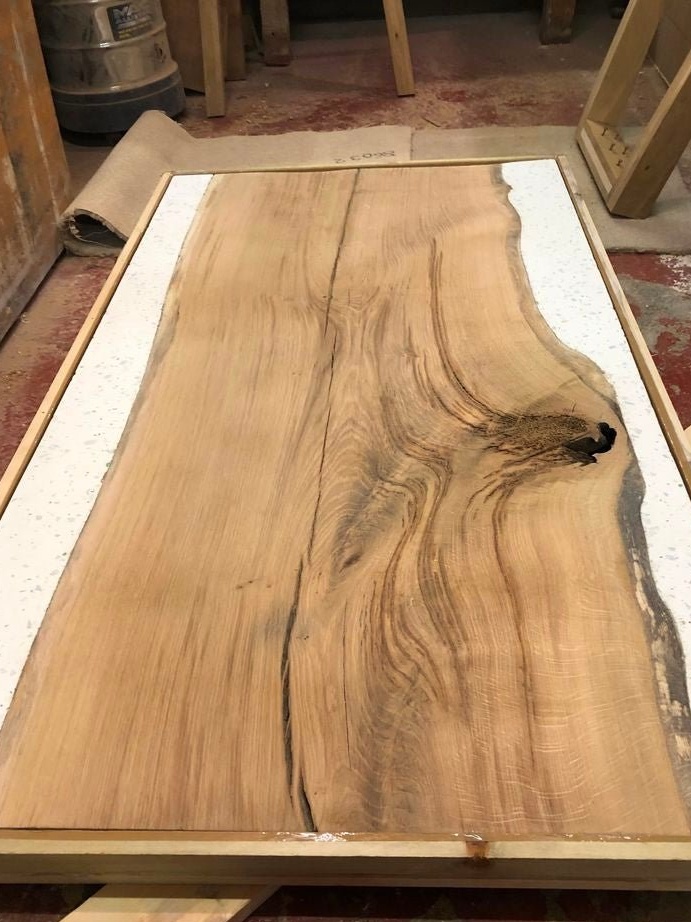
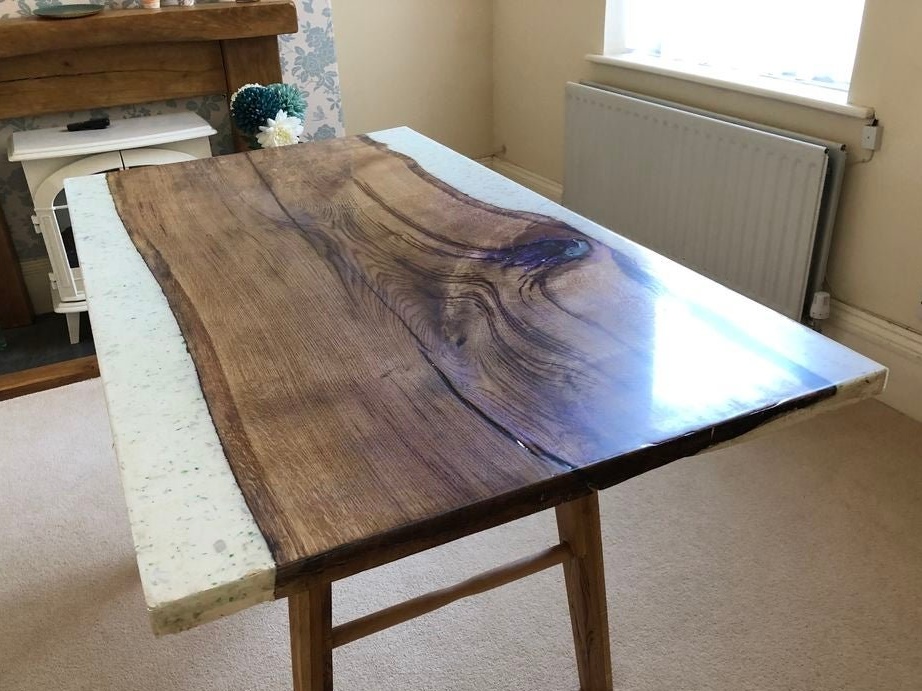
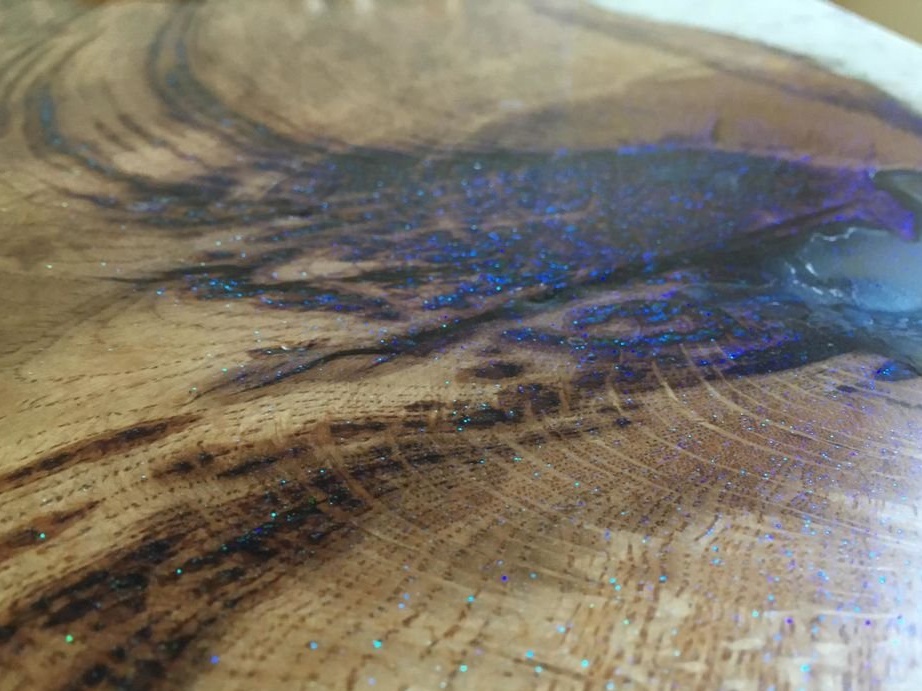
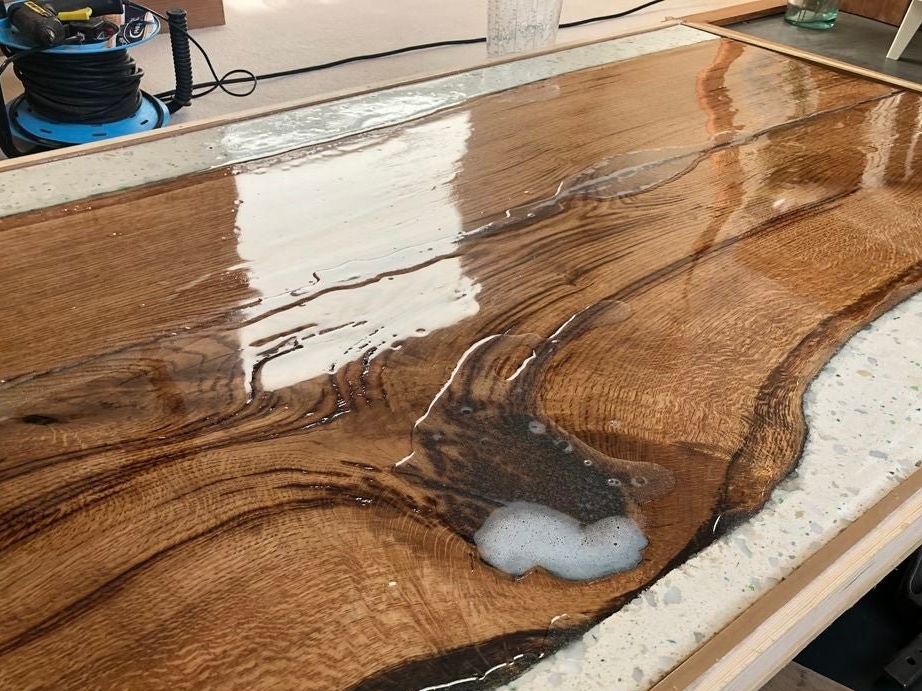
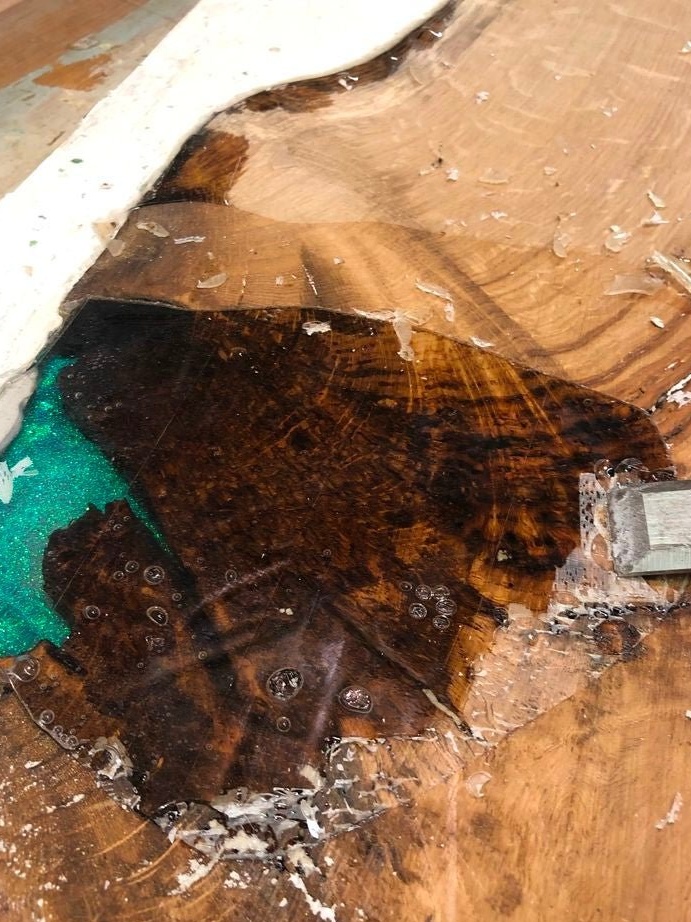
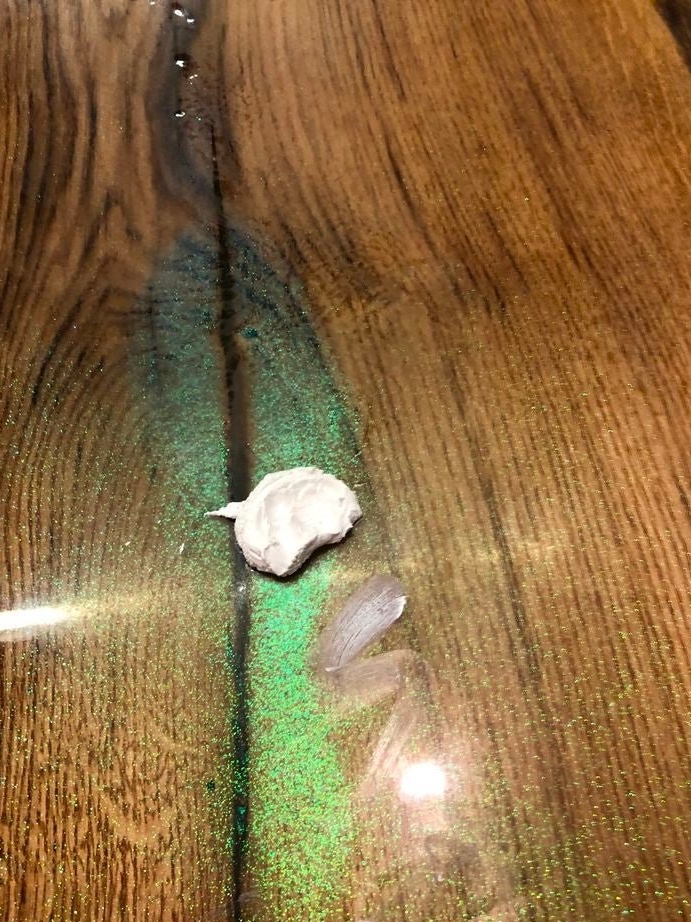
Step Eight: Fill
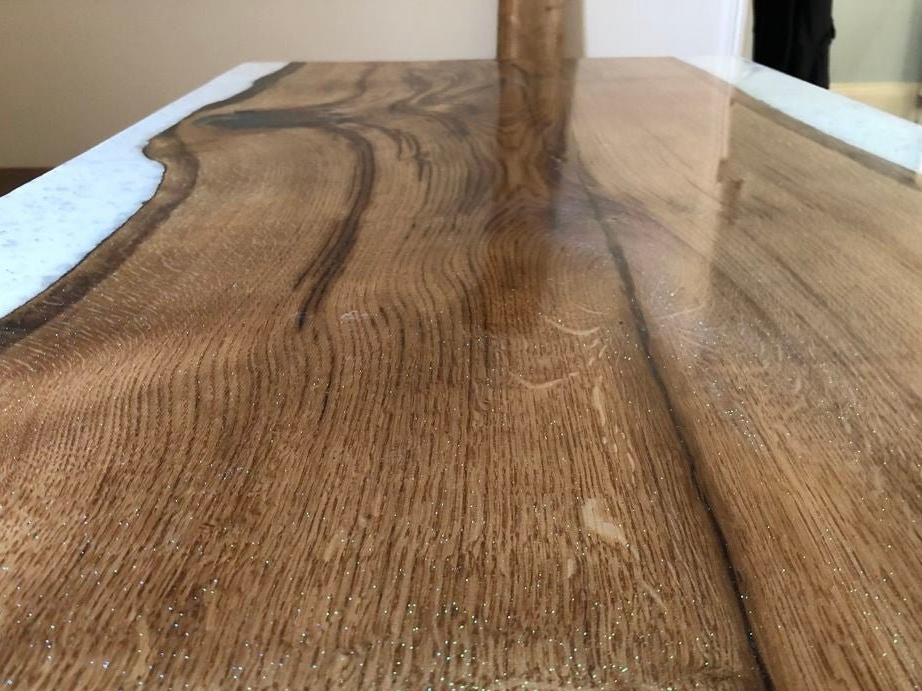
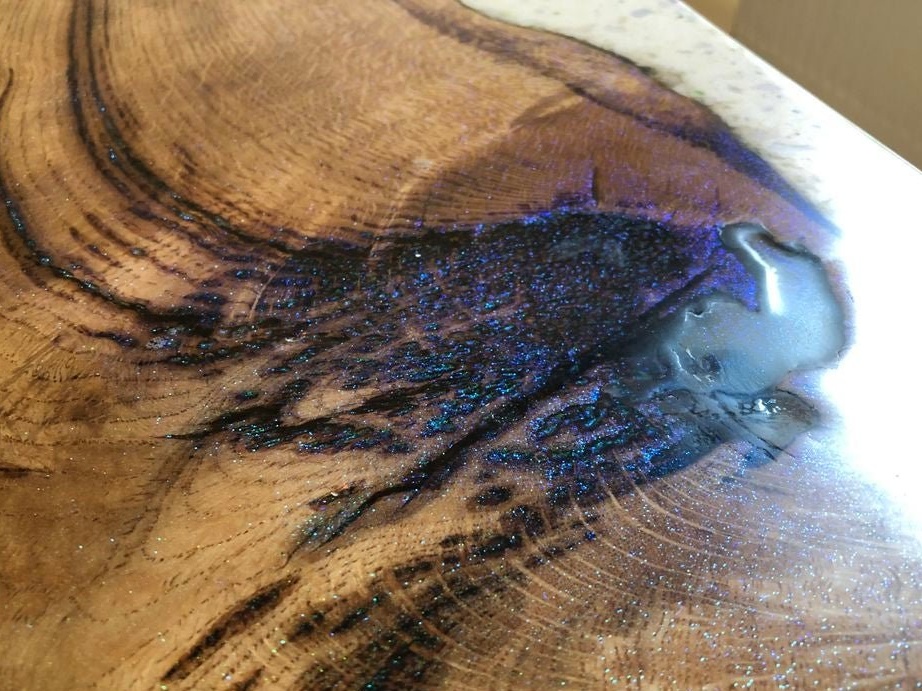
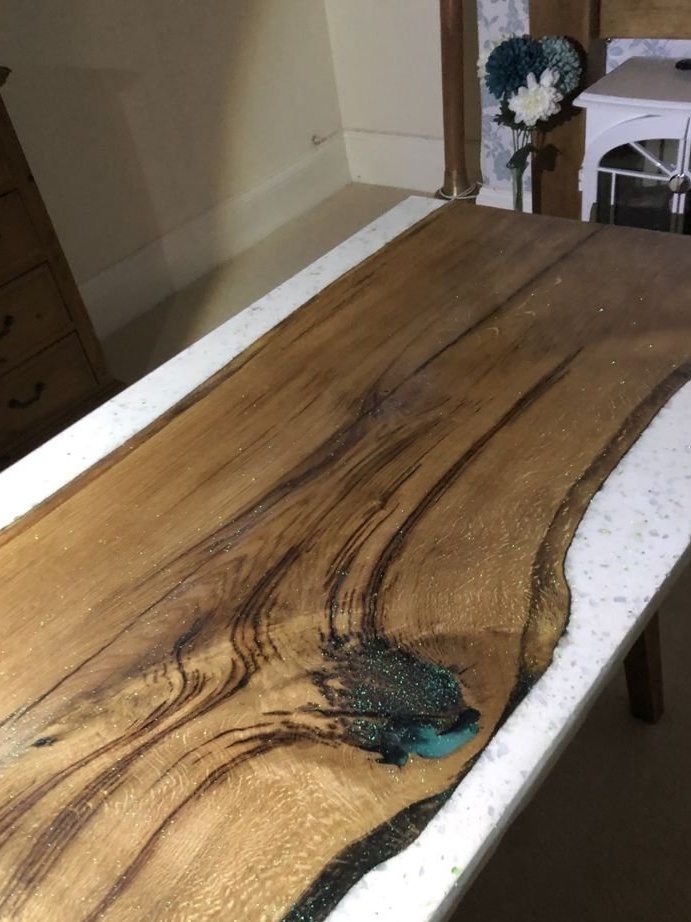
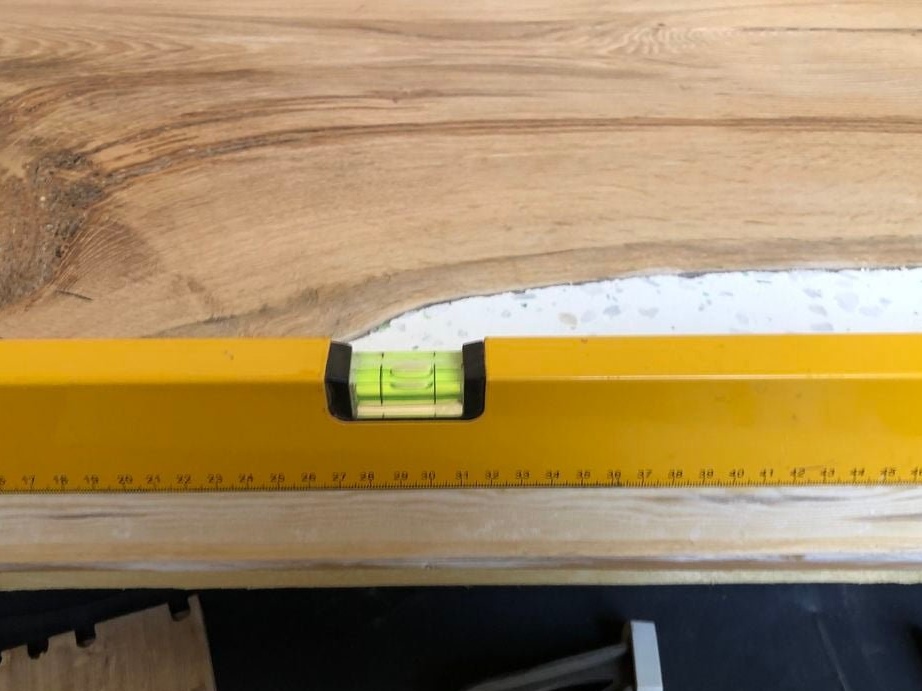
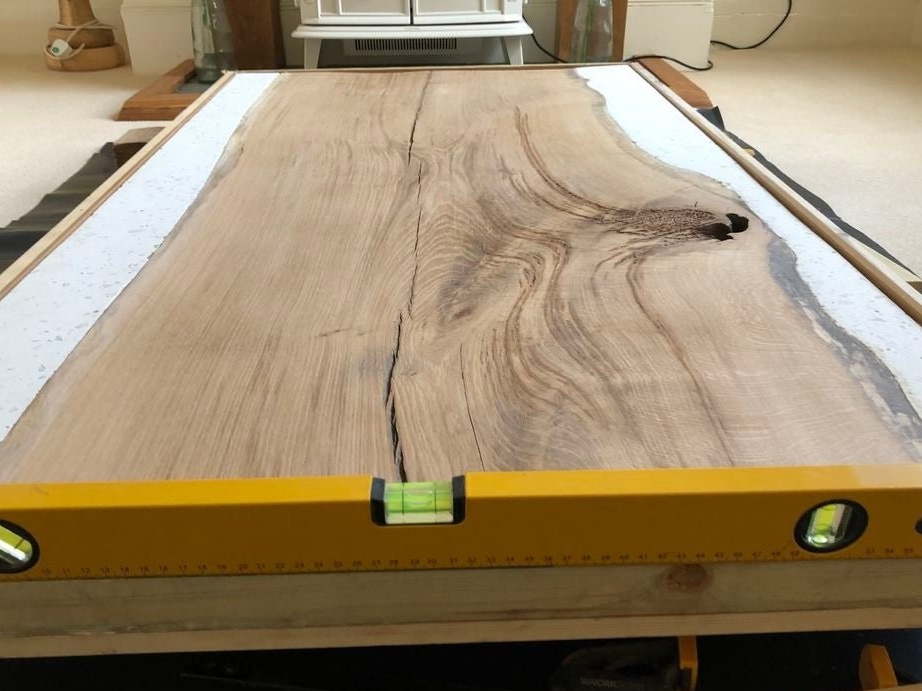
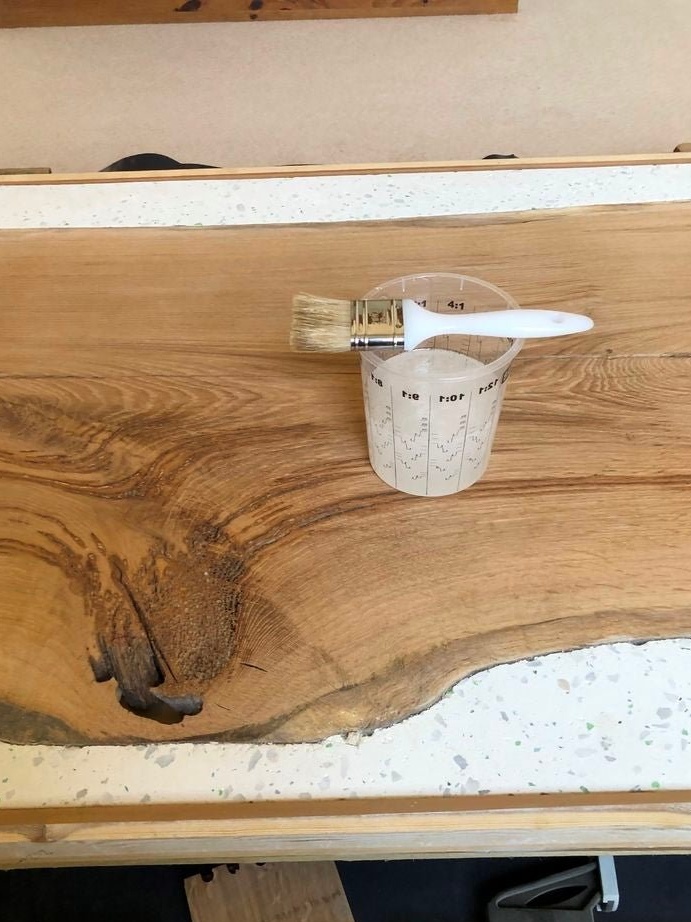
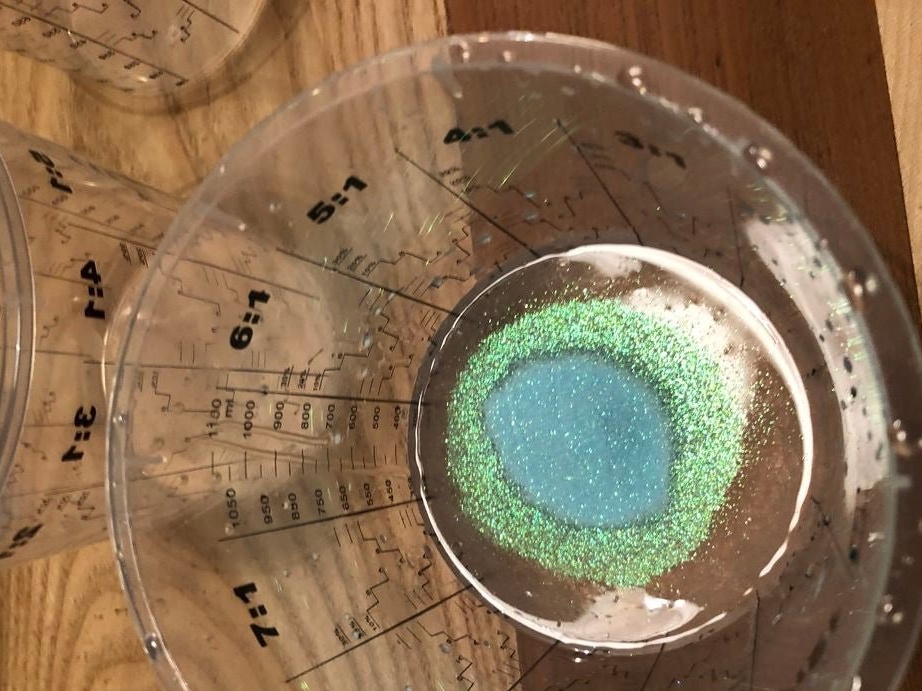
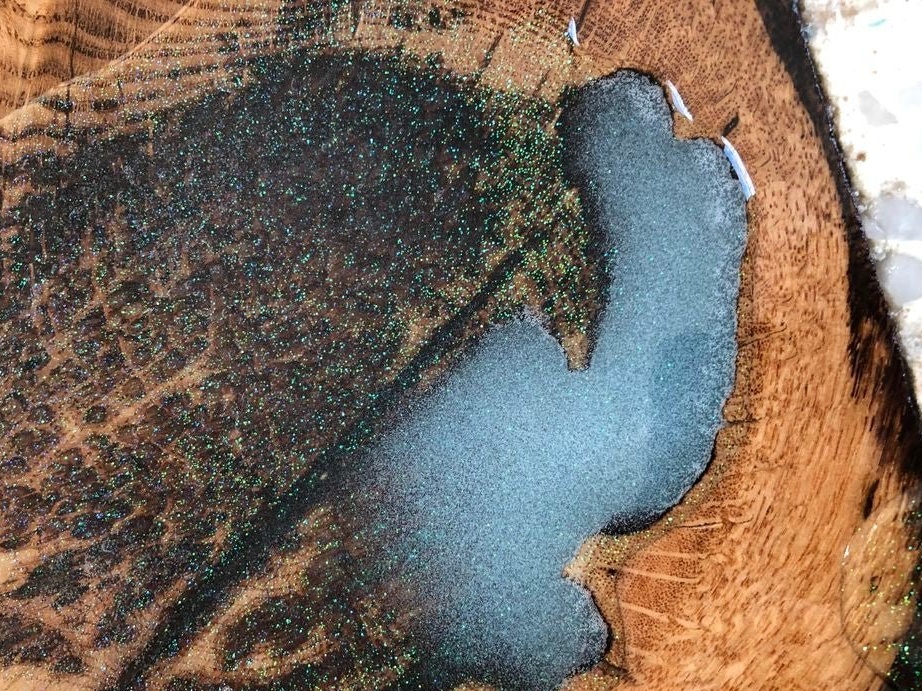
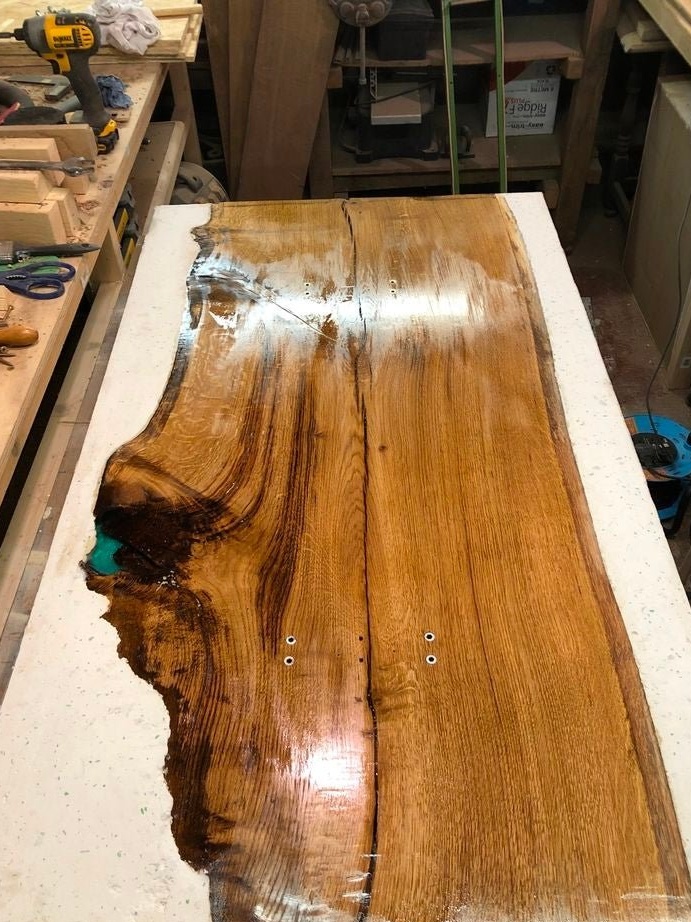
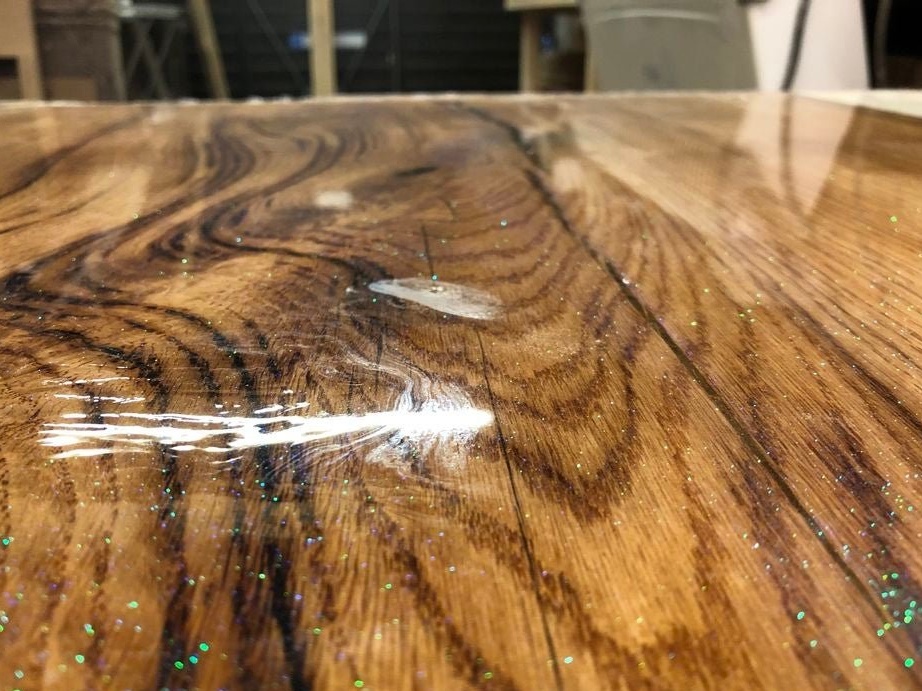
Now you can fill the countertop with epoxy. The master aligns the workpiece by level. Knead the resin in the right proportion and fill. Filling is carried out in three stages. At the last stage, the master added decorative sequins to the resin.


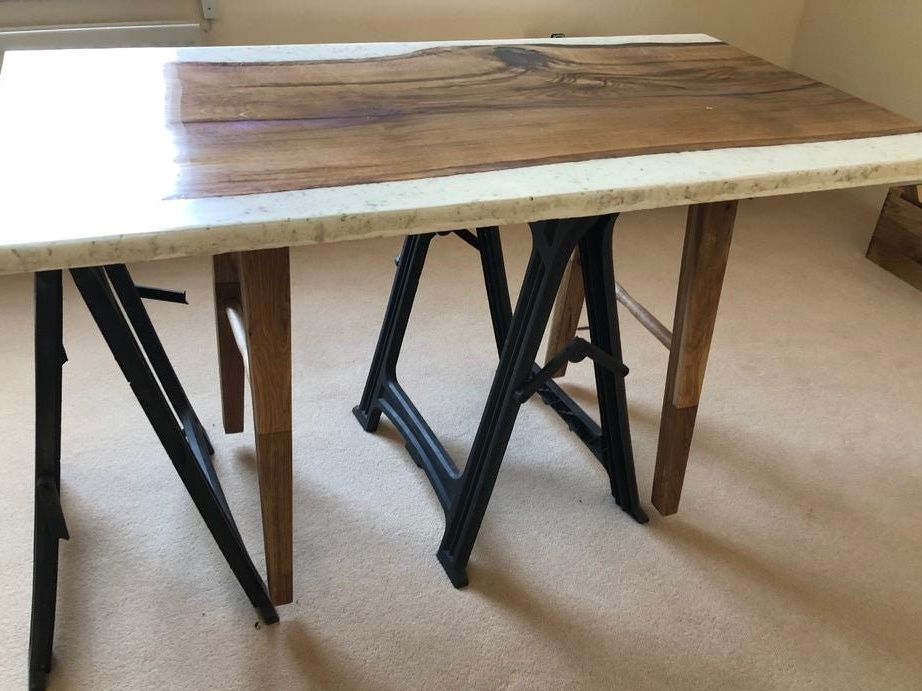
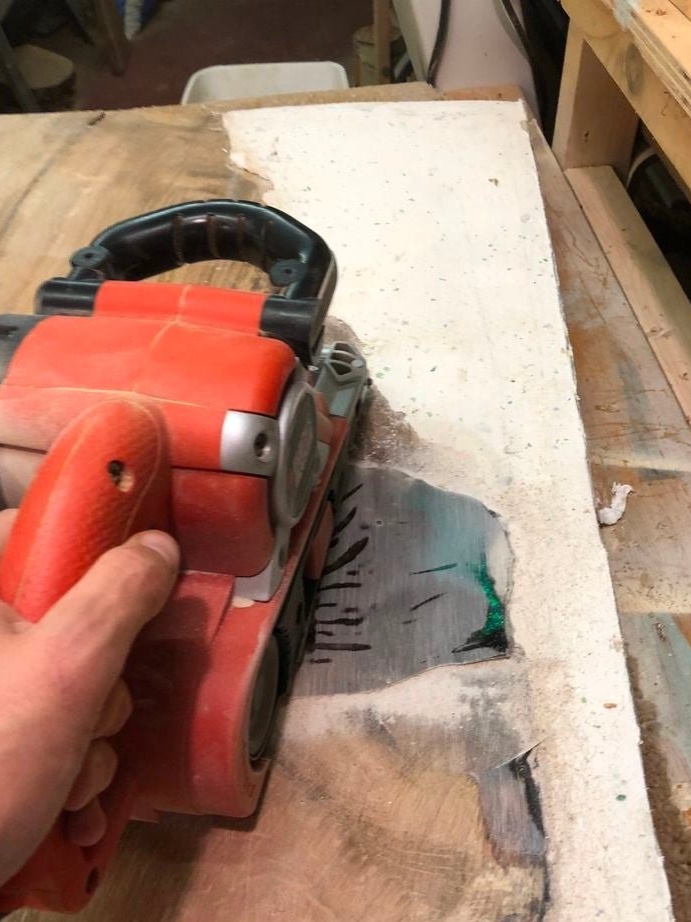
Step nine: grinding and reworking the legs
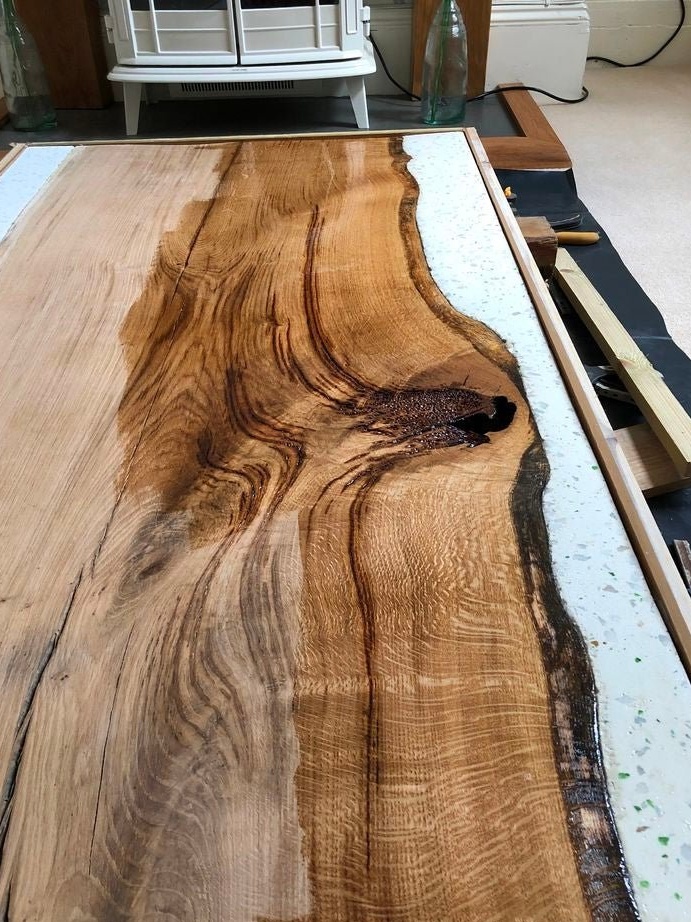
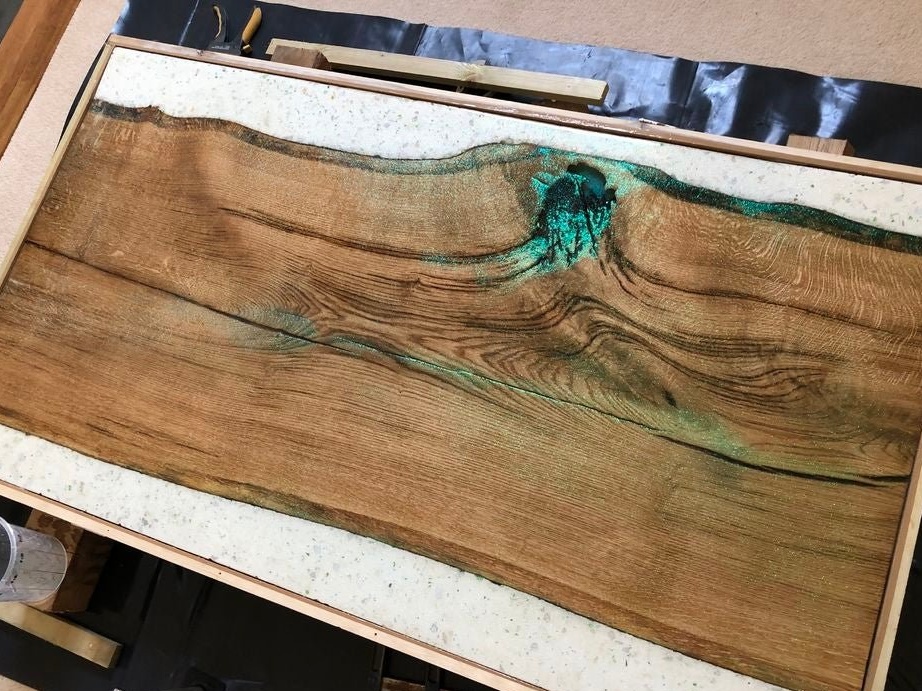
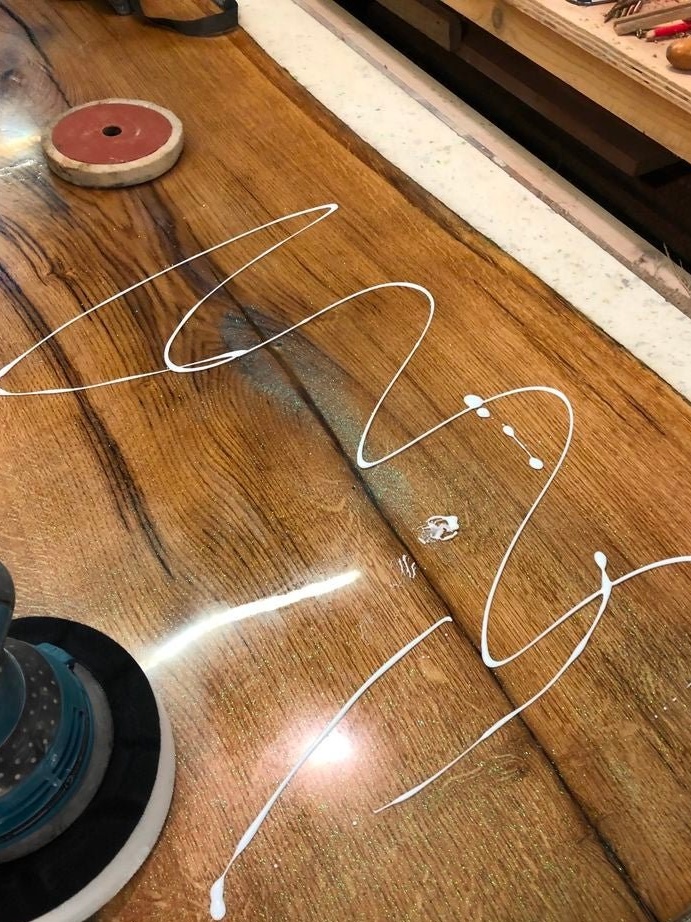
After the resin has cured, the master removes the frame and smoothes out the streaks of resin.
Grinds the countertop.
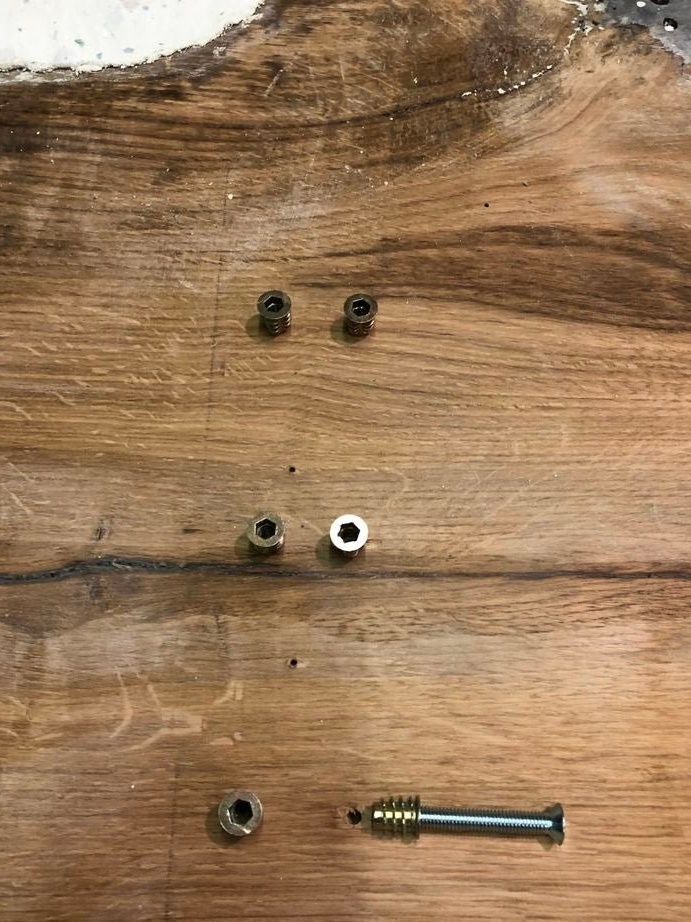
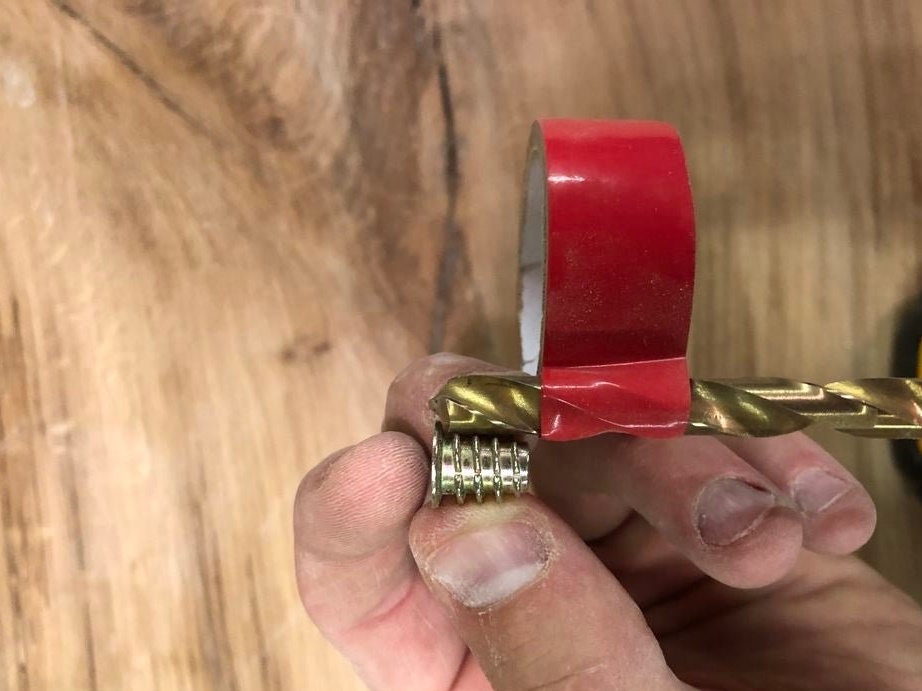
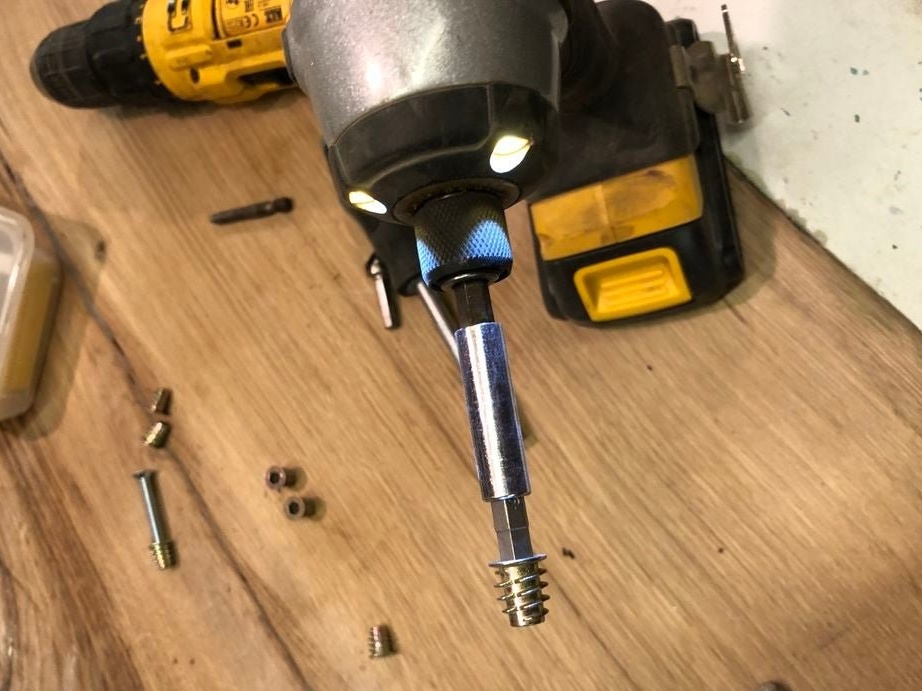
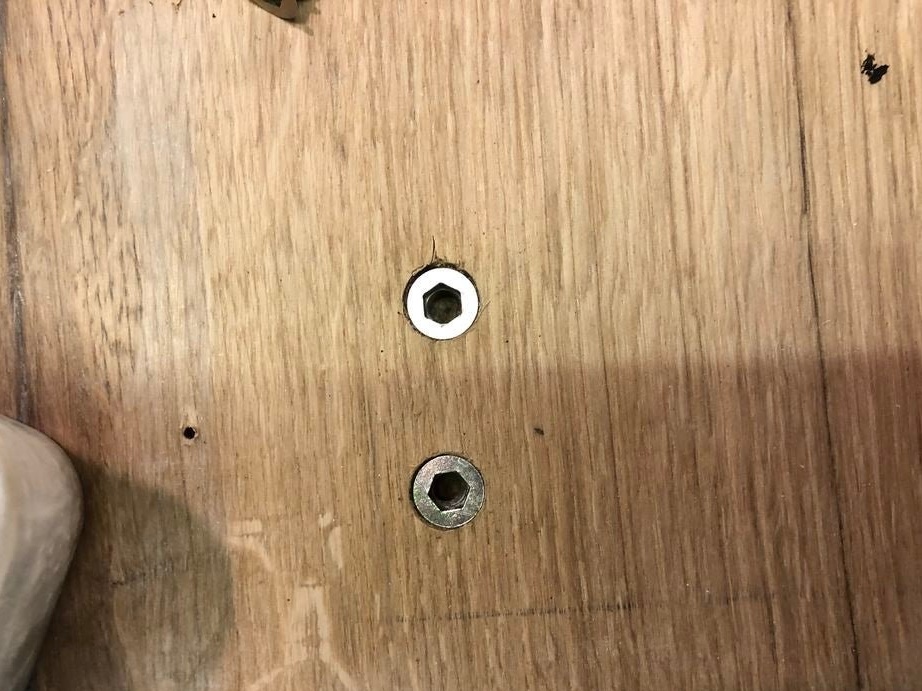
At this moment, the master understands that the fastening of the legs may not be able to support such a weight. Then he dismantles the legs and installs the threaded inserts.

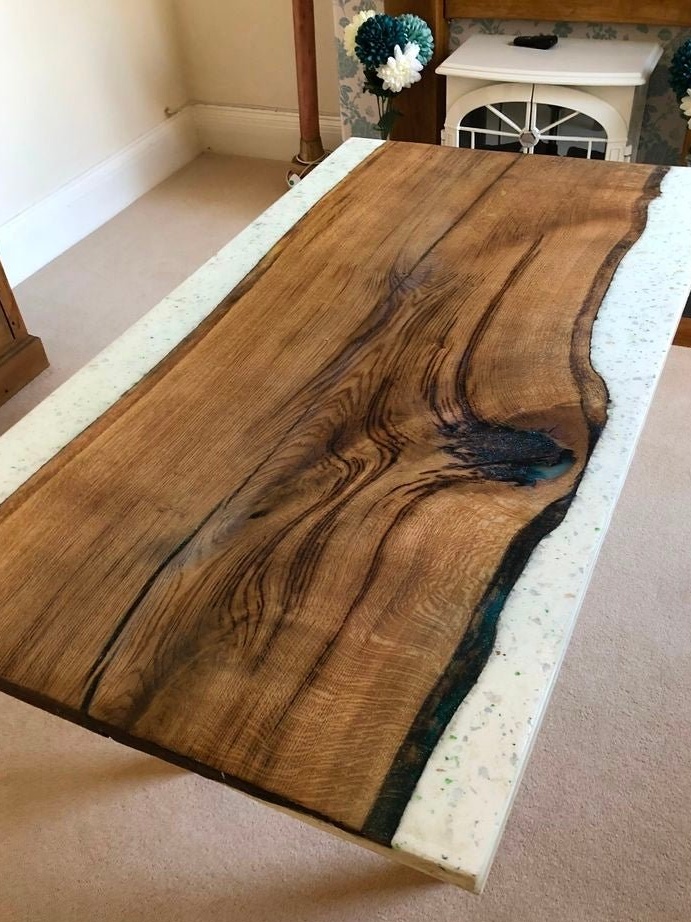
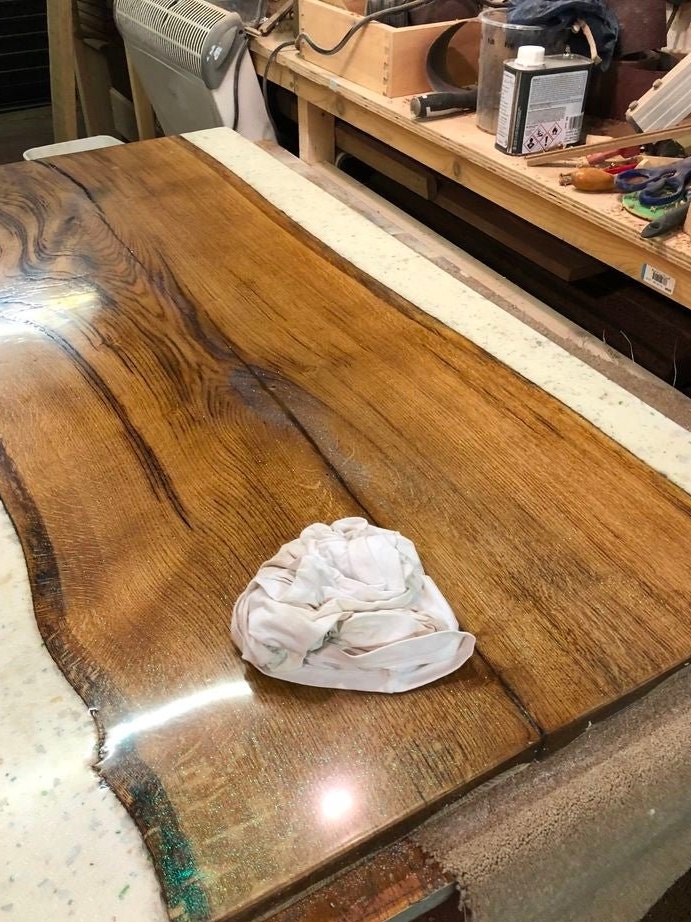
The bottom of the table is covered with Danish oil.

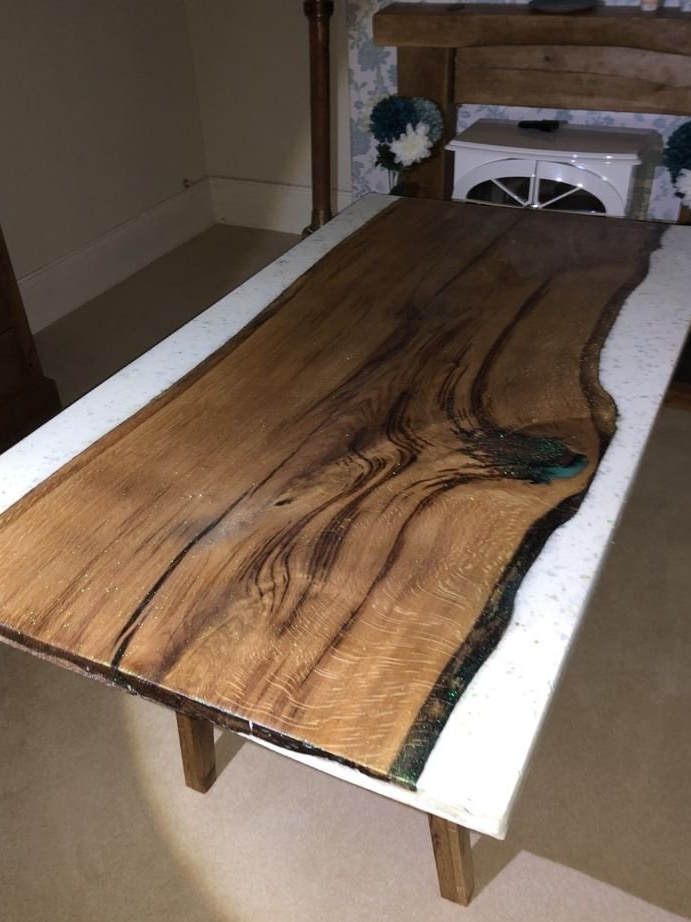
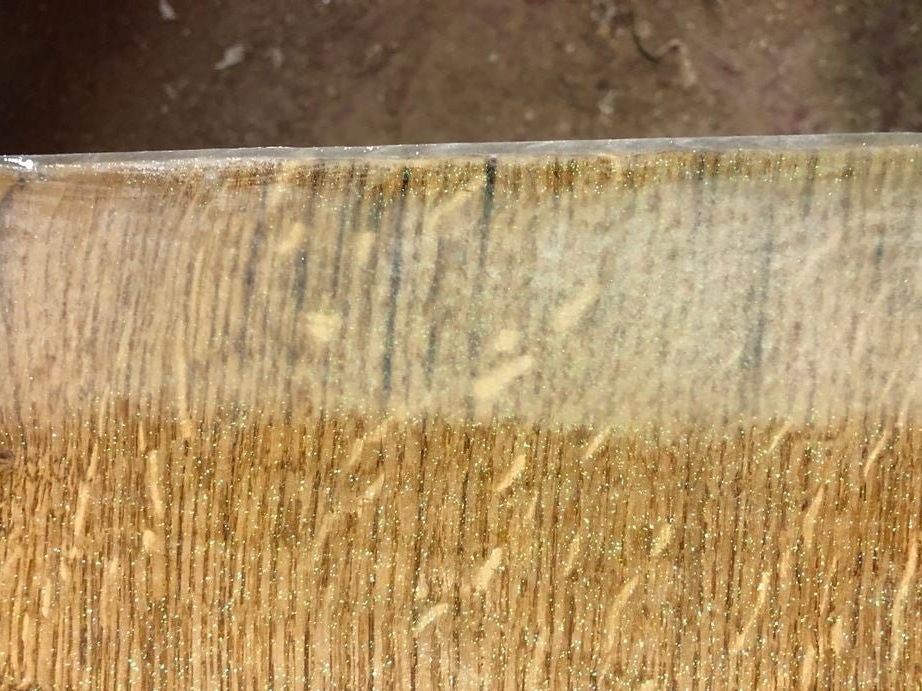
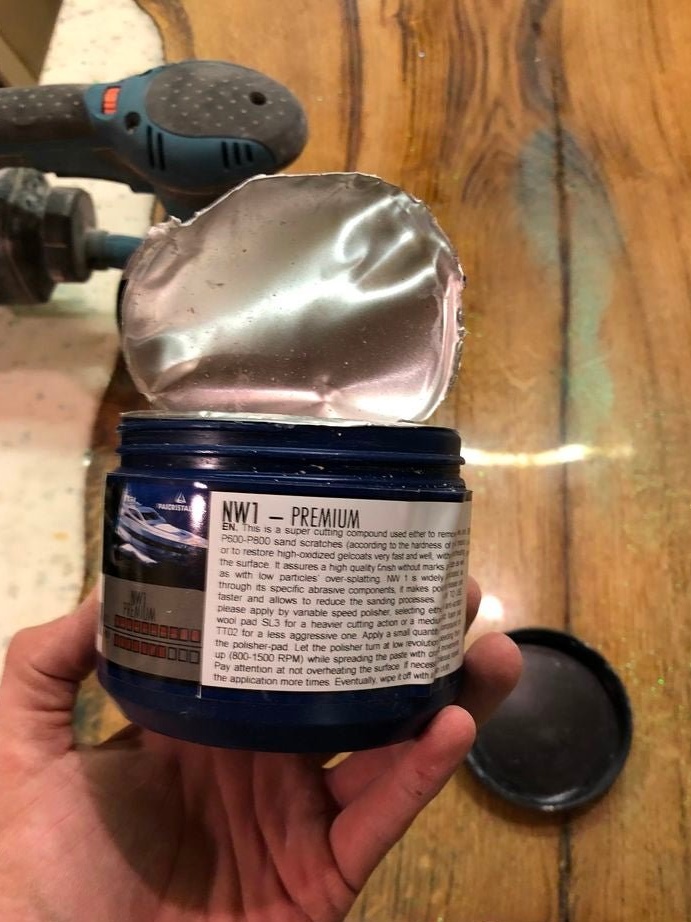
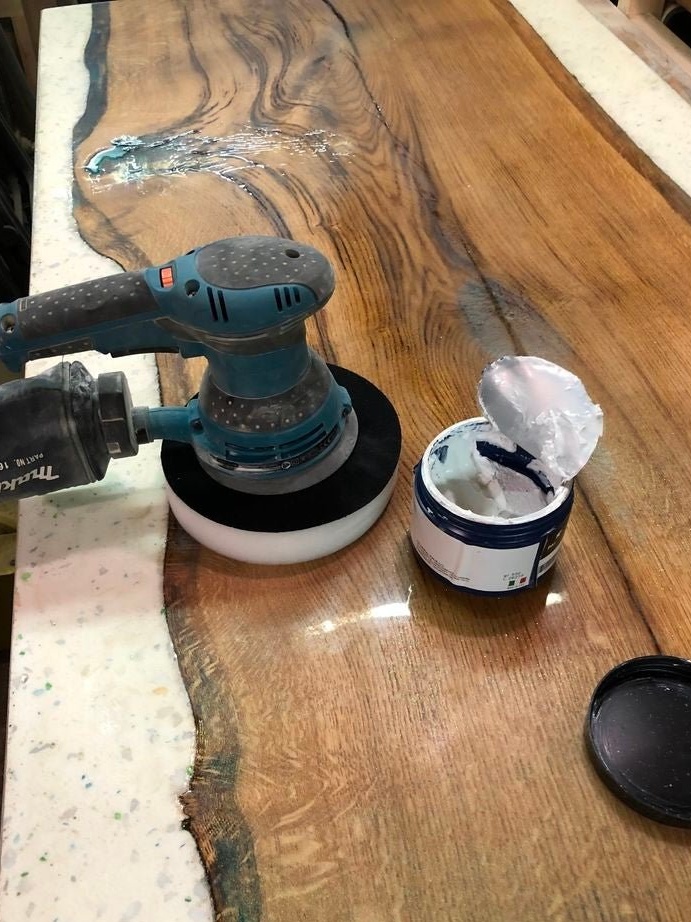
Continues to grind and polish the top.
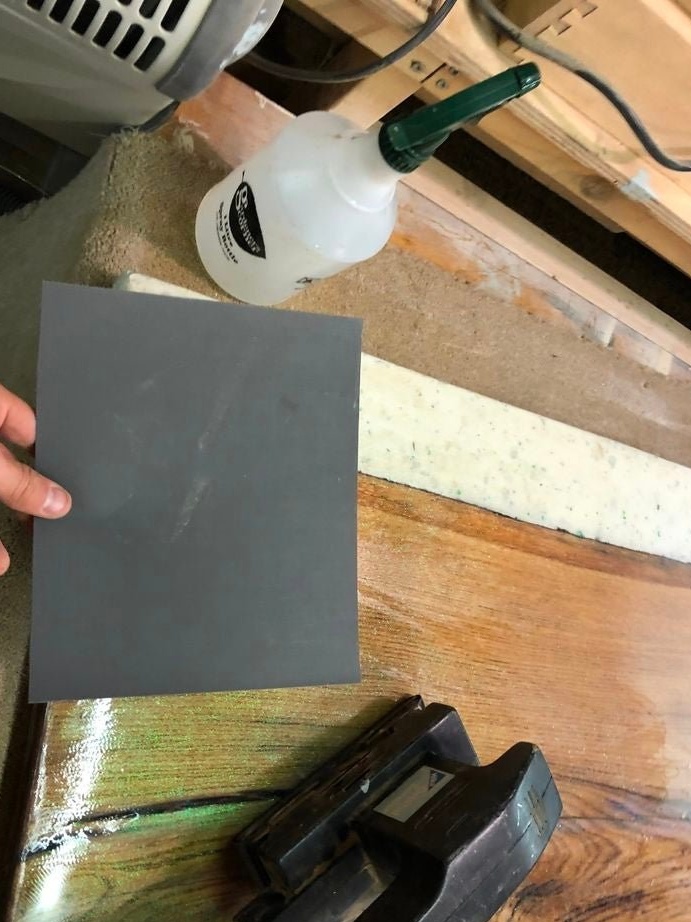
Grinds legs. Covers Danish oil, polishes and fixes.

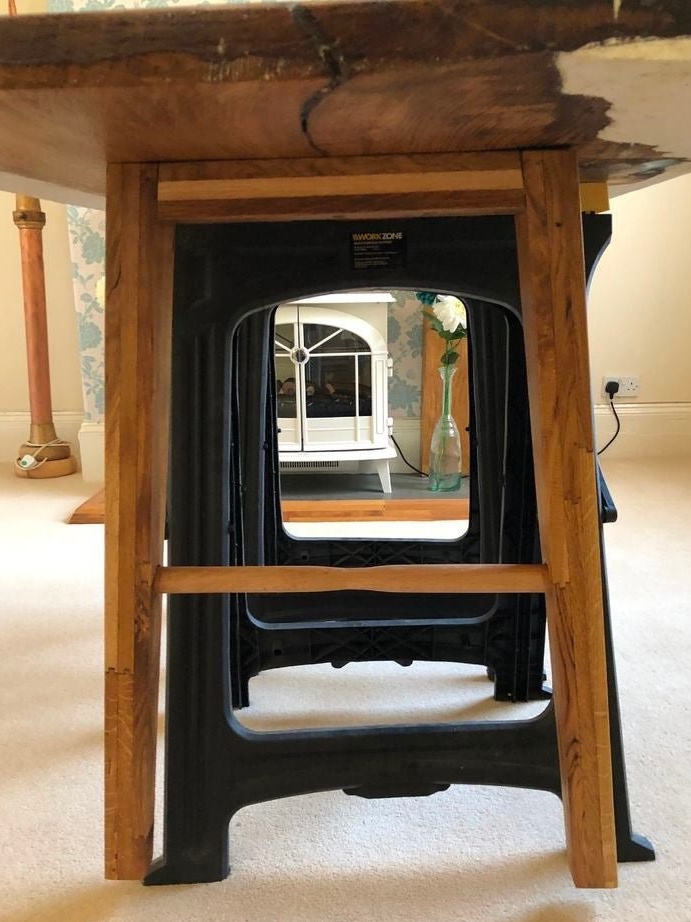
Now the table is completely ready.