

I welcome all fans to craft, today we will consider a very useful homemadeif you started a repair, you have a workshop, and just for domestic purposes. It will be about how you can assemble a simple and effective construction vacuum cleaner. With this vacuum cleaner it will be possible to collect wood, metal and other shavings, paper, polystyrene and various other large debris. The homemade product is equipped with a large volume bucket, which allows you to collect a lot of garbage. The design of a household vacuum cleaner does not suffer from such alteration, which is a big plus. Such a construction vacuum cleaner can be assembled on the basis of a powerful old Soviet vacuum cleaner and not only. If you are interested in the project, I propose to study it in more detail!
Materials and tools used by the author:
Material List:
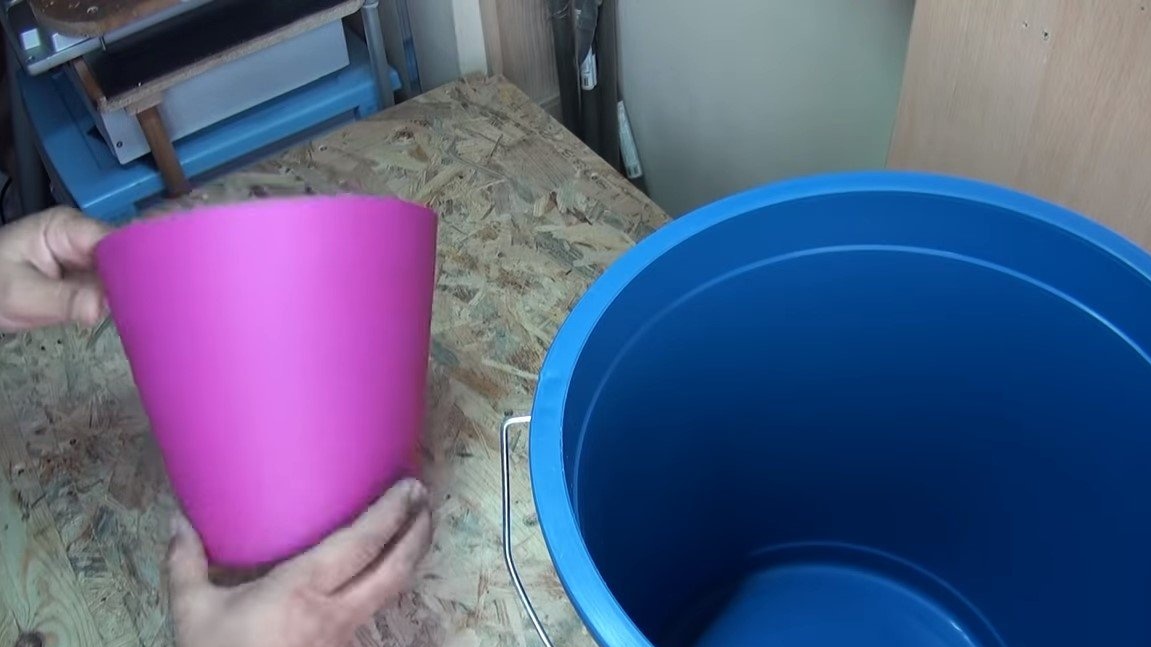
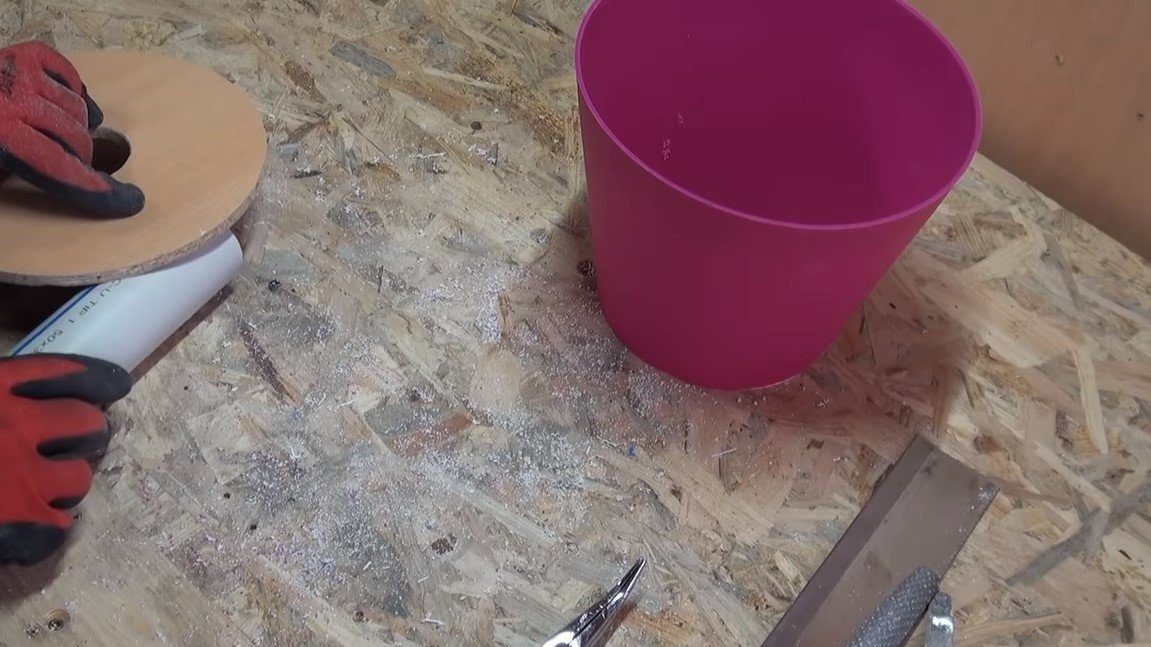
- a large bucket for the waste bin;
- a bucket of small diameter;
- plywood, MDF or similar material;
- plumbing pipes and corners;
- metal grid;
- self-tapping screws;
- plastic ties;
- screws and nuts "wing".
Tool List:
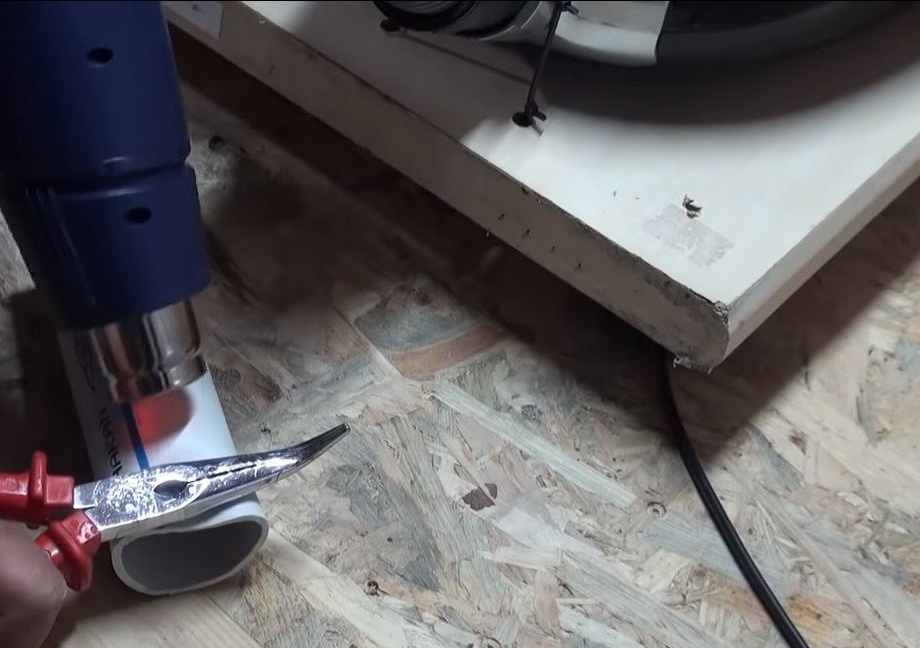
- glue gun and more rods;
- circular;
- a milling machine (or another machine that can cut circles);
- ruler;
- marker;
- a hacksaw;
- drill;
- drill;
- screwdrivers.
Homemade manufacturing process:
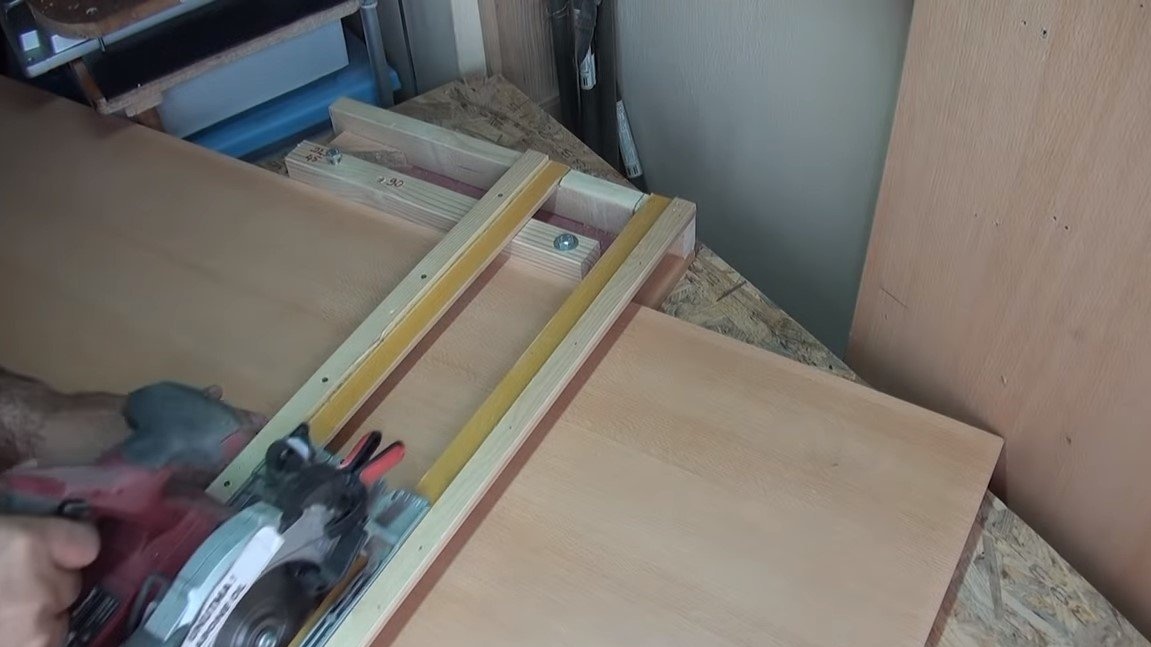
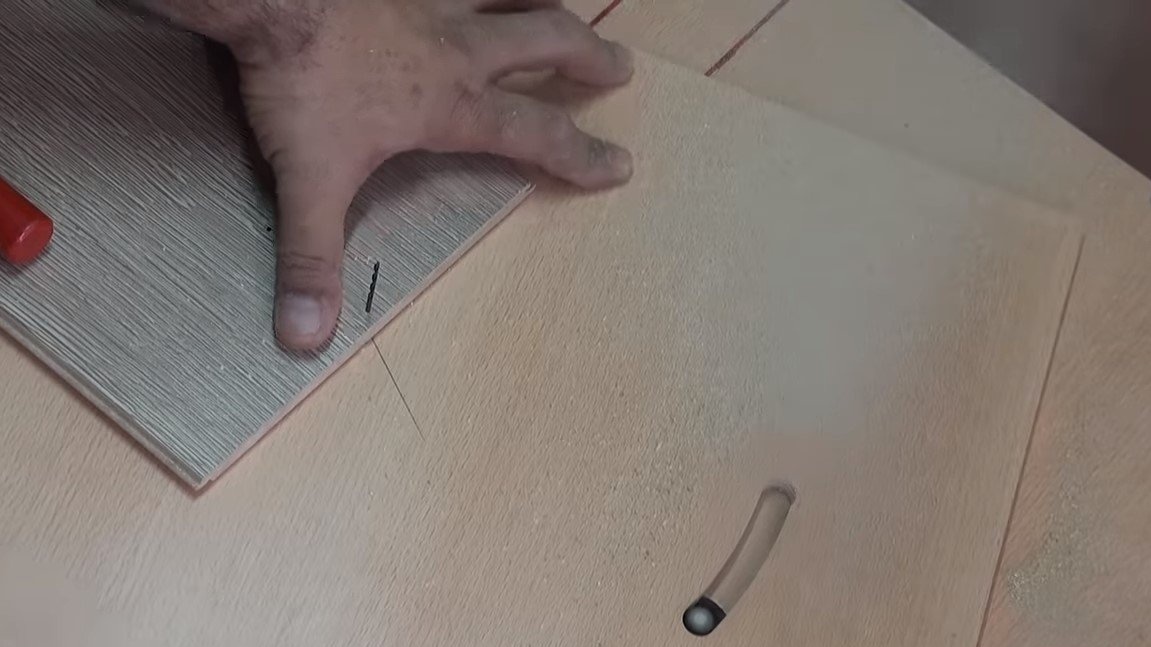
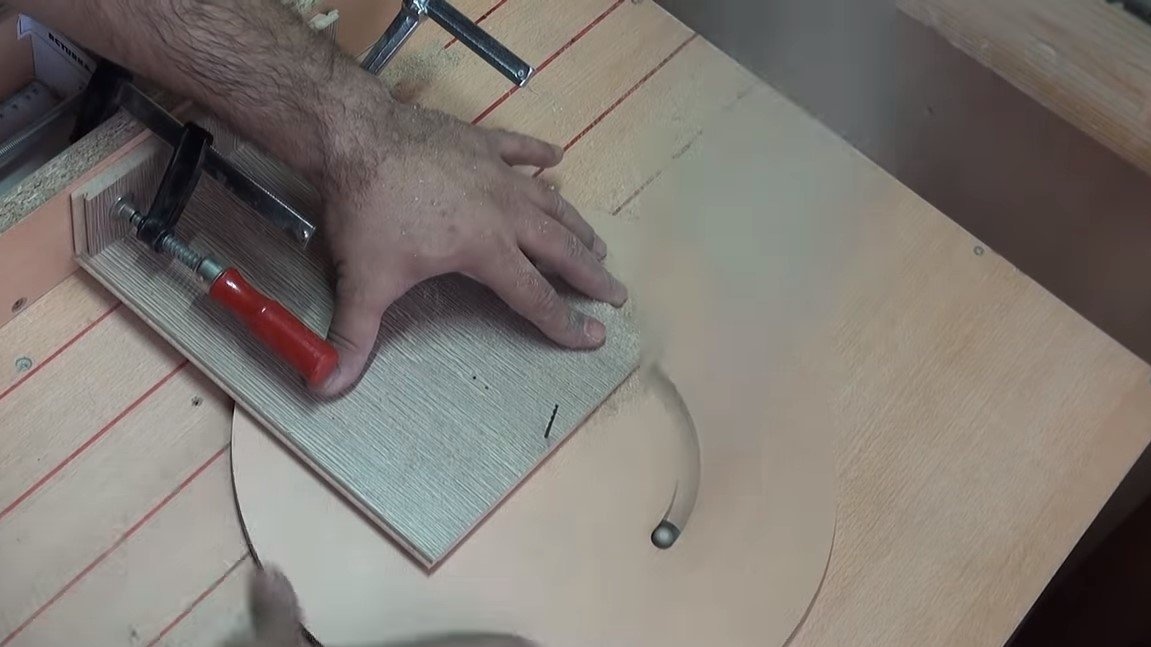
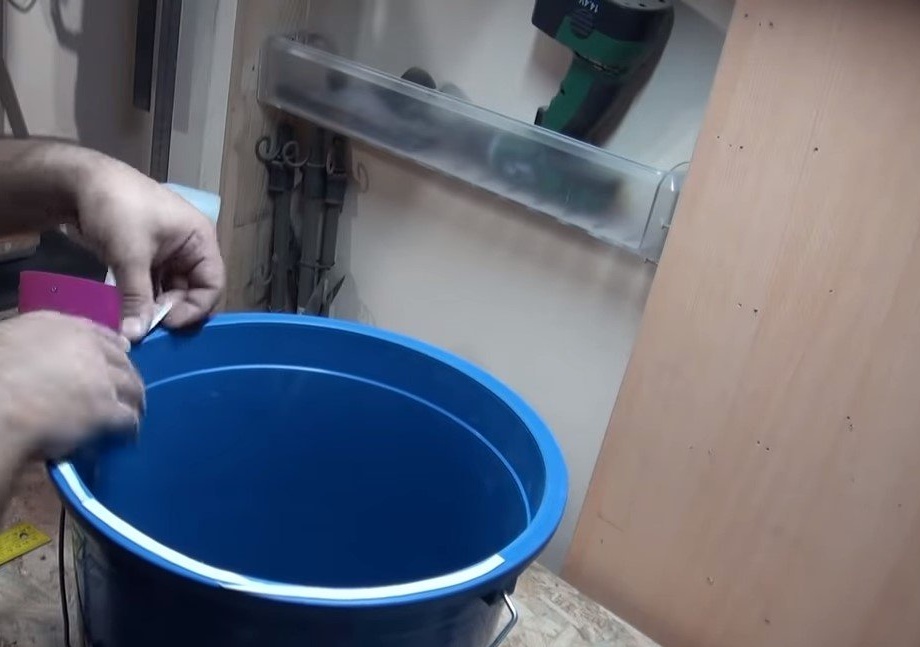
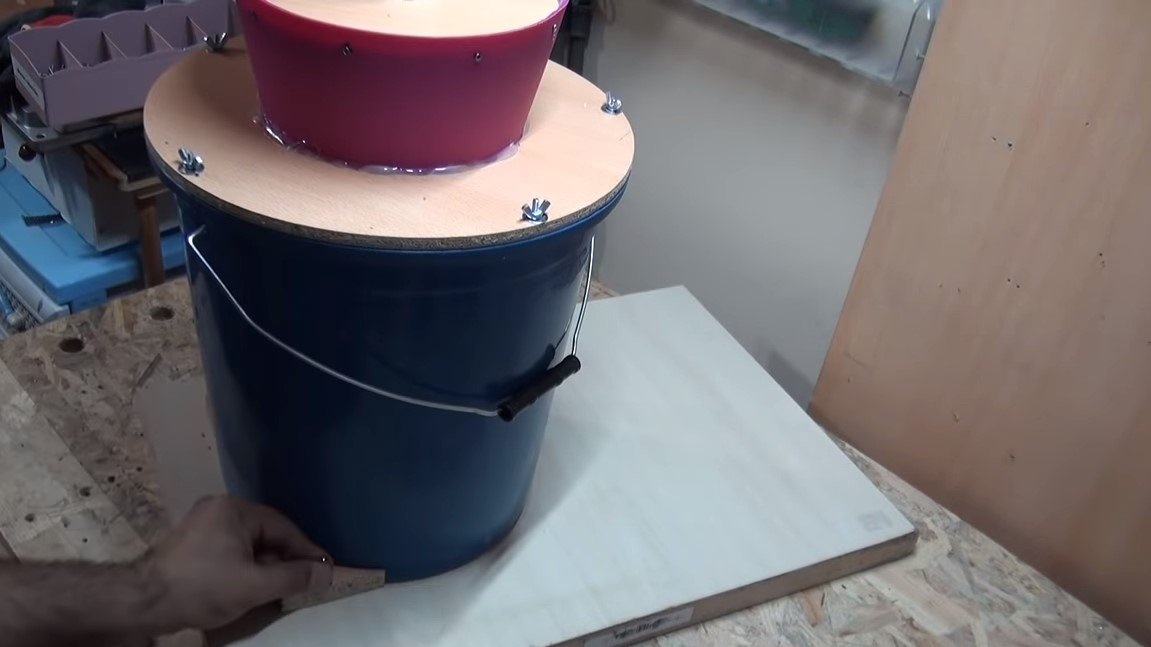
Step one. Circles
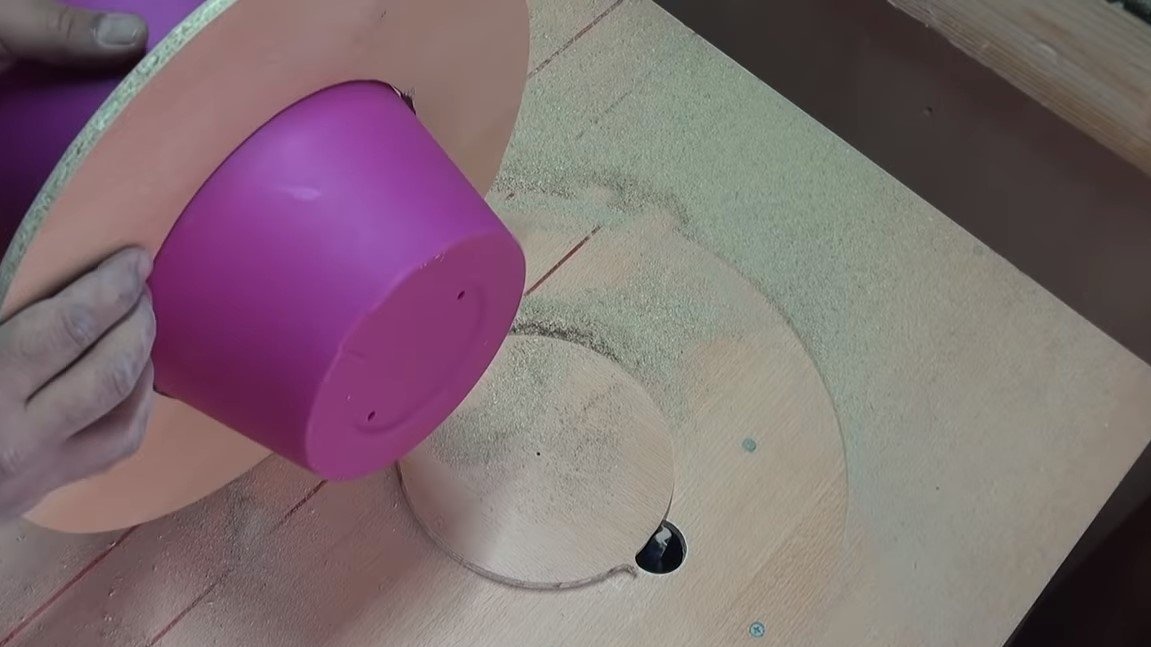
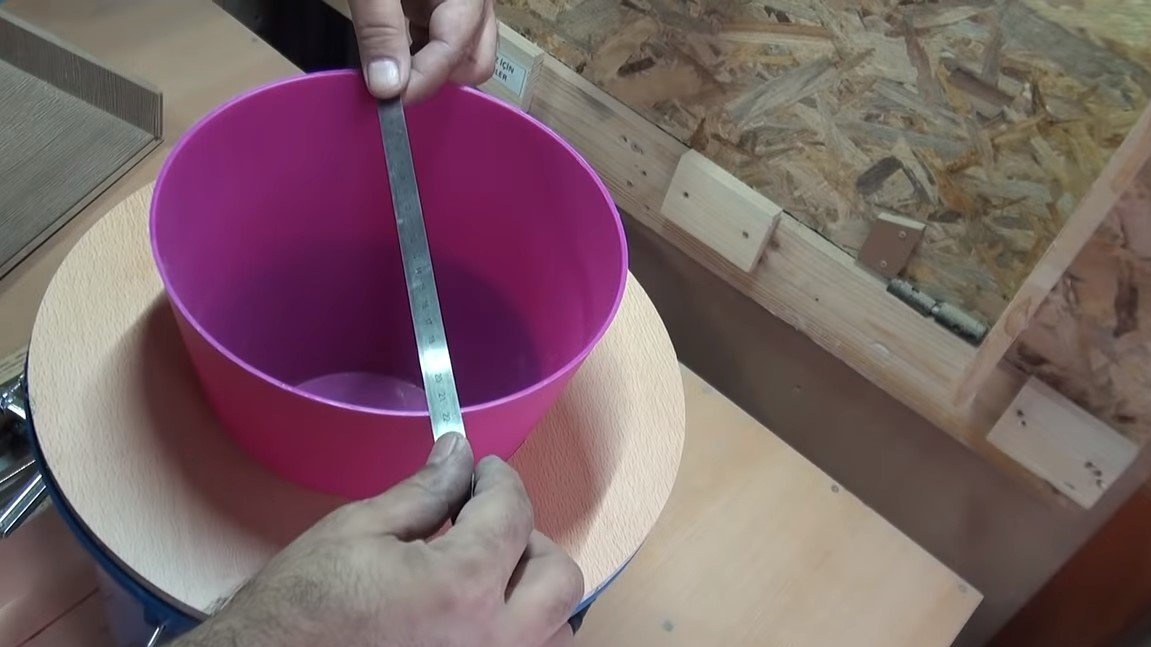
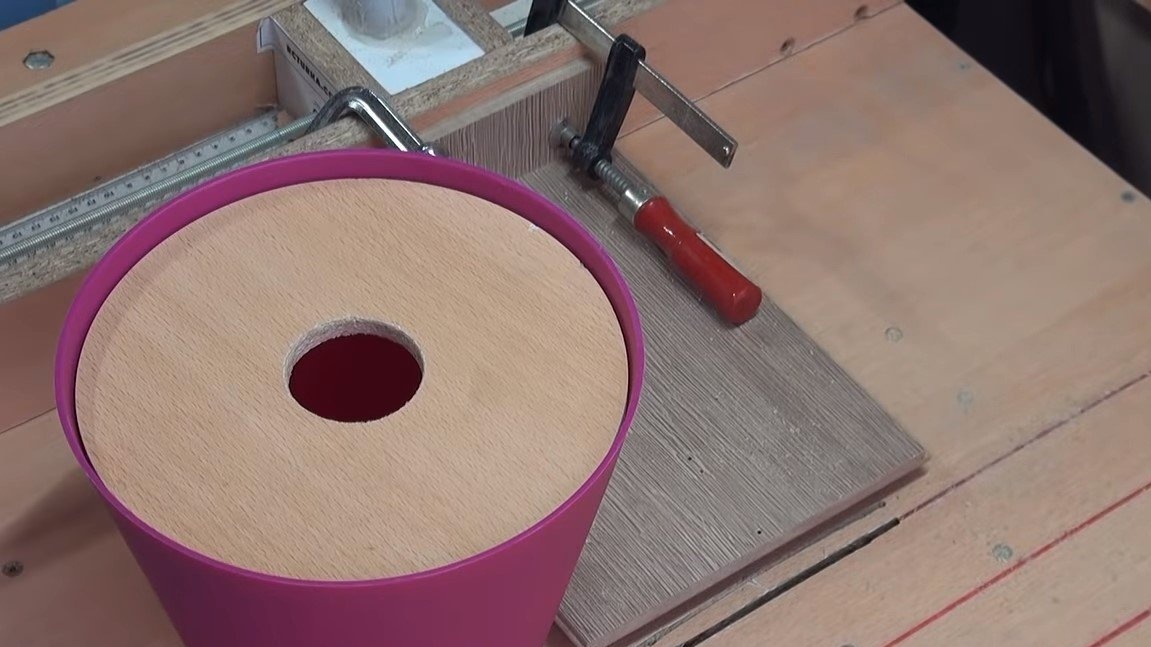
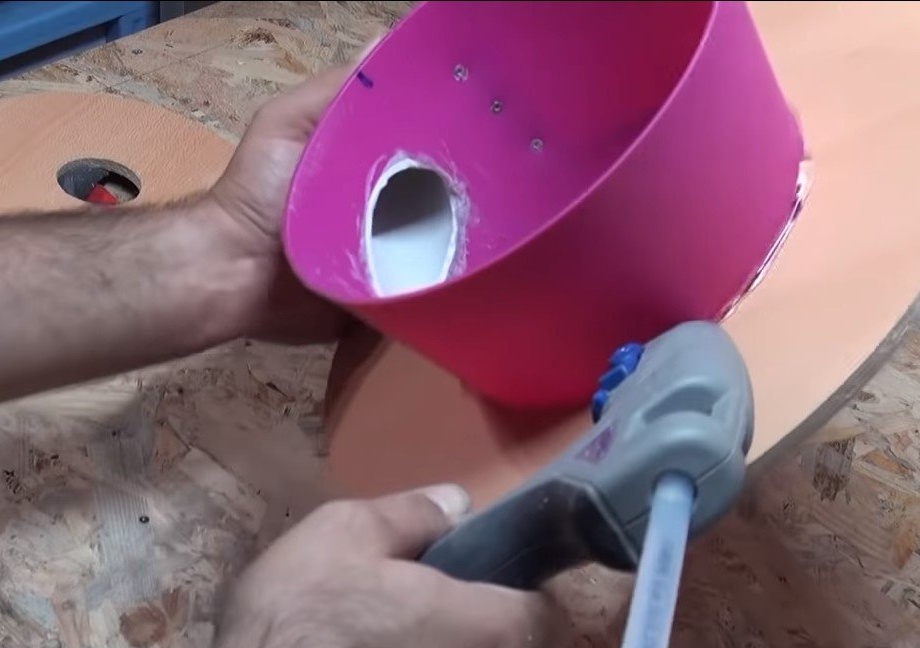
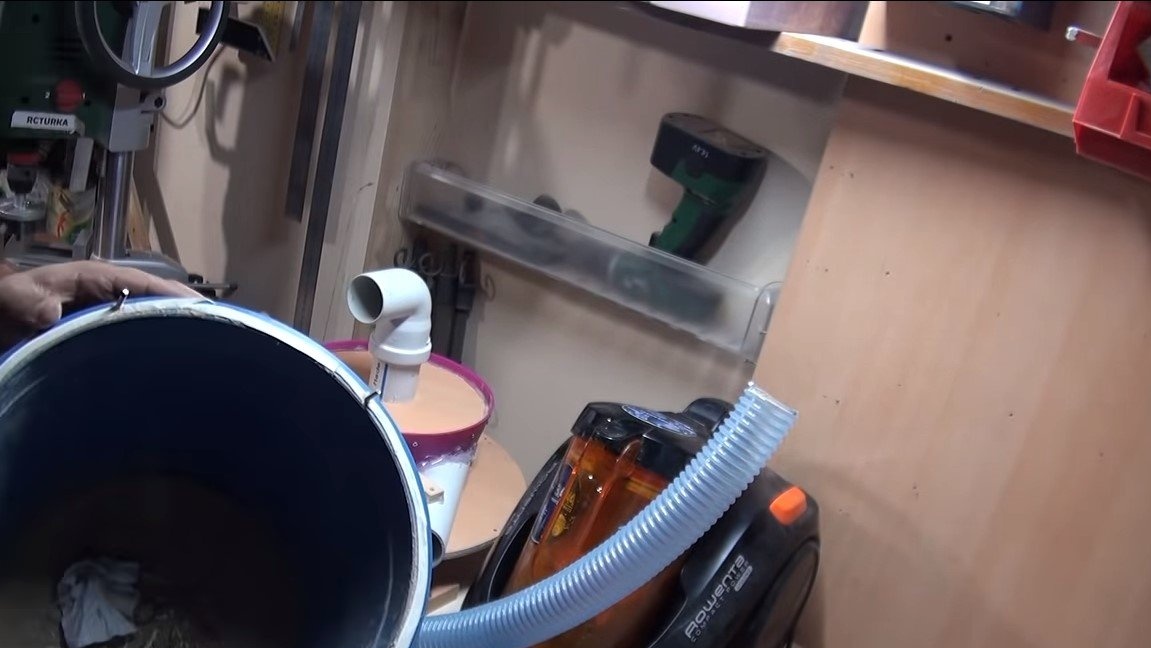
First of all, we need to cut two circles, in appearance they resemble huge washers. One such washer goes into a large bucket, a smaller bucket will be inserted inside this washer. Well, a small washer is needed as a cover for a smaller bucket, a pipe will be installed in its hole.
Washers can be cut from plywood, MDF or similar material. An electric jigsaw can be used for cutting, but the work is cleaner on a milling machine.

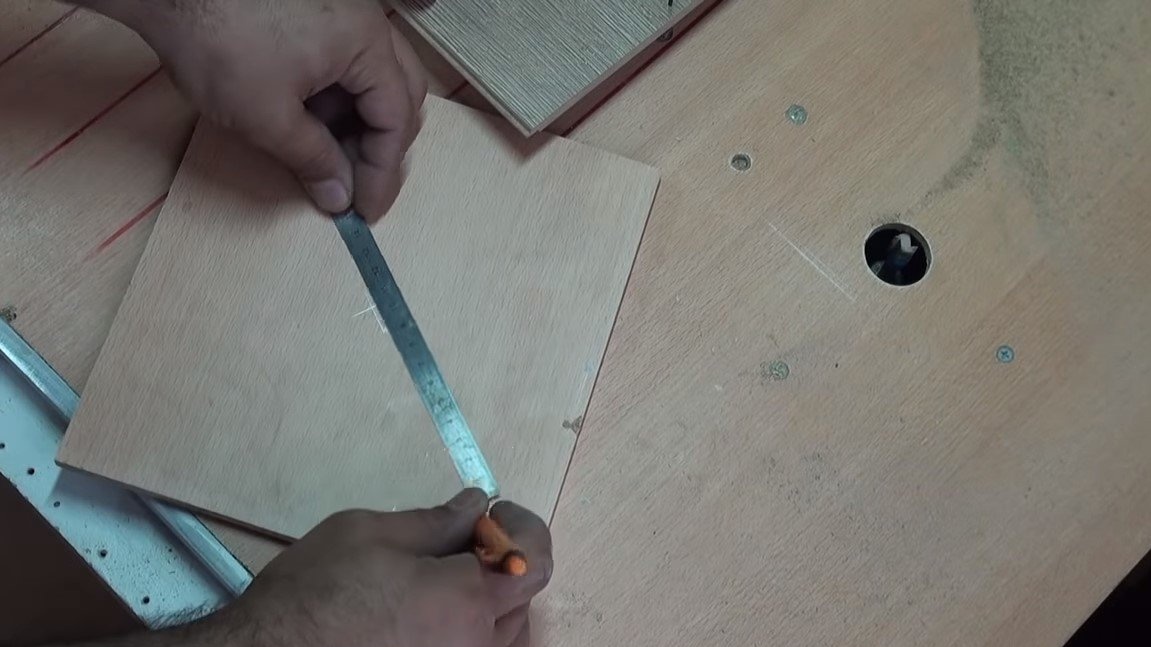
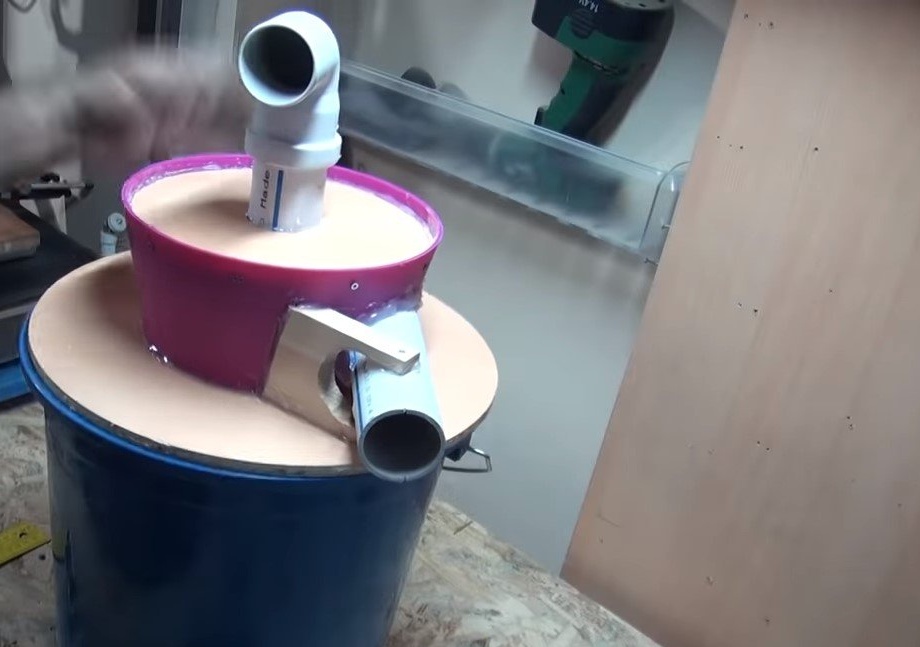
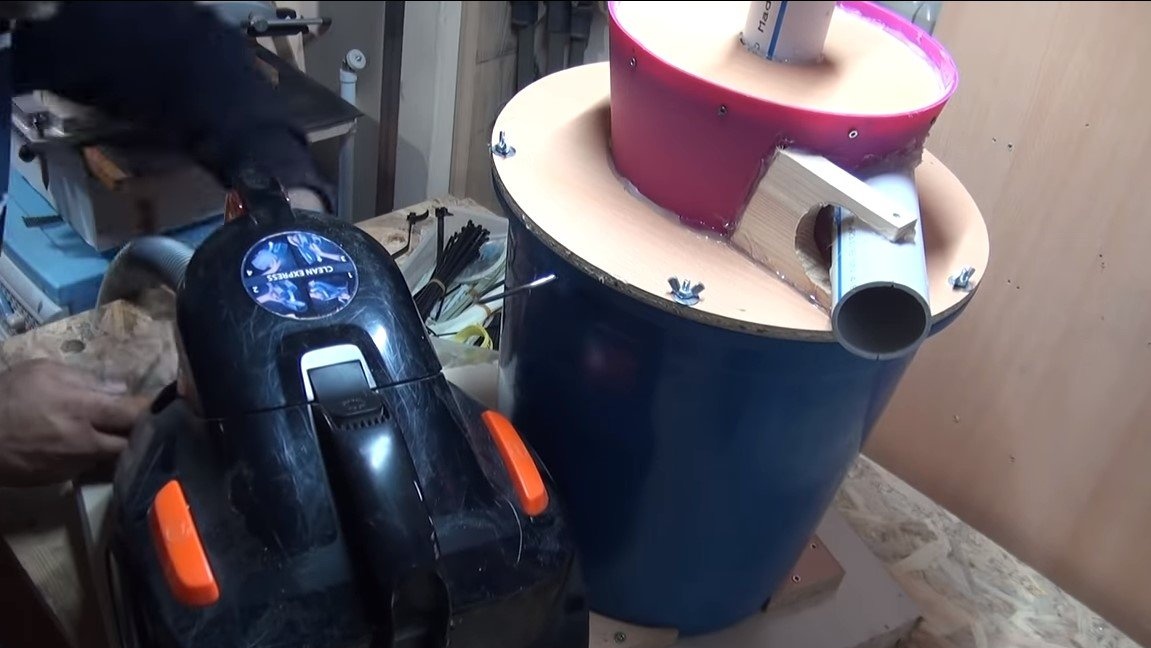
Step Two Installation of inlet and outlet pipes
Next, we need to install the inlet and outlet pipes. The pipe that connects to the vacuum cleaner is at the top, it is mounted vertically. Well, the suction pipe of a construction vacuum cleaner is fixed horizontally at an angle. As a result of the angle, the air inside the bucket swirls, and large debris successfully settles to the bottom.
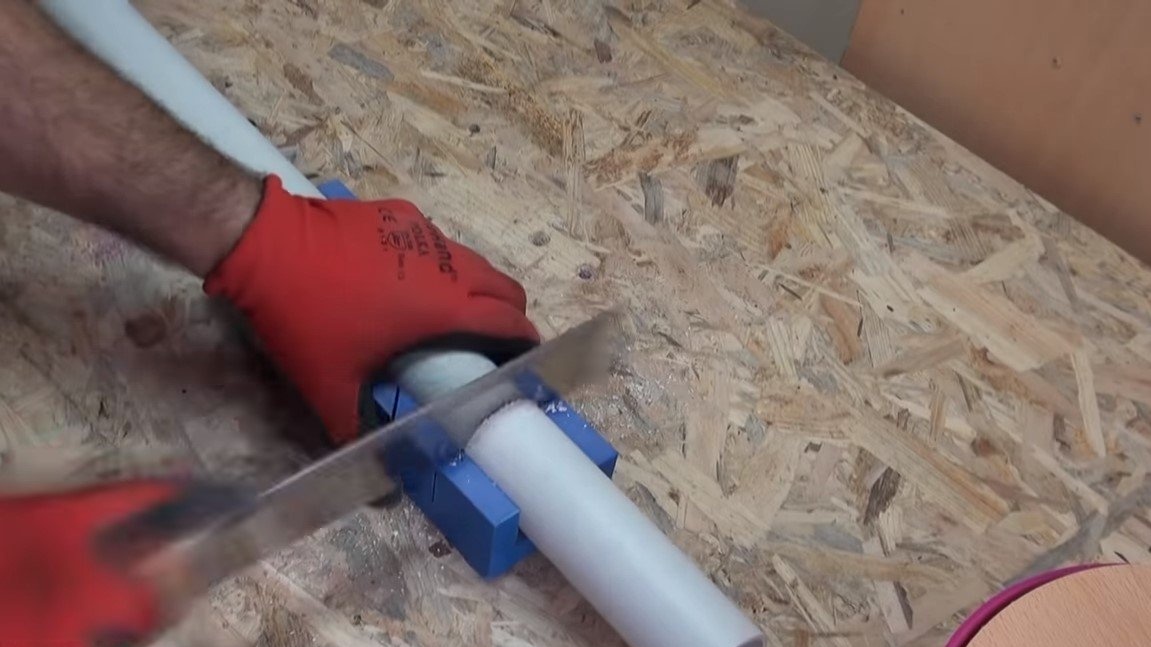
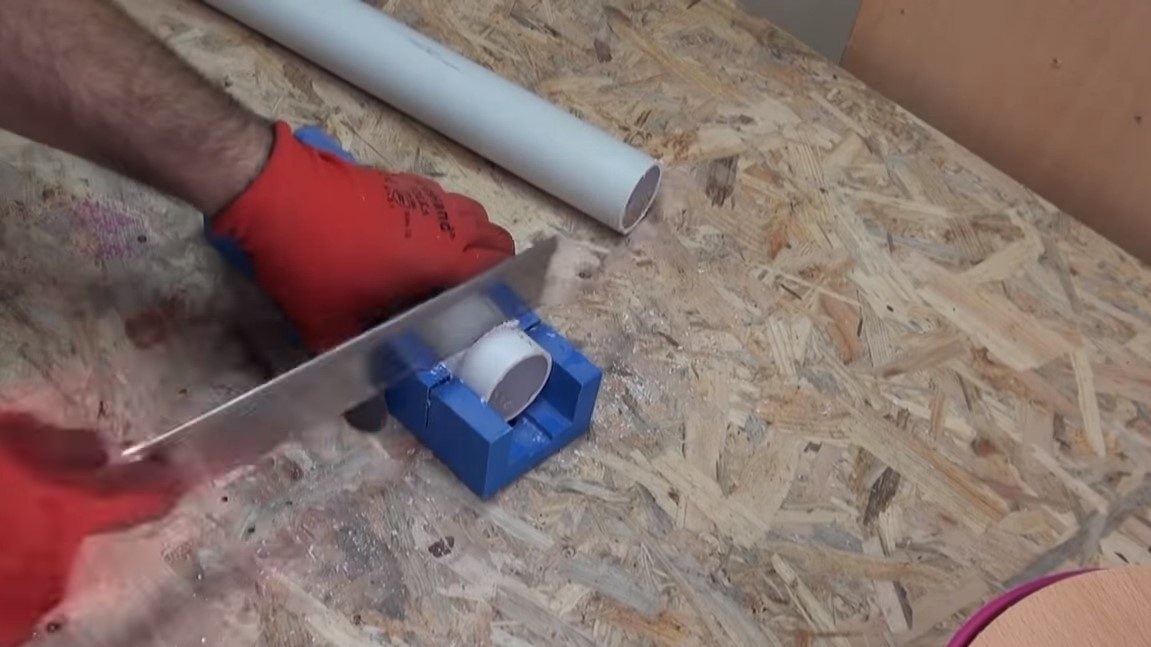

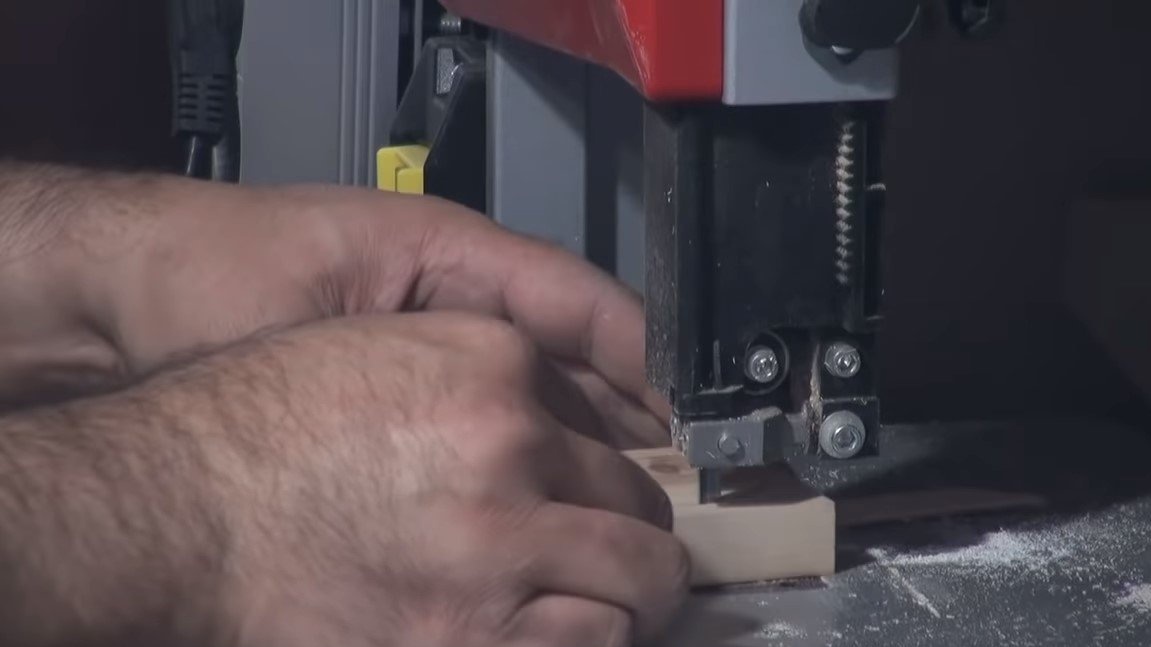
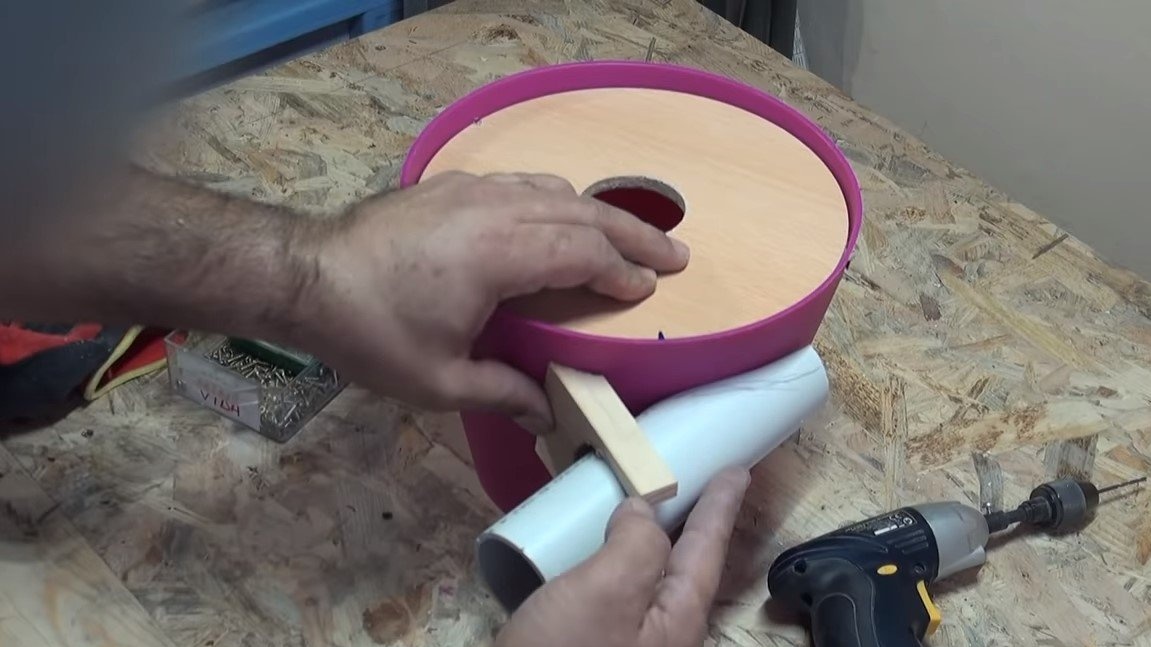
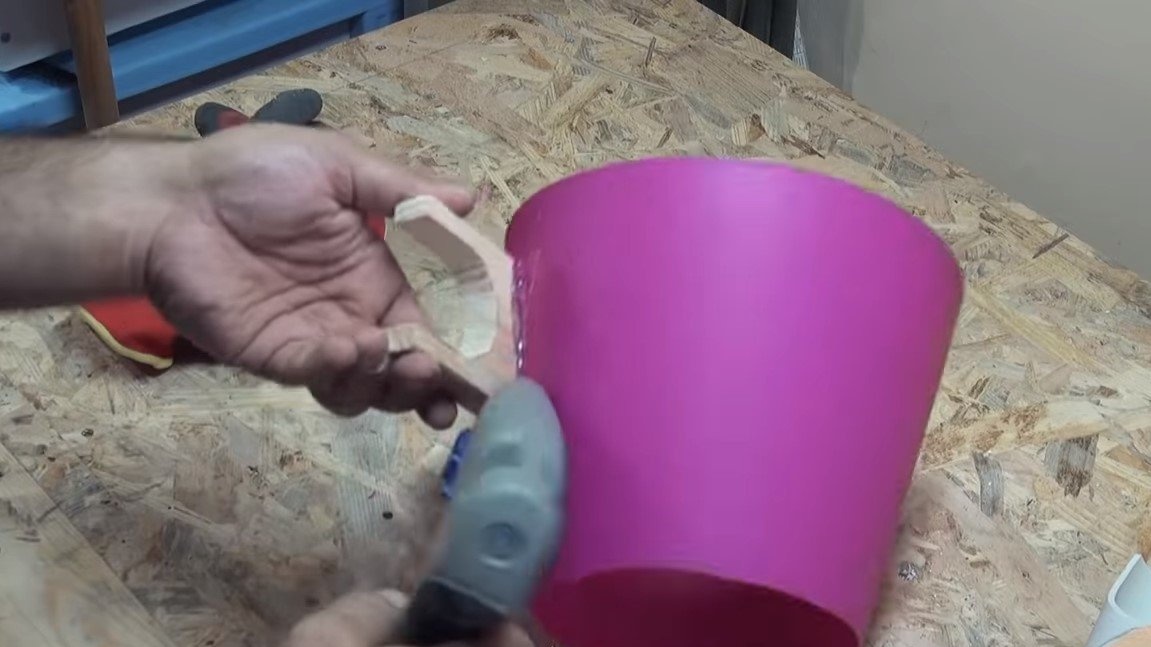
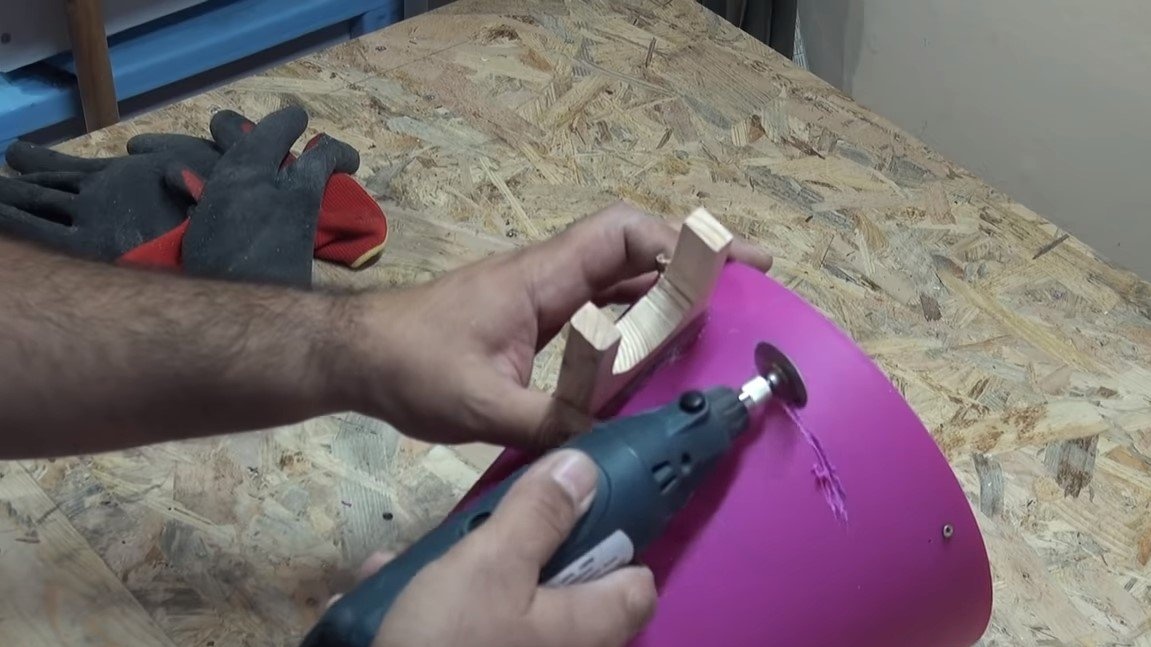
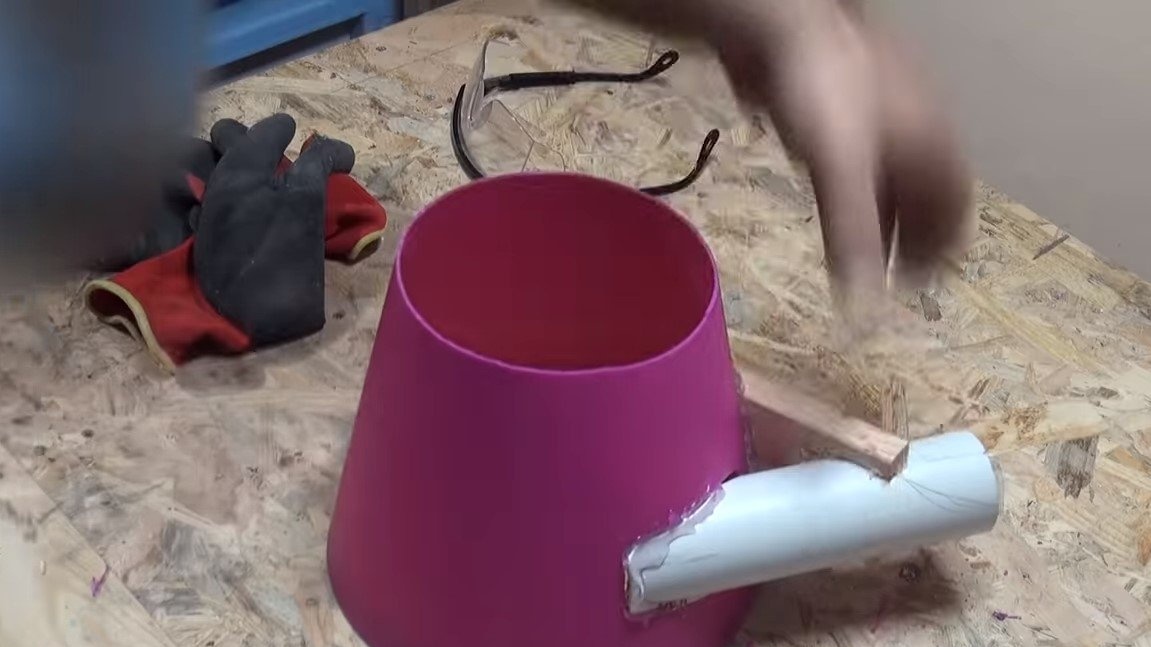

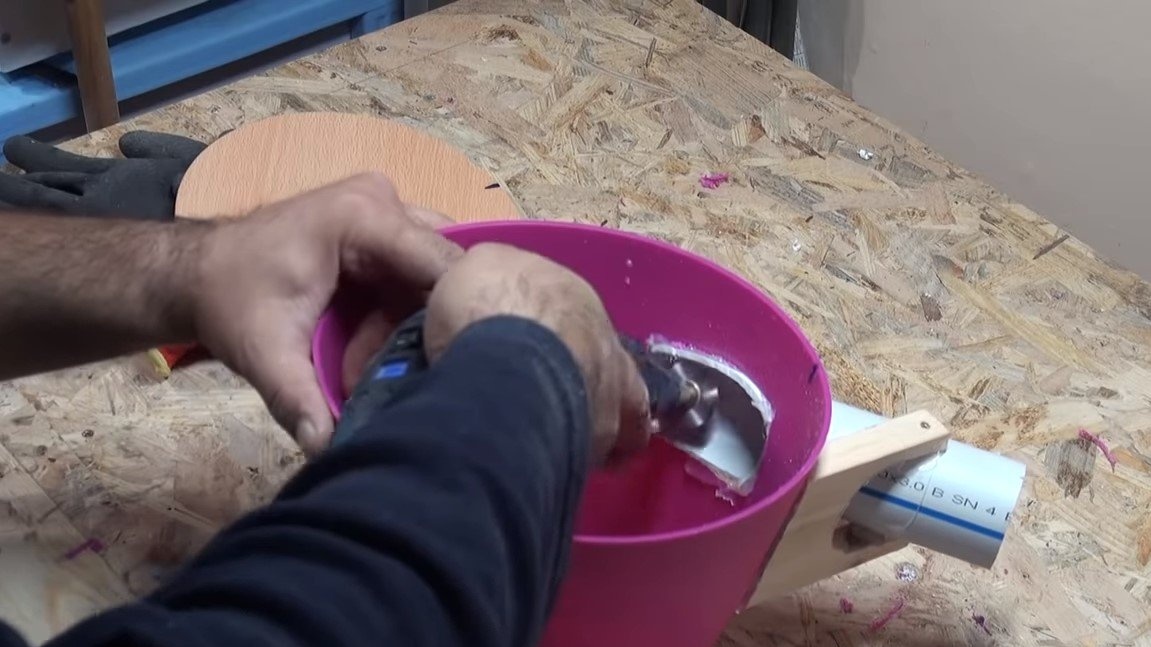

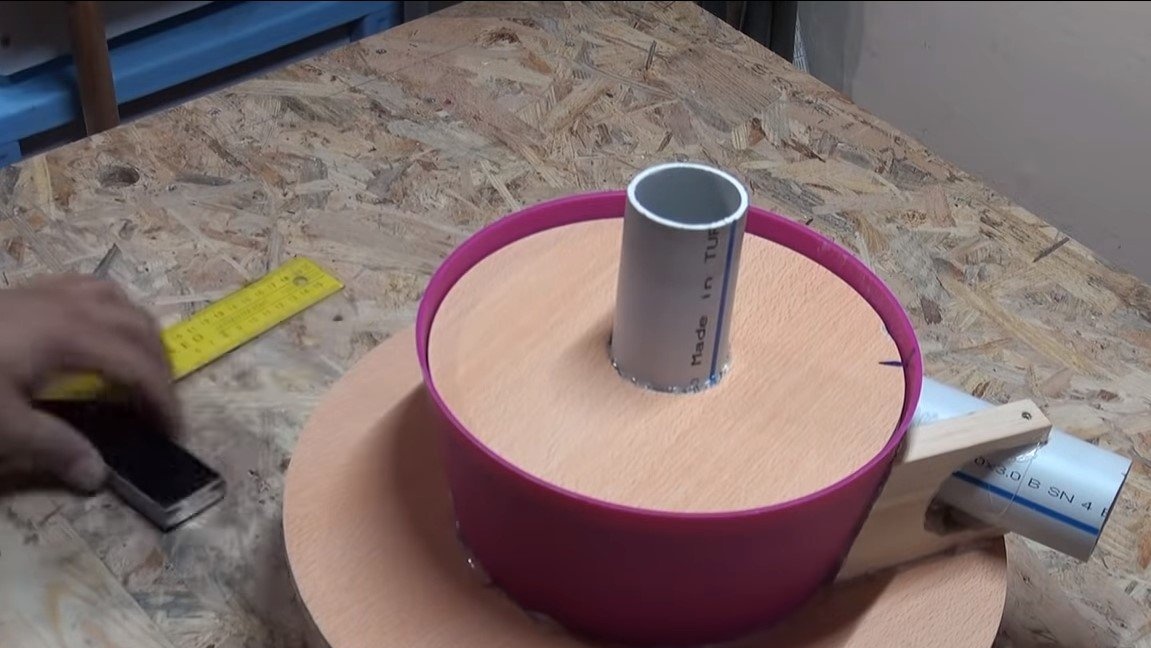
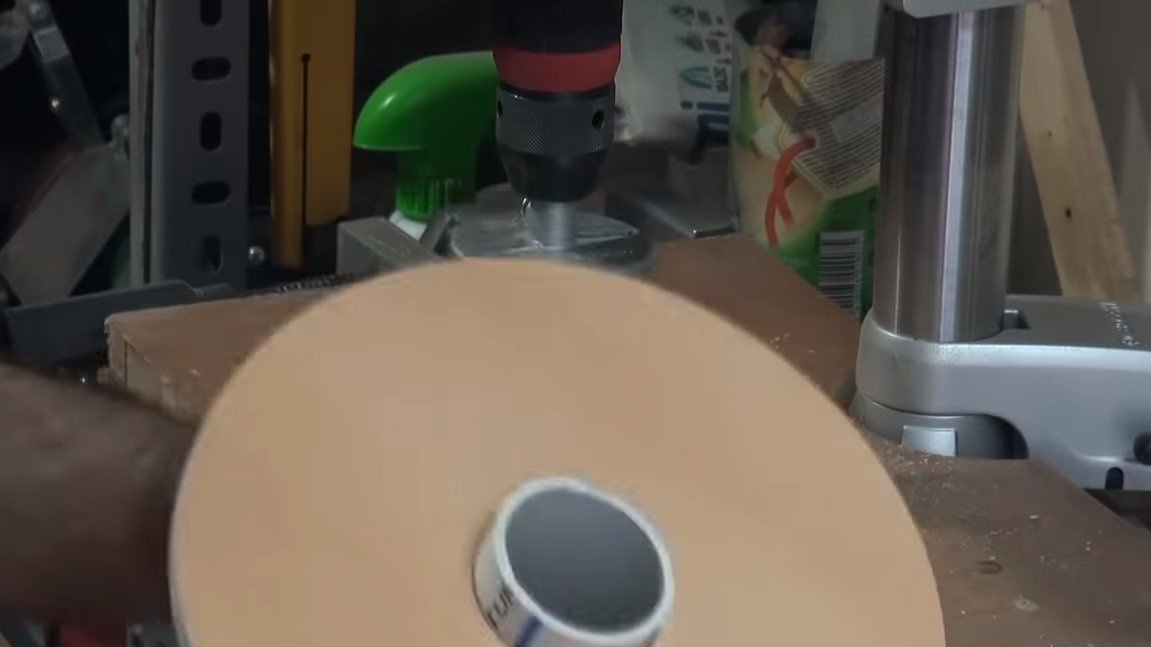
To begin with, we install a side pipe, cut it at an angle and make wood fasteners for it, which we fasten to the bucket with screws. We glue the pipe well with a glue gun, not sparing glue.
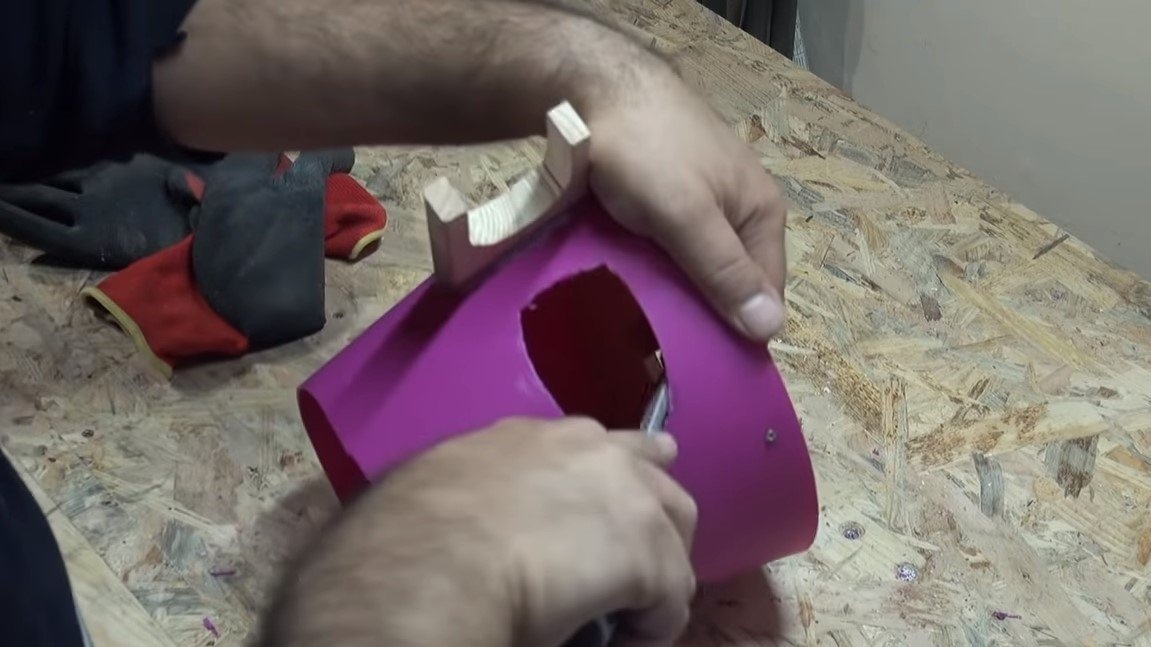
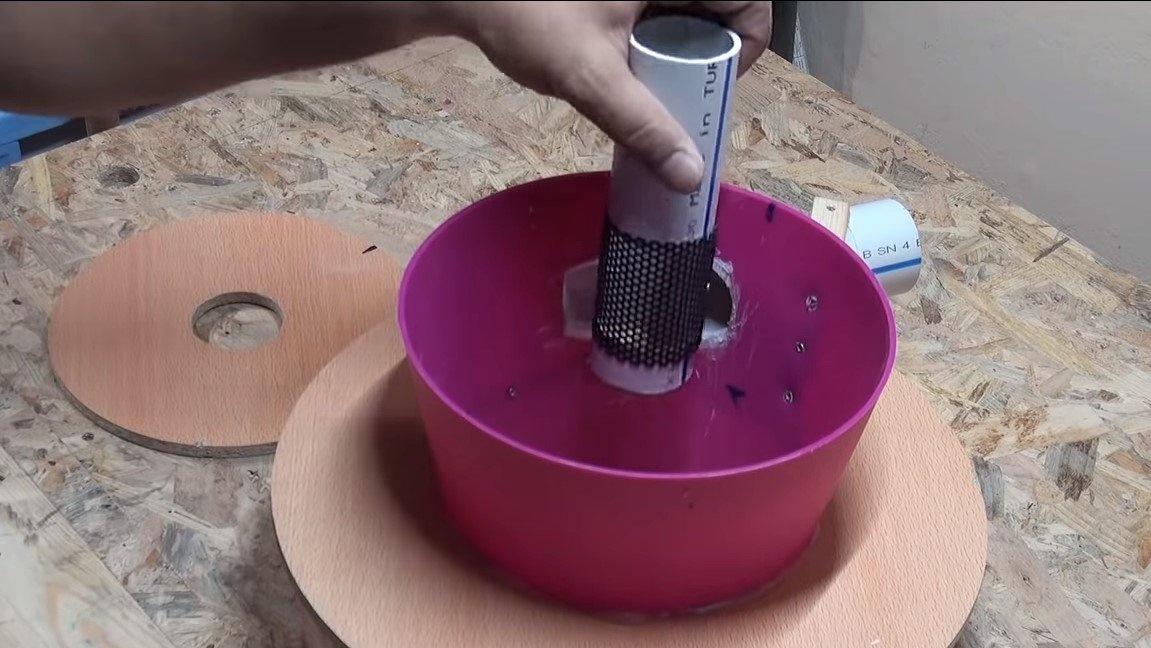
Well, then we glue the top cover and glue the pipe into it.The suction hole of the upper pipe is located on the side, we install a metal mesh on it so that large debris is not absorbed by a household vacuum cleaner.
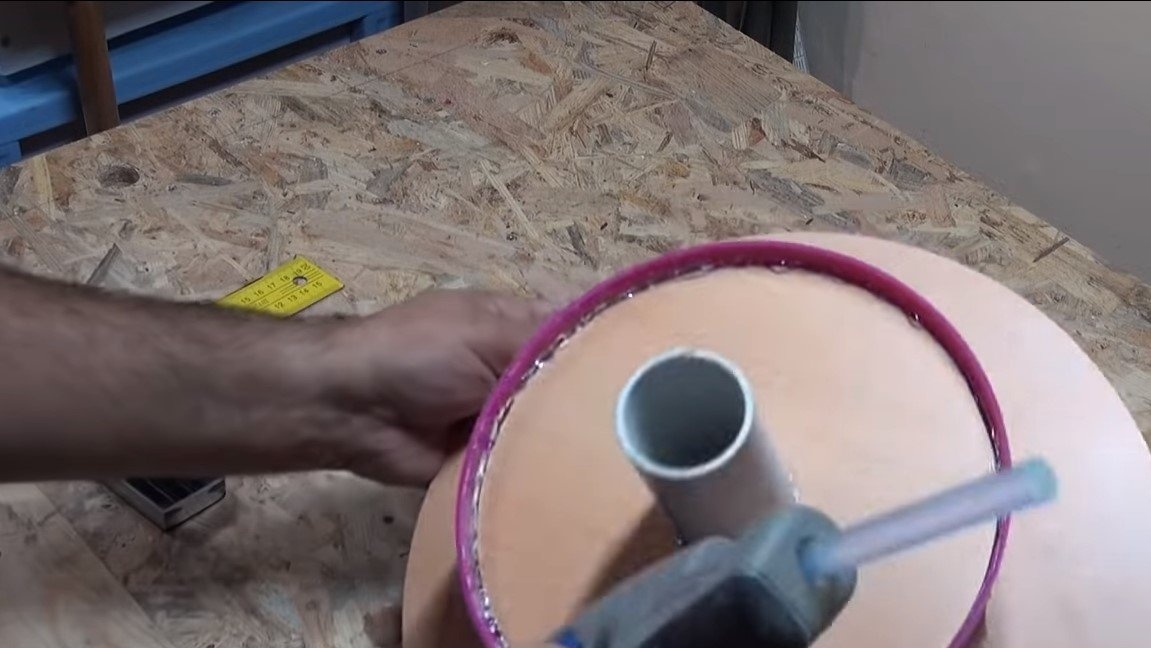
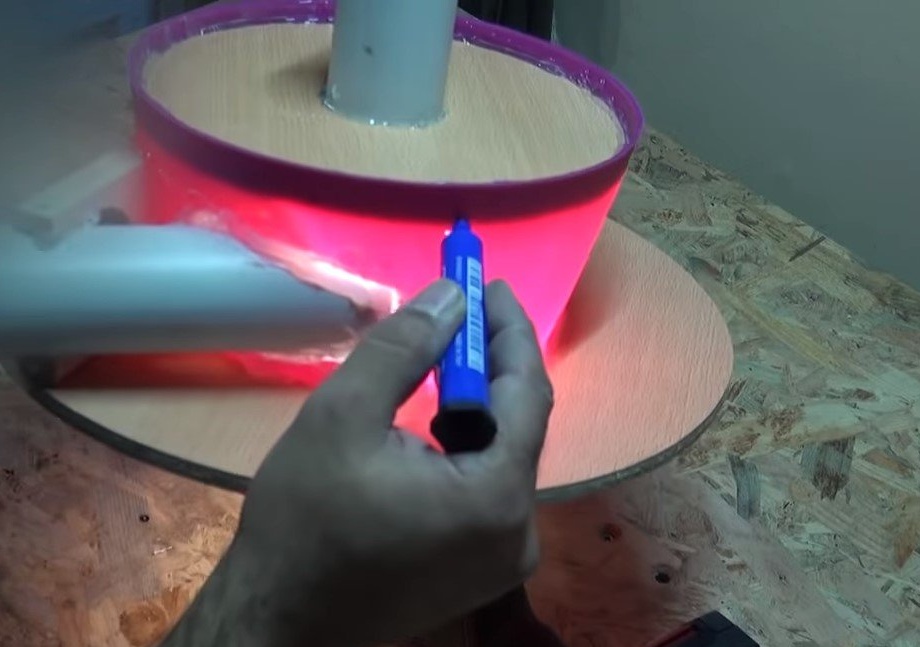
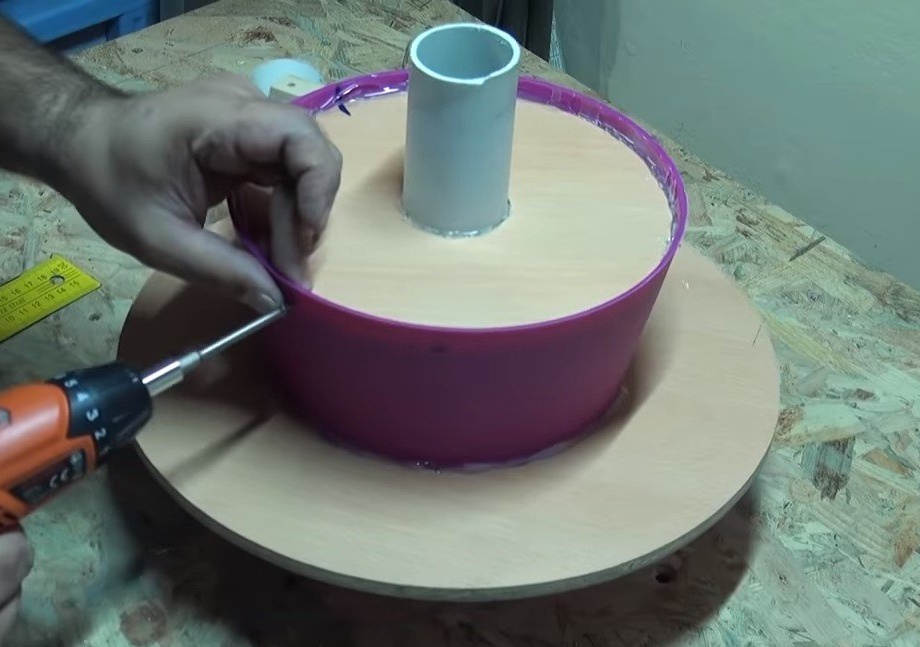
We glue all joints well with hot glue so that there is no air leakage anywhere. The author additionally screwed the lid with screws.
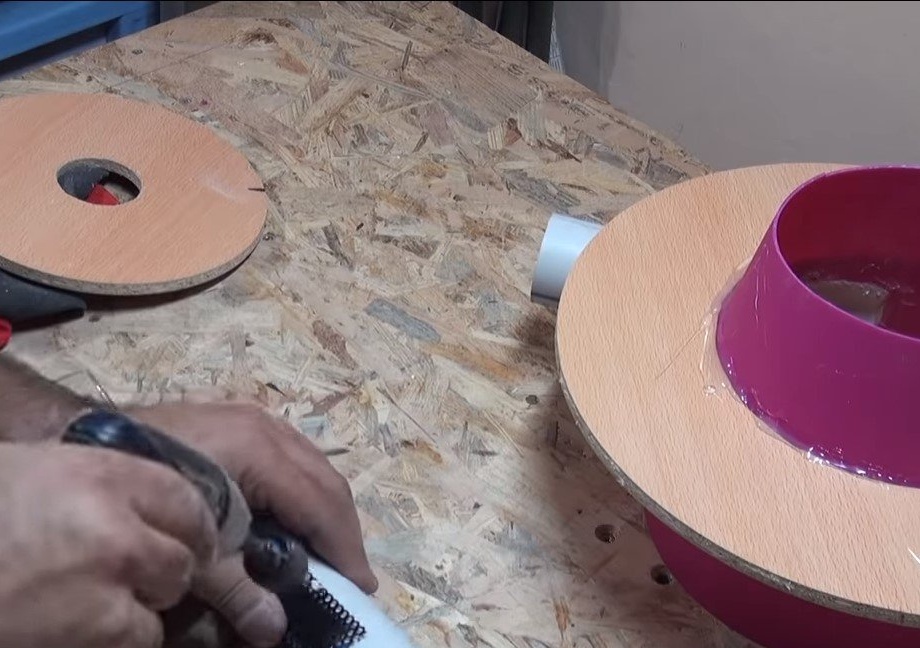
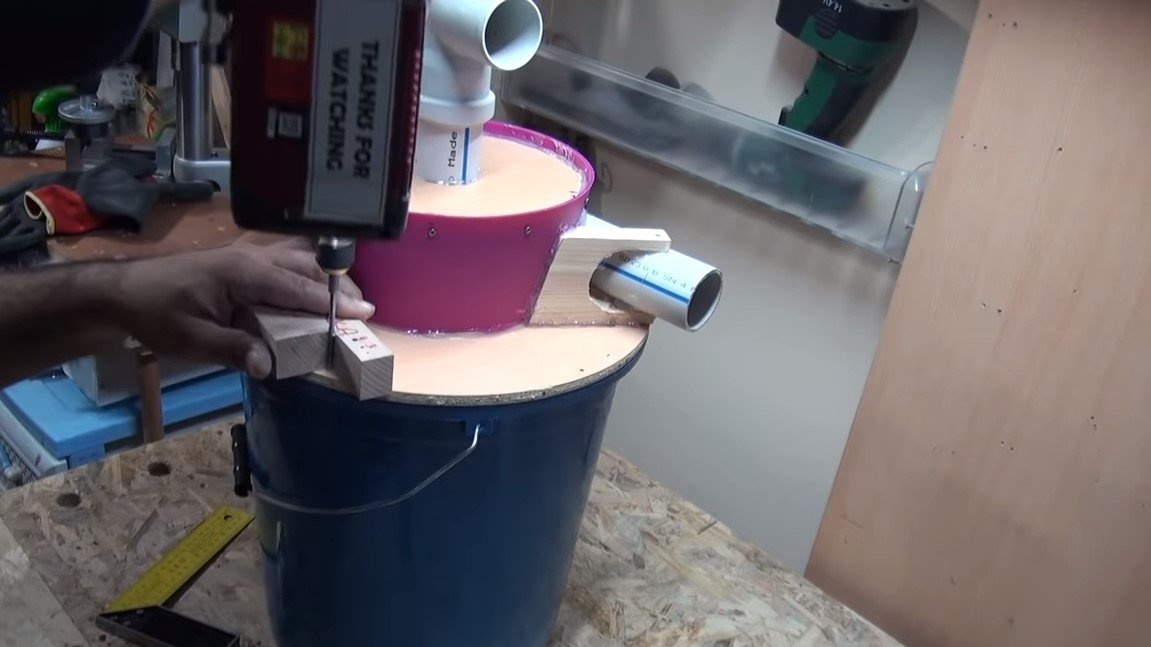
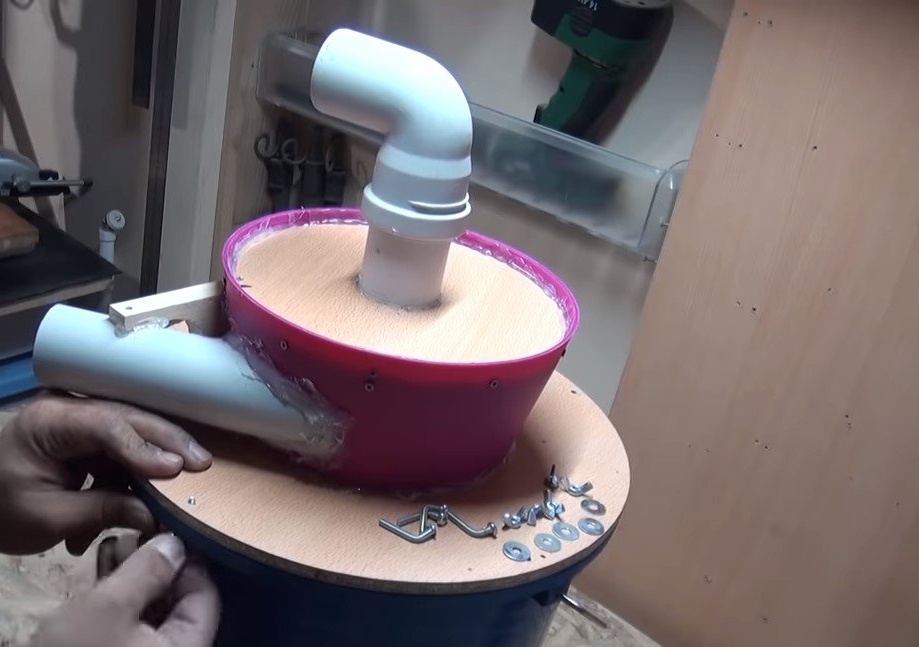
Step Three Fastening to a large bucket
The construction made in the previous steps is glued onto the hot glue in a large washer, and then we need to fix this whole thing on a large bucket. Of course, the lid of a large bucket should be removed so that garbage can be thrown away. The author secures the structure with screws and “wing nuts”. Do not forget to put a seal at the place where the bucket joins. Of course, removing the cover quickly will not work, so it makes sense to think about how to modernize the design.
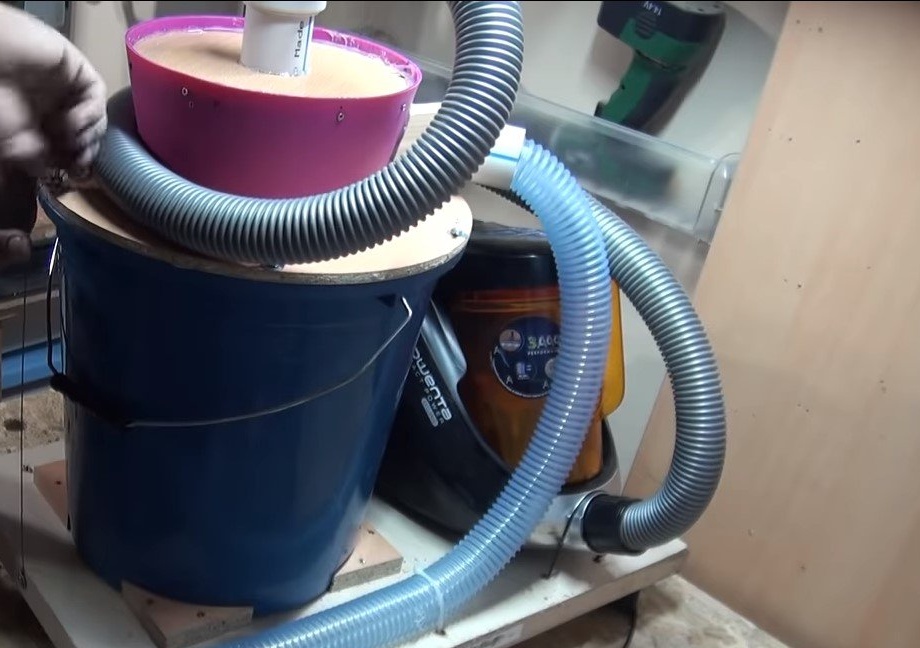
Step Four Base installation
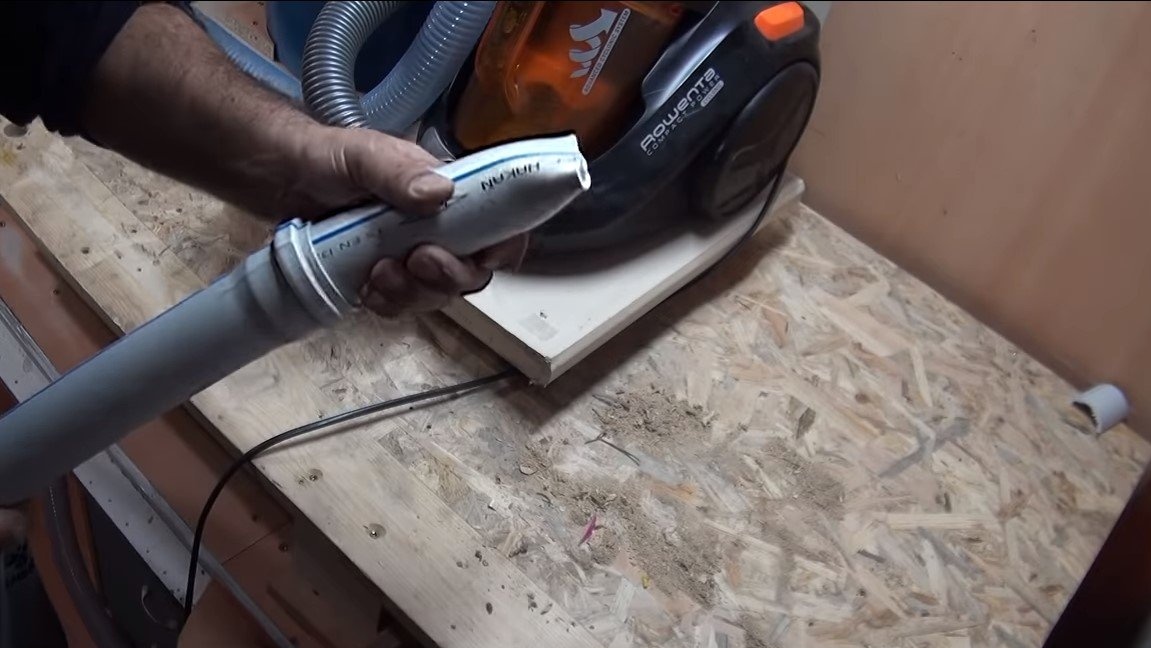
We install a bucket on the basis of chipboard or plywood, the author made emphasis for a bucket of plywood. We install a household vacuum cleaner nearby, it can be fixed with plastic ties. We connect the suction hose of the vacuum cleaner to the upper pipe of the structure, well, we connect the hose for suction of garbage to the horizontal outlet pipe.
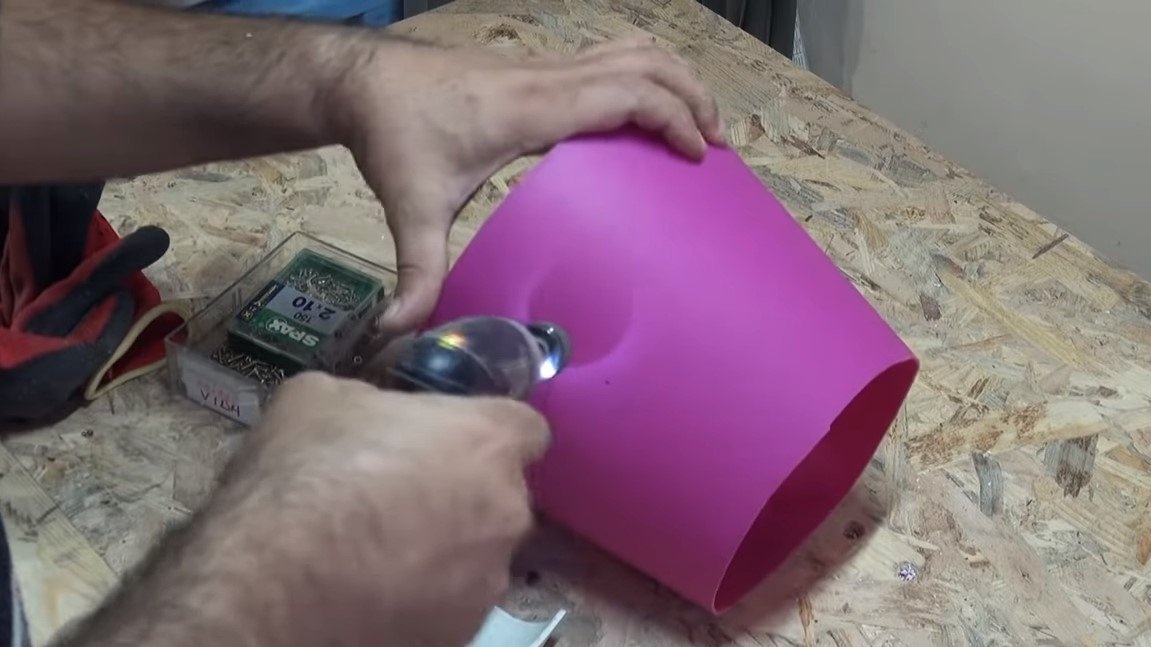
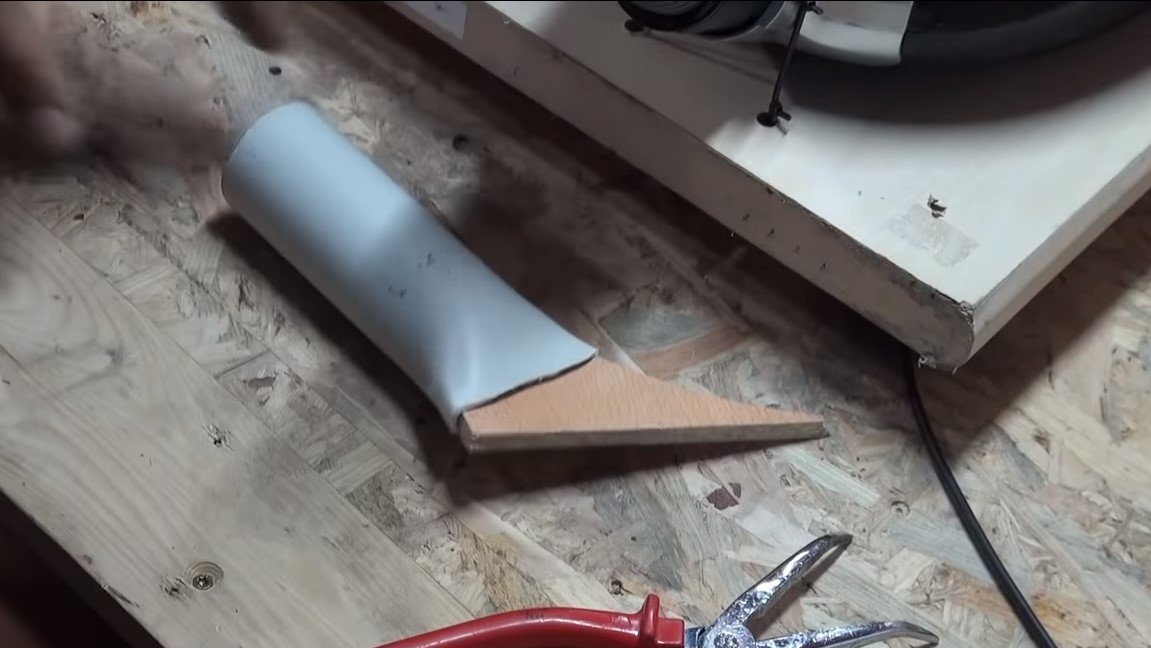
We also make a nozzle for the suction hose, the author simply flattened the pipe, slightly heating it.
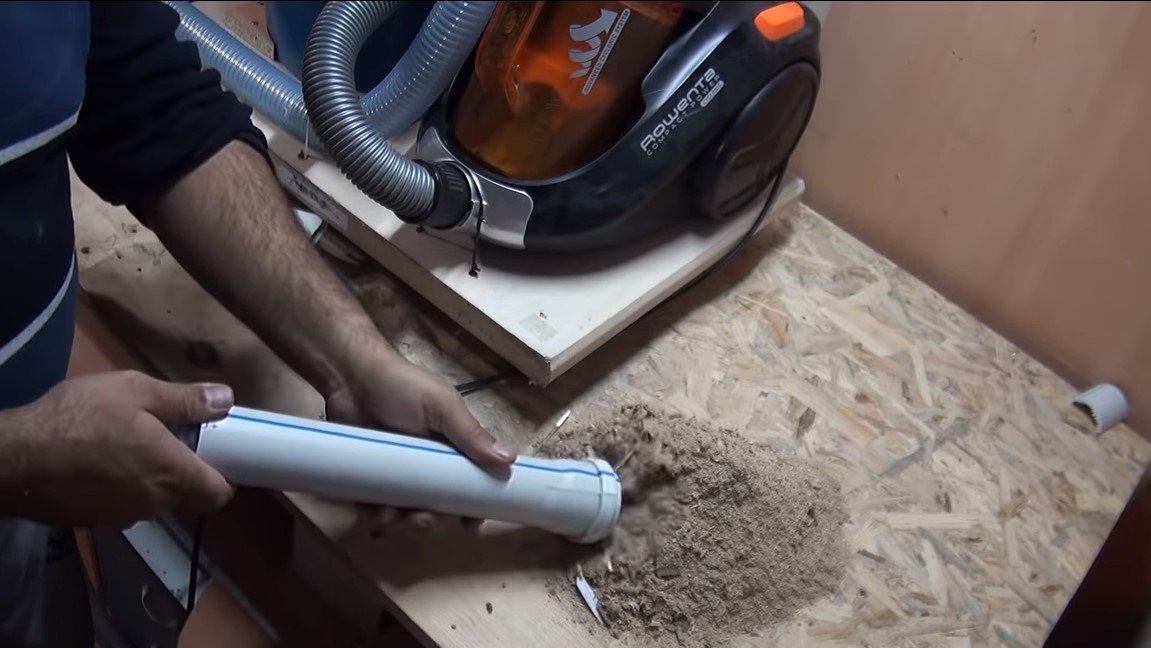
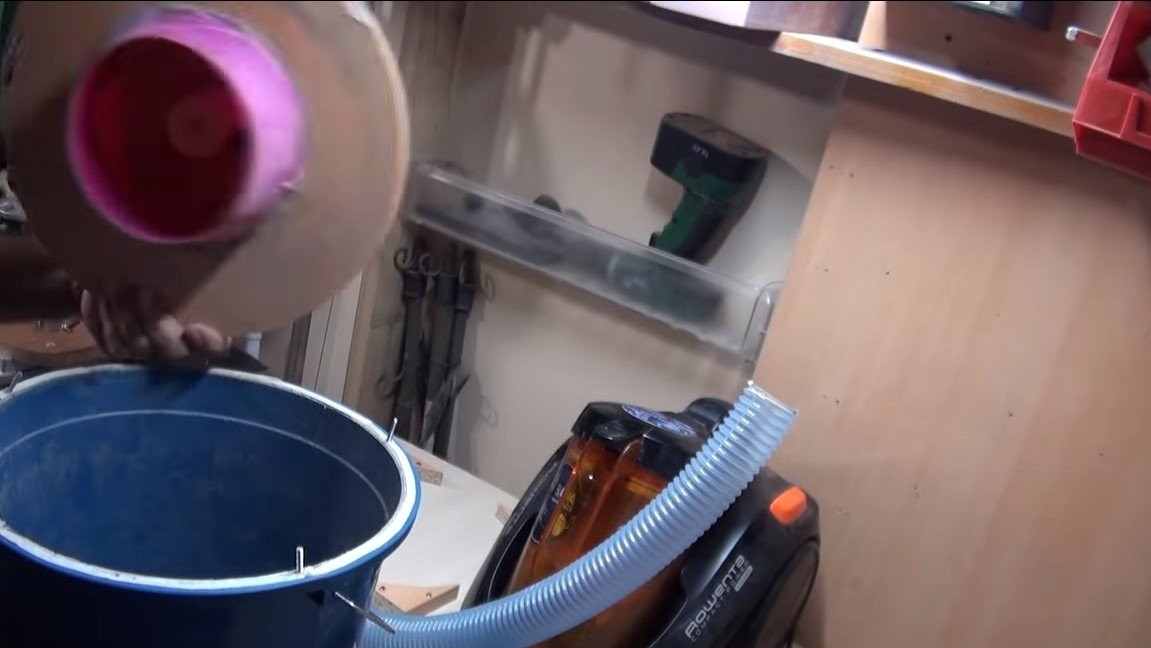
That's all, the vacuum cleaner is ready, home-made perfectly sucks up a mountain of shavings. When the bucket is full of debris, the lid can be removed and the contents poured out. If there is combustible waste inside, they can be poured into paper tubes and you will get excellent home-made logs for heating. This is the end of the project, I hope you liked the homemade work, and you found useful thoughts for yourself. Good luck and creative inspiration, if you decide to repeat this, do not forget to share your ideas and homemade things with us!