
Greetings the inhabitants of our site!
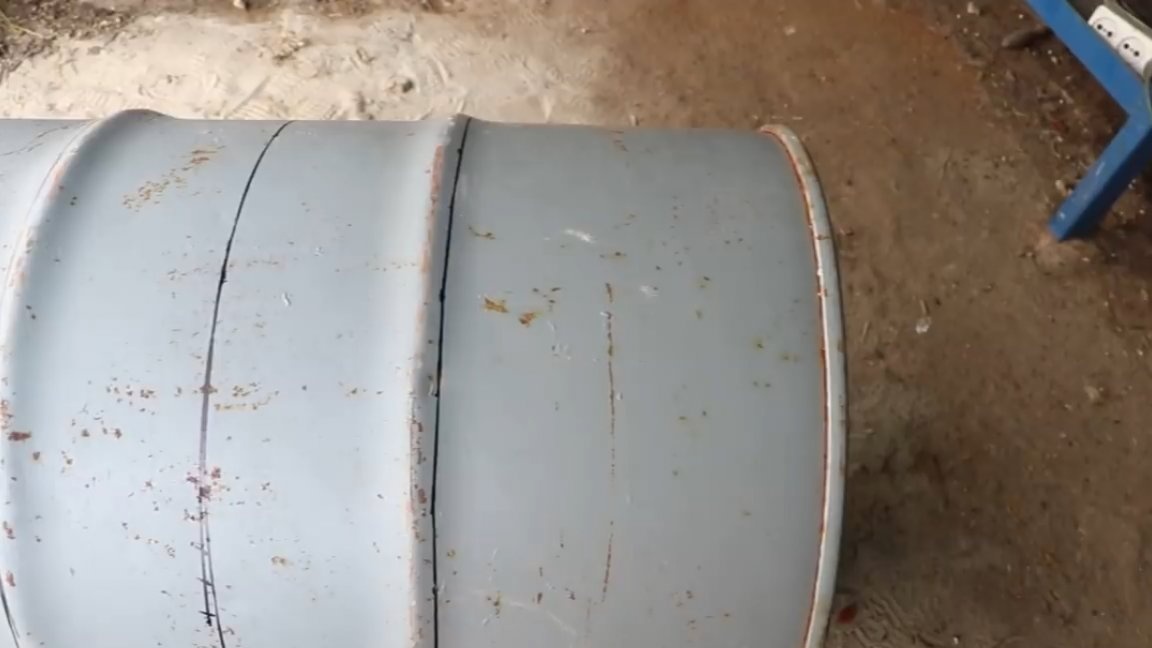
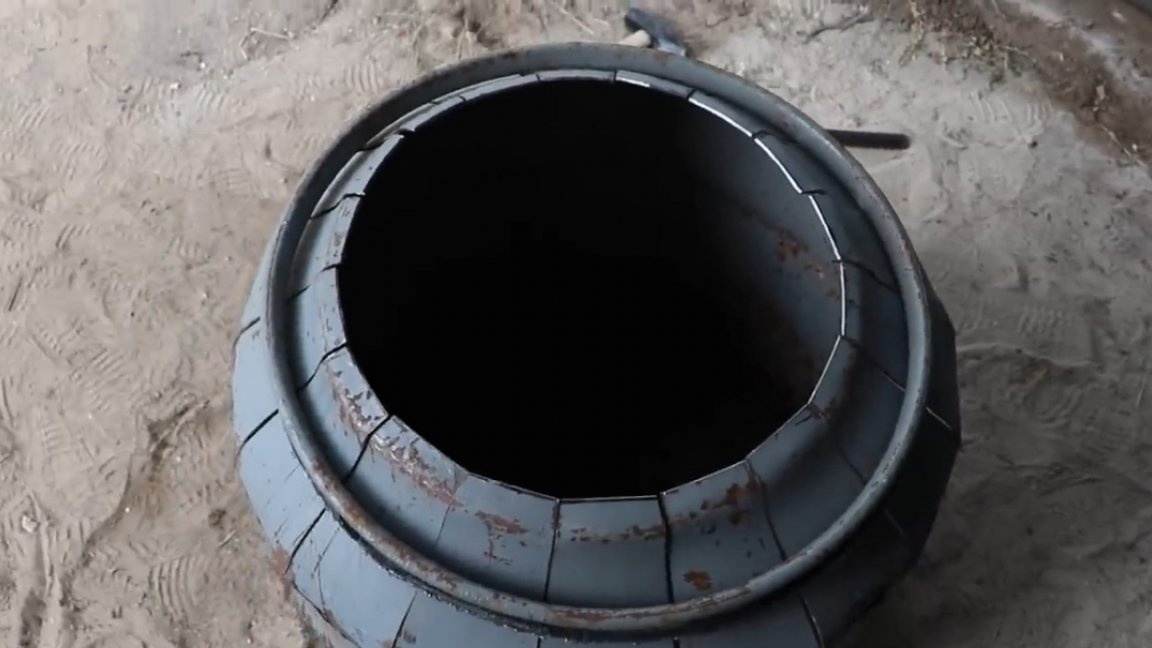
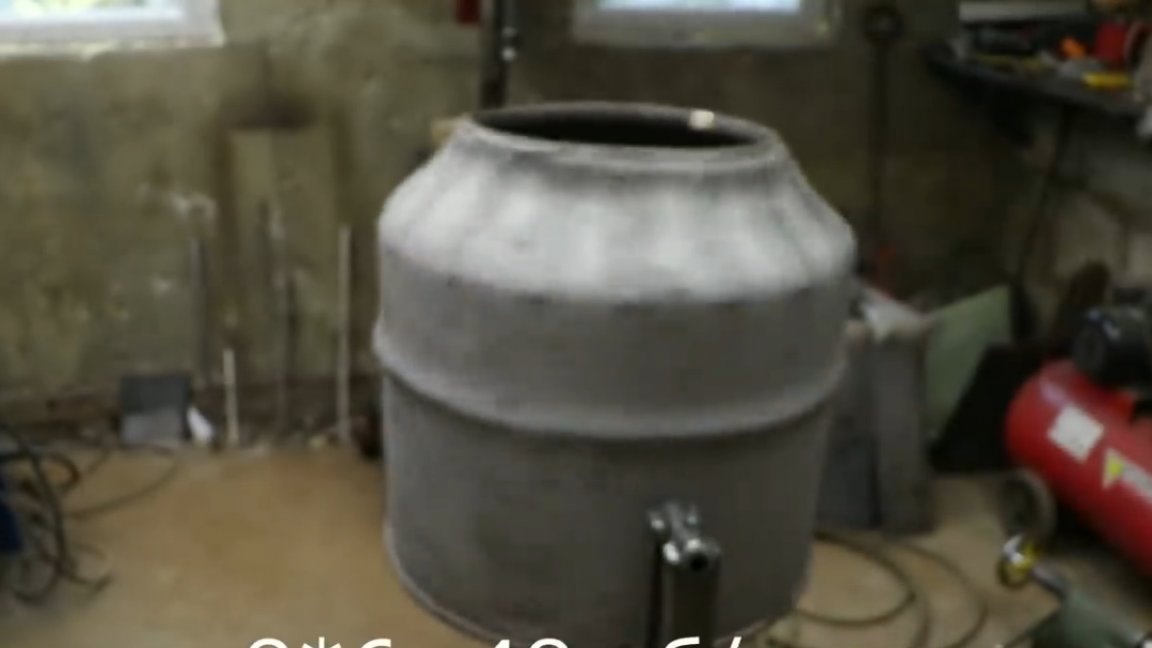
Just the other day, such a gorgeous 200-liter barrel turned up to the author of the TeraFox YouTube channel.
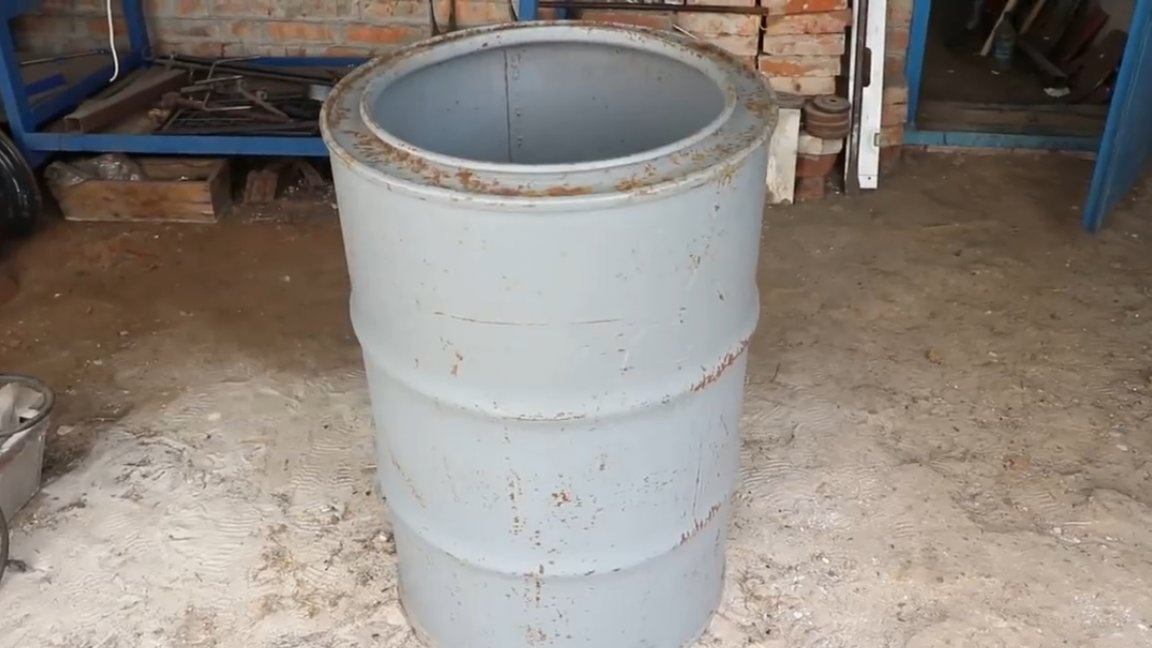
The barrel is thick-walled, strong and most importantly, that is not full of holes. Of course, a little corrosion leaked through the old paint, but it's all the little things.
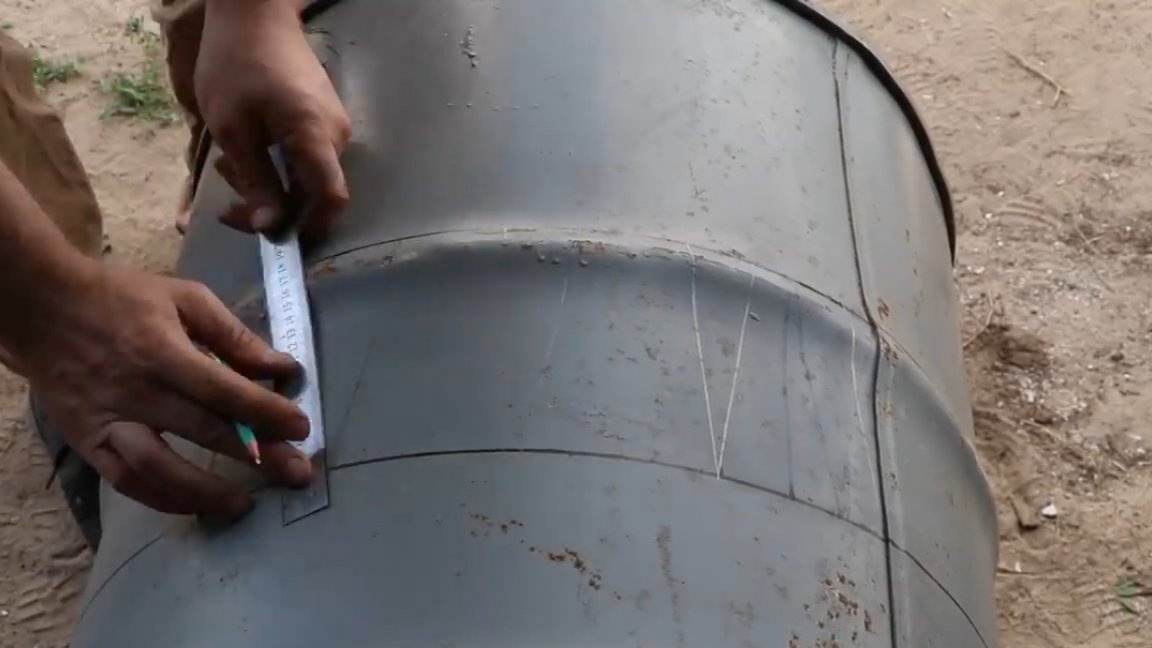
The first step is to mark the middle of the barrel and draw a solid line.
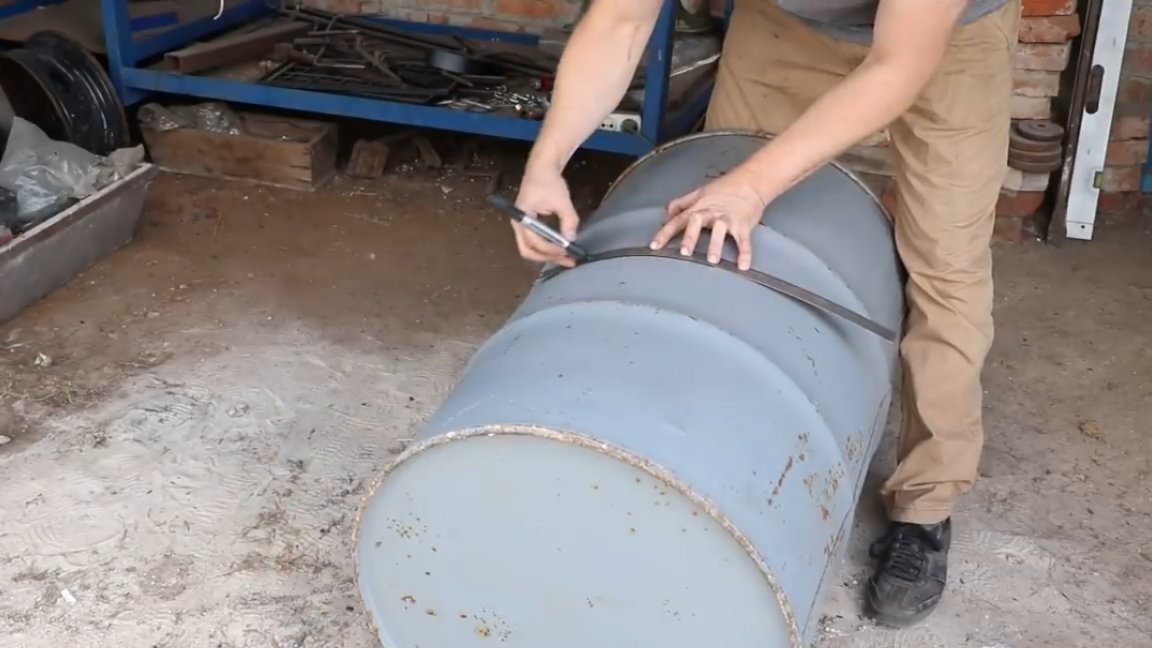
Then, stepping back from the middle of 150mm, it is necessary to draw another solid line.
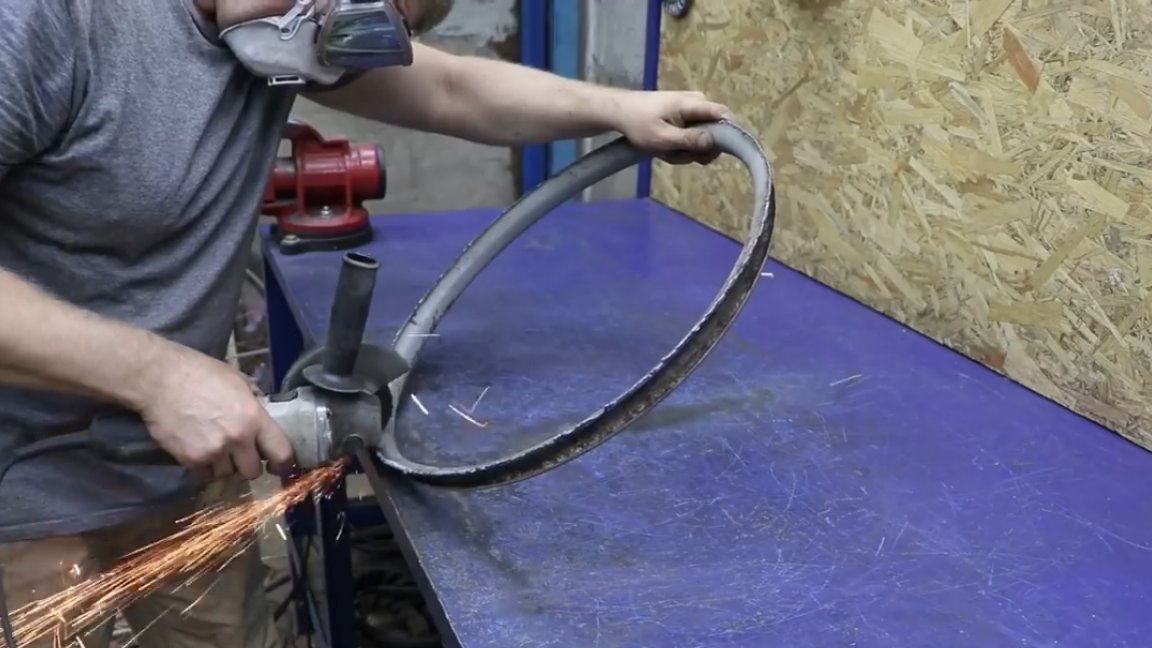
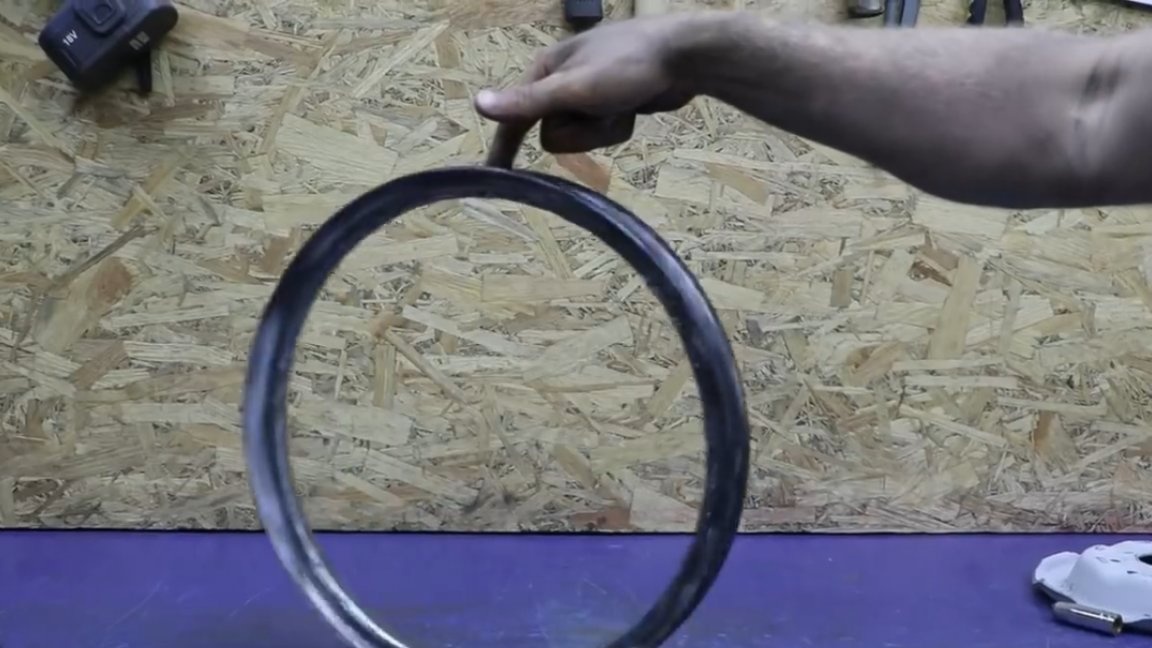
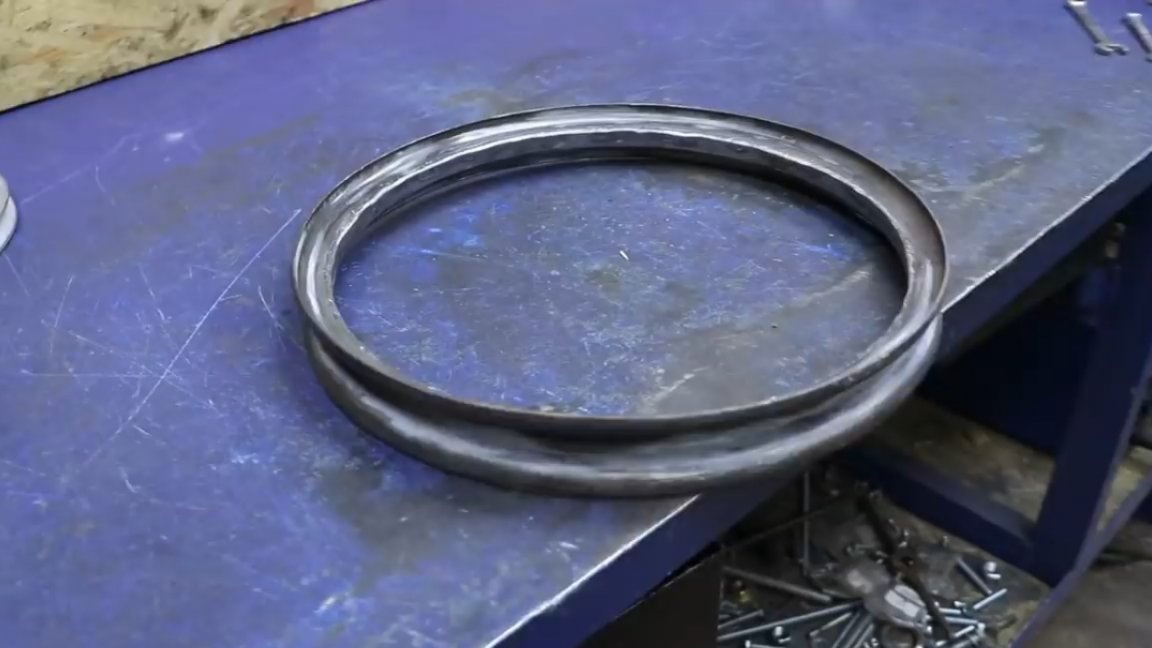
We cut off the neck of the barrel in the form of a rim, but do not throw it away, it will still be useful to us.
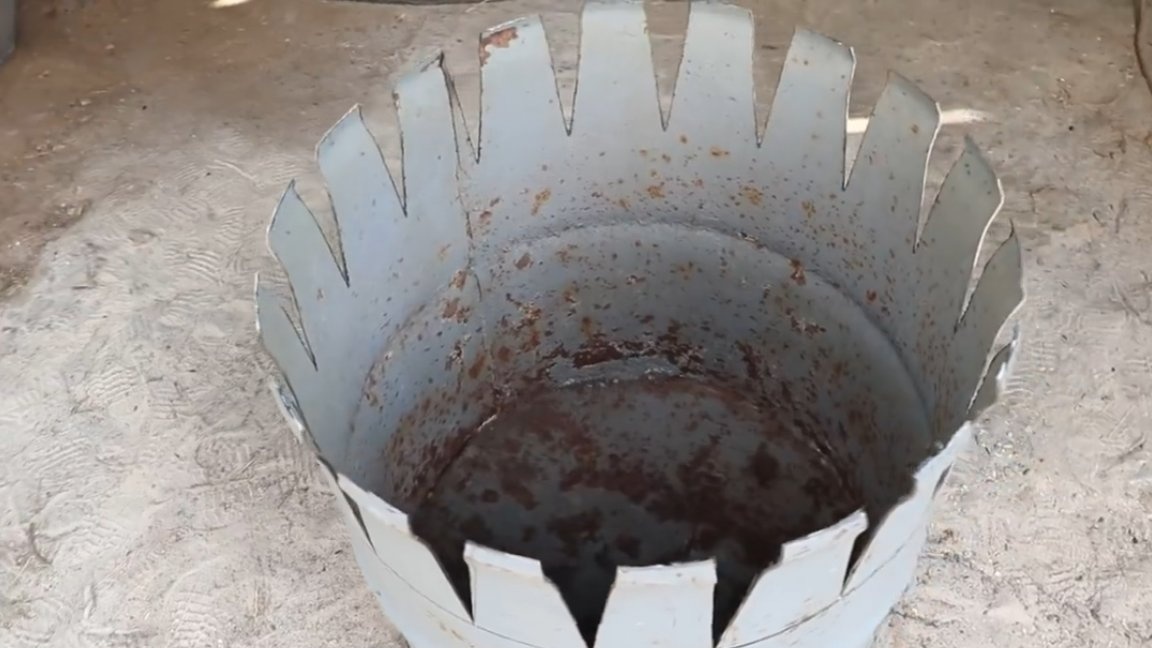
Next, between the two lines we draw wedge-shaped patterns.
Cut the top of the barrel. She is now not useful at all.
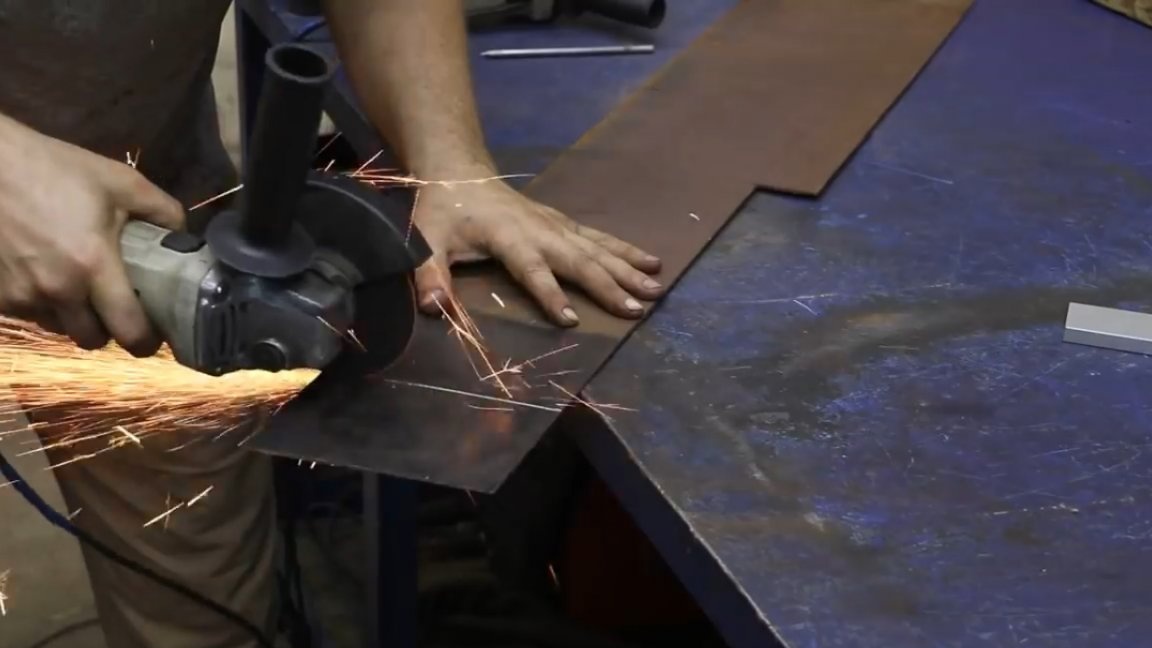
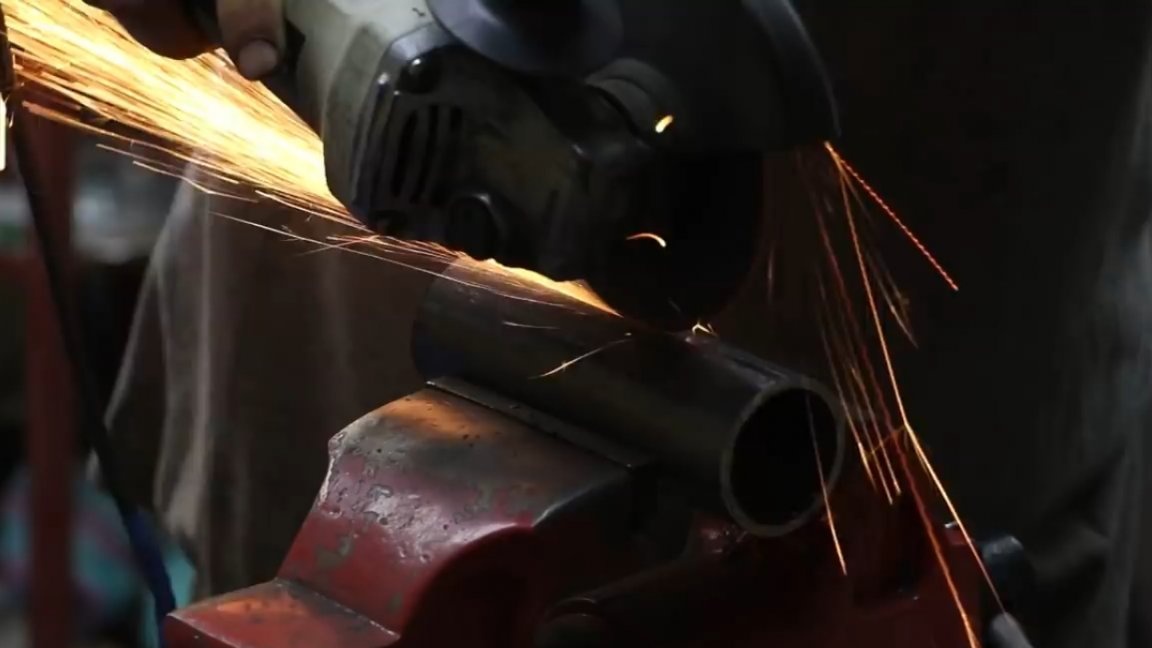
Now cut out wedges that are smaller in size. This is most conveniently done using angle grinders.
As you understand, a barrel is only the beginning. Besides her we will need:
- car drive;
- profile pipe;
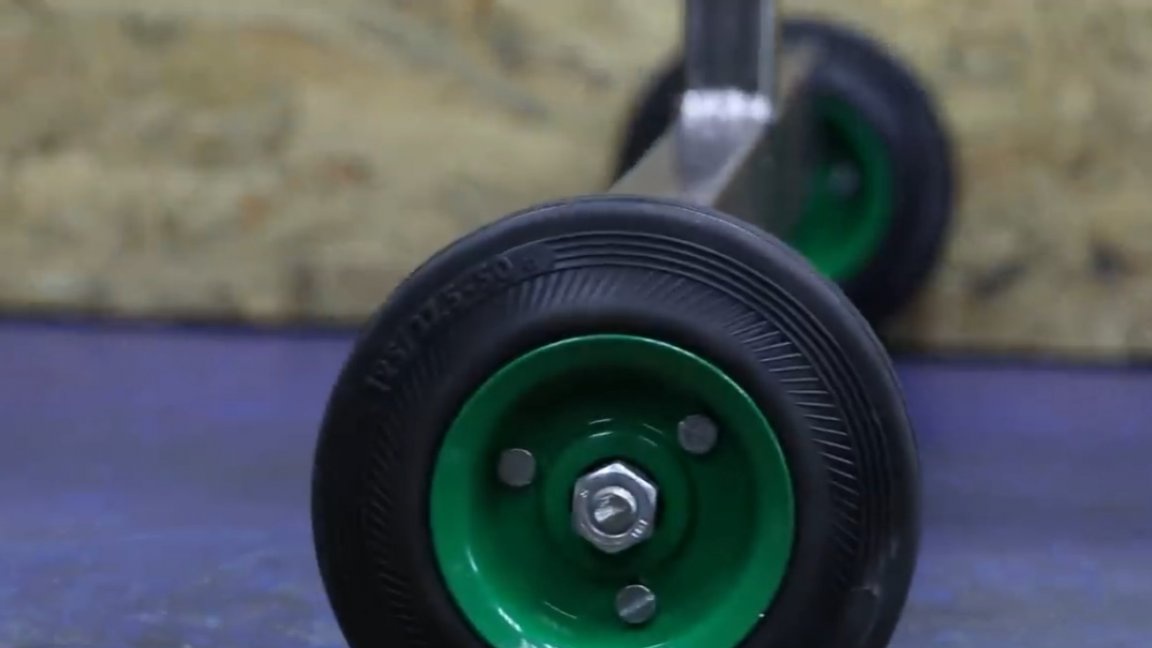
- 2 small wheels;
- metal pipe;
- the engine from the washing machine.
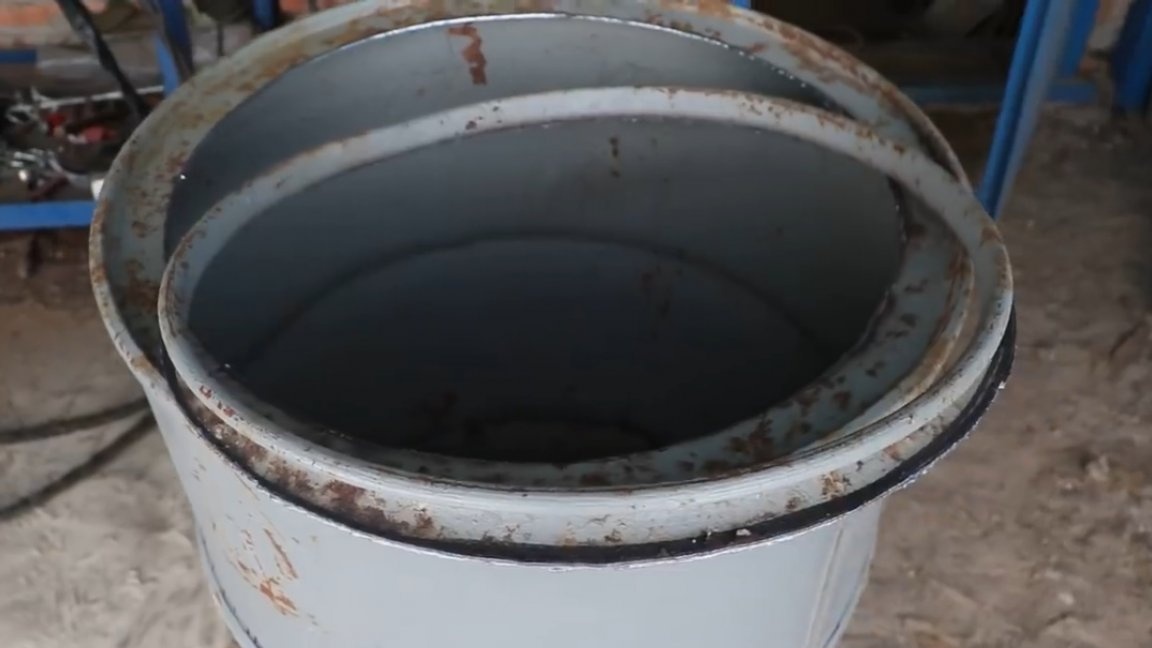
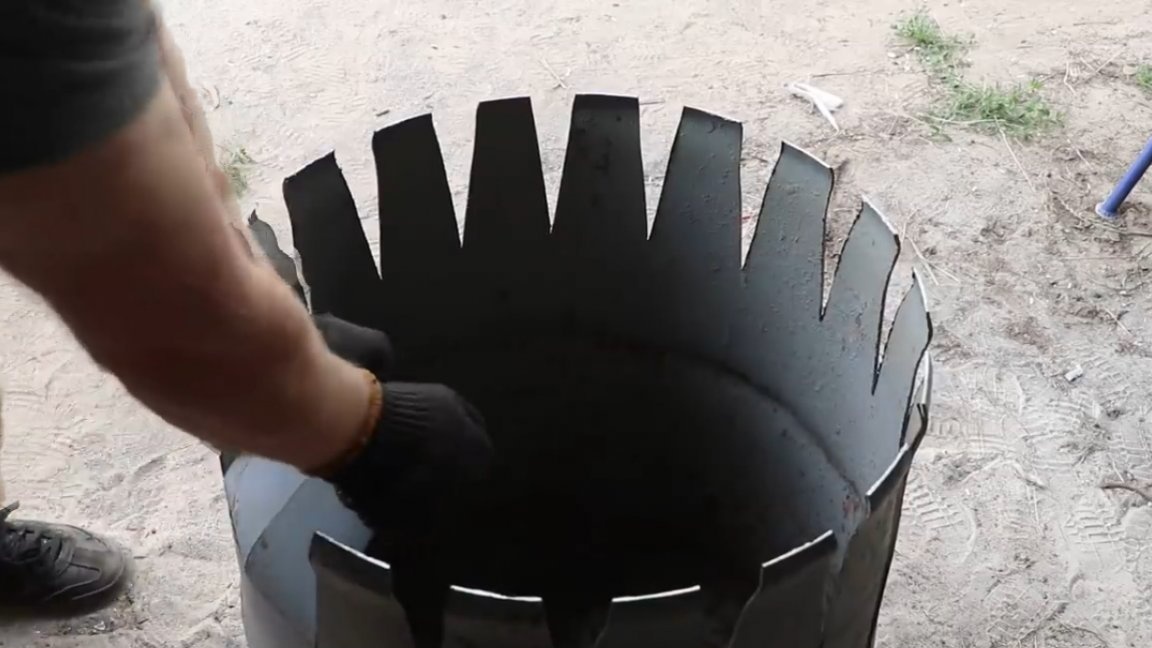
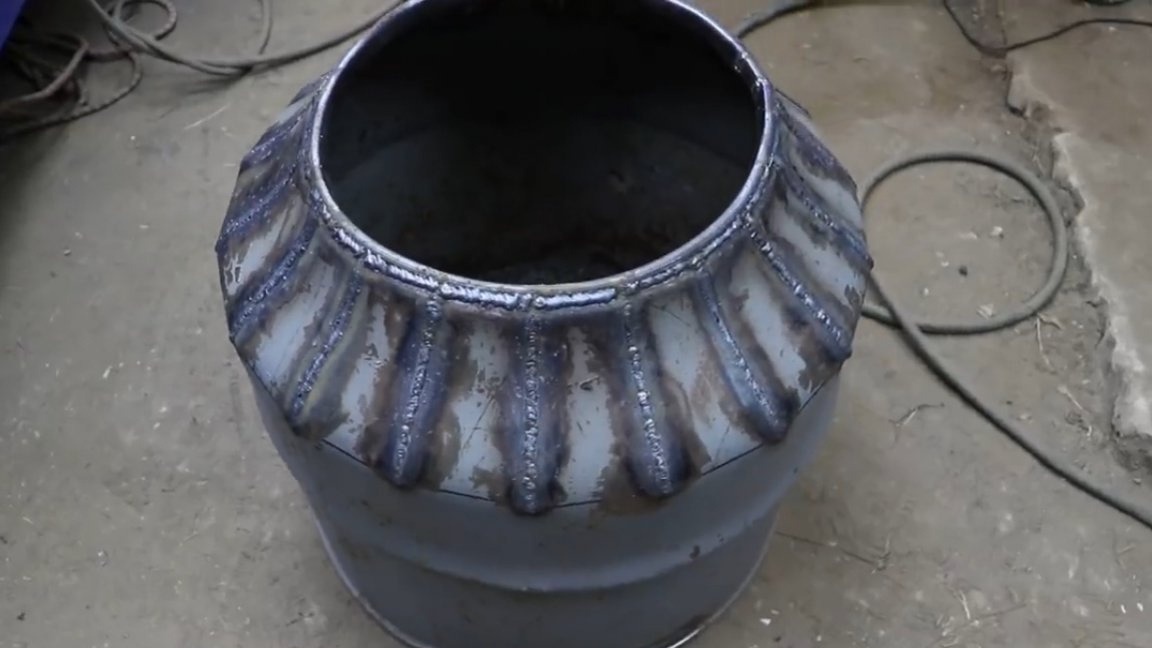
Next, you need to shape the top of the half barrel. This is done with your hands, applying a little effort.
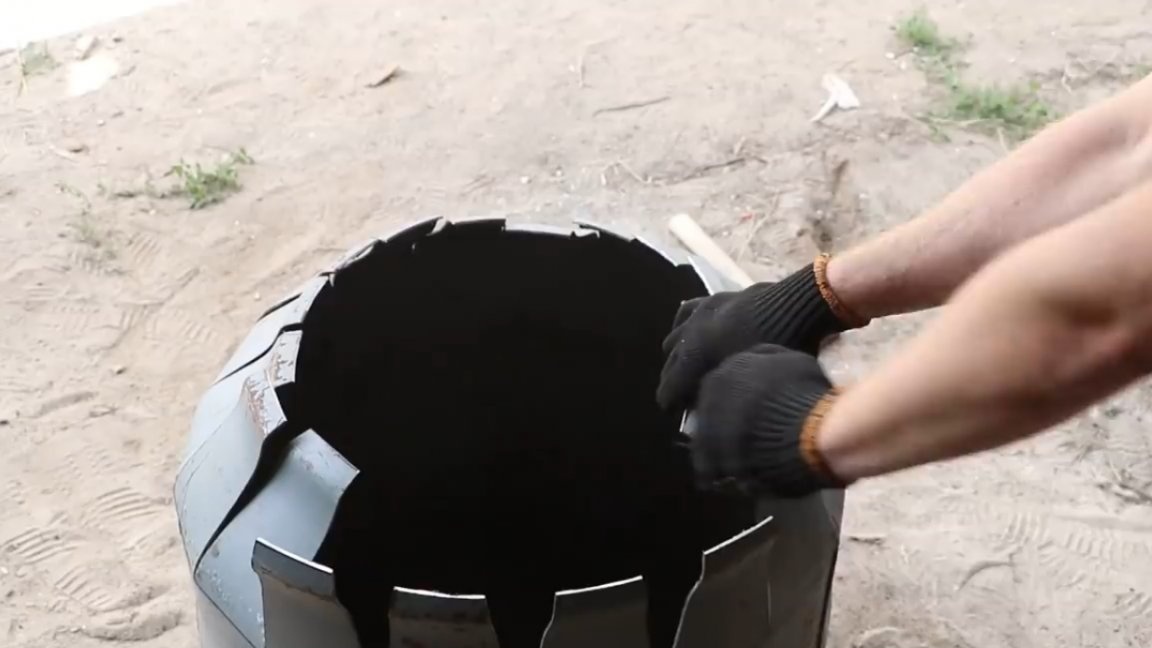
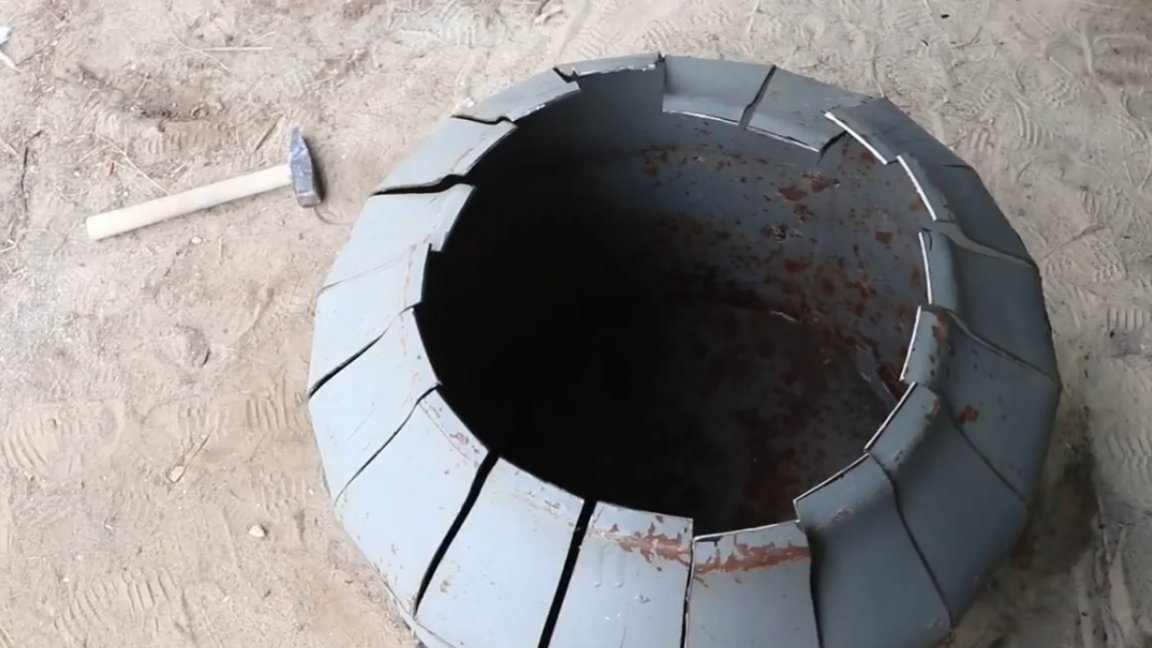
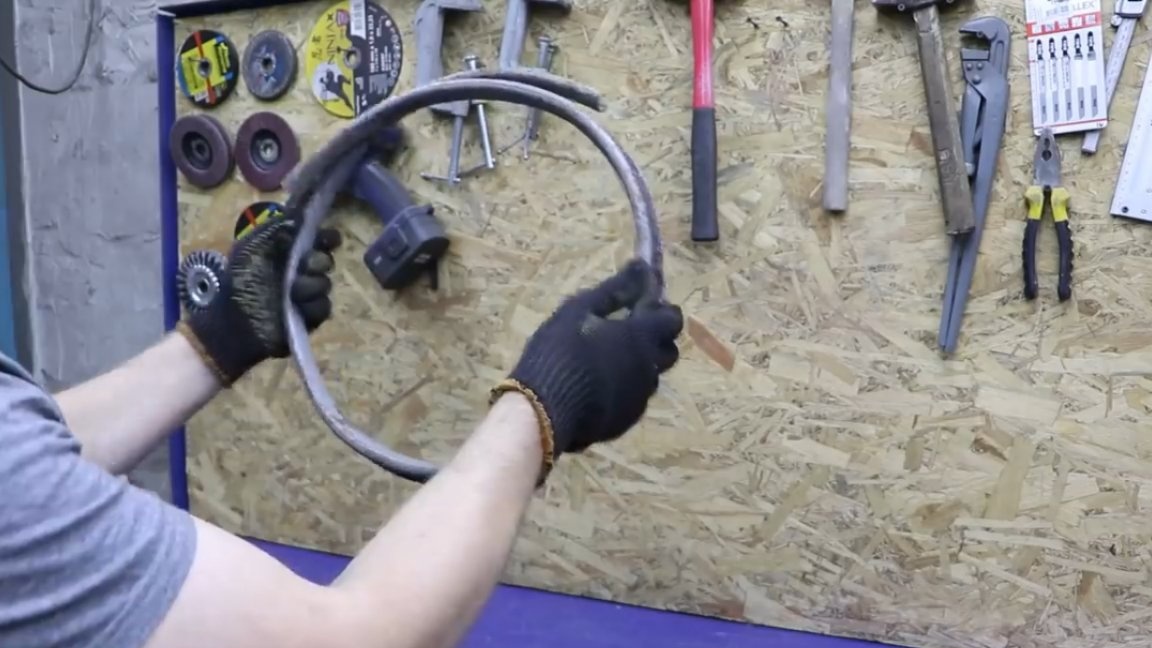
Then the neck rim must be reduced in diameter.
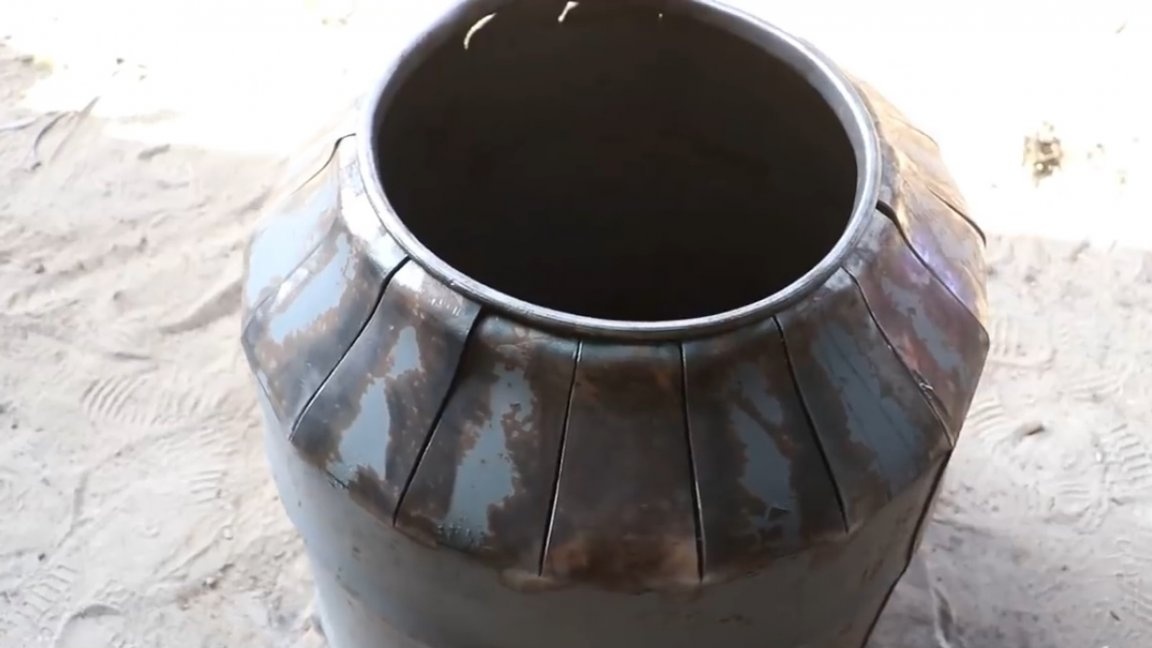
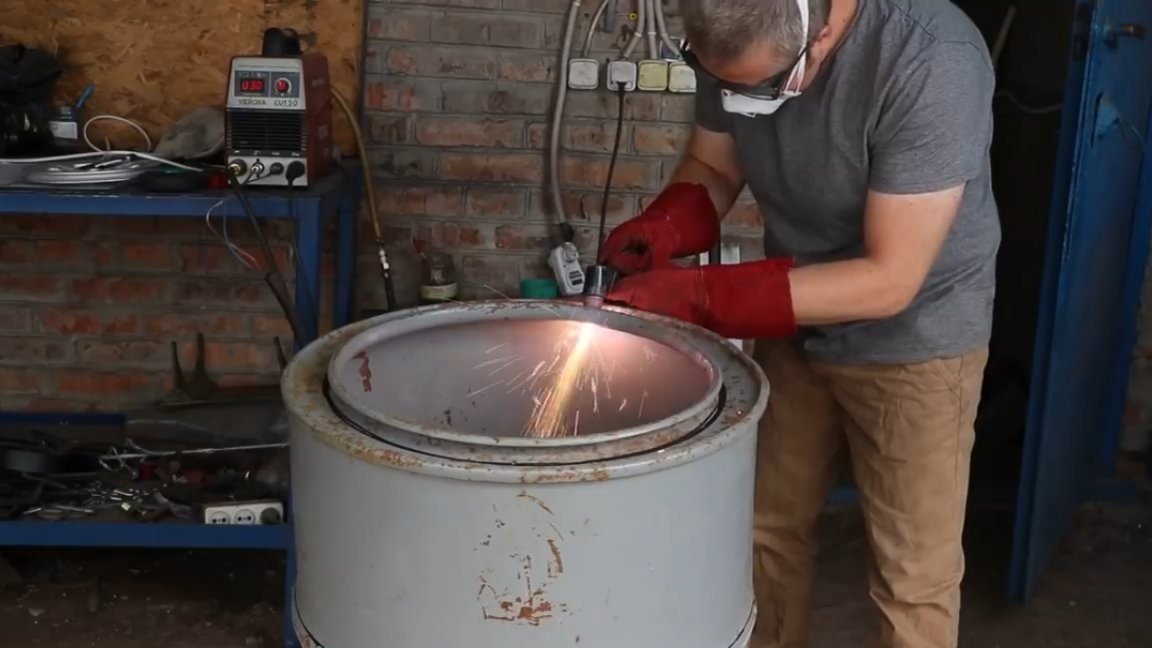
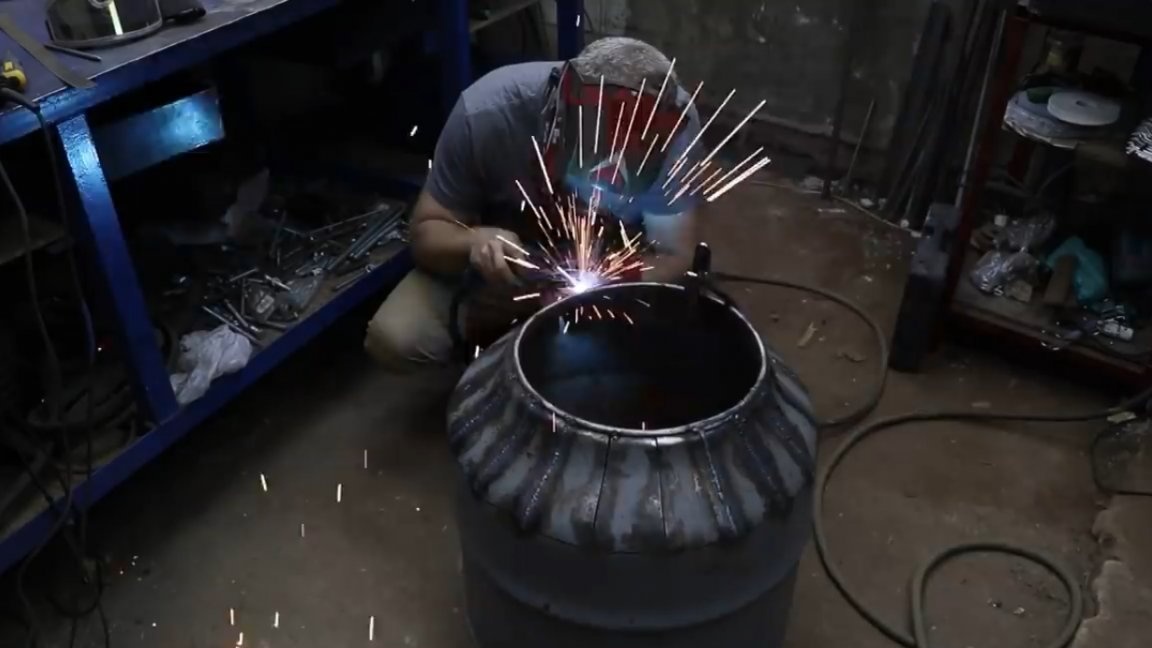
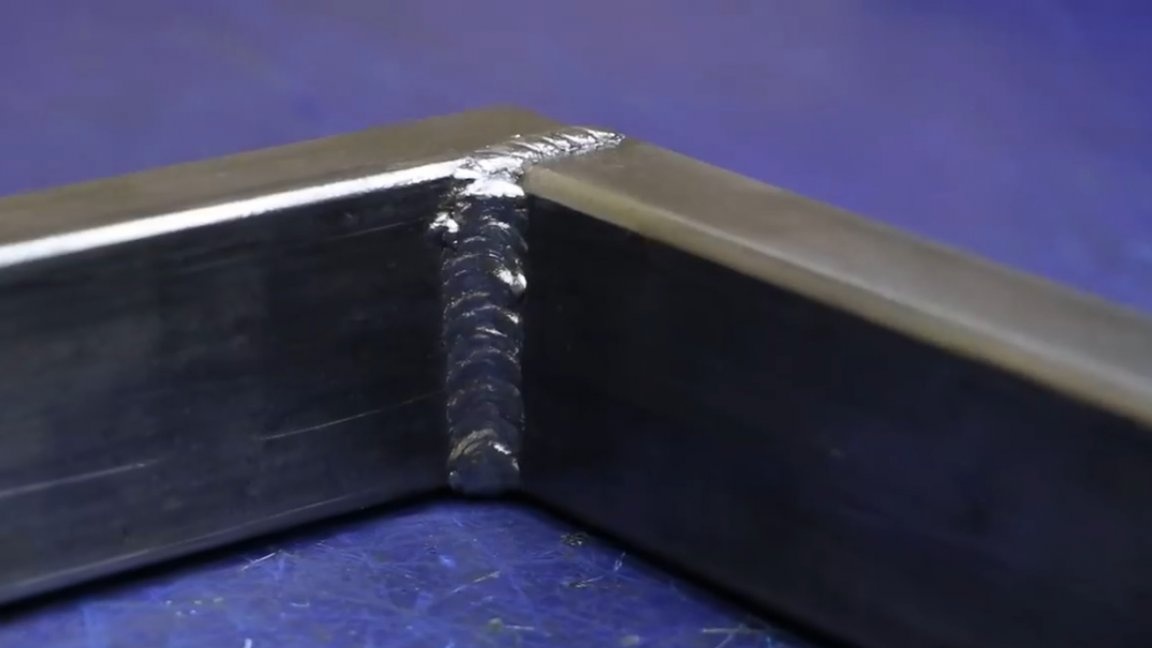
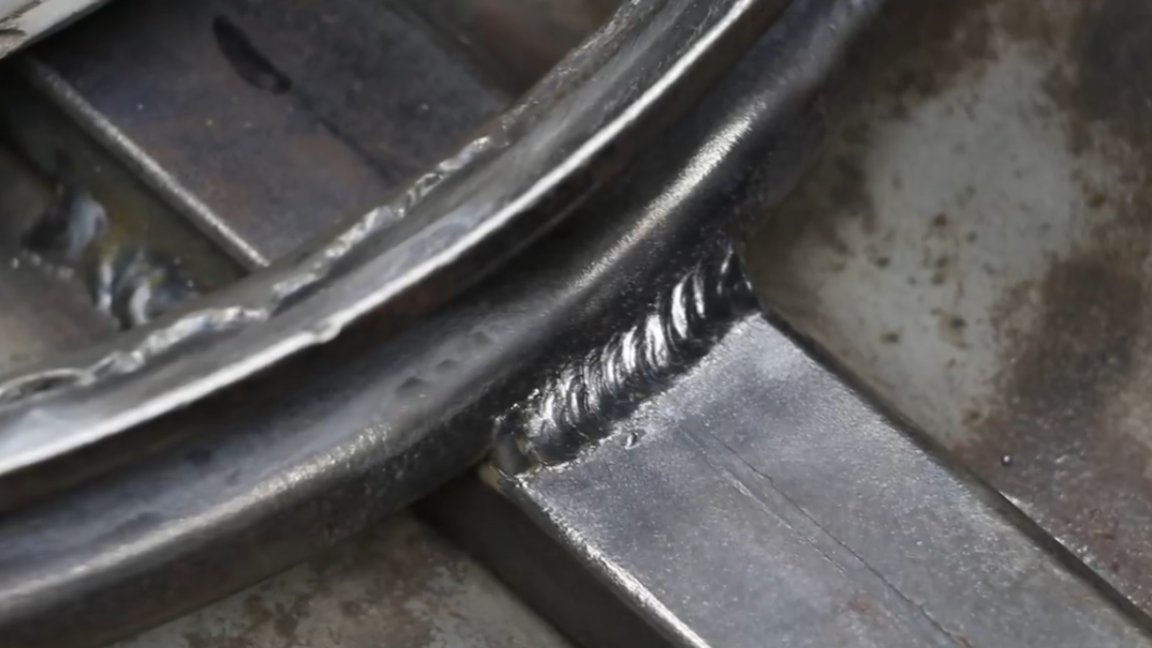
Next, using welding, we get rid of the gaps between the wedges.
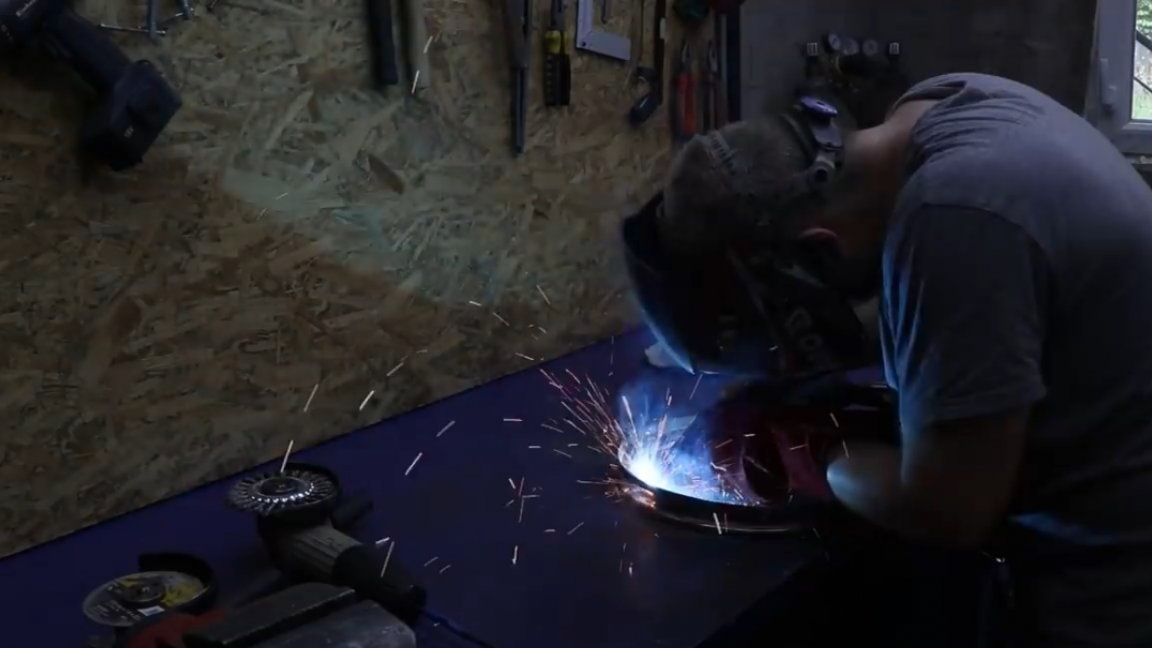
Now you need to clean the barrel of rust and old paint. To clean the grinder with a brush for a long time and is tedious, so we charge the sandblast.
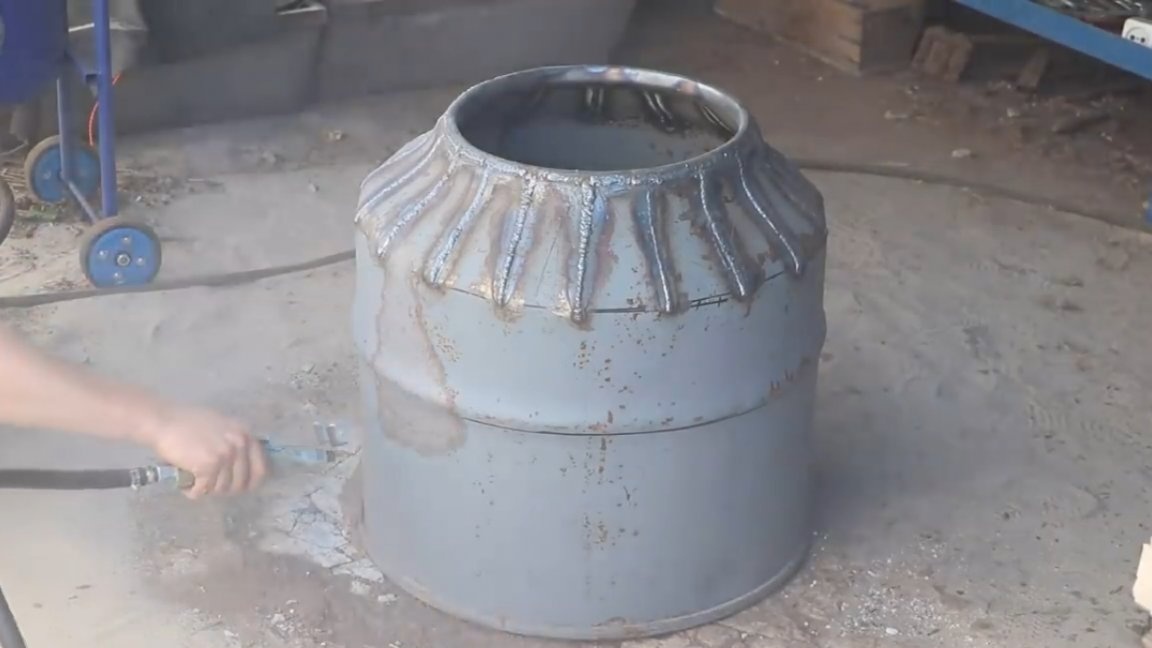
It turned out much faster, but very dusty. Now let's get into the car drive.
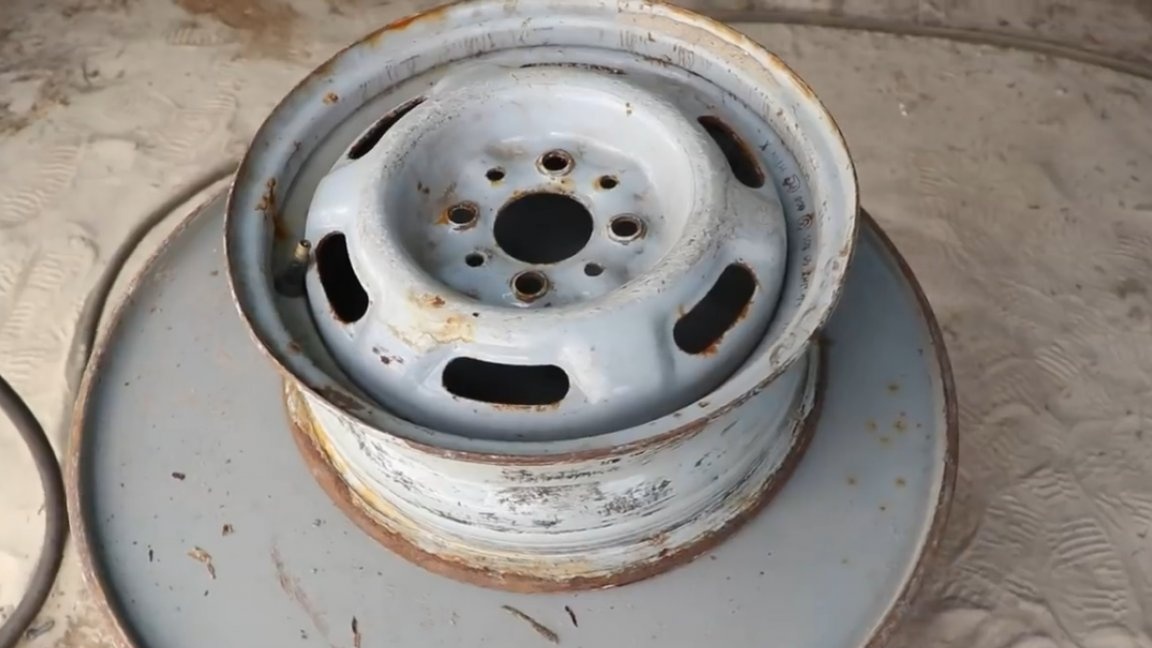
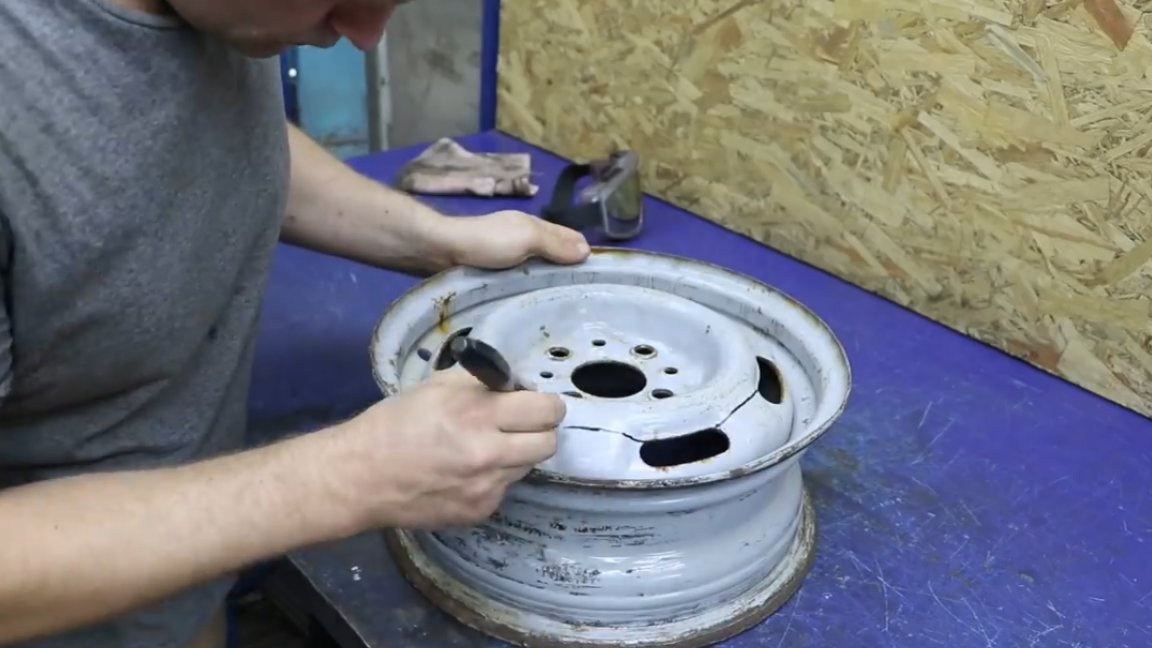
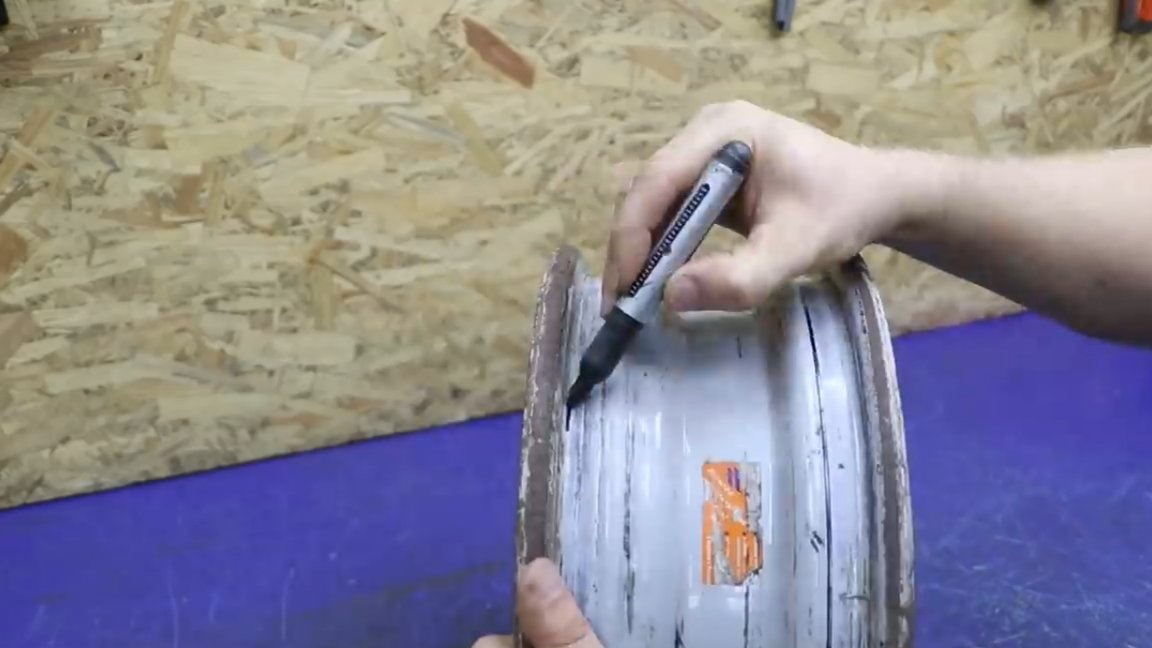
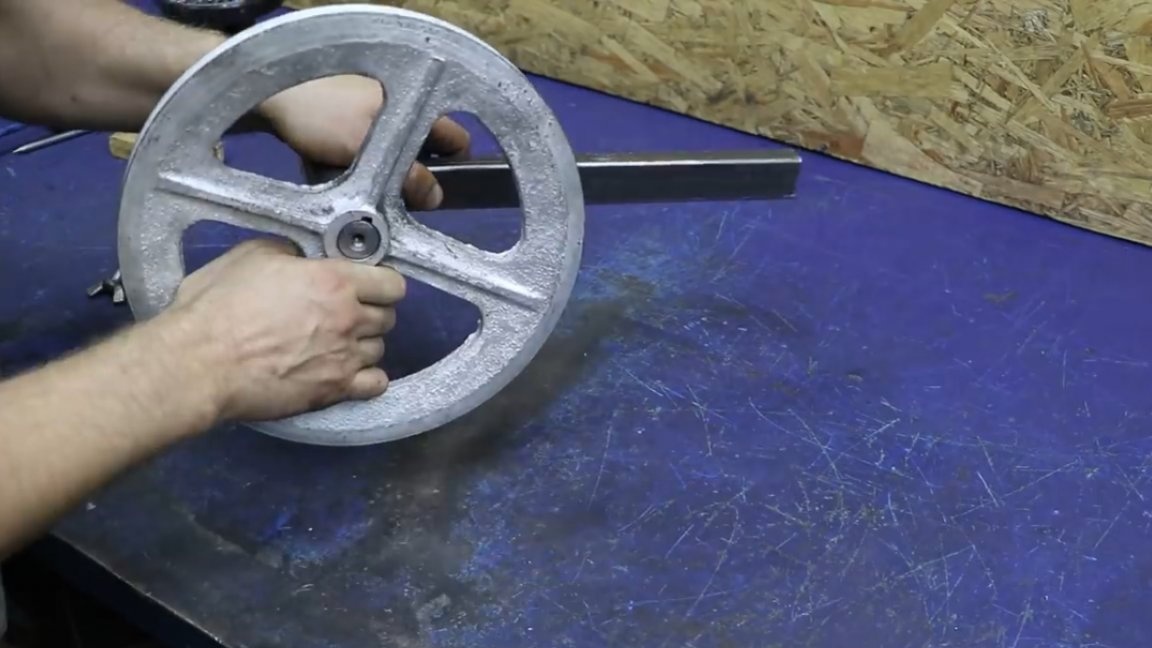
This disc from the classics was bought by the author on the ads. Mark it with a marker and cut it with a grinder.

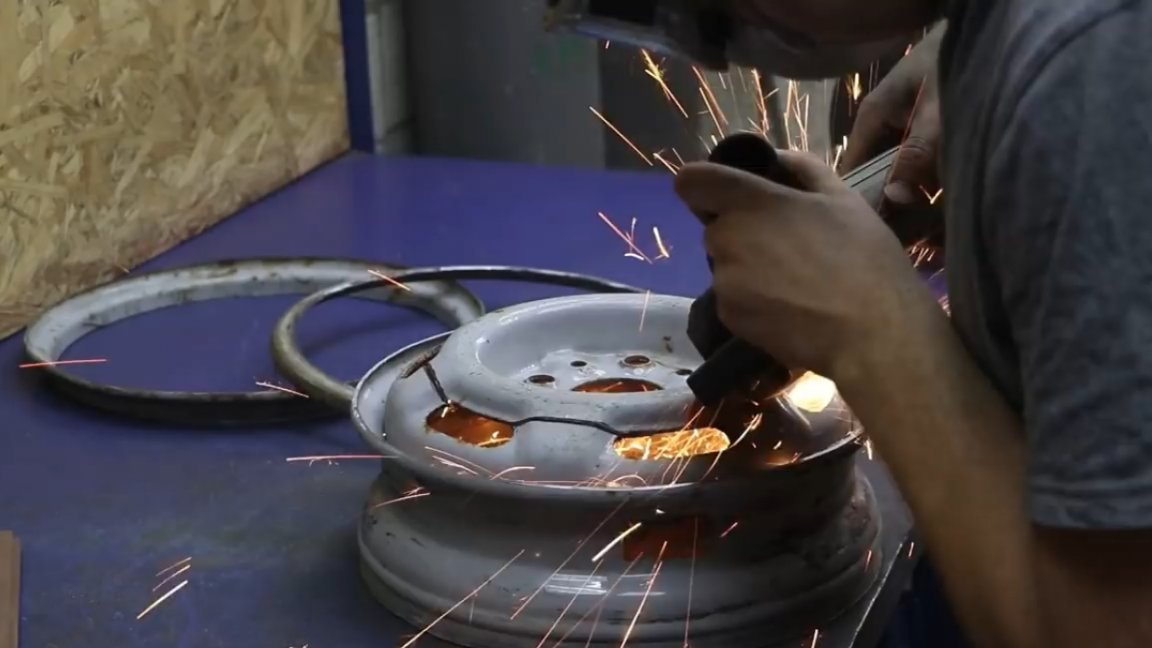
Now we connect the two previously cut disc flanges together and proceed to welding.
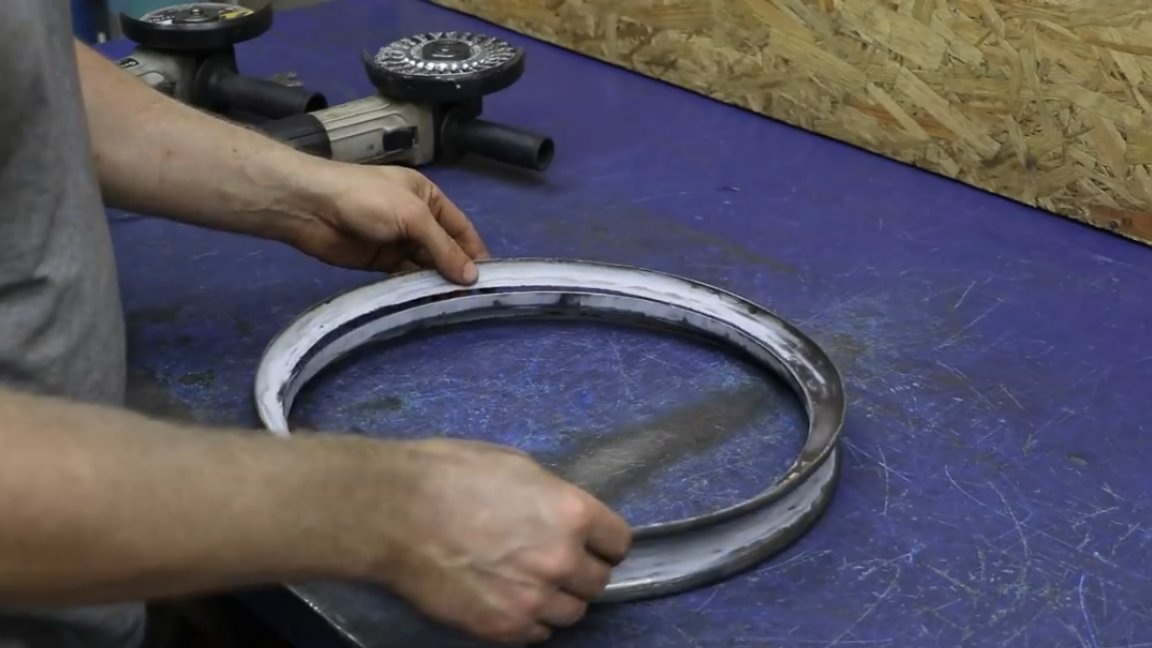
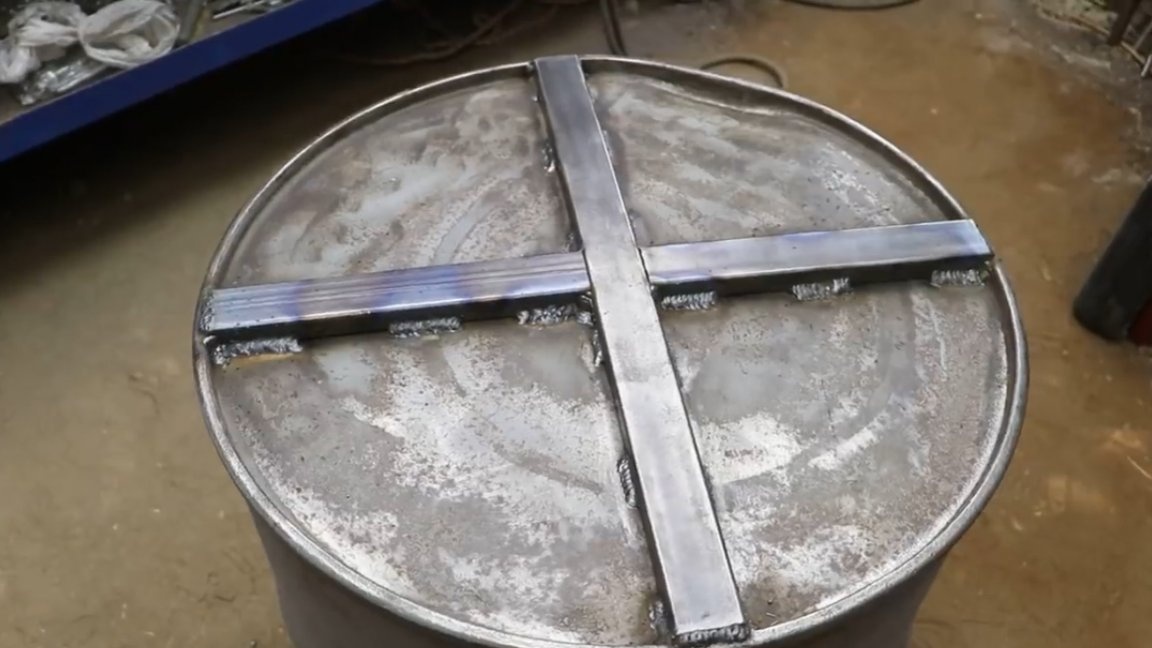
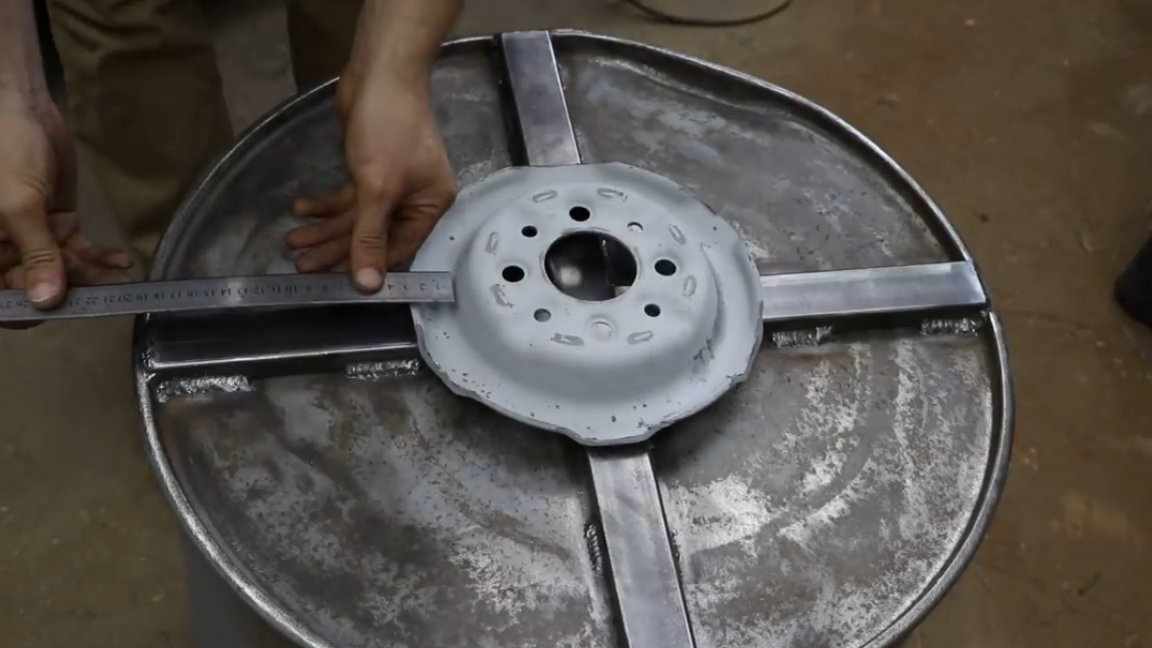
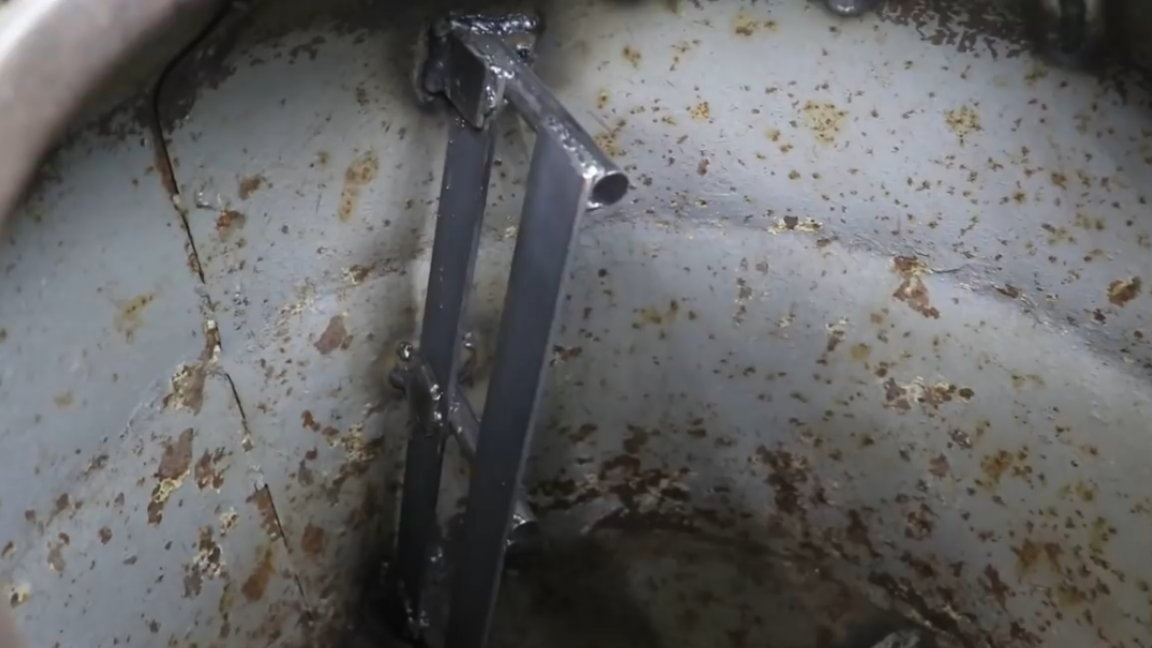
As a result, we got a great pulley is not small in size. Then, using the profile pipe, it is necessary to strengthen the bottom of the barrel. Amplifier in the form of a cross, this is enough for the eyes.
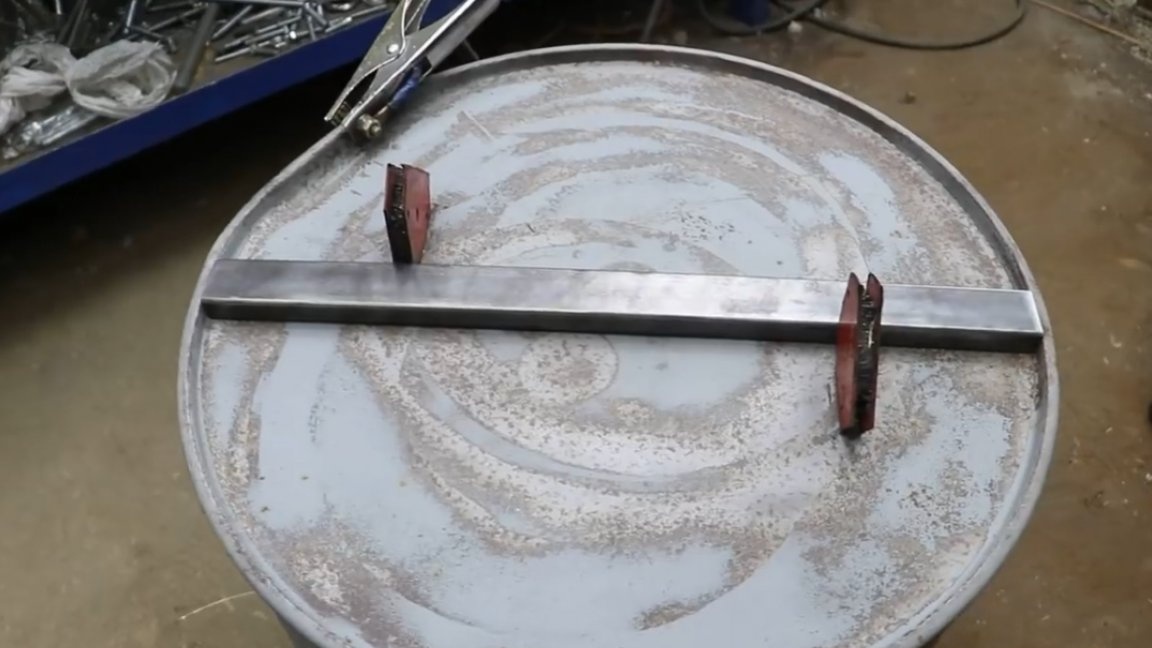
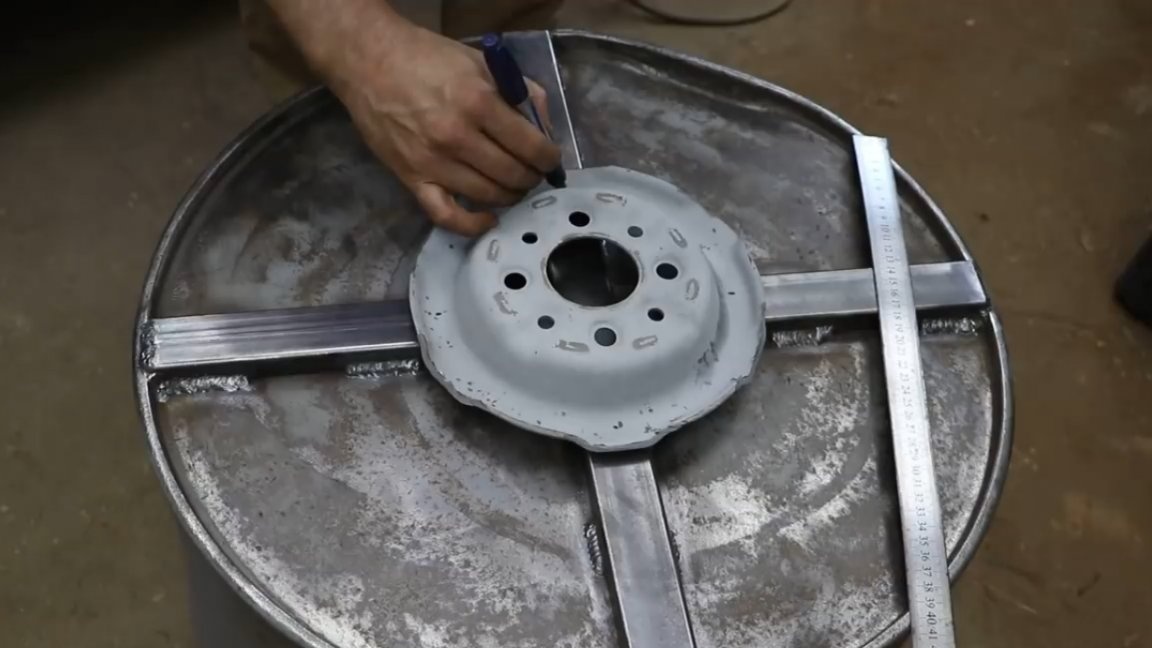
Next, we mark the future holes.

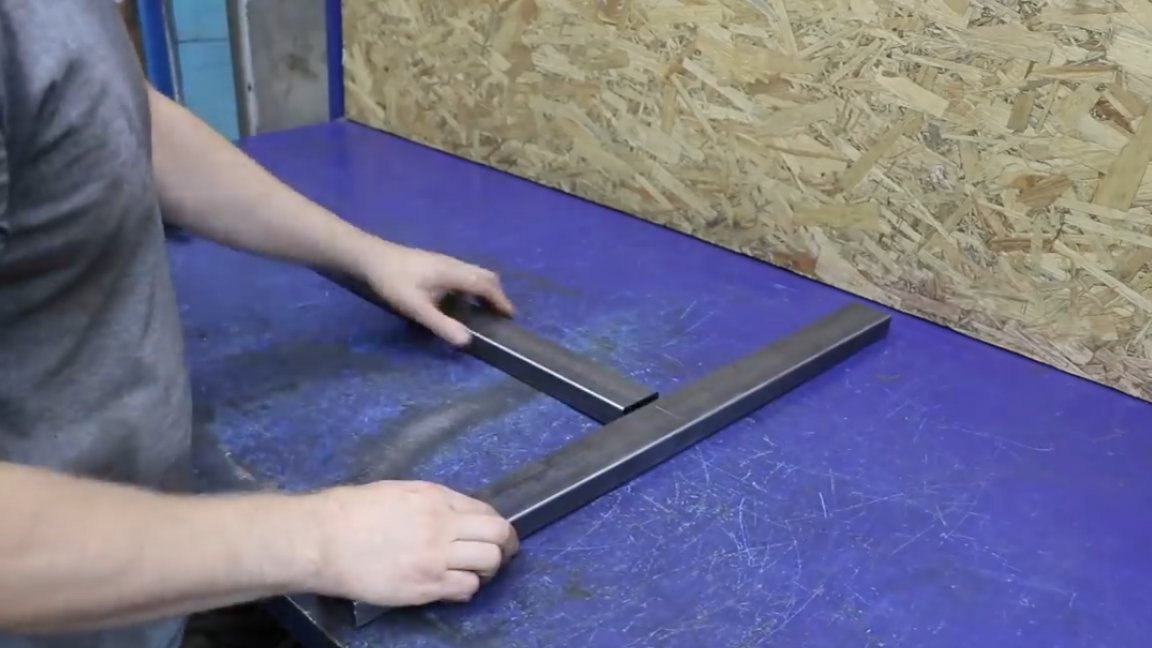
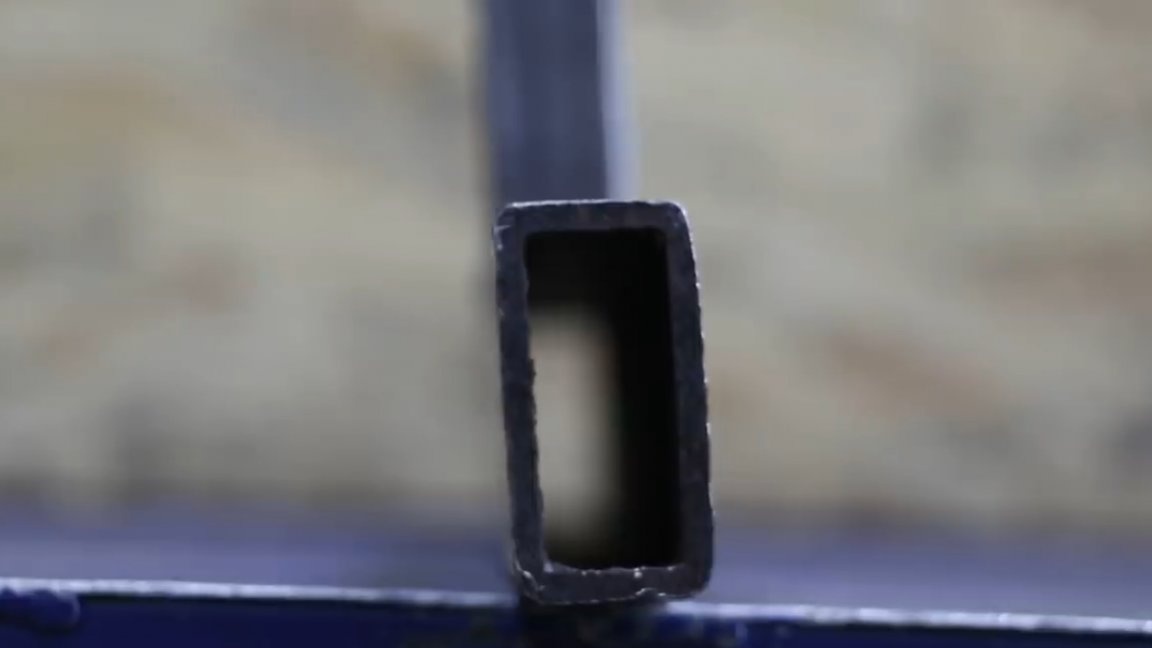
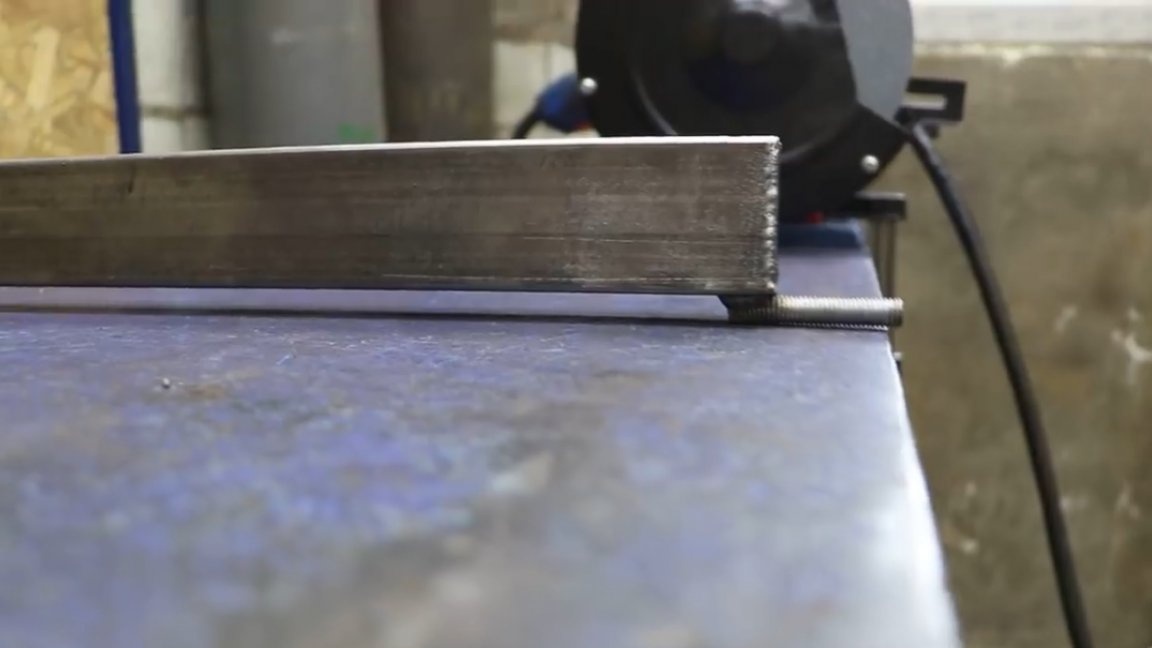
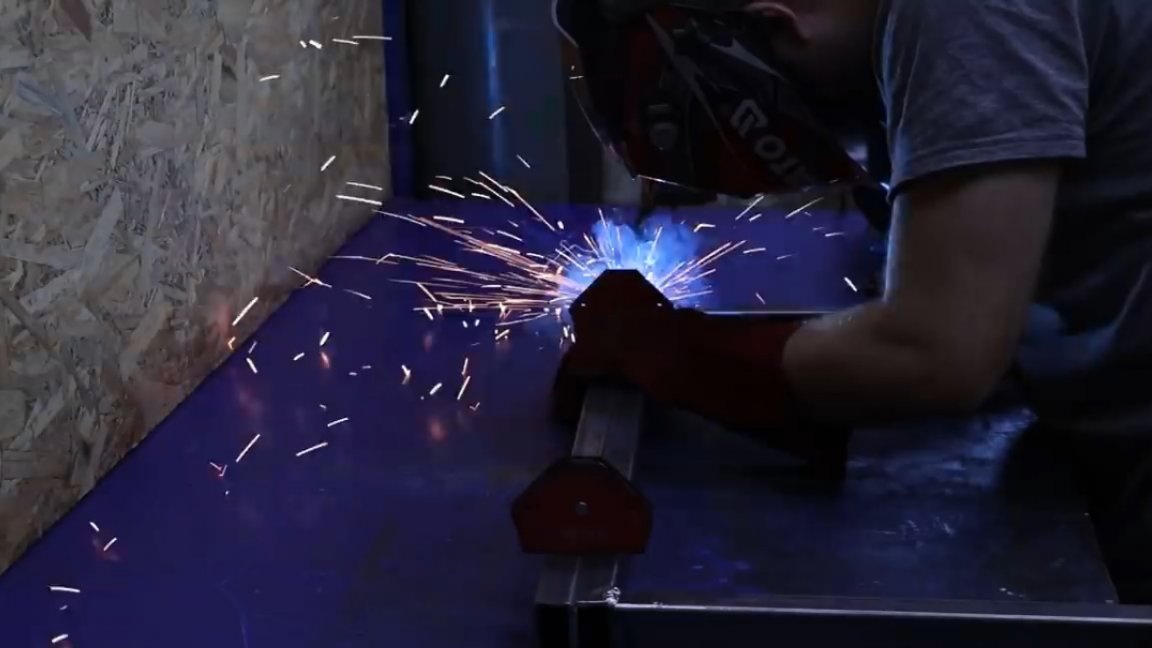
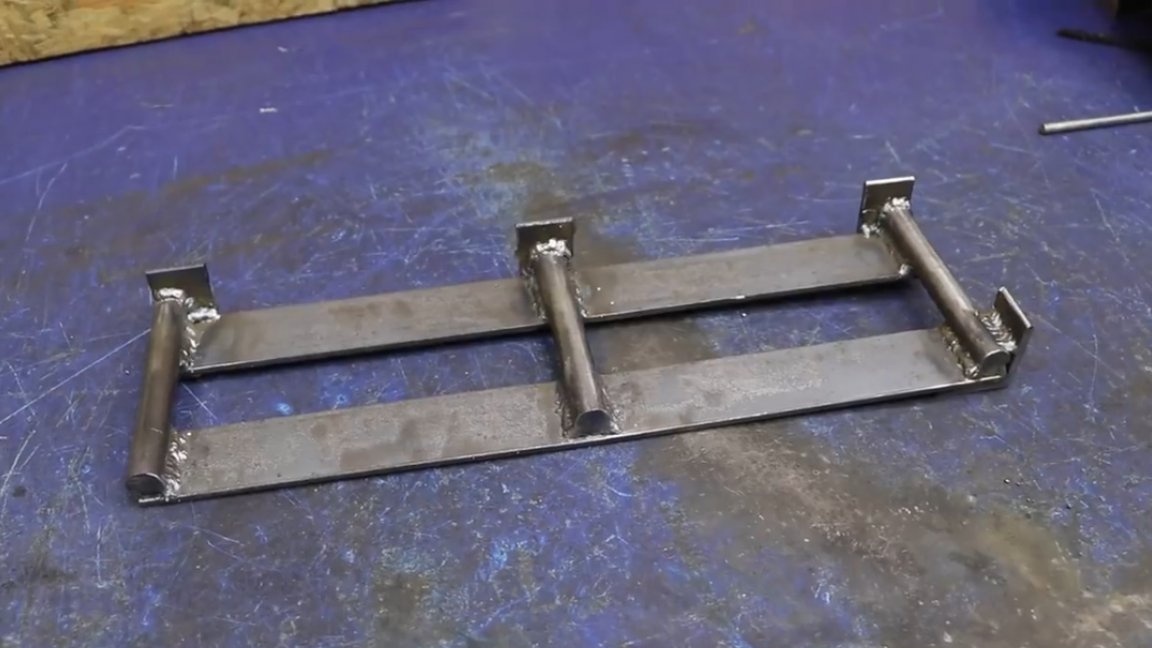
The next step from the profile pipe 25 to 50 will cook the rack.

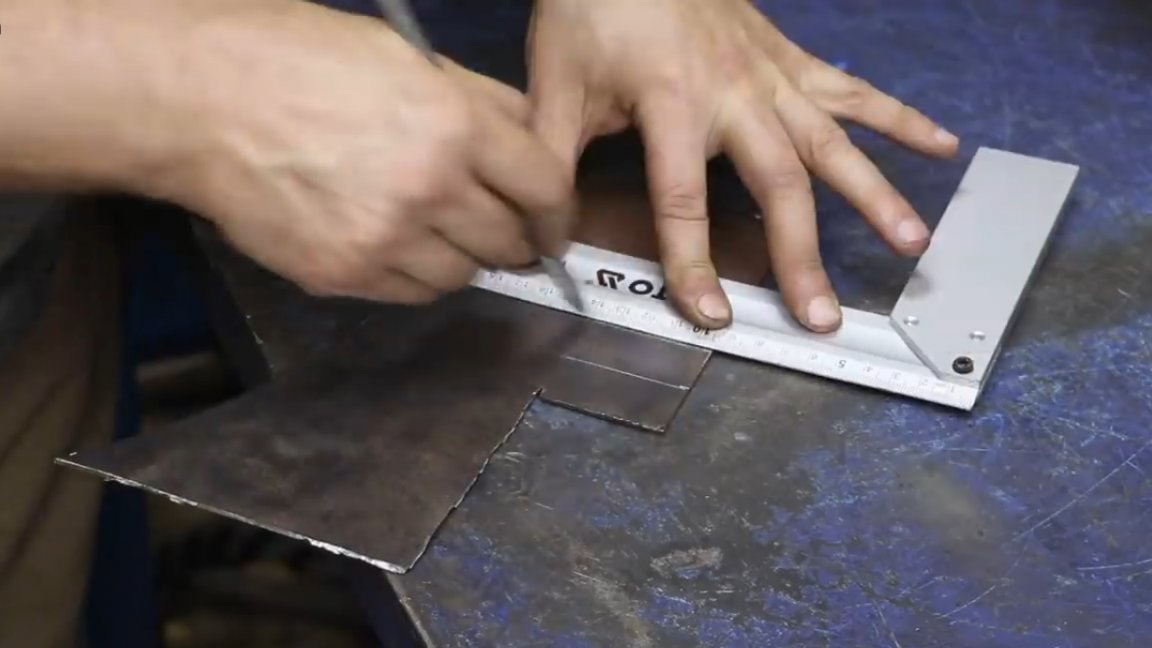
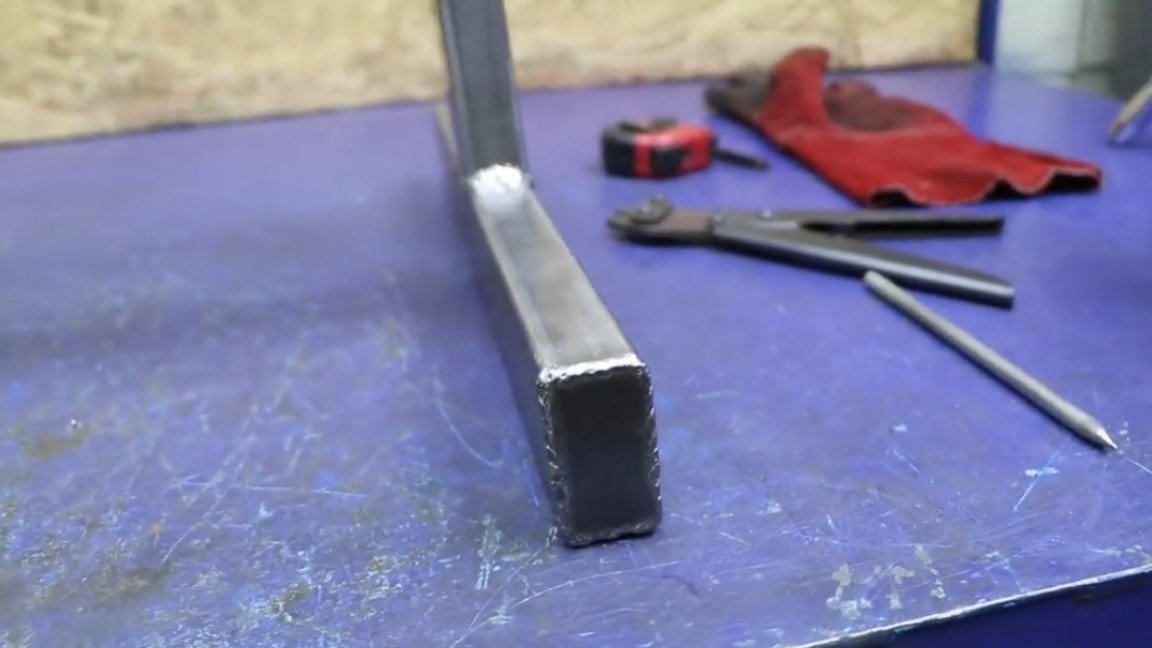
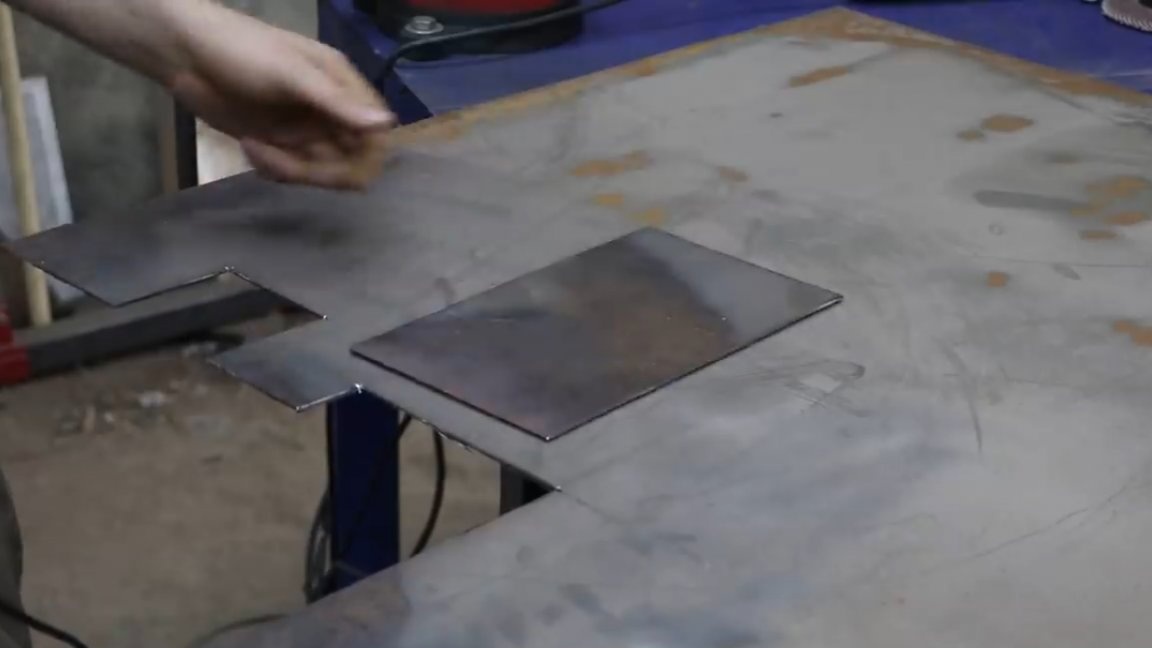
It would be nice to drown the ends of the pipes. You can, of course, buy special plugs in the store, or, as an option, you can cut plates from the remains of sheet metal and weld them to the ends.
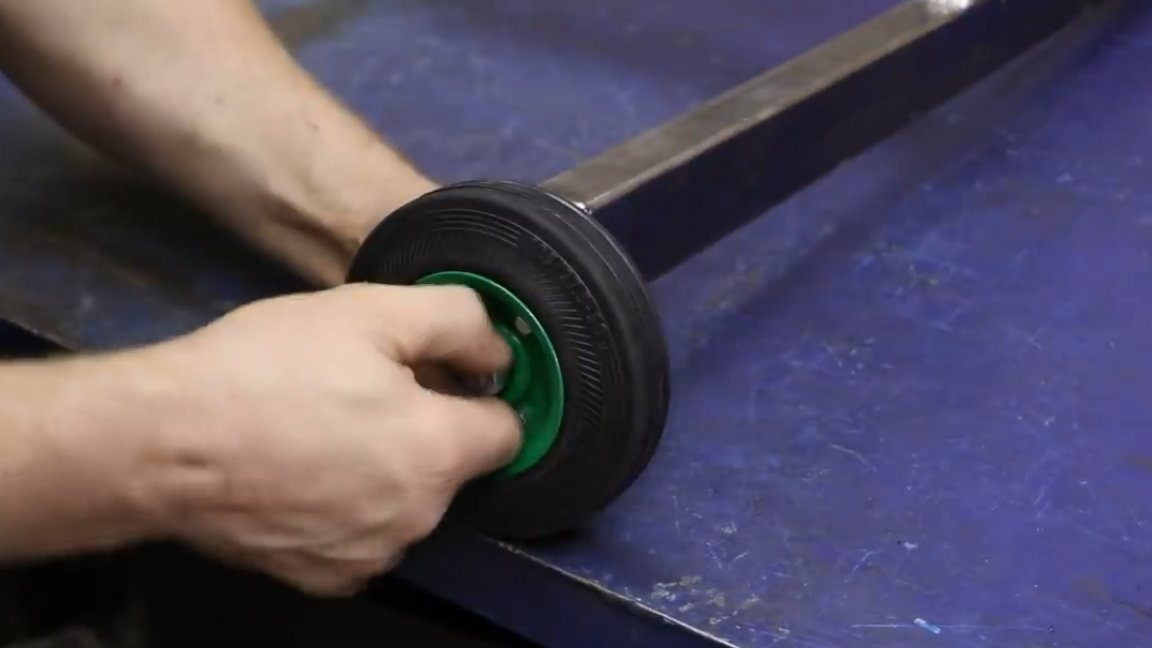
Now we weld two small pieces of studs along the edges to the wide part of the rack for two small wheels.
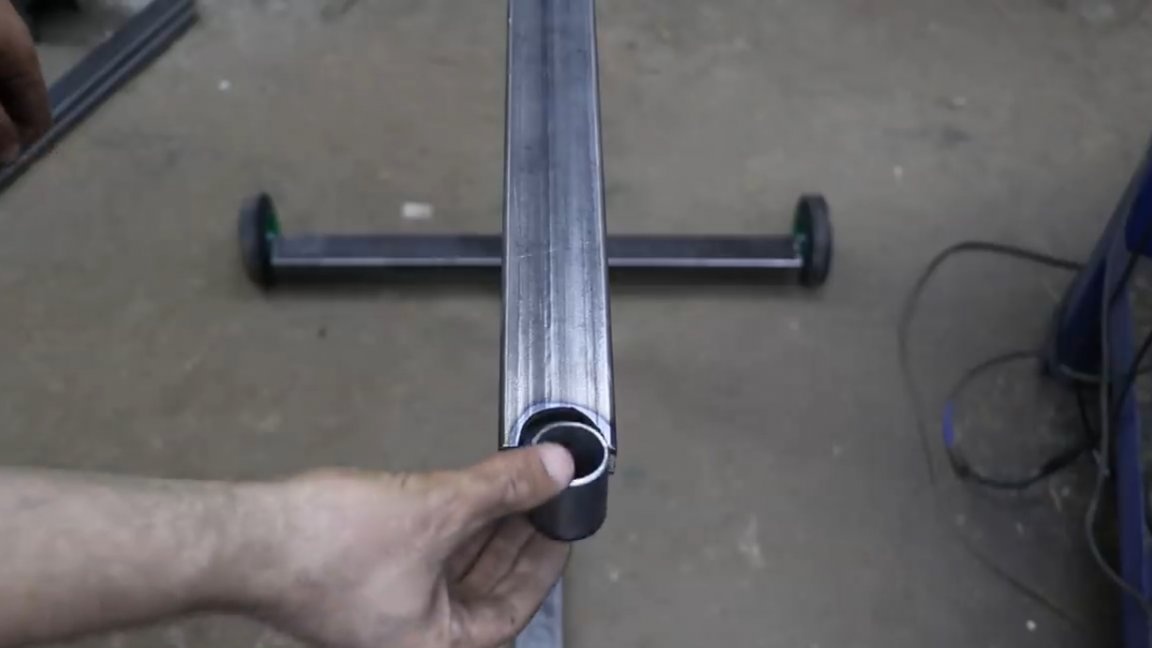
Then we need 2 pieces of pipe.
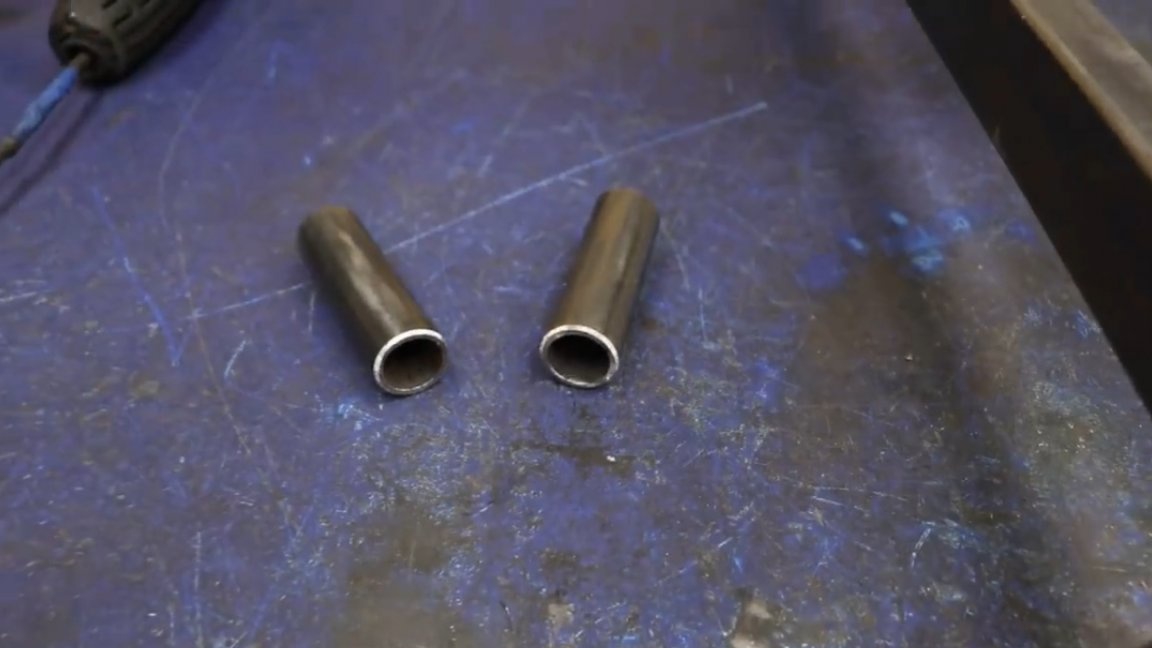
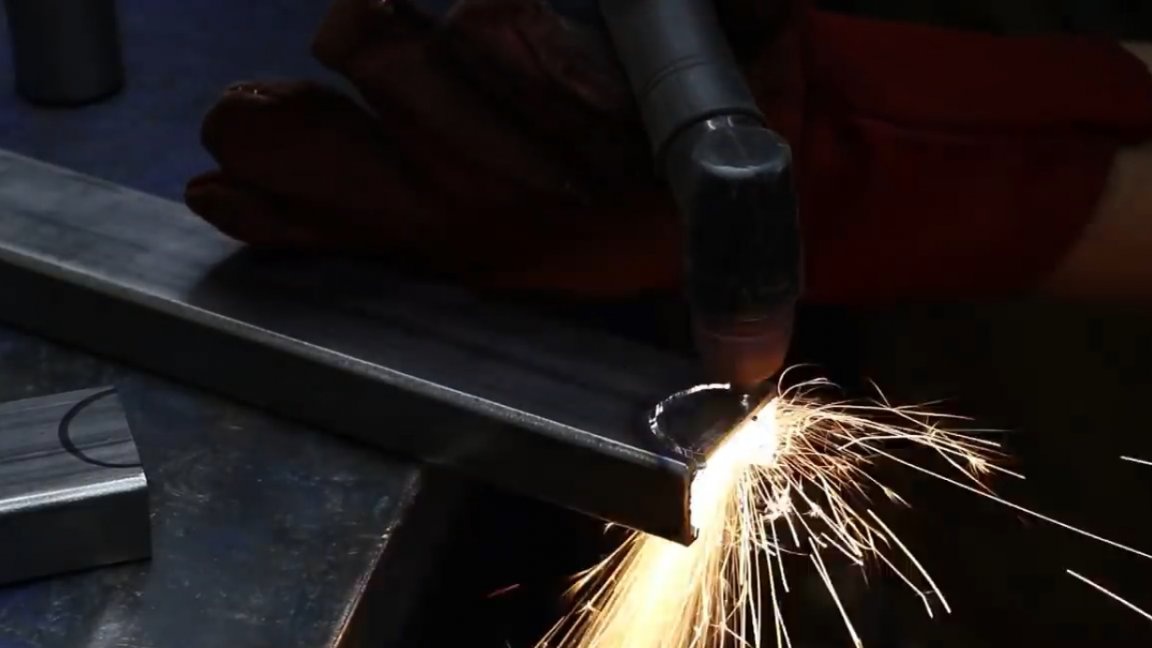
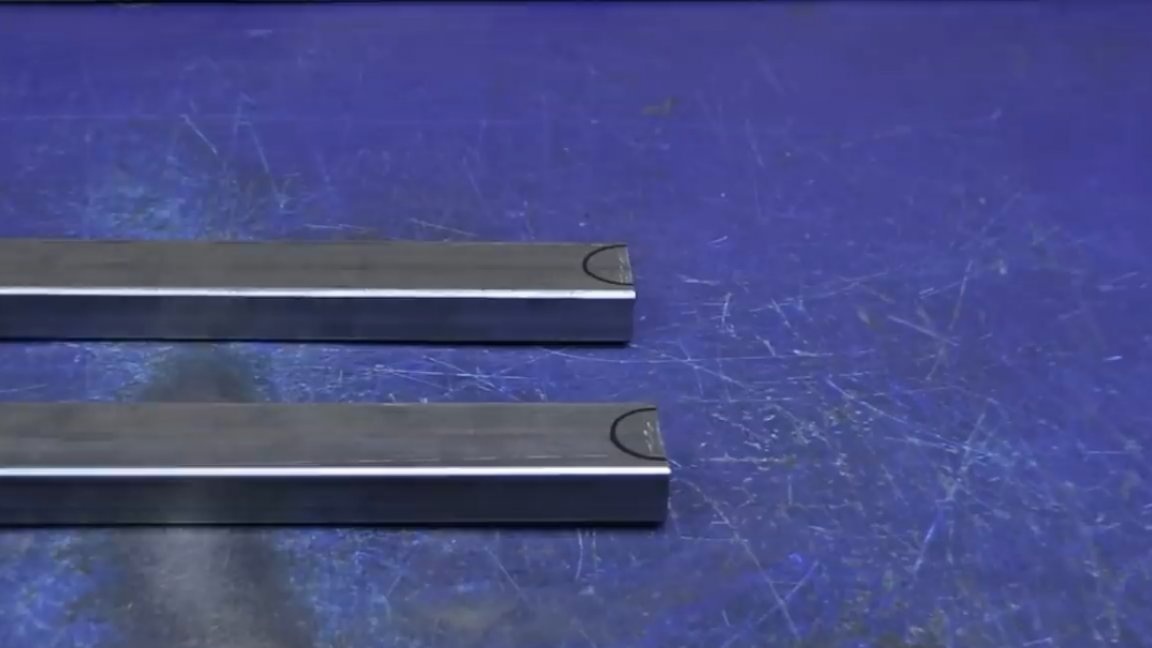
Next, cut a semicircle in the section of the pipe to increase the weldable area to the inch section of the pipe.
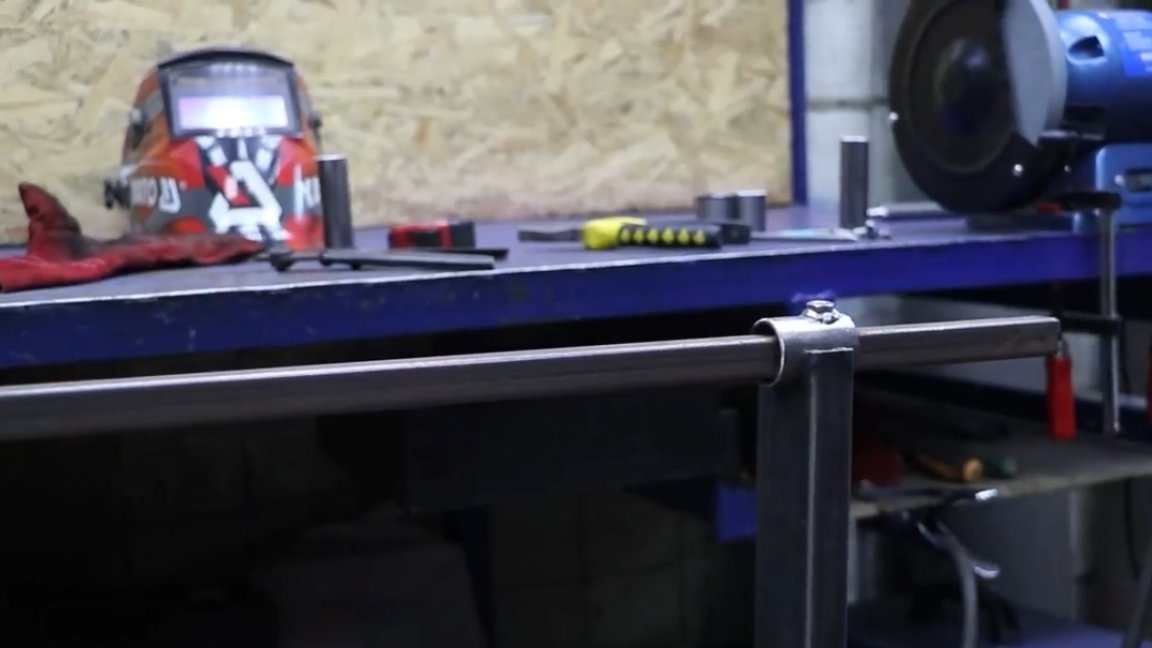
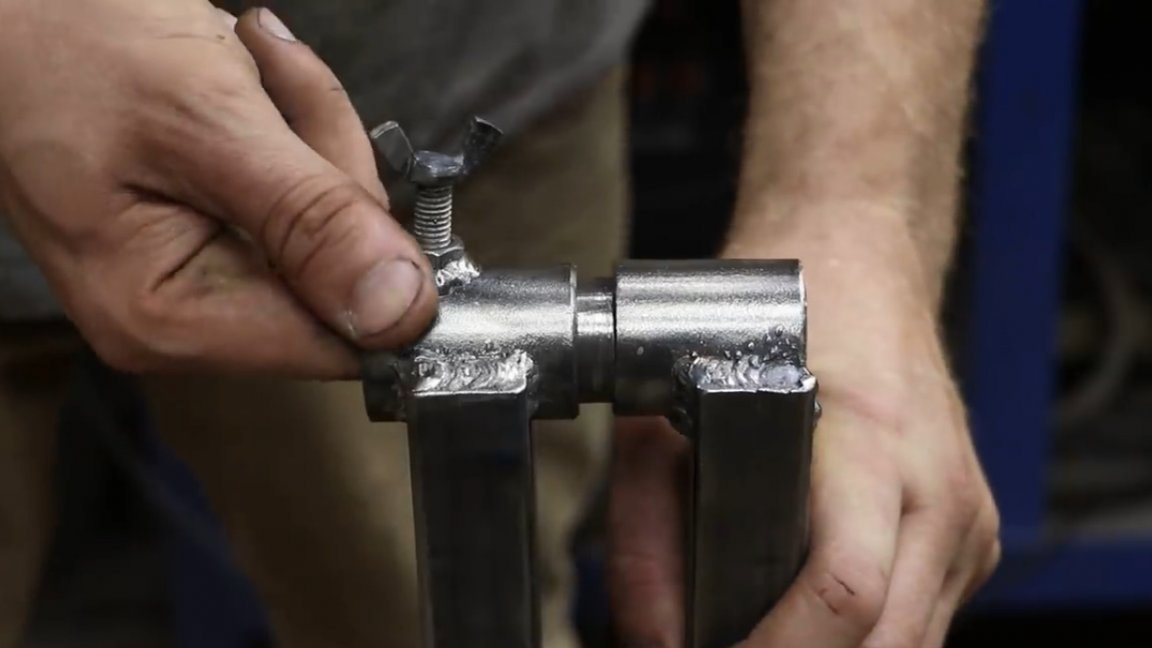
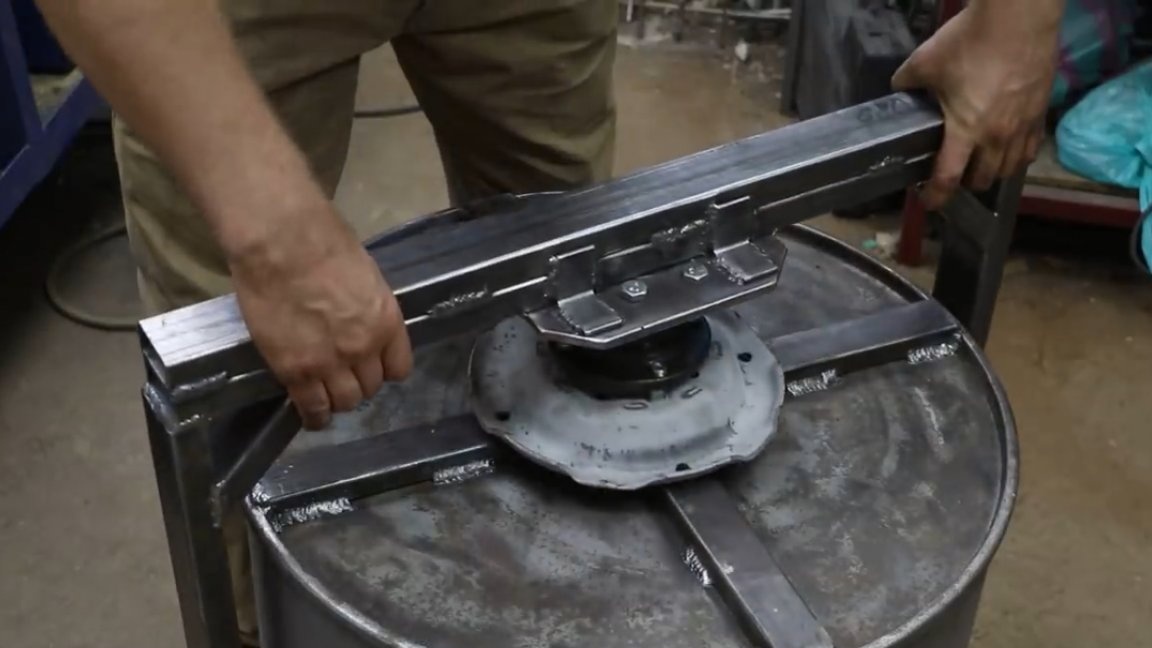
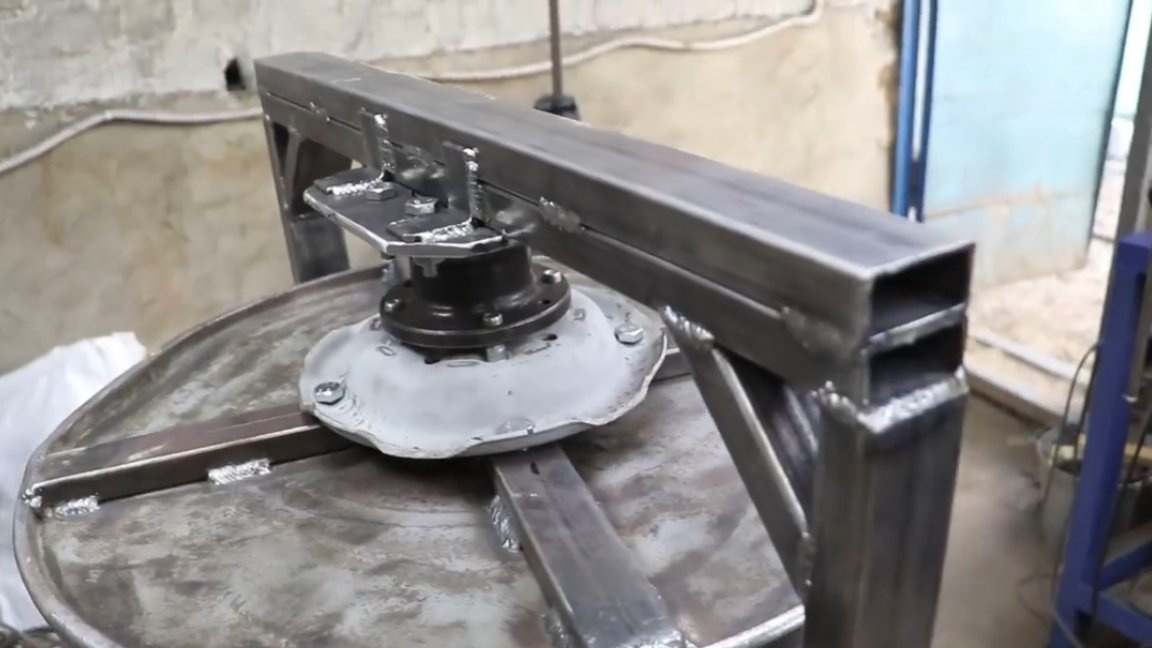
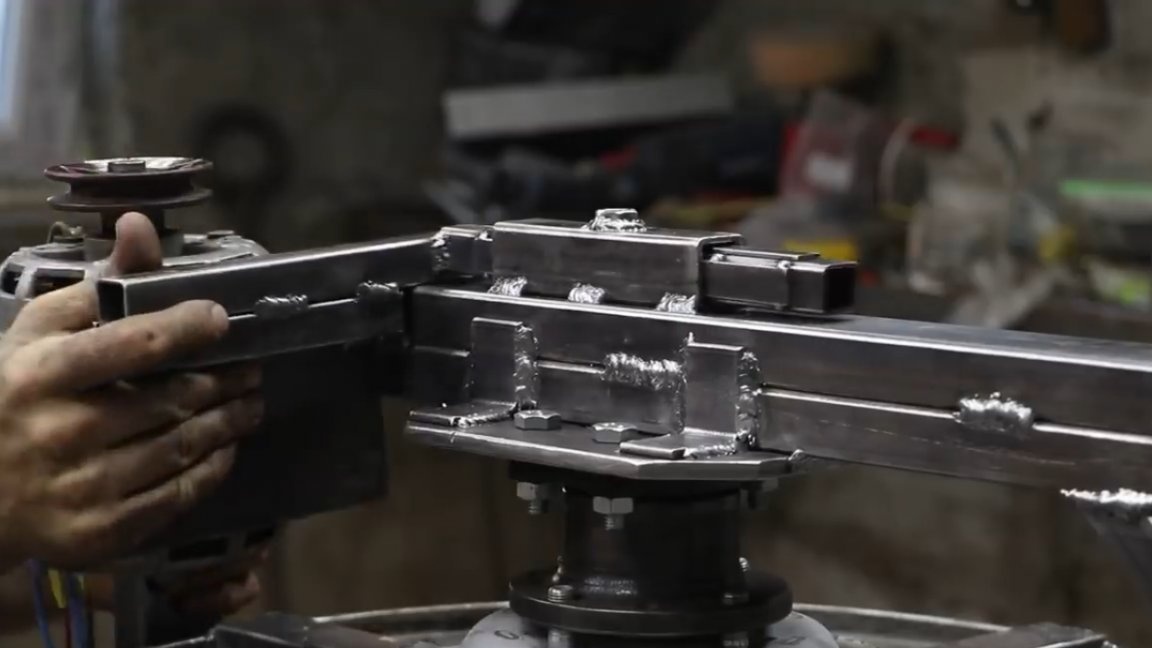
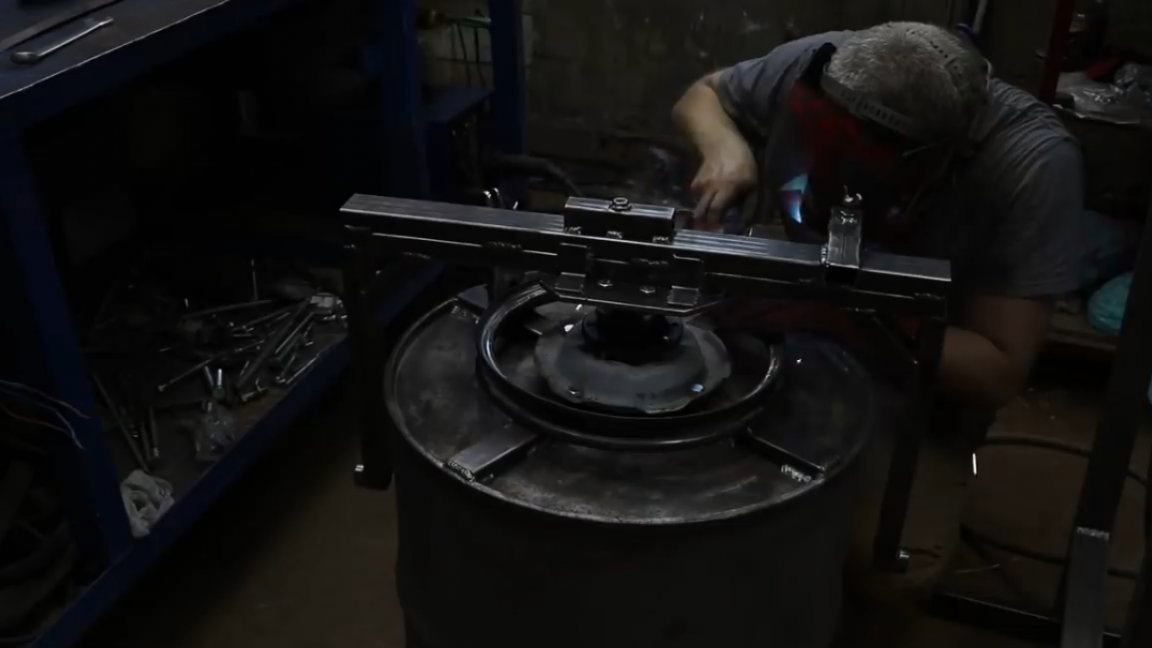
Further, all of the same profile pipe, it is necessary to make the following design:

Since a large load is supposed to be applied to this element, we add the second segment, and we weld another pair of segments diagonally, this will add structural rigidity.
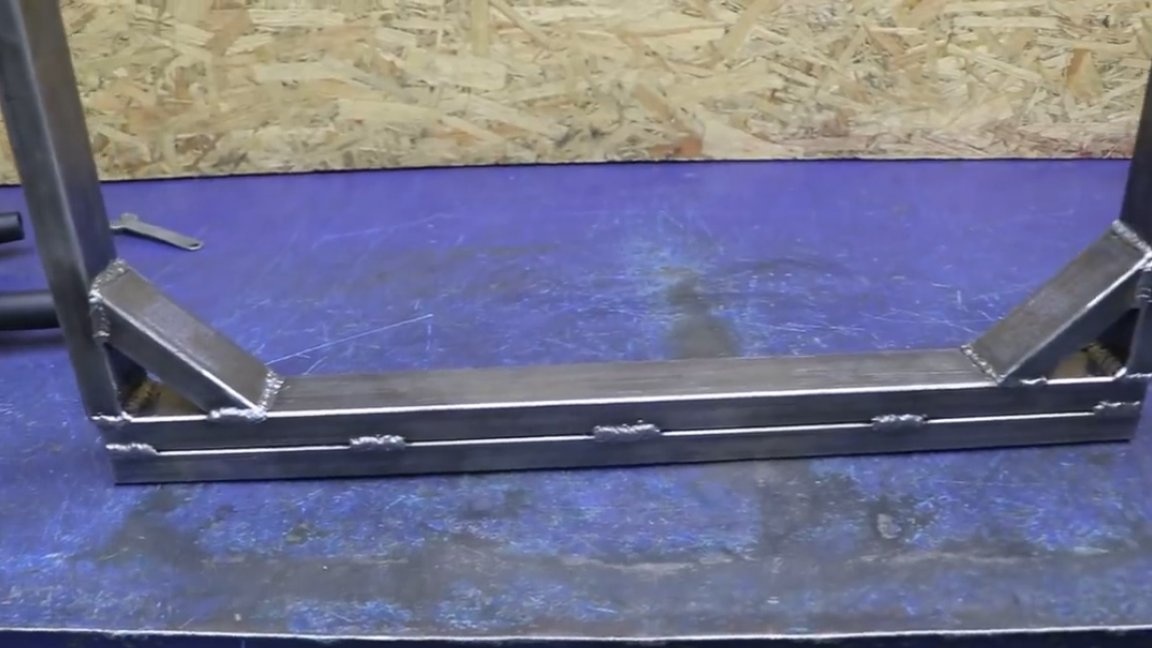
Now it remains to grab and weld the resulting traverse to the scraps of the inch pipe.
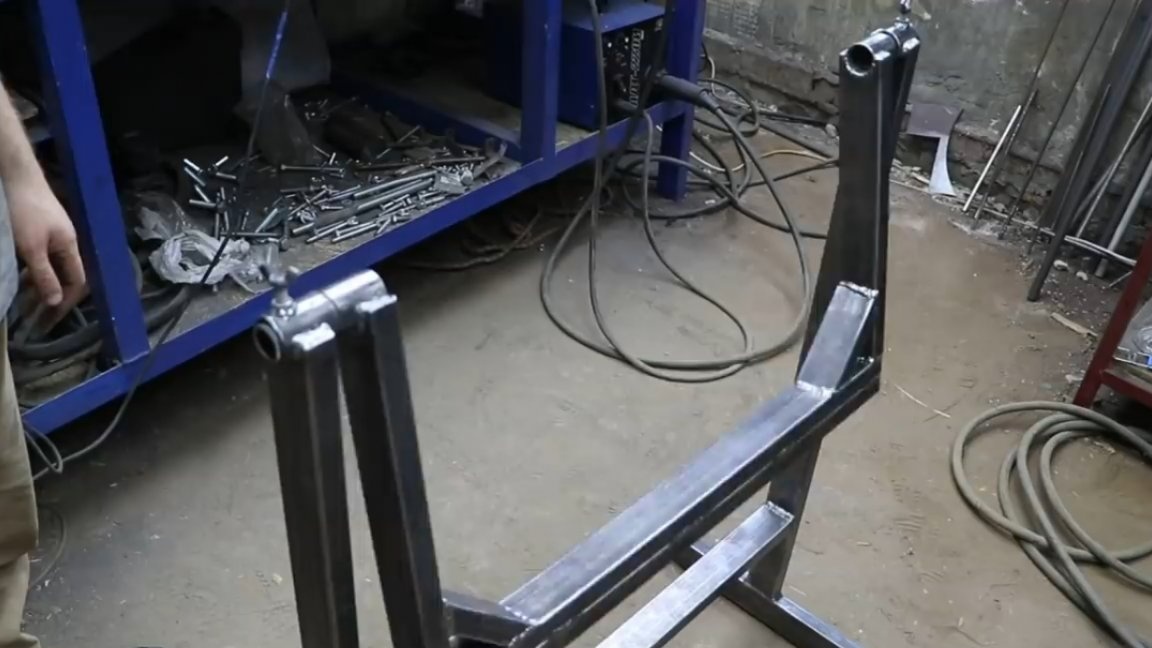
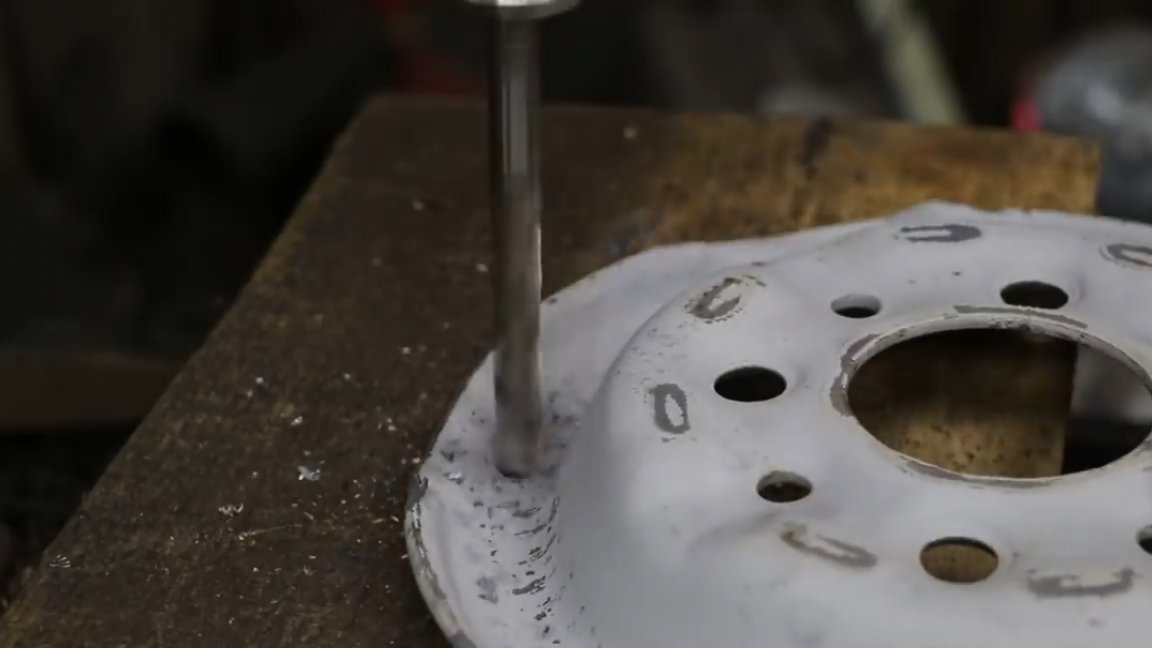
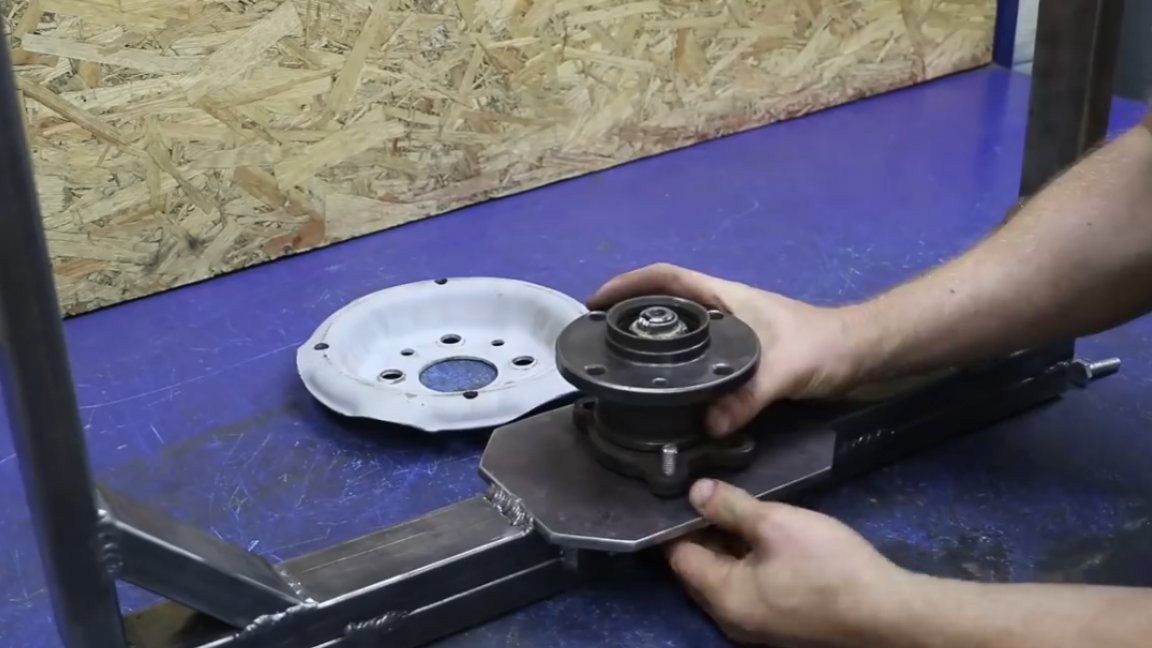
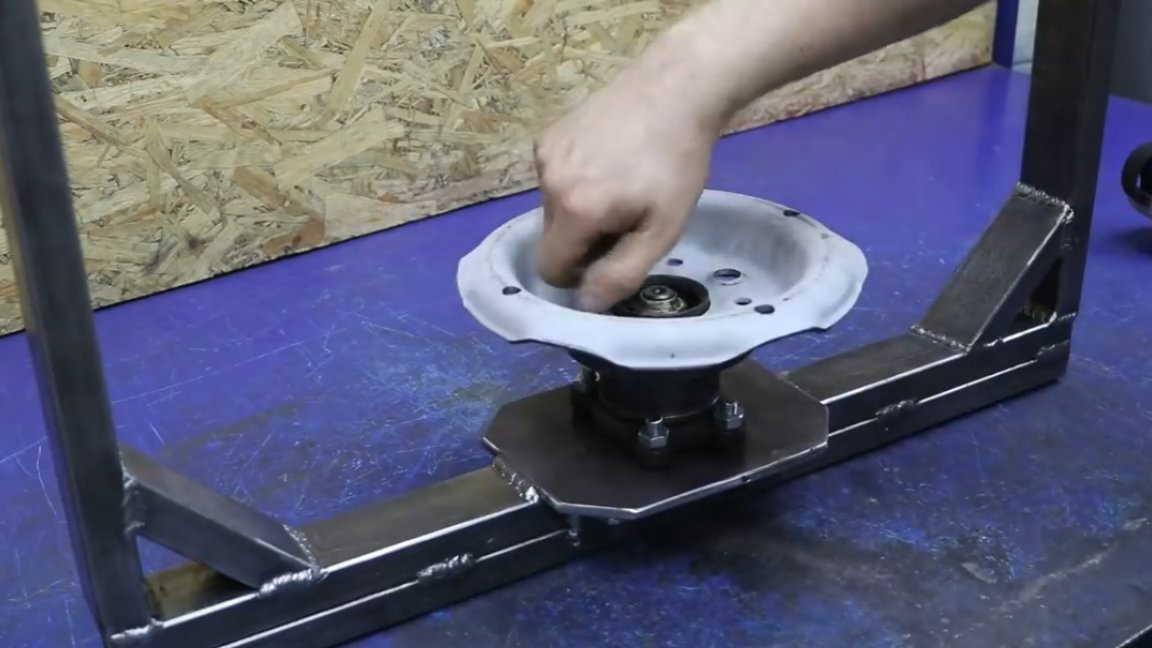
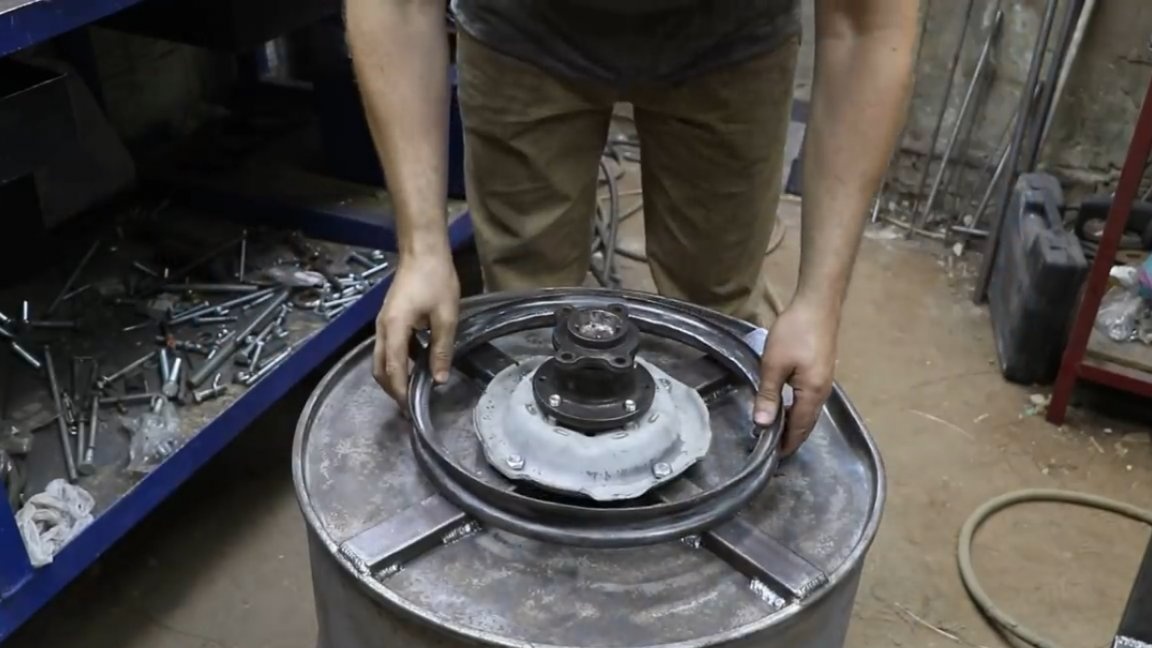
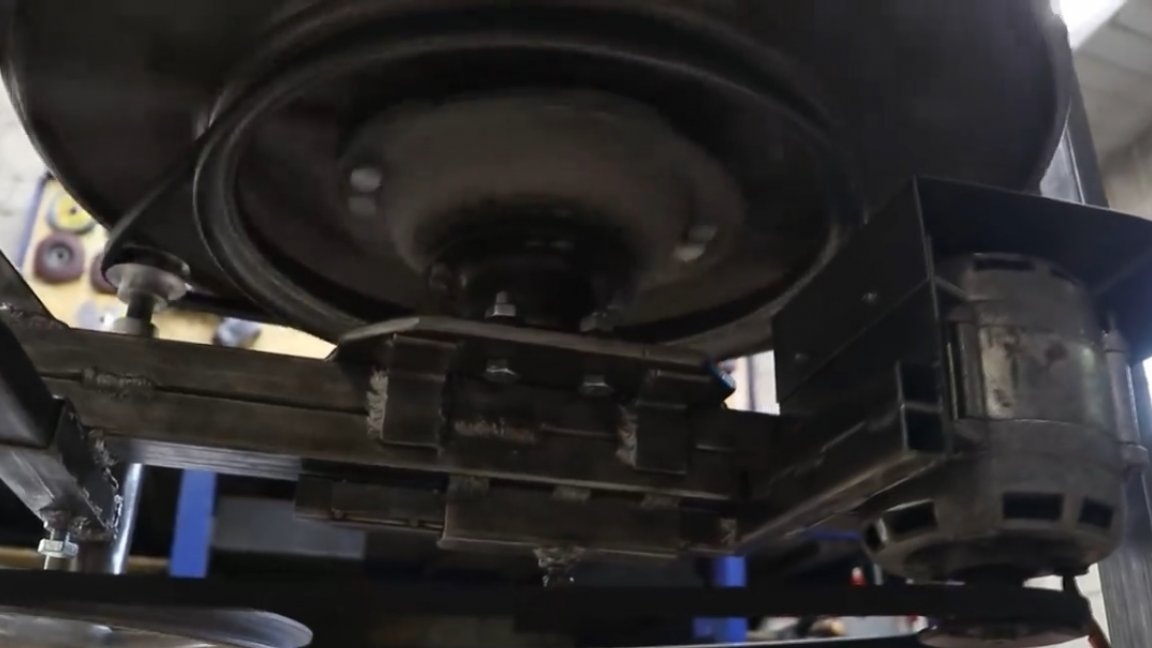
Then we fasten the rear hub from the car to the part from the disk (in this case, from the eight (VAZ-2108)).
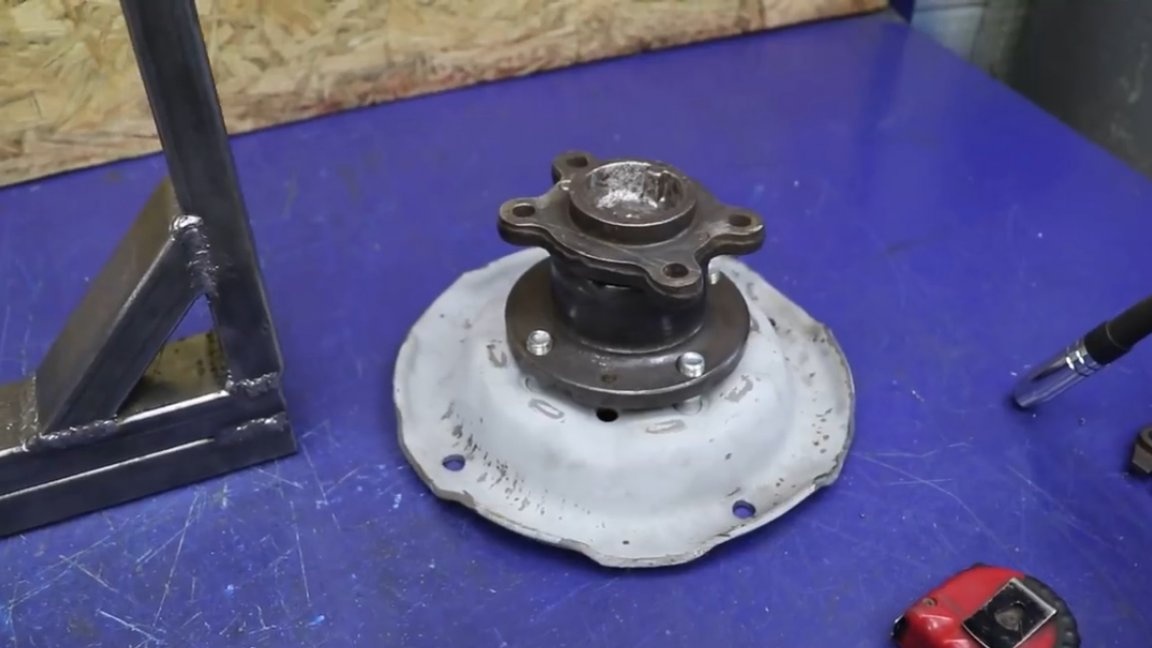
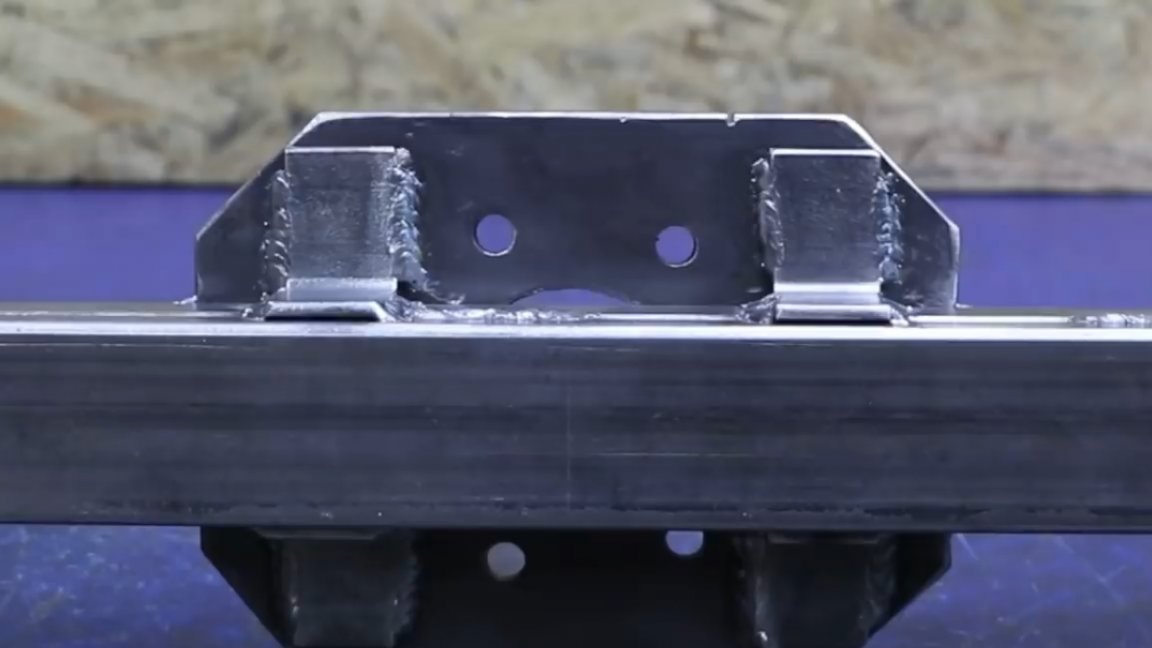
From sheet metal we make a mount under the hub.
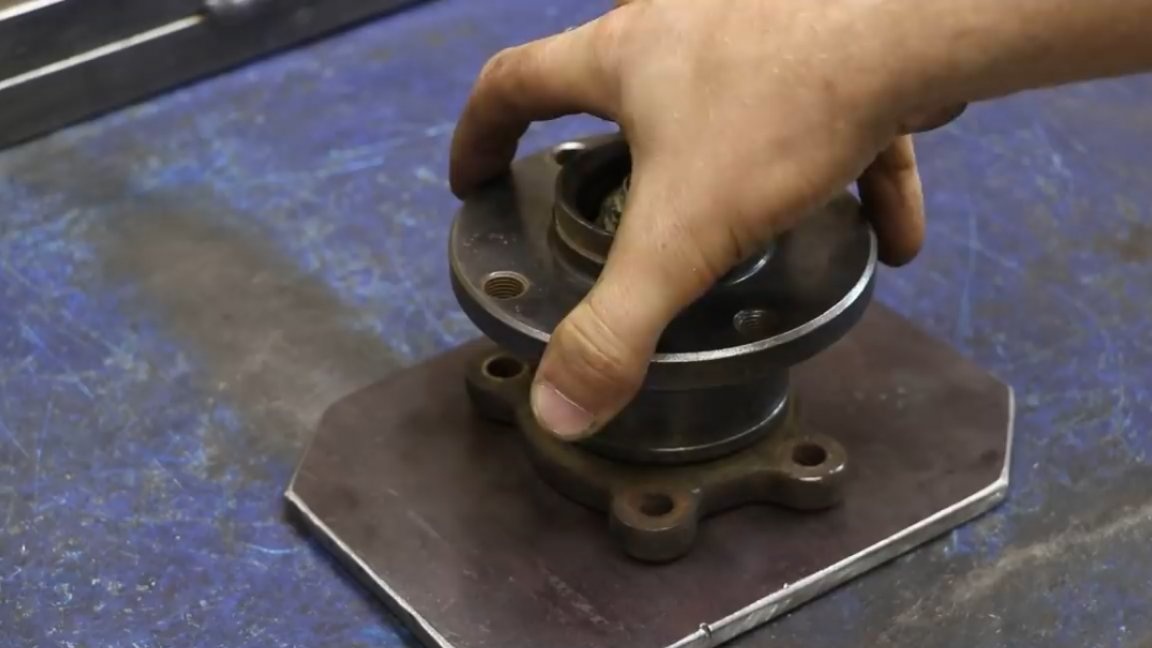
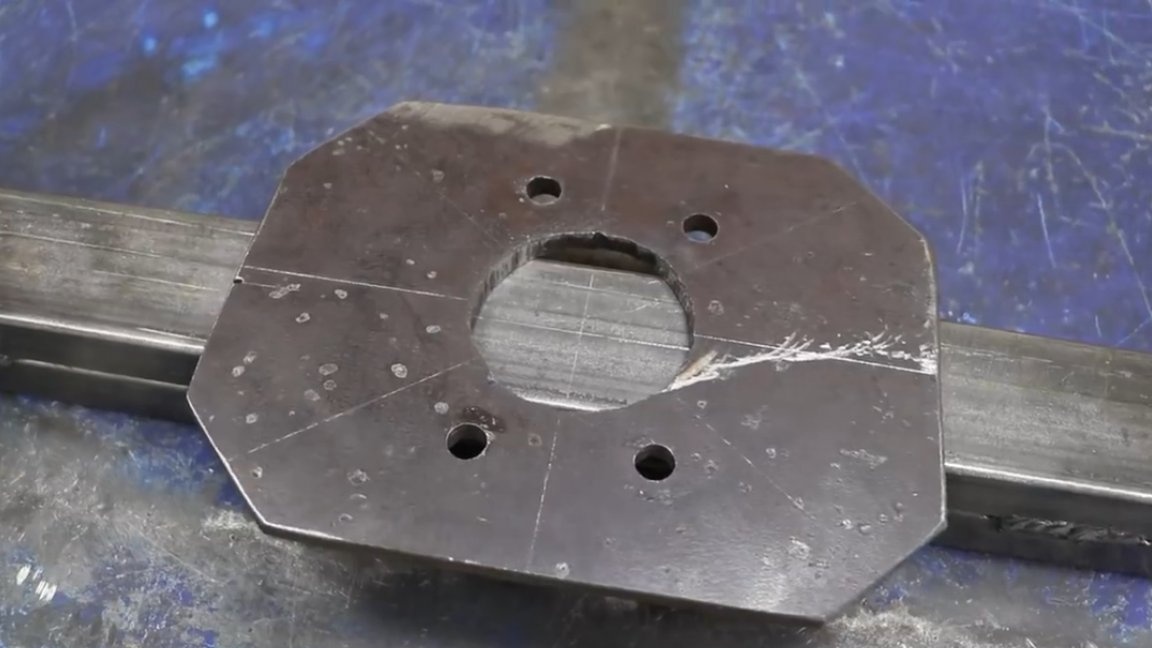
Now you can screw the hub, and then part of the disk and try on the whole thing on the barrel itself.
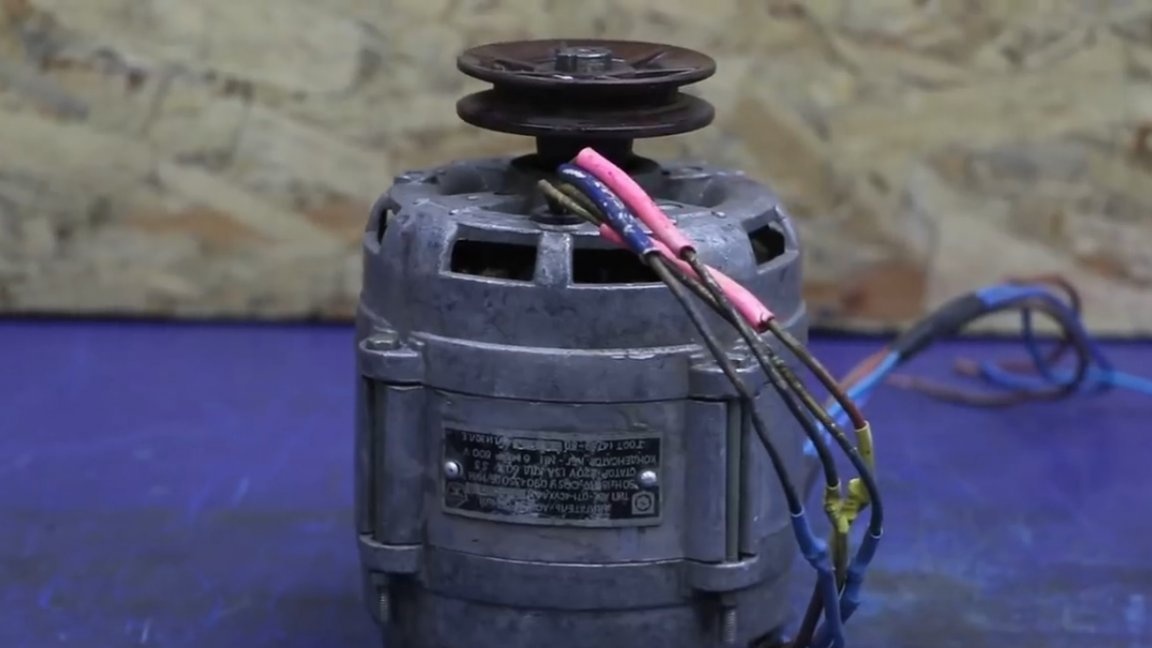
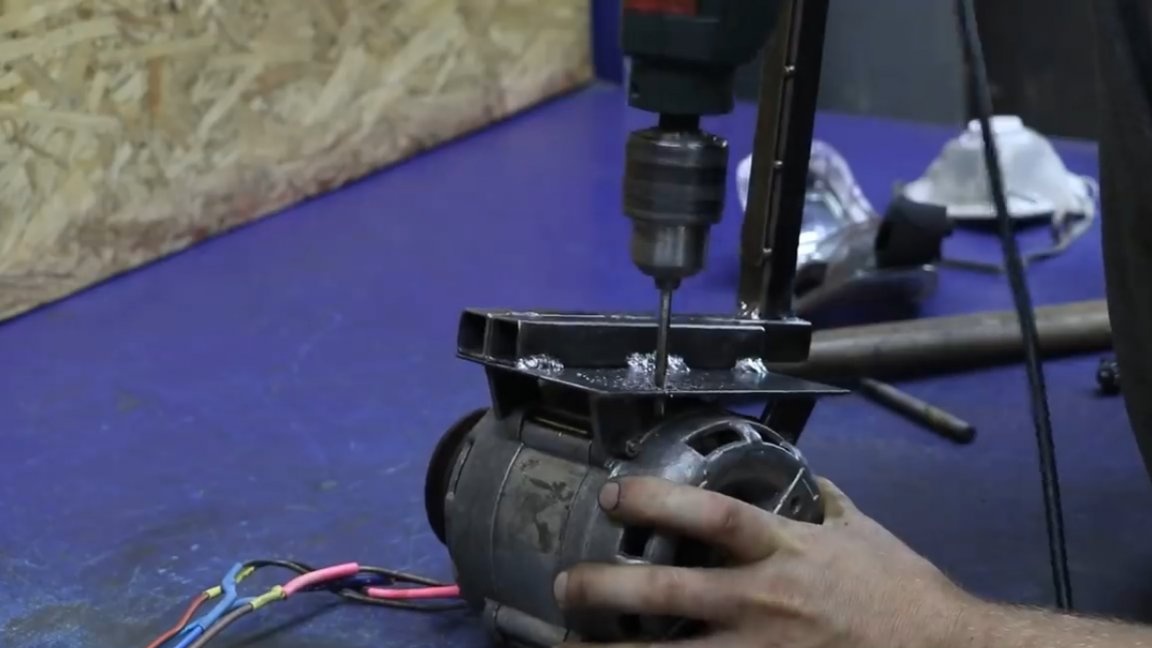
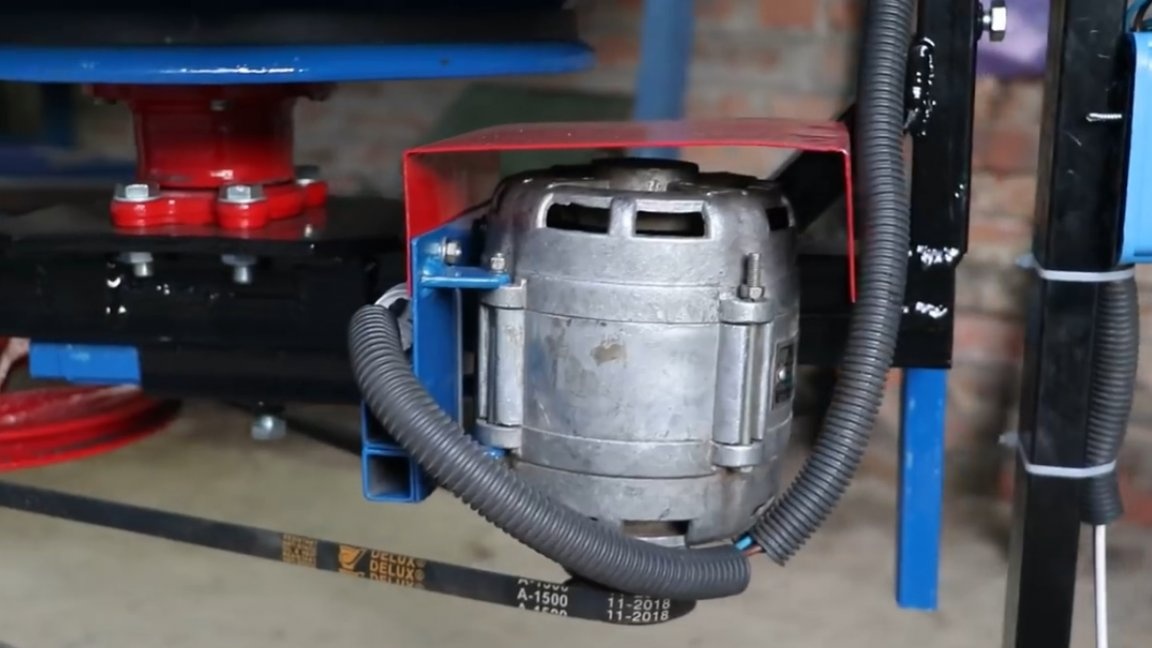
Now let's get into the engine from the washer. The characteristics are as follows: 1350 rpm, power 180W.

Let's make mounts for it.

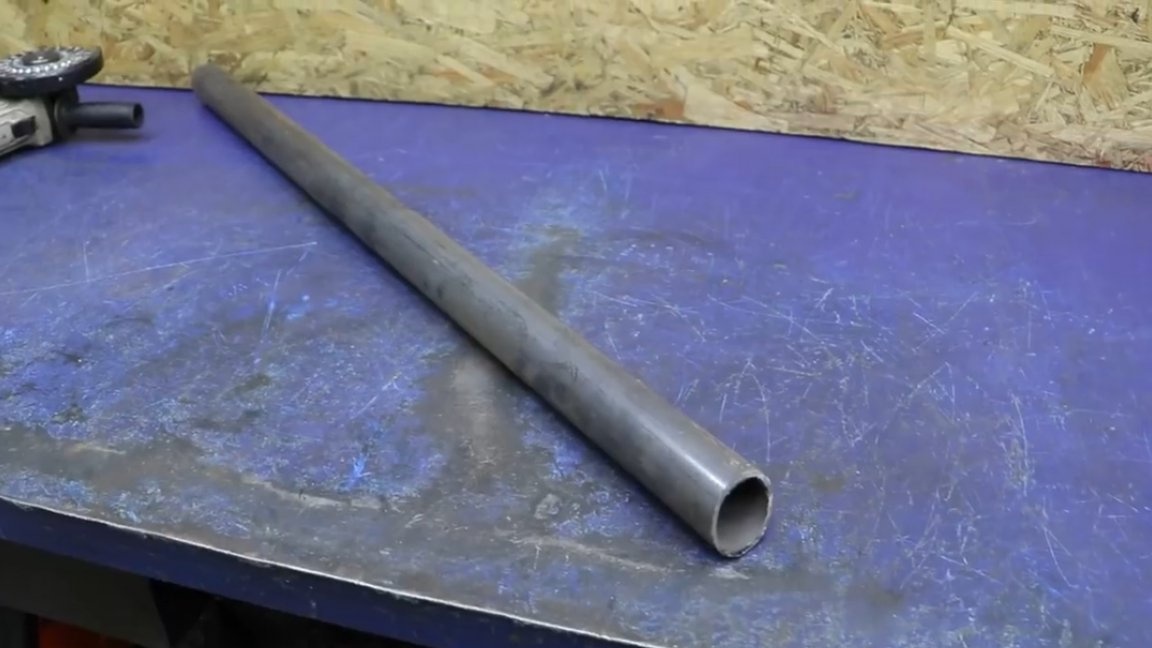
On the workbench and a half inch pipe.
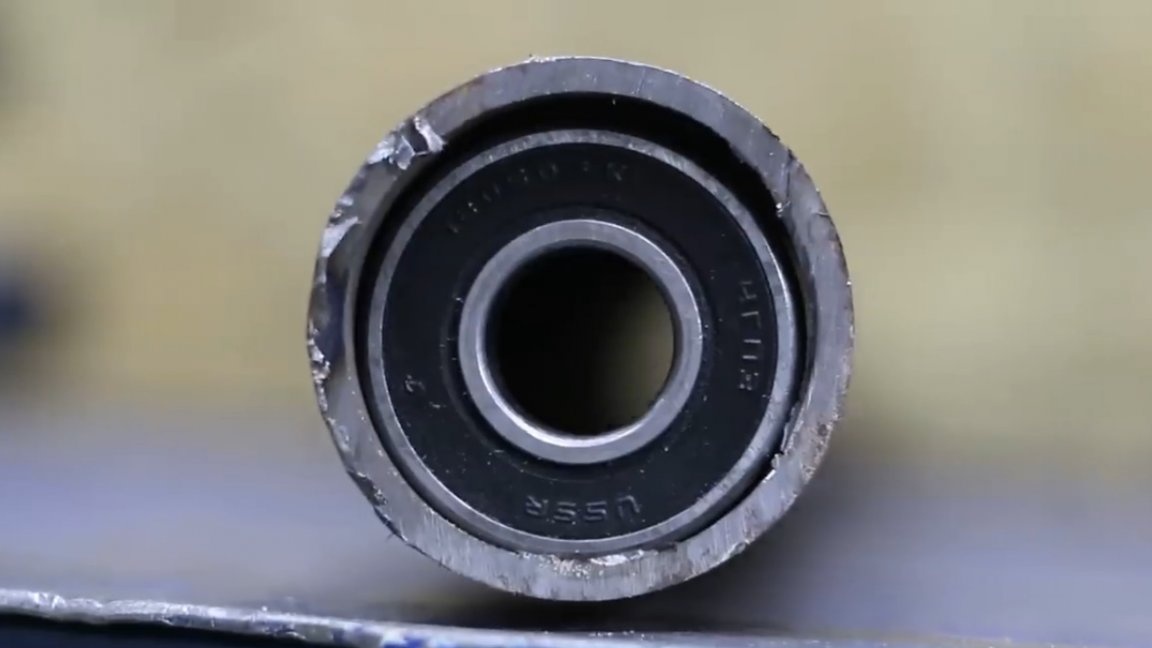
The fortieth bearing is close to the inner diameter of the pipe, but the clearance is very noticeable.
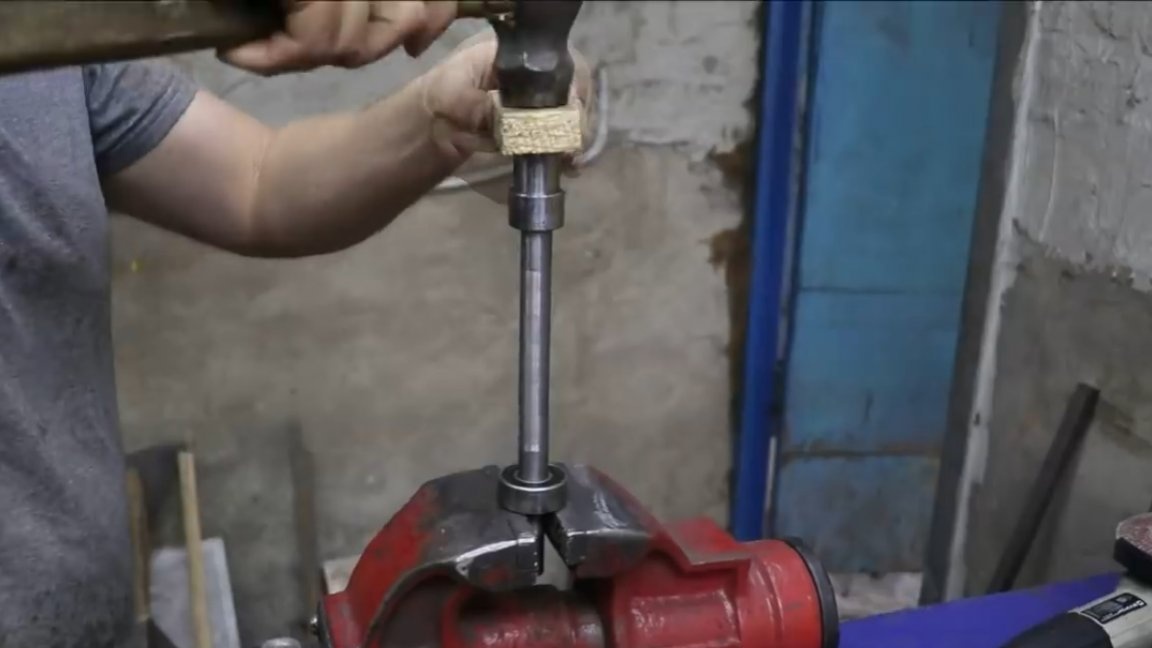
Cut the required length for the workpiece and make a longitudinal section.
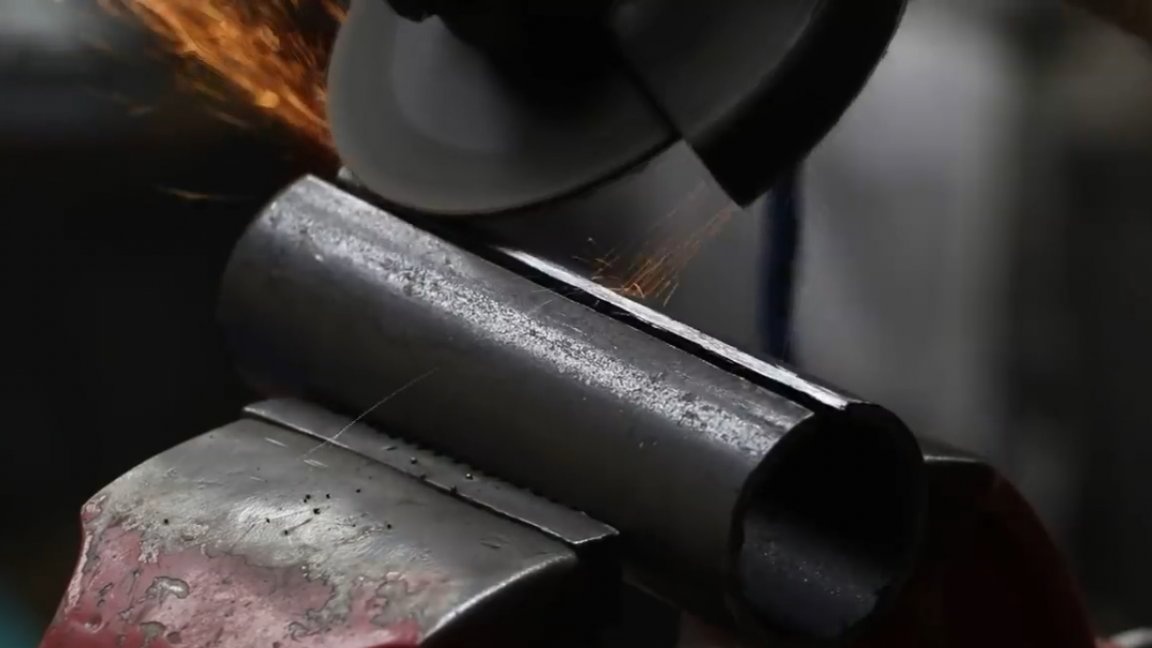
Then we compress the resulting workpiece in a vise and then grab it by welding.
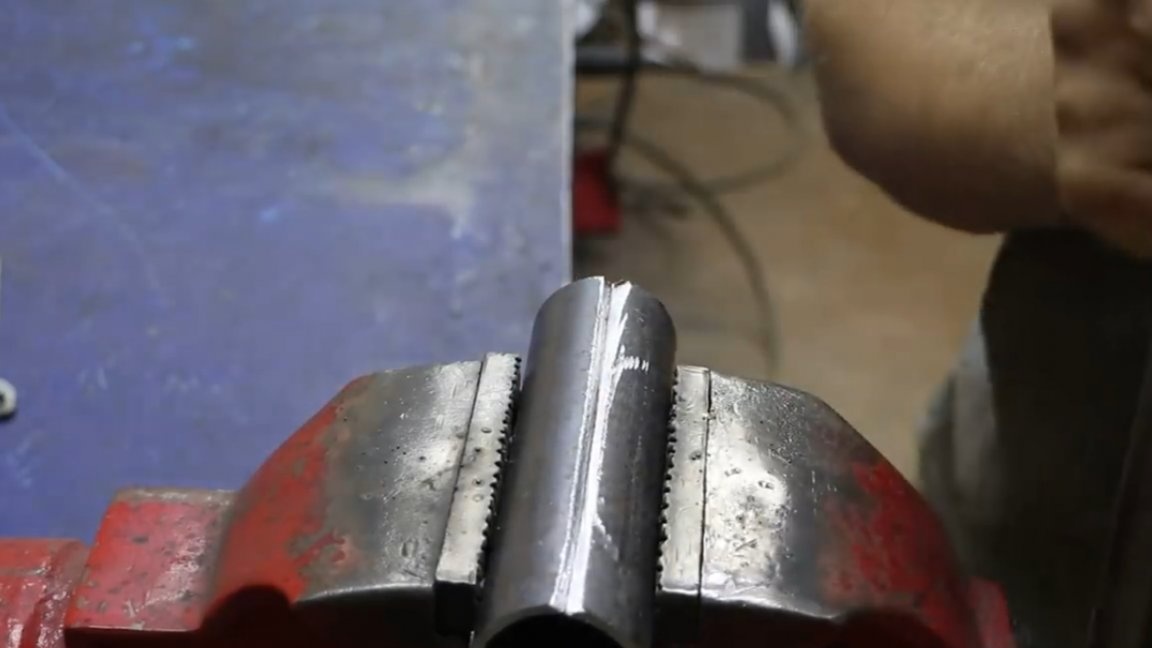
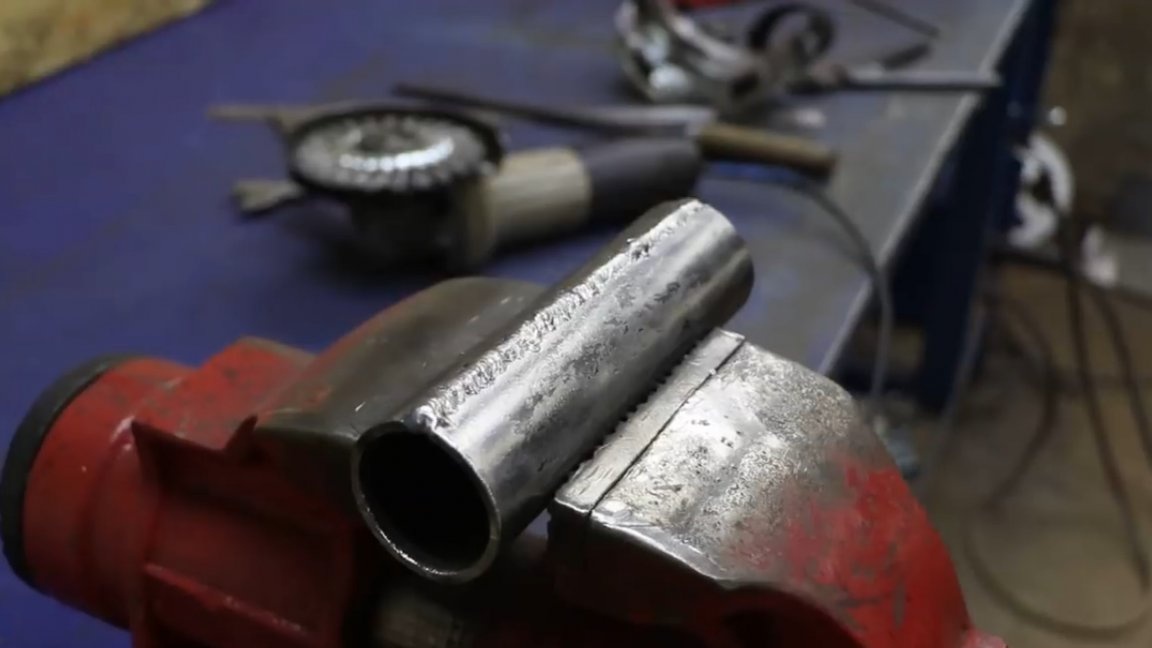
As a result, we get a pipe into which the bearings no longer crawl. Now to the turner for processing and manufacturing the shaft, on which these bearings will be actually dressed.
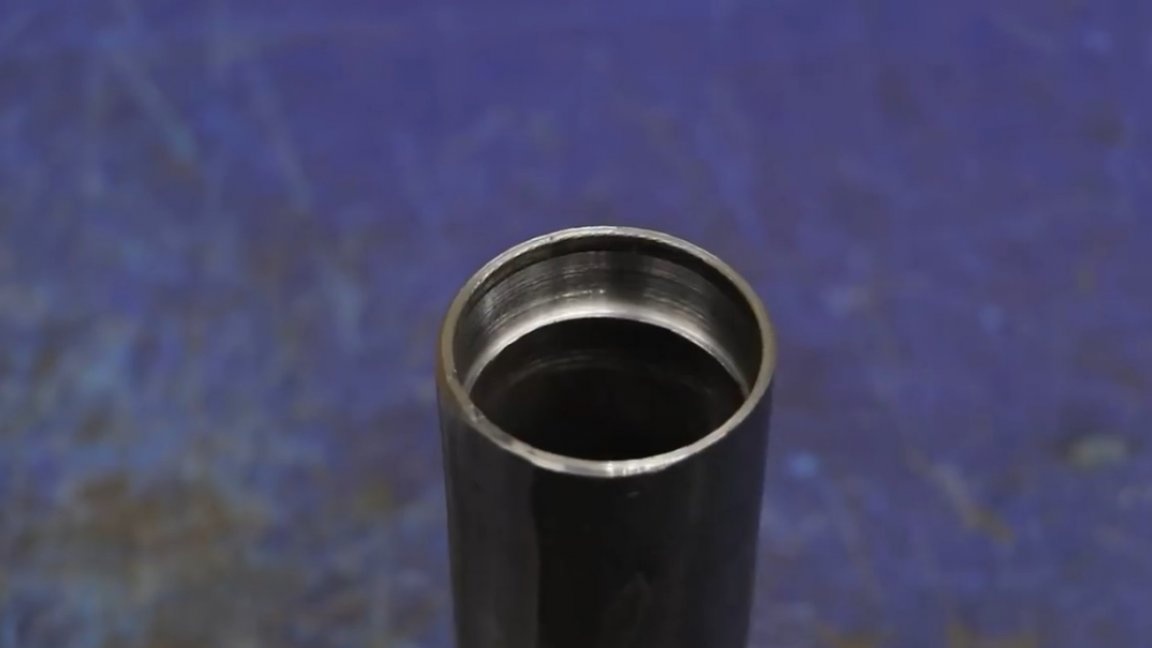

A small rounding of the end face on another pipe under the tight fit of the newly made unit with bearings. We put pulleys on a shaft and fix a bolt on each side.

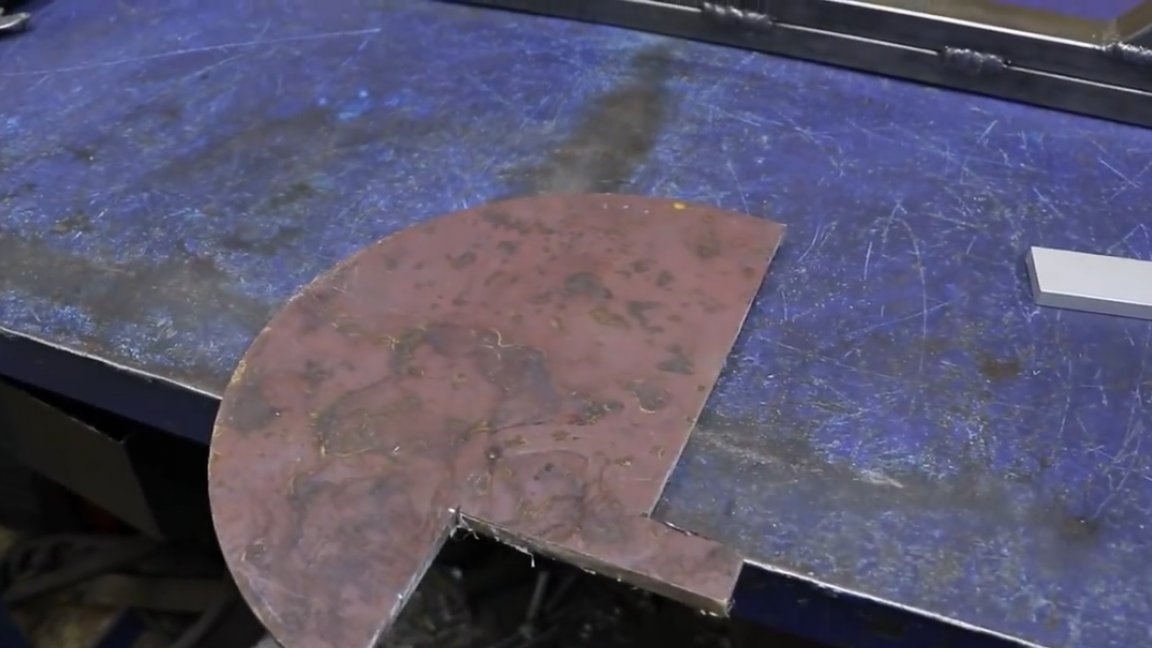
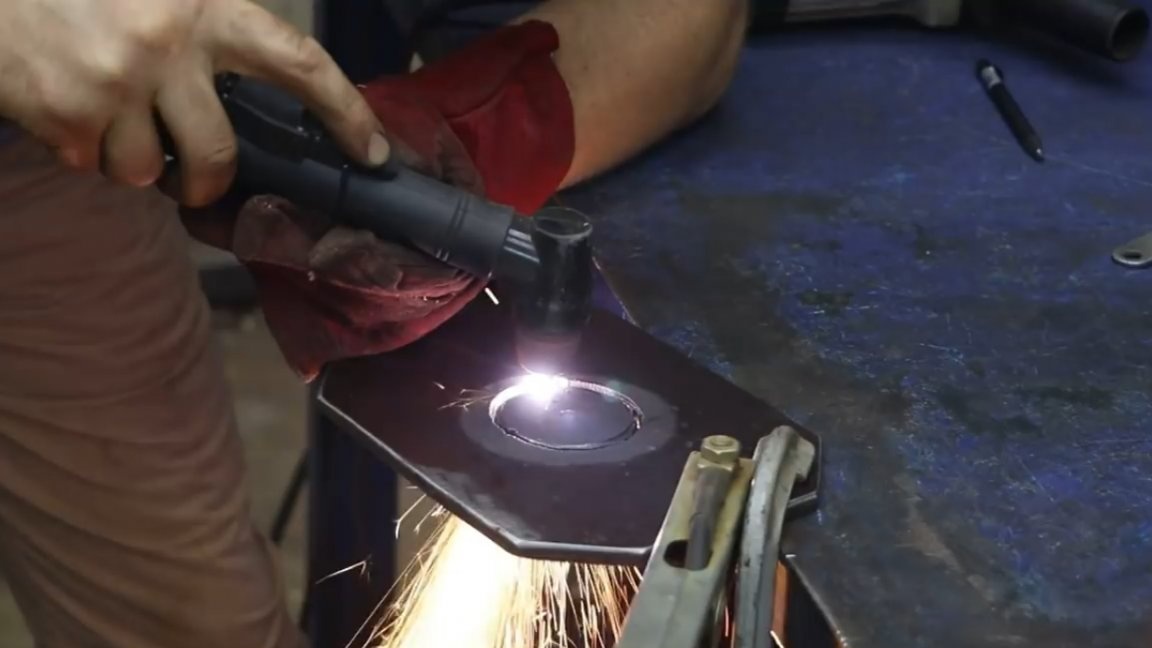
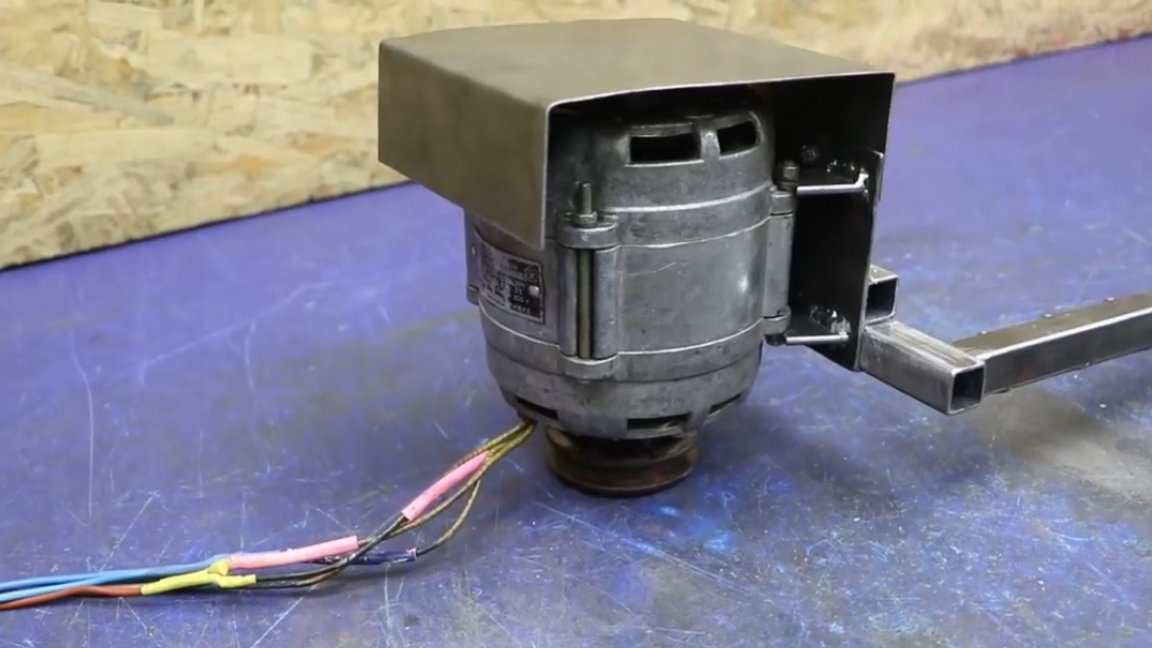
The engine lacks a casing, or rather a visor, to prevent foreign particles from getting inside. For its manufacture, we need a millimeter sheet, we will make the simplest option.
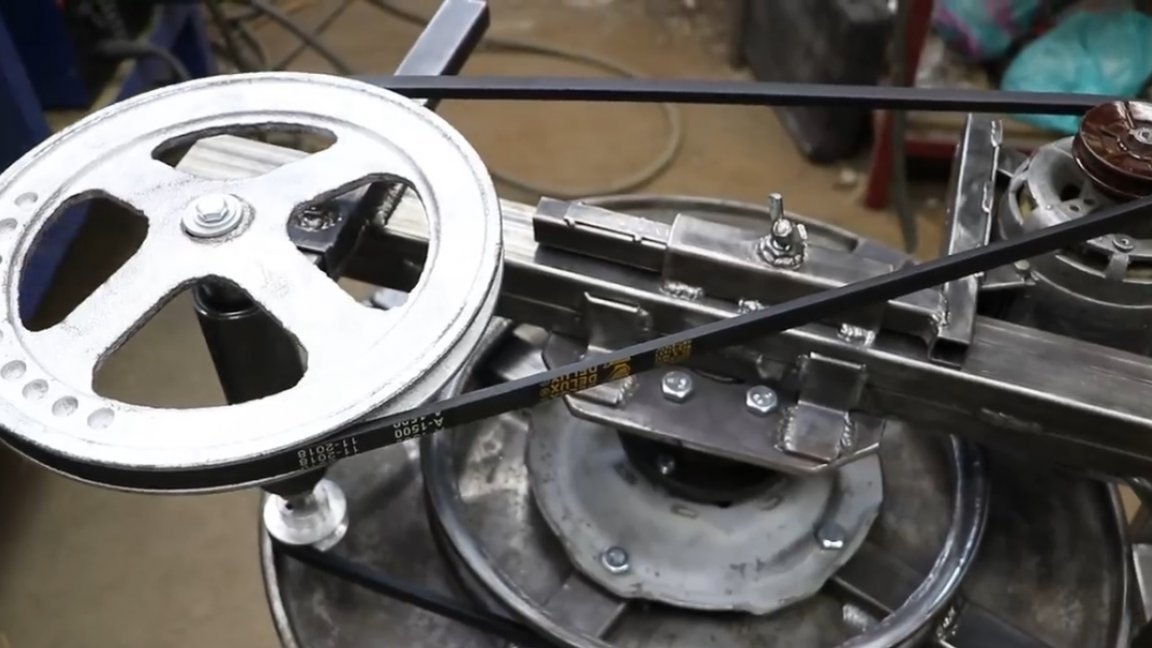
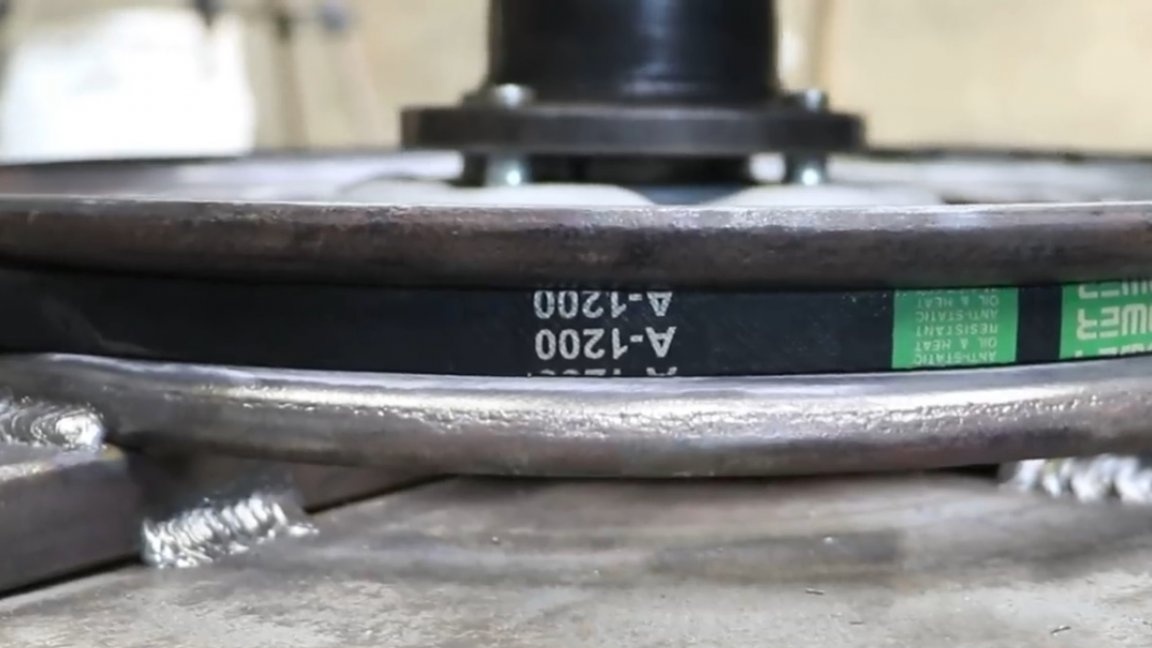
In the market we select the necessary belts.
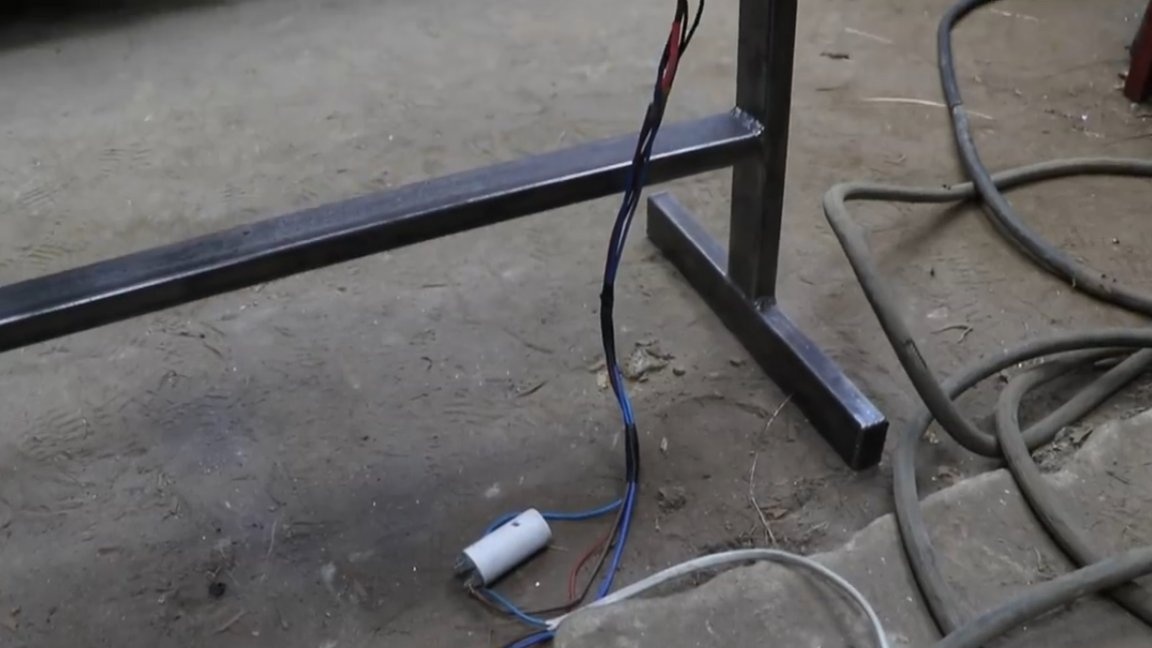
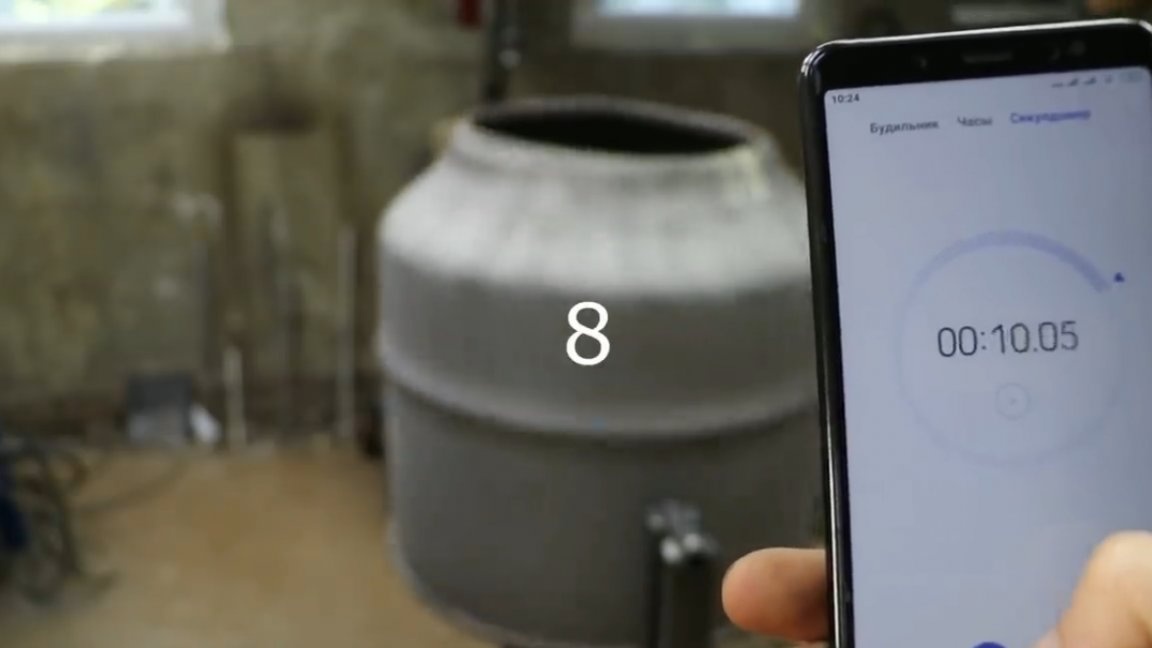
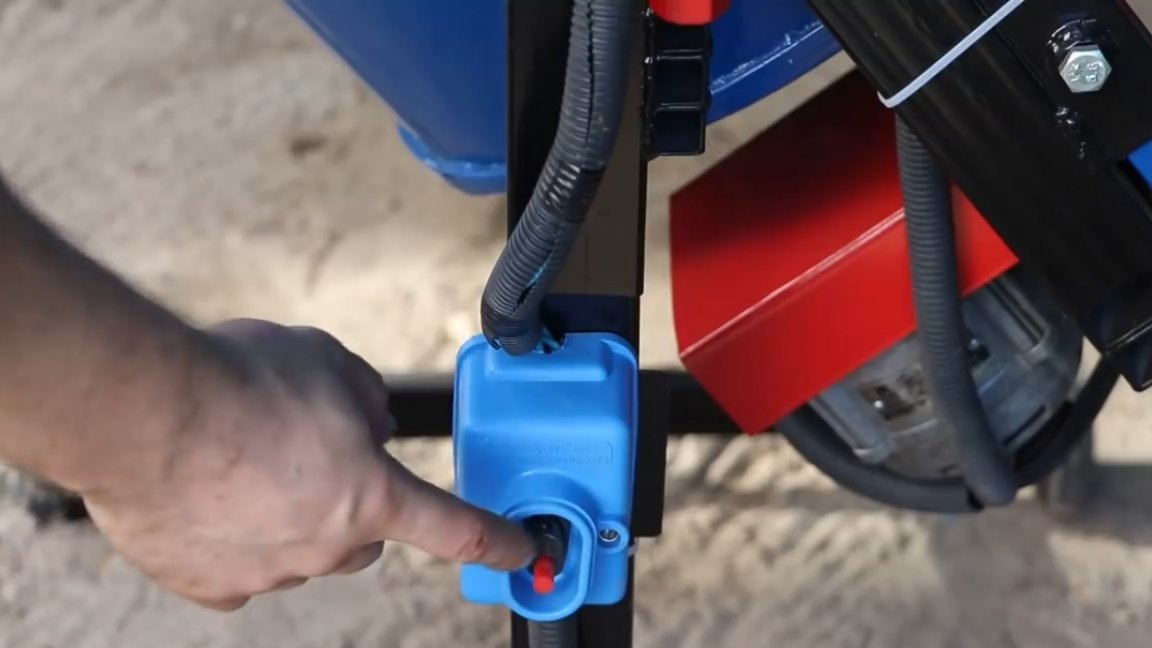
It's time to make a test run. We connect the engine through the capacitor, because this way it will not start or you will have to spin it manually.
Work it works, but the speed is too big. Well, it's okay, the main thing is that the concrete mixer generally works and all the main components are in perfect order.
To reduce the speed of the concrete mixer, take a pulley with a diameter of 20 mm less.
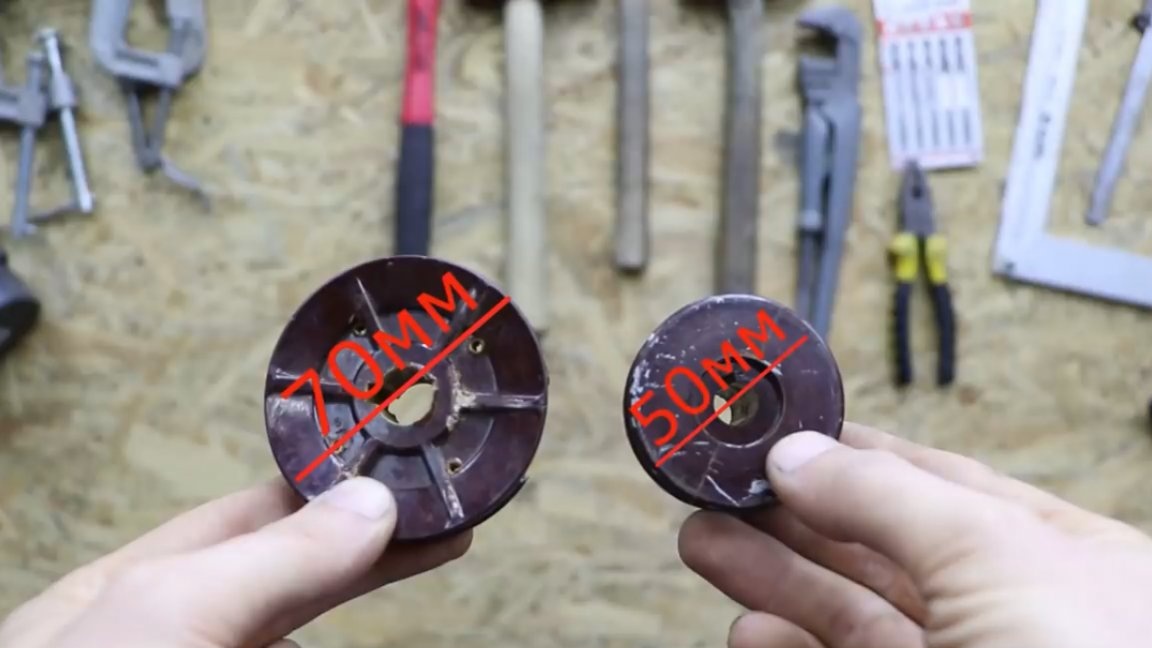
As a result, the revolutions have decreased and this is not the centrifuge that in the first embodiment produced 12 revolutions in 10 seconds, and this is 72 revolutions per minute. Now it’s 8 revolutions in 10 seconds, that is 48 revolutions per minute.
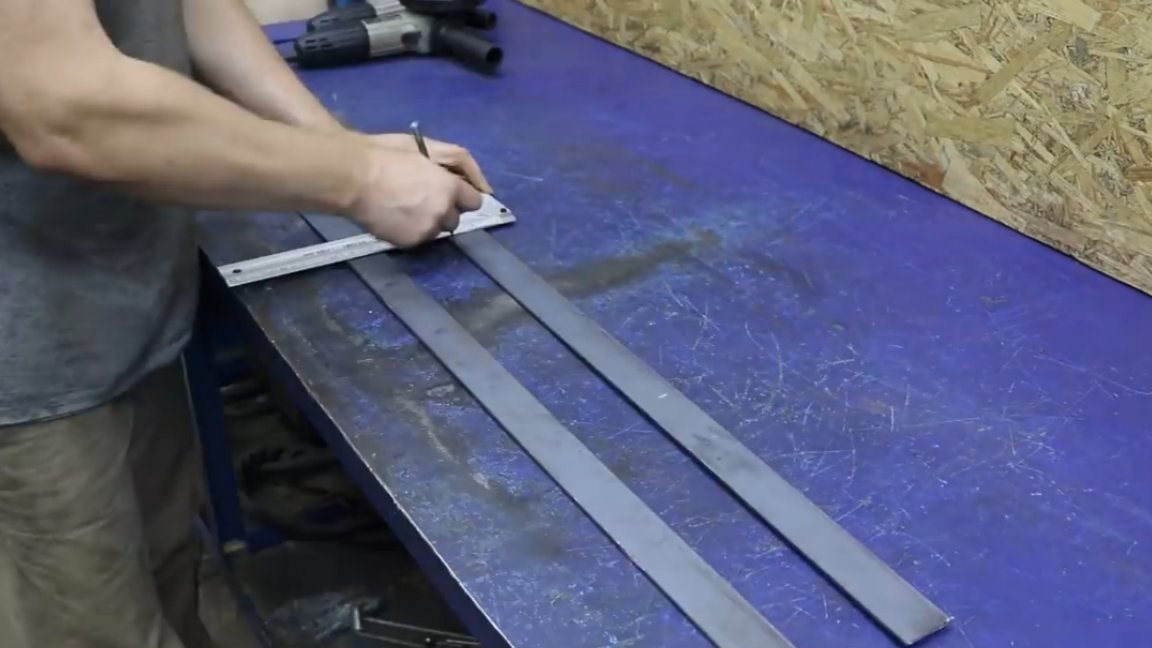
From two fortieth strips of 400 mm, we make blades.
The production of all parts is completed, we place the pear and other parts in the garage for further painting.
For more details on the assembly and testing of this homemade product, see the original Author’s video:
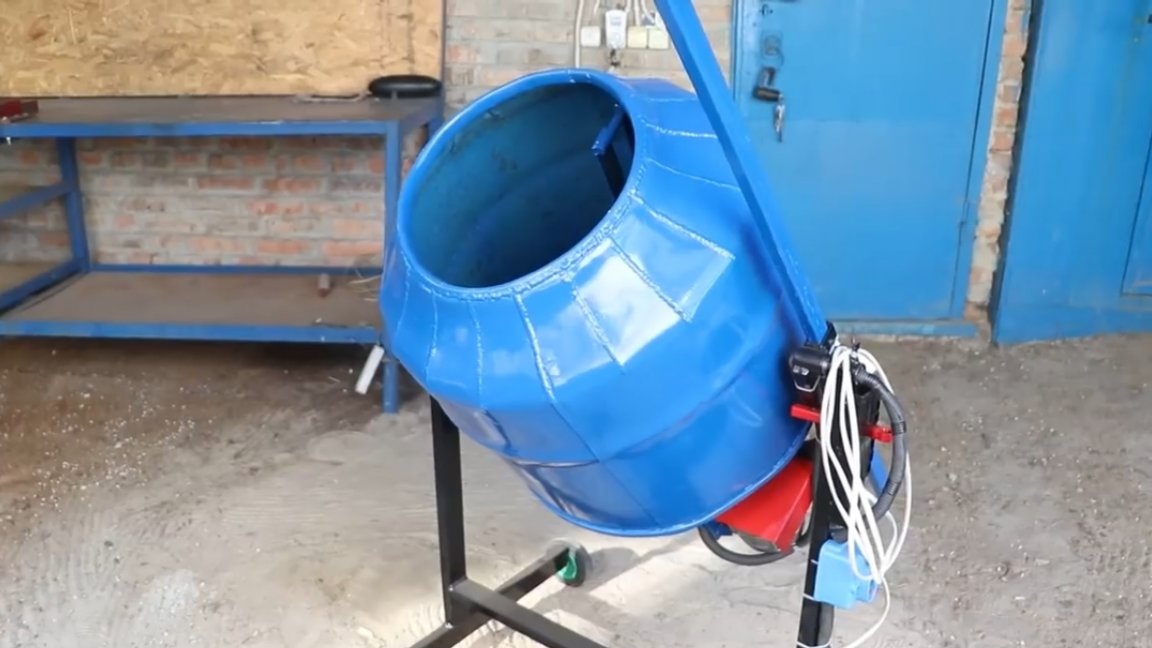
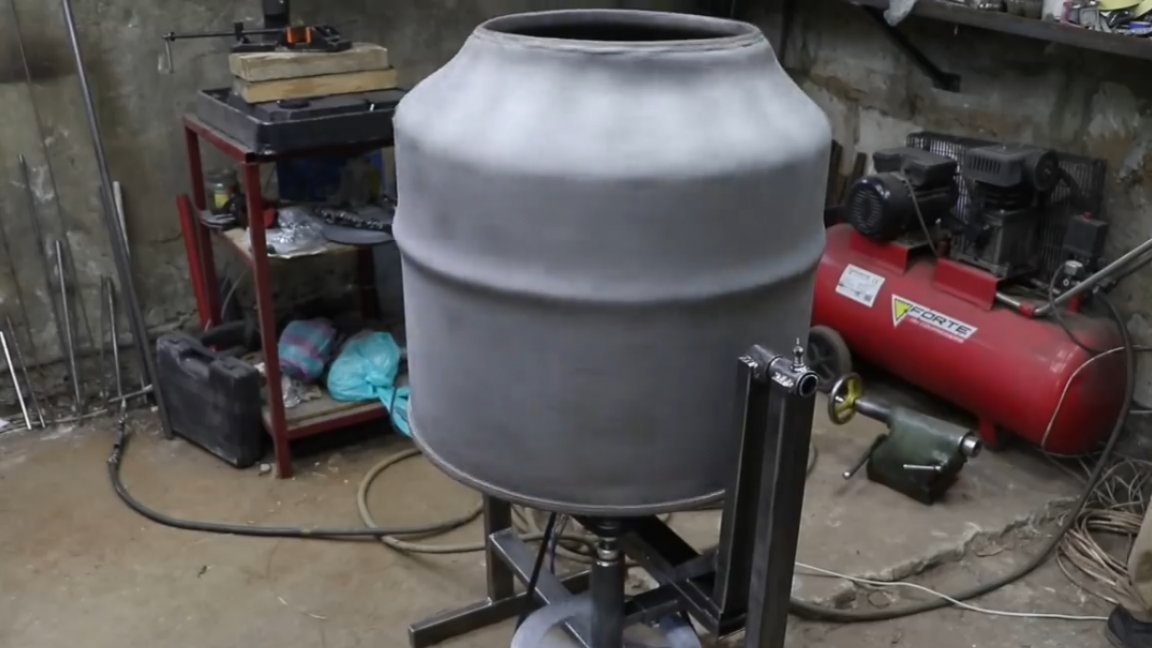
Everything is ready to go.
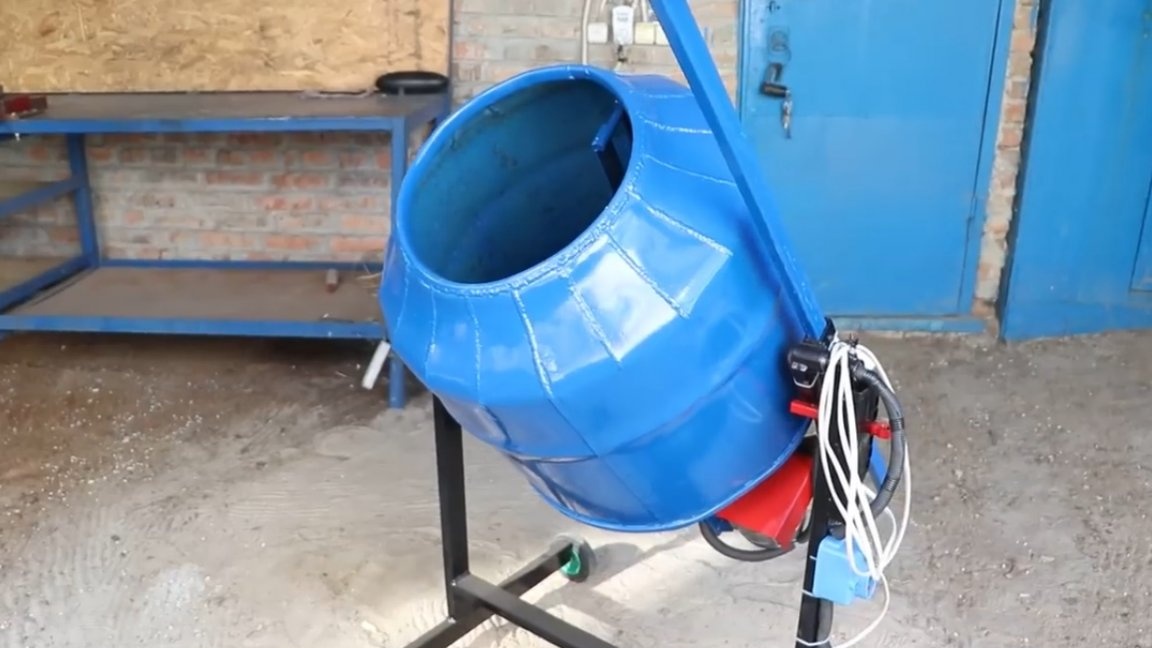
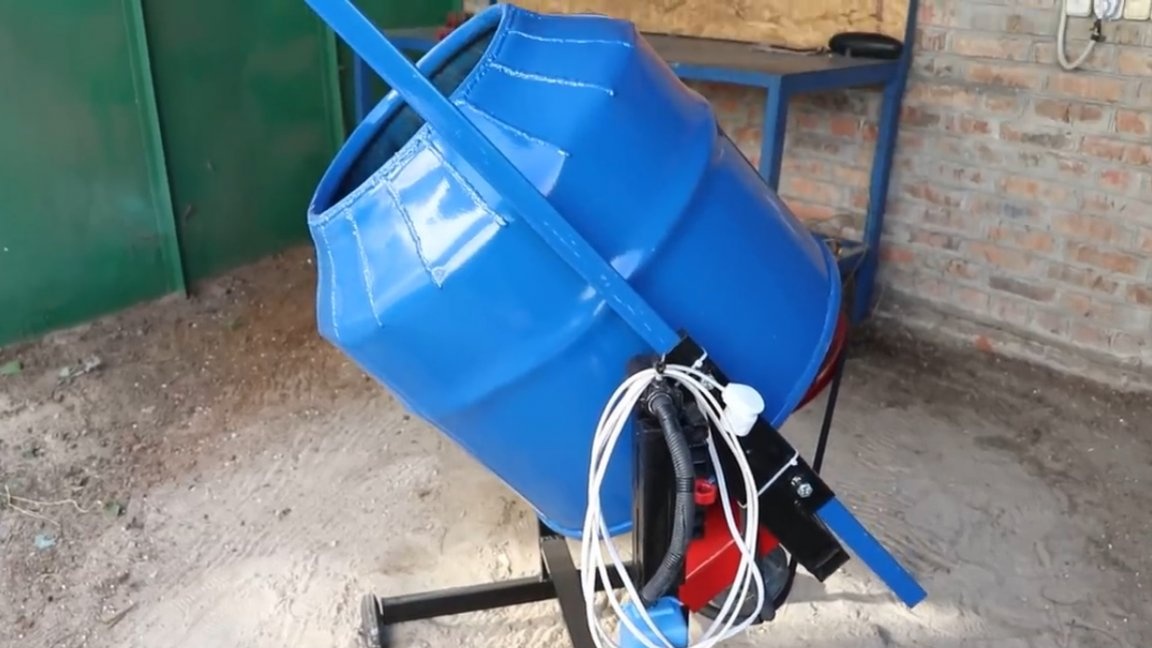
Here is a concrete mixer turned out in the end. Thank you for attention. See you soon!