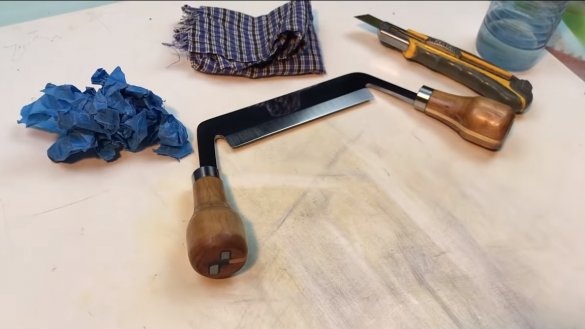
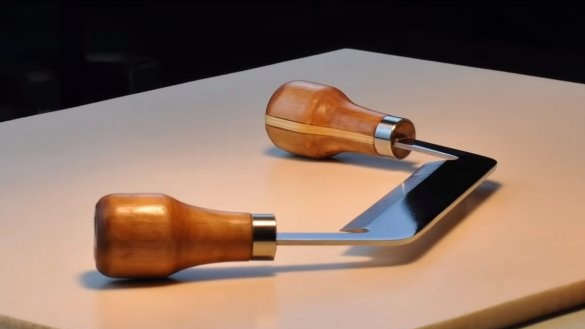
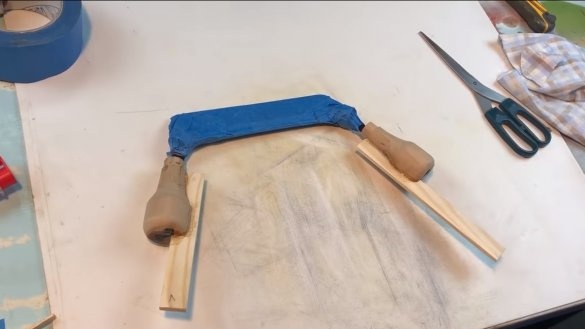
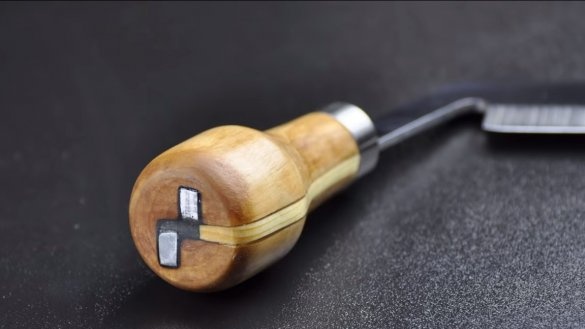
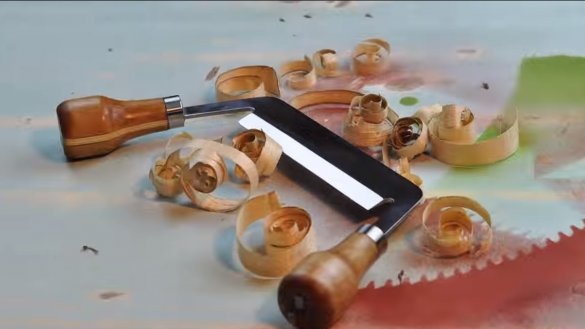
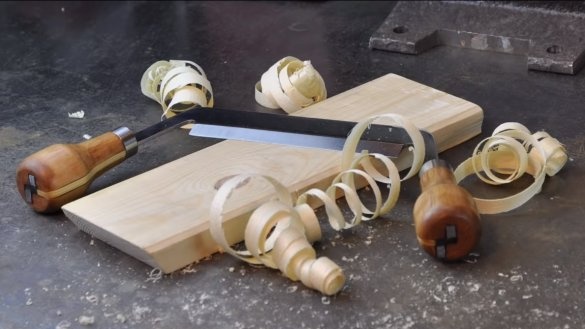
Greetings to all those who love to create. do it yourself. Today we will look at how to make such a useful tool as a brace. Using a staple, you can plan, sharpen logs, remove bark and much more. Homemade the author made of an old saw blade, hardening and forging was not performed. The tool turned out to be quite strong, the author also made pens very reliable. The homemade product looks gorgeous, and showed itself perfectly in practice. If you are interested in the project, I propose to study it in more detail!
Materials and tools used by the author:
Material List:
- old saw blade (made of good steel);
- a tree for pens;
- epoxy adhesive;
- oil for wood.
Tool List:
- grinder;
- gas-burner;
- pliers;
- ruler, pencil, paper;
- scissors;
- cylinder of paint;
- files;
- sandpaper;
- belt grinding machine;
- polishing machine;
- a hacksaw;
- a circular saw;
- lathe;
- a vise.
Staple manufacturing process:
Step one. Cut the main profile
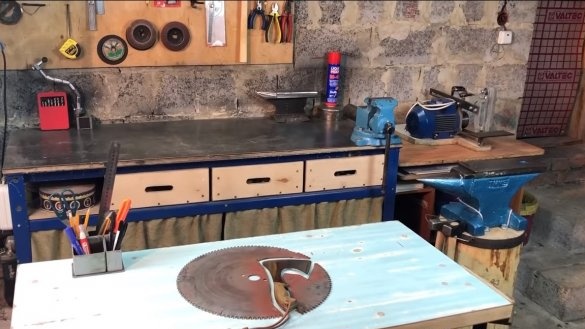
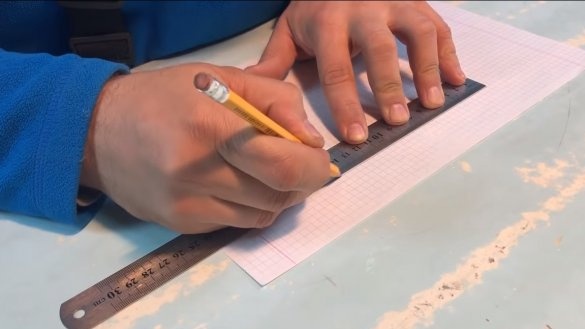
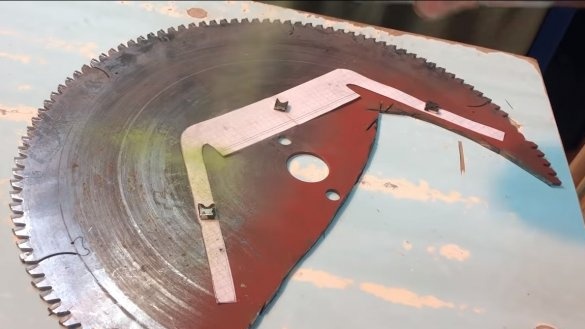
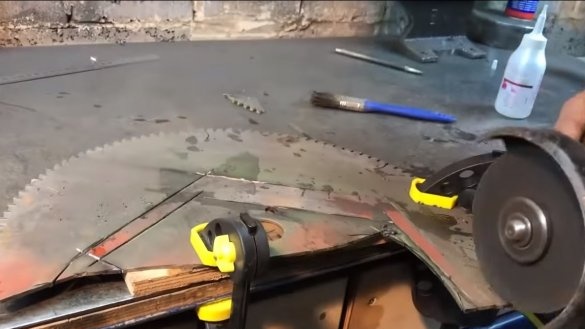
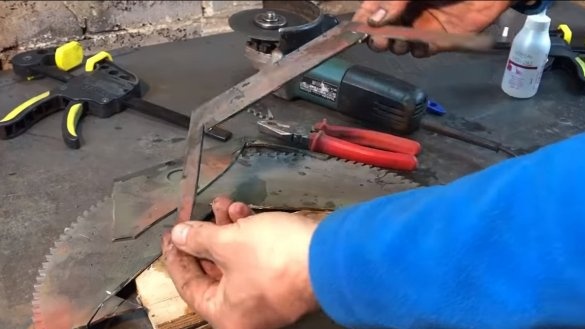
The author drew the profile of the desired shape and size on a sheet of paper and cut it out with scissors. Then, using a paint can, the template was transferred to the saw blade. Before manufacturing, you need to make sure the quality of the saw blade, steel can be tempered and sharpened to an acute state. In modern saw blades, bad metal can be used in the body.
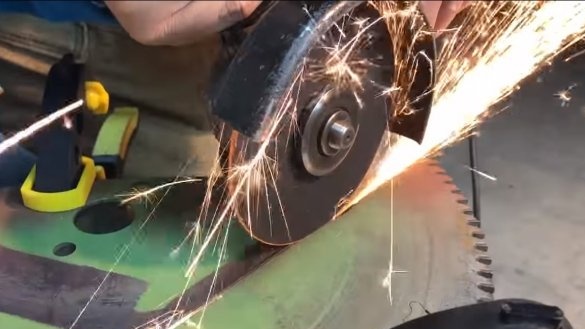
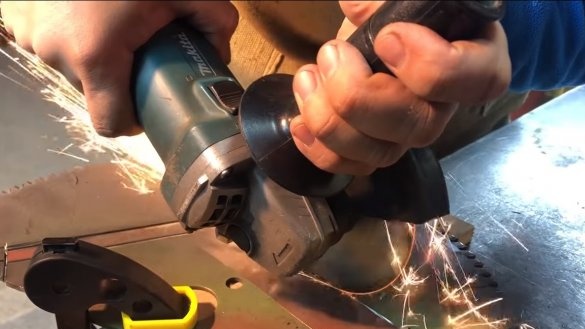
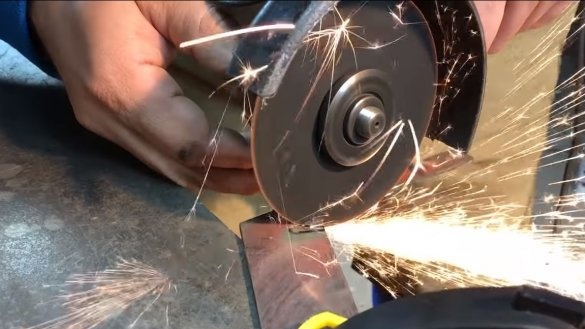
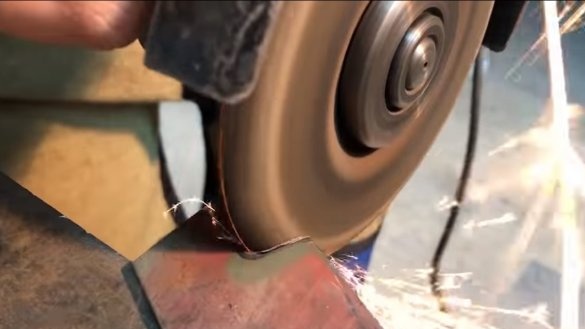
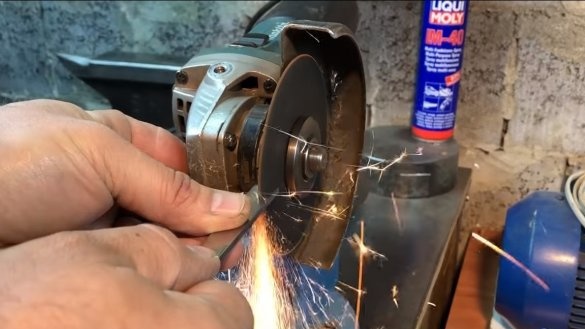
Well, then you can start cutting, the author works with a grinder, the profile is simple and a beginner can cope with the task. Please note that we will not temper steel, so it is absolutely impossible to overheat it. As cutting, the author constantly pours water on the disc to monitor overheating and cool the metal. The author modified some sections with a grinding disc and manually with the help of files.
Step Two Final brace processing
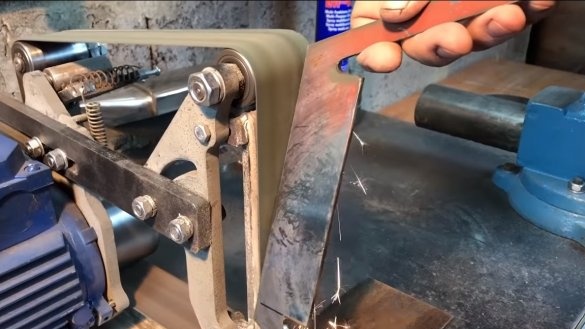
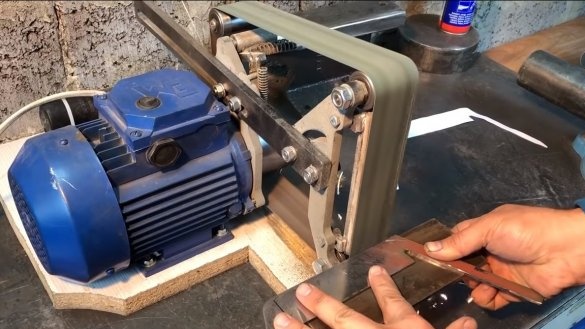
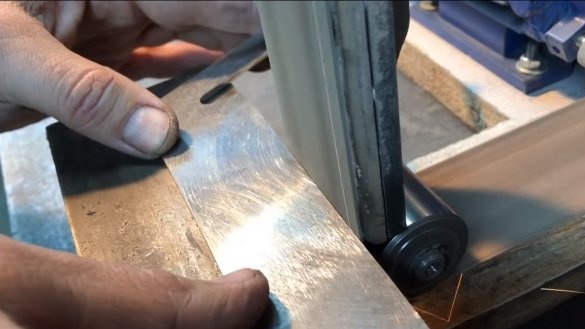
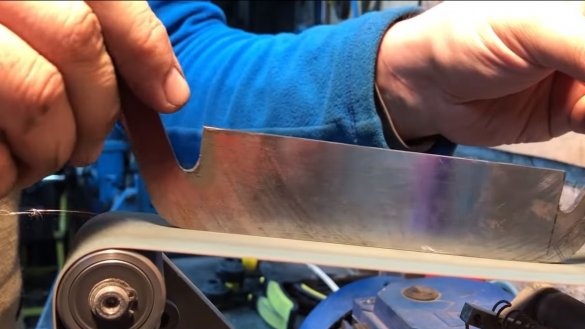
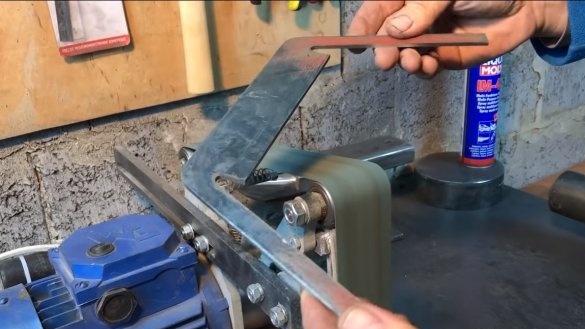
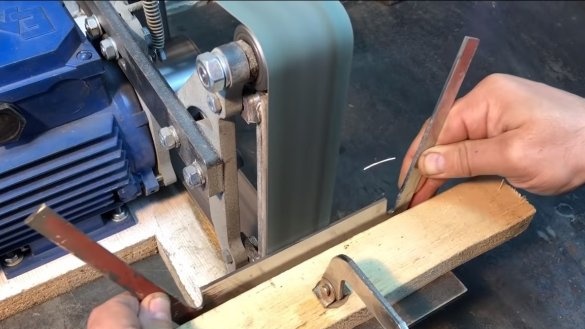
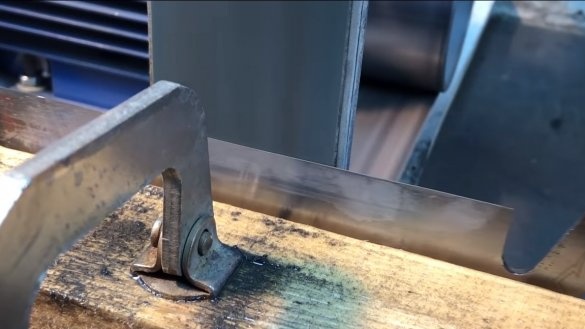
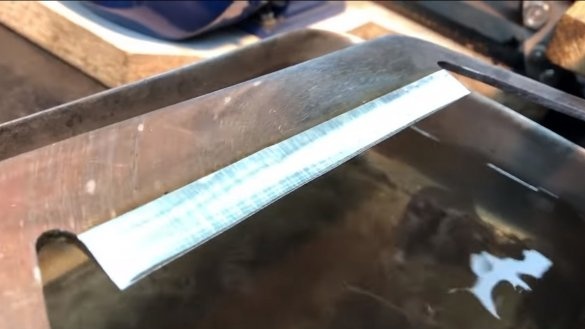
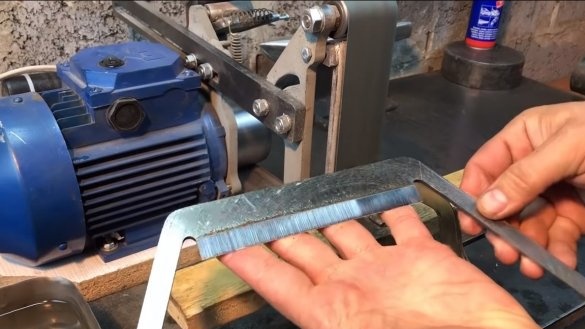
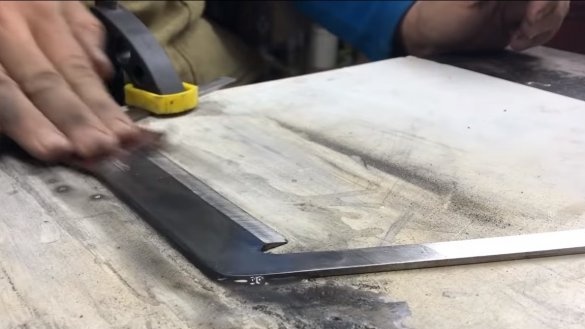
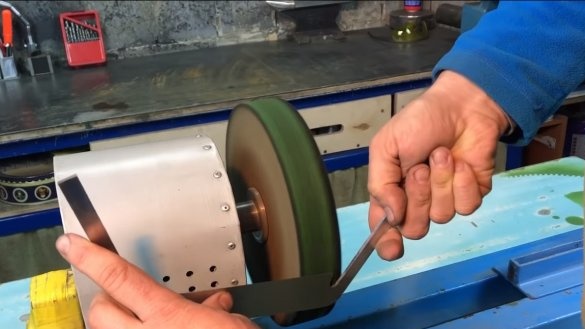
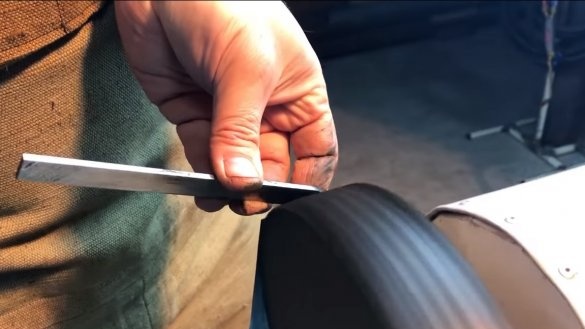
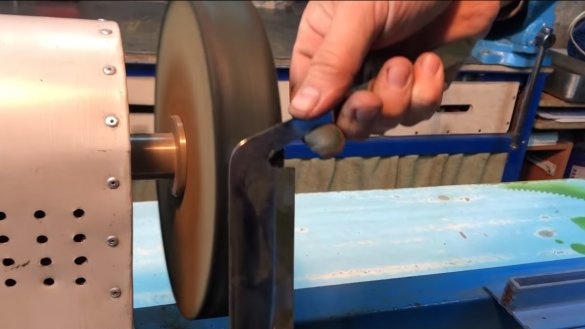
After razki we finish the profile using a belt sander and then we can proceed to the formation of the descent.
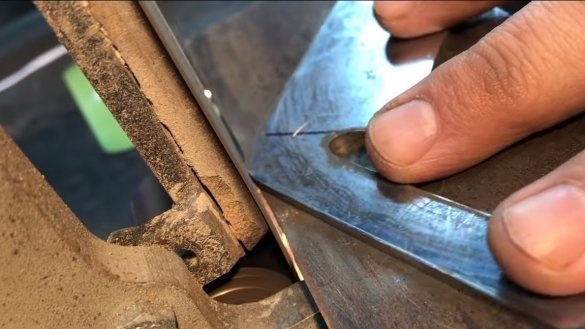
To make the descent, the author secured a piece of the bar on the machine and proceeded to grinding. In the process of processing the metal will also heat up, the main thing here is not to rush and constantly cool the staple in water.
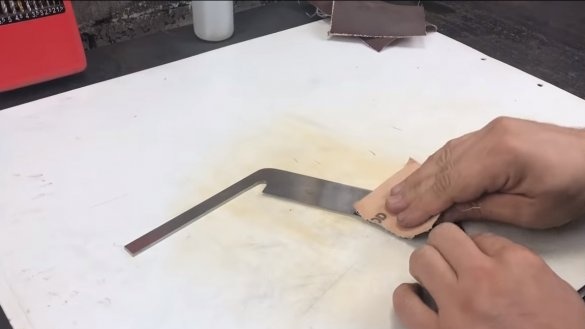
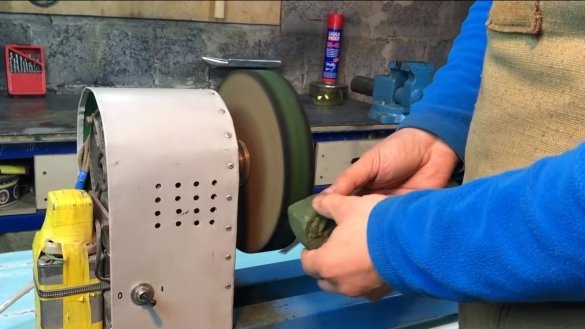
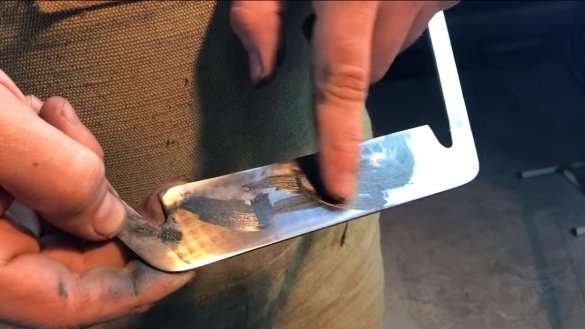
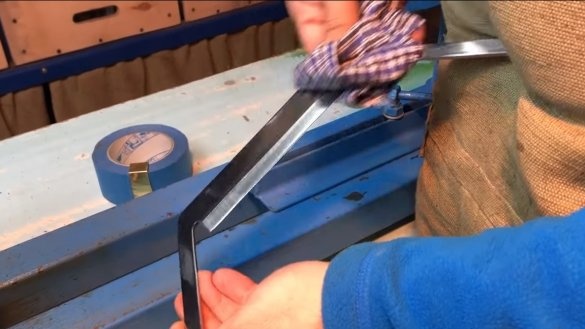
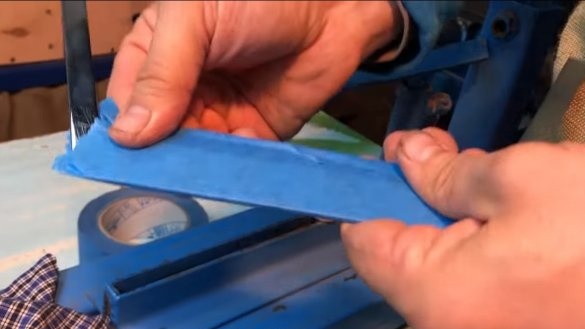
Sobel is almost ready, now let's work on his appearance. The author polished the steel well with fine sandpaper to remove deep scratches. Well, then there is polishing, the steel is perfectly polished with a polishing machine and GOI paste. If desired, the steel can be brought to a mirror state. At the end, we wrap the area of the blade with masking tape or paper so as not to smear or scratch the steel.
Step Three Pen making
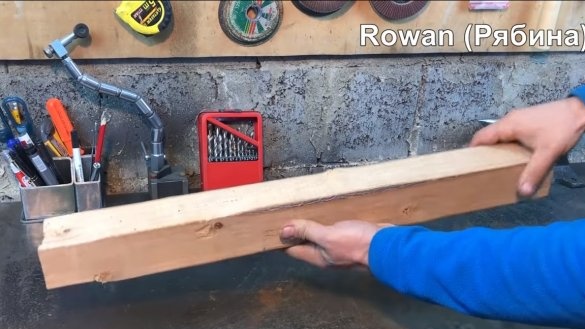
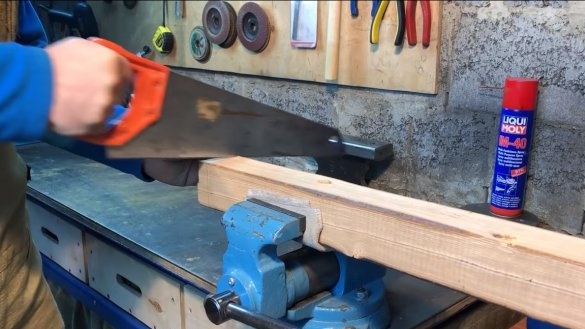
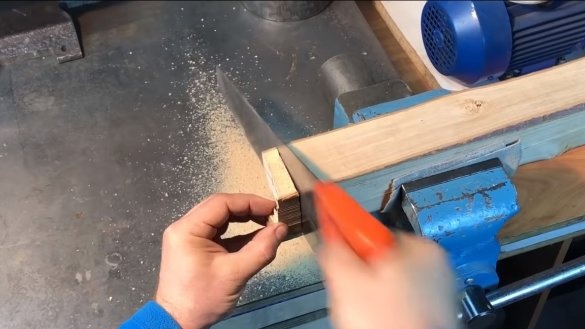
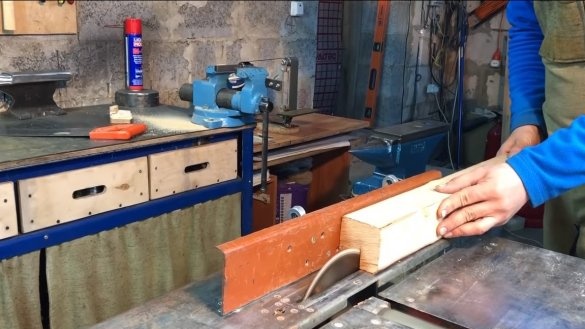
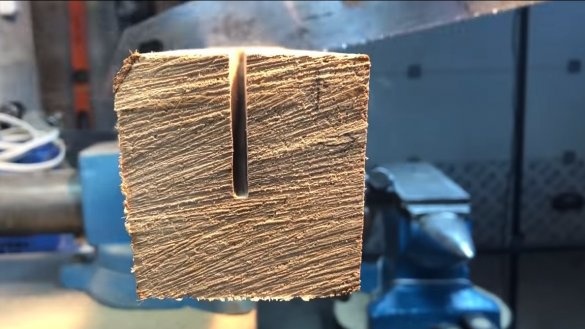
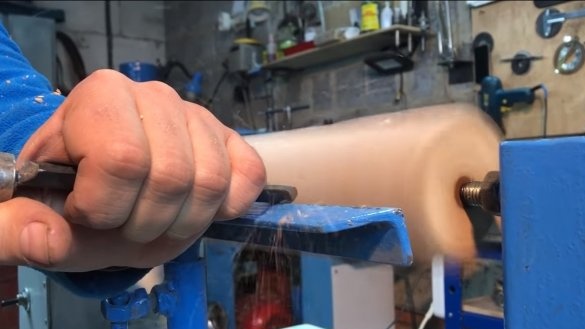
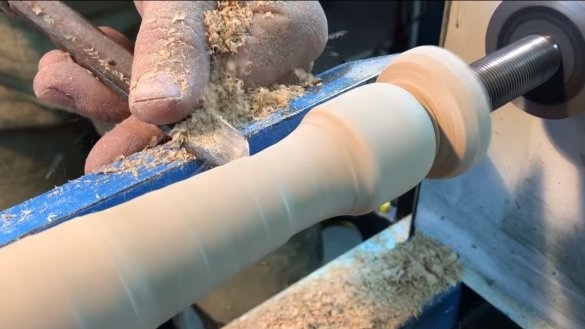
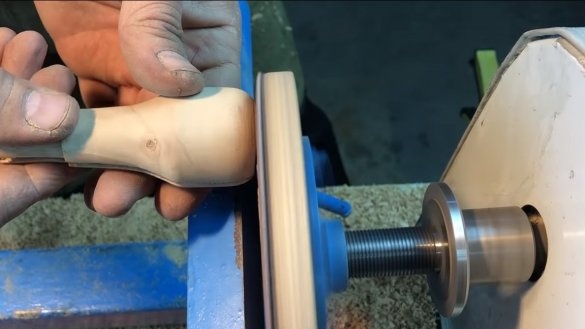
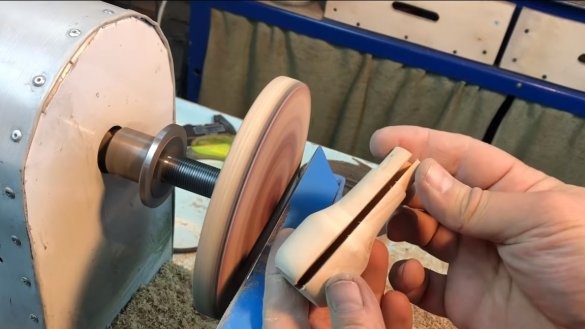
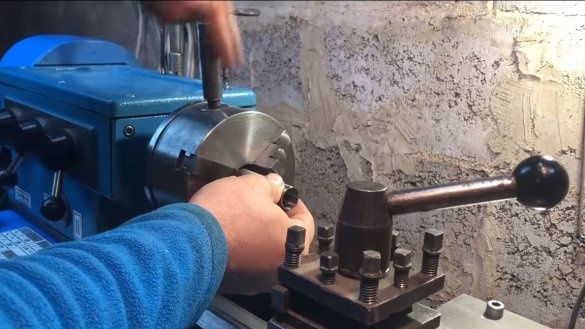
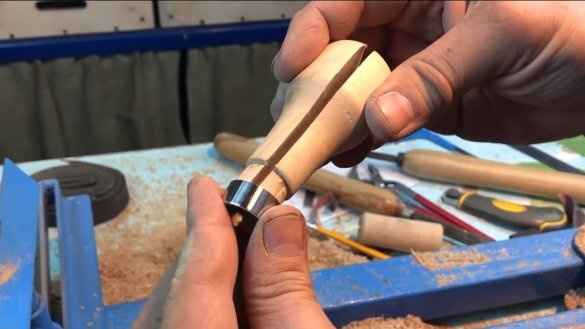
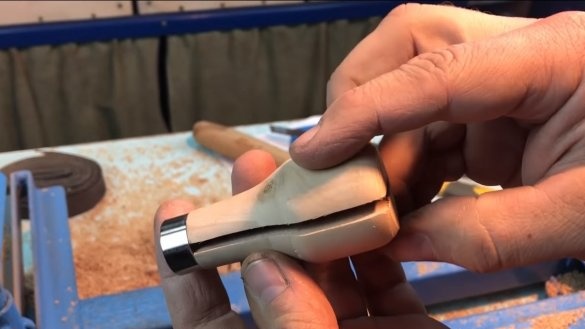
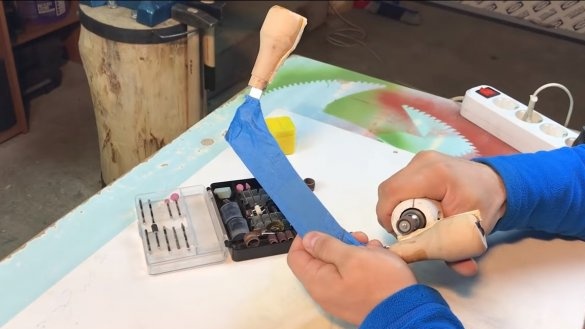
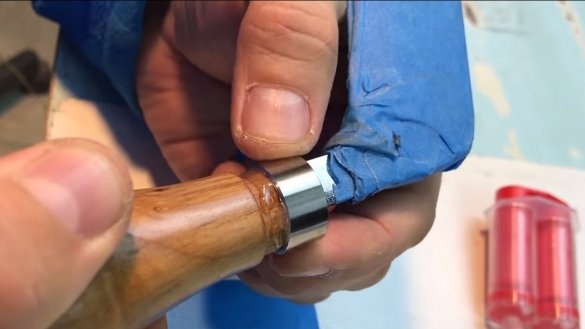
Let's make handles for a bracket, they must be very reliable so that the handles do not come off during the operation of the tool. The author used a circular saw, with the help of it we cut a gap in the bar into which the ends of the staple will go. Further, the author turns the handles on a lathe. So that the handles do not split, make sure to make rings under them, they can be turned out of the pipe. Brass or copper will look beautiful, but, in extreme cases, everything can be made of steel.
Step Four Handle installation and finishing touches
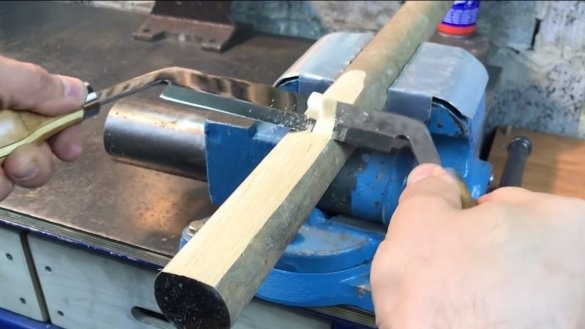
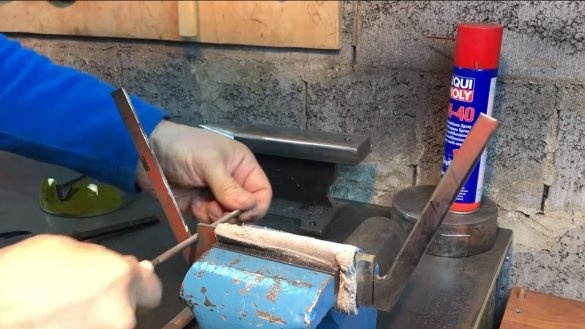
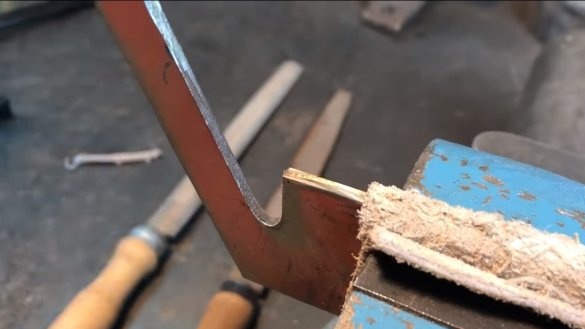
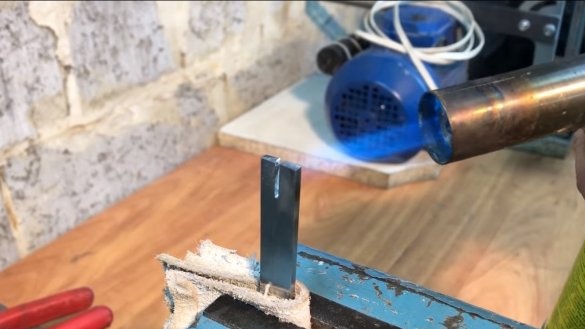
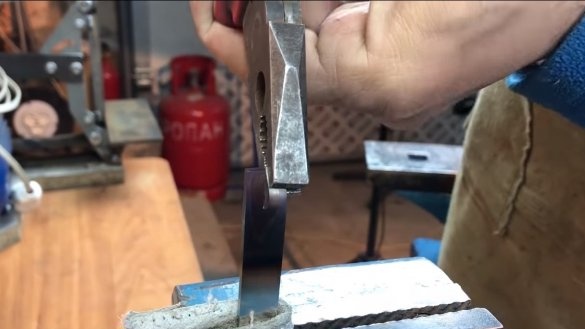
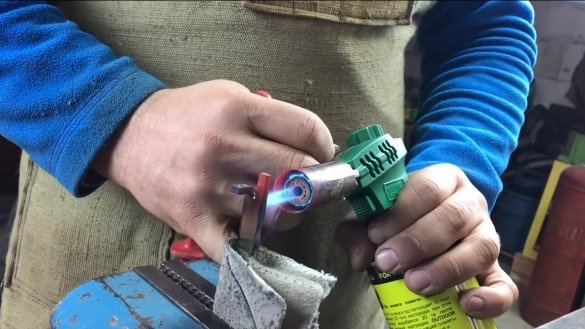
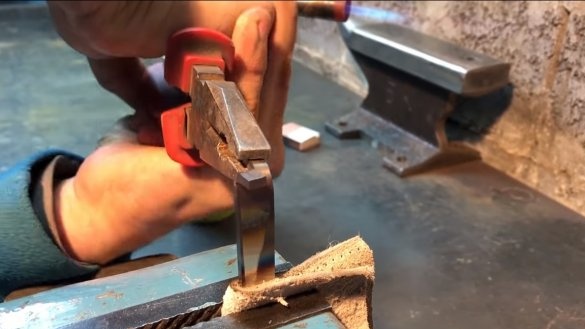
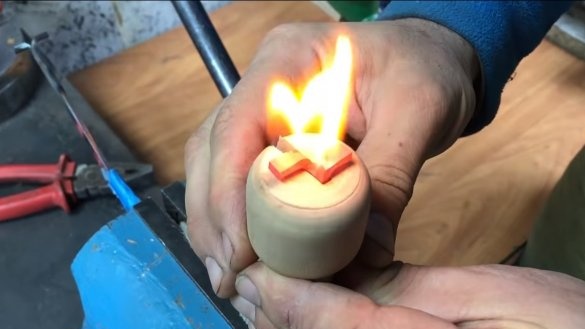
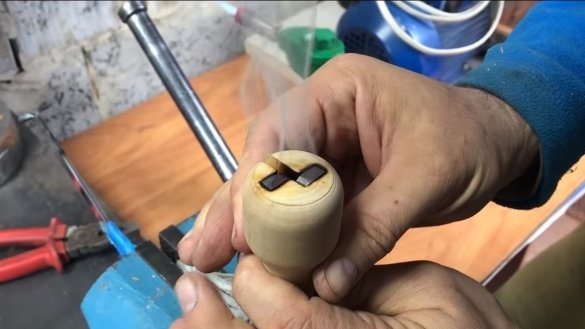
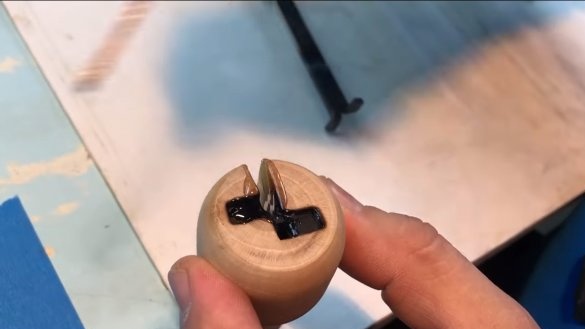
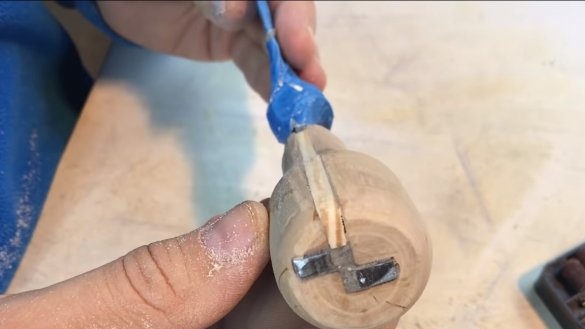
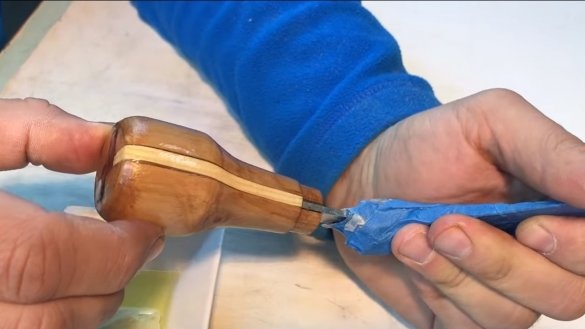
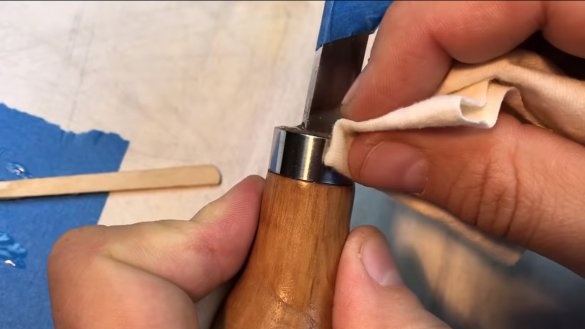
To securely fasten the handles, you need to bend the ends of the bracket. The author made slits at the ends of the brace, and then, burning the steel with a gas burner, bent the ends with pliers. Now you can install the handles, heat the end of the staple and burn the seats in the handle so that nothing sticks out.
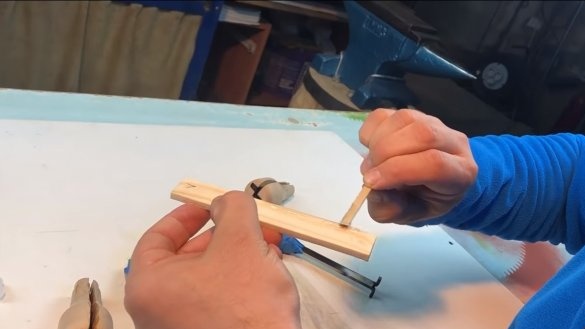
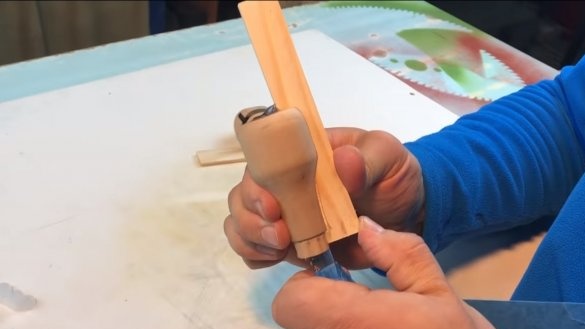
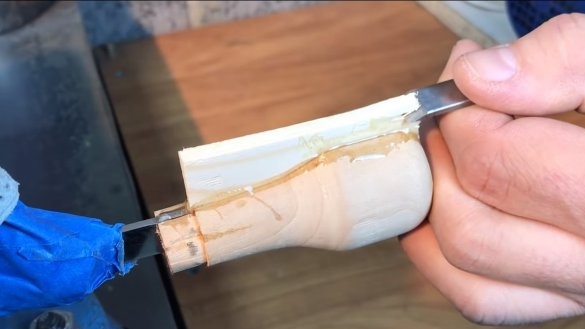
At the end, the handles are glued with epoxy glue, the gaps are sealed with thin boards.
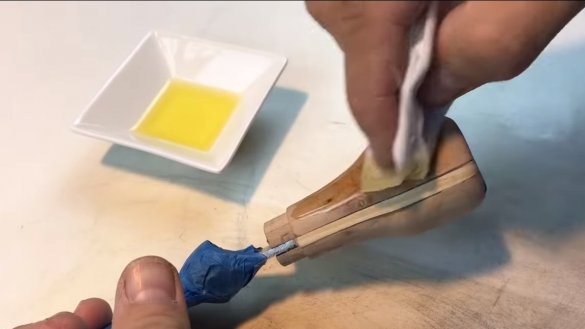
When the glue dries, we cut off the excess and grind the handles well to a perfectly smooth state. To protect the wood, impregnate it with oil or other impregnation. That's all, now the brace looks gorgeous, but you need to remember to lubricate the steel for long-term storage, as it rusts. On this project can be considered successfully completed, I hope you liked the homemade work, and you found useful thoughts for yourself. Good luck and creative inspiration, if you decide to repeat this, do not forget to share your ideas and homemade things with us!

