Surely many of you like unusual design solutions.
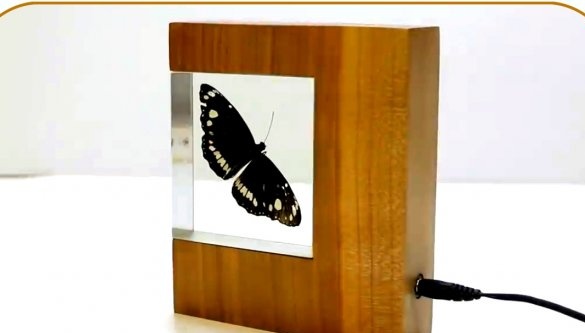
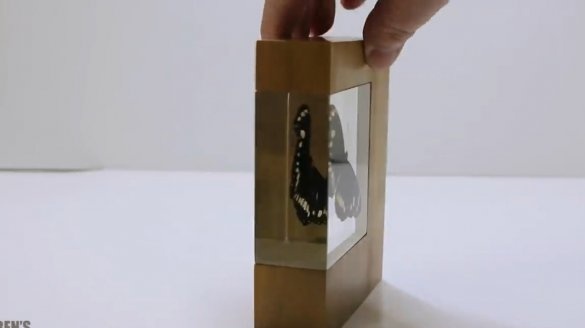
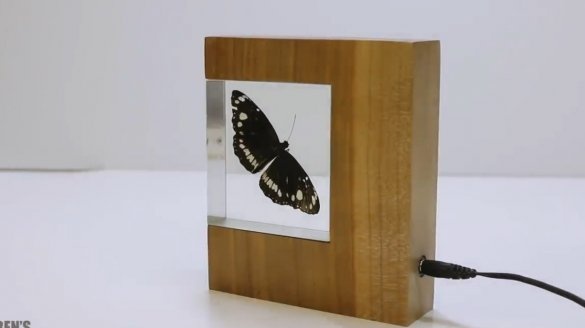
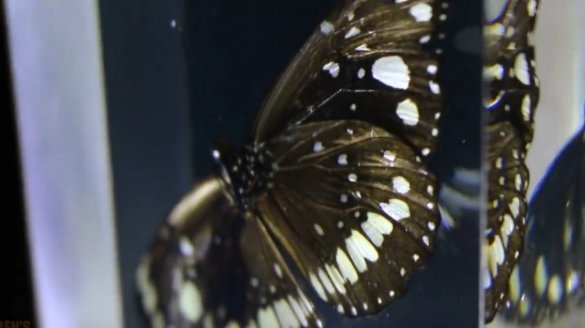
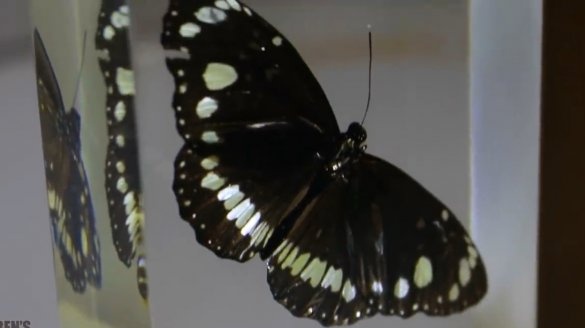
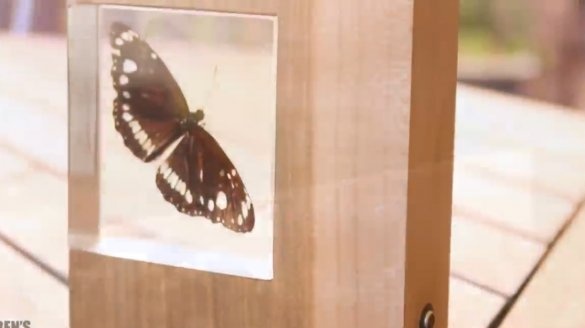
In this article, Ben, the author of the Ben’s Worx YouTube channel, will tell you about the interesting process of “freezing” a butterfly and creating a highlight for it.
Materials
—
—
- Sandpaper up to 1800 grit
- Two-component epoxy injection resin
- Solder, flux
- Acetone
— .
Instruments, used by the author.
—
- Grinder
- Nippers
—
— .
Manufacturing process.
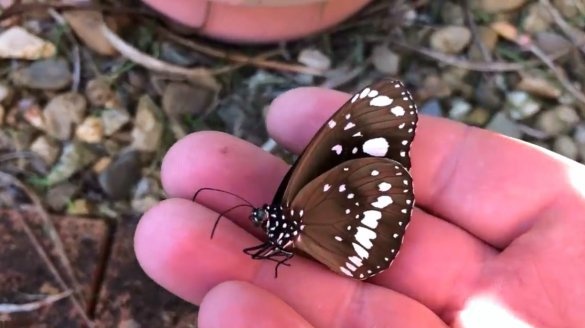
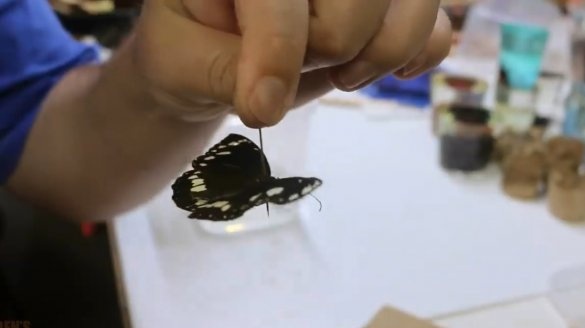
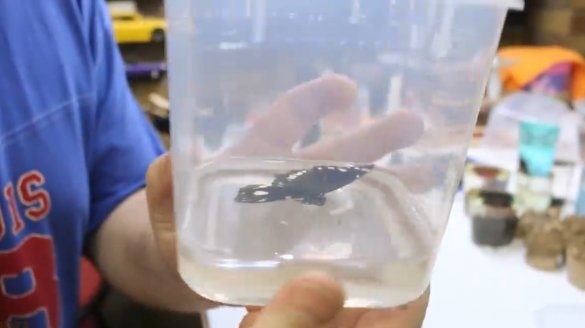
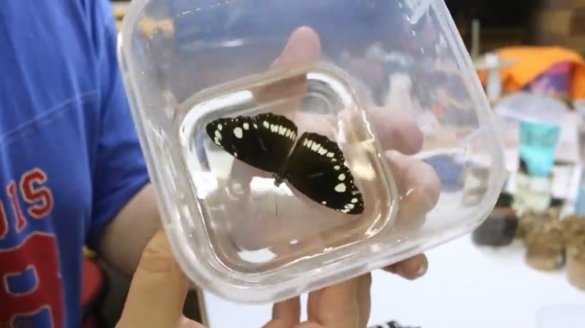
You walk around the garden and suddenly notice a dead one-day butterfly ... It’s a pity, so beautiful! Let's try to extend her life!
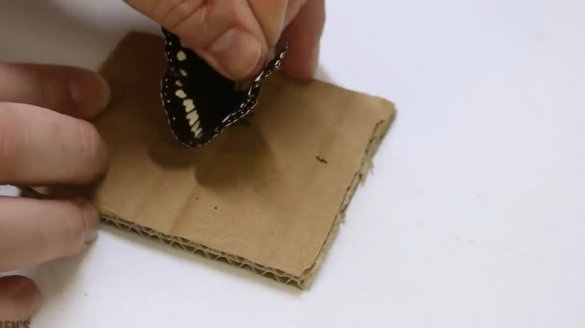
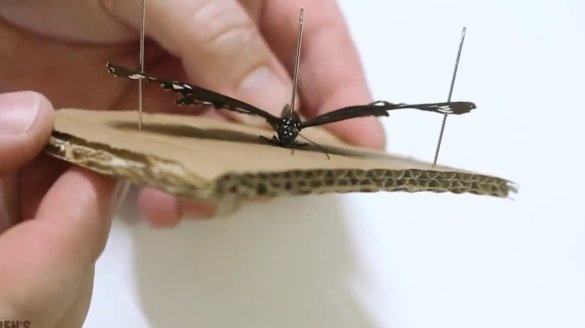
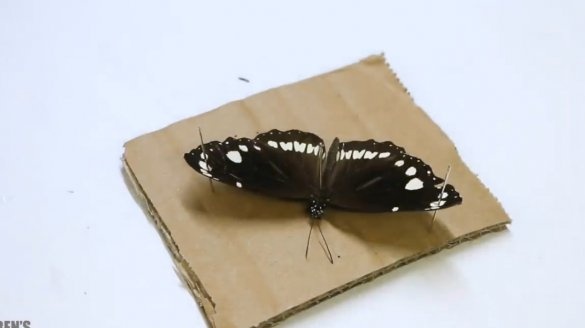
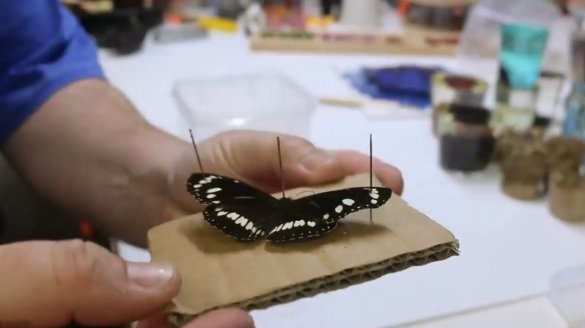
First, spread her wings. All you need is a piece of cardboard and three pins.
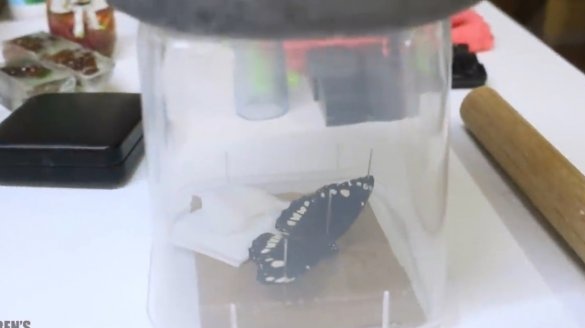
Place under a cap and put a cotton pad soaked in acetone.
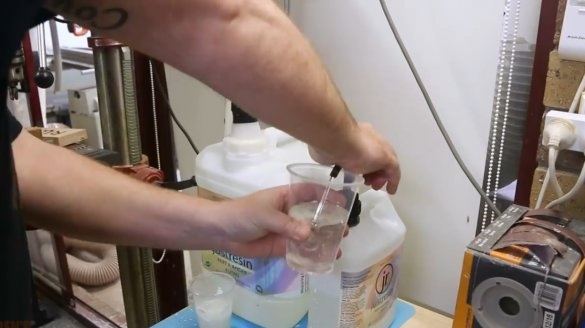
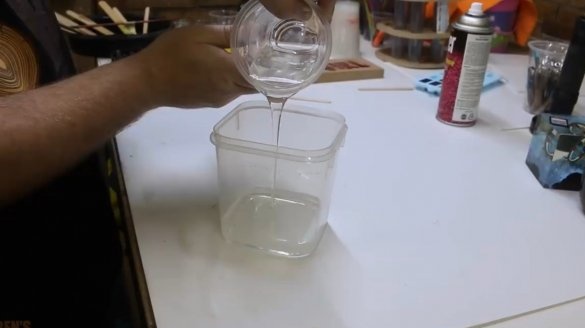
Along the way, prepare a mixture of two-component epoxy.
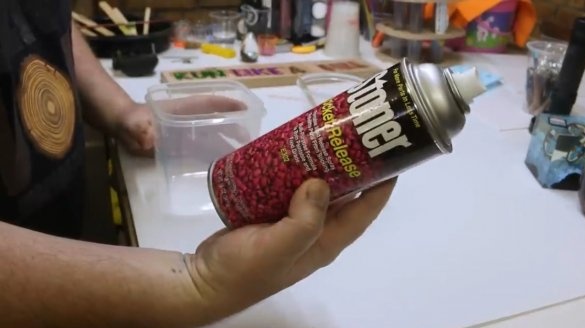
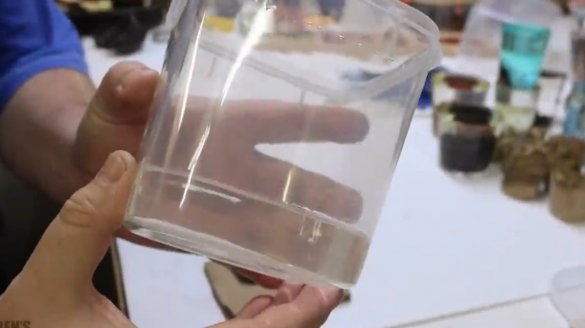
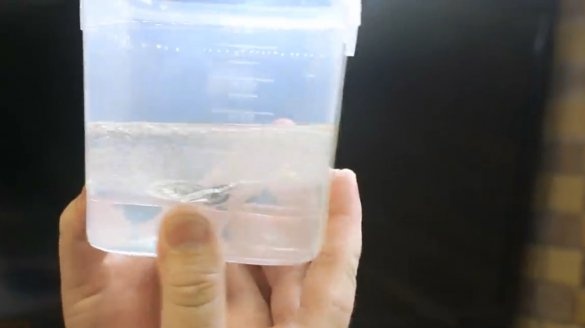
We spray the plastic container with the Stoner “Rocket Release” splitter so that the resin does not stick to the container walls.
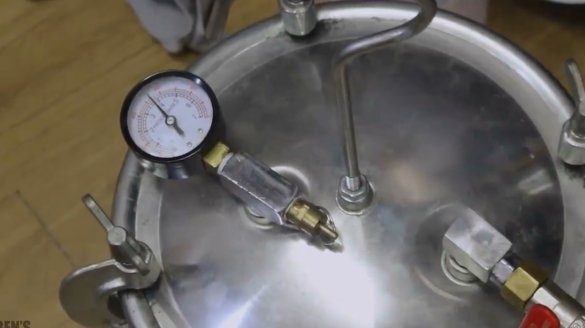
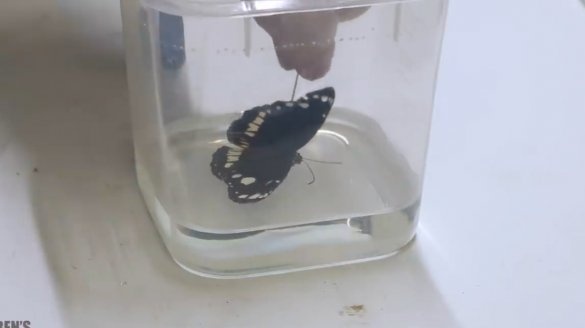
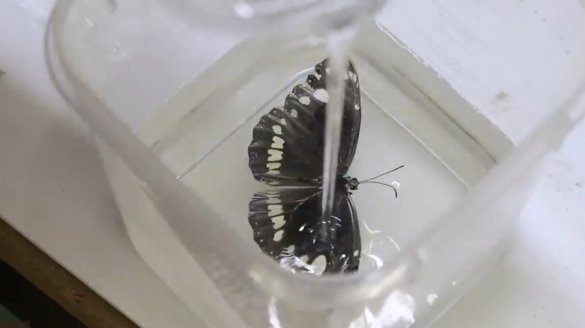
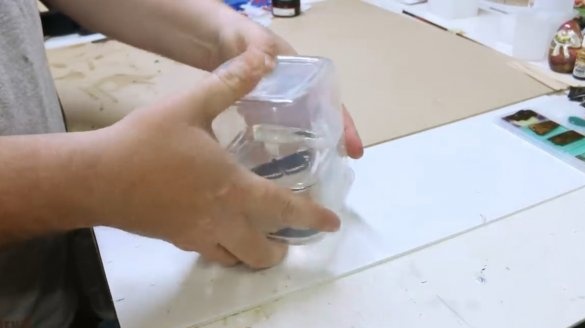
Pour two thirds of the resin solution into the container and put it in the pressure chamber for some time, raise the pressure to displace air bubbles from the composition.
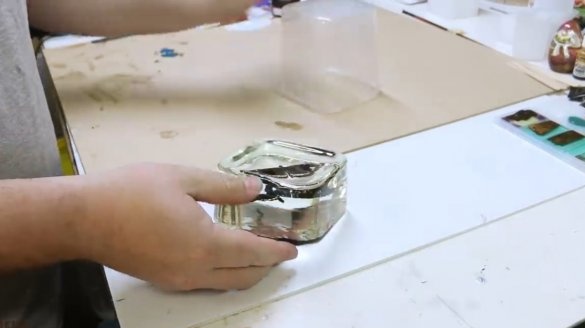
We place the butterfly on the surface of the solution and drip on top the glue, which polymerizes when irradiated with ultraviolet light, on the head, slightly pressing the body down.
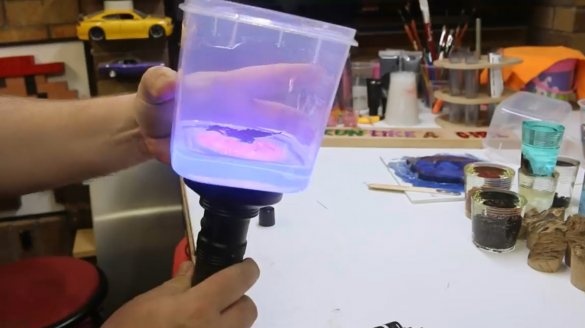
Using an ultraviolet flashlight, we polymerize the epoxy.
This is the fill.
Pour a second portion of the solution from above and place it again in the pressure chamber.
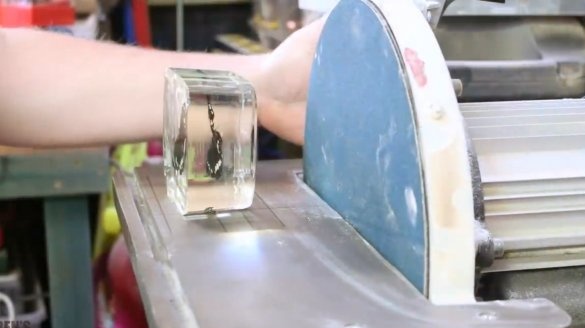
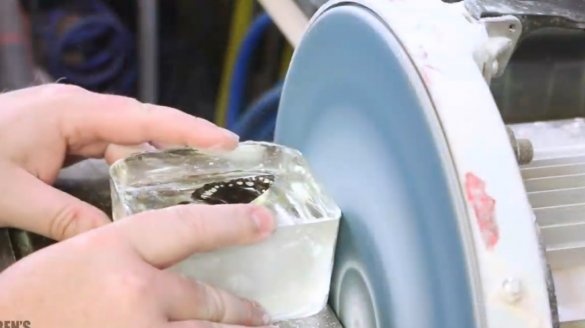
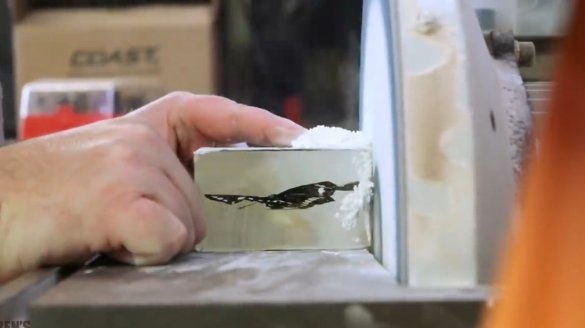
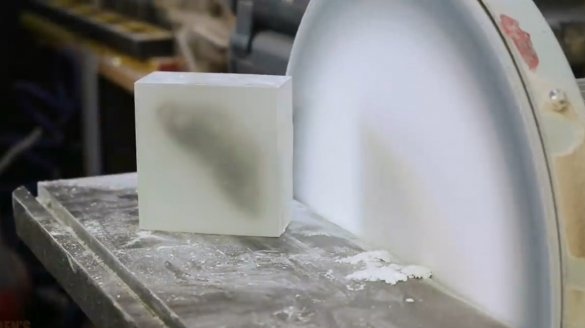
When the resin has completely hardened, you can begin to grind and grind the workpiece. This is done on an orbital sander, or on a belt sander. This must be done in a respirator.
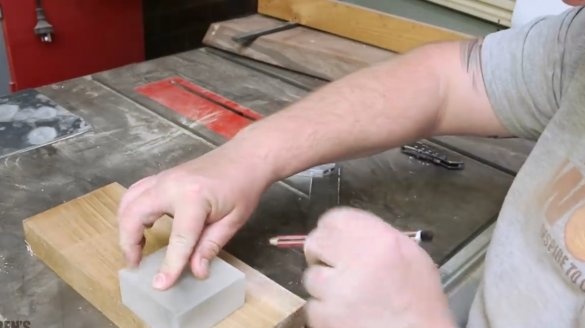
Further, after the blank has acquired the shape we need, it is outlined on a wooden block.
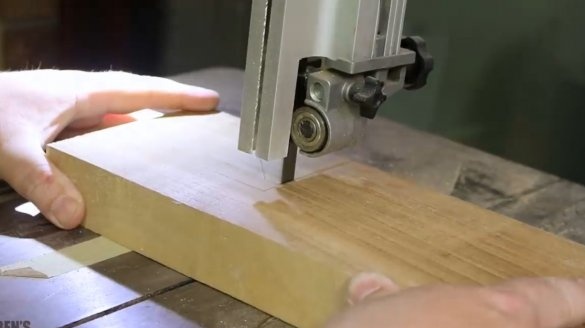
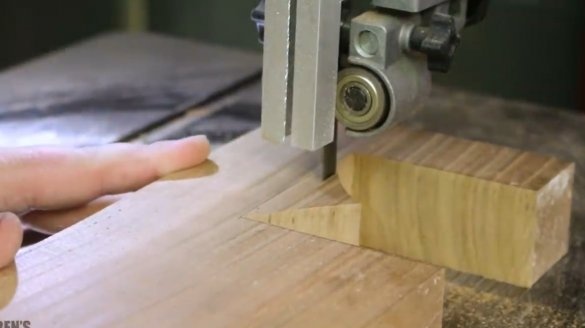
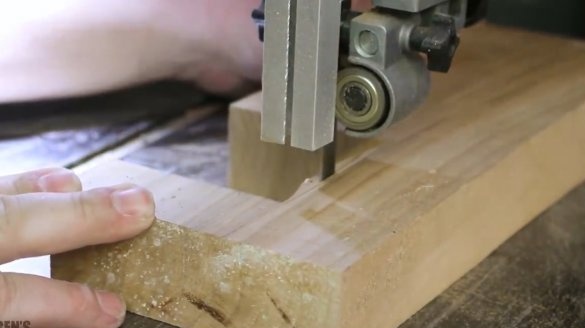
With the help of a band saw, the contours of the future night lamp housing are cut out. Yes, yes, we will try to make a unique night light.
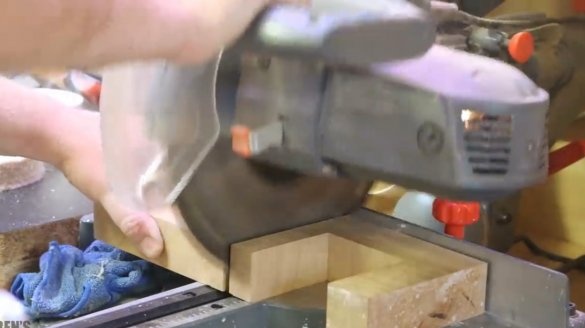
Excess wood is trimmed with a miter saw.
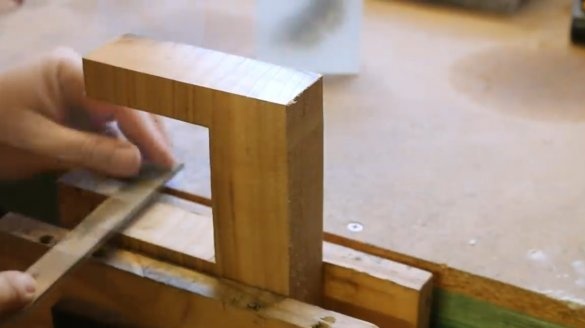
We clamp the blank in a vice and process the slices with a rasp.
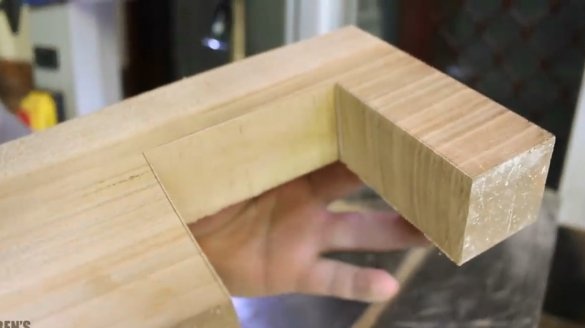
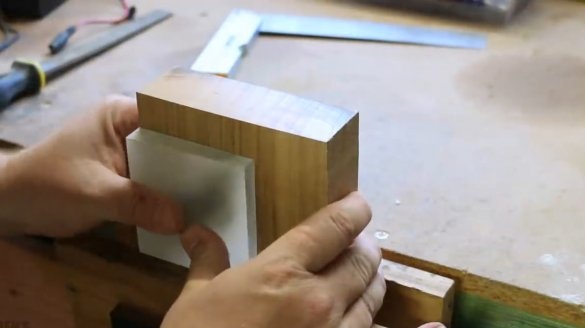
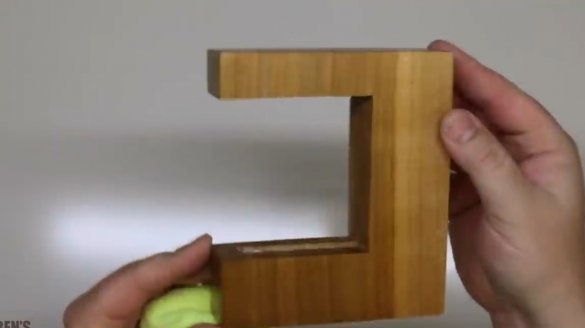
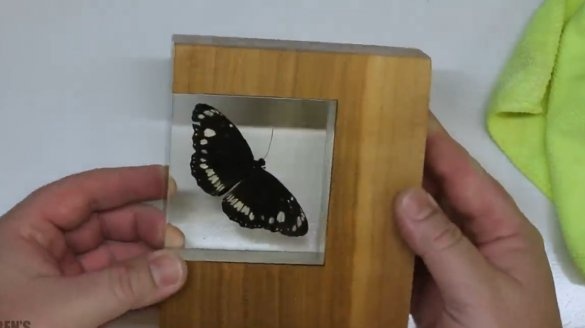
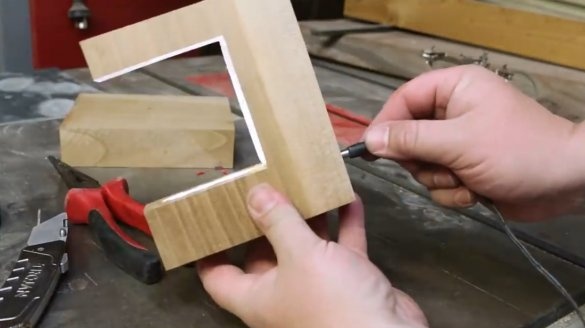
The master inserts the epoxy workpiece into a specially prepared groove. This fits great.
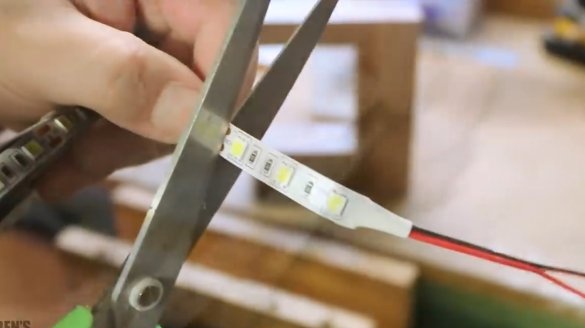
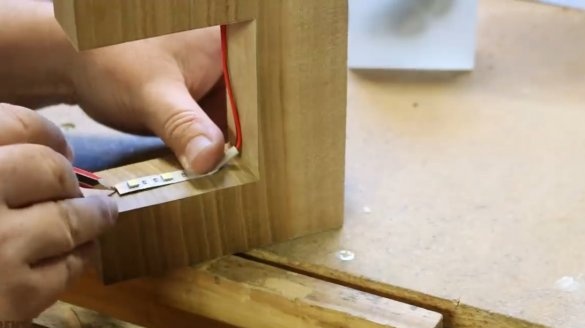
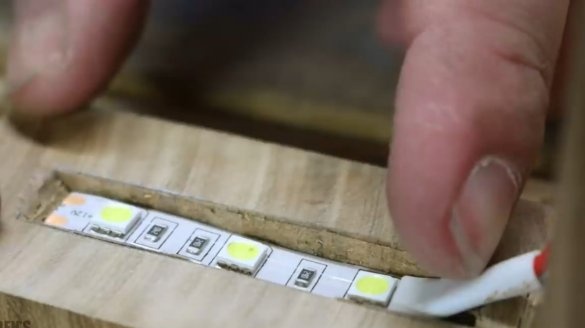
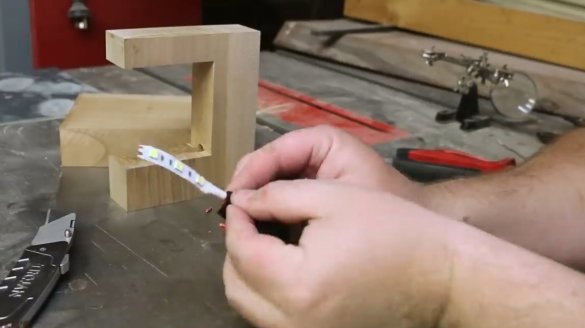
Marks a place for LED strip. Three LEDs are enough.
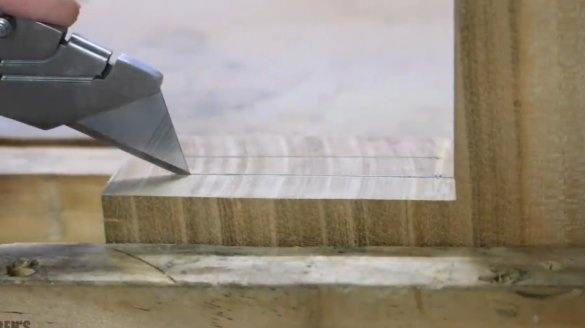
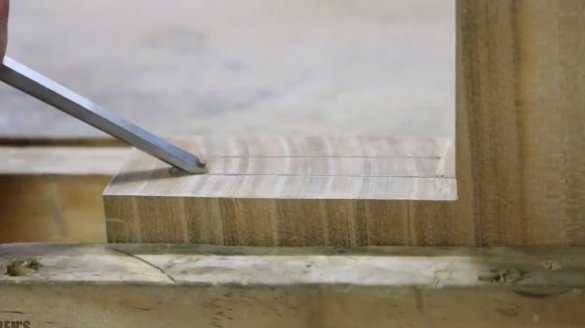
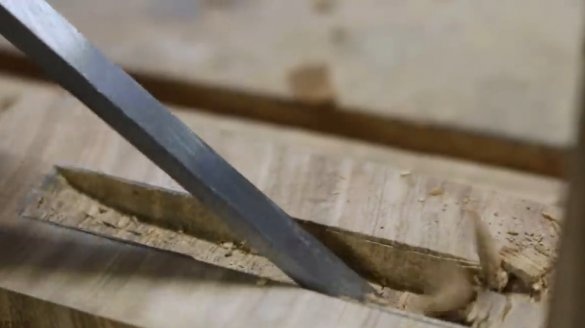
It cuts along the contour with a clerical knife and hollows out a rather deep niche with a chisel.
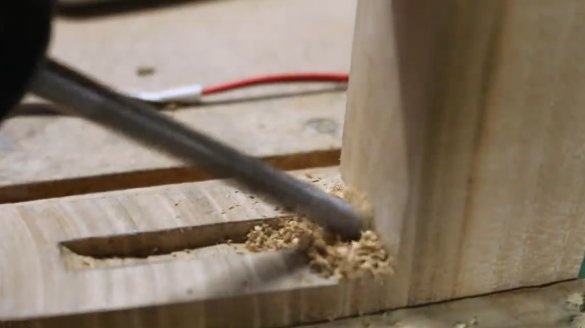
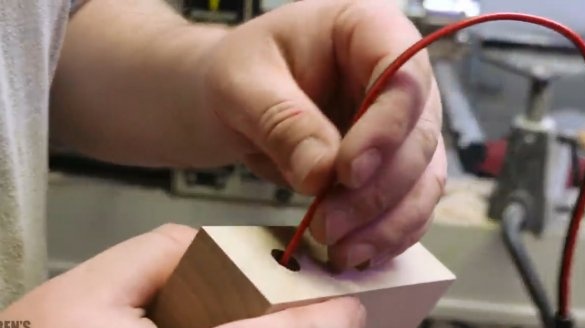
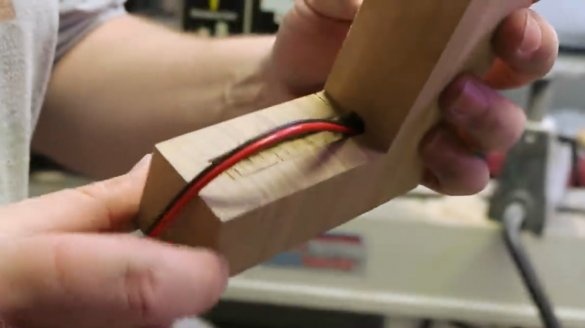
In the corner you need to drill a hole for the wire.
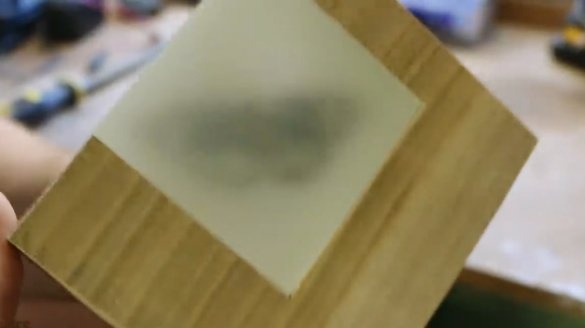
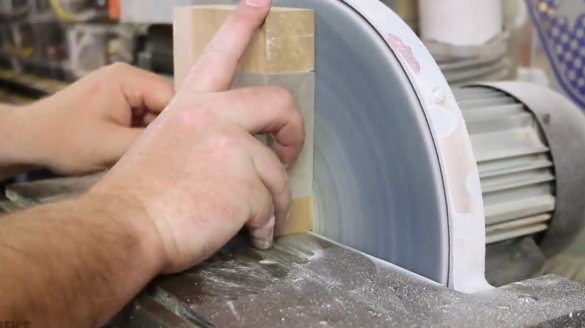
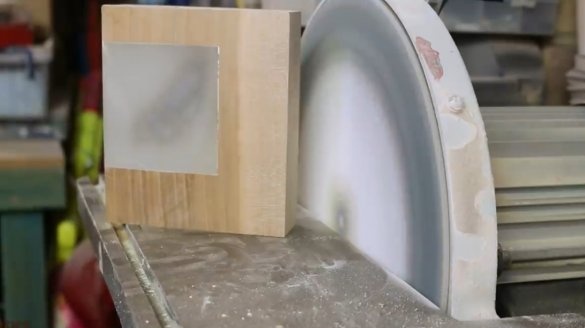
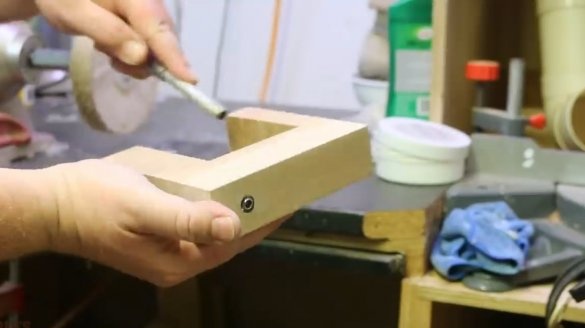
Both elements - a wooden frame and an epoxy insert - are processed on a grinding machine until they are completely aligned.
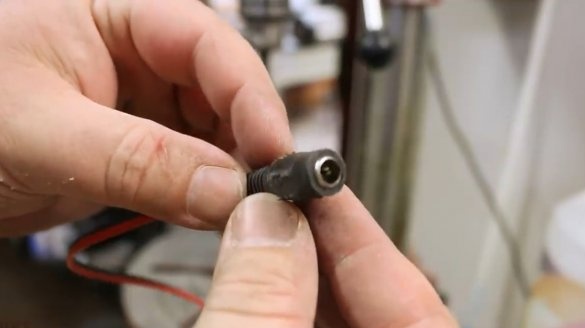
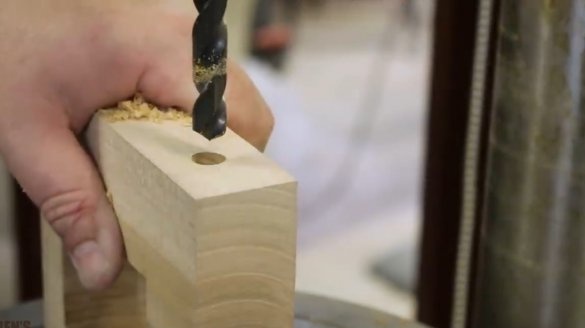
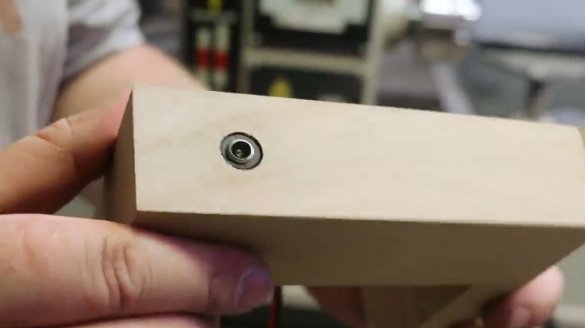
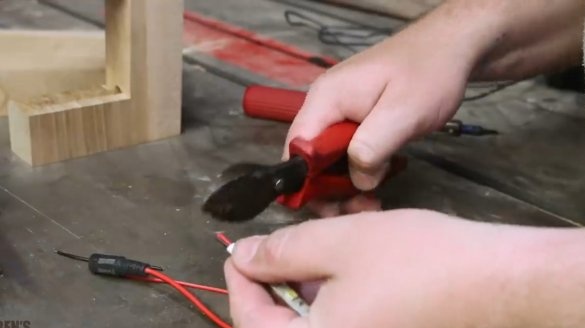
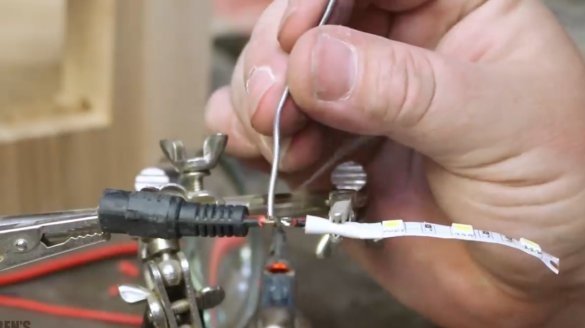
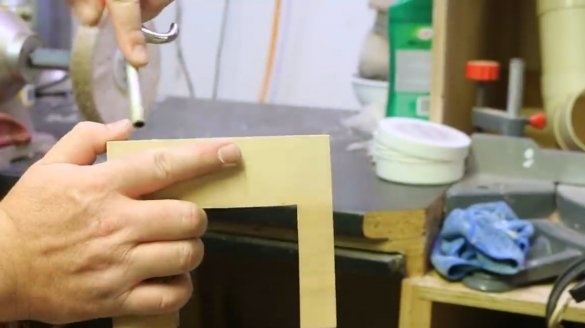
On the drilling machine at the end of the body, a hole is made for the power cord. The connector should fit easily inside it. The connector itself can be cut off from any wire and soldered to the wire of the LED strip.
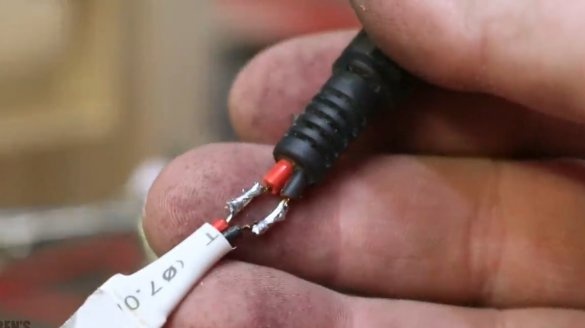
The junction is soldered and isolated.
It connects power and the LEDs light up.
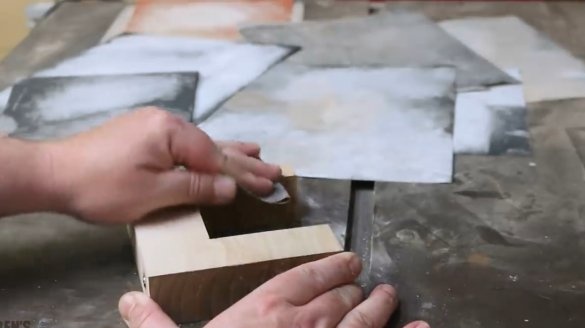
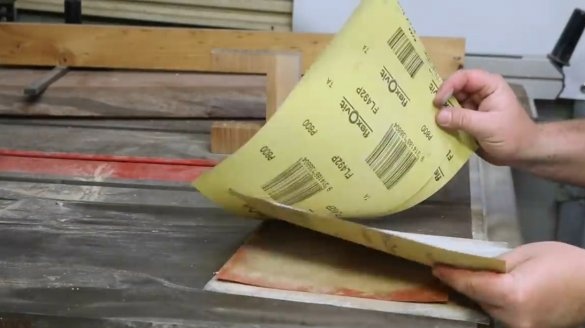
Now you should process the block with sandpaper starting from 400, and ending with 1800 grit.
[center]
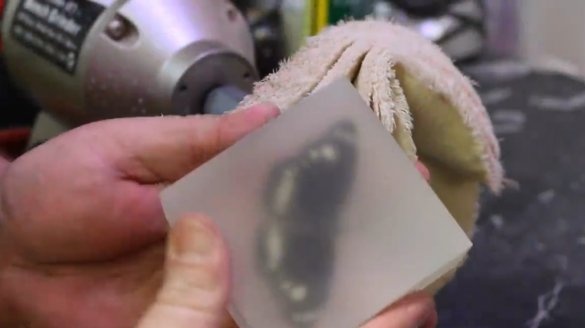
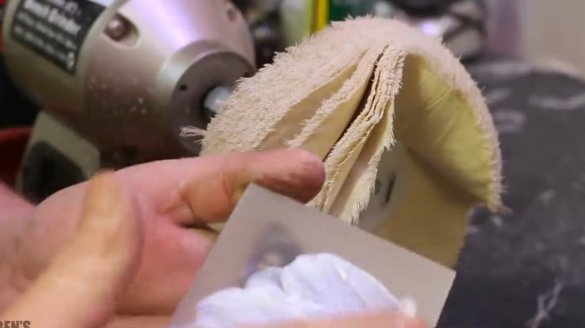
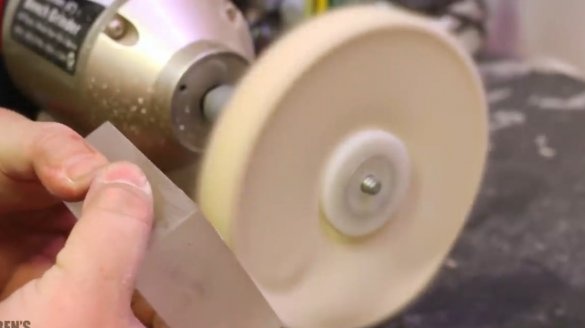
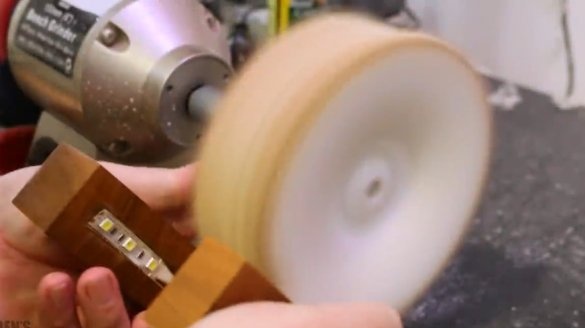
Then, after applying the polishing paste, polishes the surface of the workpiece on the felt disk.
The surface of the body is also polished and polished.
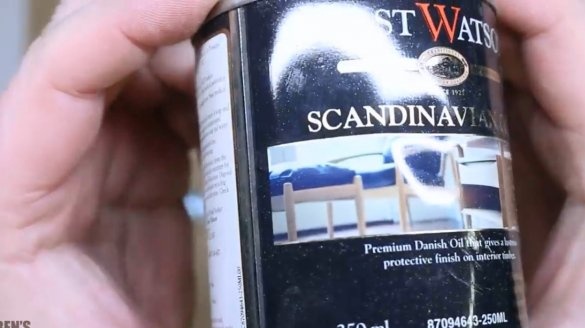
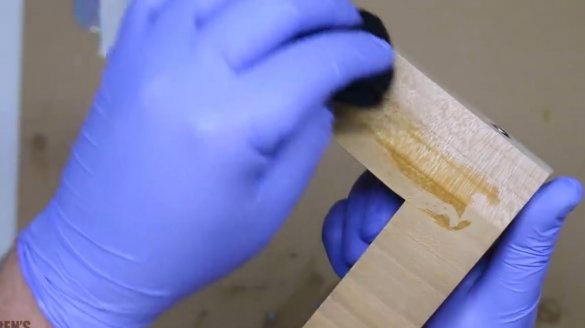
Danish oil perfectly displays the structure of wood fibers. You can use regular wax, or linseed oil.
And again grinding.
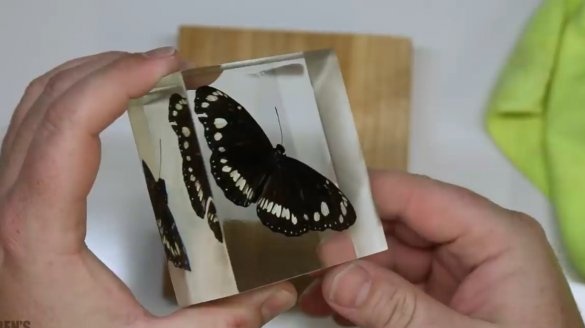
The epoxy insert is rubbed with a piece of natural delicate fabric to shine.
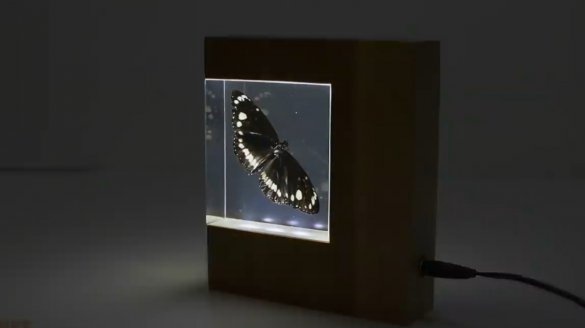
And finally, the finale ... Both the child and the adult will be happy with such a natural nightlight.
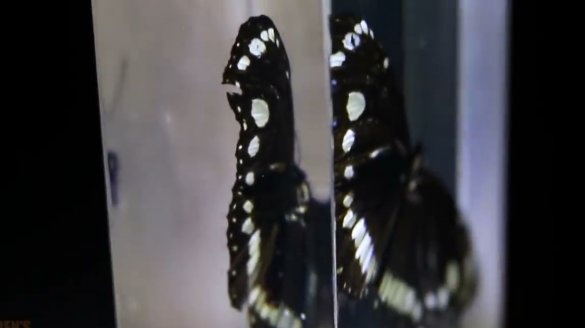
And here is the night mode of operation of this lamp.
Thanks to the author for a very interesting idea for butterfly conservation!
All good mood, good luck, and interesting ideas!
Author video can be found here.

