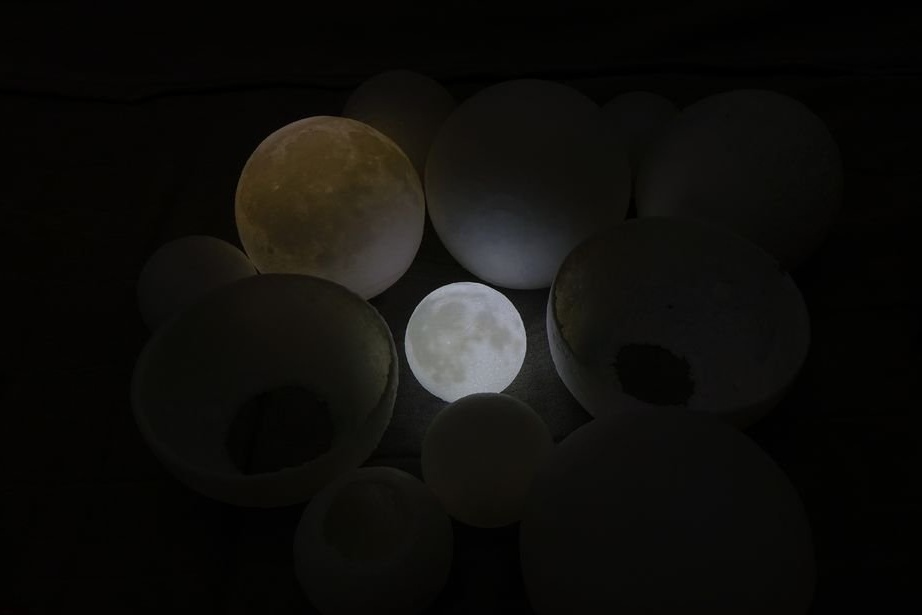
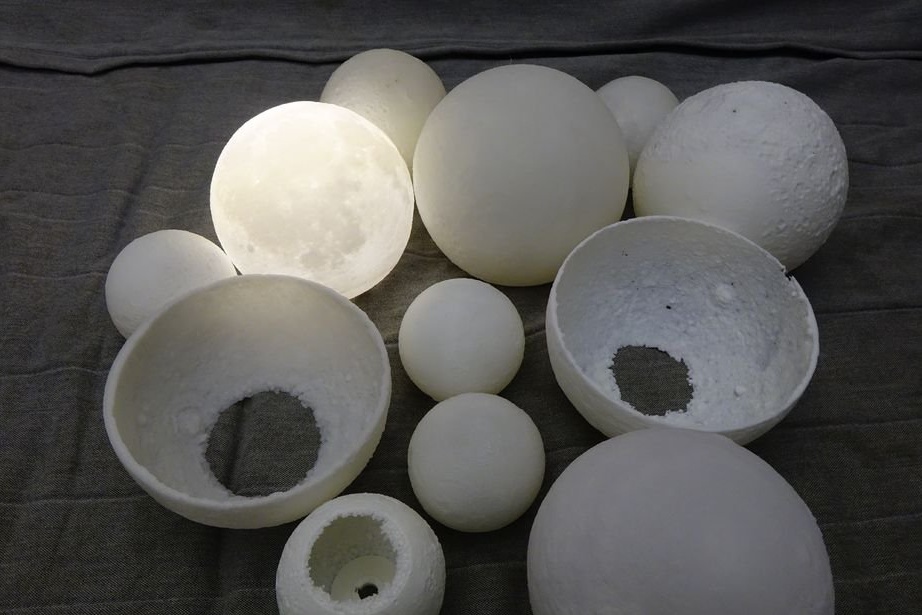
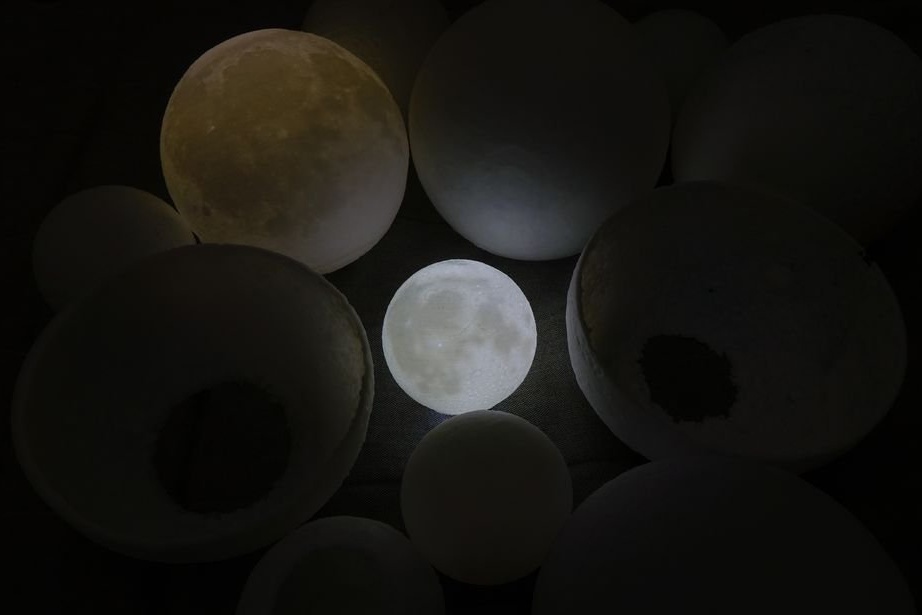
Model Moons can be purchased, or can be made independently when accessing a 3D printer. The disadvantage of purchased models is that some of them are not realistic in the absence of lighting,

and others, on the contrary, do not shine through.
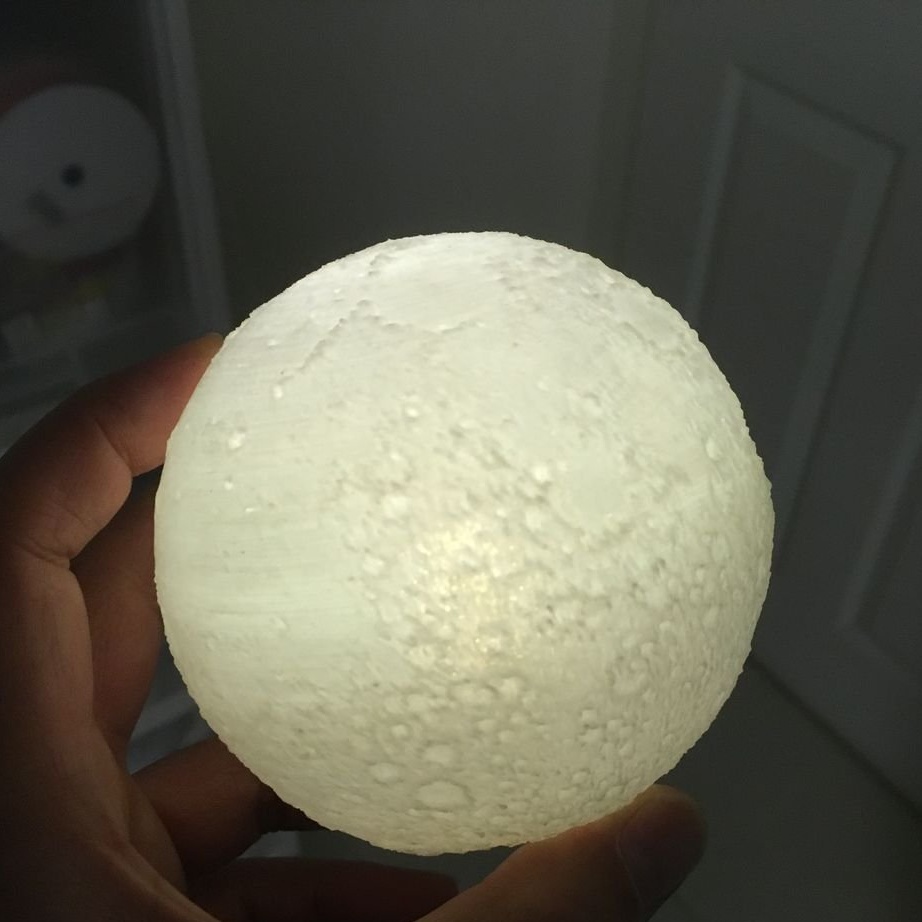
The master wanted to make a model devoid of these shortcomings.
Tools and materials:
-Computer with software;
-3D printer;
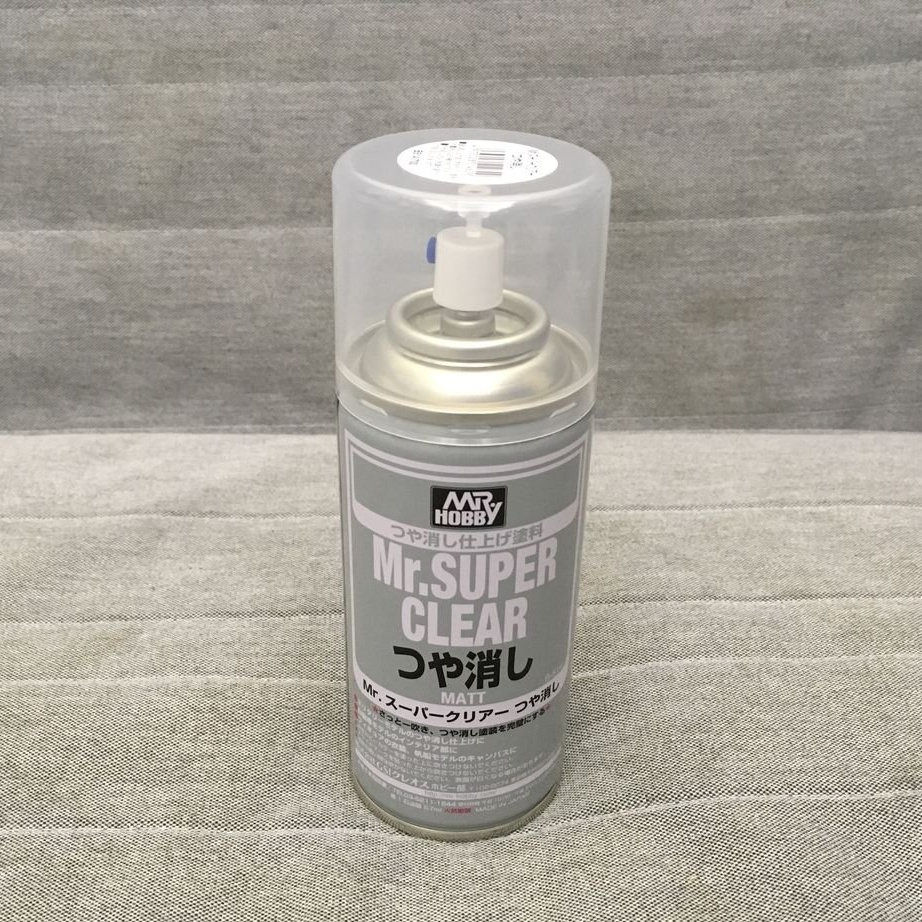
-Matte spray paint;
Step One: Software
In his work, the master used the following software:
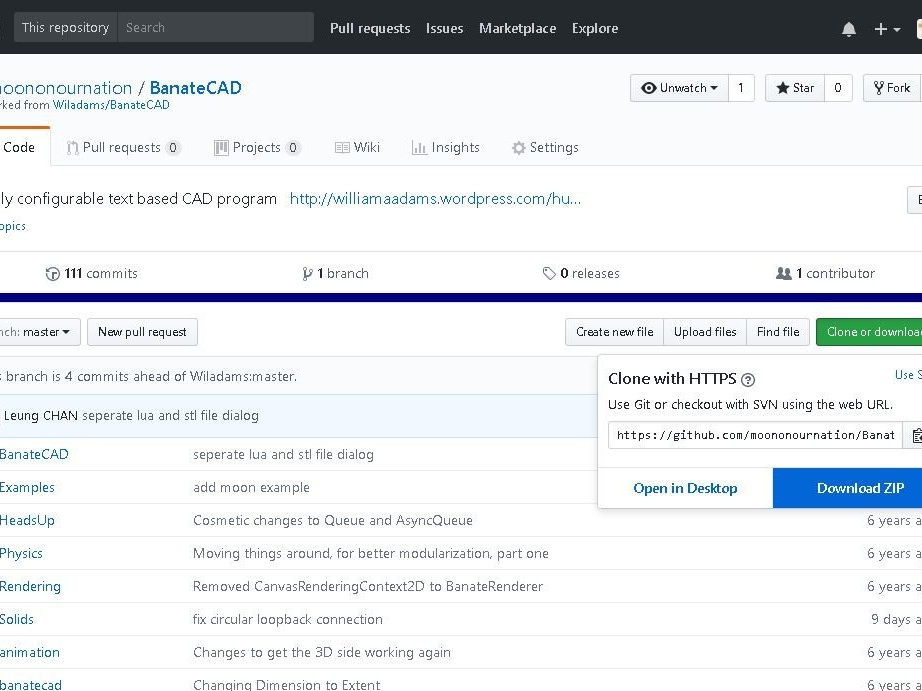
Banate cad
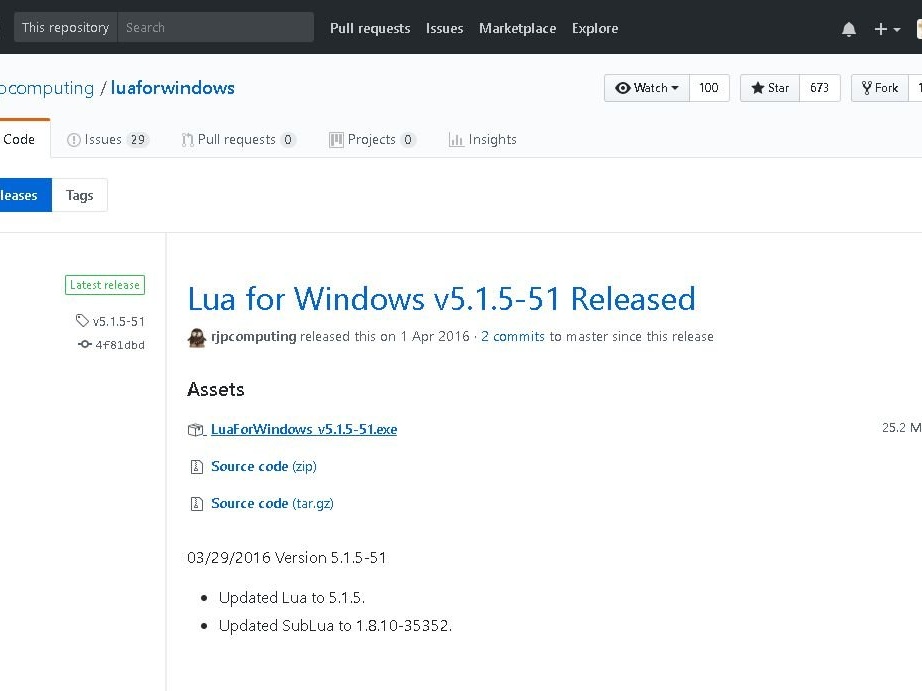
Lua for Windows,
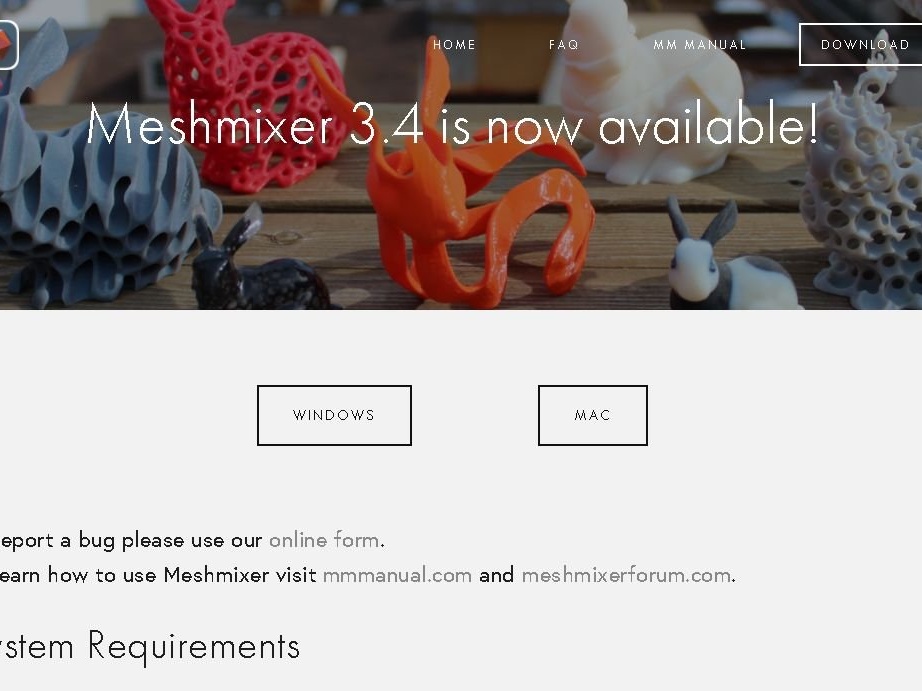
Meshhixer
Step Two: Moon Map
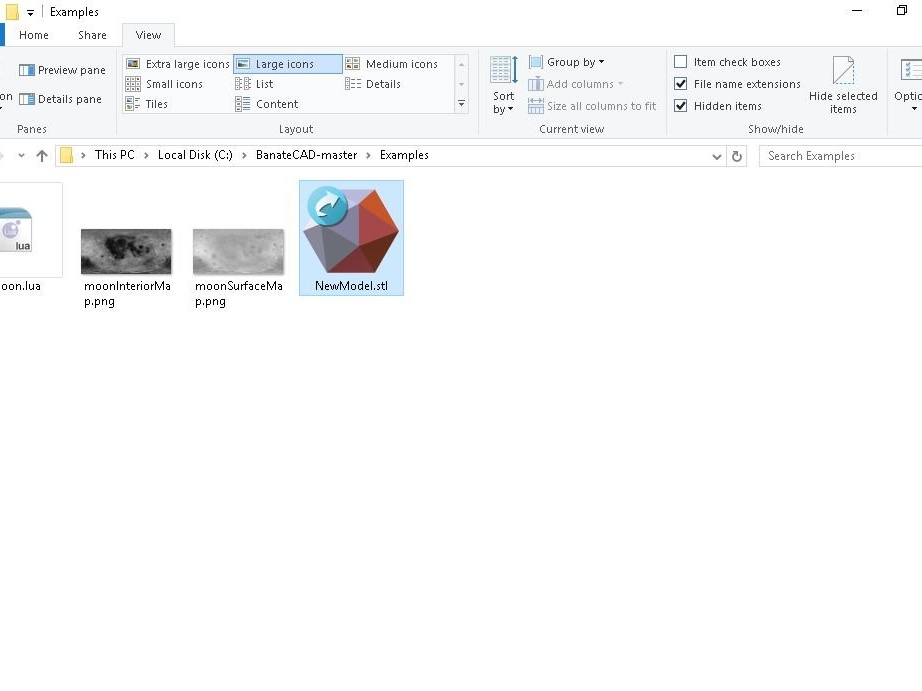
For 3D modeling, 2 images of the moon are required. You can find the image you need in the BanteCAD / examples folder. The wizard reduced the image to 720x360.
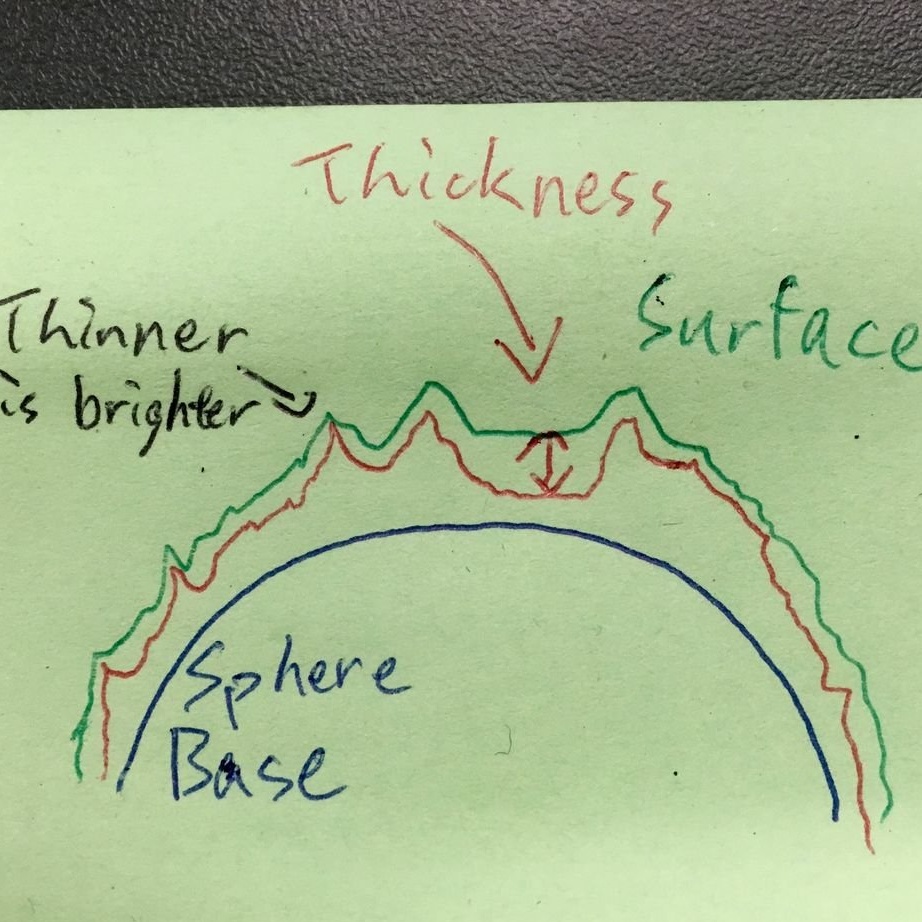
There are special image maps for modeling a three-dimensional surface, usually called the Bump Map. The gray level in each pixel represents the height of the corresponding point on the sphere. You can model a very nice detailed surface as soon as you have a terrain map.

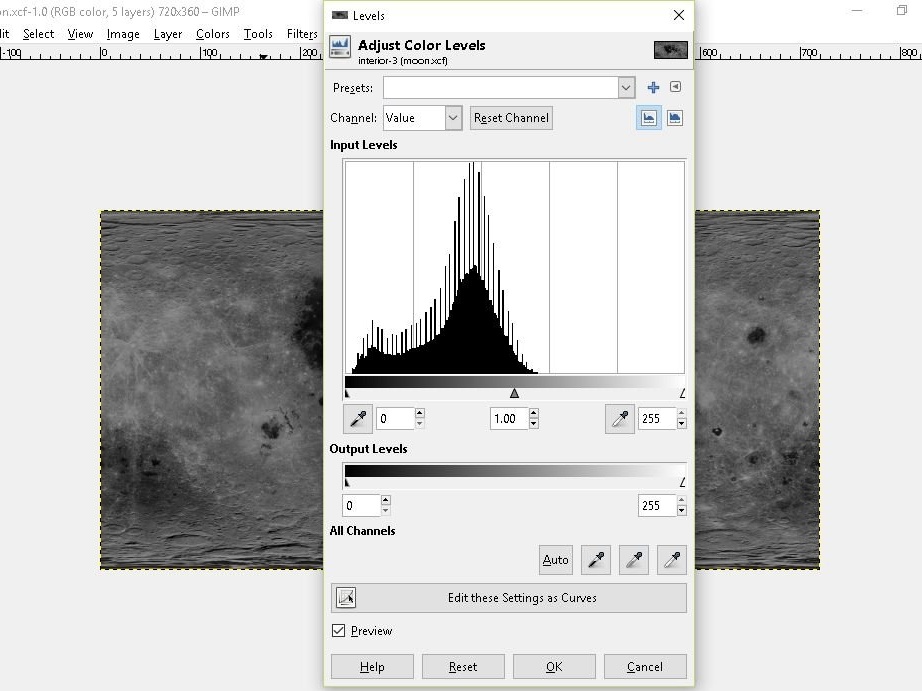
moon.xcf
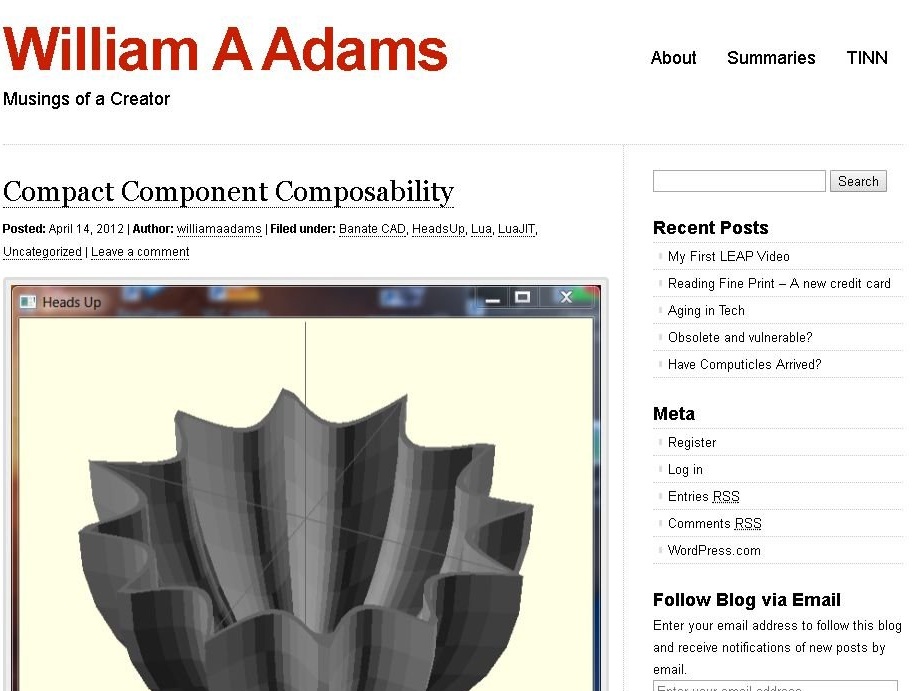
Step Three: BanateCAD
In the BanateCAD program, you must perform the following actions:
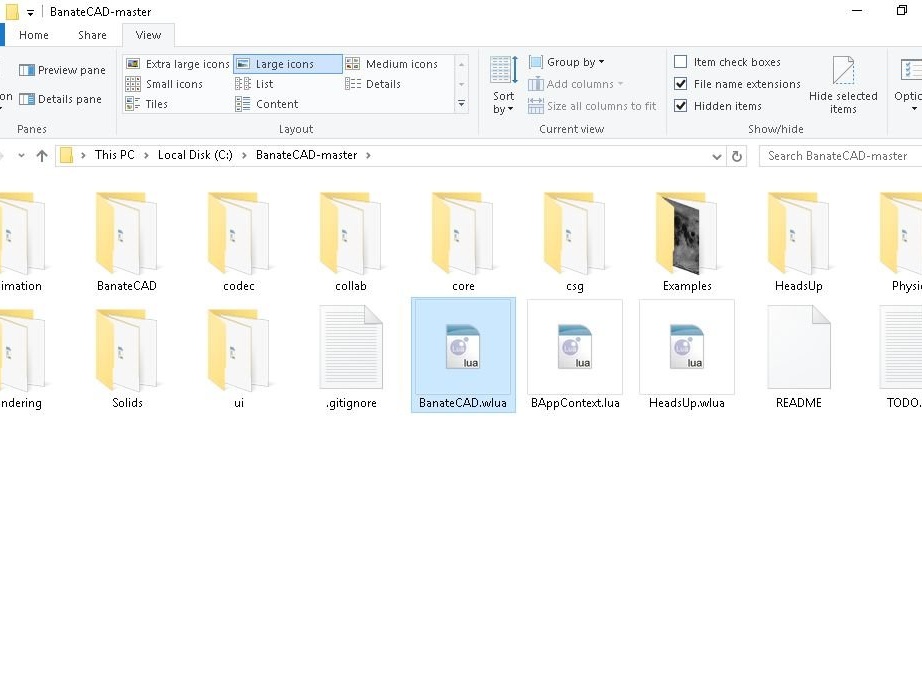
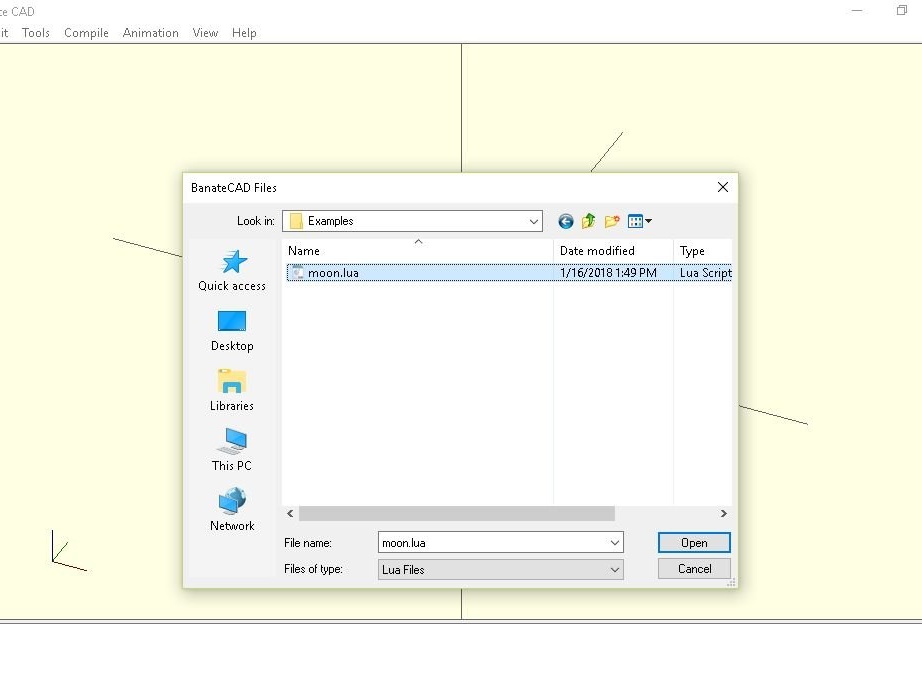
Open BanateCAD.wlua
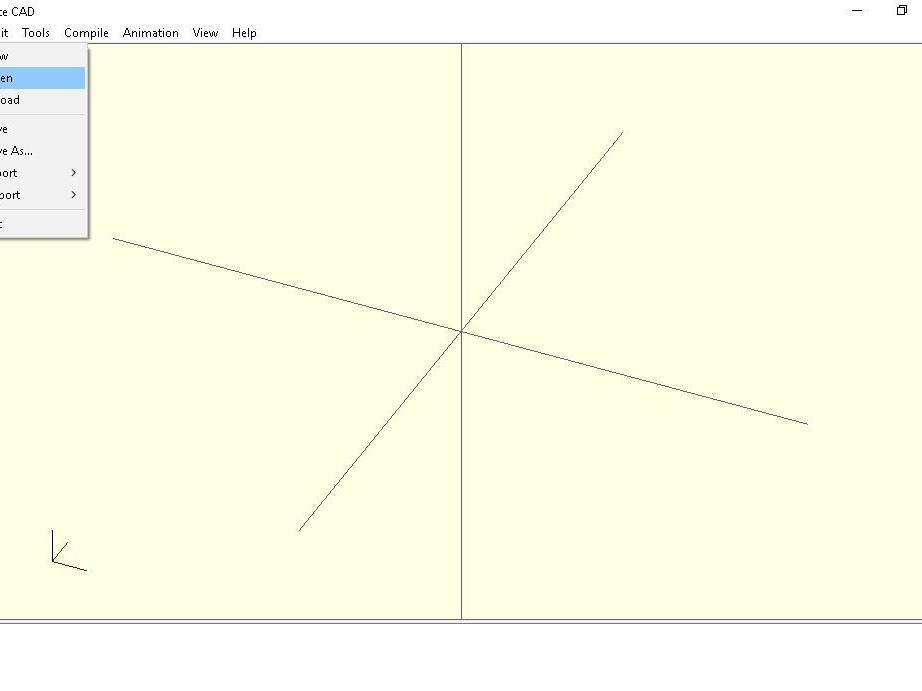
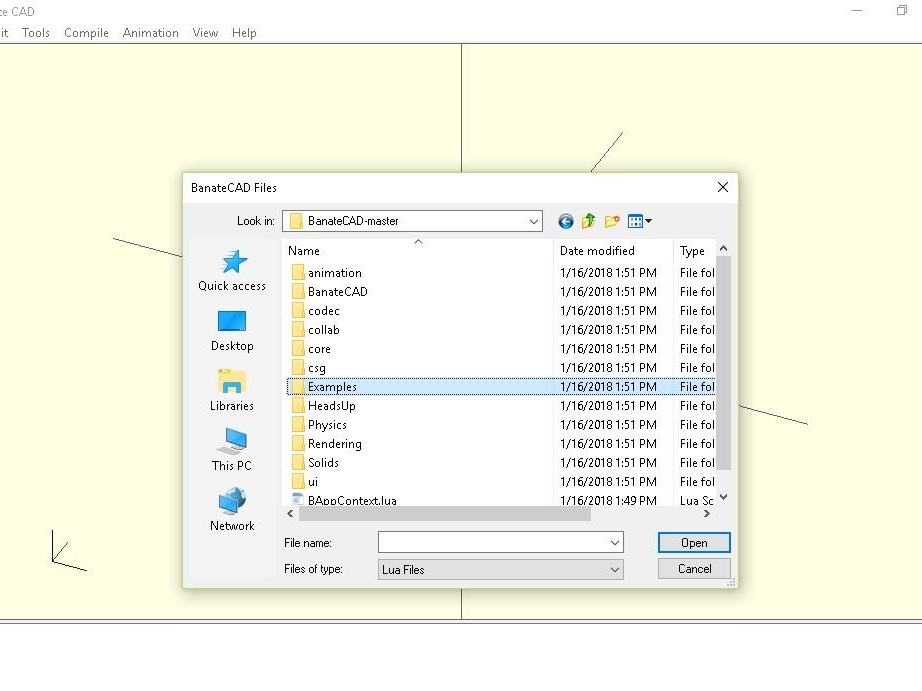
From the File menu, select Open
Open moonlamp.lua
Optional: edit parameters
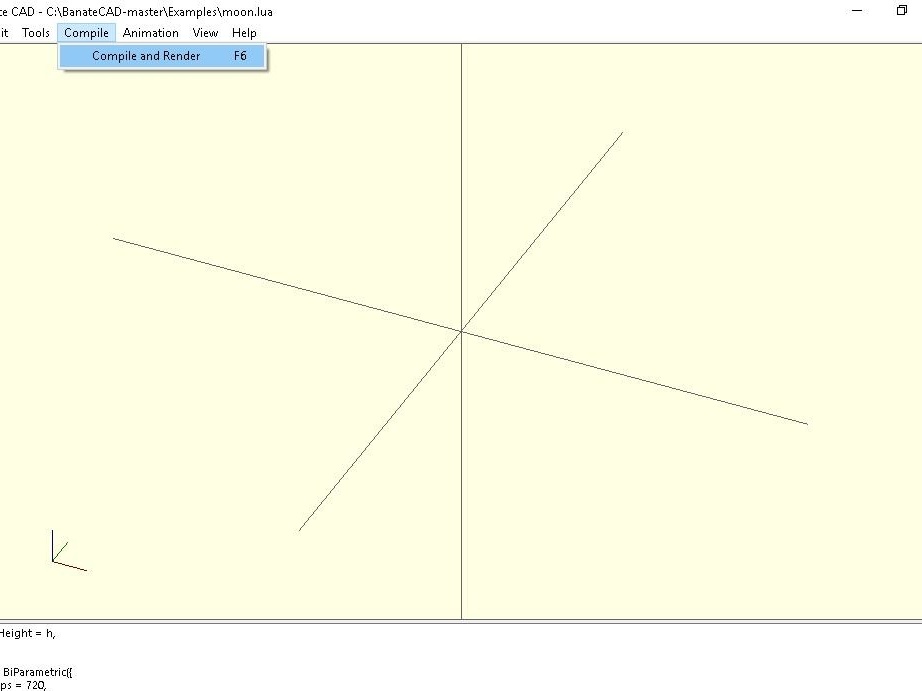
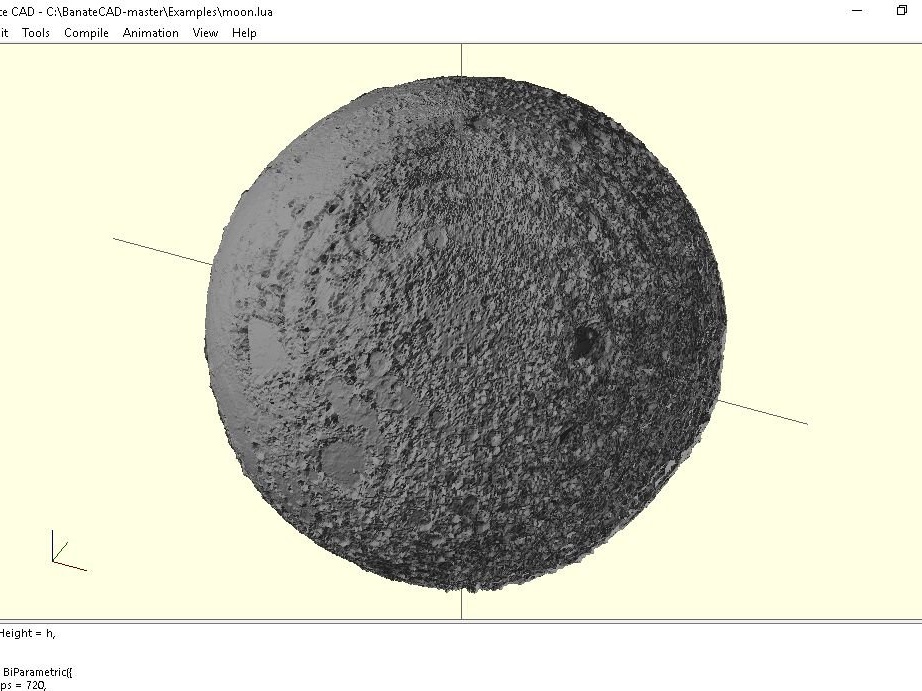
From the Compile menu, select Compile and Render
Wait a 3D model will open
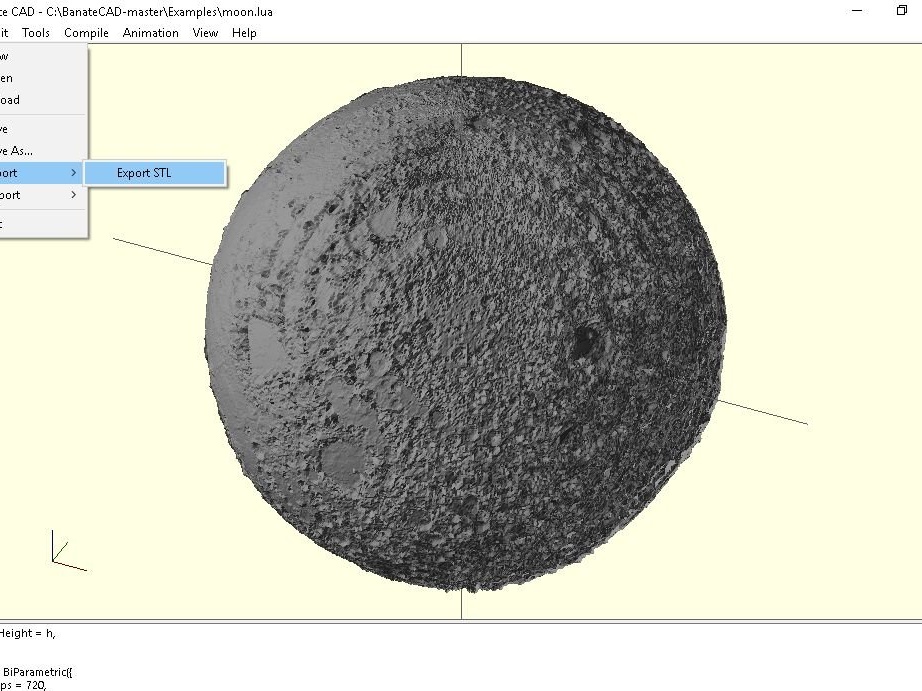
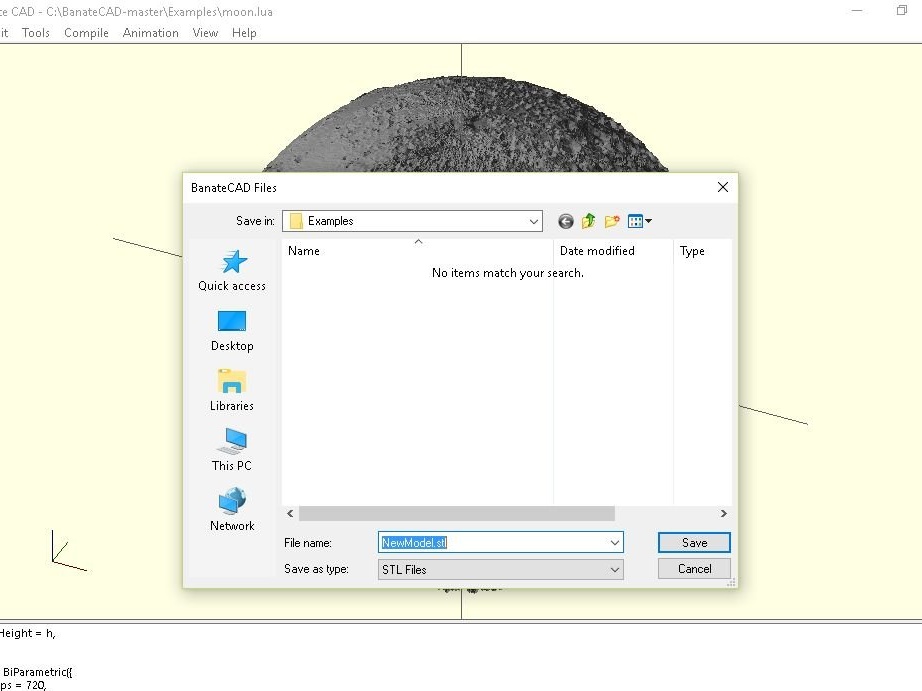
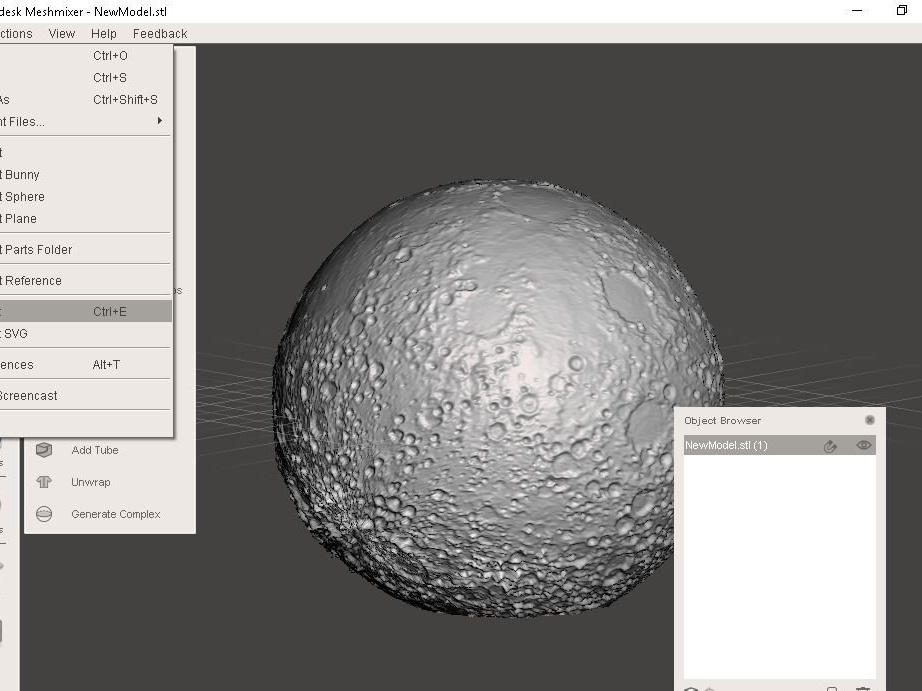
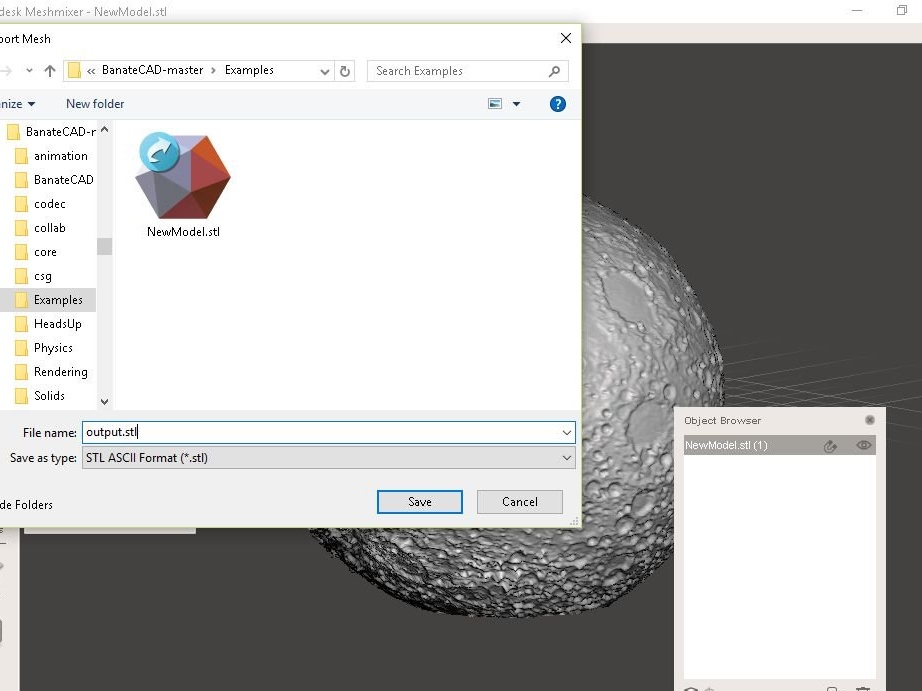
From the File menu, select Export -> Export STL.
Enter the STL file name and then save
Adjustable parameters
Output sphere diameter (in inches):
local outputSize = 3 - inches
Surface Height Coefficient:
local heightFactor = 0.3 - bump map height factor
Resolution:
USteps = 720,
WSteps = 360,
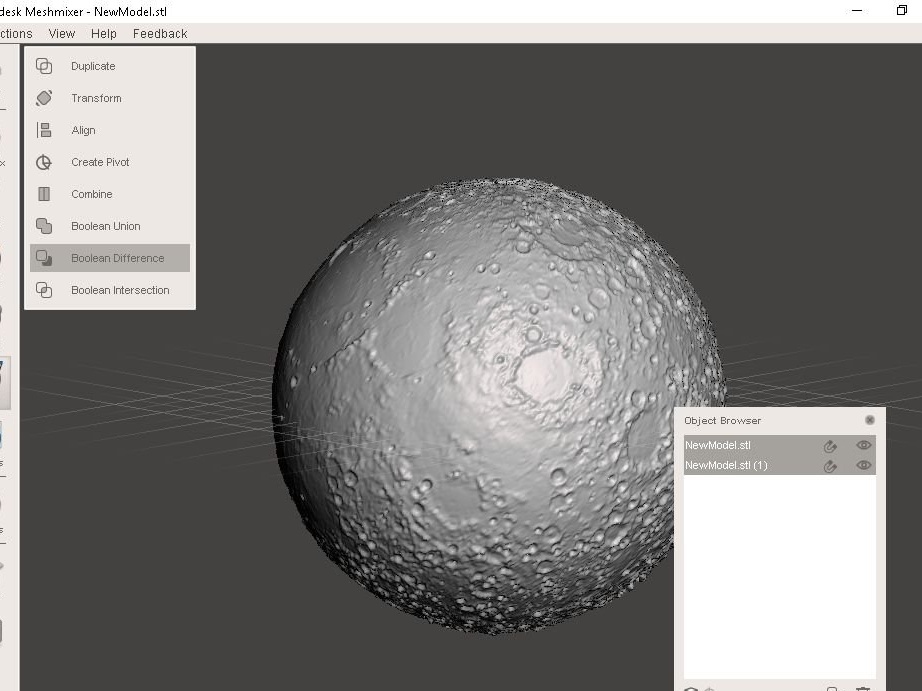
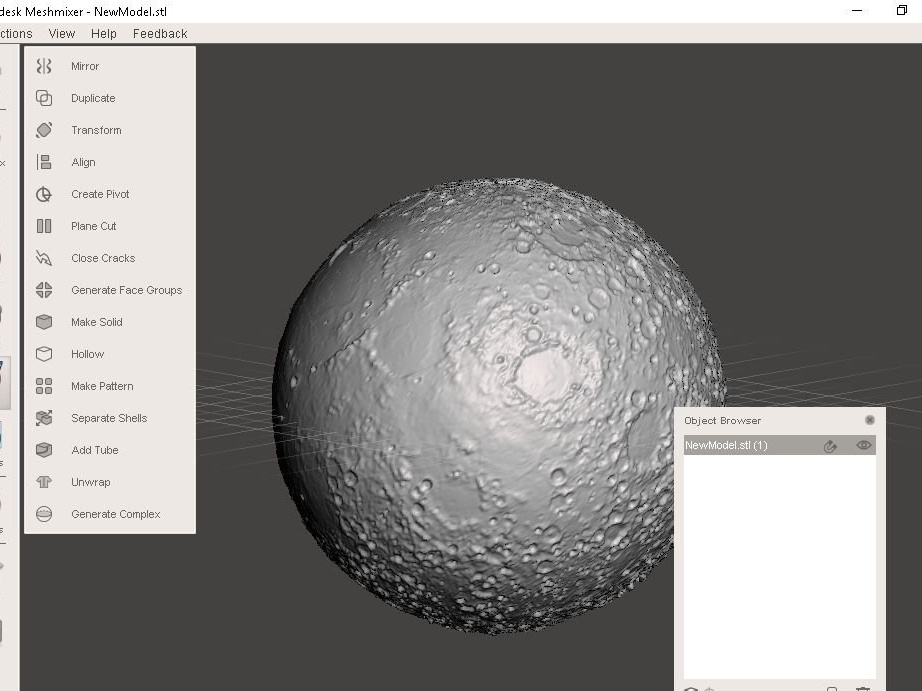
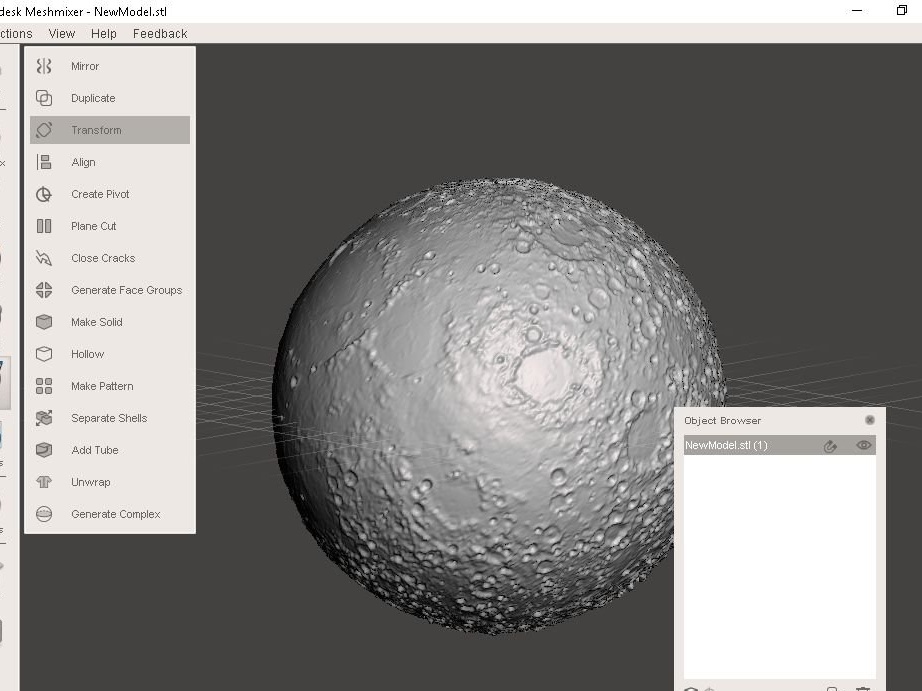
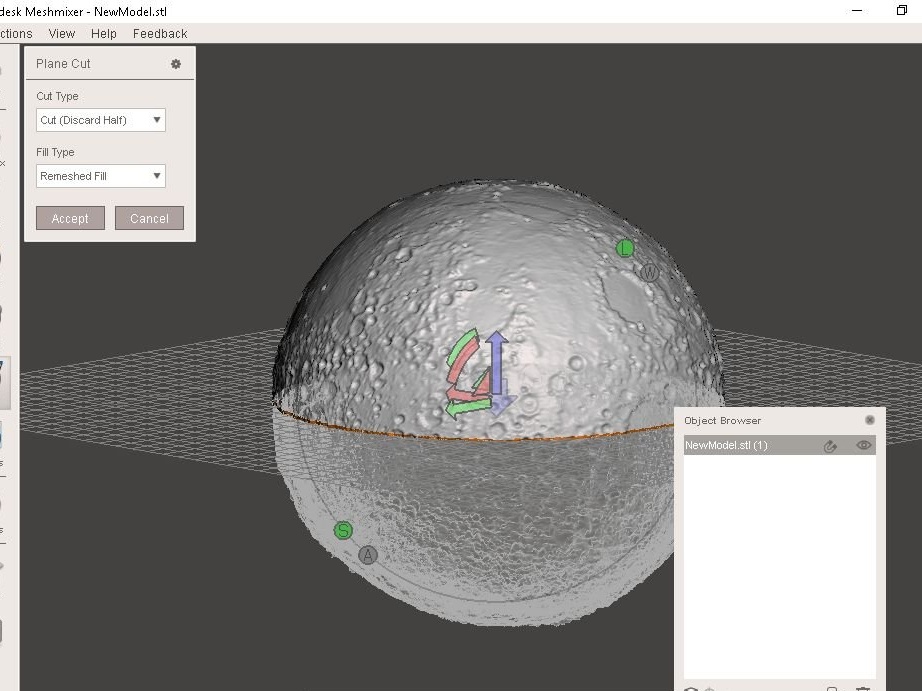
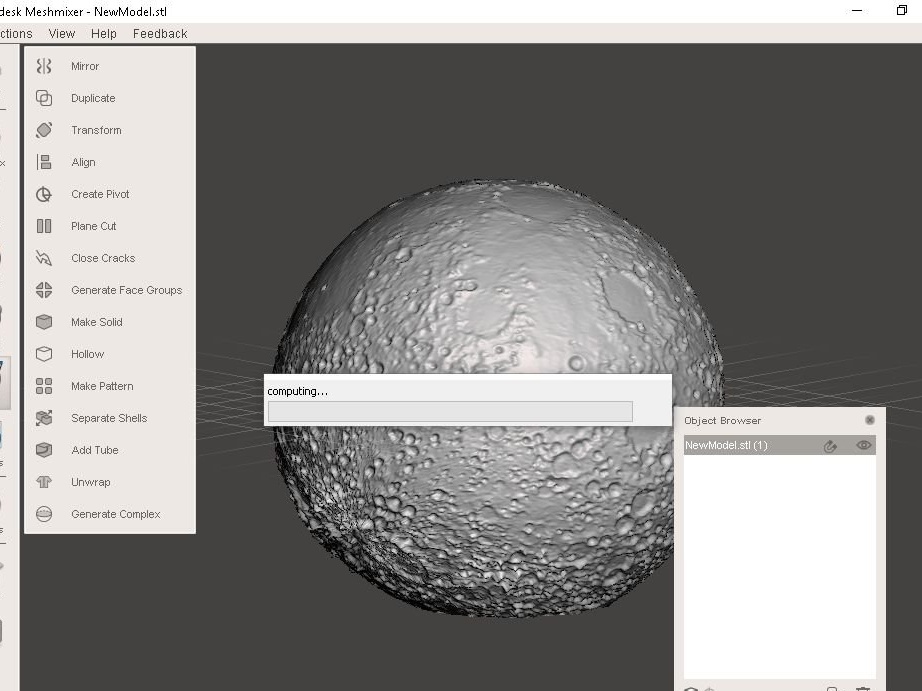
Step Four: Meshmixer
Now you need to process the files in the Meshmixer program.
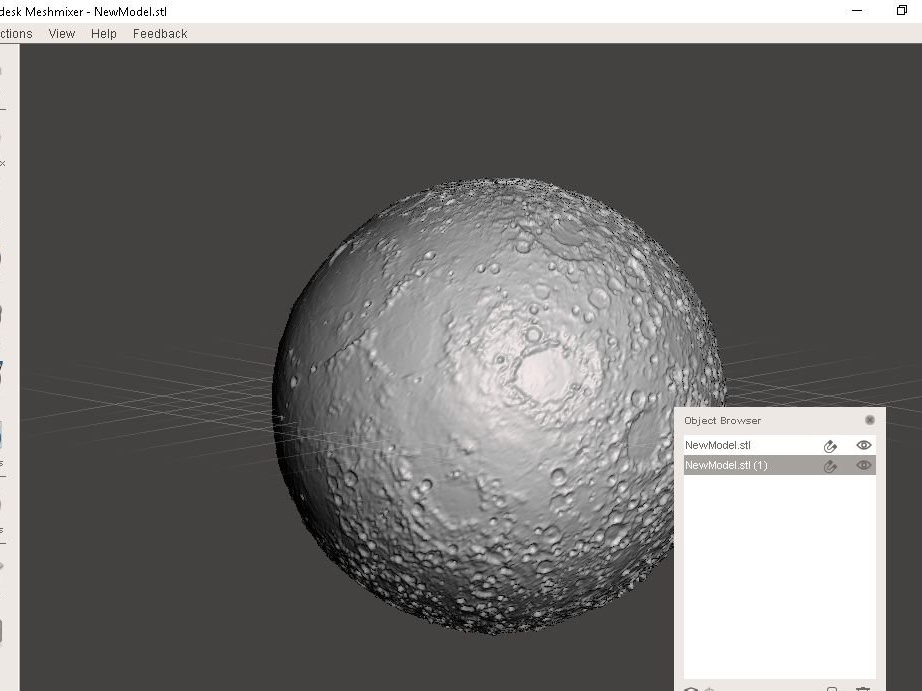
Open the exported STL with Meshmixer
Choose both models
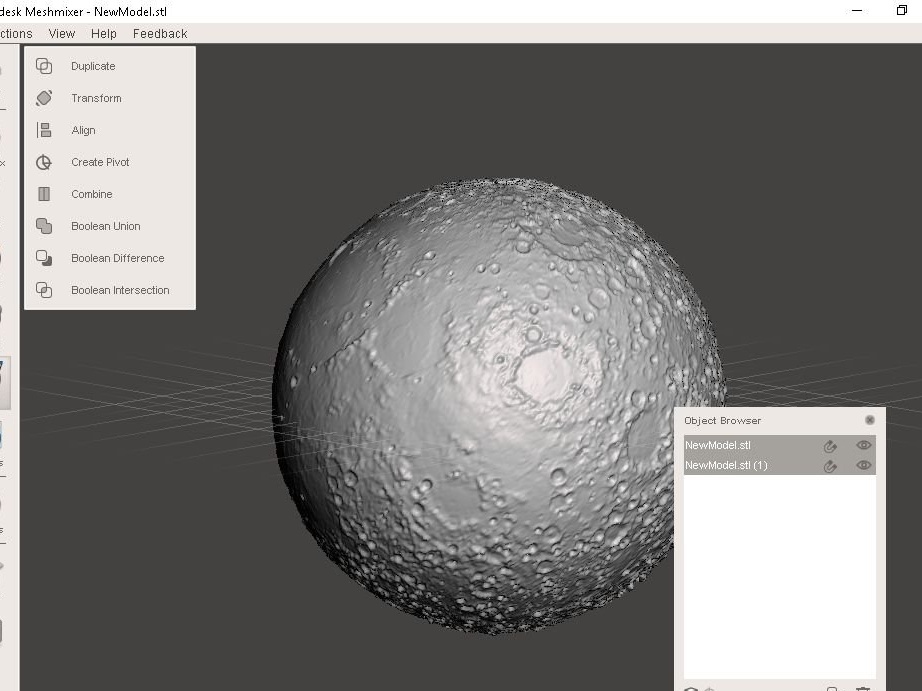
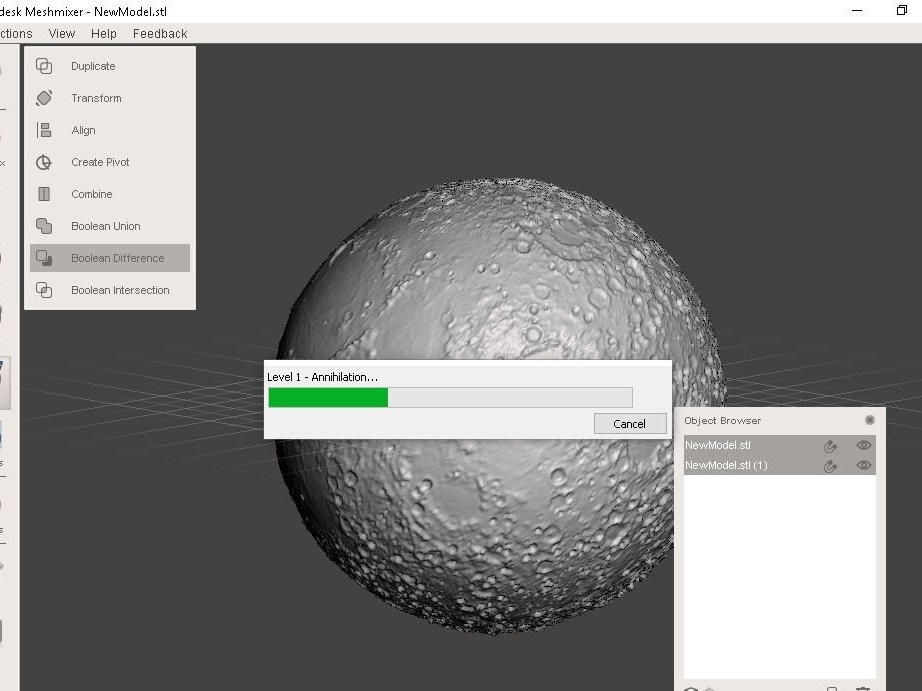
Select Edit in the left toolbar, and then select Boolean Difference.
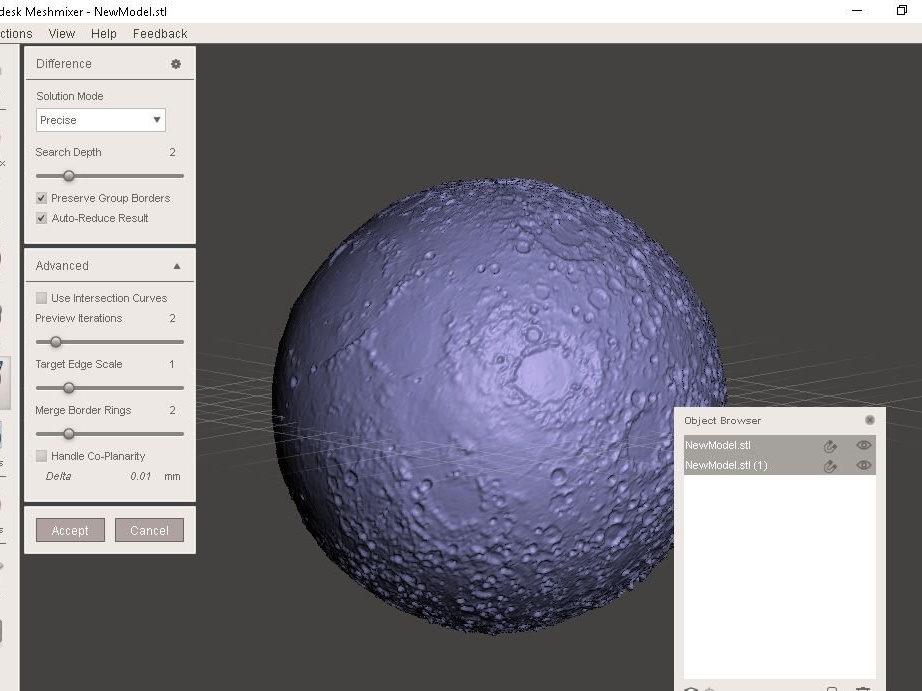
Wait until you finish the calculation.
Click accept
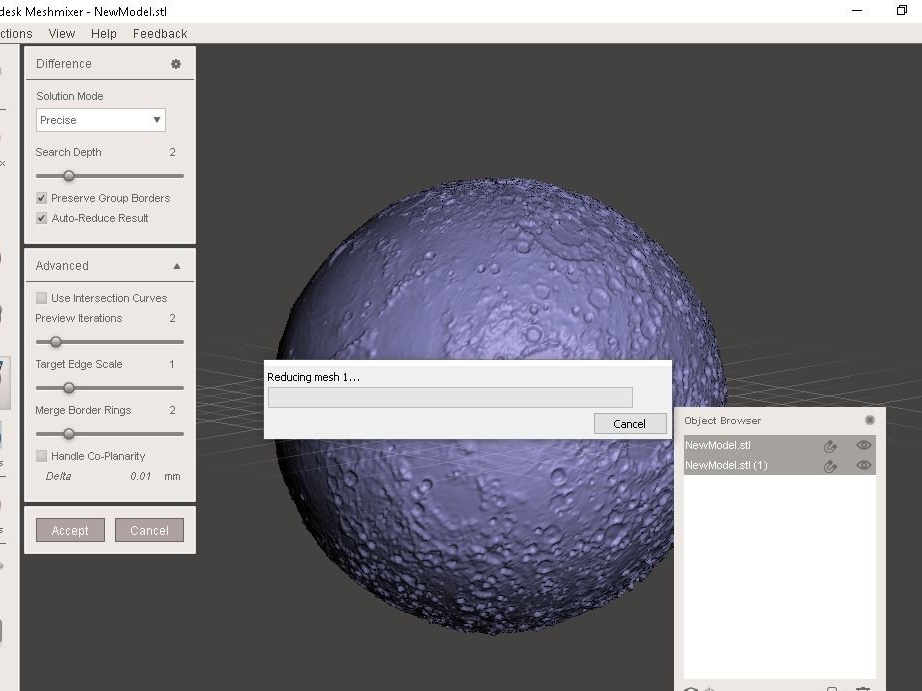
Wait until you finish the calculation.
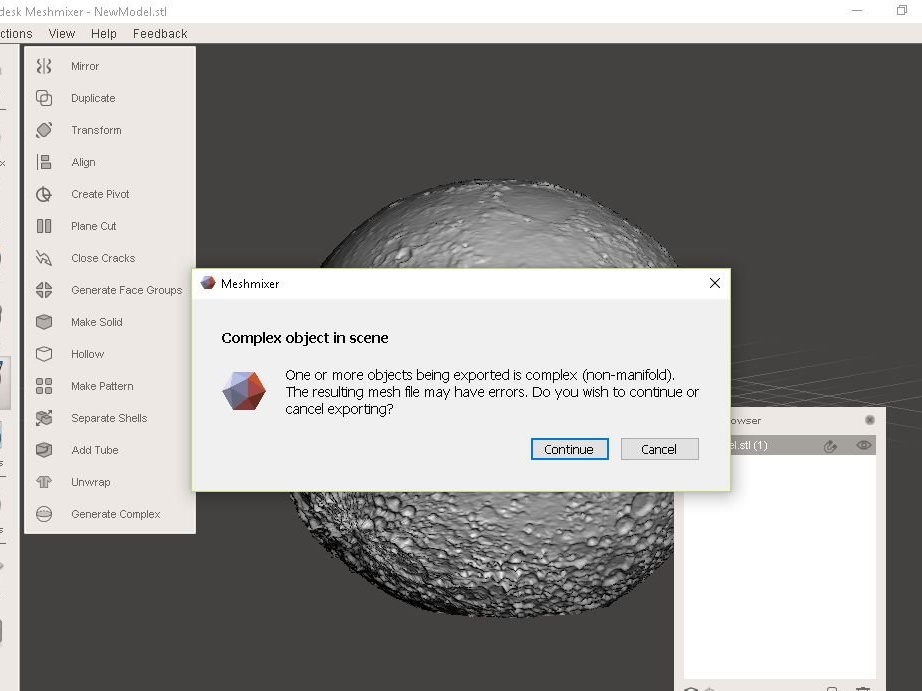
Save file

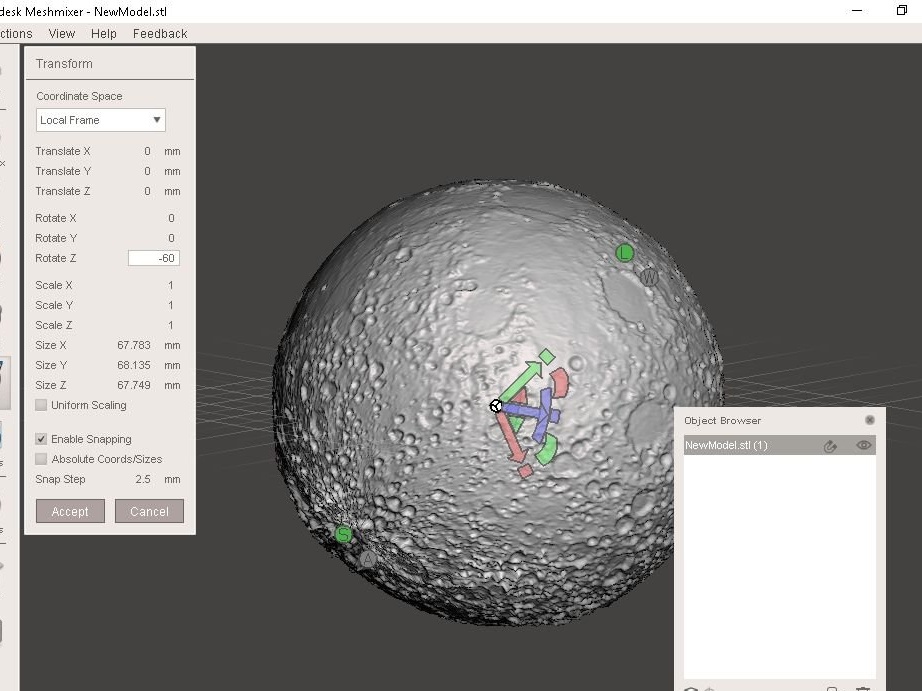
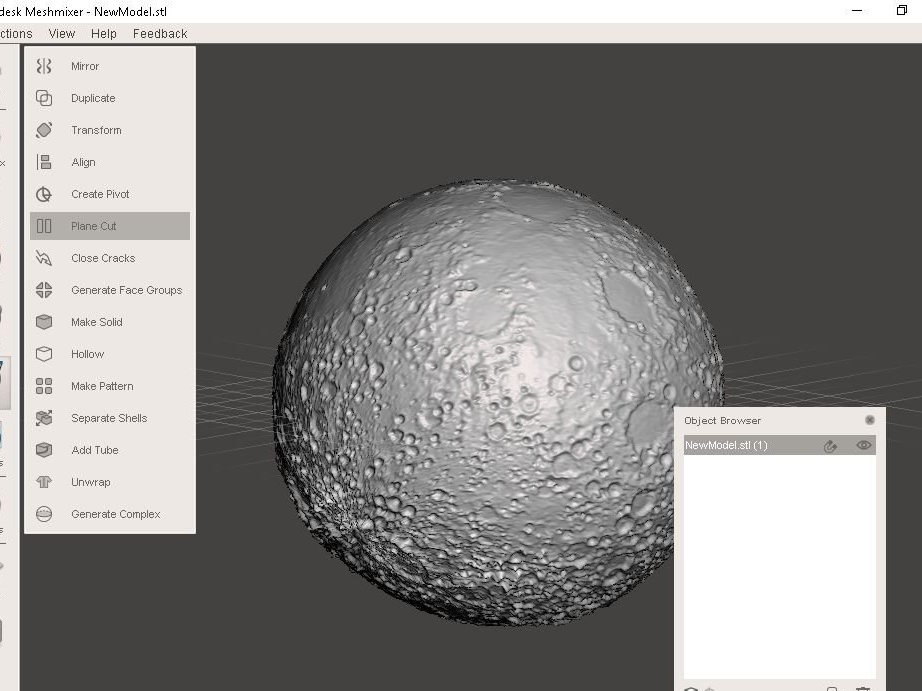
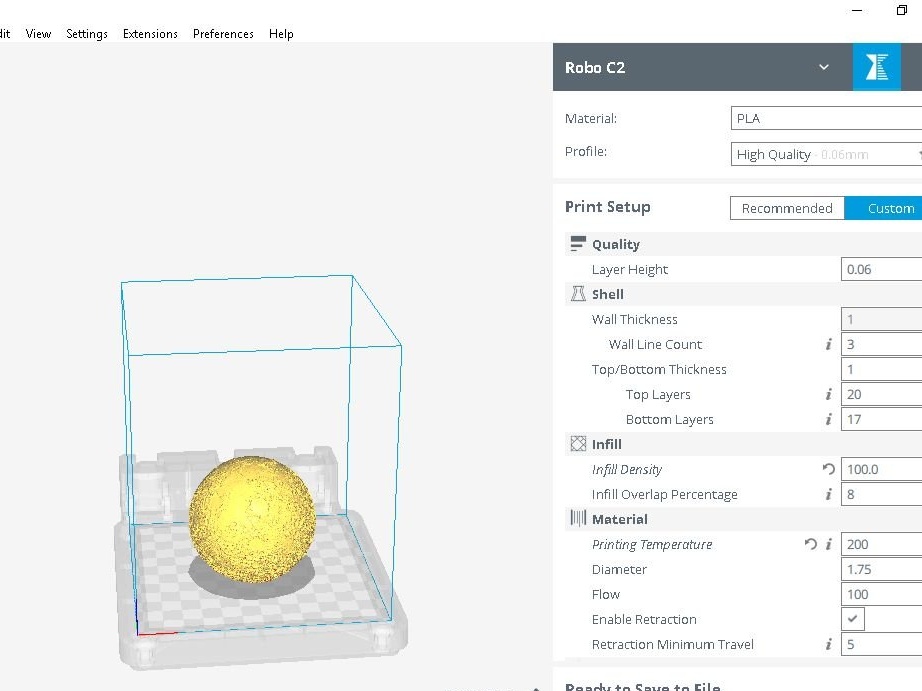
Step Five: Settings
Now you can make any setting before 3D printing.
Here are some of the wizard's suggestions:
If you want to put the Moon on your table, then he suggest turning the Z axis from -45 to -60 degrees.
If you want to hang the Moon on the ceiling, then he suggests turning the Z axis 120-135 degrees.
If you want to install lighting inside, do not forget to make a hole for the wire.
After setting up, export the STL file for printing.

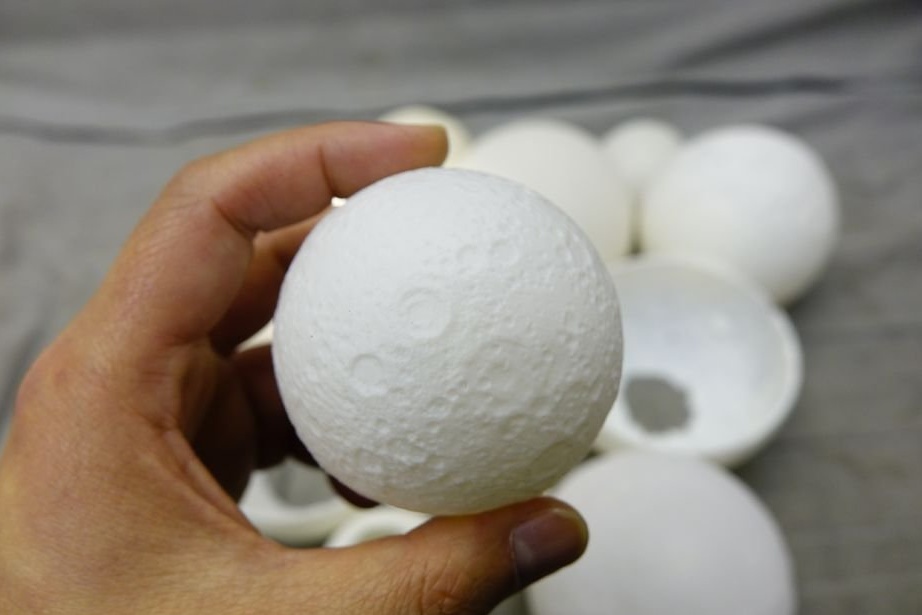
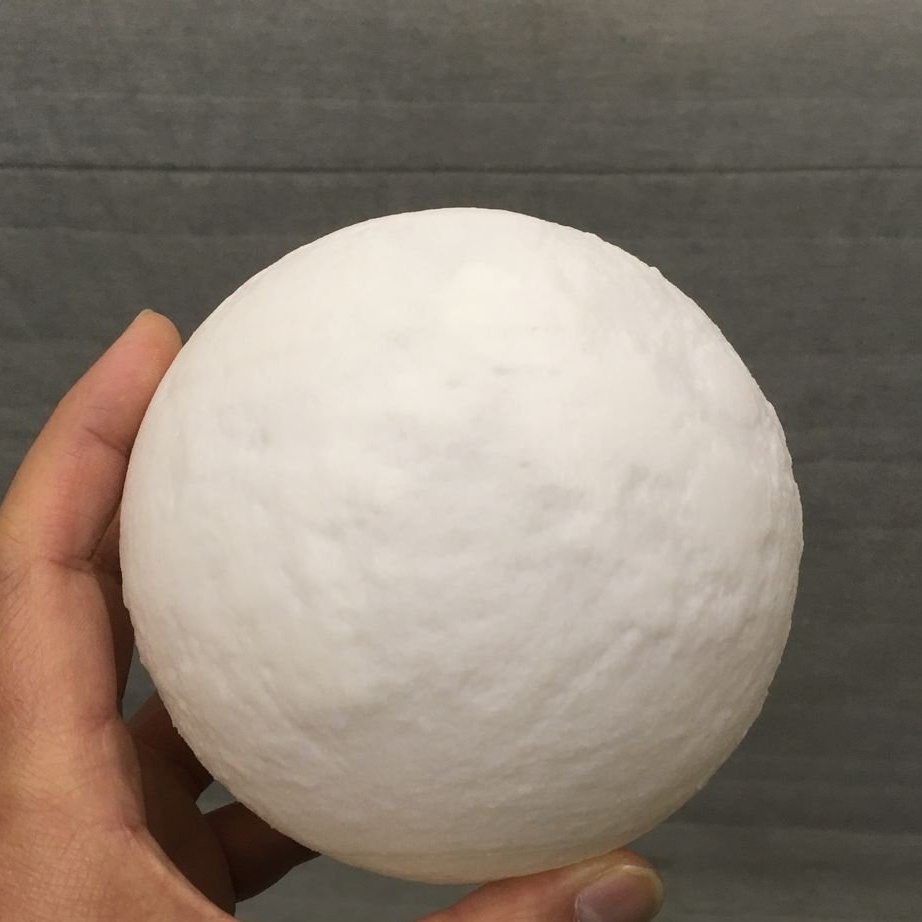
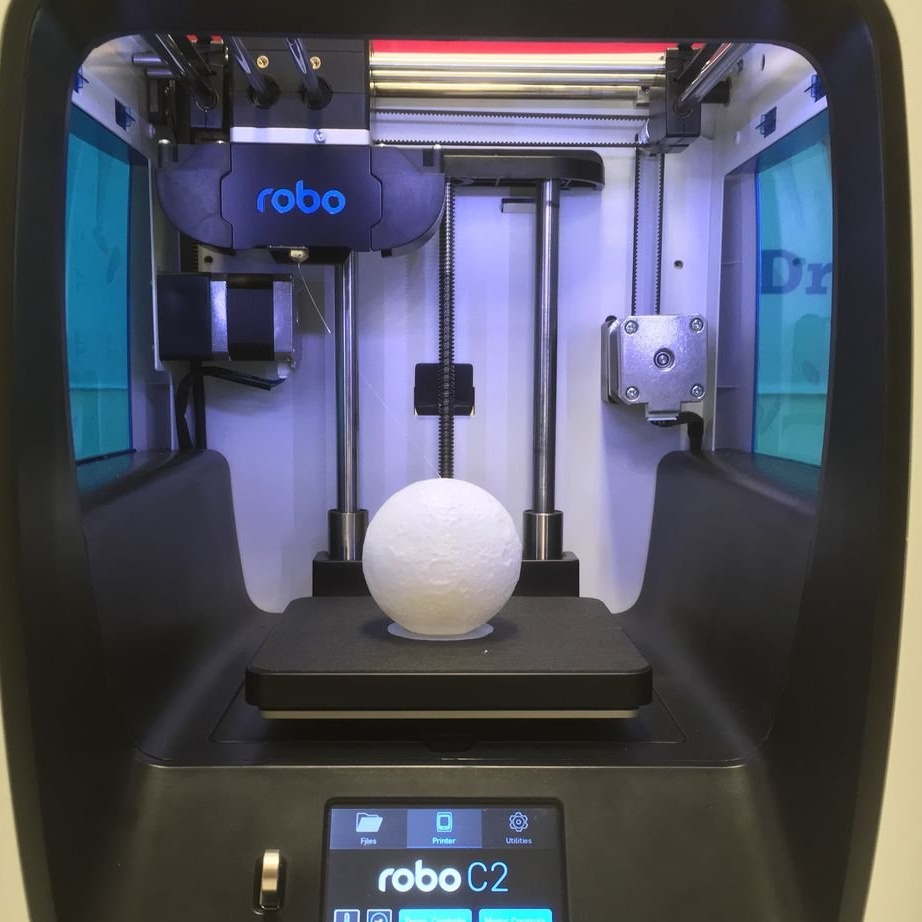
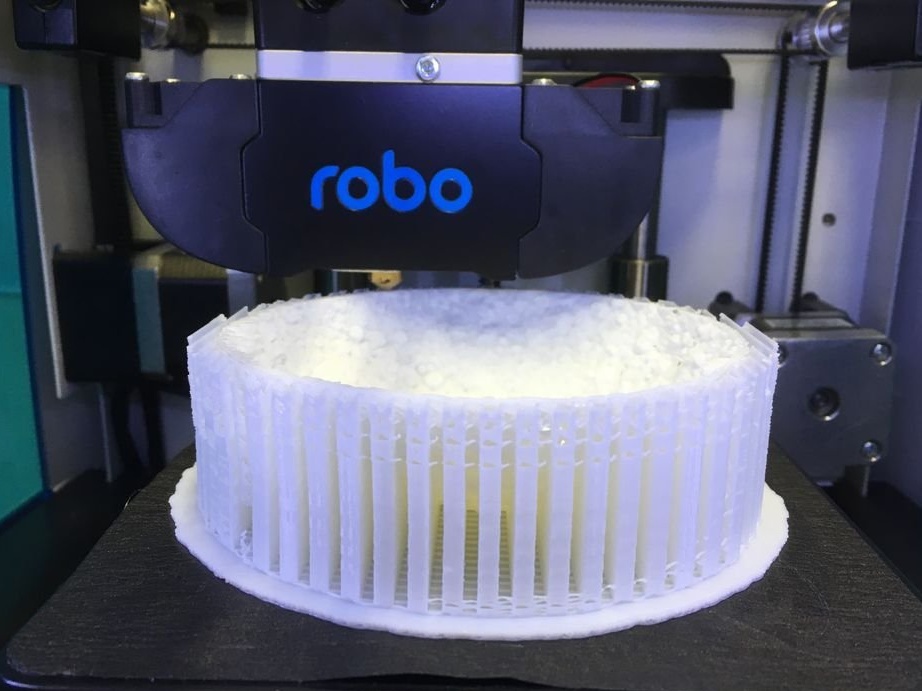
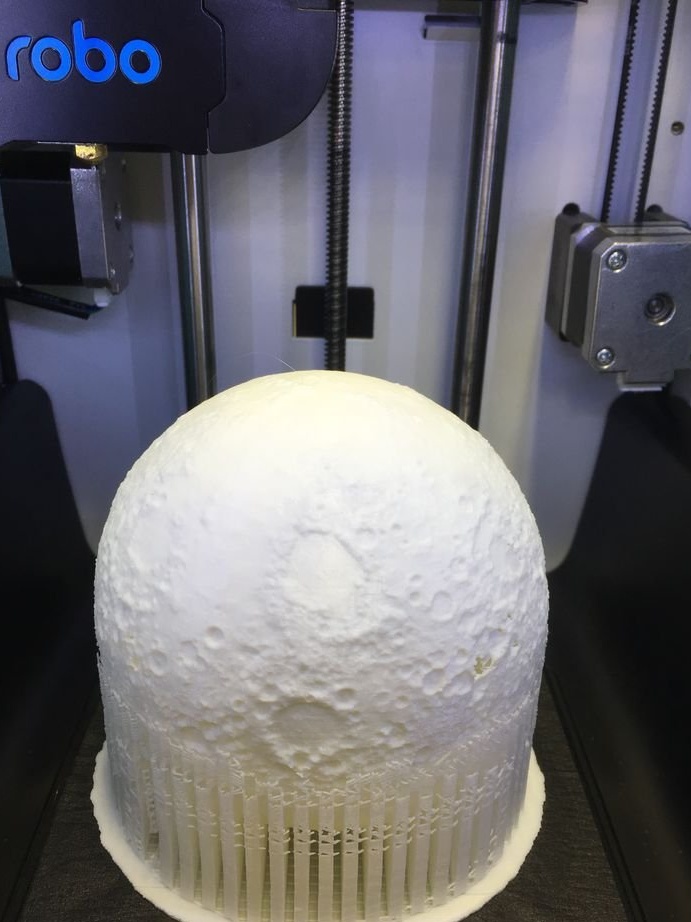
Step Six: 3D Printing
Now you can print two halves of the moon.
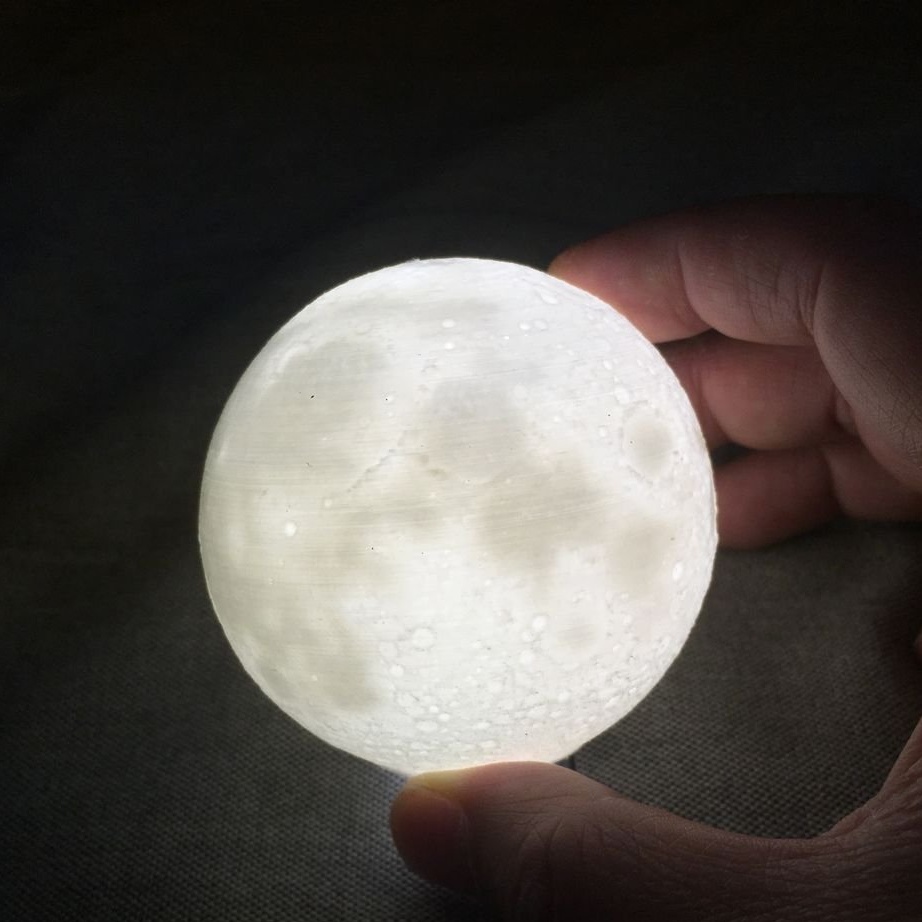
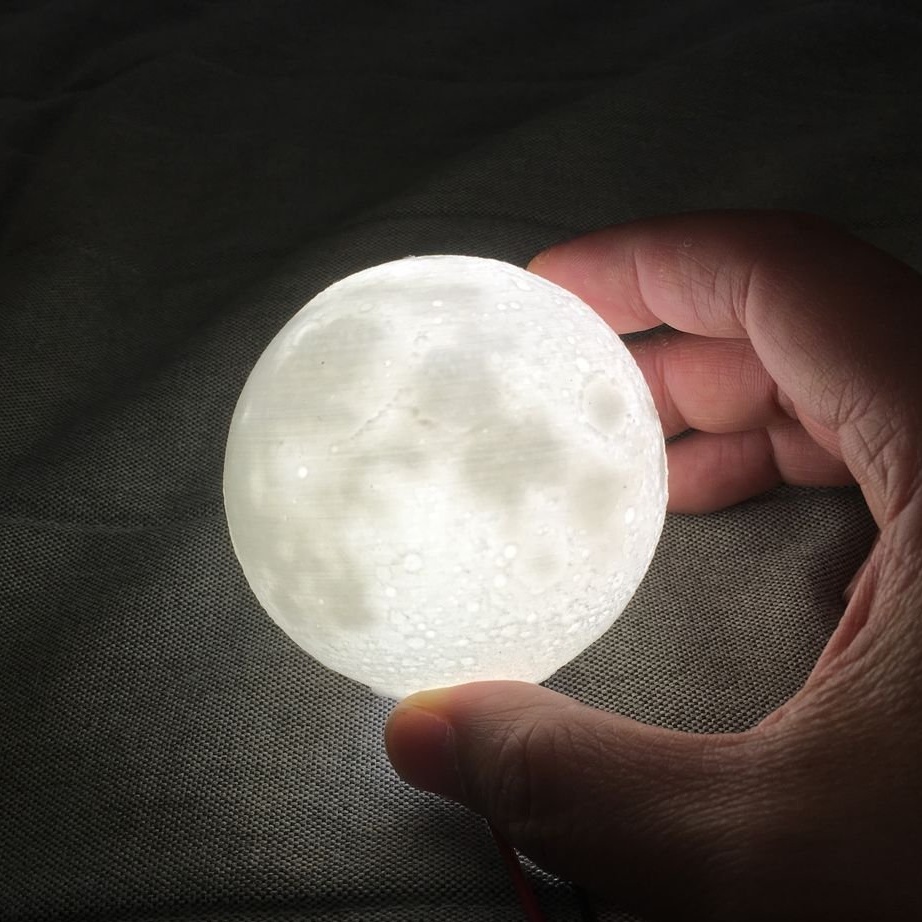
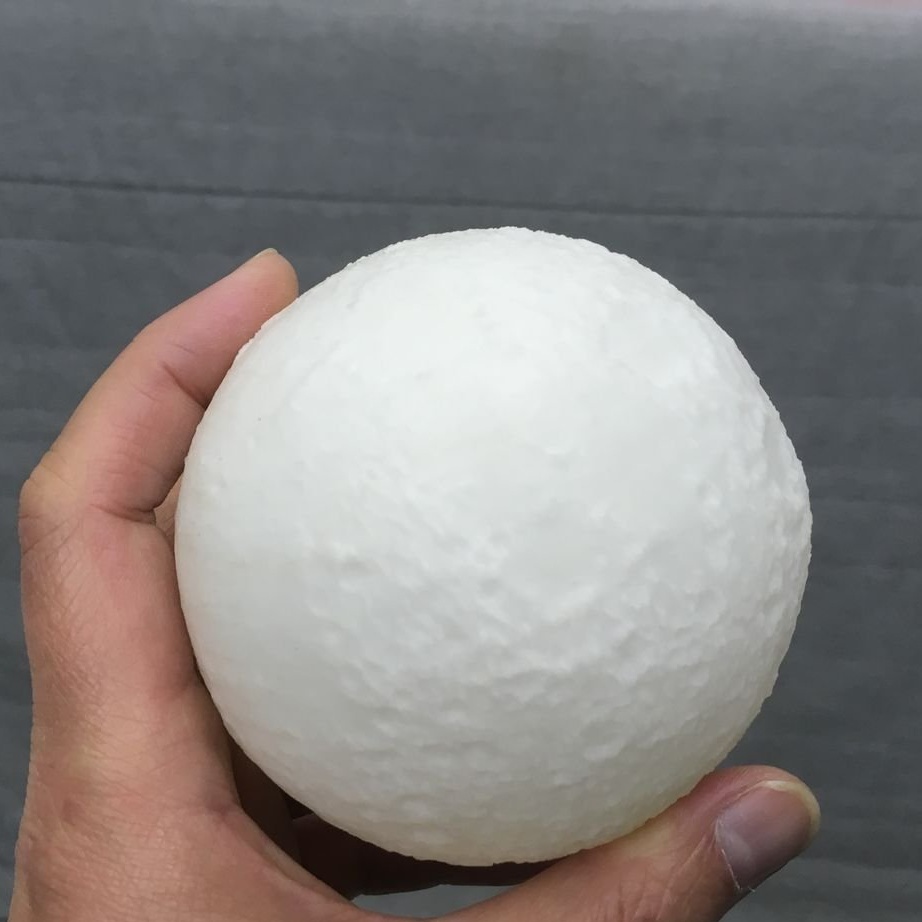
Seventh step: assembly and painting
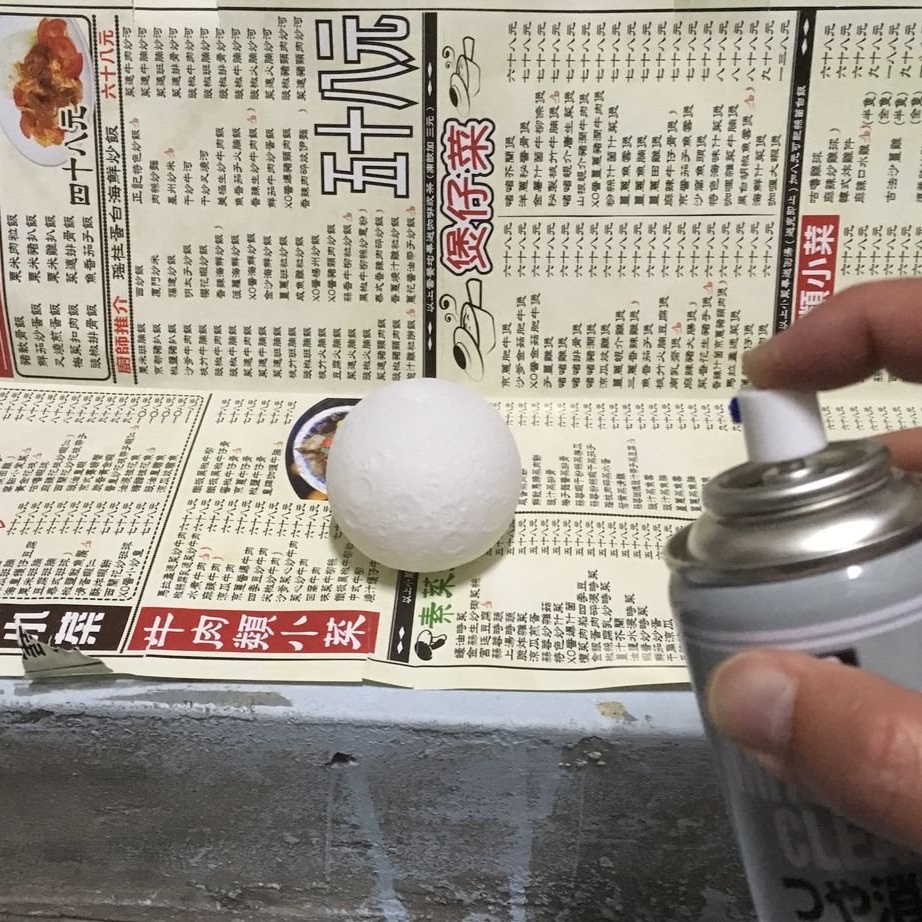
Now you need to glue the two halves and apply a matte paint.
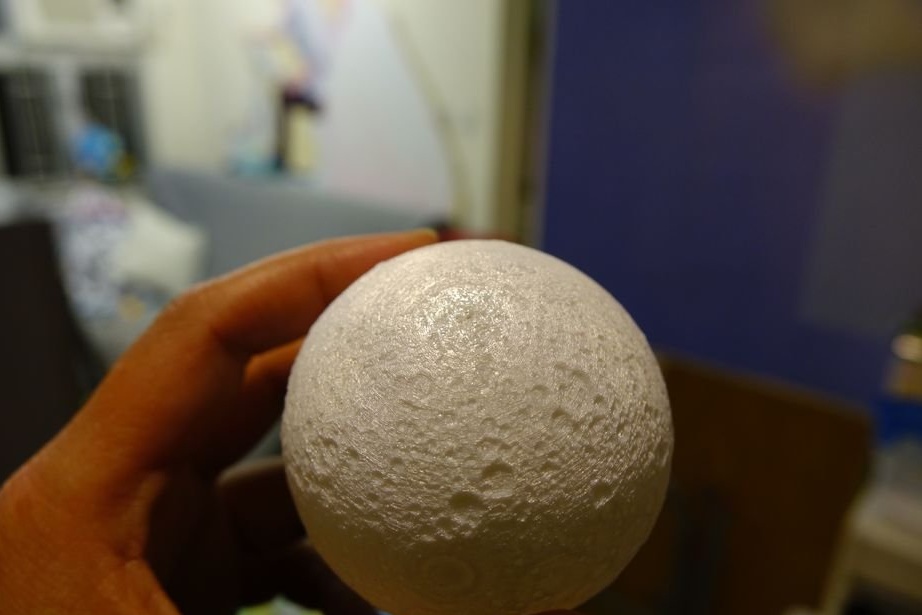
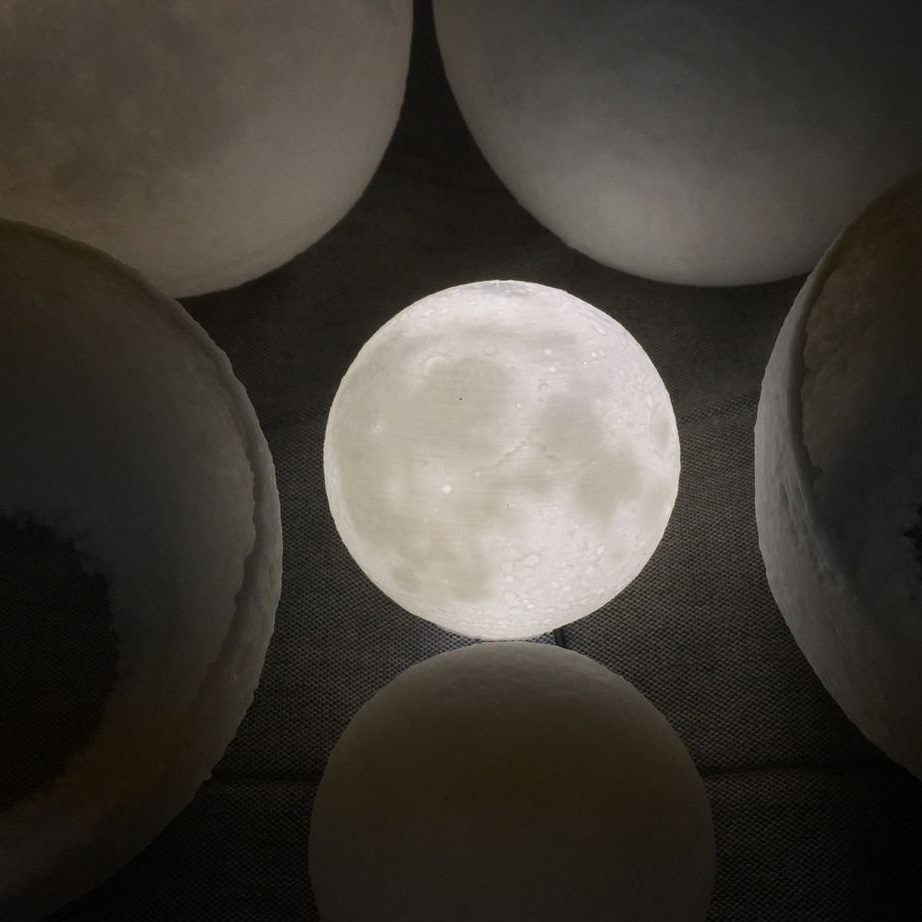
All is ready. Now you can use this model for, for example, the manufacture of a table lamp, or, having changed the scale, print a large model of the moon.