
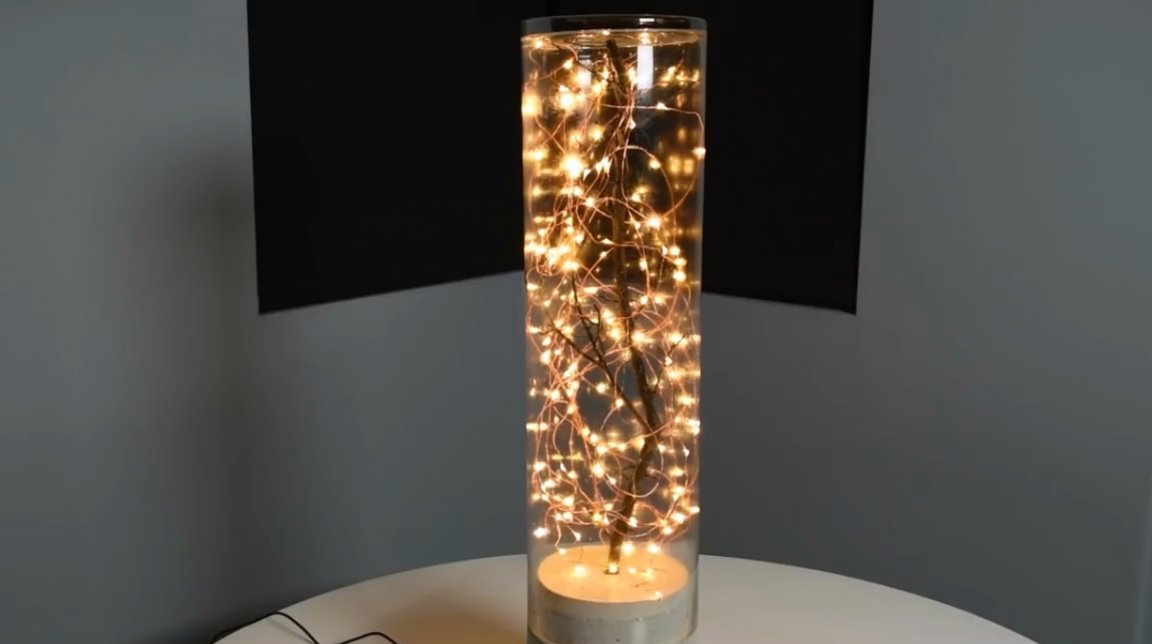
In this article, the author of YouTube channel “DIY Creators” will tell you how he made a LED lamp in a minimalistic design. The luminaire will be 30 inches high and about 7 inches in diameter.

Materials
—
- Cement, sand
- cylindrical vase
- Tin sheet
- Polyurethane foam
- Insulation tape
- Sandpaper.
Instruments, used by the author.
—
- Drills for concrete
—
- Ruler, marker, knife.
Manufacturing process.
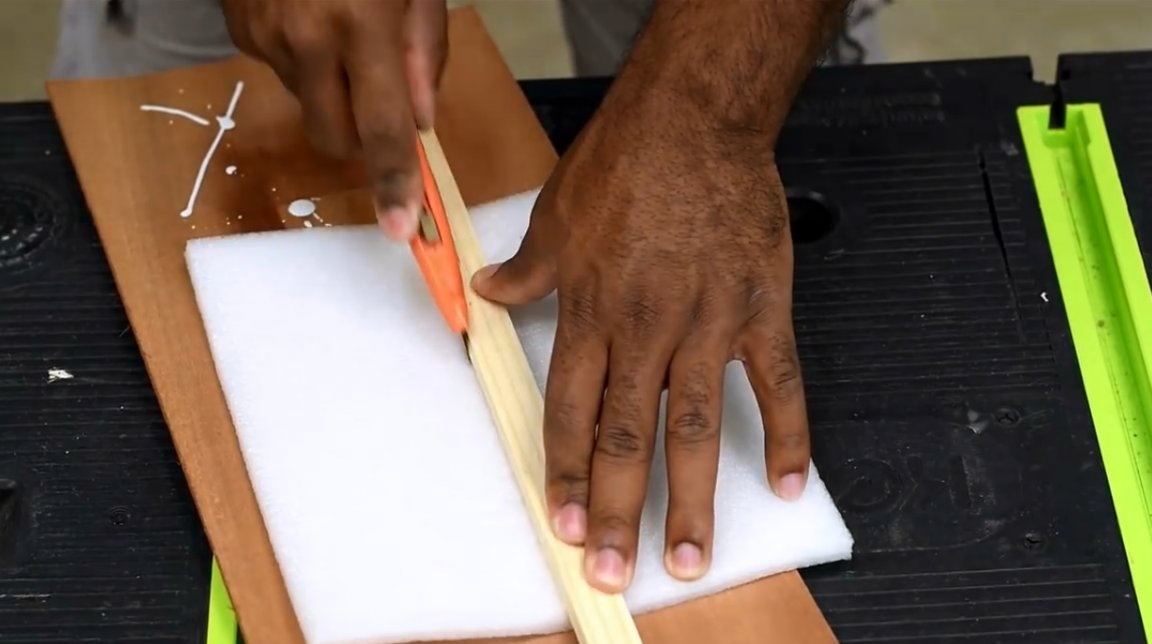
The author takes a piece of packaging polystyrene foam, folds it into a cylinder shape, and fastens the edges with tape.
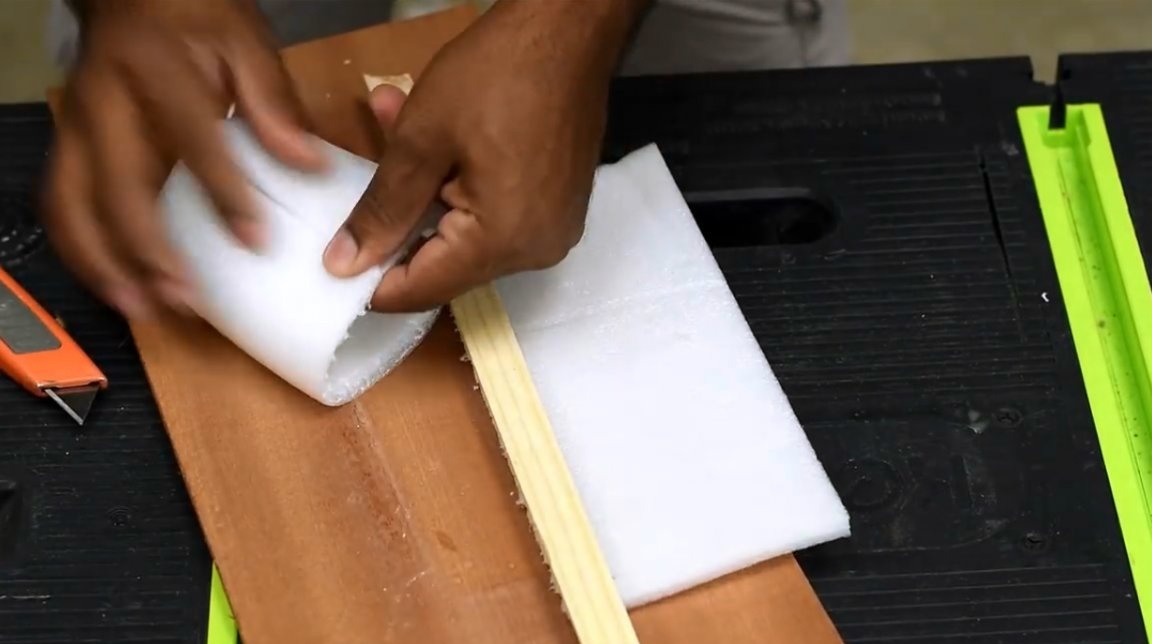
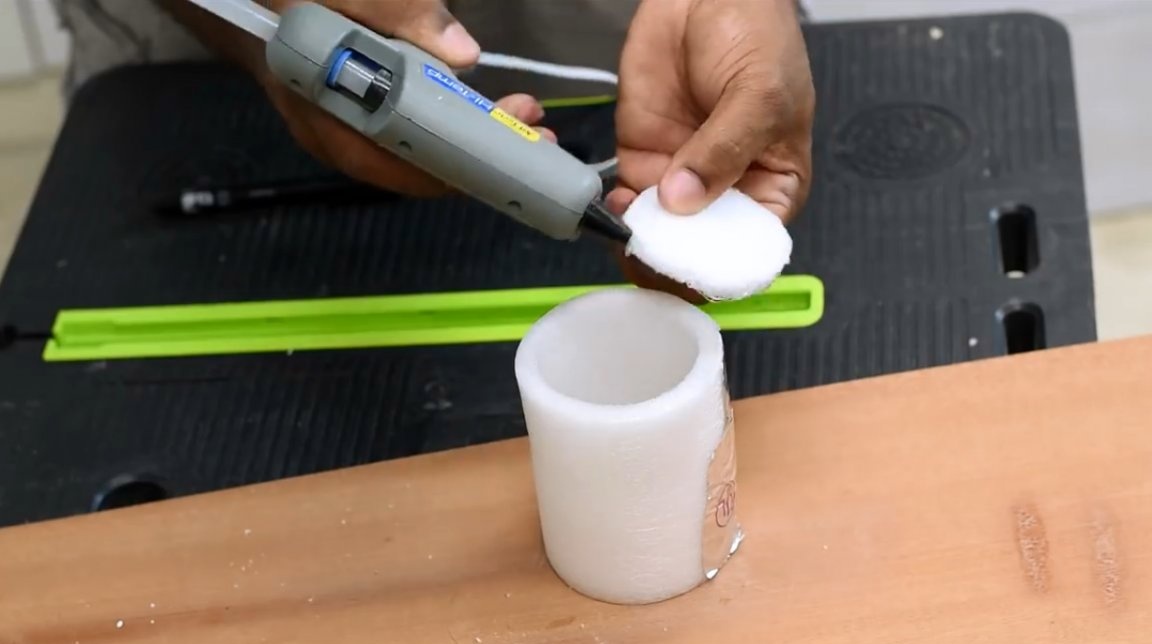
Further, from the same material, he cuts out a circle and puts its formed shape on the bottom.
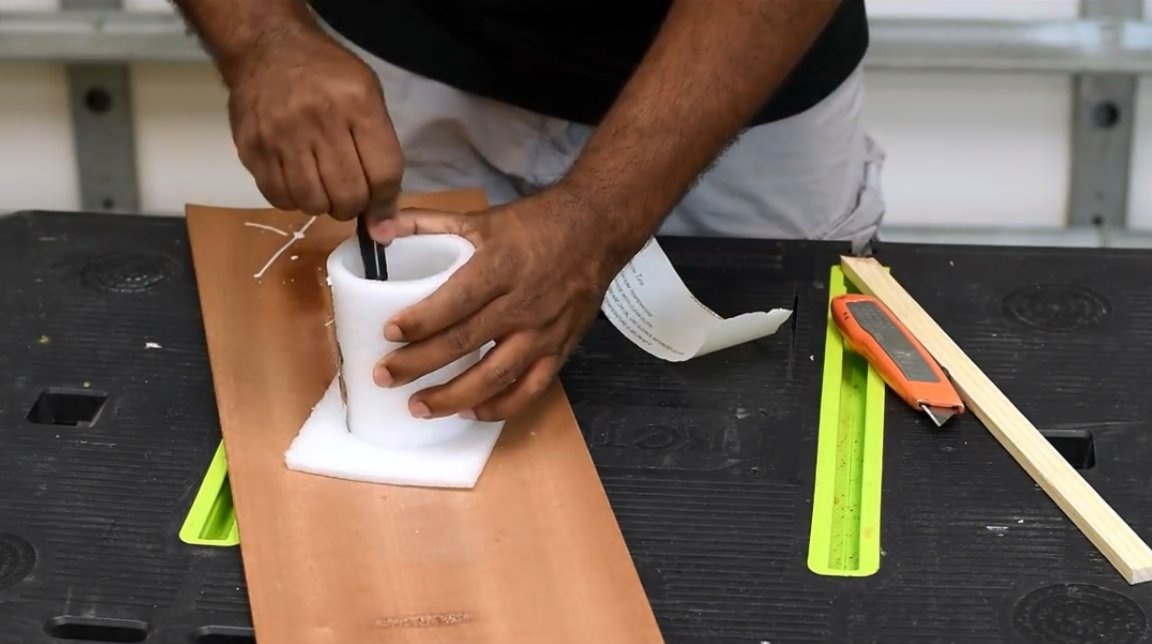
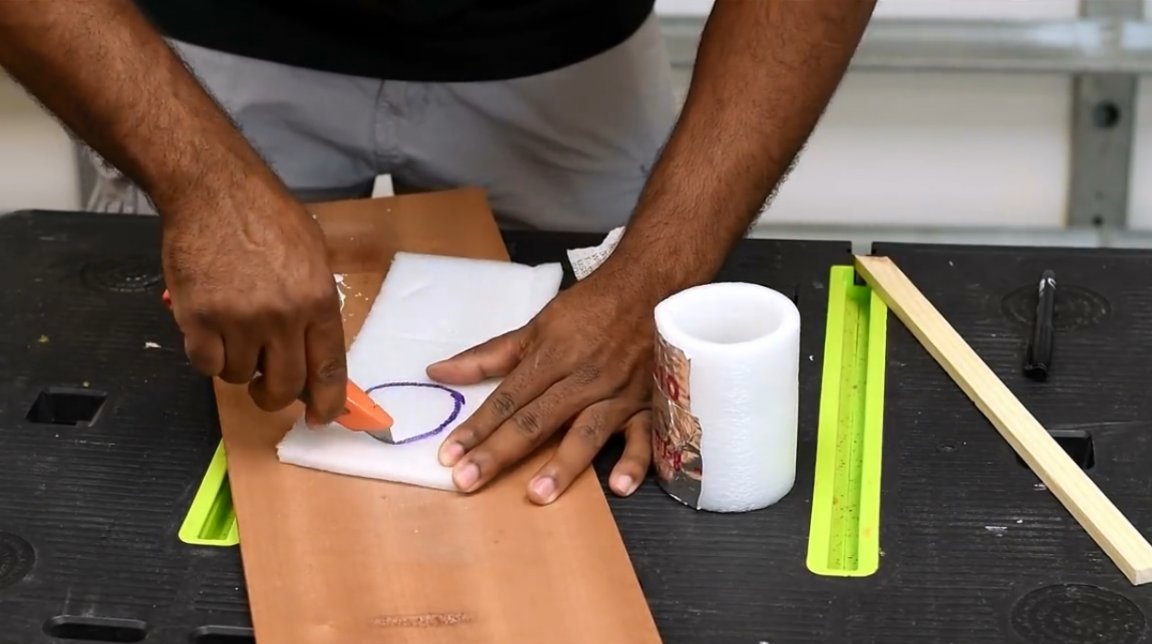
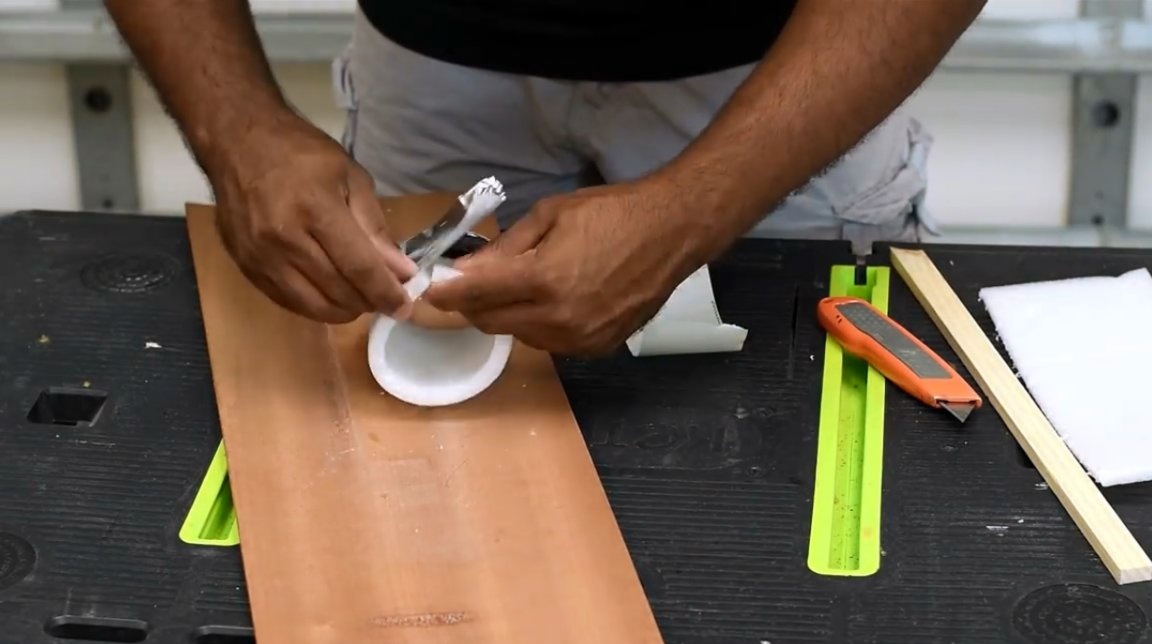
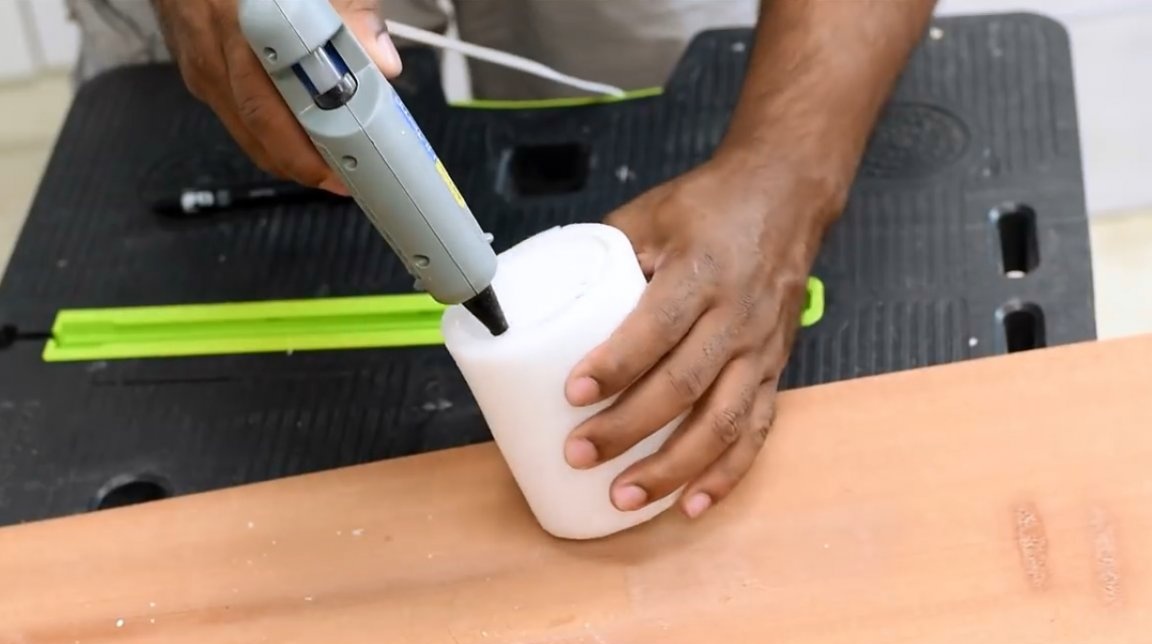
To fix the bottom, the master uses hot glue. First, it passes the inner circumference, and then, when the glue cools down a little, it glues the outside. All this will later be placed inside the cement mold.
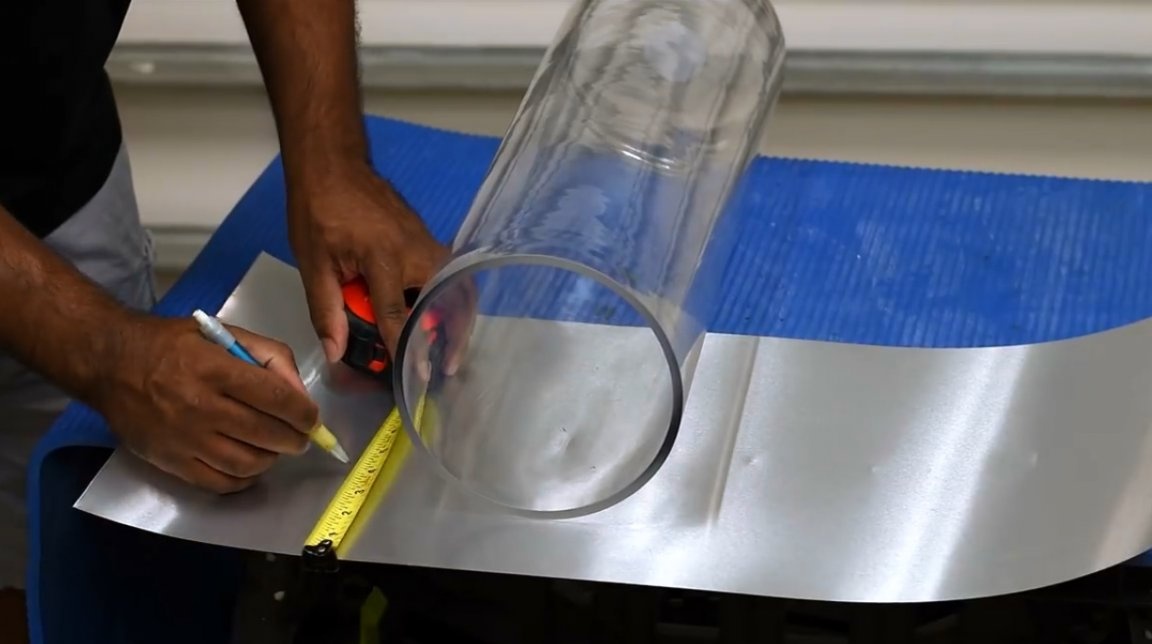
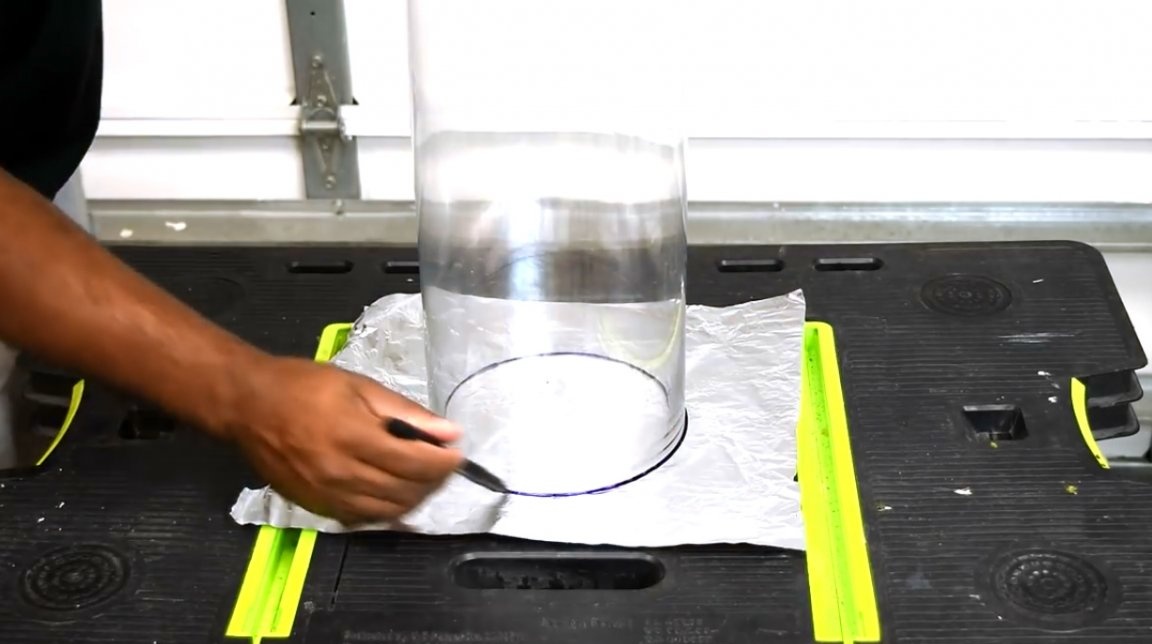
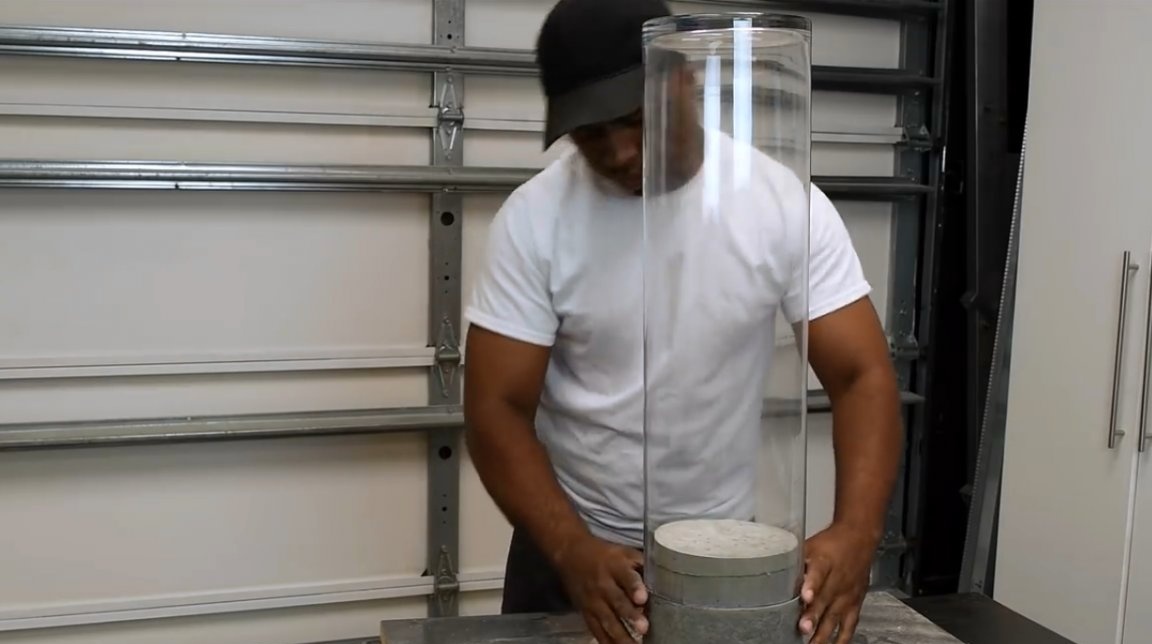
Next, the author takes a glass vase. The length of this vase is approximately 24 inches with a diameter of 7 inches.
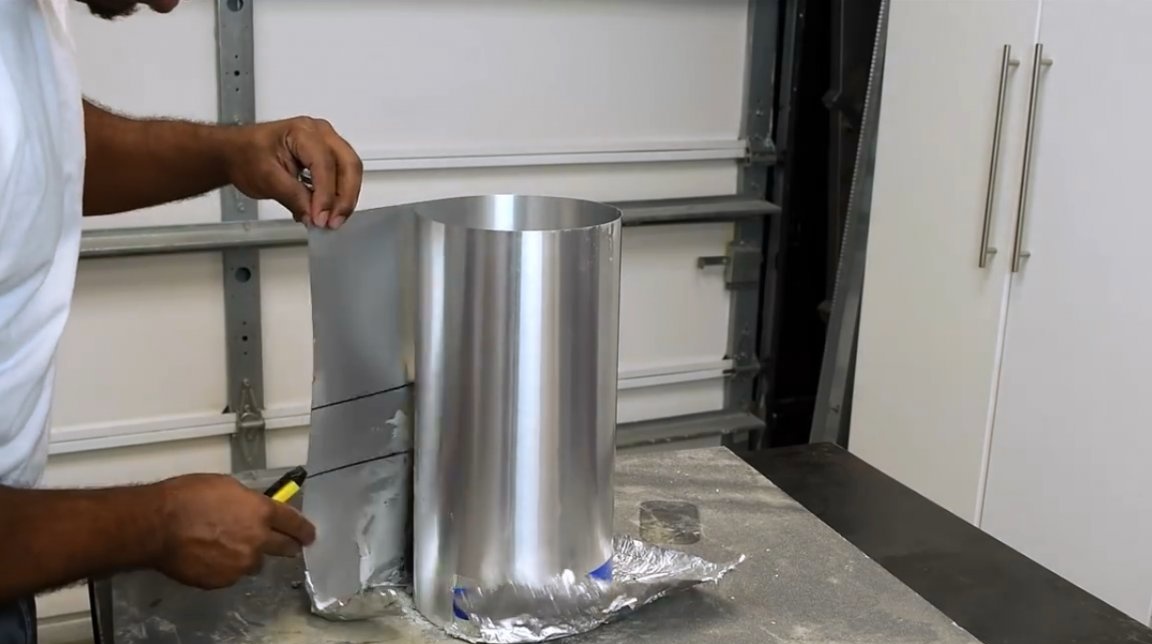
Now the author sketches the thickness of the base. He also draws a second line that marks how thick the cement layer should be inside the mold. The master applies a tin sheet, which can be obtained at the hardware store. He secures the sheet along the outer circumference of the vase.
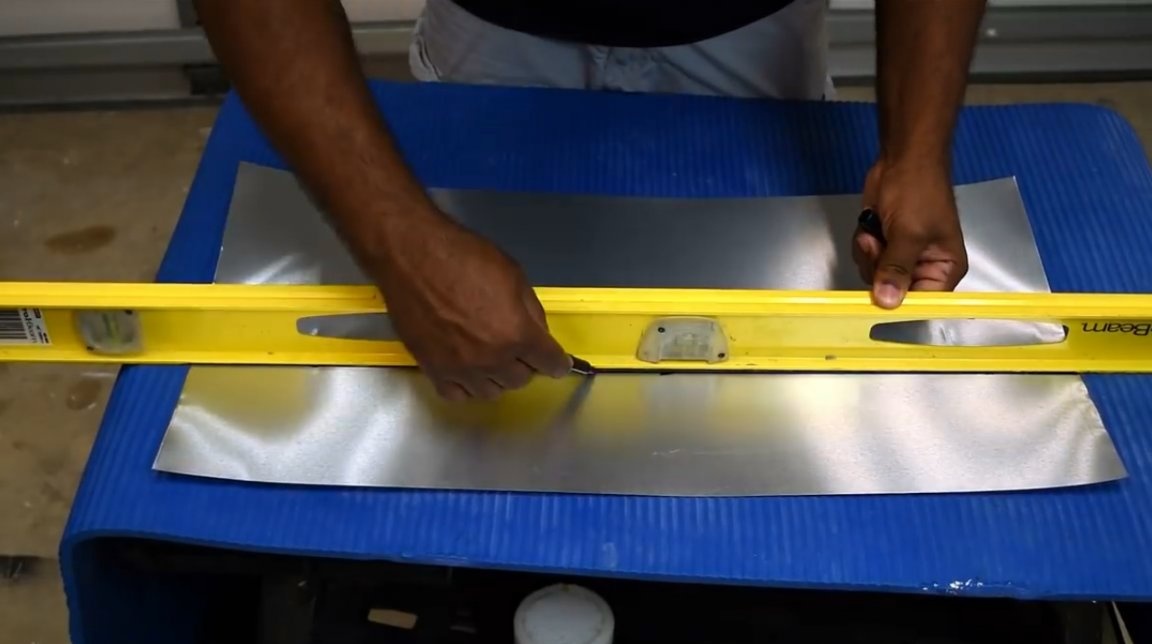

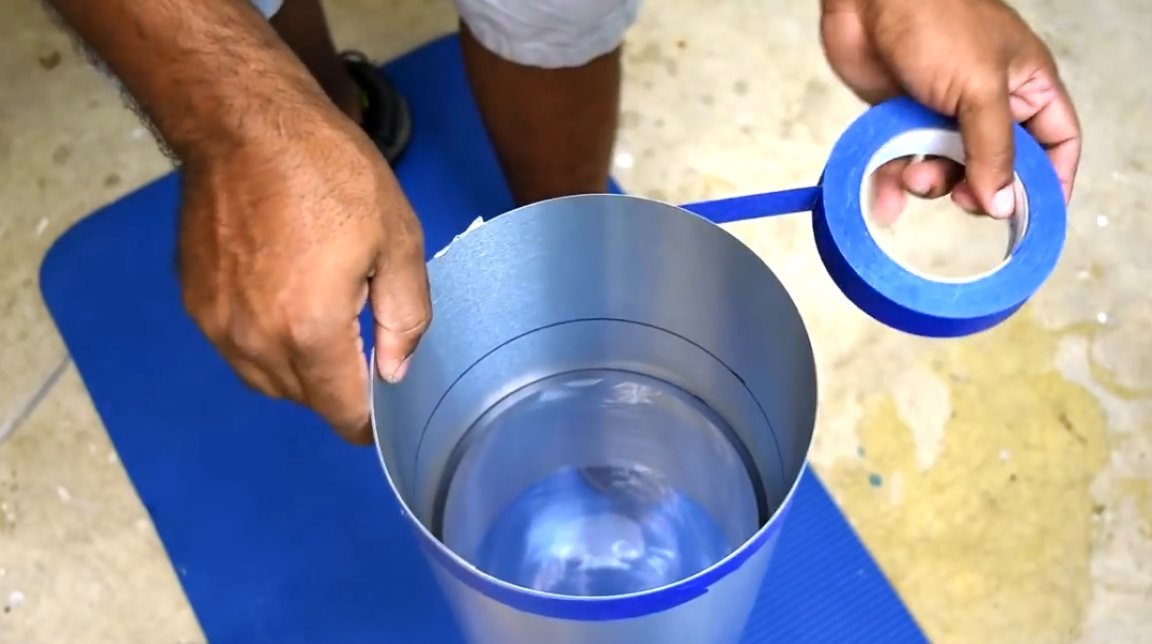
To narrow the base of the mold, the craftsman uses waterproof tape, an inch wide.
Then he wraps the top of the glass form with thread and in the place where both ends of the thread intersect and there will be a mark on the circumference.
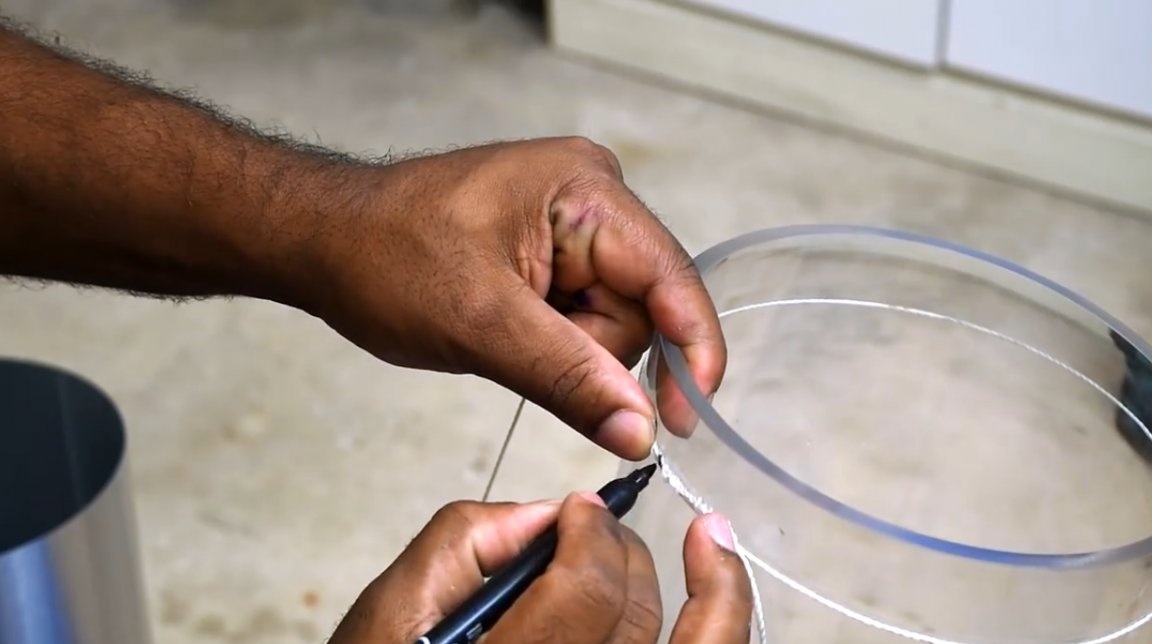
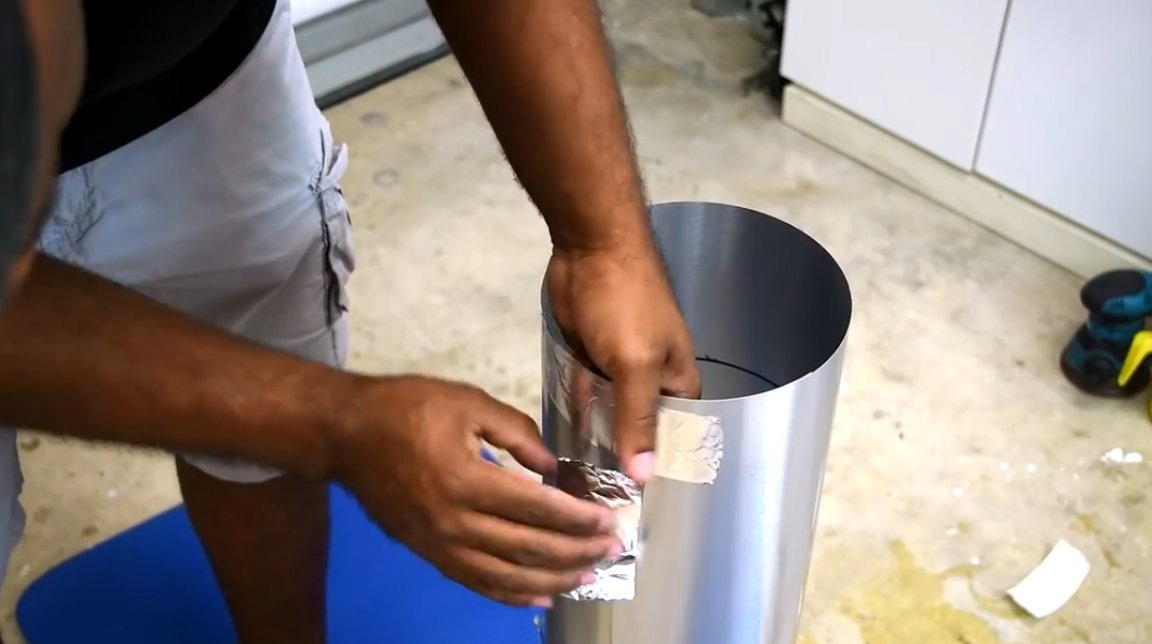
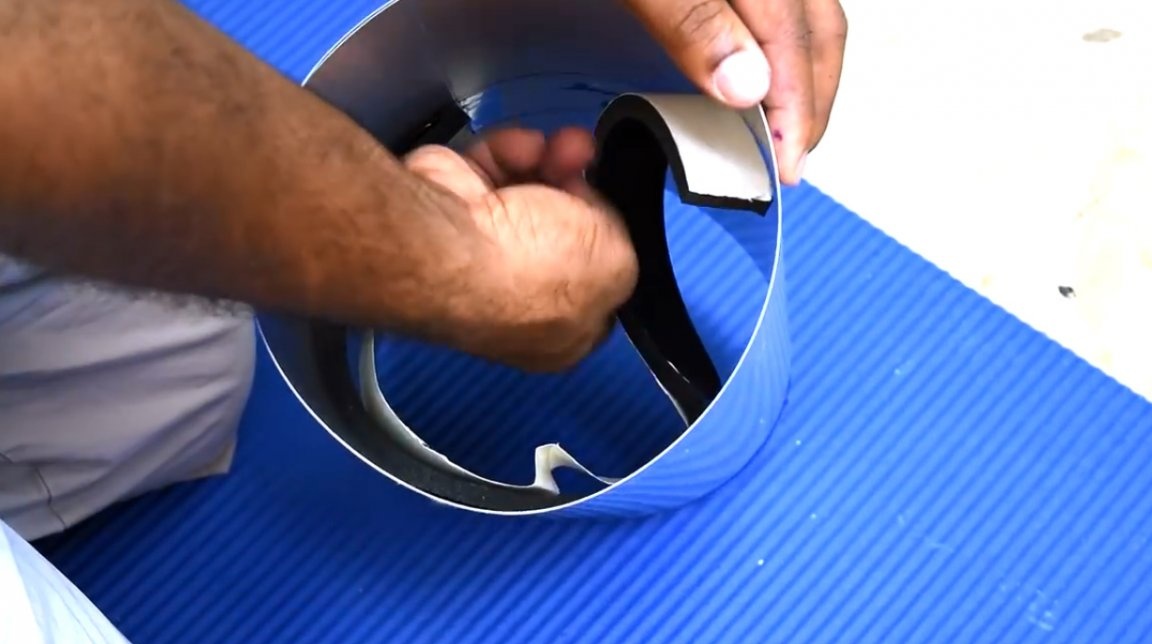
Then he inserts a rubber jumper inside the metal sheet, and glues it along the line that was previously marked. But before you do this, you need to know the circumference. If for some reason you didn’t have a thread at hand, but you have a head on your shoulders and even poor knowledge of mathematics, you can multiply the diameter, in our case it’s 7 inches, with the Pi number 3.14 and get the desired number - length circles.
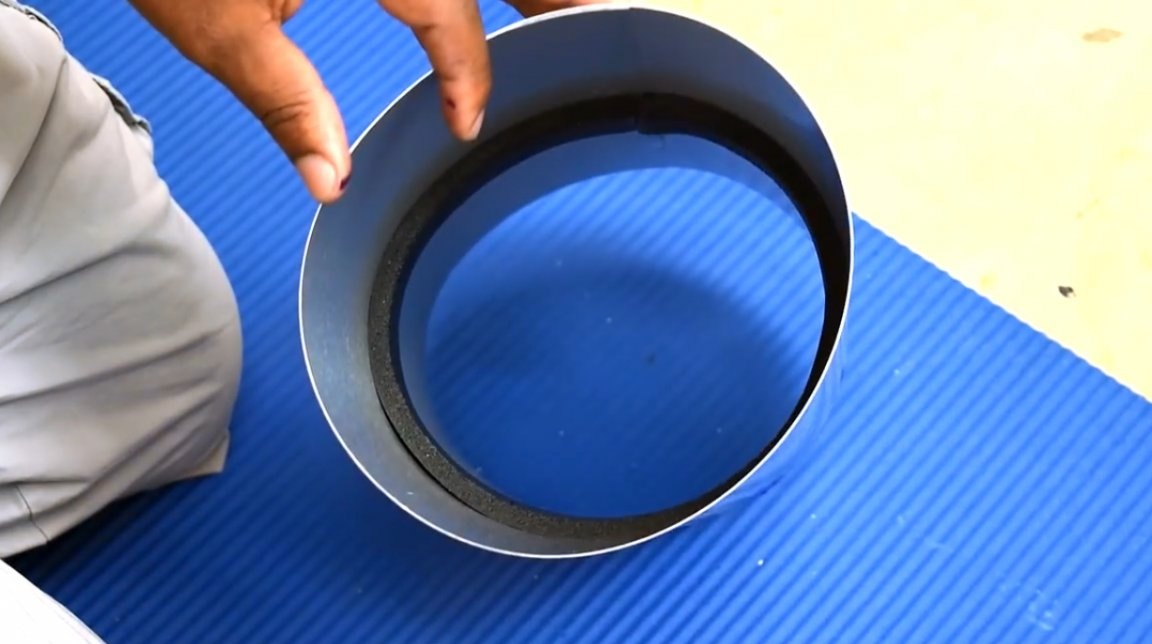
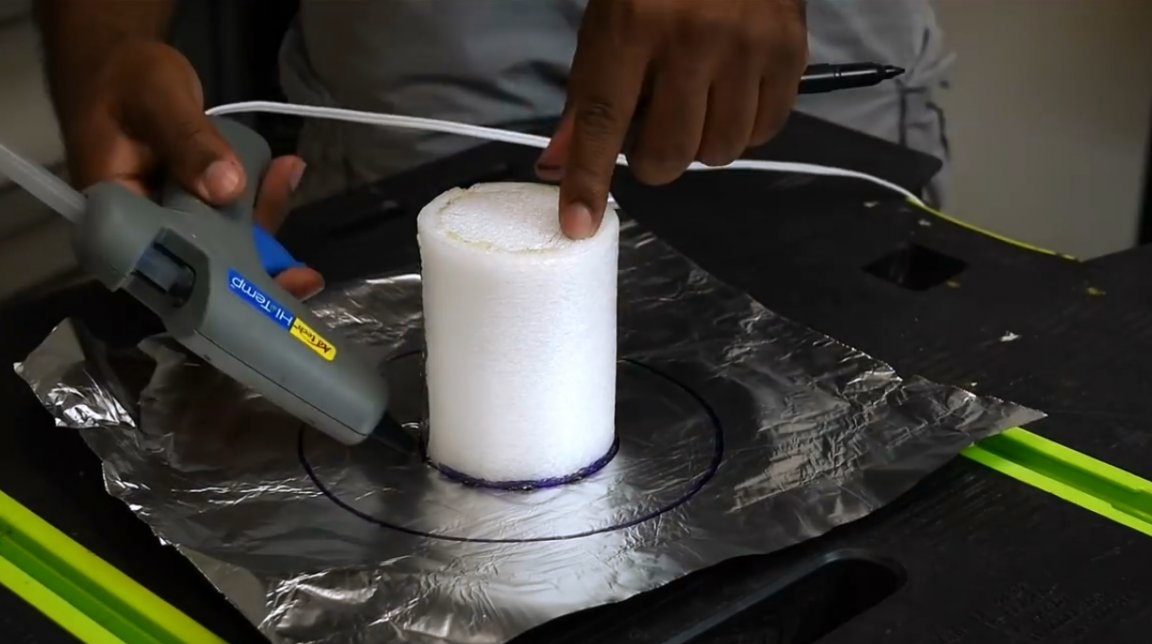
Then the author takes a piece of aluminum foil and outlines the outer contour of the vase. He puts a polyurethane foam cylindrical insert in the center of the circle, and again circles around the edge.
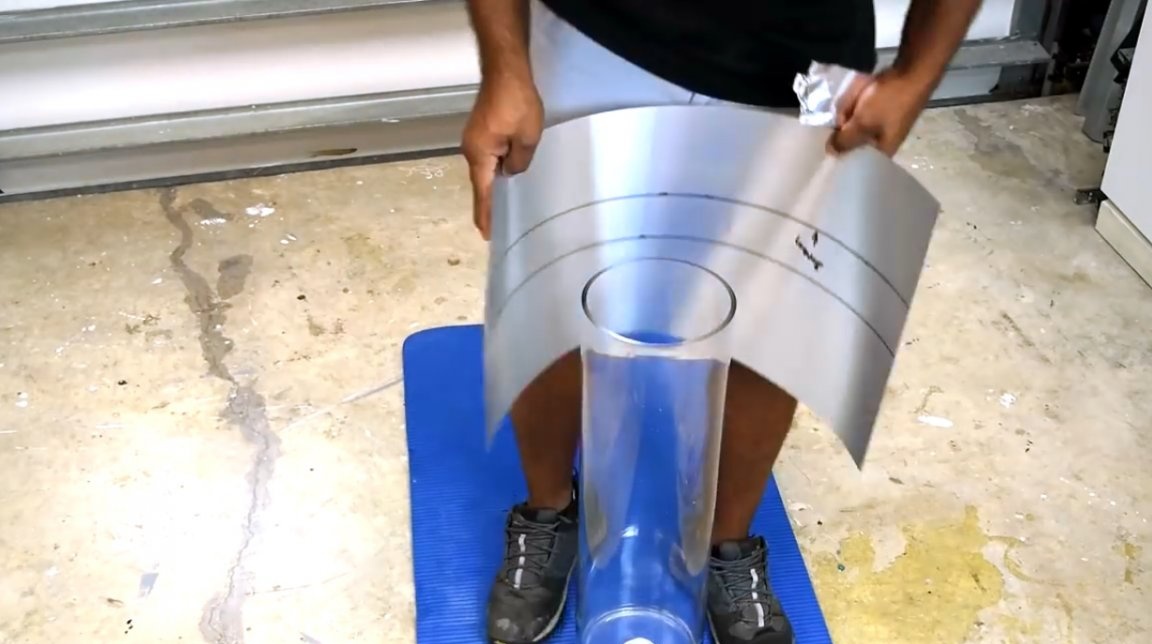
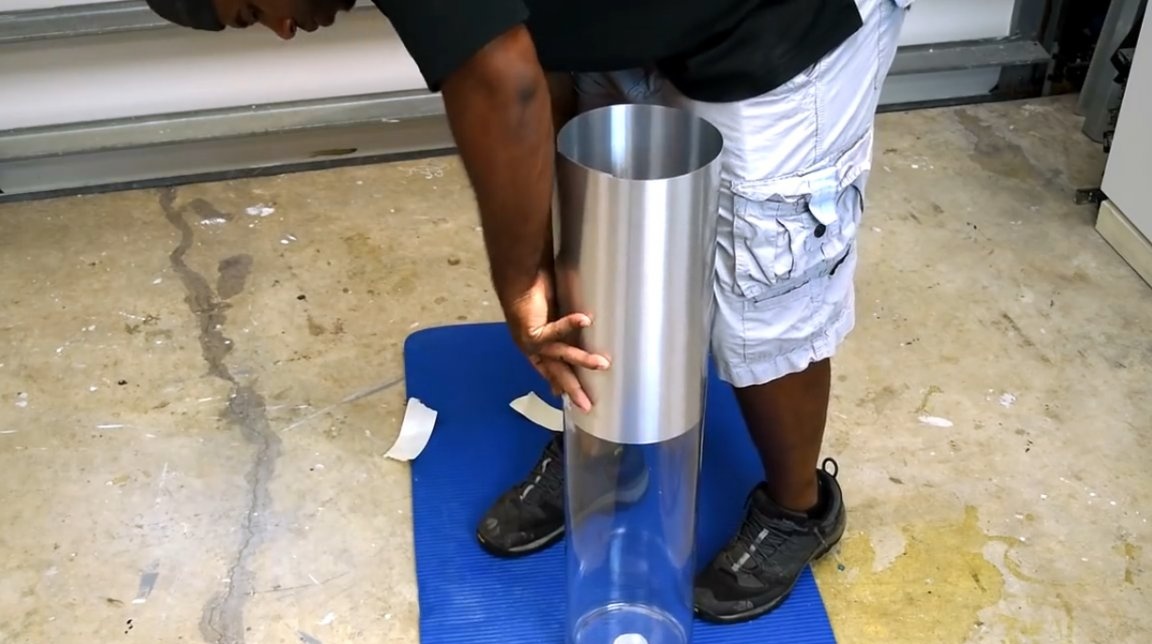
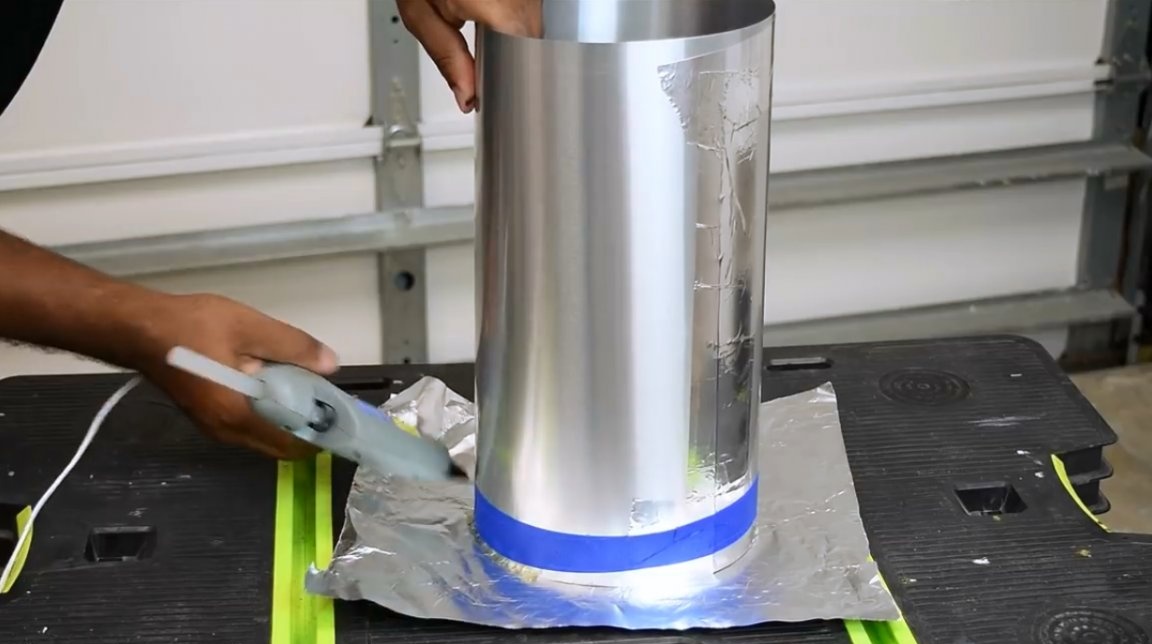
The gasket sticks to the foil with hot glue. Then a pipe from a rolled metal sheet is placed over it. An external contour helps to accurately align the handset with the center

And again, the base of the pipe is coated with hot glue. It should be held still for a while until the glue cools down a little and hardens.
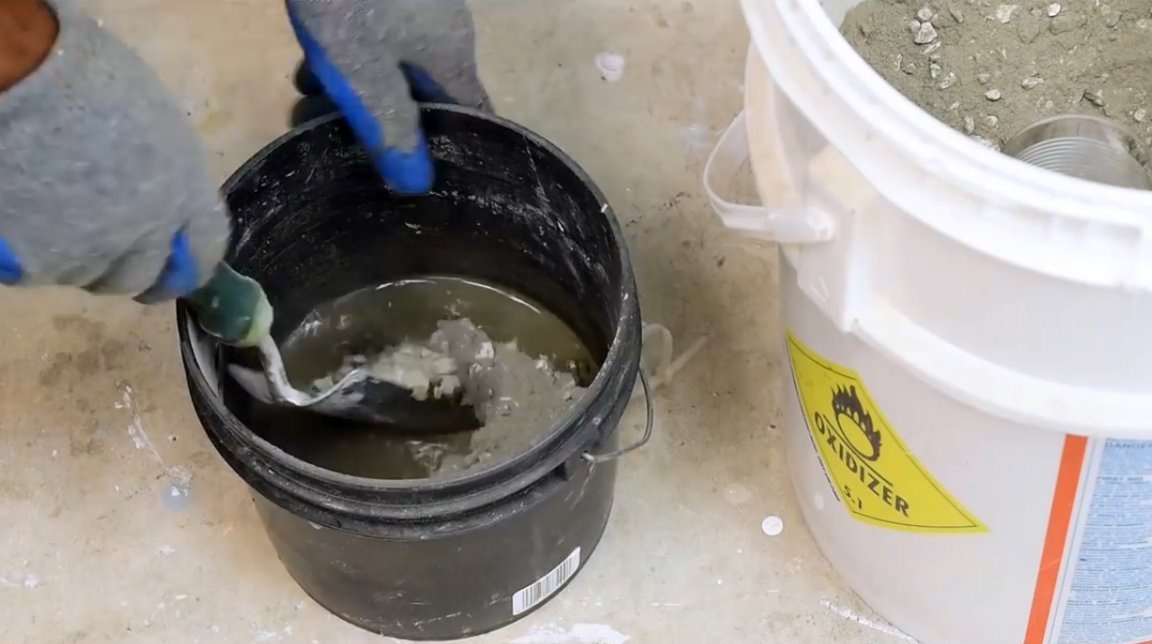
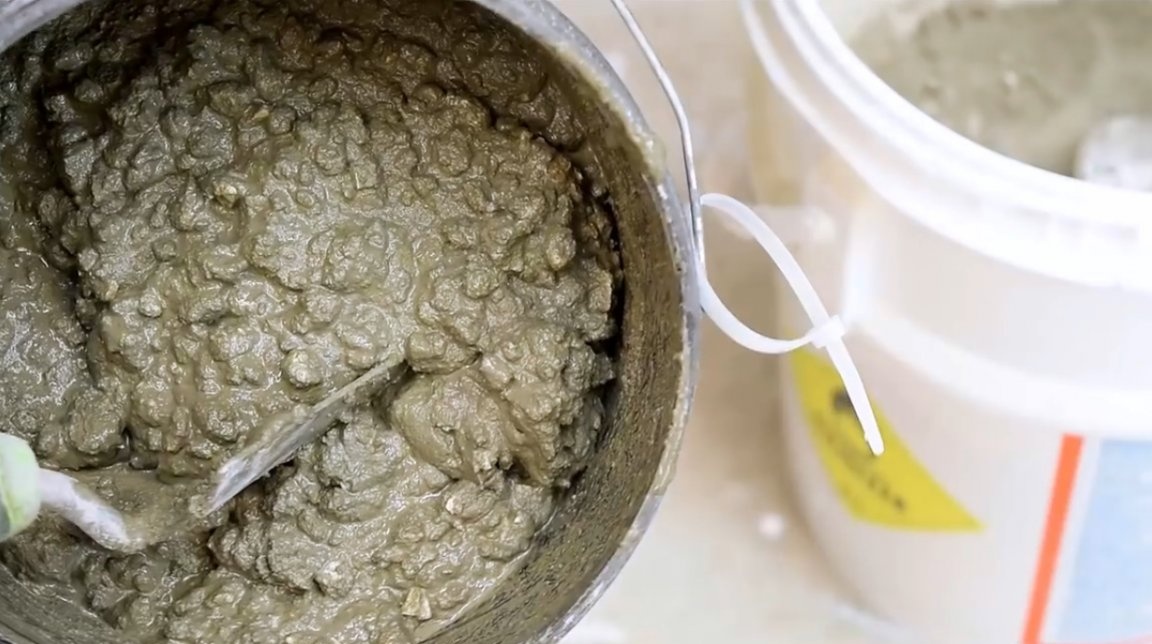
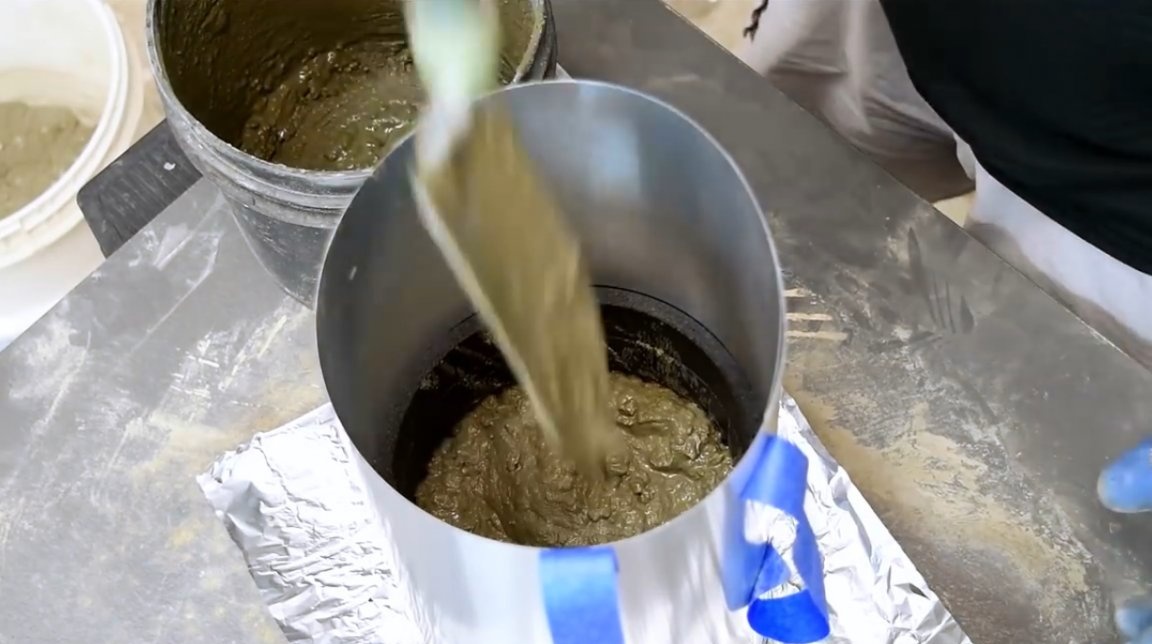
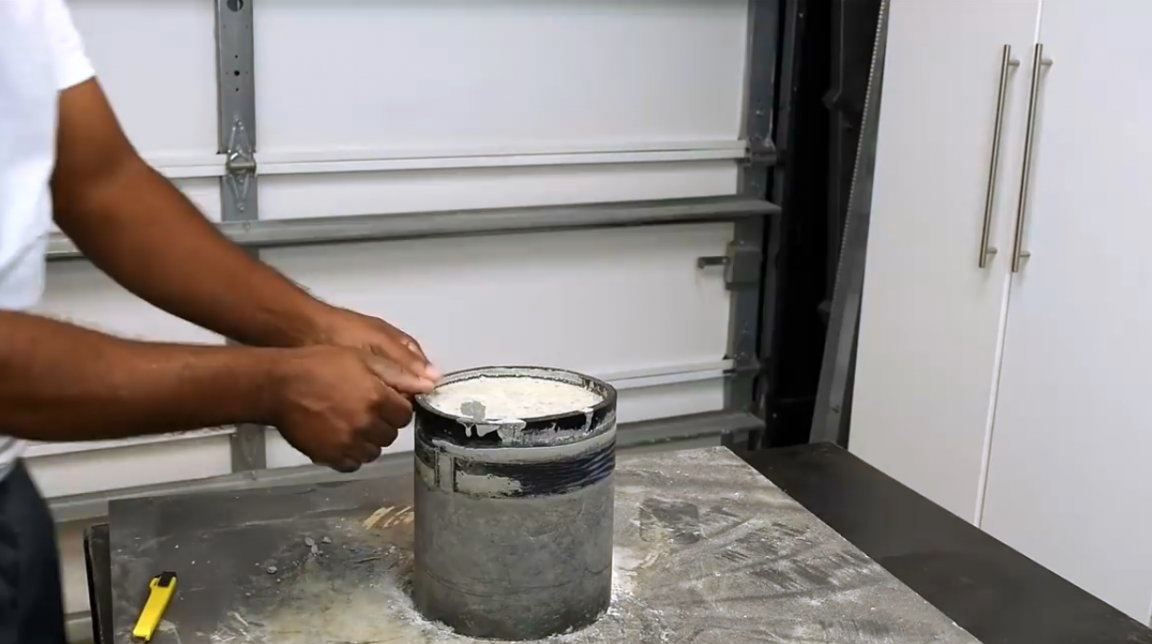
The next step, the author starts a cement mortar. A little water and thorough mixing. In order for the solution to turn out not too liquid or, on the contrary, not too viscous, it is worthwhile to carefully study the instructions on the package and strictly maintain the proportions indicated there. Before starting work with cement, the master puts on gloves. Cement is laid in the form in small portions, while being evenly distributed over the entire plane of the bottom. The form is filled so that up to the upper rim is half an inch of empty space.
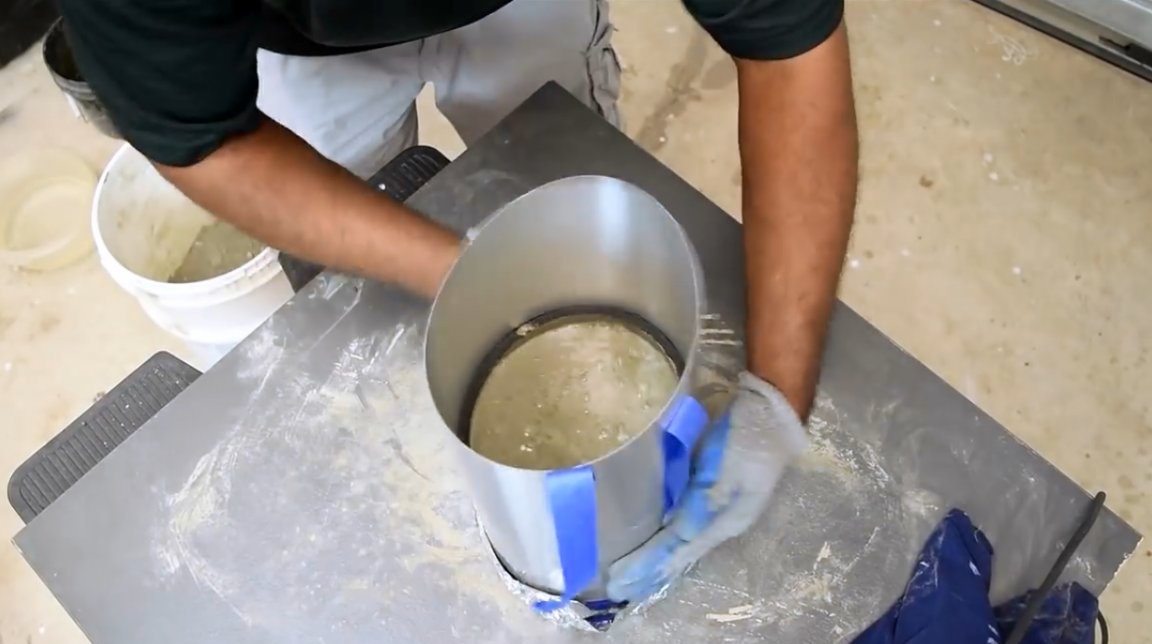
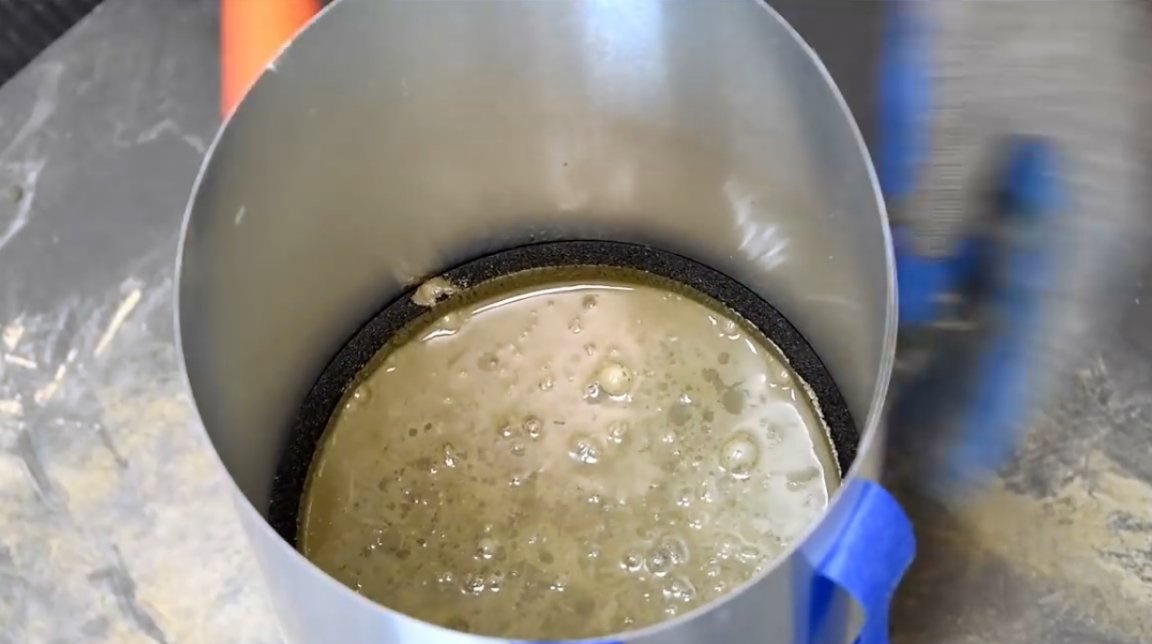
Next, the form should be shaken slightly to release the solution from air bubbles. Fortunately, this form is very flexible.
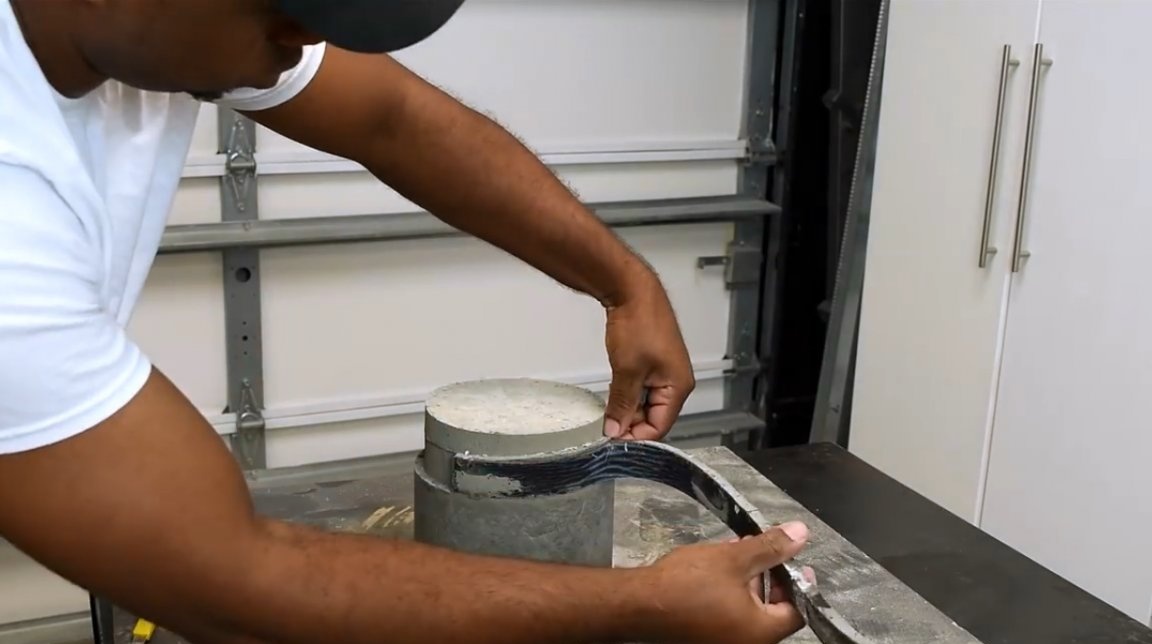
Cement stands in the form for 4 days, after which the form can be carefully removed.
Those who do not like the natural color of cement, and would like to open it with some kind of paint, should wait 28 days. During this time, the cement will completely dry, gain maximum strength, and the paint will ideally lie on it.
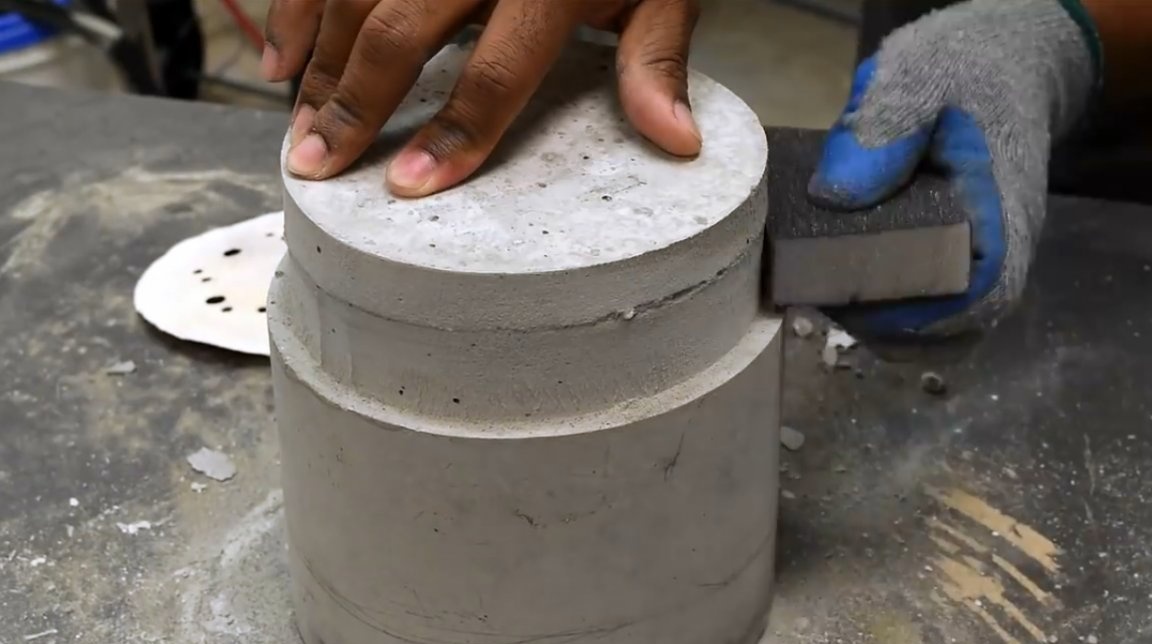
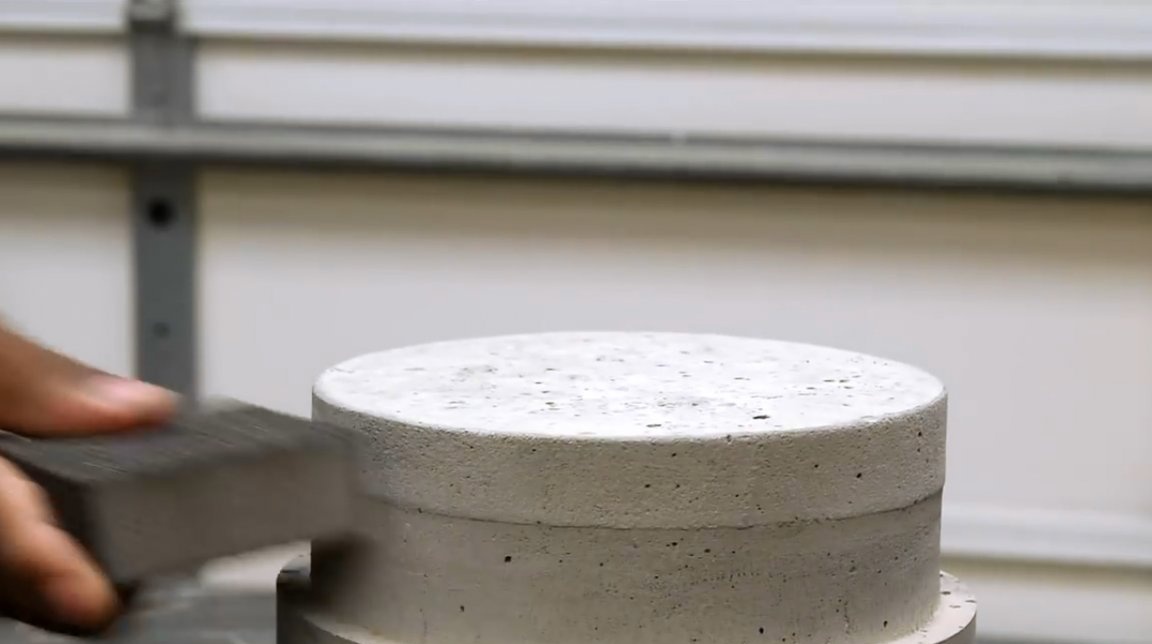
The author removes the rubber tape, and at that moment realizes that he should have put tape between the two strips of rubber sealant. Then he would have managed to avoid this scar. But it does not matter. It is easy to break off with a hand and clean it with sandpaper.
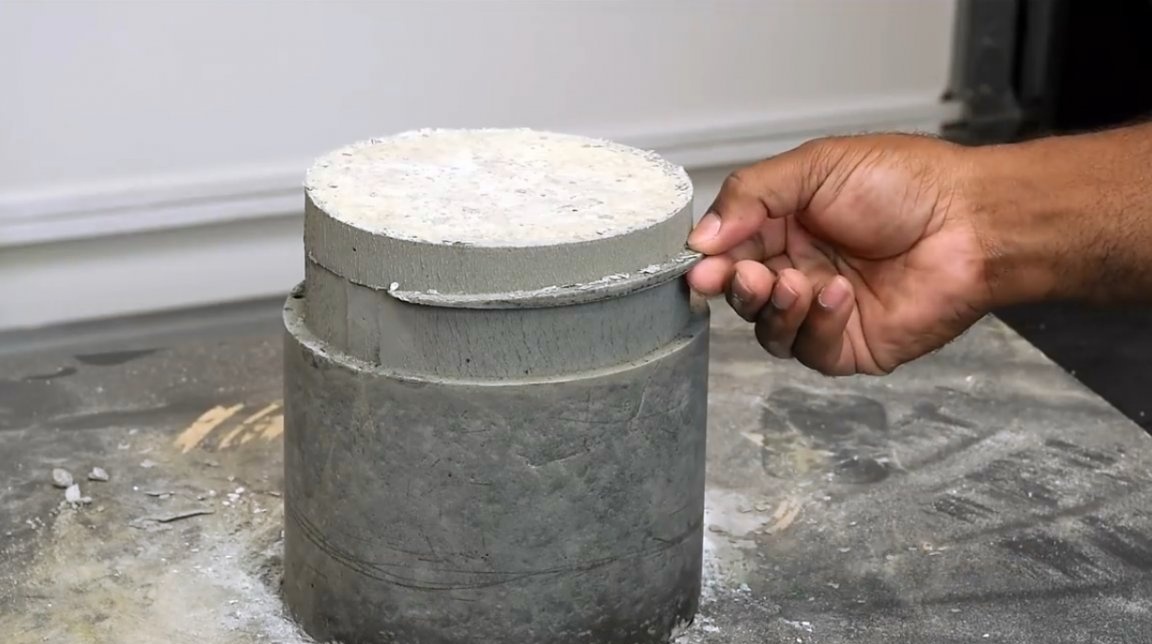
Now aluminum foil is removed from the base. It looks very pretty.
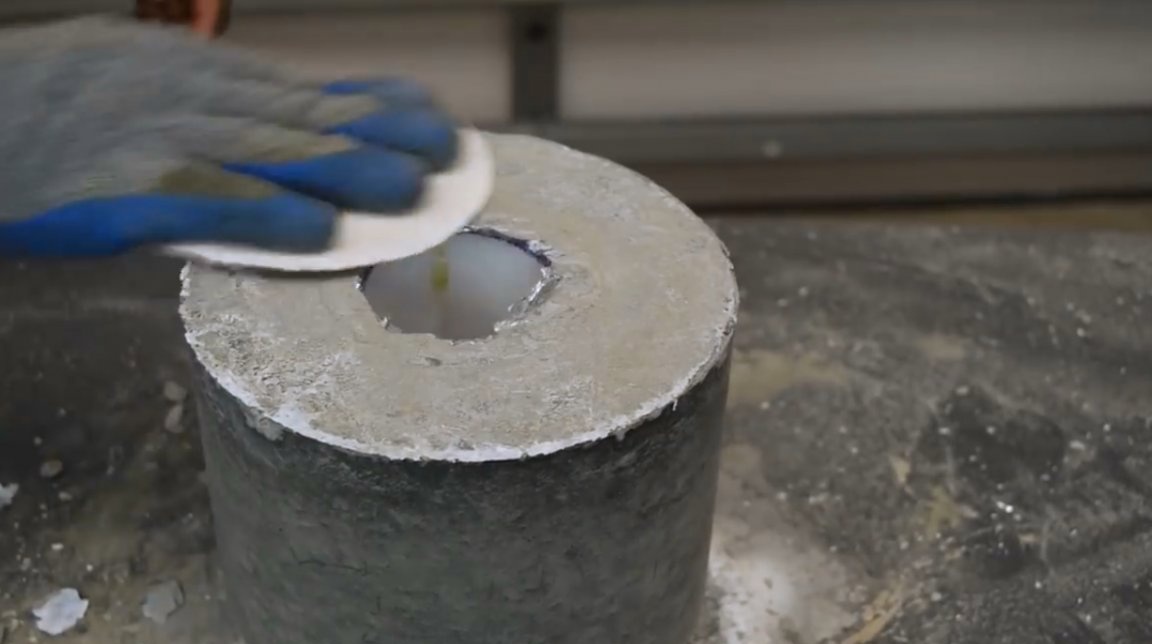
Next, a little stripping. There is no need to “lick” the surface to the ideal, but you can bring a little beauty.
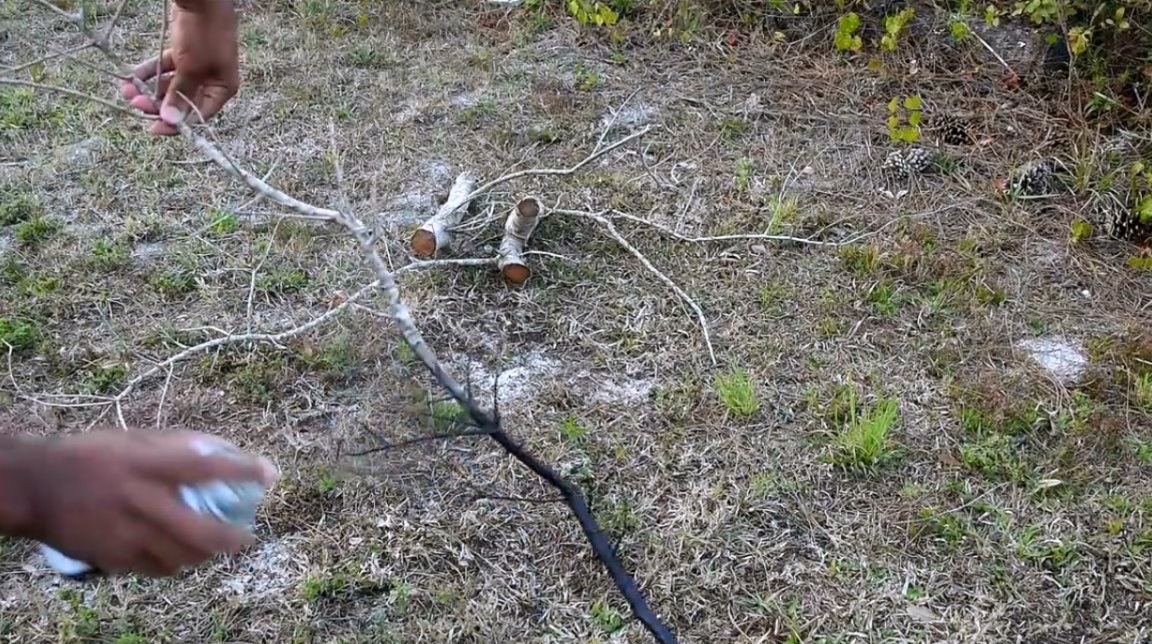
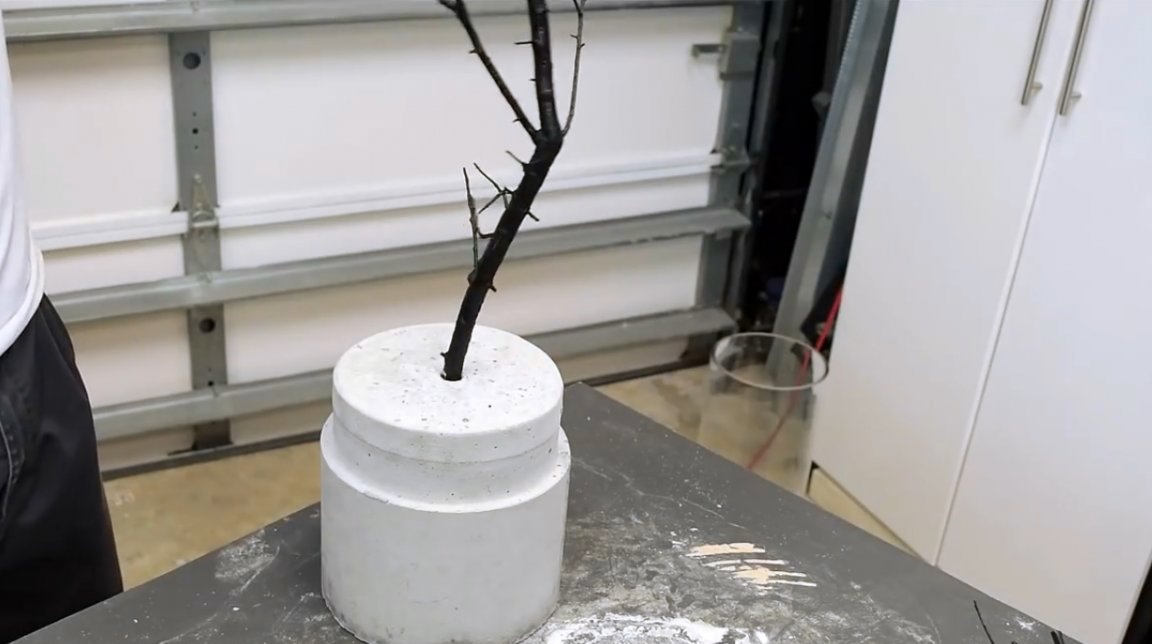
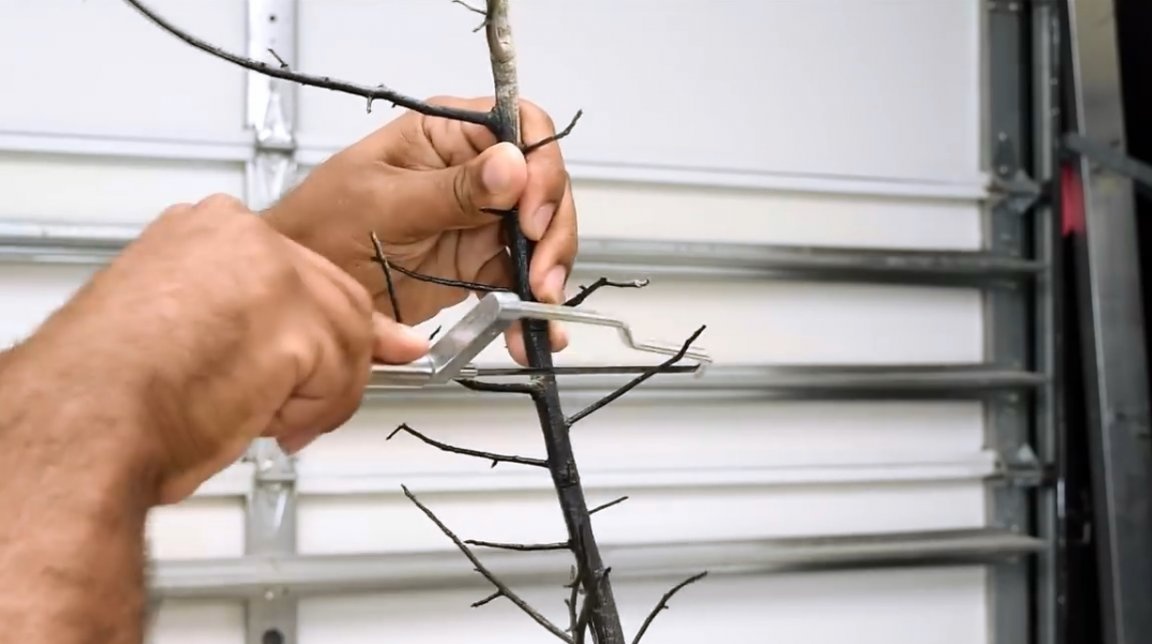
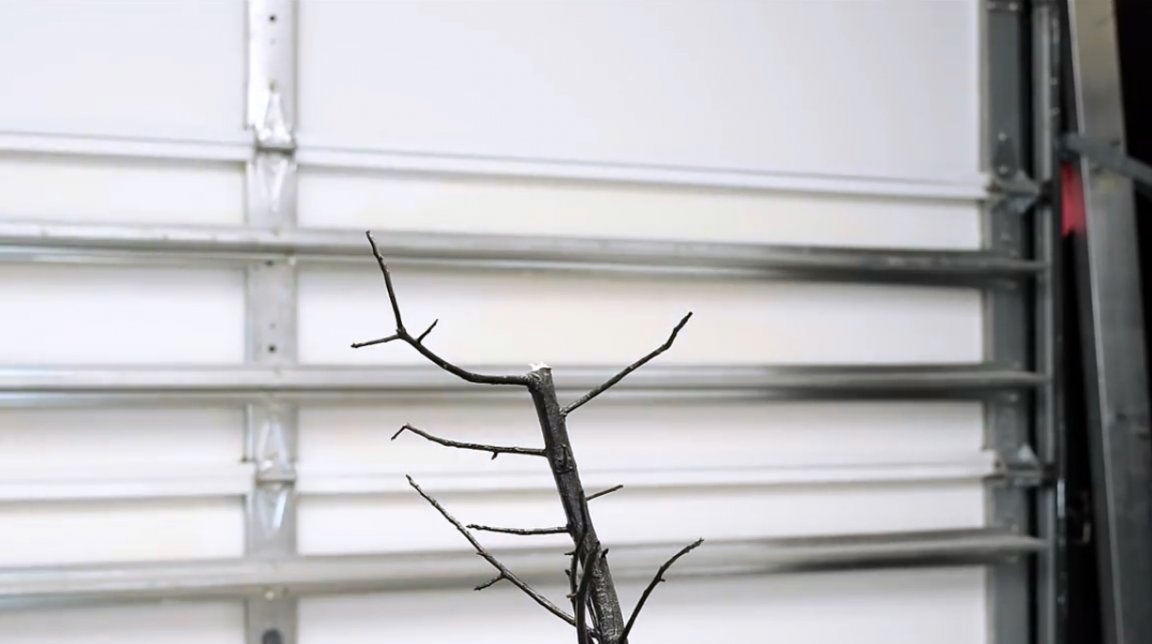
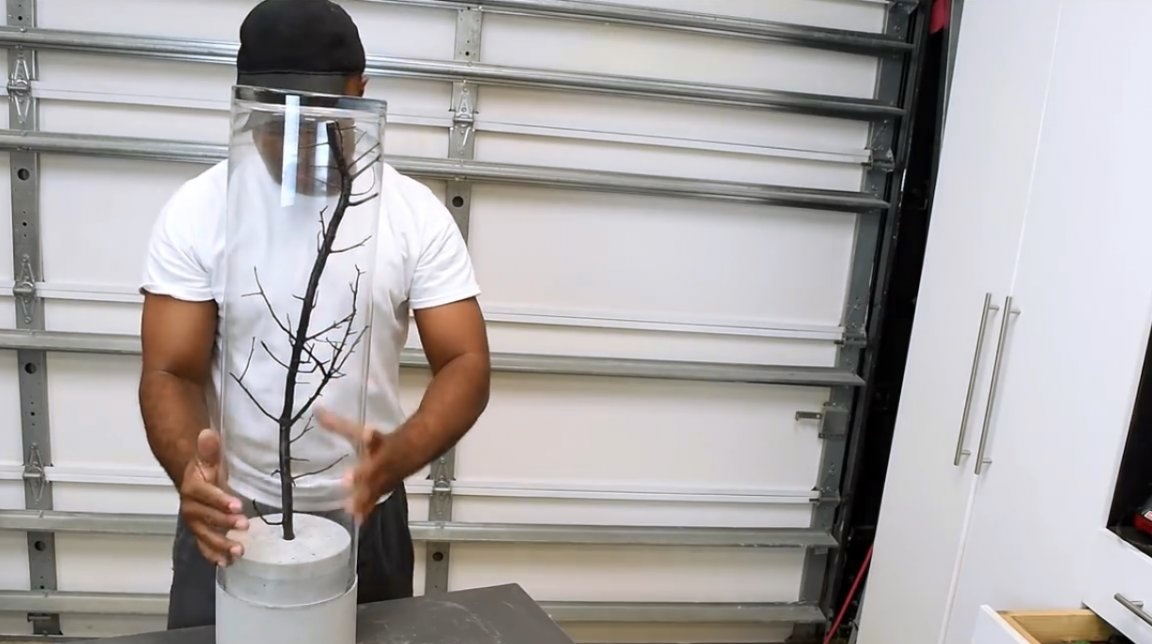
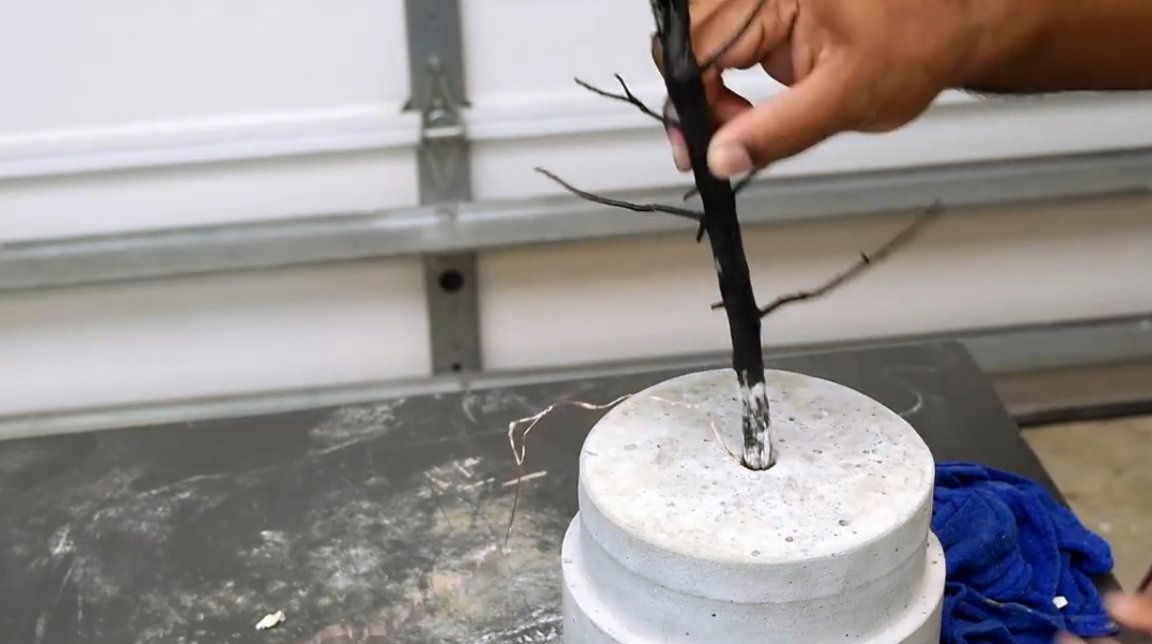
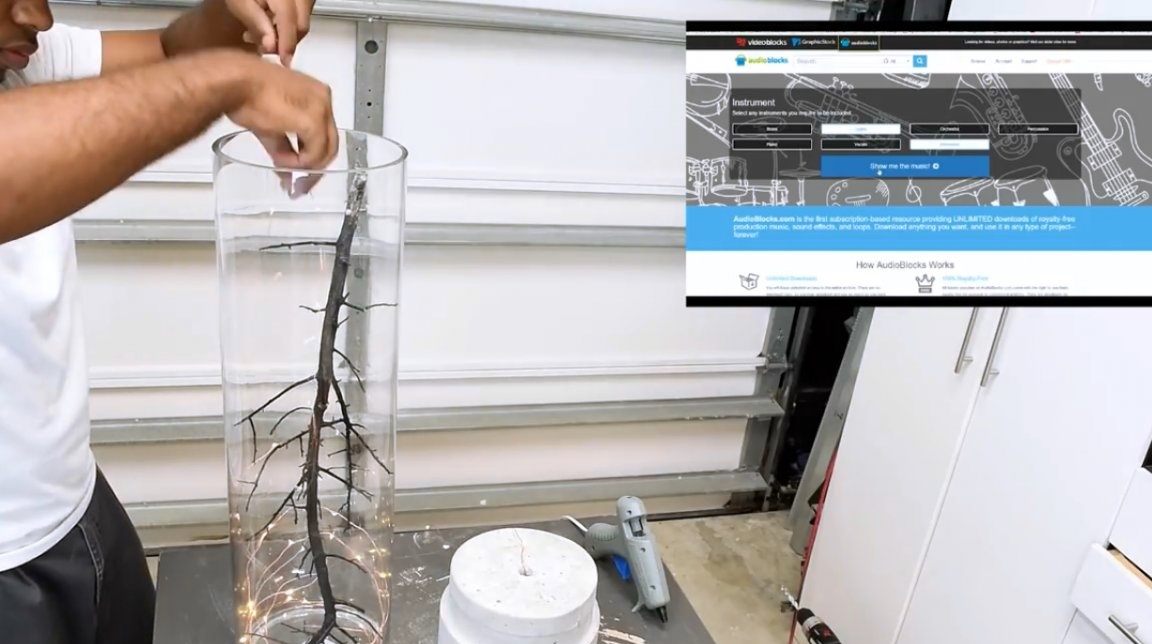
The next step is decorating the lamp. The author decides to place some natural material inside the glass case. He finds an oak branch of suitable size and turns it black.
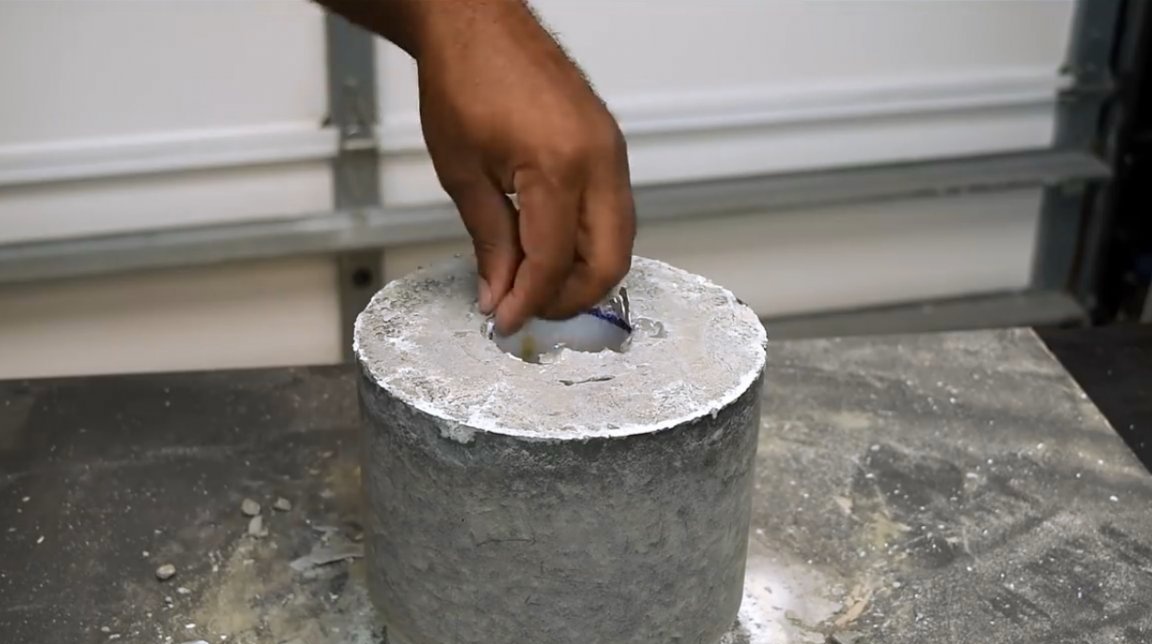
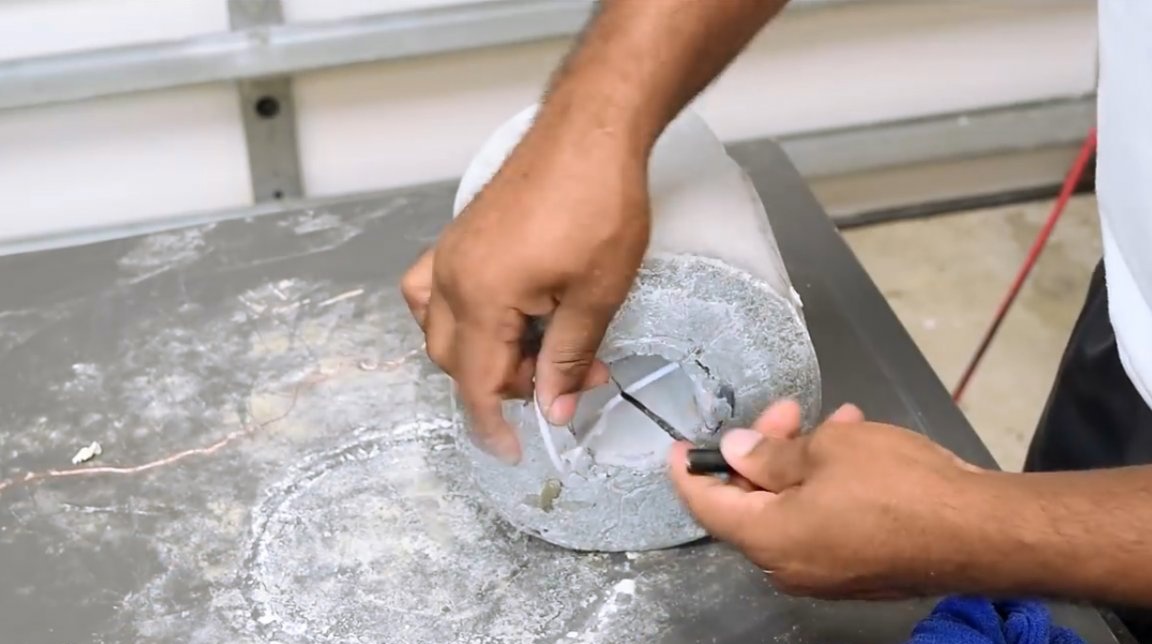
The master drills a hole with a diameter of 15 mm in the concrete part, passing through it up to the cavity in the base.
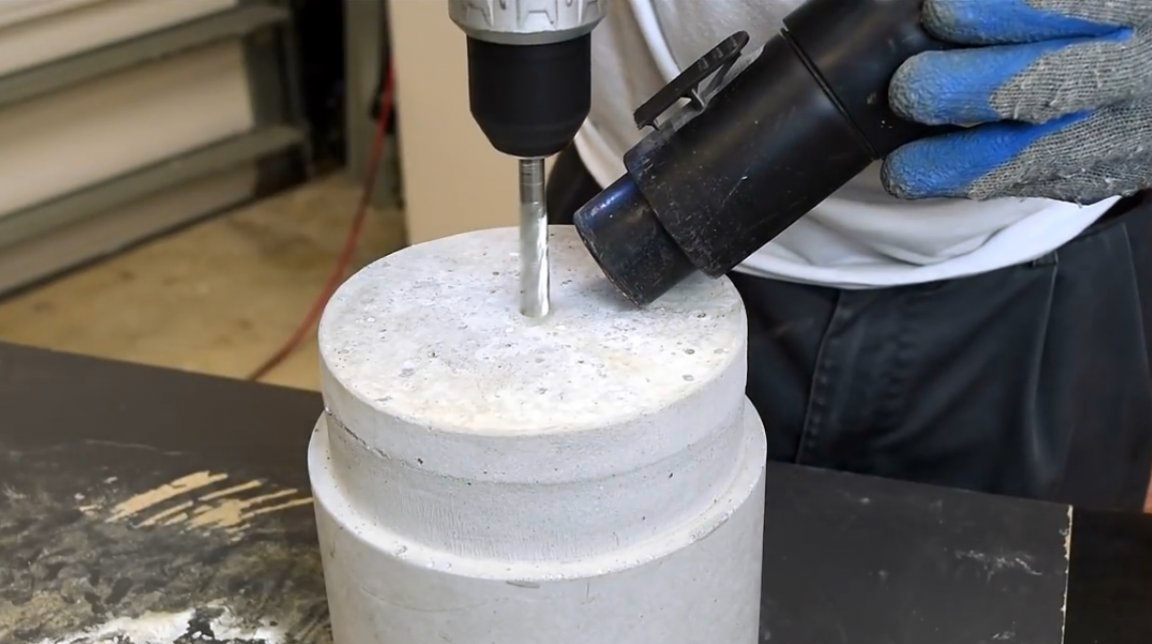
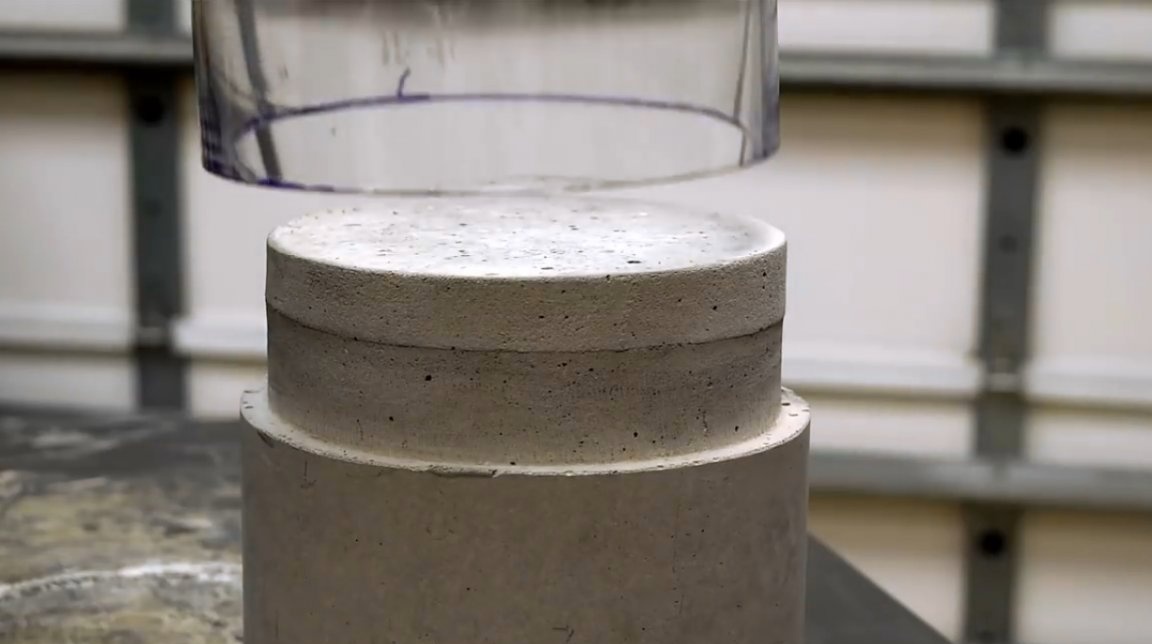
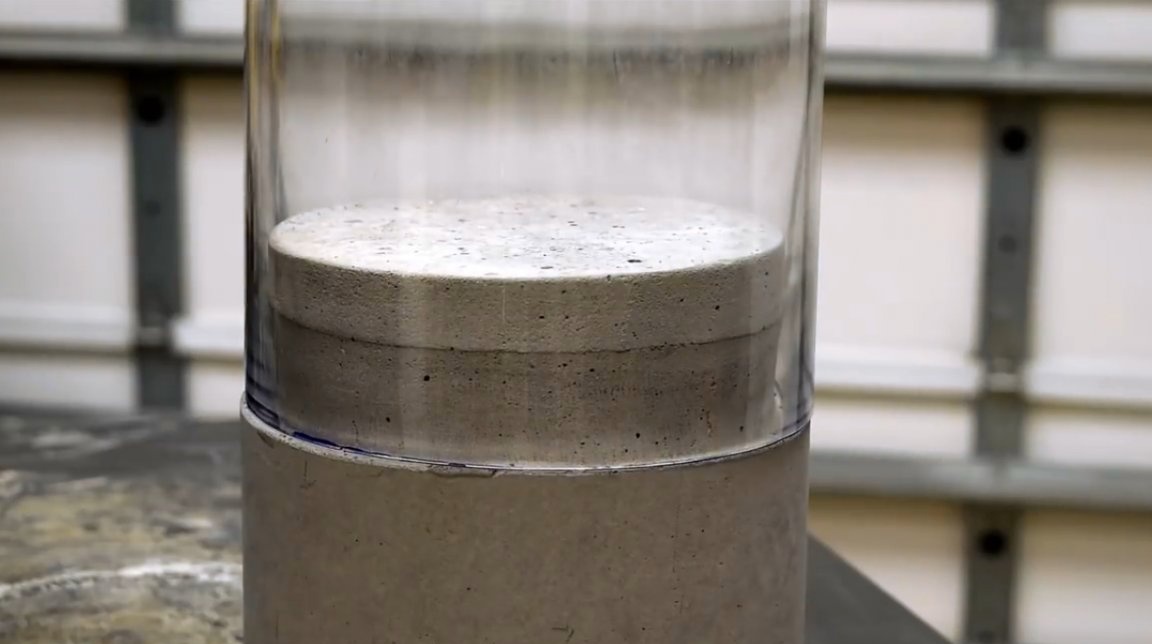
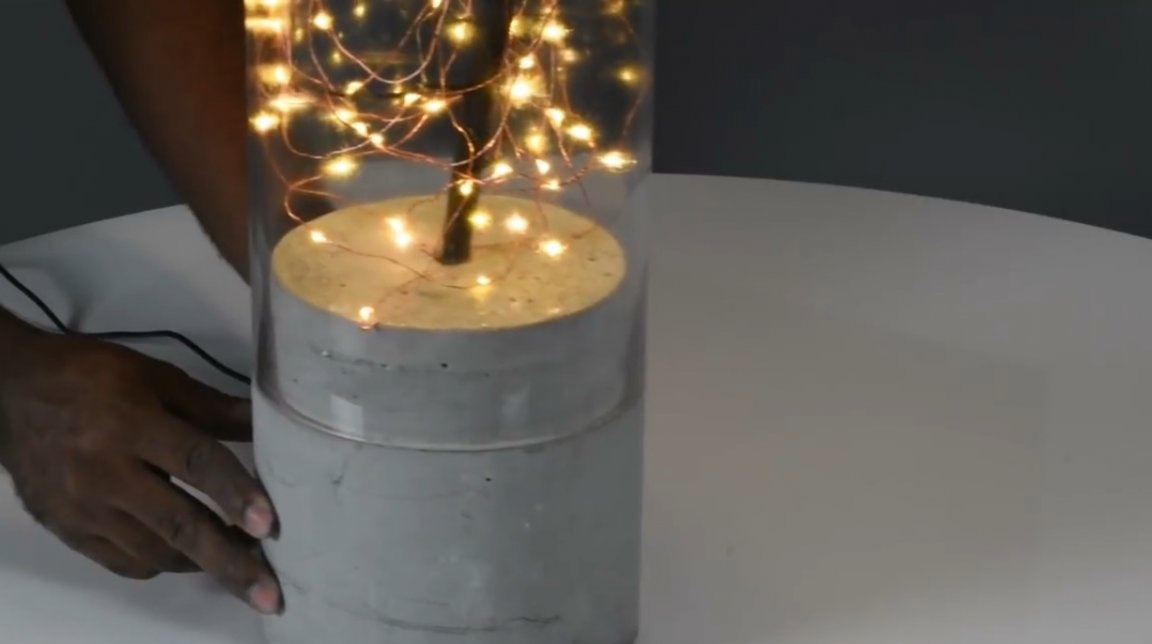
A twig is inserted into the hole formed. If the hole turned out to be small, you can drill it a little at the entrance, because there still needs to be space for the LED strip. A glass dome is placed on top of the twig.
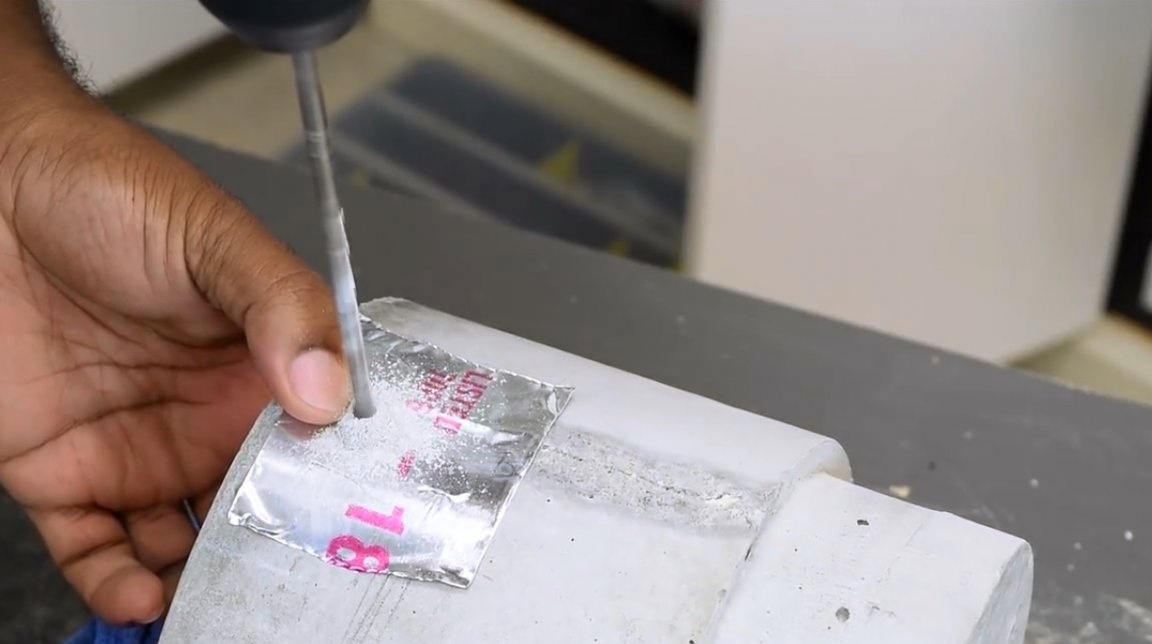
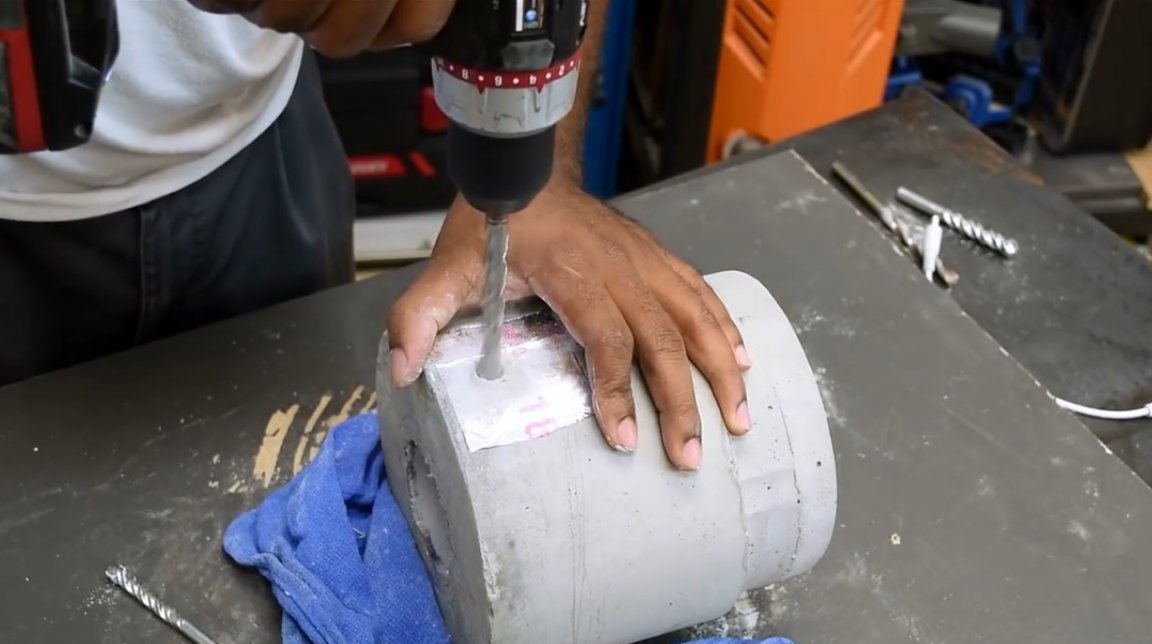
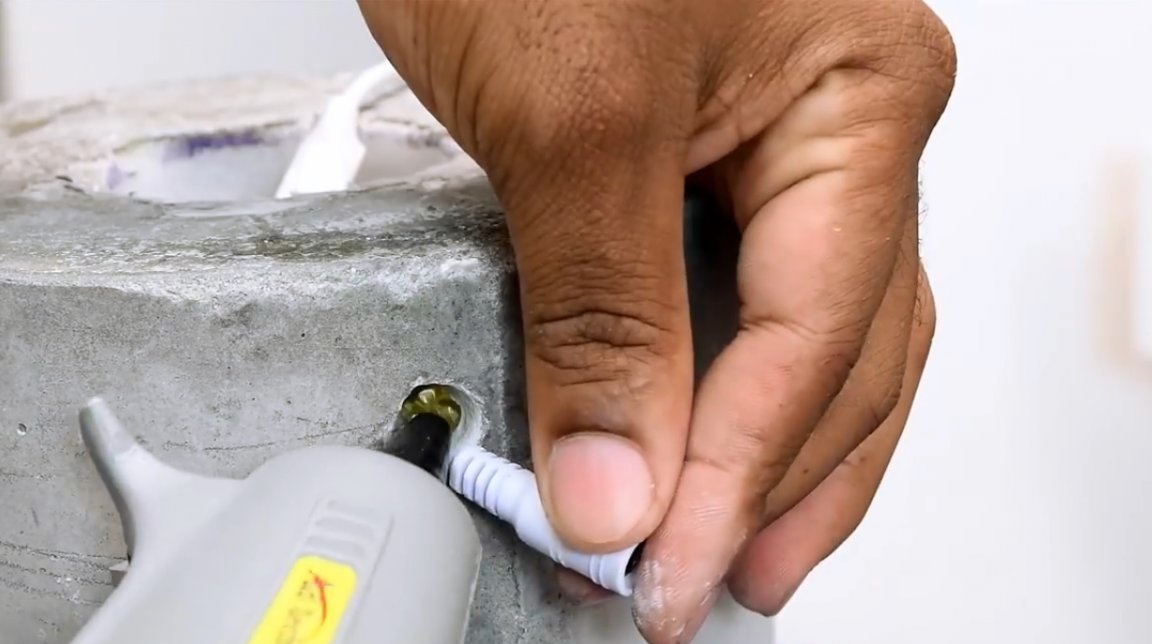
With the same drill on concrete, the craftsman makes a pilot hole in the side of the lamp base. First, he sticks adhesive foil to prevent small chips of concrete during drilling.
Then it goes through the same hole with a wider drill. This will be the input for the power cord.
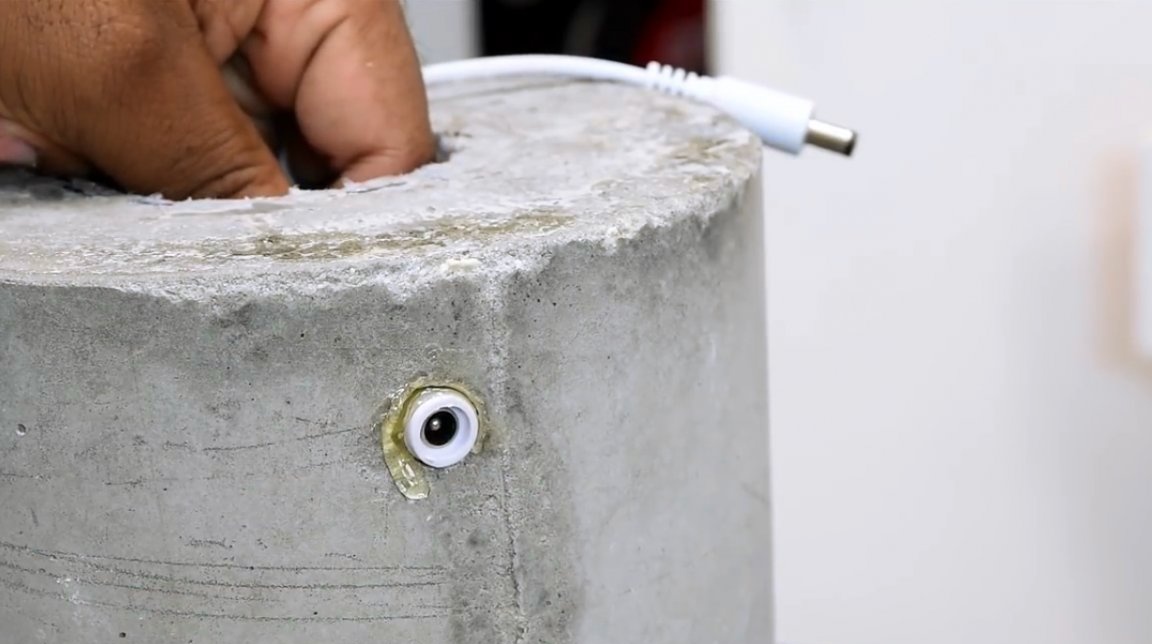
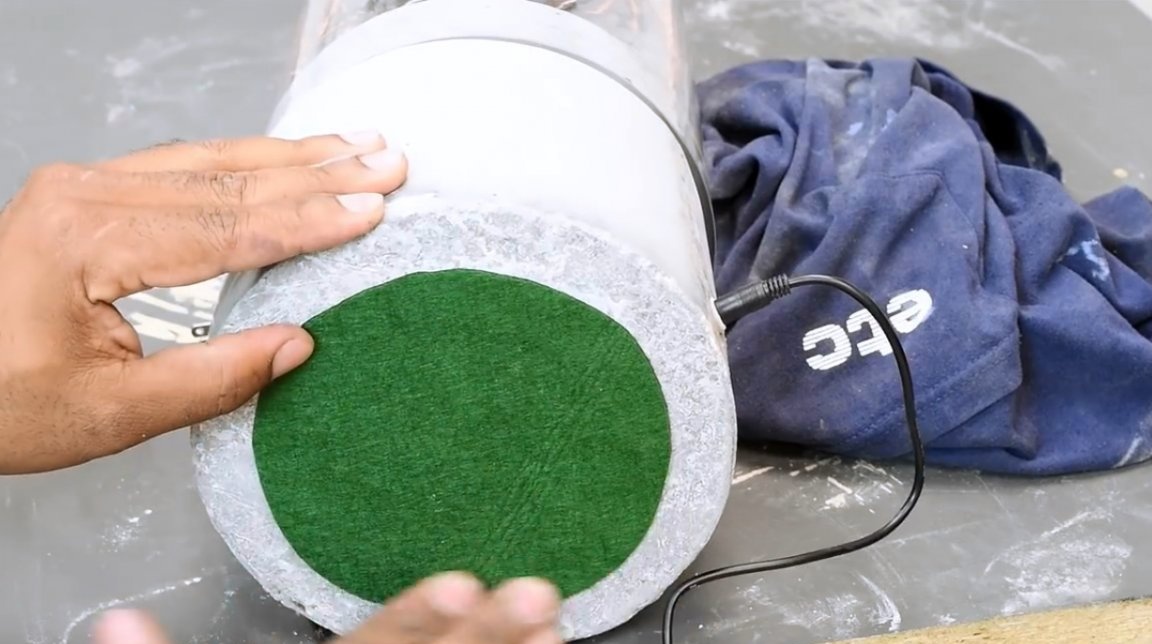
The cord is tucked in, hot glue is poured into the hole, the connector is flush with the concrete wall and coated with hot glue around the perimeter.
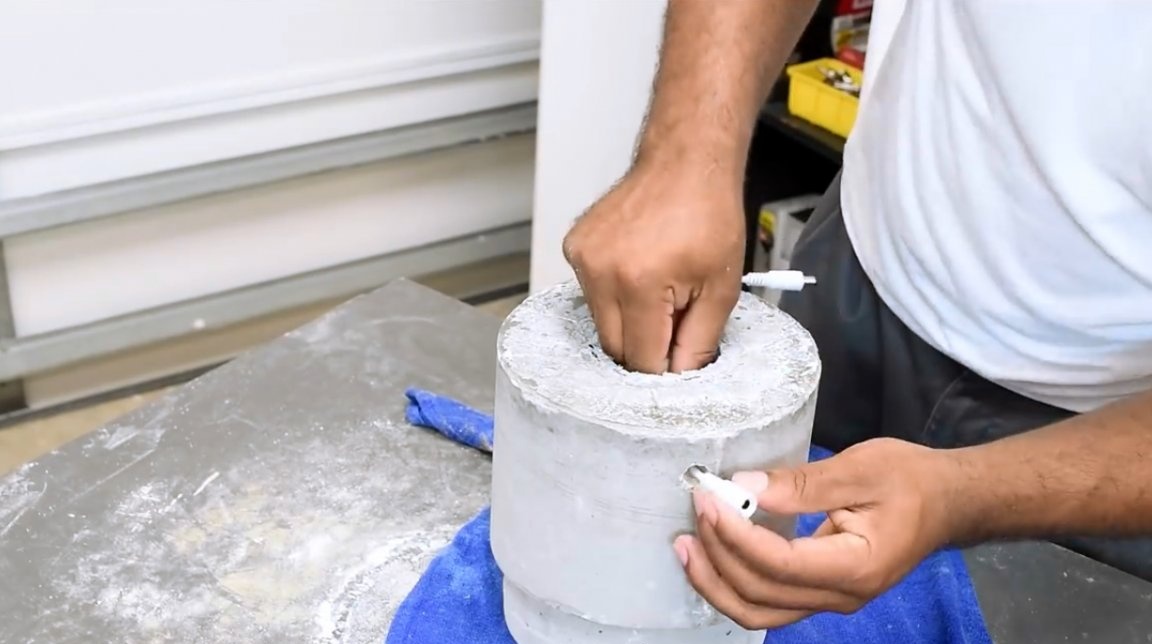
The power plug is glued with duct tape to prevent dust from entering it and passed through the base of the structure, then connected to the LED controller

The felt pad, which the author had, did not completely cover the bottom of the lamp. So he just cut out a cloth circle and stuck it on the base.
In the previous version of the lamp, the master used a controller with an infrared receiver. The advantage of this version of the luminaire is that it uses radio frequency control. And as long as the lamp is within the range of the control panel, there is no need to even point it at the object - the lamp will still turn on and off by pressing the keys on the remote control. Now the author is at a distance of 20 meters from the lamp, and he is steadily responding to remote control commands.

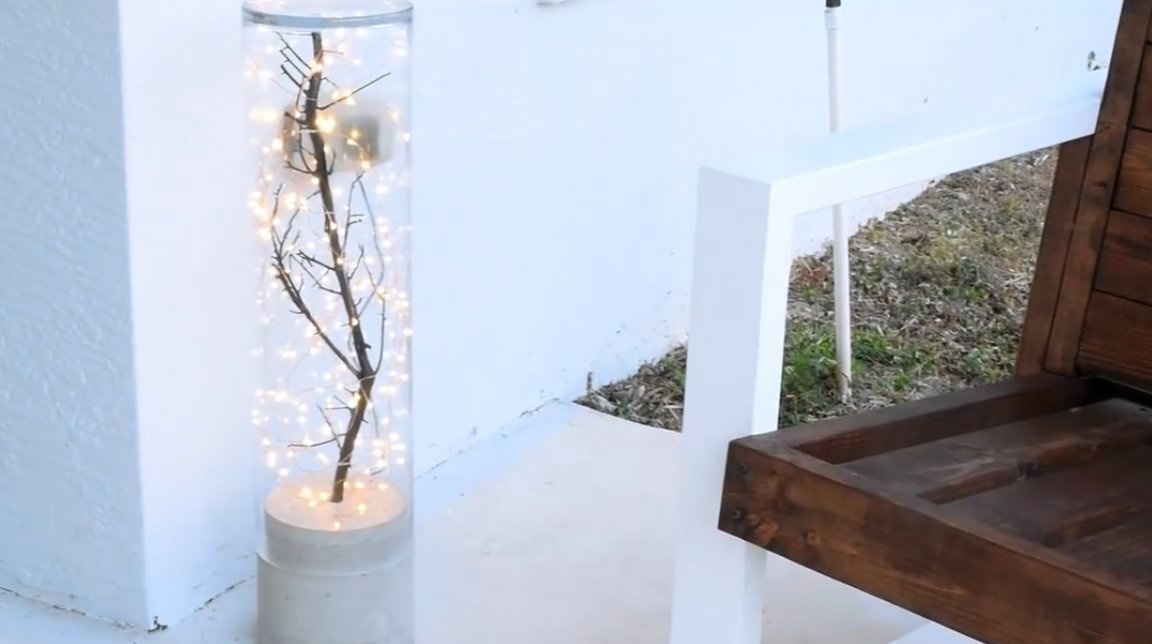
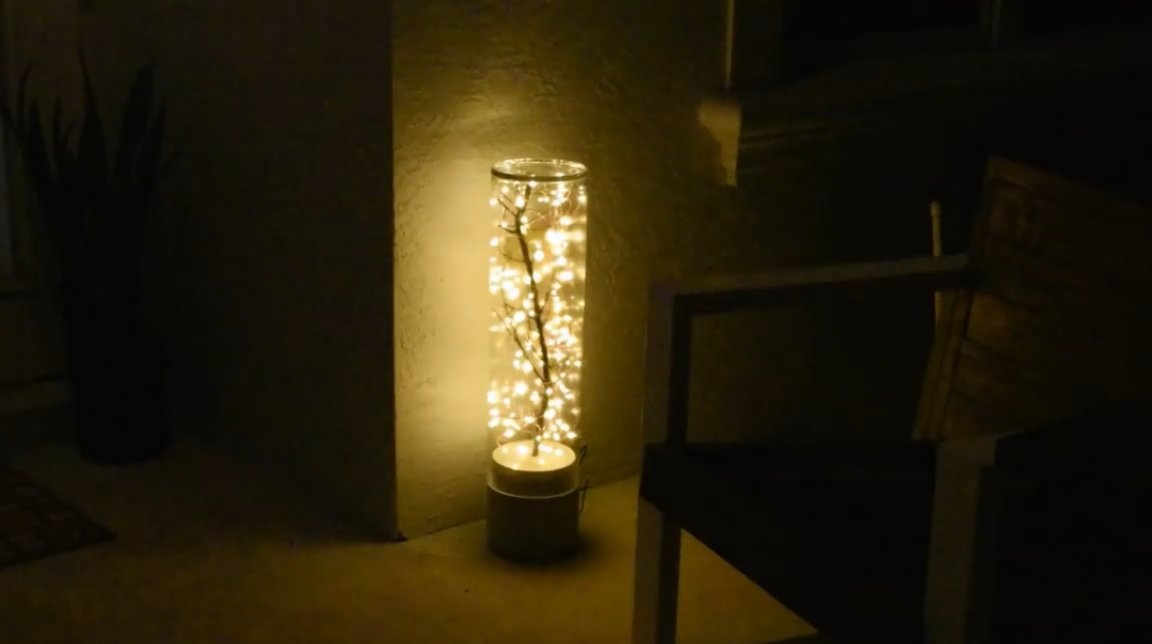
Thanks to the author for the simple idea of a lamp in a minimalist style!
All good mood, good luck, and interesting ideas!
Author video can be found here.