
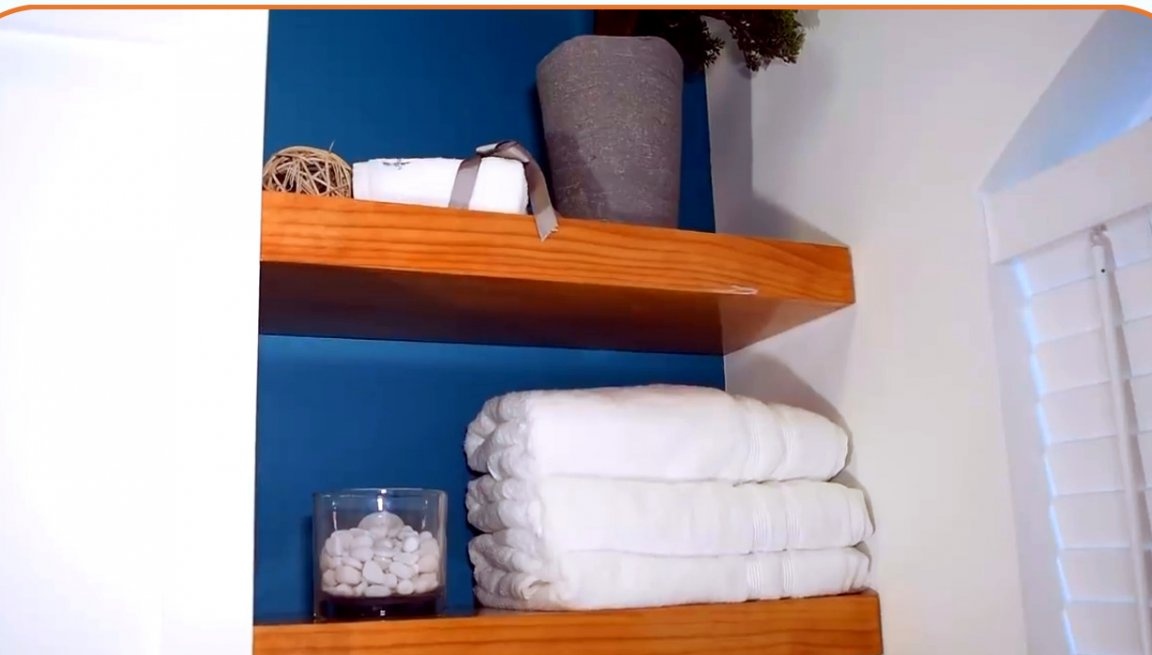
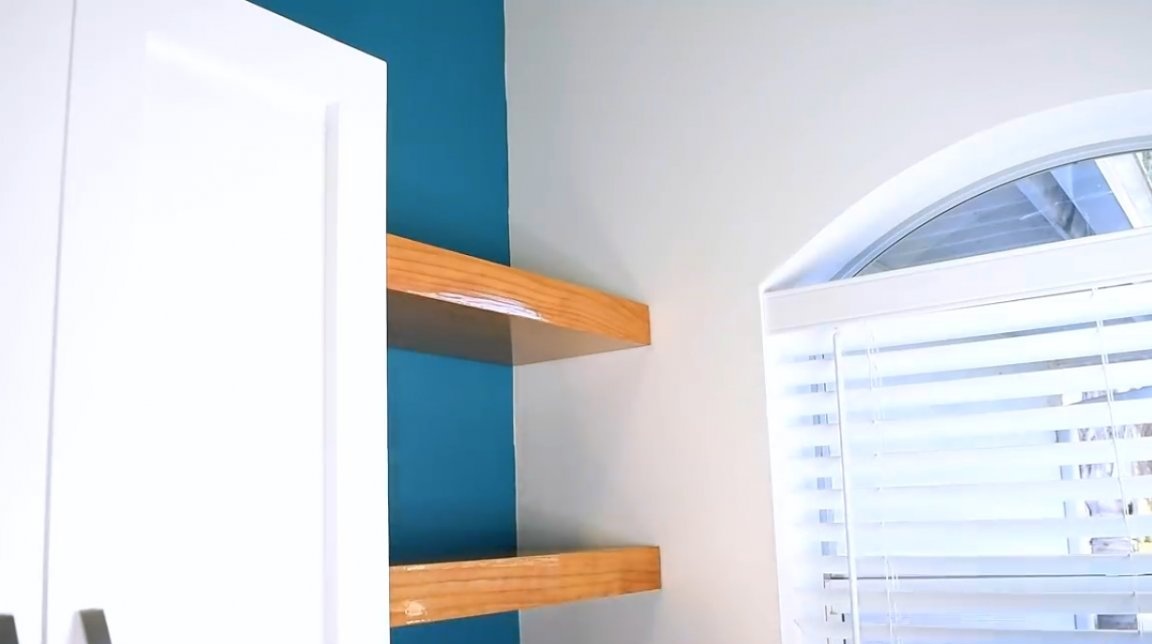
In this article, the author of the YouTube channel “DIY Creators” will tell you about the manufacture of compact shelves with hidden fixtures. In addition, these shelves will have hidden niches that can be used to store valuables.
The manufacturing technology of such shelves is very simple, and even a beginner carpenter can handle it.
Materials
- sheet plywood
- Stain, varnish
- PVA glue
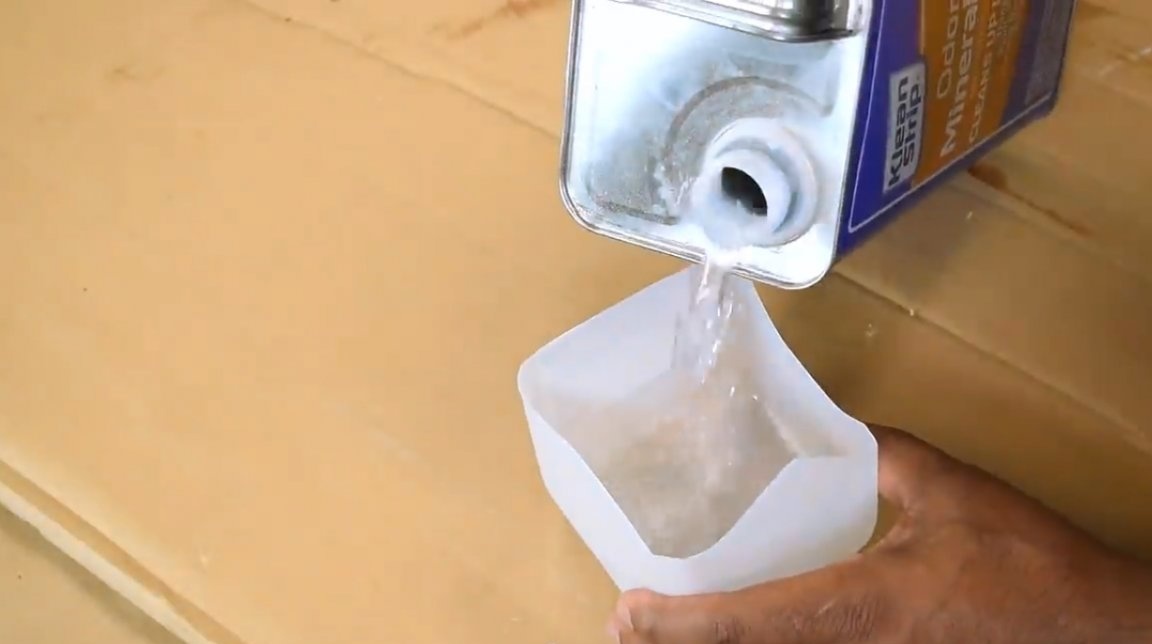
- White Spirit
- Rags.
Instruments, used by the author.
—
- A circular saw
—
—
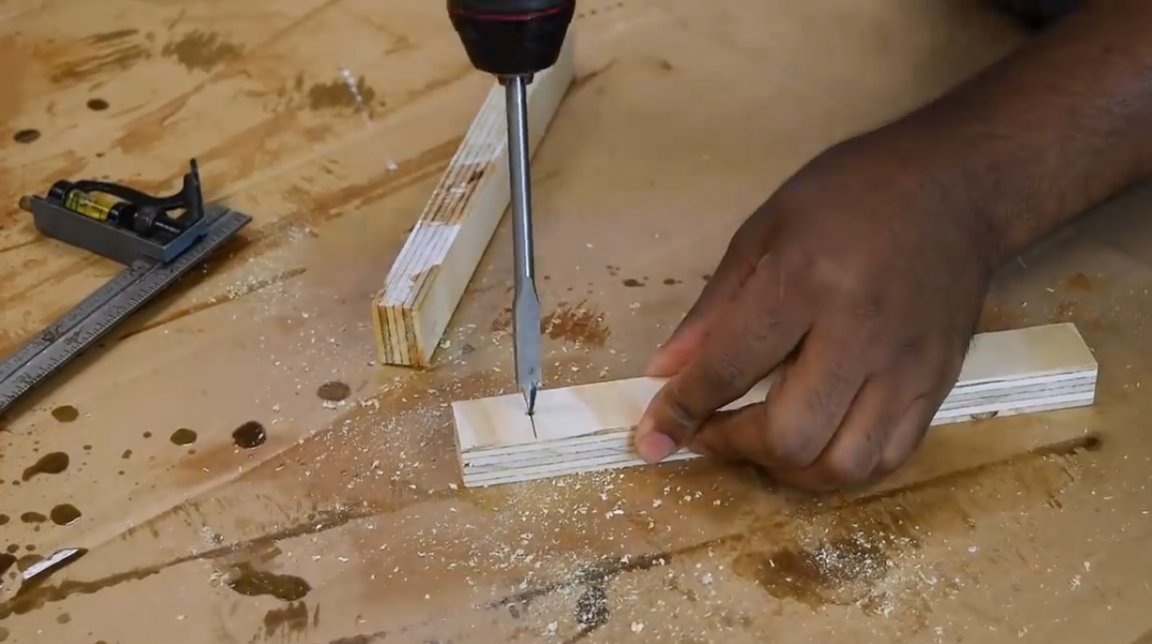
- Feather drills for wood
—
- Ruler, level, square, pencil.
Manufacturing process.
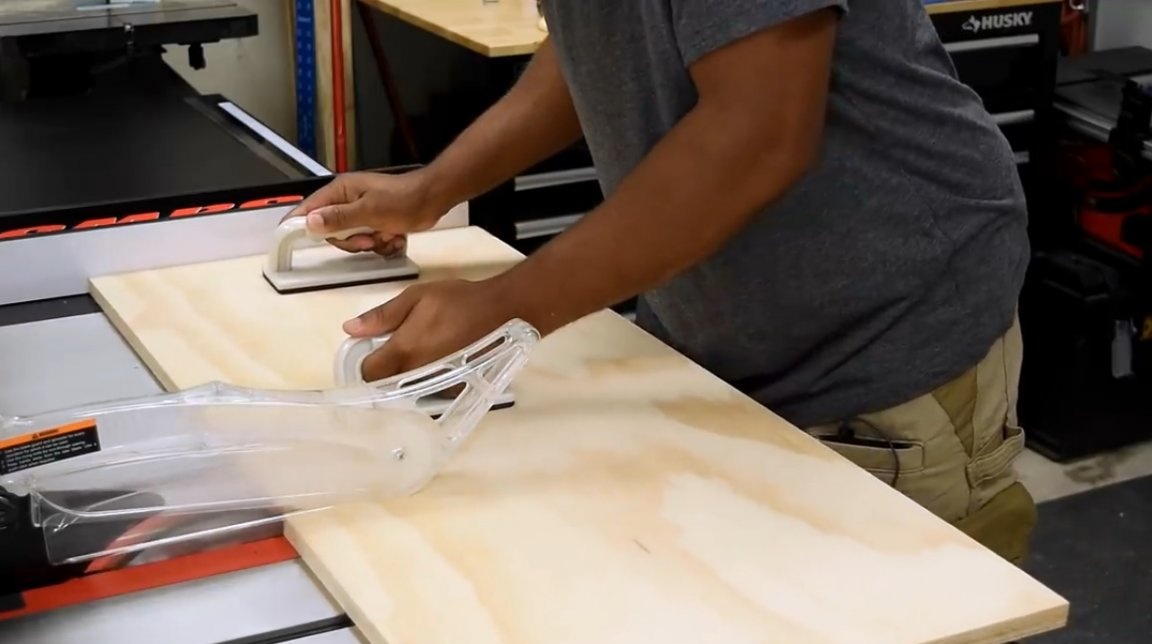
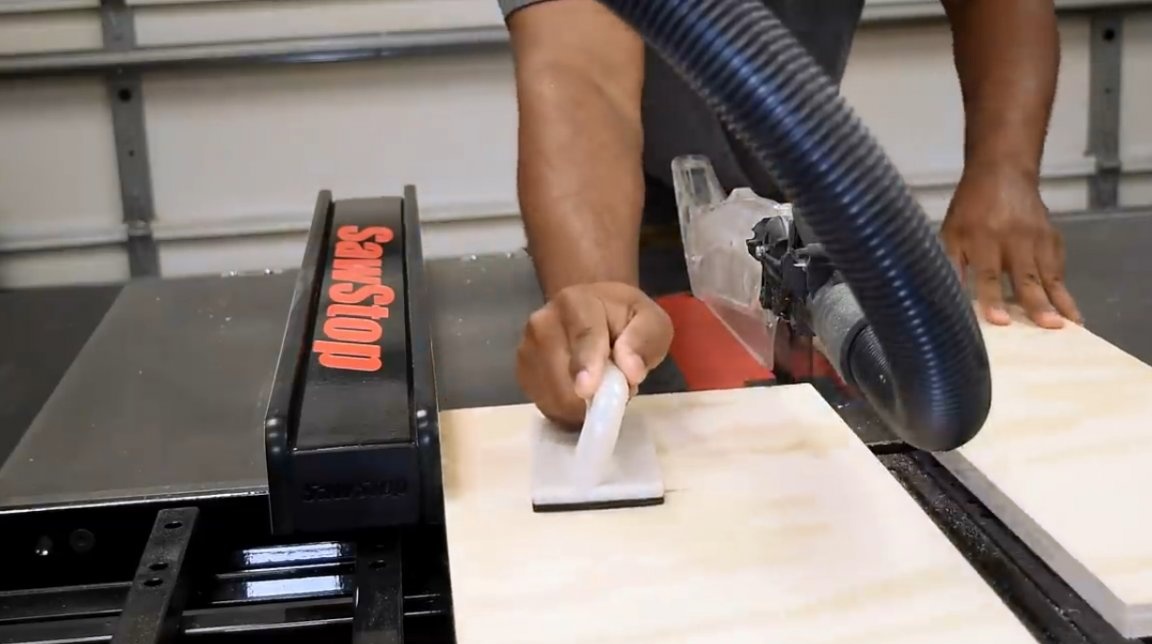
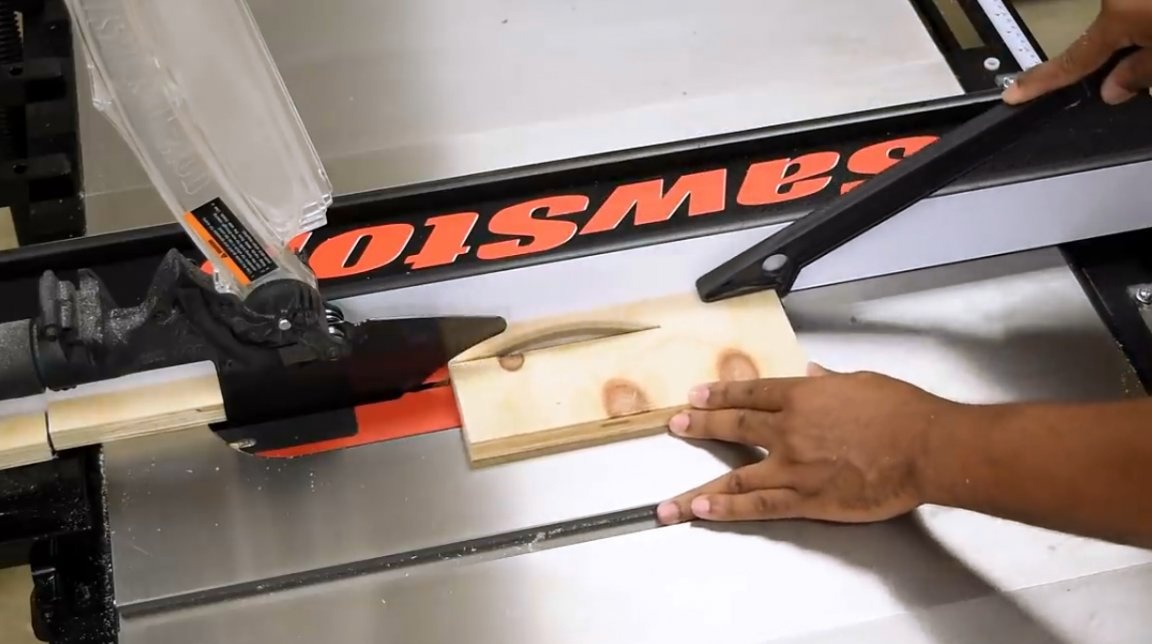
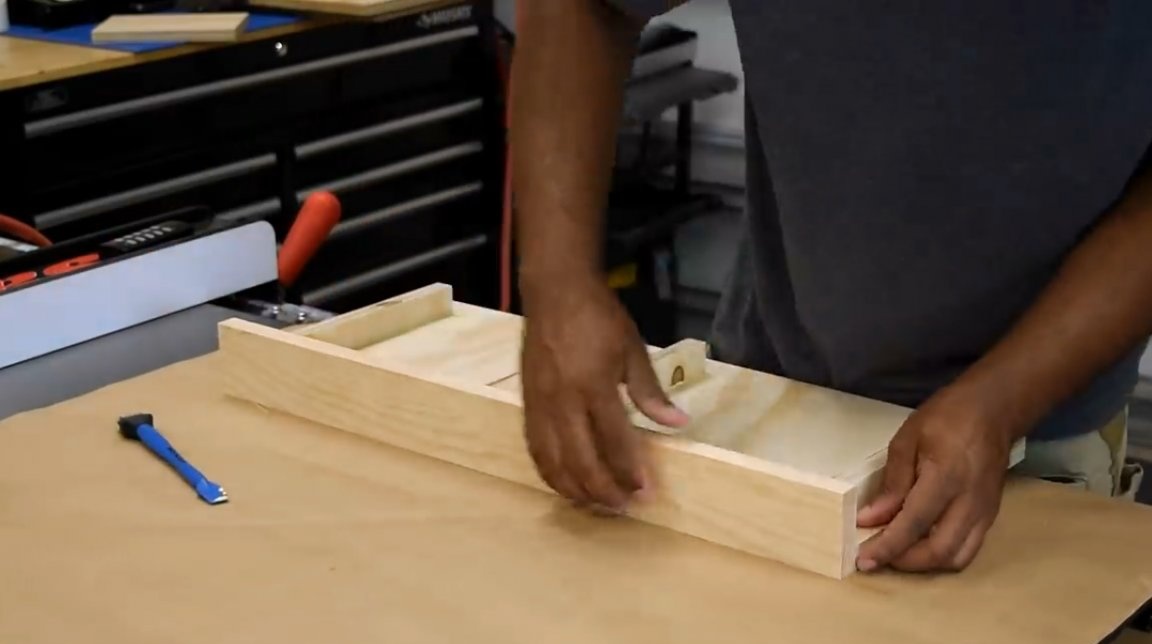
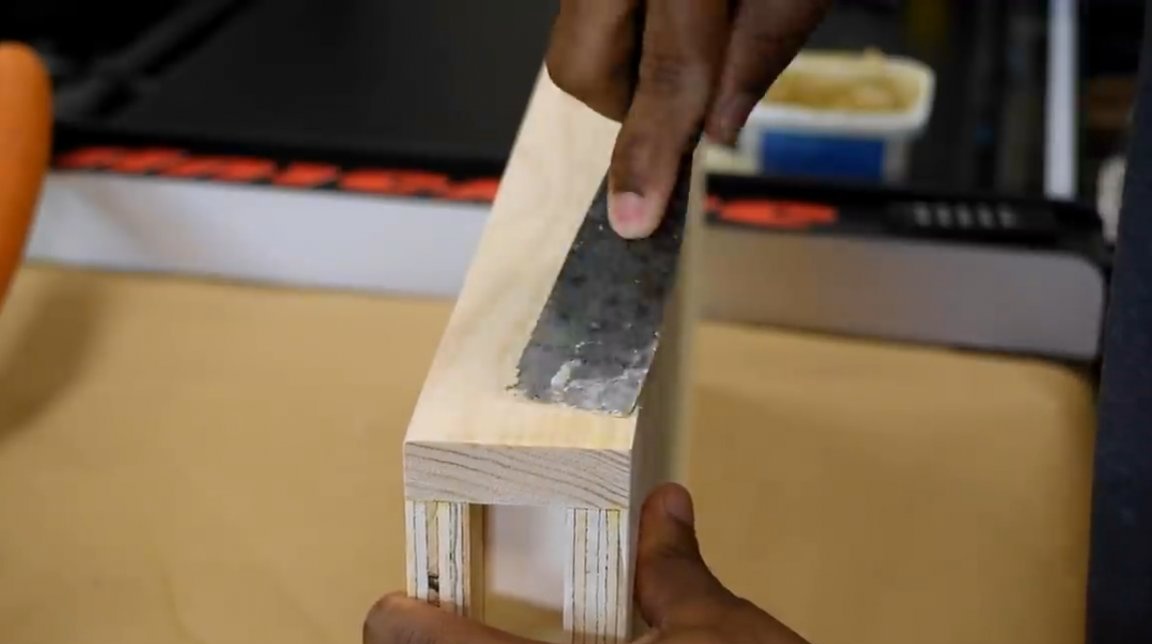
The author uses plywood, which is cut to the width of the future shelf. Each shelf consists of two plywood sheets, therefore, has a greater thickness. This thickness is needed so that the shelf can hold on to itself.
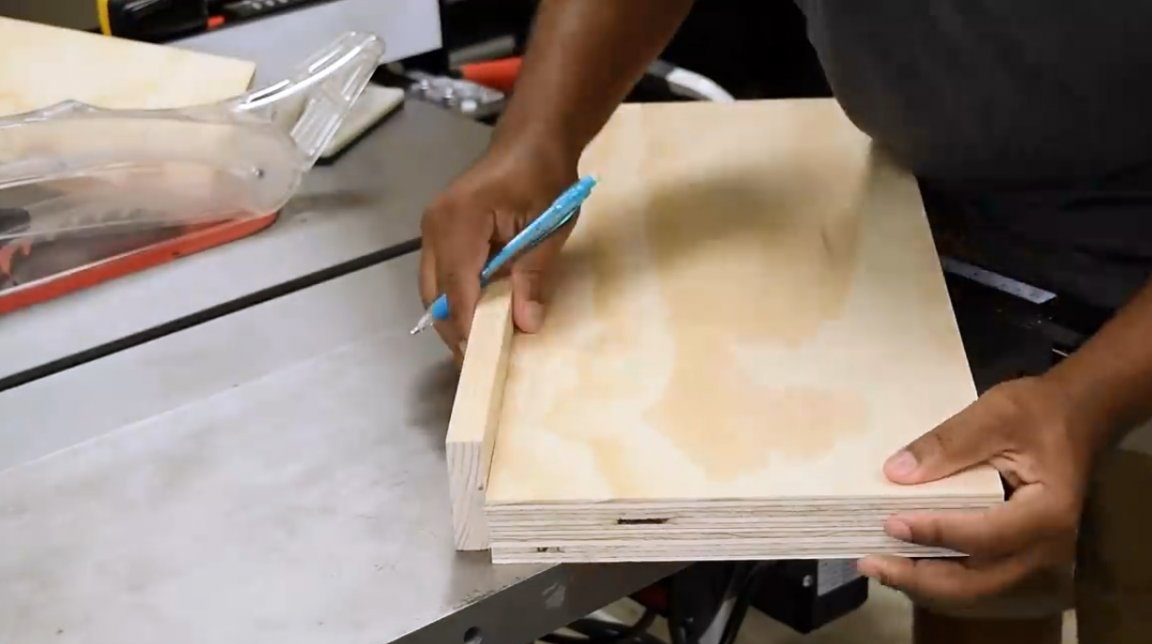
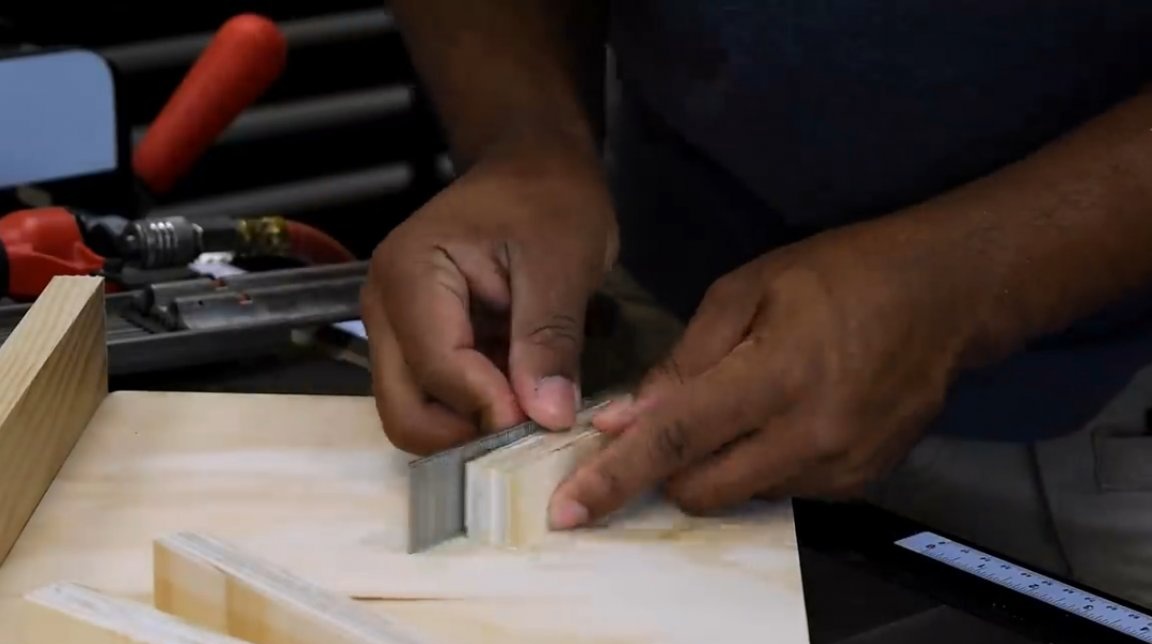
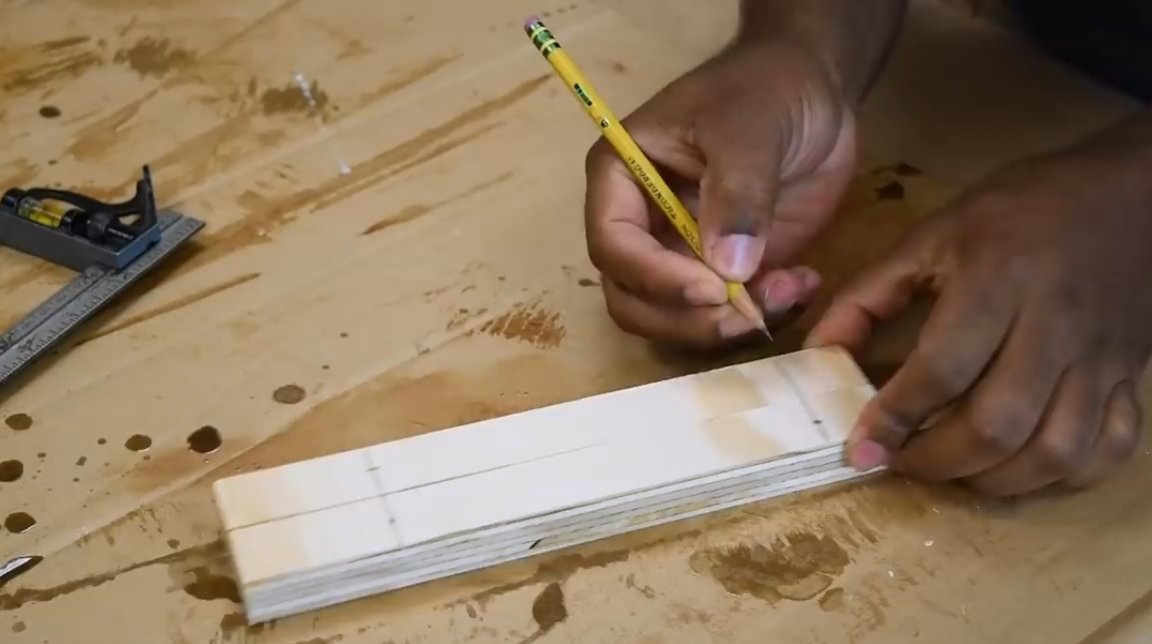
Next, jumpers for shelves are cut. The thickness of the shelf will be six centimeters. In order to close the plywood ends, the author uses pine wood. He marks the desired thickness and cuts off 5 identical cubes: three will go to the edging of the plywood sections, and two will be attached to the wall.
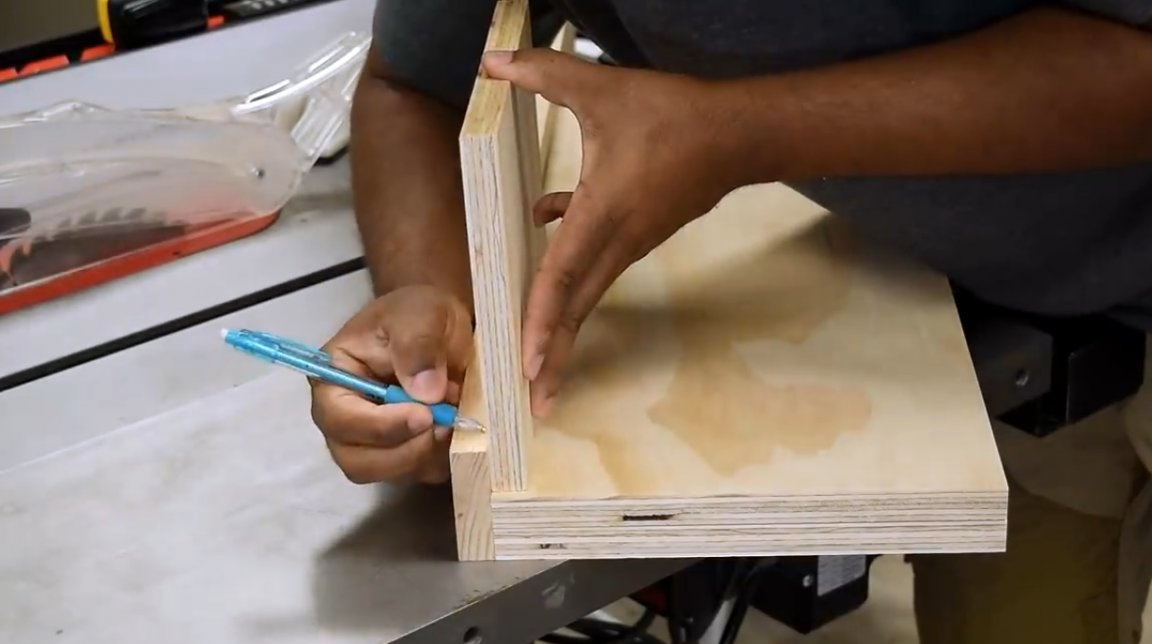
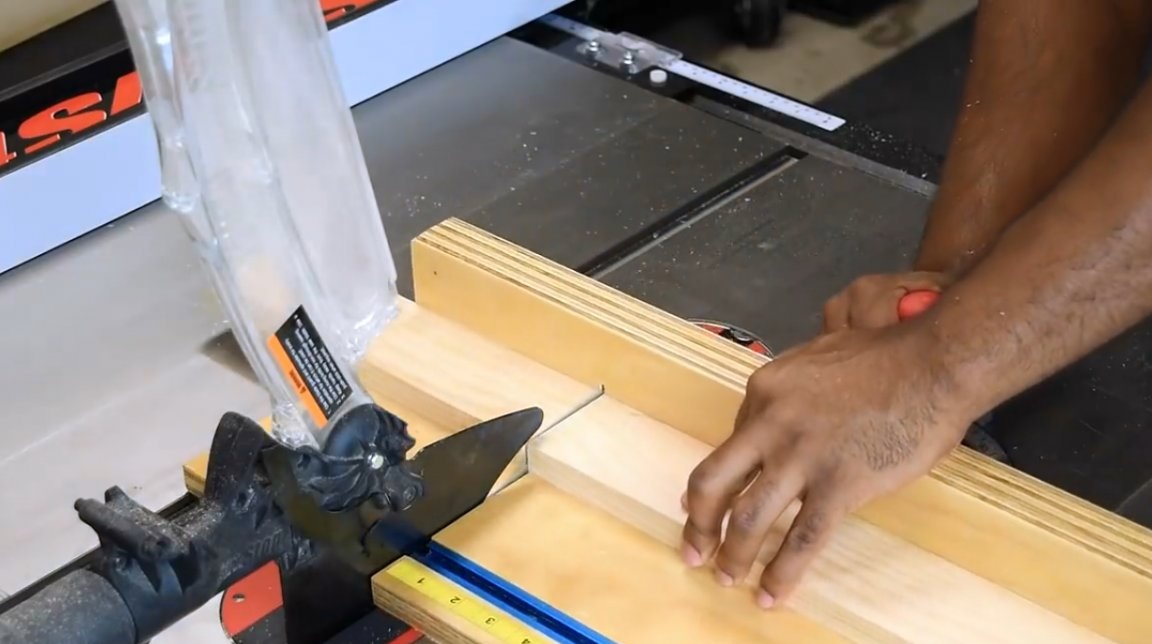
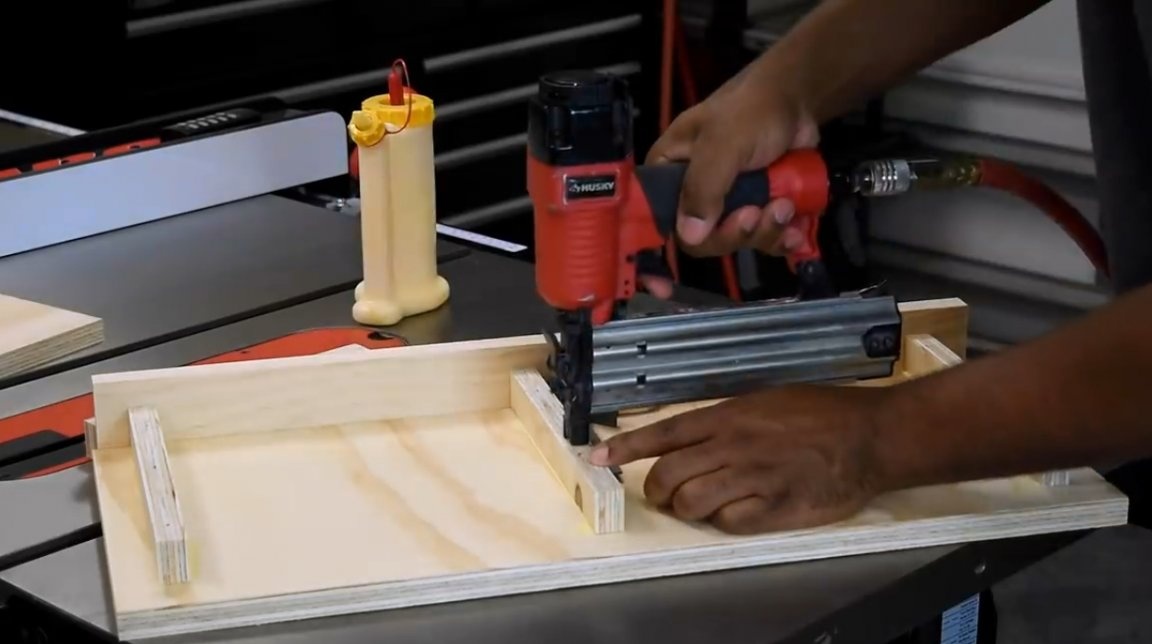
Each bar is trimmed to the width of the shelf. All the constituent elements of the shelf sit on wood glue, and only in certain areas with a neiler does the master additionally fix the elements with nails.
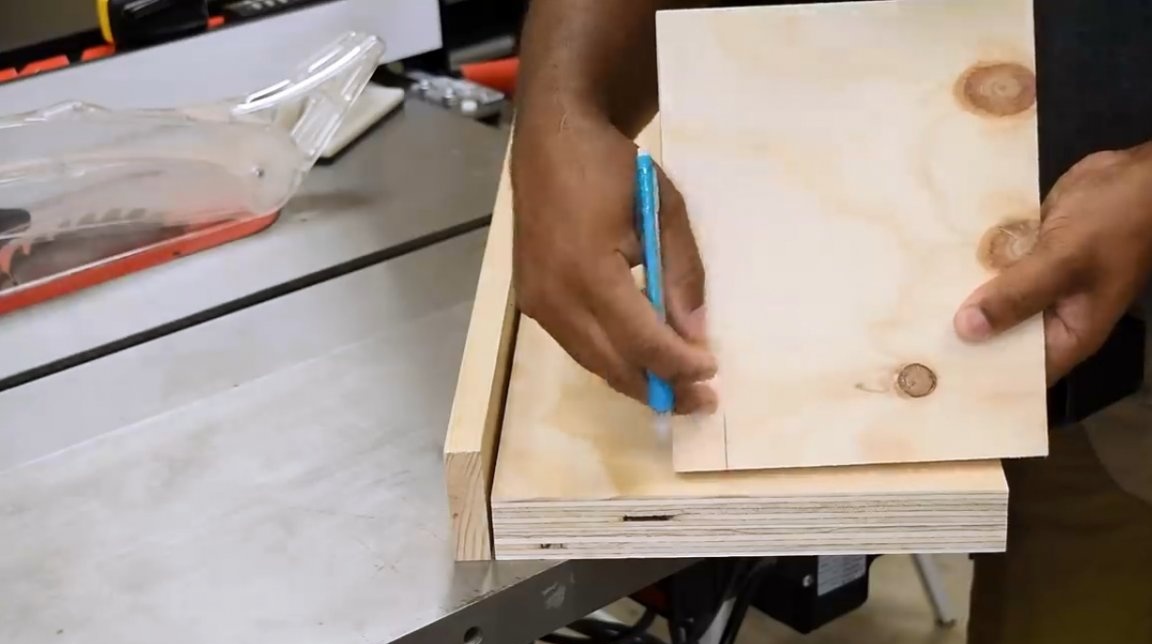
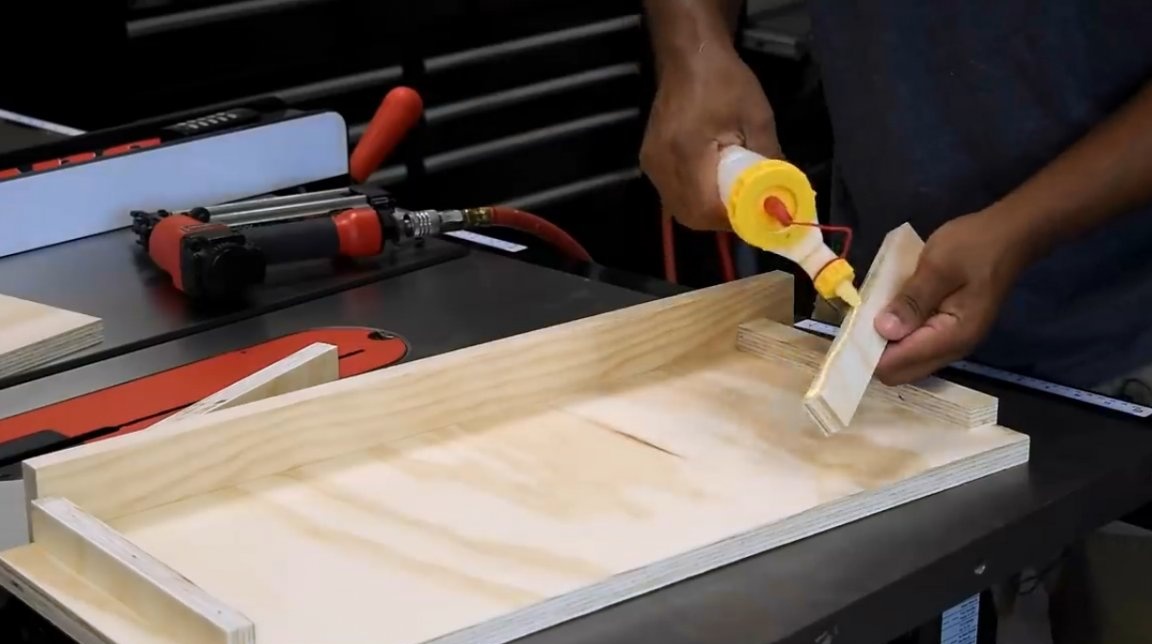
While the glue dries, the author places dividers in the middle and at the edges of the shelf. The extremes are approximately 1 inch from the edge. All dividers are grabbed at the key points by a neiler. One separator from another is approximately 12 inches apart.

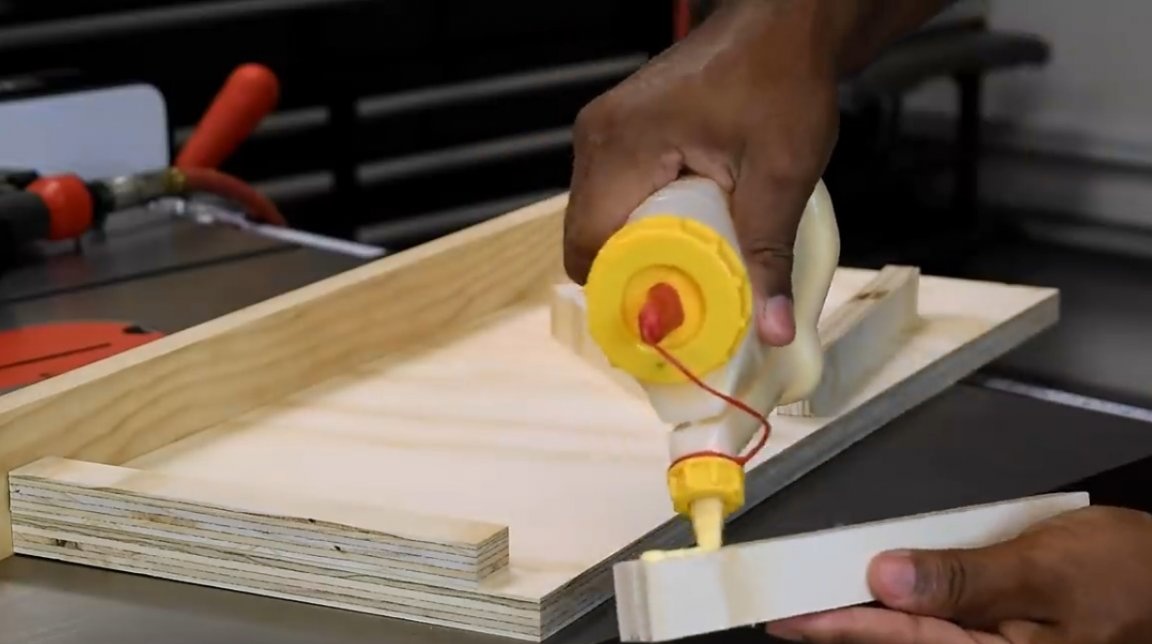
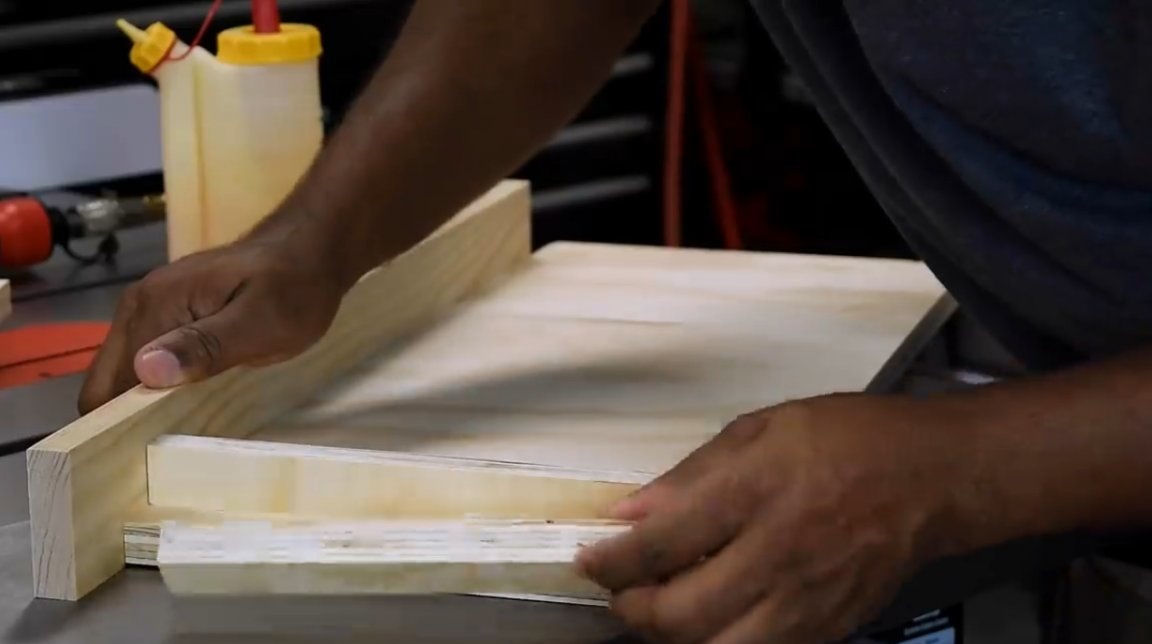

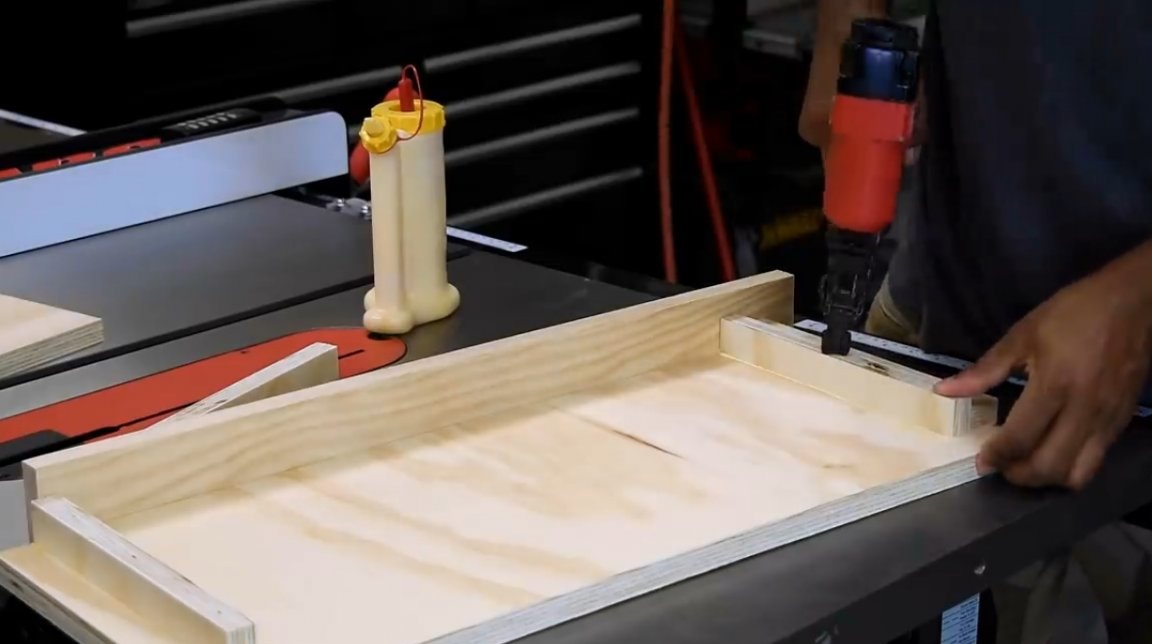
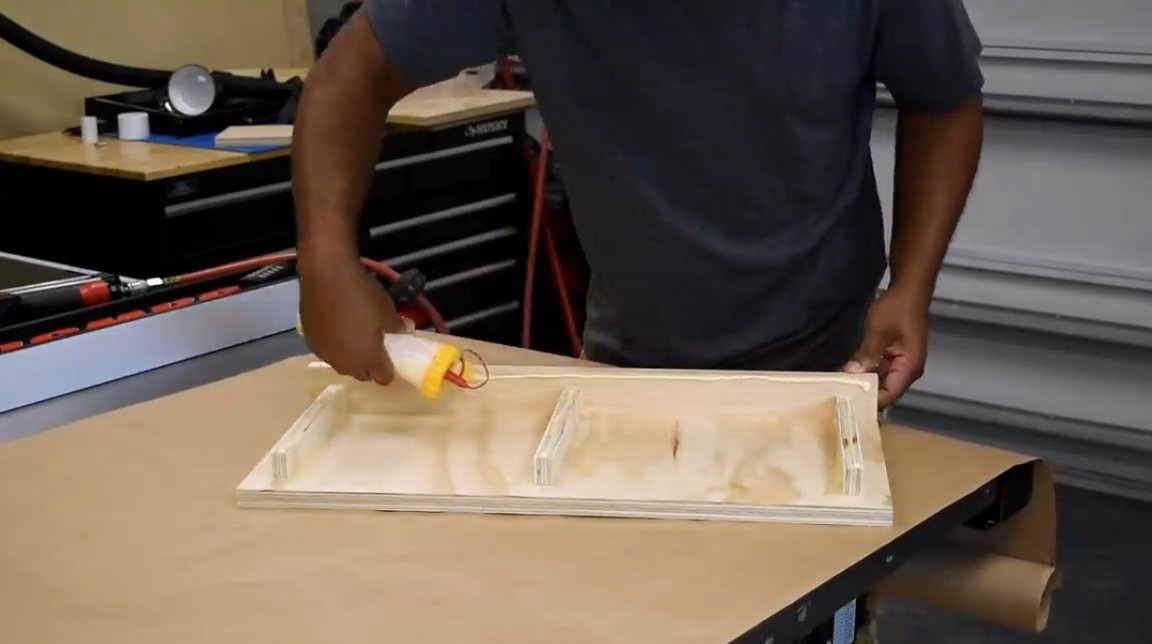
The edges of the shelf are thickly smeared with glue, after which the sides are attached to them.

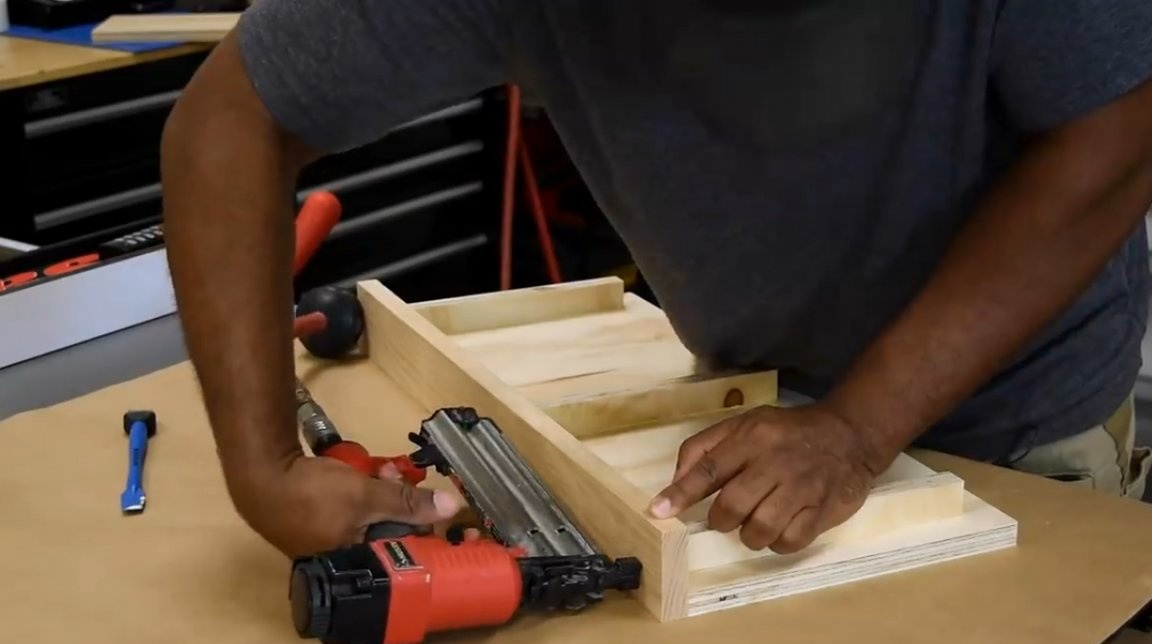
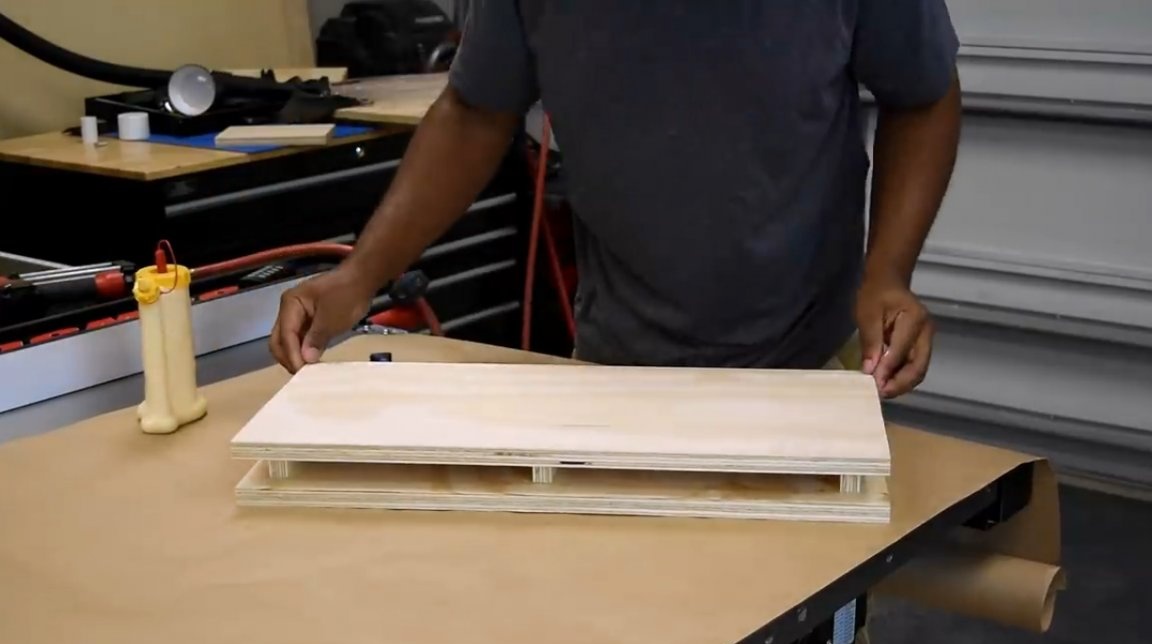
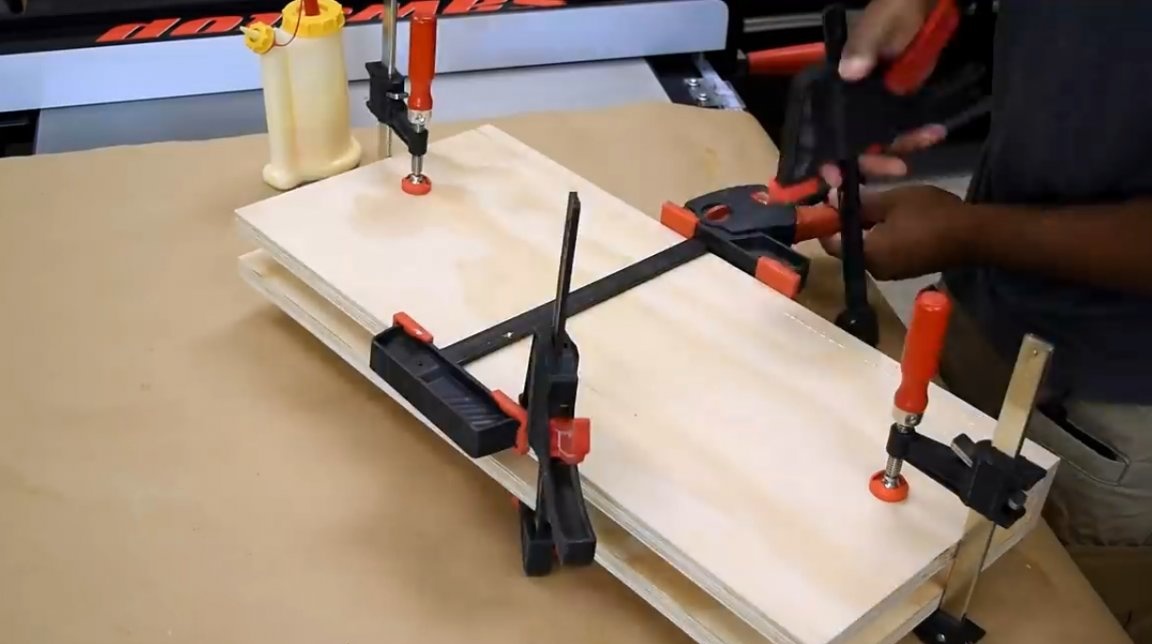
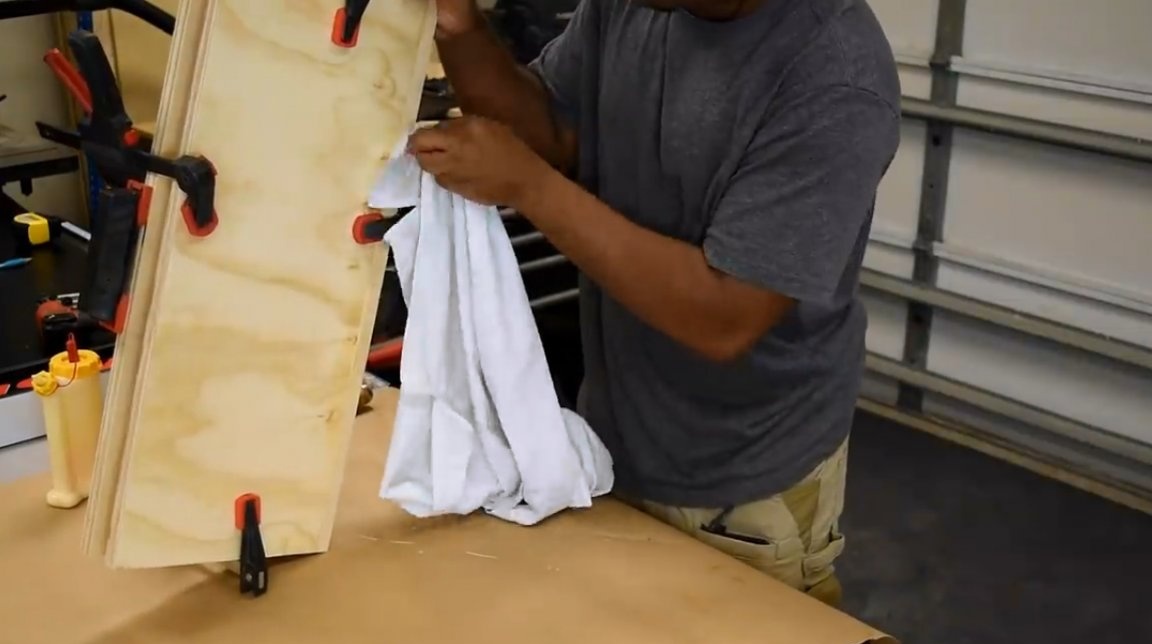
And on top of the dividing ribs is placed a second plywood panel. Before pulling the product in the clamps, it is advisable to wipe all surfaces from the protruding glue. Otherwise, the clamps can adhere perfectly to the tree.
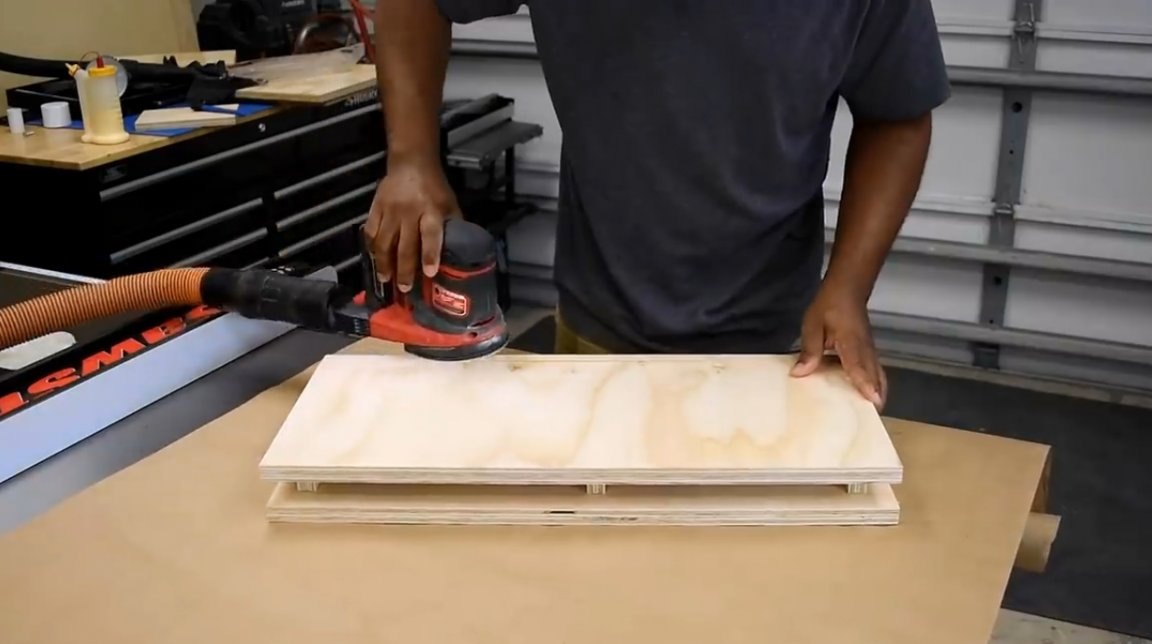
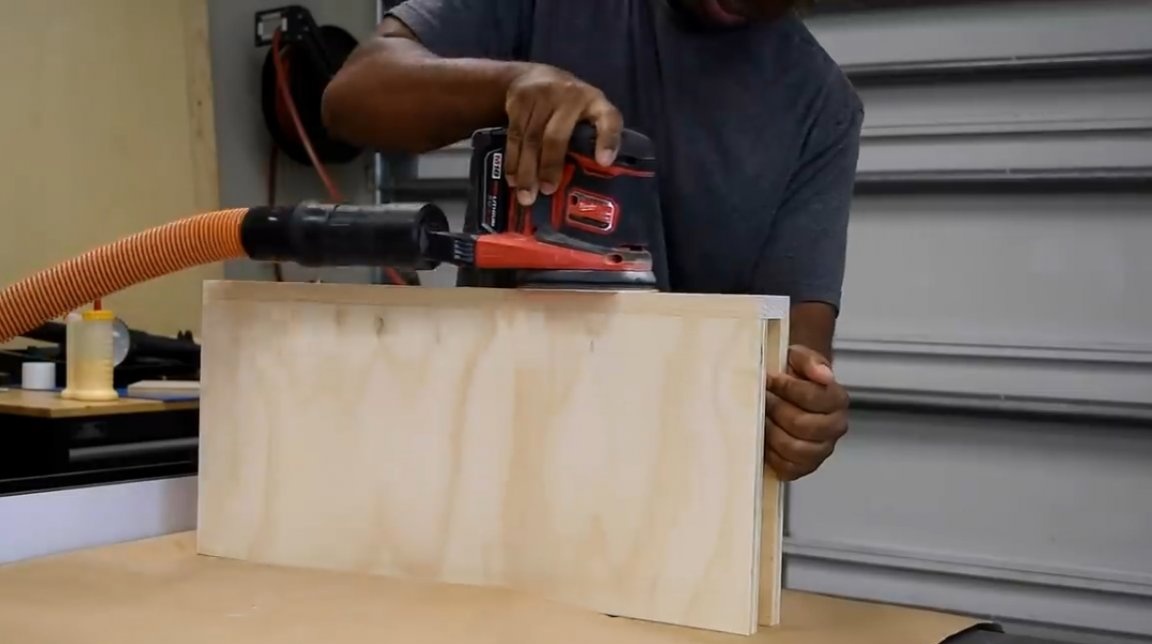
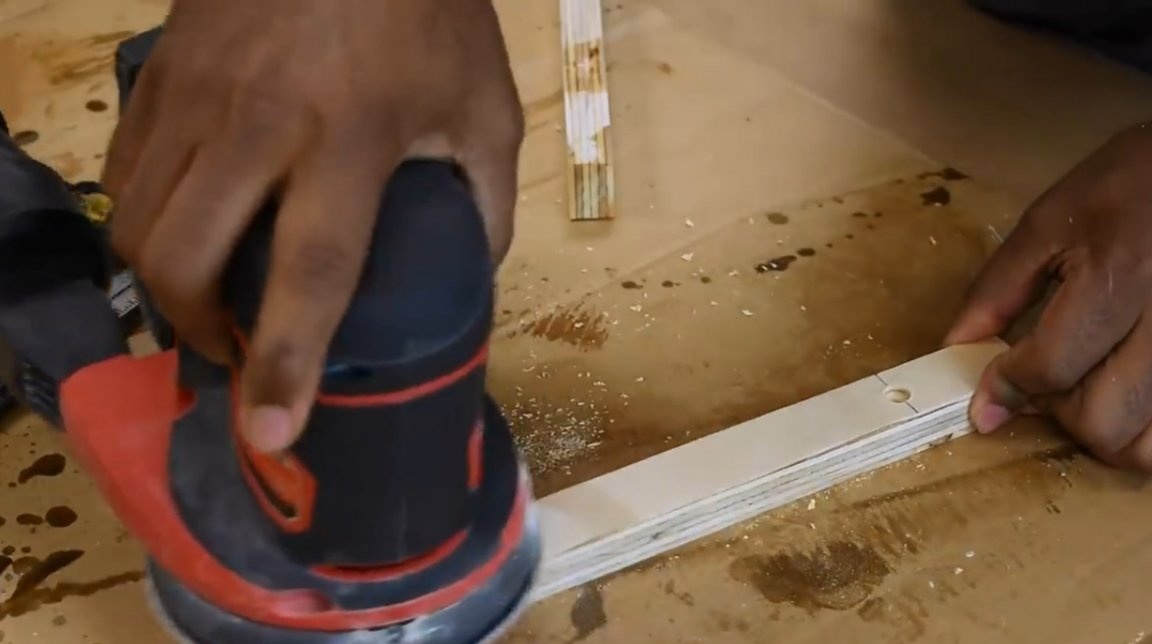
Now it is time to clean the product with an orbital sander.The author uses sandpaper at 120th grit.
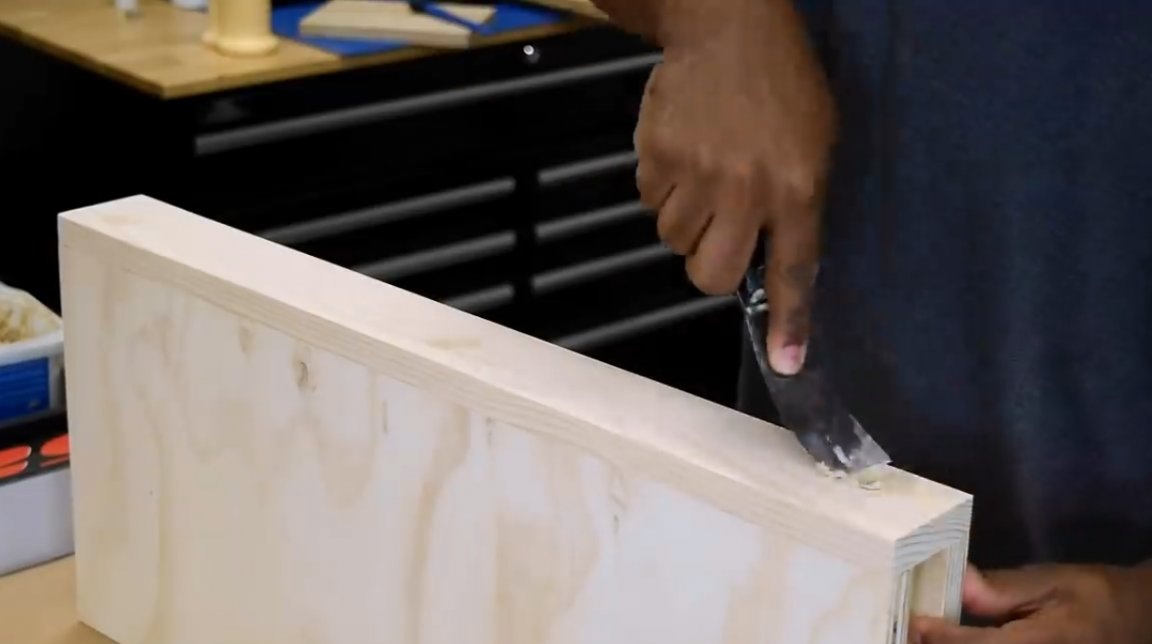
After that, the master puts on a separate problem areas, for example, a densifier, putty on wood, for deepening from nails.
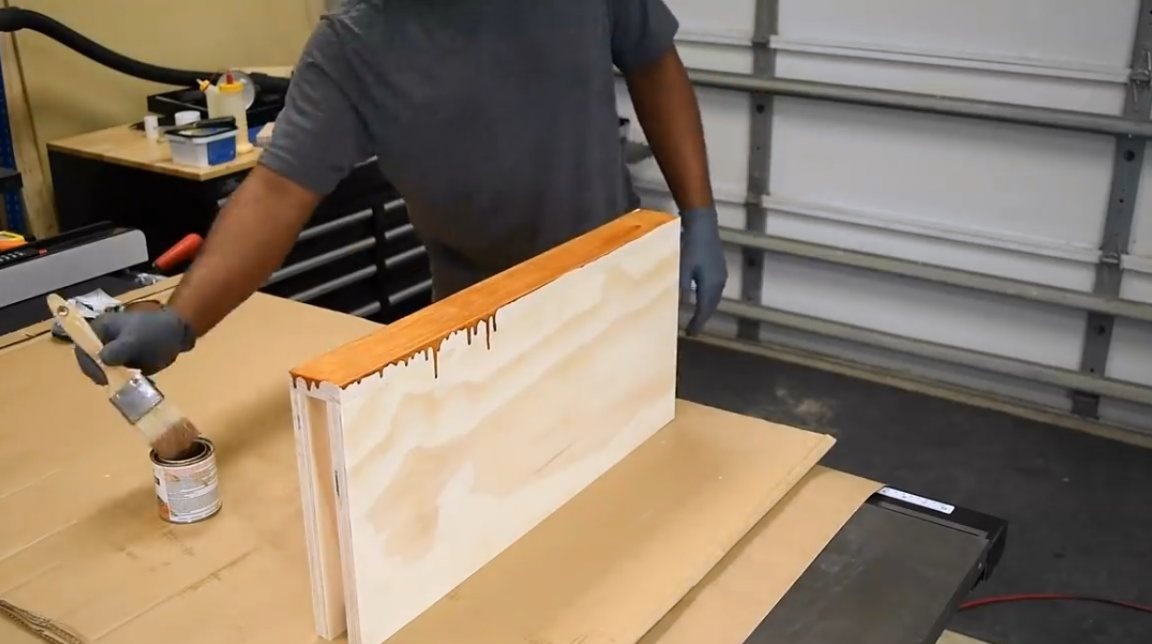
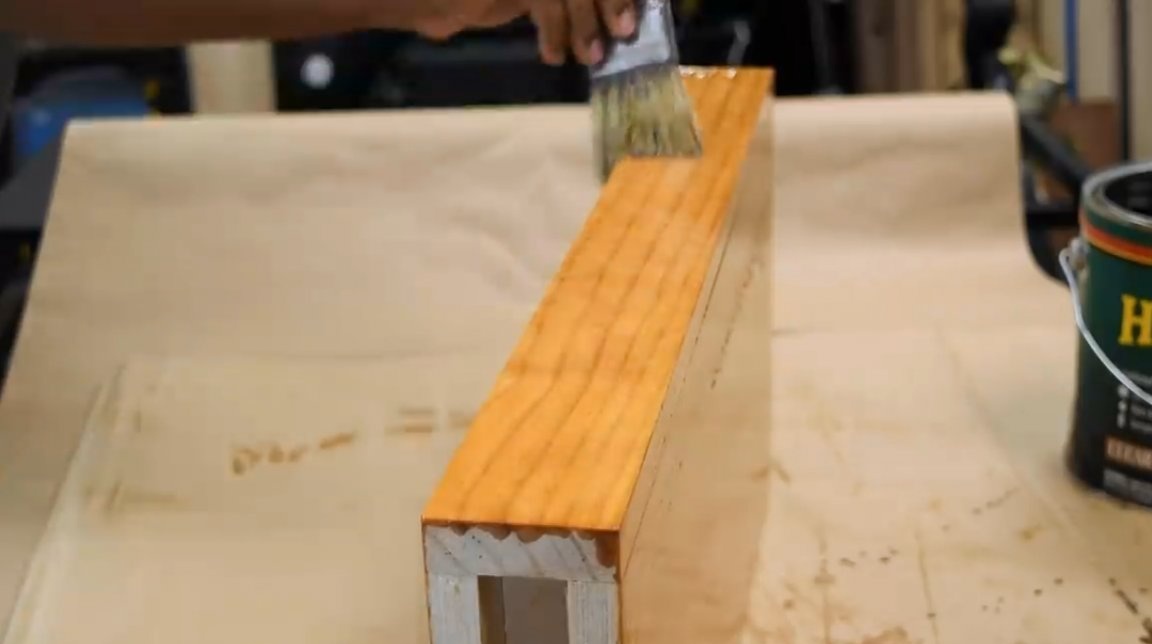
Then the master breaks the shelf on all sides with a golden pecan stain. This color is somewhat harsh and may not be suitable for a bright room.
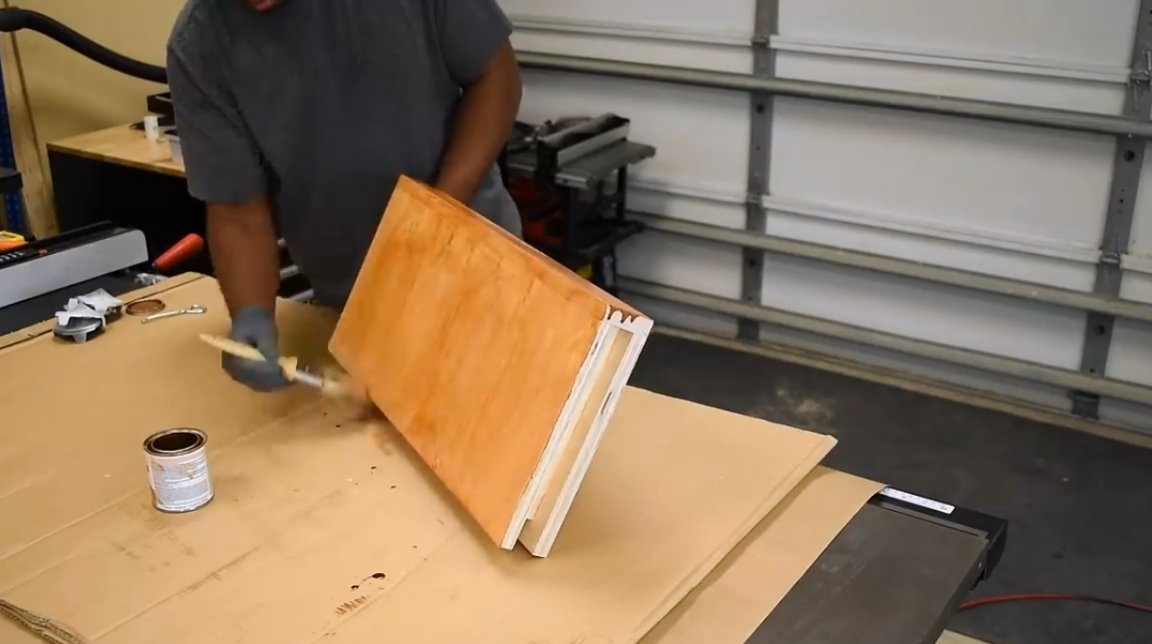
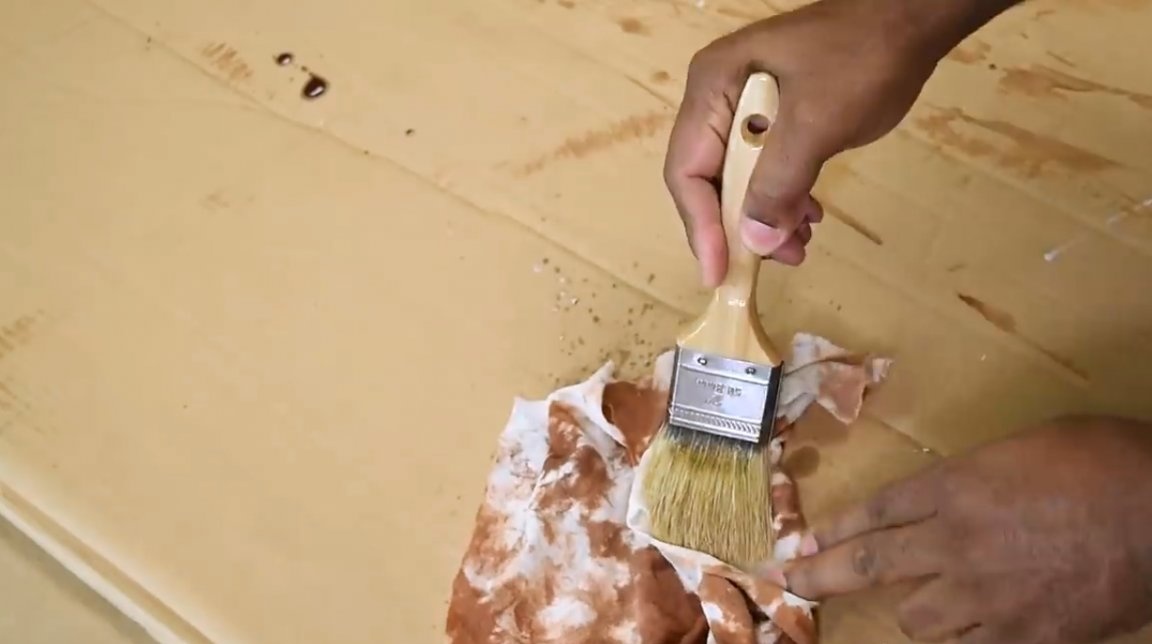
Some time after the paint is absorbed, the author removes excess paint with a piece of cloth.
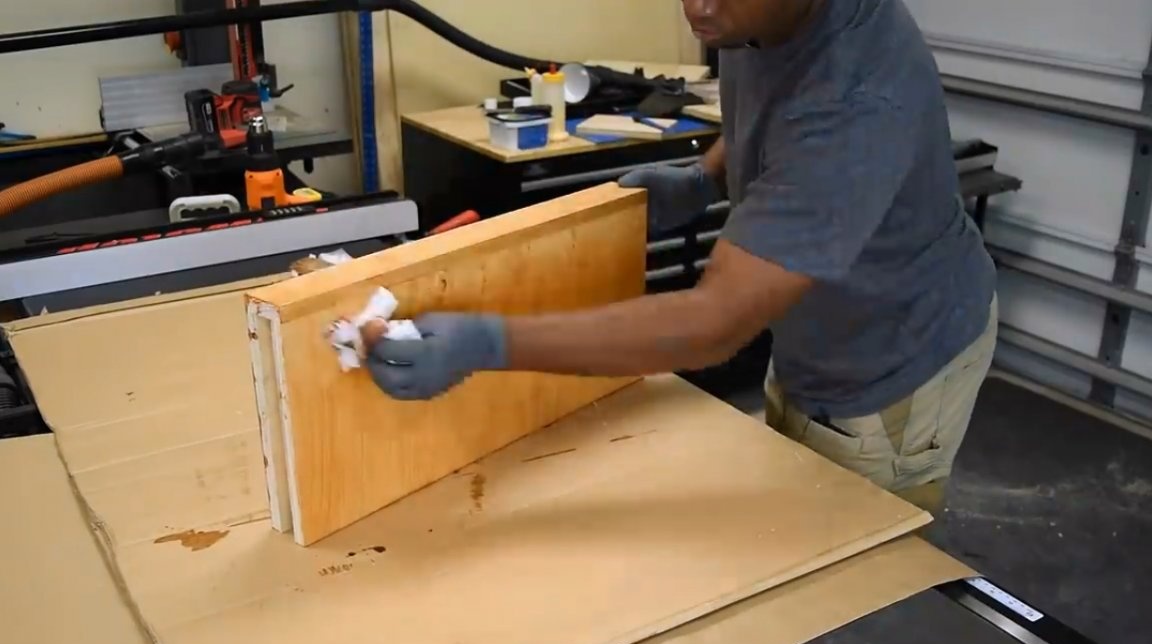
After a few hours, another layer is applied. This time, the author gives the paint the opportunity to absorb more deeply and again dabs it with cloth. He needed to apply at least 4 layers before the master achieved the desired color depth.
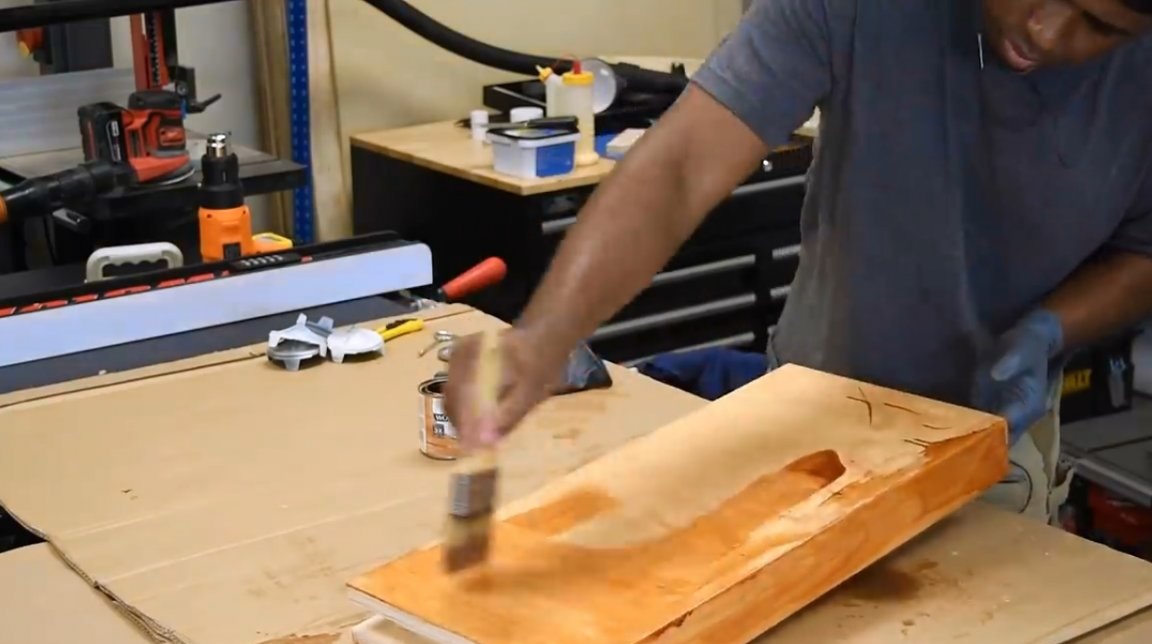
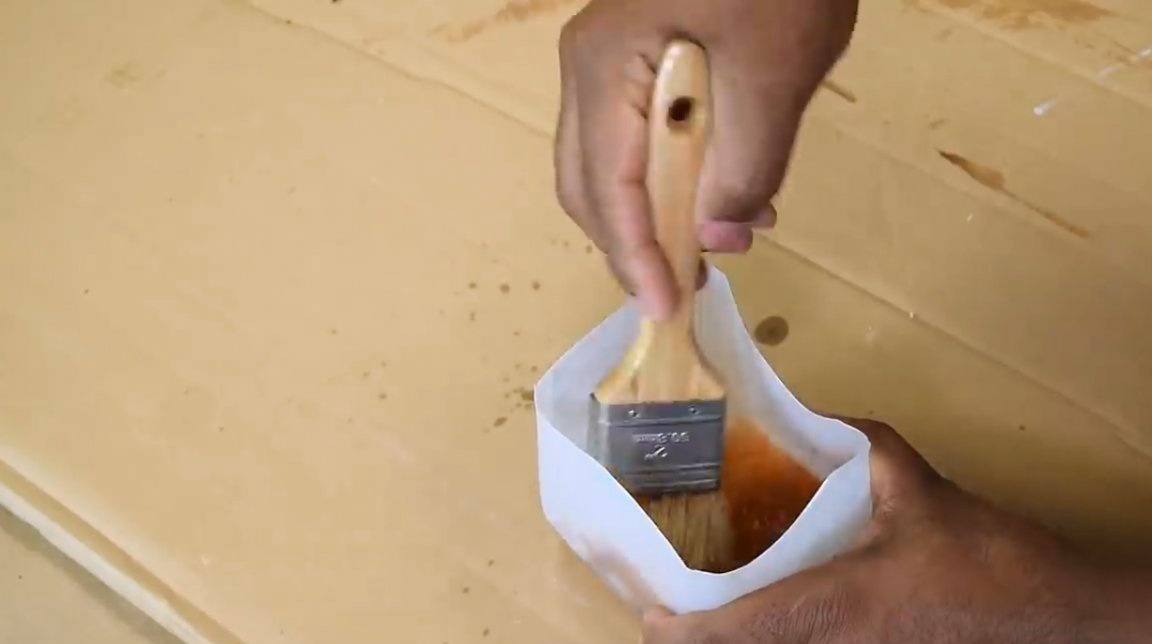
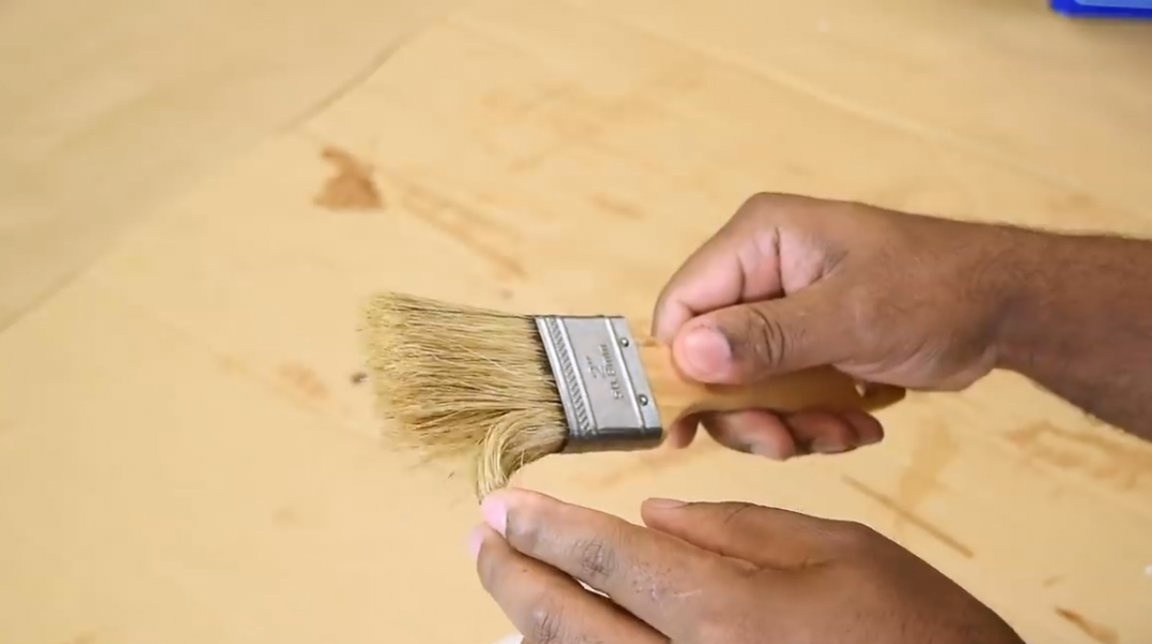
Between applying the next layer there is a grout with sandpaper. Before putting the finish, the master thoroughly cleans the brush with white spirit. This can be done in any plastic container.
As a final layer, the master uses a glossy transparent varnish.
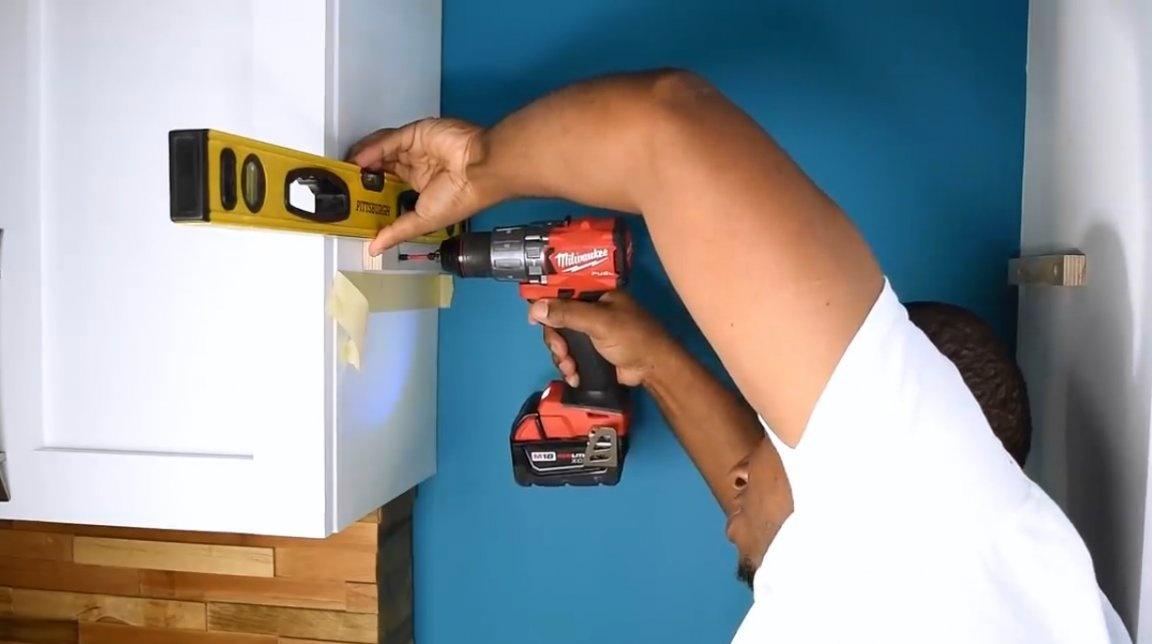
Then he marks the place where the brackets for the shelves will be screwed. The height of the shelves is set at will, arbitrarily, depending on customer requirements. Holes for mounting screws are pre-drilled in the brackets.
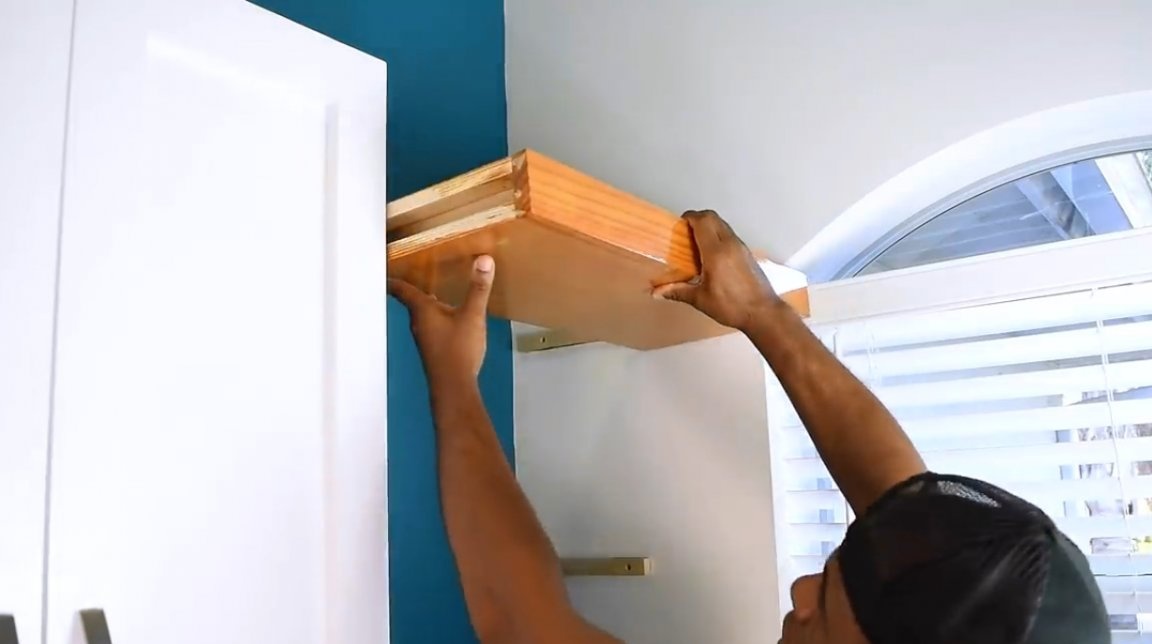
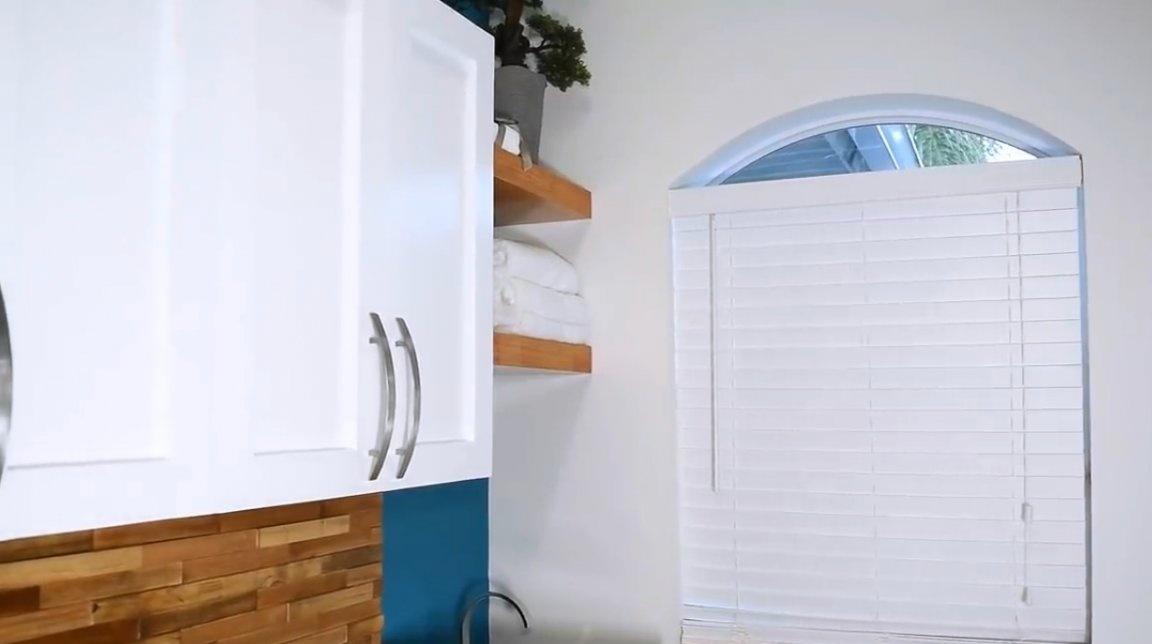
In the case of the author, the shelves will be located exactly between the wall of the room and the wall of the cabinet. He screws into wood, and anchors into the wall. This method of placing shelves is very ergonomic and saves space. In this way, narrow, seemingly unsuitable for of furniture sections of the room, sections where, as we say, "nothing will rise." In addition, a wonderful cache can be arranged in the cavity of the shelf.
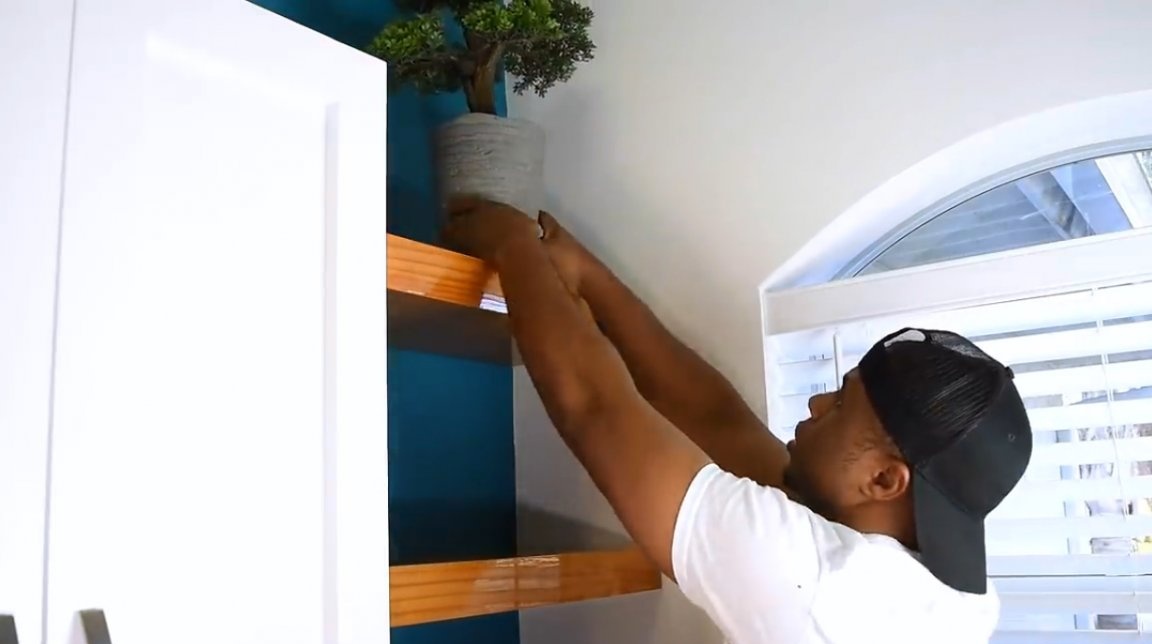
Thanks to the author for a simple but interesting technology for the manufacture of insert shelves.
All good mood, good luck, and interesting ideas!
Author video can be found here.