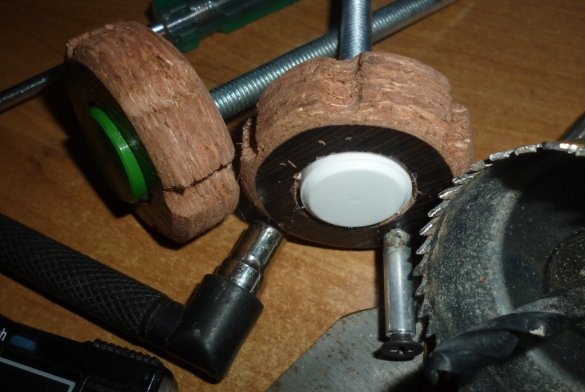
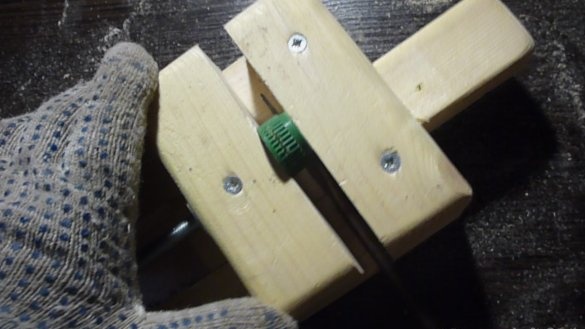
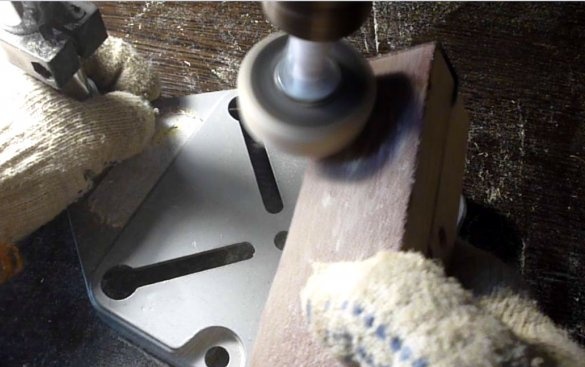
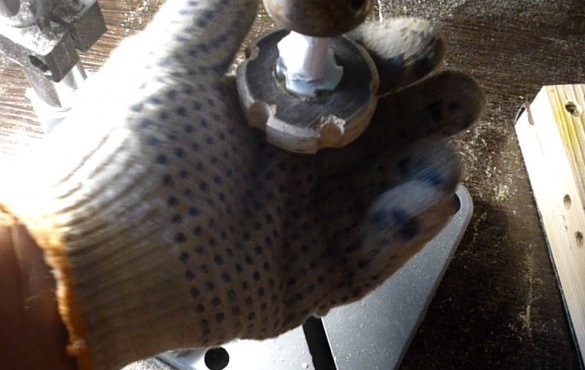
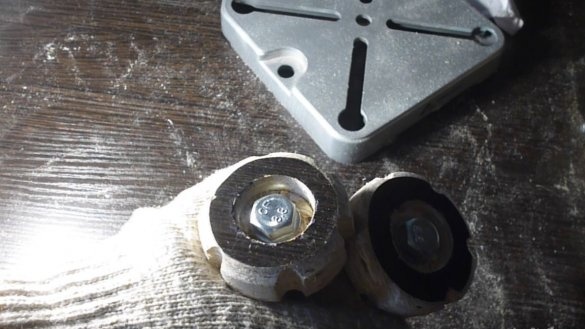
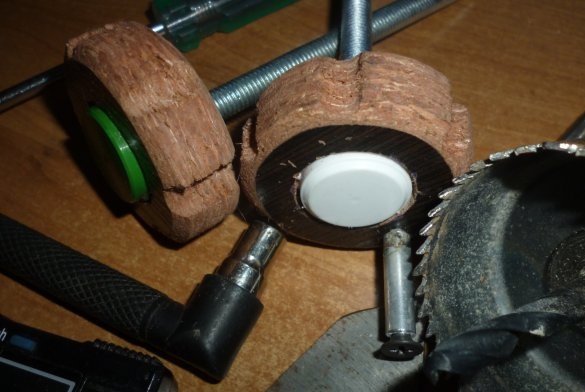
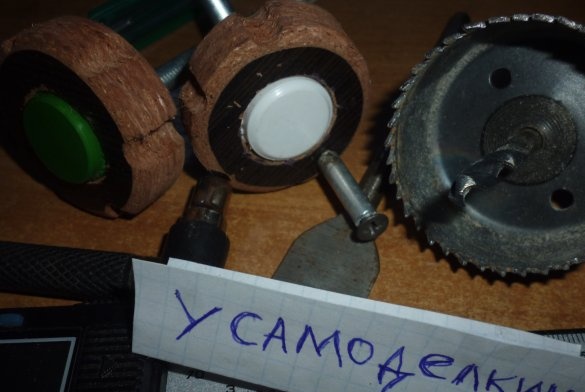
Today I want to introduce you to the principle of manufacturing a simple but pretty control knob. She, you may not need it today, but at some point, you will be painfully thinking how to do something like that. So, advice, carefully study this article once and forget for a while. And at the right time, take this lesson from your memory.
This simple fixtures will always be in demand among craftsmen. Especially manufacturing any home-made equipment where it is necessary to carry out its drive.
The handle can be installed on a joiner's vice, a centering table, on the drive of any home-made equipment, it has a lot of options for use.
The control knob is incredibly easy to manufacture, even an elementary school student can make it, does not require expensive or scarce materials, I’m sure you will find all the materials in your workshop, the garage or in the country.
As always, we will make a prototype. And then you can then experiment with the materials, sizes for your control knob and the nuances of manufacturing this device.
We made the control handle from chipboard, but if you have at your fingertips a piece of thick, say 16 mm thick plywood, then this option will be much more successful and better.
Also, the pen can be made of textolite, OSB, MDF and other material suitable for this product. The dimensions of the control knob are selected based on the task of operating this device.
We begin our project with a reminder of compliance with safety rules when working with carpentry, metalwork tools and equipment. Follow the rules and you, having built your magnificent summer house, grow a lot of cucumbers, tomatoes and even watermelons with melons on it, educate grandchildren, and maybe great-grandchildren.
Video instruction for manufacturing the control stick:
We begin to manufacture.
What we need to make a simple control knob:
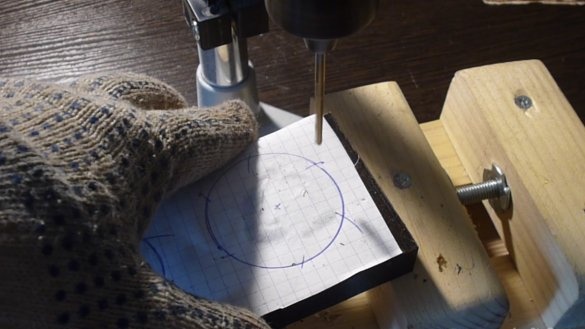
1. As always, drilling equipment, drilling machine or drill.
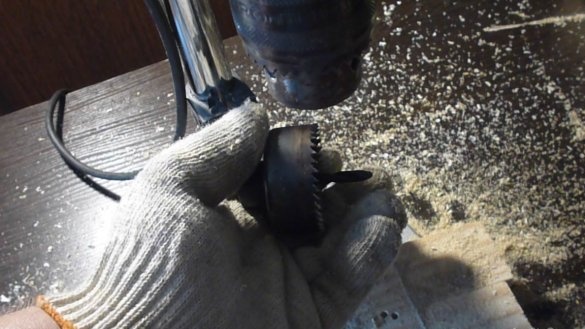
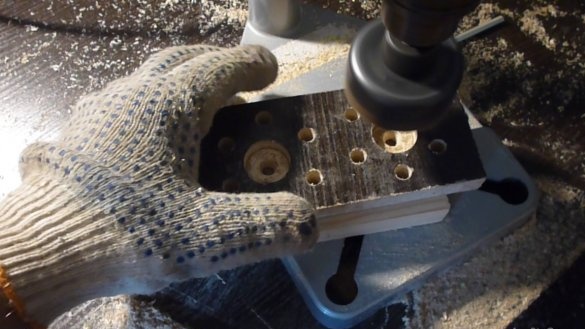
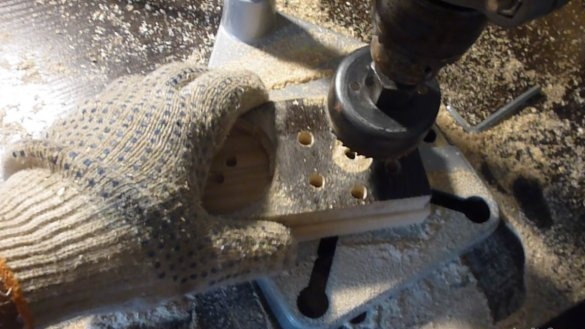
2. Drills, I want to separately note the core drill, its internal working diameter will correspond to the diameter of your control handle.
3. Joiner's vice.
4. Varnish or stain, to give the pen an aesthetic appearance.
5. The hammer.
6. Wrenches.
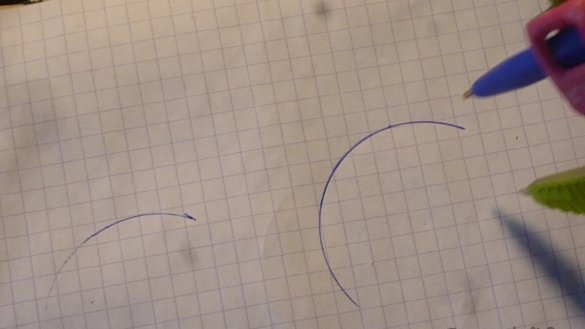
7. The compass.
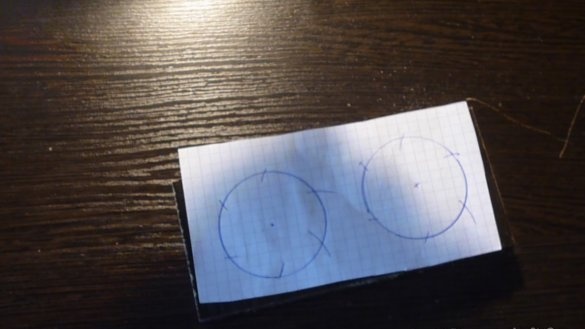
8. Joiner's pencil or, what else is writing, for marking the stencil.
9. A small sheet of paper.
10. Joiner's glue.
11. The grinding skin.
12. Brush or swab for applying varnish or stain.
Our materials are the most waste:
1. A small piece of chipboard, or, at your discretion, plywood, MDF, PCB, etc. (The thickness is at least 16 millimeters, in principle, if you have thinner plywood, it can be glued with wood glue, then fixed with a clamp, to complete glue drying).
2. A plastic stopper, or something else, to aesthetically close the bolt head.
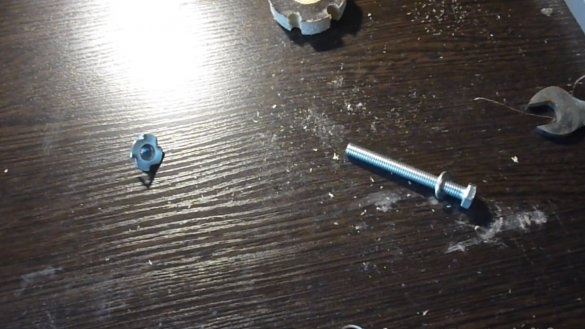
3. The bolt, length and diameter, is selected from the task in front of your handle.
4. The nuts.


