
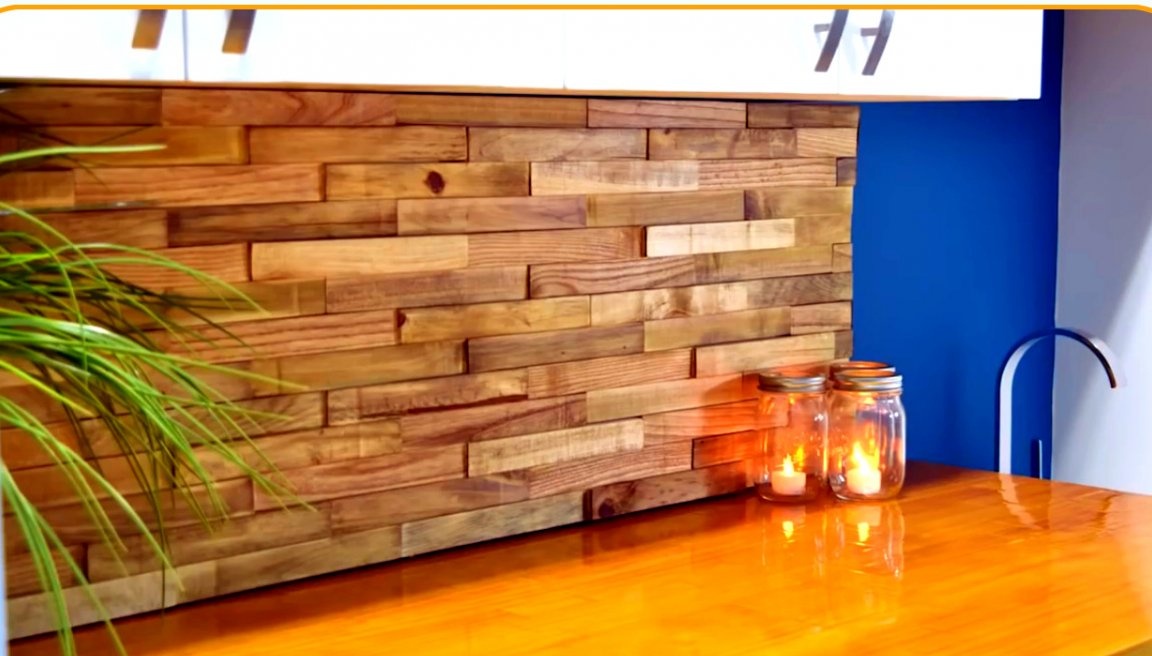
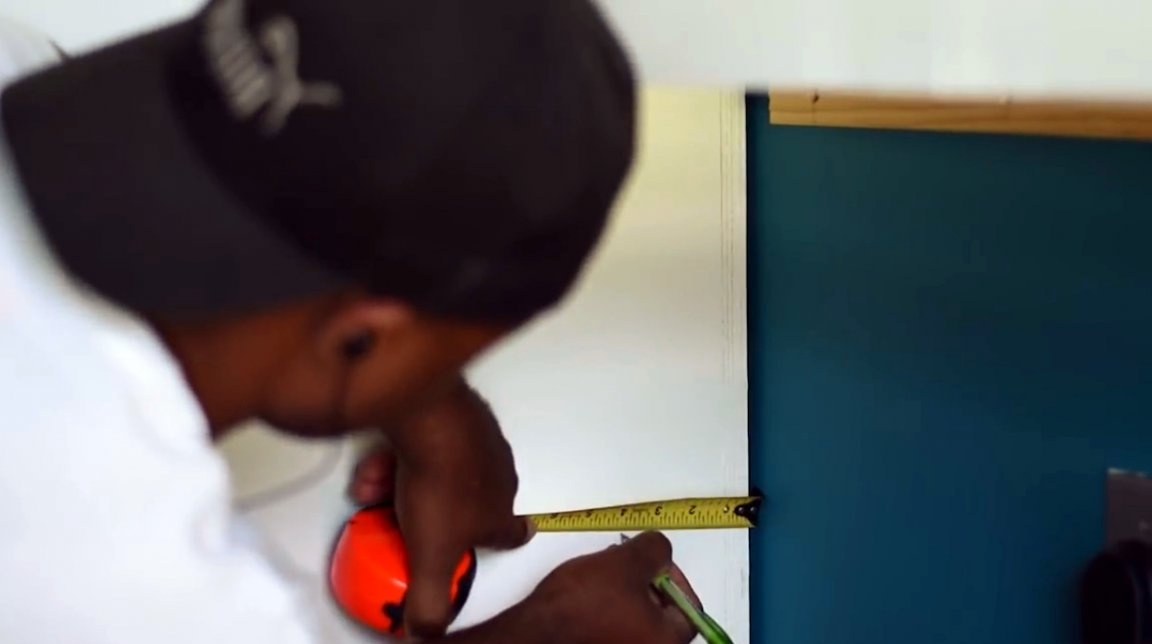
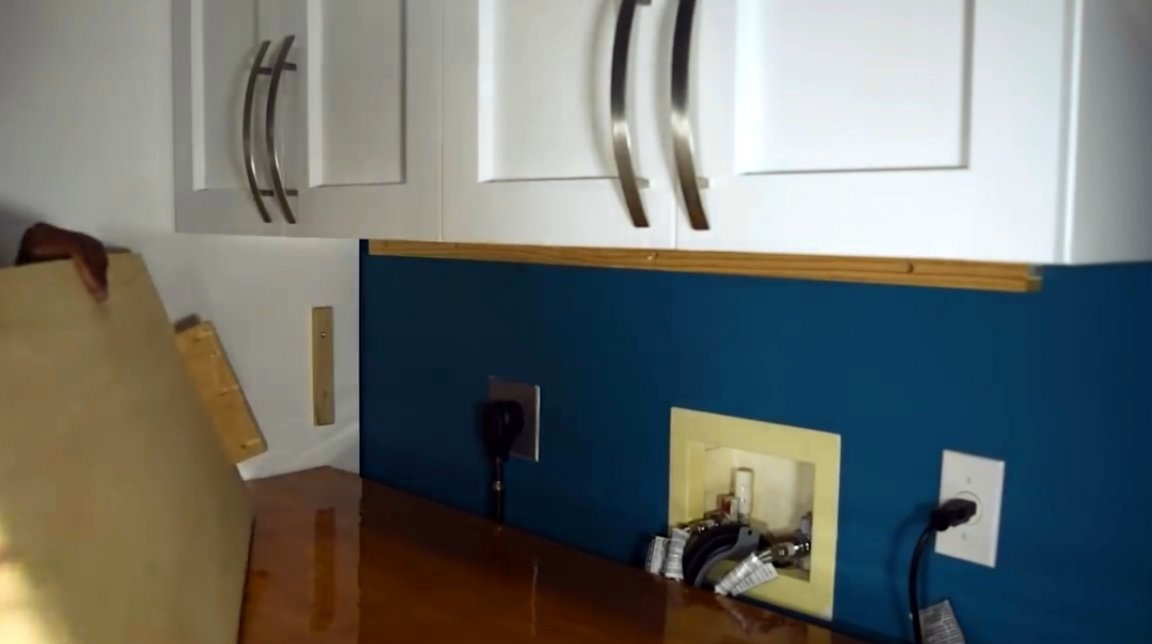
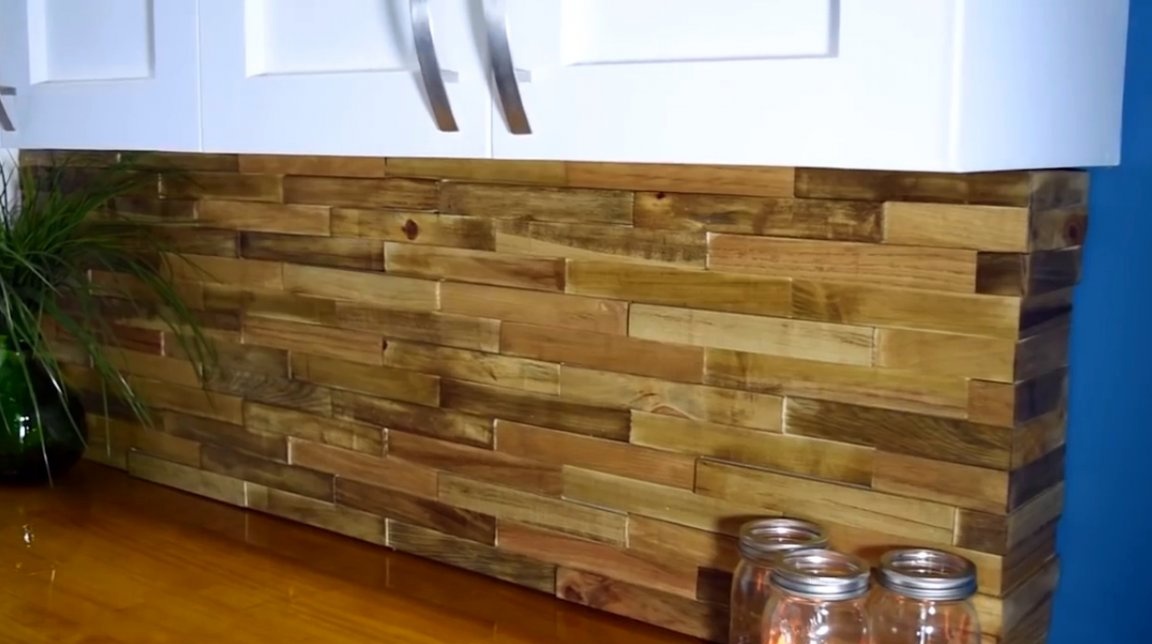
In this article, the author of the YouTube channel “DIY Creators” will tell you about the construction of a special panel that protects the wall from splashes, drops and other unwanted dirt. Such a service panel can also perform a camouflage function, hiding behind itself hoses for gas, water, power cords and everything that usually confuses the eye of an aesthetically sensitive observer.
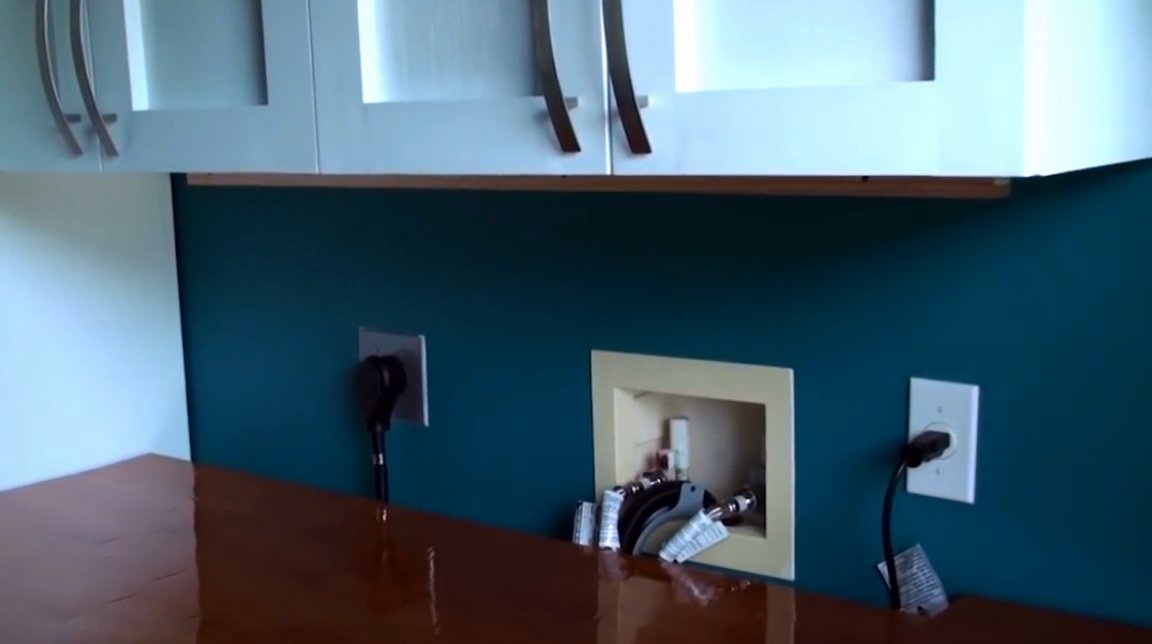
Here is where this panel will be embedded.
Such a panel can be installed in the bathroom, in the utility room (laundry) or in the kitchen. The material for this panel will be a pallet tree.
Materials
- sheet plywood
- Boards from pallets
- PVA glue
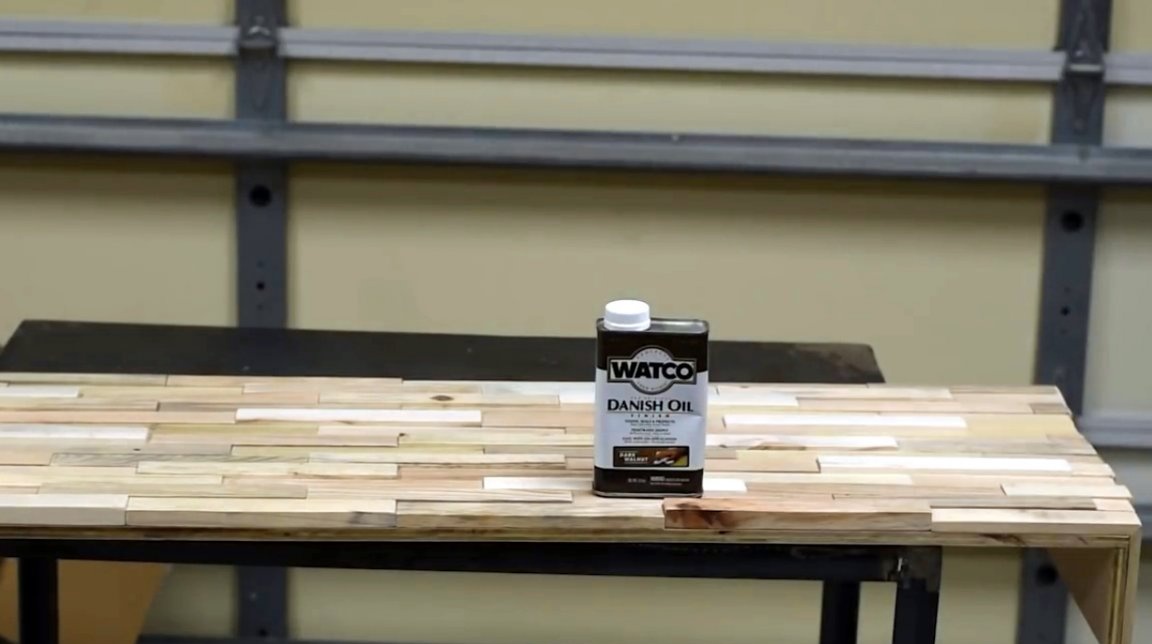
- Danish oil
- Wood screws.
Instruments, used by the author.
—
—
—
—
- Circular and miter saws
- Reysmus
- Chisels, tape measure, square, marker.
Manufacturing process.
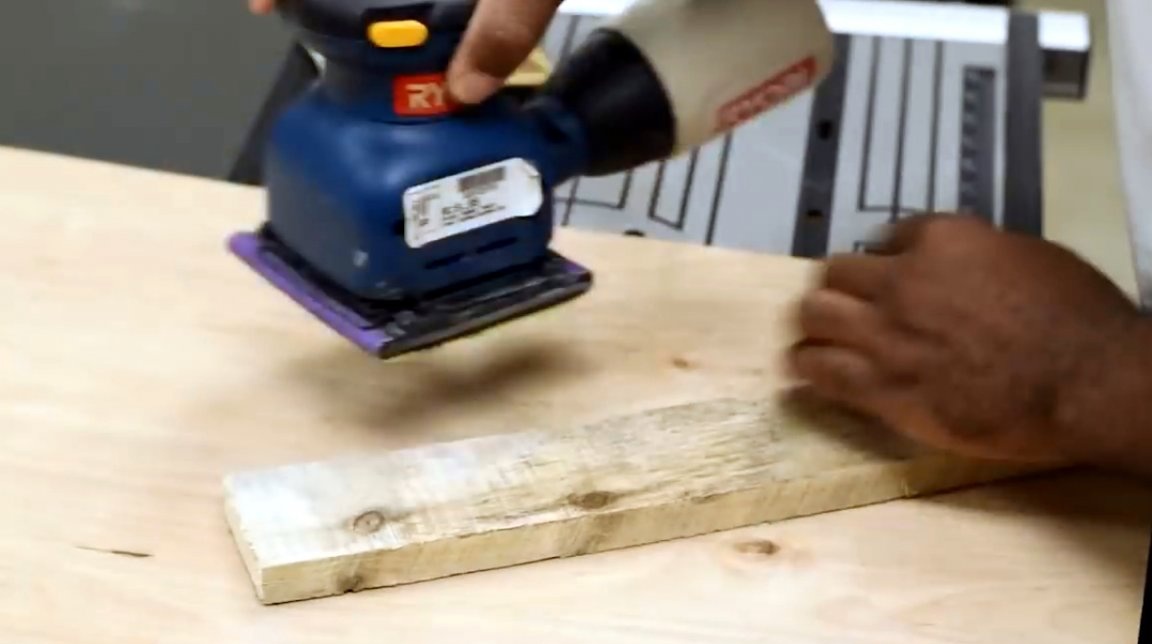
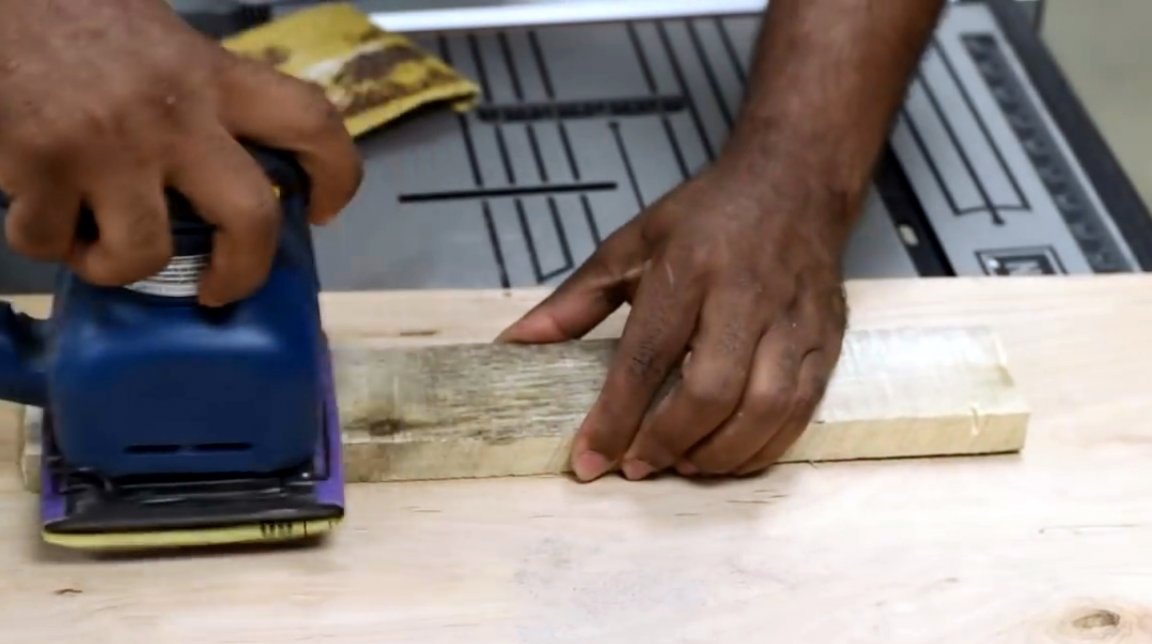
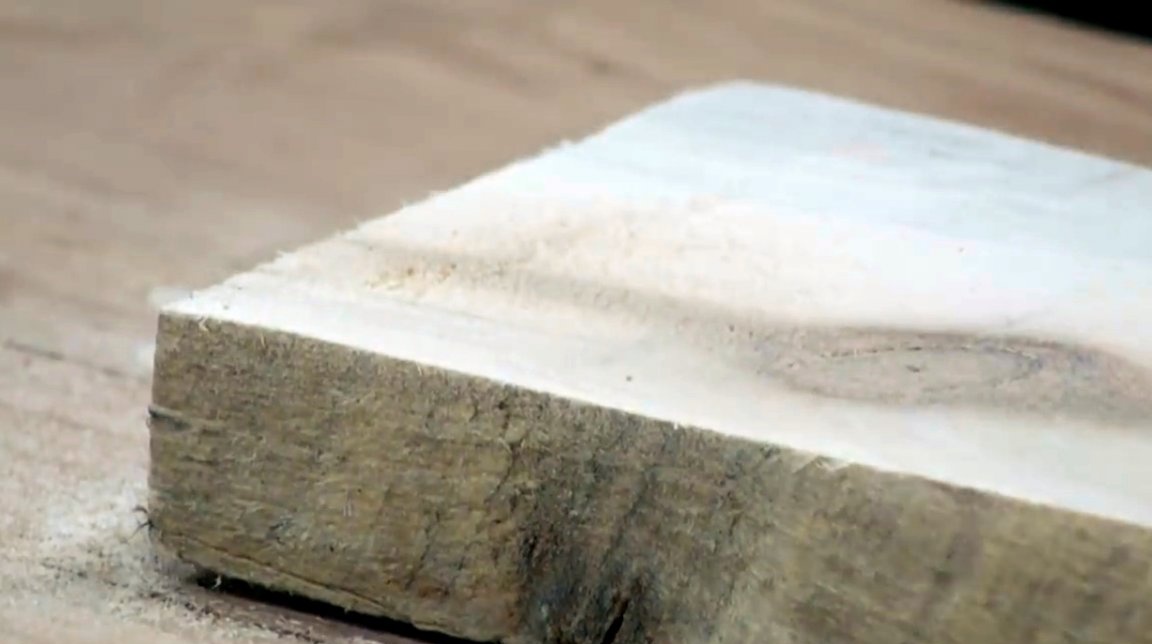
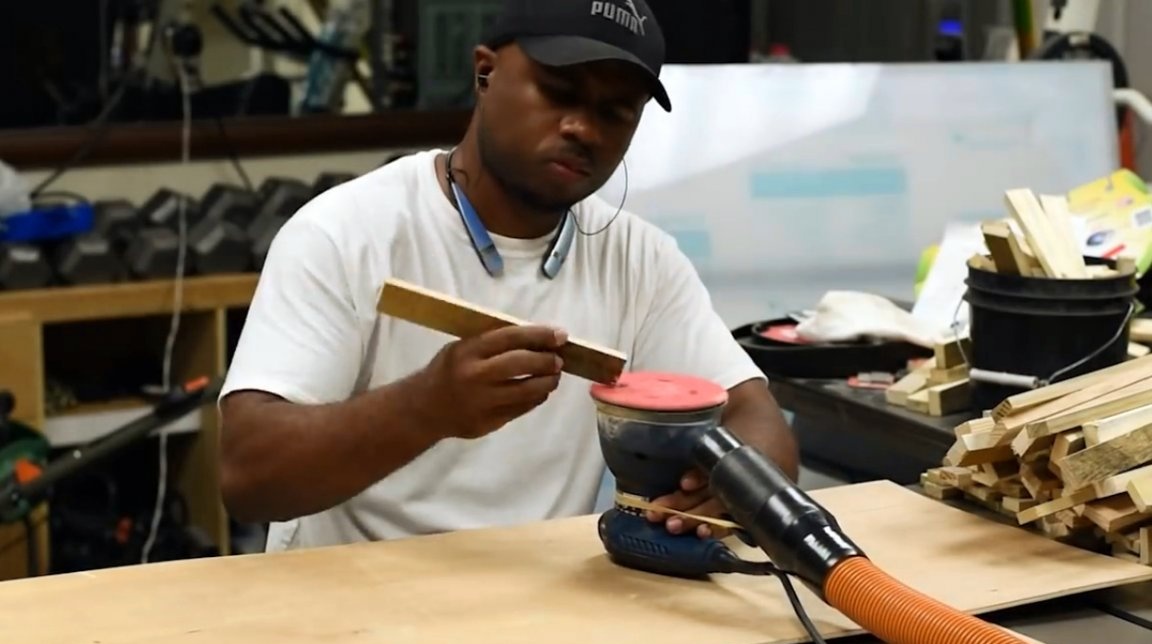
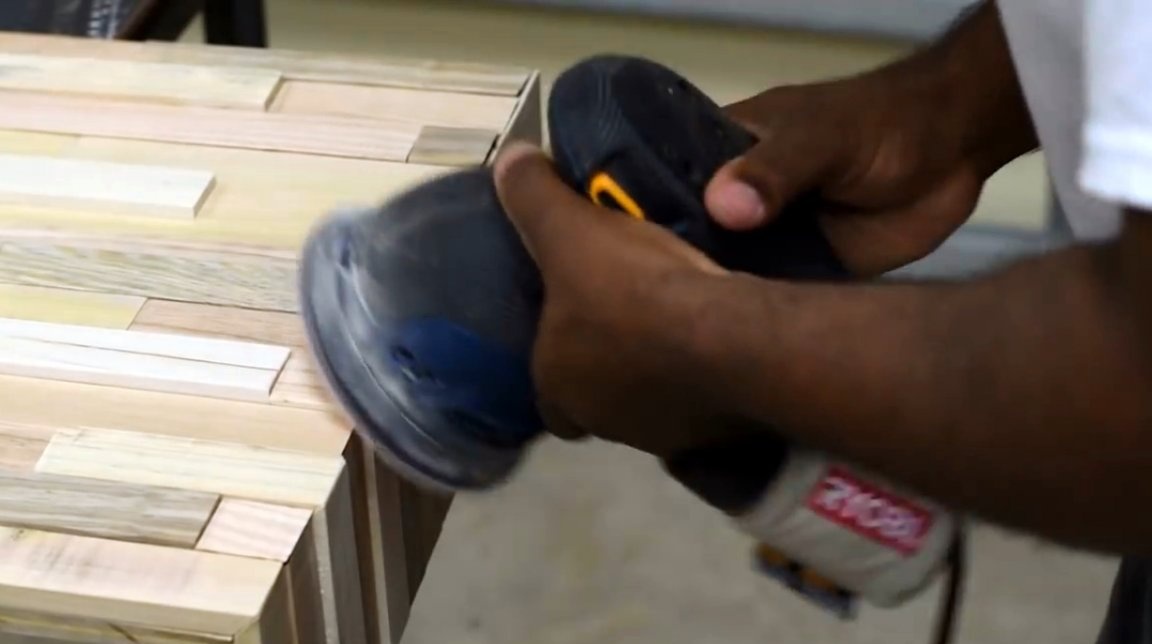
The author begins by cleaning the pallet wood samples with a hand grinder with 60 grit sandpaper. Of course, if you have any more advanced and faster grinding methods, you can apply them. Then he returns to each board, and processes it already with the 220th sandpaper until he gets an absolutely smooth surface.
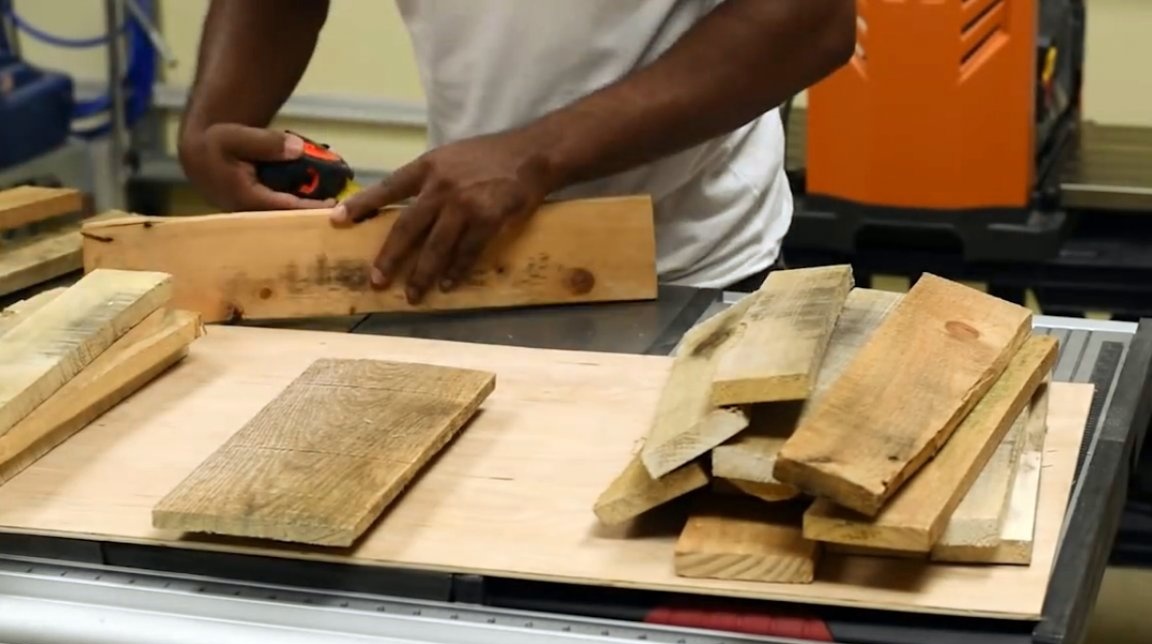
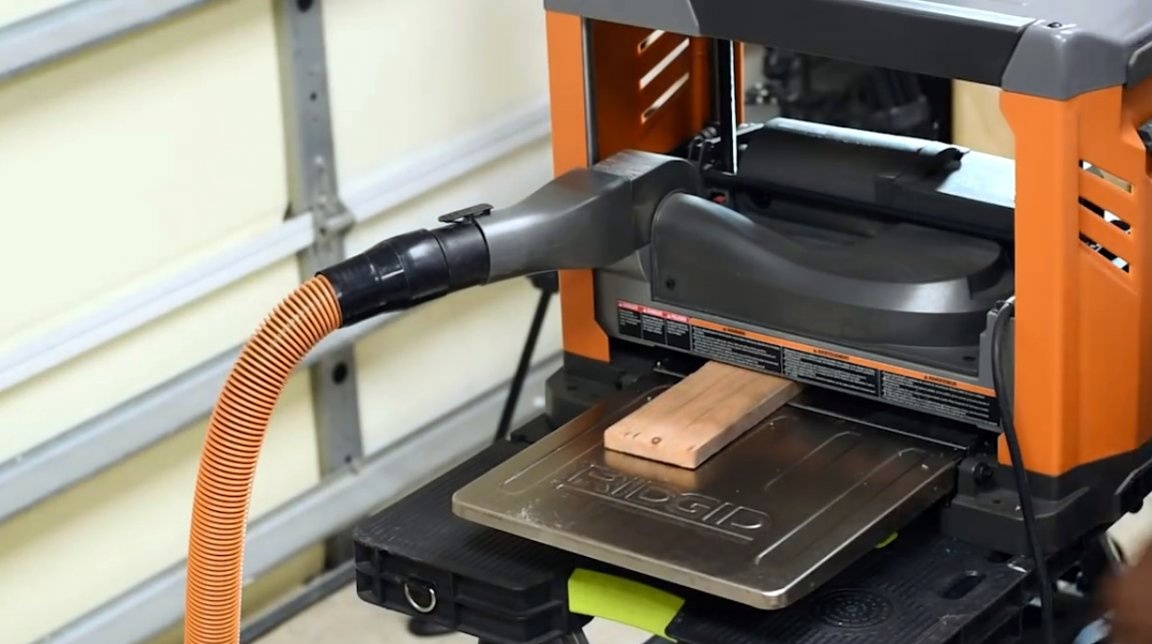
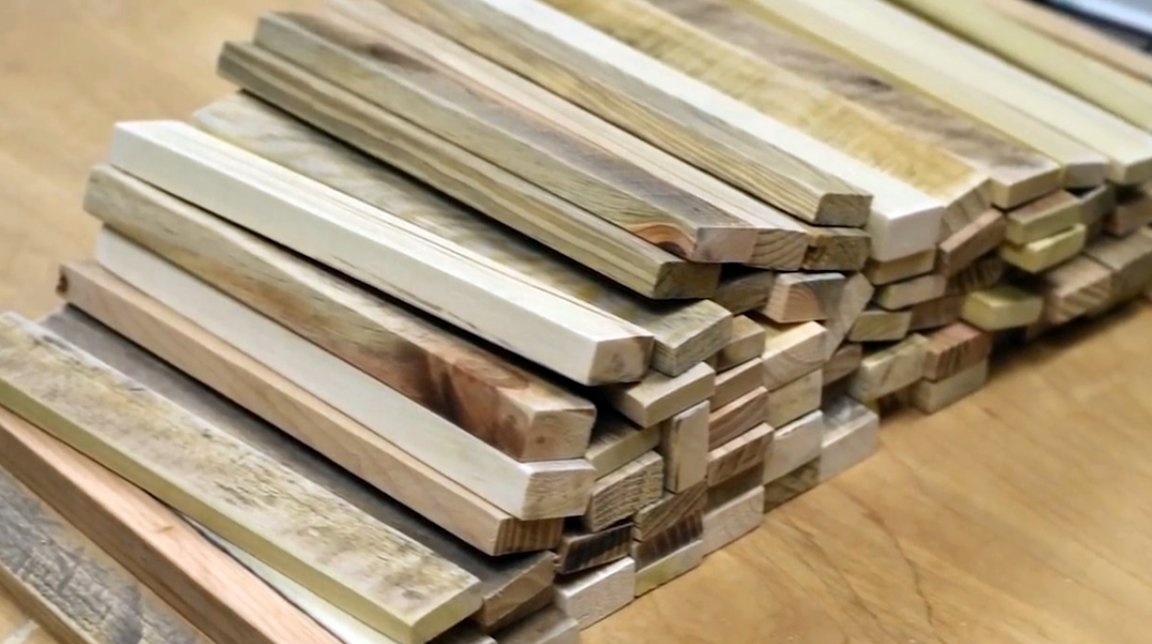
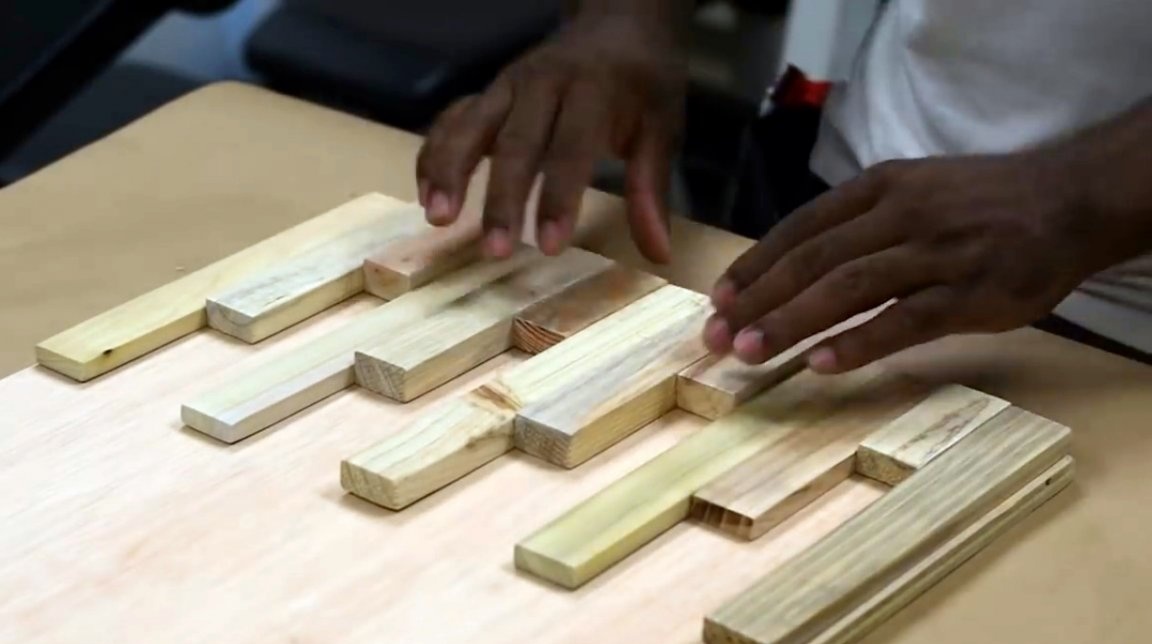
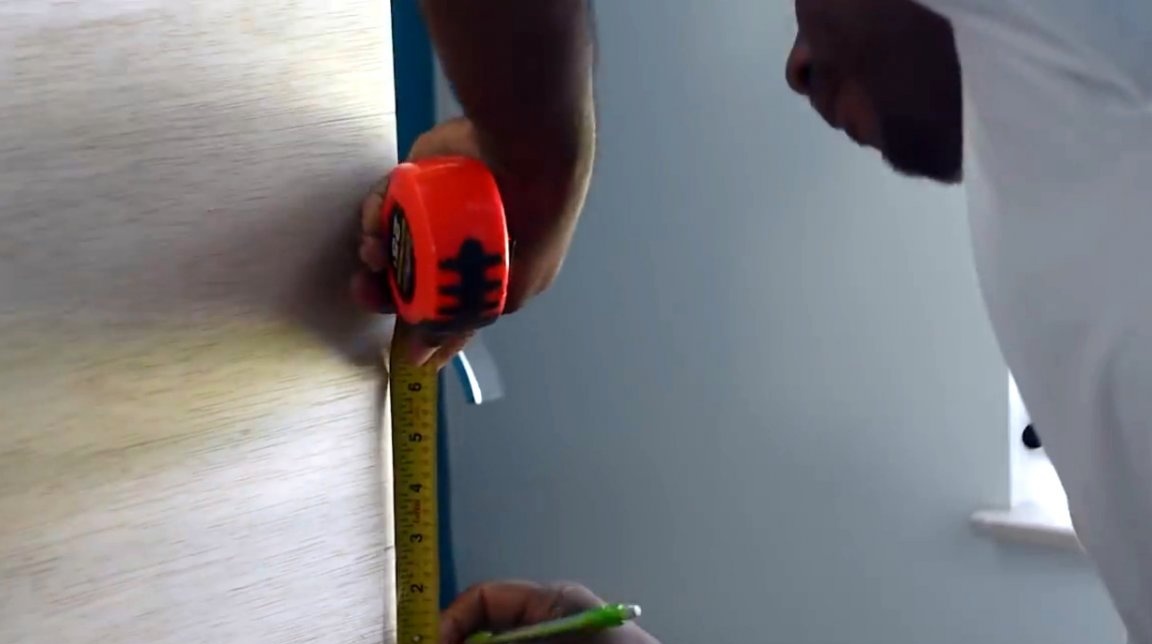
Then comes the measurement of each board - they must be all sizes. The author stacks them in different piles / stacks, depending on their length and thickness. Such preliminary selection is necessary so that when passing timber through the thicknesser, it is not necessary to raise or lower the thicknesser knives every time.
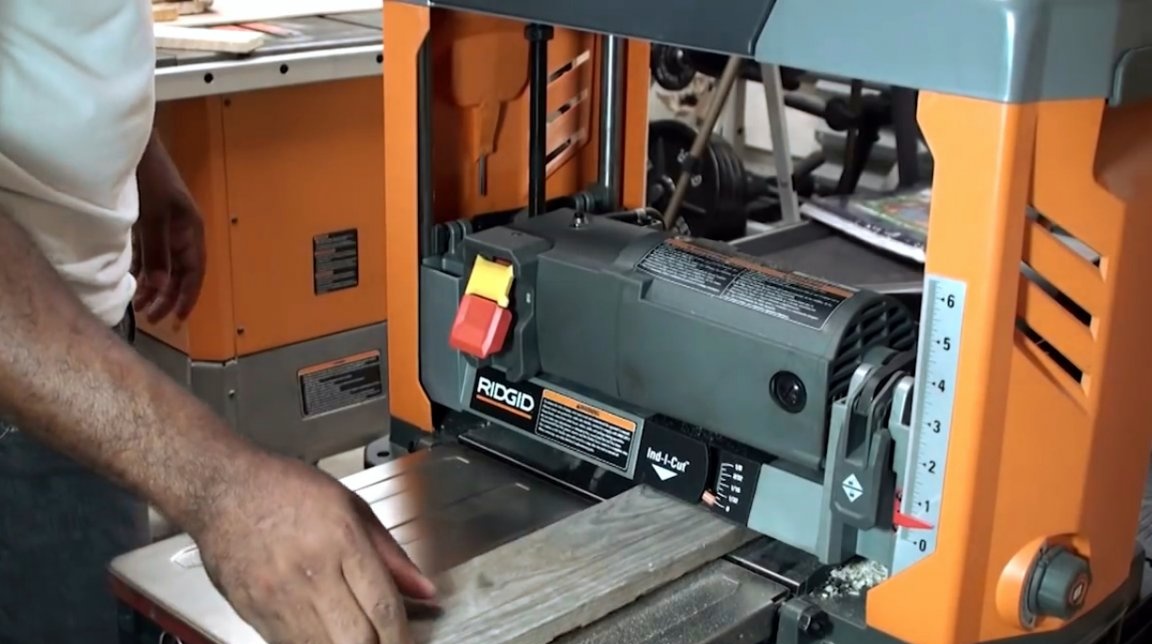
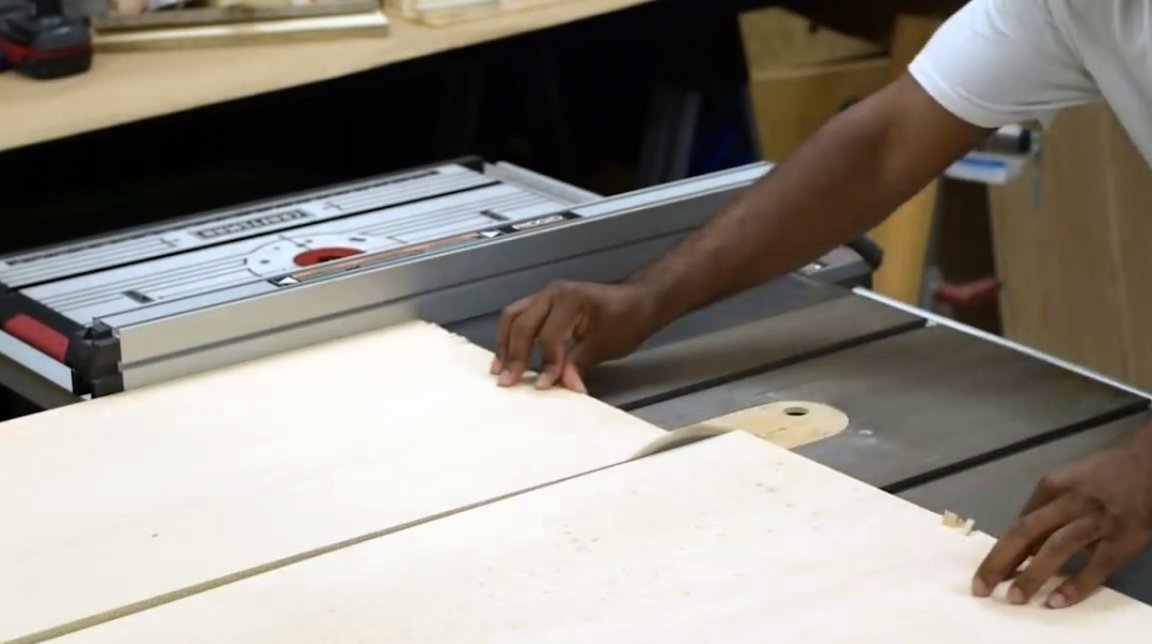
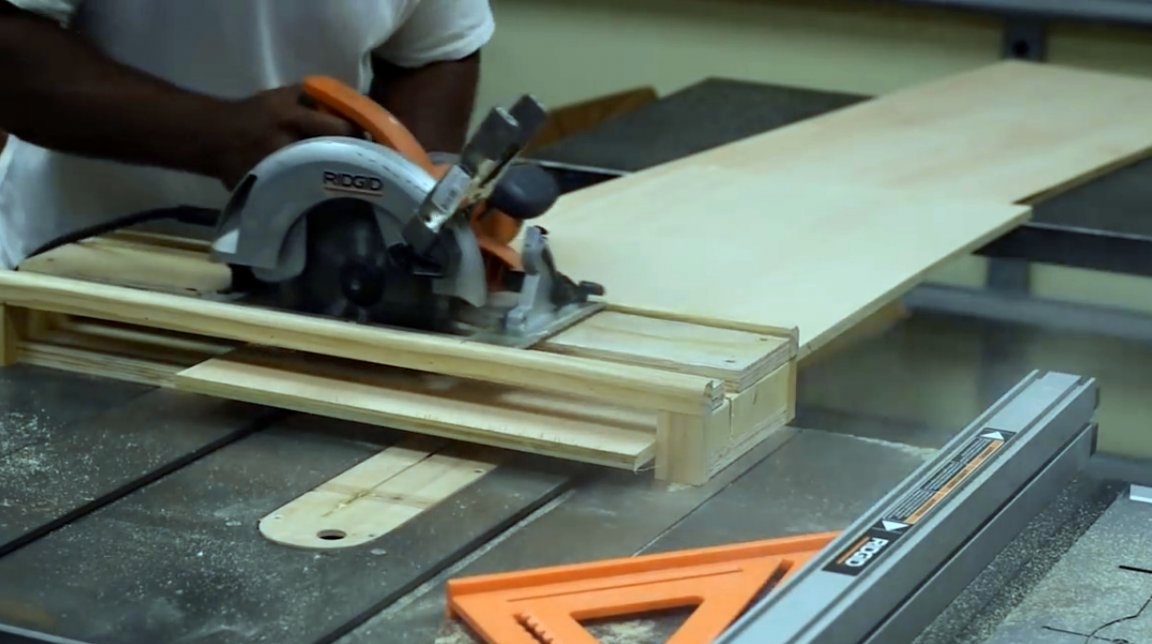
After that, the master passes each board through the circular disk, and receives at least one even side with a right angle.
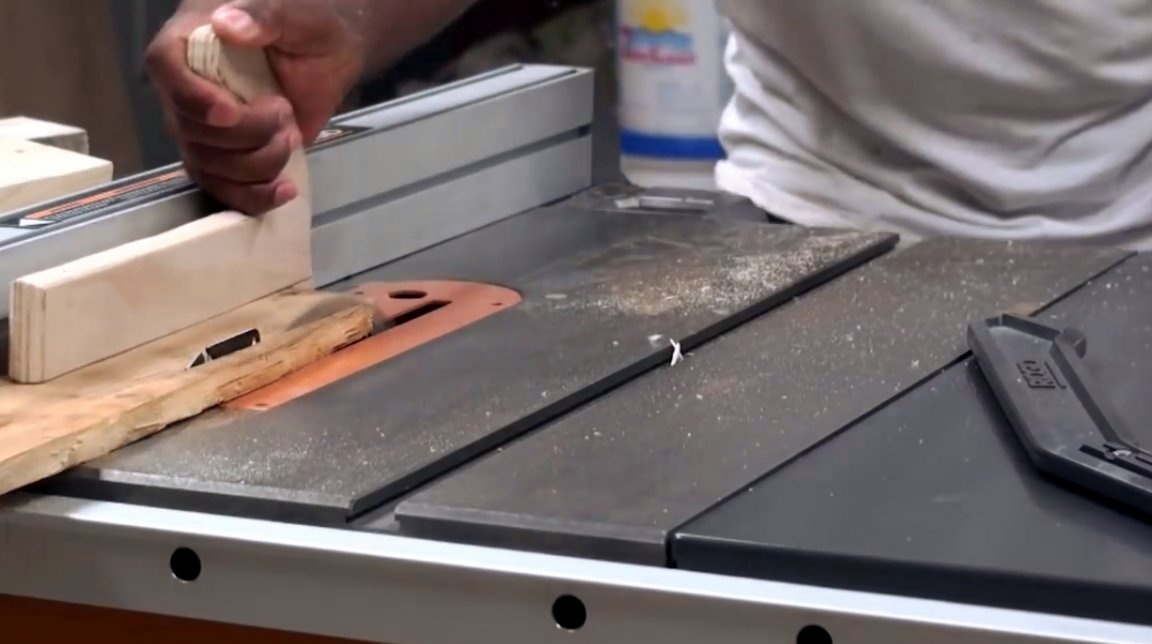
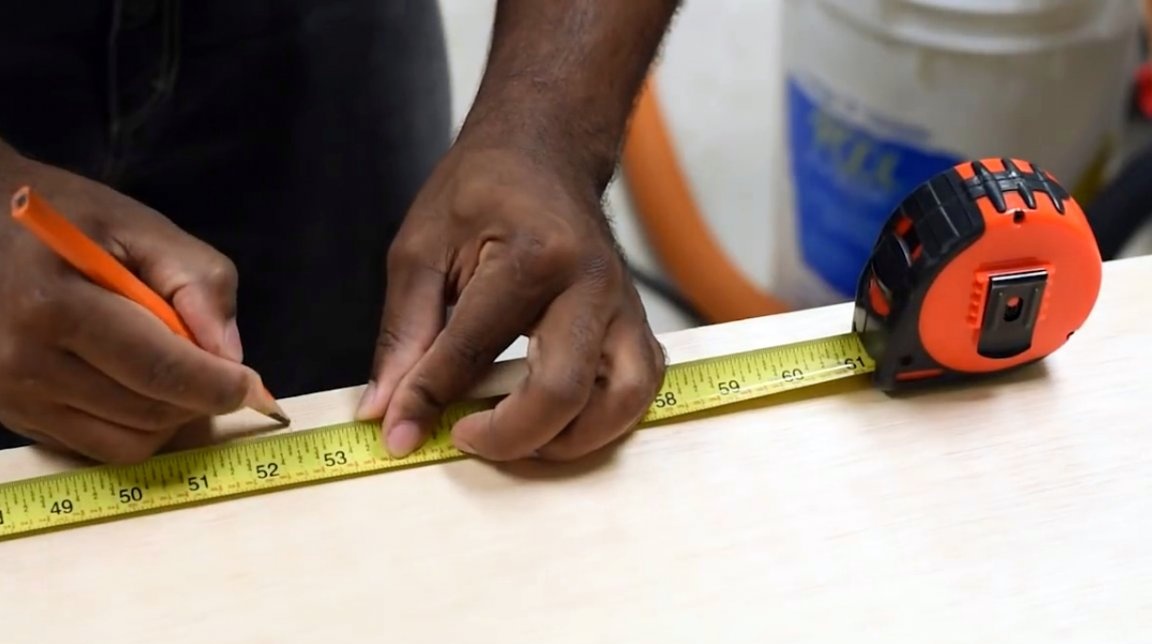
Based on it, the author sets the emphasis of the circular saw to 35mm, and thus processes all the boards to a single one.
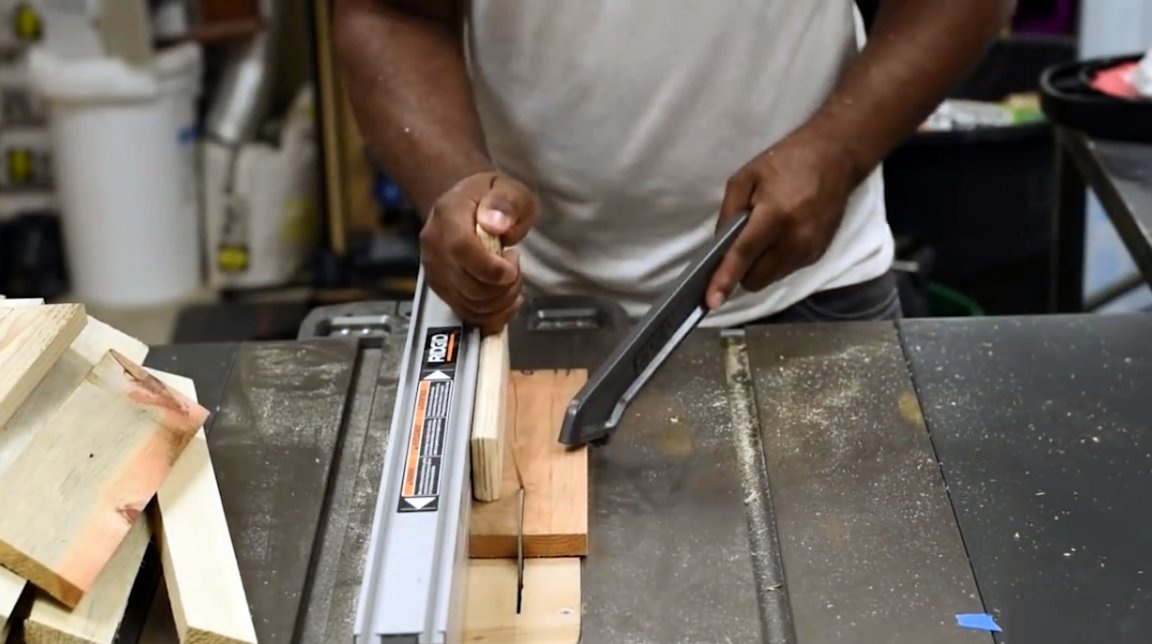
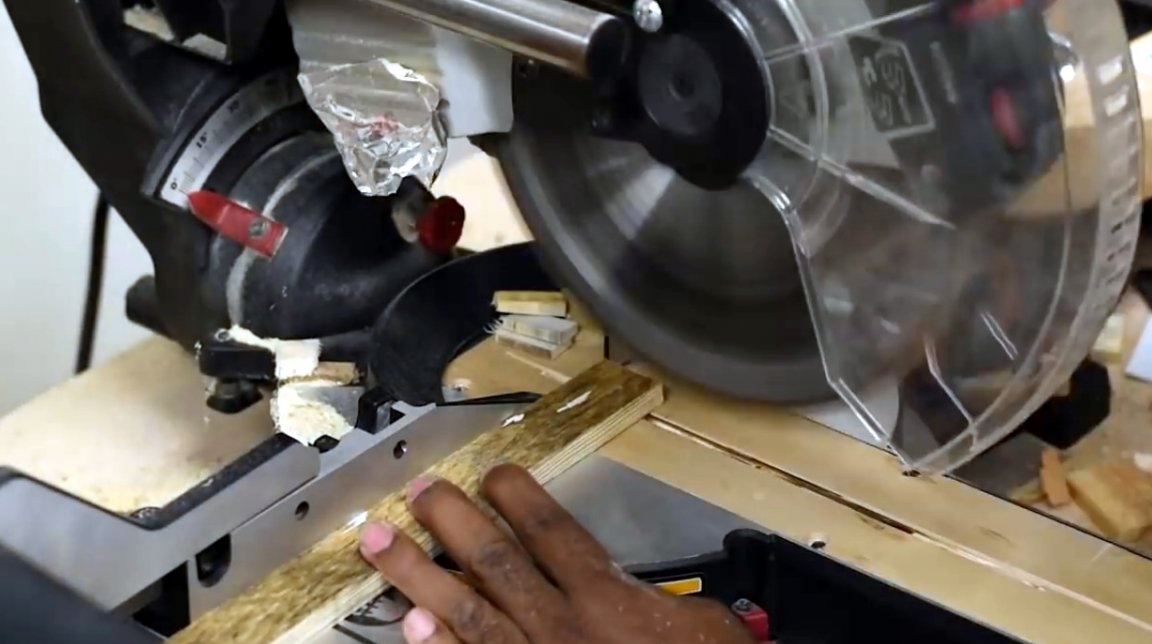
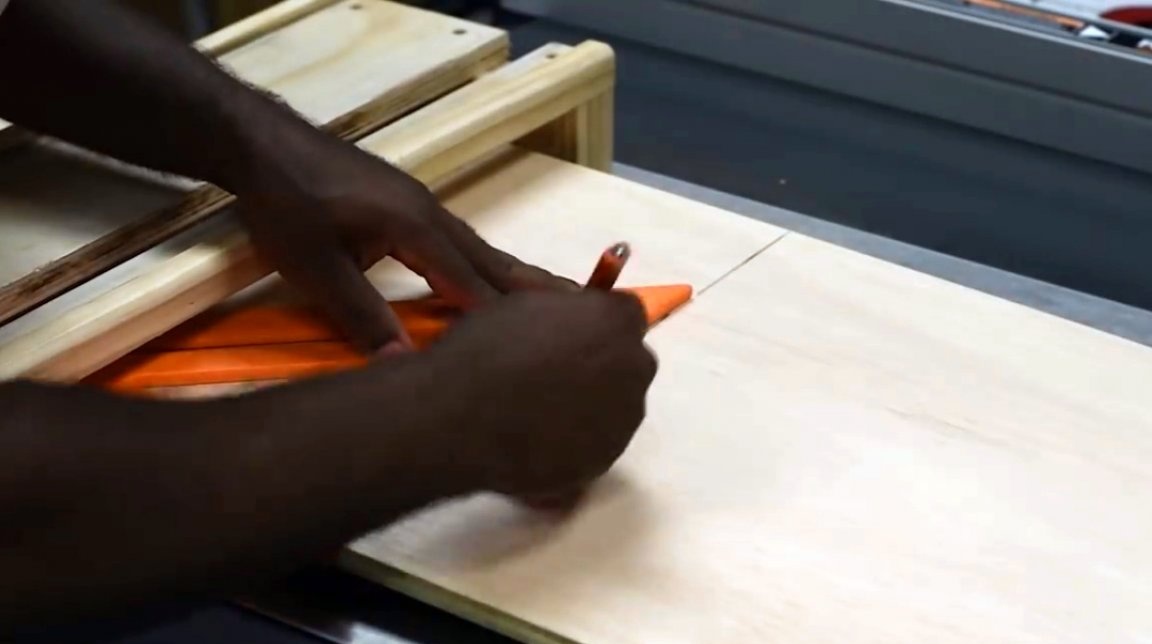
Now the master switches to the miter saw and sets the stop at 300 mm, presses the board against the stop and cuts it. And so he does with each plank, getting blanks of the same length.Also cut and blanks of shorter lengths - 200 and 100 mm.
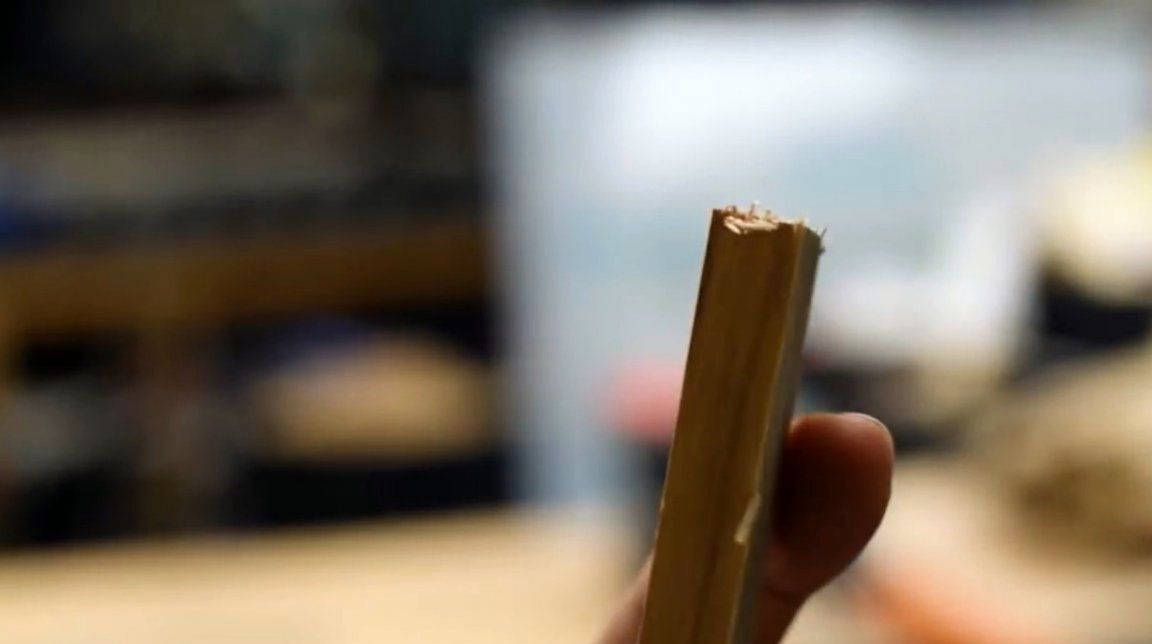
All edges of the planks are carefully processed on a grinder of any type with 220th sandpaper. This completes the manual processing. It turns out here is such a pile of prepared timber.
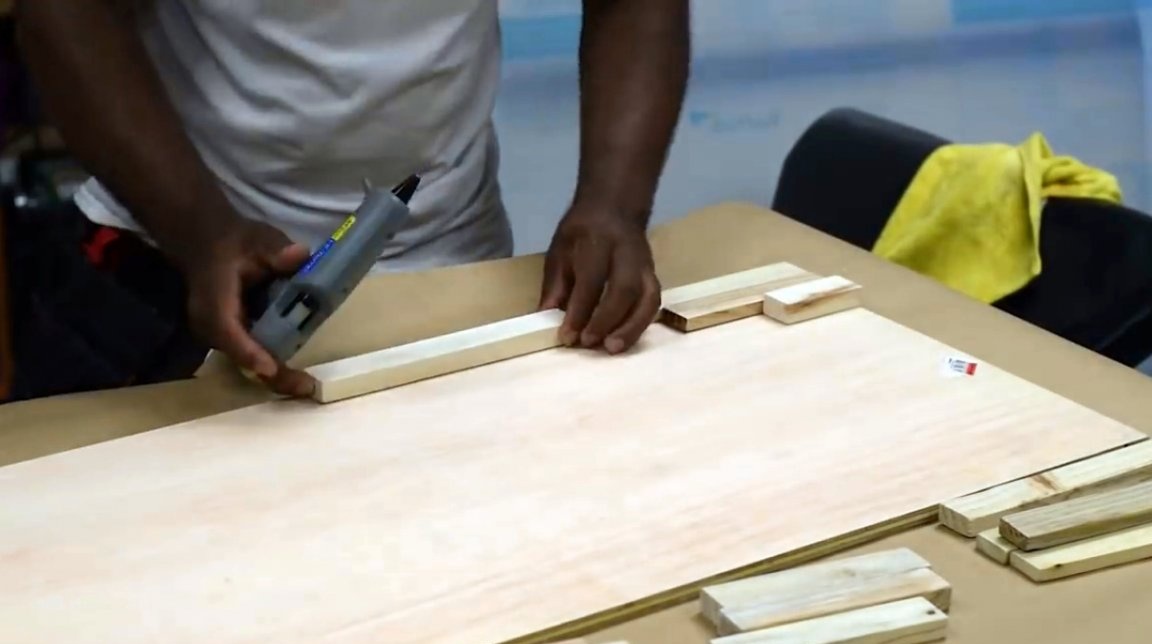
To base his project, the author uses a 16 mm sheet of plywood. Thinner plywood, for example, 8 mm is not suitable, because it will be fragile, it will bend relative to the wall. A plywood sheet is cut to the required size.
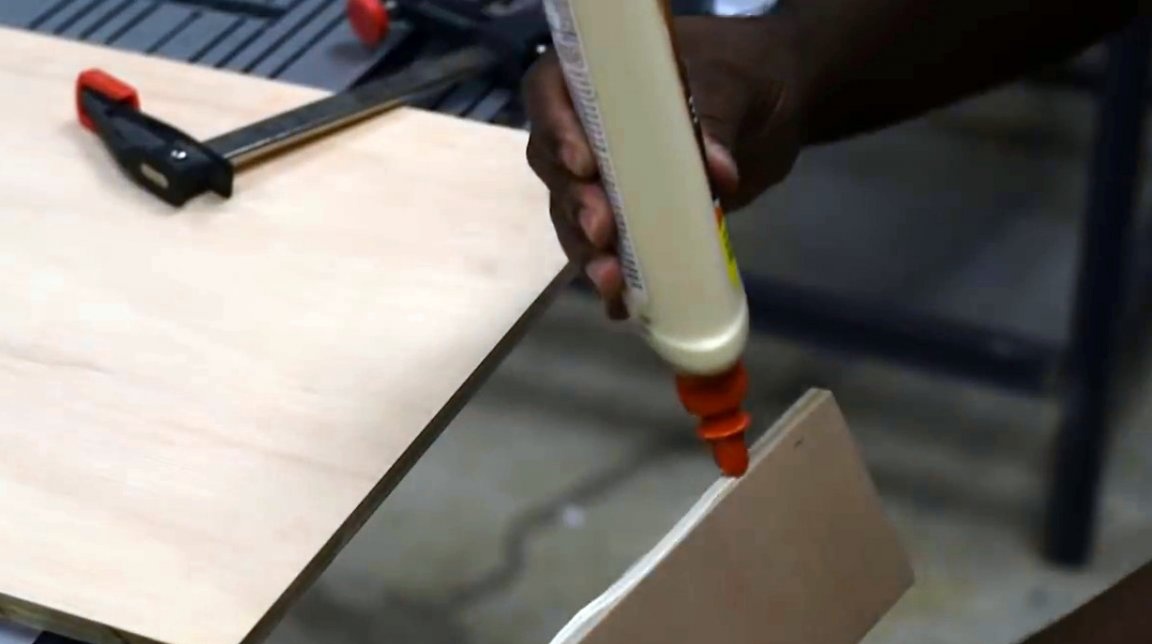
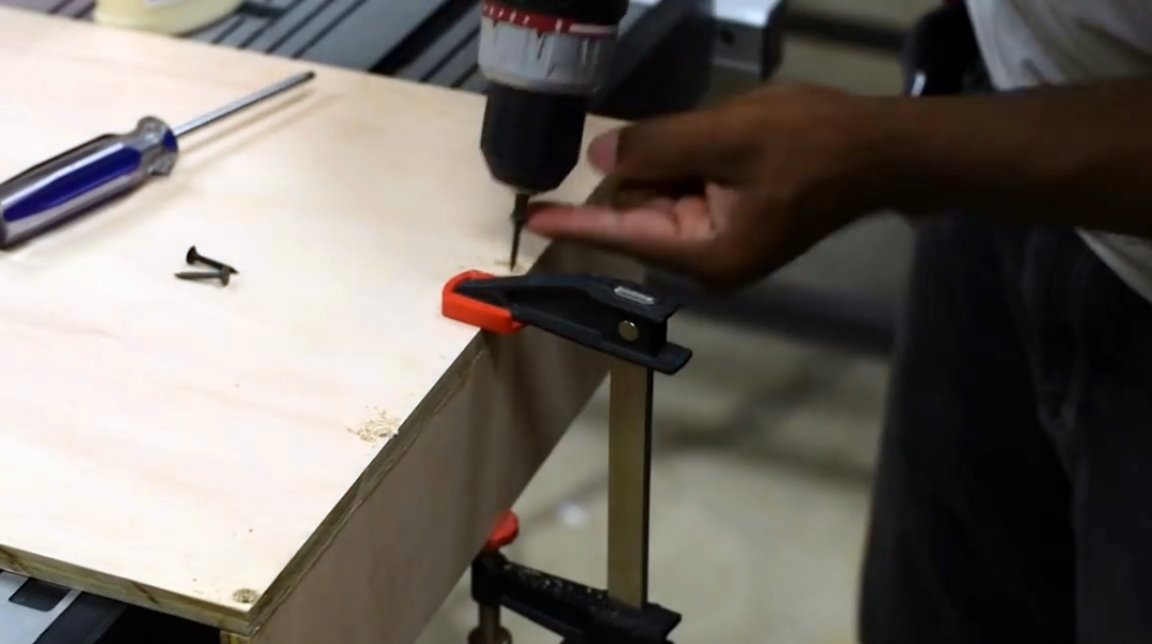
In order for the panel to slightly recede from the wall and be able to hide communications behind it, the master screws one more bar to the plywood sheet-base, after gluing both sections and tightening the boards with clamps. Before tightening the screws, pilot holes are drilled with a countersink drill.

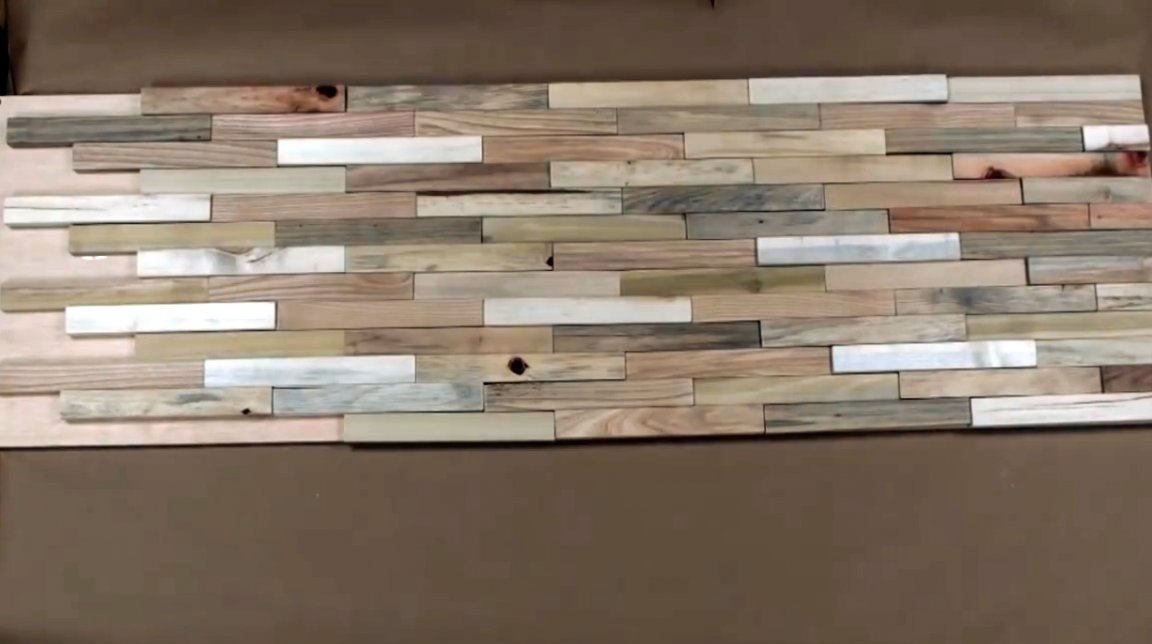
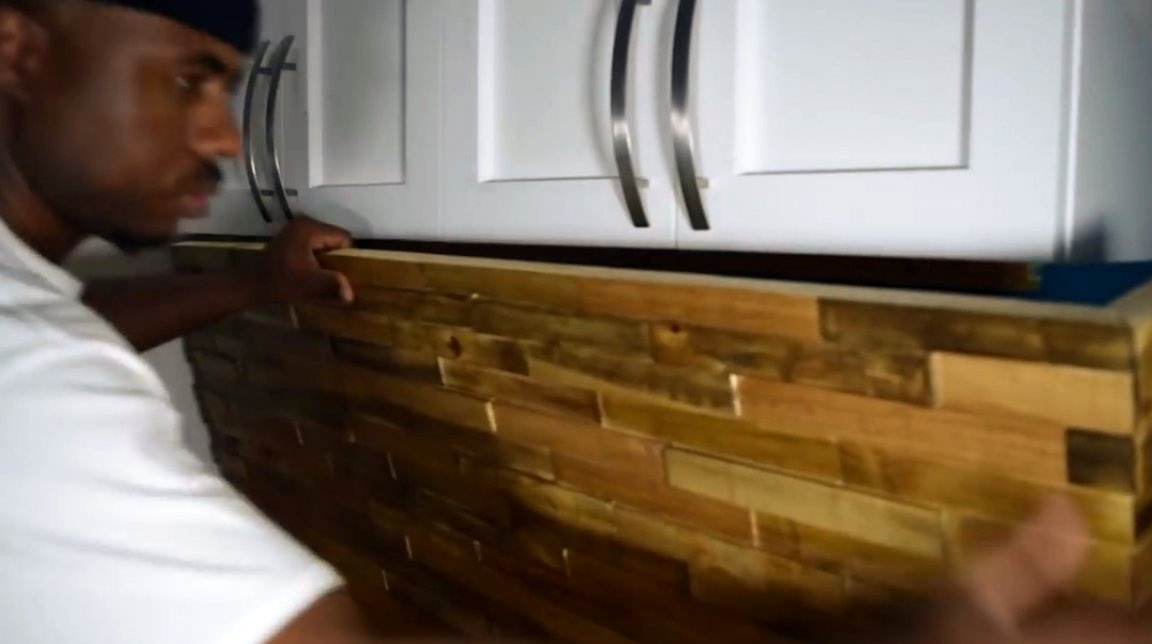
Now the master proceeds to facing the base plywood panel. At his disposal are pallet boards of three sizes: 300, 200 and 100 mm. From them he lays out such a simple pattern and repeats it from the bottom up, gluing each board individually with hot glue.
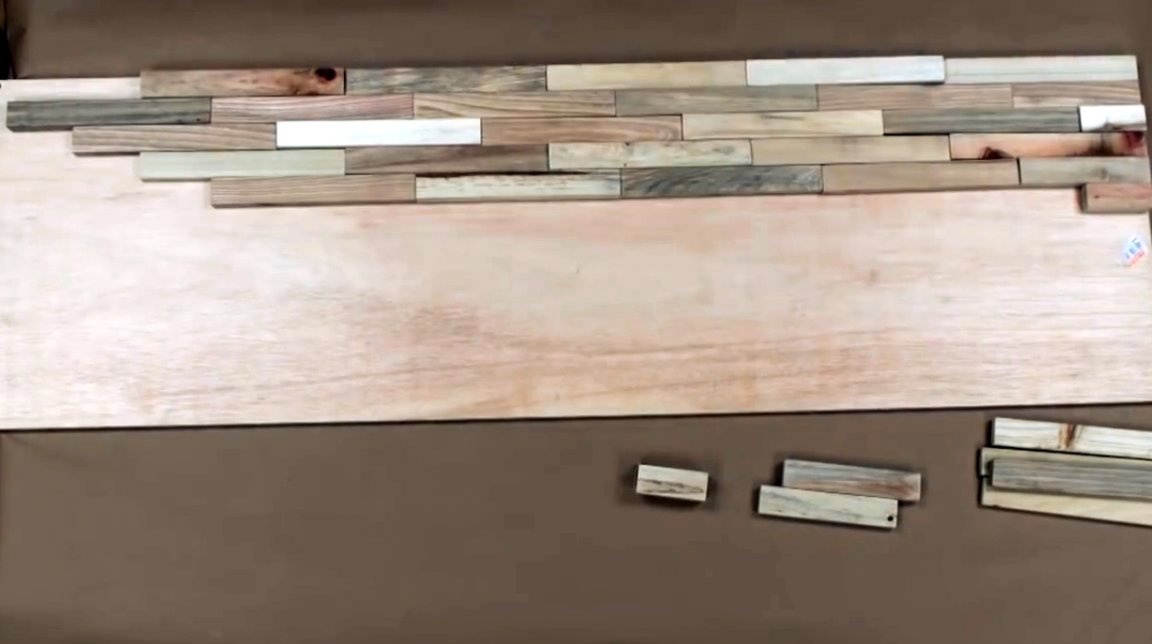
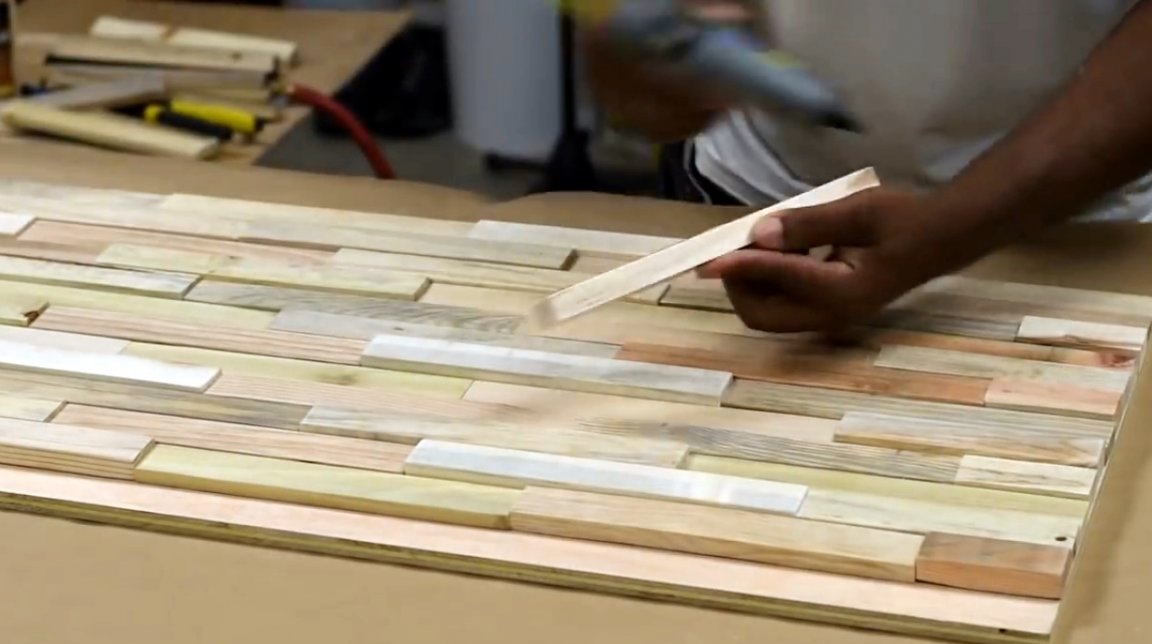
Of course, it would be possible to use boards of the same thickness in the initial pattern, but the craftsman intentionally uses different thicknesses to create a volume and make it look like masonry. And he succeeds!
It turned out to be rather difficult to lay out the wooden segments so that a complete, more or less symmetrical pattern was obtained. In some moments, it was not without a chisel. It was necessary to choose boards not only in size, but also in shade, so that the entire panel had a uniform color scheme.
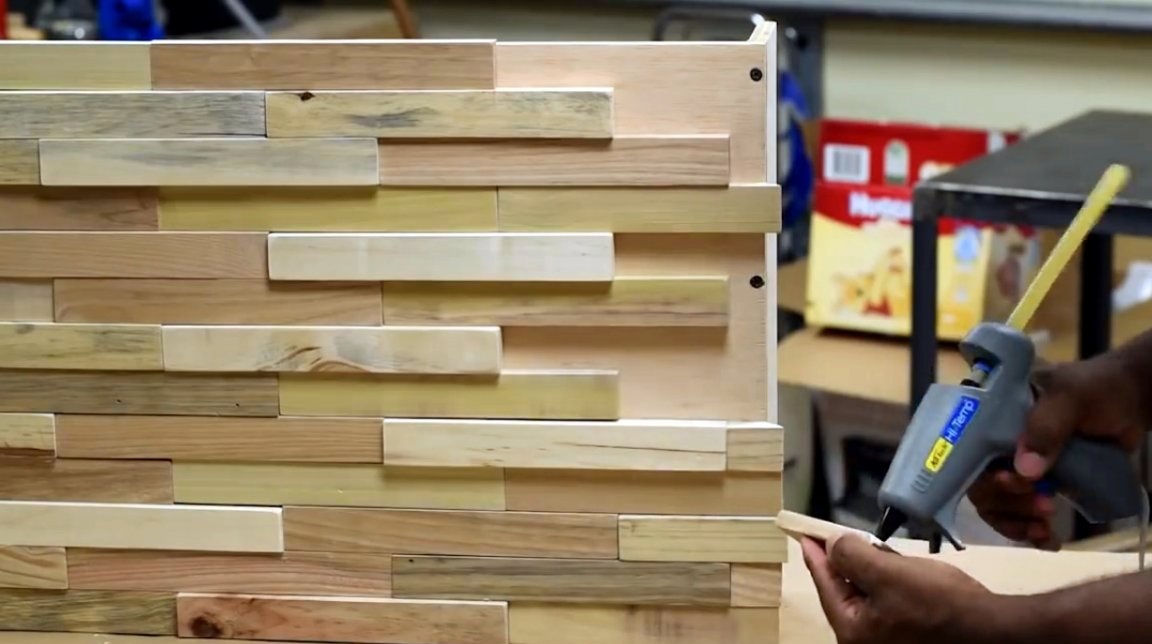
He closes the corner with long planks, on which the ends are pre-cut at an angle of 45 degrees.
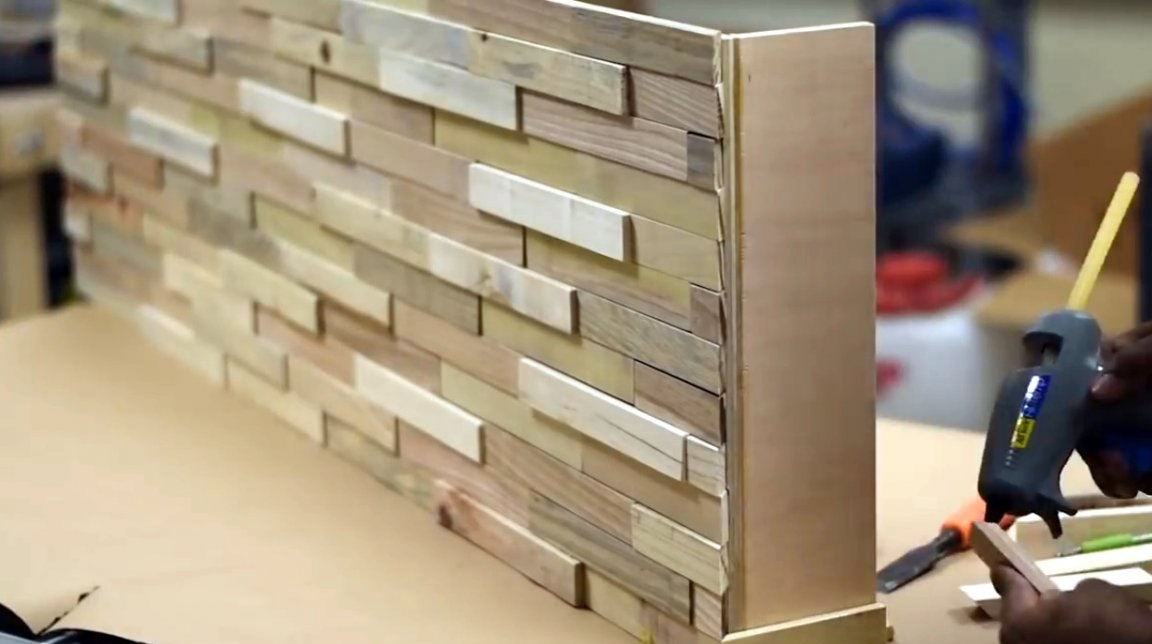
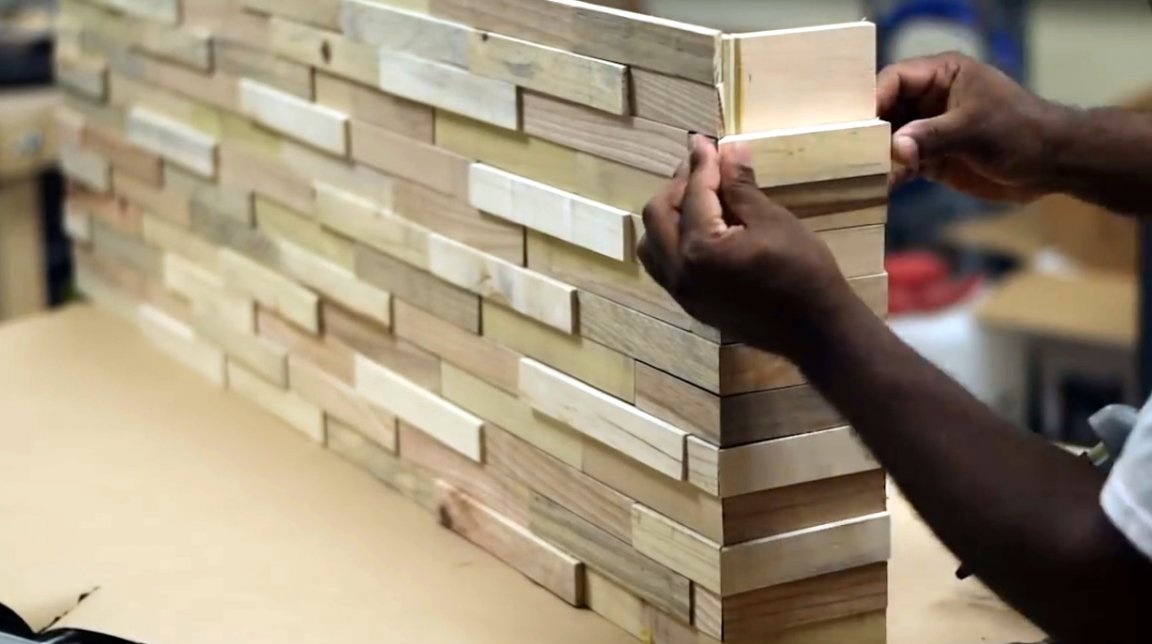
Most of the planks on the fold turned out to be of different thicknesses, and the master had to use an orbital sander.
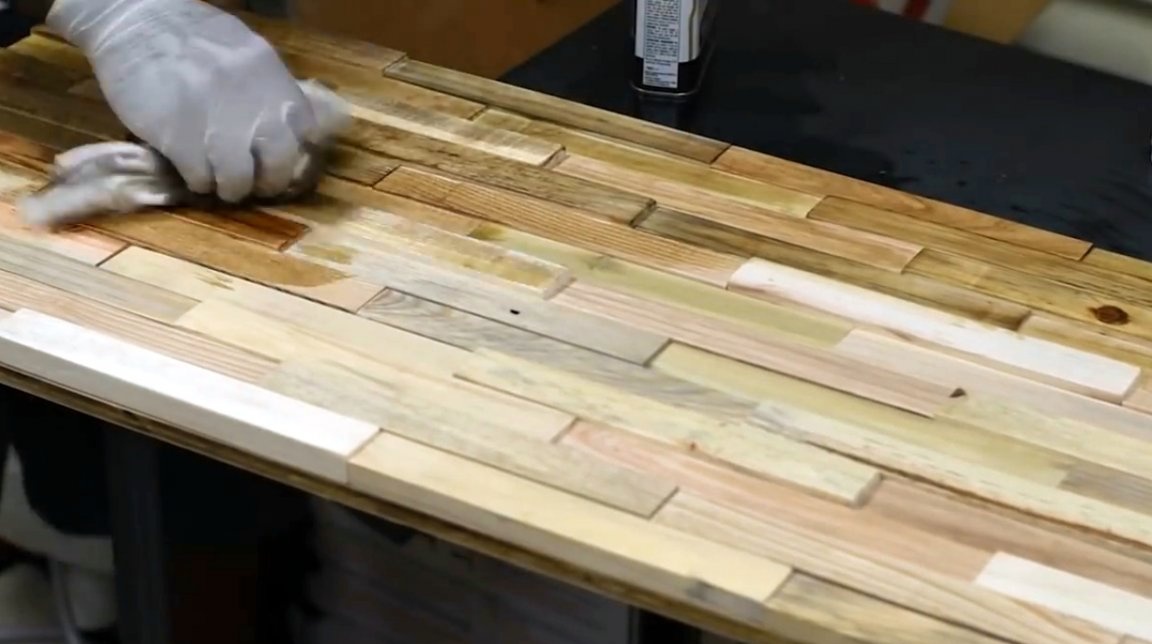
The author uses Danish dark nut oil as a topcoat. Oil is applied with a brush or rubbed with a piece of cloth. Instead of colorized oil, you can also apply a colorless coat of varnish. Also copes with these tasks remarkably well. This is your choice.

Further auto fastens a wooden block to the wall, which will act as a stop, into which the panel will slip and sit.
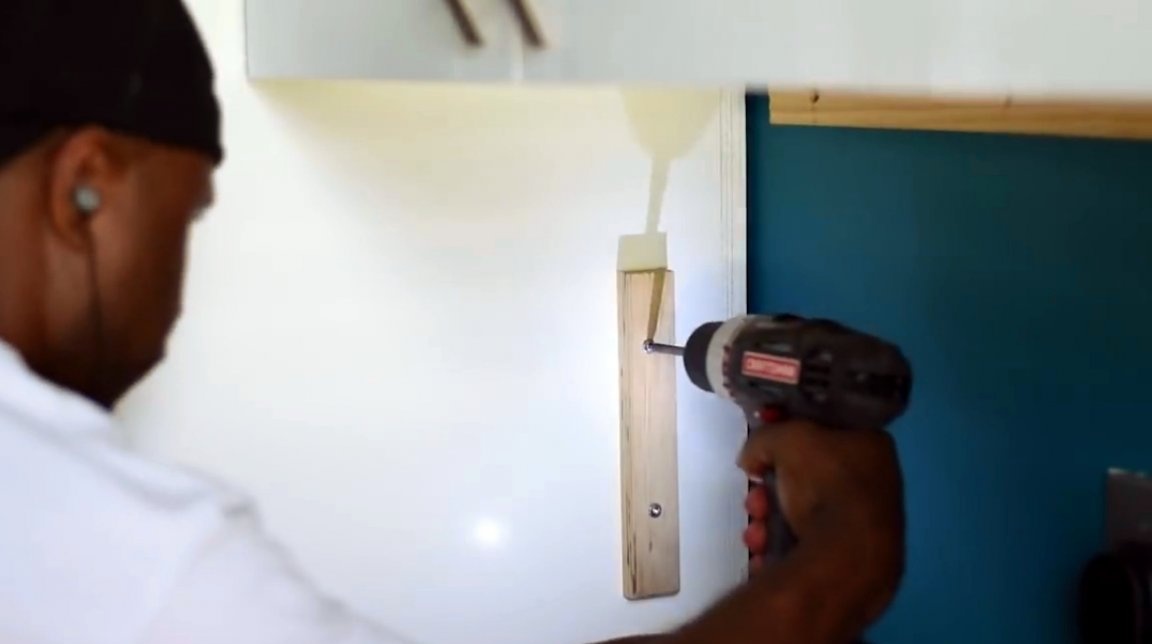
Then the craftsman makes the mate, and screw it to the inside of the panel. A connection is used under the oblique screw. So, the issue of fixing one side of the panel is resolved. As for the other side, here you can use magnets or Velcro, to your taste.

The best part about this panel is that it is removable and, if necessary, you can easily access all “strategic objects”, such as hoses, wires, sockets, etc.
Thanks to the author for a simple but very beautiful solution for creating a false wall.
All good mood, good luck, and interesting ideas!
Author video can be found here.