
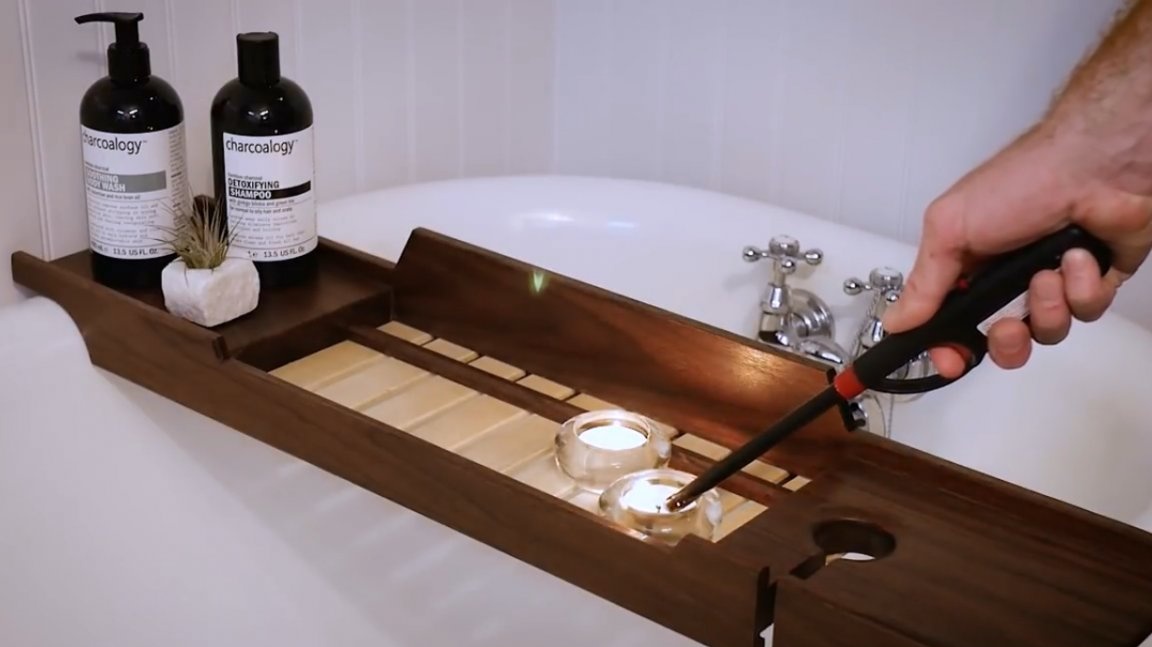
In this article, the author of the Measured Workshop YouTube channel will tell you about making one small improvement for the bathroom - a convenient shelf on which you could place a glass of drink or wine, shampoo and even a few candles - all attributes that guarantee relaxation, and pleasant pastime.
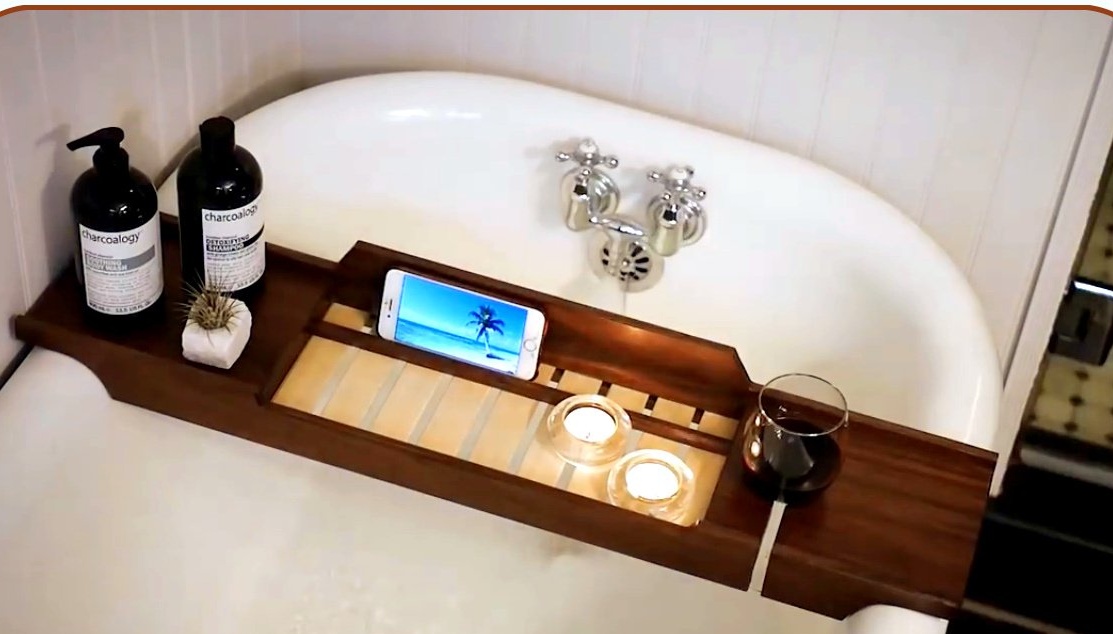
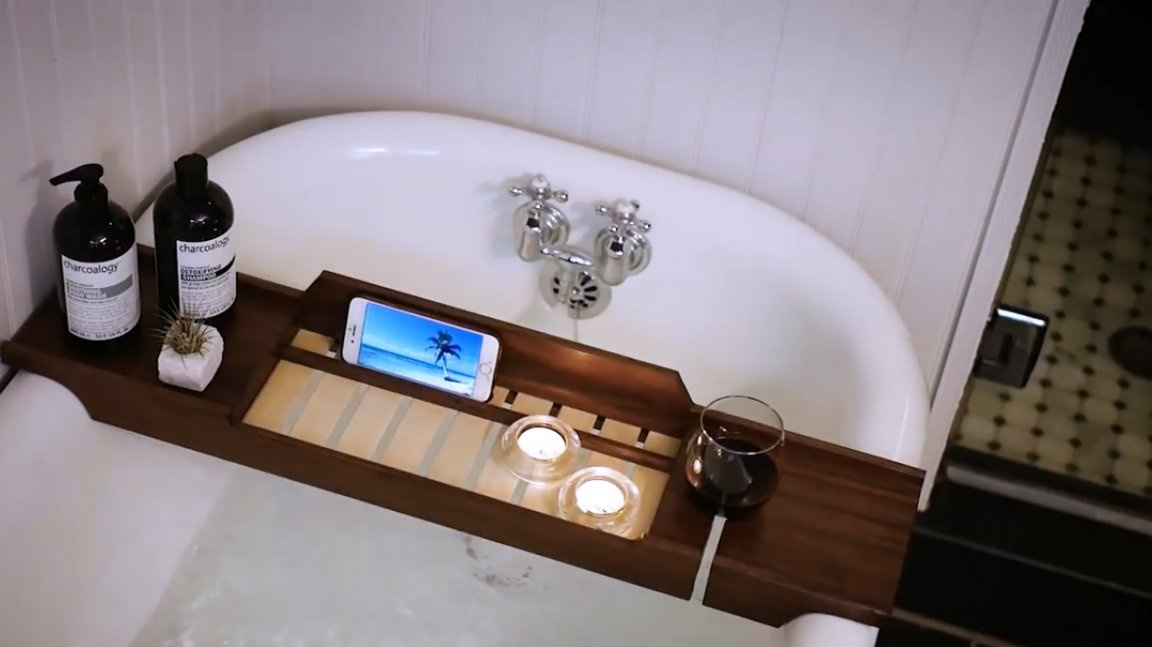
The same shelf can turn into a “control center”, since it will be possible to place a tablet or smartphone on it.
Materials
- An array of hazel, holly
- PVA glue
- Impregnation for wood.
Instruments, used by the author.
- A circular saw
- Thicknesser, jointer
—
—
—
—
—
- Belt sander
- Drilling machine
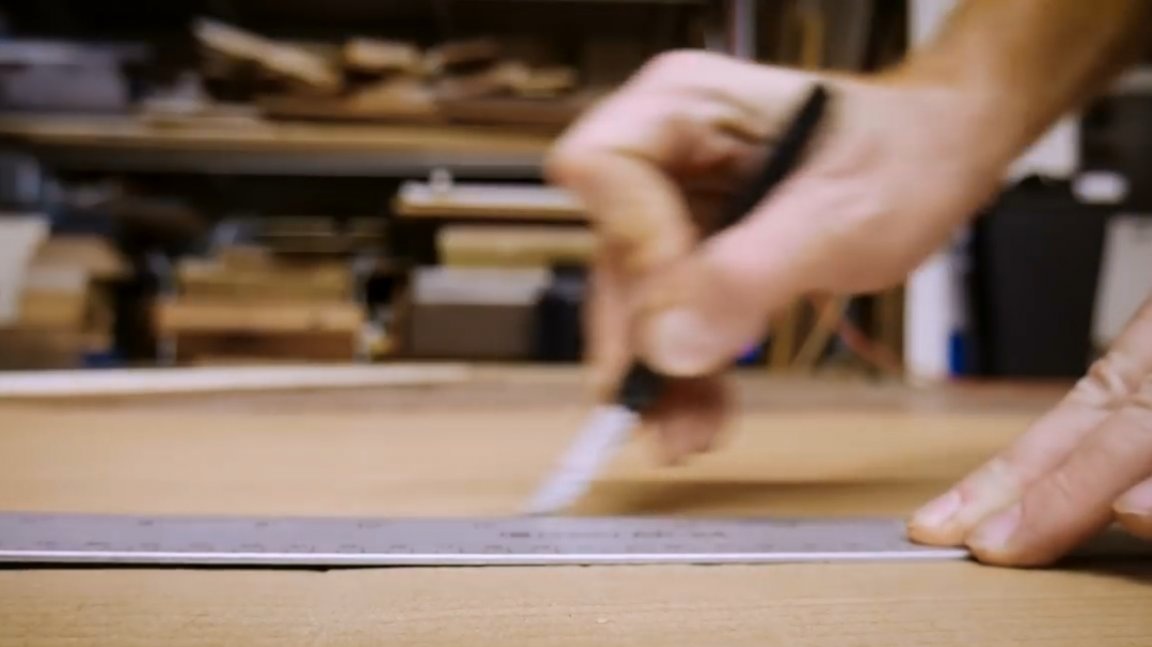
- Roulette, ruler, pencil, knife, core
- Rasp, chisels.
Manufacturing process.
For the stand, the master uses the wood of holly and hazel (hazel). The choice of these particular species of wood is explained by the fact that the hazel has a pleasant light shade, and goes well in tone with the rest the furniture in the author’s bathroom. And the dark holly wood creates a wonderful contrast, and behaves almost the same as maple, plus it tends to burn quickly when sawing.
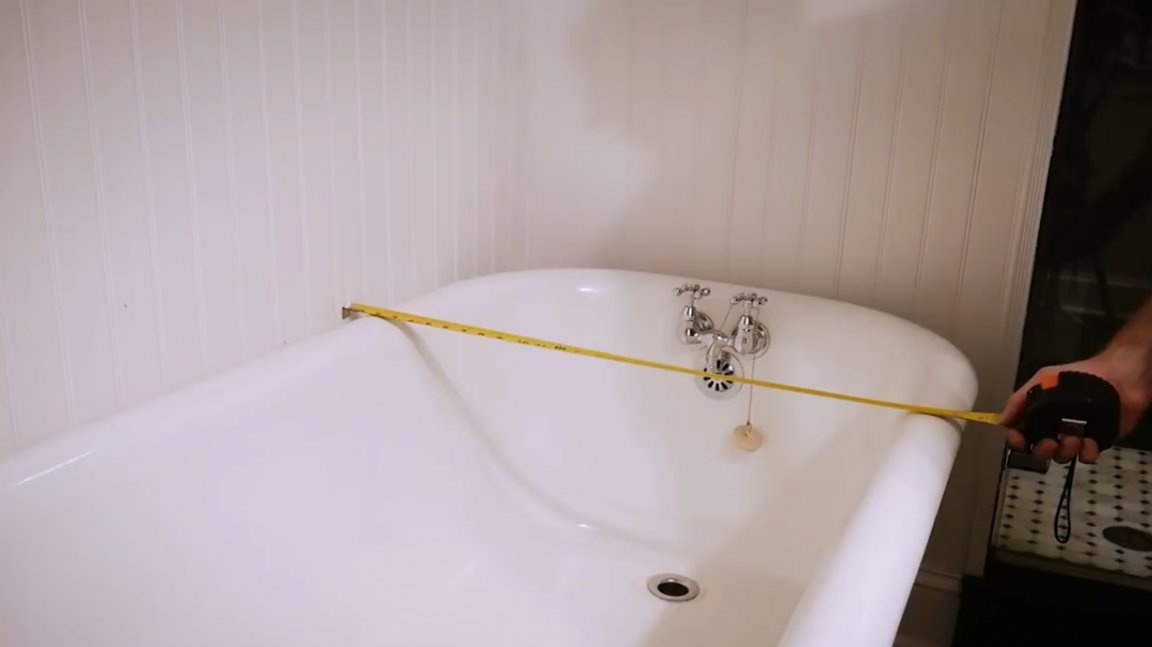
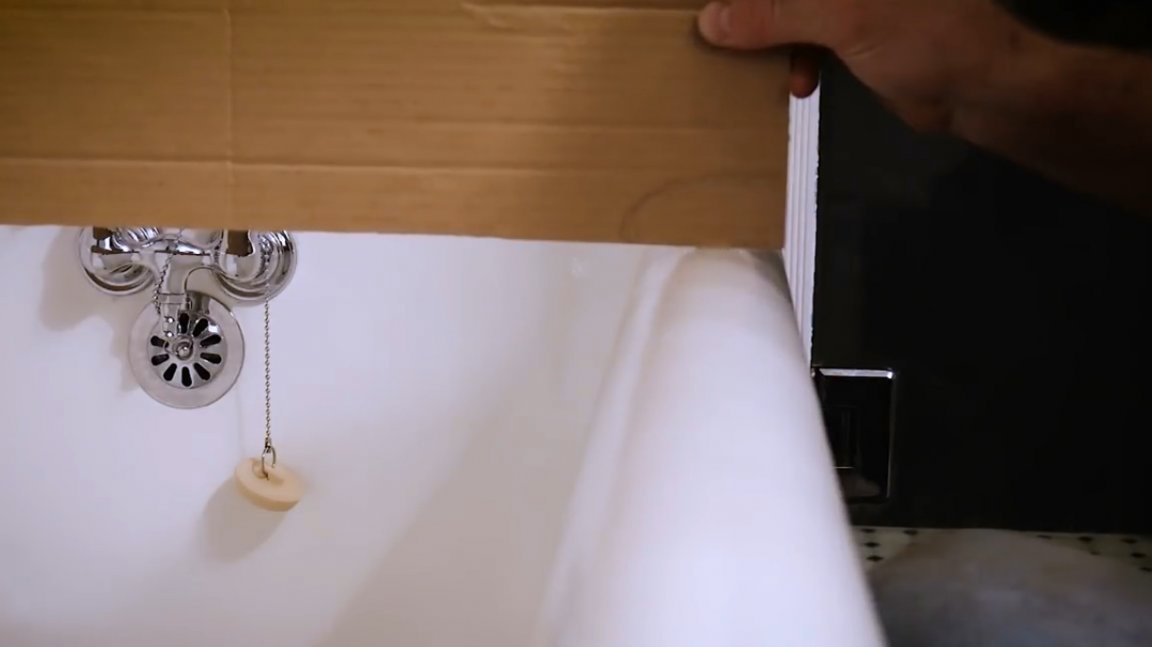
So, the master measures the most important parameter - the width of the bathroom between the outer edges of the sides.
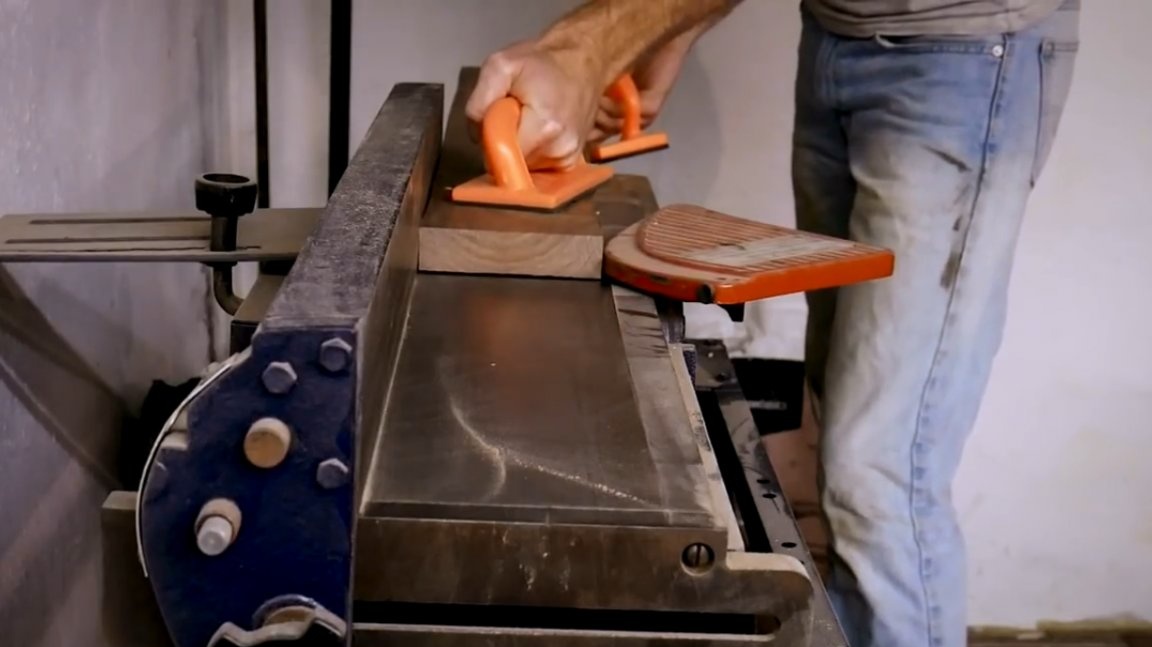
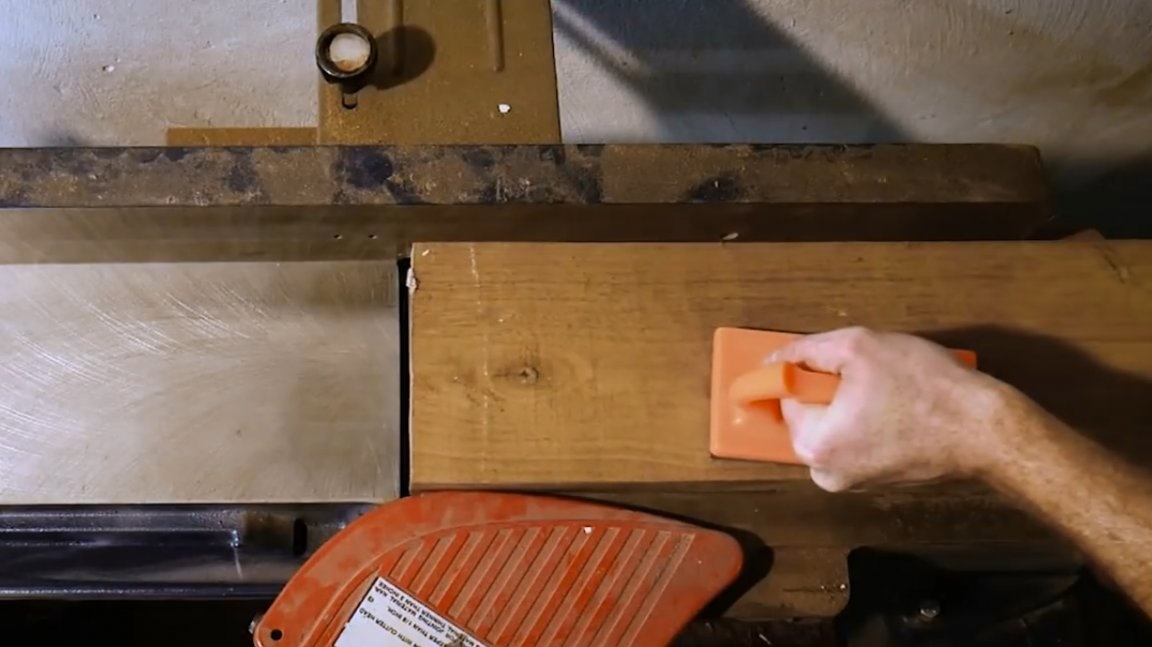
He begins to process the wood of the holly wood by running the board on the jointer.
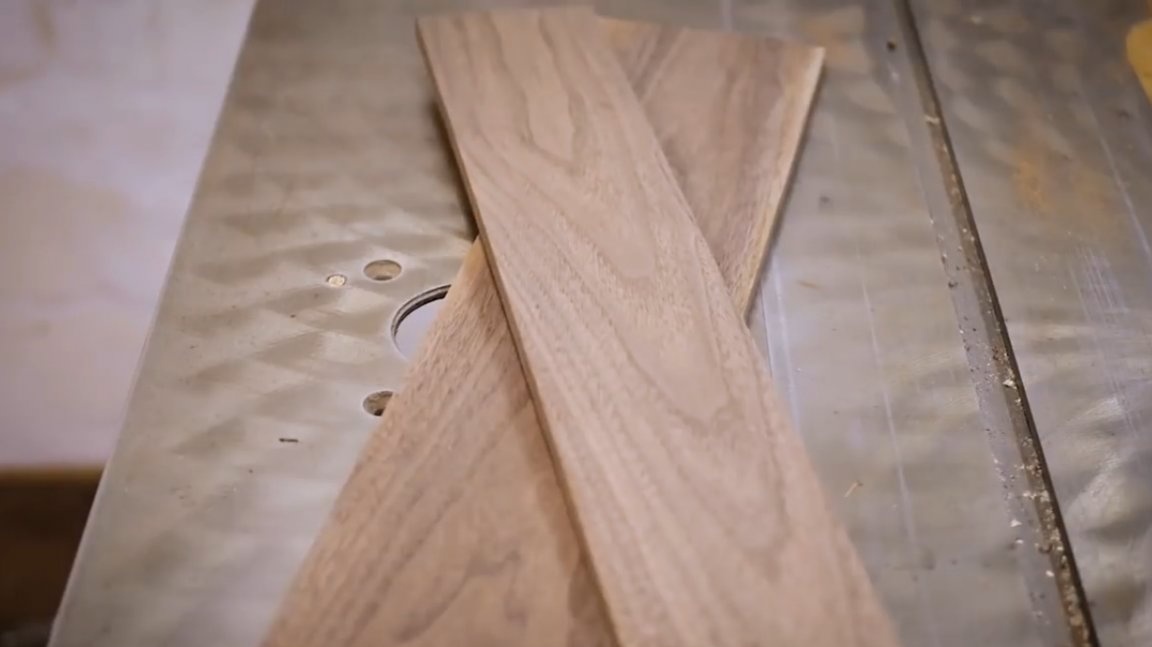
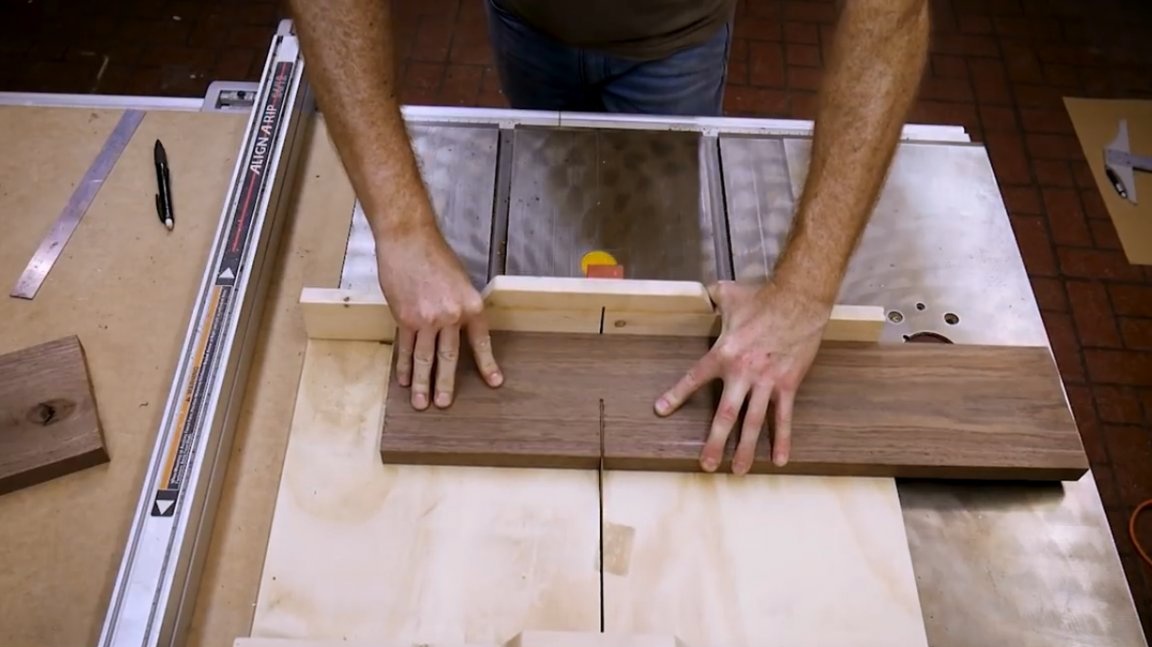
Two boards are cut to the width of the bathroom. These will be the front and rear sides.
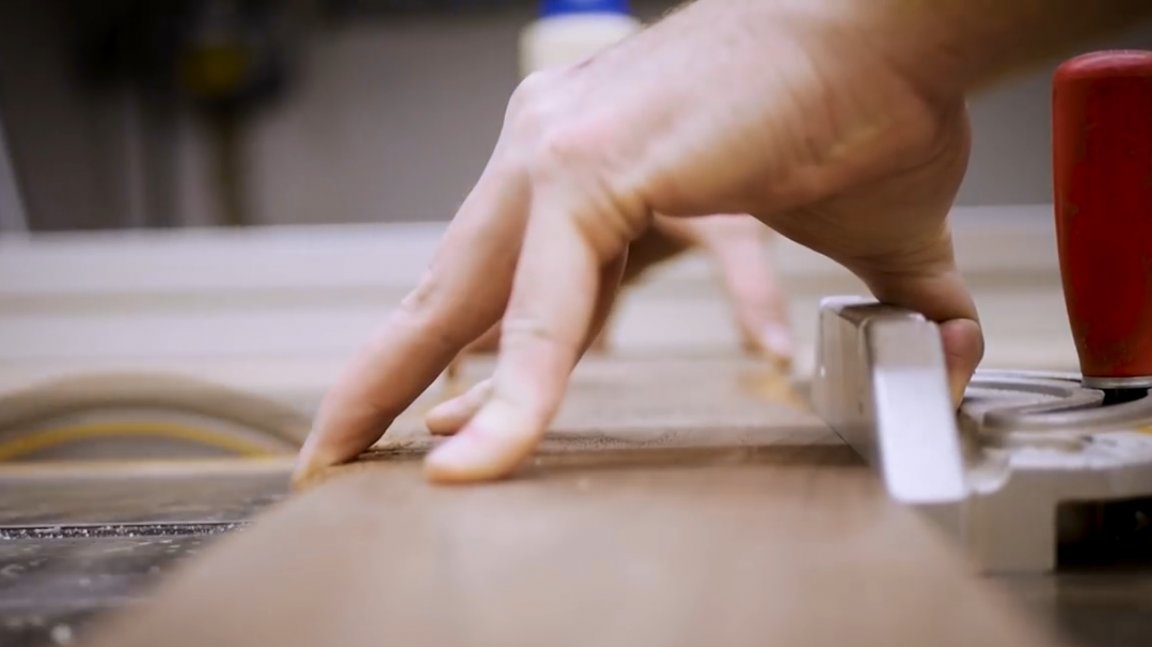
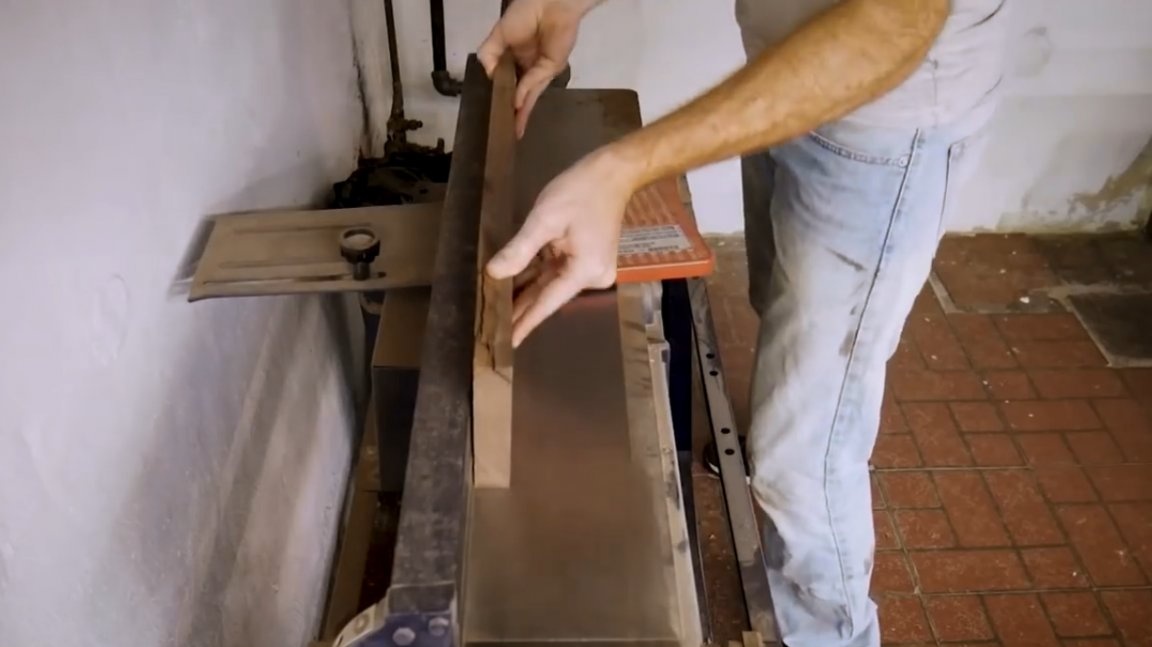
The master processes the second side of the board on a surface gage.
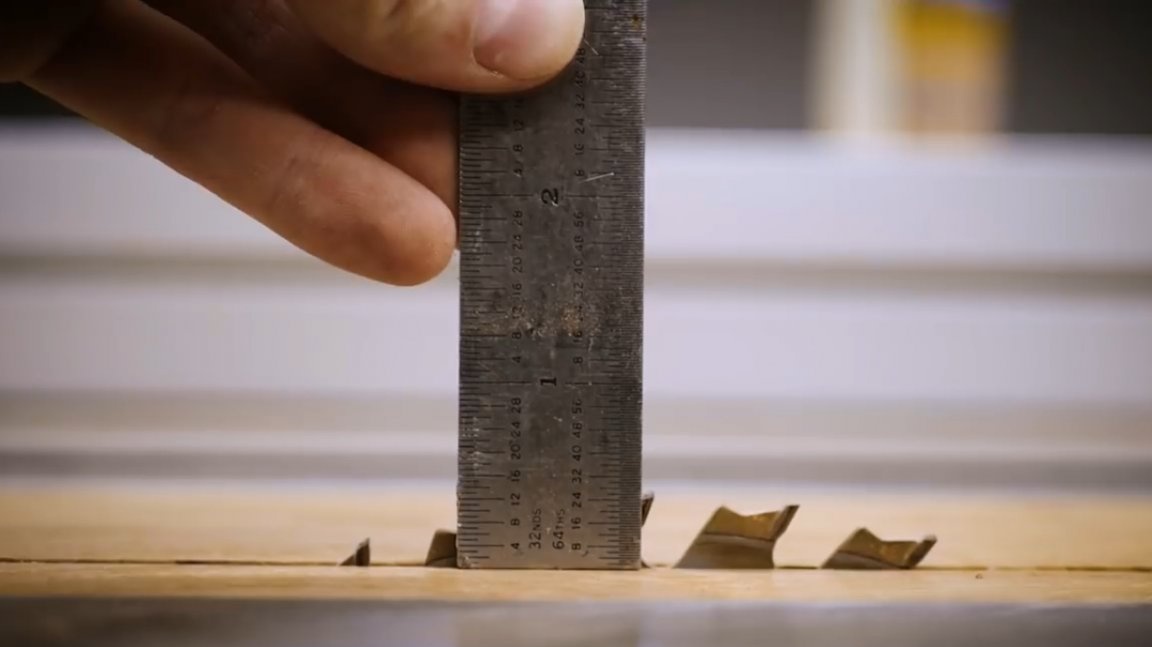
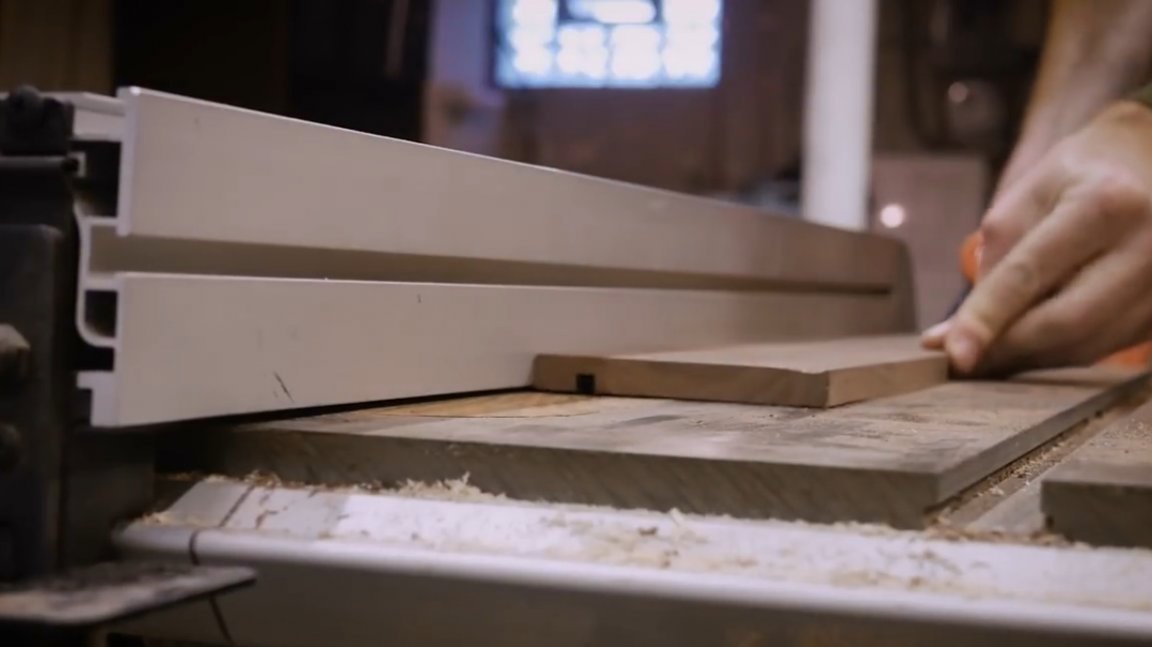
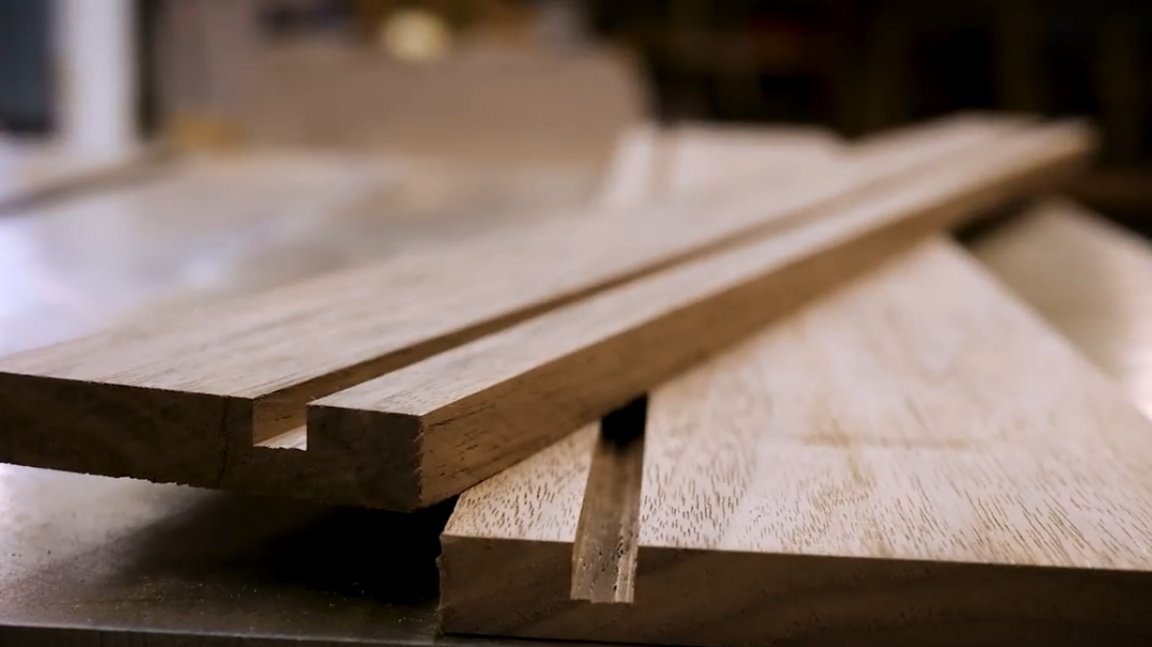
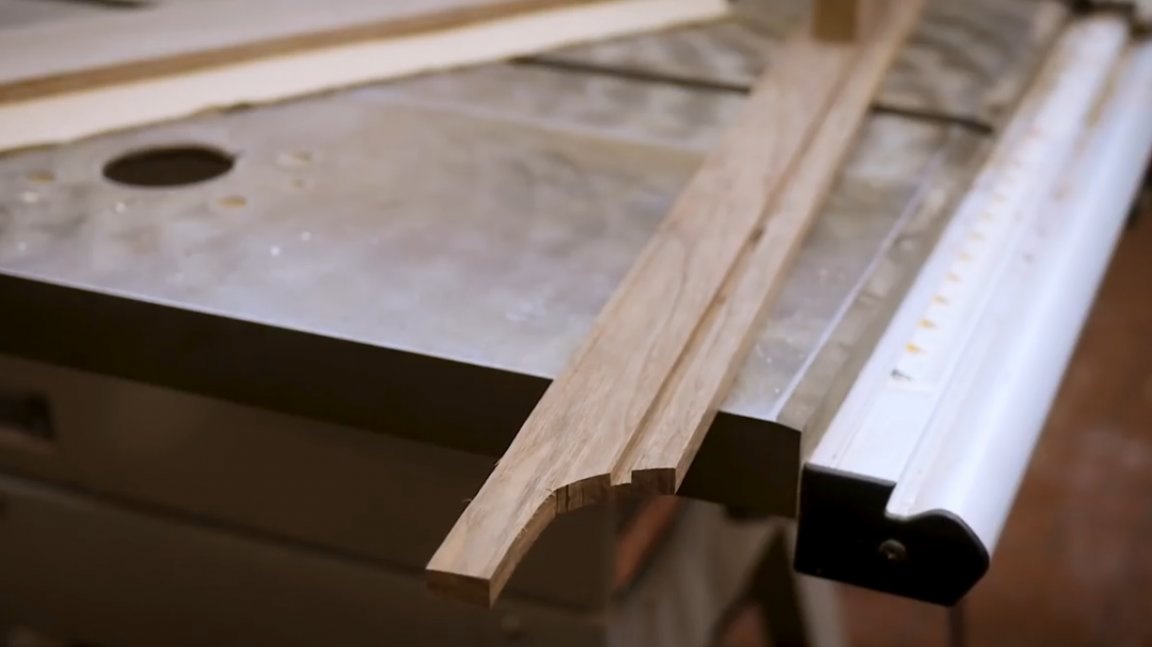
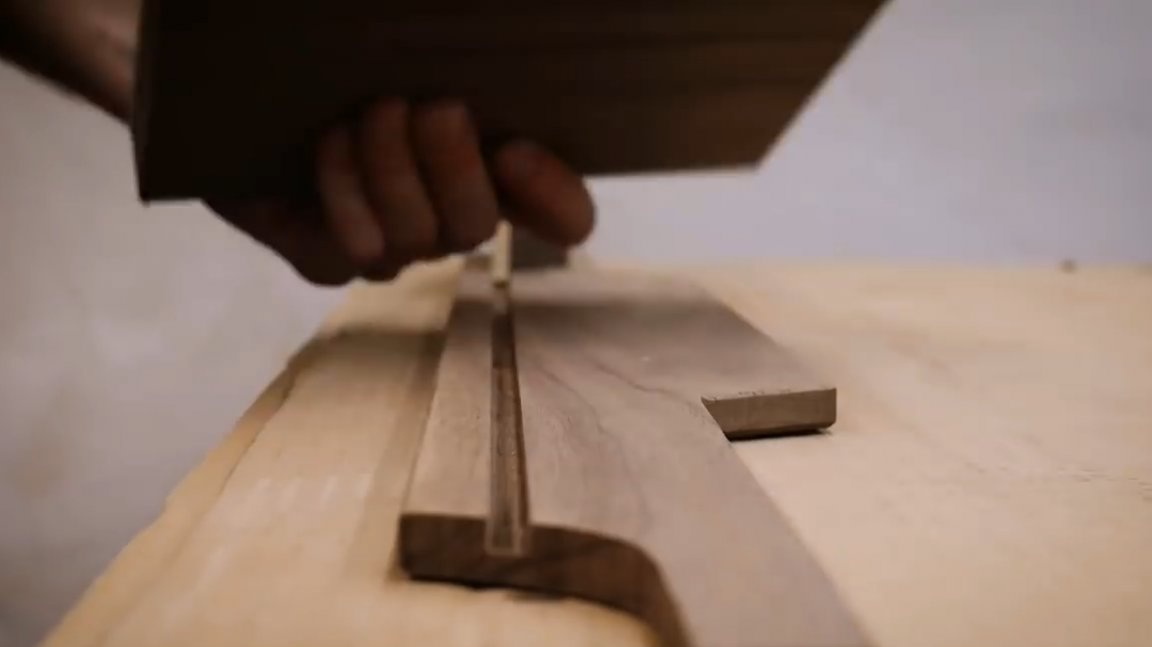
Then he lowers the saw blade, and cuts through two grooves in several passes.
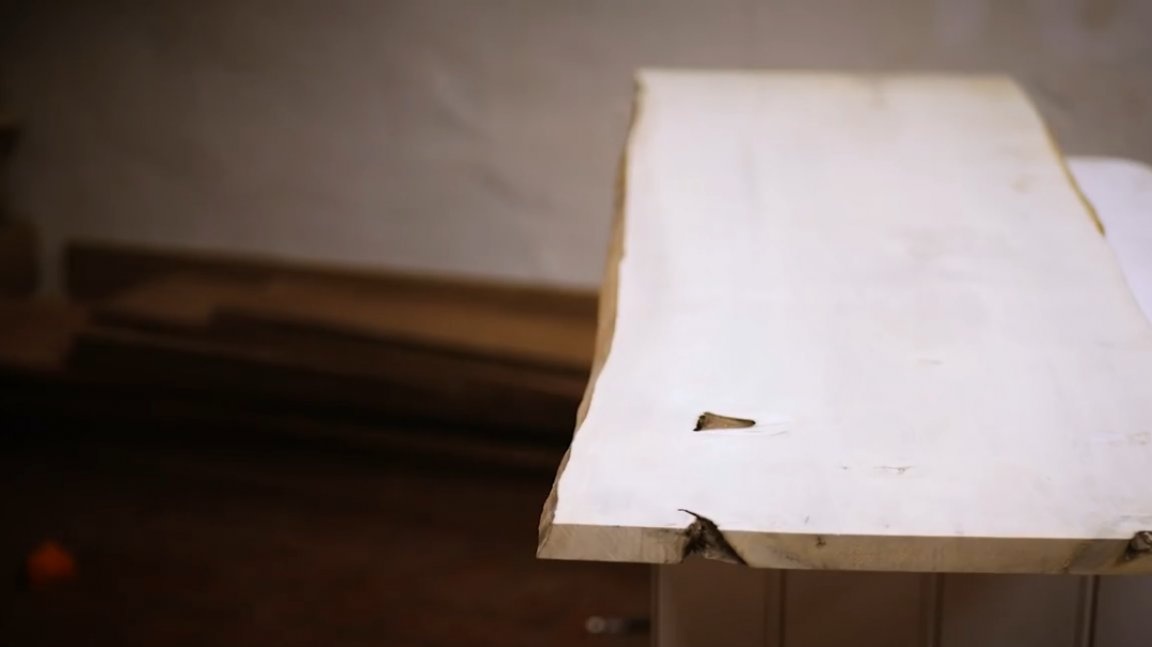
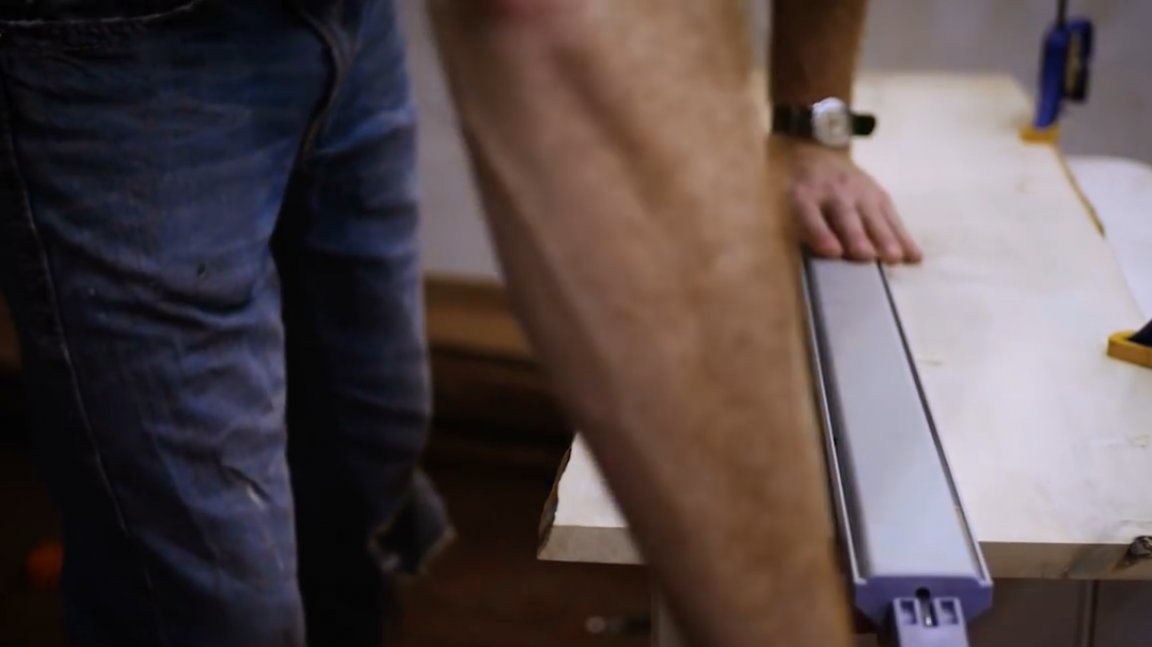
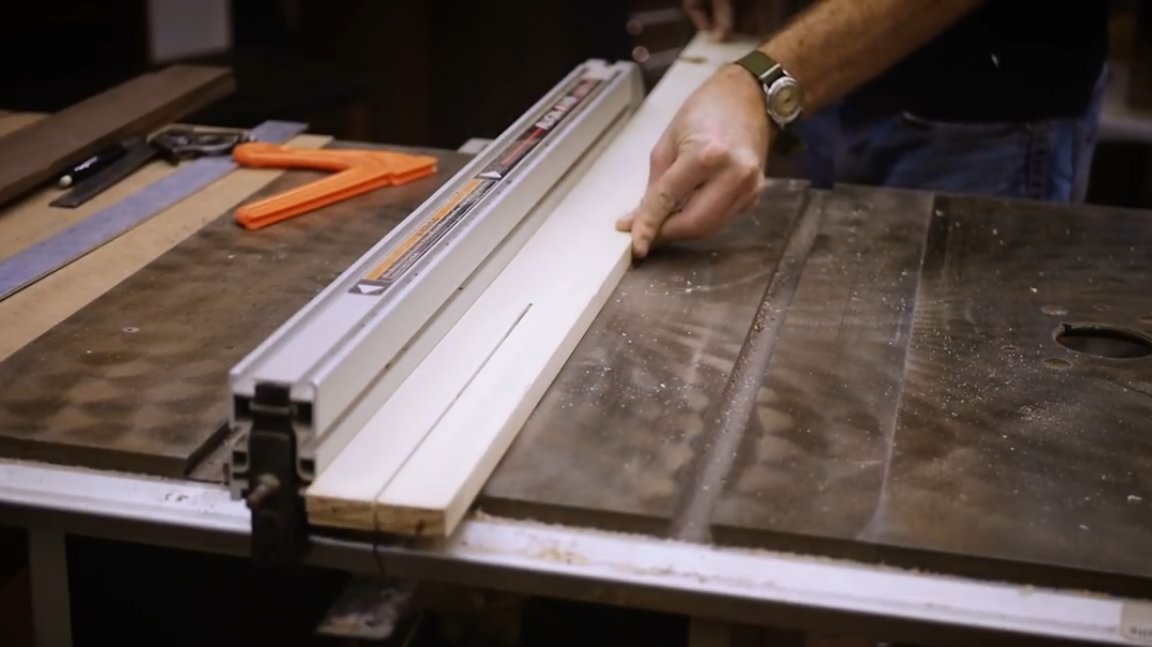
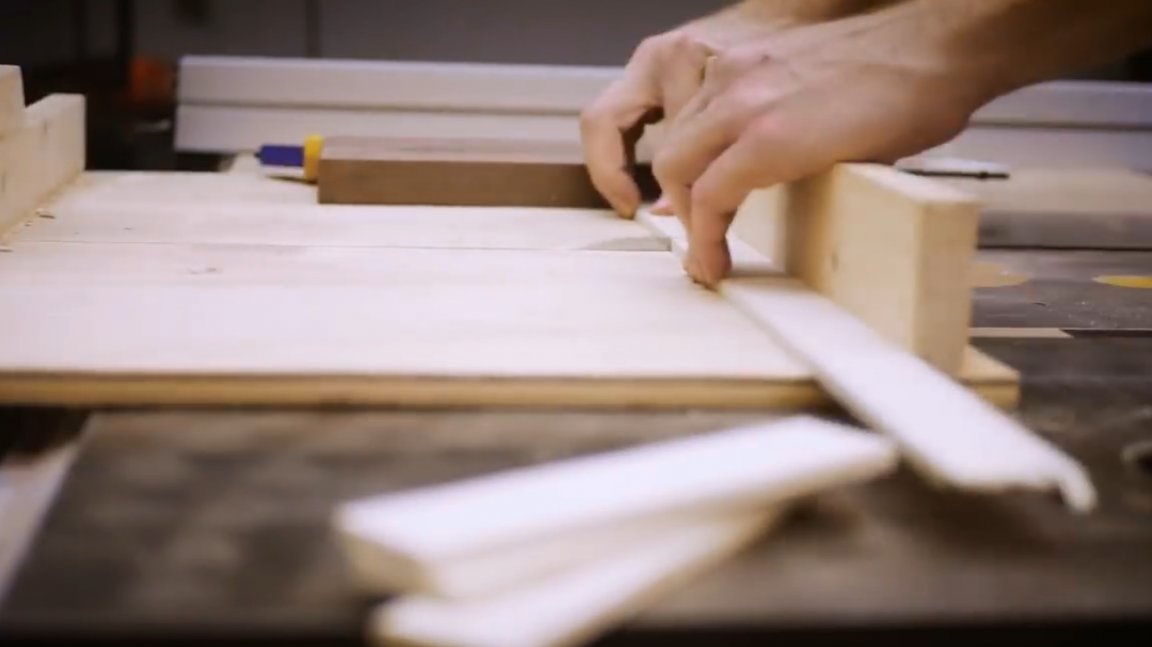
Now the turn of processing slab from hazel. The author fixes it on the workbench with clamps, sets the emphasis, and cuts one edge with a hand circular saw, aligning it.
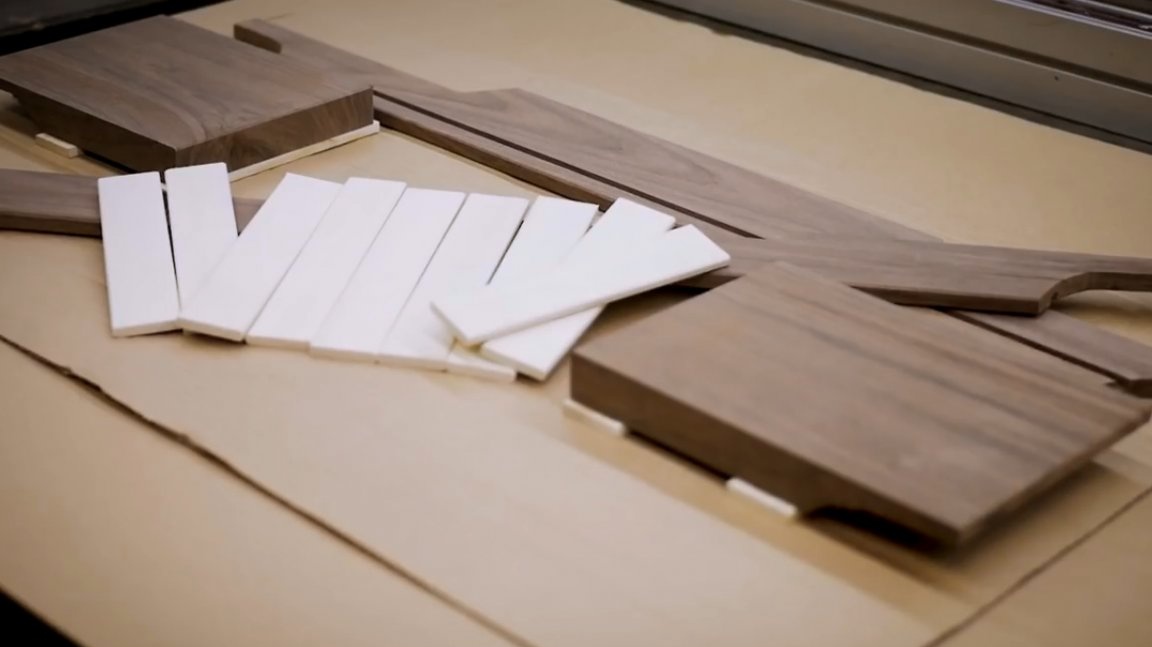
The sheet is cut into thin strips.

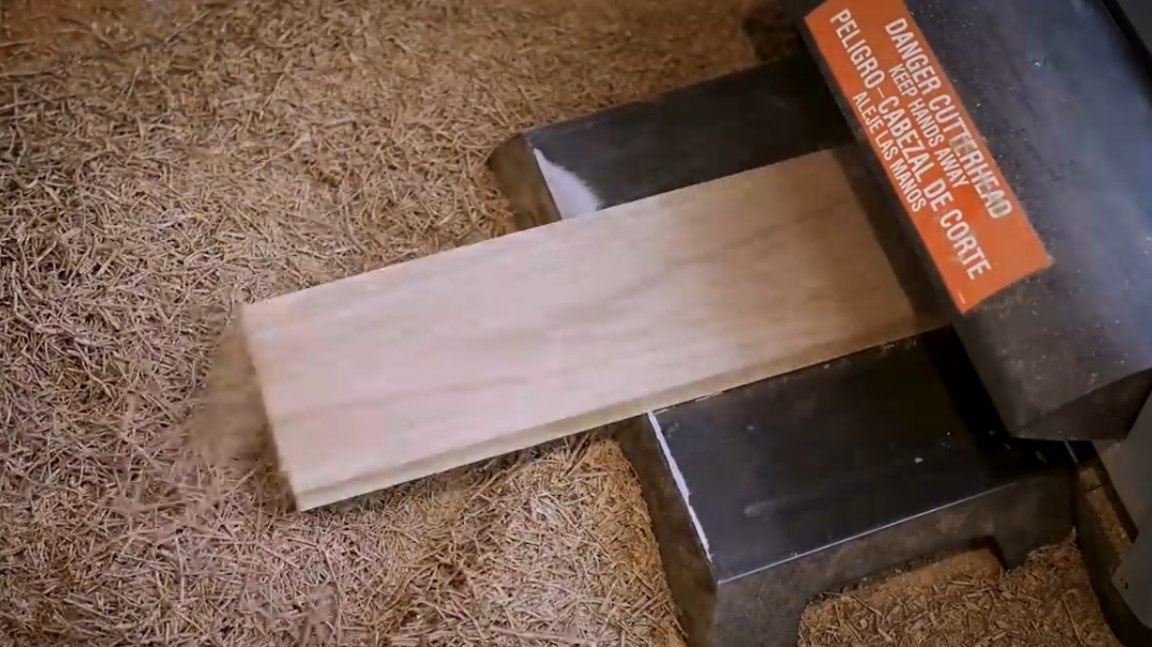
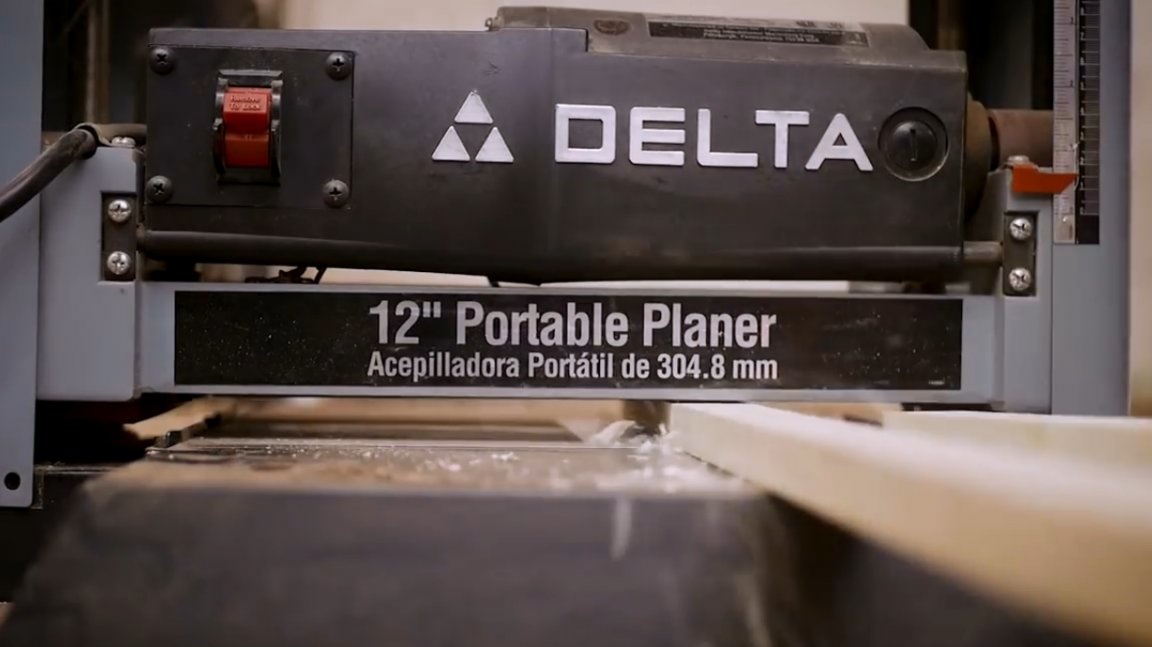
The surface of the plank processes on a thicknesser.
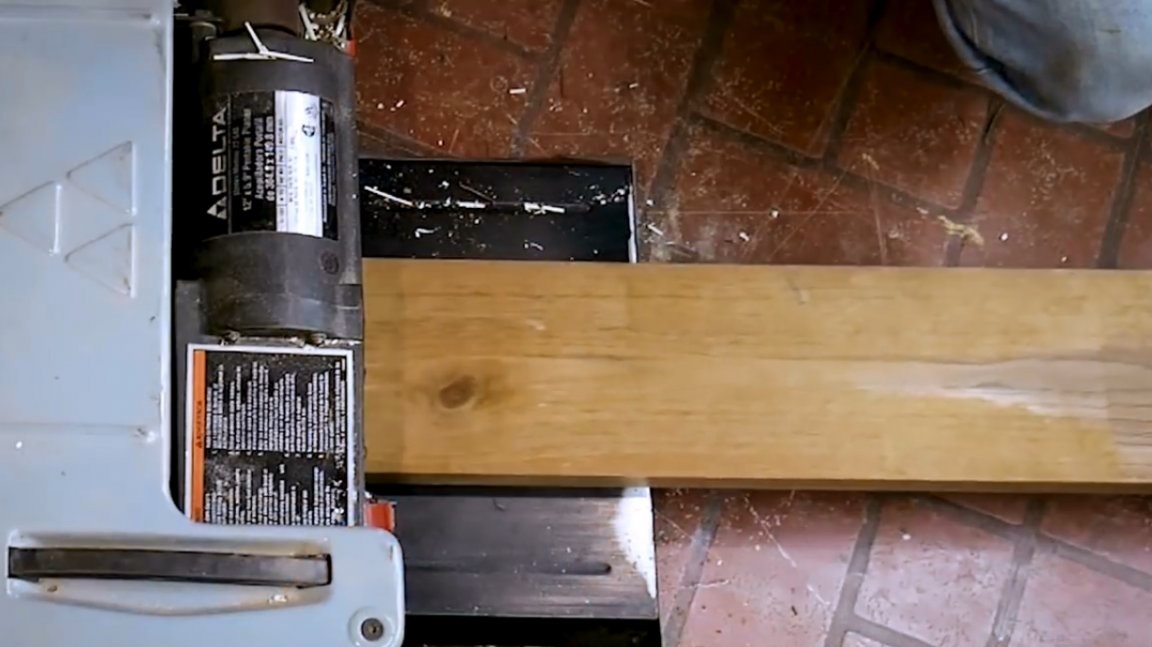
Cuts them into several blanks of the desired length.
The author decided to slightly modify the initial design plan, and make two shelves at its edges. He will need two holly rectangles. I had to process another board.
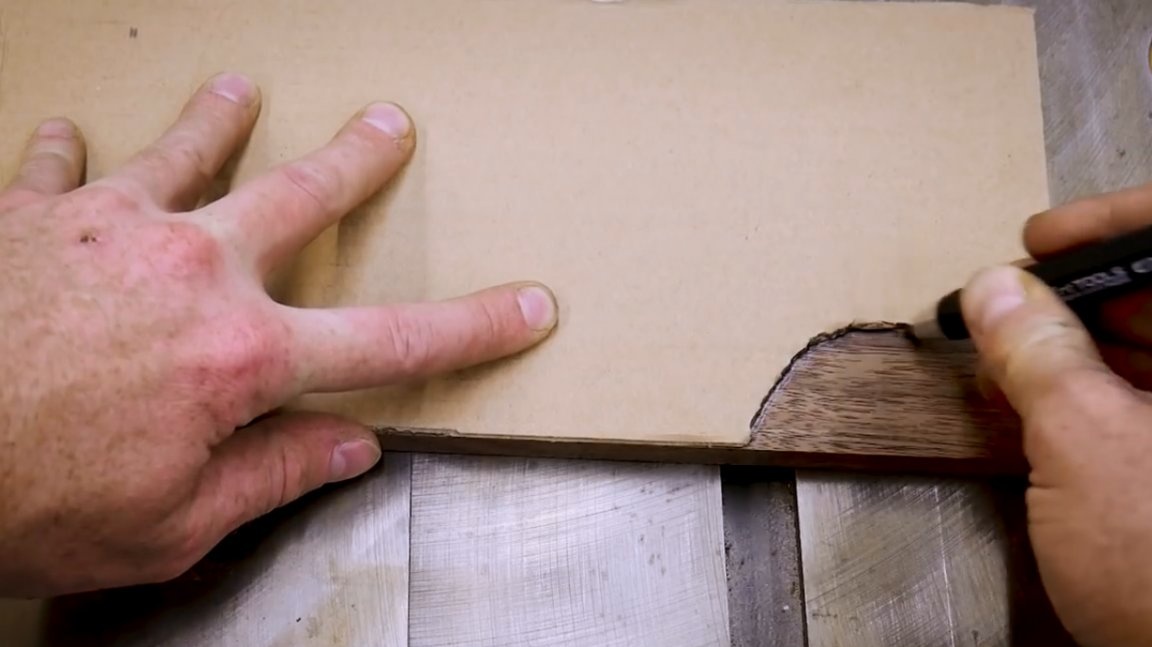
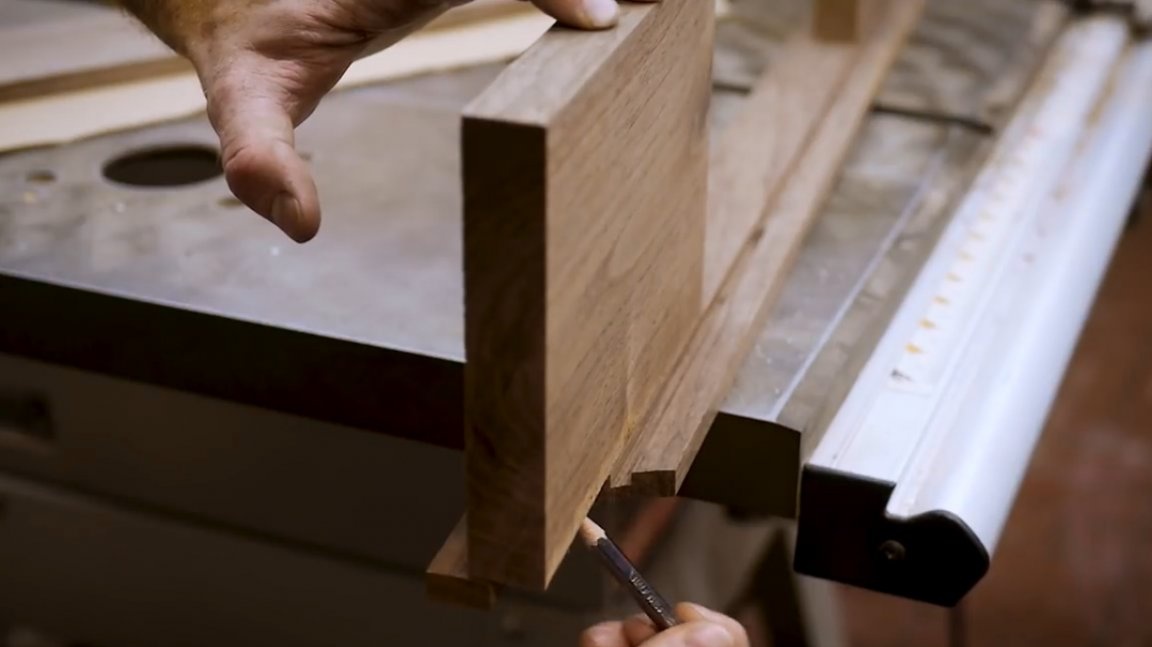
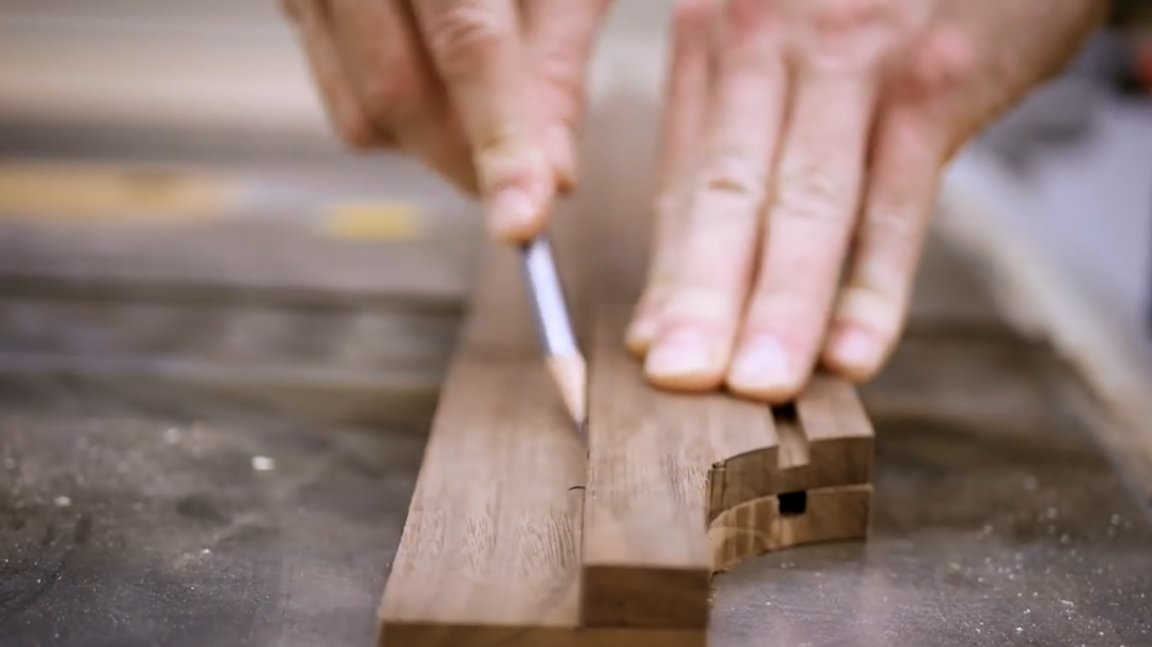
Now you need to make a template that repeats the shape of the sides of the bathroom. Slices a flat strip of cardboard, marks it. The resulting profile transfers to the edges of both long boards.
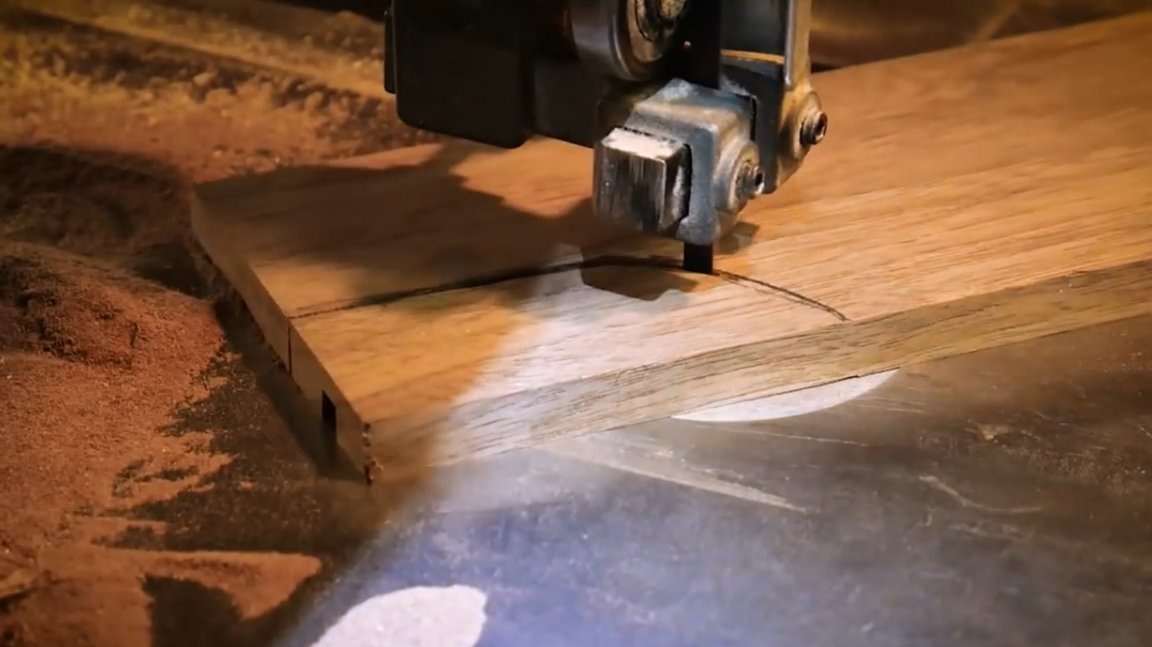
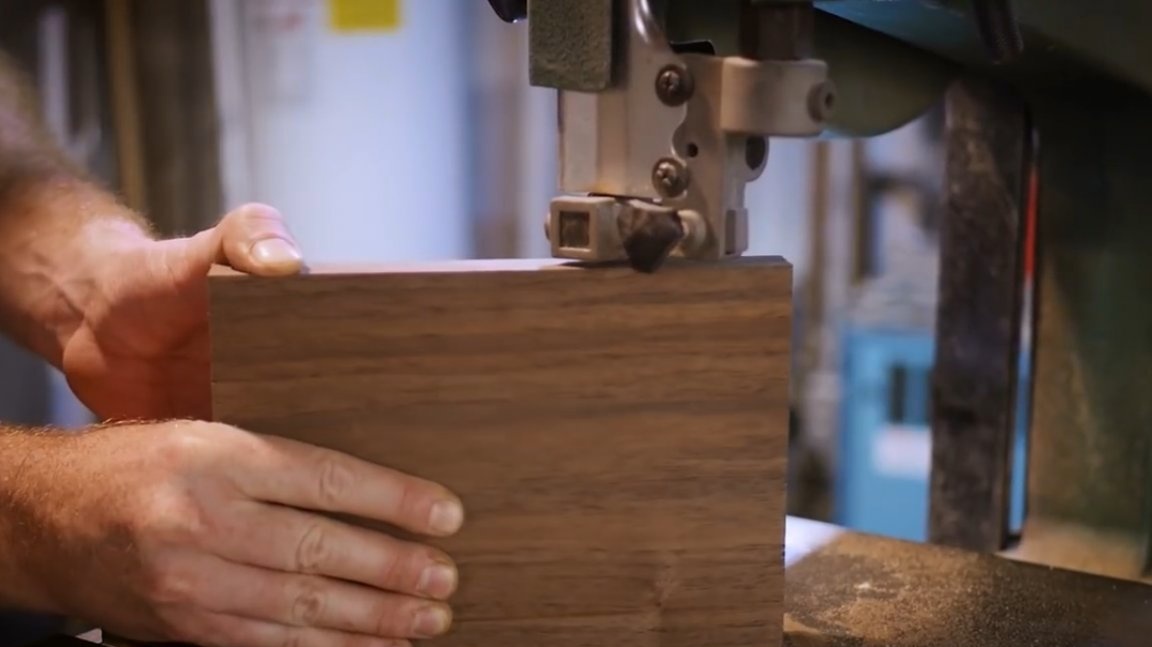
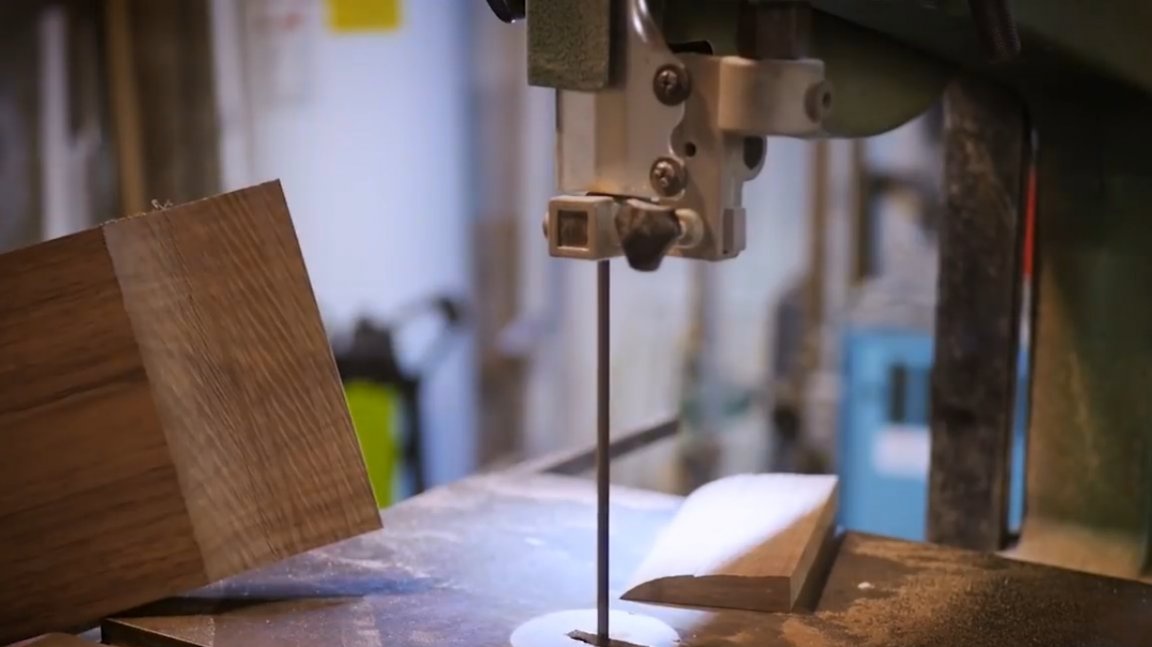
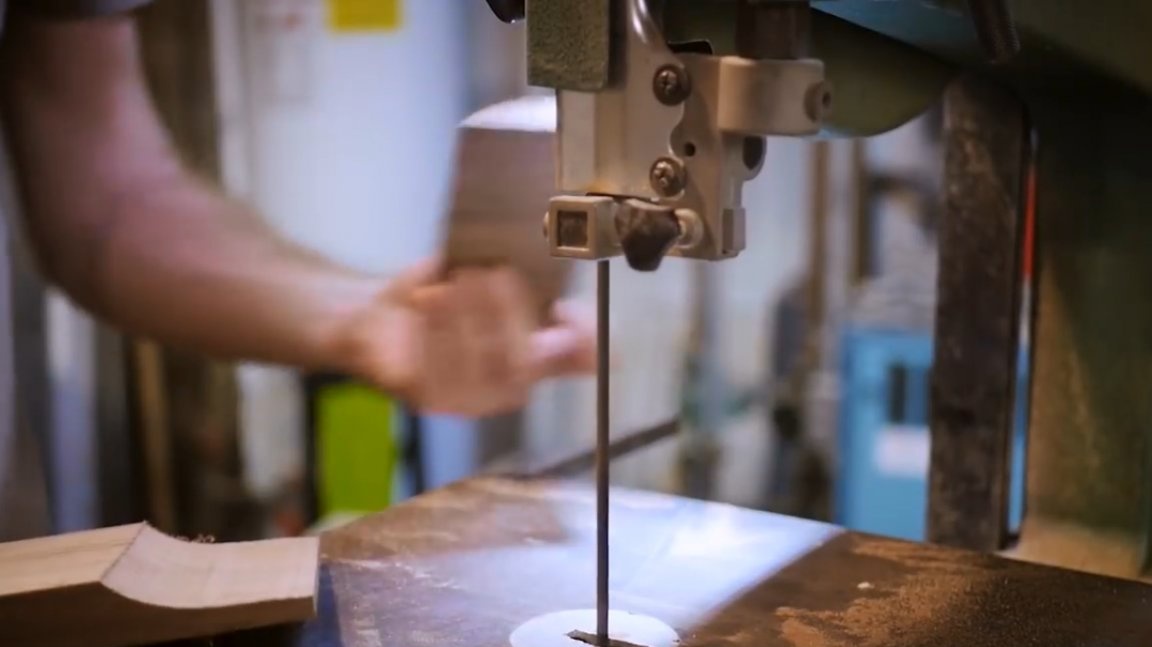
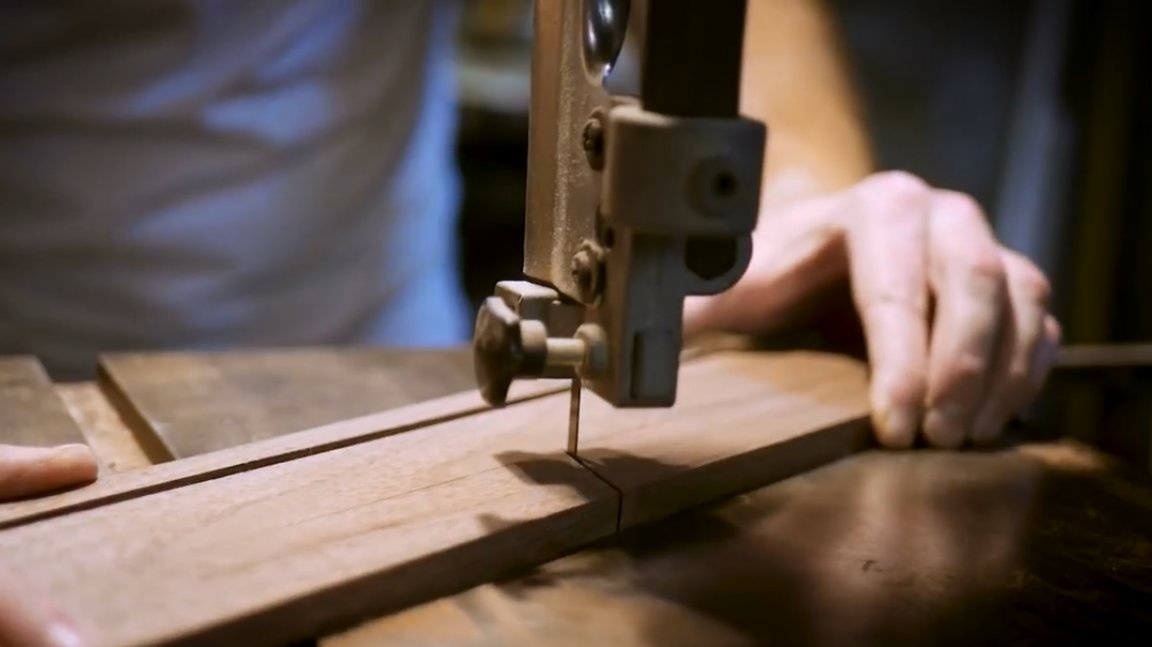
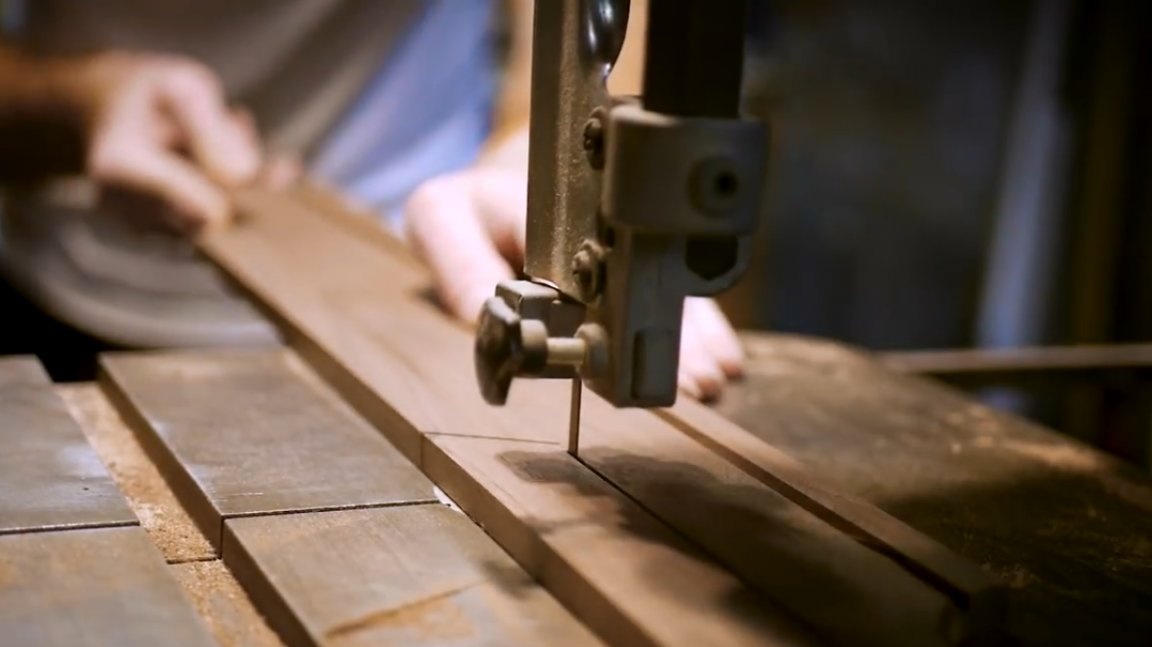
Bends are cut on a band saw.
Since the rectangular blank for the shelves will be flush with the groove, it will have to be cut to a rounded shape. Applies two shelves in turn, transfers the necessary form of bending to their ends.
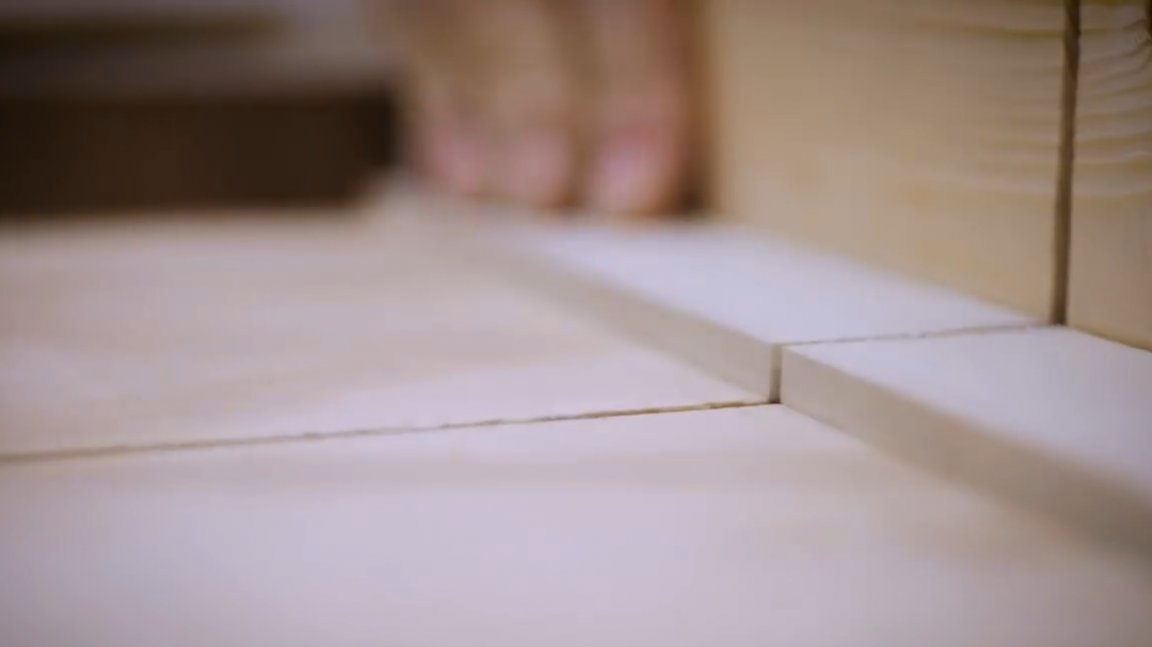
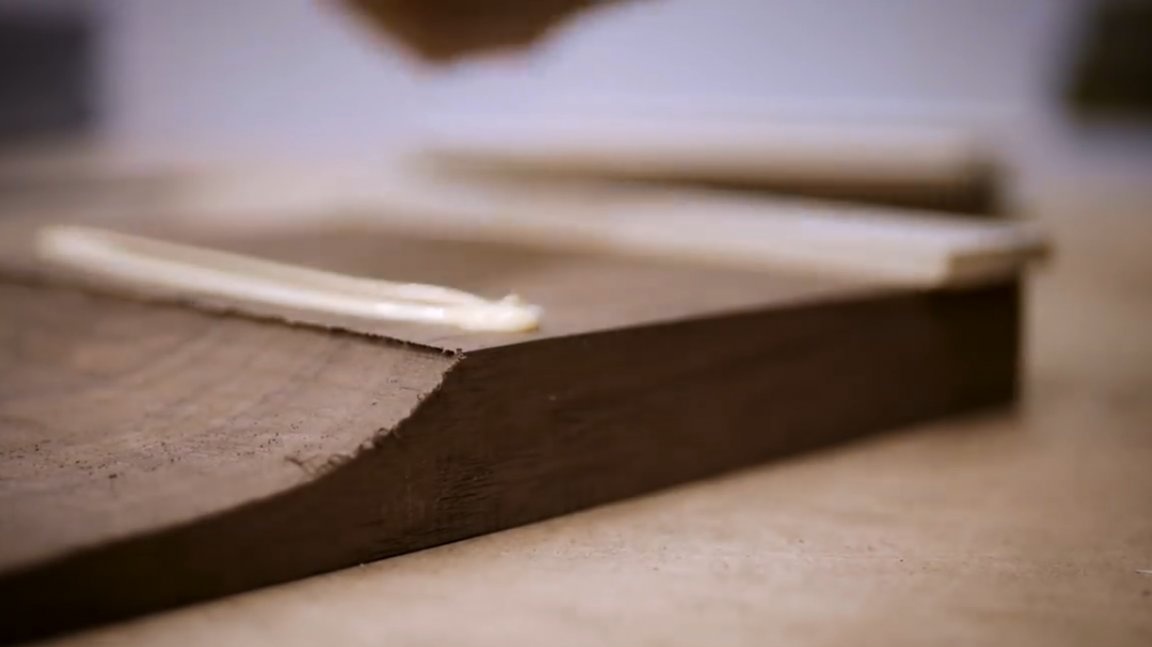
Here's a profile on one edge of the shelves turned out.
The sides of the shelf will be of different shapes, the back will be higher in the central part, and the front with a small neckline.

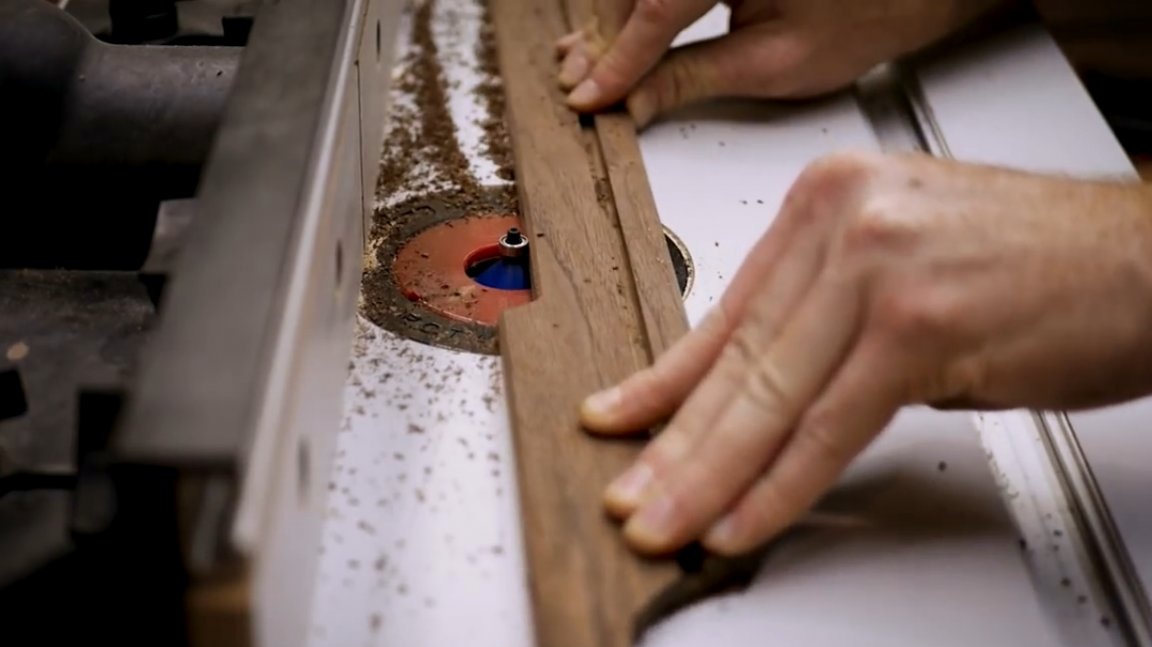
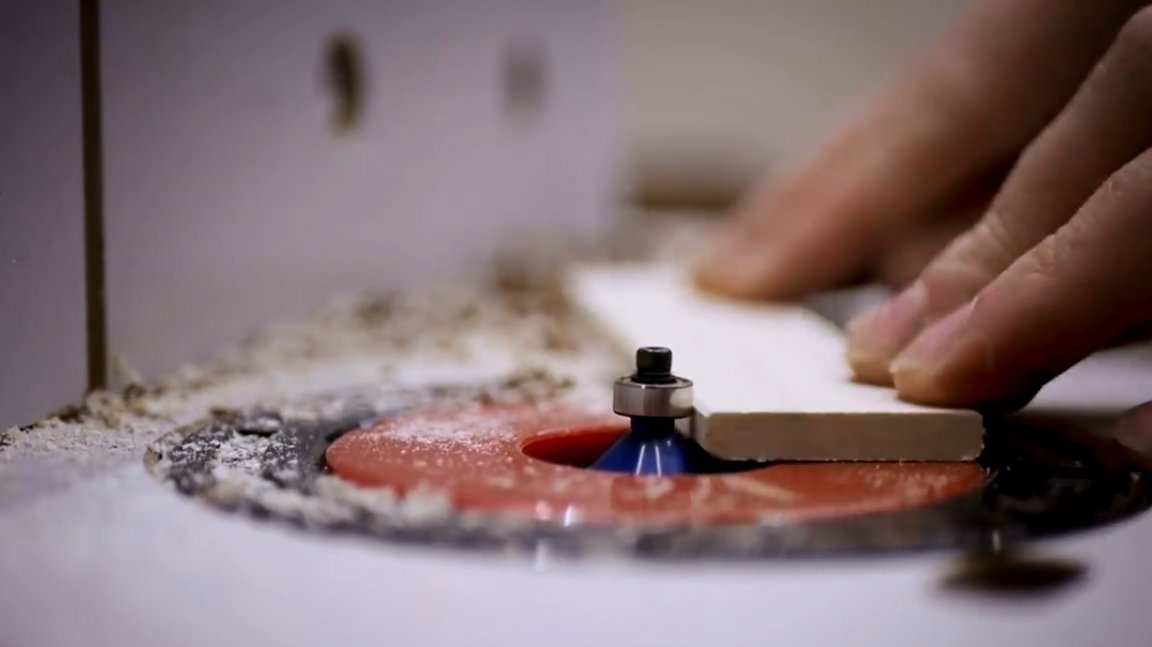
The edges of the shelves, lamellas, and guides are milled with a radius mill with a thrust bearing.
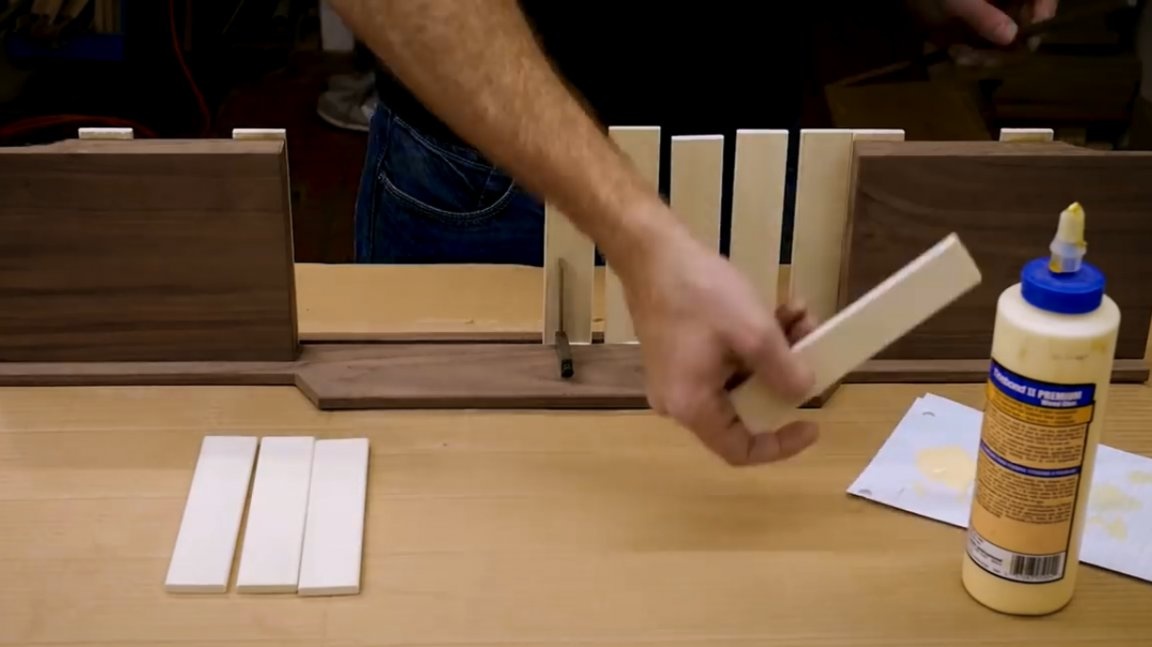
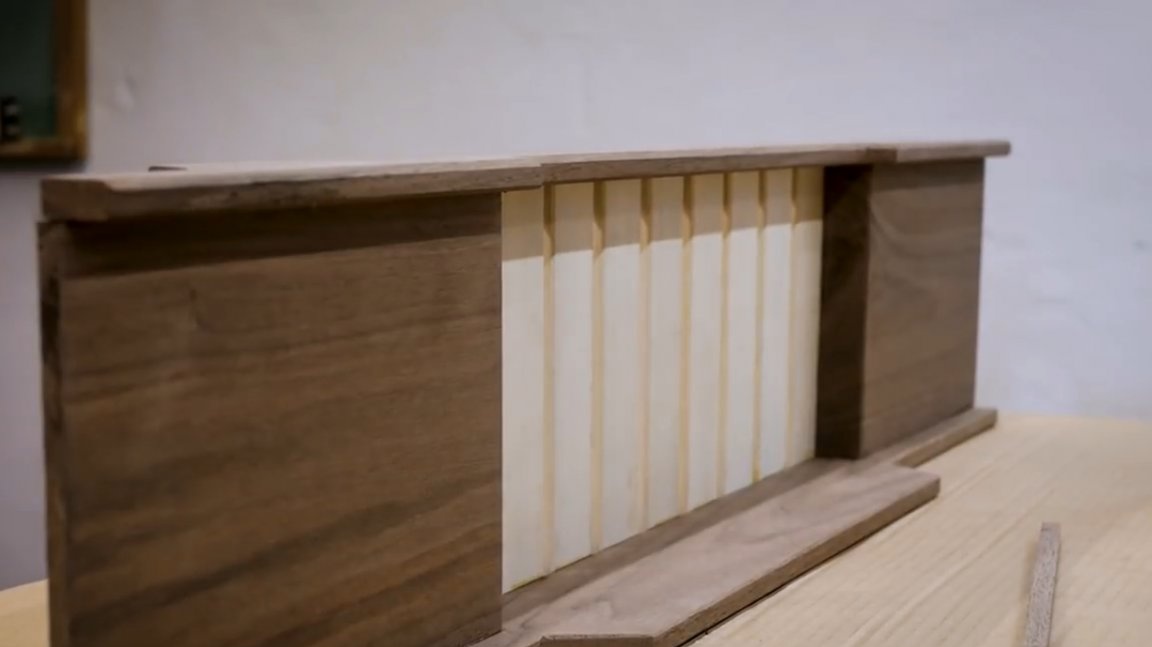
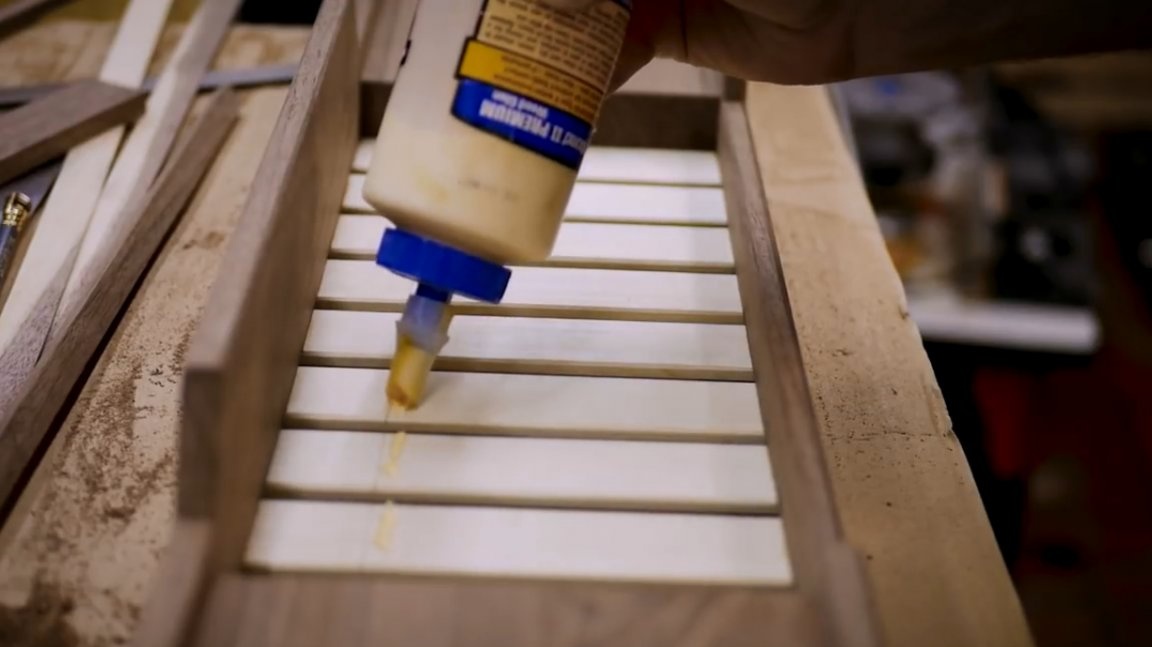
The slats are glued to the bottom of the shelves, due to them it will be glued into the groove.
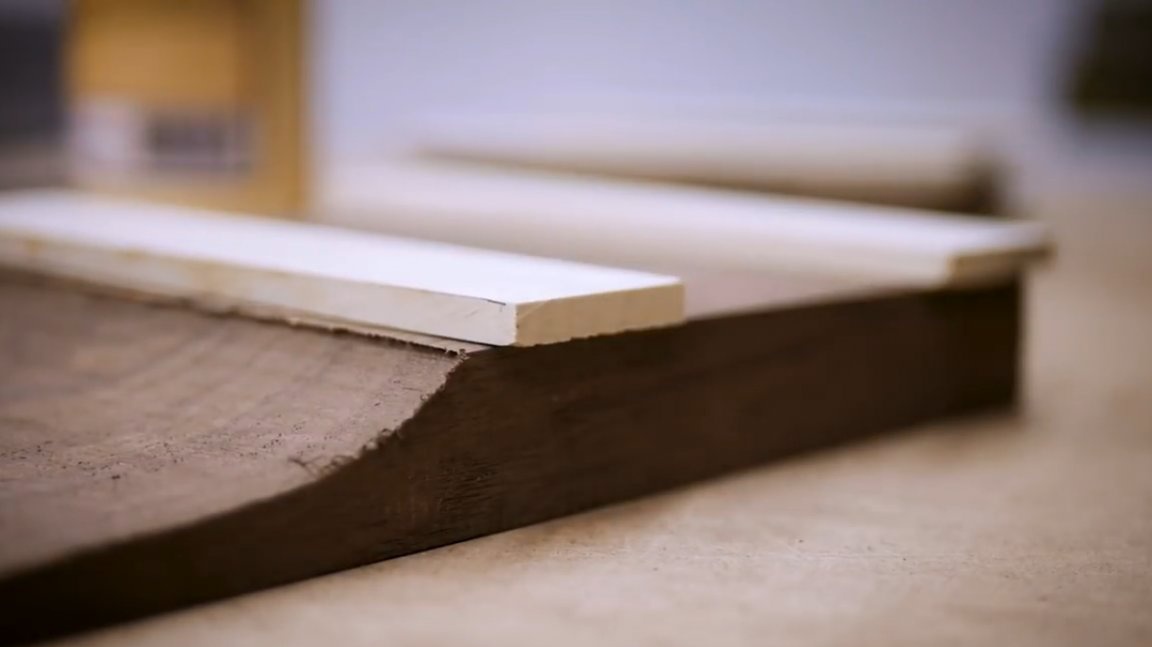
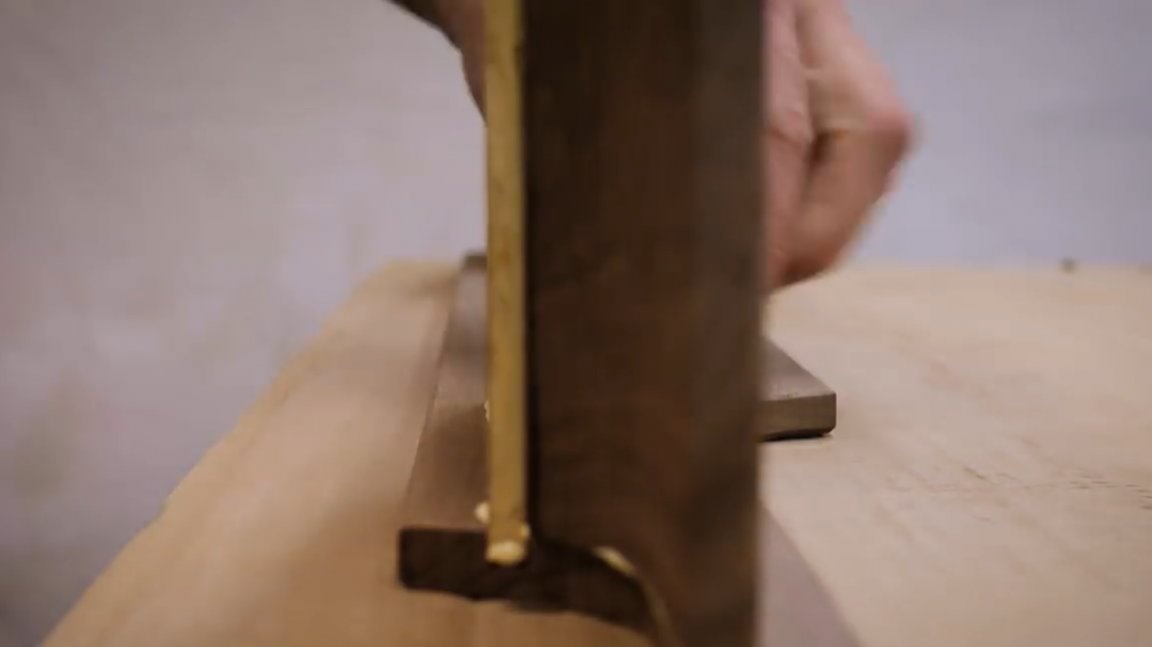
Now all the parts are ready for assembly. First, the master glues the shelves into the grooves of the rear side.
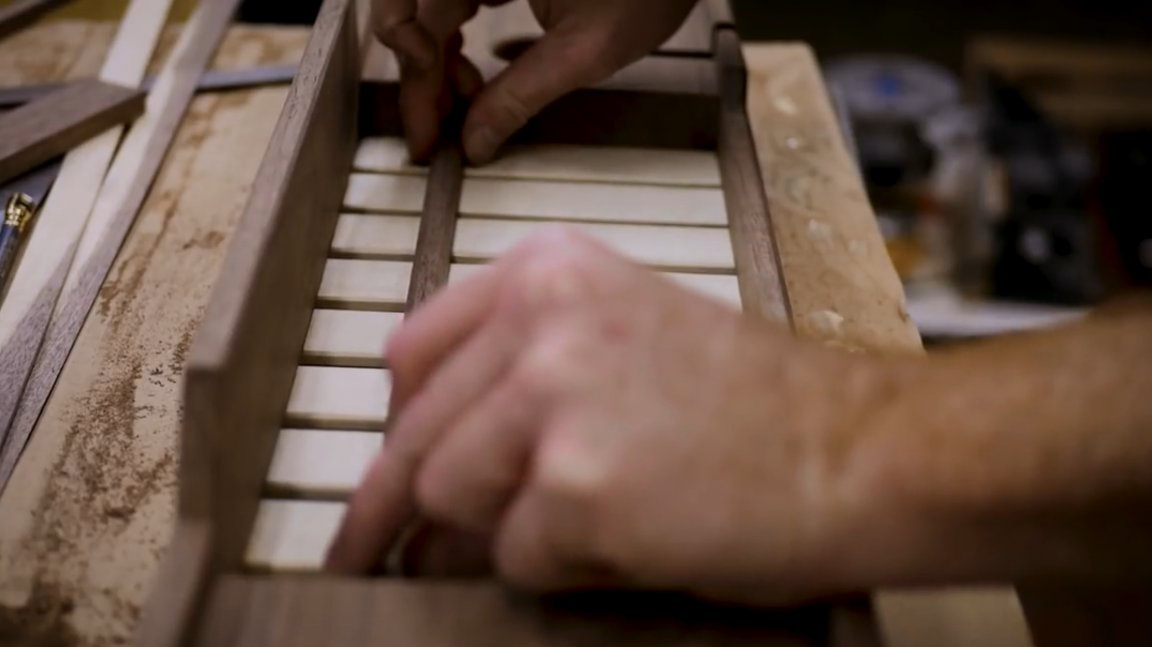
Then proceeds to gluing the lamellas into place.
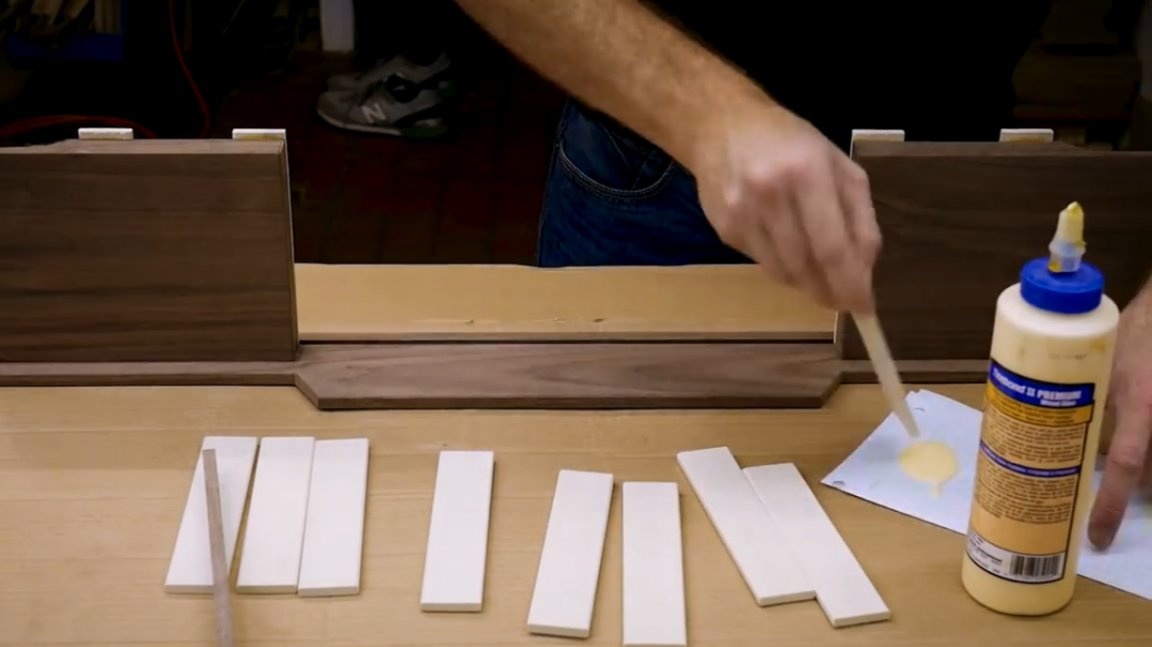
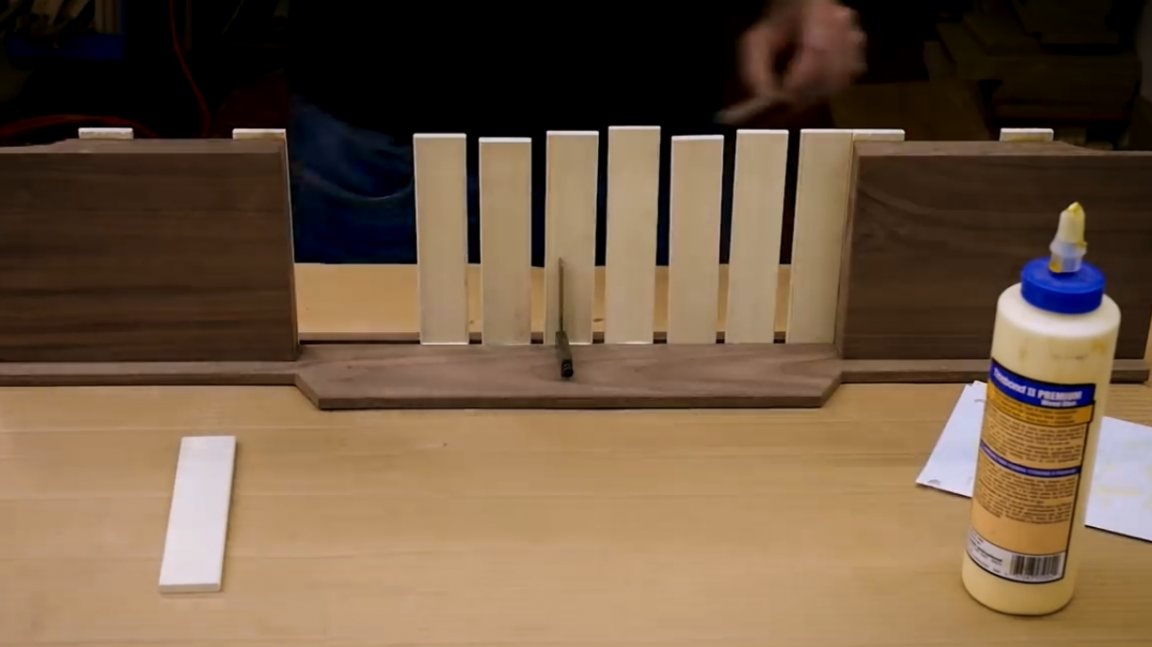
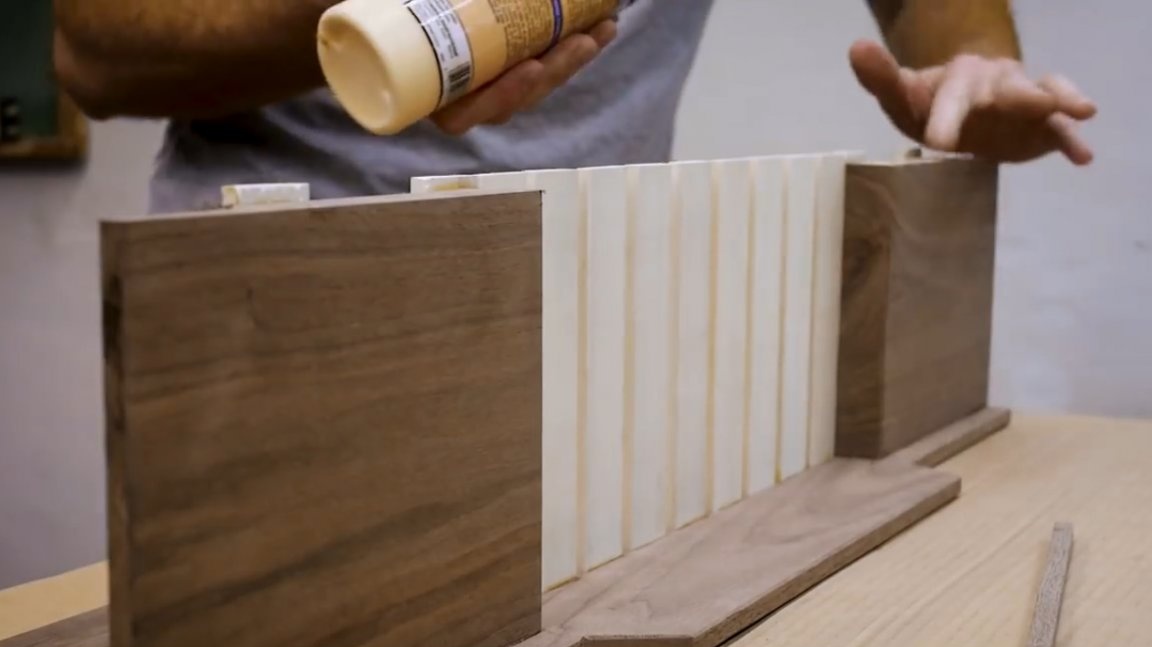
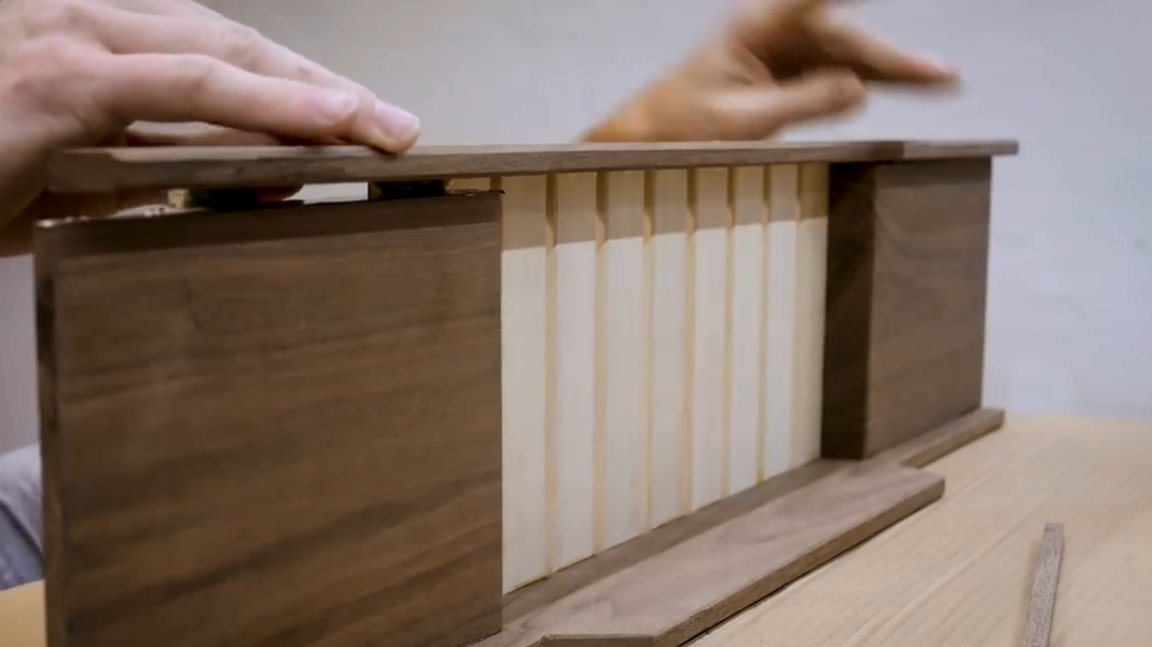
It remains to glue the second, front side.
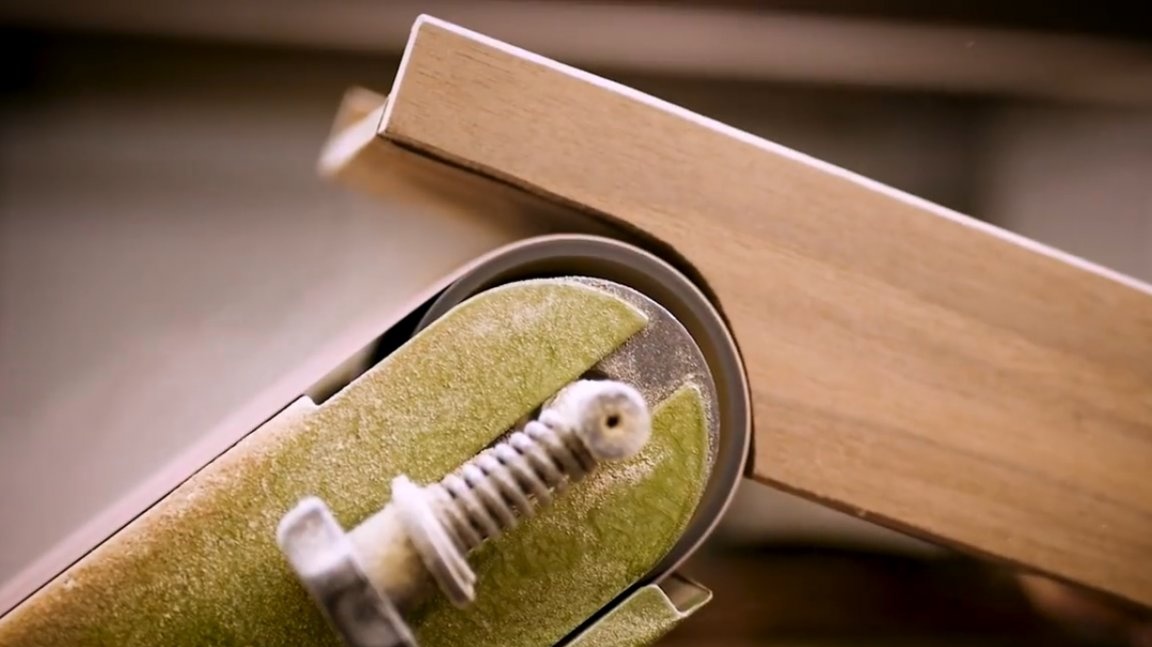
After the glue dries, the rounded parts of the shelves are processed on a belt grinder. This will remove bumps.
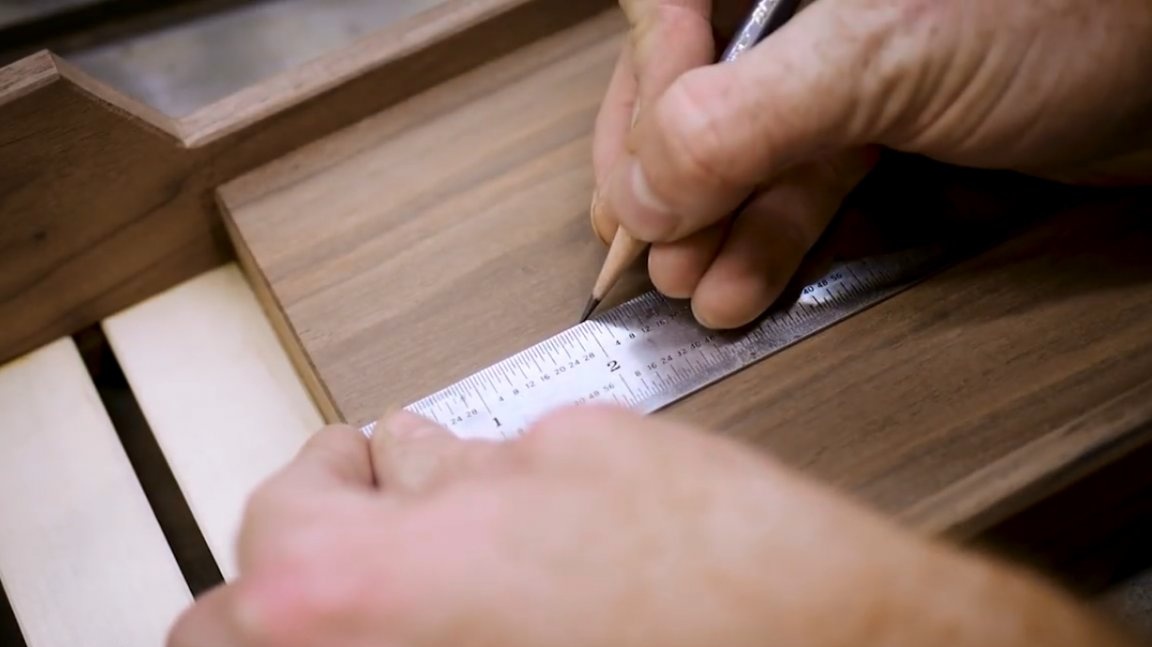
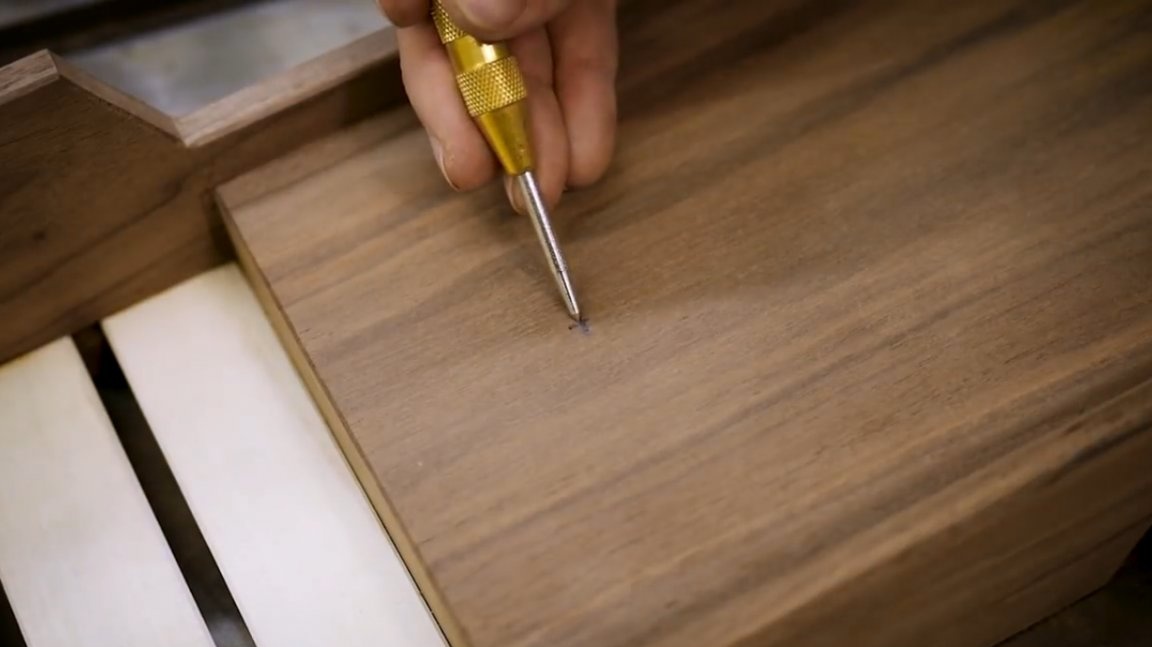
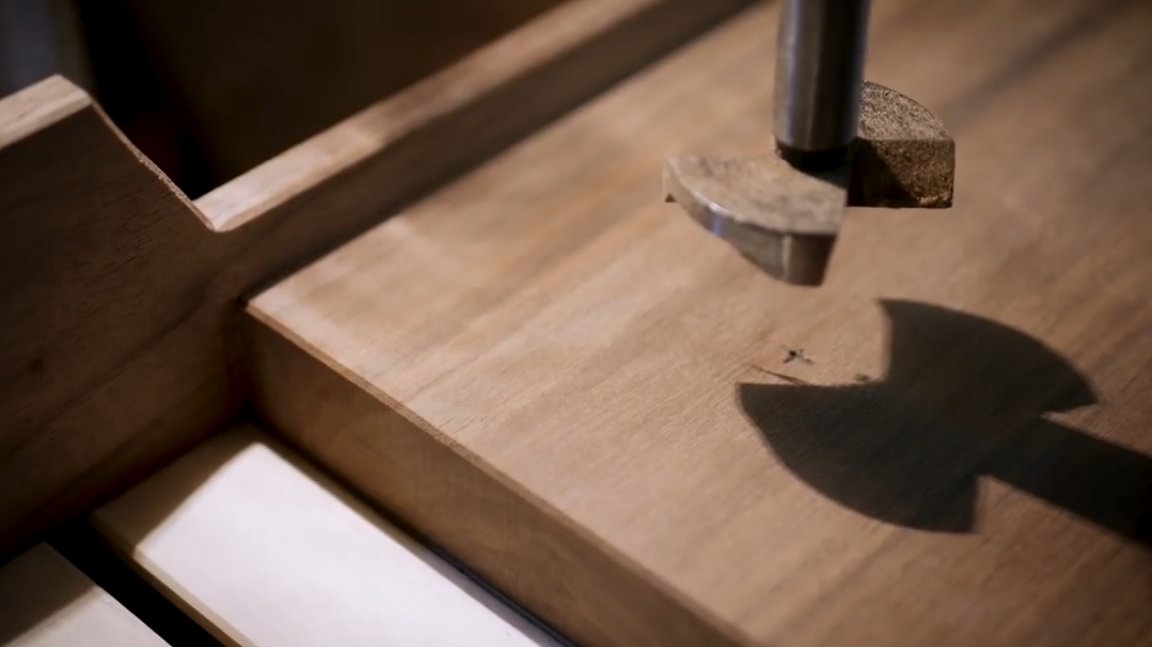
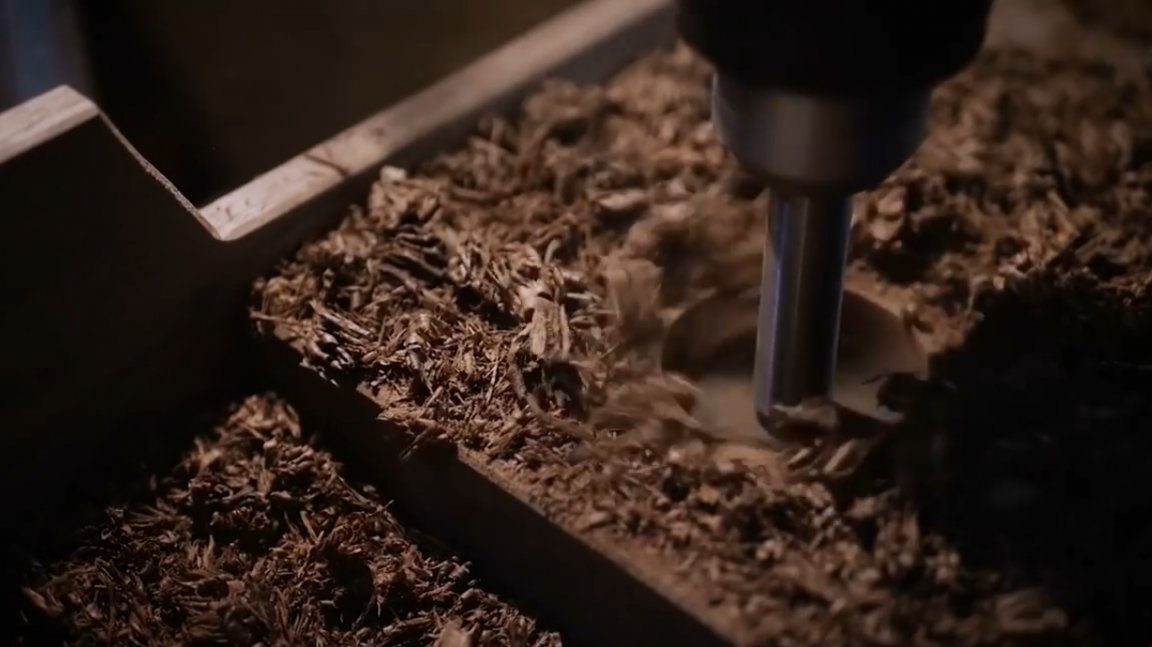
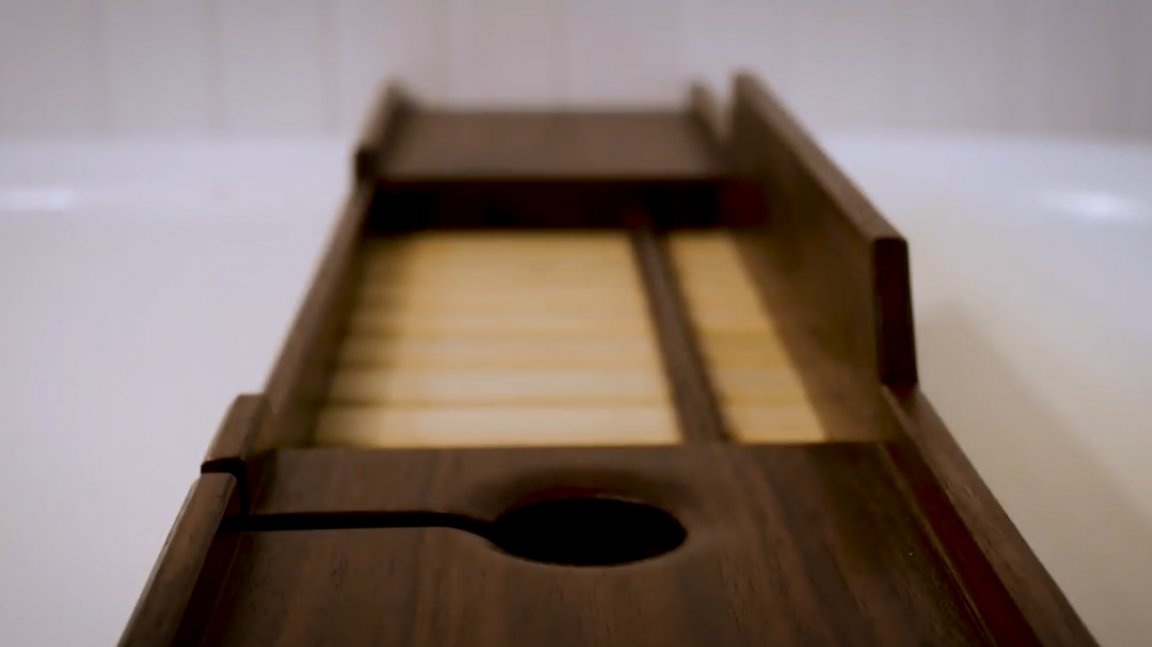
In the right shelf marks the hole for the glass, and drills it with a Forstner drill.
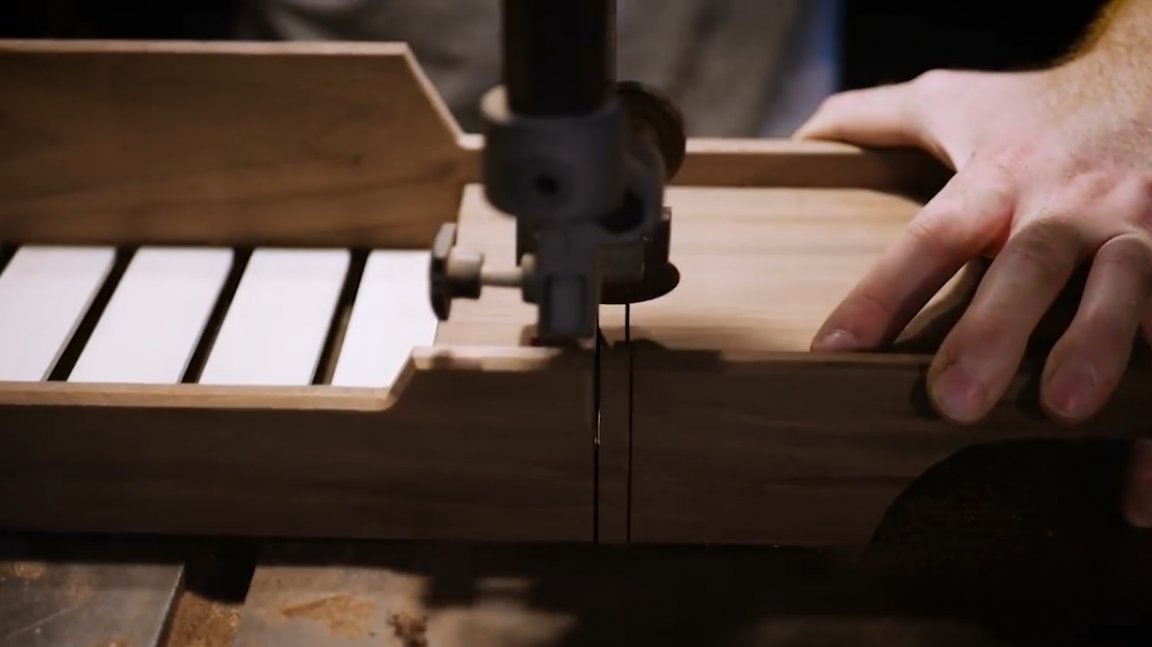
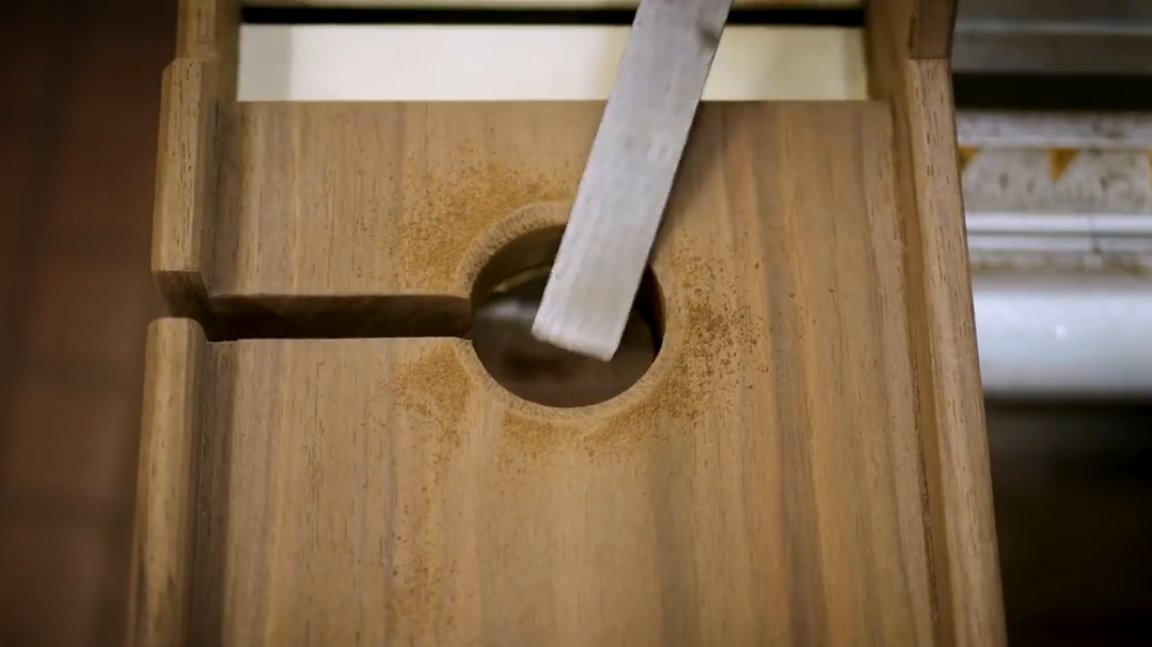
To pass the legs of the glass, a cut is made from the edge of the side to the very hole. The edges of the hole are machined with a rasp, and sanded by sandpaper manually.
Last moment, the author adds a small bar. The edge of the smartphone or tablet will abut against it.

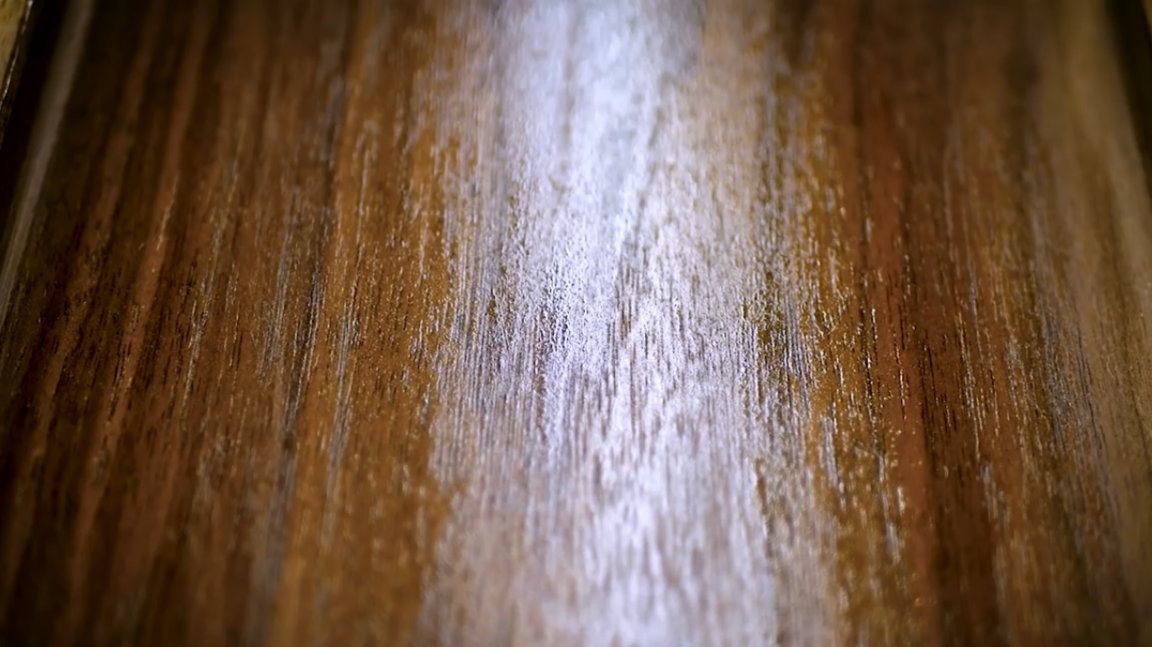
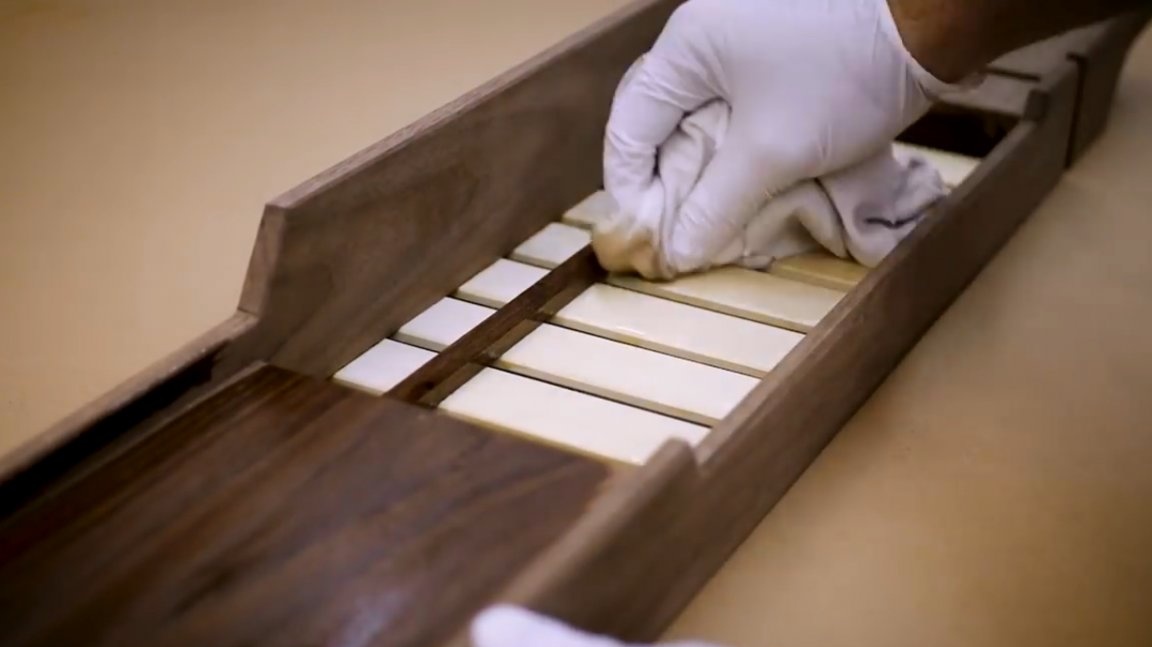
The author covers the wood with several layers of finish. In this case, this is oil from Waterlox. It has excellent protective waterproof properties. It is used even for processing yachts. Oil is applied according to a certain technology: between applying 2 layers, it is necessary to withstand the product for 24 hours.

So, the protective coating has dried, and you can install the stand in its place! Now it is very convenient to place all the necessary items on it.
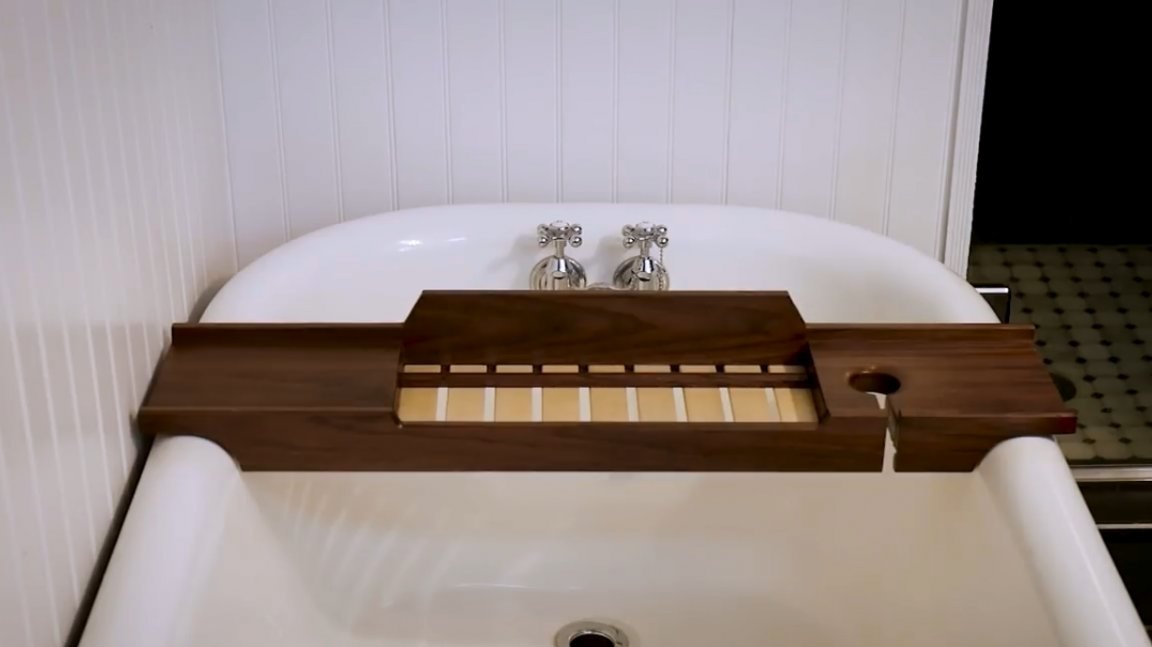


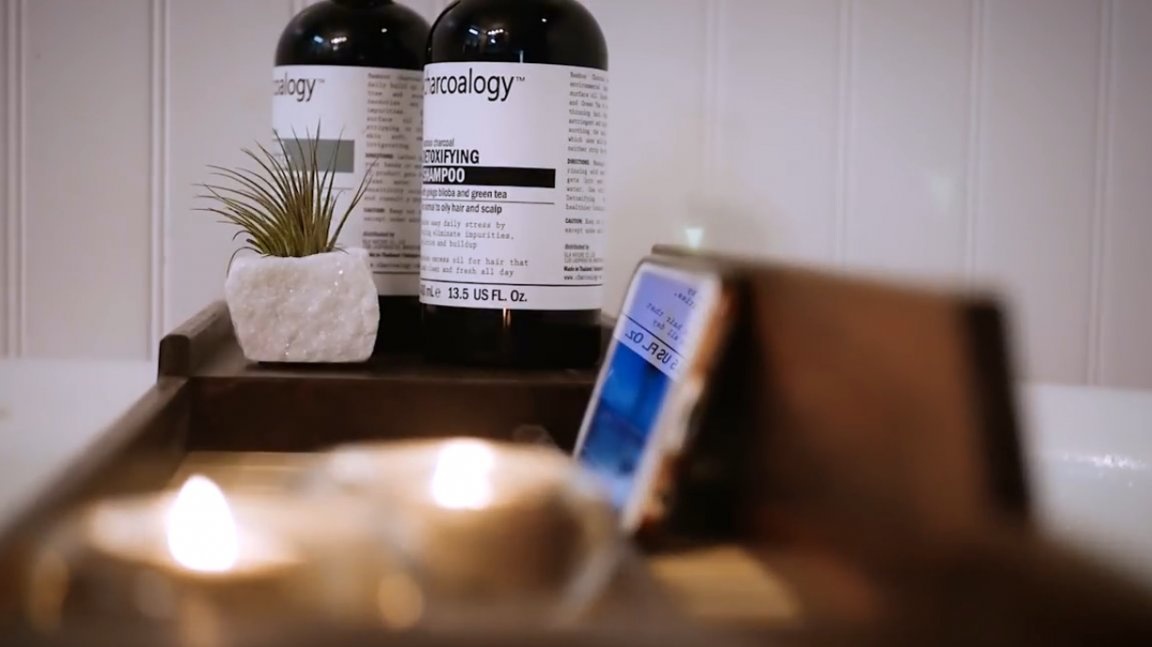
Thanks to the author for the simple idea of useful fixtures for the bathroom!
All good mood, good luck, and interesting ideas!
Author video can be found here.