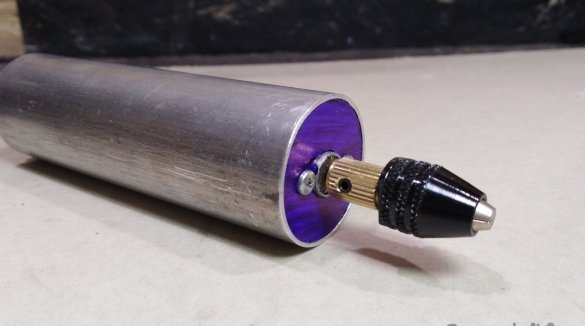
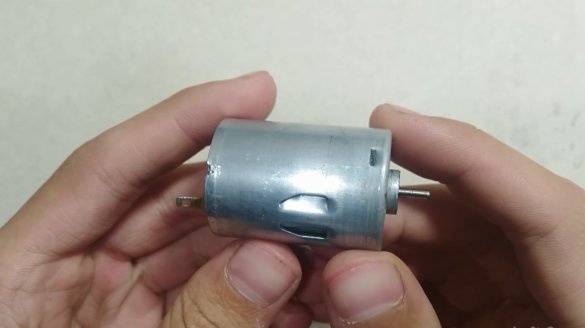
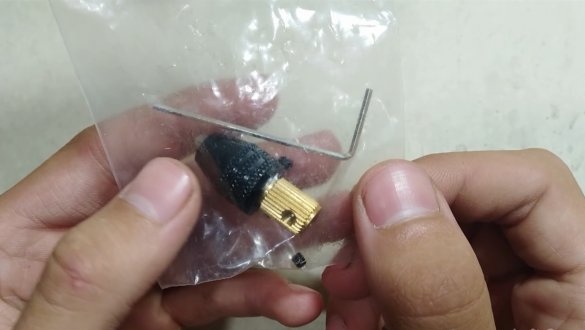
Hello! Recently, I found several engines from a Canon printer in my workshop drawer, and decided to put one into the robot since I recently received a parcel with a 3-jaw chuck. The cartridge decided to take the clamping itself as changing the collets themselves all the time is somehow not comme il faut. I have a 24 V motor and uses a current of no more than 400 mA in the robot when drilling. My engine shaft is 2.3 mm, of course it happens for more and then the size of the engine itself is bigger and more powerful. I will power the engine from the old transformer from the Mayak tape recorder, since I did not find a standard power supply, I added the simplest rectifier from the capacitor and diode assembly to the transformer. Well, now closer to the robot.
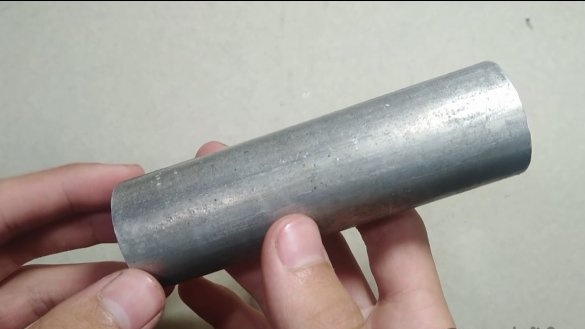
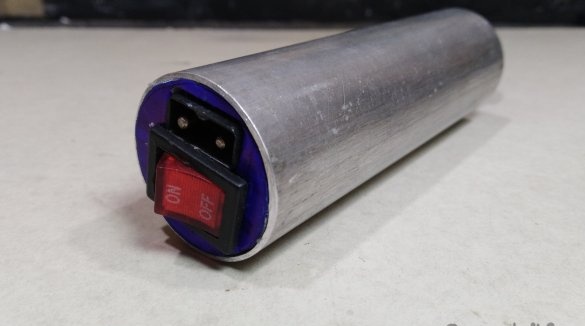
I found an aluminum tube with an outer diameter of 35 mm, of course it is much larger than the diameter of the engine itself, the diameter of the engine is 27 mm, despite the fact that the 33 mm pipe inner tube still needs an adapter (sleeve, adapter sleeve) or just wrap adhesive tape or electrical tape, although this is not recommended at all. Because the engine heats up during the operation and the glue will lose its property and the engine will then fail in the middle. My pipe length is 110 mm, more can be less.
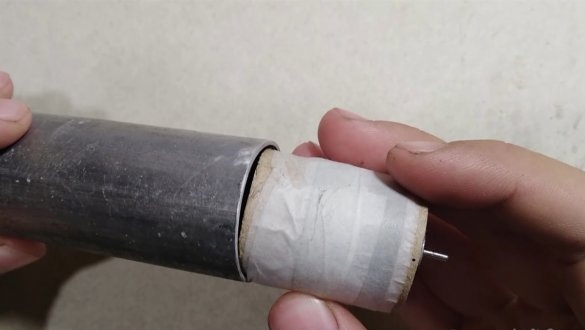
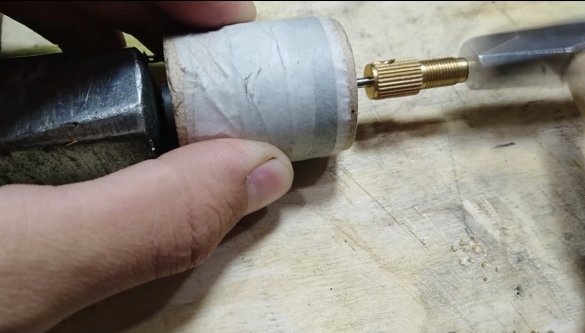
In general, I made a clutch from a cardboard from a tube from a foil and a metal plate which is on the engine itself. I made one layer of cardboard and on top of that metal plate and fixed it with ordinary masking and paper tape. Well, now everything should fit tightly into the pipe.
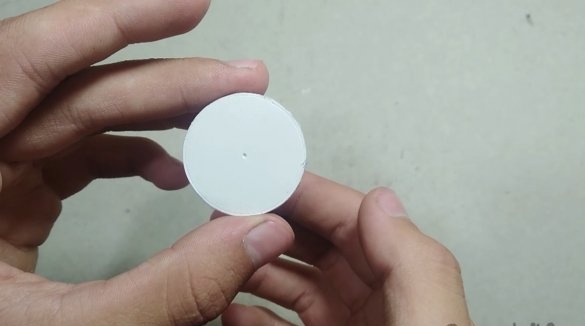
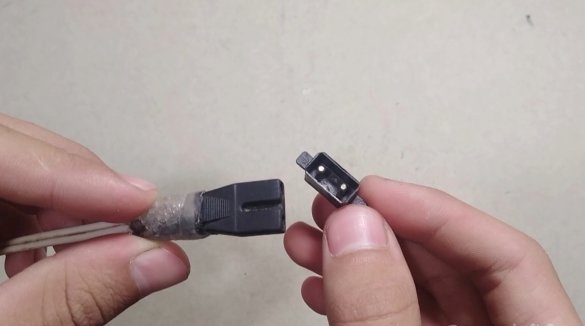
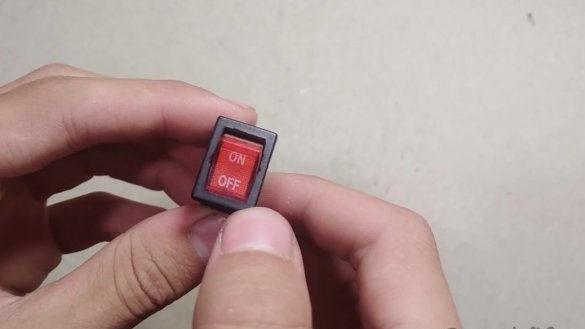
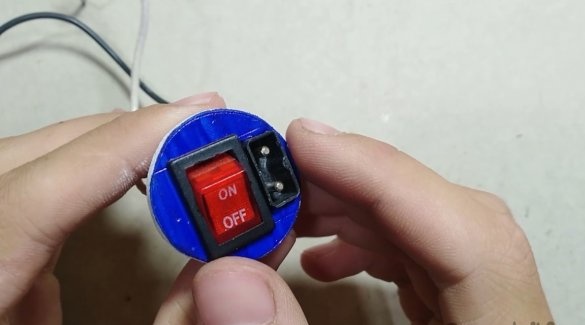
Well, now we have a round of 3 mm thick PVC foam plastic, a power socket (I took it from an old flashlight), a switch. On the mug you need to place the power socket and switch.
Here's what happened. I cut out the holes and painted everything with a blue marker. After that, I inserted and pasted everything with hot glue and then soldered the connector and switch and brought out the wires for the electric motor.
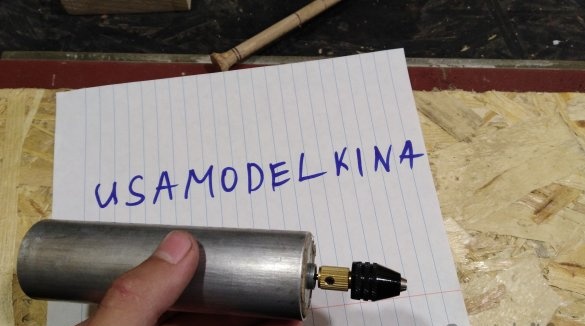
Now we just need to drive in the adapter for the cartridge, since the adapter comes in rather tight and needs to be driven in, then we need to push the shaft back, I put in a hammer and hammer it with a small one in front, and then tighten the screws that come with it.I put everything in the middle and additionally screwed the front cheek out of plastic just for beauty.
Thank you all for watching! It will be nice if you watch the video, maybe there will be even more clear.


