In the previous part of the article about building a house from freight containers, we talked about how to prepare a site for construction, build a strip foundation and equip the house with window and doorways. This article will discuss how to install windows and doors, conduct thermal insulation of the house and its basic redecoration.
First part
Materials:
- two 40-foot and one 20-foot freight containers;
- a metal pipe of a square profile for the manufacture of window boxes;
- a metal pipe with a square section of 20-25 mm for the edging of the gaps between the window / door and the window / door frame;
- a metal corner for the manufacture of door frames;
- a metal plate with a width of 100 and 150 mm;
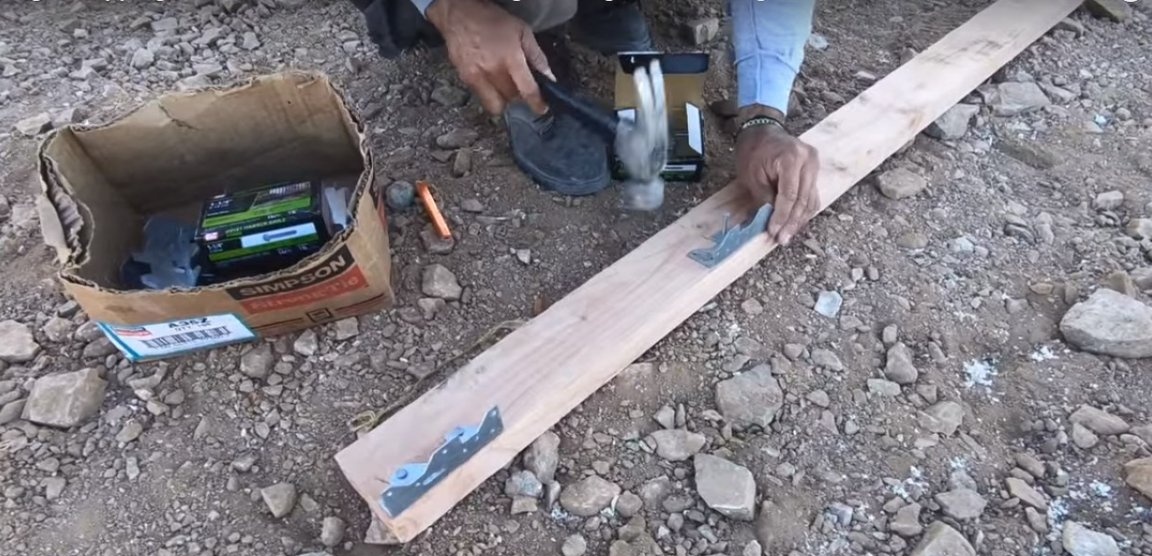
- metal fastening accessories for connecting a wooden frame;
- lumber: square bars under the thickness of the insulation, planed boards;
- plywood or OSB for wall and ceiling sheathing;
- drywall for wall and ceiling cladding;
- insulation for walls, floors and ceilings;
- doors, windows;
- electric cable, sockets, switches, etc .;
- mounting foam for installing windows, doors, filling gaps and insulating the wooden frame;
- plaster mesh;
- gypsum plaster.
Instruments:
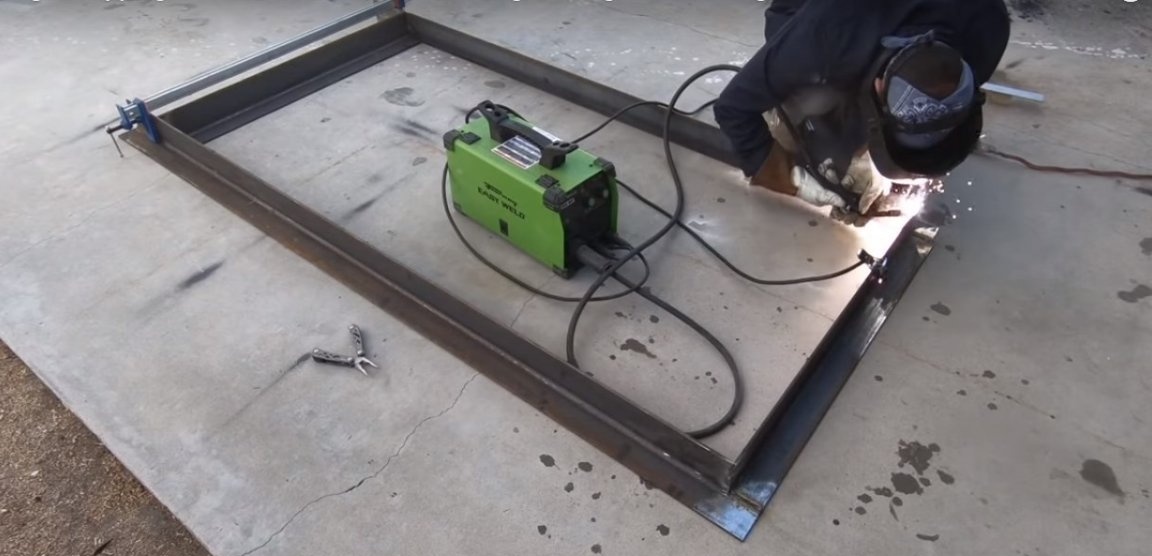
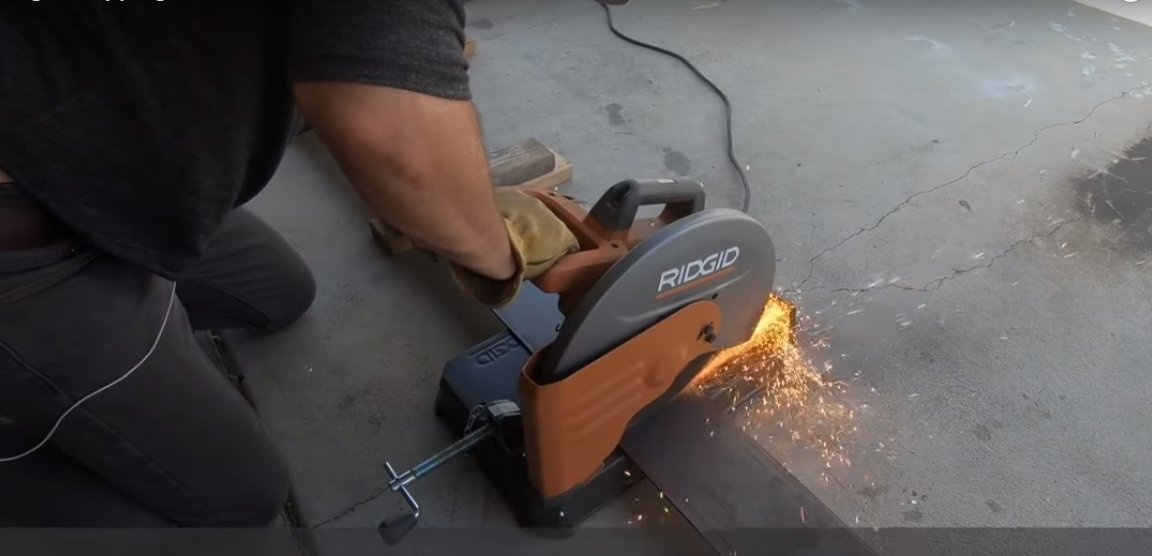
- grinder;
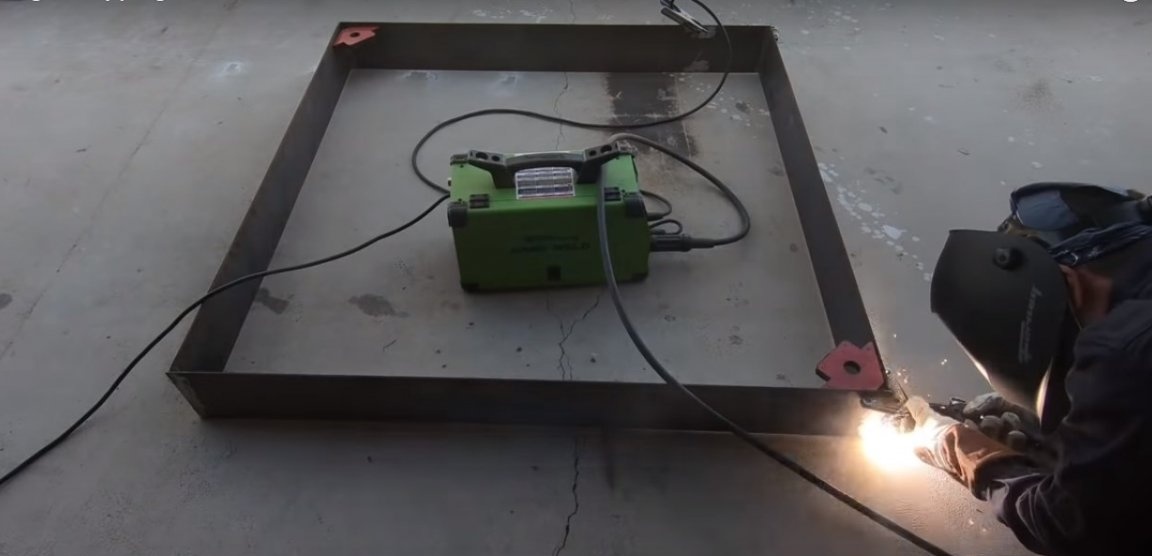
- welding machine;
- a solar battery and a generator to ensure the operation of power tools in the absence of a central power supply;
- drill;
- screwdriver;
- jigsaw or manual circular;
- Miter saw;
- a grinder, circles and nozzles for working with metal;
- vice, clamps;
- plastering tool.
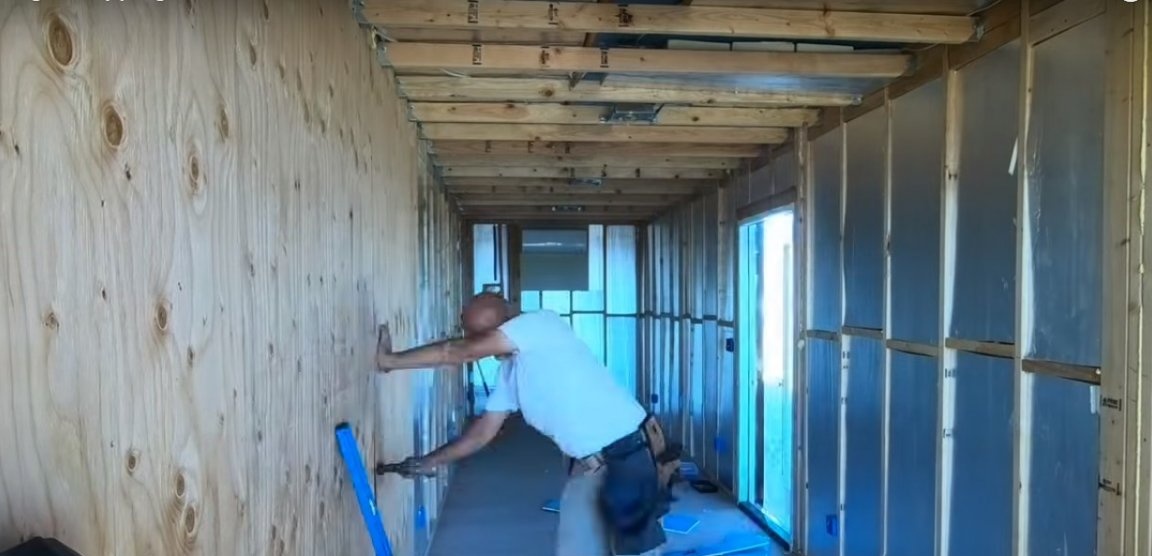
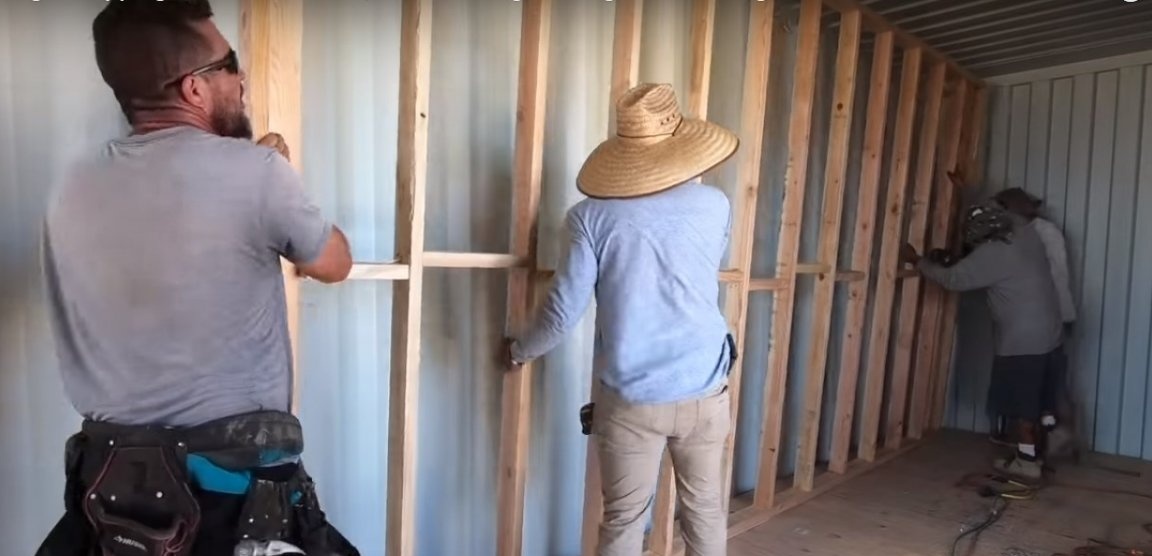
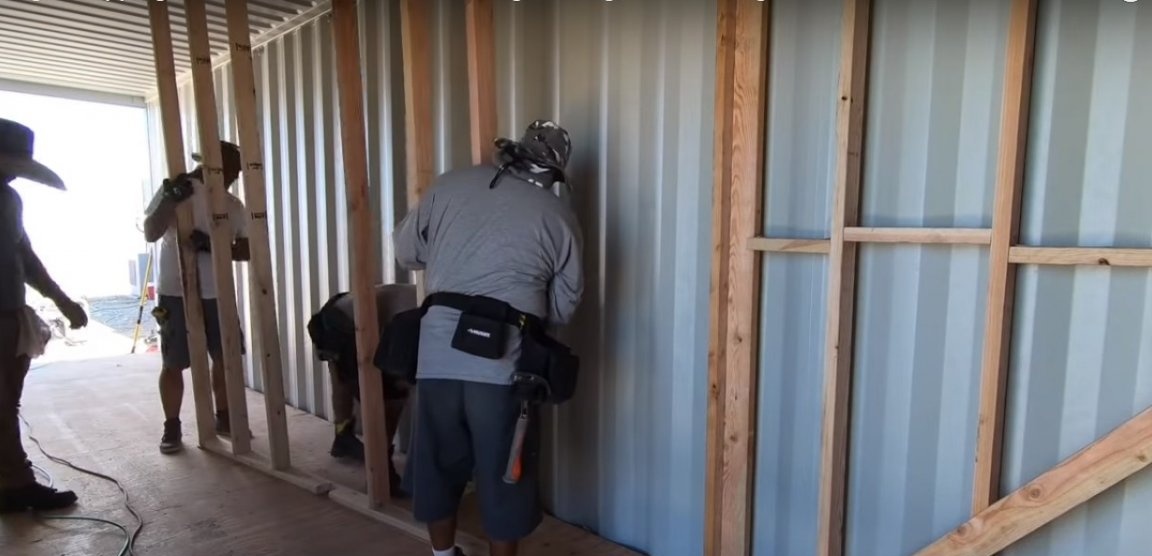
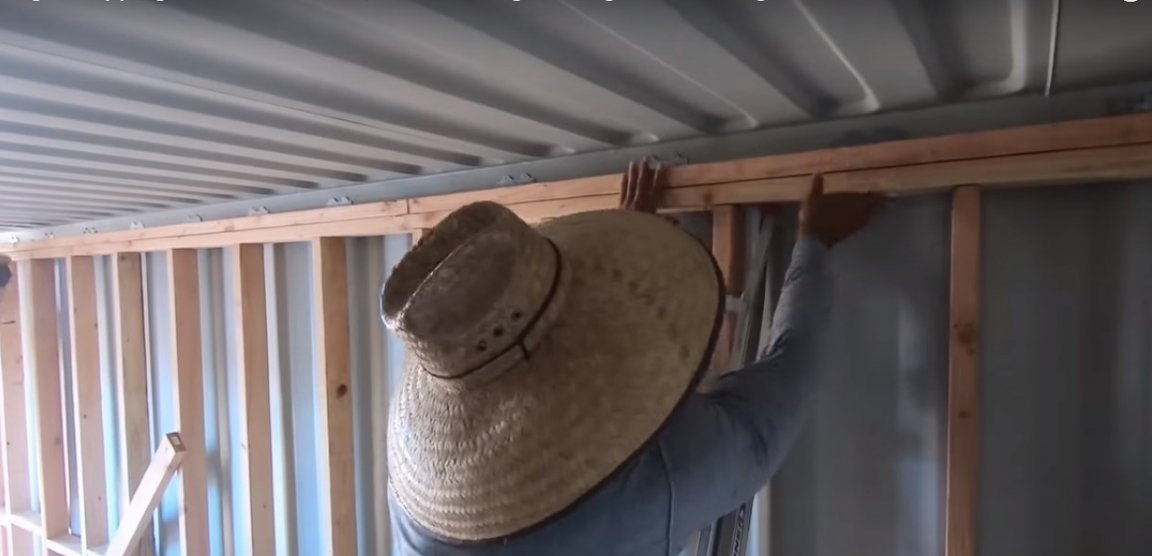
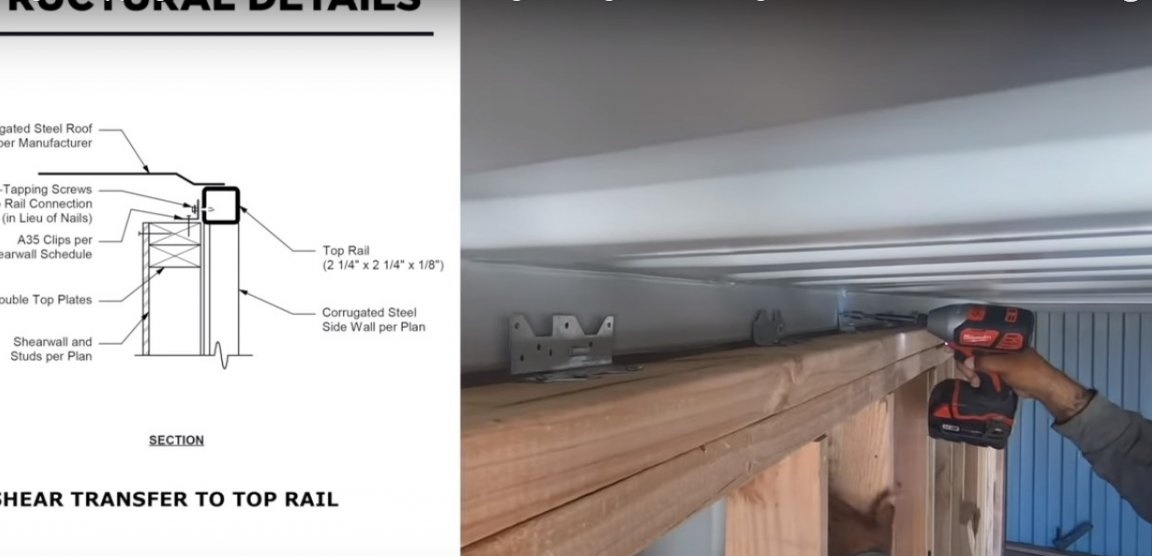
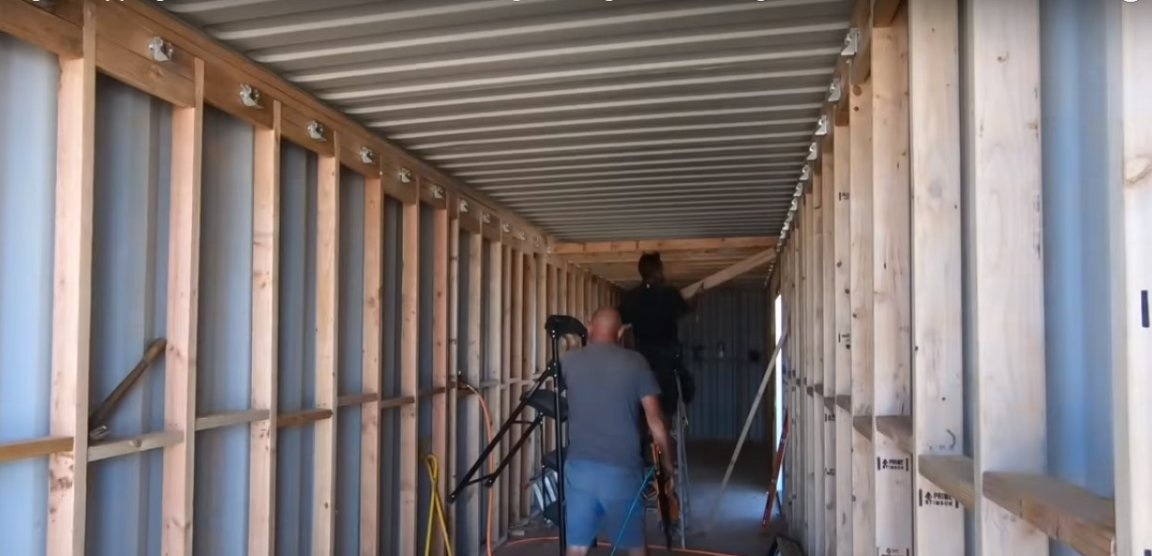
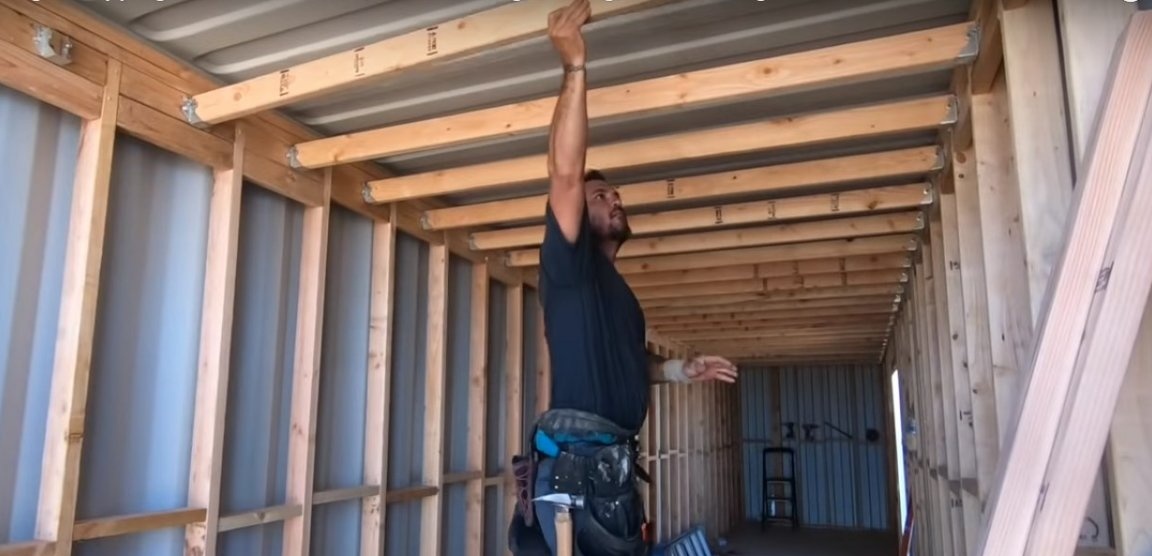
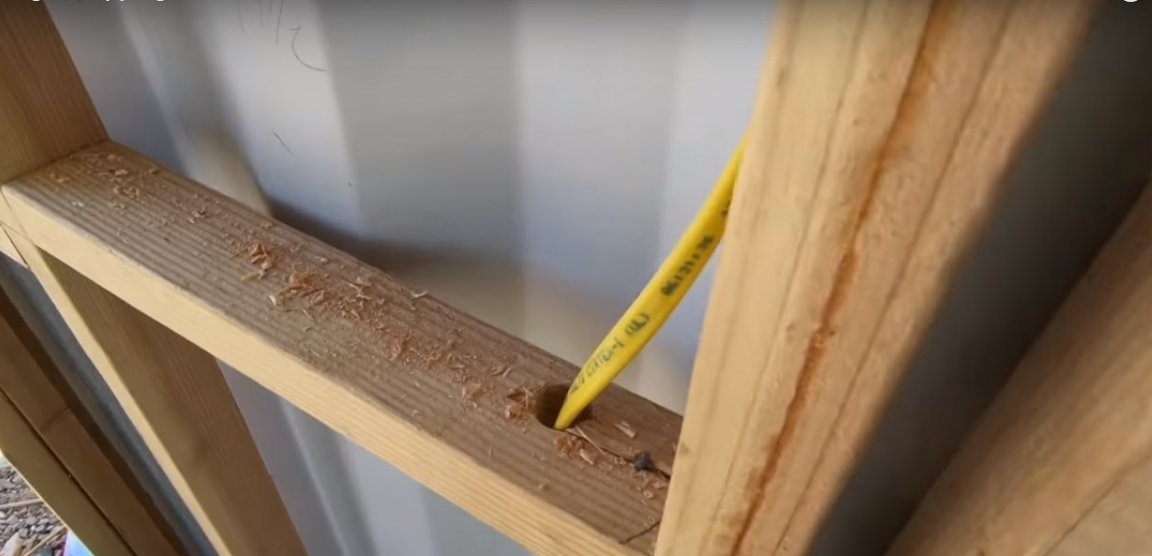
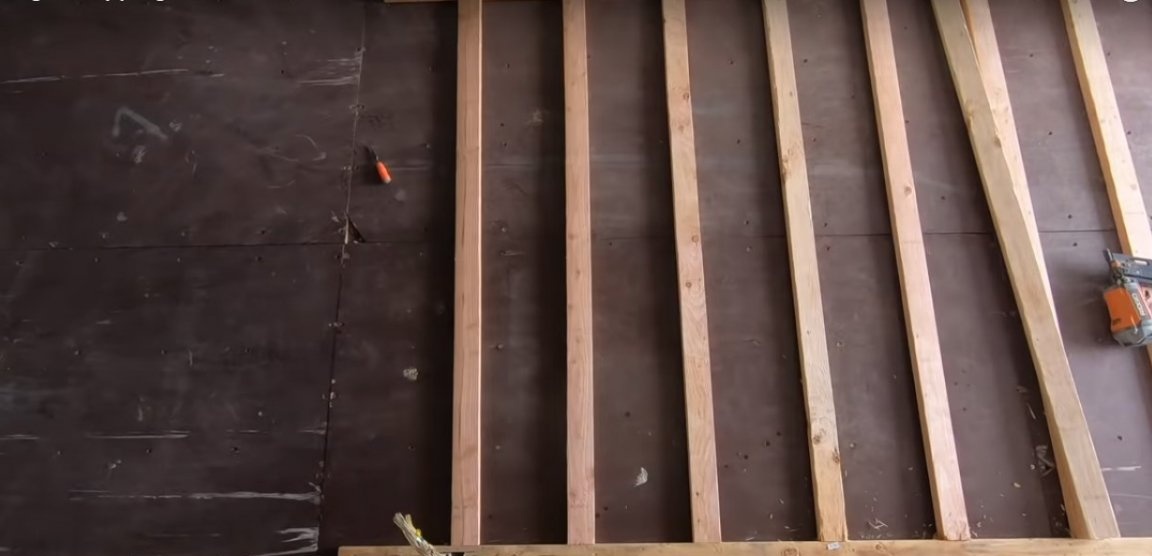
Step One: Wood Frame
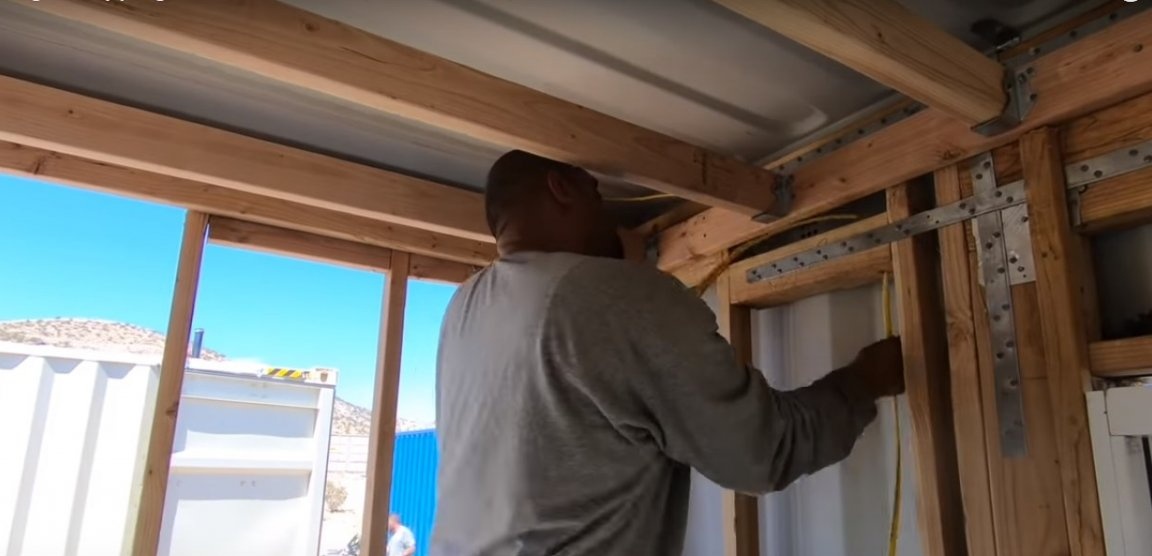
The wooden frame is made of a bar of rectangular cross section, where its width is equal to the thickness of the used heat-insulating materials. Solid wall panels were mounted using mounting hardware. At the same time, for strength, the fasteners fell on the frame of the container, and not on its wall.
Also, at the ceiling level, mounting hardware was installed for the ceiling and the beams were fixed.

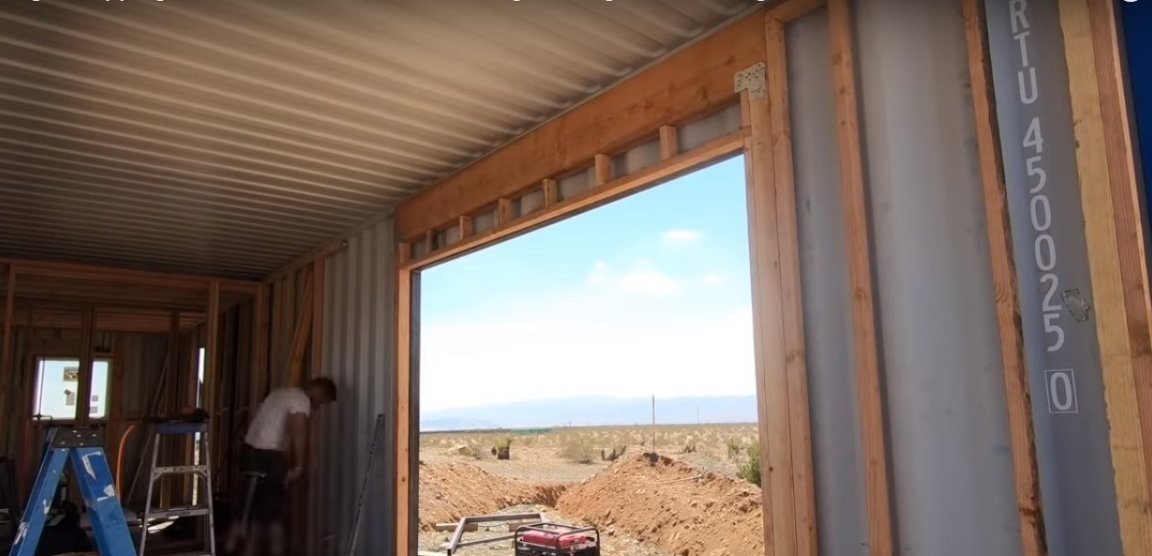

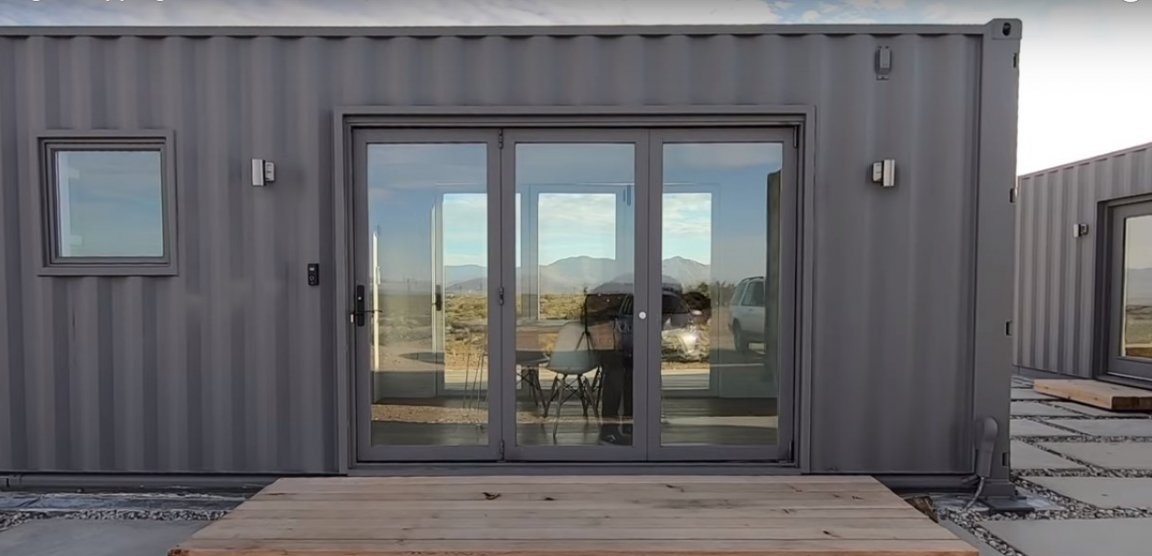
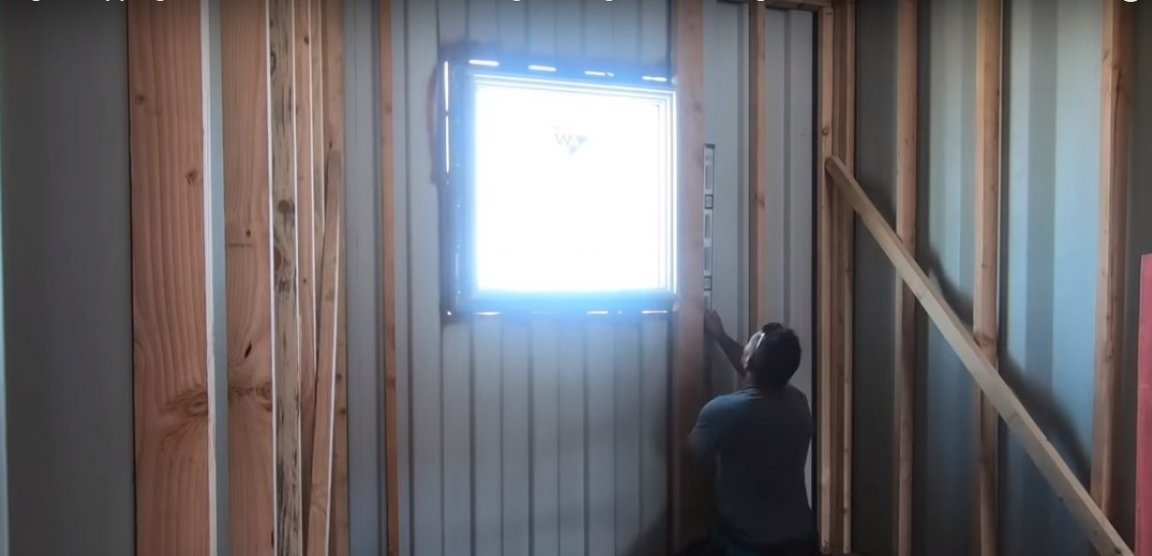
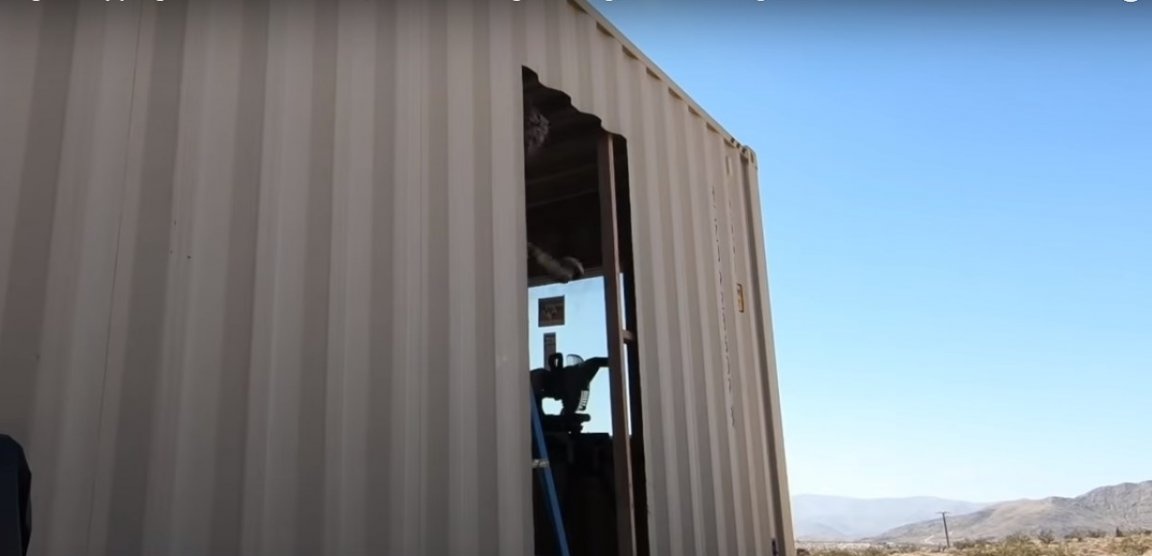
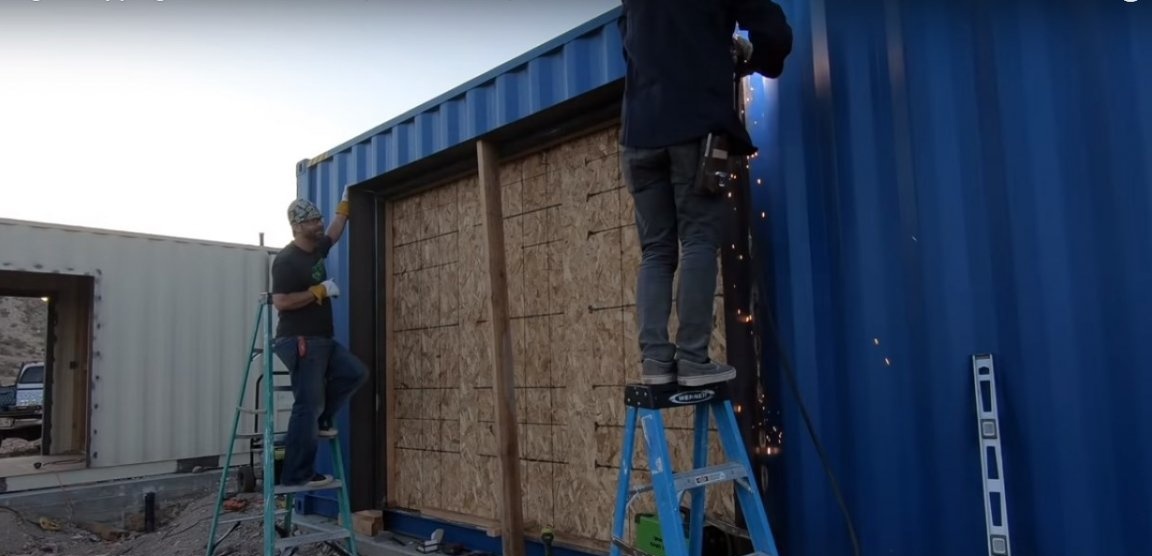
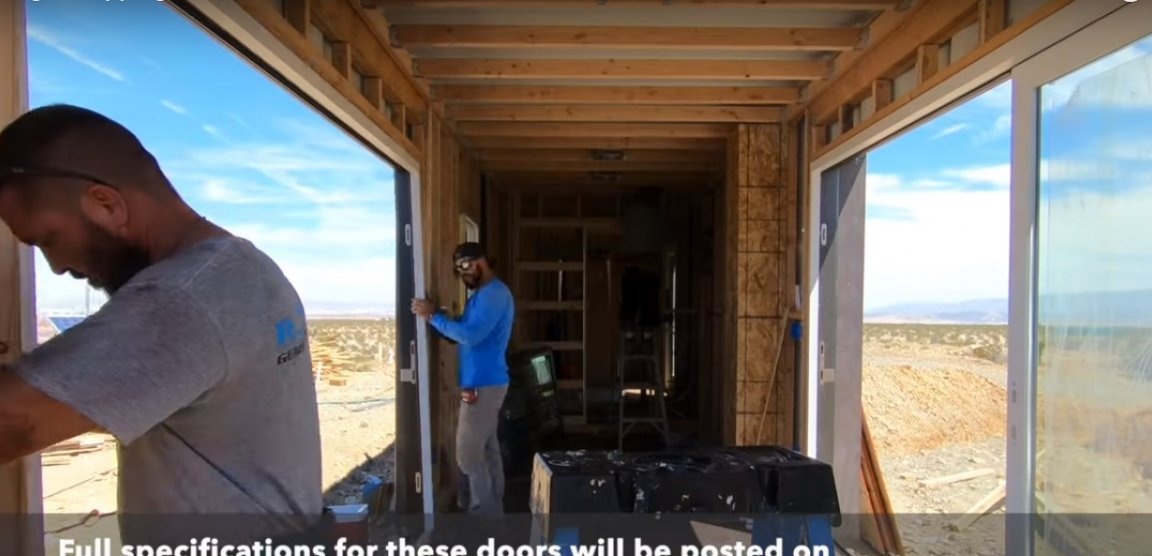
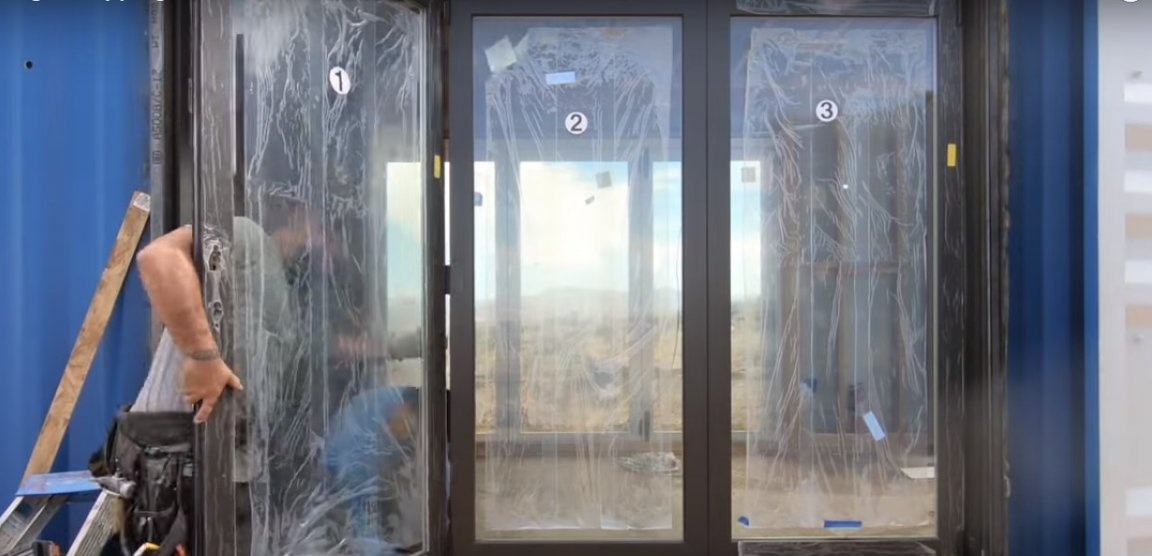
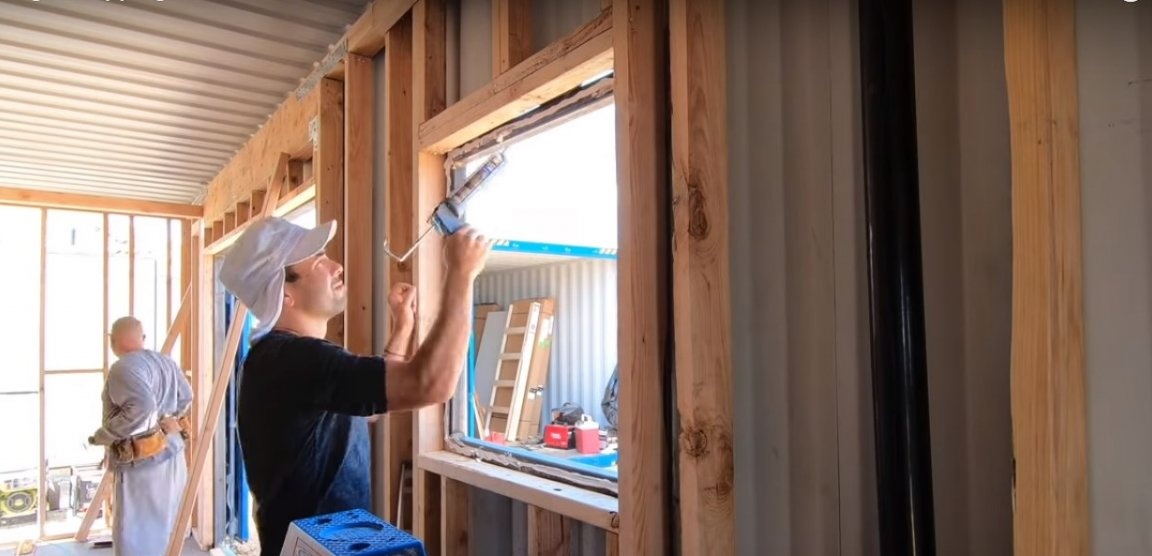
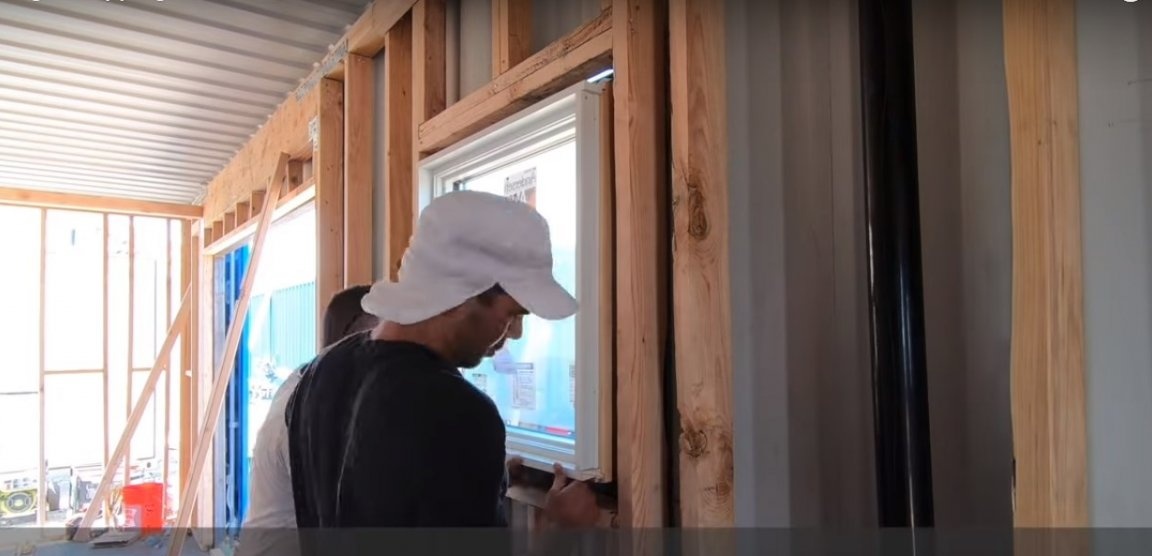
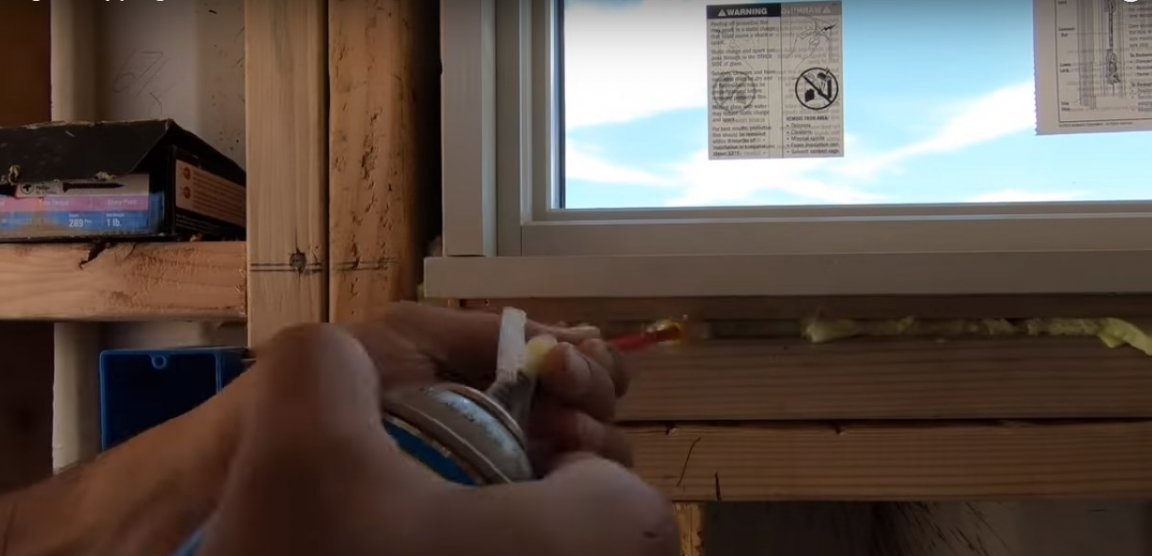
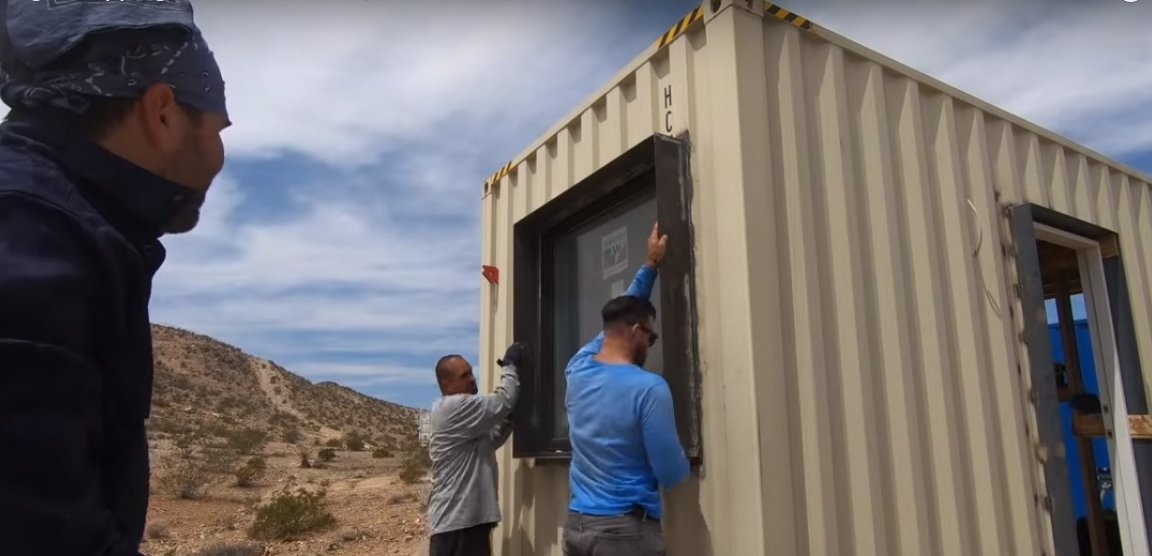
Step Two: Windows and Doors
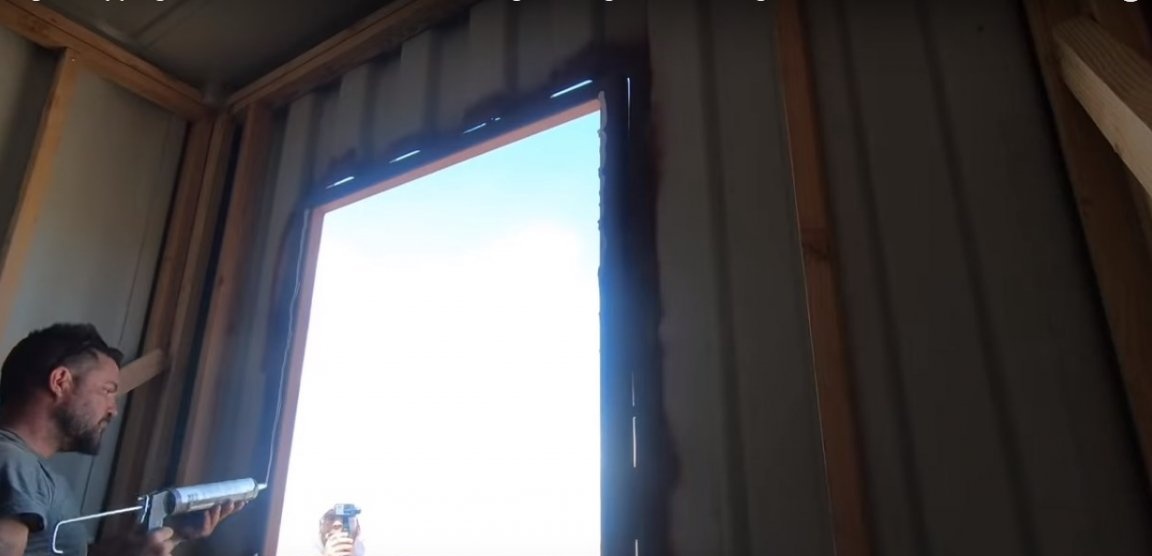
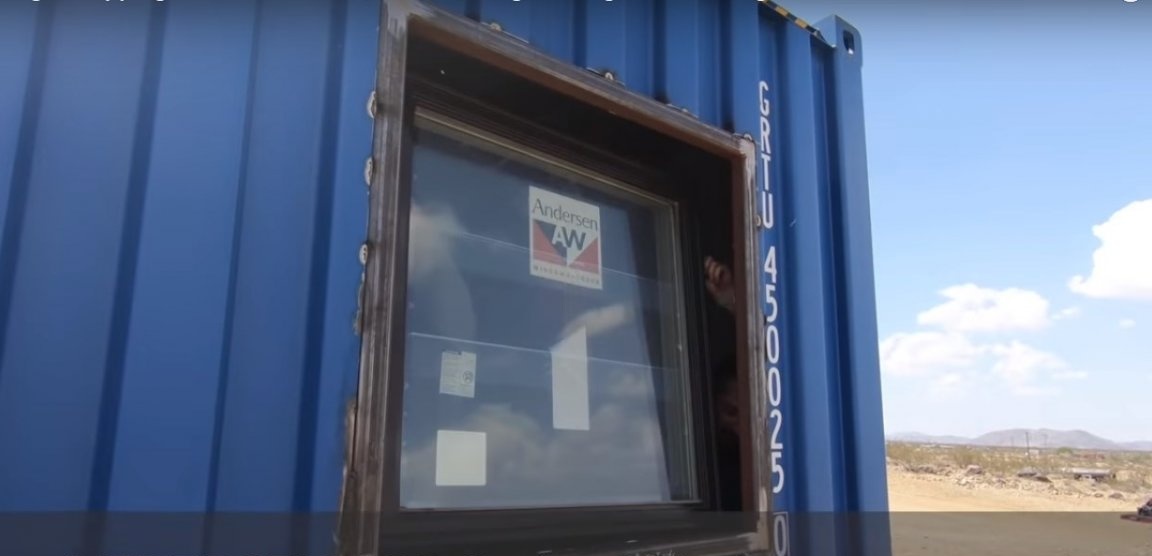
By analogy with the first installed window, the workers installed the remaining windows using mounting foam and fastening not with screws.
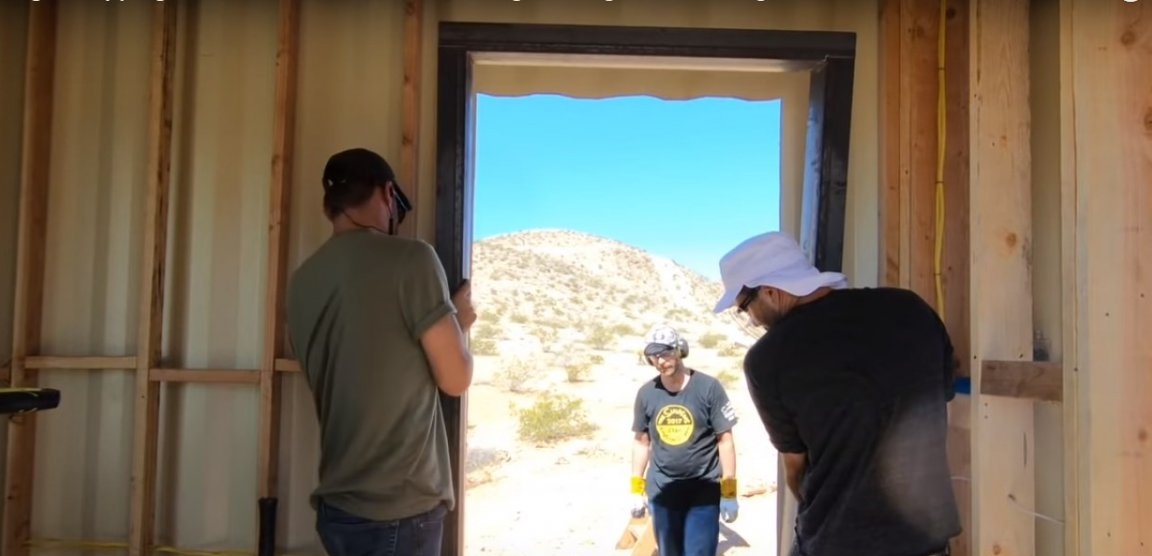
Ordinary doors were also installed in a metal box. However, this time a corner was used for its manufacture.
On the box for modular doors, a visor was welded along the outer wall around the entire perimeter and the doors were installed, connecting all the modules into a single structure.
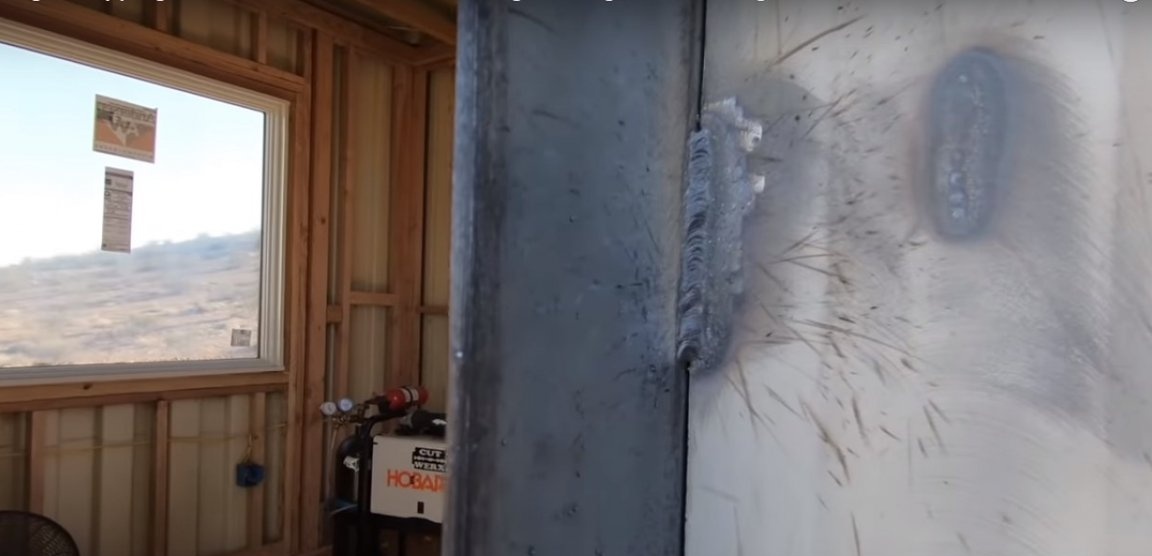
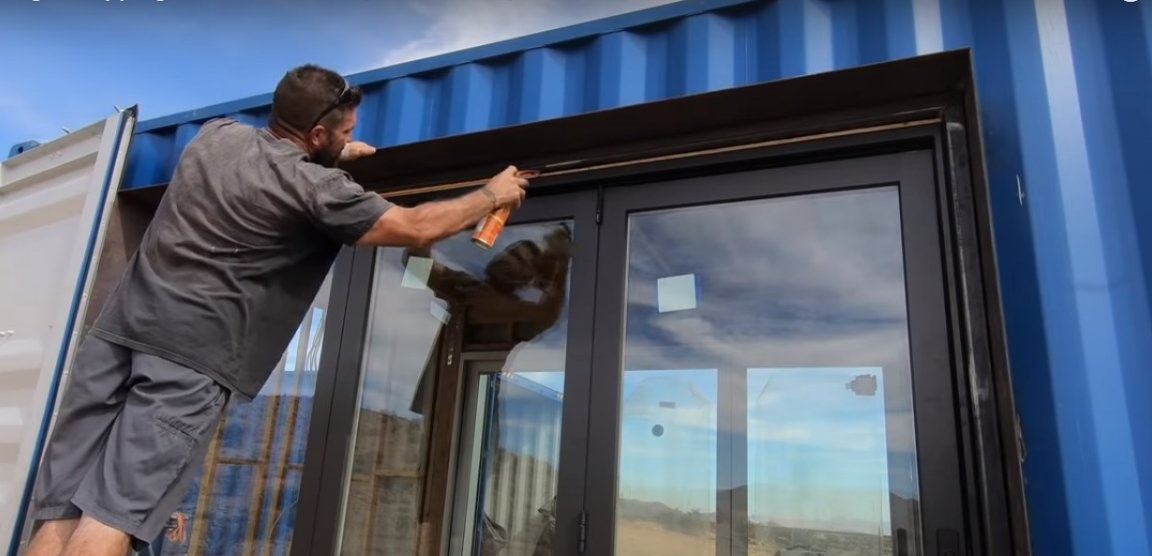
The gaps outside between the doors, windows and metal boxes were filled with mounting foam and a small square tube was welded on top.


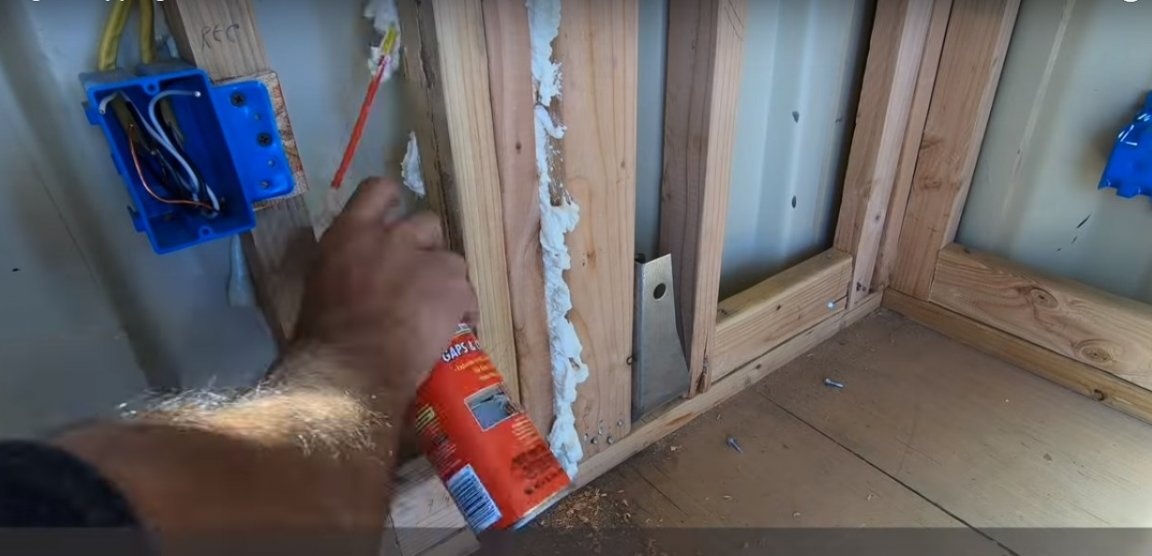
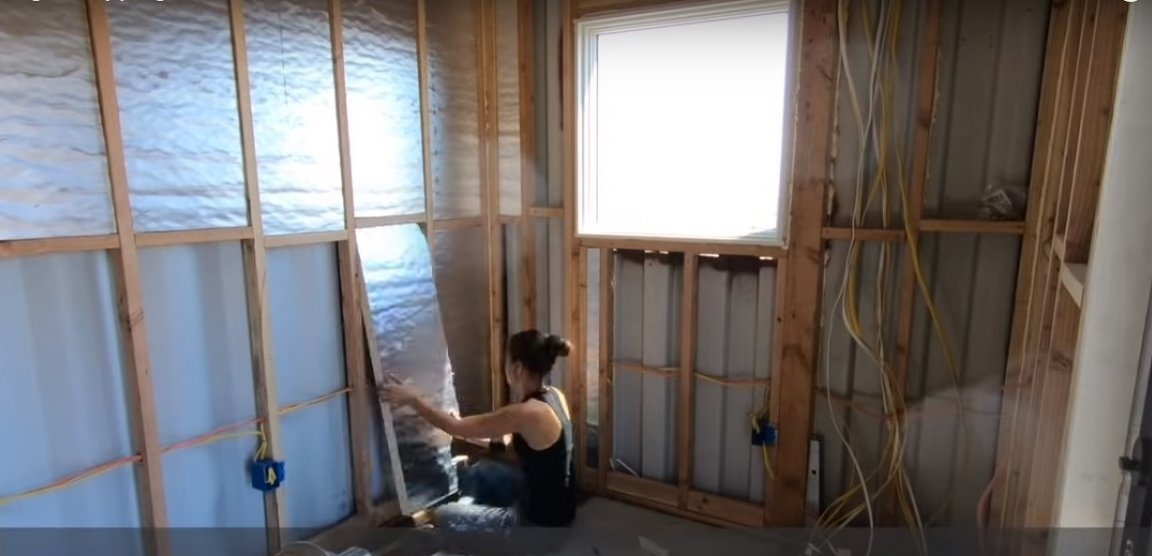
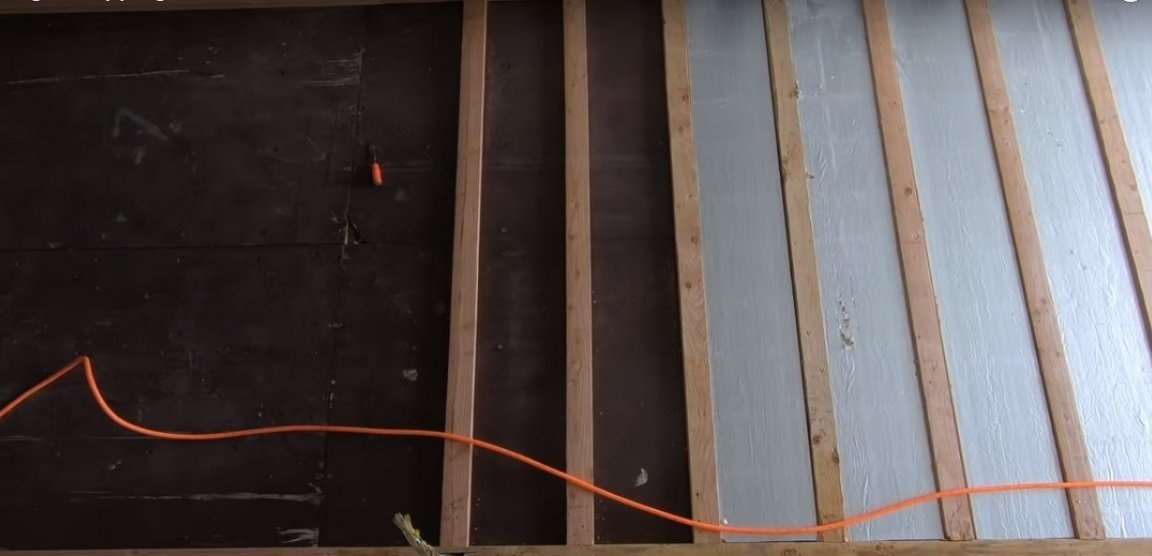
Step Three: Thermal Insulation Work
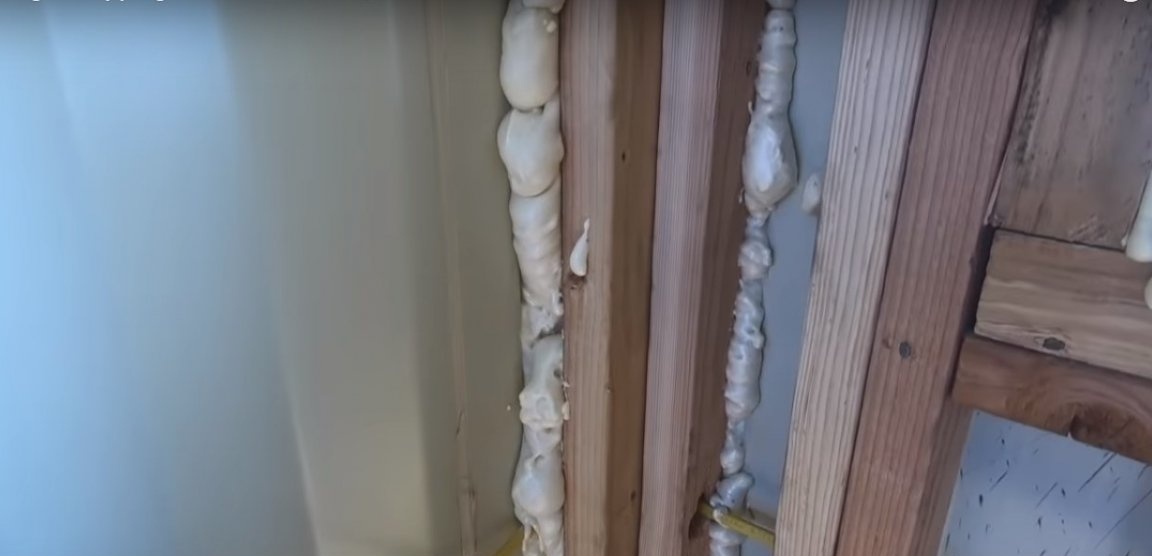
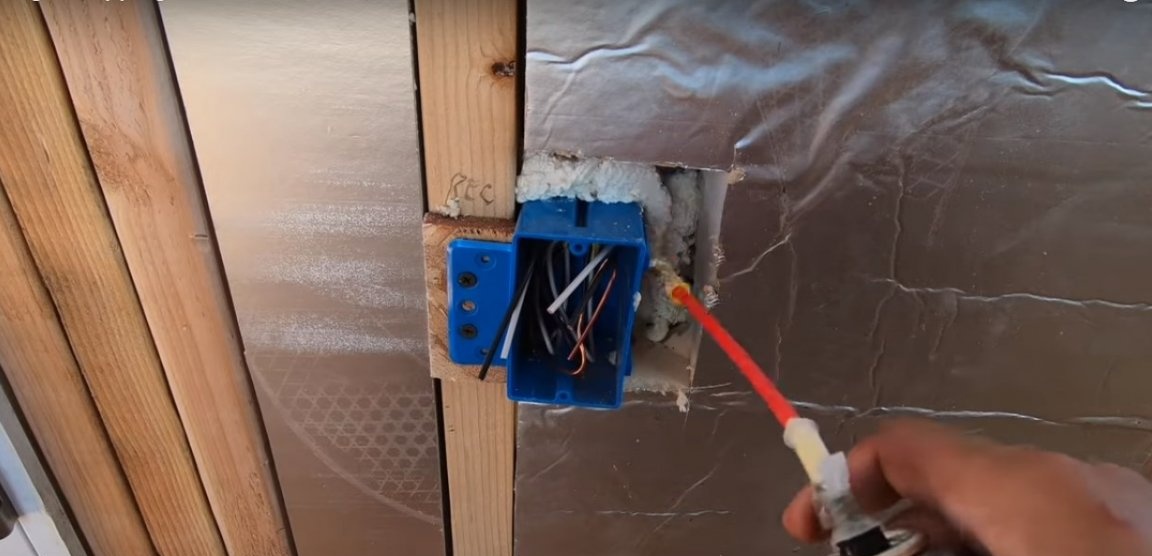
Work on the thermal insulation of the room began with filling the mounting foam of the gap between the wooden frame and the walls of the container, where they are almost in contact. Particular attention was paid to the corners.
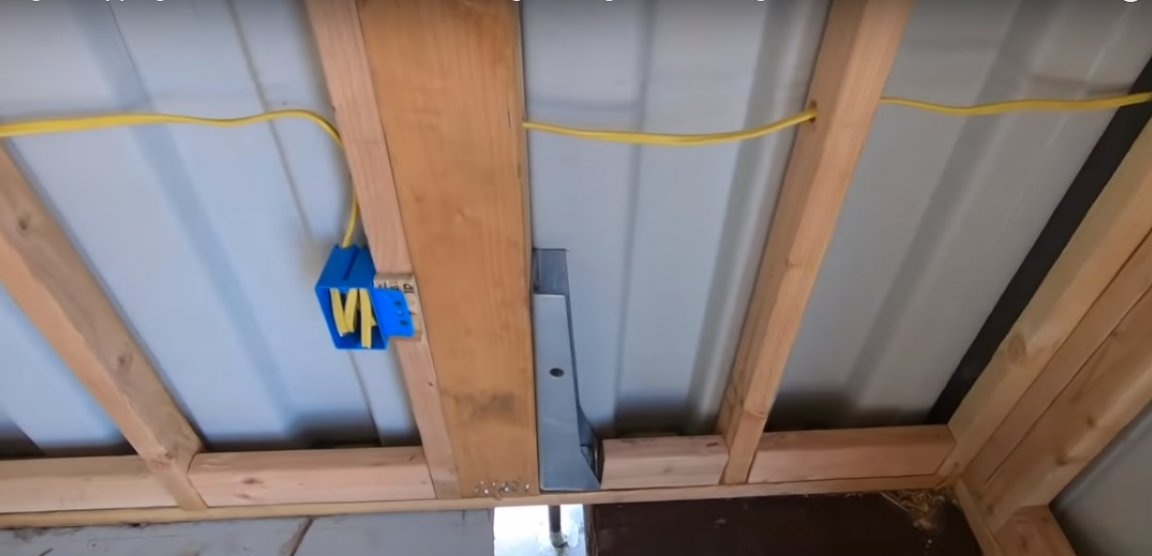
Before installing the insulation, an electric cable was passed through the frame, after placing the sockets and switches where it was intended.
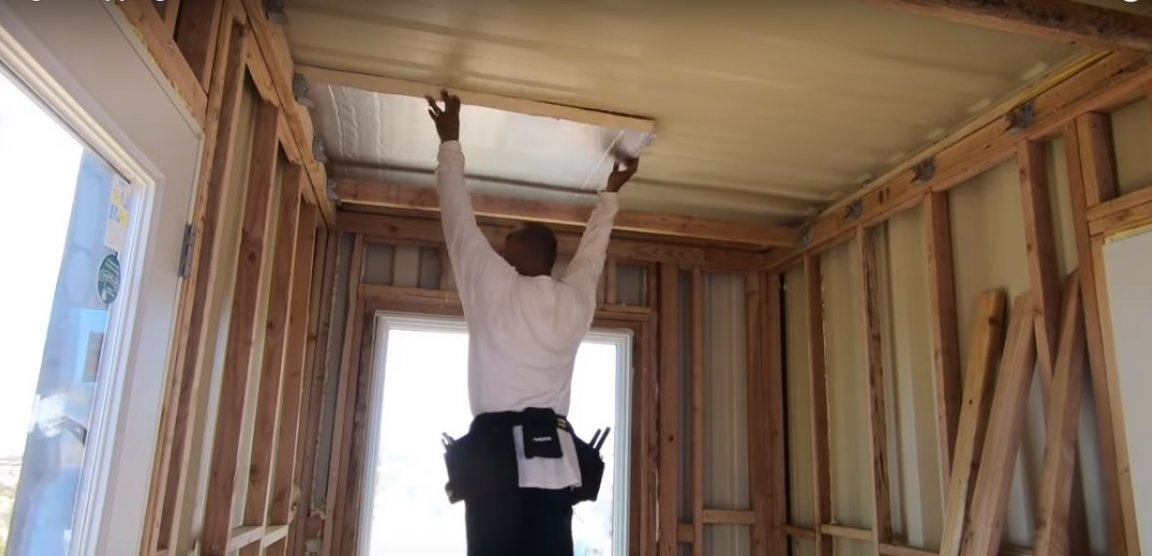
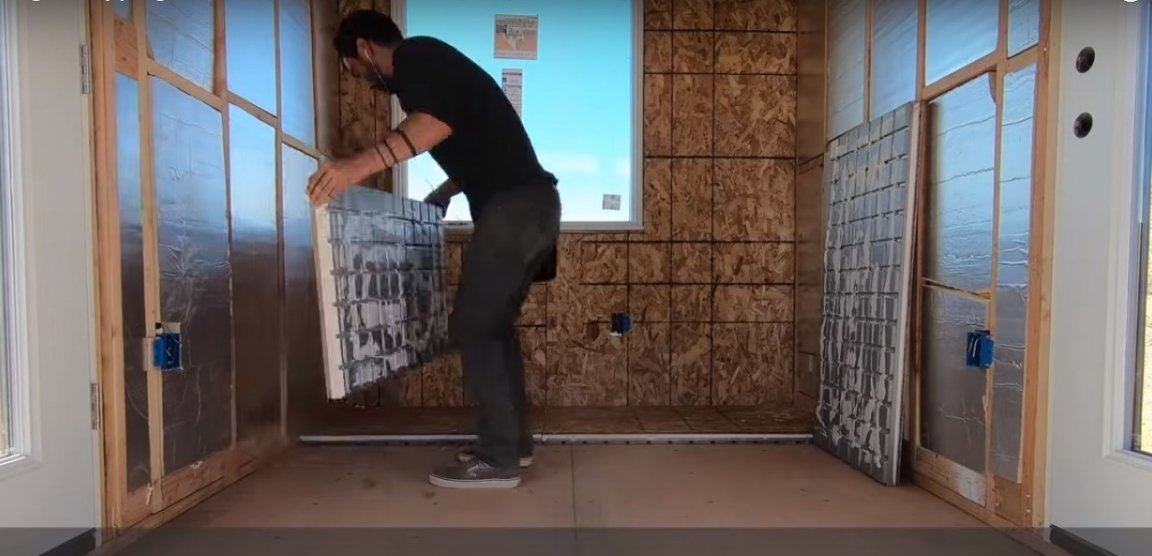
Heat-insulating mats with foil-filled inner side filled the space of the frame, taking into account also the space under the ceiling.
A special insulation with an external surface of wood-chip material was glued to the floor. The same material was glued to a wall with a window to minimize the effect of cold bridges. Since there was a window on this wall, this required the use of a large amount of wood compared to the area of the insulation. Therefore, they decided that an extra layer of insulation would not hurt.
Step Four: Work in a Second 40ft Container
If the first large container was intended for permanent residence, then the second container was to become an office and part-time workshop.
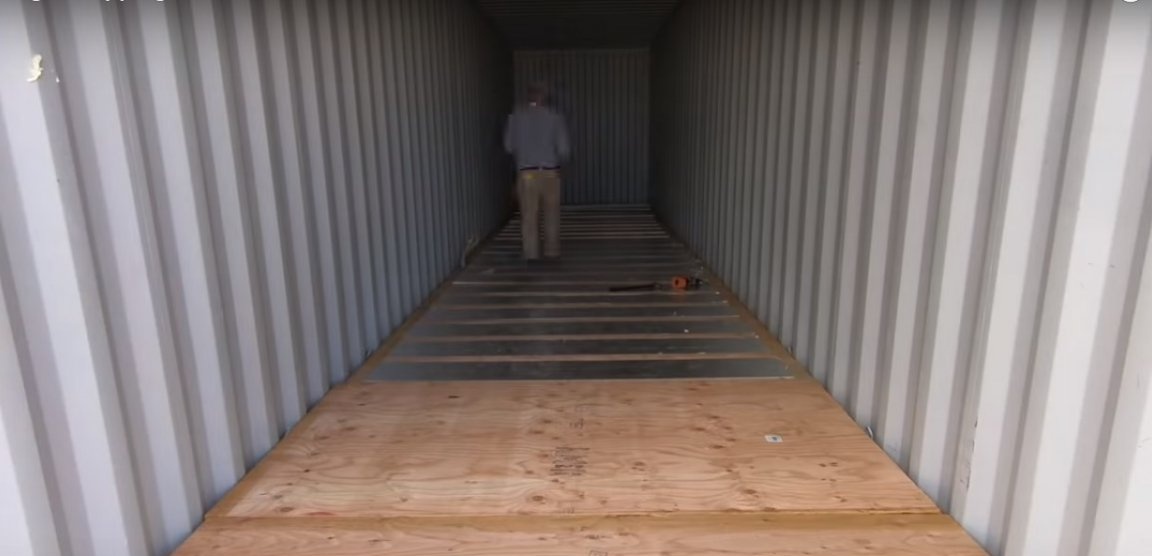
Work on the thermal insulation of the floor took place here on a slightly different principle. A wooden frame was mounted on the floor, it was filled with foil insulation, and sewn with plywood on top. This is a draft floor on which you can mount the finish floor covering, starting from wooden boards, ending with ceramic tiles.
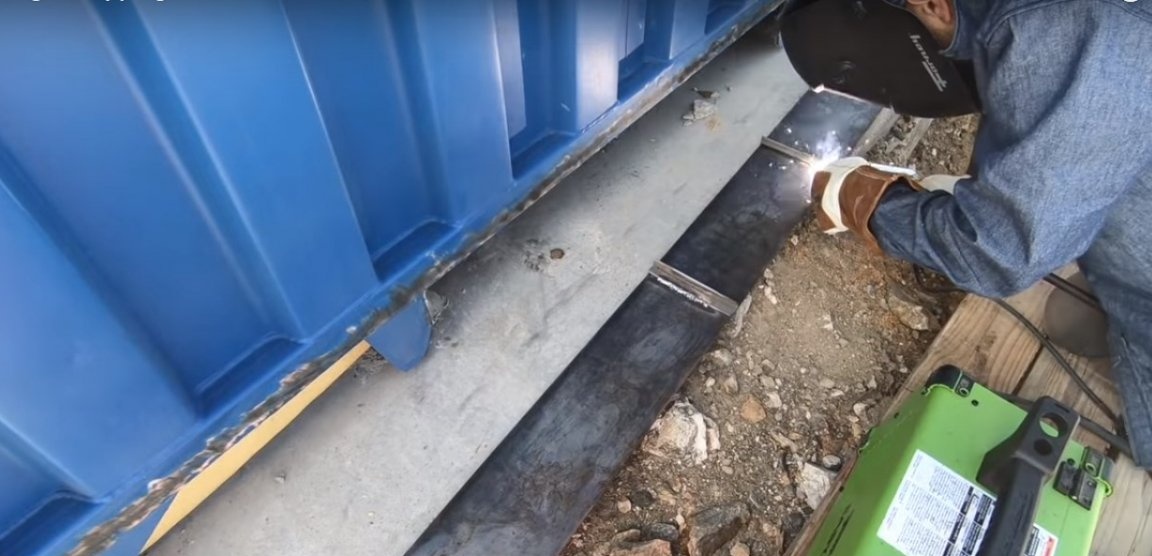
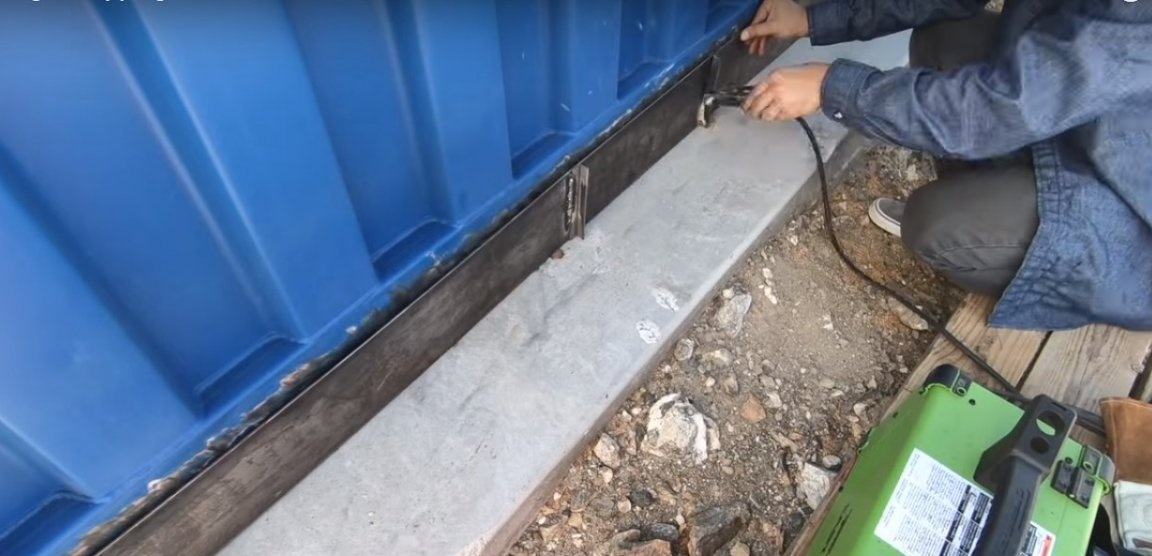
Step Five: Open Base Processing
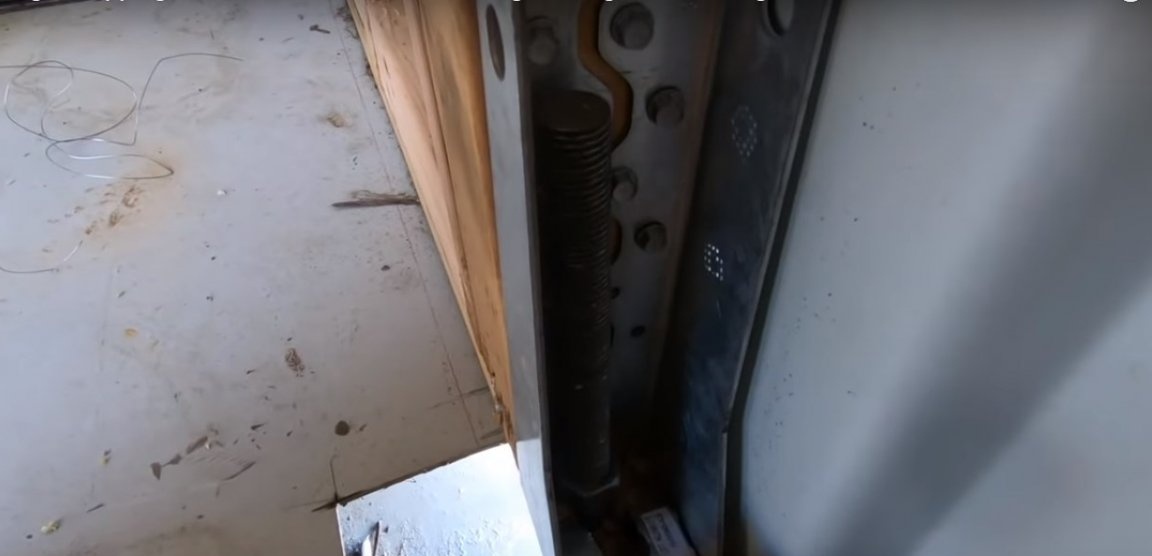
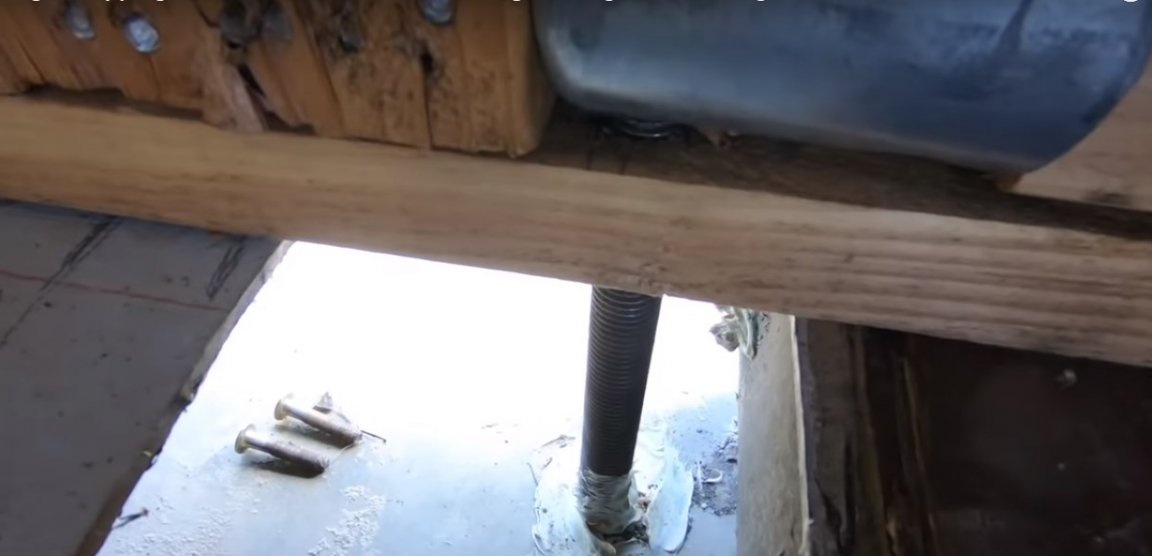
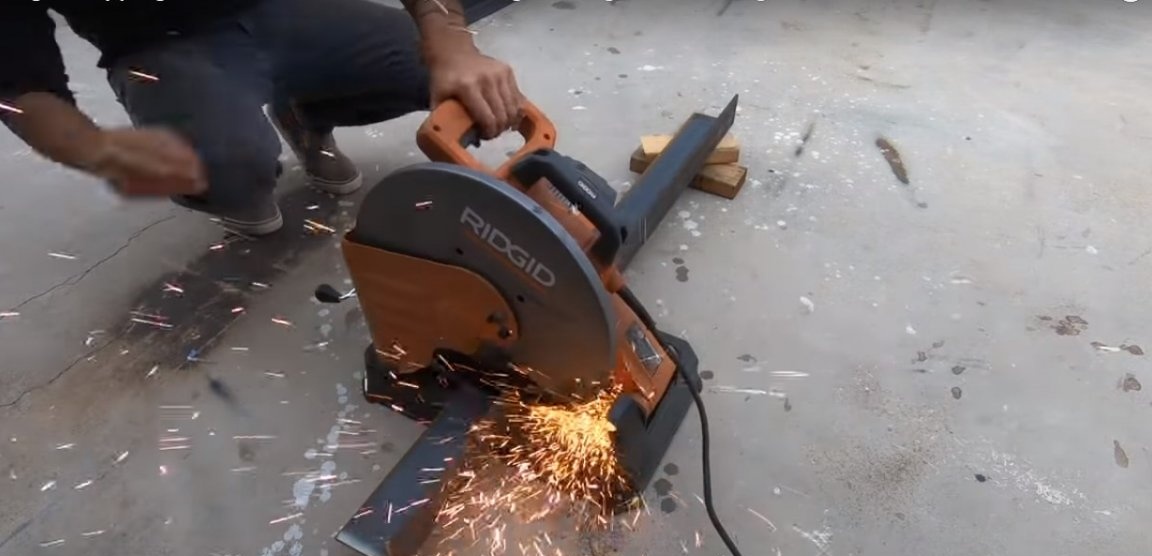
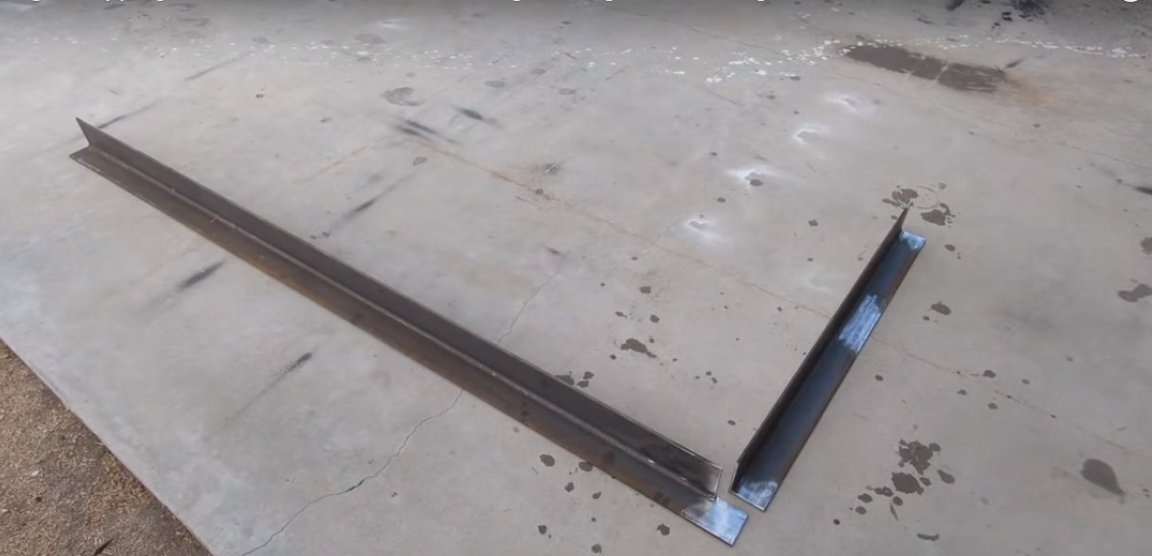
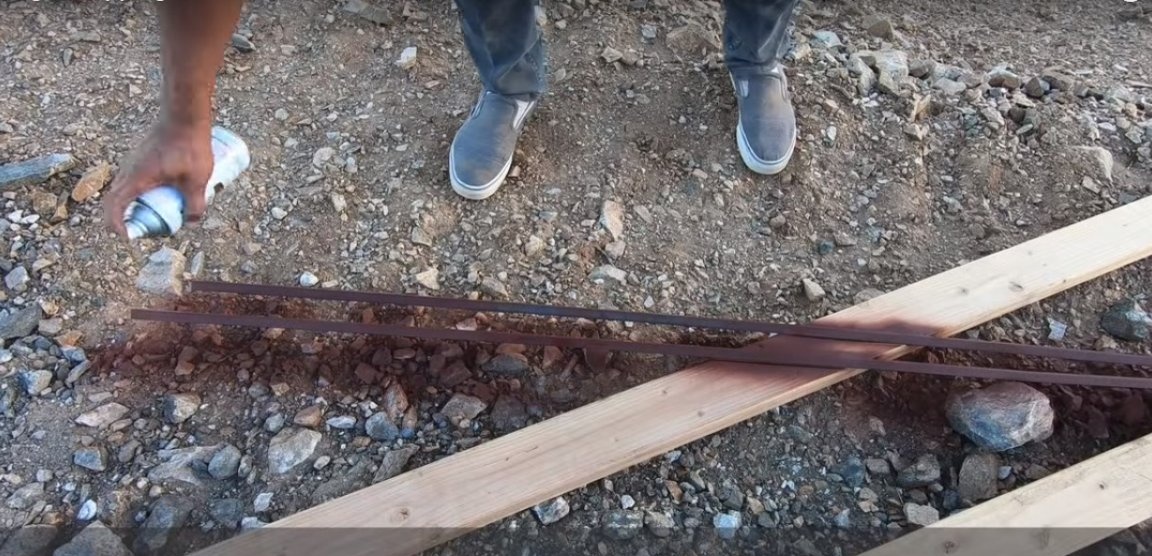
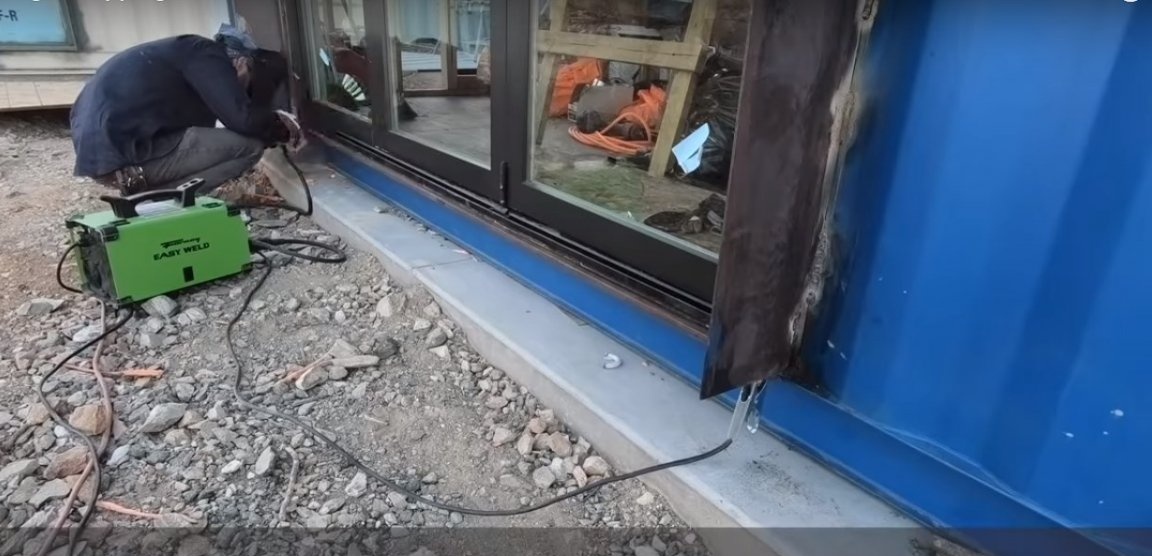
After the container is installed, an open area remains between its bottom and the foundation plane. Since the floor insulation is mounted directly on the foundation in the first two containers, this gap must be closed. To do this, metal plates were used, which were welded down to a previously cleaned area from the paint.
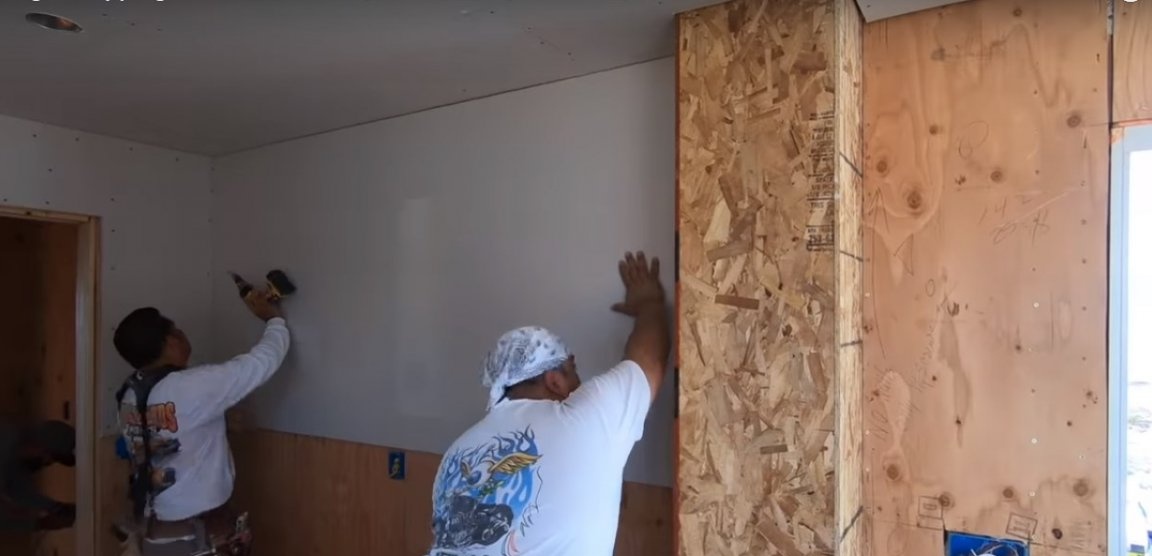
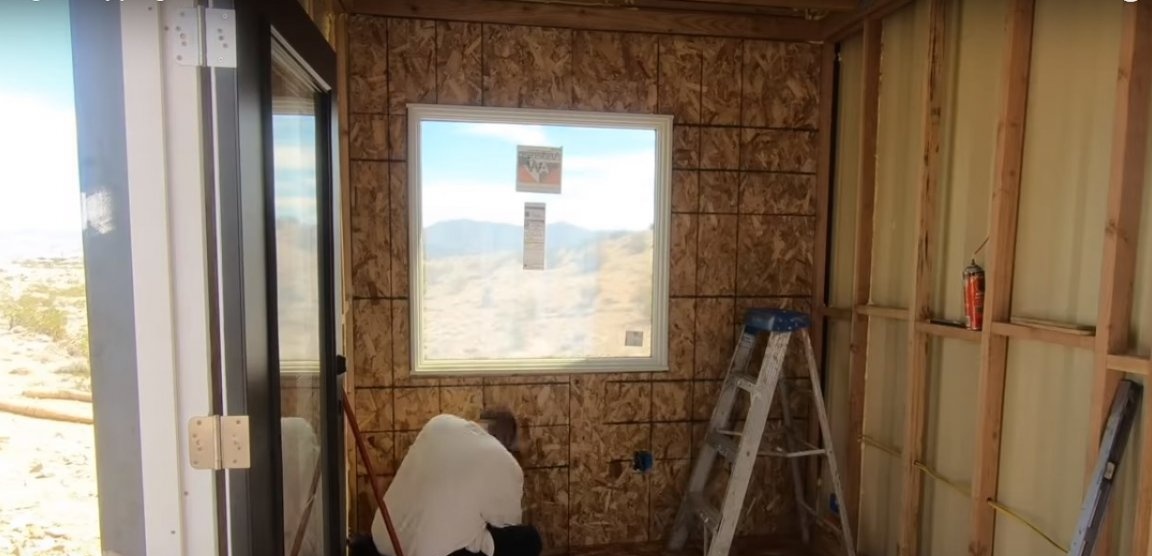
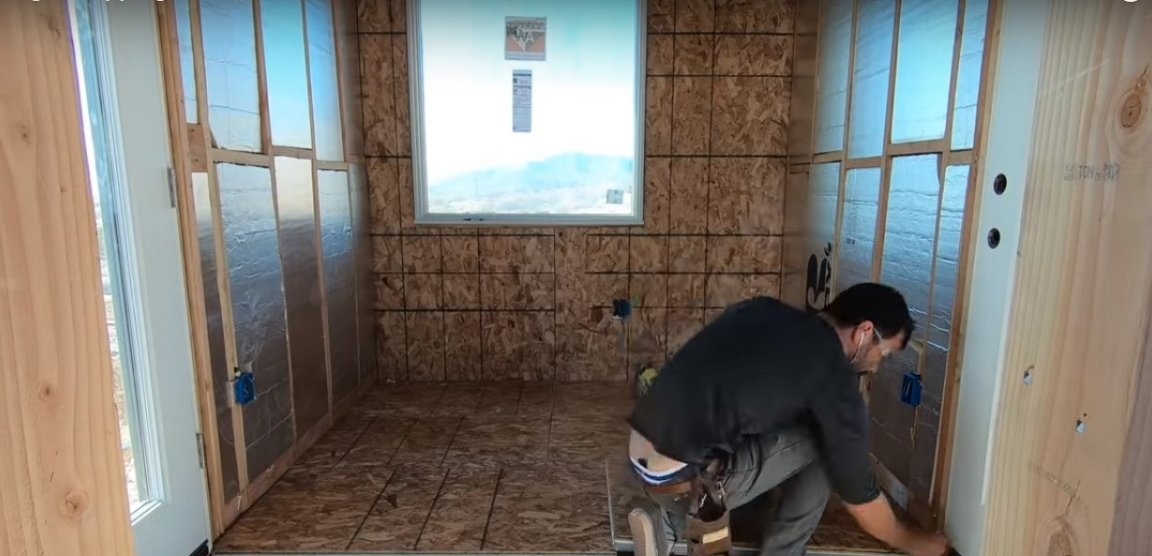
Step Six: Rough and Finish Wall Cladding
This project provides rough wall cladding. There are several reasons for this. Firstly, the room has a very modest width - only 2.5 m. Since plasterboard will be used as the finishing cladding, it took a base on which it can be mounted. In this case, the metal profile is not suitable - there is so little space. And using plywood, you can immediately kill two birds with one stone: to level the surface and prepare the base on which you can quickly mount drywall, without worrying about joining the joints and aligning it in a plane.
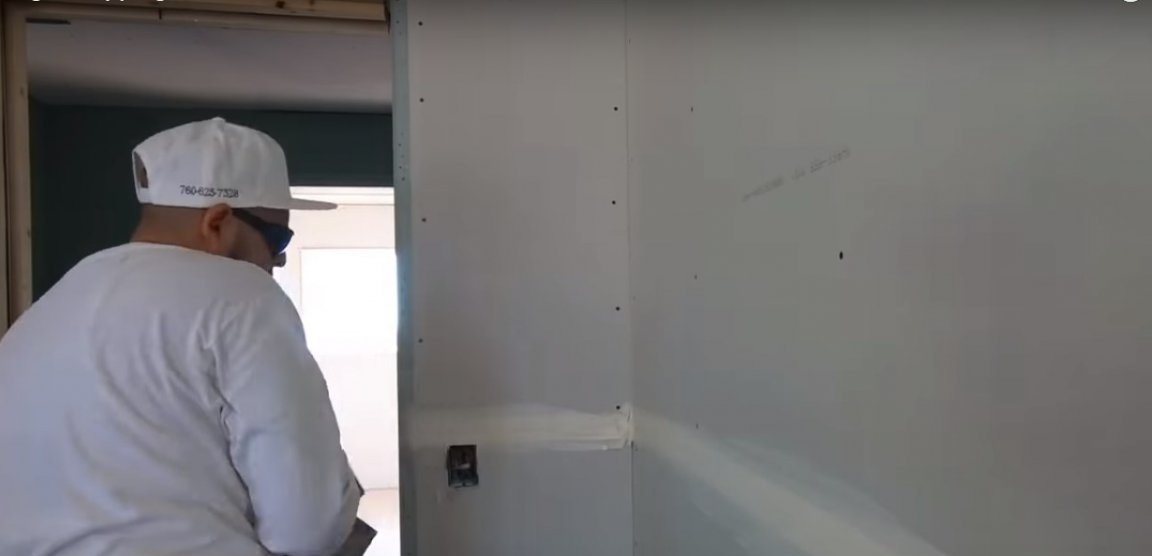
The seams between the sheets of drywall previously plastered. Then the walls and ceiling were plastered with a finish gypsum mortar.
Such a basic redecoration will allow the owner of the house to decorate at his own discretion, simply by painting the walls and choosing the type of flooring.