Wooden furniture can be sophisticated and elegant, with fairly simple shapes. In this case, you do not need milling equipment, and the product will be light, despite the use of natural wood. In a word, some pluses and not one minus.
This project is simple enough and suitable even for a beginner. As for materials, “non-standard” will fit in on its implementation, which is rarely used in the manufacture of furniture: slats and boards of small thickness up to 20 mm.
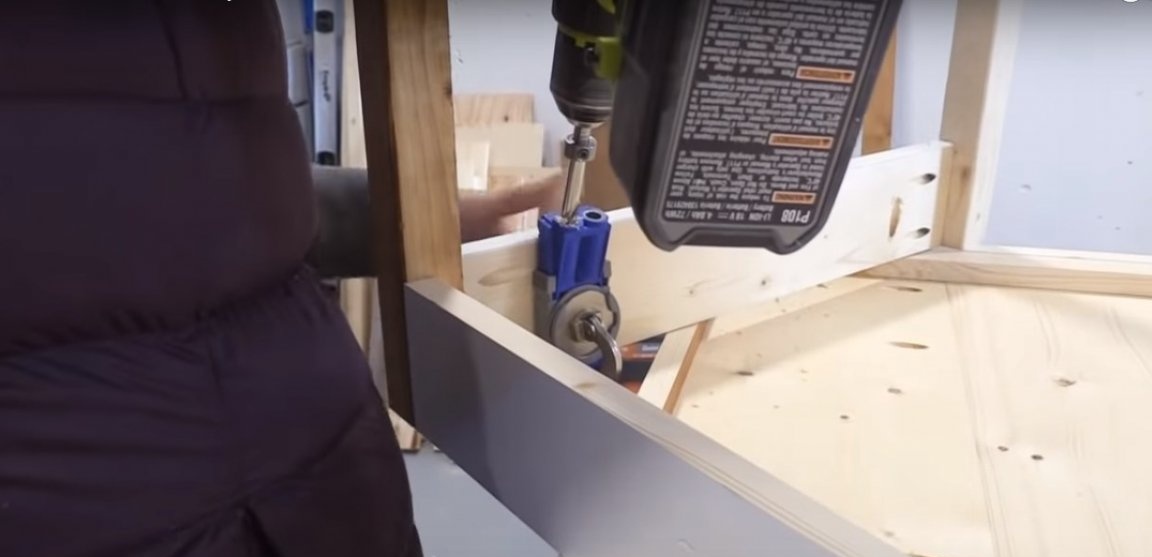
The author applies jointless connections of parts flush joint. To do this, she uses a special conductor to drill holes for screws or screws at a given angle. Glue gives the construction extra strength.
In order to do it yourself You will need to make a wooden office table:
Materials:
- slats with a cross section of 20x40 mm or 25x40 mm for the manufacture of legs, lintels and tabletop frames;
- a board with a thickness of not more than 20 - 25 mm for the upper trim and countertops;
- boards 15 - 20 mm for the manufacture of a drawer frame;
- a piece of plywood or chipboard for the bottom of the box;
- 1 or 2 handles for a box;
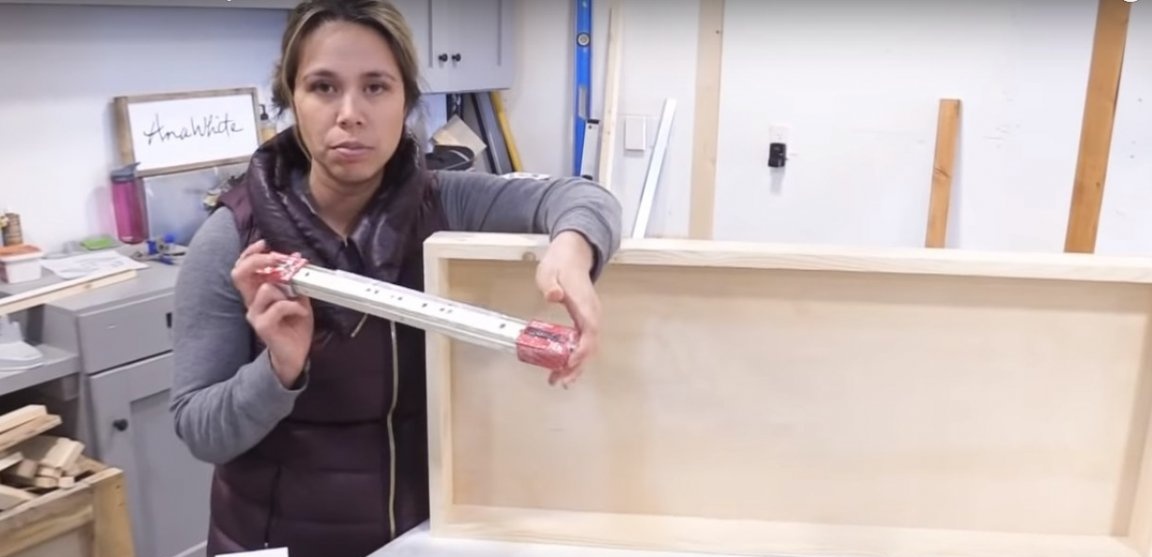
- sliding system for a box;
- Varathane Ebony Oil Stain or similar product;
- liquid wax for the finish coating of wood;
- screws or screws, nails.
Instruments:
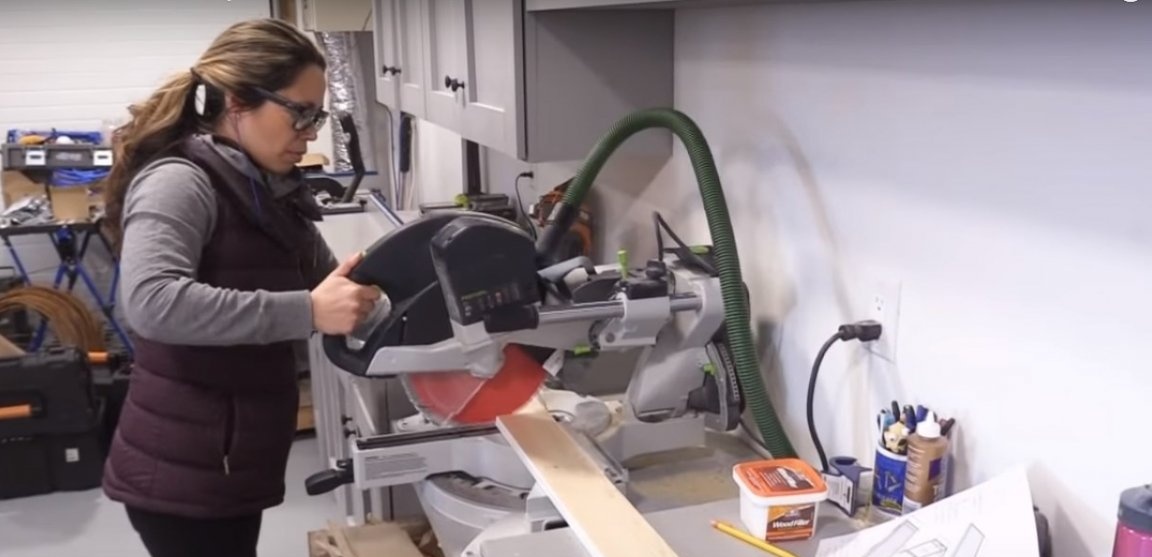
- Miter saw;
- grinder;
- electric drill;
- a conductor for drilling at a given angle;
- a hammer or air gun;
- sanding paper with a grain size of 220-240;
- clamps;
- square, construction tape, marker;
- a kitchen washcloth for stains or a paint roller, a lint-free cloth to remove excess stains.
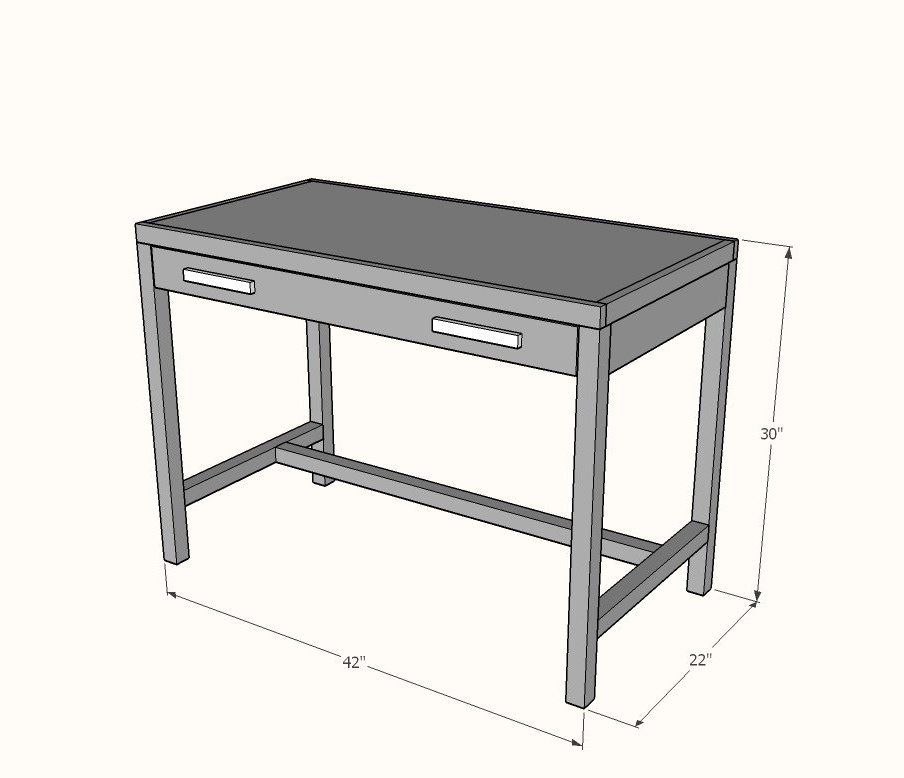
Step One: Material Preparation and Drawing
Make an approximate drawing of the product with the main dimensions of its elements and individual parts. Mark the parts and saw off all to the specified dimensions.
If you use old lumber, all of them should be planed to the same thickness. This will greatly simplify the fitting of the material while you get rid of the aged wood surface.
Grind the parts thoroughly with fine sandpaper, because after assembly it will not be easy to get to some areas with a grinder.
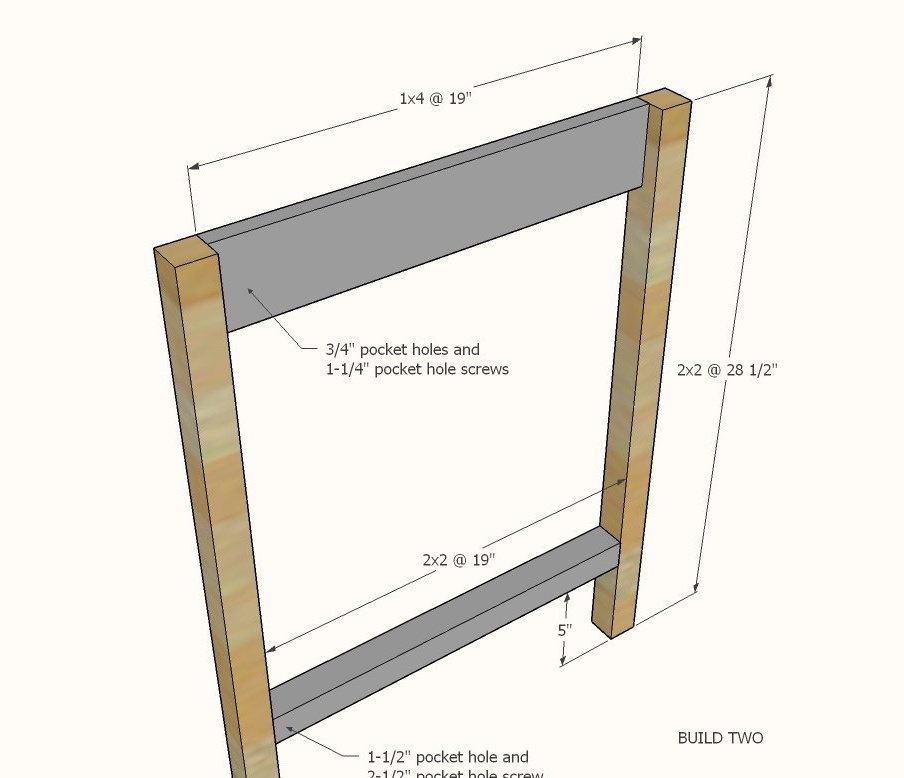
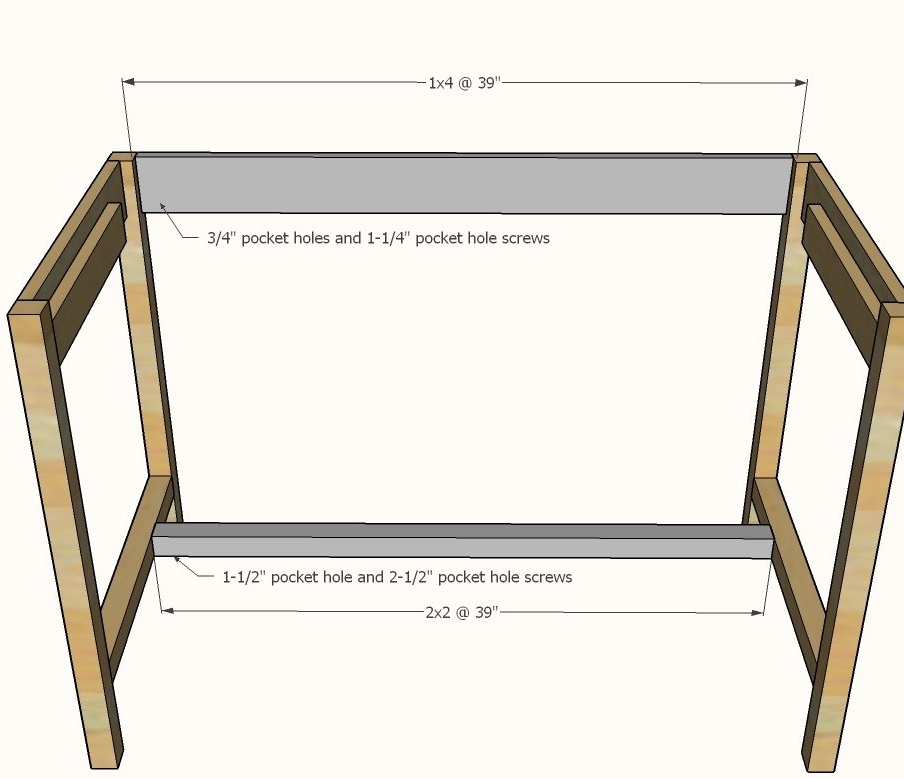


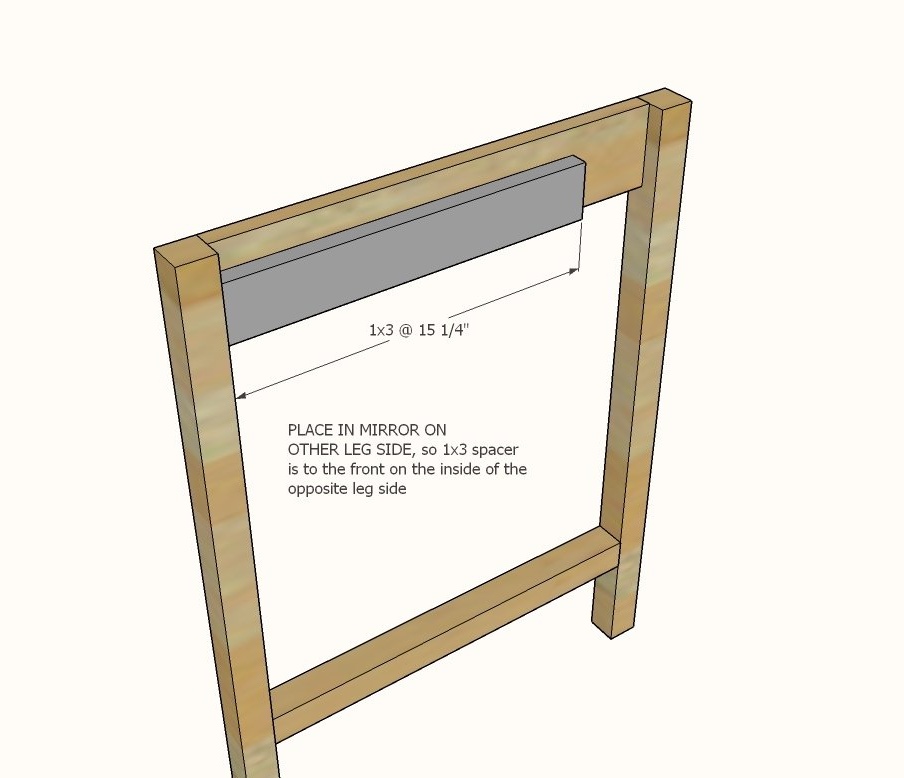

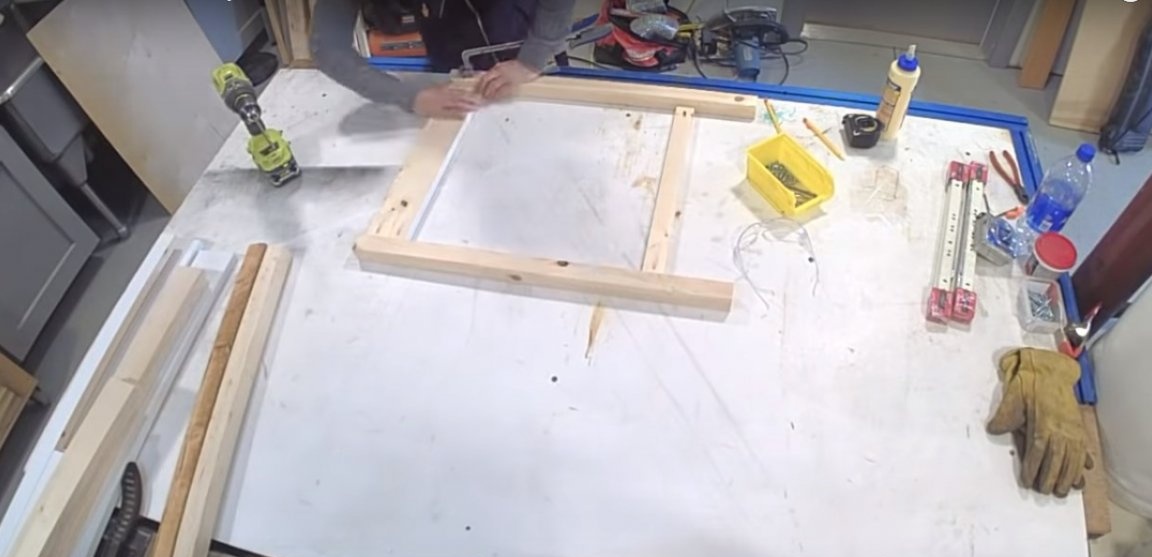
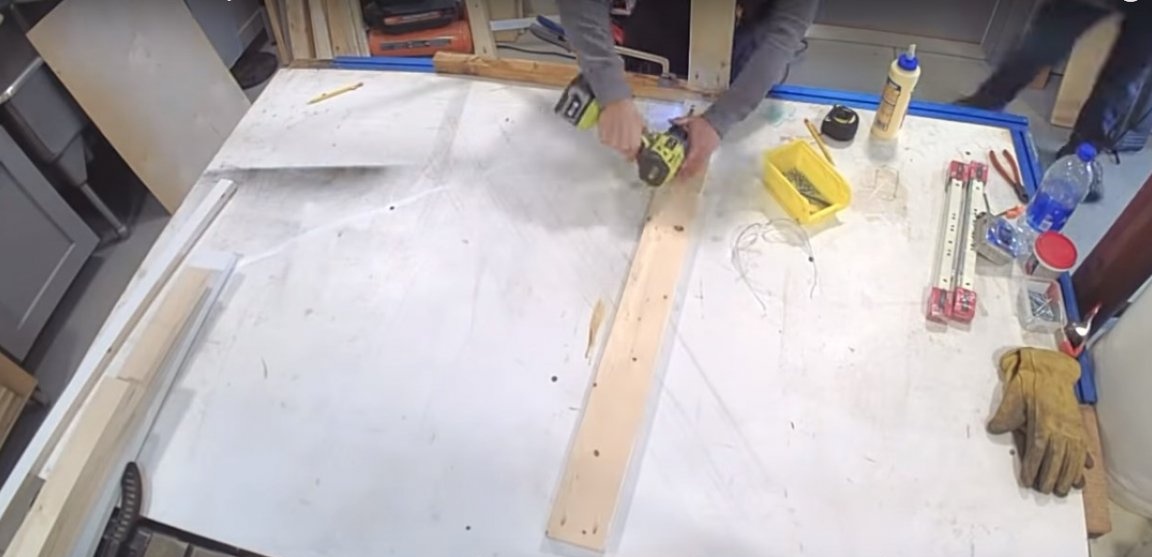
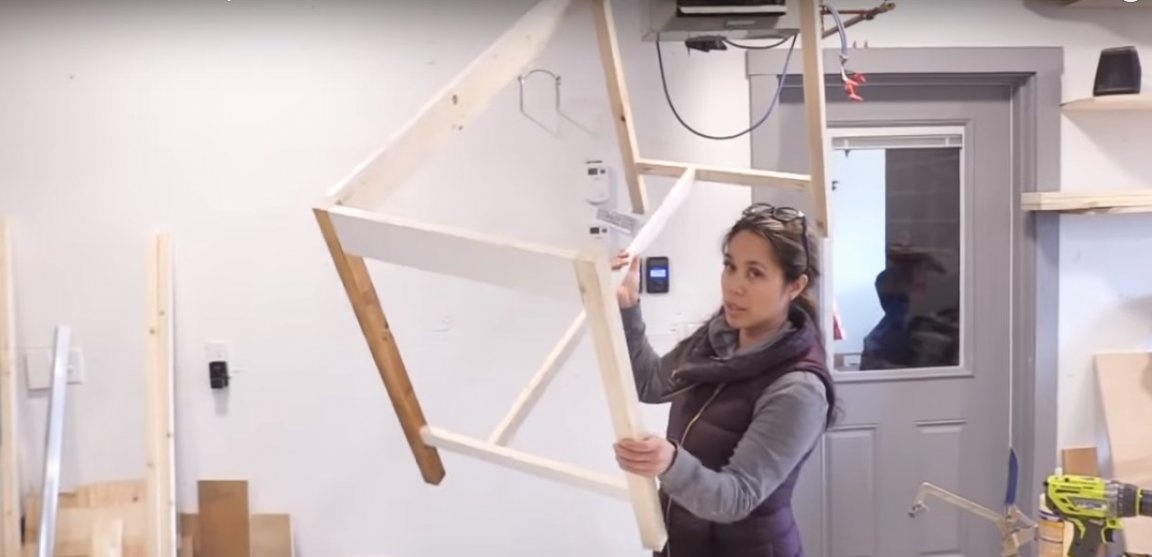
Step Two: Assembling the Table Frame
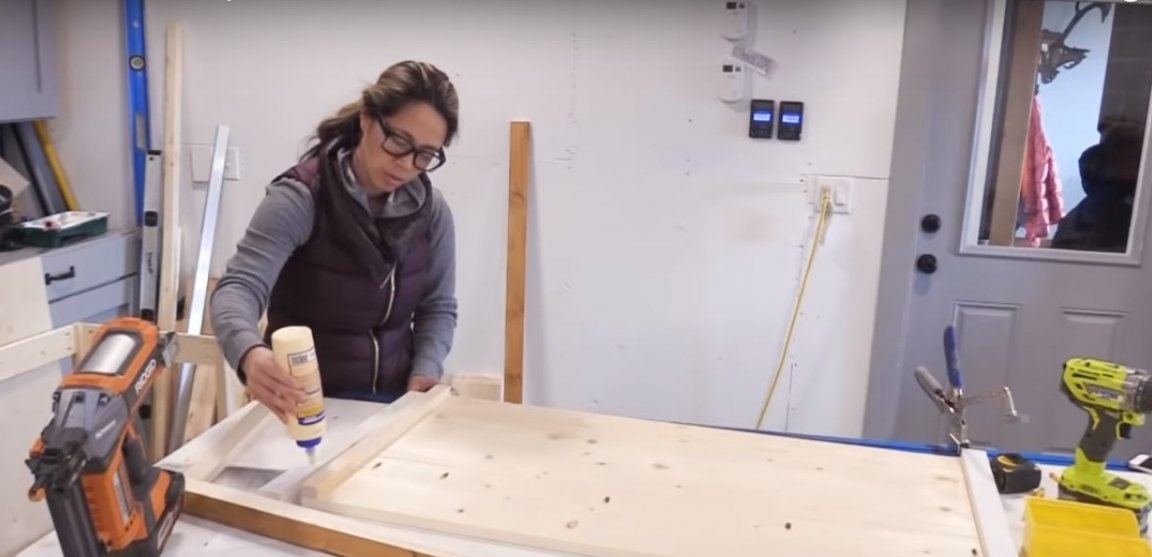
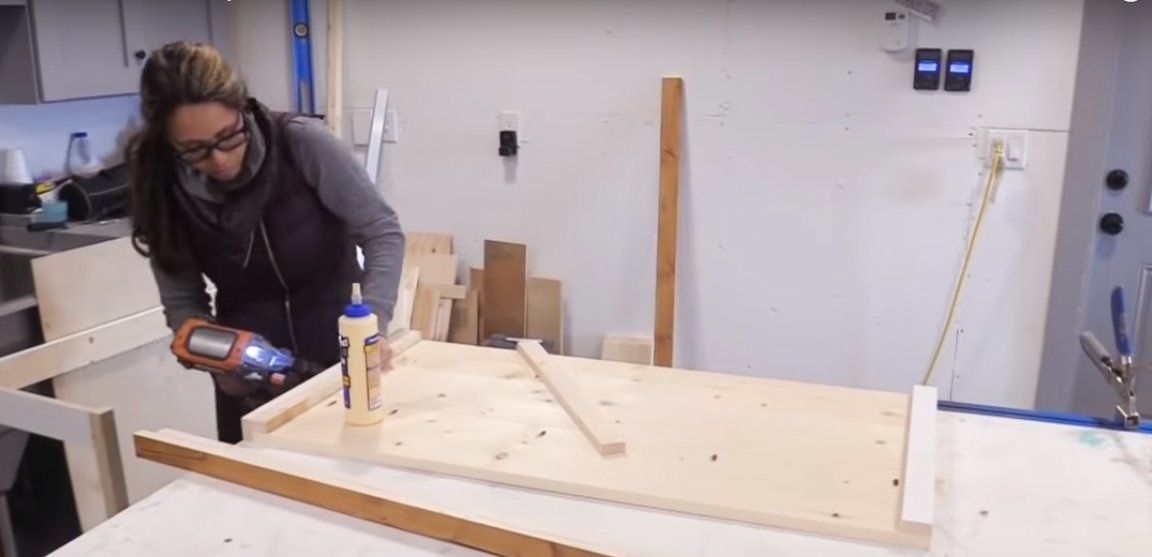
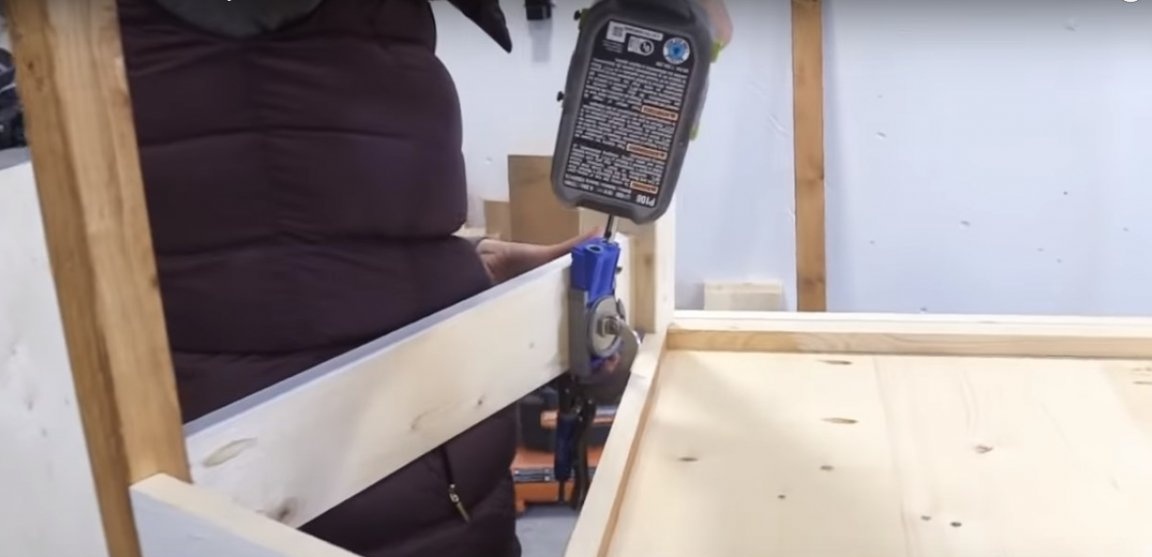
Start assembling the frame. To do this, connect the details of each of the sidewalls. To prevent the tree from cracking when screwing in screws or self-tapping screws, use a drill to make holes in the mountings.The author uses a special conductor for drilling holes at a given angle.
Use furniture glue during assembly. It will give the joints the necessary strength. Given the small cross-section of lumber, the glue will be very welcome.
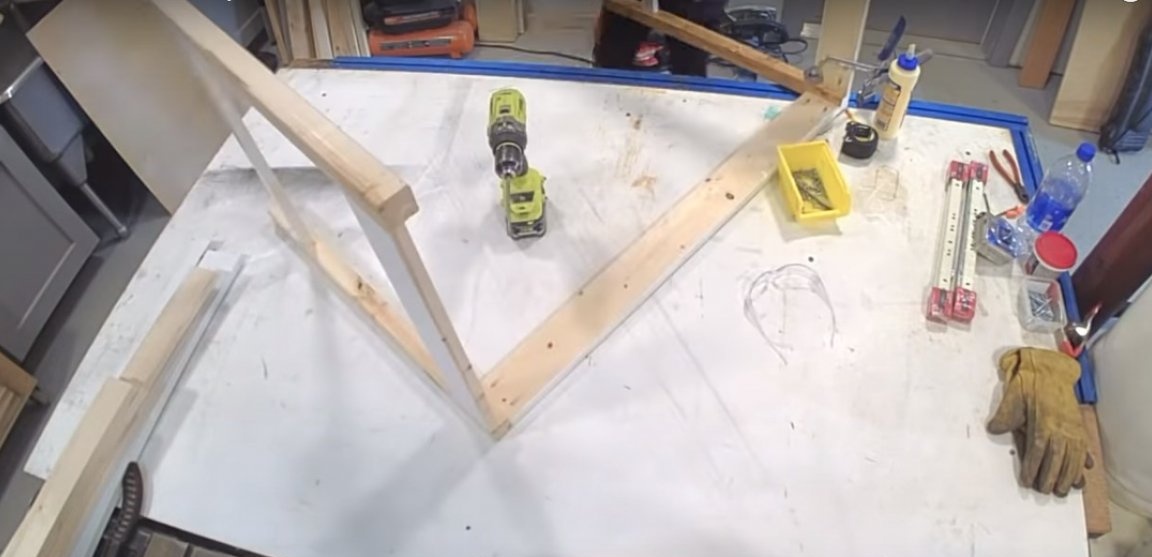
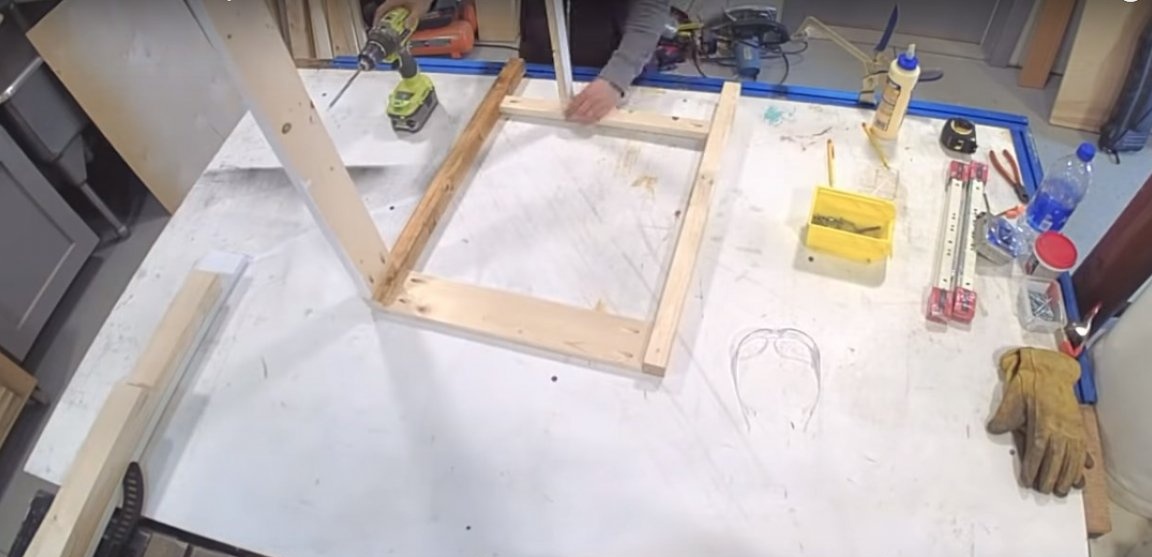
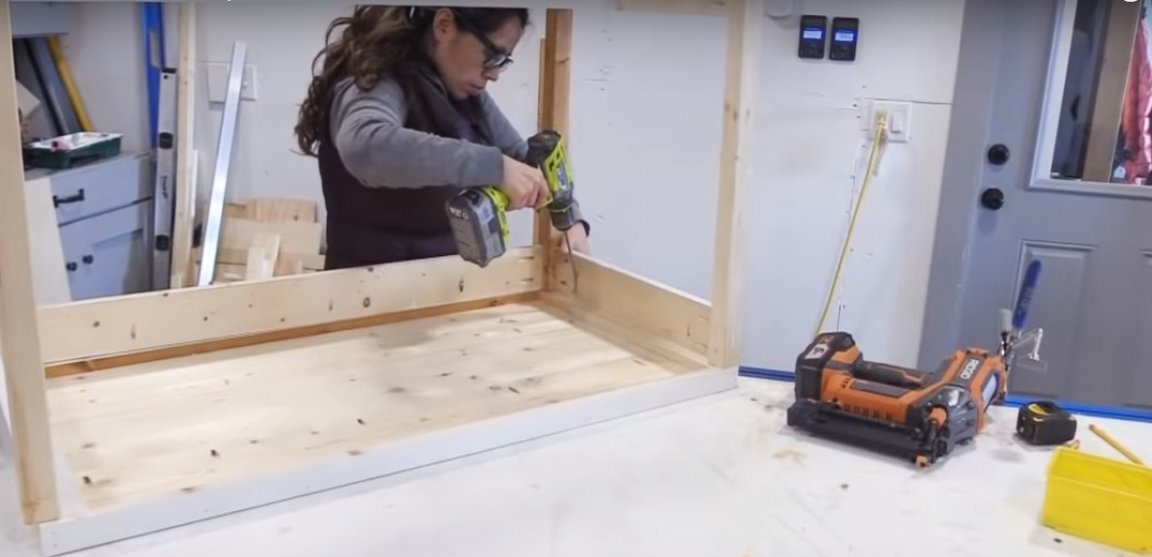
In the upper part of the sidewall, fix the base for the drawer sliding mechanism. Connect the side parts with the longitudinal part of the frame and the lower jumper.

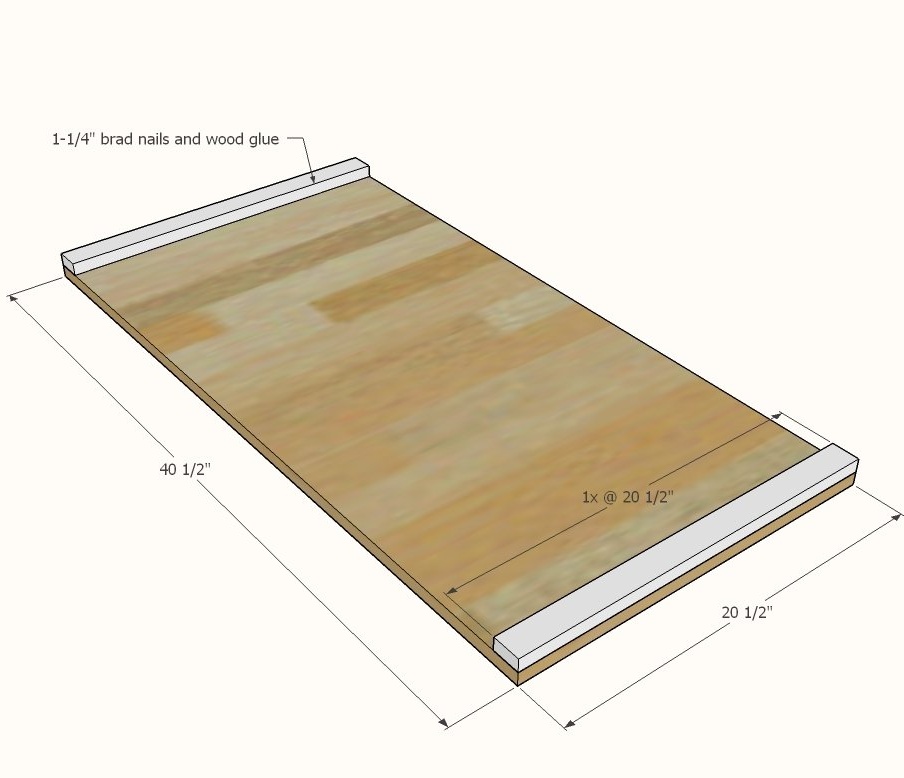
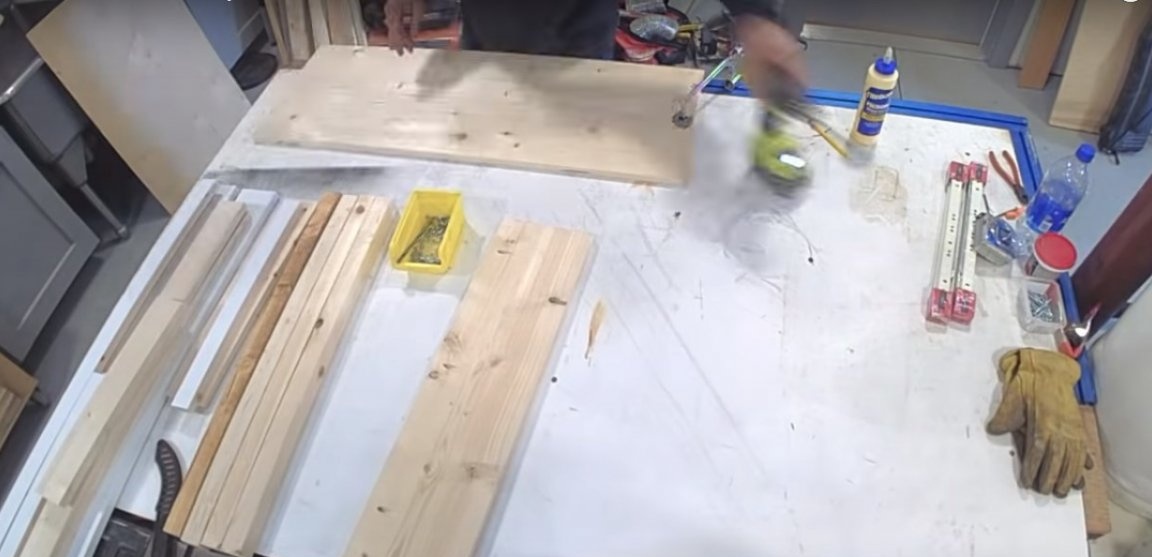
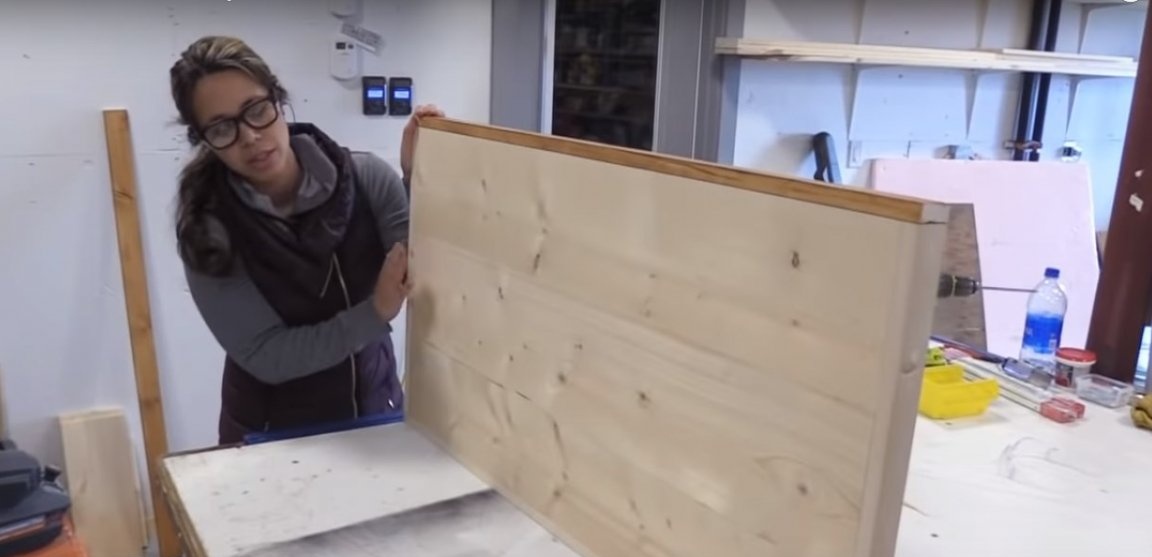
Step Three: Countertop Assembly
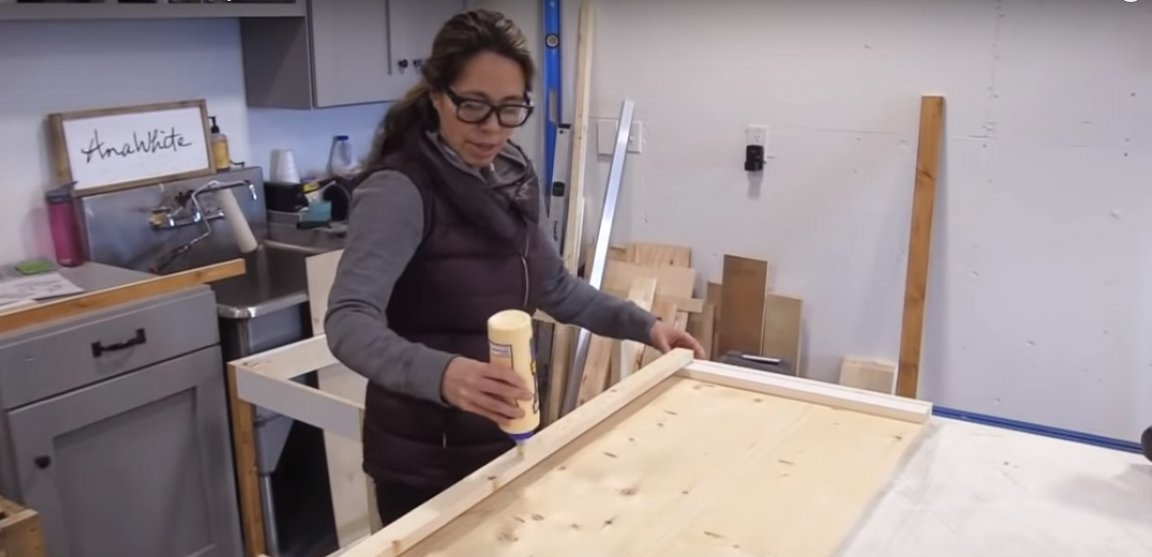
Connect carefully the boards of the countertops with glue, fix and place them in a vice until they are completely dry. Place a press on top.
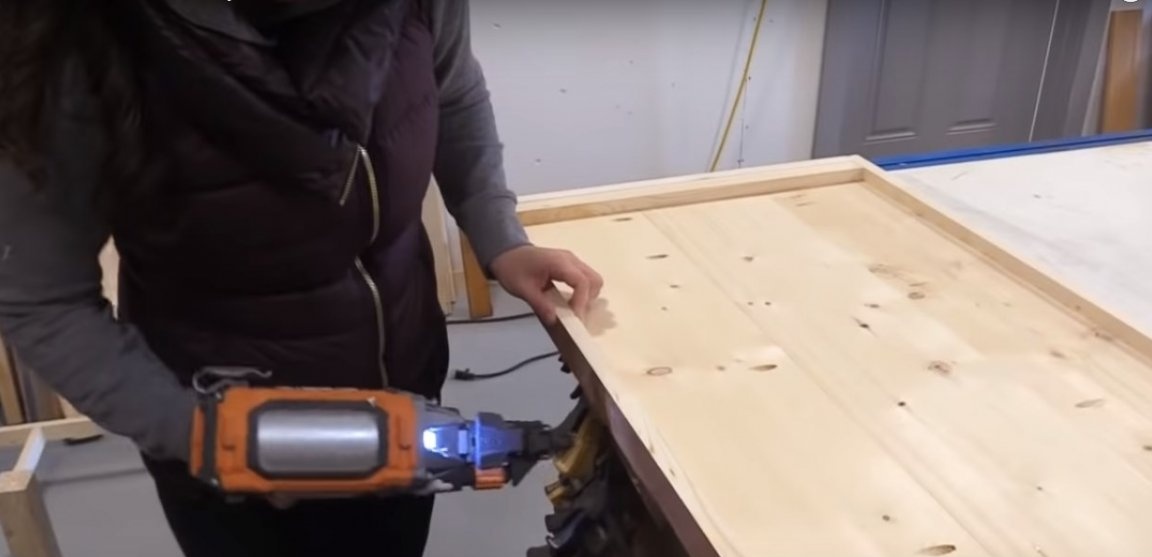
Fix the countertop in the frame as shown in the photo using nails.
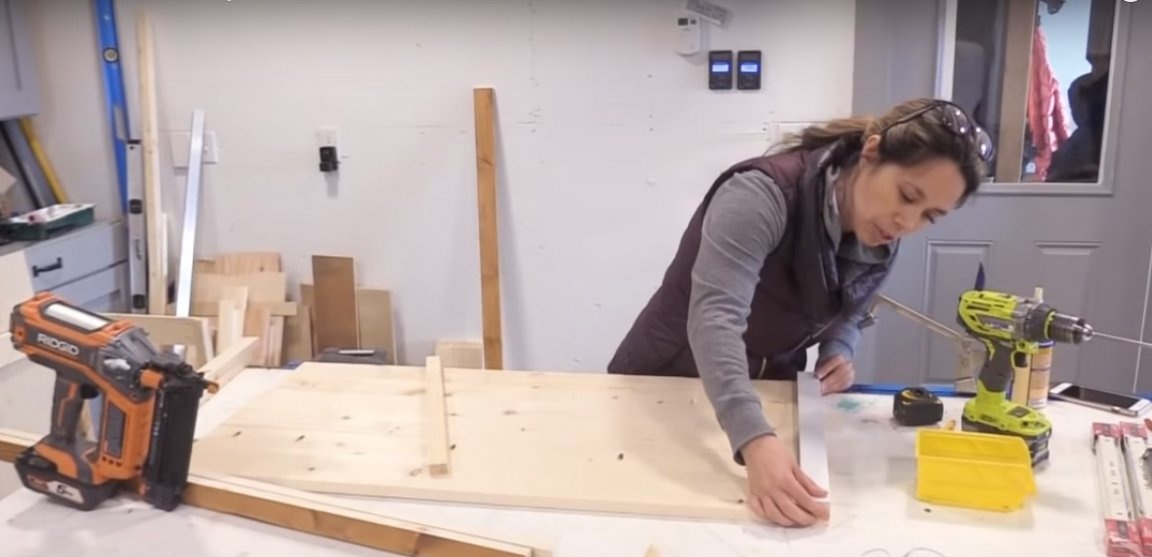
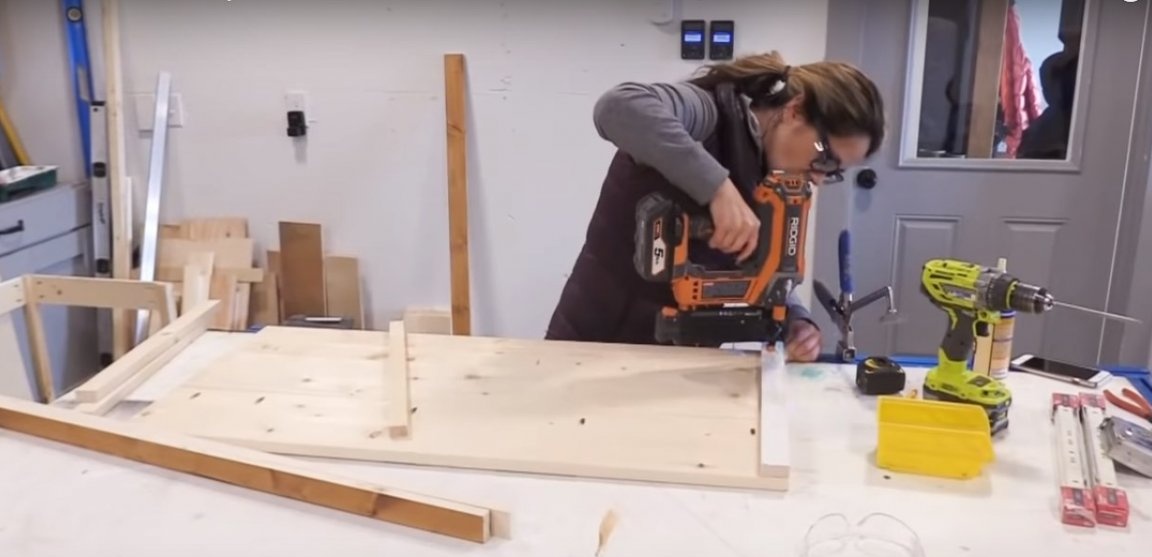
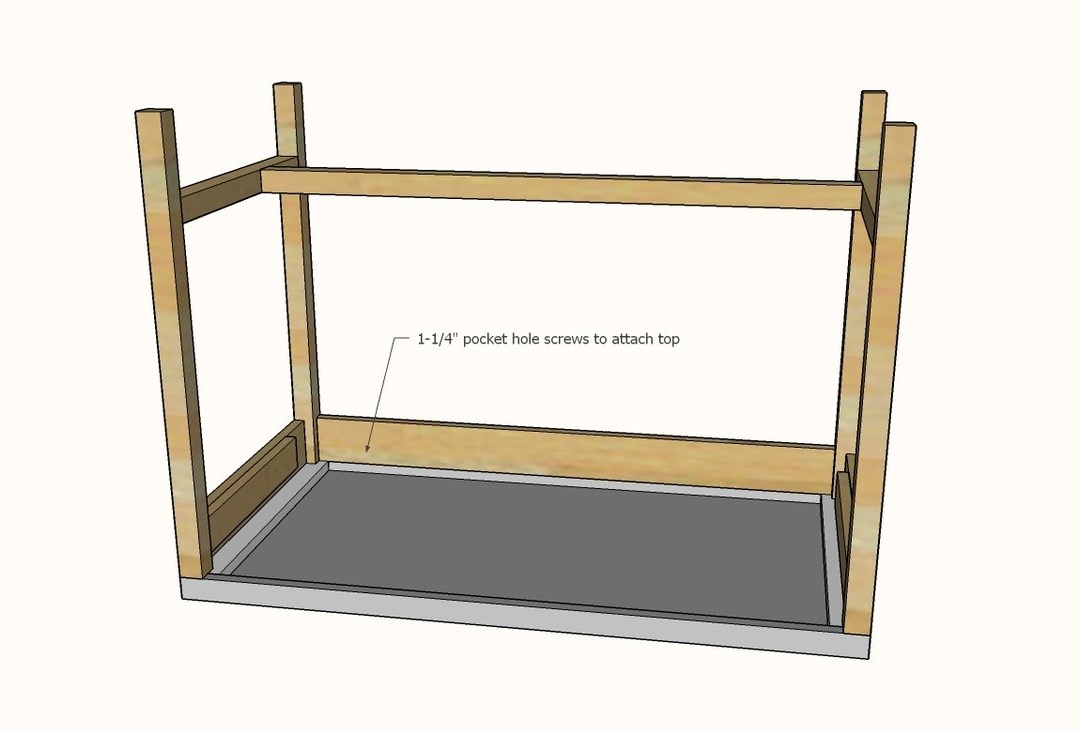
Step Four: Final Assembly
It remains to connect the frame of the table with the countertop. Here, the author also uses a conductor and a flush-to-flush joint. Thus, on the front side of the countertop, the attachment points will be invisible.
Apply glue, install the countertop and carefully check the connection geometry. Fix everything with self-tapping screws.
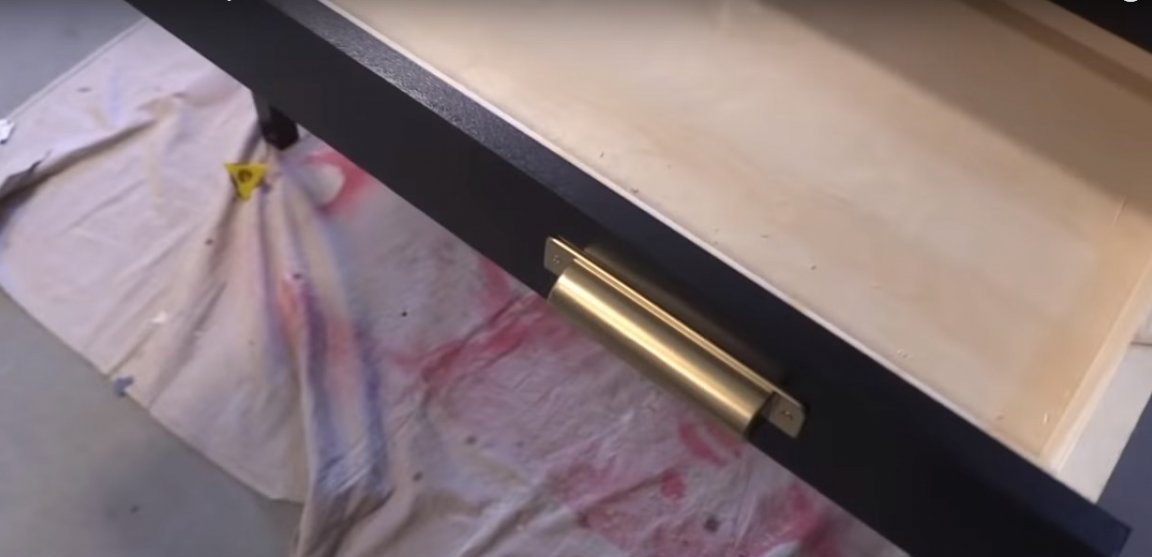
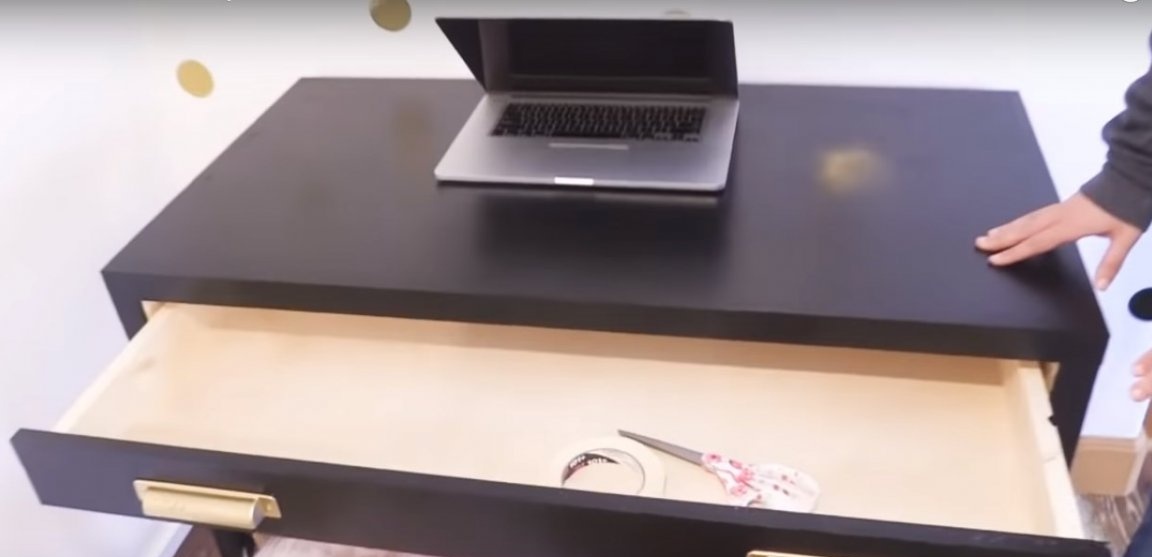
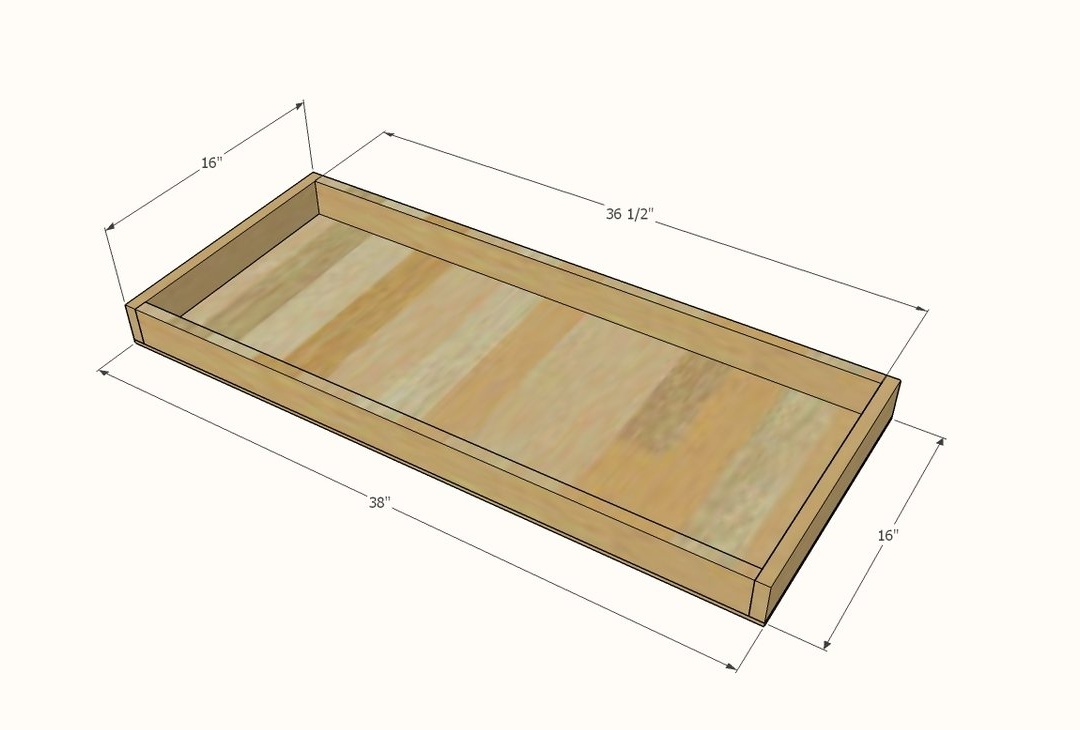
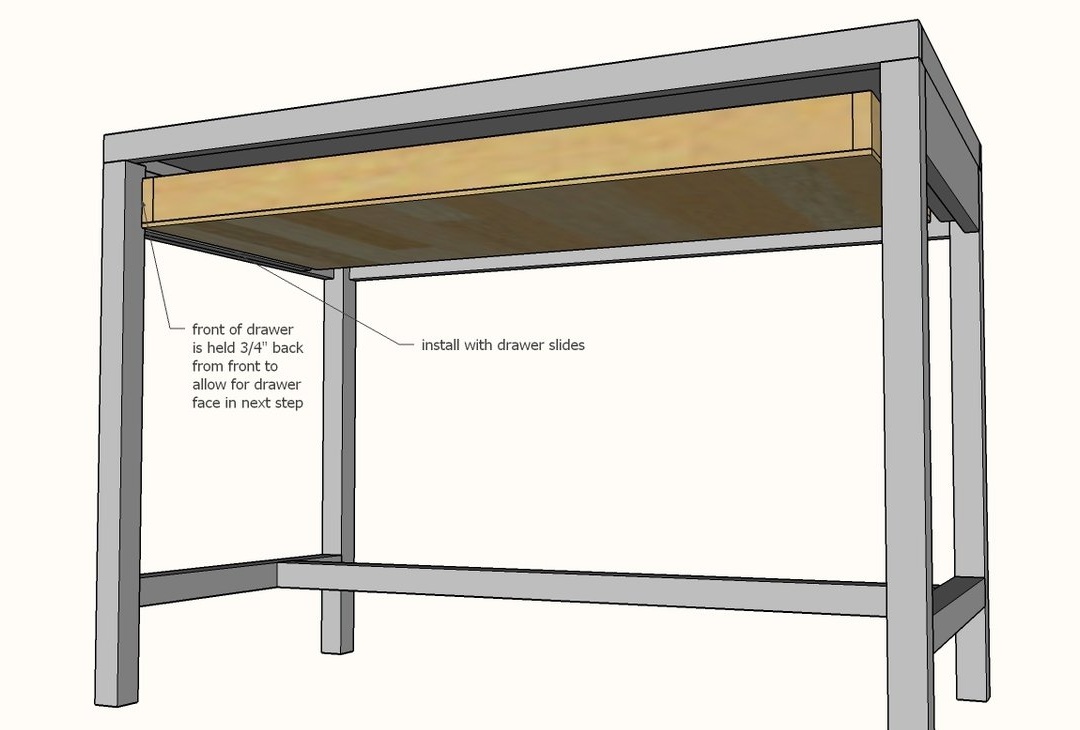
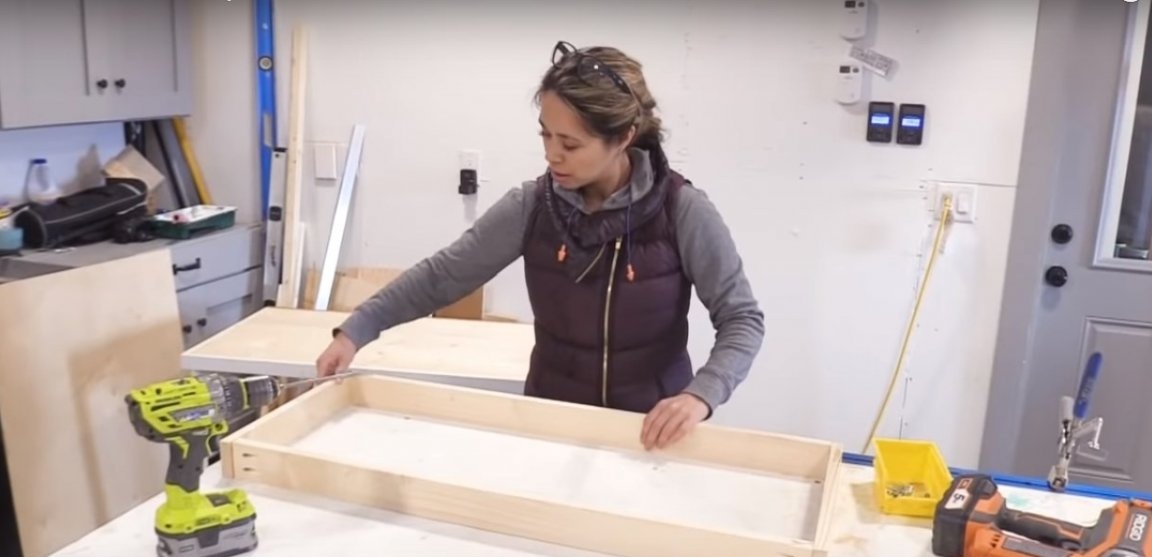
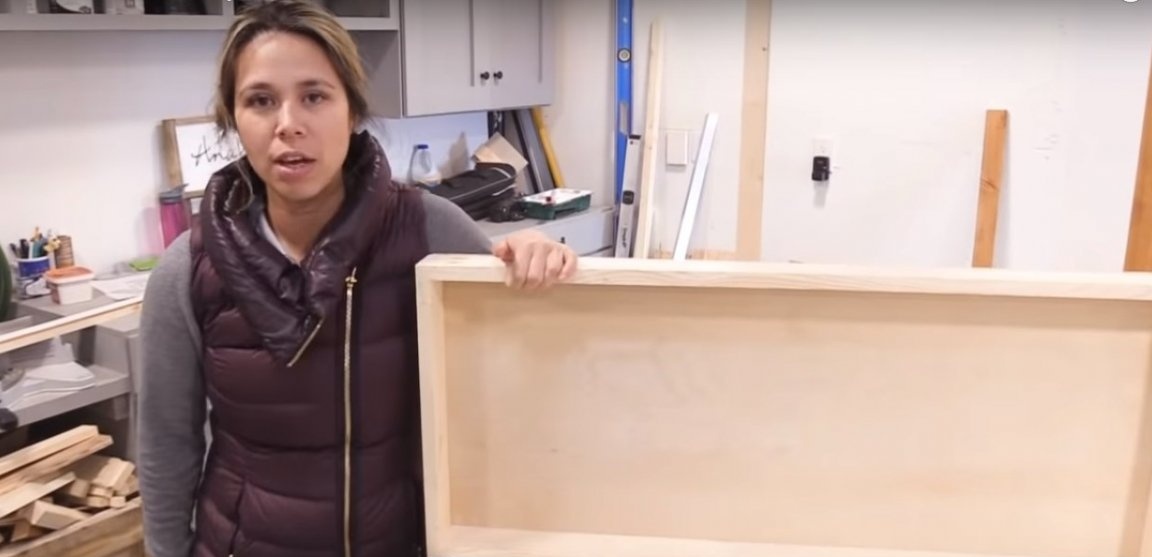
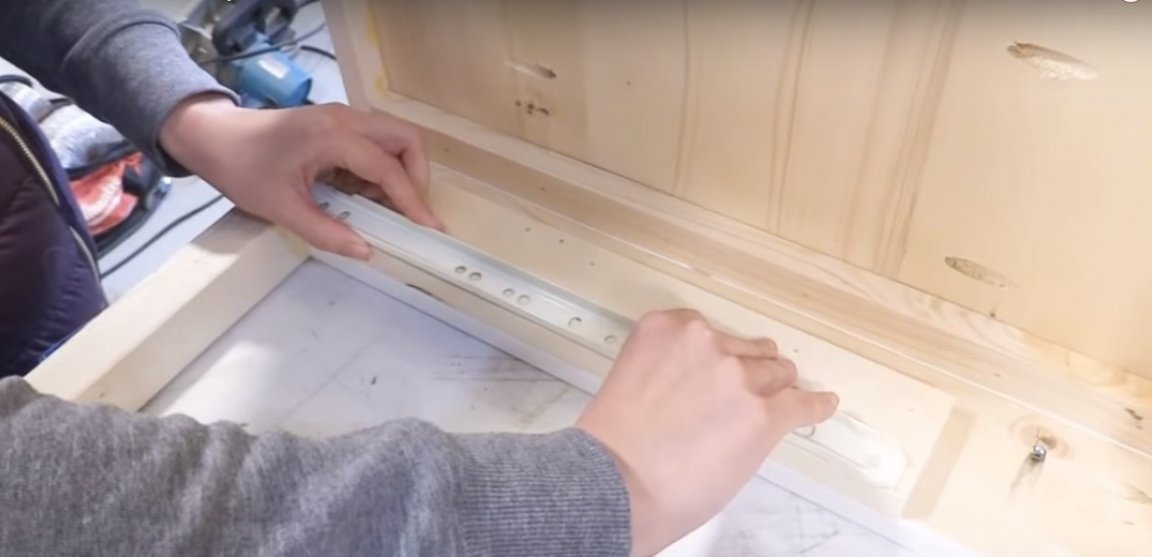
Step Five: drawer manufacturing and installation of a drawer system
Using glue and screws, assemble the drawer frame. Cut a piece of plywood at the bottom of the drawer. Lay out the parts from plywood using a building square. Place the bottom of the drawer on its frame and align the corners. If the frame is assembled correctly, the vertices of the corners on it should coincide with the corners on the part made of plywood. Fasten the bottom with glue and nails.
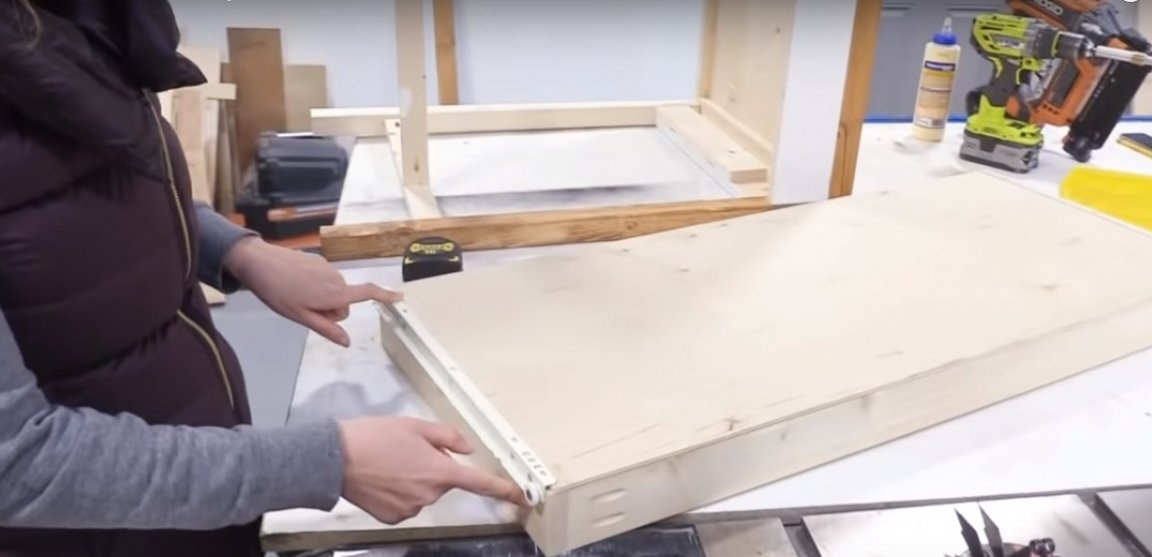
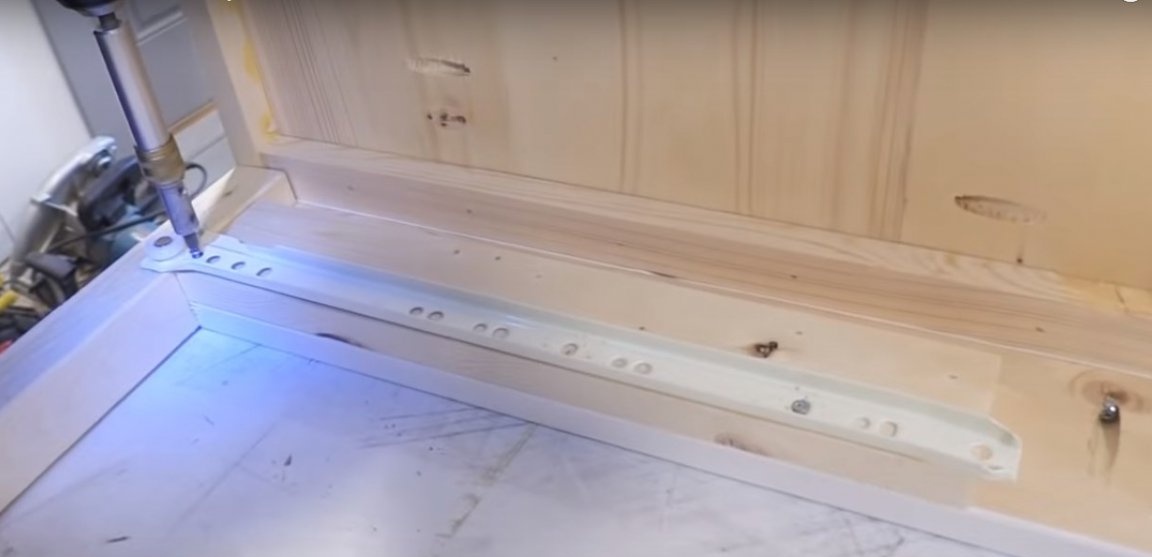
Install the sliding fittings using small self-tapping screws. Put the box in the box and check for smooth running.
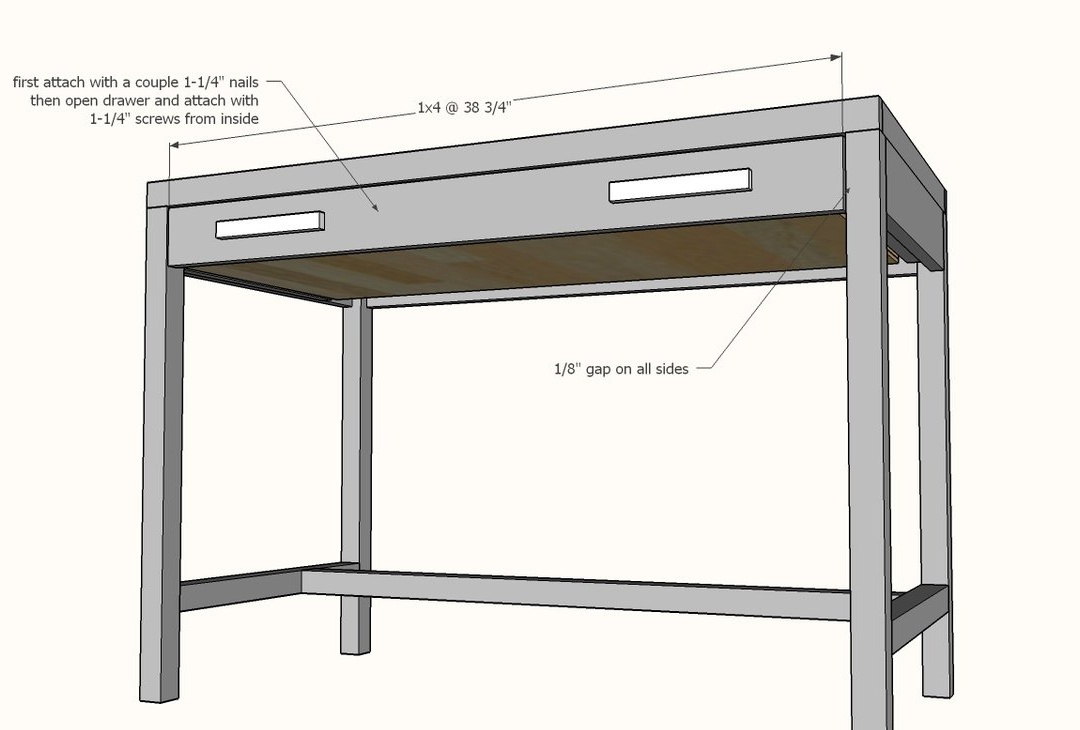
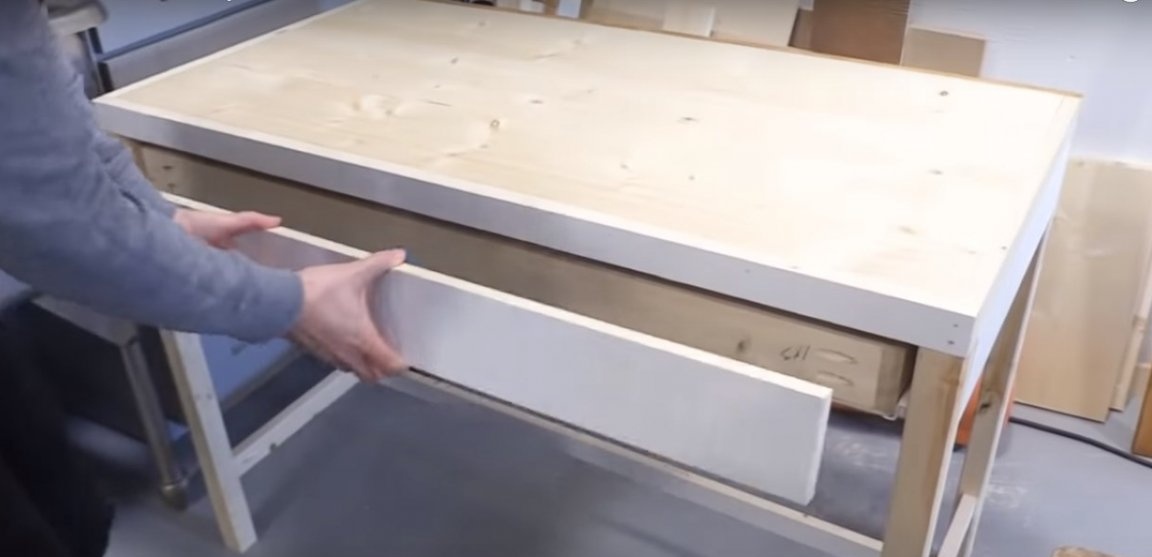
Slide the drawer and secure the facade in the closed position.

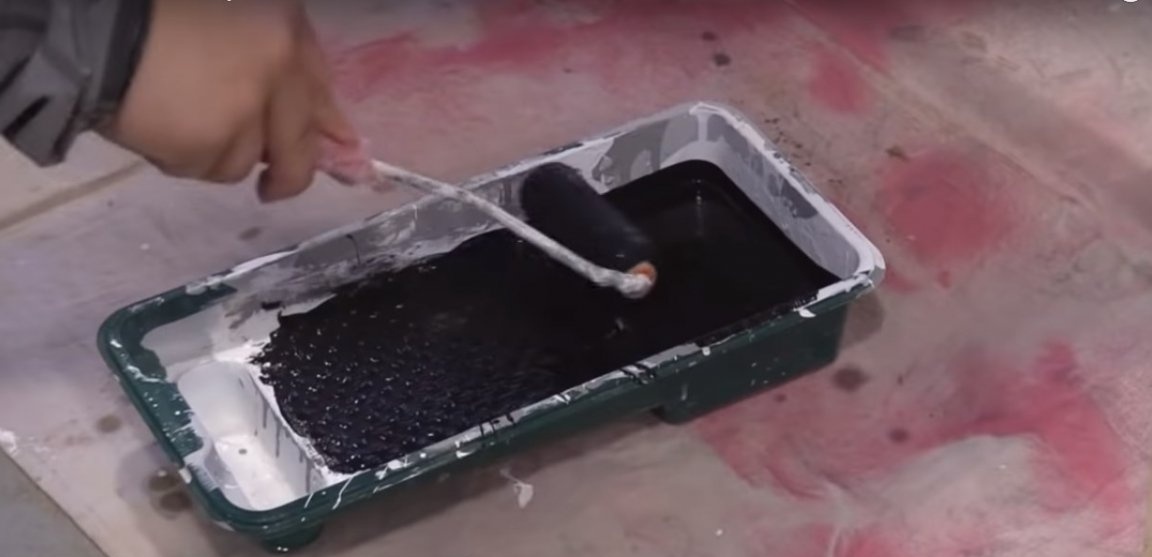
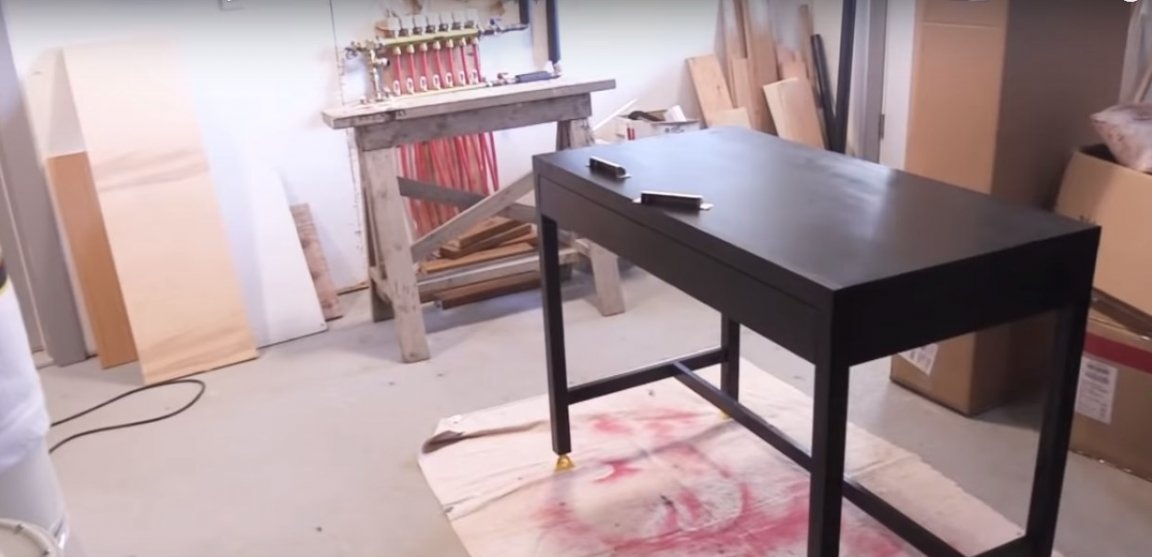
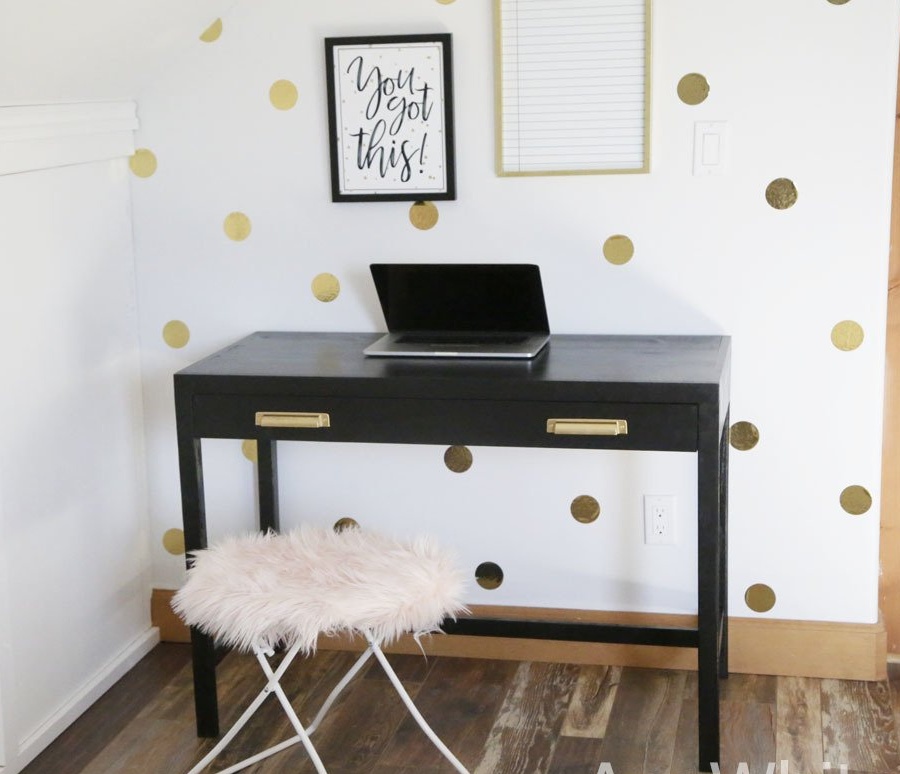
Step Six: painting a wooden table
The author uses an oil stain Ebony. This tone gives a very dense coating of saturated color, so one layer will be quite enough.
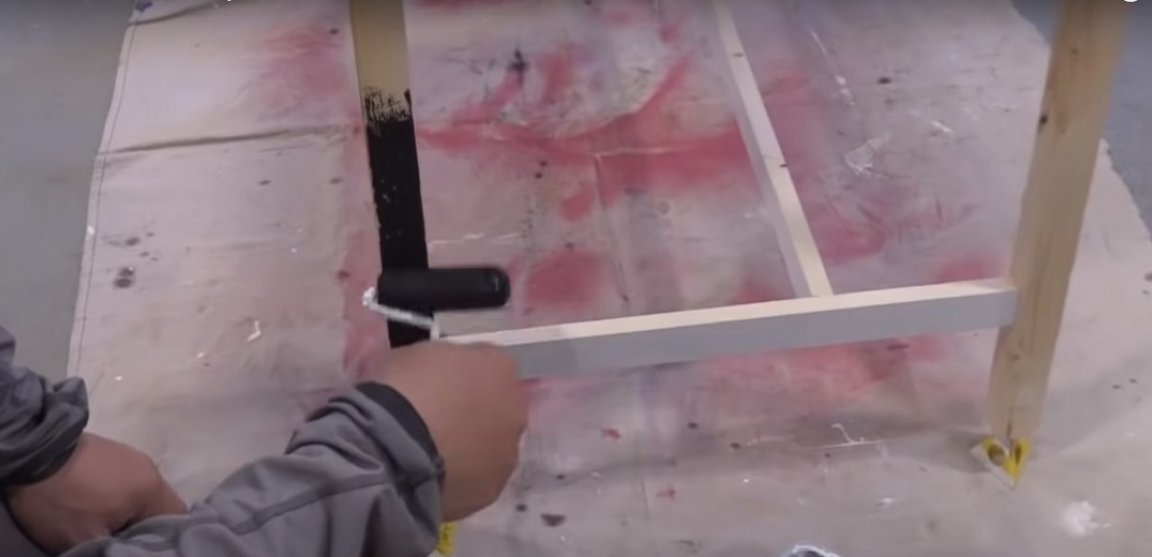
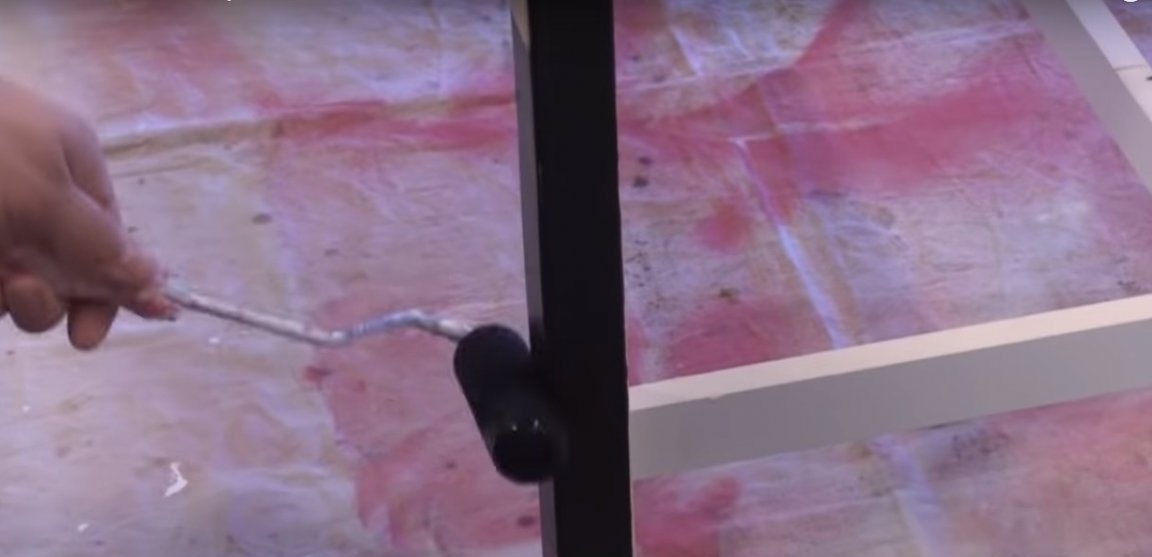
Apply the stain to the surface of the wood using a regular kitchen sponge or thick furniture foam. Without waiting for the coating to dry, be sure to remove excess stain with a lint-free cloth.
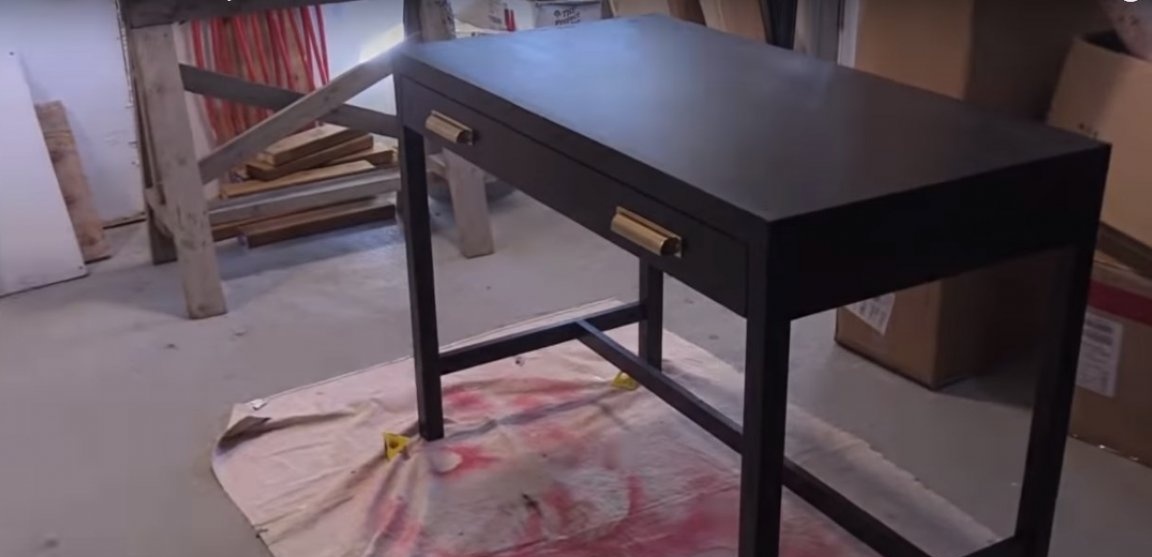
Allow the coating to dry for 24 hours at room temperature. If you want to achieve a perfectly smooth surface, sand the painted wood with fine-grained sandpaper by hand. Apply liquid quick-drying wax to the tree, wipe the excess with a rag, leave the table for a few more hours until it dries completely.
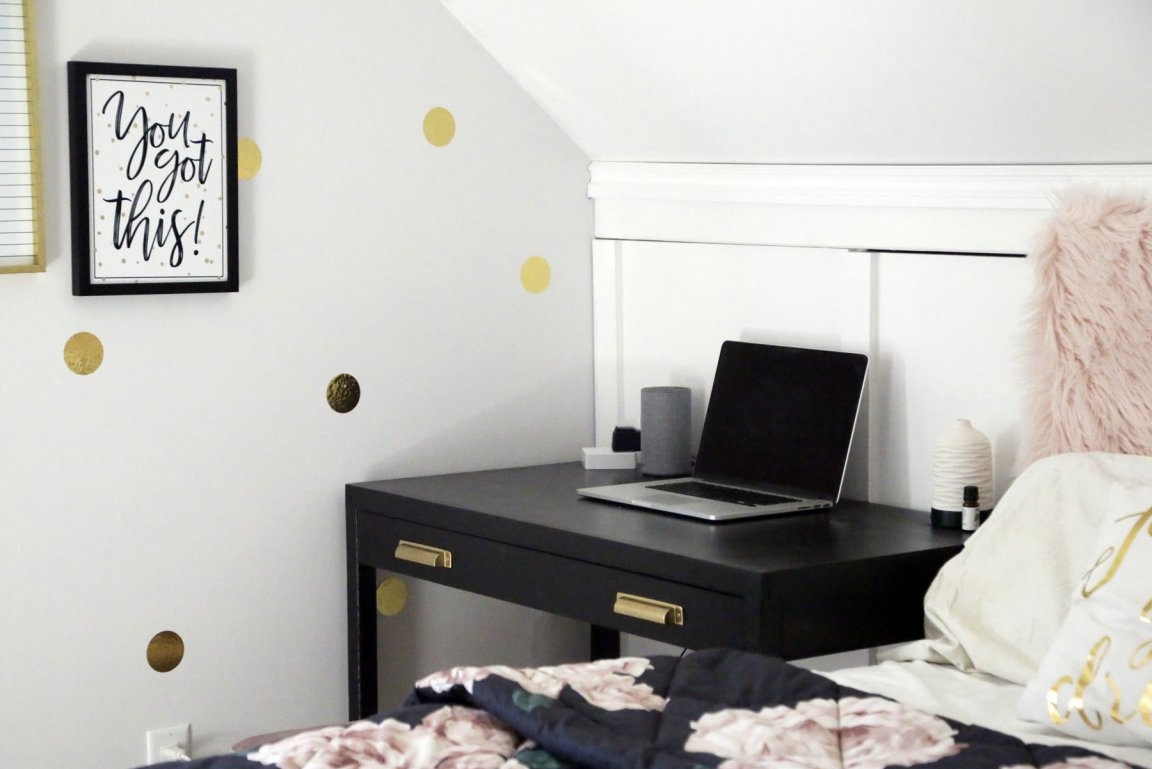
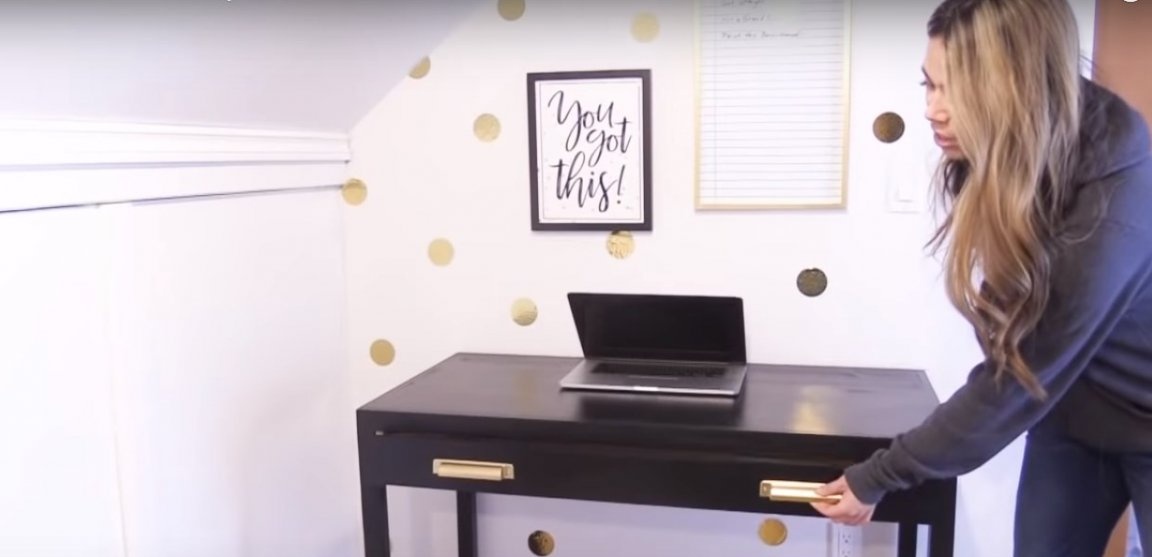
Install the drawer handle. An elegant office desk is ready!