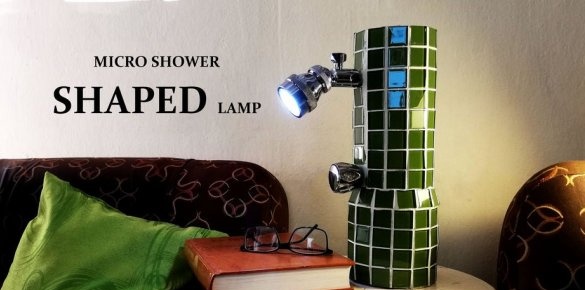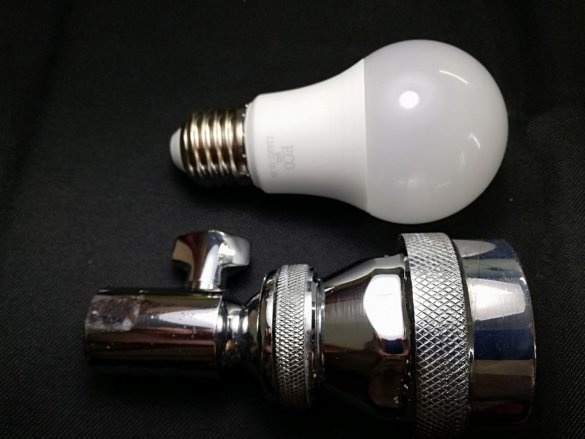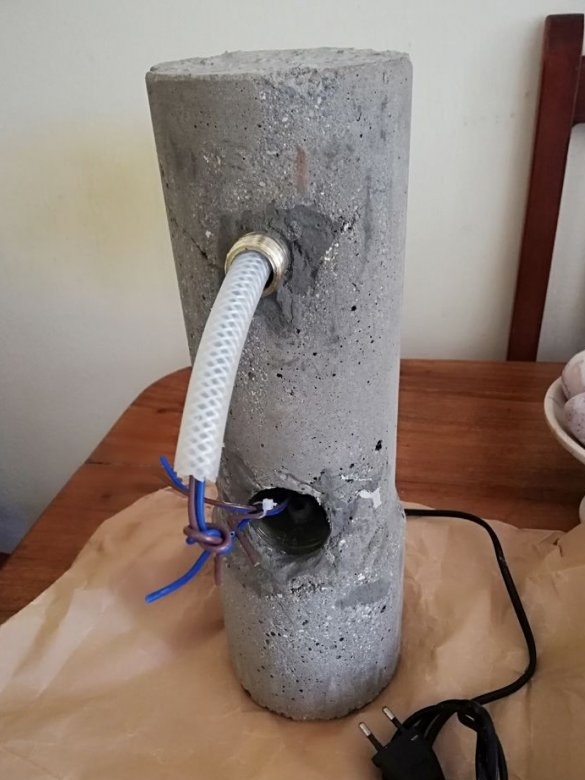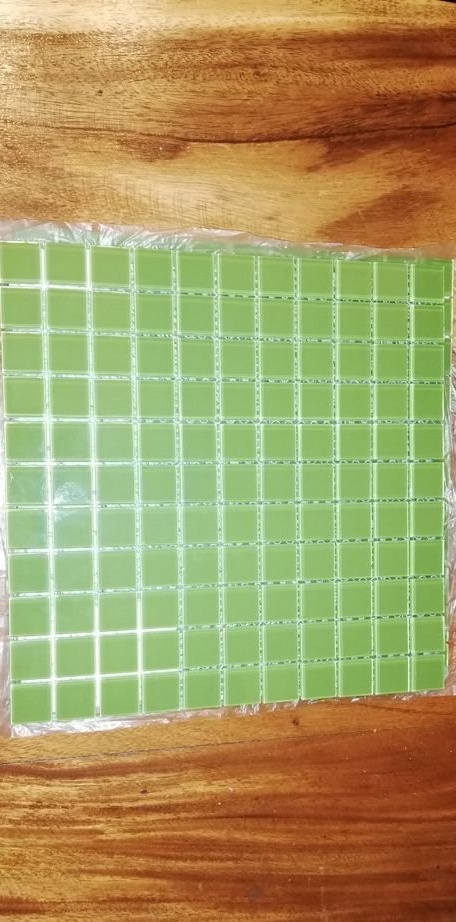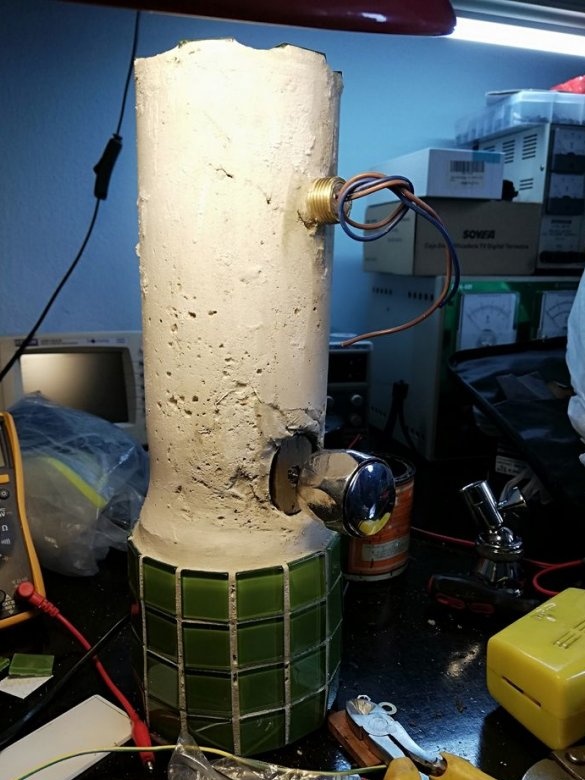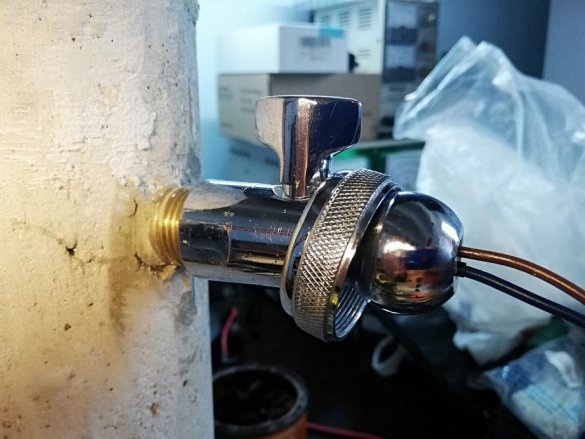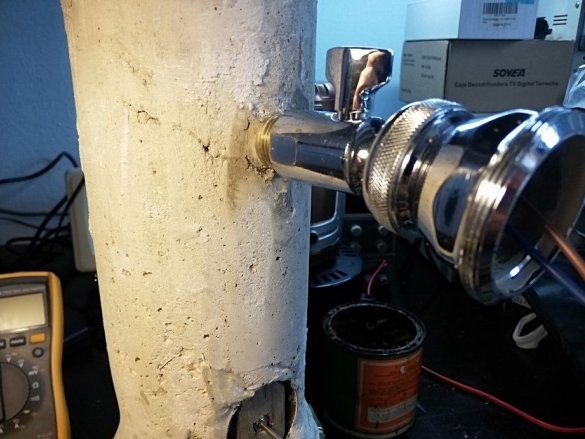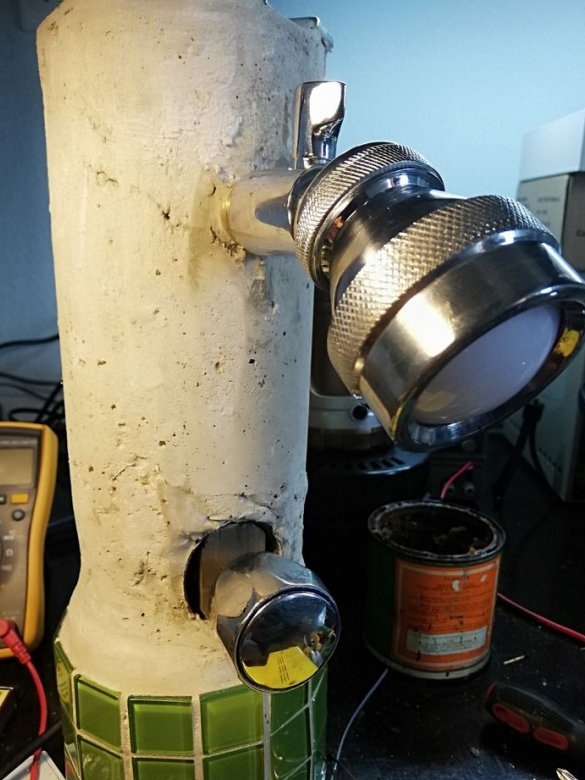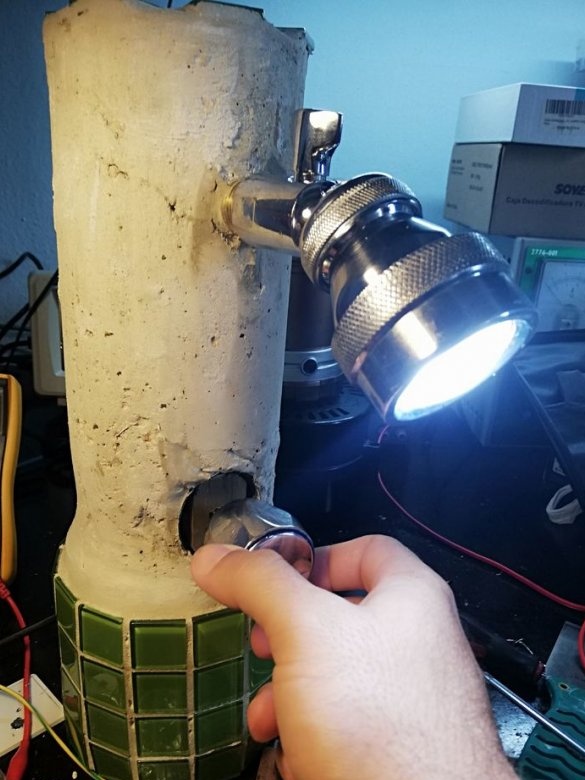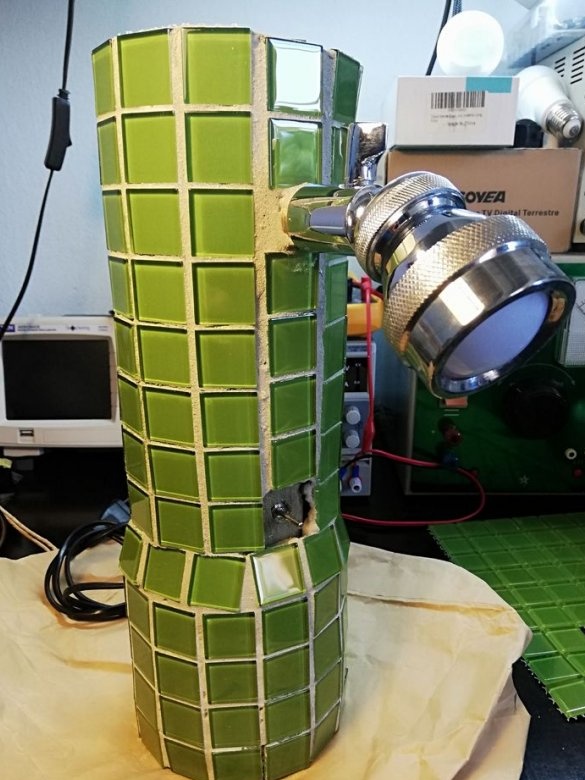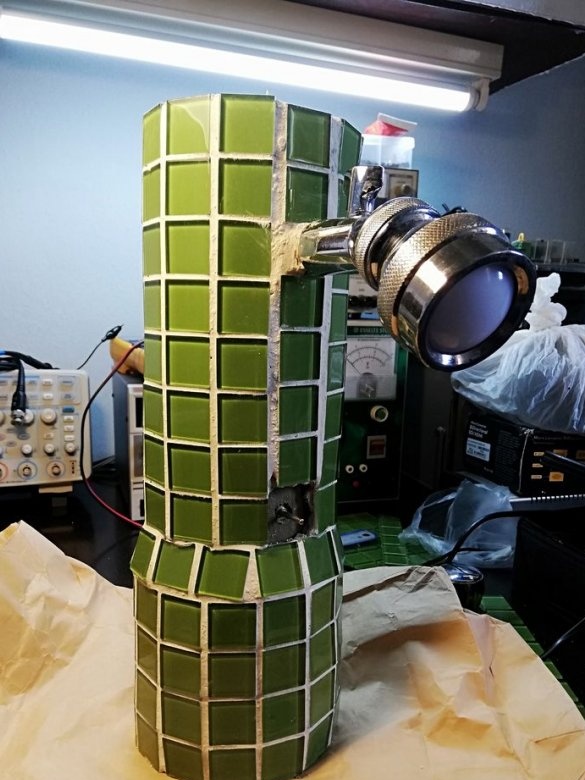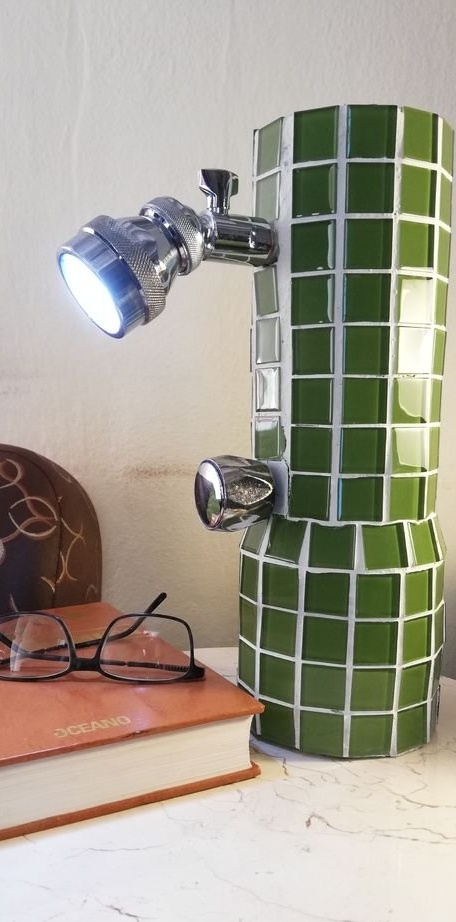
The lamp that the Master presents in this article consists of a concrete structure covered with tiles. Inside the design are guide tubes for electrical wires, a connection cavity and a rotary switch. An LED lamp is built into the shower head as a light source. The lamp is turned on and off by a rotary switch simulating a shower faucet.
To make such a lamp, the master used the following
Tools and materials:
-Light;
- shower head;
-Knife;
-Nippers;
-Scissors;
-Stripper;
-Silicone glue;
-Wire;
-Soldering accessories;
-A circular saw;
- PVC pipe;
-Drill;
-Drill;
-Silicone hose;
-Cable ties;
-Power cord;
-Insulation tape;
-Master OK;
-Concrete mixture;
-Mosaic tiles;
- The handle of the crane;
-Shrink tubes;
- PVC sheet;
- Rotary switch;
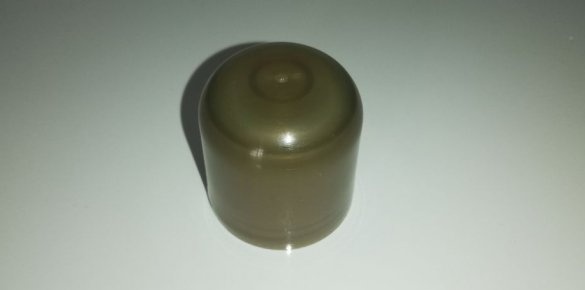
-Cap from deodorant;
Step One: The Lamp
The master begins the work with the manufacture of the lamp, or rather with its alteration.
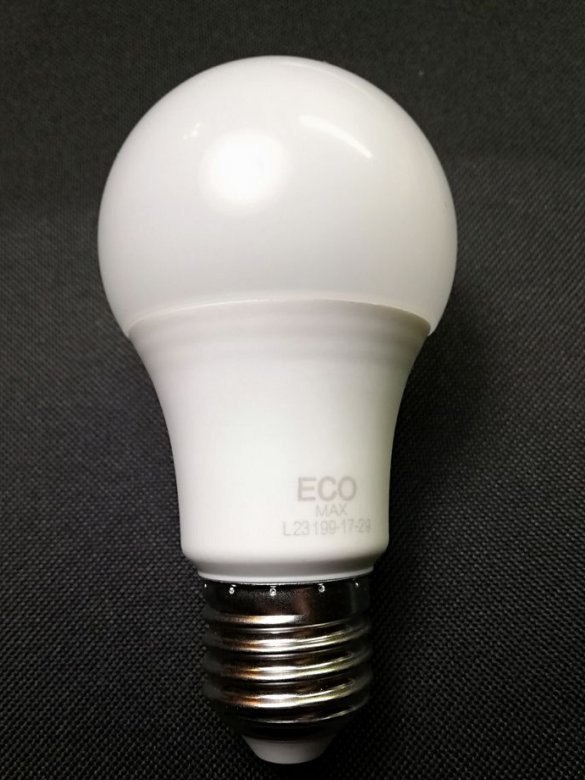
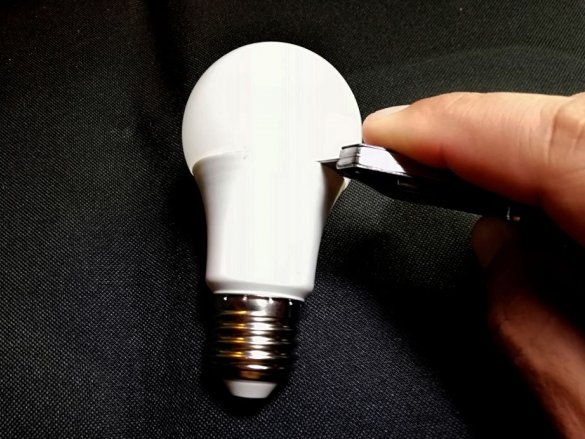
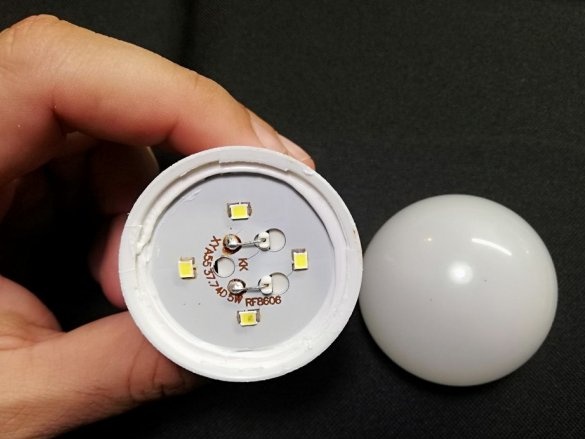
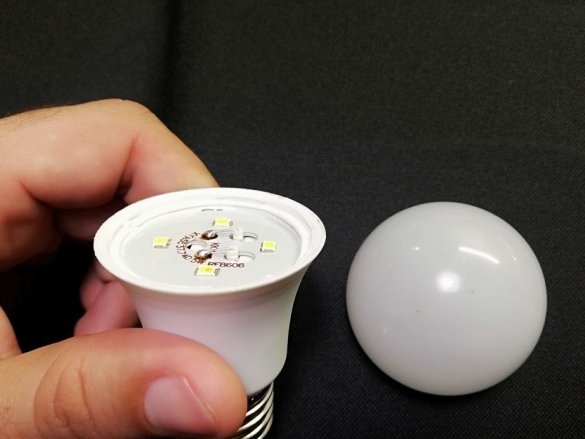
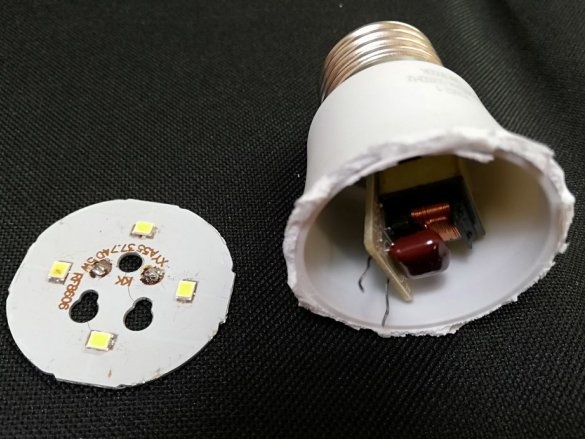
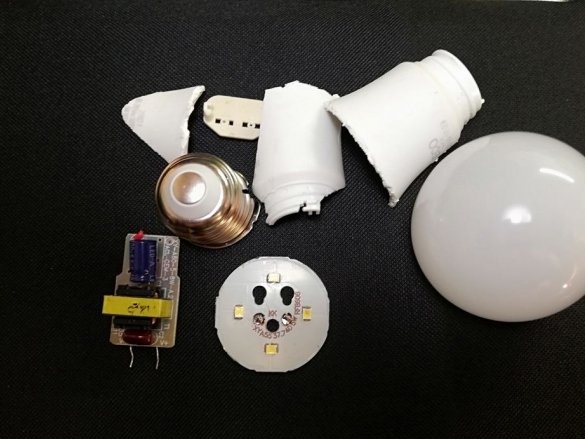
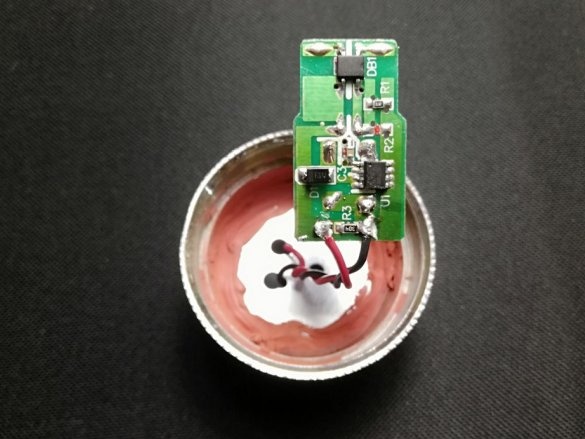
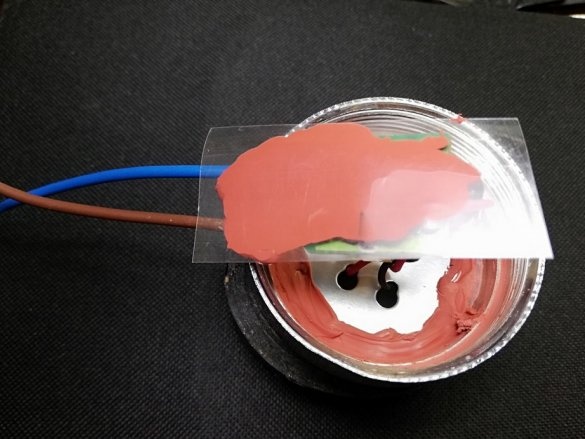
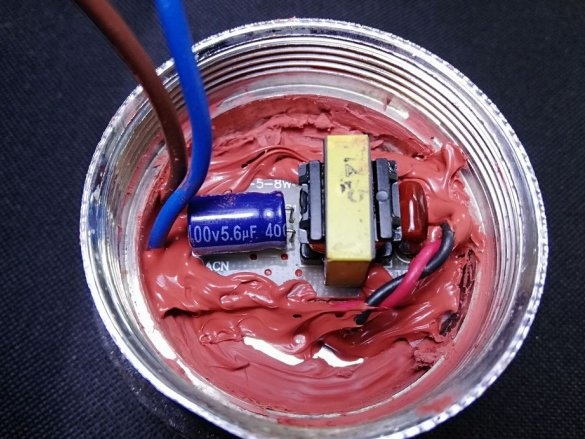
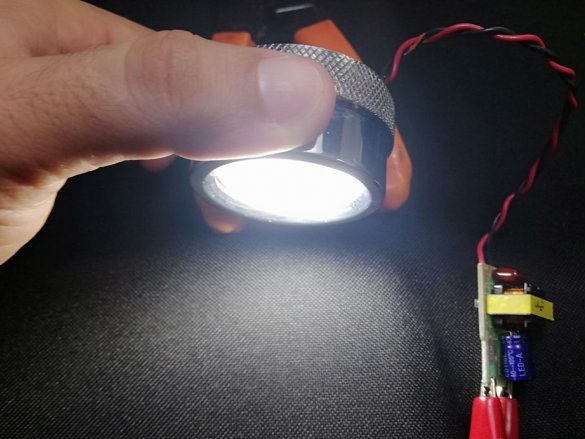
The LED lamp that was used in this project has the following parameters 5 W and 5000K. The lamp needs to be disassembled. The plastic diffuser is glued to the bulb body using white silicone. Try to remove it using the sharp part of the knife as shown. As soon as you pass the knife through the joint, you will notice that with a little effort it can be disconnected from the bulb body. Under the diffuser you can see the board with LEDs. Pry it, cut the wires and remove the board. There is a driver under the board, it also needs to be removed. Be careful as the capacitor can be charged.
Now you need to assemble the lamp.
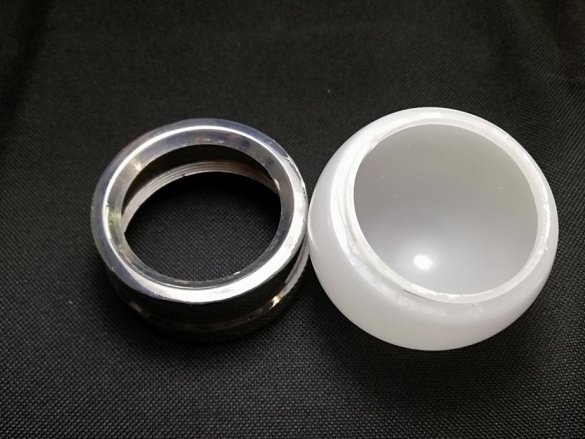
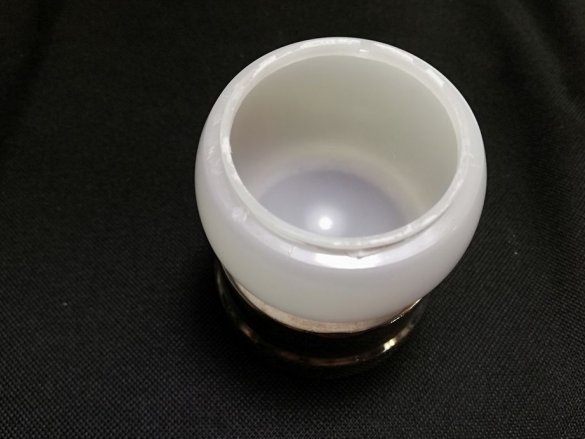
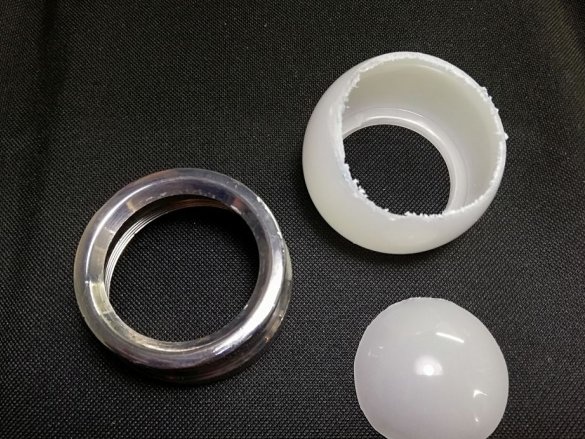
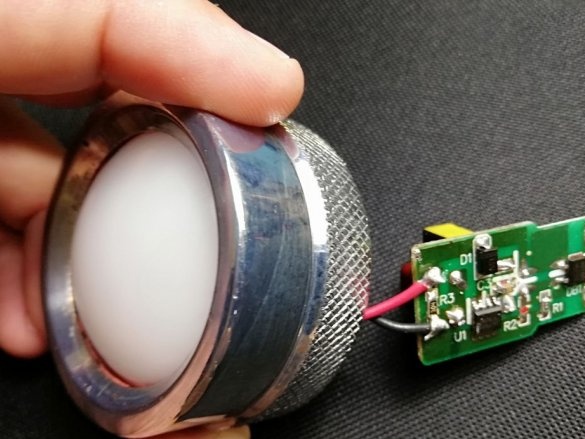
The master takes the diffuser and cap from the shower head. Trims the diffuser to the diameter of the cap.
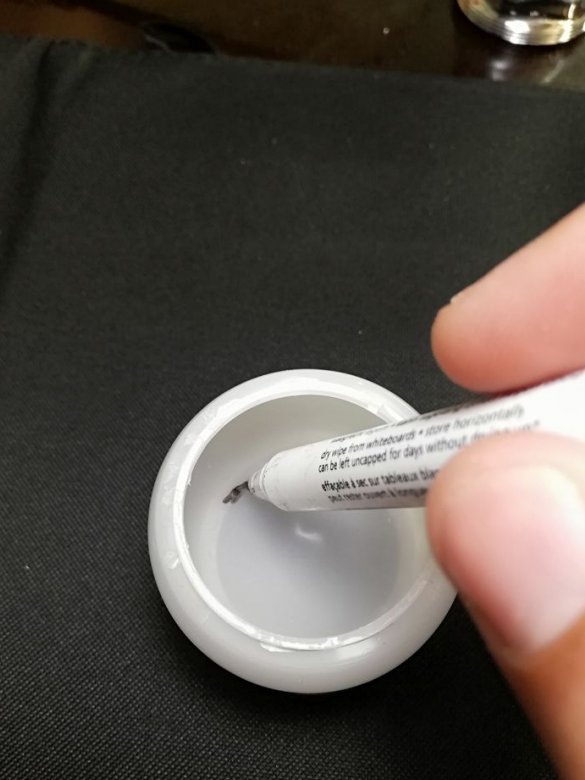
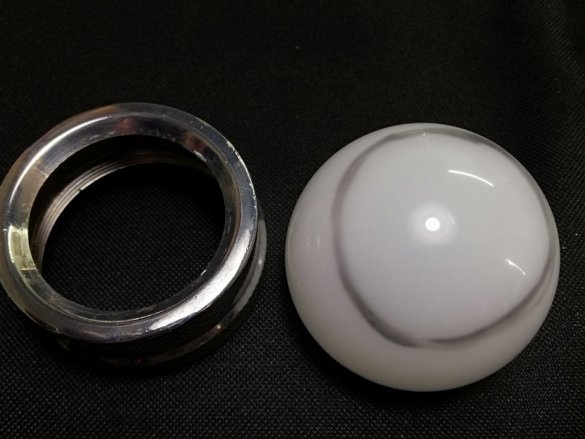
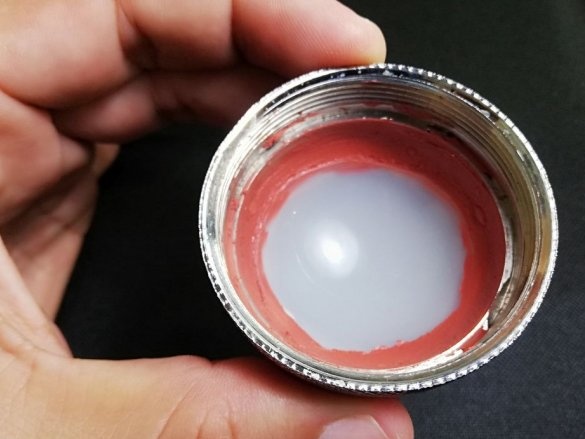
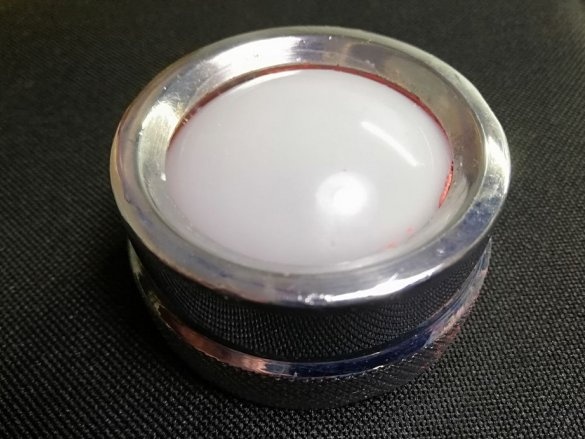
Fixes the diffuser inside the cap with silicone.
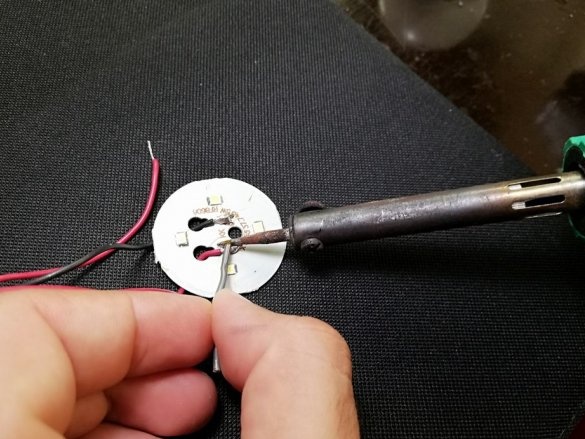
Now you need to install the electrical components. Since the space inside the shower head is limited, only strictly necessary components must be glued to the shower head so that they are not visible from the outside when everything is assembled. The electrical connections between the board, with the LEDs and the driver must be made in polarity. The wizard installs secures the board with LEDs, installs the driver. Checks lamp operation.
Step two: preparing the foundation
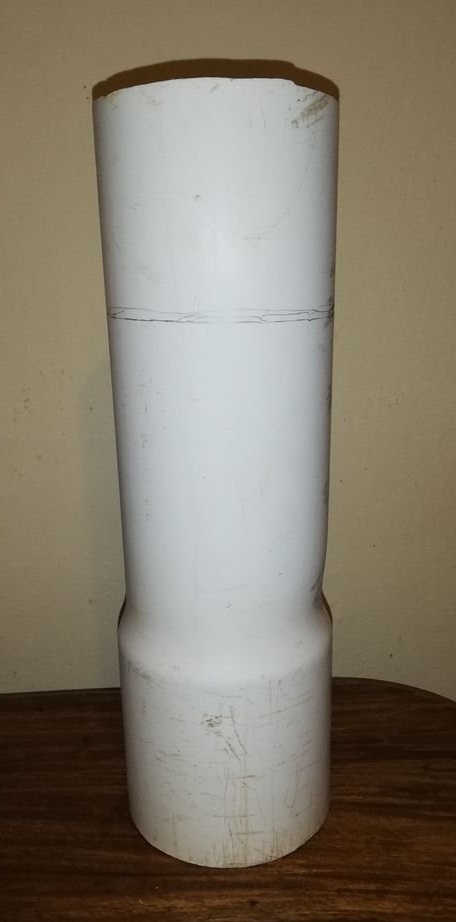
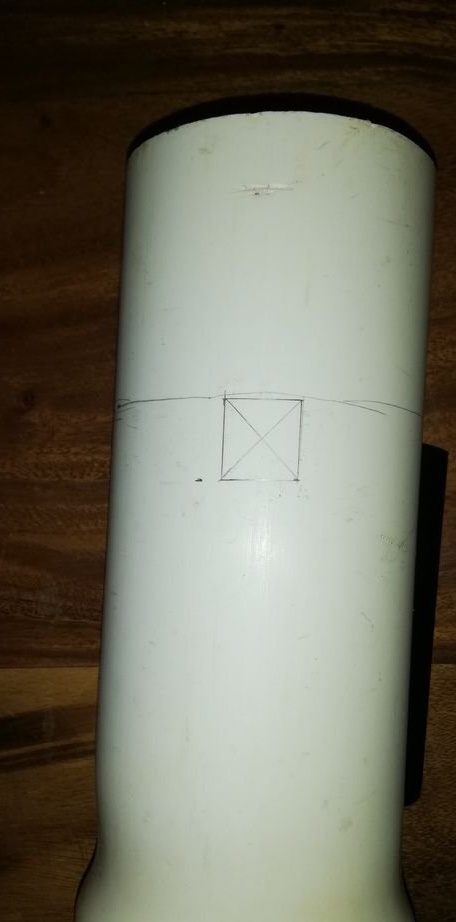
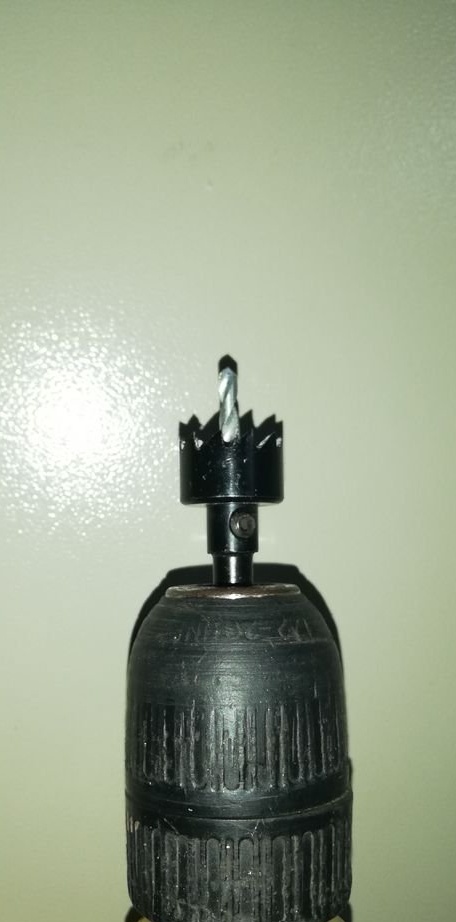
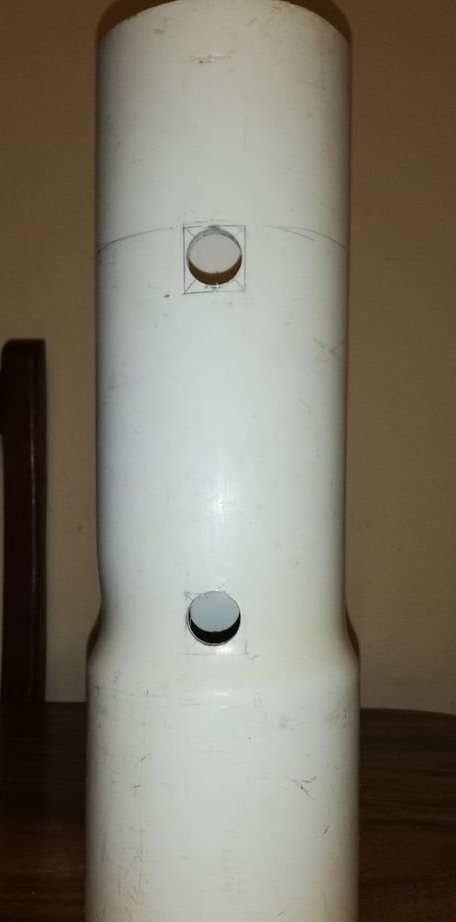
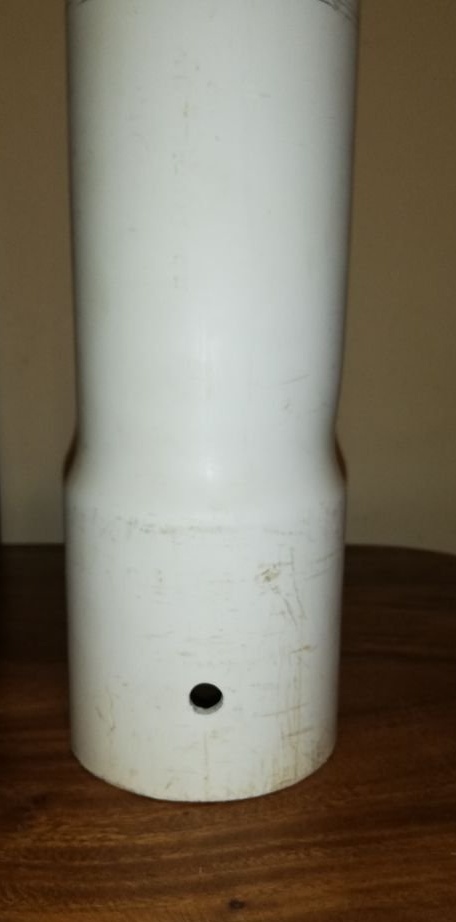
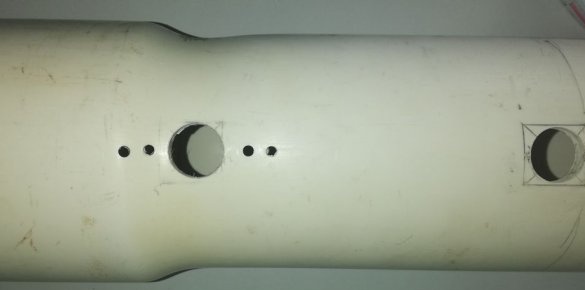
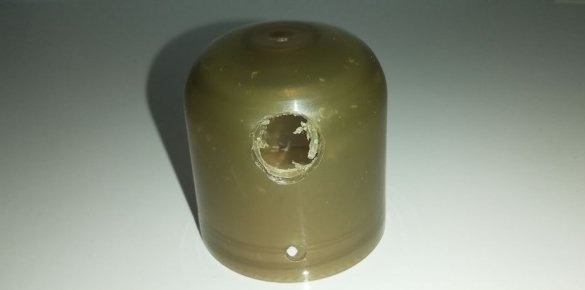
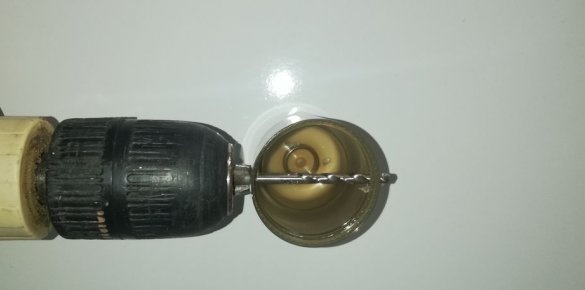
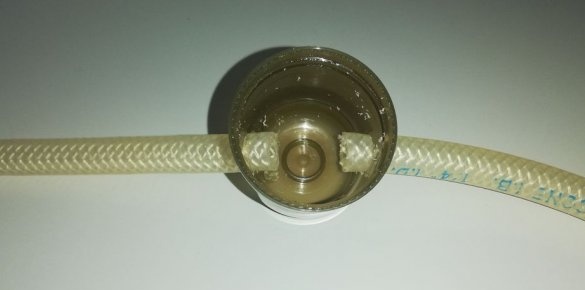
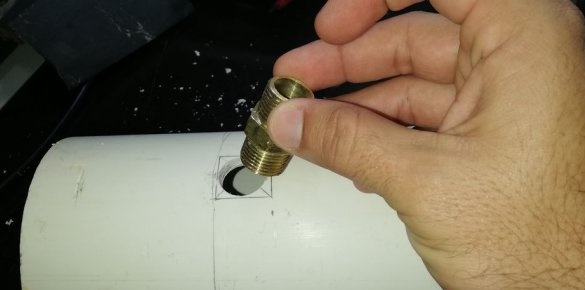
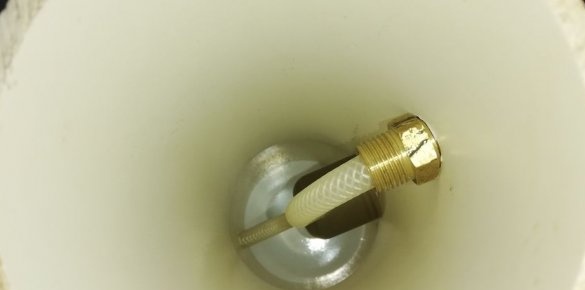
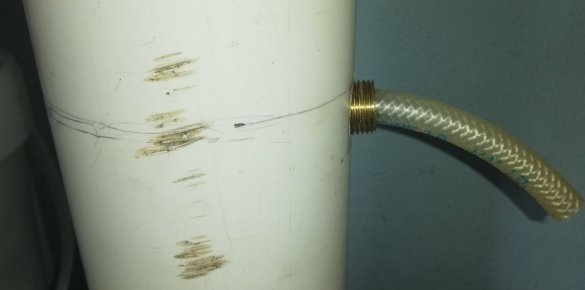
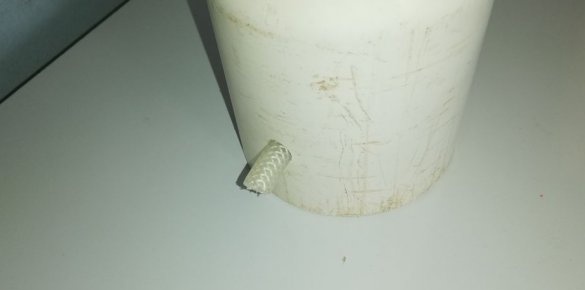
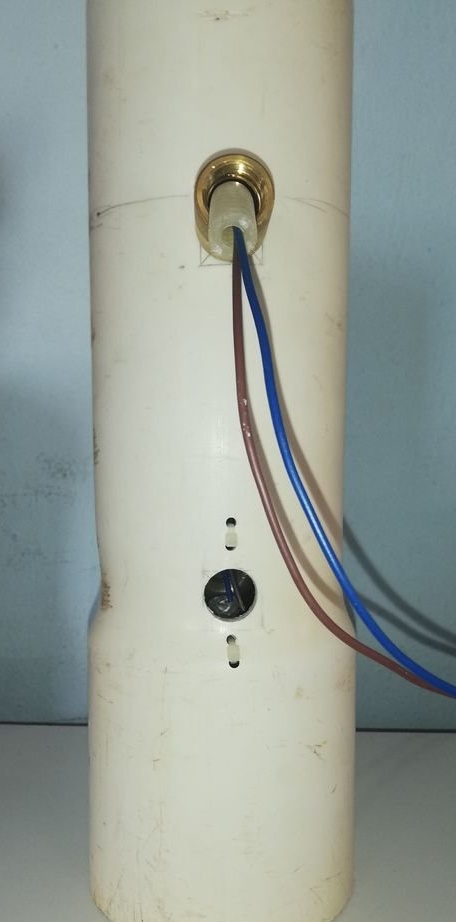
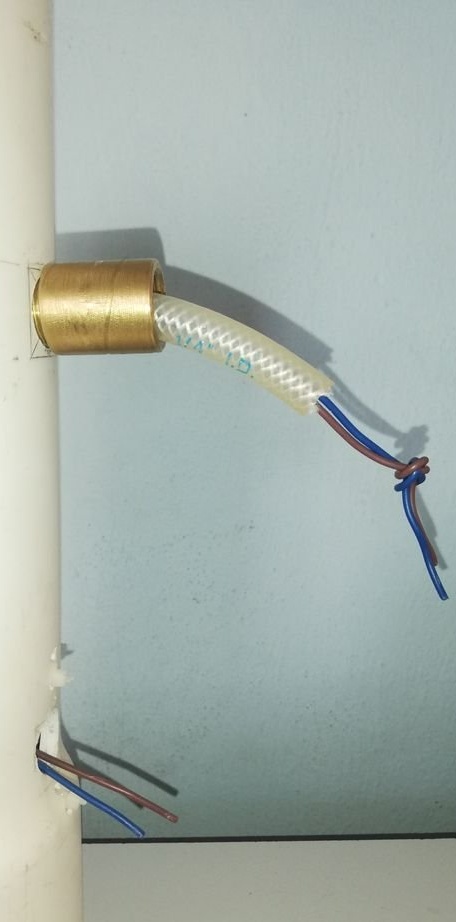
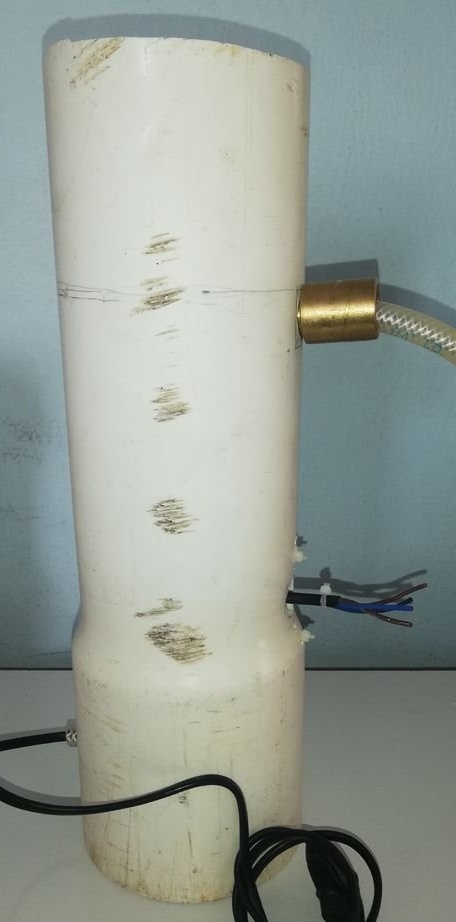
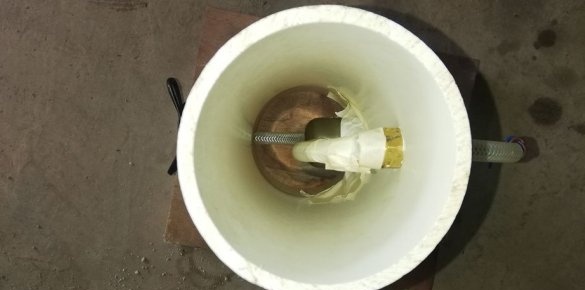
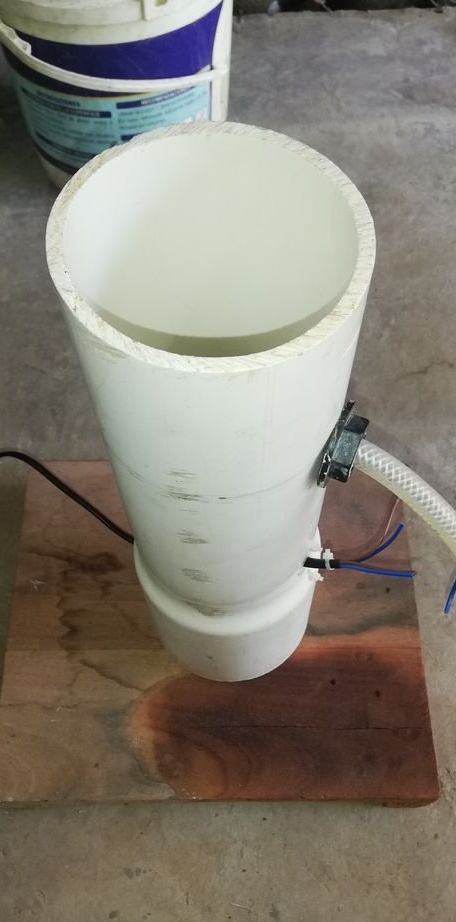
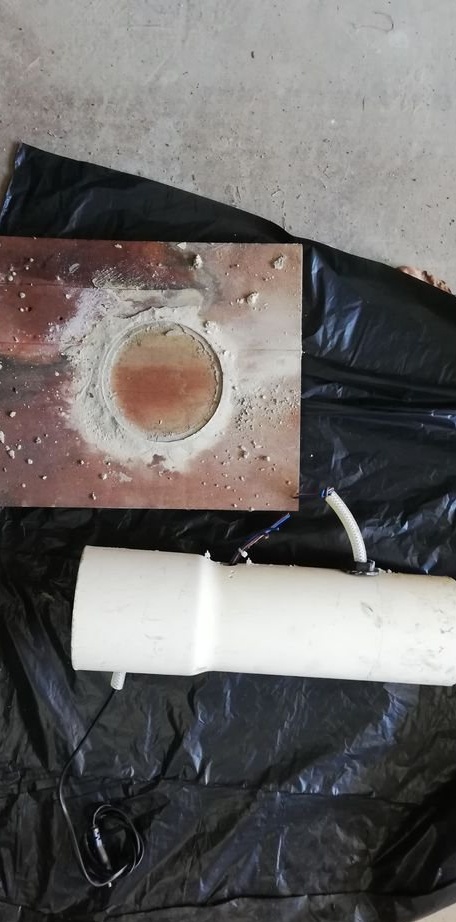
Now you need to prepare the foundation. In a plastic pipe, the master drills a series of holes for mounting the lamp, switch, for wire.In the cap from the deodorant will be the installation of wires. The master drills two holes on the sides and installs in the holes of the tube.
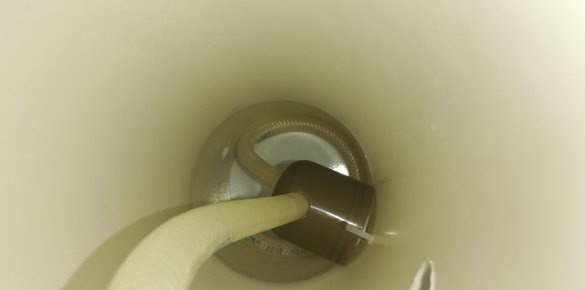
Further, the master places the cap inside the pipe, opposite the switch hole, and secures it. Makes the layout of the tubes. Stretches wires.
Step Three: Fill
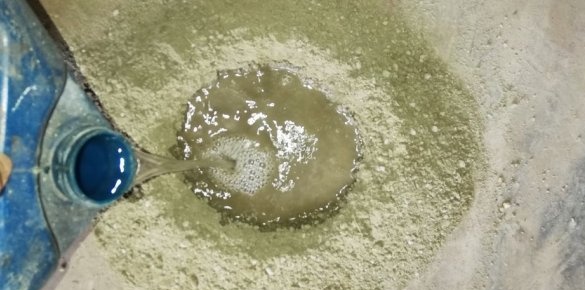
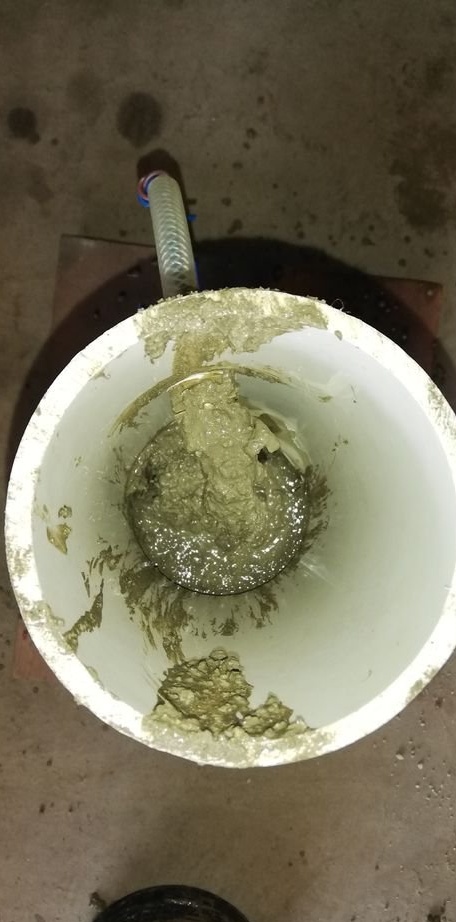
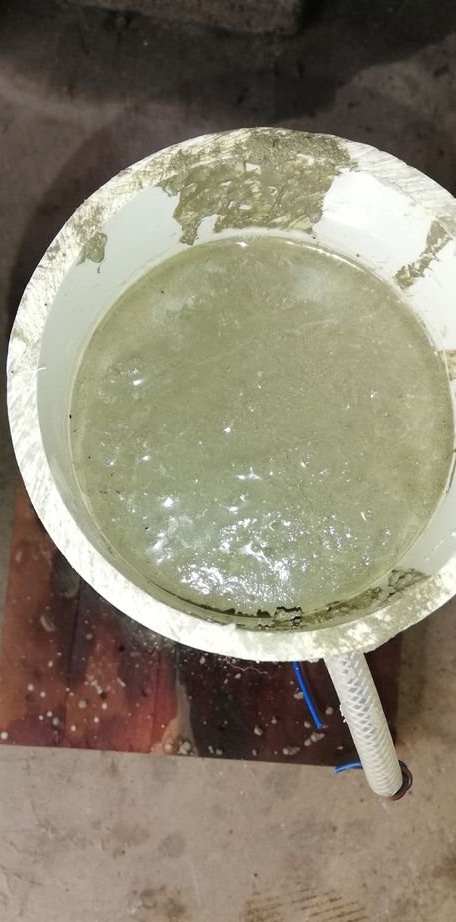
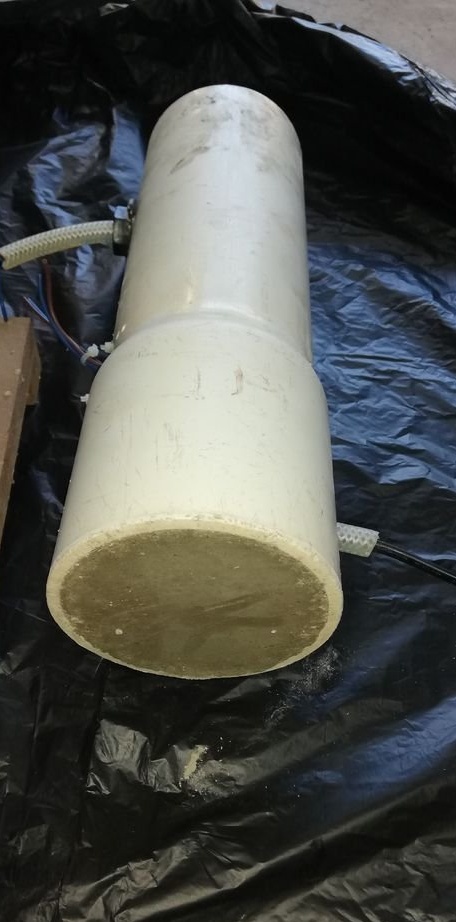
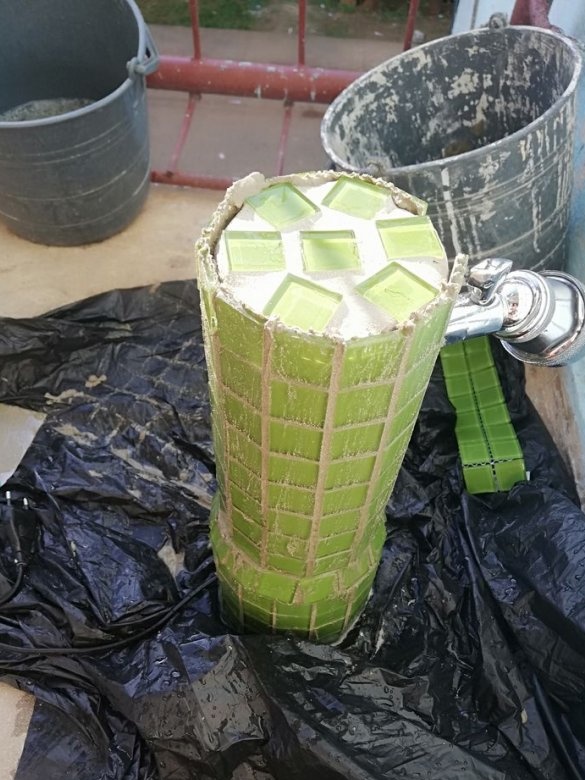
Next, you need to make a concrete mixture and pour it into the pipe. After pouring, the master leaves the workpiece for three days, before drying.
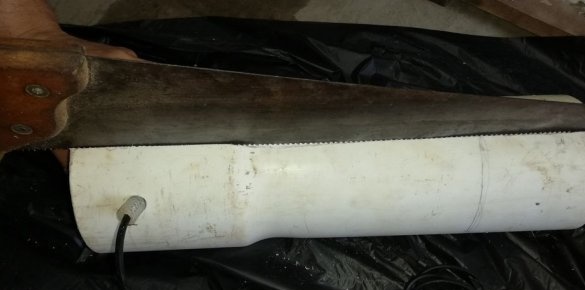
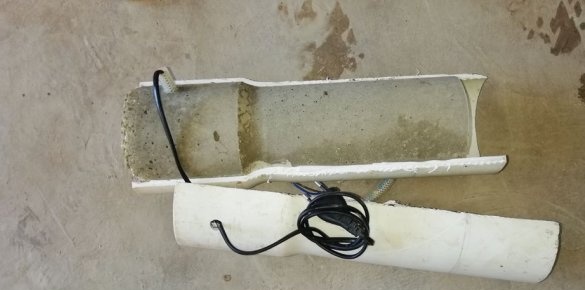
After three days, the master cuts the plastic pipe and removes the concrete billet.
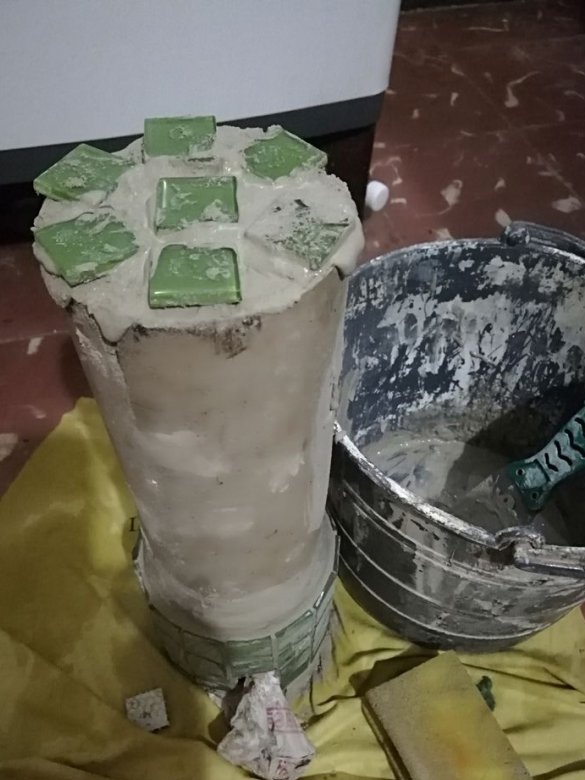
Step Four: Tile
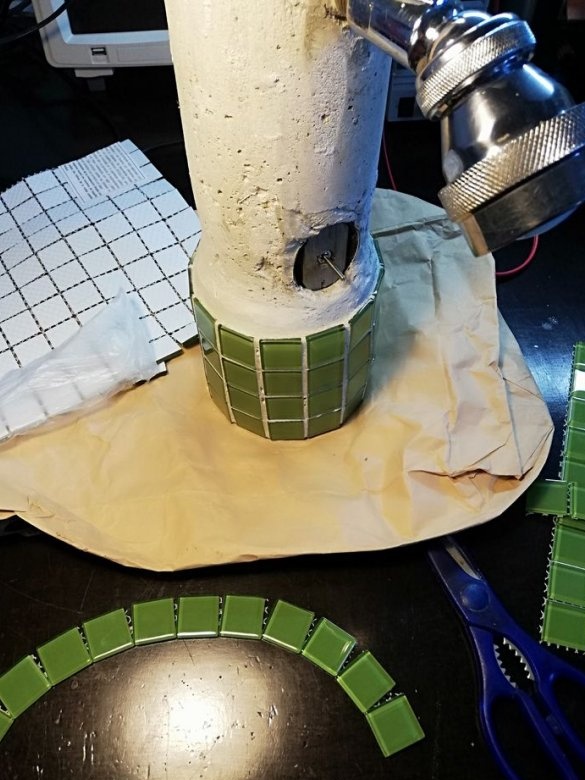
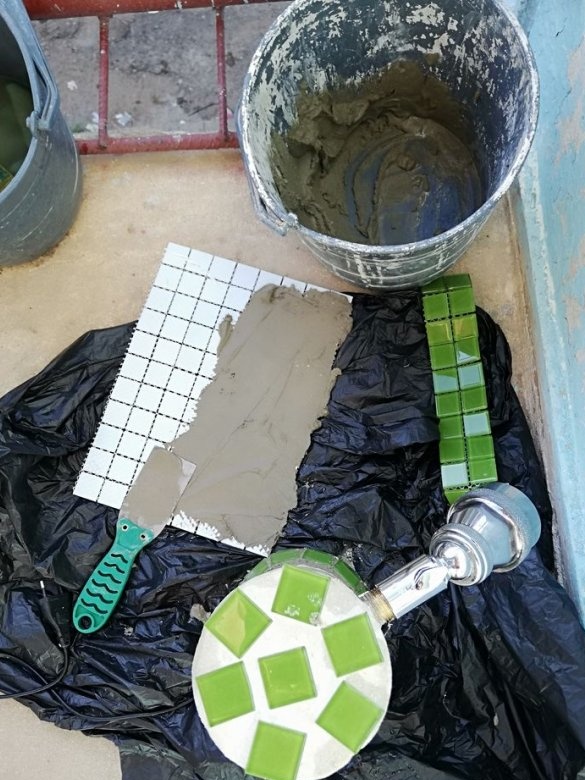
Glues the tiles at the top and bottom of the workpiece.
Step Five: Switch
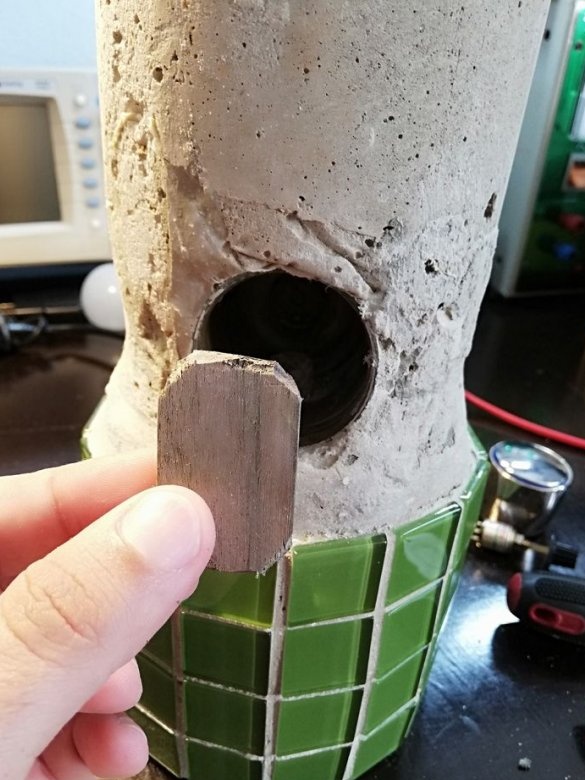
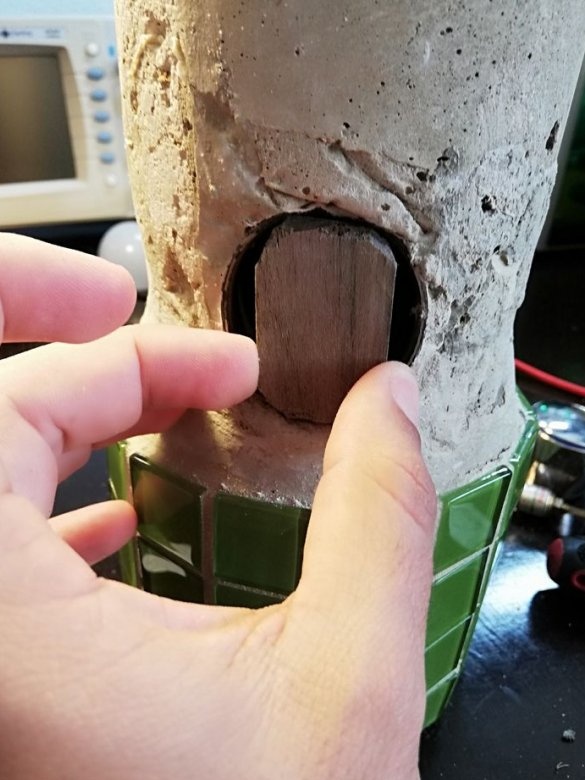
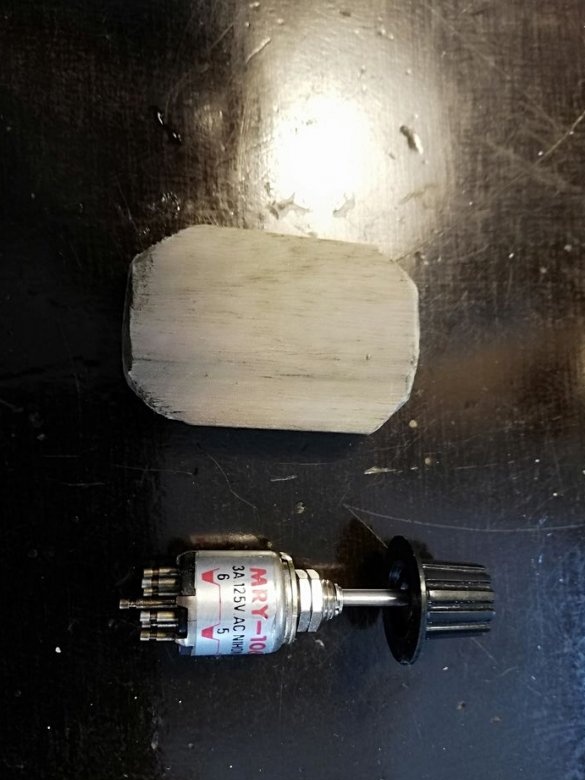
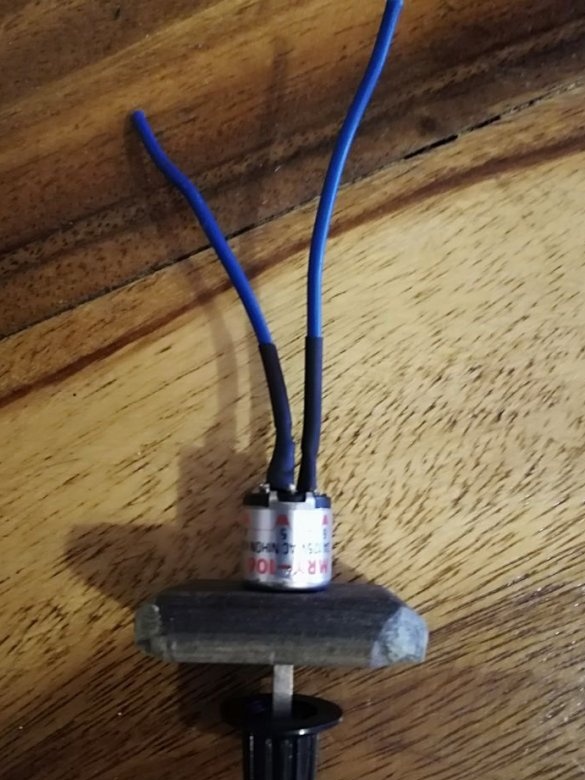
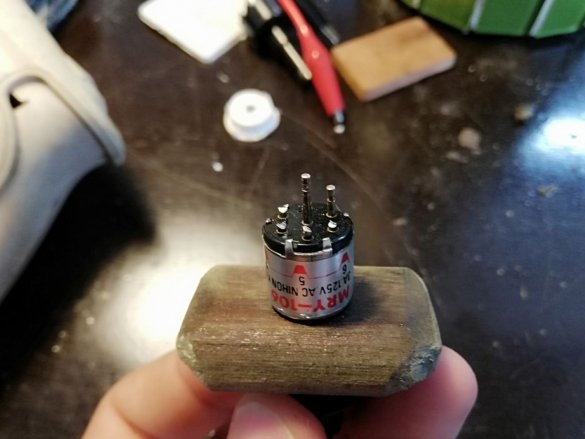
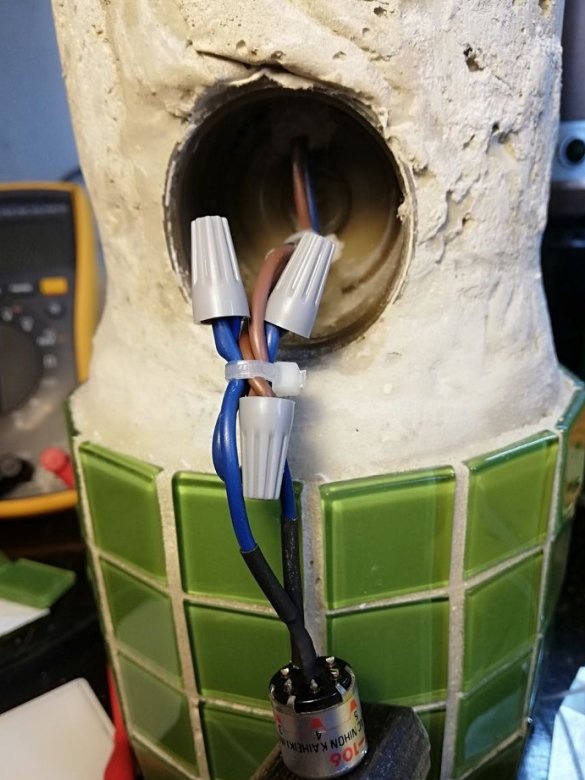
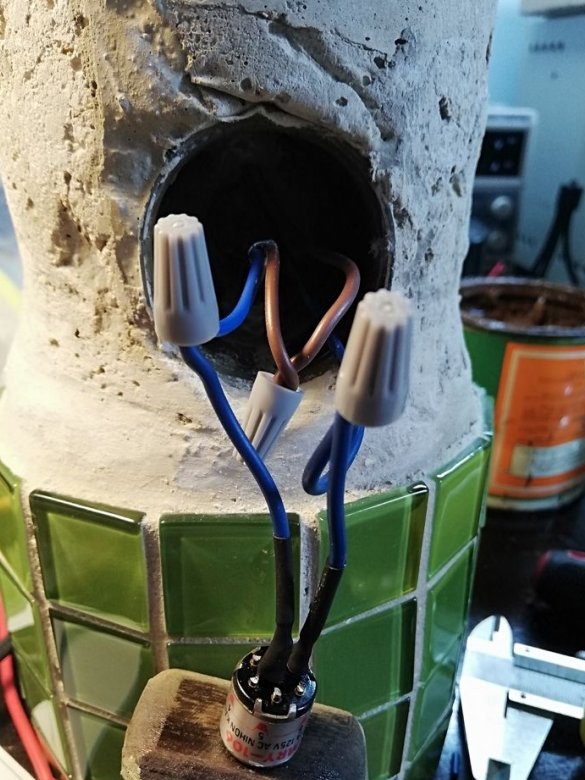
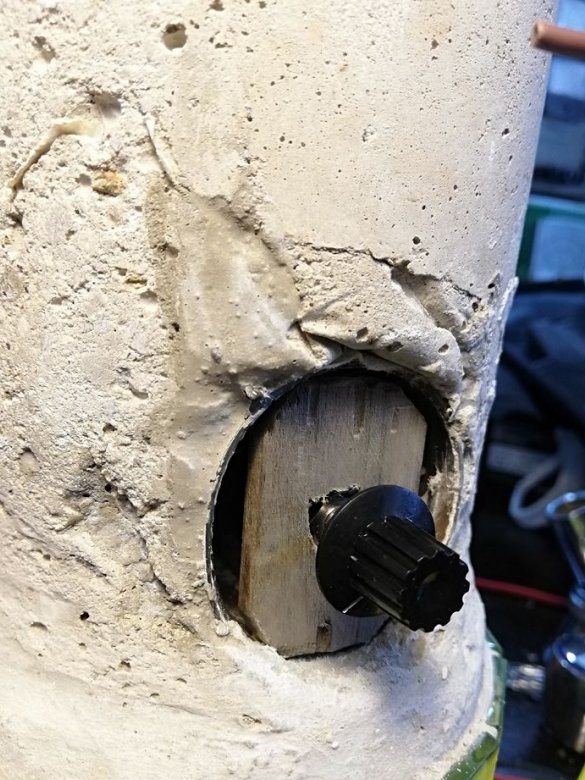
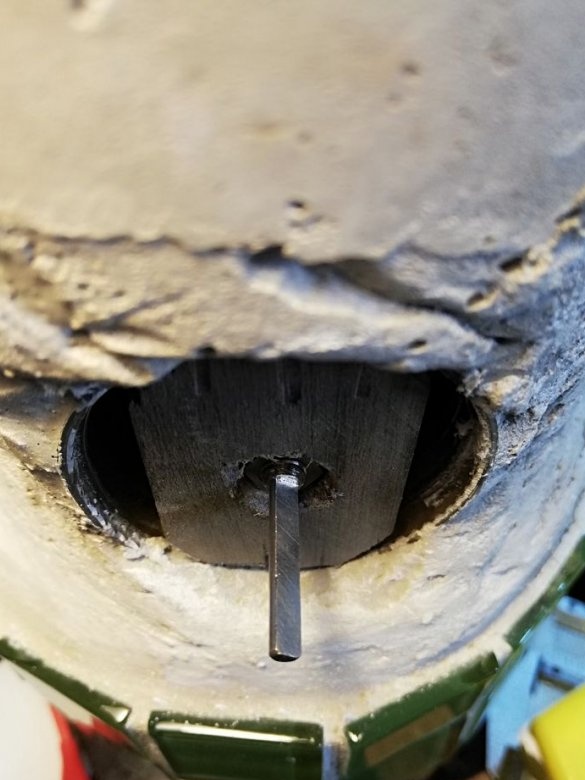
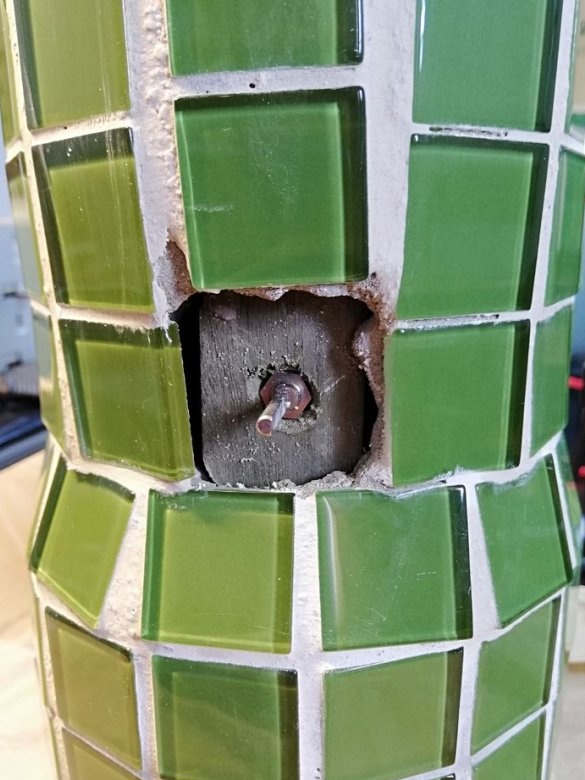
To fix the switch on the lamp, the master used a wooden blank that fits the deodorant cover. The switch that was used was MRY106 from the manufacturer NKK. This model in accordance with its technical description has high mechanical and electrical strength. This switch has a central pin, by turning which it is actuated.
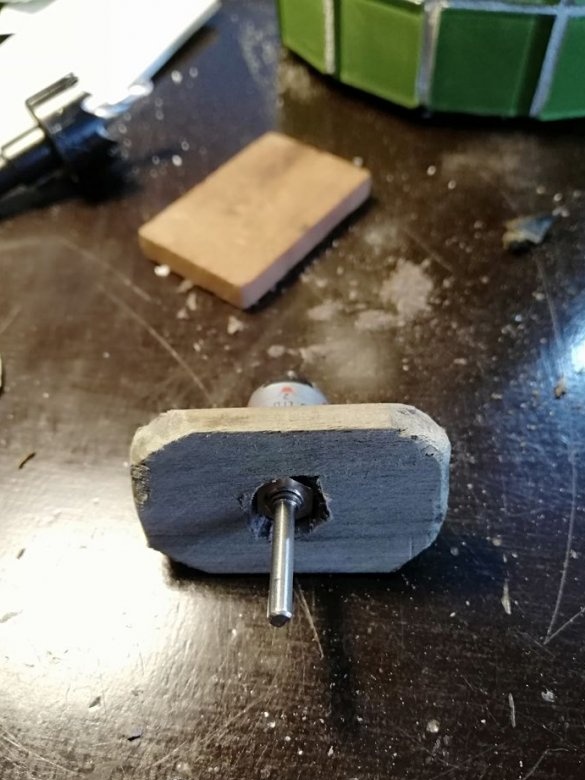
The master drills a hole in the wooden workpiece and secures the switch.
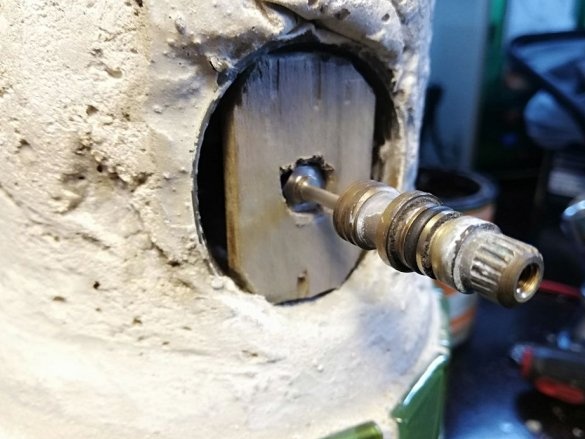
It connects wires to the switch and secures the switch in the mounting hole.
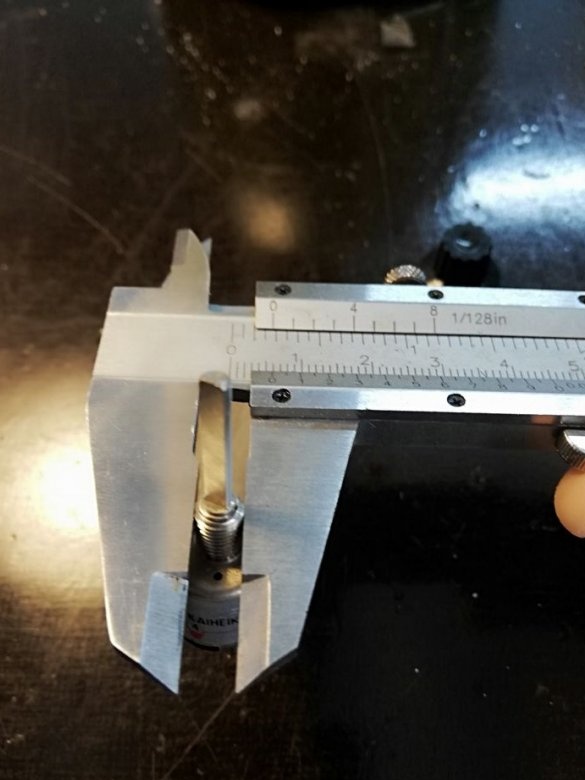
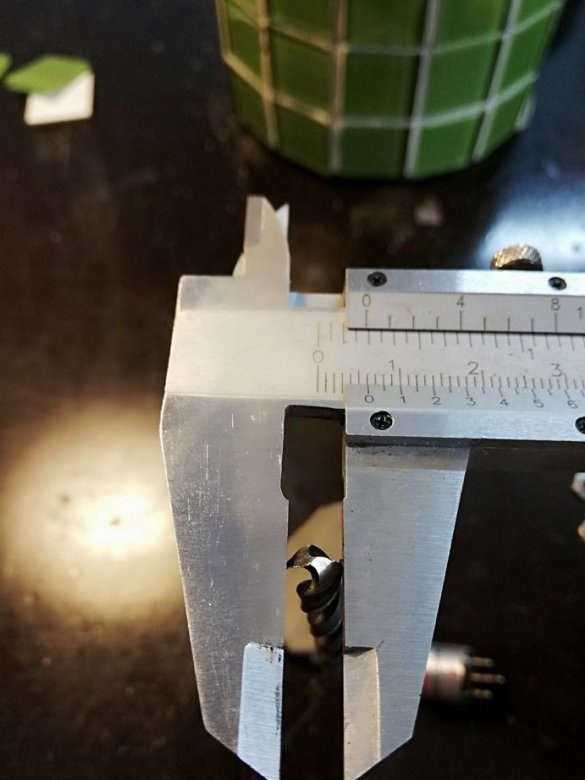
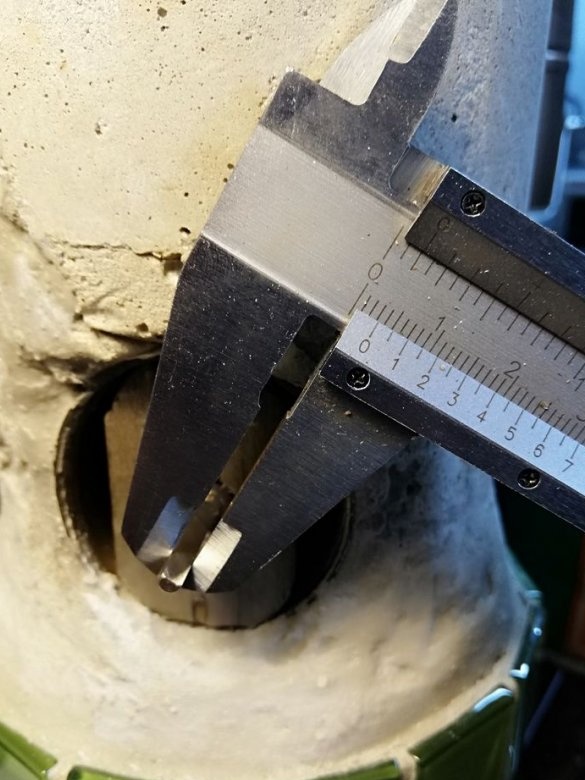
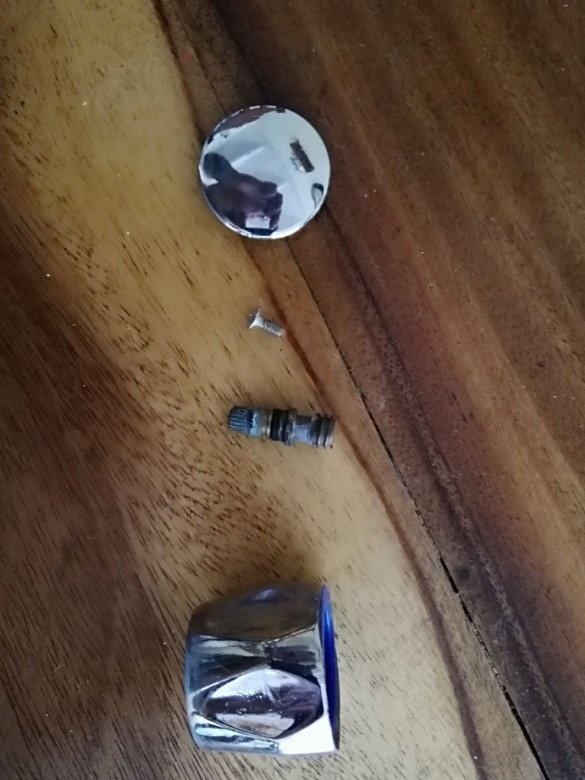
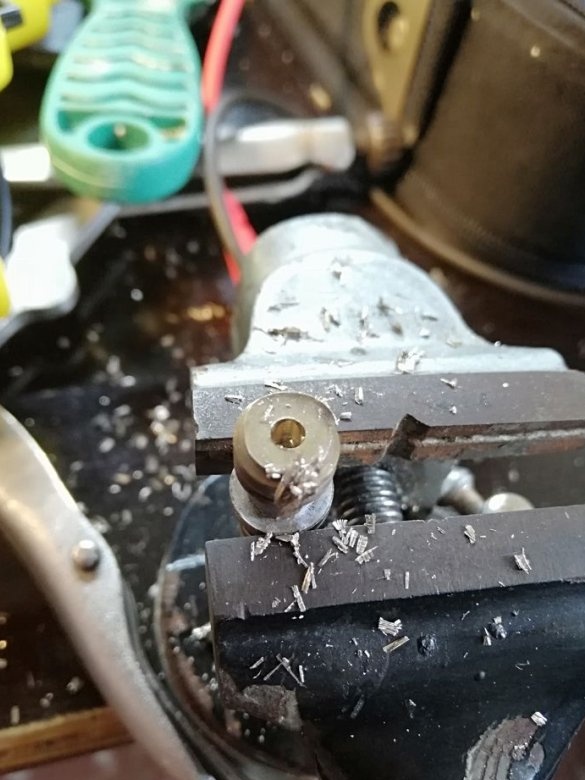
Measures pin diameter. A hole is drilled in the spindle. Mounts the spindle onto the pin. Mounts the handle.
Step Six: Verification
Installs and connects the lamp. Checks the installation.
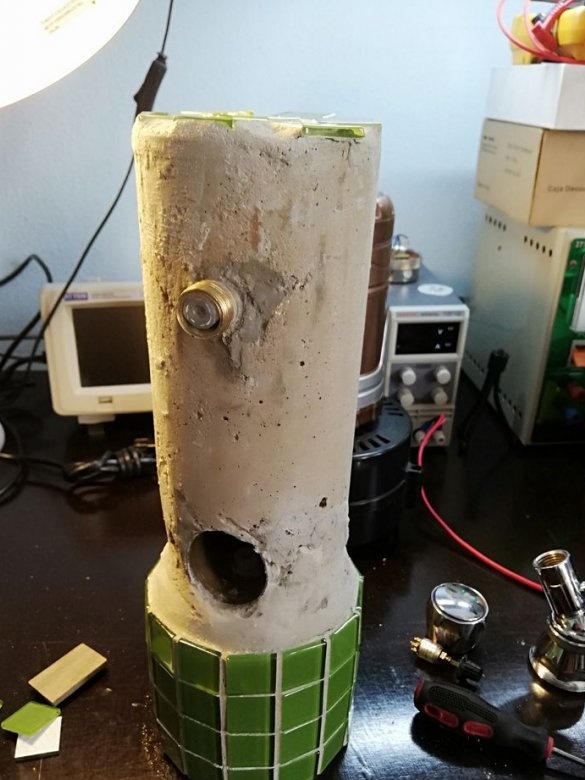
Seventh step: facing
Tiles the base. For support uses a reinforcing mesh.
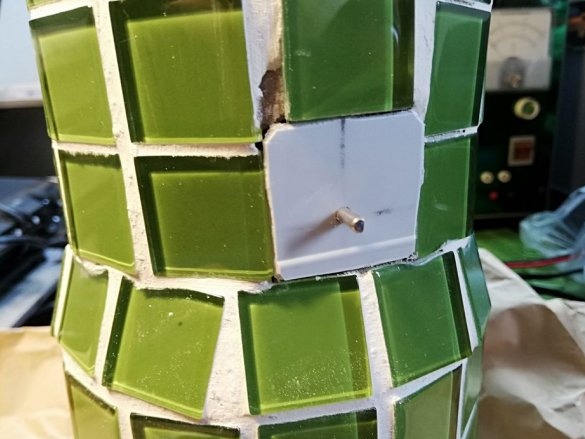
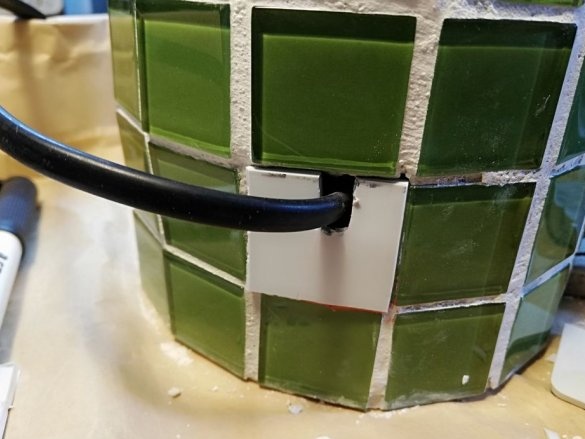
Places to install the lamp, switch and cord, closes with plastic.
All is ready.


