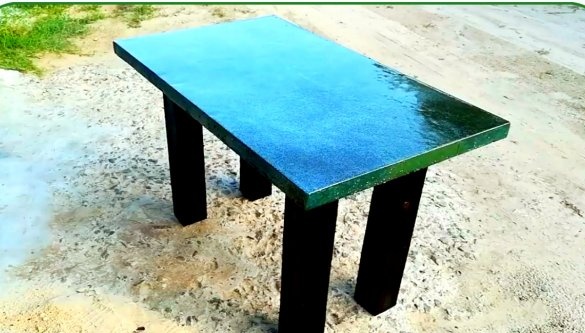
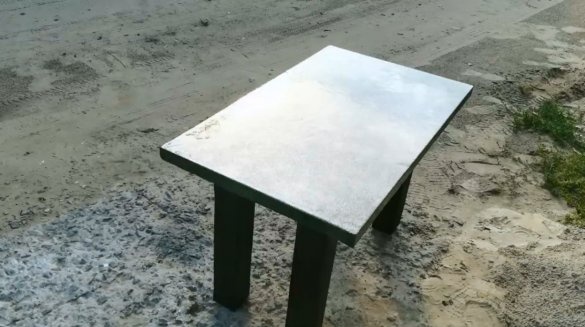
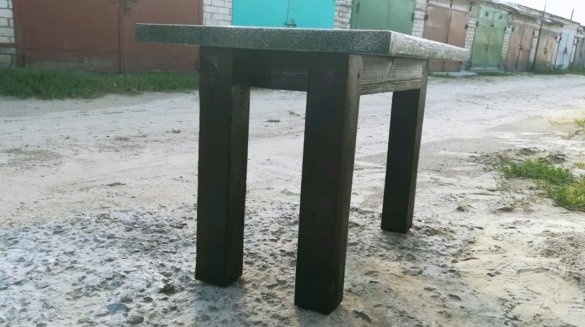
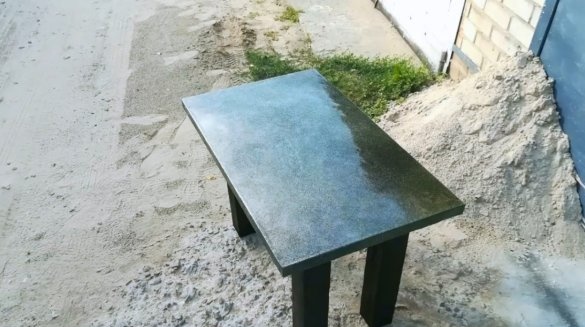
In this article, the author of the YouTube channel Vladimir Natynchik will tell you how he made a reliable table from simple and affordable materials, namely concrete and pine beams.
Materials
- Pine beam
- chipboard
- Silicone sealant
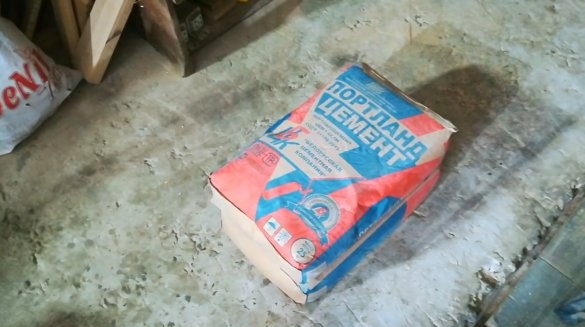
- Cement, sand
- Dyes for concrete
- Reinforcing fiber
- Chrome mesh
- Sandpaper
- Wood screws
- Sequins
- PVA glue
- Polyurethane varnish.
Instruments, used by the author.
- Punch
- nozzle mixer
- Airbrush
—
- A circular saw
- spatula, metal brush
—
—
- Level, scissors for metal.
Manufacturing process.
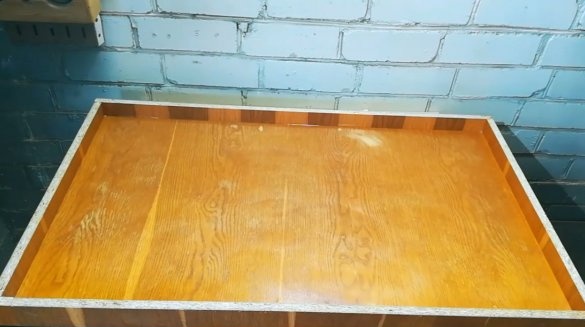
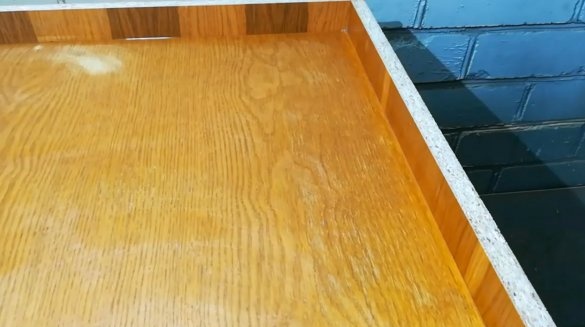
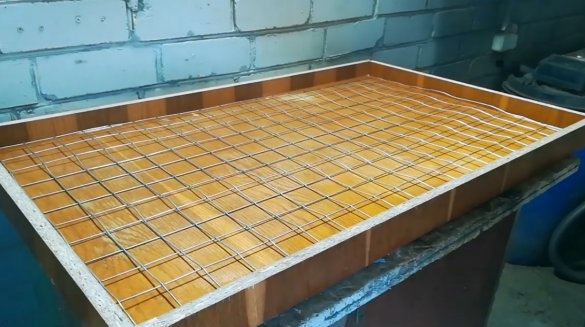
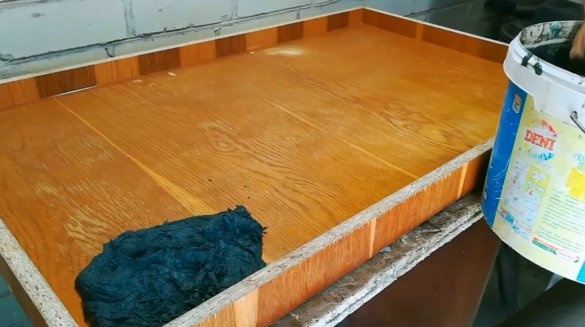
First, Vladimir made a simple form of chipboard. Its internal dimensions are 100X60 cm. All seams are treated with silicone sealant.
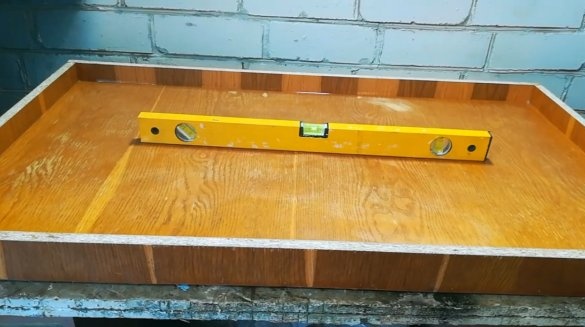
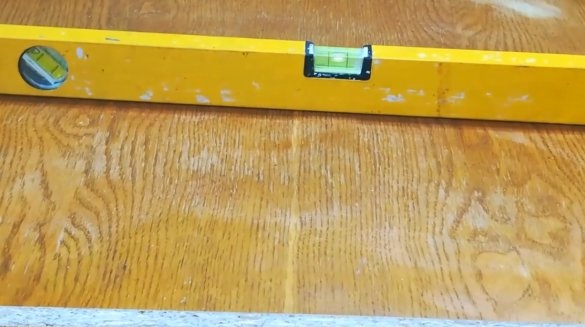
The form must be set on a flat surface in level, otherwise you will get a countertop with different thicknesses of edges.
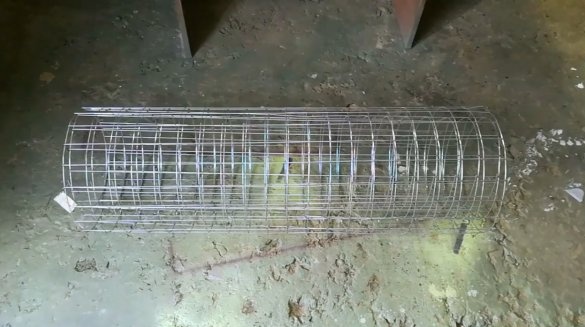
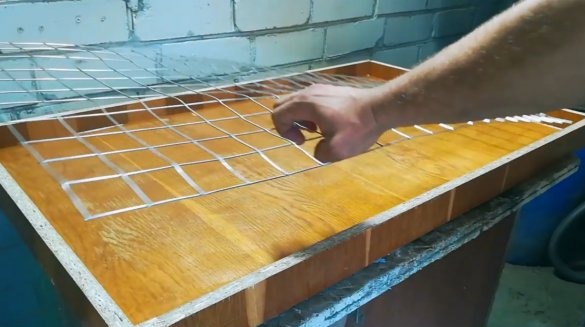
Using scissors for metal, the master cut out a reinforcing mesh 100X60 cm in size. He removes it from the mold before pouring.
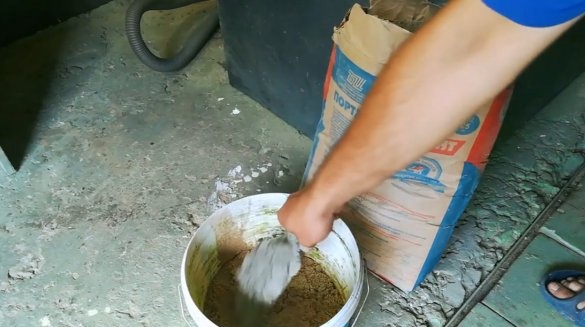
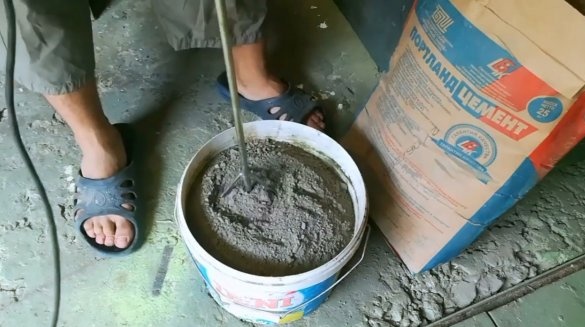
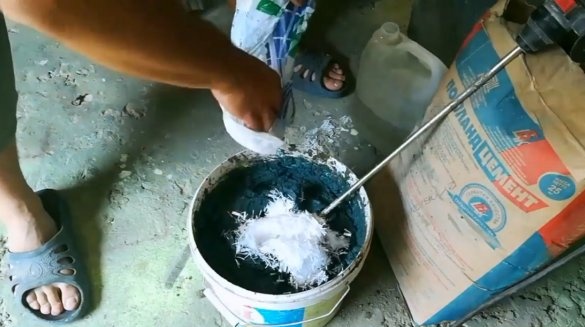
Now he needs to mix cement with sand using a hammer drill or drill with a mixer nozzle.
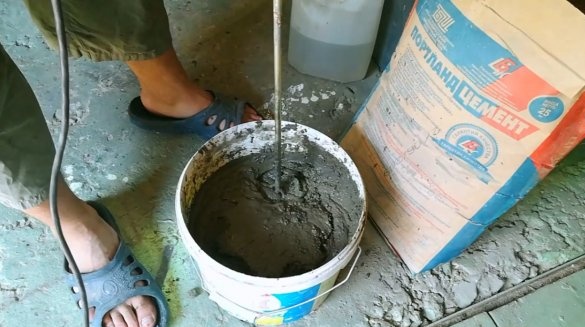
Next, water is added to the mixture, and thoroughly mixed.
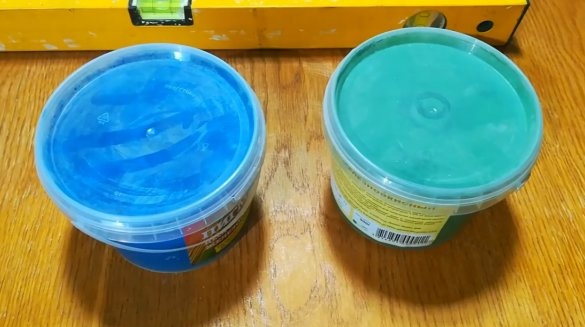
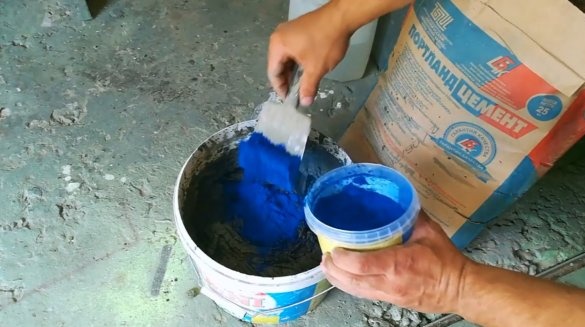
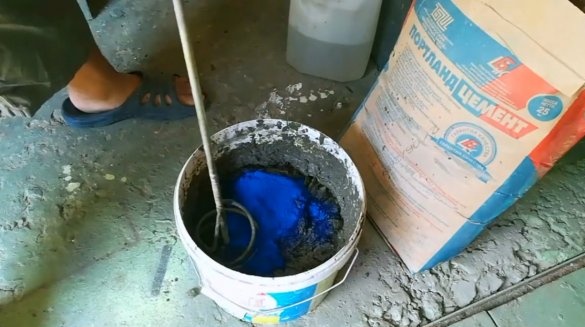
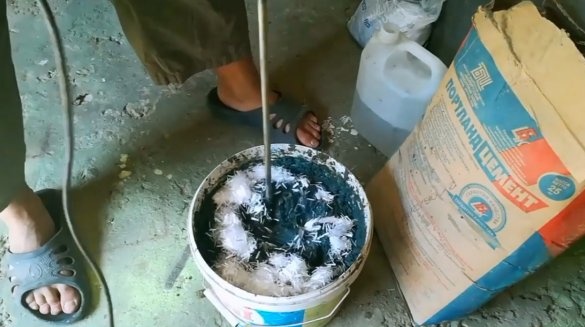
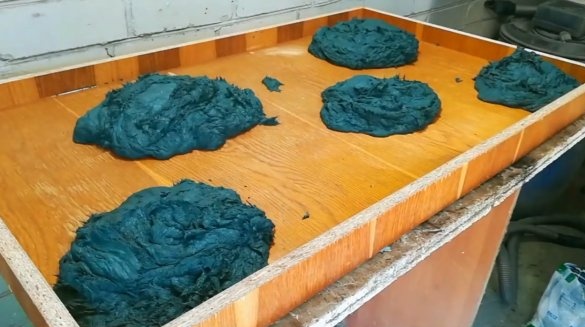
Then a blue dye for concrete is added to the mixture, and again the solution is mixed.
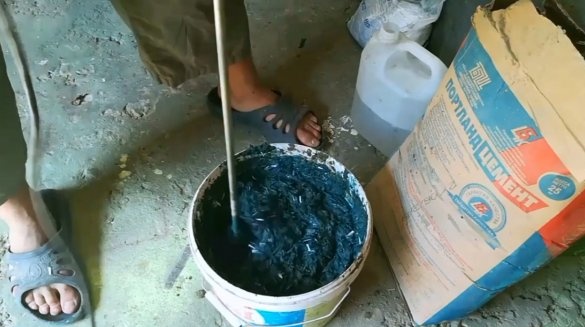
It remains to add reinforcing fiber to the solution, and mix for the last time.
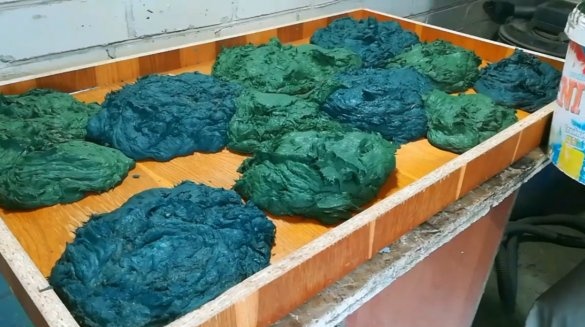
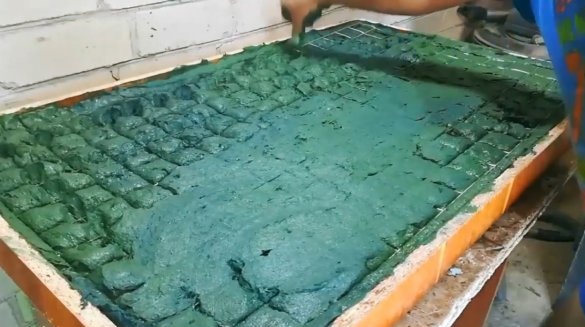
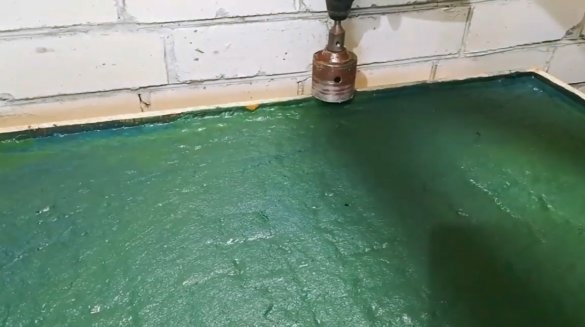
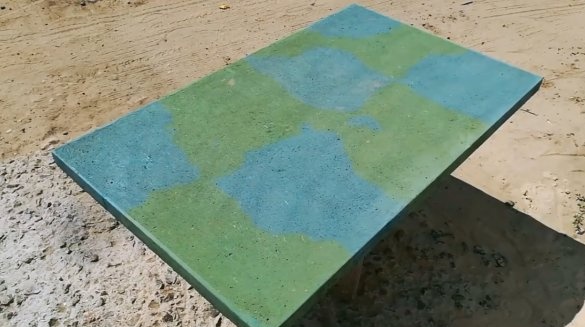
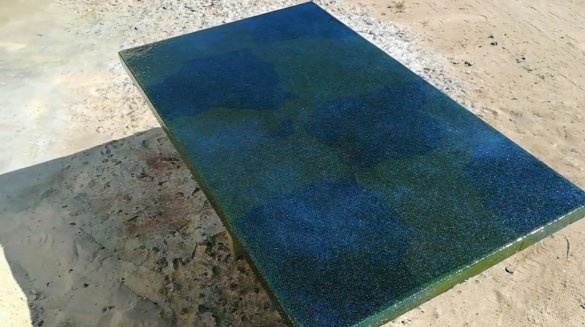
It scatters the solution on the surface of the form in separate "islands".
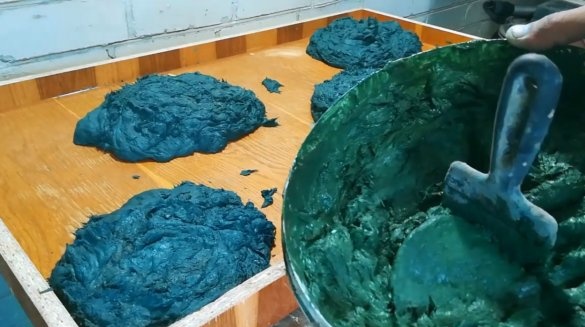
Further, Vladimir repeated the kneading procedure, but added a green dye to the solution. Then scattered it between the previous one.
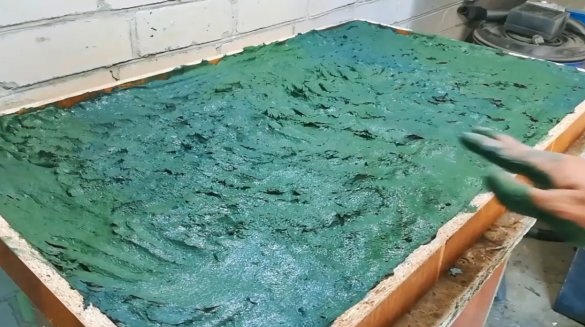
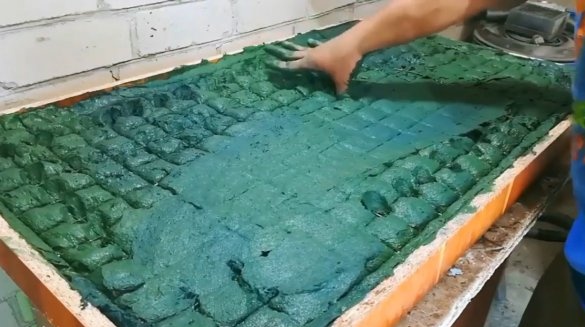
The surface of the solution in the mold is slightly leveled.
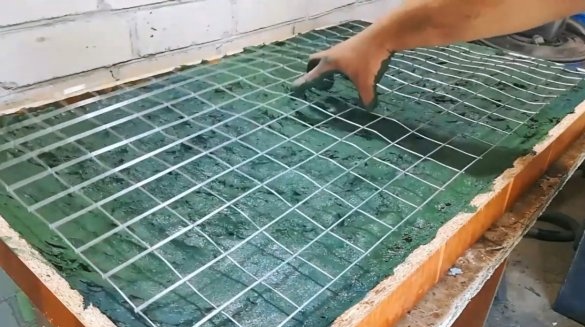
Now you can lay the reinforcing mesh, and recess it to half depth.
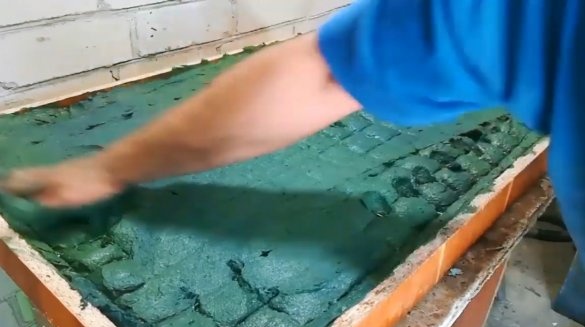
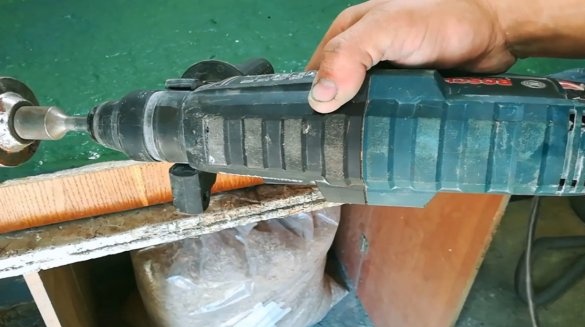
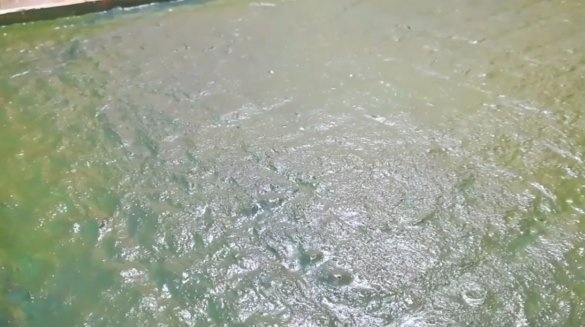
Vladimir does not have a vibration table at his disposal, and he replaces it with a conventional punch, setting it in shock mode. Applying the nozzle at different points on the workbench, you can see how the bubbles come out of the solution, and the surface is leveled. After processing with a punch, it is necessary to level the surface with a rule, or with a wide spatula.
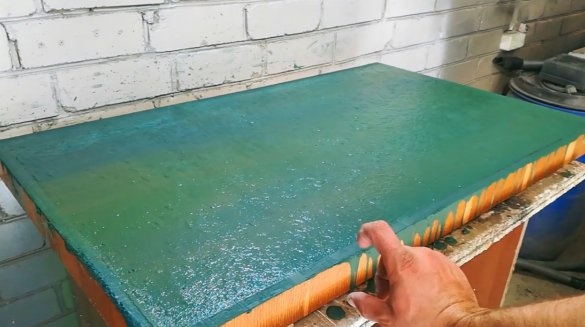
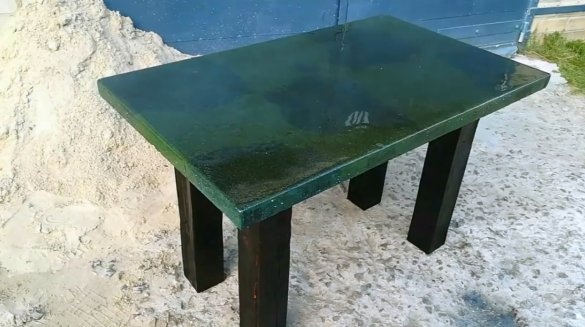
So, after a few days, the concrete mass completely froze, and its thickness is 40 mm. It's time to remove the countertop!
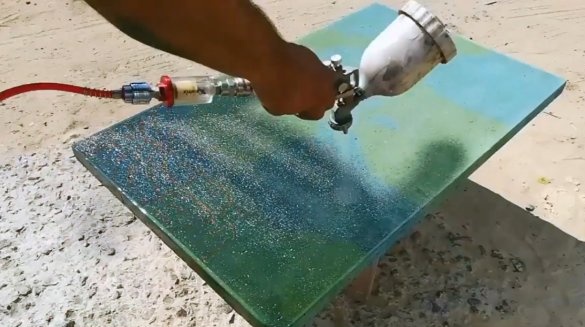
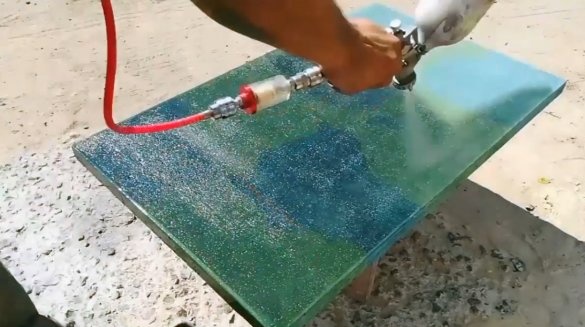
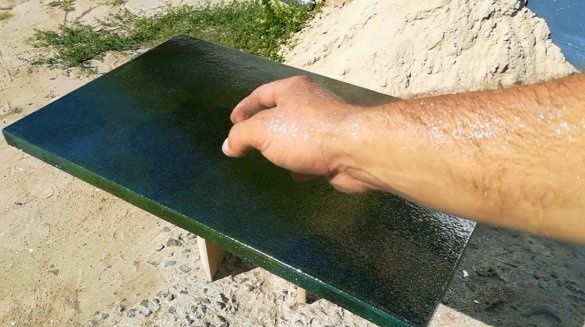
Using a spray gun, the master applies the first coat of varnish.
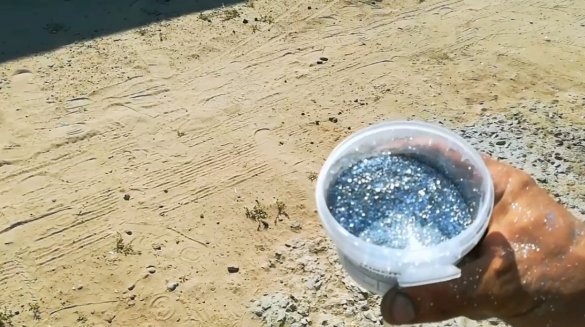
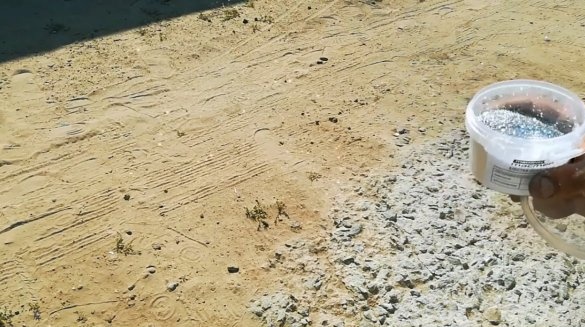
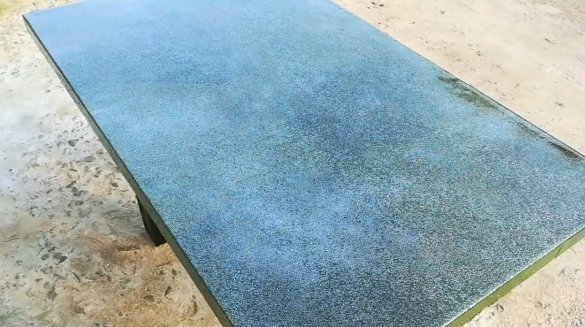
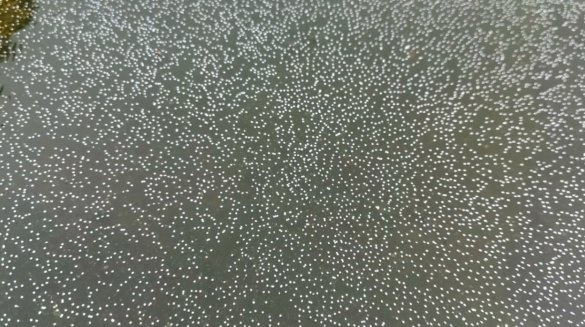
He decided to bring some more charm to the surface. To do this, he added a sparkle, you can see how they shine on his hand. And applying them is very simple - just blow along the can, and they will fly apart themselves.
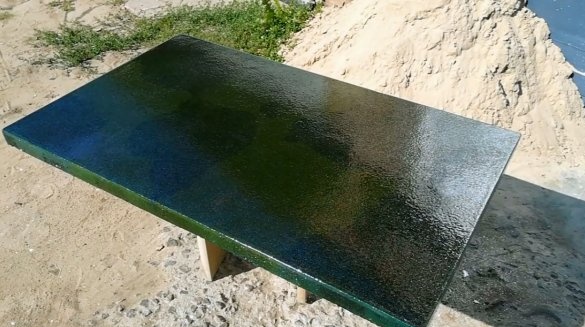
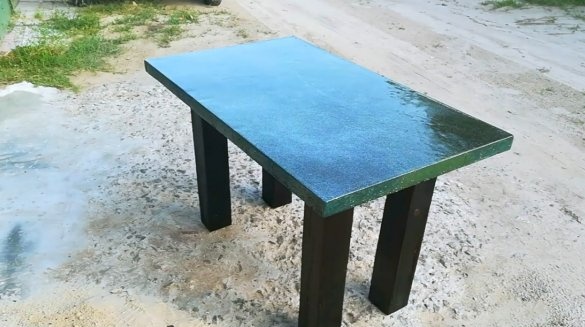
The first coat of varnish froze, and the master applied the second one. You can see how interesting the surface looks.
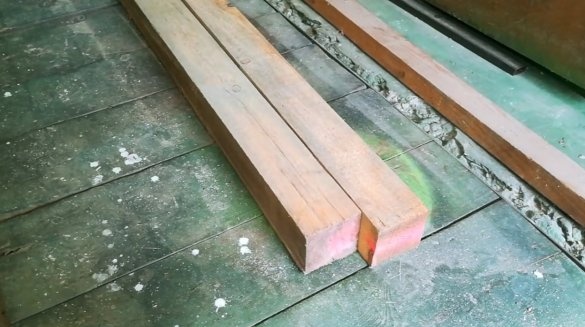
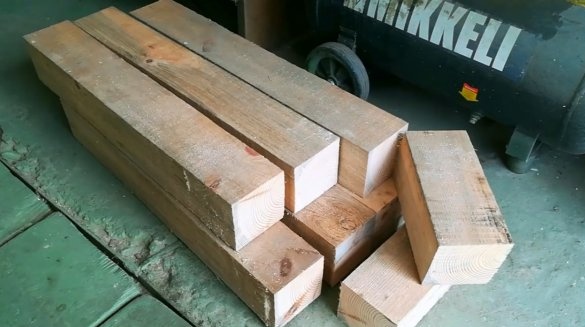
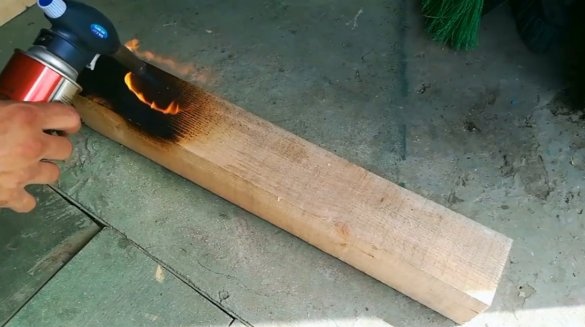
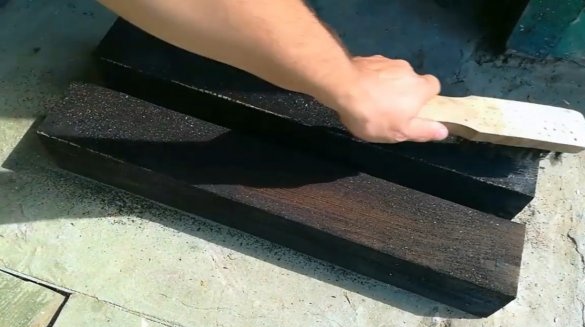
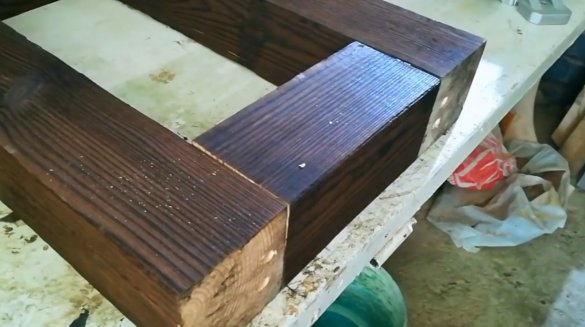
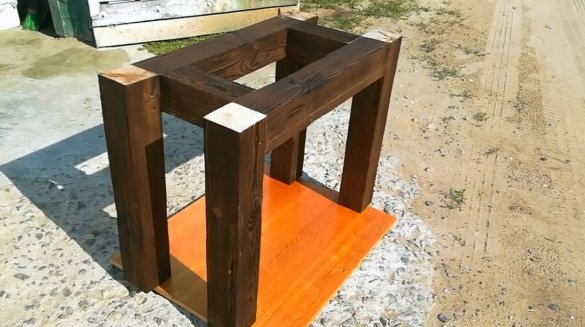
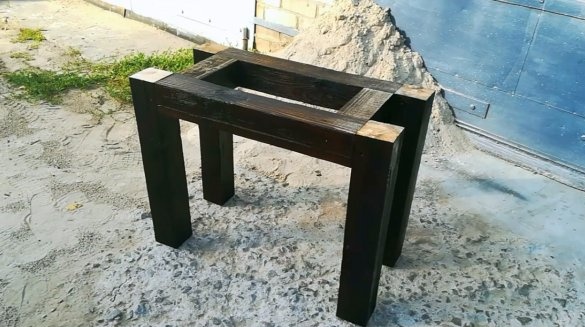
While the varnish dries, the author makes a support for the countertop. To do this, he cut blanks for legs and lintels from pine beams. As a pre-treatment, he chose strong firing with a gas burner.
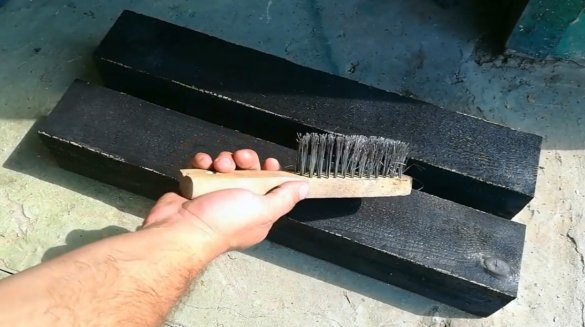
Then brushed the surface with a metal brush. This technique allows you to clearly highlight the volumetric texture of the fibers.
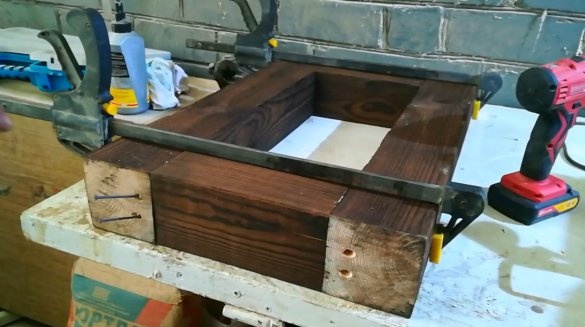
Lubricating the joints with PVA glue, pulled the structure with clamps.
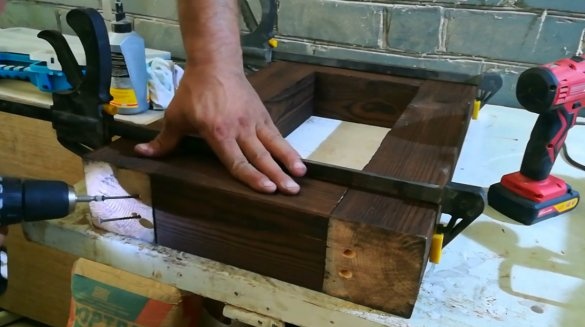
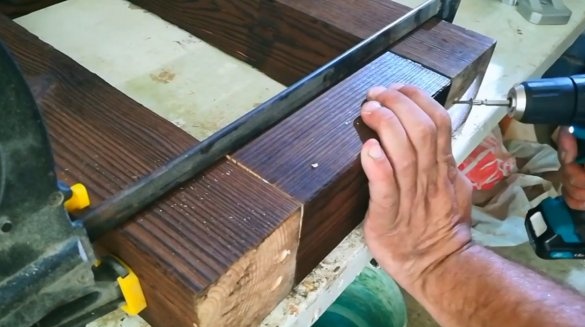
Then he strengthened the connections using the “oblique screw” method.
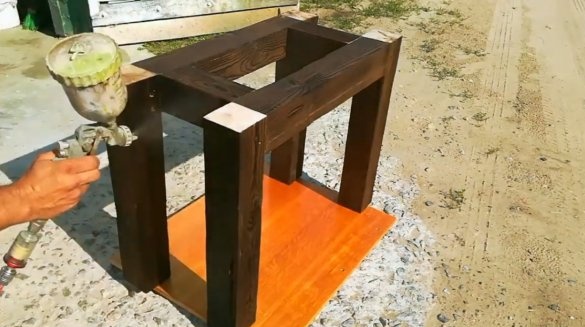
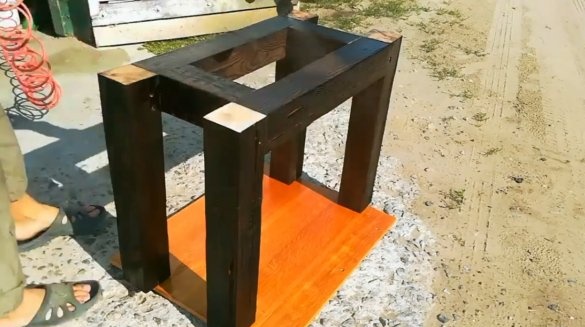
I glued it, and screwed the legs to the frame, and covered it with several layers of varnish. It is important to cover the lower parts of the legs, because this is the most moisture-prone place.
The author did not fix the countertop. Just laying it on a support, he could not move it, or skew it. She is very heavy.
And here is the glitter near.
Thanks to the author for the simple and at the same time original idea of creating a table!
All good mood, good luck, and interesting ideas!
Author video can be found here.

