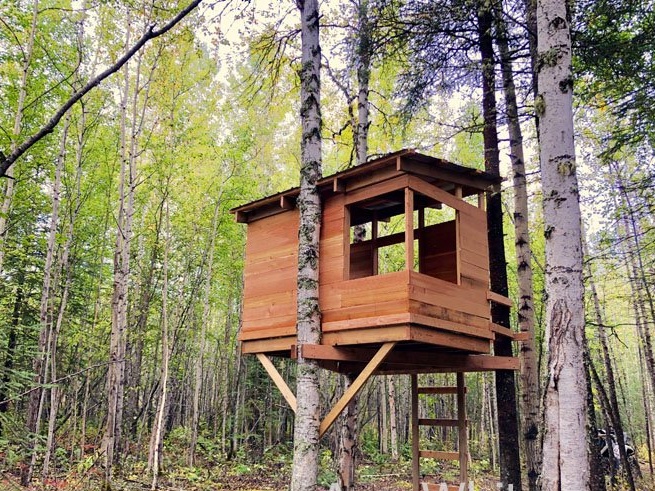
Construction tree house seems to be not an easy task. But if you have all the necessary materials and a faithful assistant, do not give up the opportunity to please your children!
Three trees with even trunks growing at a suitable distance from each other served as the base for the house. As a rule, such trees with an even base and with no branches on the lower tiers can only be found in the forest. At the same time, trees grown in open areas have an “irregular” and asymmetrical shape and are not suitable for such projects.
The author uses pre-painted lumber. An oil stain was used for painting, which acquires water-repellent properties after drying, thereby protecting the wood from the effects of mists and precipitation. The advantage of this coating is the ability to update the stain layer at any time without thorough preparation of the base, as is the case with oil or alkyd paints.
To build a treehouse do it yourself you will need:
Materials:
- board for the manufacture of the base of the frame with a thickness of 30-40 mm, pre-painted;
- a board 25-35 mm thick for the manufacture of frame trusses;
- boards for the lower and upper frame strapping;
- shalevy 25 mm thick for sheathing the frame, pre-painted;
- floor beams - boards 25-30 mm thick;
- boards or bars for the device of the second tier fence and the manufacture of stairs;
- metal roofing material, such as corrugated board, preferably galvanized or painted;
- screws, wood and metal screws, nails.
Instruments:
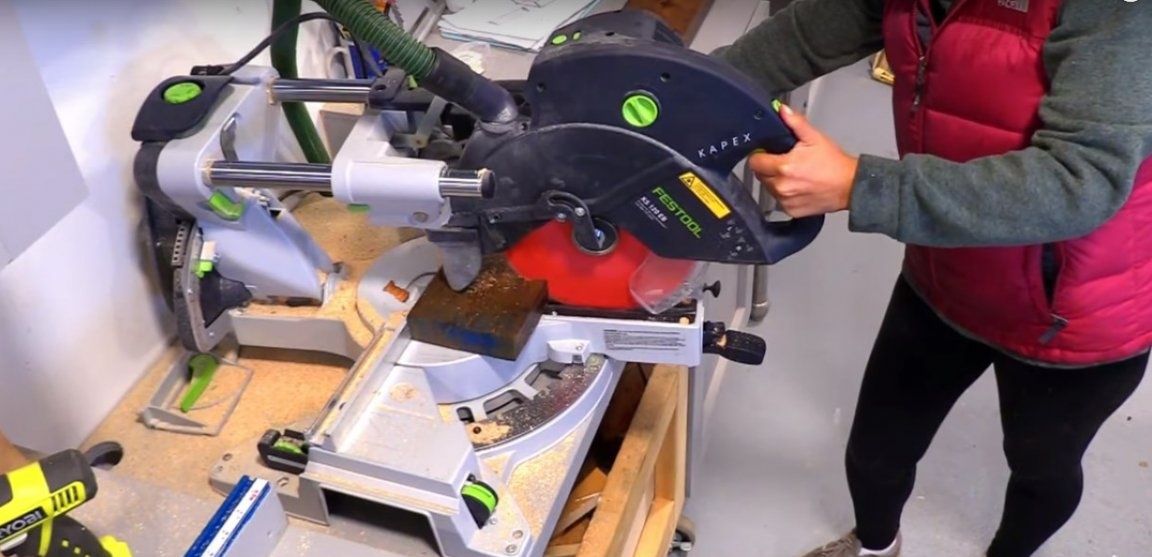
- Miter saw;
- cordless drill;
- cordless screwdriver;
- circular manual battery or hacksaw for wood;
- hammer;
- square, construction tape, construction level, marker.
Step one: choosing a place, drawing, choosing materials
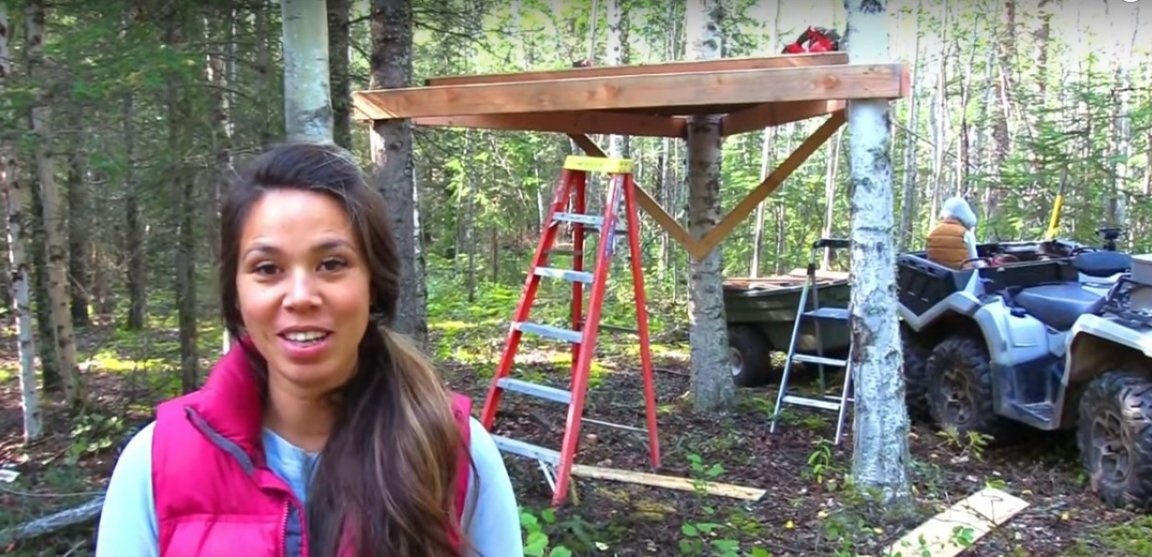
The author chose a place with three trees forming a triangle, which have a fairly even base.For these purposes, mature trees within the forest are suitable, the growth of which has already slowed significantly. In addition, trees growing in the forest tend to go up in search of sunlight, due to which they have an even trunk and almost complete absence of the lower tier of branches.
As a basic material for the manufacture of a house frame, a bar with a section of 40 x 60 mm or a board with a thickness of at least 35-40 mm is perfect. For the manufacture of frame trusses, lower and upper trim, boards of smaller thickness can be used. Whereas for cladding, a normal shalevka or even a pine lining will do.
Having decided on the base of the house, prepare a drawing, where you determine the main dimensions of the structure and some elements.
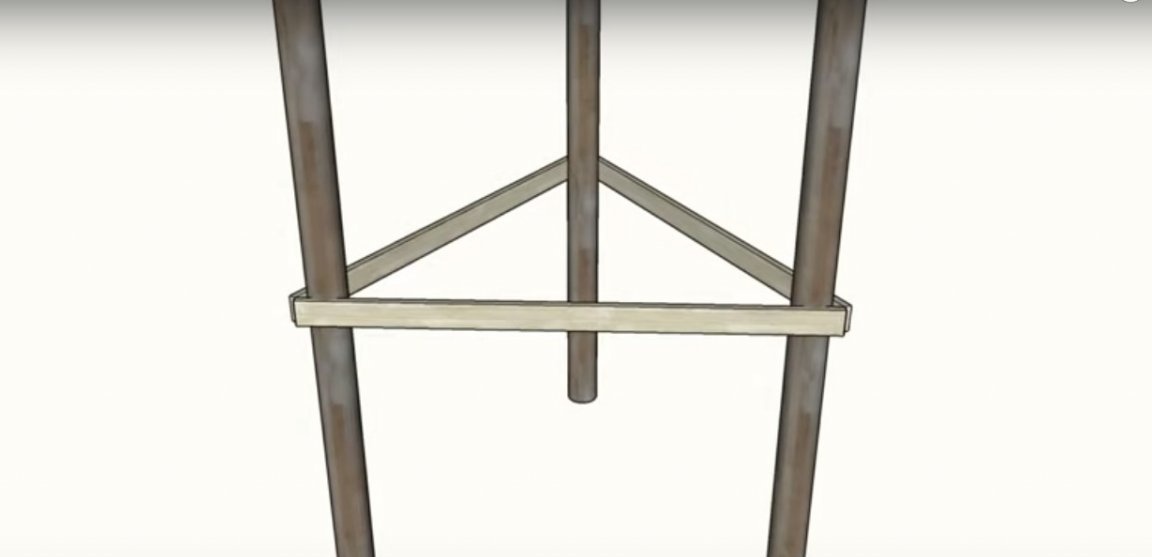
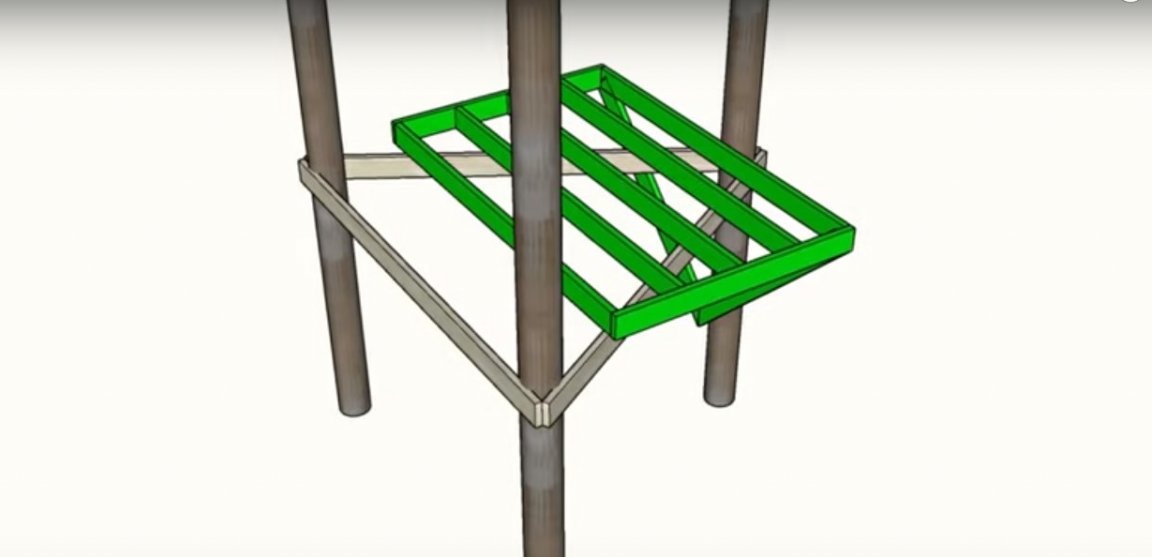

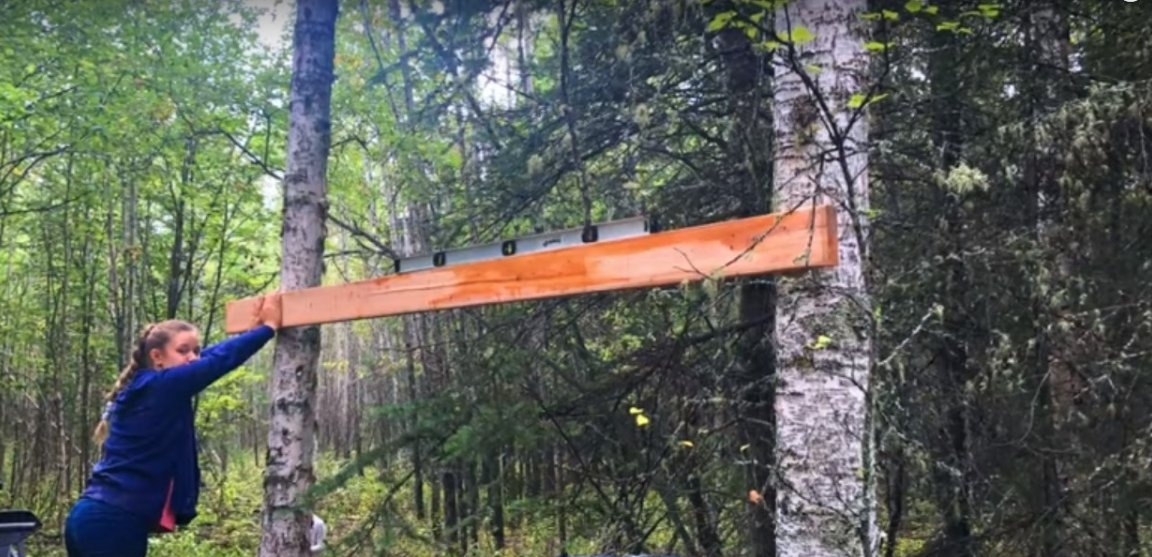
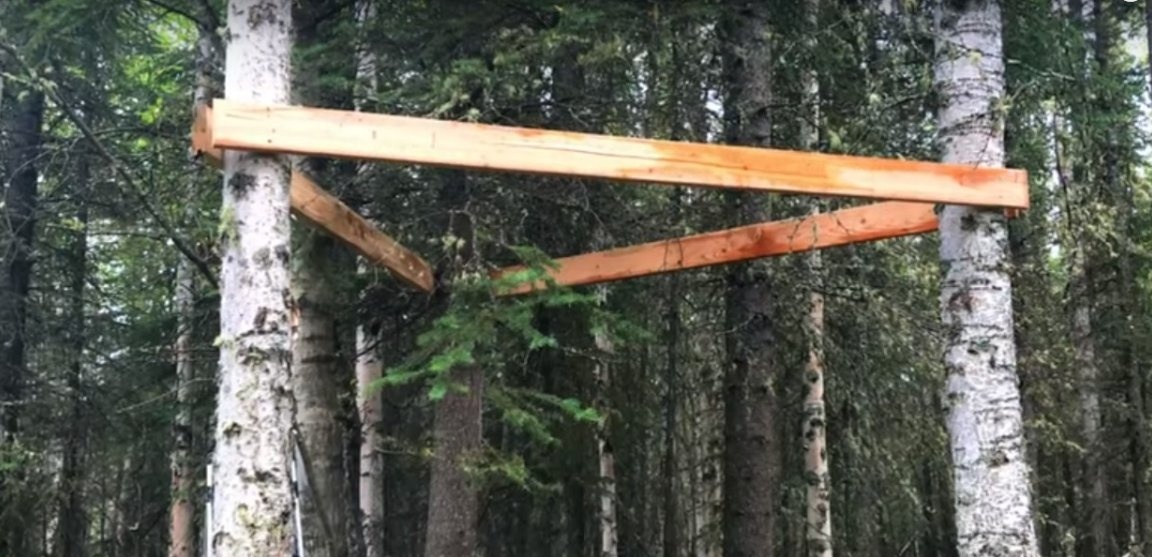
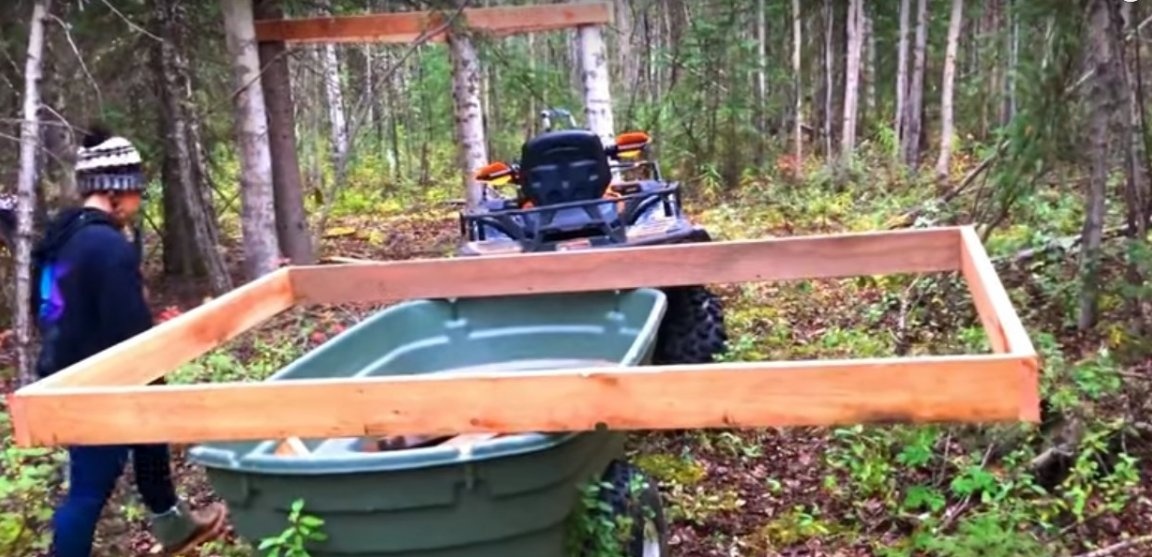
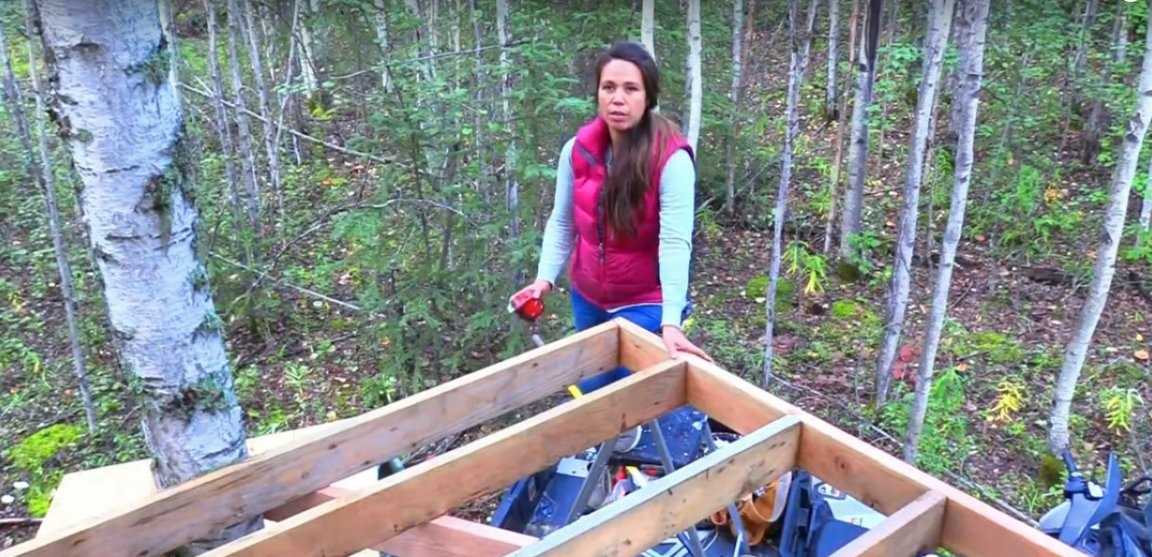
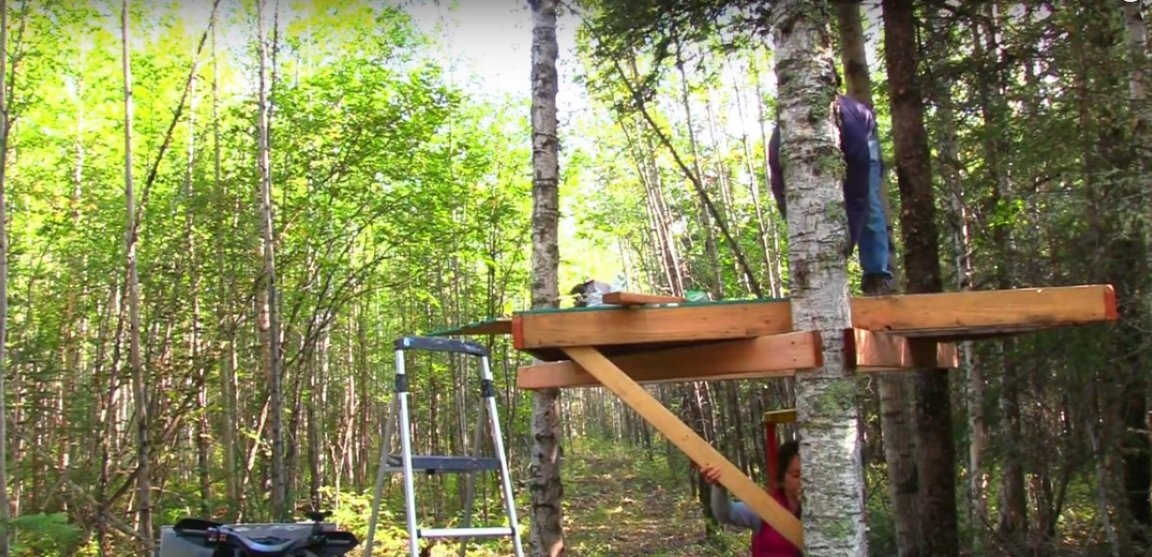
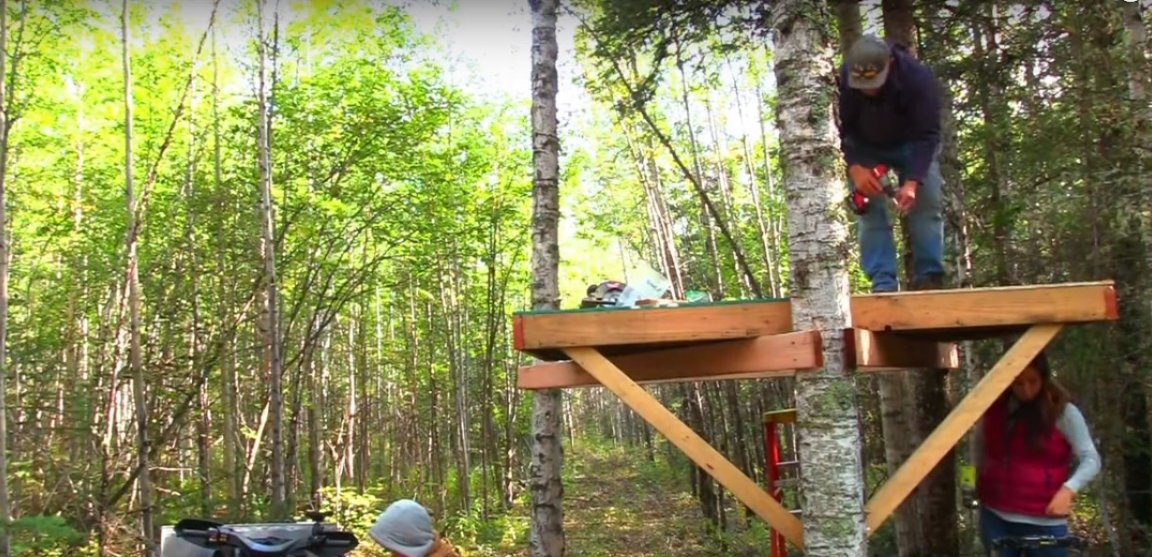
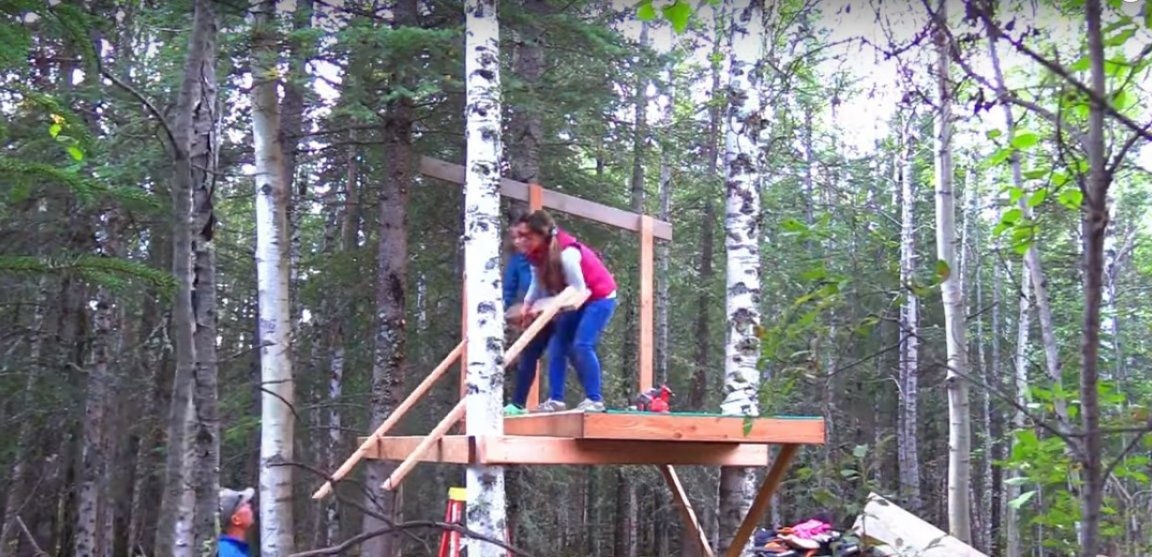
Step Two: Arrangement of the base for the treehouse
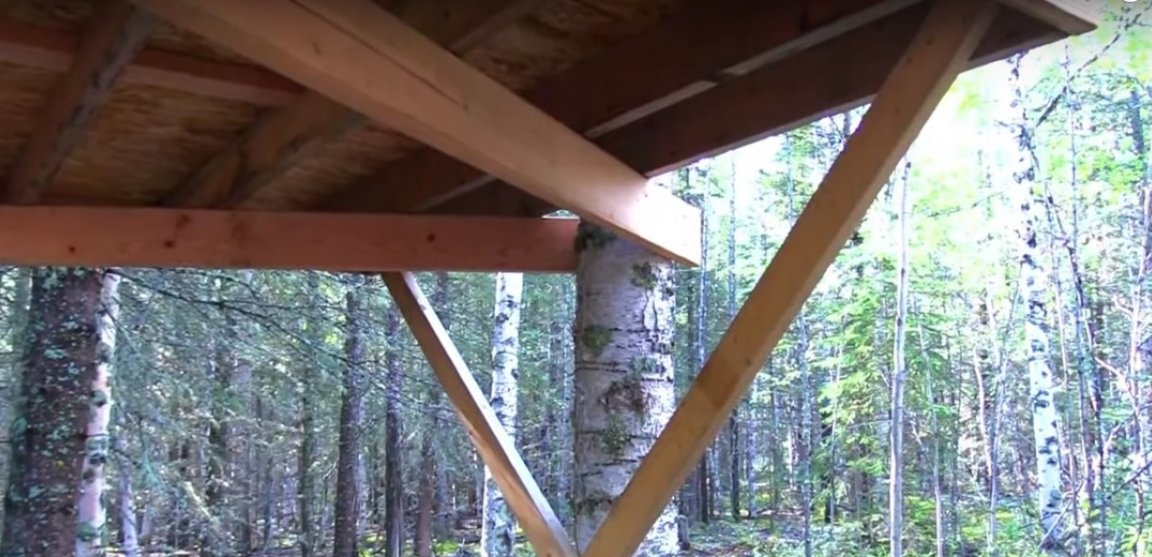
The foundation for the house was a strapping in the shape of a triangle, screwed directly to the trunks of trees. It has a rectangular frame base with longitudinal jumpers. For reliability, the base is fixed on one side to the tree trunk with diagonal struts.
The base and the foundation triangle can be additionally fastened together by metal plates or corners.
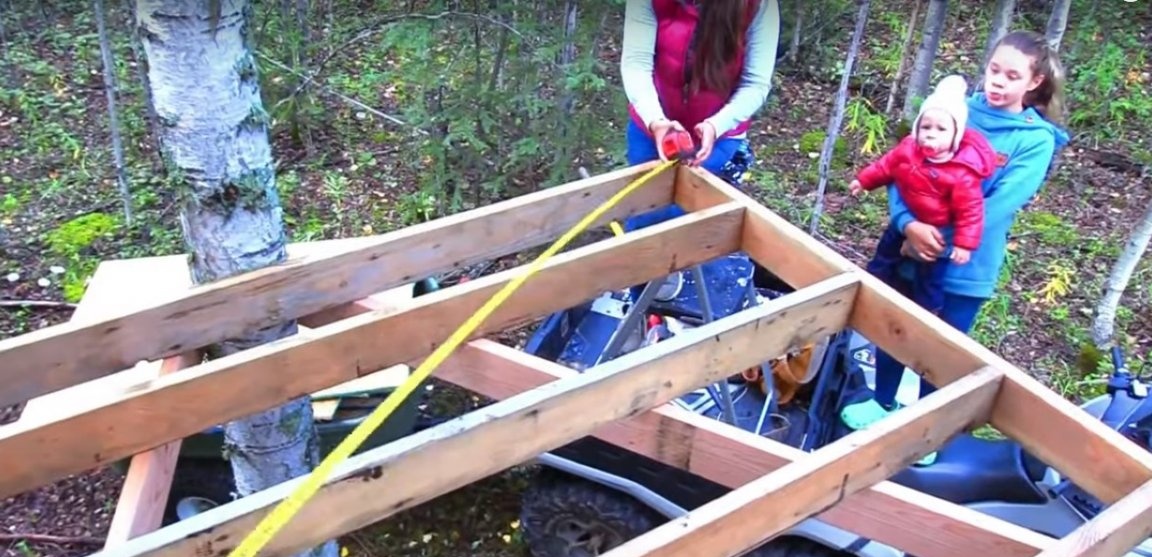
Use the building level to position the base as evenly as possible.
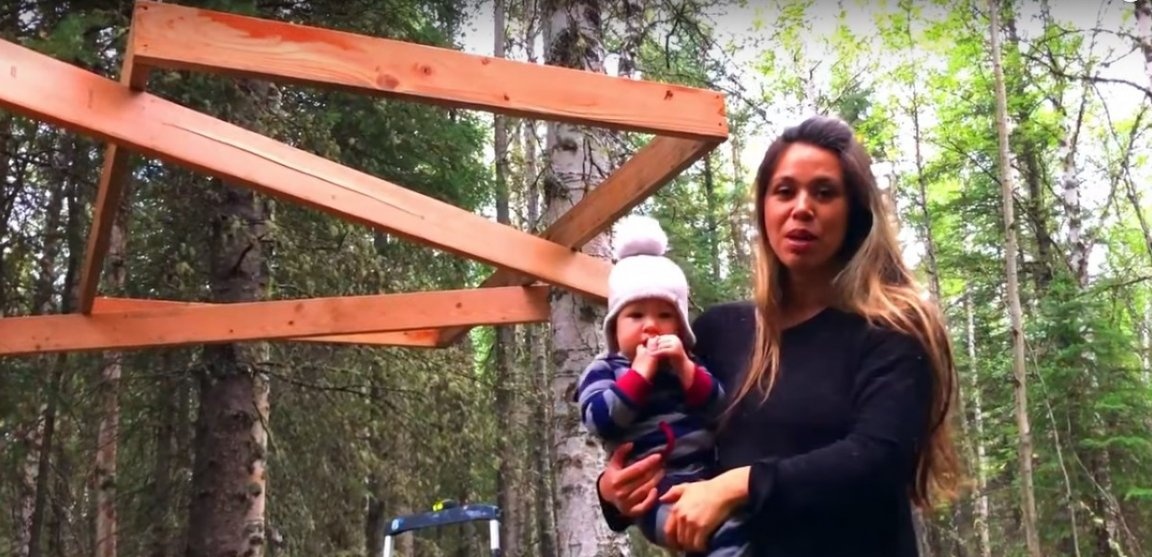

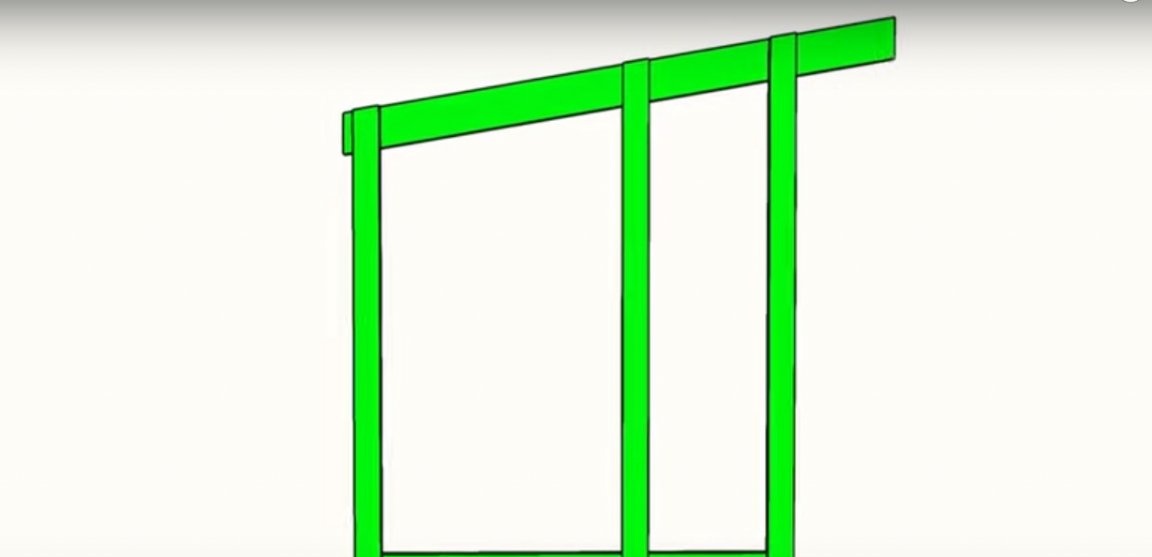
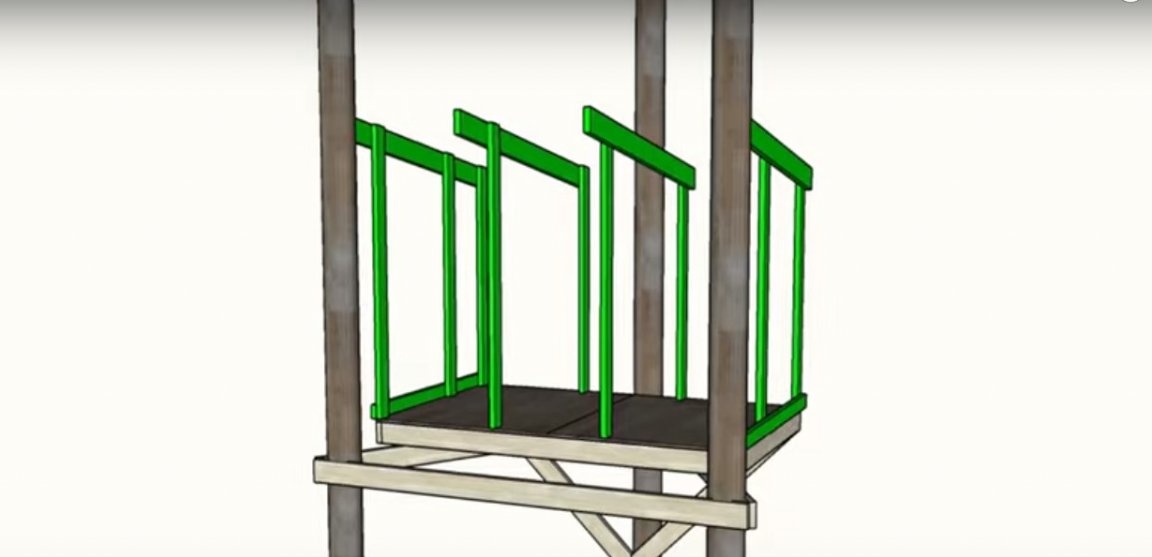
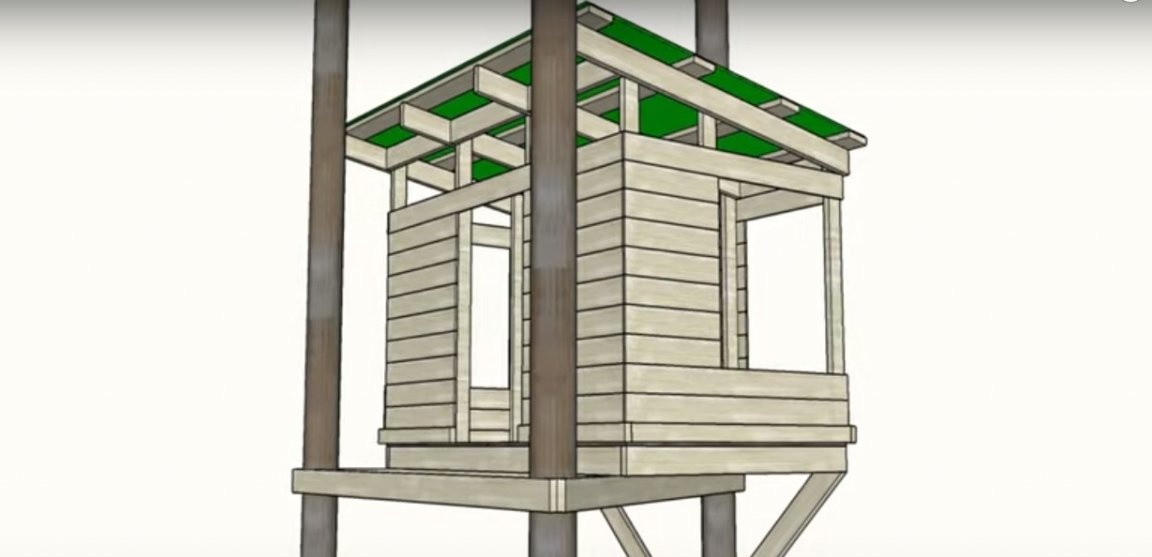
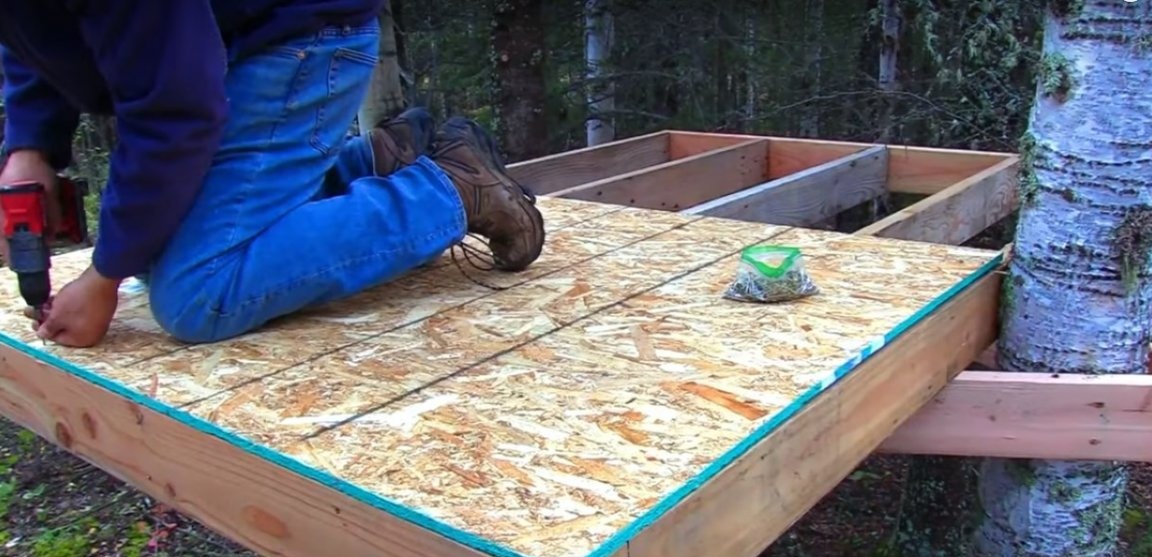
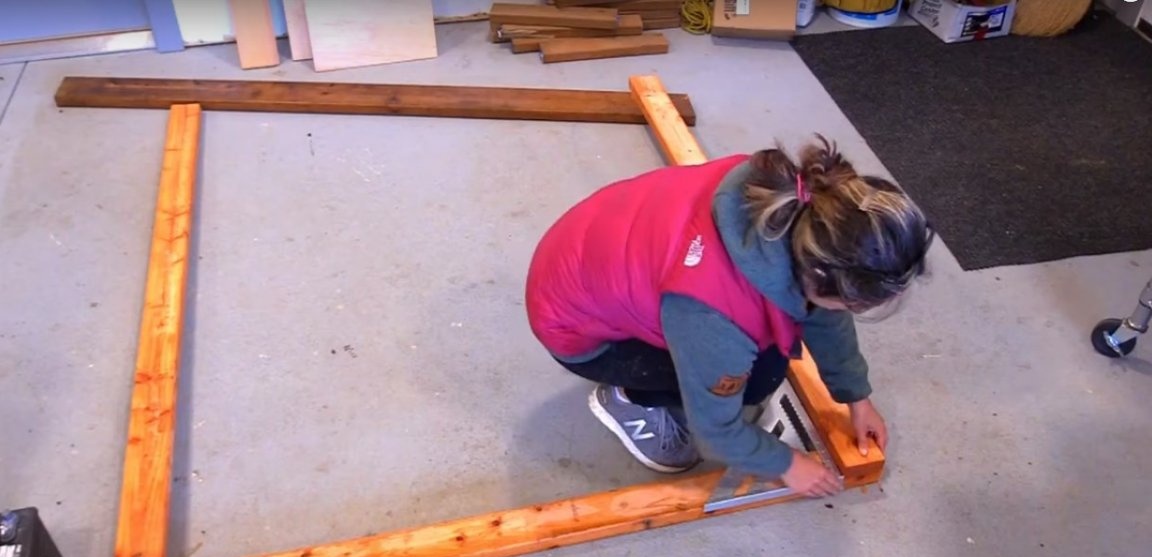
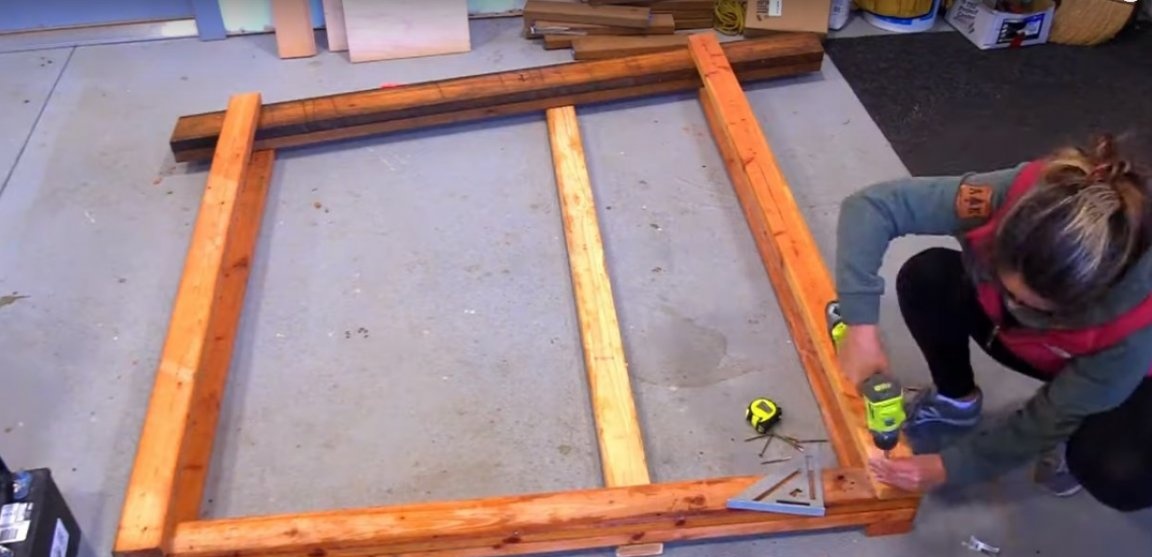
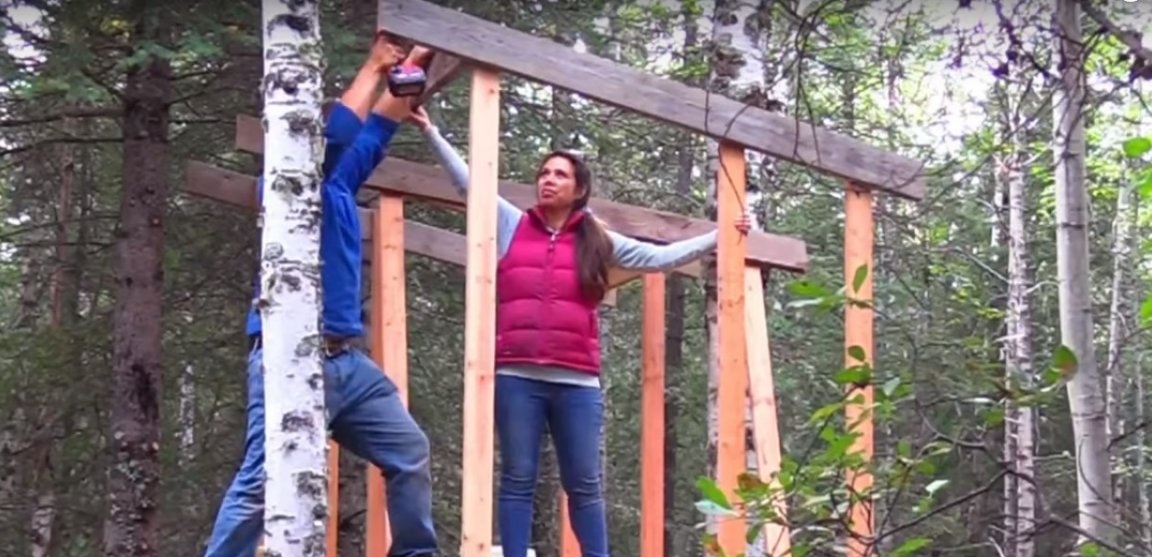
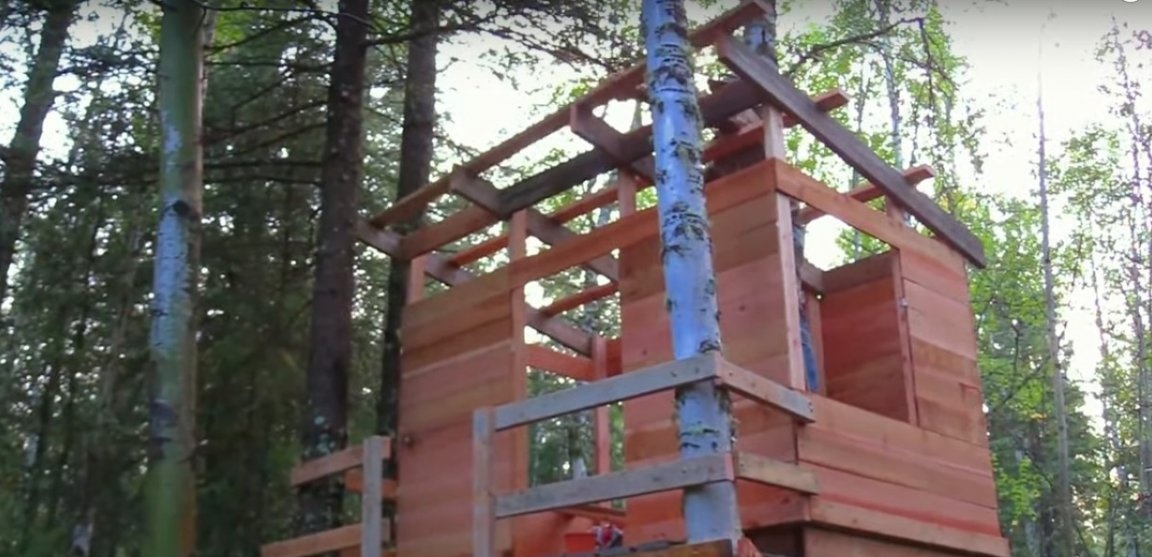
Step Three: Frame Assembly
Sew the base of the frame with a sheet of OSB or plywood. Proceed with the installation of farms. In order to facilitate the process, each farm is level and fixed with a time spacer.
After that, perform the upper wall trim using a screwdriver and self-tapping screws. Repeat the same with the lower harness.
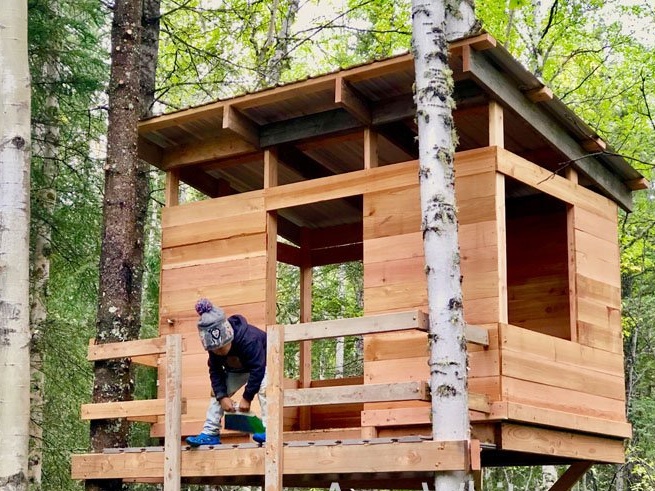
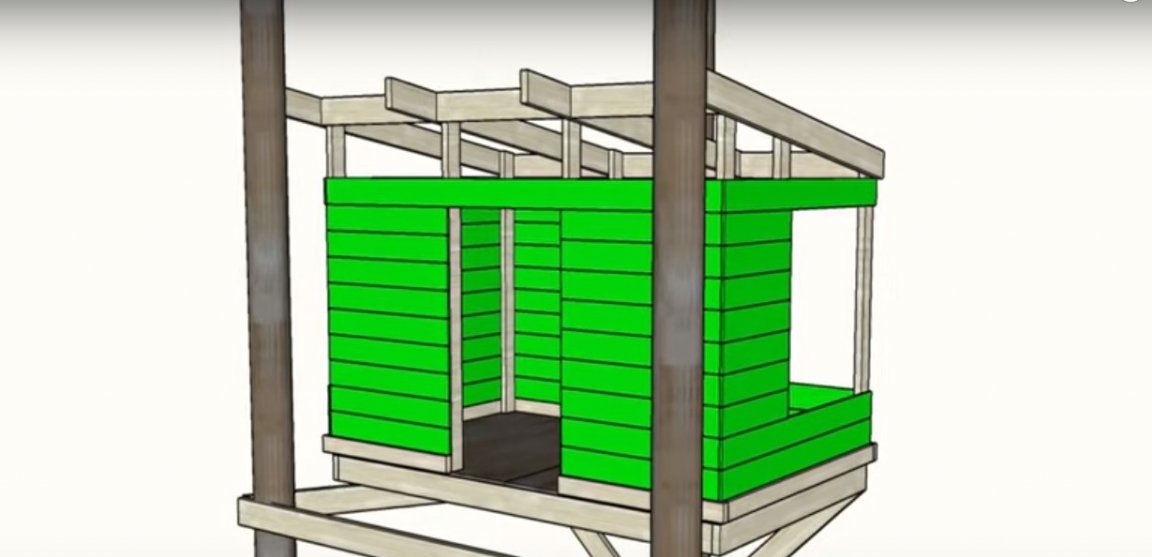
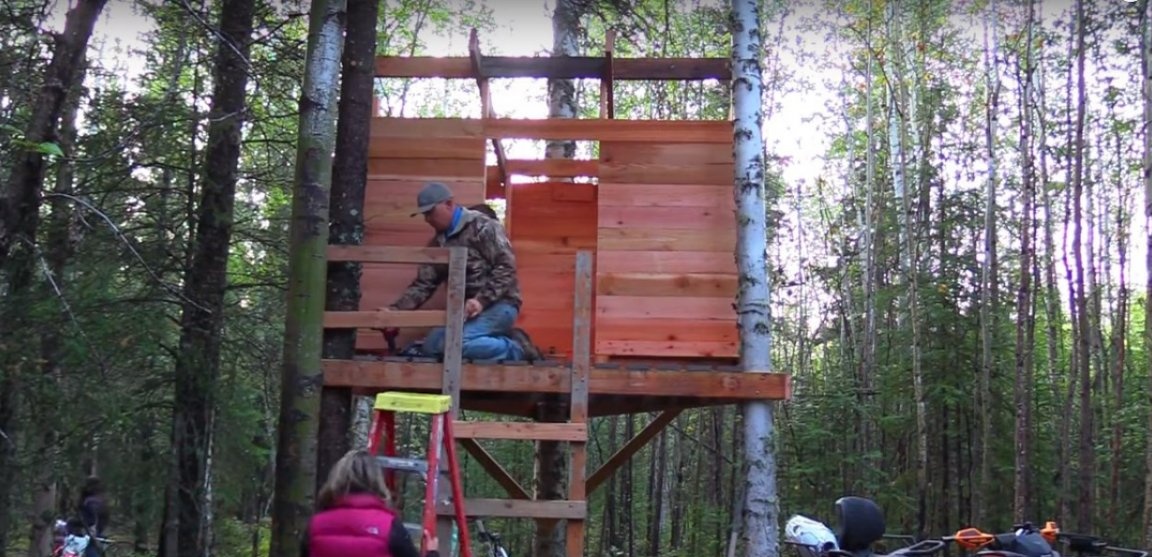
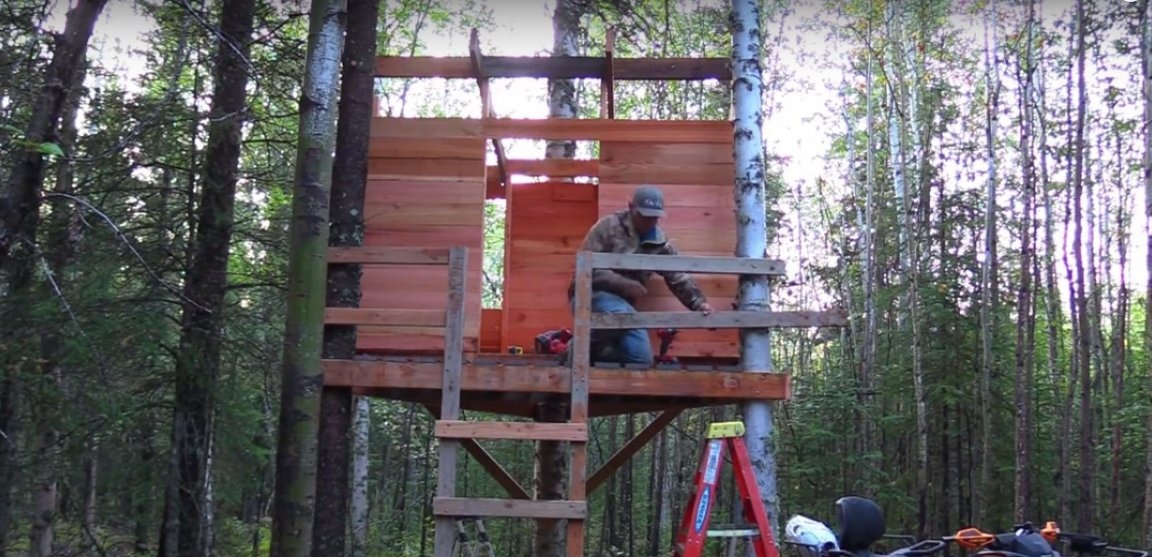
Step Four: Wall Cladding
Decide on the location of windows and doors and proceed to sheathing the house. Please note that all cladding work is carried out from within the structure. Therefore, you need to build the work in such a way that you always have access to the place of attachment of the boot. For the same reason, shalevy should be pre-painted.
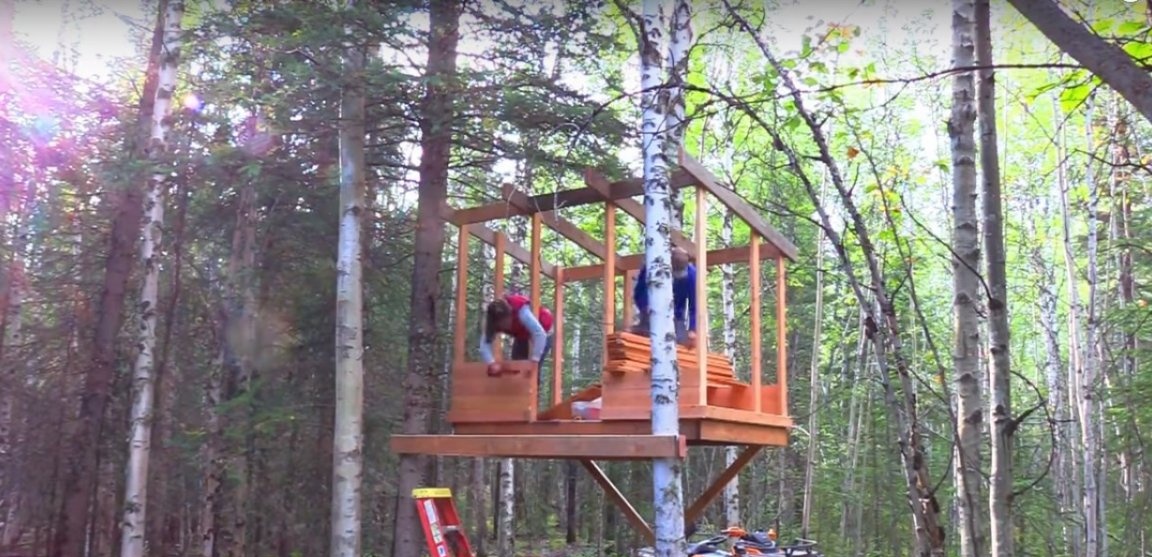
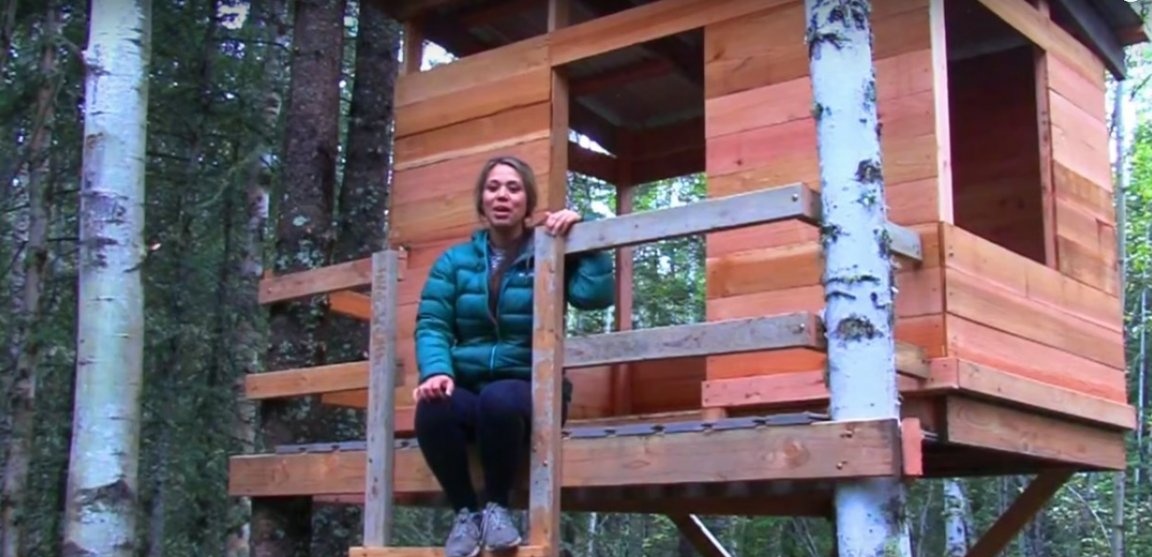
Step Five: Arrangement of a terrace and fencing
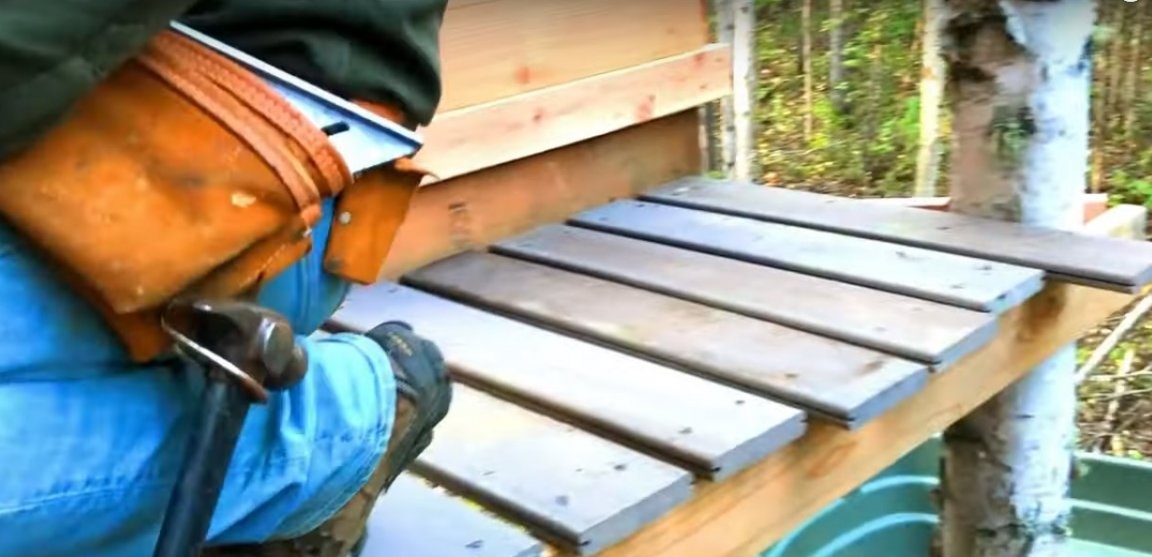
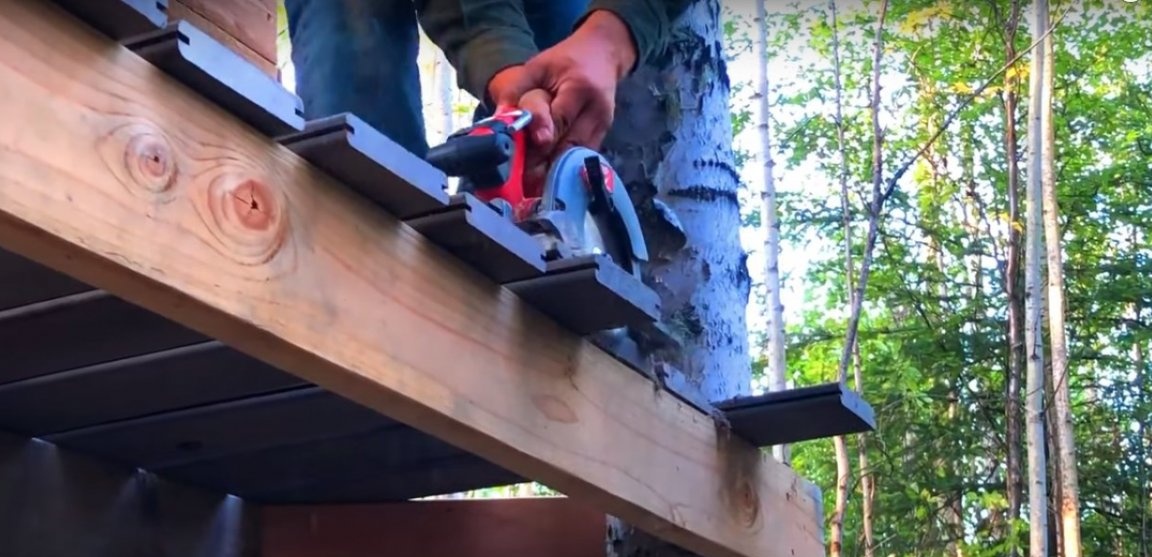
Make flooring from the boards at the entrance to the house. To do this, fasten the boards with screws, and cut off the excess material as shown in the photo.
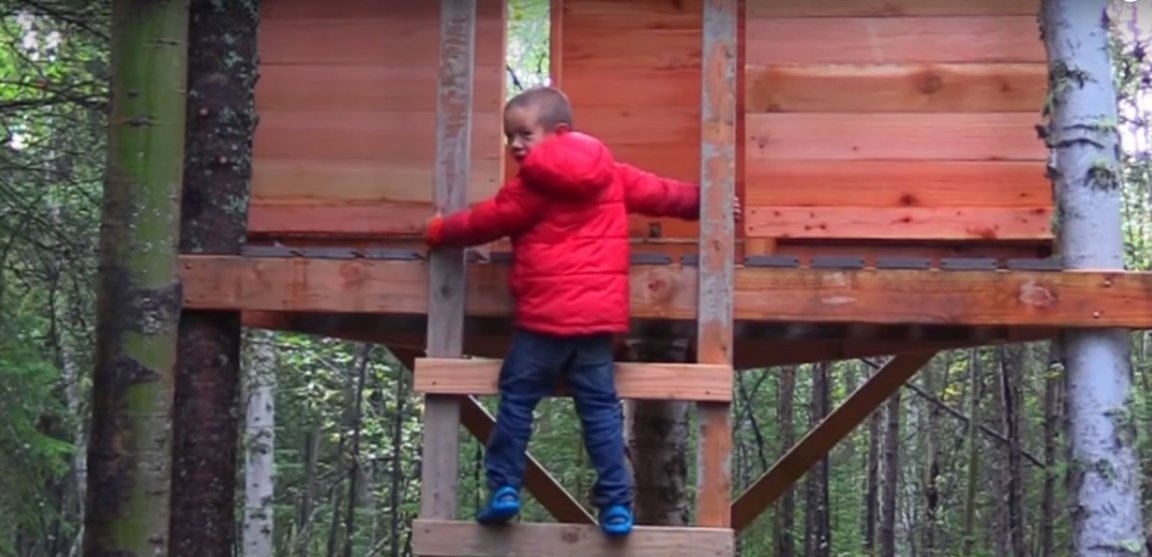
From the remnants of the bars and boards, make a simple lattice fence for the terrace. The same material is perfect for stairs.
In this project, the staircase is set at 90 degrees, and the steps are fixed "on the edge".
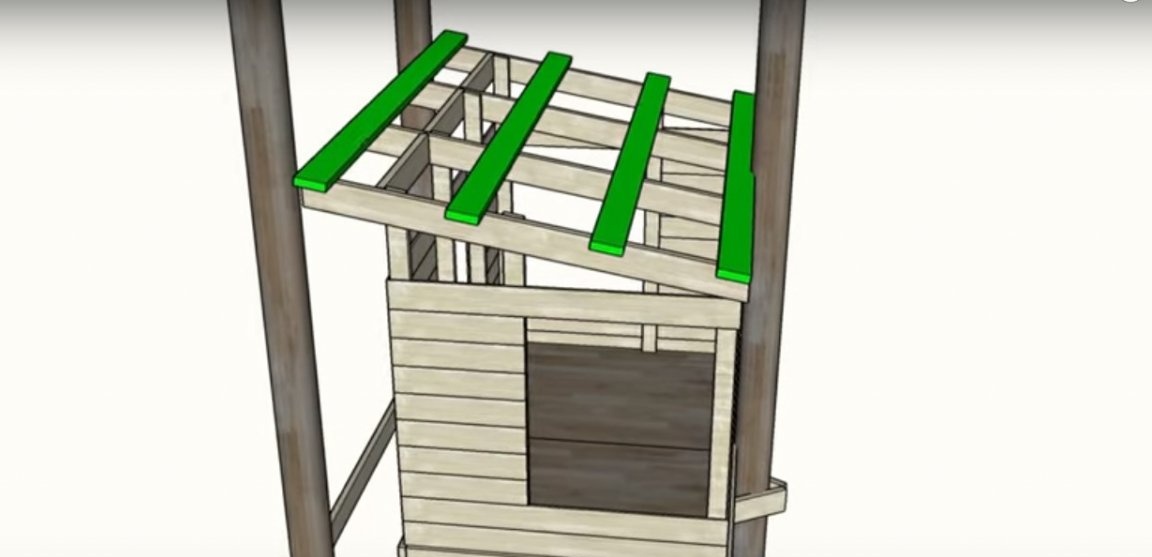
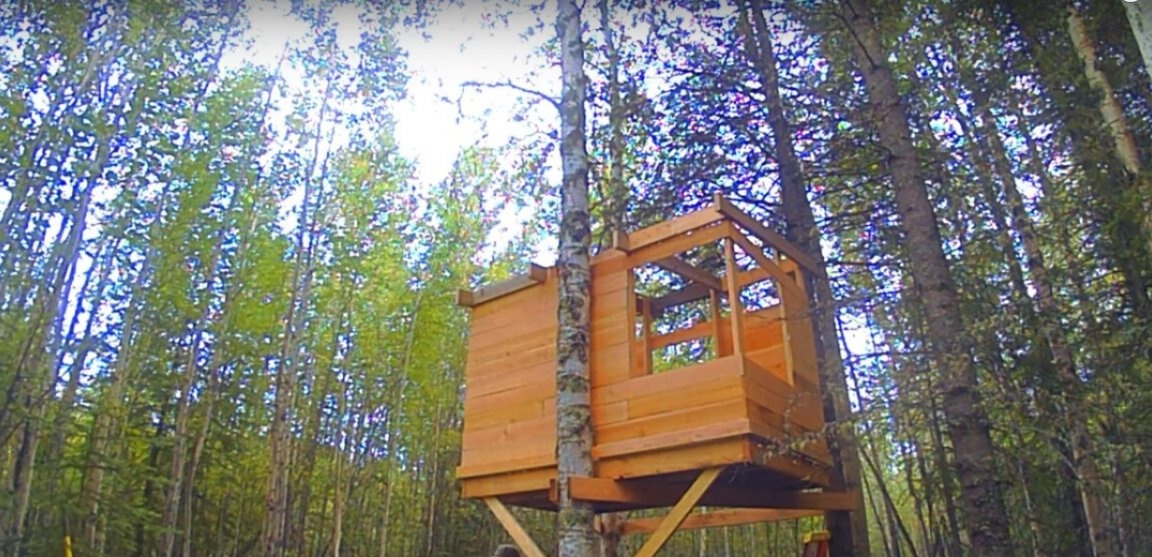
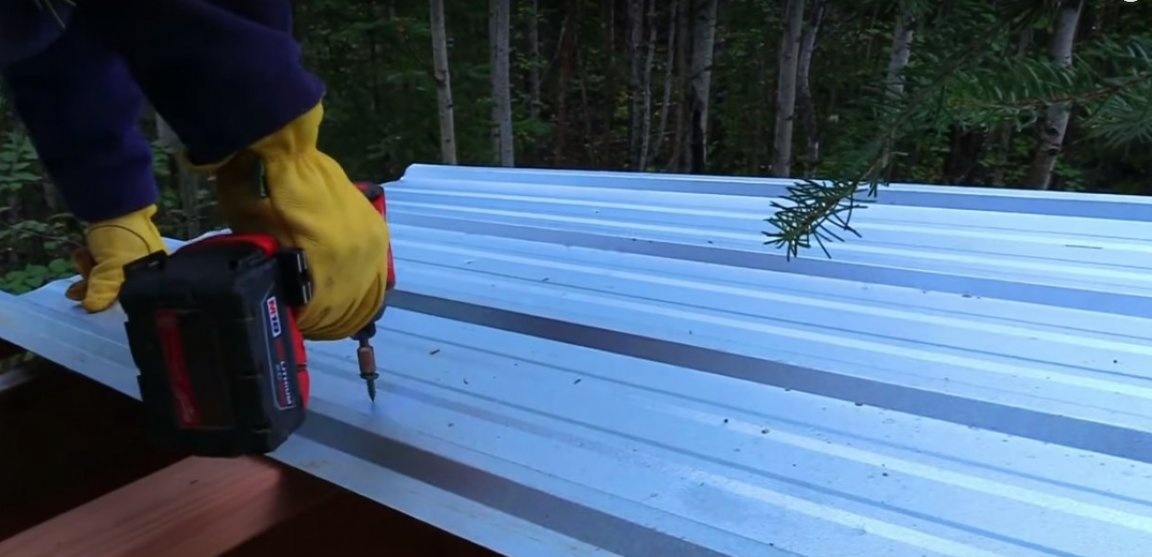
Step Six: Roofing
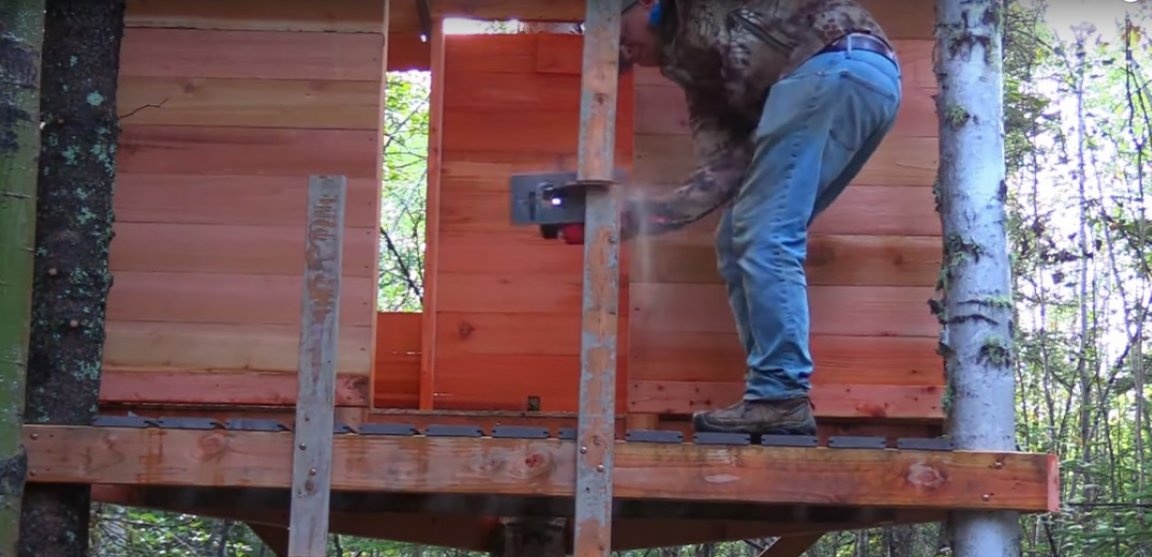
Galvanized iron was used as roofing material. And no wonder, because this is the most reliable and cheapest option for this kind of task. It is durable, easily mounted with metal screws, does not rust and is easily dismantled if necessary.
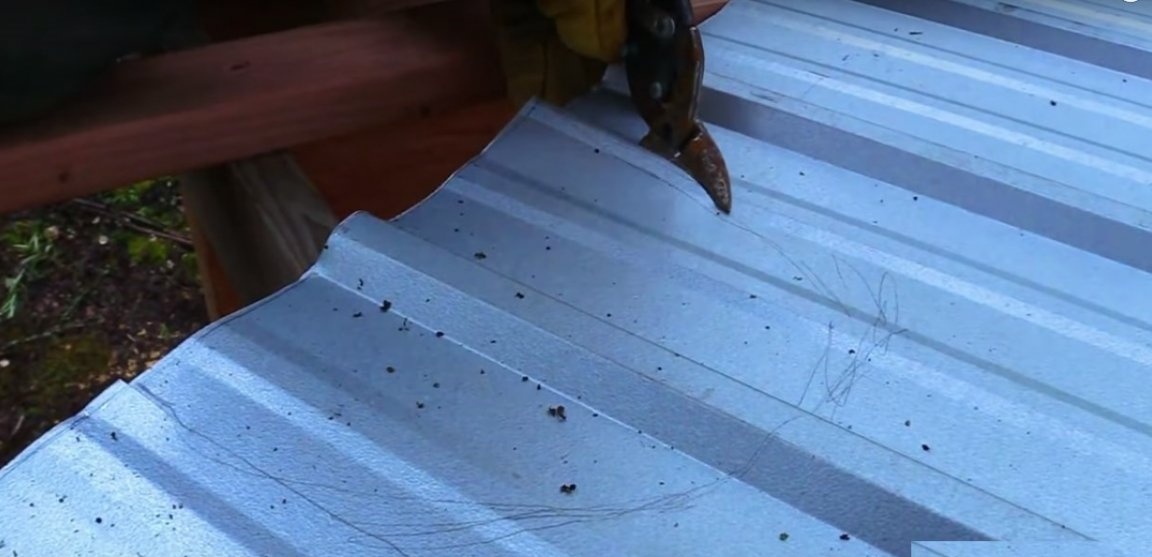
The author cut a notch under a tree trunk using metal scissors before securing the sheet.

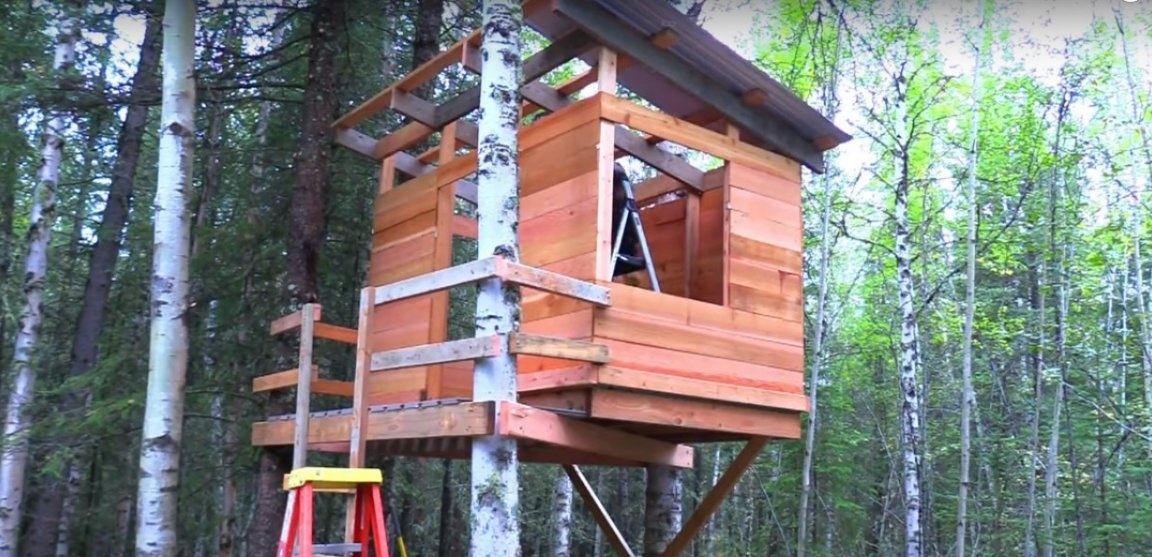
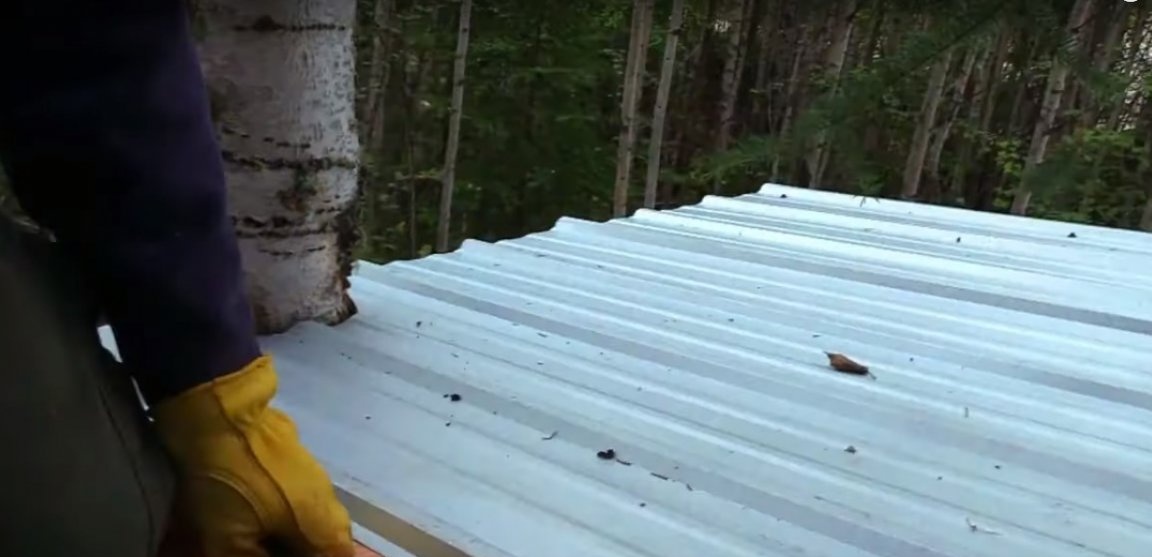
The house is ready! This is a fairly simple and practical basic design that you can complement with your own ideas and get a completely different result.
Do not miss the opportunity to please your child!