

Today I want to share with you material on building stairs to the second floor in the garden house.

1. Background.
2. Designing the stairs.
3. The layout of the stairs.
4. Materials and tools.
5. Construction.
6. Luke.
7. Railing.
8. Painting.
9. The result.
1. Background.
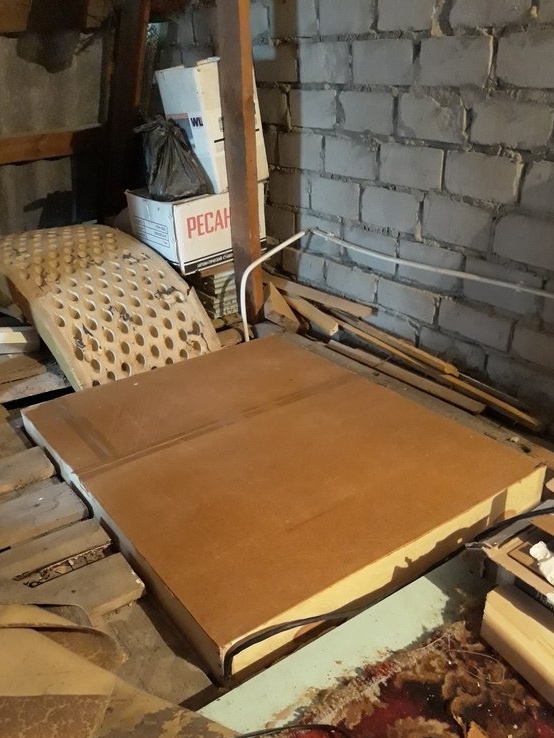
After replacing the lag and the floor in the kitchen, naturally the mistress of the house was left without a staircase to the second floor. Since it had to be dismantled for the aforementioned work. It should be noted that the old staircase was not very convenient, since it had a large tread of 340 mm. She looked like that.
2. Designing the stairs.
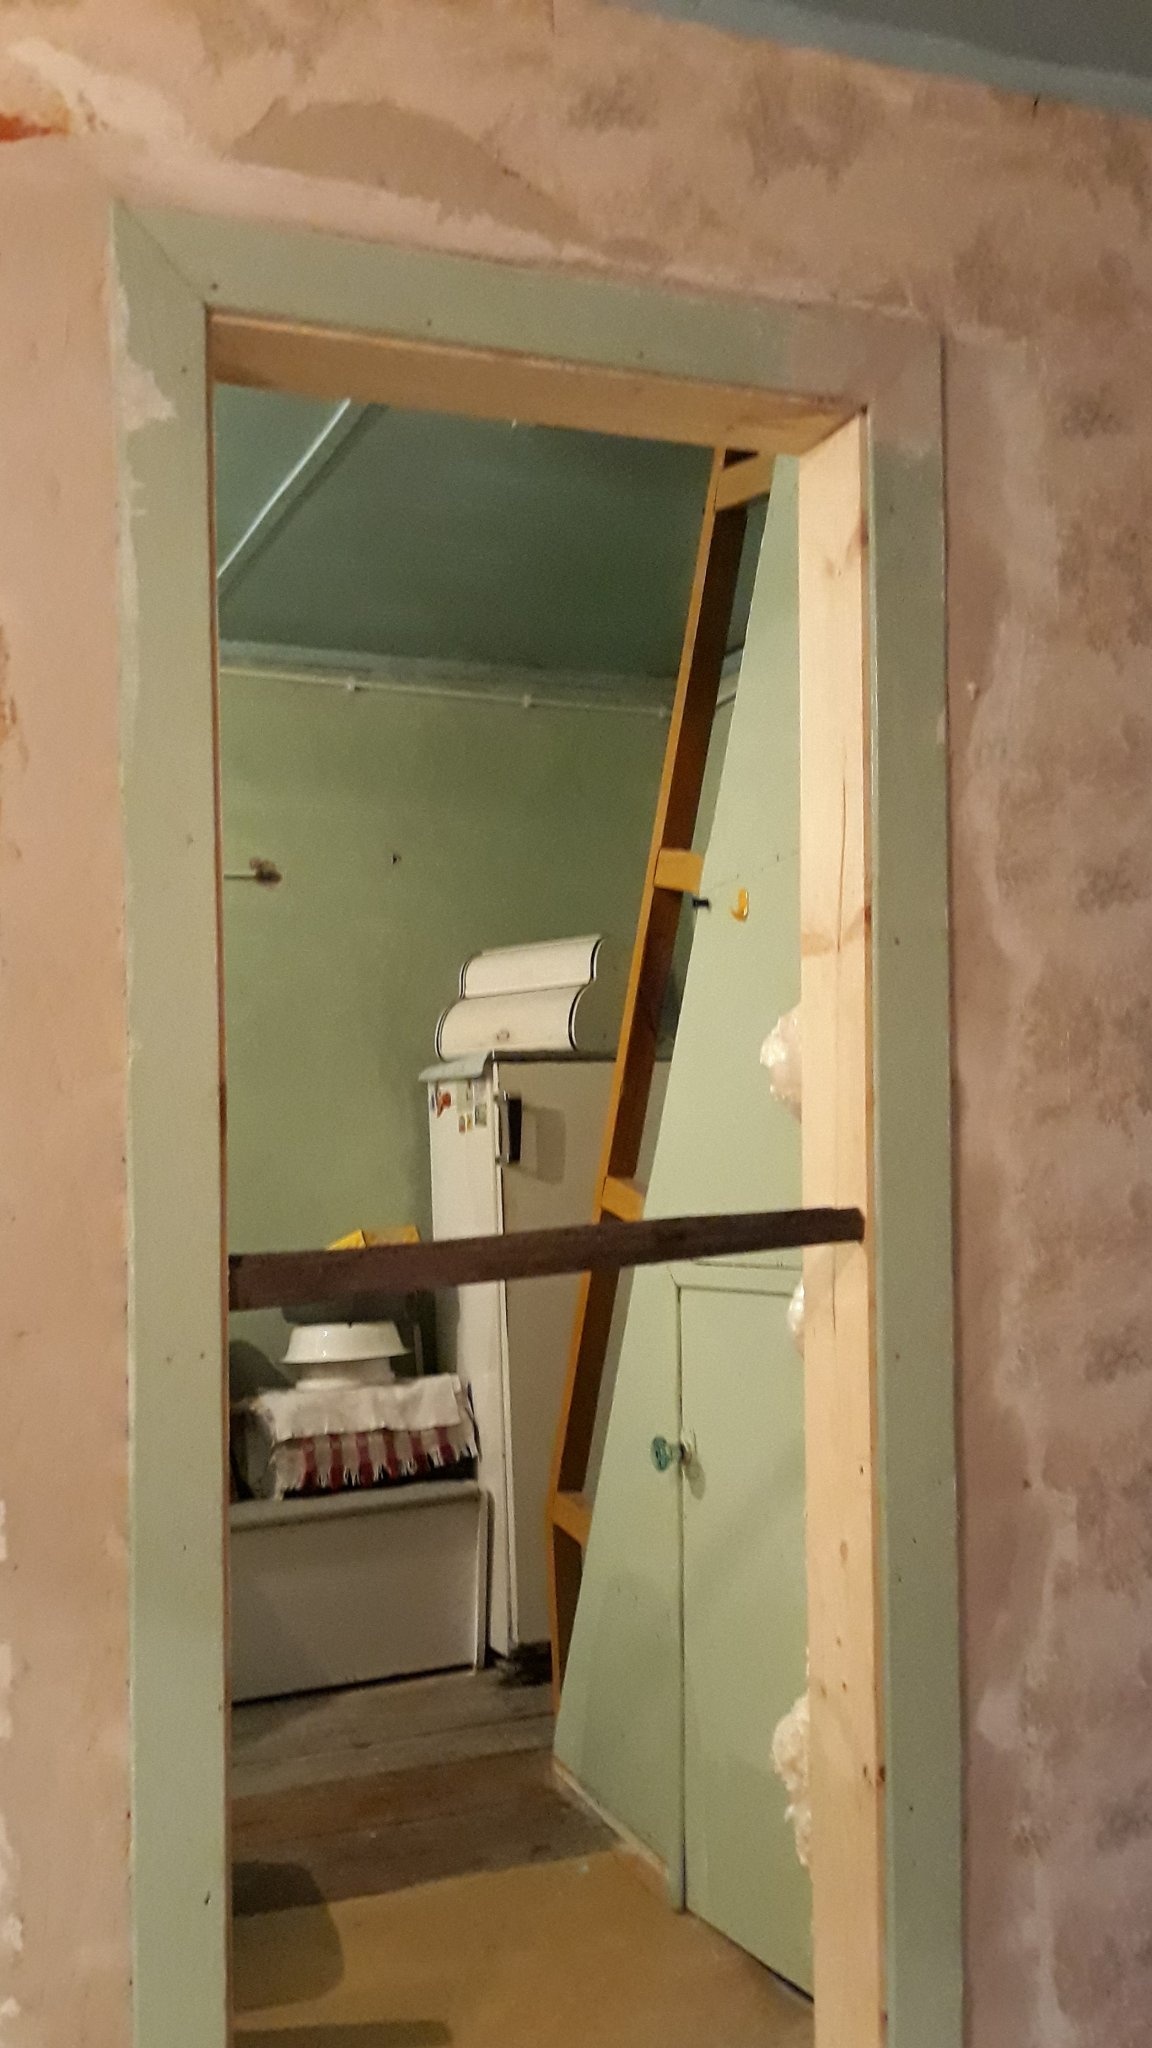
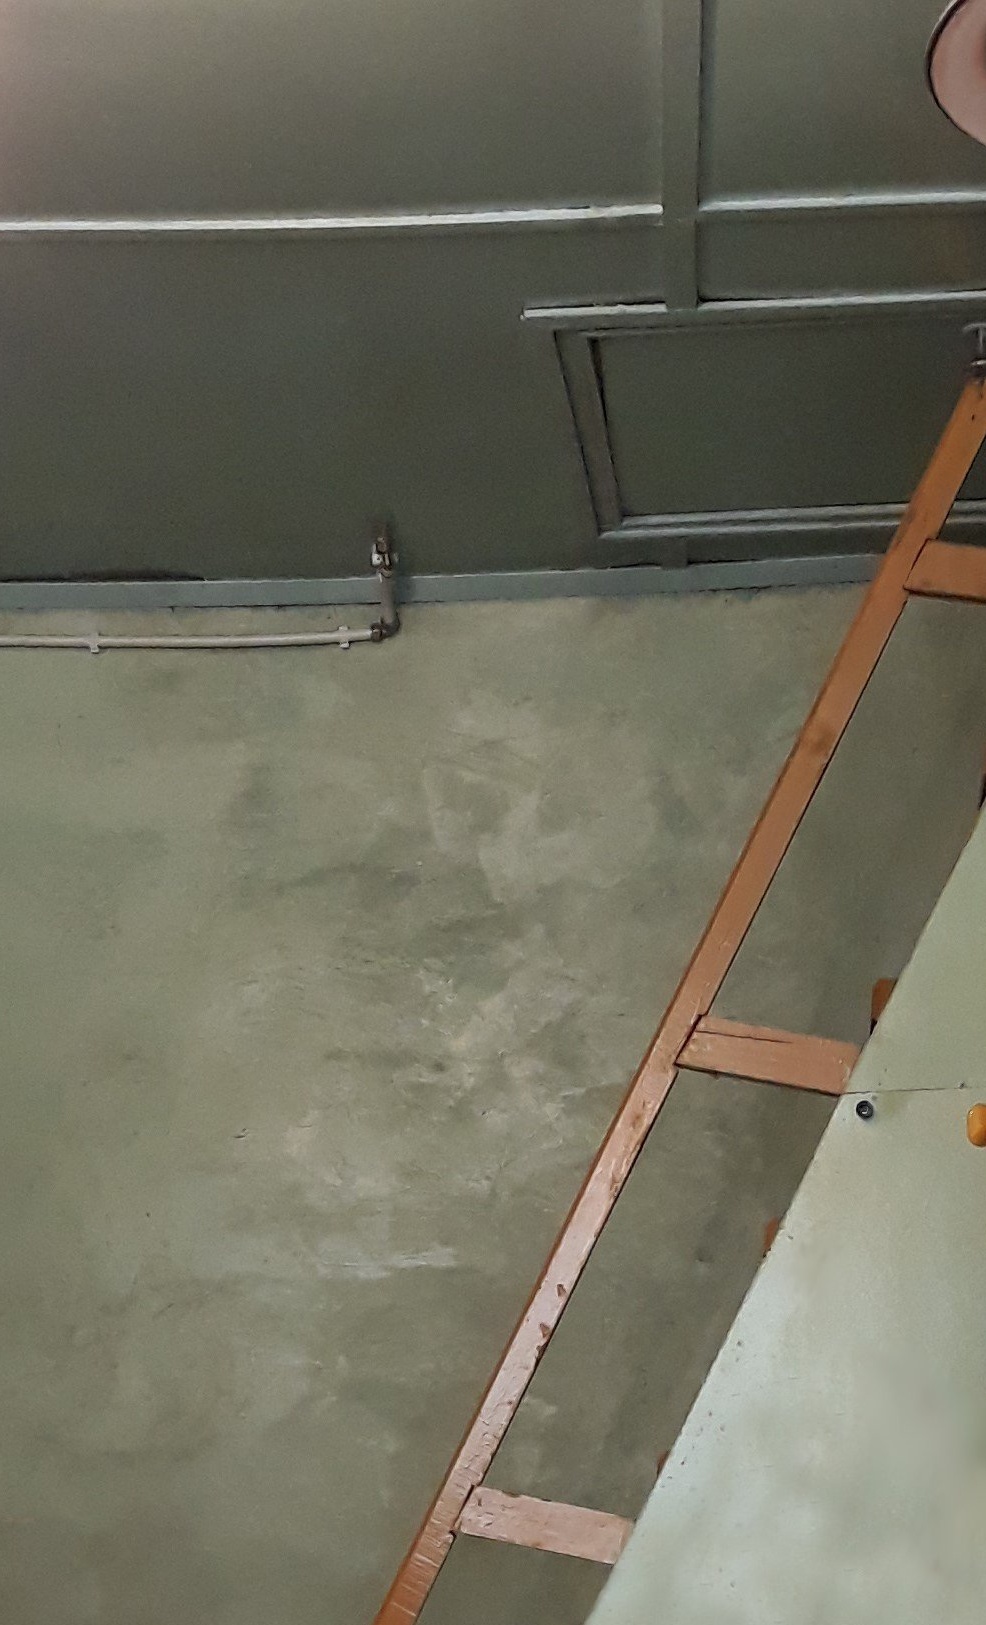
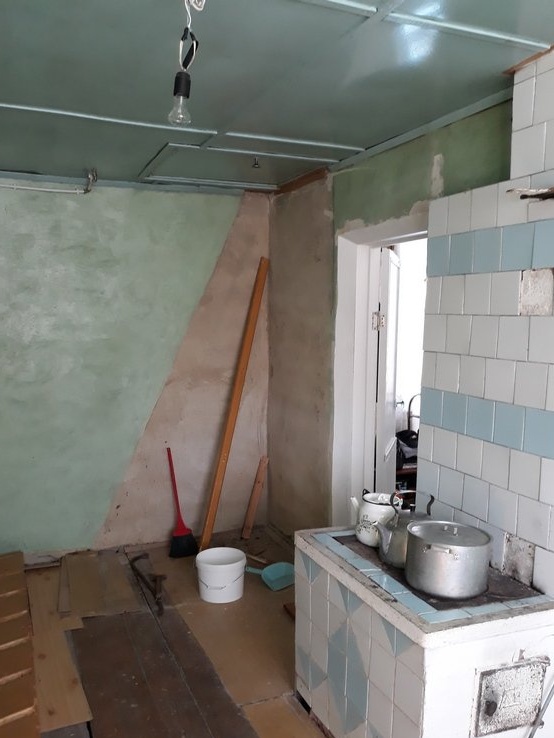
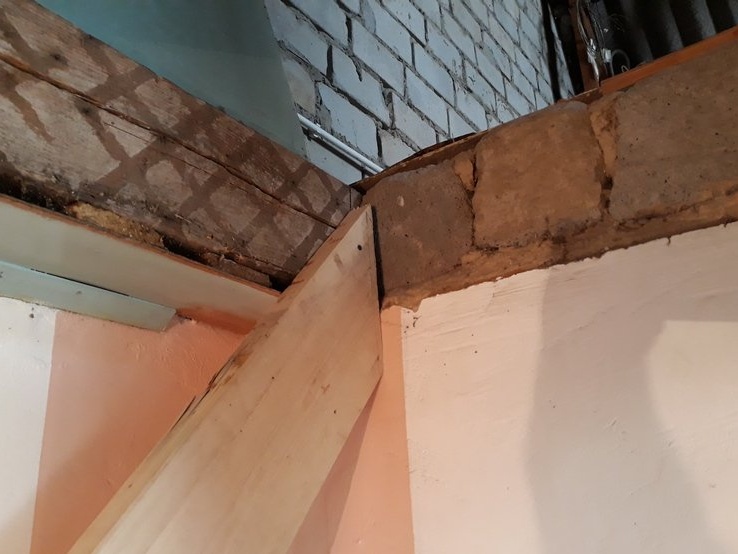
The place that the new staircase should take looked like this.
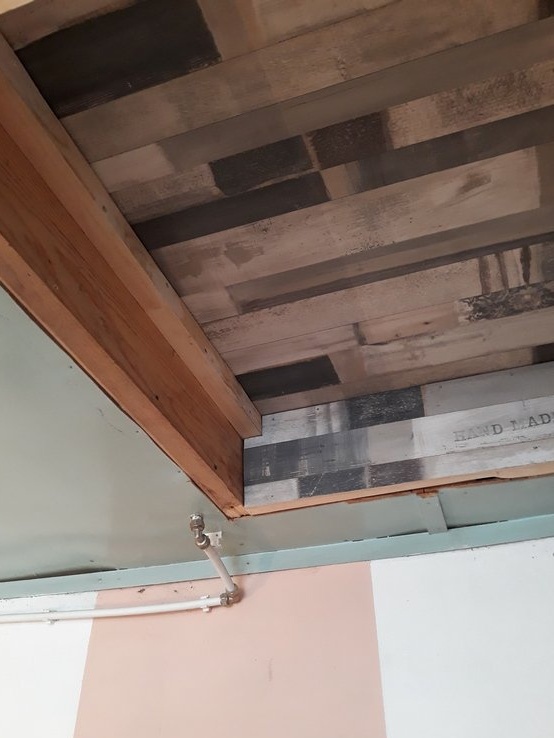
It was disgusting that it had to fit into the hatch with dimensions of 800 mm in width and 1100 mm in length. More than 200 mm, I could not increase the size of the hatch. The dimensions of the old hatch were 800 mm in width and 900 mm in length. If in width everything suited me, then in length it doesn’t. But, with an increase in the length of the hatch more than 200 mm, I would have to redo the water supply. Its exit through the ceiling to the kitchen is clearly visible in the above photo. Of course, it’s so difficult - I took it and transferred it. But, at the top, the pipe came up close to the future vertical wall of the upper room. Therefore, it was problematic to transfer. Well, at least the height from floor to floor (on the second floor) was 2400 mm. It turns out a step height of 200 mm (190 mm recommended for living quarters), which is not entirely comfortable, but bearable. Since if you reduce to 160 comfortable mm, the number of steps will increase to 15 pieces. And, in money, this is approximately an increase in the cost of the material up to 2000 rubles. Ah, you have to save.
I took the following sizes as a basis: the hatchway 800 x 1100 mm, height 2400 mm.
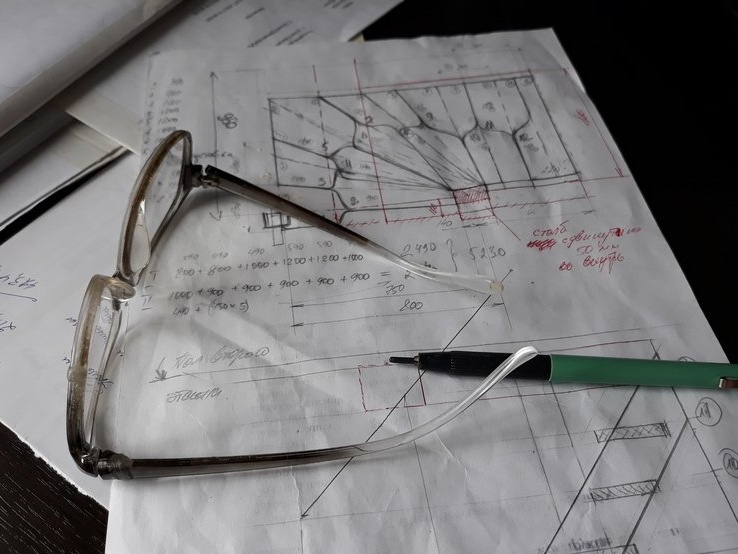
With these introductory notes, I started designing. To begin with, I went through more or less suitable staircase options. But, they practically did not fit at all because of the openings of the hatches and the elevation angles of the stairs themselves. They needed a place, but I practically didn’t have it. Immediately I thought about the stairs with a direct approach and a turn of 90 degrees to the right. But, here the angle of the staircase played a role. Again, I did not fit the size. With such a steep angle of elevation, only goose step staircases can handle it. But this option also rested on the kitchen sink, leaving no space near it.
I had to draw several options. It would seem, that’s all. But, having drawn a person on a scale and checked on it, the project realized that this option was not good. And so several times.
He stopped on the option with the “Goose Pitch” and a turn of 90 degrees to the right.
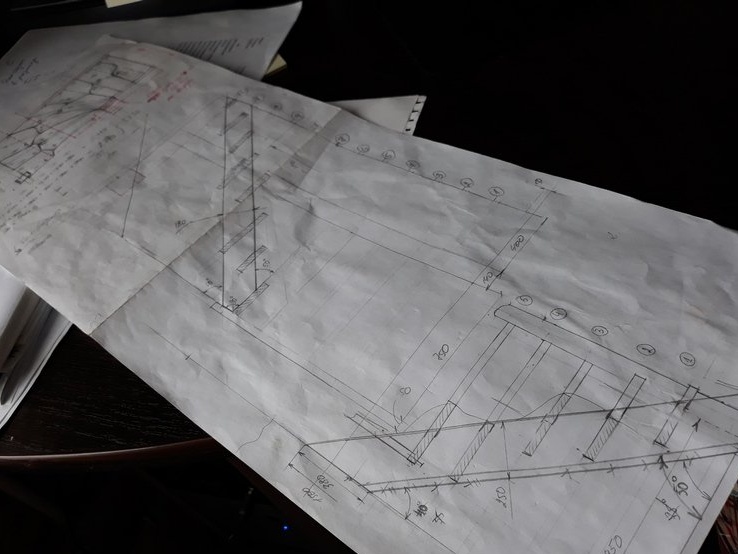
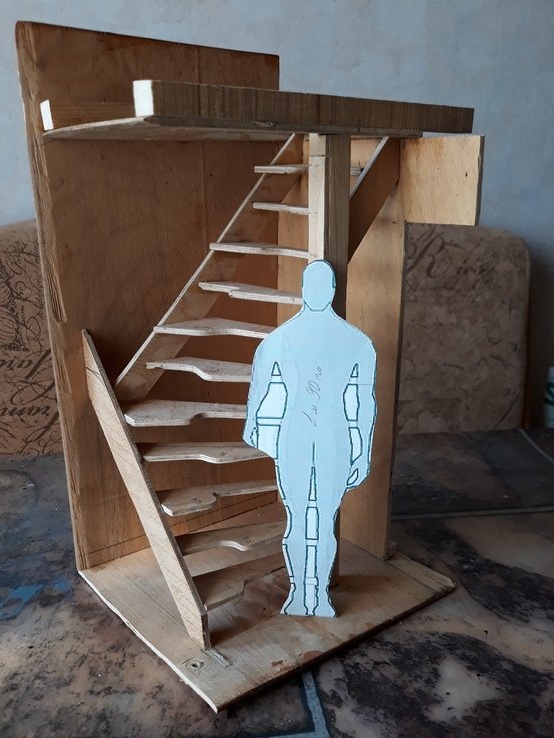
It seems that everything worked out and the person passes, but something hindered being confident. And I decided to make sure that I was right, to make a model of the stairs on a scale of 1:10.
Well, it was impossible to make mistakes. Cash and material to spare.
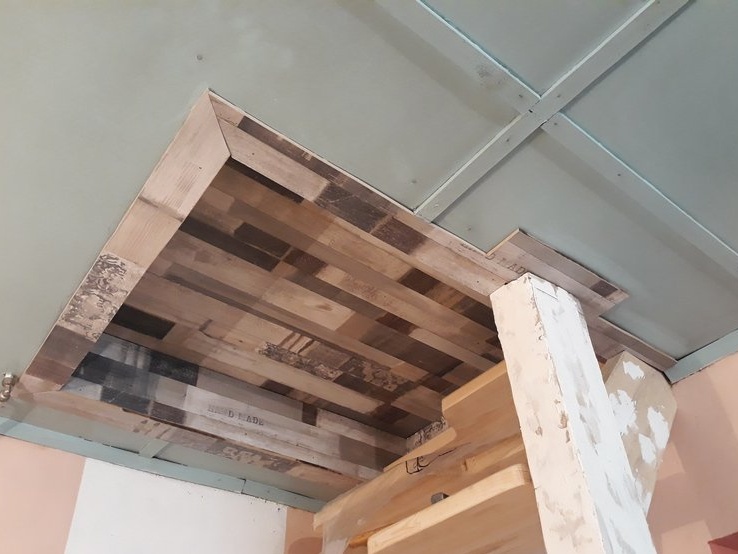
3. The layout of the stairs.
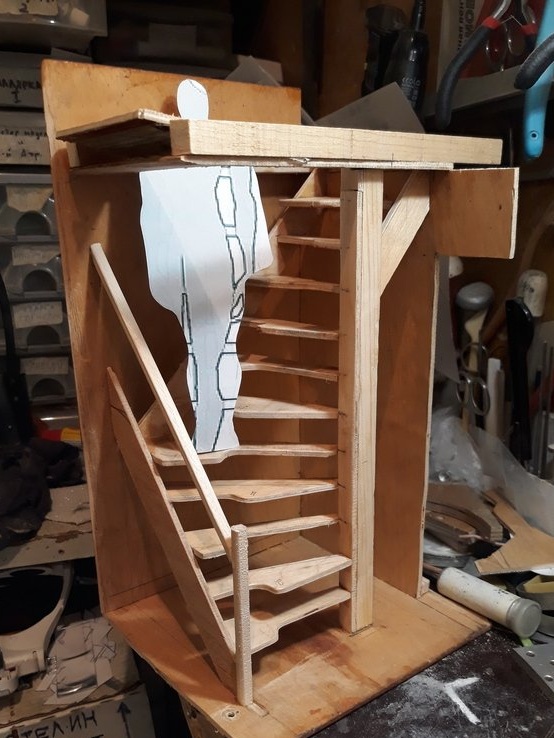
I will not be verbose. From the photographs everything is visible. The layout was made of simple plywood.
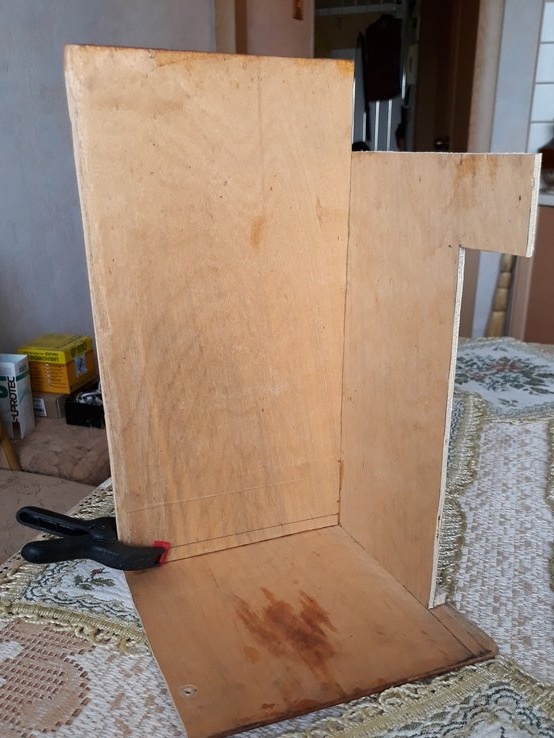
On the top I fixed the ceiling beams.
Between them is a hatch. Old and new to be cut. It is folding on masking tape.
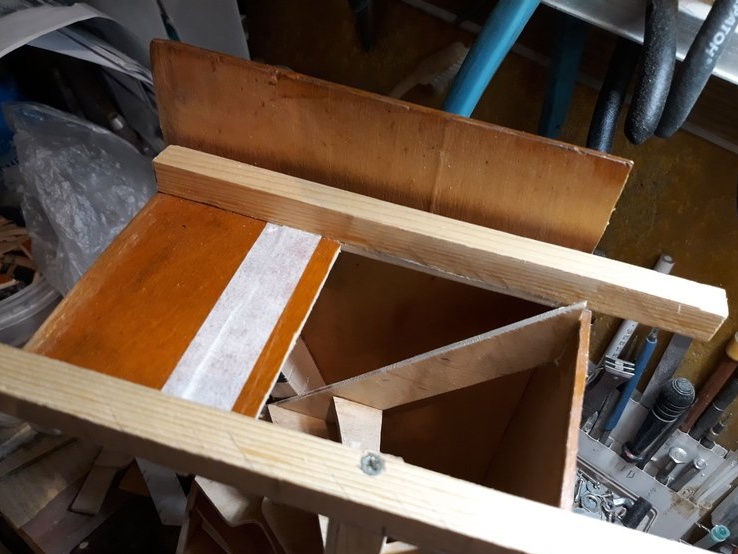
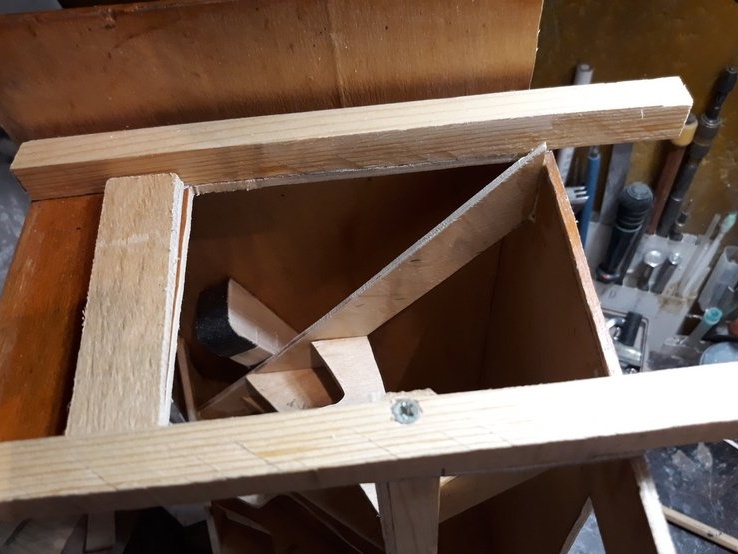
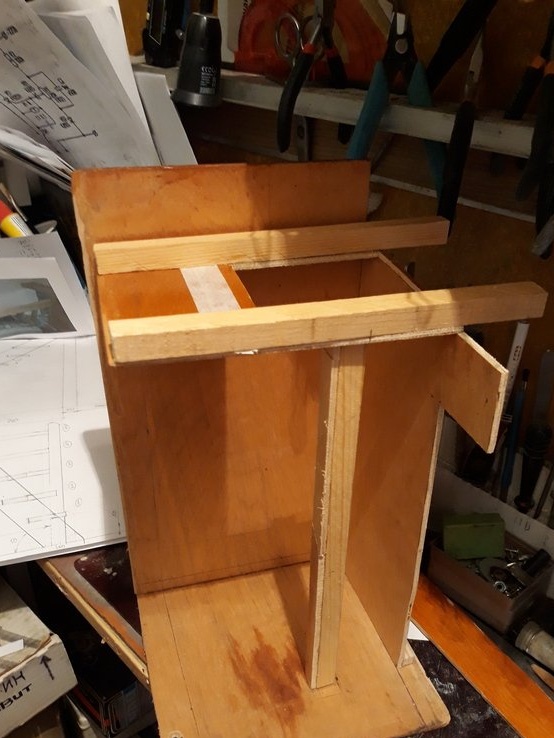
Set kosoura and support pillar.
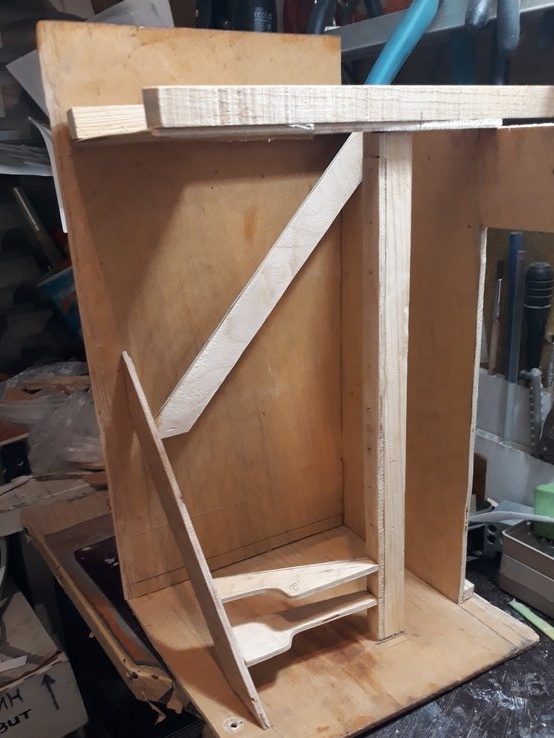
He began to spread the steps.
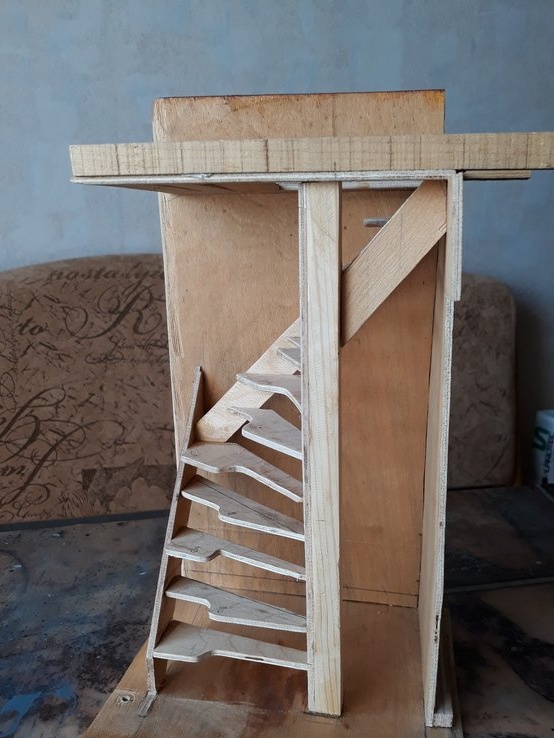
Here a man came in handy.
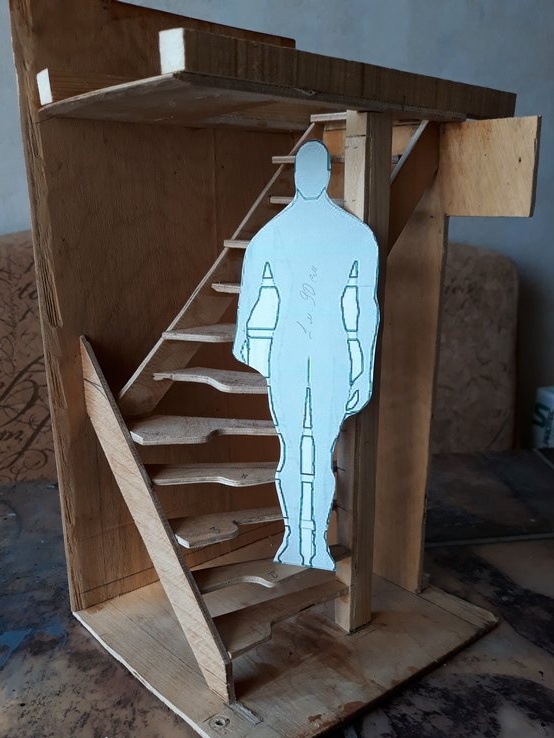
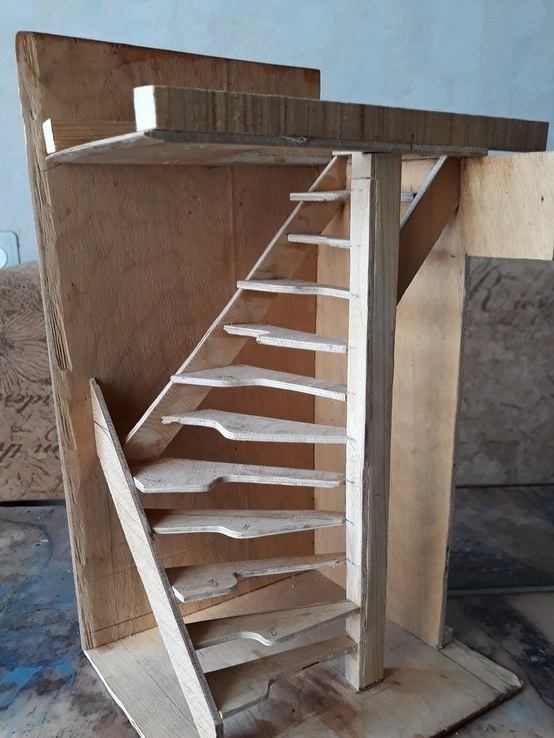
Everything succeeded, everything worked out. I can only say that the layout helped me. So, as allowed to identify some forgiveness and verify the correctness of my conclusions.
The question arose of what to make the staircase itself?
4. Materials and tools.
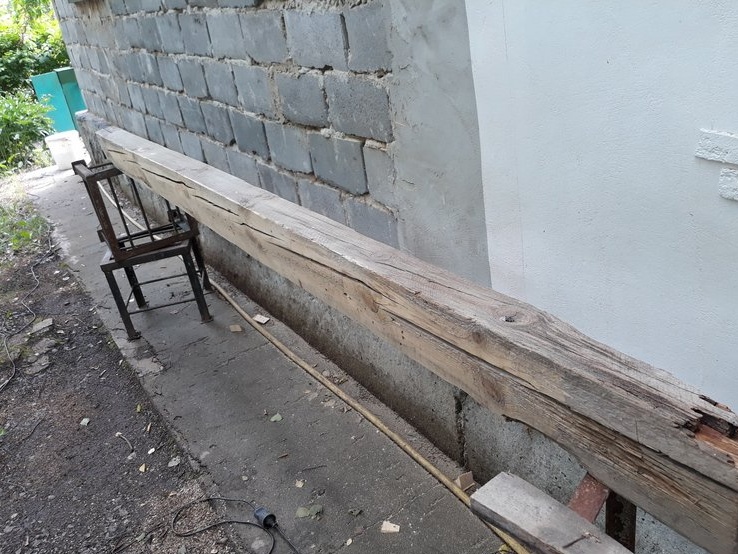
Even at the design stage, I decided to make the most of the available material. But, the drawings showed that there weren’t so many of them - two bowstrings from the old staircase, 60 mm thick boards, and for some reason of different widths. There was also an old beam 100x140 mm.
Next, I used:
1. Steps (purchased) 30 mm thick, 300 mm wide and 12 different lengths,
2. Metal plates 60x200x2 - 12 pcs (bent into the corners)
3. Metal plates 55x140x2 - 12 pcs (bent into the corners)
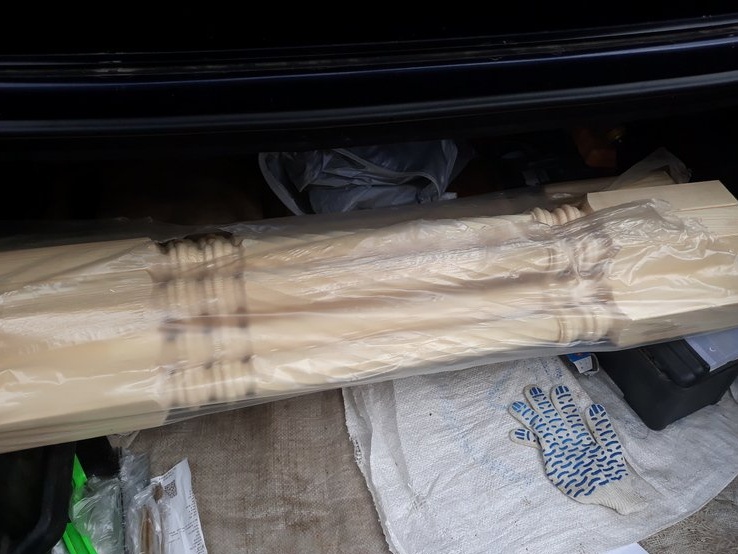
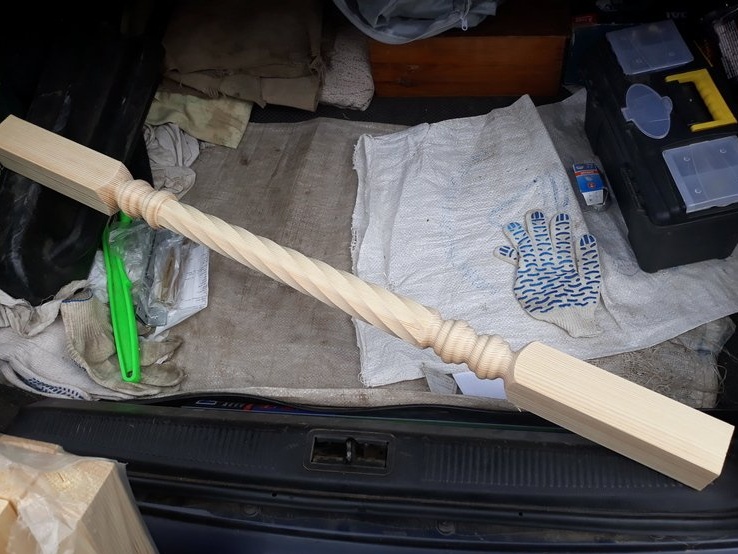
4. Round balusters (purchased) 50x50x900 mm 7 pieces
5. Anchor with a bolt M10x100 3 pieces
6. Glue PVA "Moment-Joiner" 1 can
7. Putty acrylic 1 can
8. Putty adhesive 1 can
9. Self-tapping screws L- 25 mm 300 gr. (yellow)
10. Self-tapping screws L- 50 mm 500 gr. (yellow)
11. Hairpin sanitary M10x100 1 piece.
12. Mustache nut M10 1 piece.
13. Plumbing screw 8x120 mm 2 pieces
14. A screw on concrete (nag) with a slot Torx 10x140 24 pieces.
15. A screw on concrete (nag) with a Torx slot 10x80 24 pieces.
16. Paint is white PF-115 1 can
17. Brown paint PF-115 1 can.
18. Shanks for shovels of 2 pieces.
19. The remains of the laminate (for edging the hatch)
20. Board planed 20x90x2000 mm 1 piece
21. The film is universal protective (for the hatch)
22. Heater (for the hatch)
23. Furniture cardboard (for the hatch)
From the tool:
1. The electric plane.
2. Screwdriver
3. Electric fretsaw.
4. The grinder
5. Flap grinding wheel for grinder 1 piece.
6. Velcro grinding wheel 4 pcs /
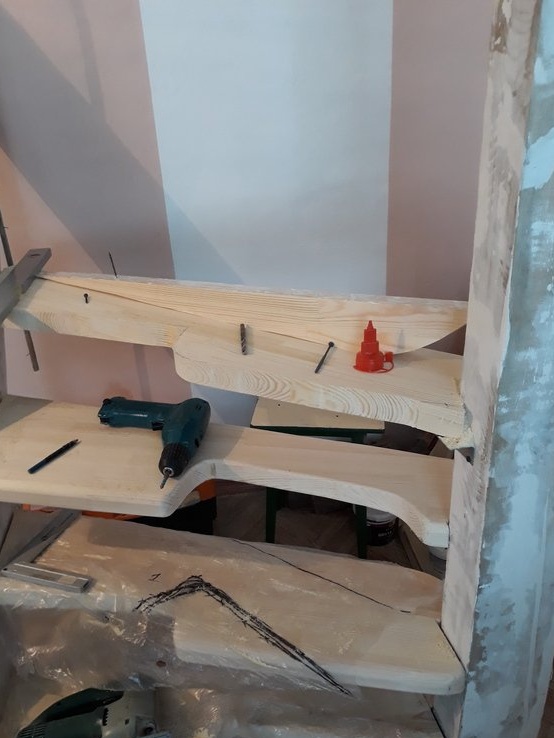
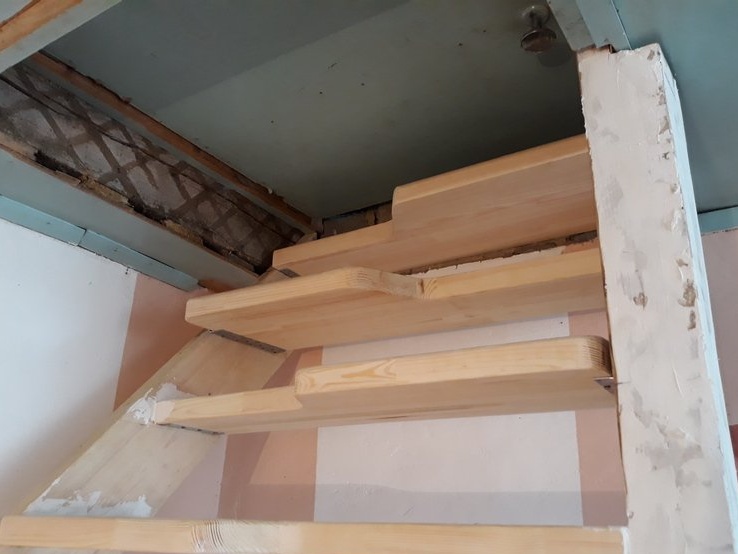
5. Construction.
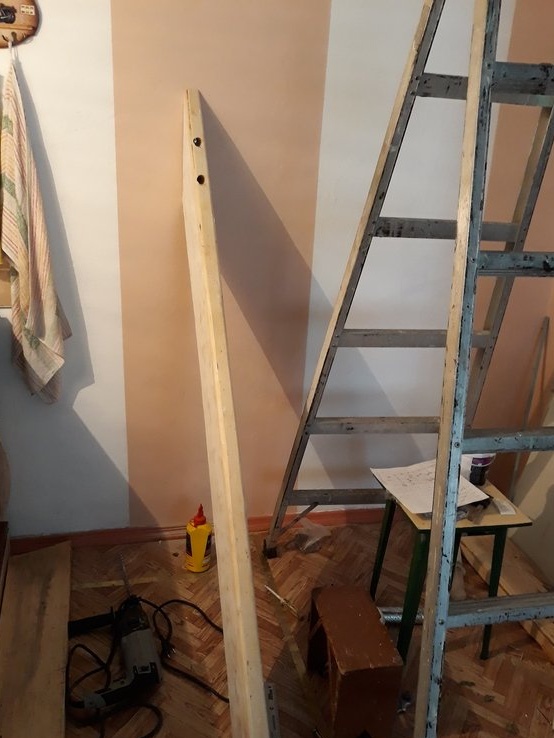
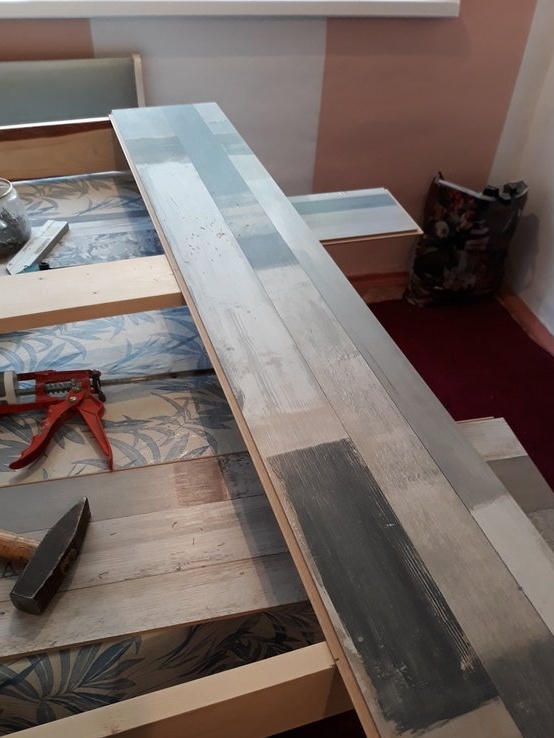
As noted above, used both old bowstrings. They consisted of two boards 60 mm thick with cut out poses for steps.

I had to remove these grooves, since my steps had to lie on a metal corner, and the step of the tread did not match. I had to plan.
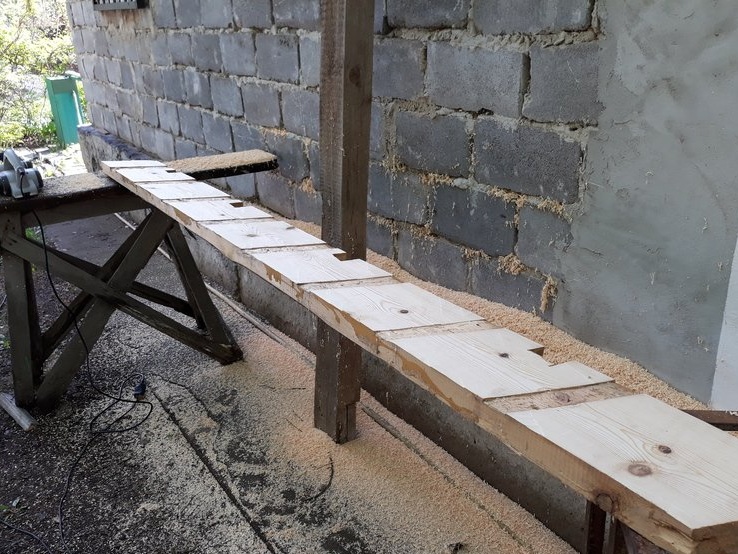

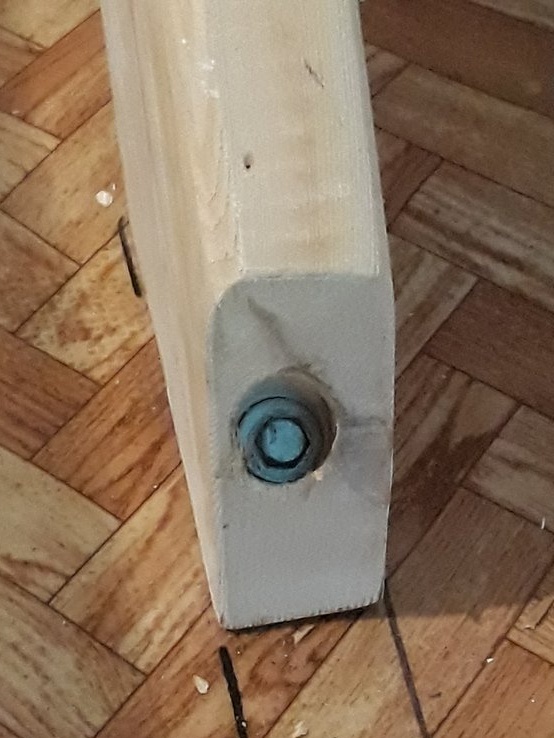
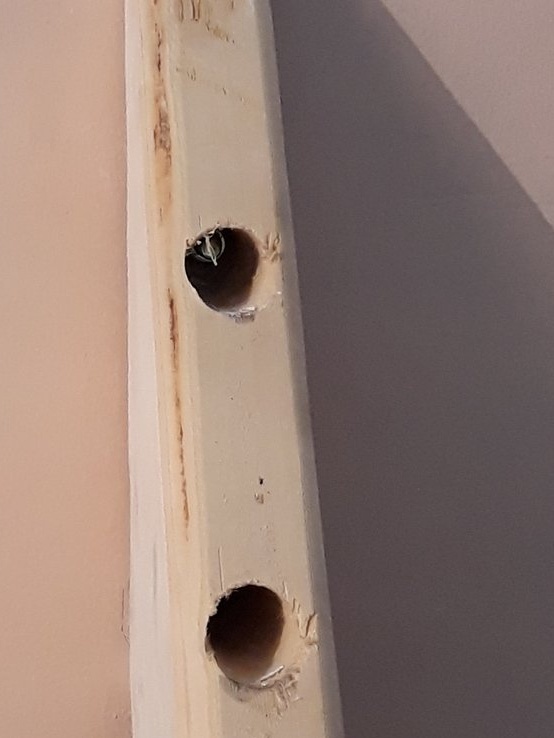
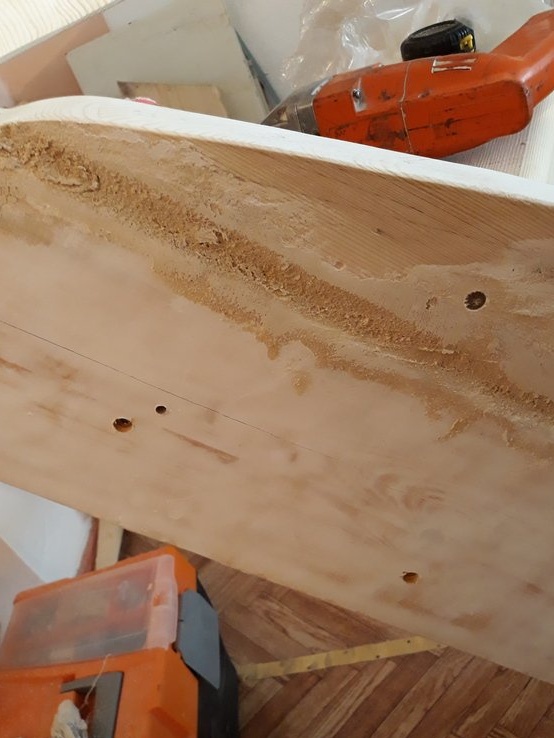
Fortunately, there was an electric planer available and I had to puff on it. Further, the ends of the bowstring sawed off at angles, respectively, the drawing. On the side surfaces, walked grinder with a grinding wheel. Then he drilled holes for 2 pieces for fastening to the wall under the anchor with a bolt, and to the floor, one hole.
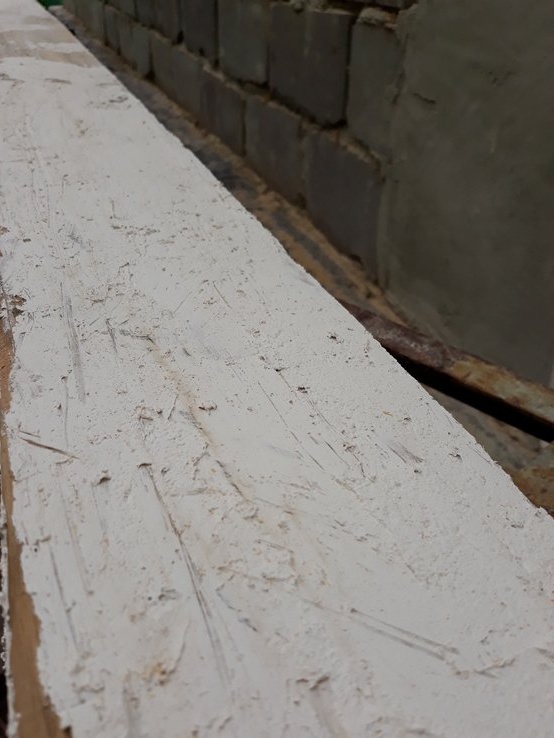
And he gave it to the assistant to level the surface - to putty.
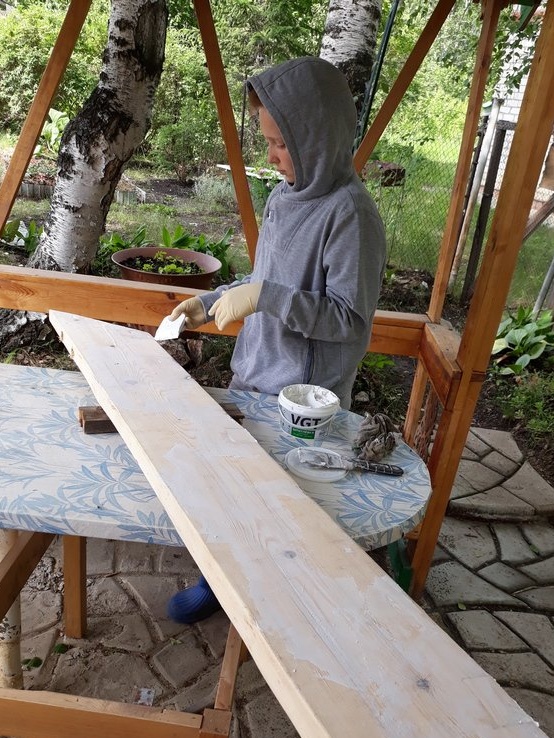

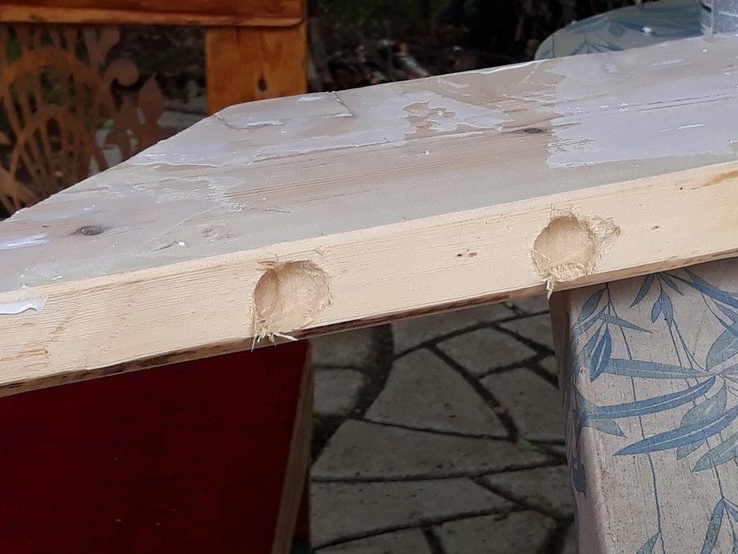
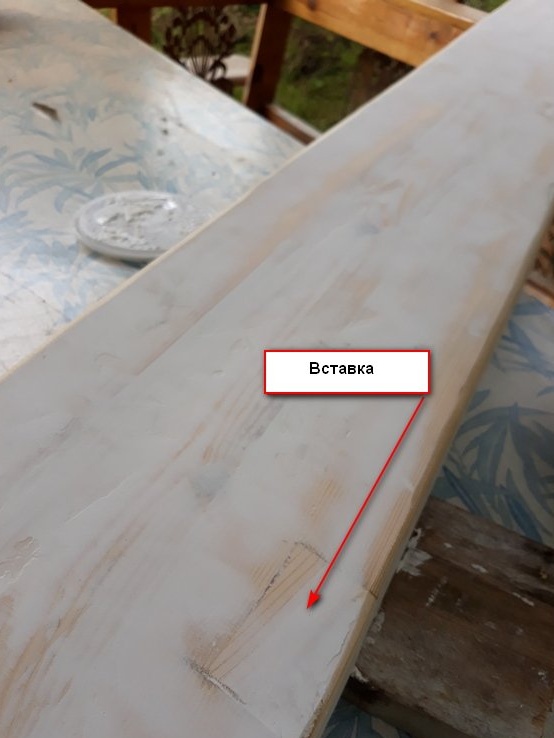
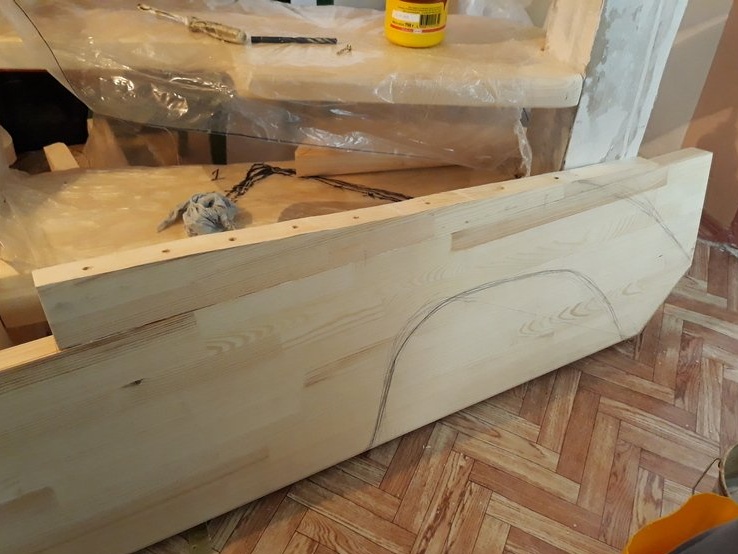
And, he himself began to plan the second string. The technological process is the same. Only in one place had to make an insert. Then, he also gave it to the assistant to prepare the surface.
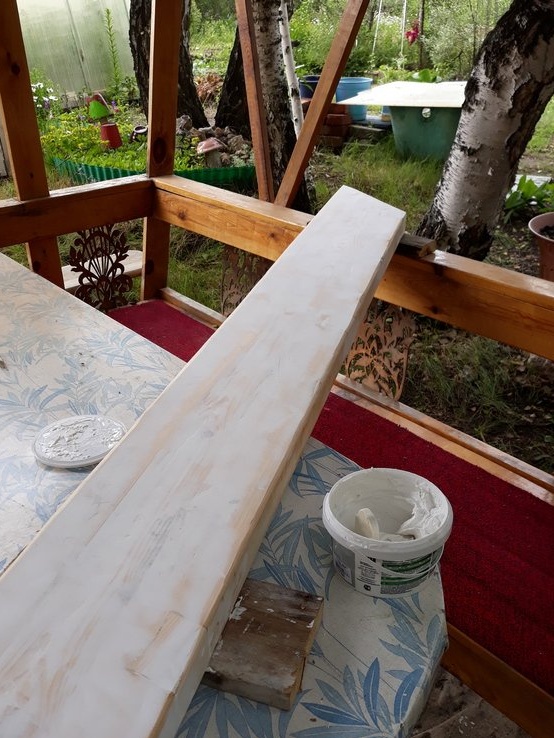
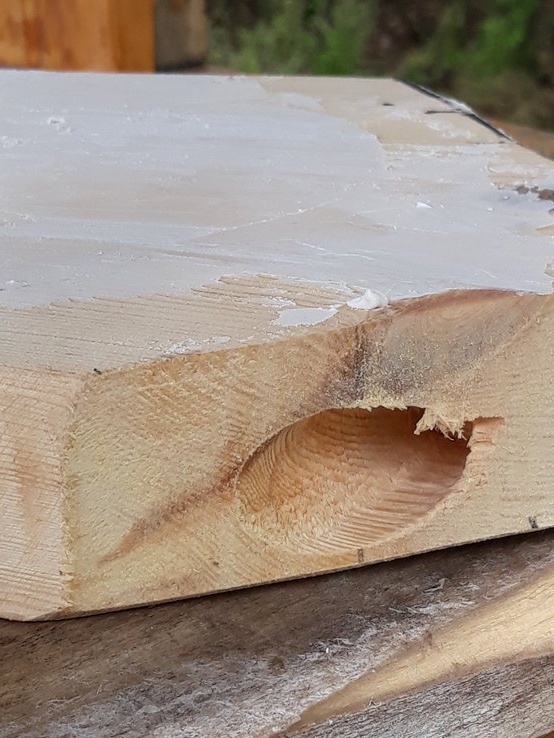
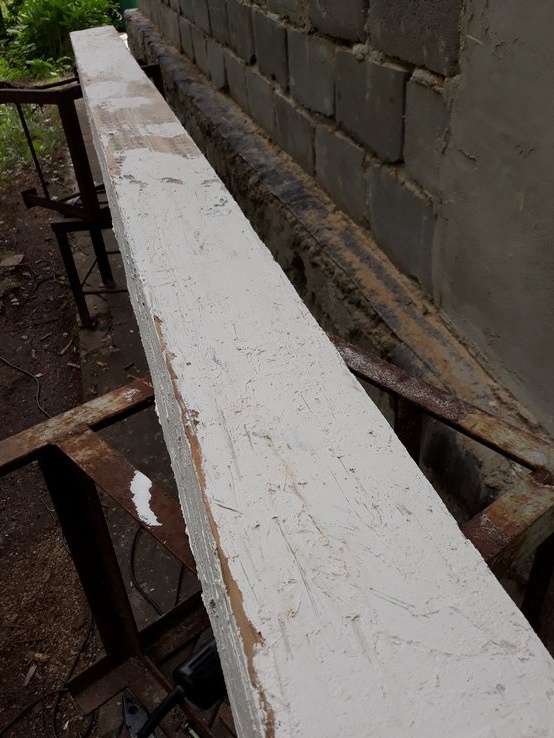
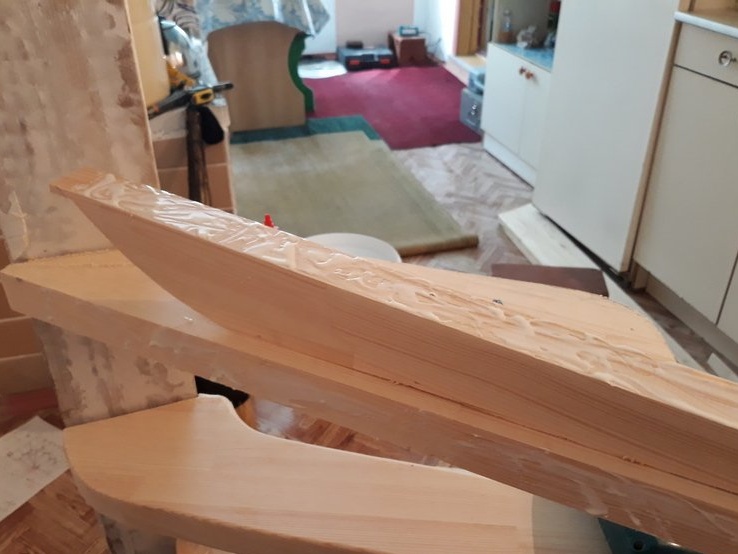
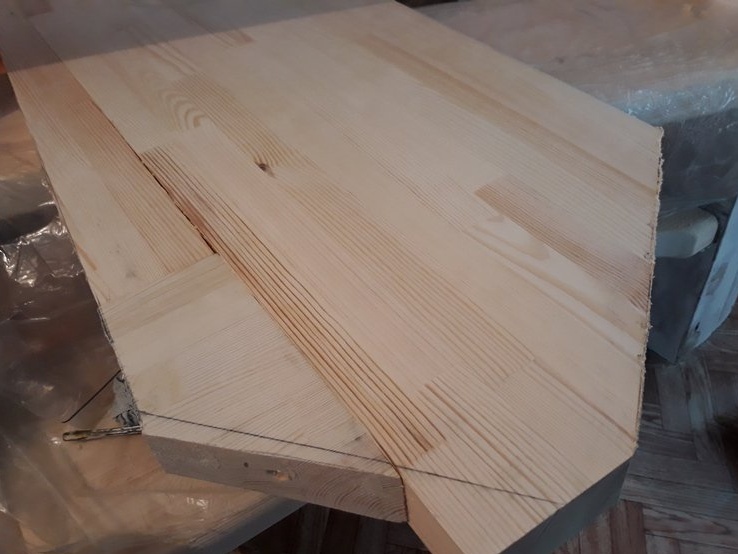
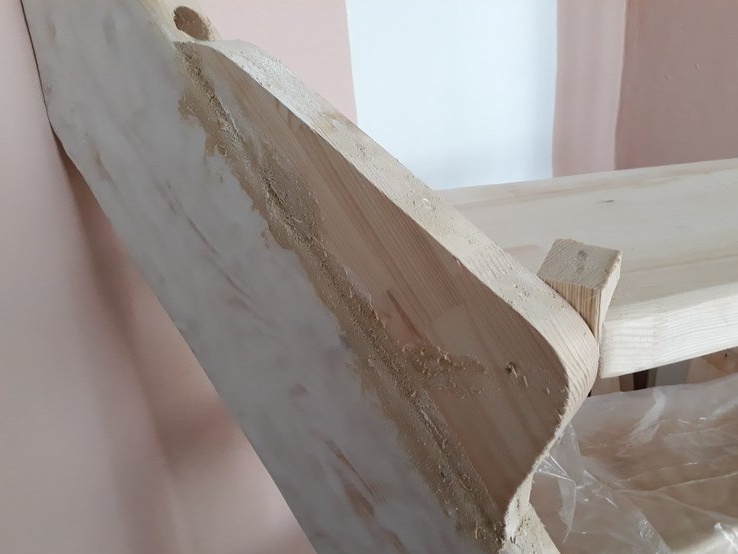
Next in line was a beam. It was a little more complicated with it, because in length, on the one hand, it had a significant crack. Almost the entire length.
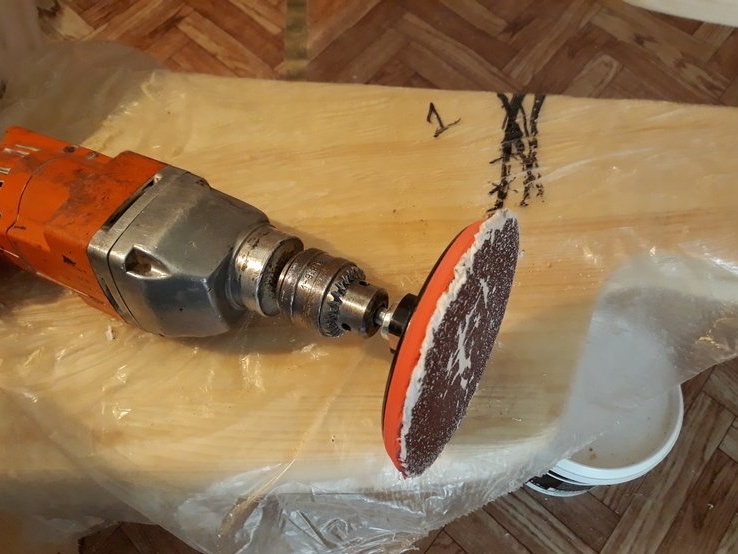
I drove the beam with a grinder with a grinding wheel from all four sides.
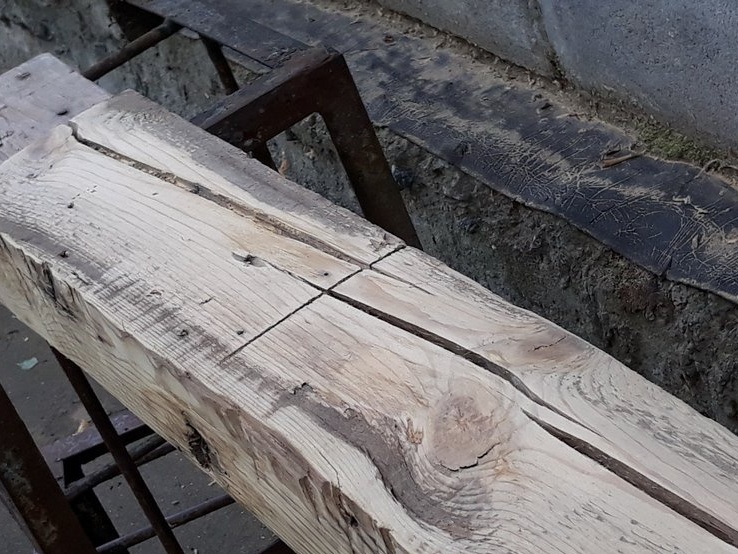
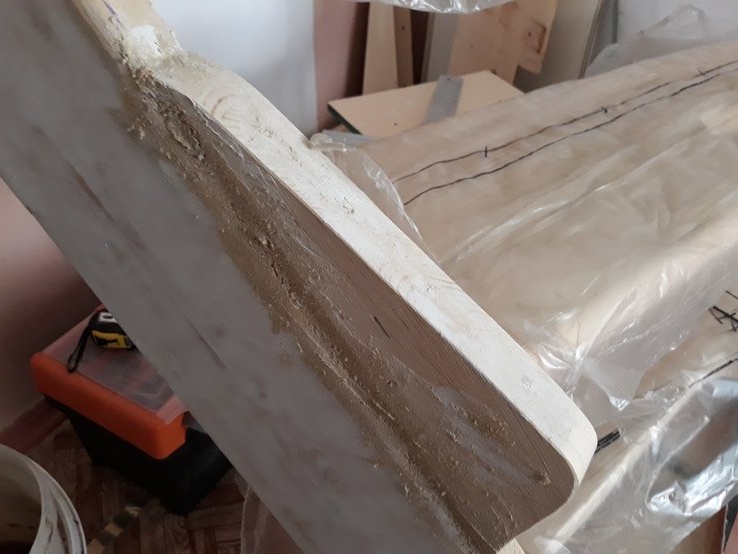
Then he turned the cracked side up. And he filled the crack with the immediately prepared composition of adhesive putty, PVA glue with the addition of sawdust. With this composition, using a spatula, filled the cavity of the crack.
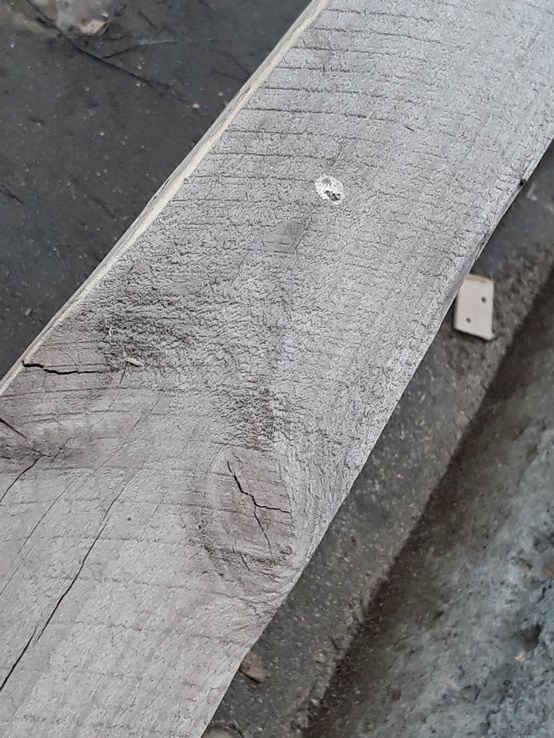
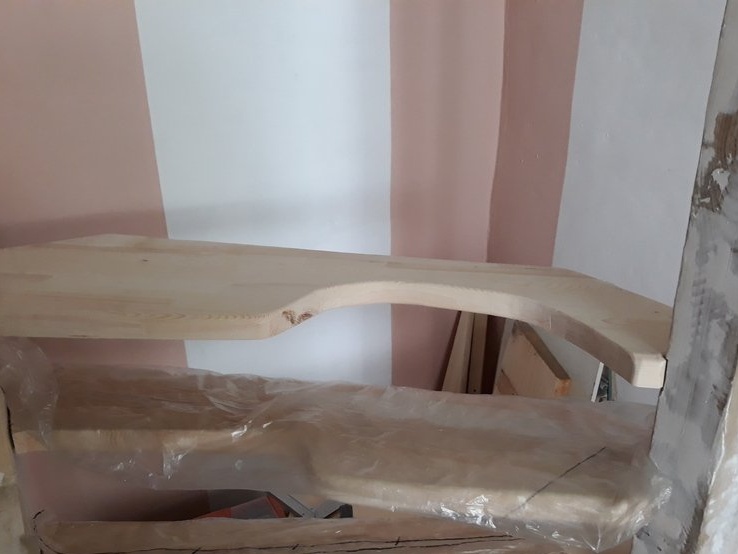
Gave to dry well. Then again went through the grinder with a grinding wheel.
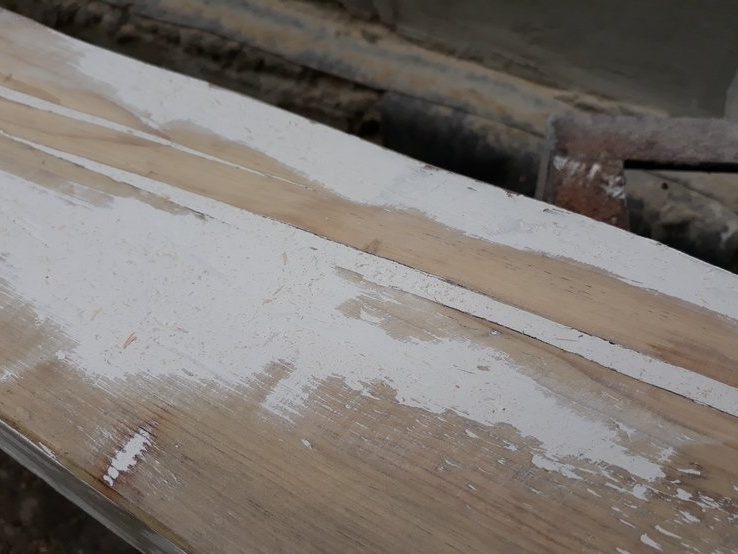
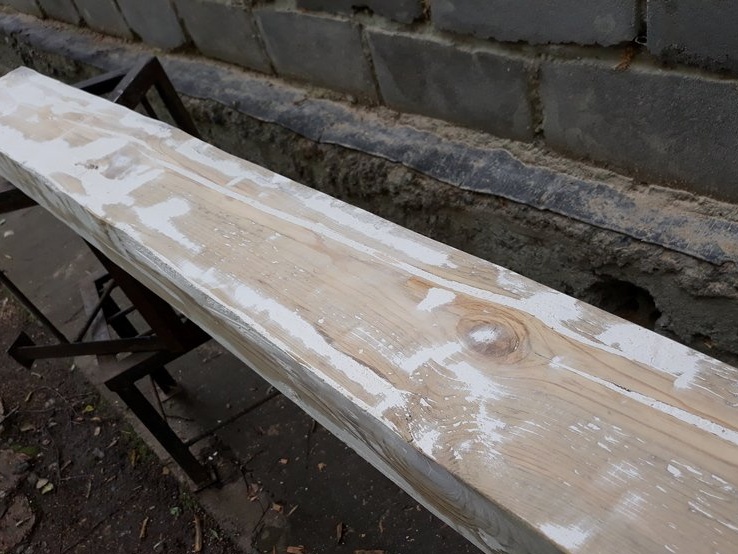
And only then finally putty. Naturally followed by sanding.
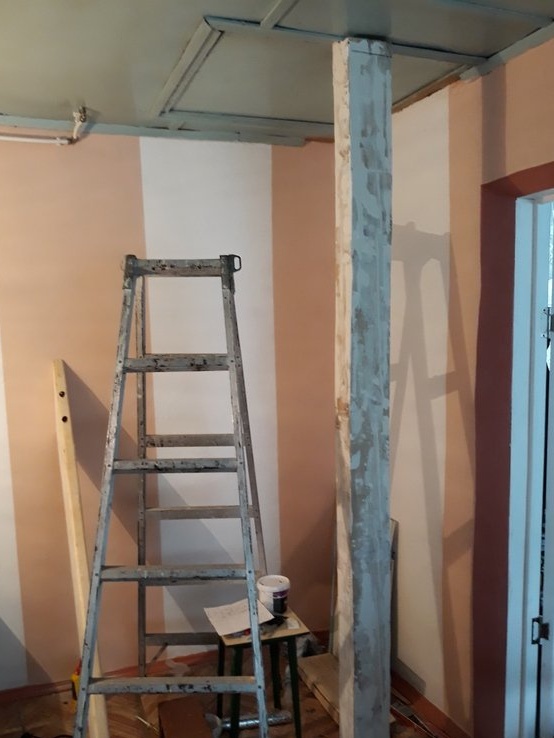
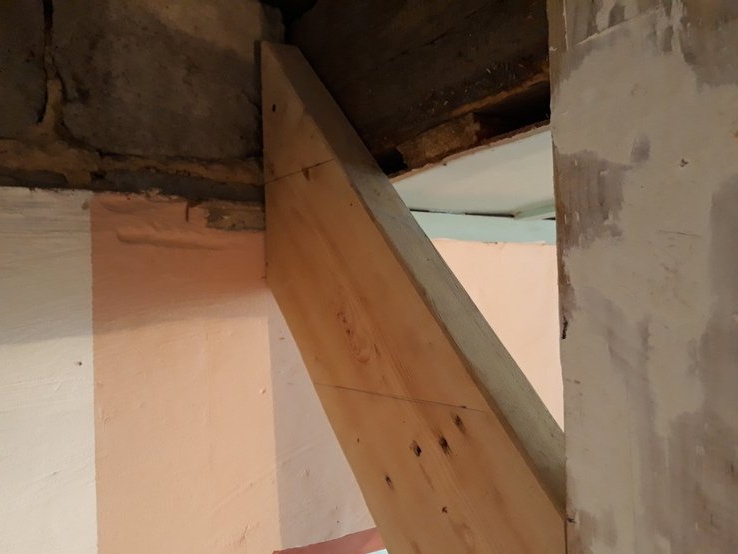
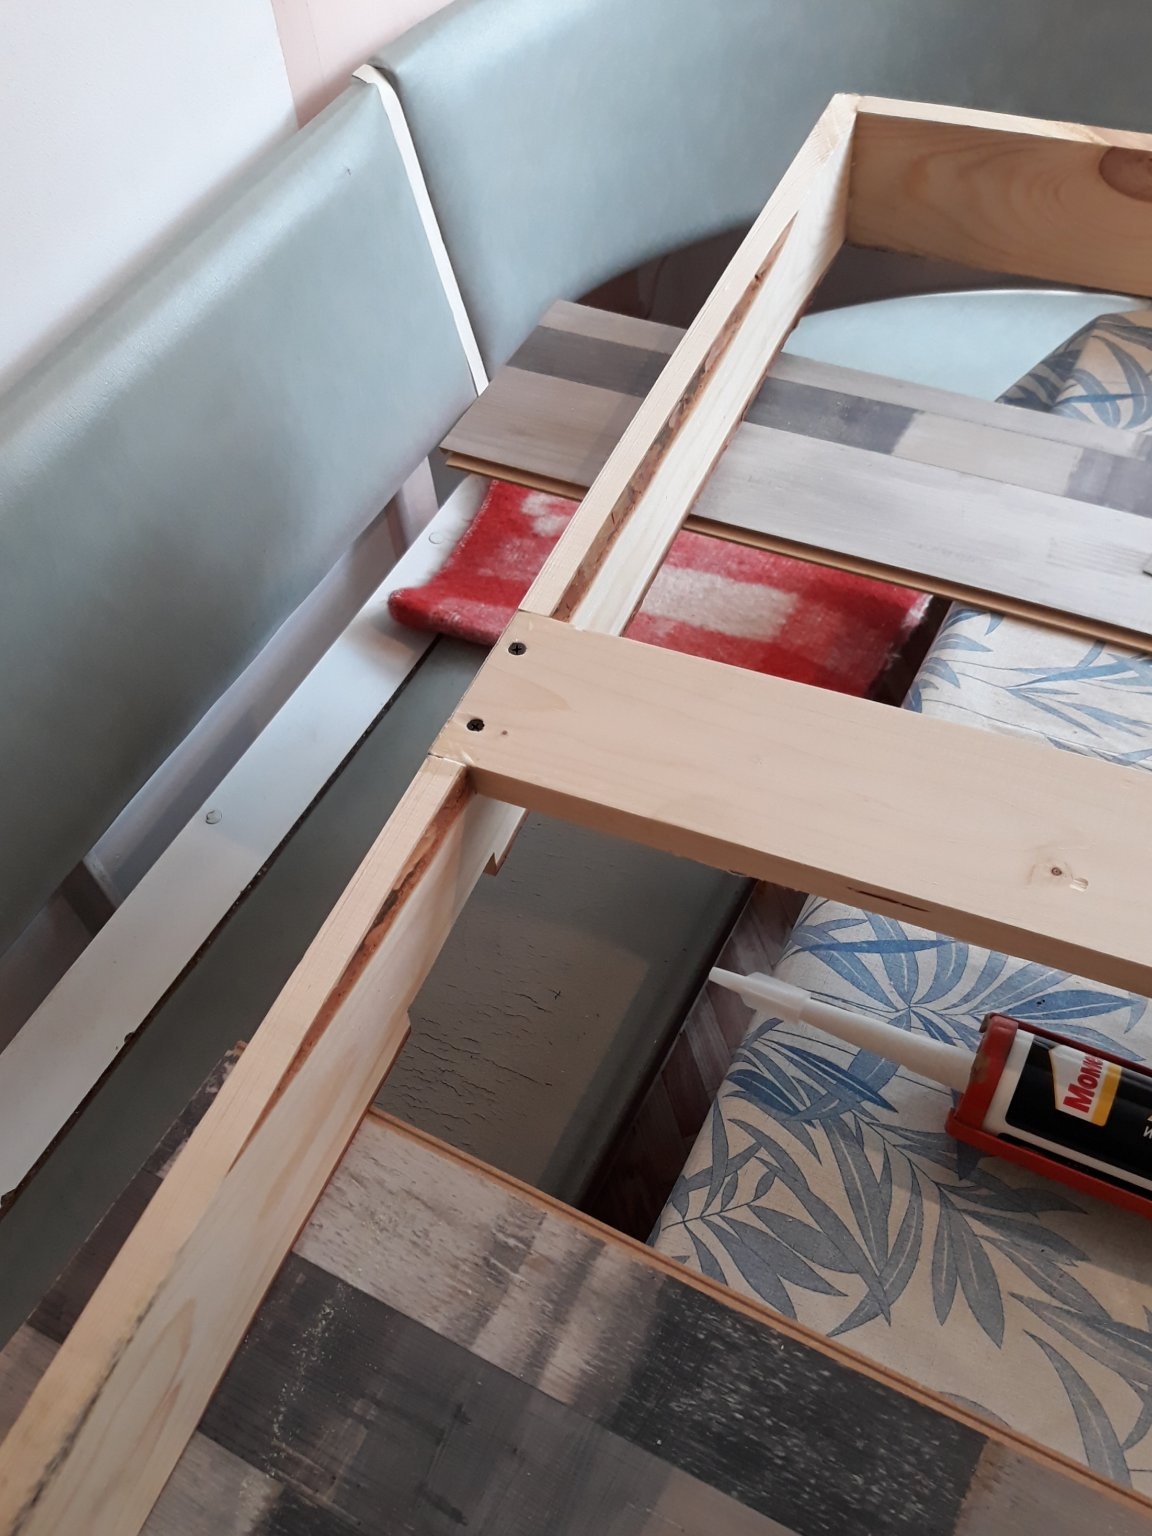
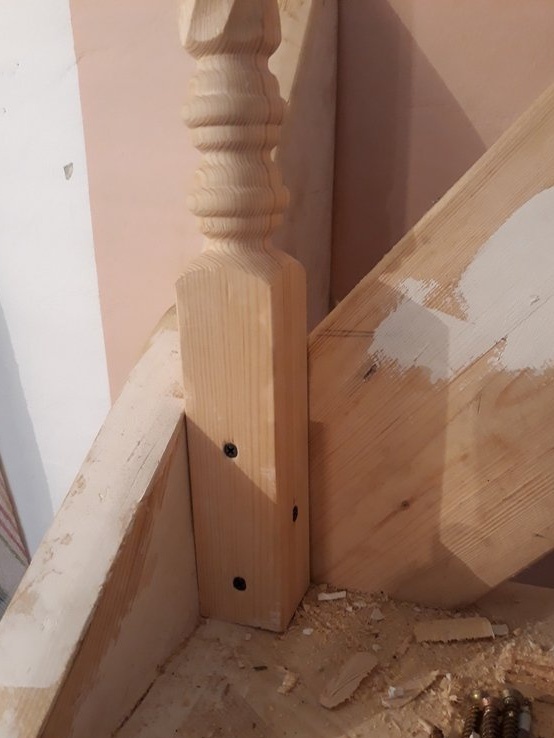
At the site of the installation of the stairs, I once again measured everything and made markings for the installation of the lower bowstring and pillar.Set at the beginning of the bowstring.
And then the level and the pillar.
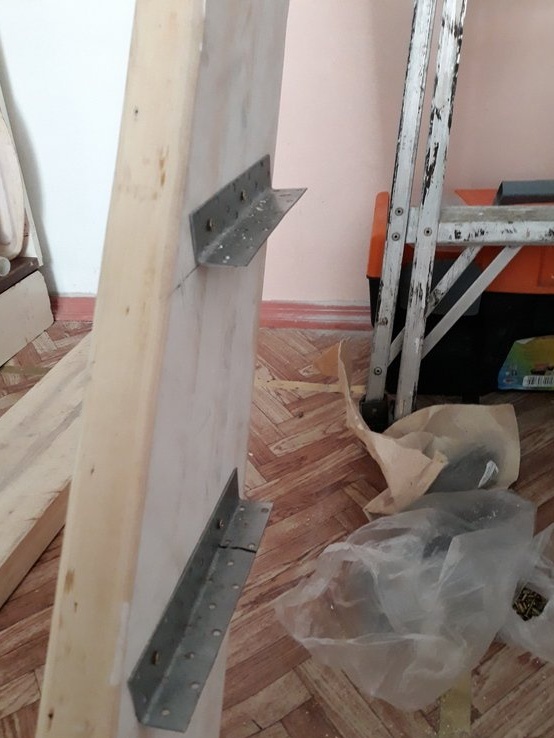
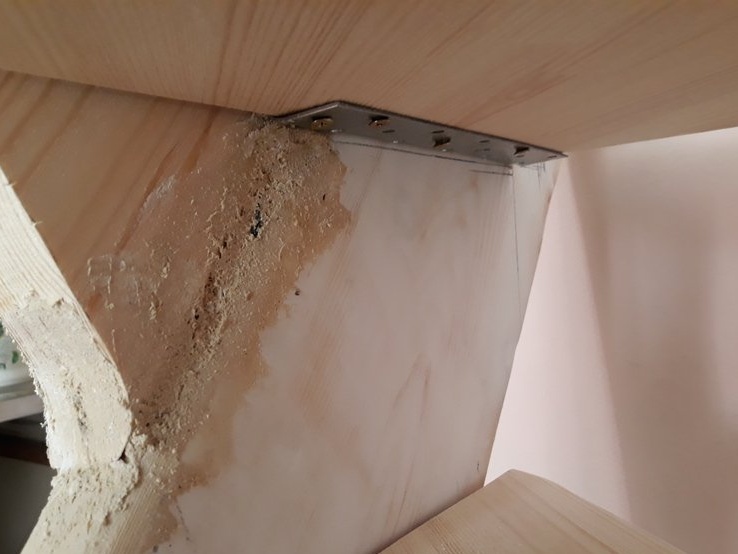
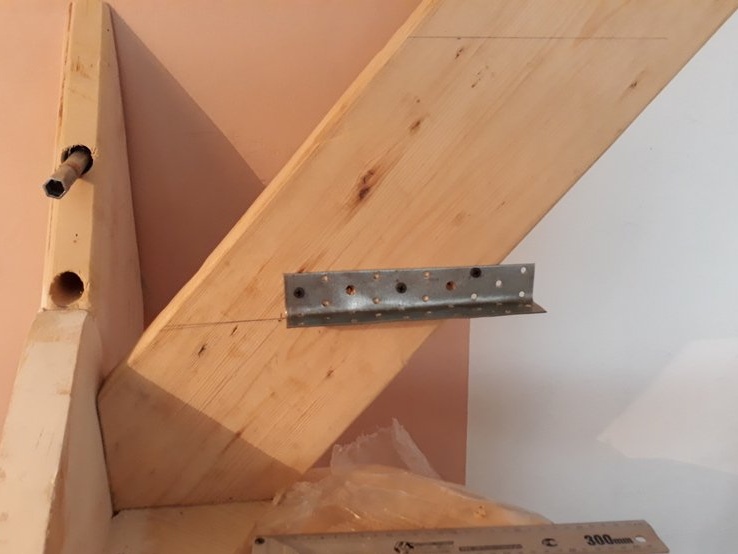
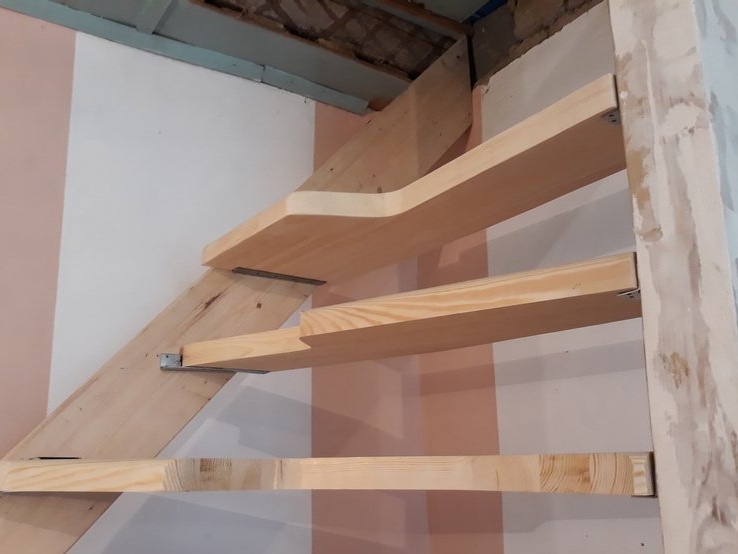
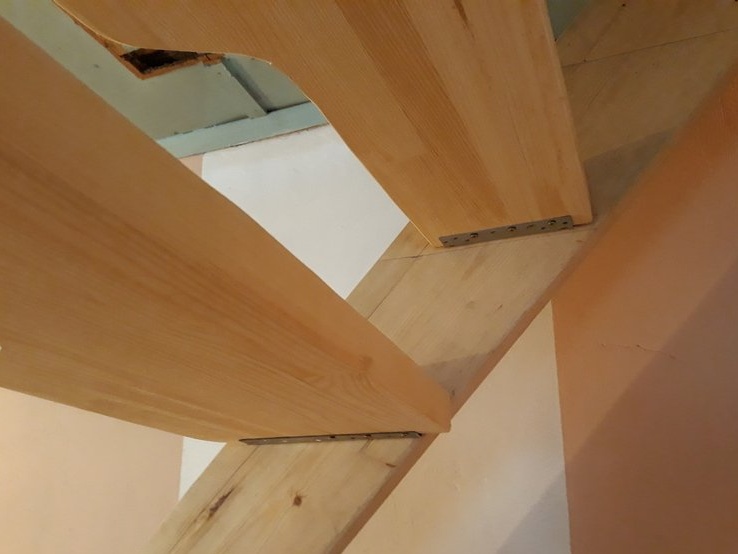
He made markings for the installation of the first stage. According to the marking, I installed the corners bent from the plates.
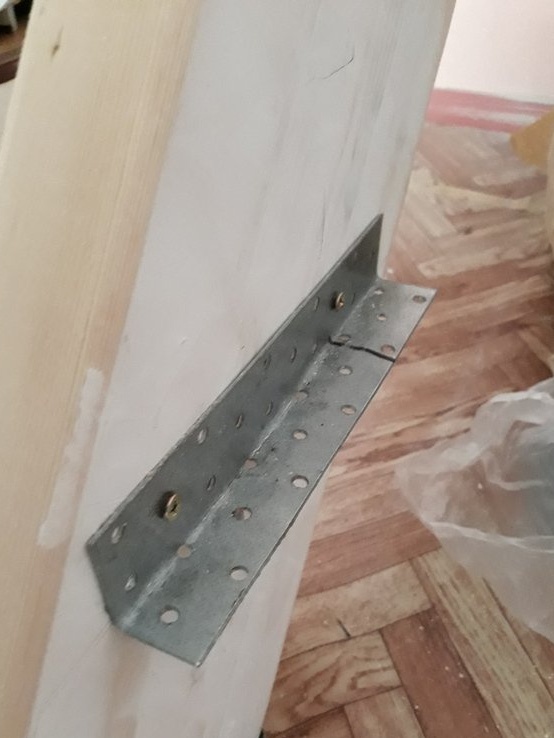
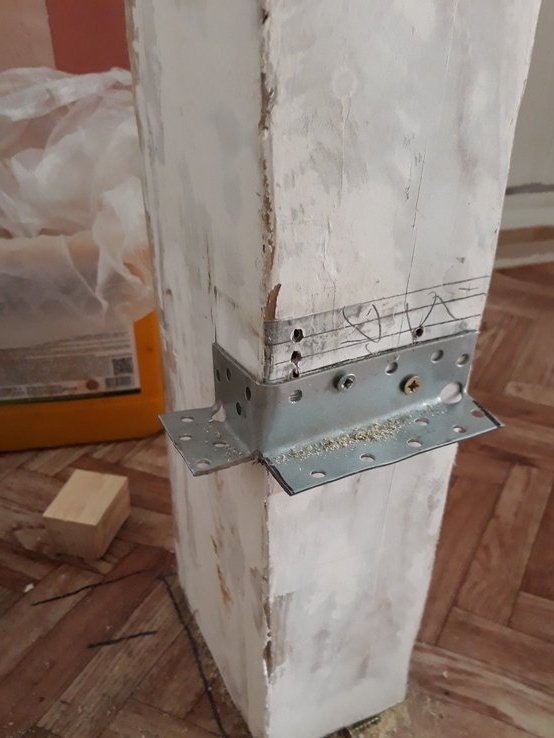
On a pole I made a corner with a bend so that the far side of the step also had a support.
I want to note here that ready-made corners for installing a step on a bowstring are sold at a price of 115 rubles. for a couple. My option, with bending plates is cheaper by half. Everyone can choose at their discretion.
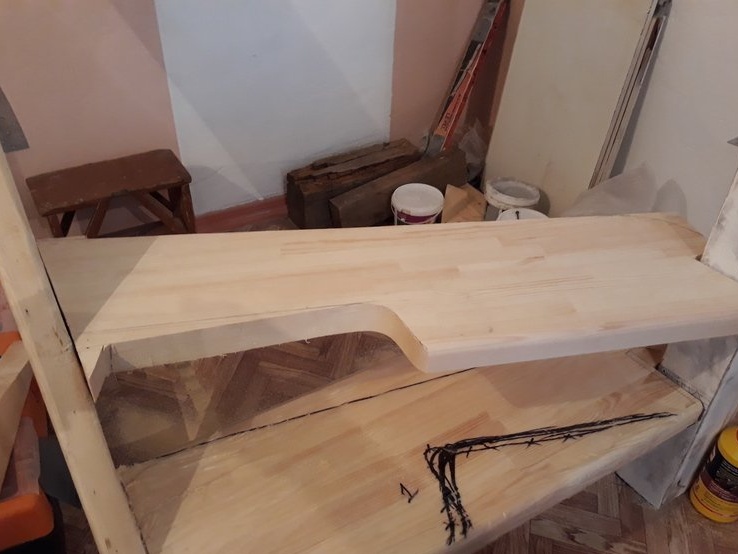
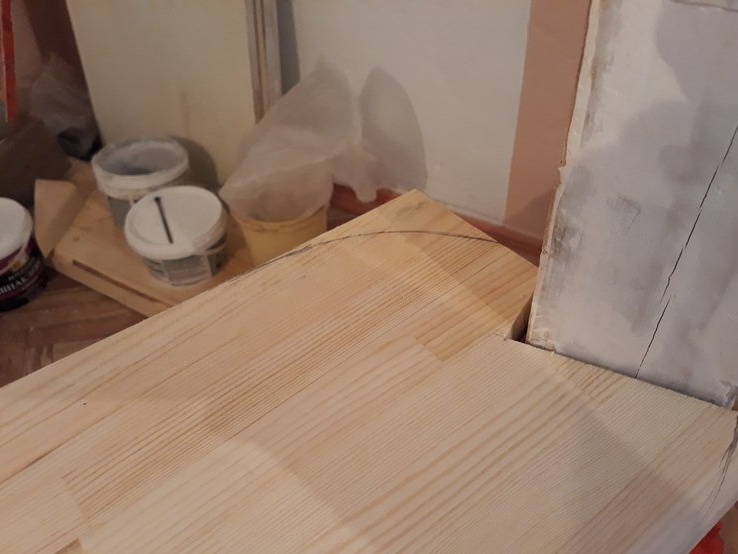
I adjusted the first step at the installation site and marked the step sawing under the “Goose step”.
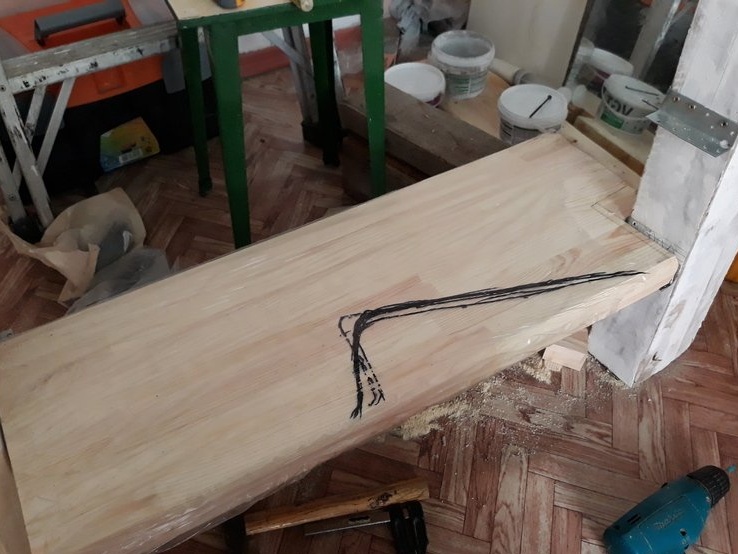
I was in no hurry to cut it, this is not a tricky business. I finally wanted to make sure that the profile of the steps was convenient. Therefore, marked the installation of the second stage.

Then, in the same way, he coped with the third step. Continuing to figure out and mark the profile of the steps themselves.
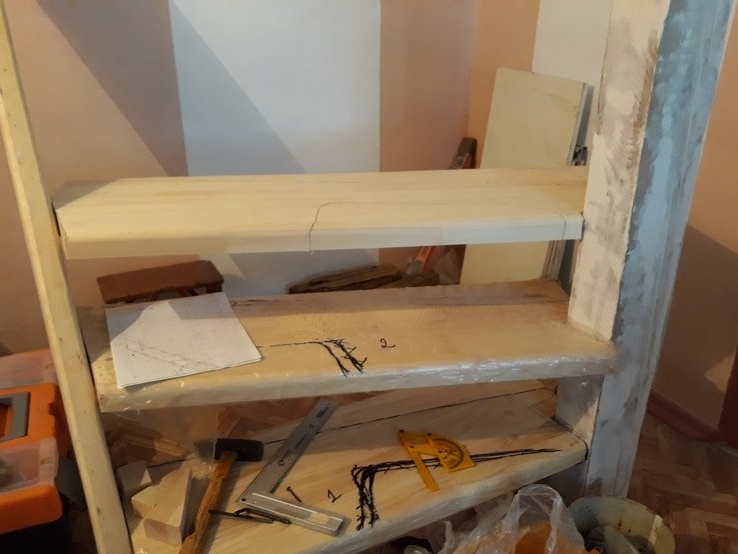
Having thus established three steps and having marked their profile, I decided to cut out their profiles at the end. I started with the third one, since nothing interfered with the process.
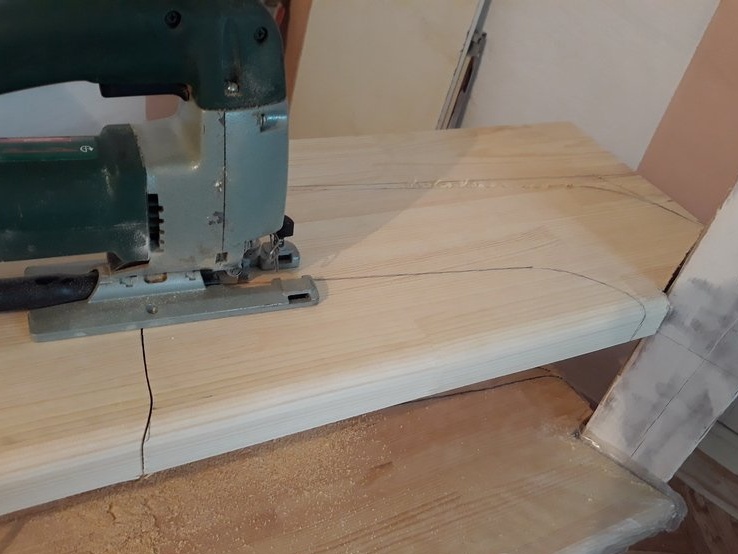
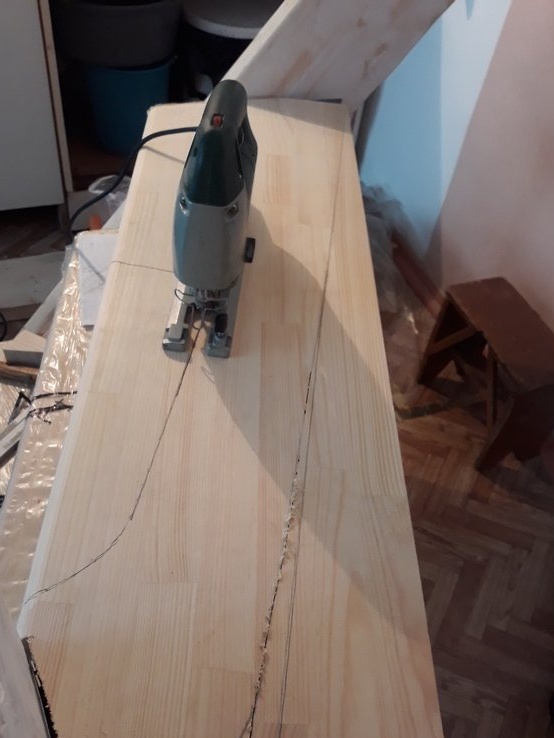
Having removed it, for convenience, sawed off the profile of the second step.
Then, having acted similarly with the second step, he sawed off the profile of the first.
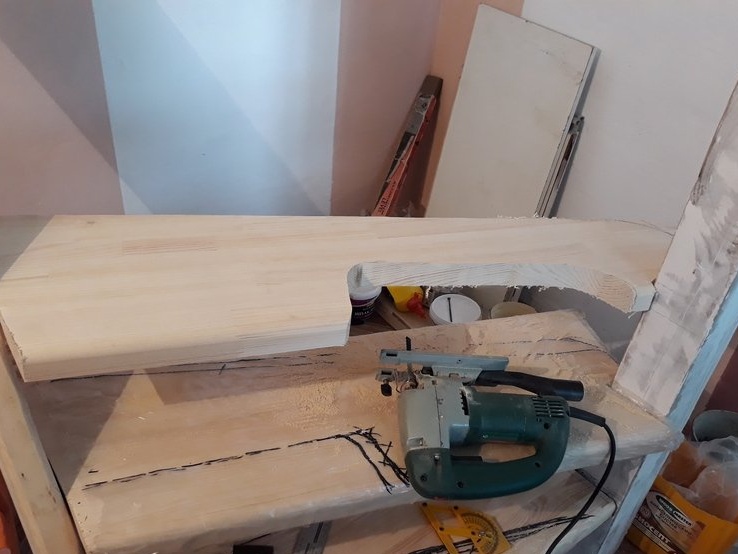
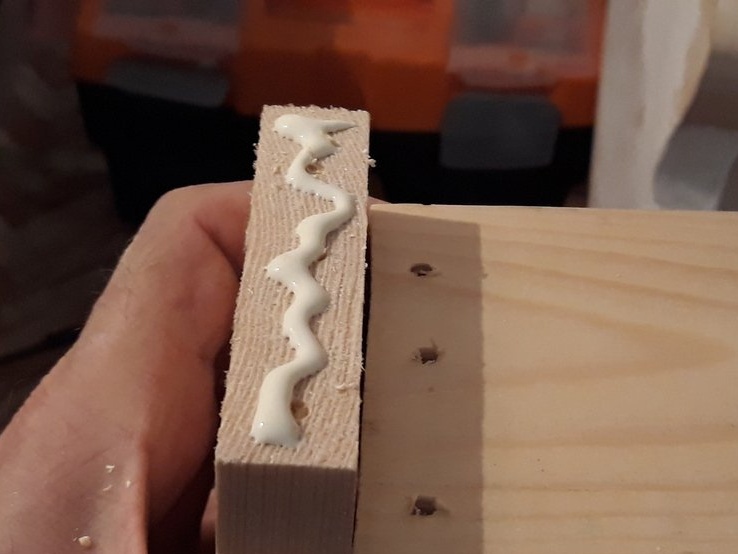
Having processed the cuts with the sandpaper, set it in place and took up the fourth step. The process was repeated - marked and set the corners. The width (300 mm) of the purchase step was not enough for me. But, having sketches and layout, I was ready for this. Using trim from the previous steps, PVA glue and long screws, I added the width of the fourth step.
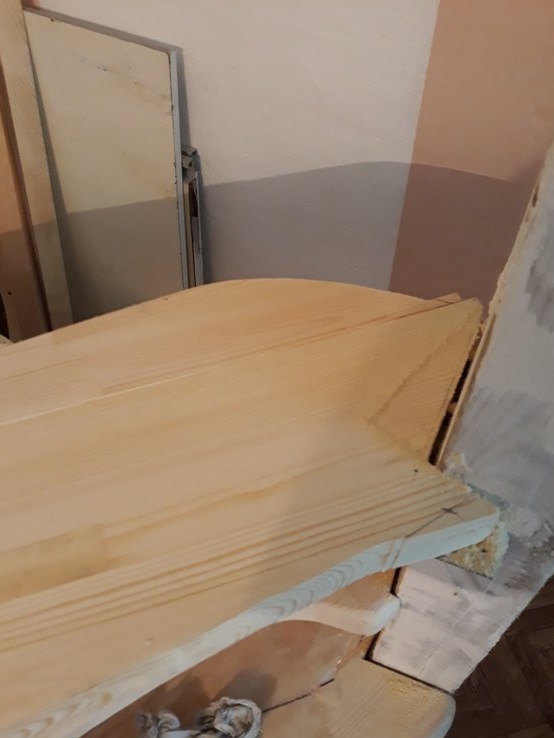
For skins, for putty, for skins. It turned out like this.
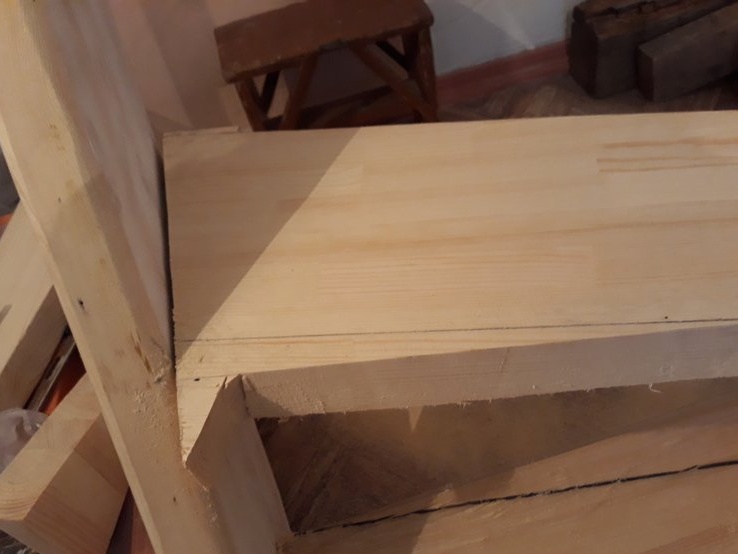
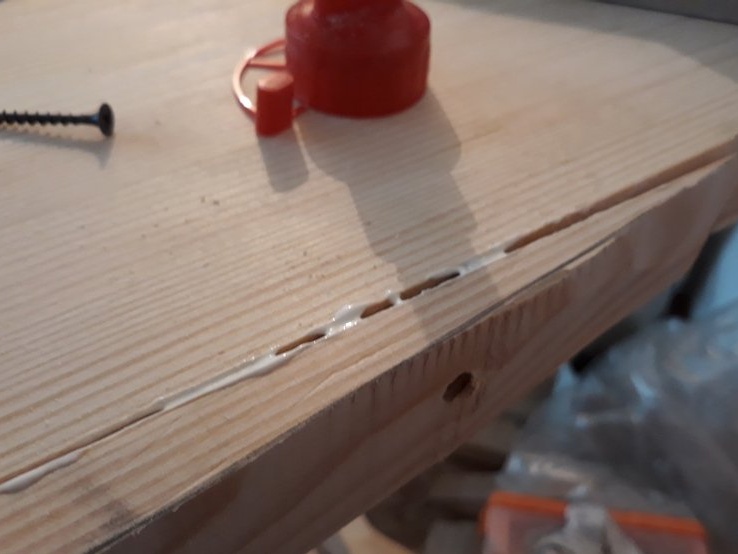
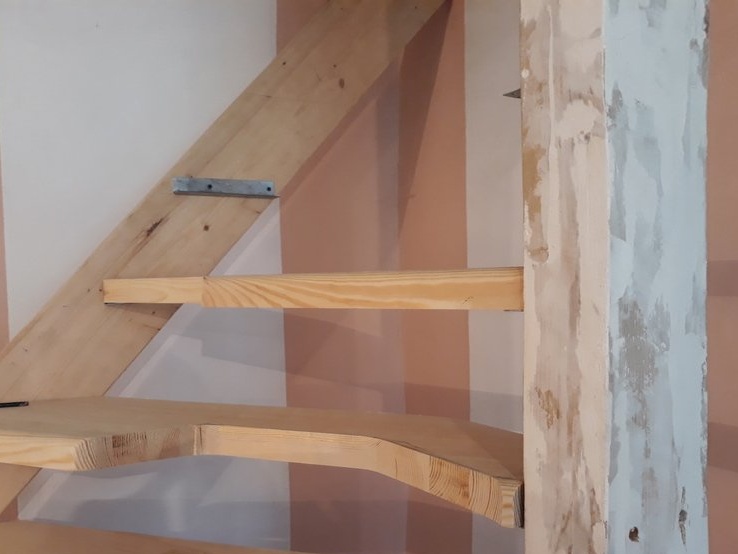
The fifth step is rotary, also with the addition of width. I want to note that in this, in the case and in the previous step, the step width was added to the far side of the step. That is, the main part (working) of the stage is whole, not compound. And this means a lot, it turns out that the addition in width only strengthens it.

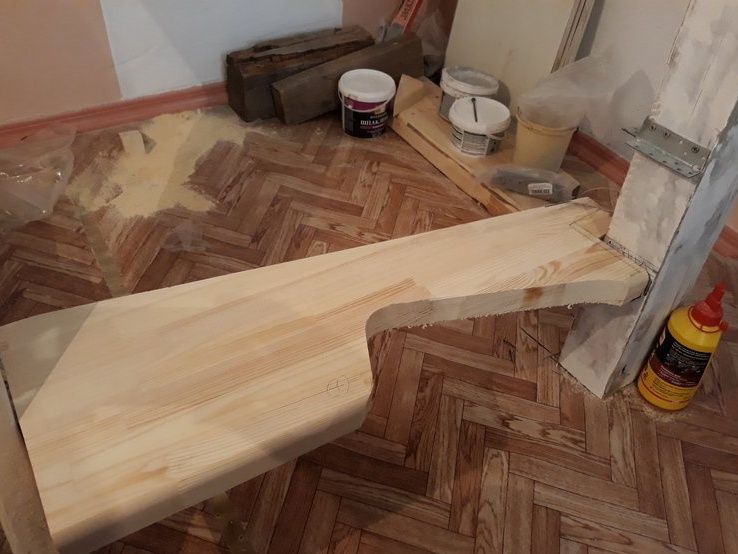
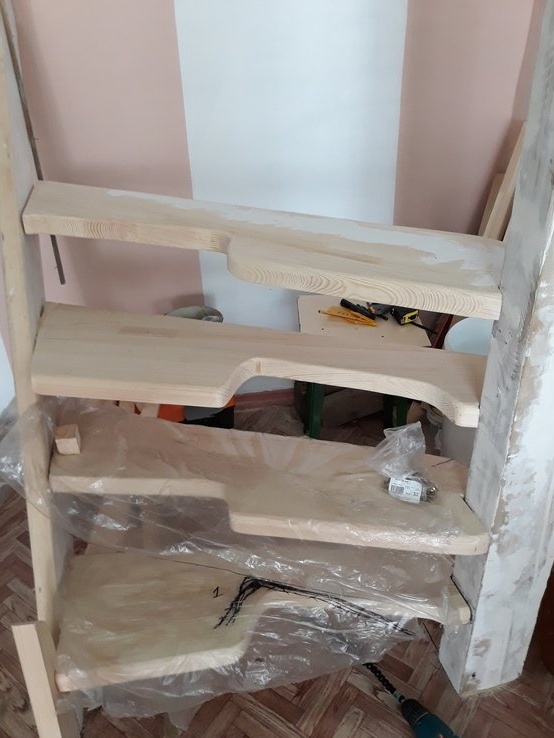
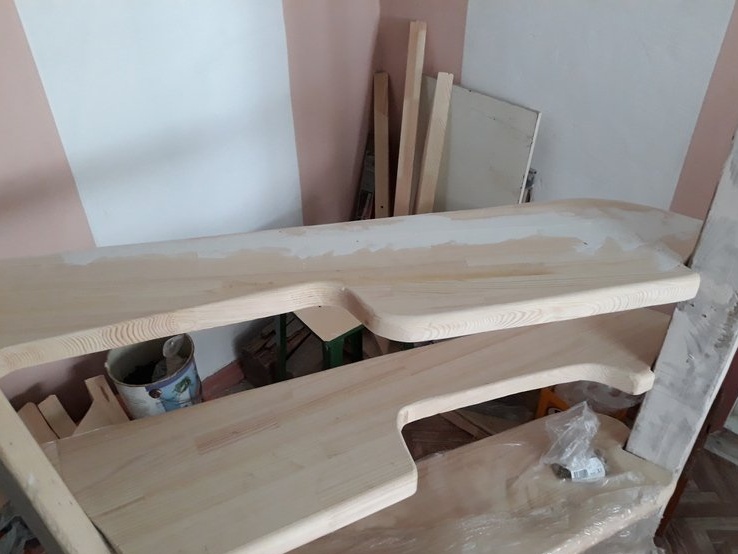
But, that’s what’s remarkable. In the drawing and layout, too. There were steps that protruded from the bowstring. This is the third and fifth steps. At the initial stage, it seemed okay, but when he did it live. I realized that something needs to be done, the steps do not have that rigidity in attaching to the bowstring. Blinked (thinking) a little, looking at the trim from the steps and decided to add to the lower bowstring, in the area of the protruding steps, gain. Which would overlap the protruding steps in length.
He placed tides on dowels with PVA glue and additionally extended them with long self-tapping screws at the end of the bowstring. He putty the joints with the “infernal mixture" of which he wrote above.
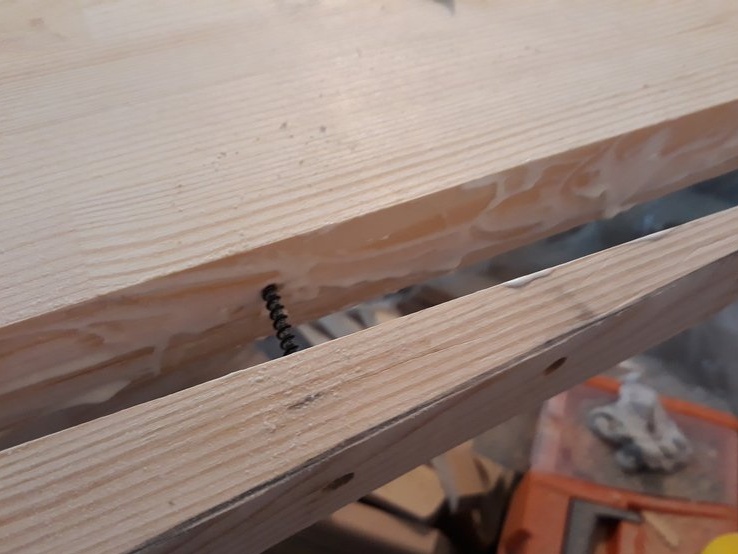
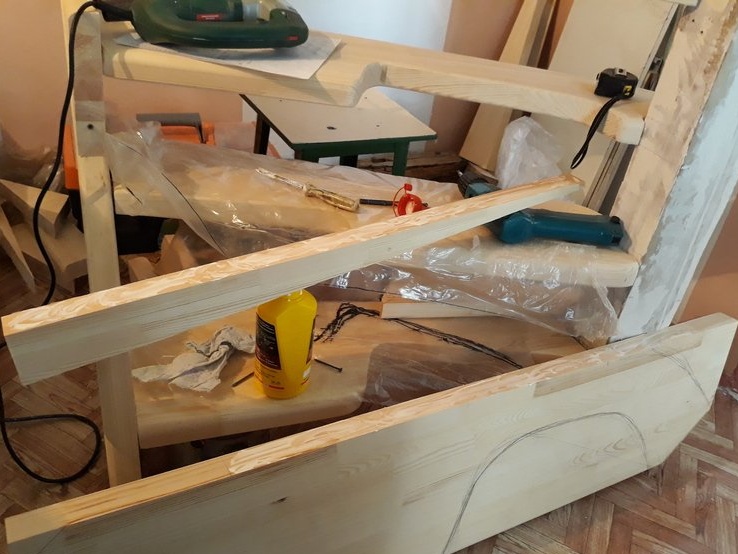
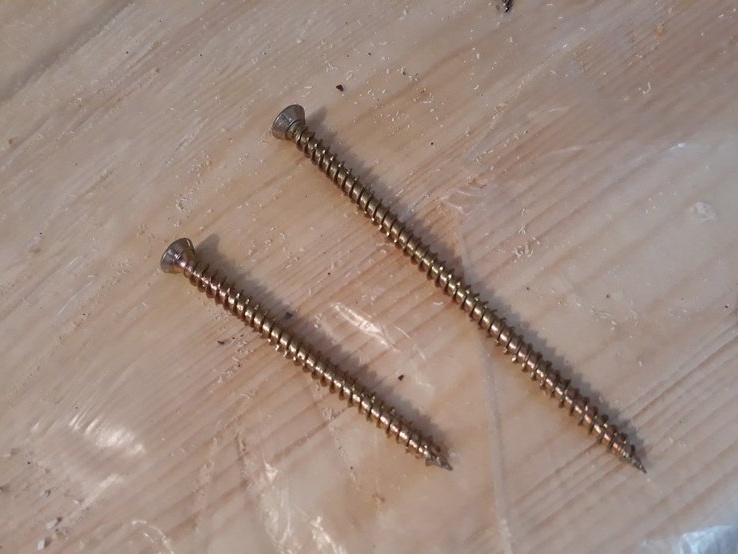
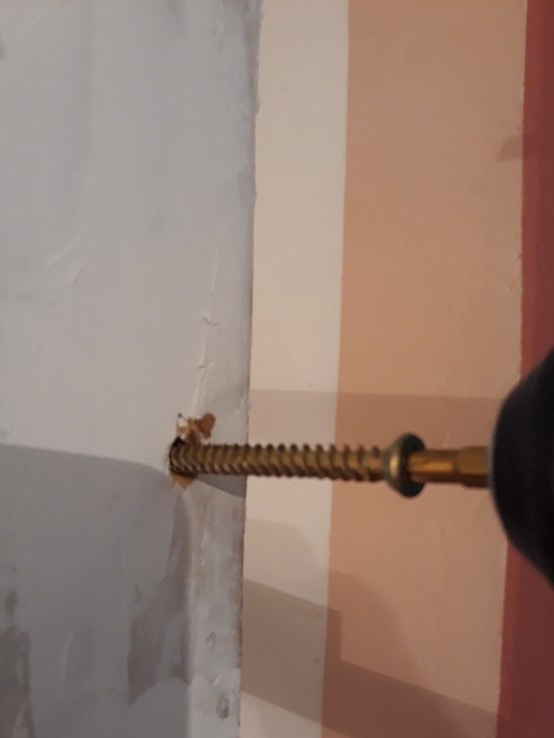
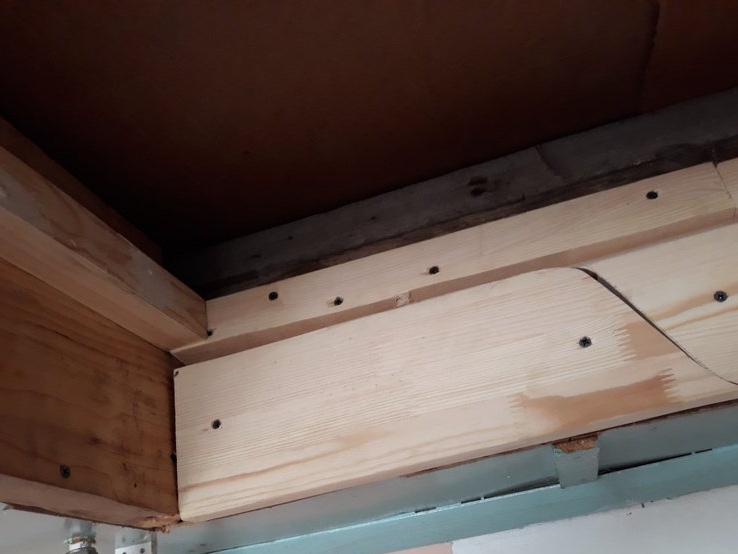
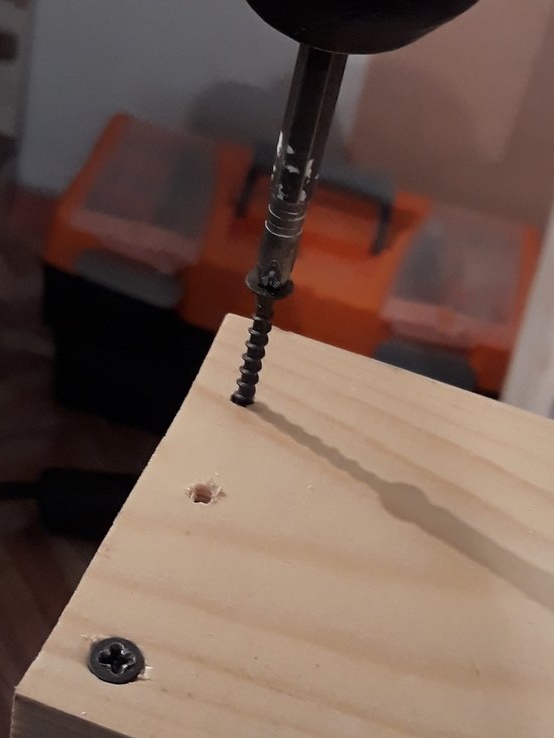
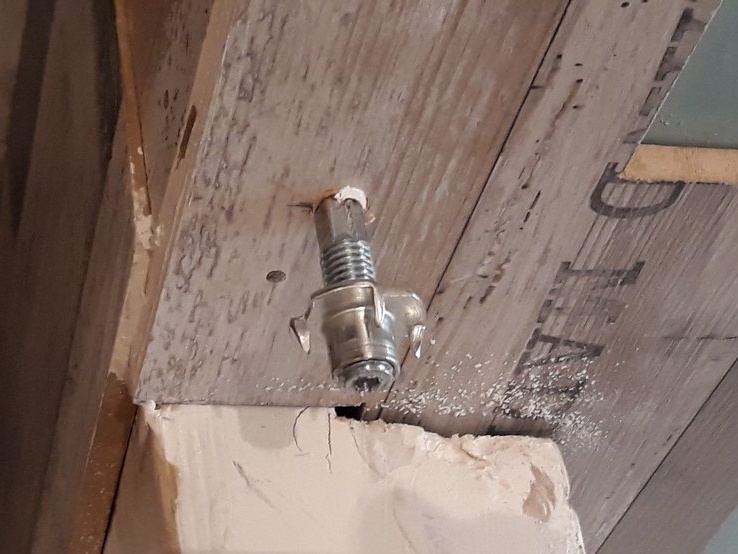
In conclusion, I thought that it would not be worse if I additionally extend the steps to their end face directly through the bowstring and pole, with any screws. In the store I liked the screws on concrete (screwed up). I think that if they screw into concrete, then they will enter the tree all the more. Took them of different lengths with a diameter of 10 mm.
He already installed the steps, he pulled it straight through the metal corners of the mount, having previously drilled it with a suitable drill. Short bowels went through the bowstring.
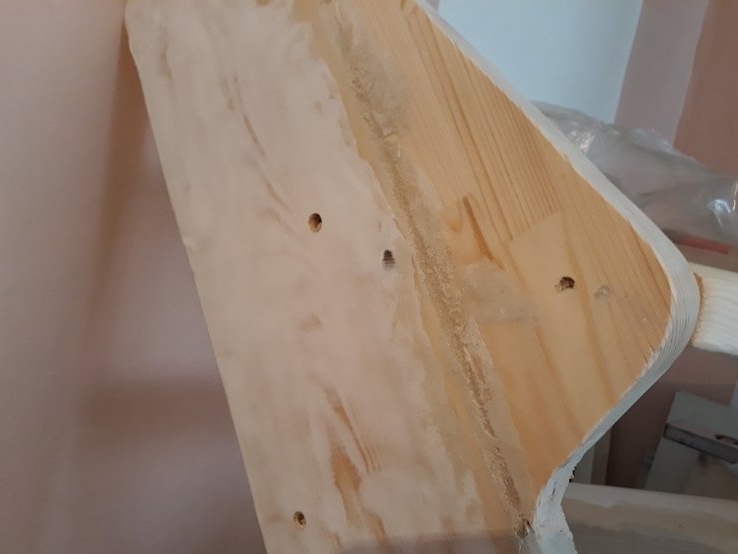
Through the pillar, long.
 [/ center]
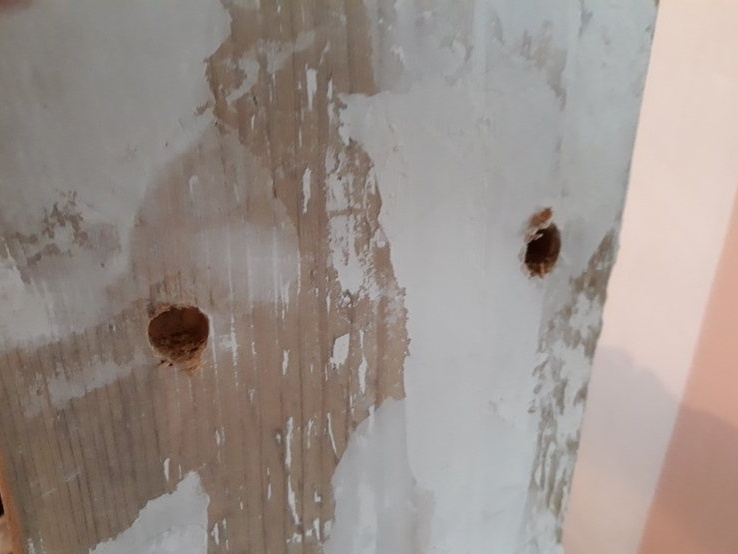
After the putty mixture has dried, the reinforcement for the steps is sanded with a sandpaper.
And putty again. And so on before being flushed.
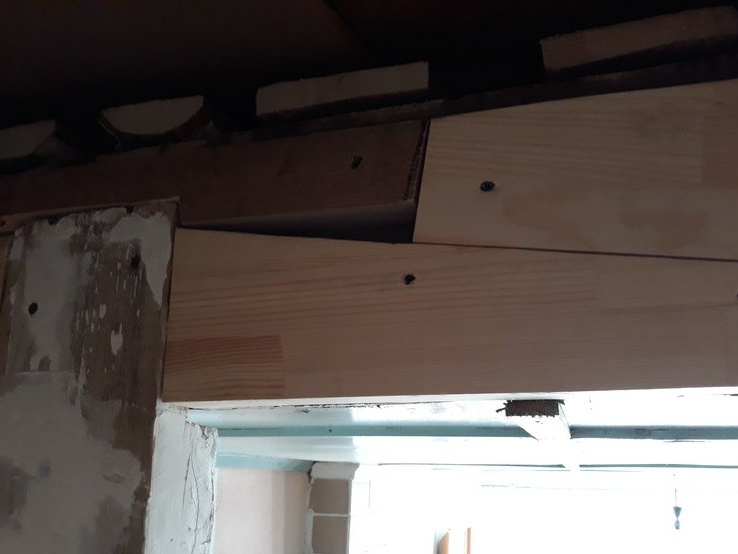
Next came the turn of installing a second upper bowstring and a third, very small from a pillar to a hatch.
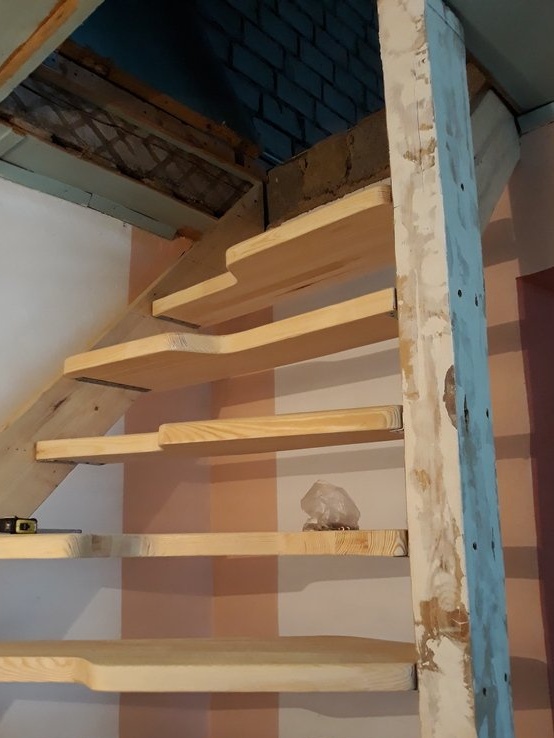
Then I marked and installed the sixth step
And then the straight section went without a hitch.
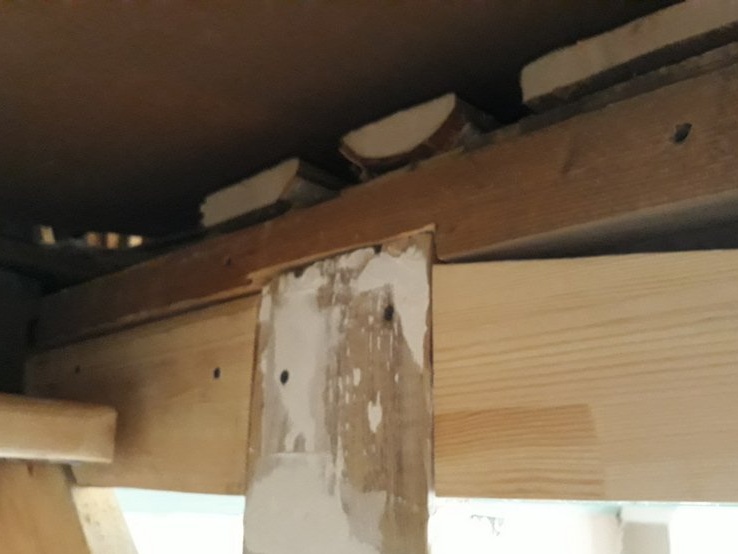
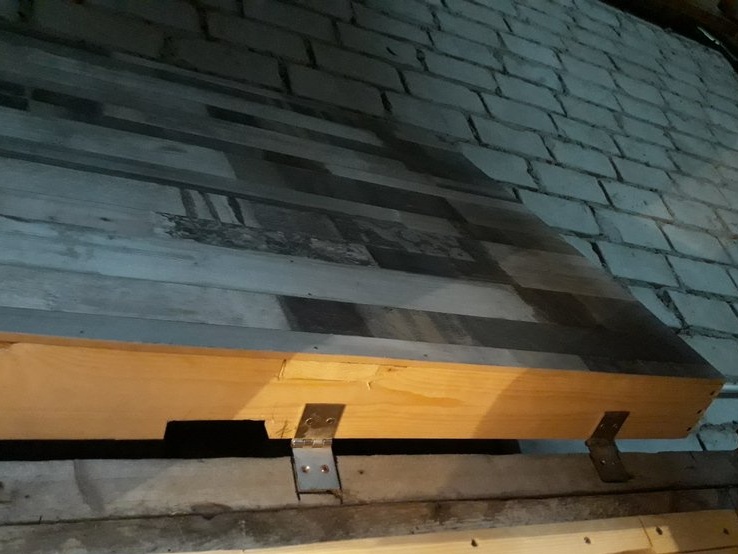
6. Luke.
So gradually crept up to the hatch. From the upper steps it was quite convenient to work on the conversion of the hatch. I, it was extended to the required size. I opened the hatch in the area of its fit with bars.
I closed the thickness of the ceiling, for leveling the surface, with scraps of steps.

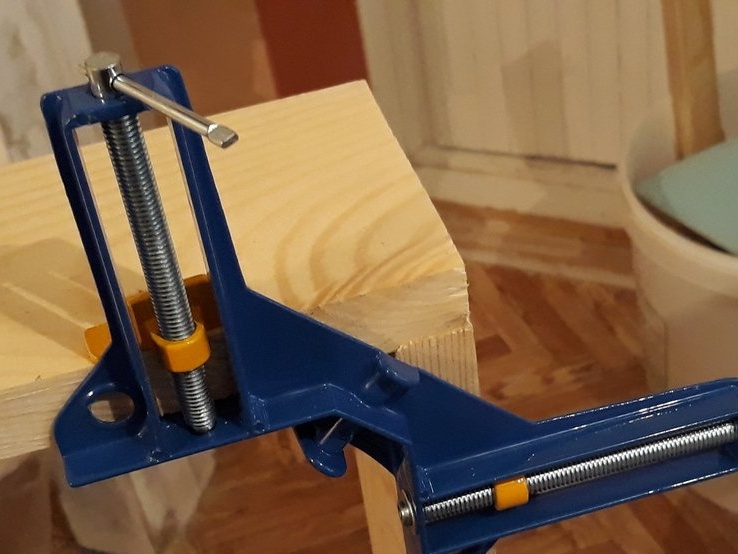
Then he began to manufacture the manhole cover directly. She made it from a board 90 mm wide, so that it would be possible to lay the insulation. Details connected to PVA glue. He pulled it with a clamp, then held it with screws.
Put a jumper between the parties.
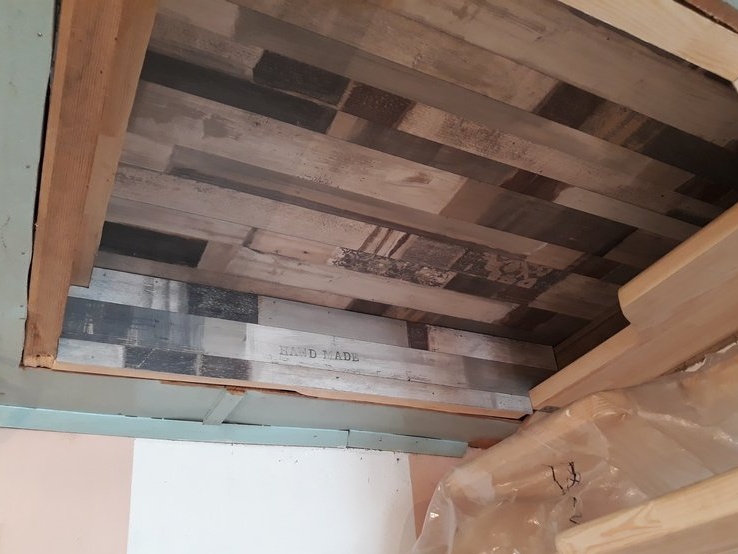
From the side of the stairs, the hatch was covered with scraps of laminate available.
Ready hatch cover installed in place. A glue flat insulation was laid along the perimeter of the fit to eliminate possible gaps, between the manhole cover and the opening.
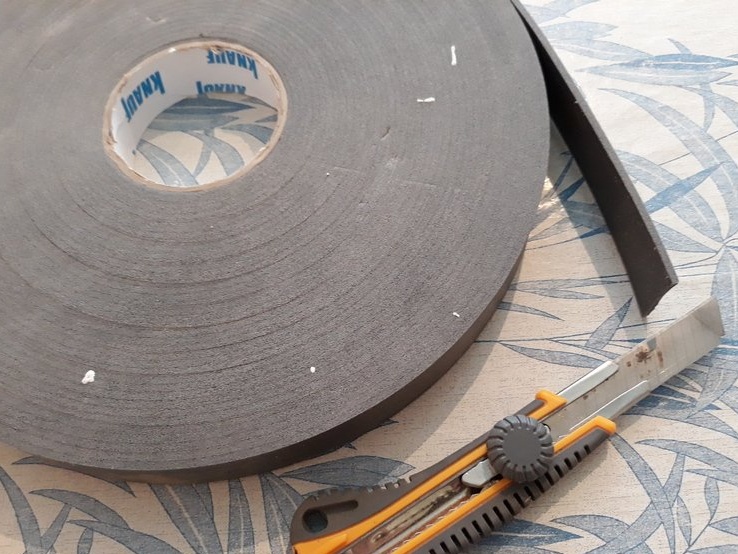
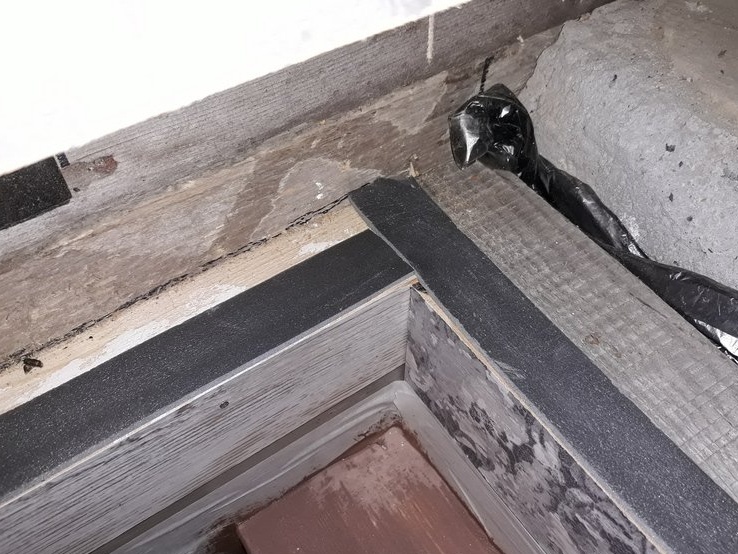
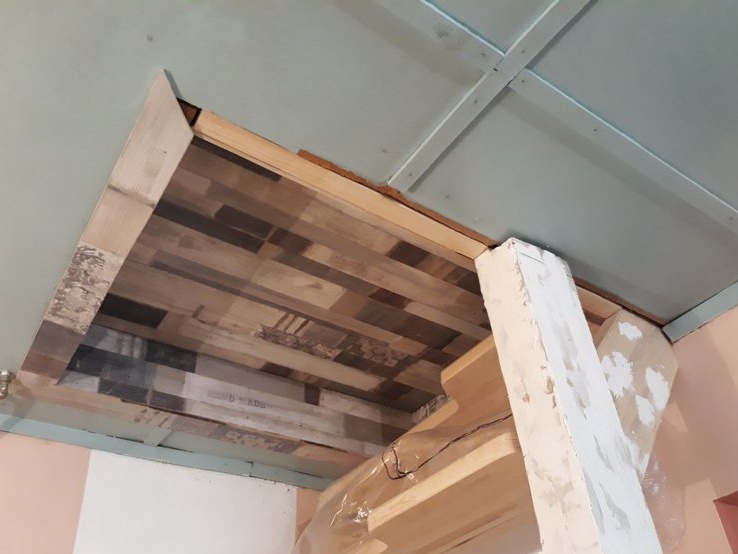
Then, with the same laminate, he ennobled the opening of the hatch.
Then, on the manhole cover, from the side of the first floor, I built a handle from a shovel handle. Which would allow more comfortable to go down. And close the hatch with a lid.
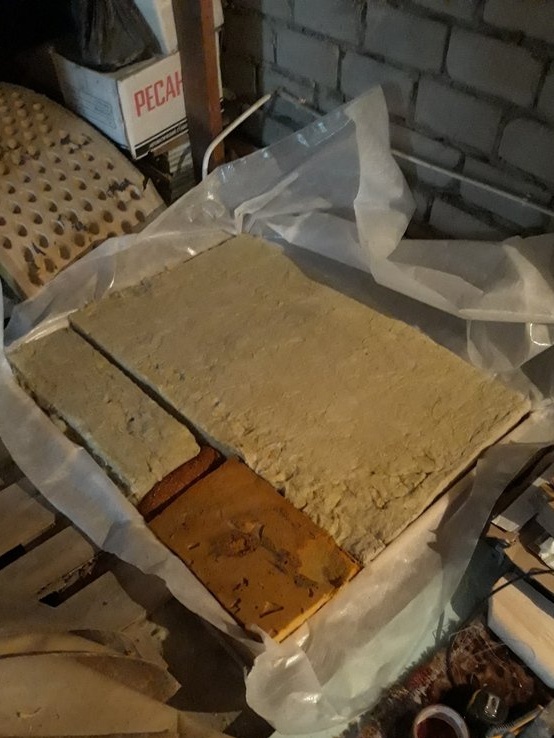
After moving to the second floor. He took up the insulation of the manhole cover. I covered the cavity of the manhole cover with a universal vapor barrier film, grabbing it with the staples of a building stapler. Then he put the insulation.
Then he covered it, grabbing it with the same film with tape and an additional crossbar.
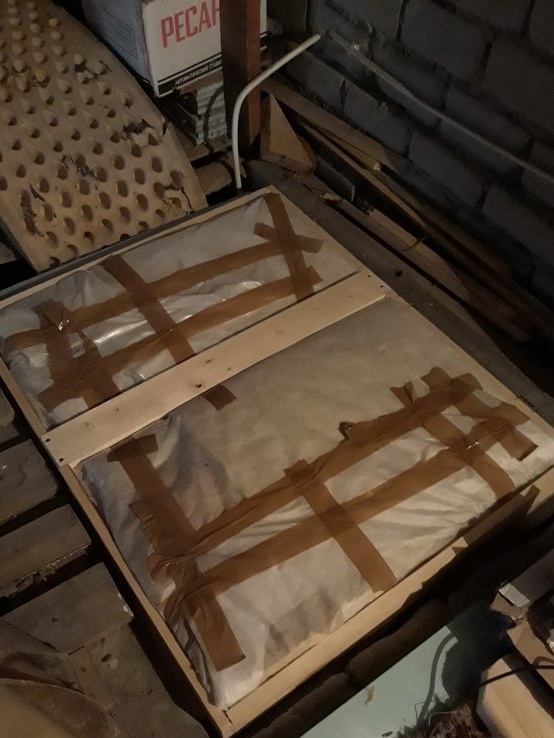
And finally closed with thick furniture cardboard.
For the time being, I used a tight rope to open the hatch on the second floor. In the future, when the time comes for arranging the second floor, you may have to modify or redo something. To facilitate opening and closing the hatch, it is proposed to use a counterweight or furniture pneumatic amplifiers.
But, this is in the future.
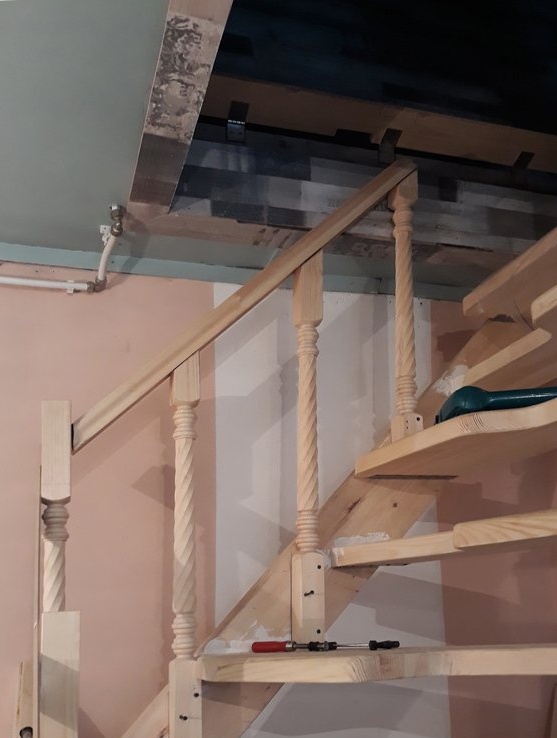
7. Railing.
To arrange the railing, balusters and handrails were purchased.
It was originally supposed to install balusters classically at the end of the bowstring. But then, to increase the stiffness of the railing, it was decided to install it from the inside of the stairs.
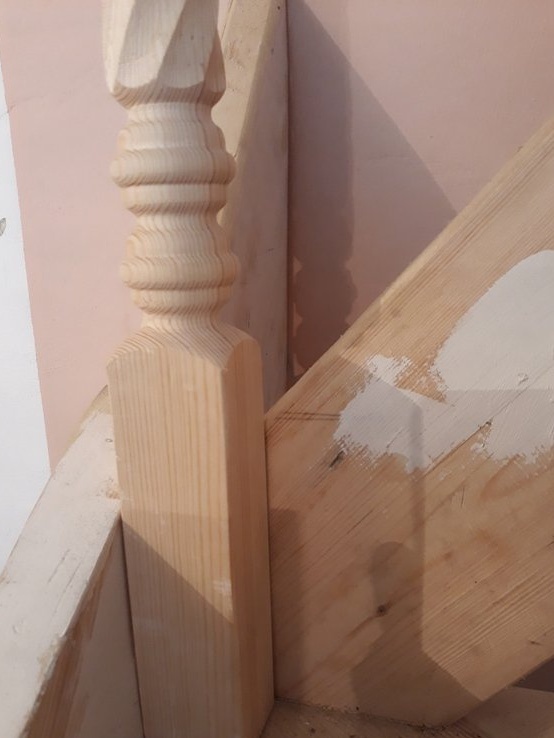
This increased the area and capabilities of the mount itself.
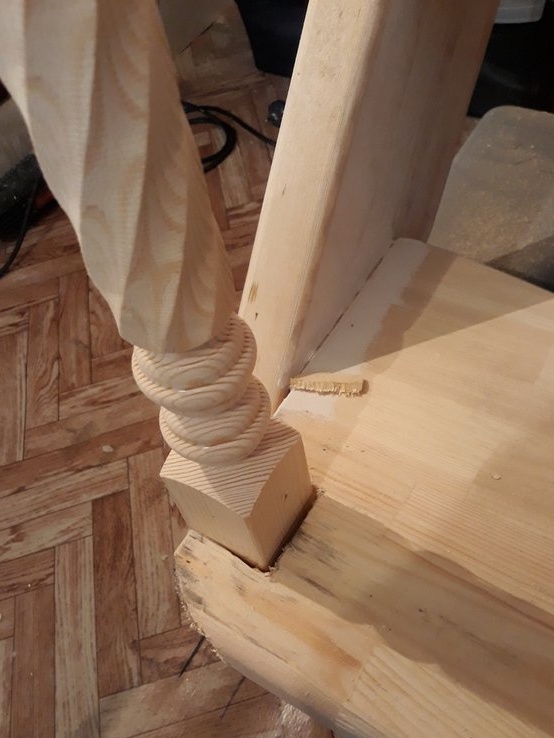
Initially, the upper part of the railing was marked.
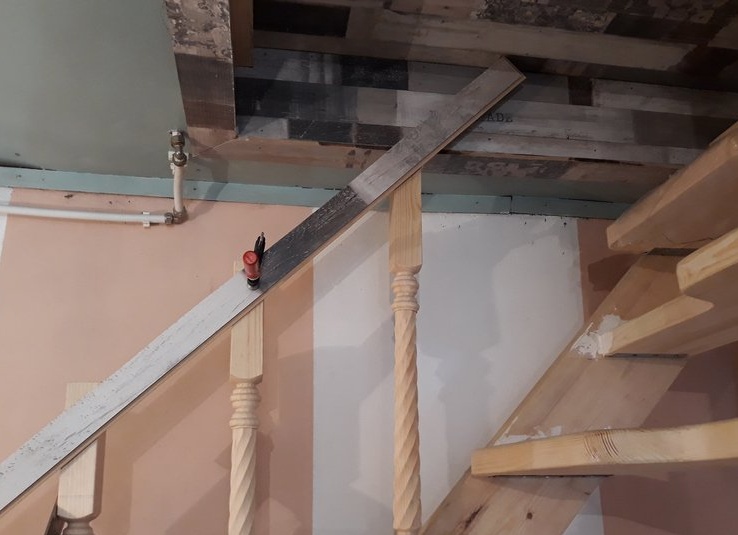
And then the bottom one.
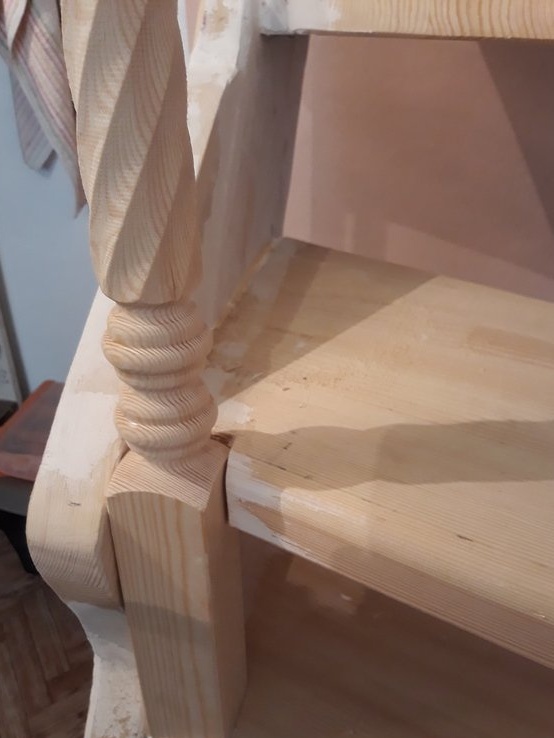
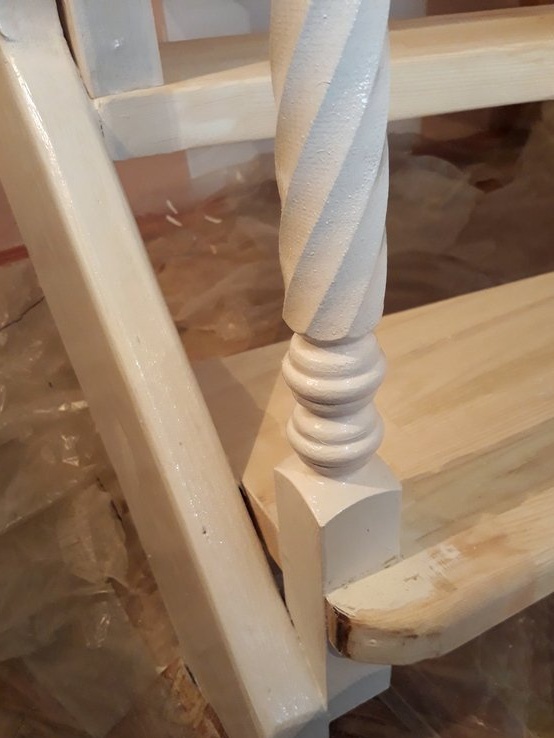
According to the marking, the baluster was sawed and handrails were installed. Everything was installed on PVA glue and screws.
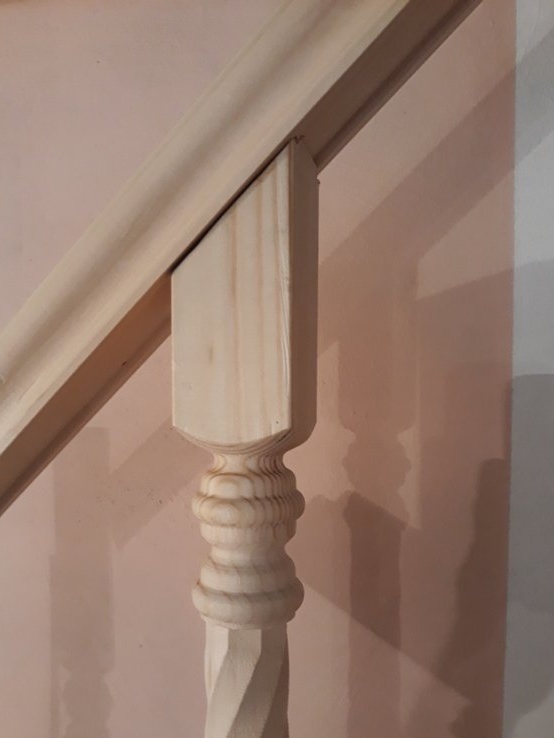
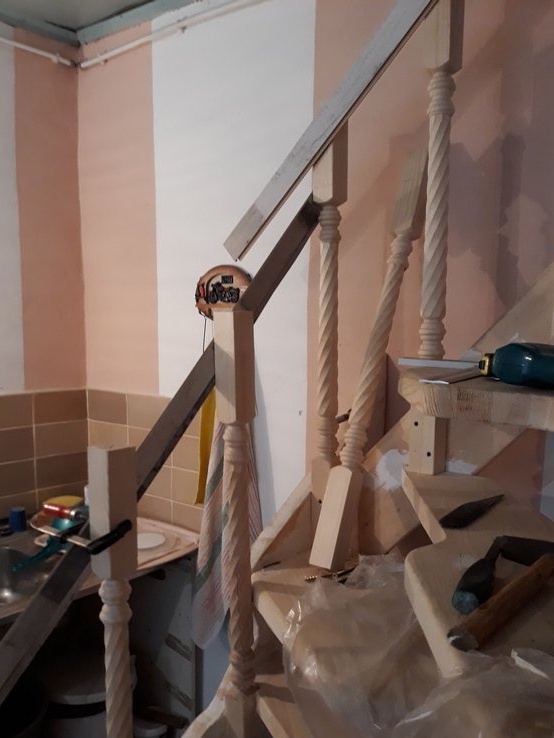
Since the “entry" pillar was not installed, due to its size. It was necessary to somehow arrange the end of the handrail, or the beginning (as you like best) of the handrail. There was no magazine bend for this profile of the handrail, and in size it was also quite large. Therefore, I used the remains of the handrail itself. Having cut out several segments, at the same angle. These segments were also mounted on PVA glue and thin screws.
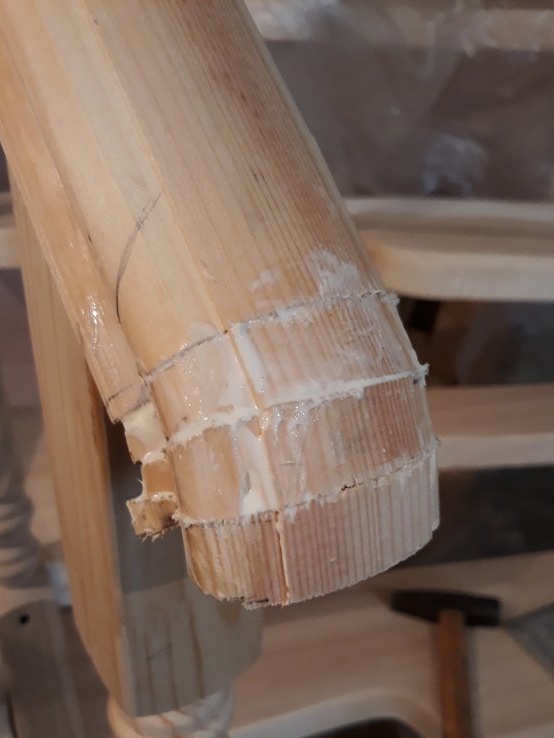
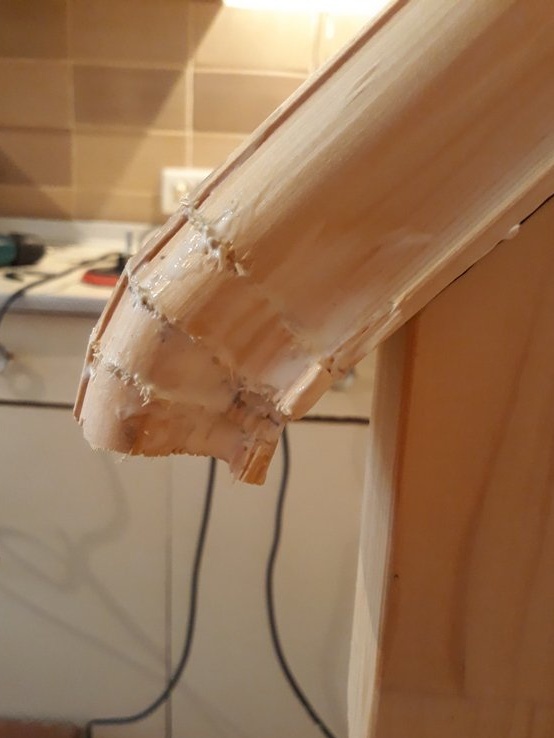
After drying, everything is treated with sandpaper. Putty, and after drying again processed. The result is such a bend.
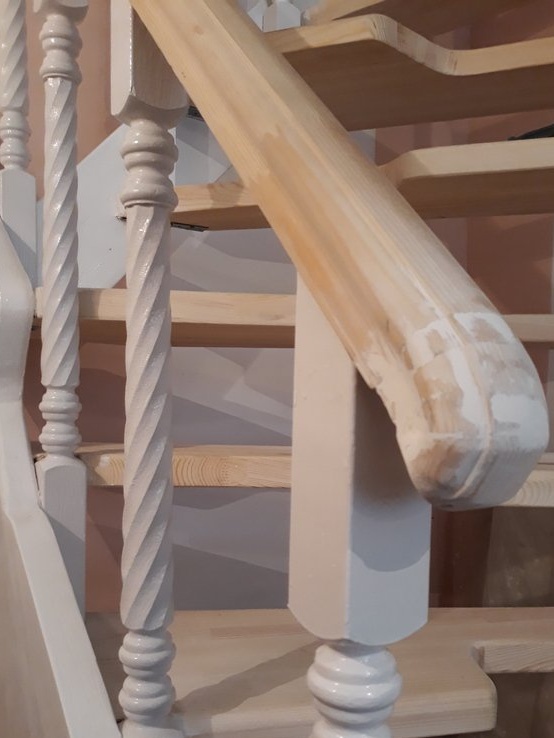
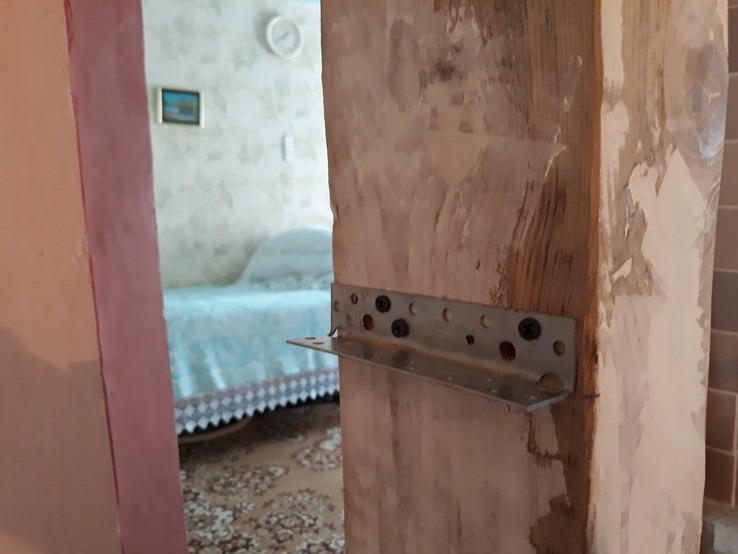
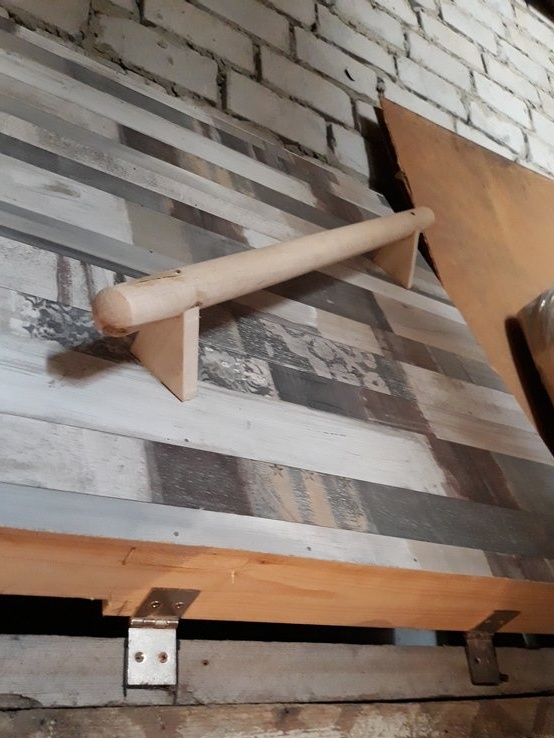
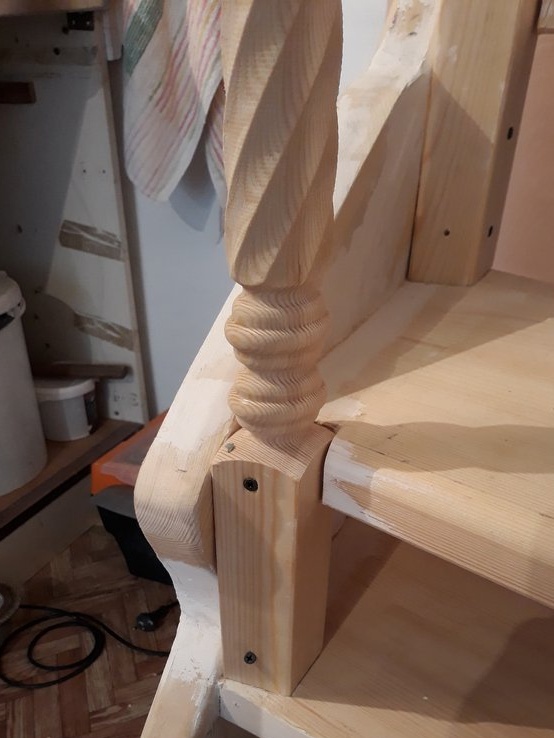
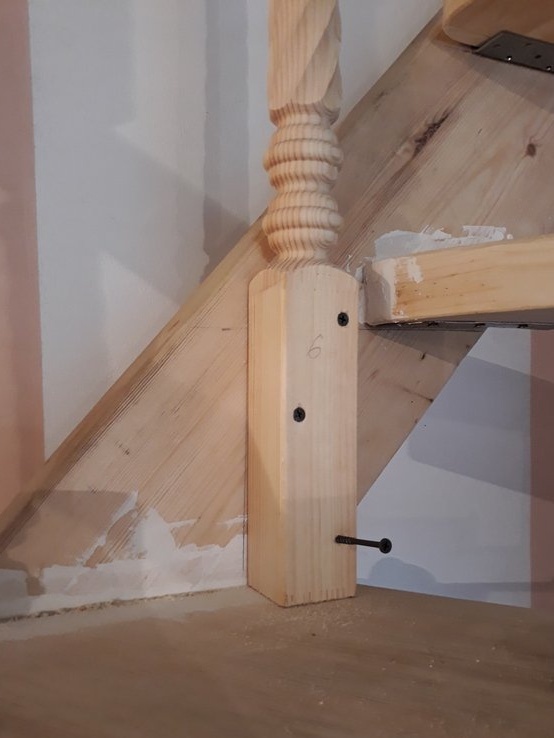
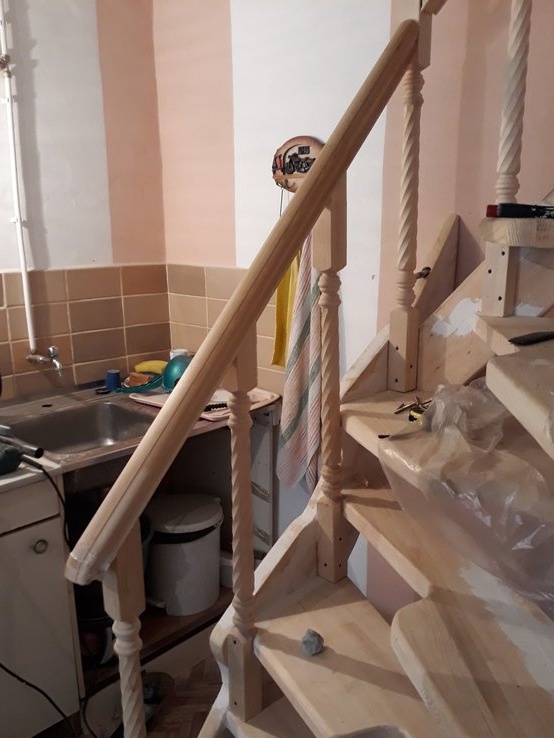
Along the main railing on the post, for convenience, auxiliary rails were installed.
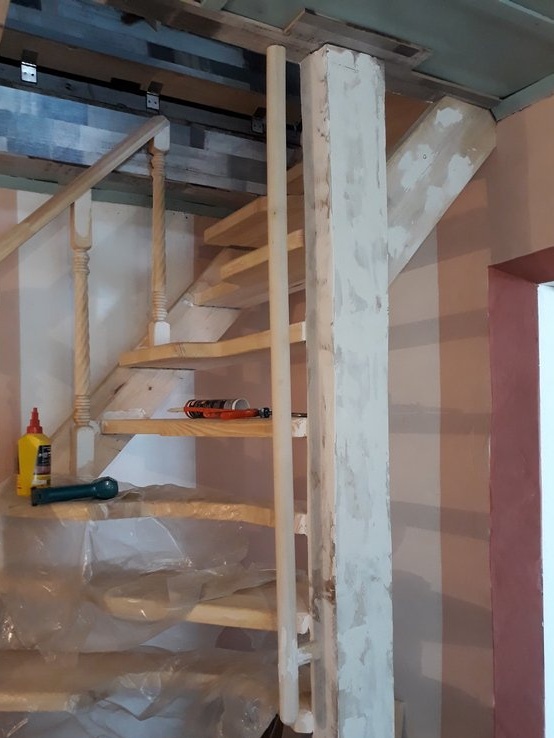
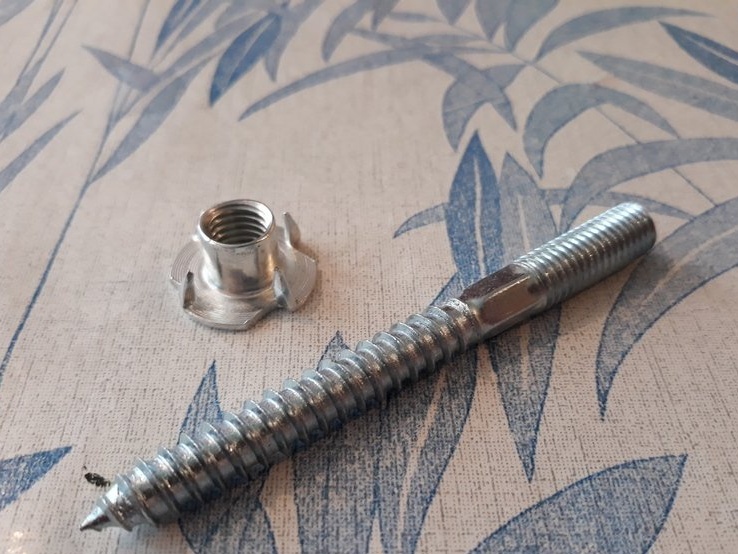
For this, shovel stalks, a plumbing stud and a mustache nut were used.
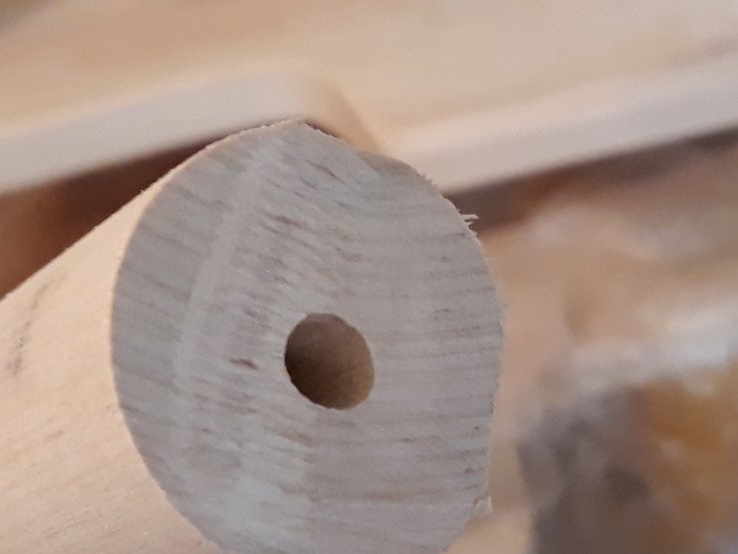
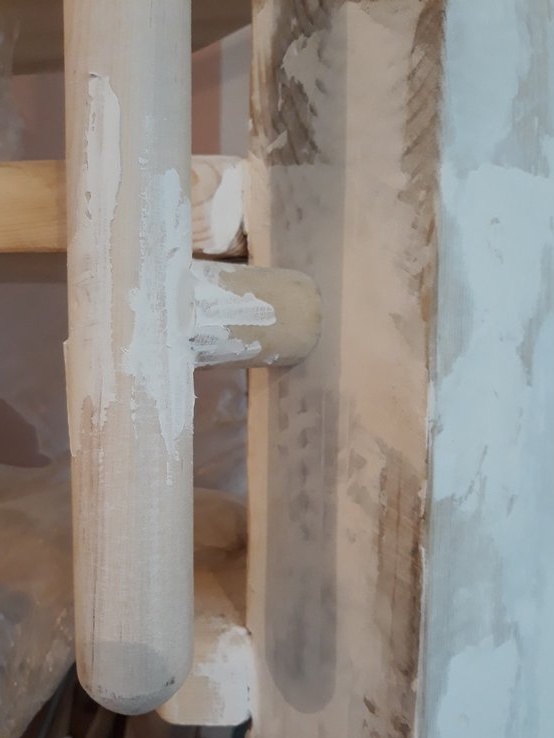
I think the design is clear from the photographs. I will add only one clarification. In the lower part additional feather-beds are fixed on an emphasis to a column by the long self-tapping screw passing through a handrail and an emphasis, through. Then everything is puttied and processed.
8. Painting.
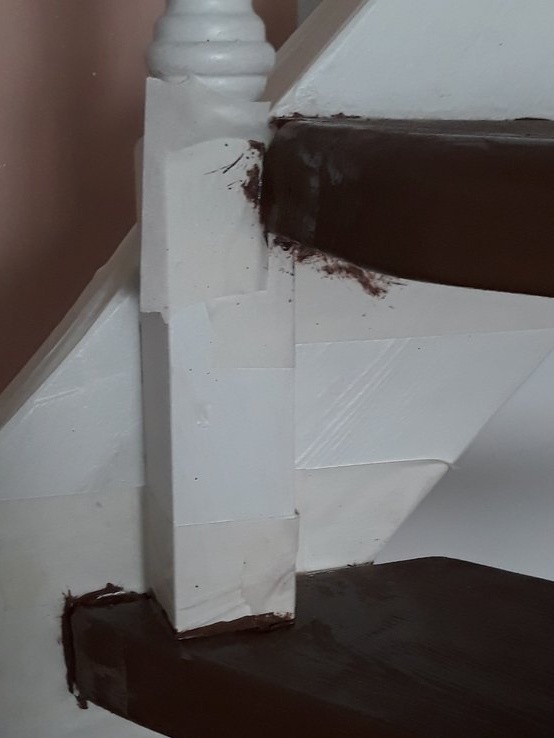
The staircase was painted in two colors: white and brown (chocolate). I had to paint twice, since clean wood and putty absorb the paint well. First, balusters, three bowstrings and a pillar were painted white.
Then the borders of paints were covered with masking tape and painted brown. For the first time.
Ah, this is final.
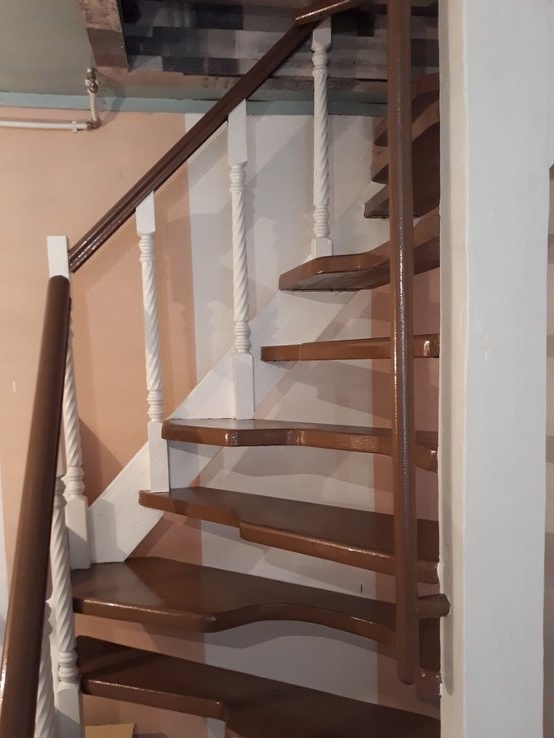
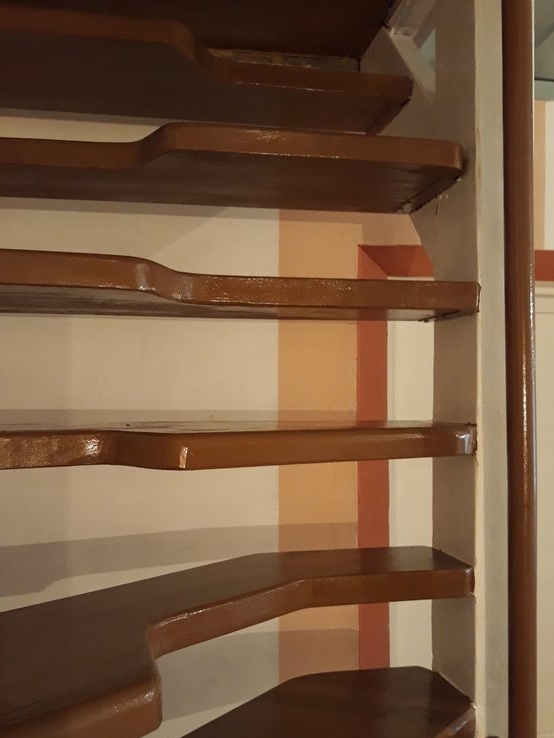
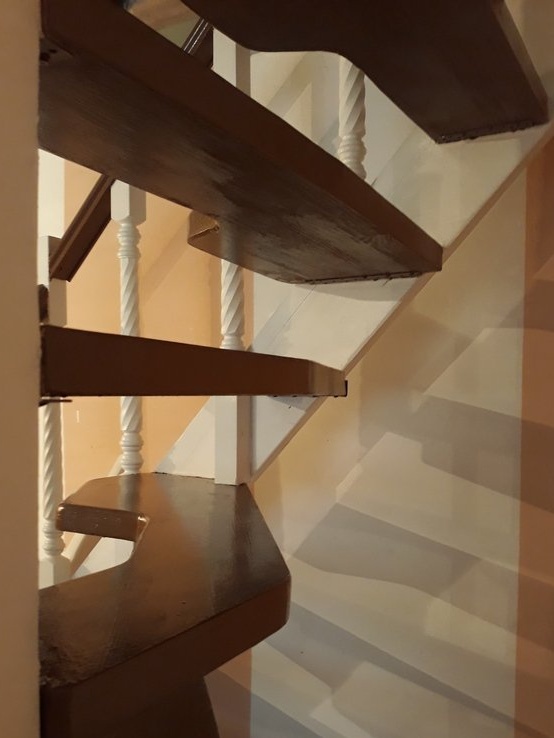
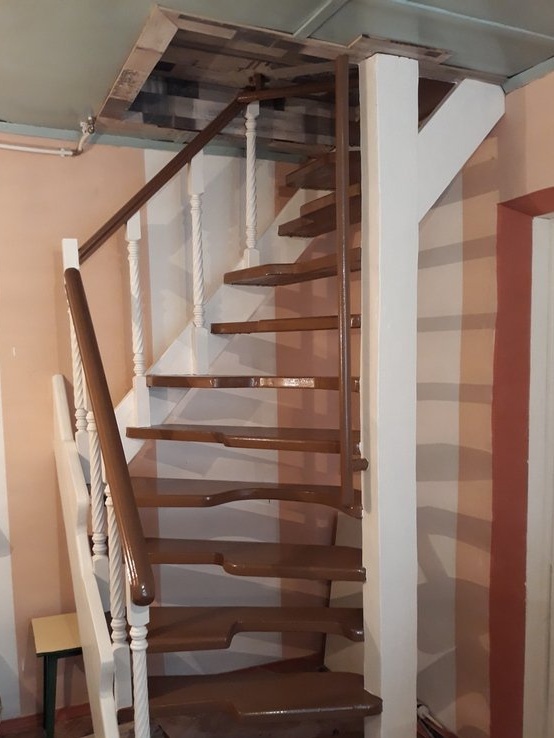
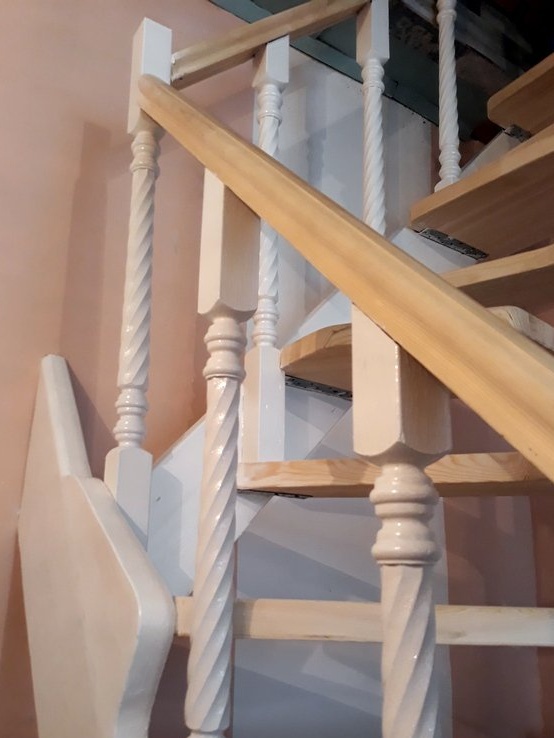
9. The result.
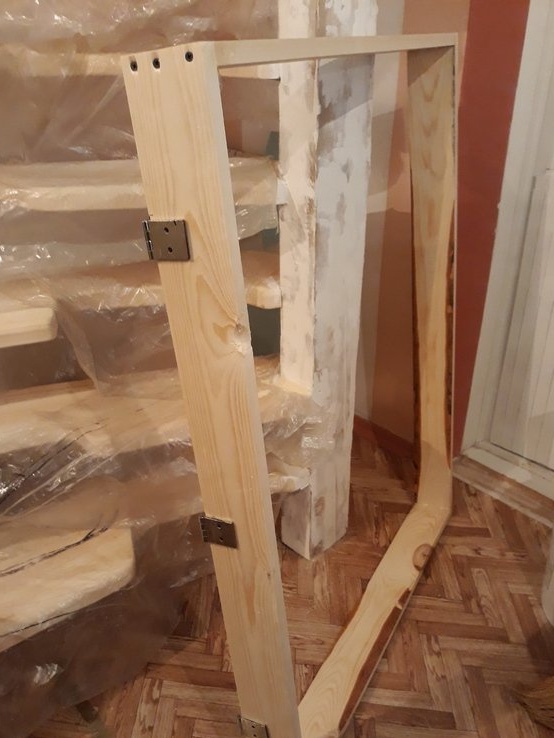
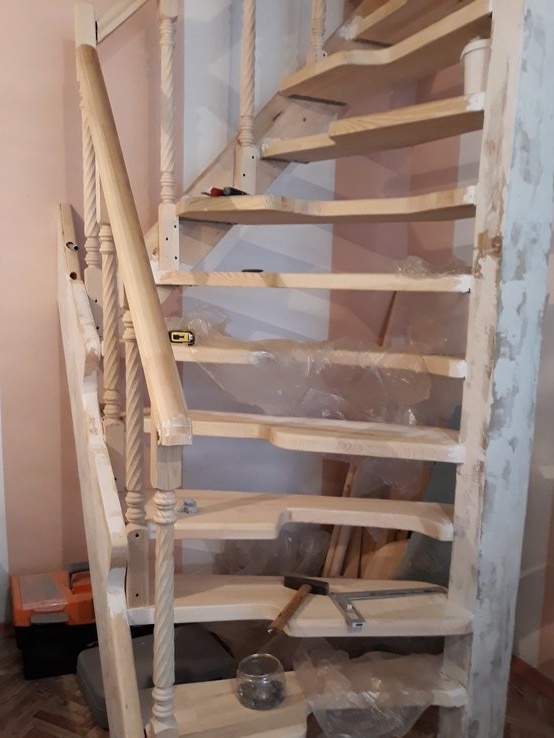
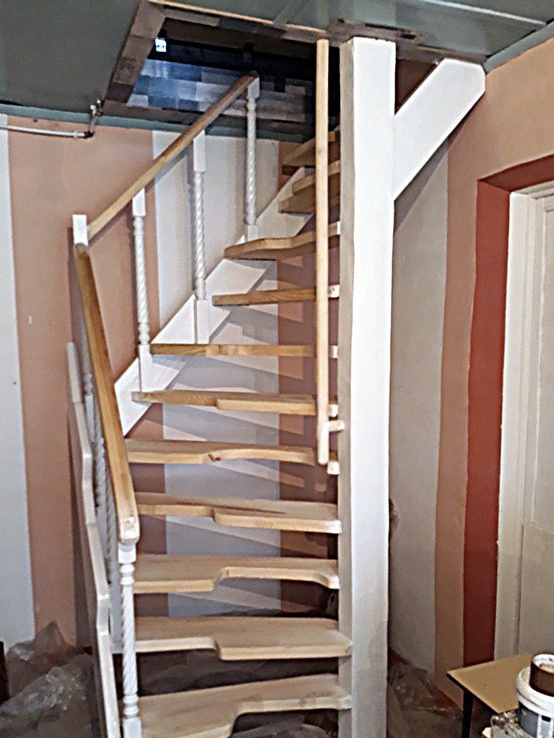
The result of the work is actually visible and the latest photos.
I was pleased with the work, it worked out well. As conceived.
About the convenience of using the stairs, I would say - unusual. But, quickly getting used to.
To say that she is happy about the landlady is to say nothing. She is just ecstatic, flies up and down, the only way. Very like.
That's all.
I hope that this article will be useful to many.
Watch, criticize, advise.
If you have questions or something, do not ask clearly.
Regards, Starp.