
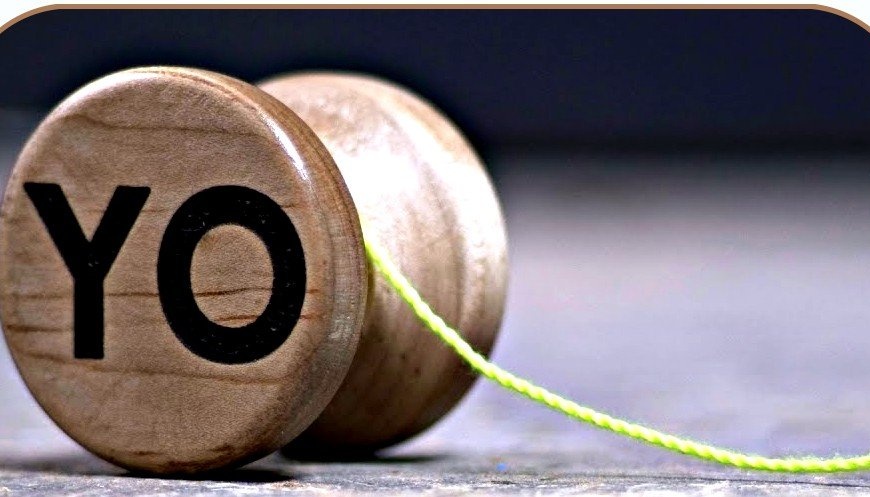
In this article, the author of YouTube channel “I Like To Make Stuff” wants to offer sophisticated readers an entertainment project - a toy Yo-Yo. True, she will be somewhat different from her brothers, so to speak, with a twist.
Materials
- Bar of American linden and maple
- Quick-curing two-component epoxy adhesive
- Steel bar, bearing
- Sandpaper
- Aerosol varnish
- Kapron thread
- PVA glue.
Instruments, used by the author.
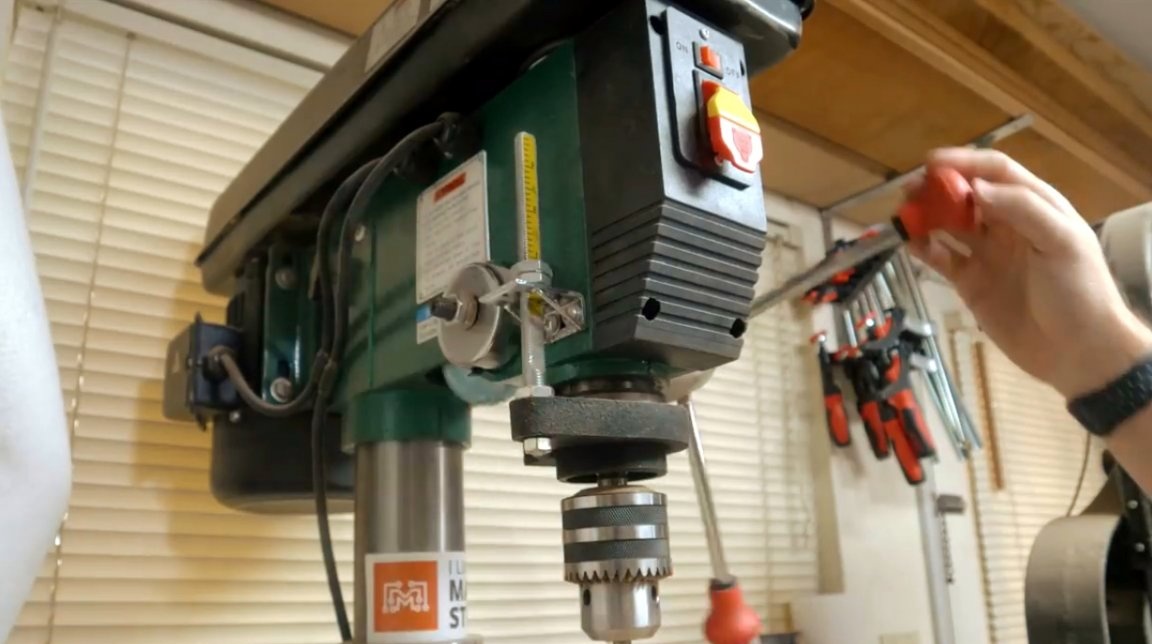
- Drilling machine
—
- Lathe, cutters
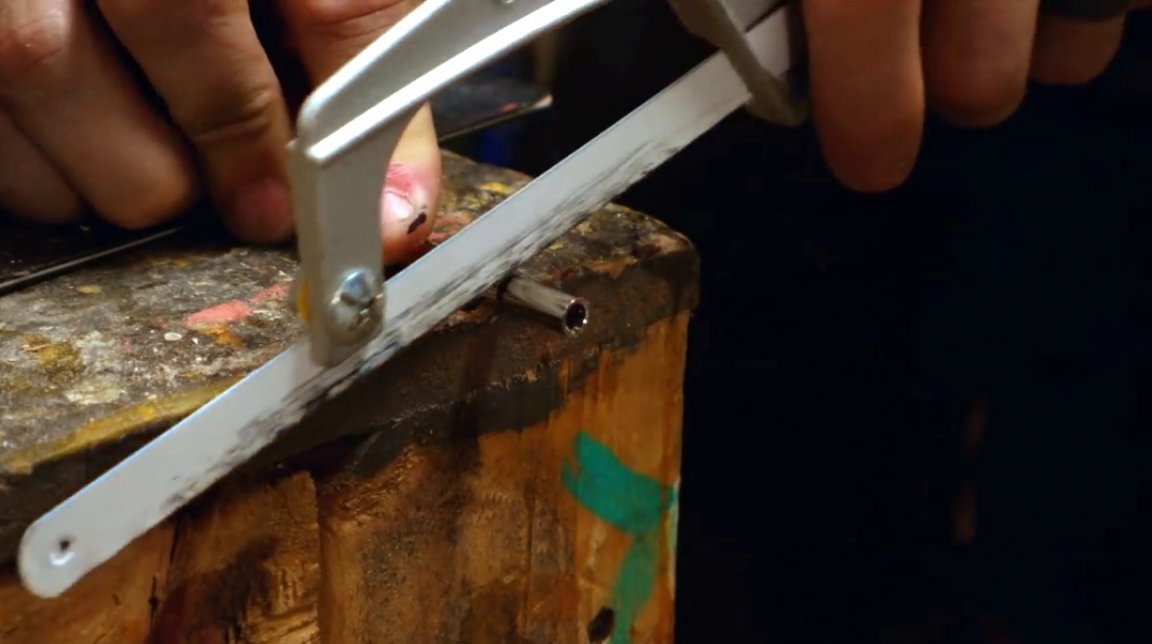
- Hacksaw
—
- Belt sander
- Miter saw
- Roulette, square, core, pencil.
Manufacturing process.
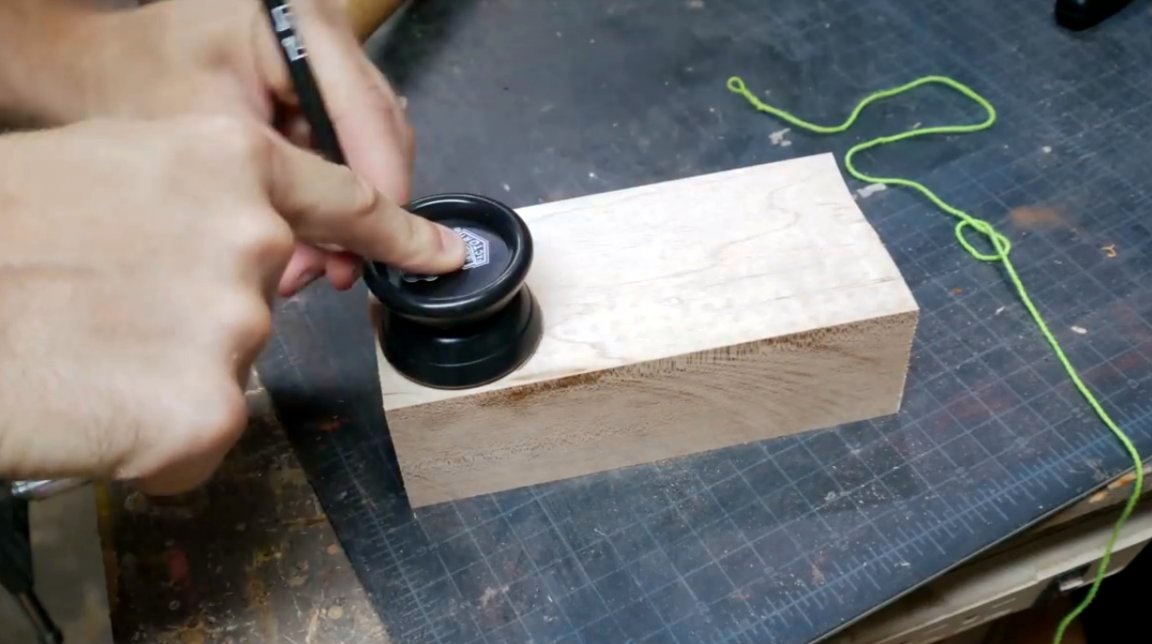
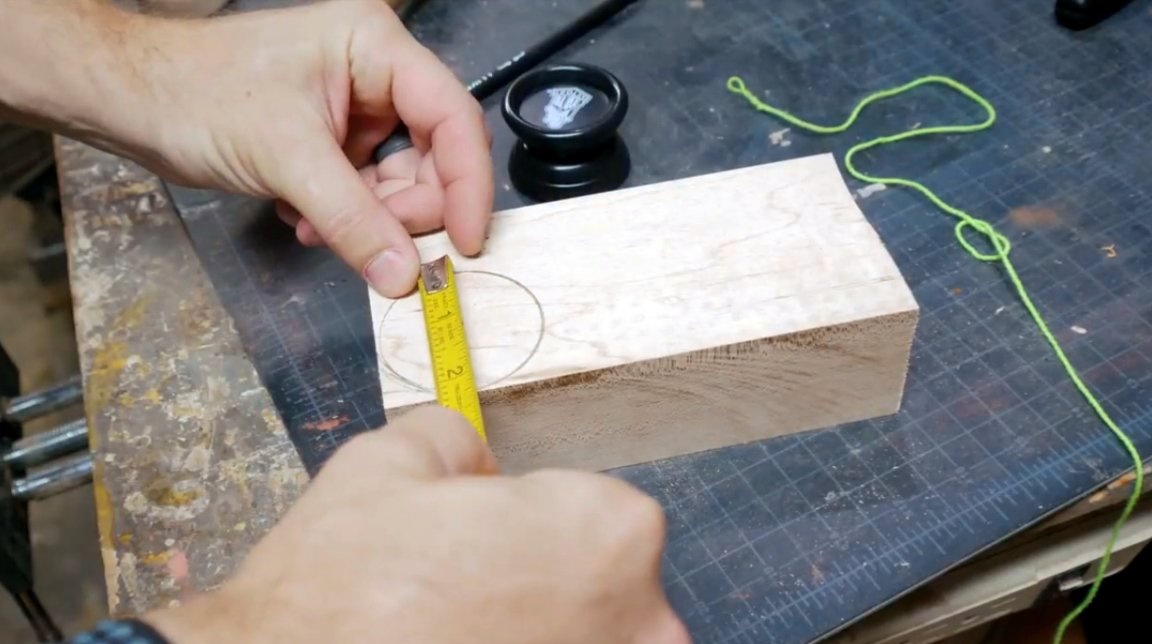
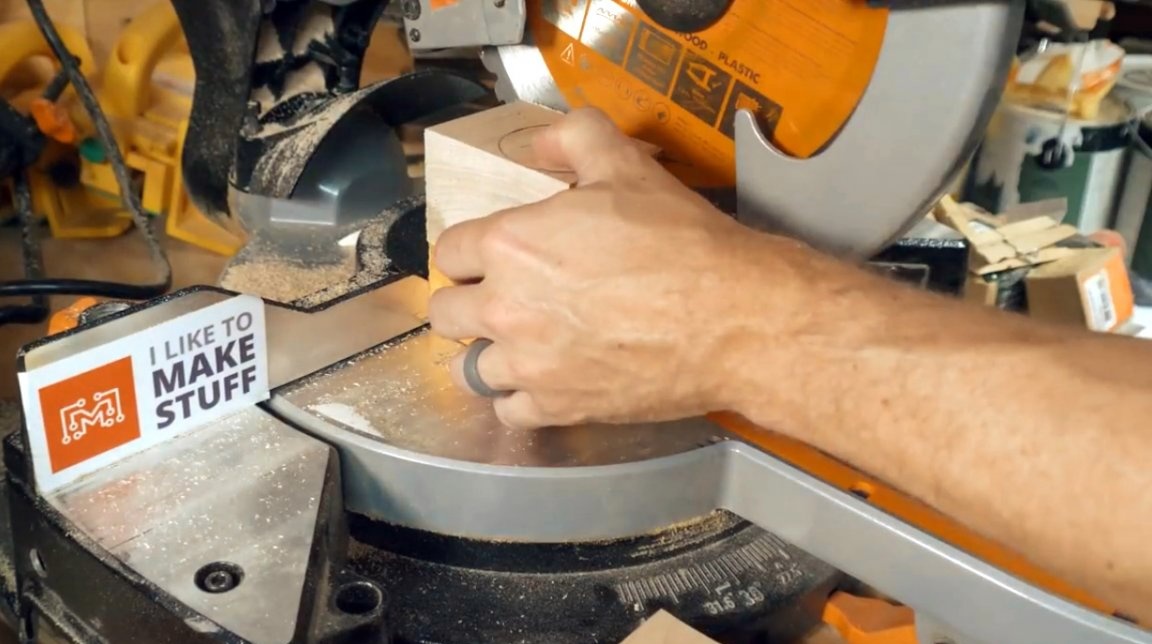
First of all, on a thick maple bar, he outlines the outer contour of an existing sample and marks the center of the circle. The diameter of the circle is a little over two inches.
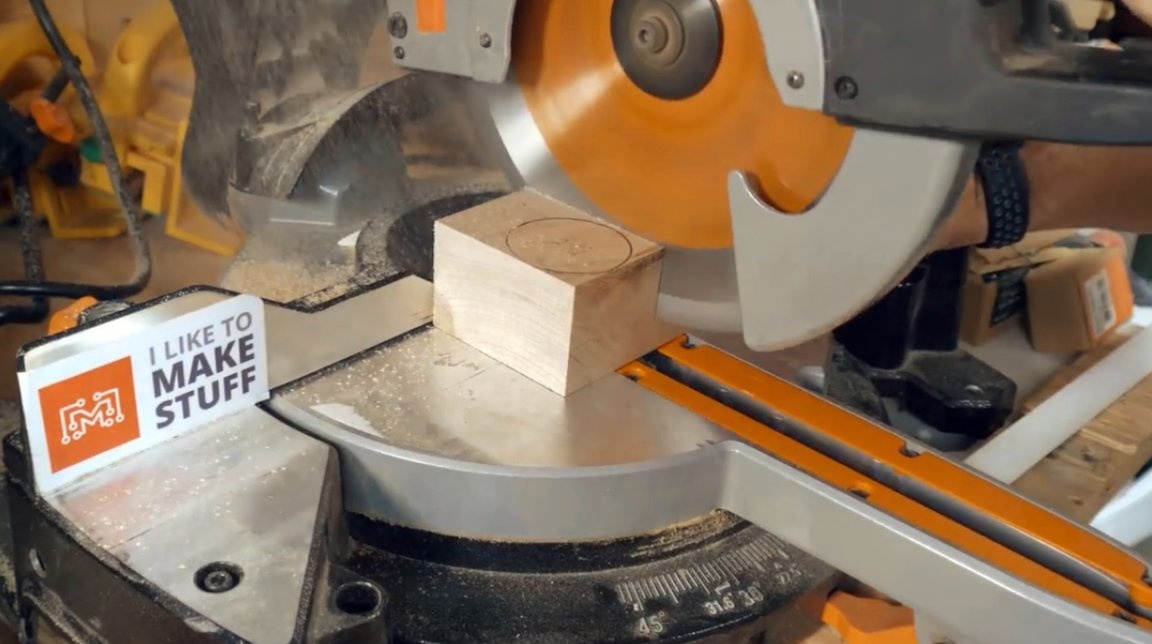
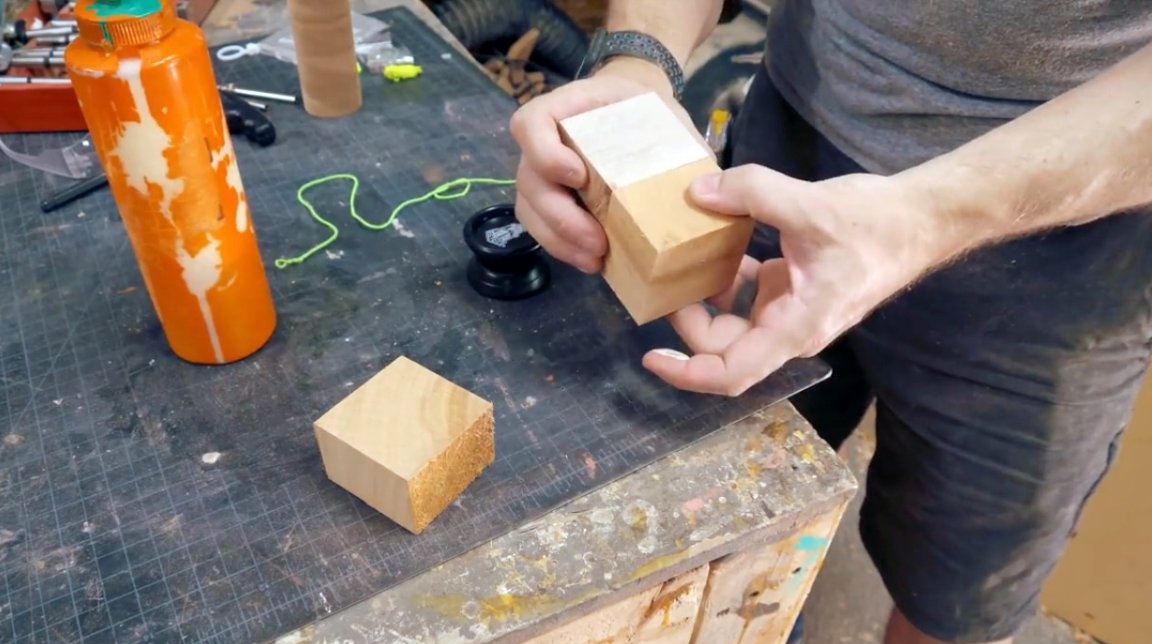
A miter saw cuts the bar into a square exactly under the boundaries of the circle. Next, a couple more of these bars from American linden wood are taken, and adjusted to the size of the maple blank.
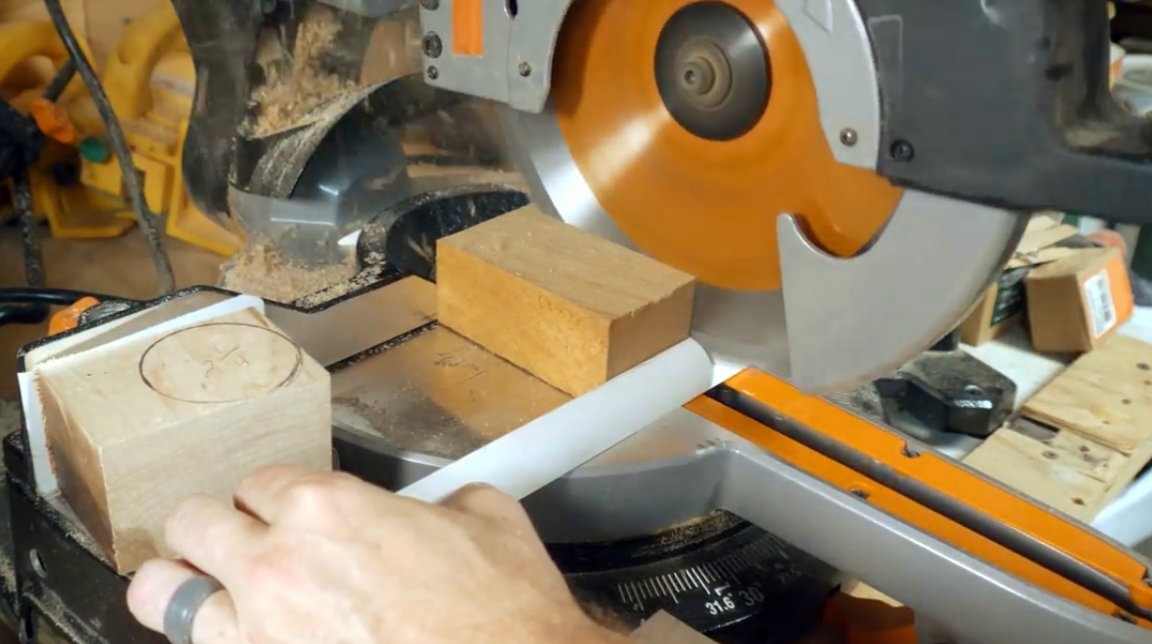
Then, on a circular saw, these whetstones are cut to a square shape. The result is three bars of the same shape. One of maple, and two of linden.
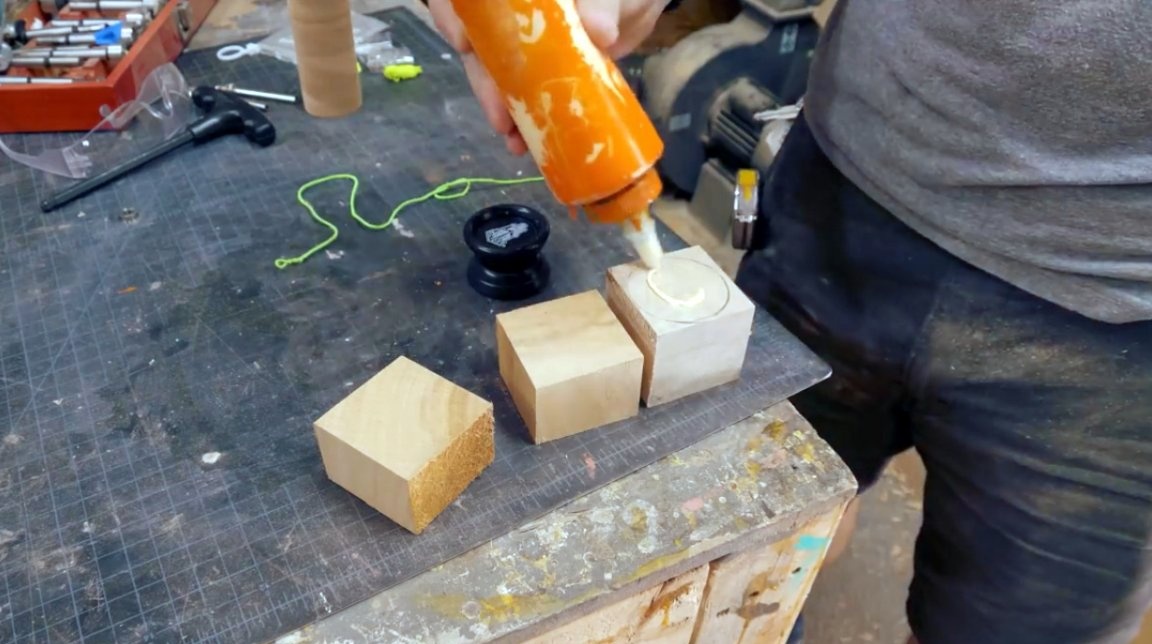
The author glues them together, placing lime bars on the edges, and maple - in the middle, and clamps in a clamp.

After the glue has dried on the end surfaces, the center is marked with two diagonals.
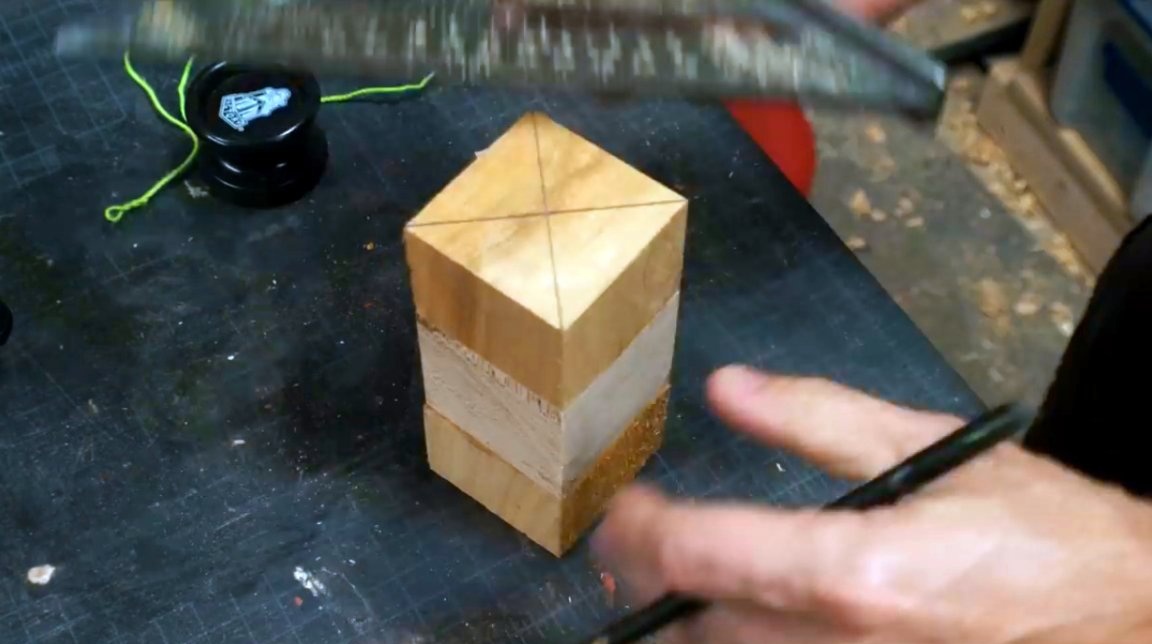
The flange from the lathe is screwed to one end with four screws.
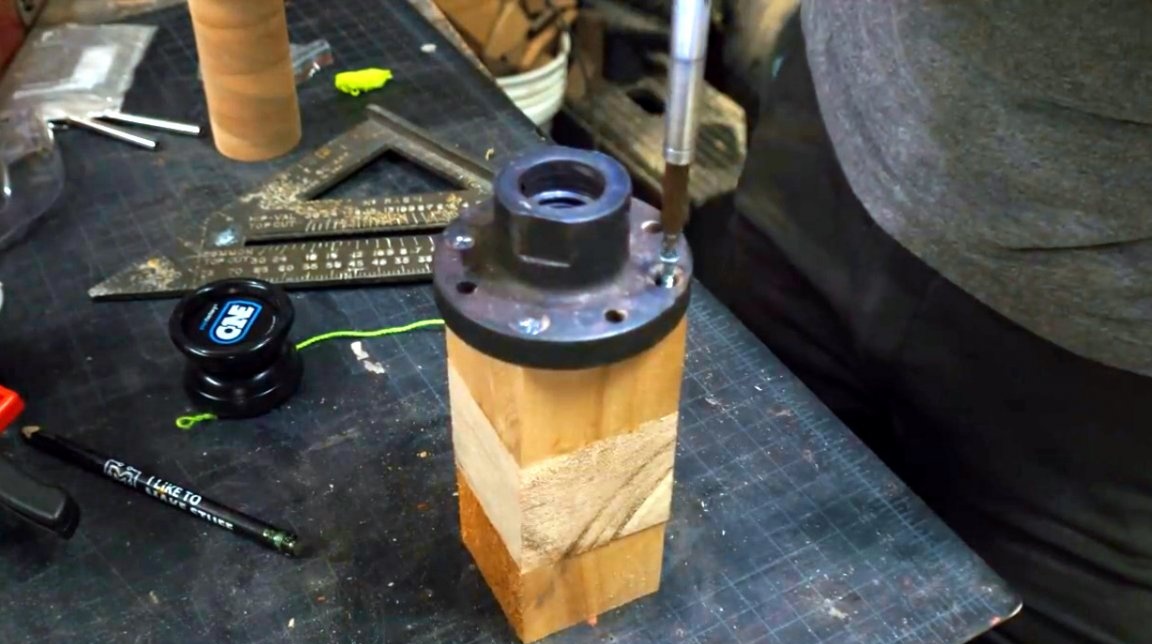
The blank is attached to the machine, and the tailstock of the machine is set in the center marked at the second end of the workpiece.
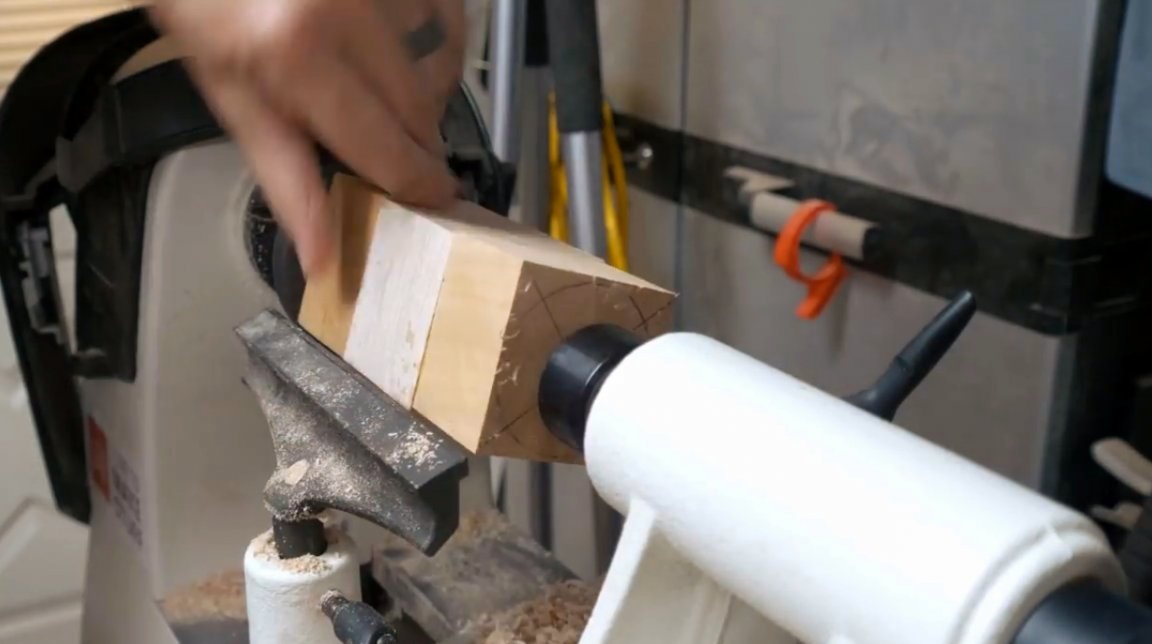
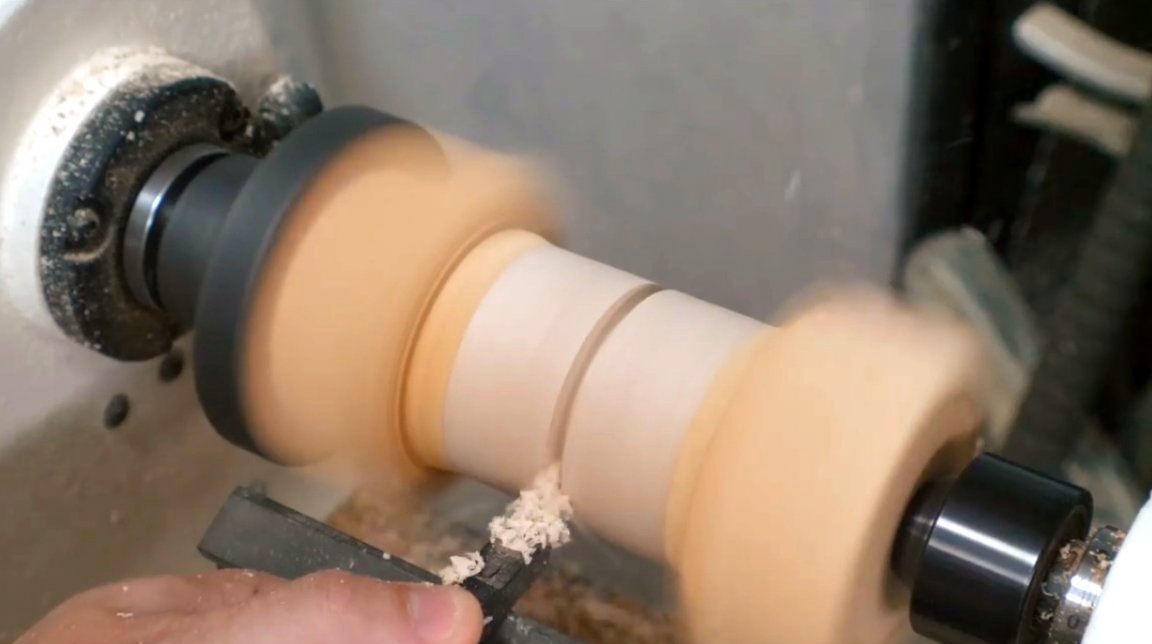
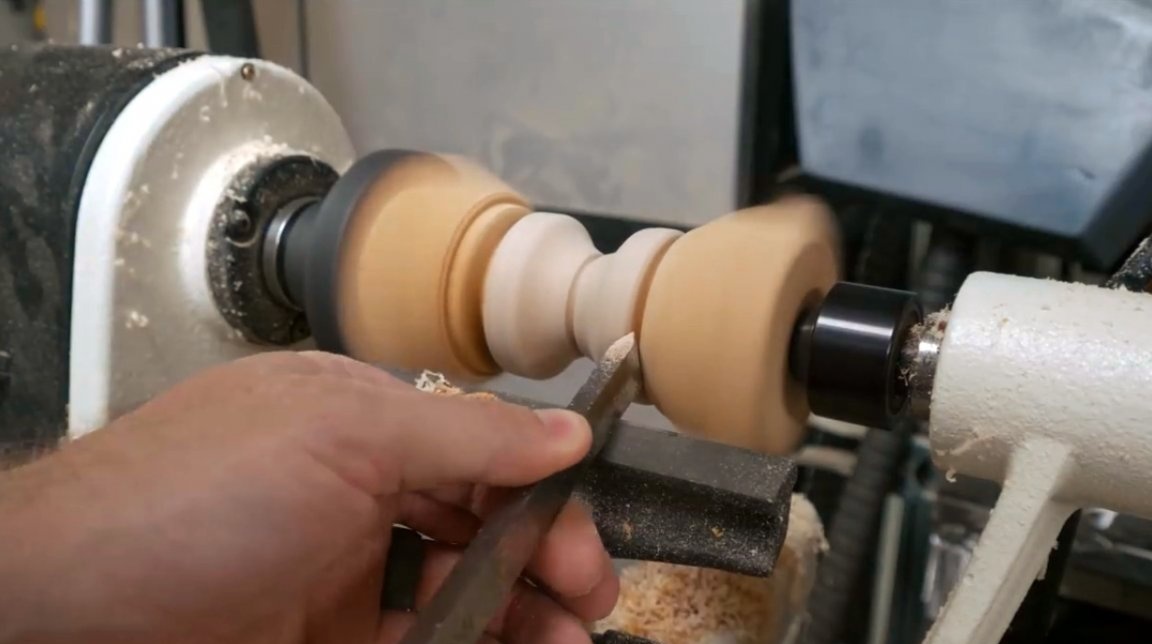
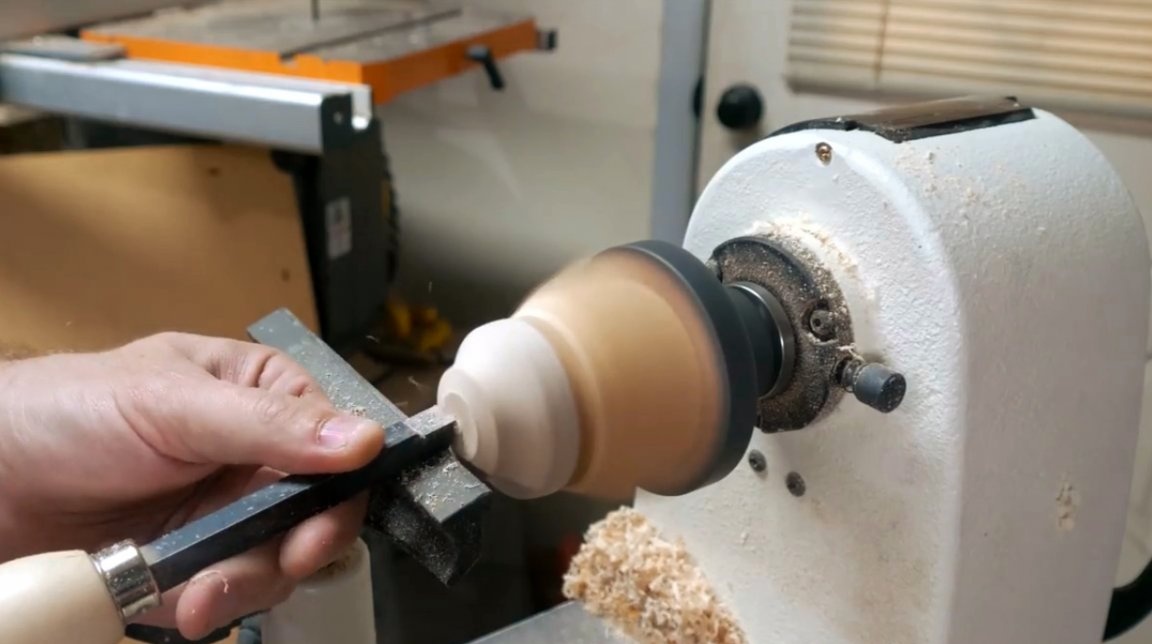
Next is a clean lathe. The first task of the craftsman was to grind the workpiece to a cylinder of the correct shape. The author takes measurements of the cylinder of the finished sample Yo-Yo with a caliper, and achieves a similar diameter of the product being turned.
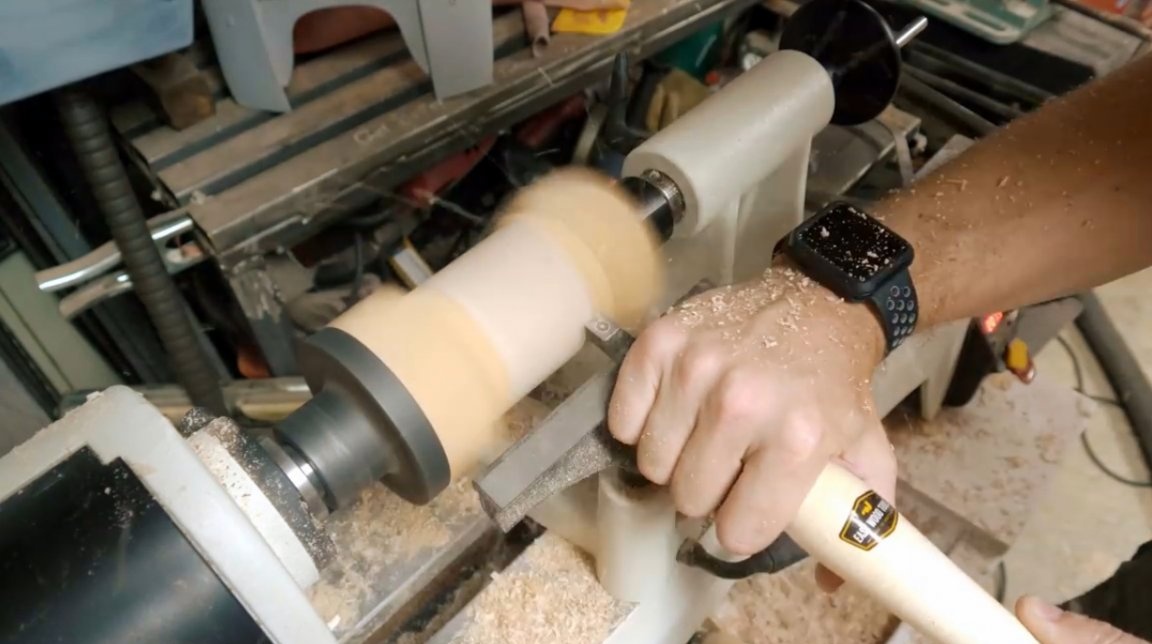
Now he finds the center point on the maple cylinder and, using a pencil, rotates the shaft and draws a circle. This will be the reference center line.
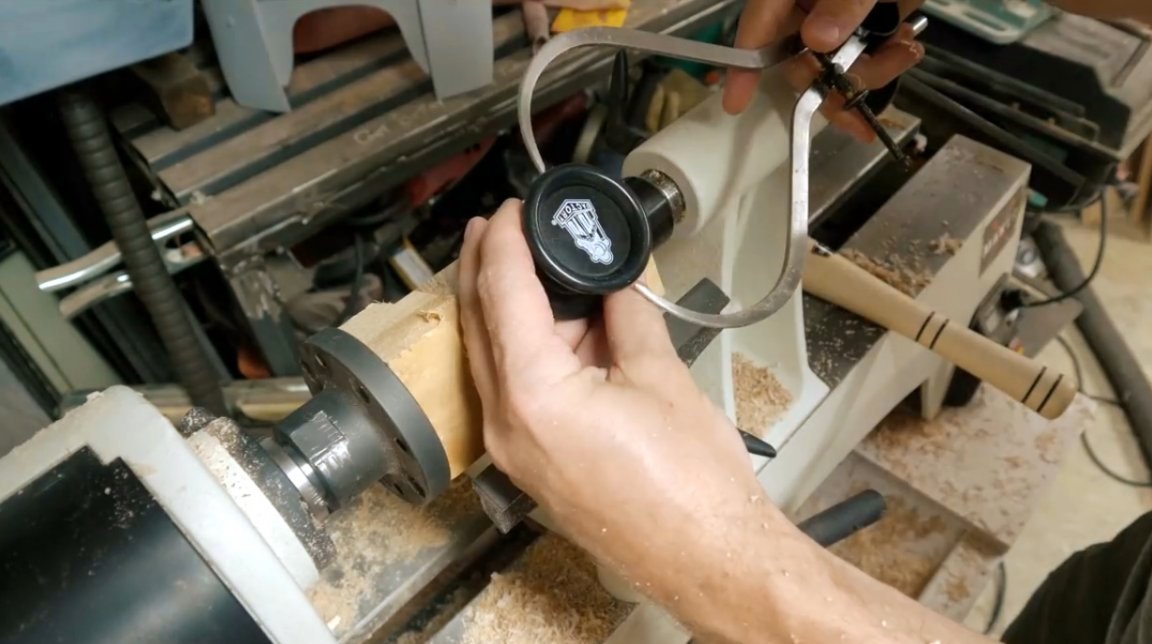
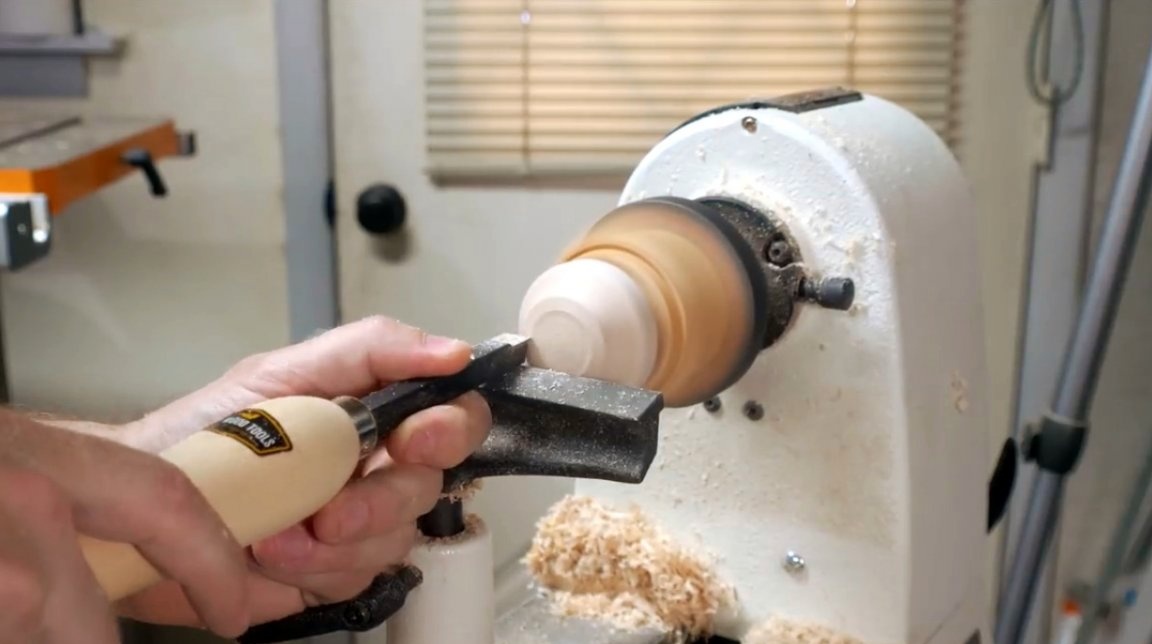
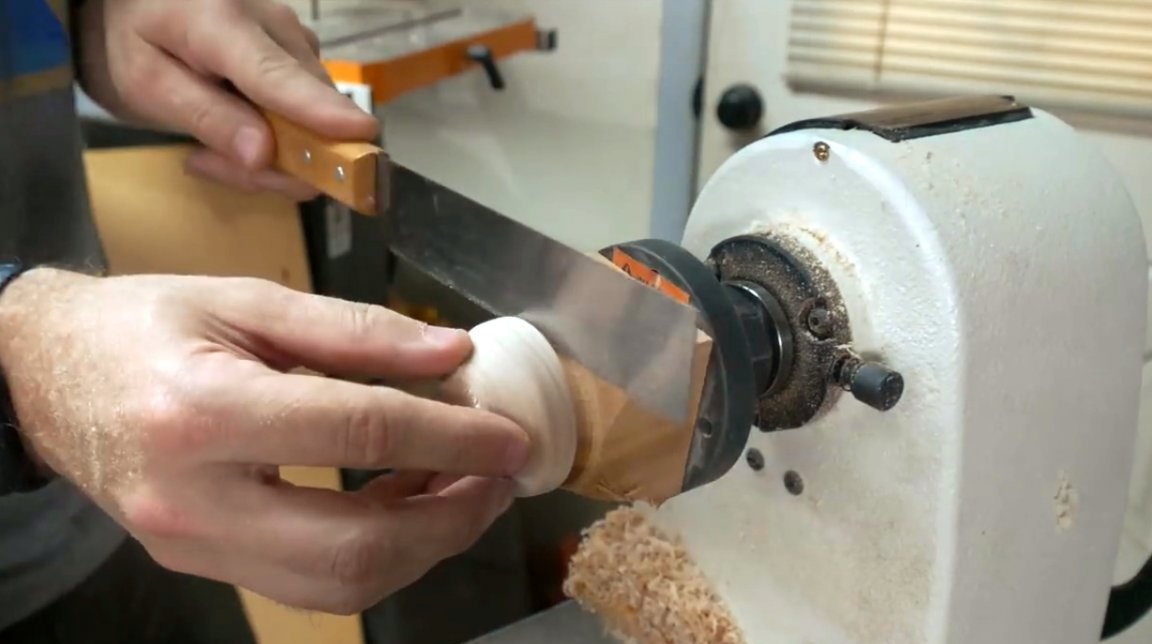
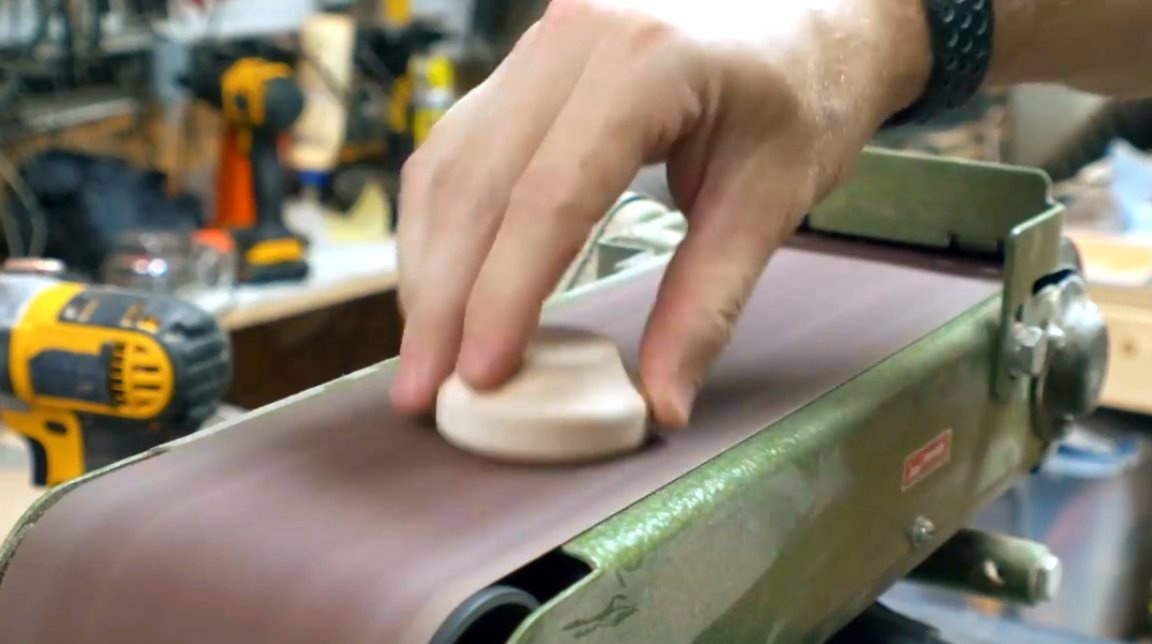
The master experiments with the form until he finds the one he likes most resembling the wings of a butterfly. Then it rounds the outer edges of the workpiece.
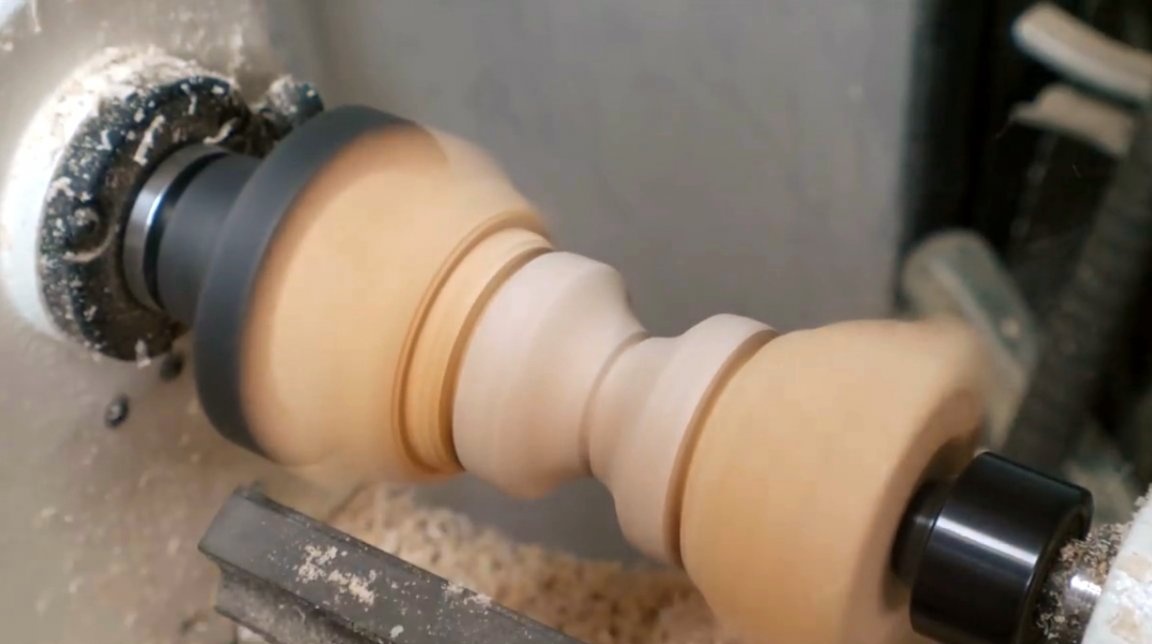
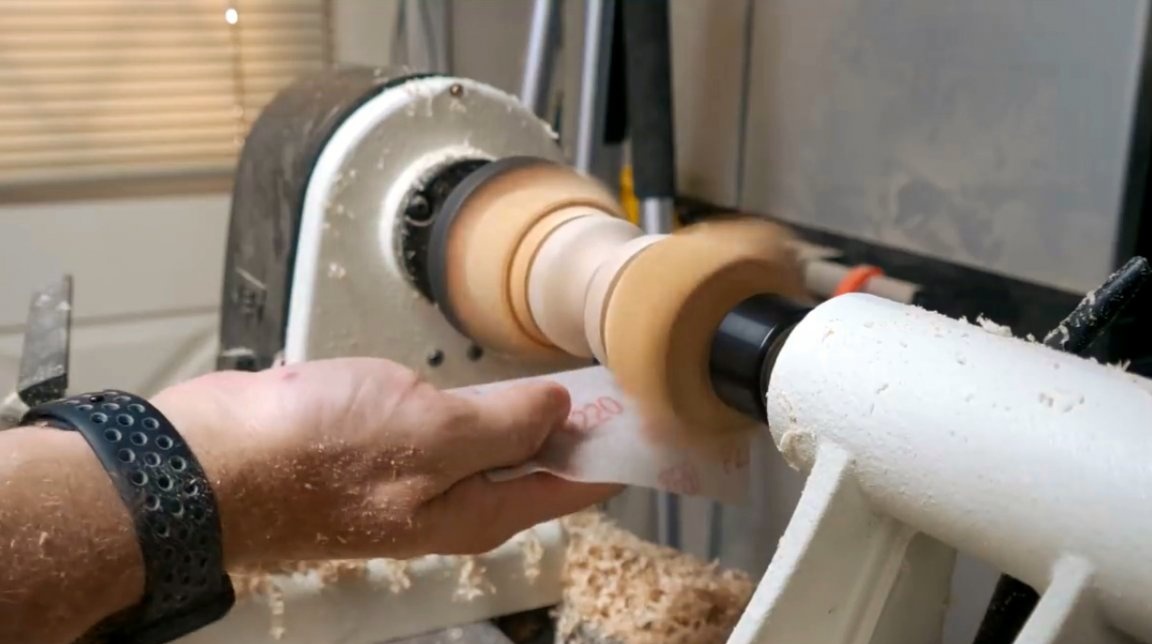
Reduces rotational speed, and makes a little sanding with 220 grit sandpaper.
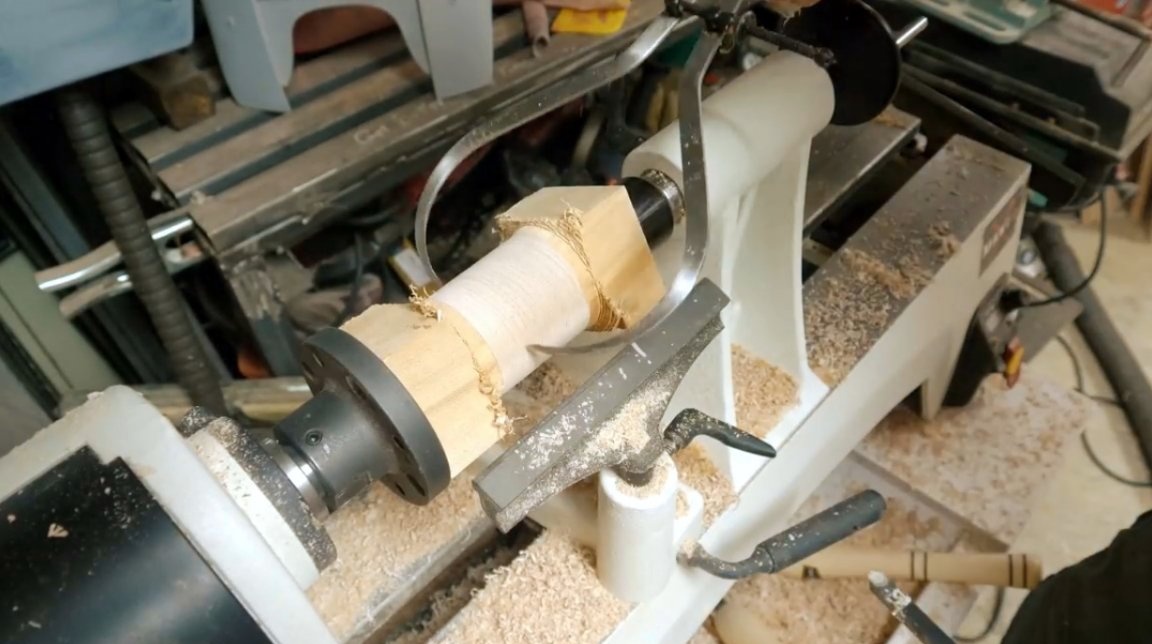
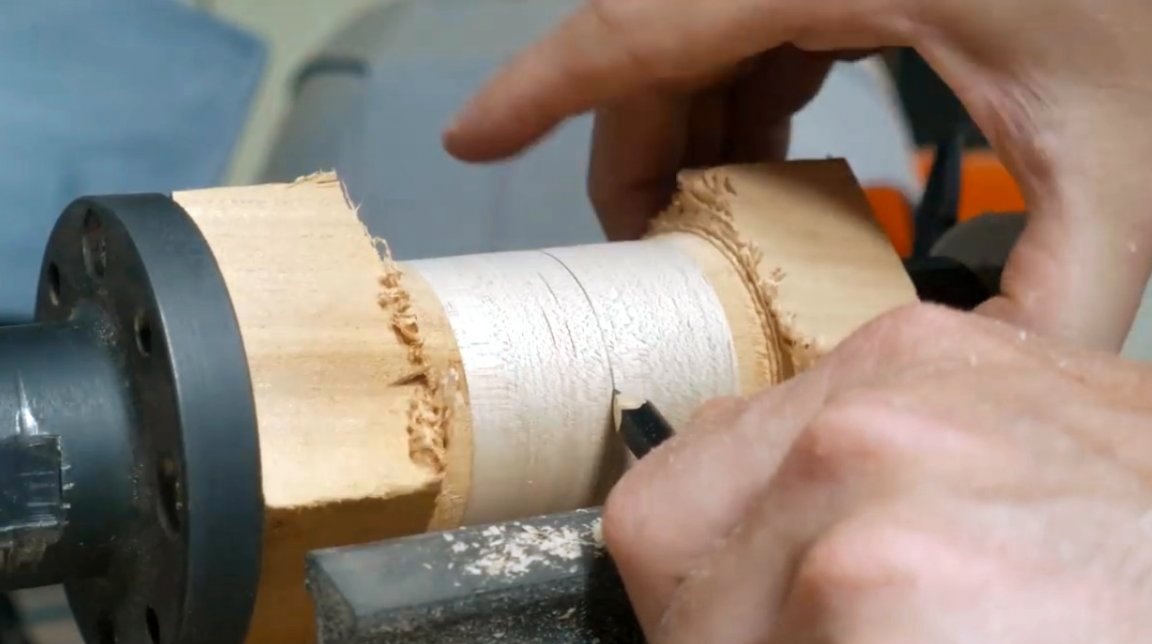
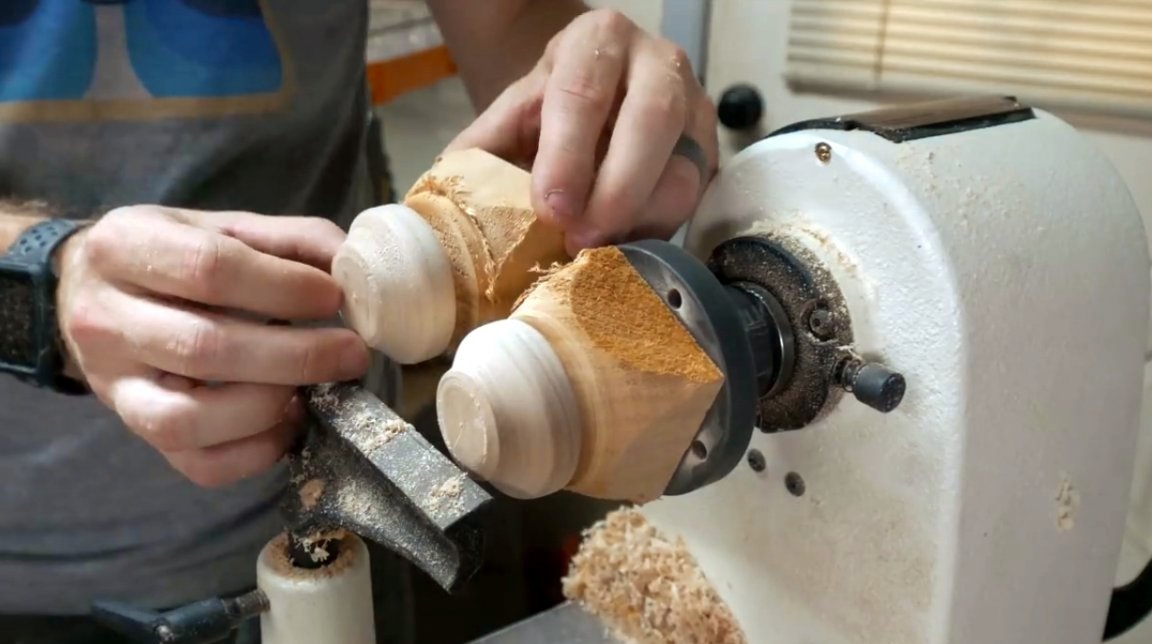
Japanese saw master disconnects two parts.

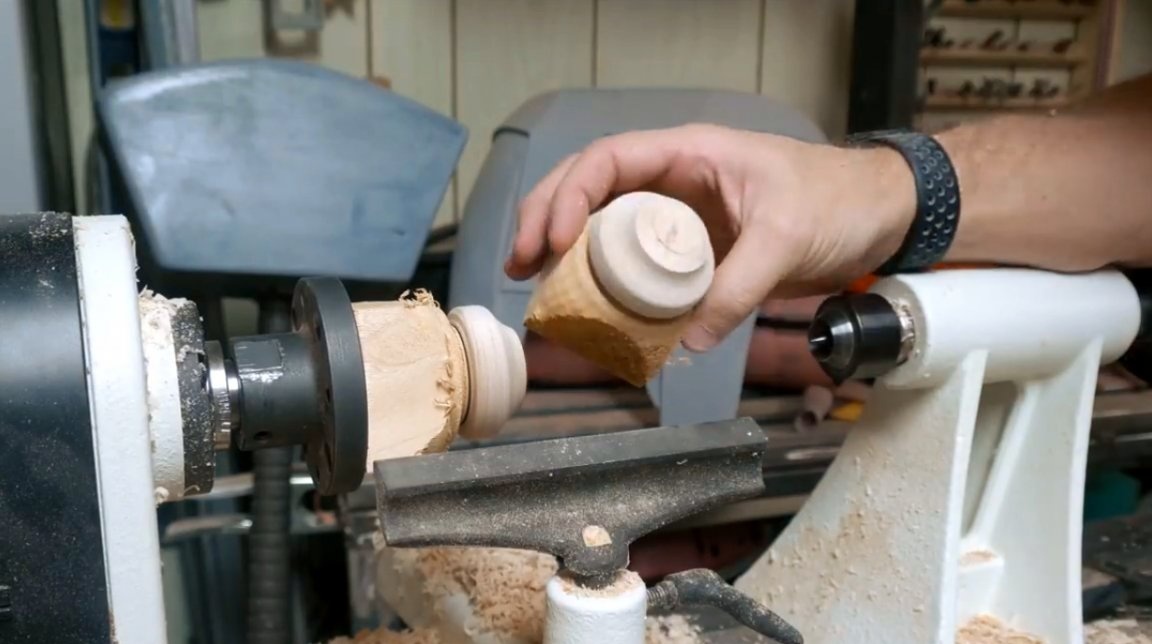
He leaves one of them on the machine, rearranges the emphasis, and levels the surface with a chisel.
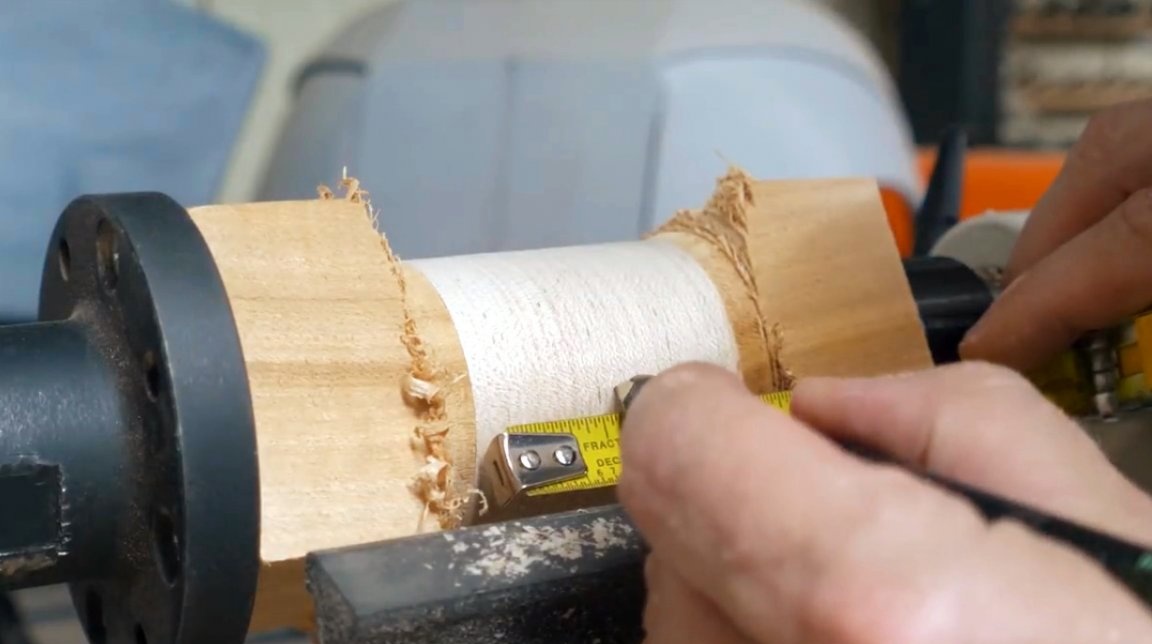
After the author does the same operation with the second half of Yo-Yo.
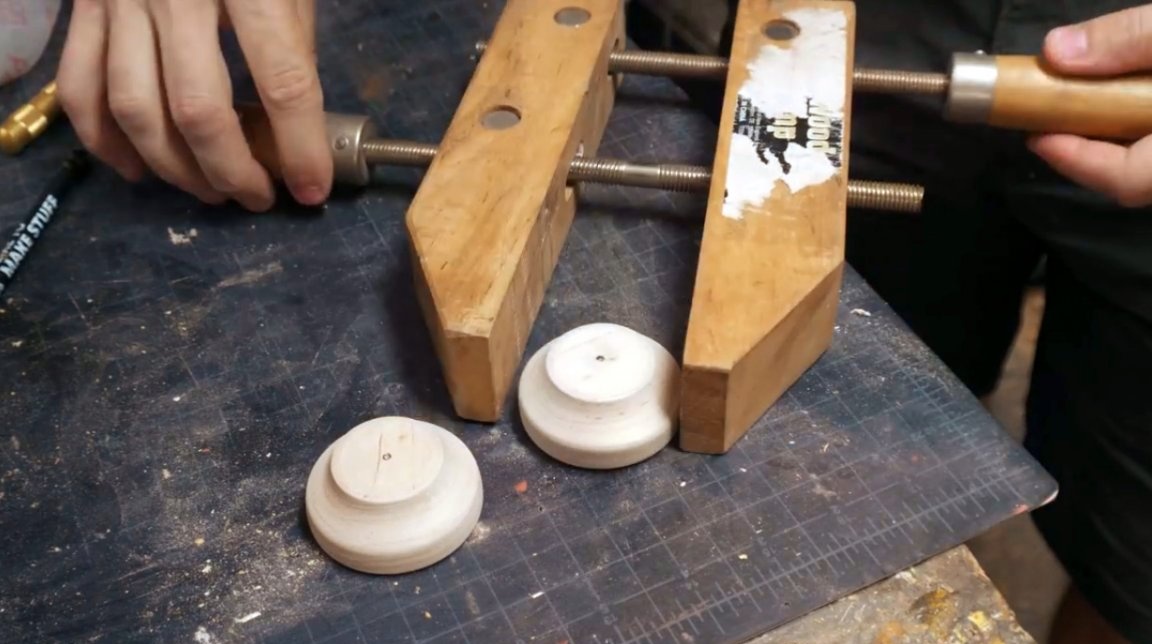
During processing, he constantly compares both halves so that they are flawlessly similar in shape and size.
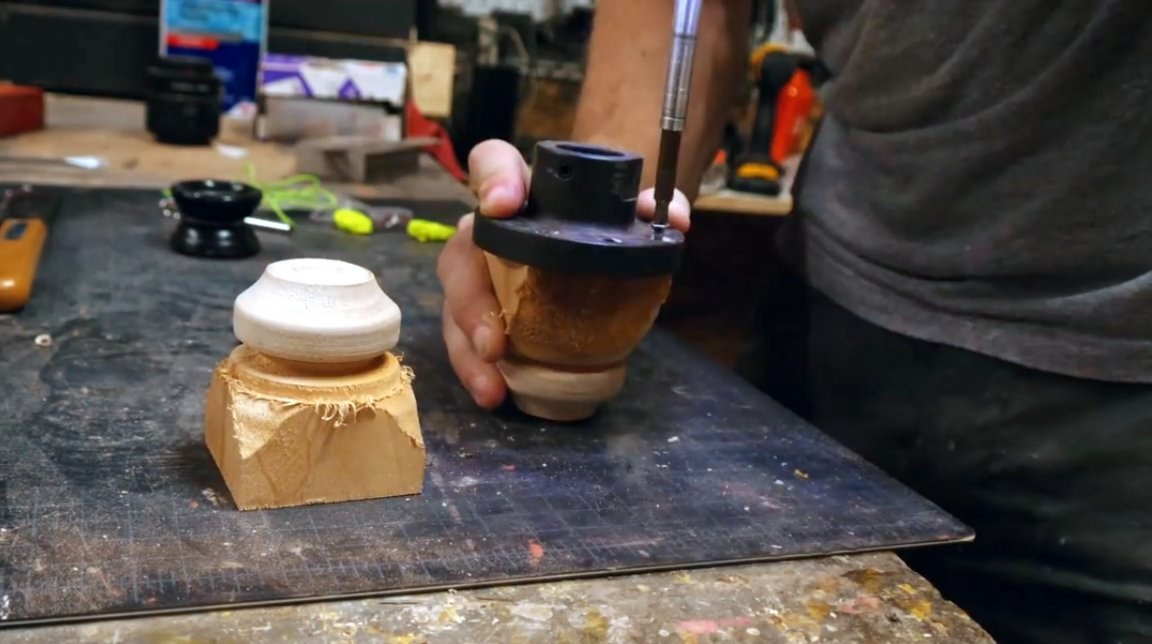
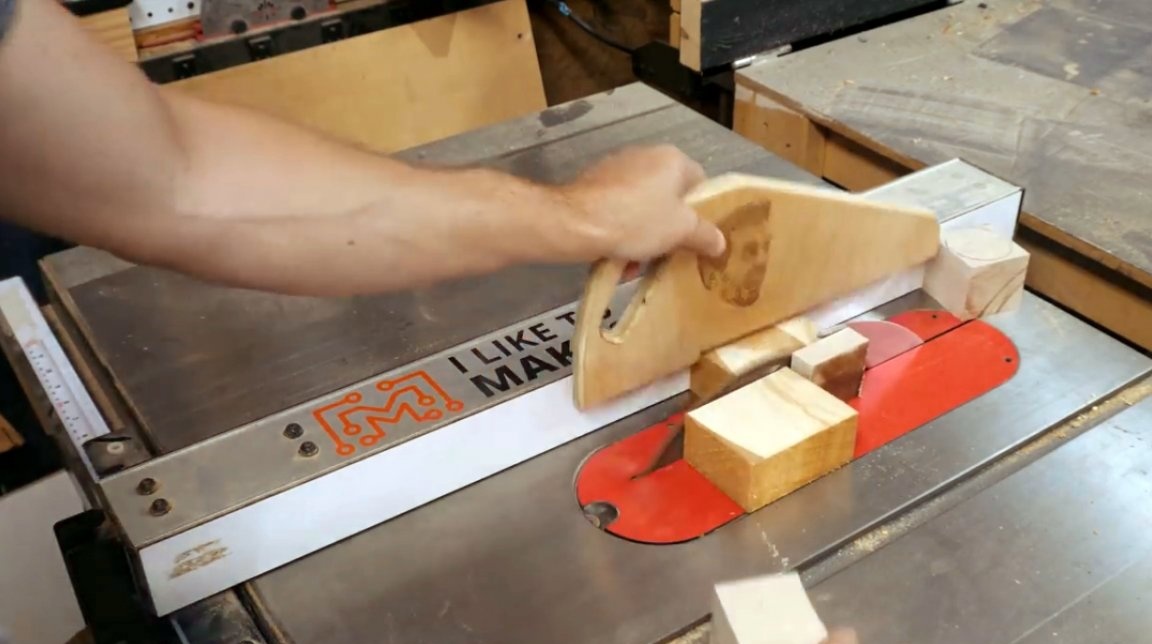
Then the author cuts them from lime sticks.
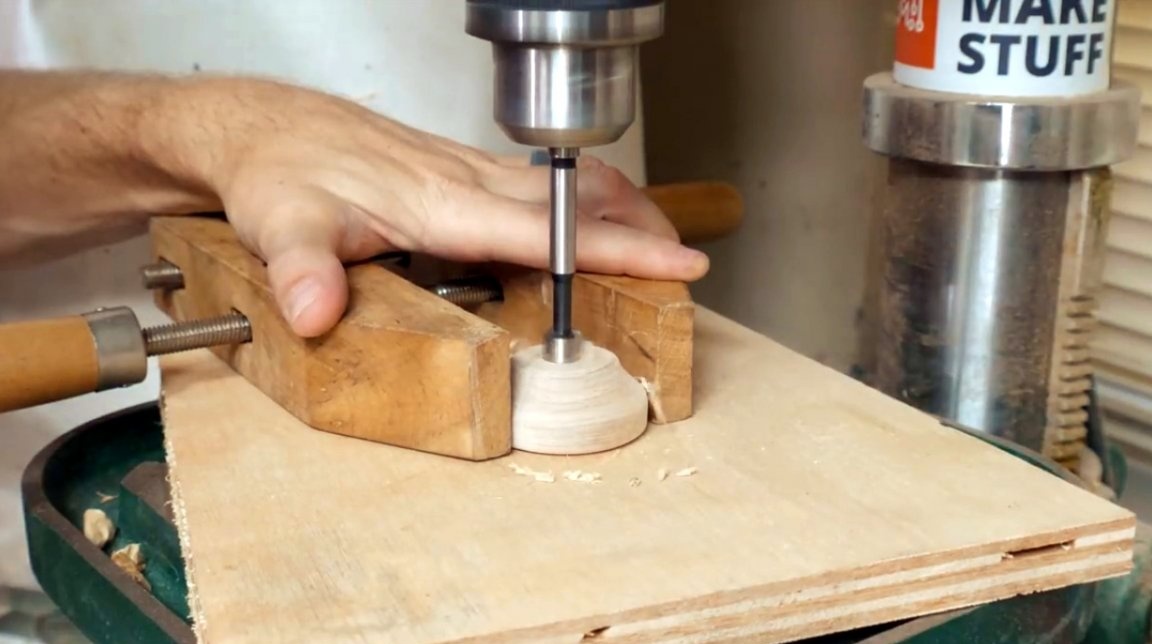
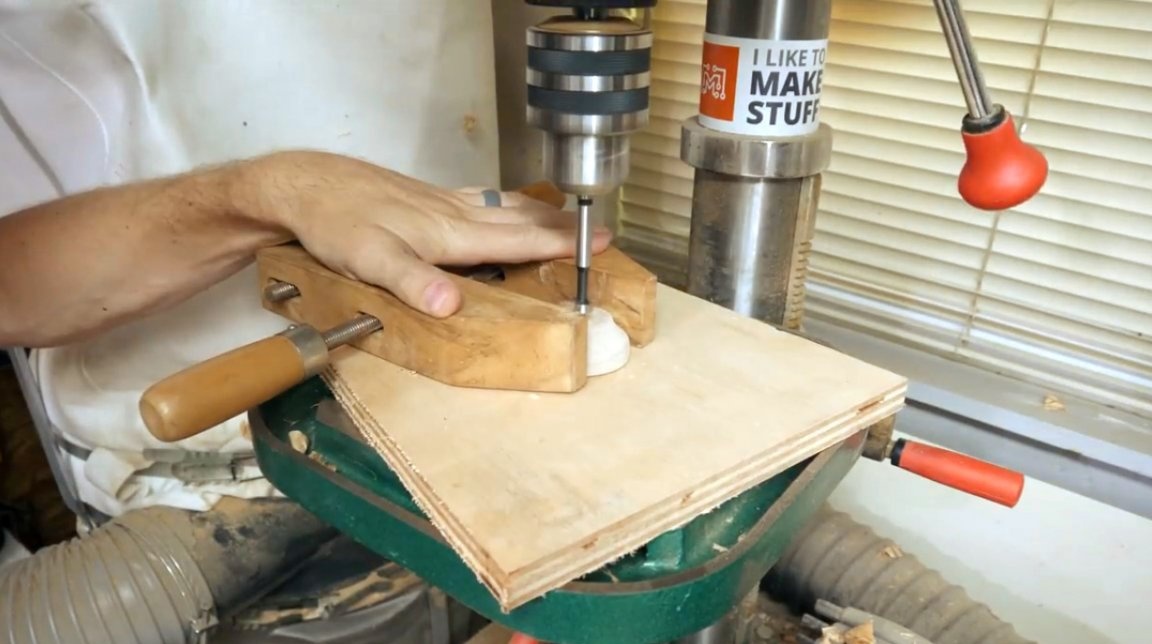
Now there is a very scrupulous job - it is necessary to drill holes in each of the halves of the Yo-Yo, and the holes should be perfectly centered.
The easiest way to achieve this accuracy is to insert the chuck from the drill into the tailstock and drill directly on the machine. But the author does not have such a cartridge, so he uses a different method.
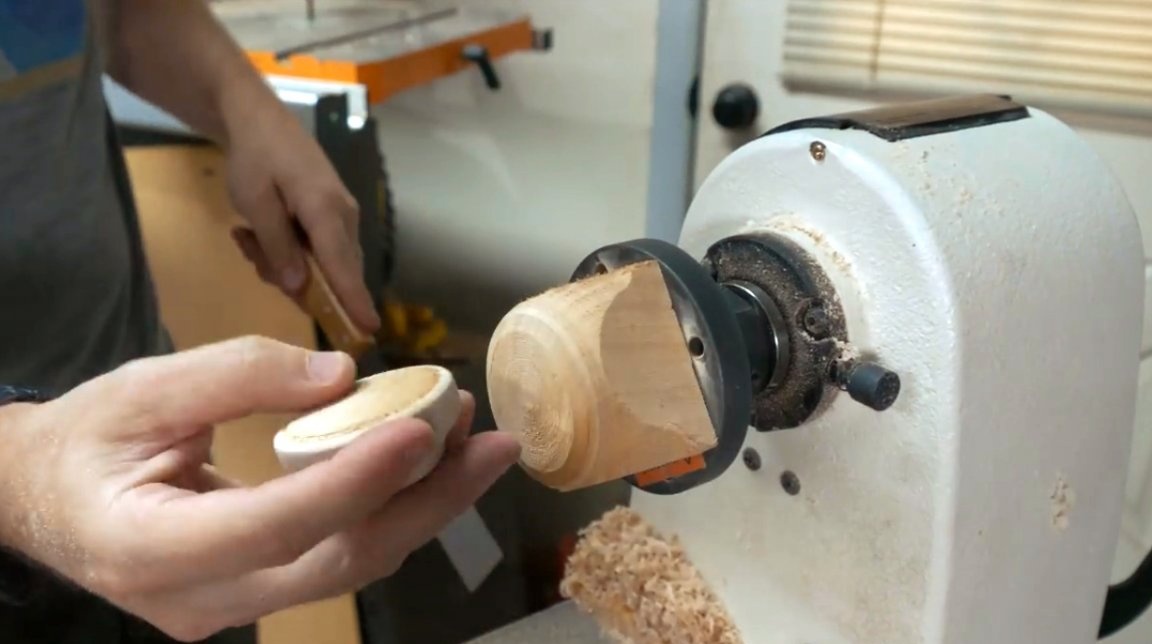
Before drilling holes, the author carefully smoothes the outer surfaces of the workpieces using a grinder.
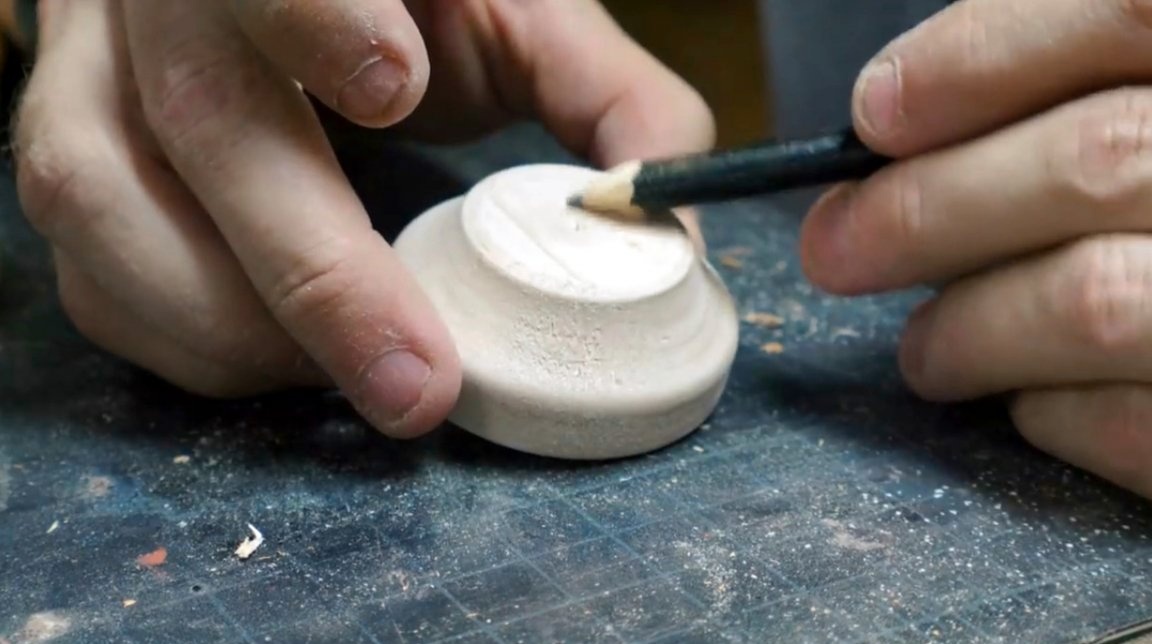
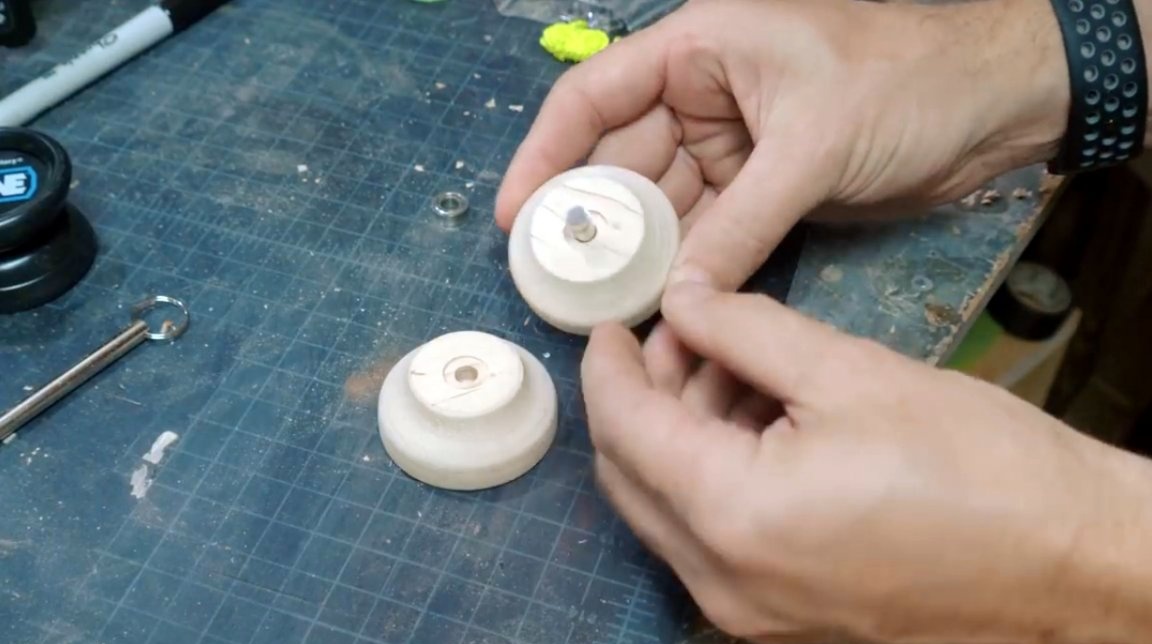
In the center of each half, even at the stage of turning, there was a small ledge right in the center, which is marked with a pencil and then with a core. At this point, the bearing will be buried.
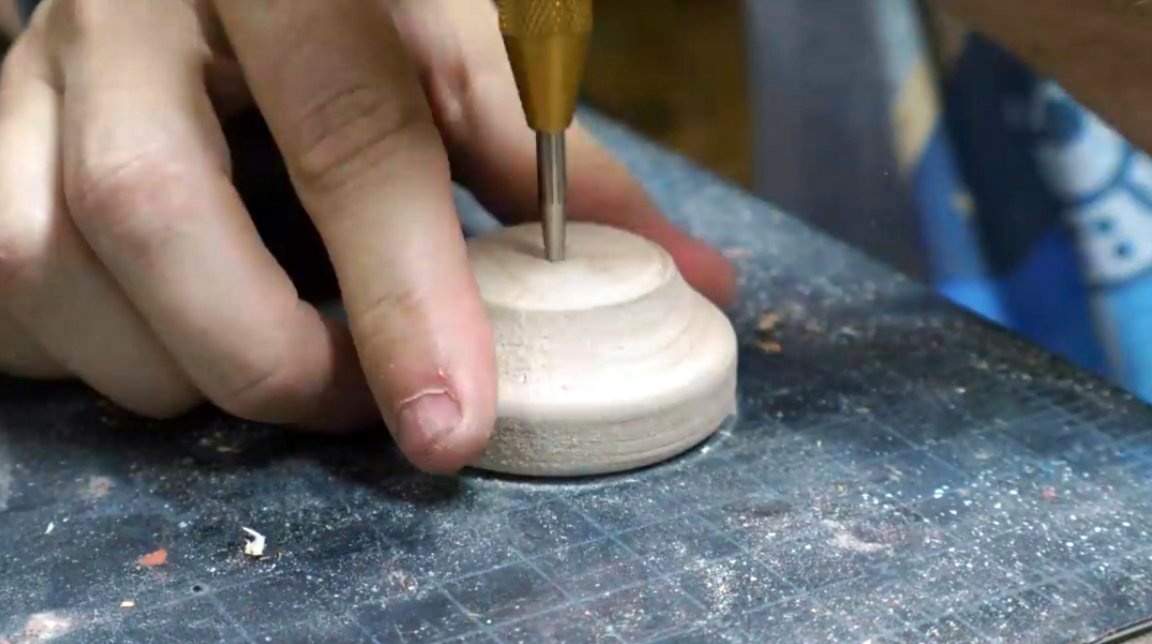
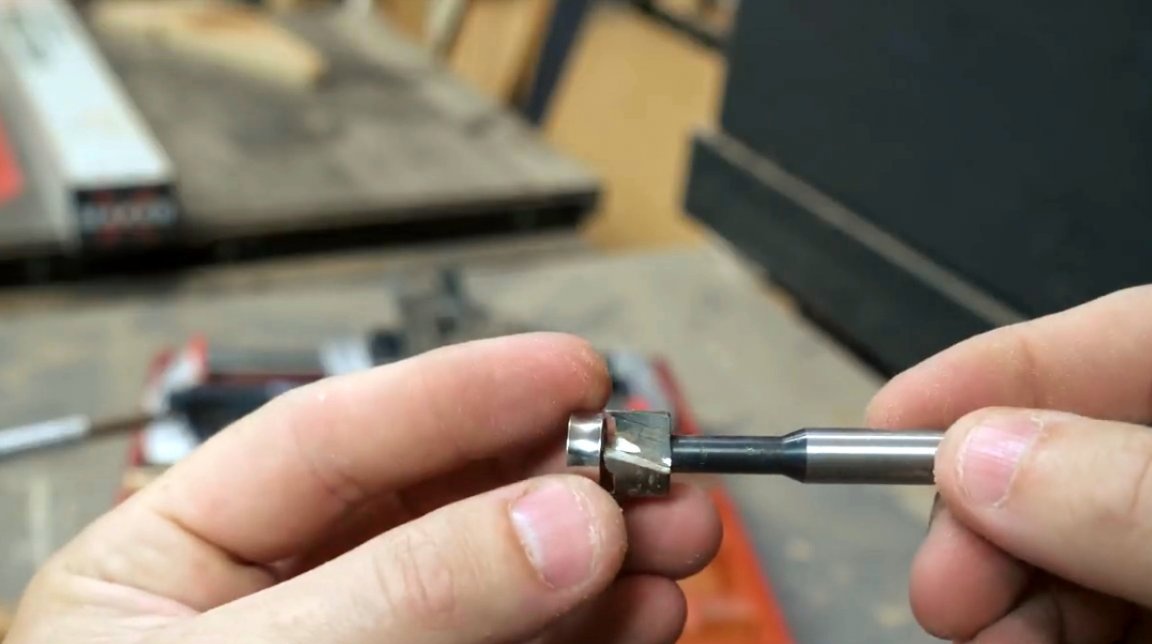
The author selects the Forstner drill of the right size. It sets a depth gauge on the drilling machine, about half the thickness of the bearing itself. The same holes are drilled in both halves.
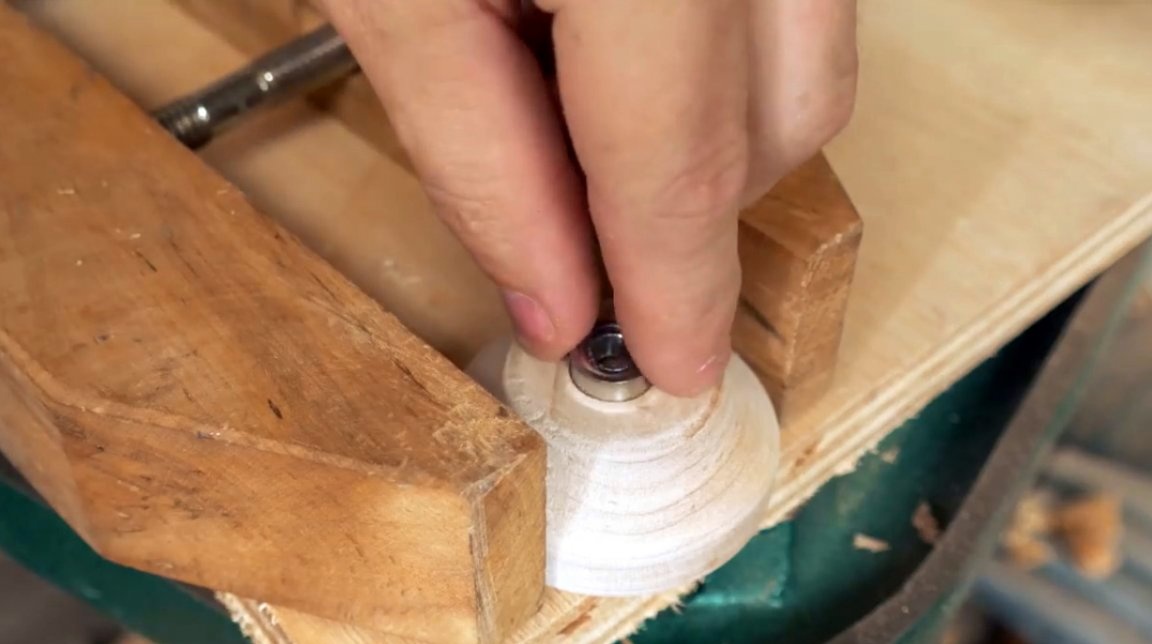
Then the master takes a drill of a smaller size, of the same diameter as the inside of the bearing. And he drills a central hole that will be slightly deeper than the first. An axis will pass through this hole connecting the two halves of the Yo-Yo and the bearing between them.
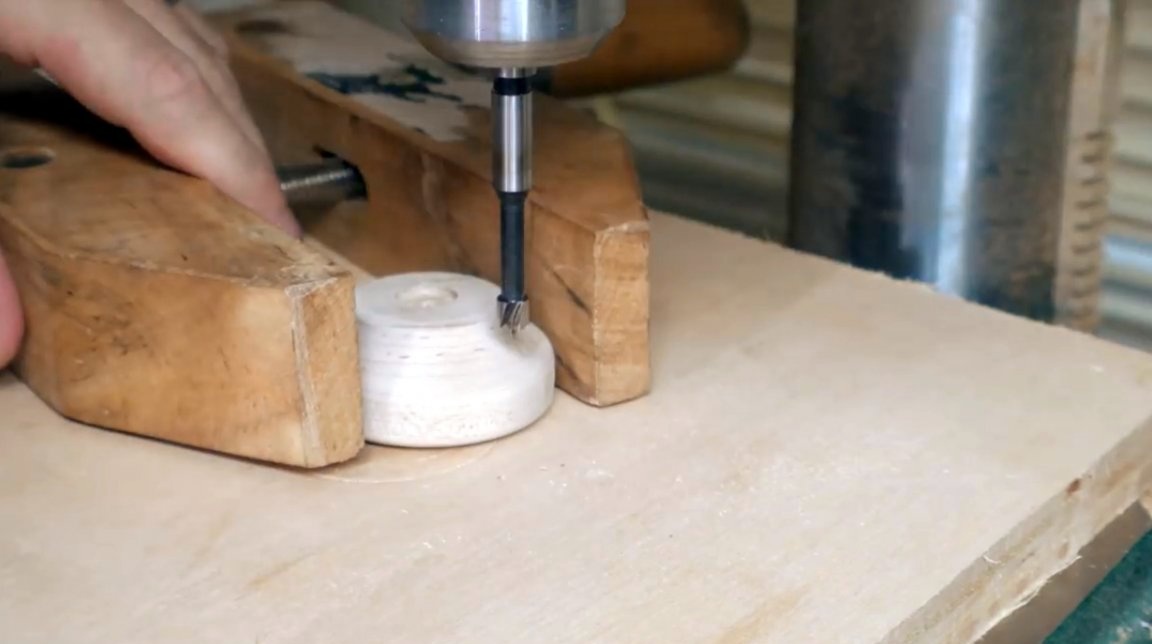
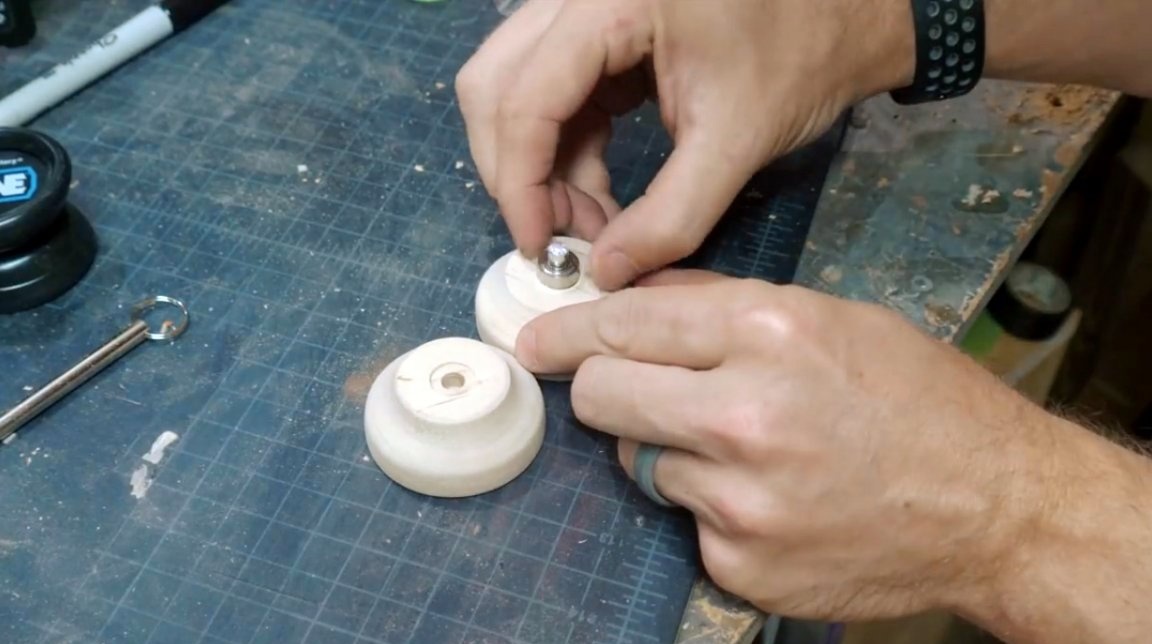
The author uses a piece of steel bar as such an axis. Only he shortens it somewhat, and smooths the sharp edges with a file.
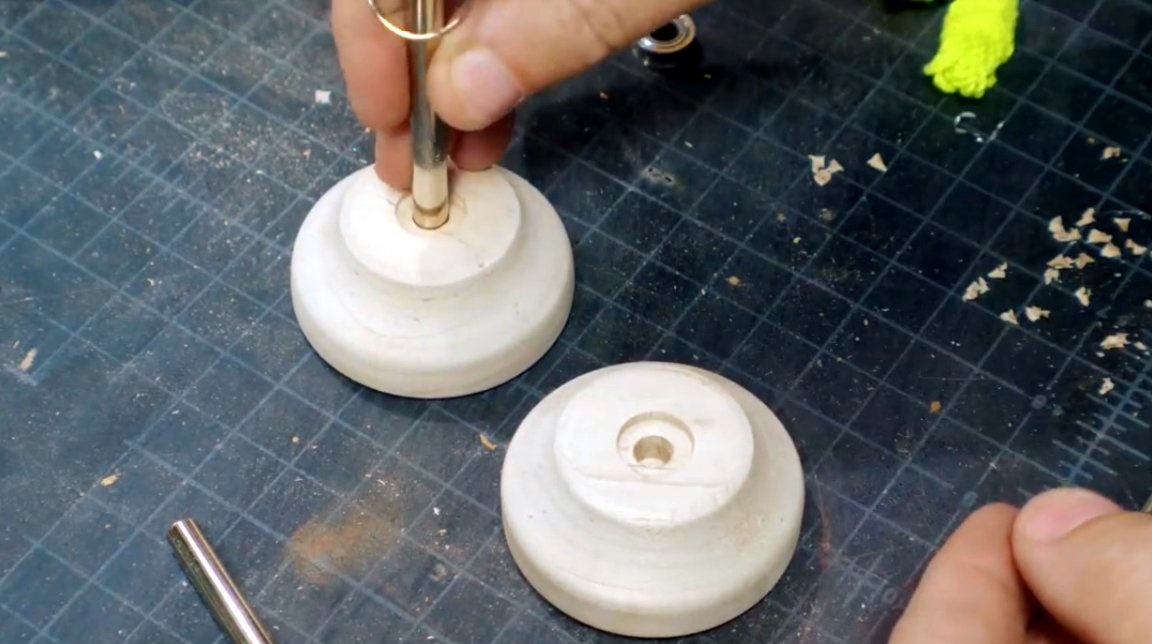
Both halves are weighed. They should have the same weight. It is very important for proper balancing of the toy!

Then he conducts a test test to make sure that the length of the rod is optimal and everything turns freely.
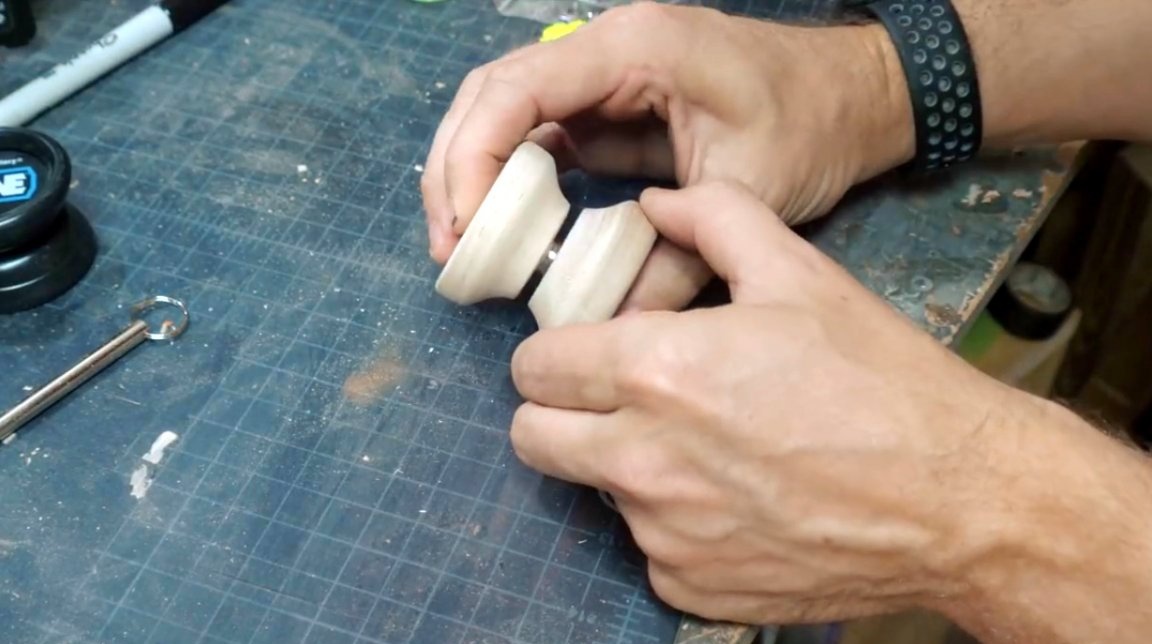
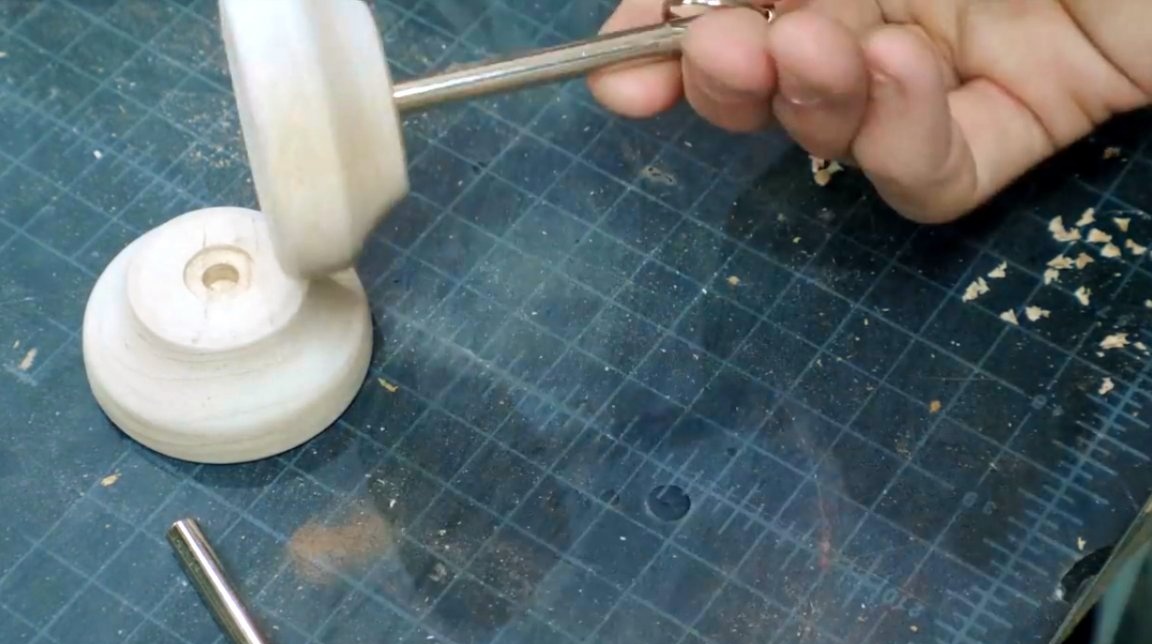
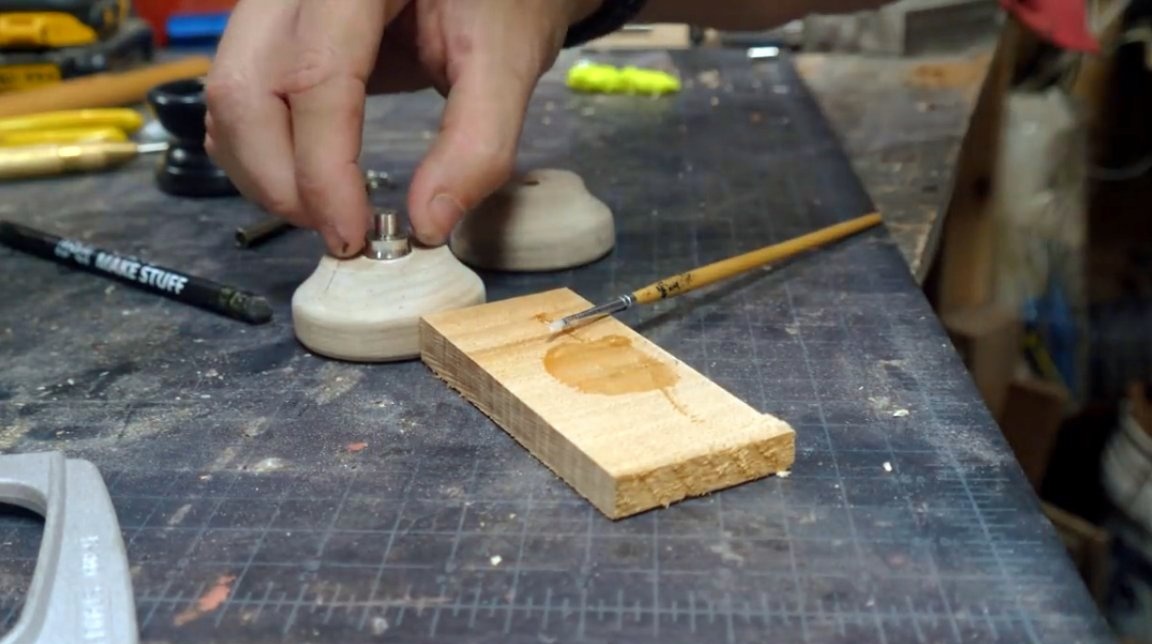
Now the master kneads a small amount of quickly hardening five-minute epoxy glue.
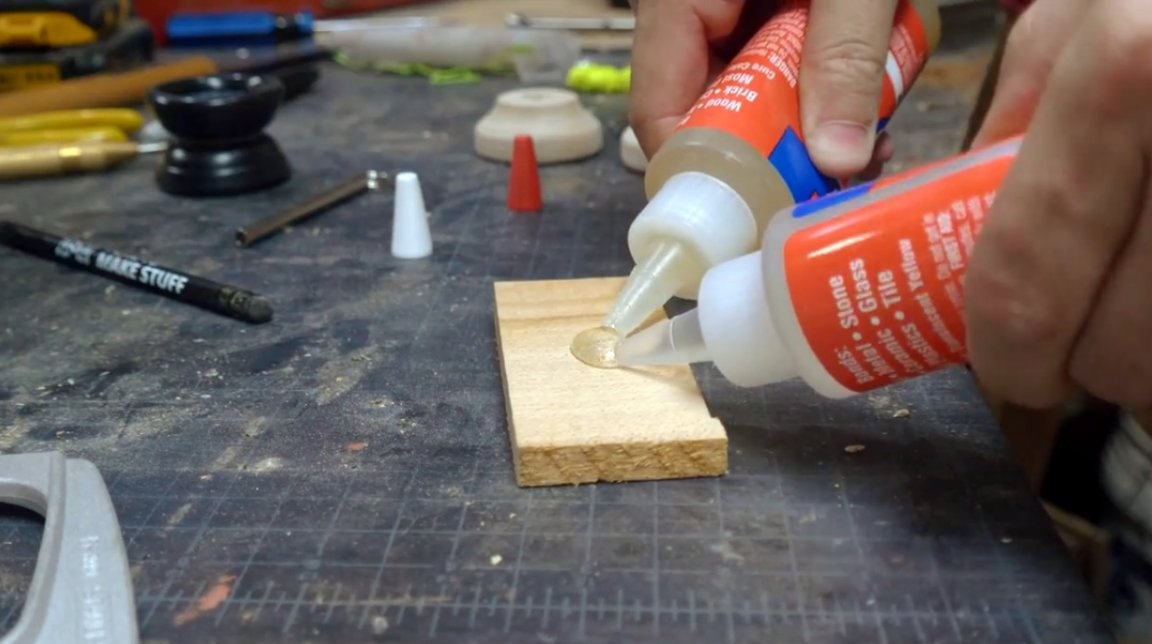
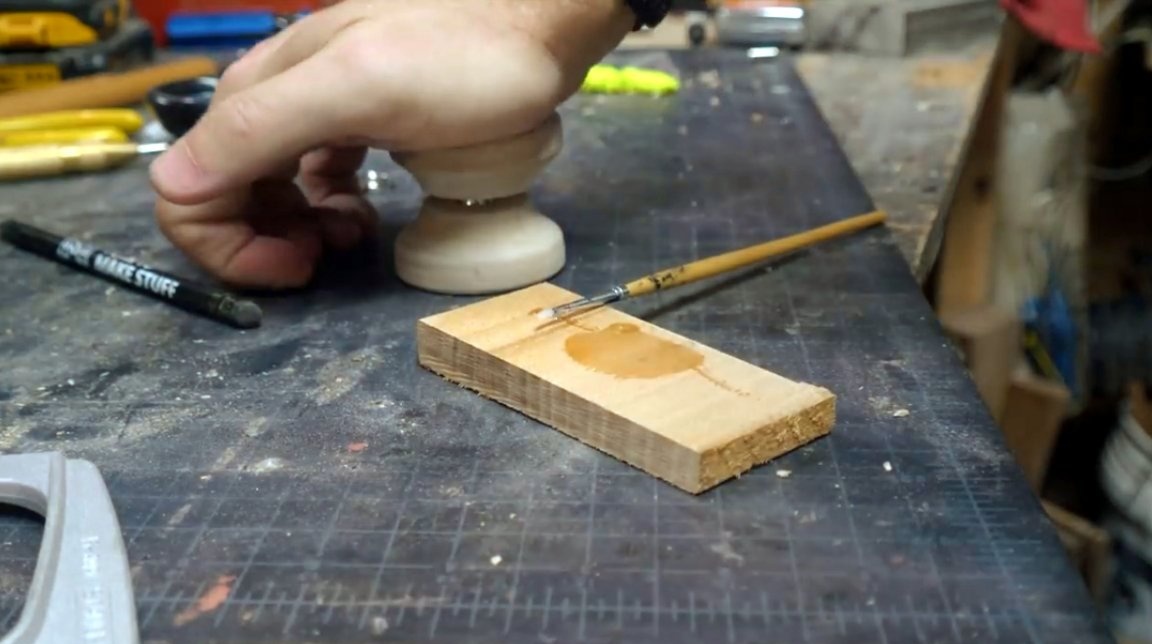
A thin conical brush lays a certain amount of it on the bottom of the recess of the first half, then inserts the rod there.
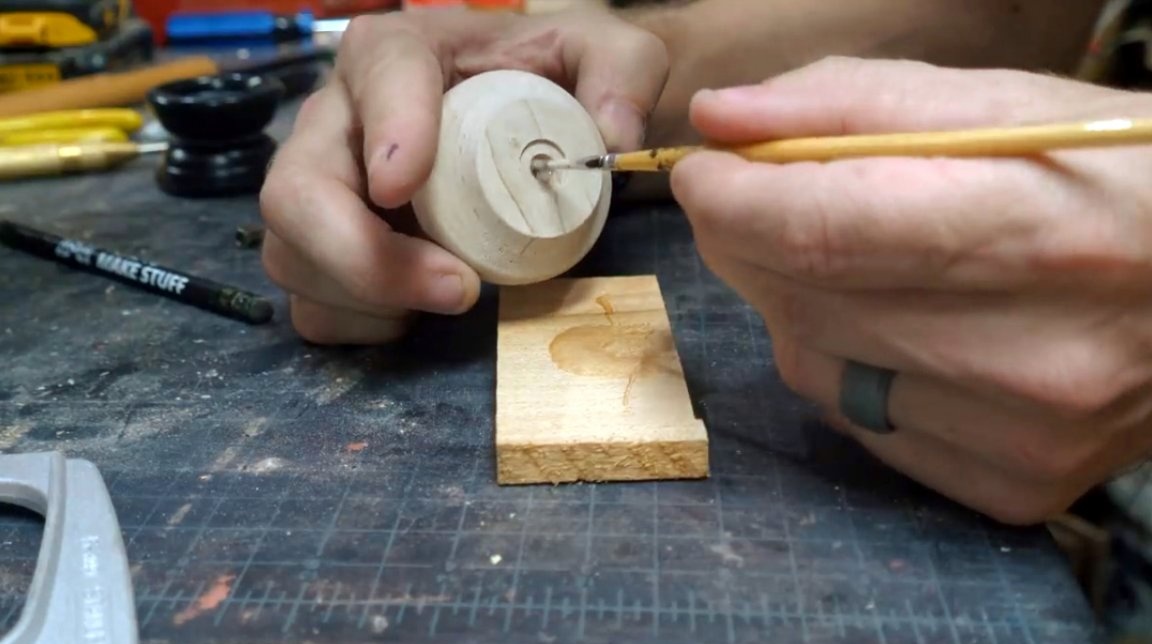
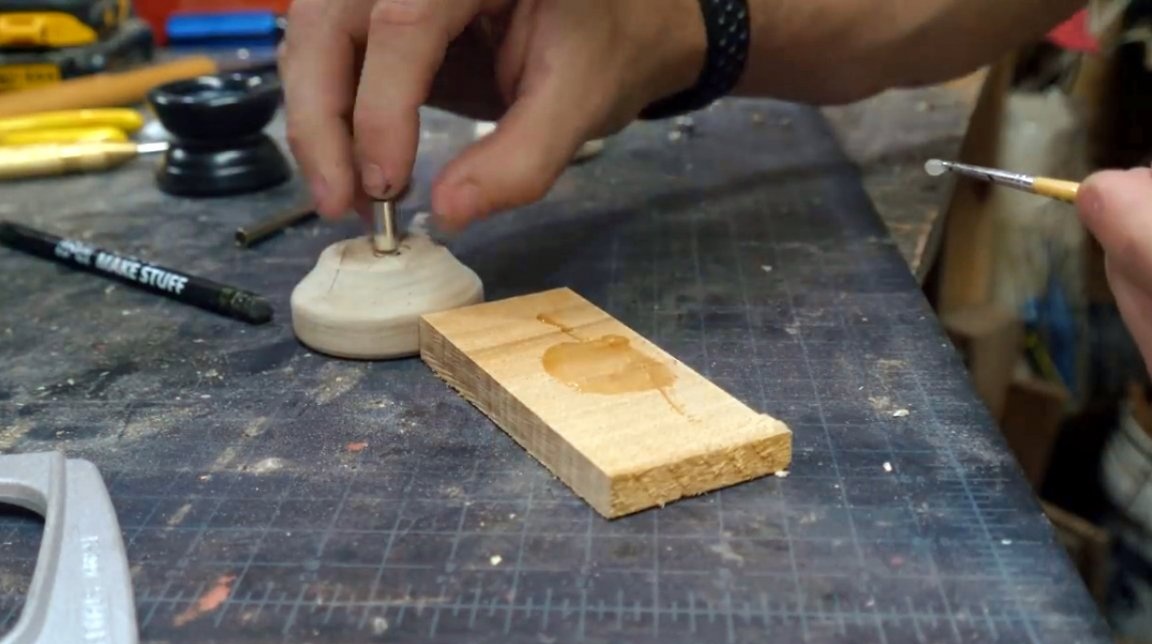
It is necessary to try so that the epoxy does not fall on those areas where the bearing itself will be placed, otherwise it will lose mobility. Puts the bearing on the axis, and connects both halves.
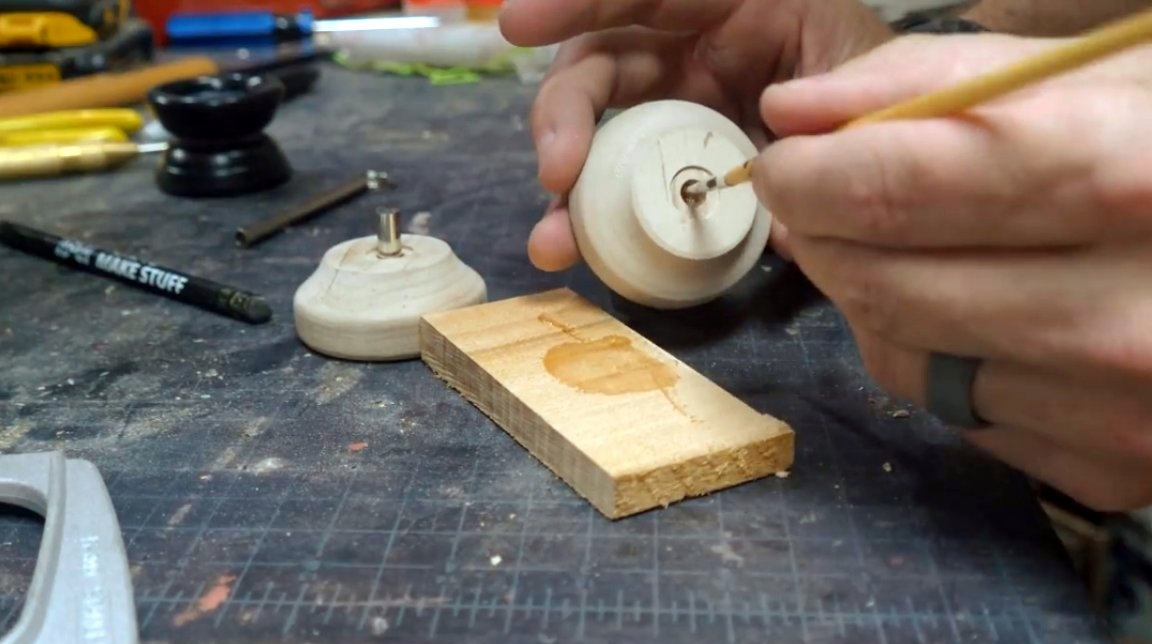
Next, the author clamps the bearing in nippers and checks that it rotates freely.
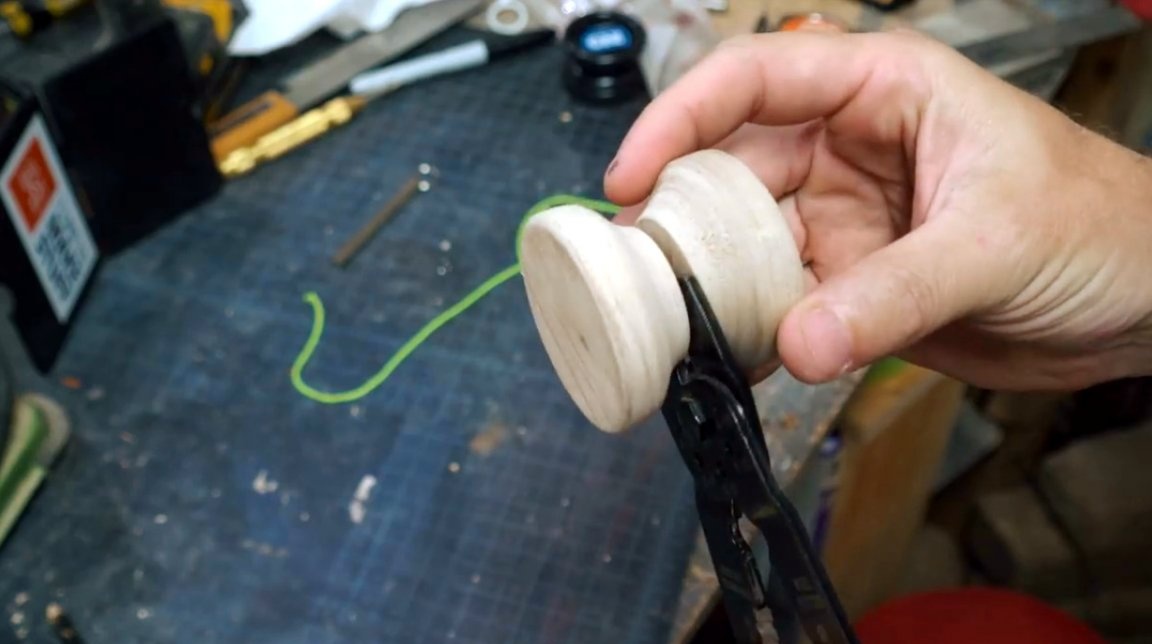
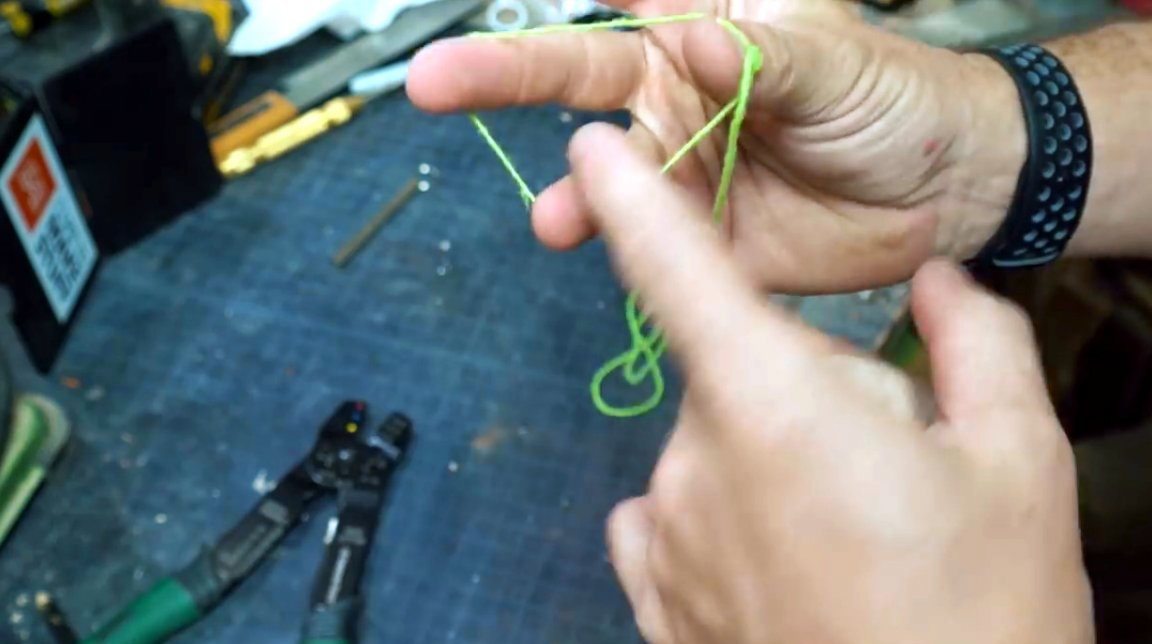
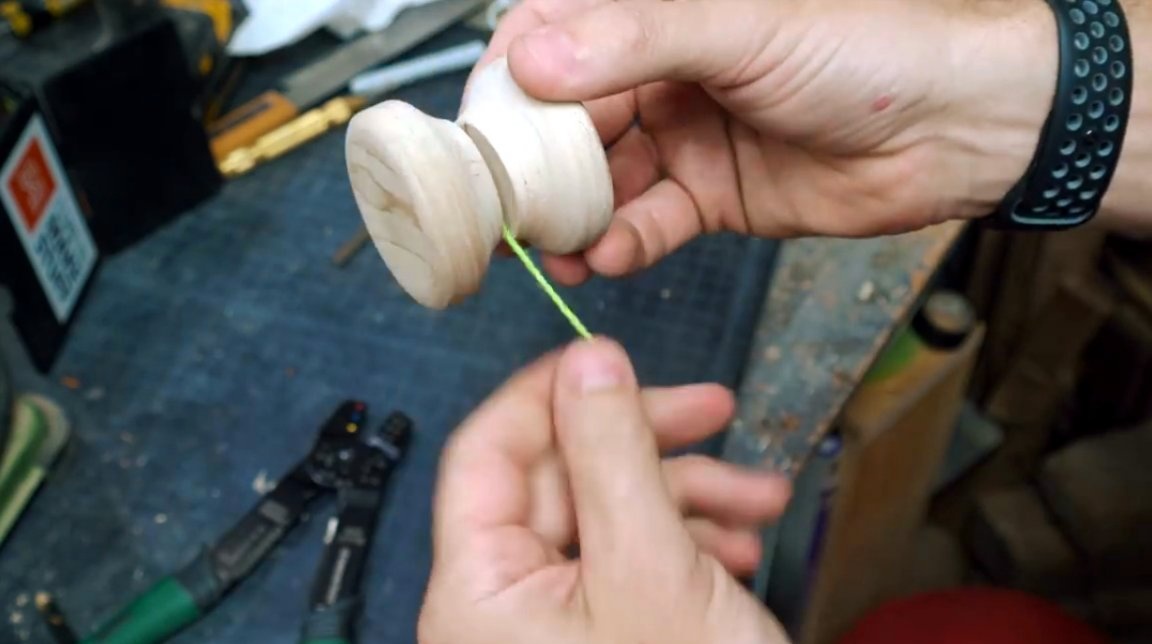
Now you can tie a rope to it. For this, a self-tightening loop is made.

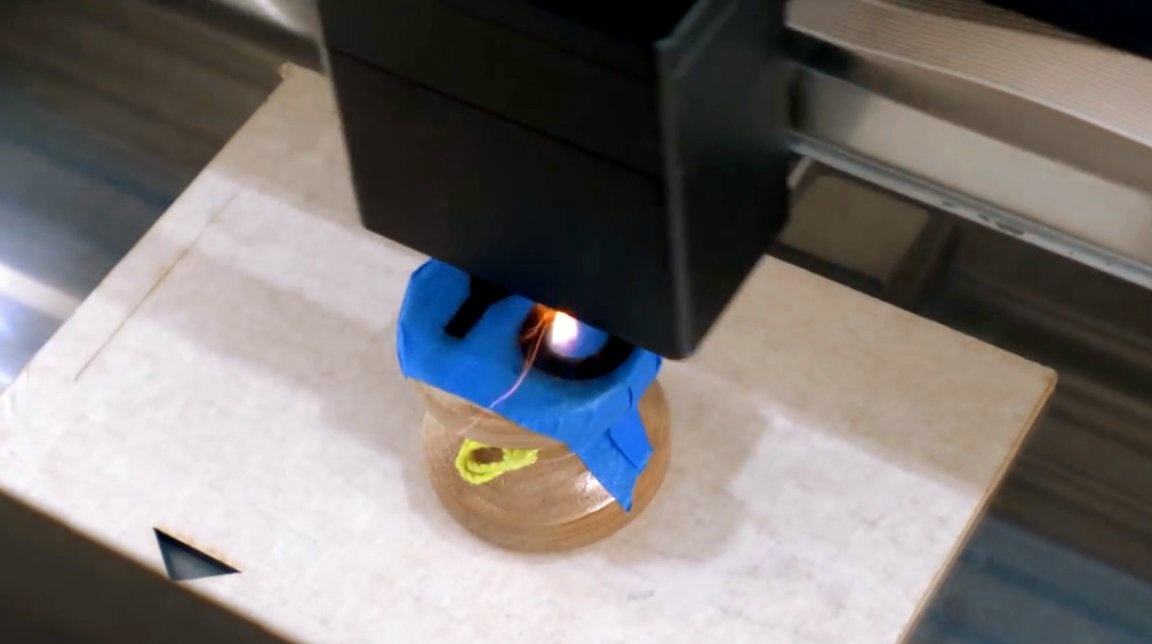
The author also applies a drawing using laser CNC to the surface of the toy.
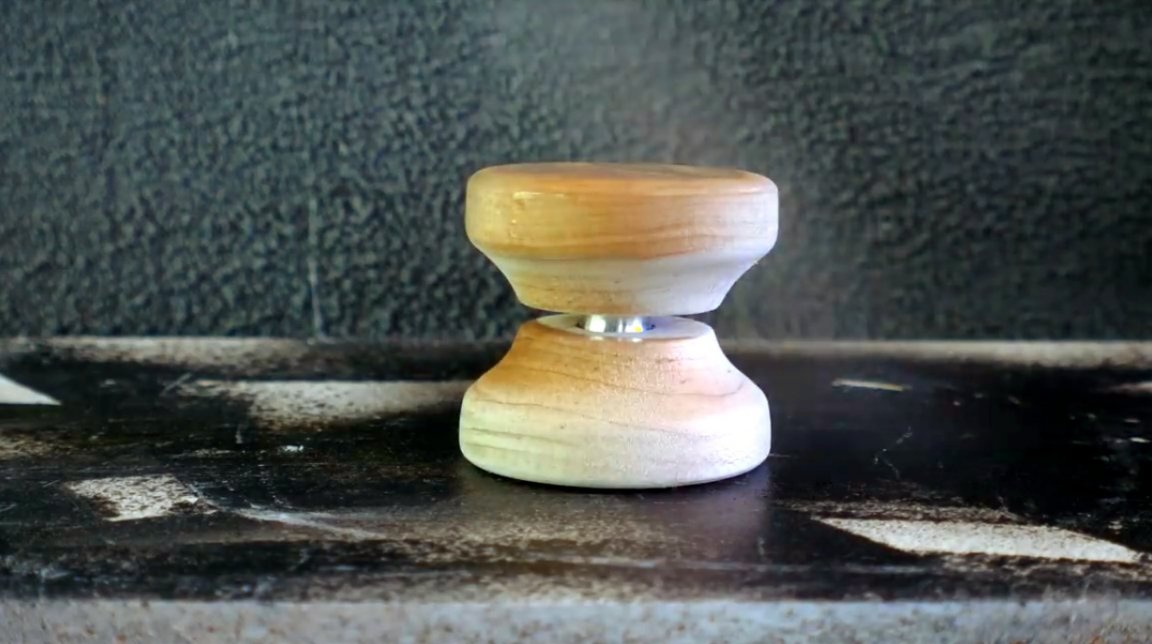
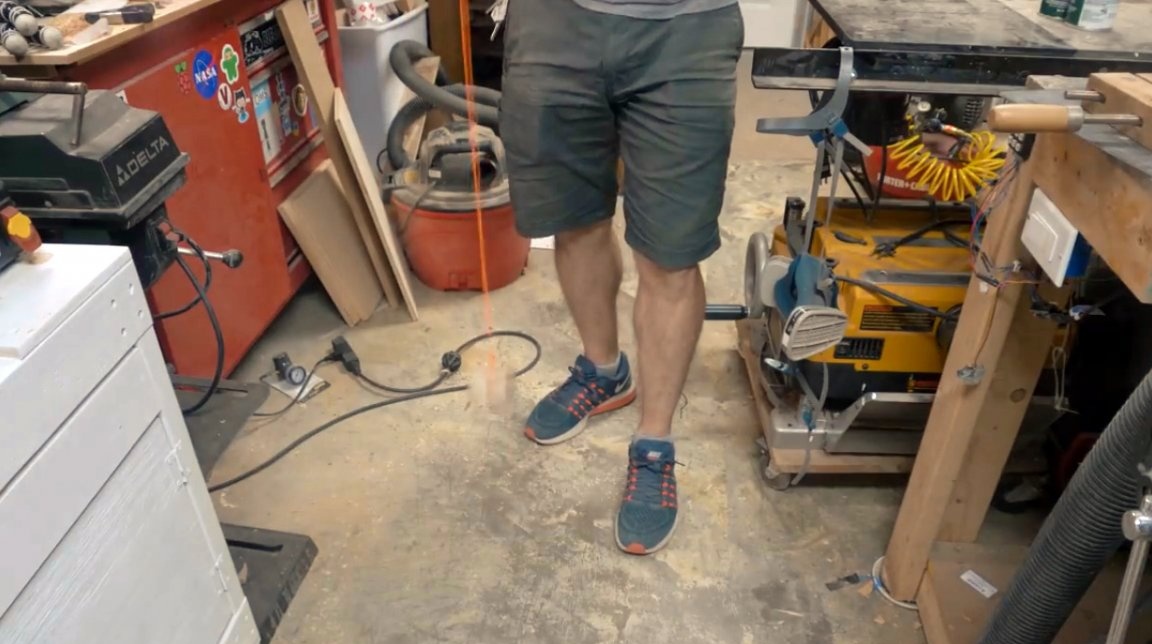
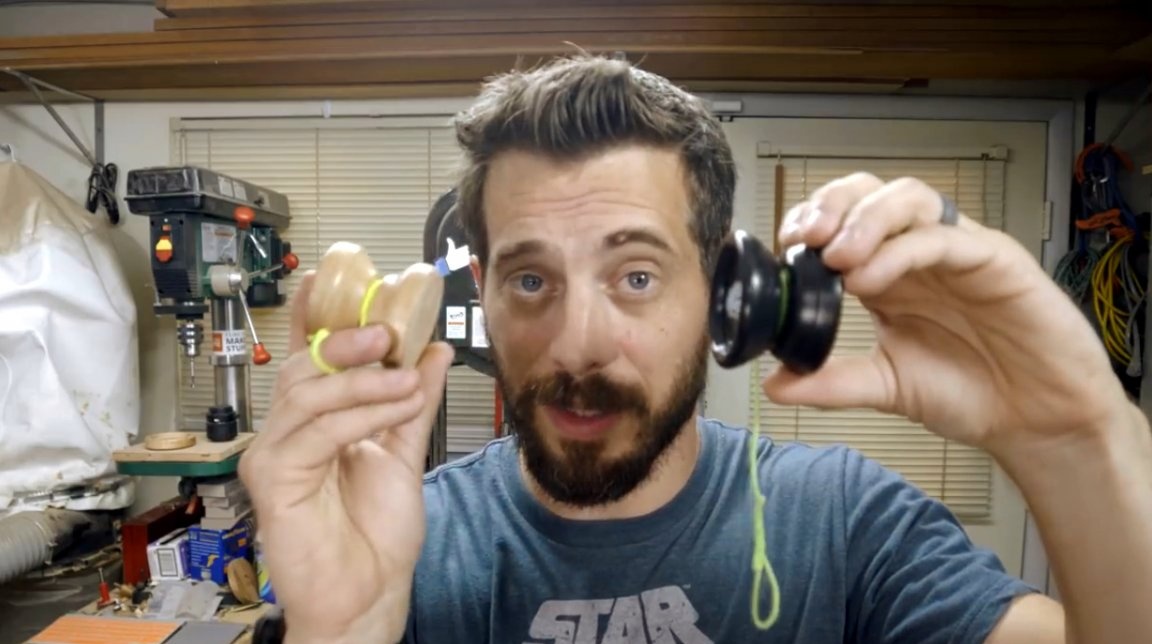
It is opened with several layers of aerosol varnish, and it is tested. He tries to change the length of the rope. The bearing moves gently. The only thing that could be worked on is the shape of the inner surface of the ribs. Those sections in contact with the rope should be even more rounded.
Thanks to the author for an interesting way to make a popular toy!
All good mood, good luck, and interesting ideas!
Author video can be found here.