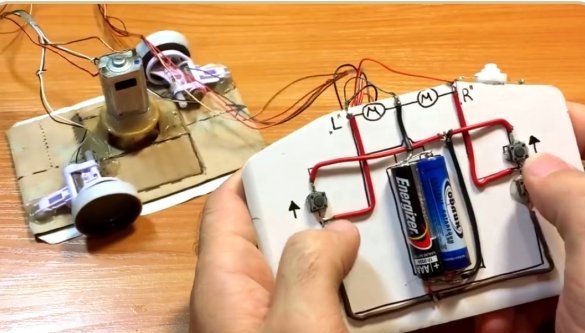
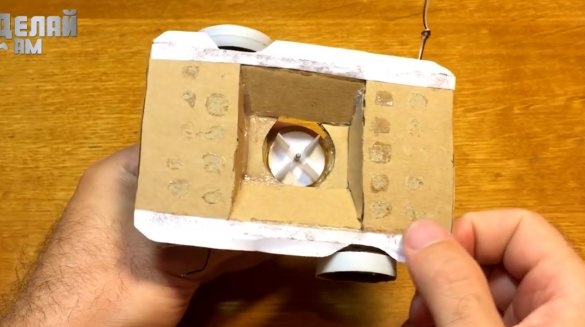
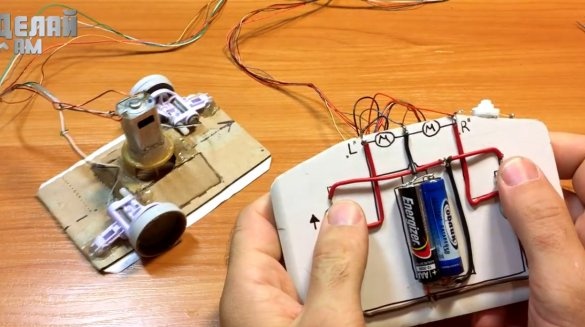
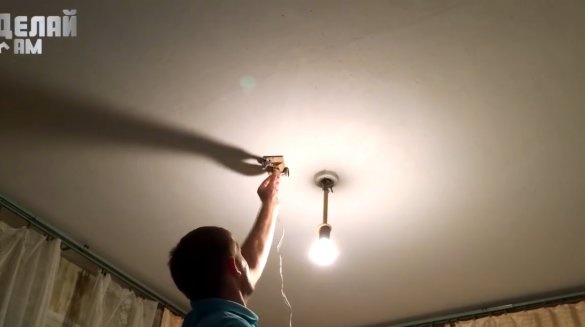
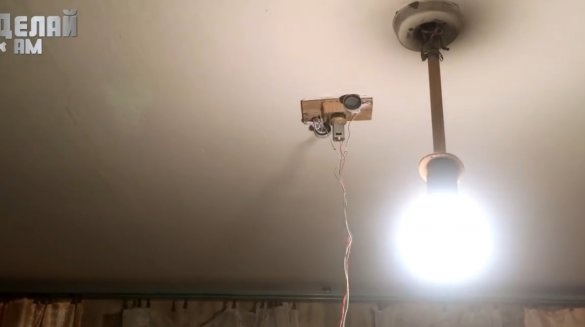
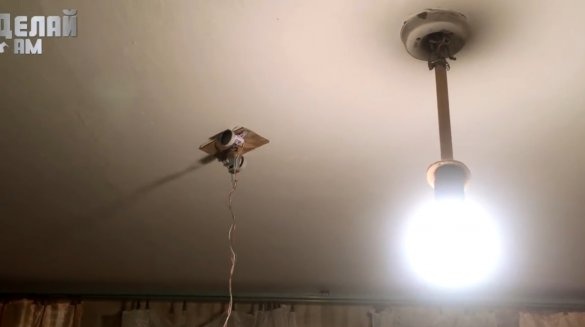
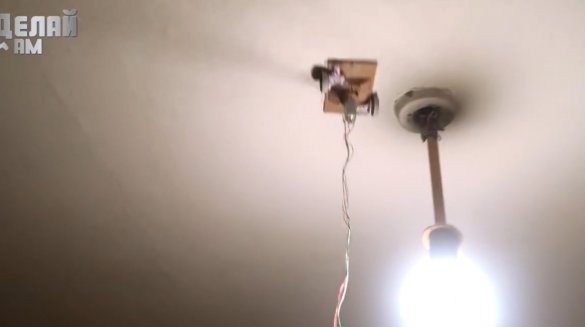
In this article, the author of the do-it-yourself YouTube channel will tell you how he made an unusual machine that can ride on the ceiling.
Homemade is very simple to manufacture, except that it requires basic soldering skills. In addition, there is where to attach parts from broken cars.
Materials
- Two finger batteries
- High-speed electric motor
- Gear motors
- Stranded wire
- Corrugated cardboard, paper
- CD-ROM, or durable, flexible plastic, rubber bands, bottle caps
- Clock buttons
- Lock button
- Second glue.
Instruments, used by the author.
—
—
—
- Scissors, ruler, knife, pliers, tweezers.
Manufacturing process.
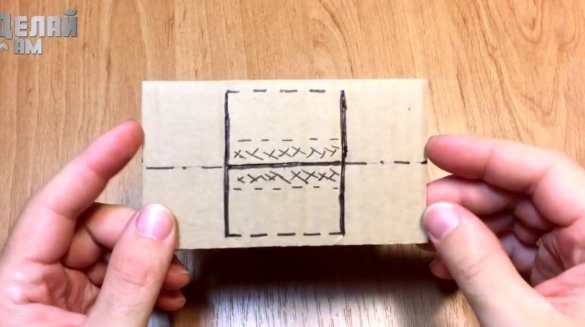
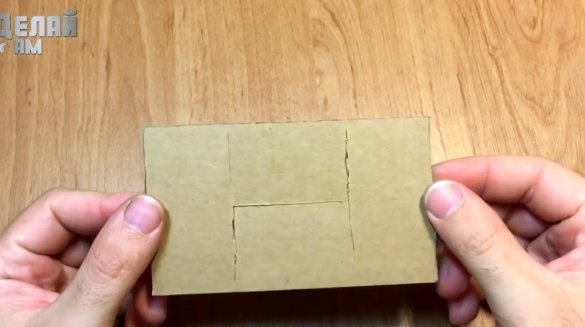
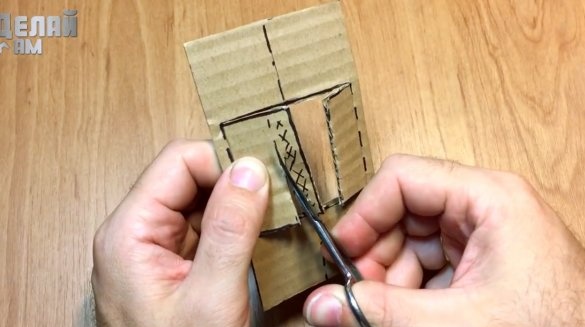
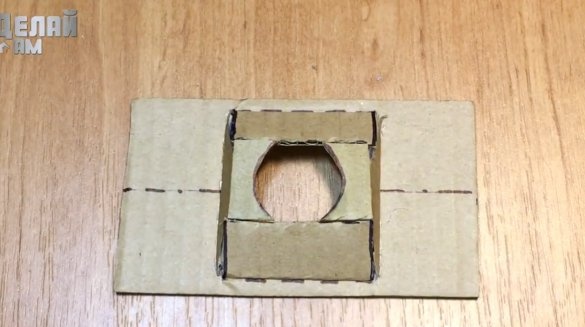
First, marking is applied to a rectangular piece of cardboard, and cuts are made with a knife.
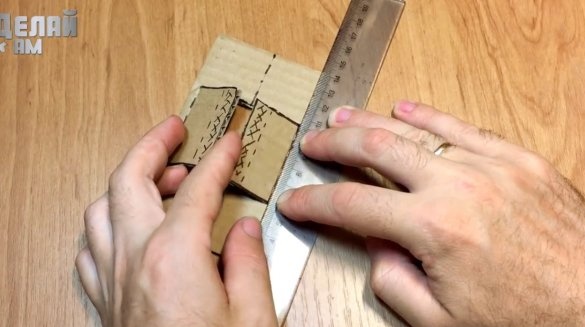
Segments bend up under the ruler. Waste sections are cut off.
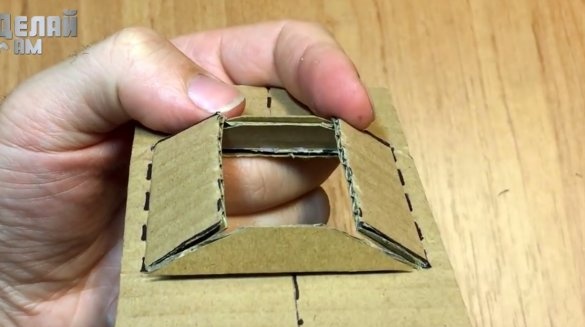
Two trapezoidal inserts are installed on the sides.
On the upper part, two such segments are installed. All seams are carefully glued.
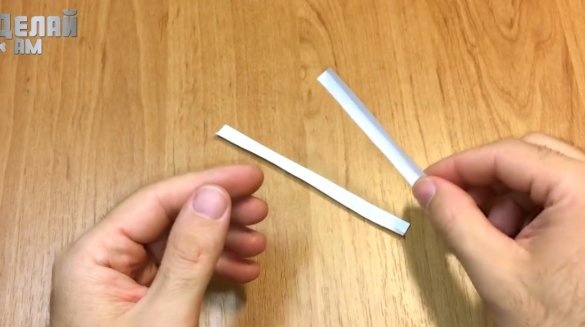
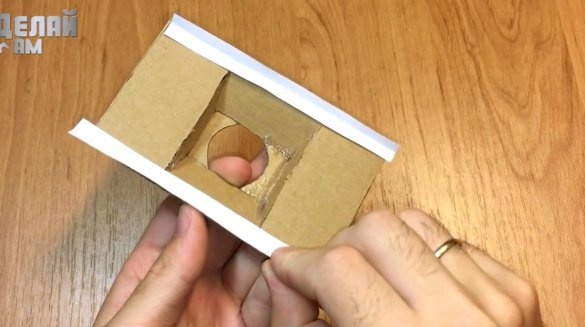
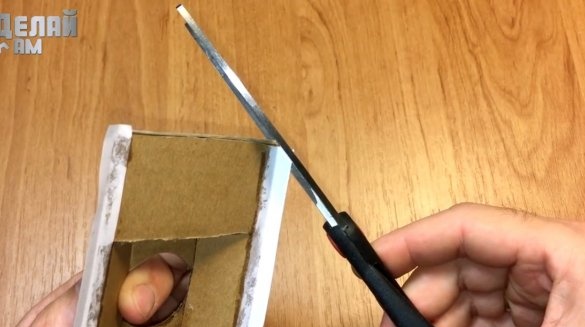
Then you need to bend two strips of paper, and stick them along the edges of the base. Excess pieces of paper are cut, and the edges are cut at 45 degrees.
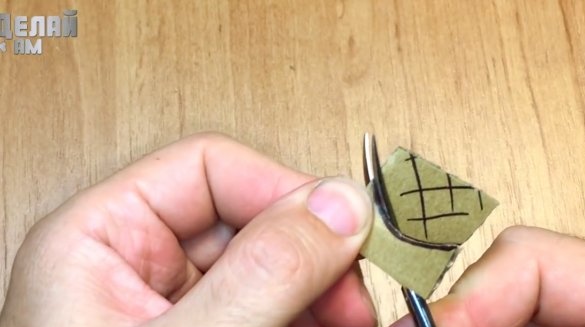
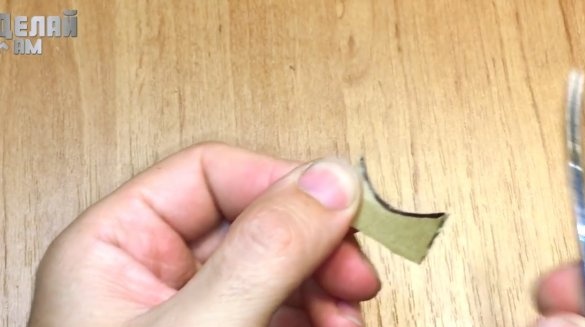
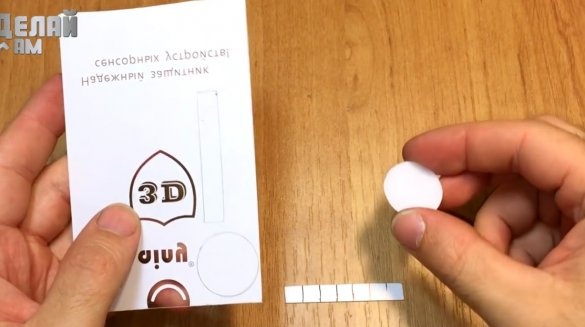
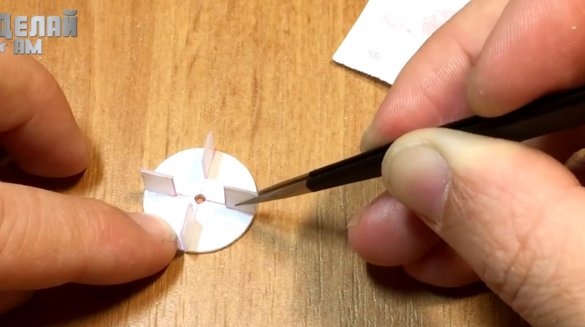
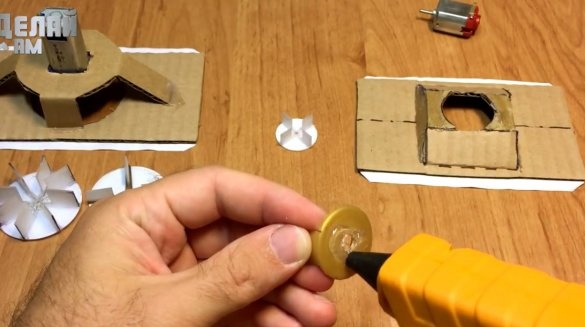
A disc the size of a coin of 5 rubles is made from a compact disc, or dense, but thin and flexible plastic. In addition, you need 4 squares for the blades. They stick to the disc with a second glue.
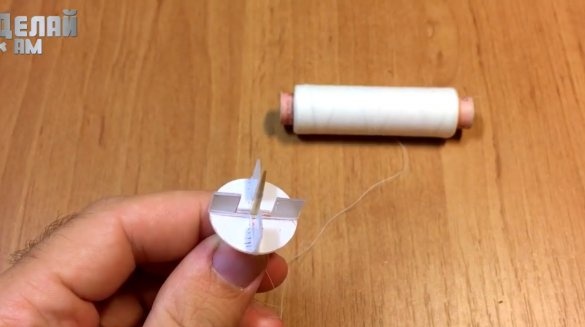
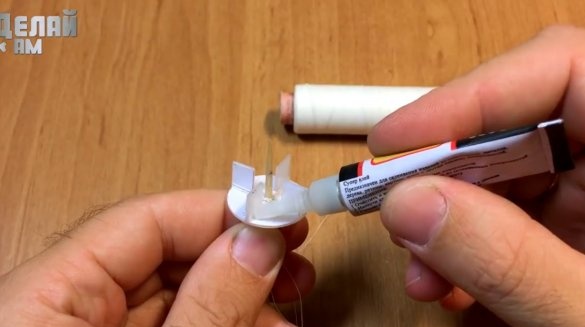
For greater reliability, the joints of the blades and the disk are connected by a thread, and glued.
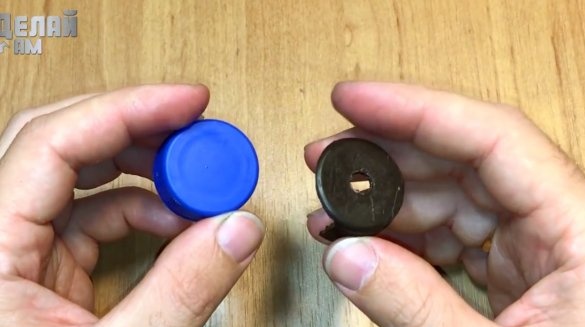
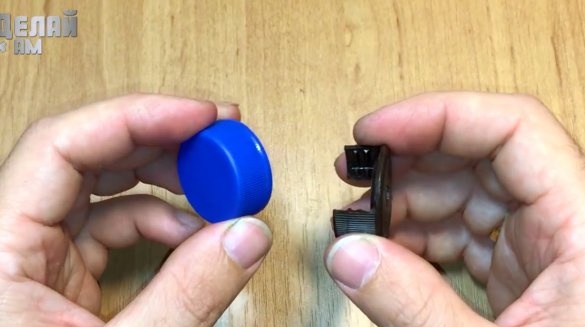
Such a design is made of corks from plastic bottles.
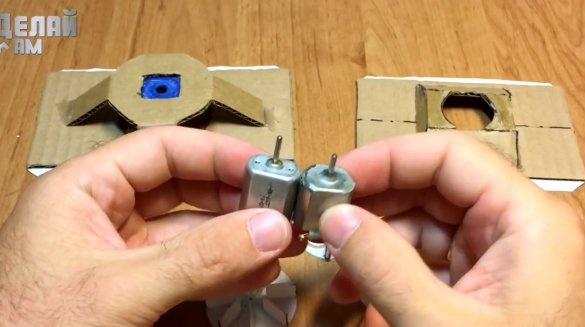
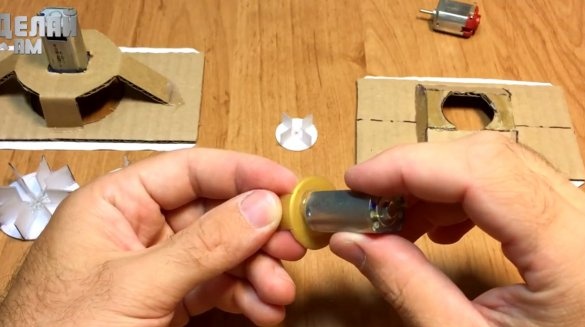
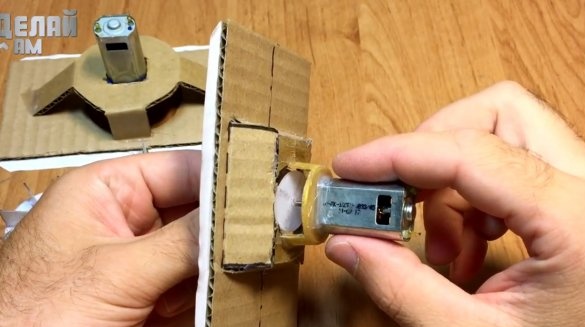
As a turbine engine, a high-speed engine with a supply voltage of 5 volts should be selected.
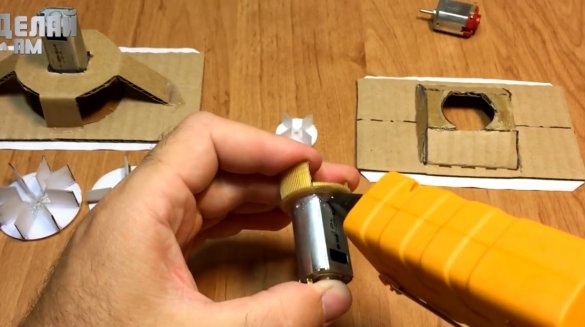
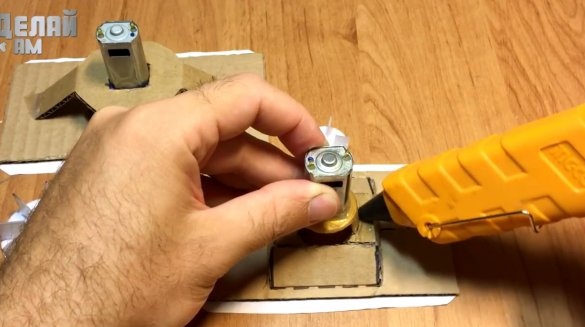
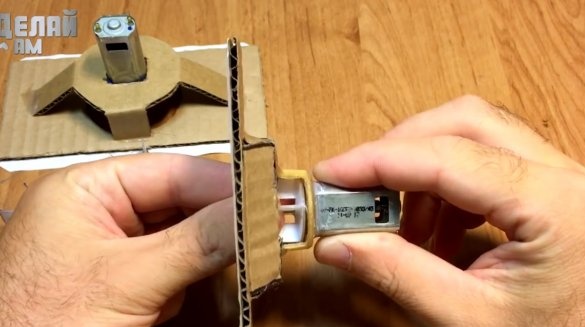
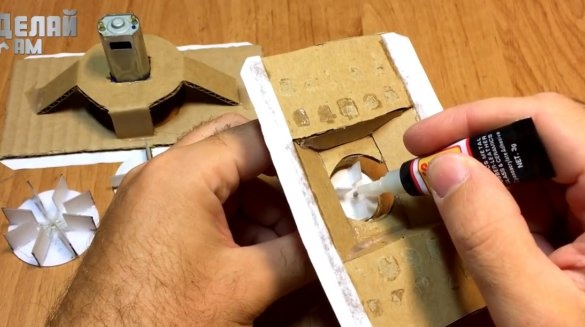
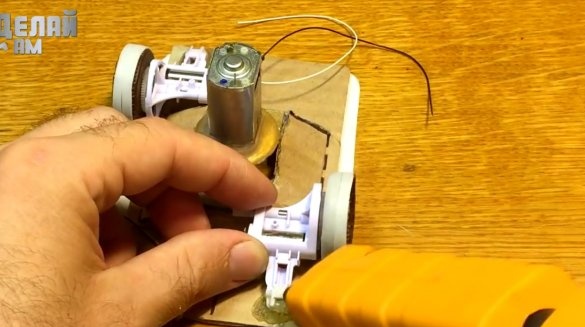
Now the engine sticks to the nozzle using hot glue.
The external joint of the motor housing and the adapter is additionally reinforced with glue.
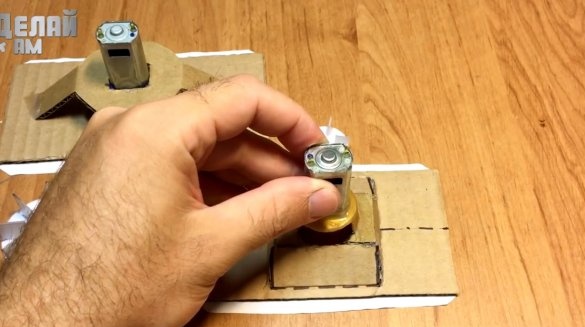
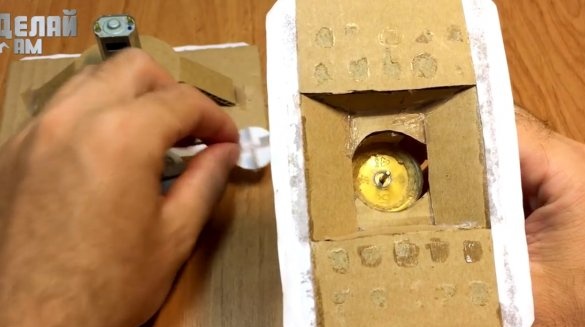
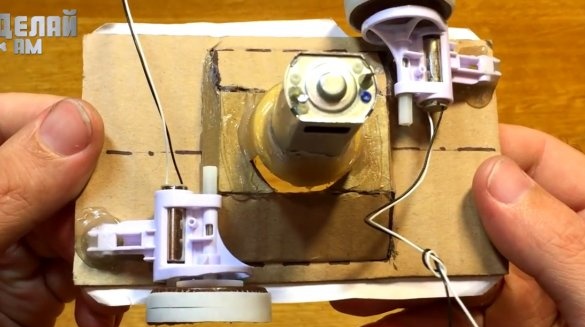
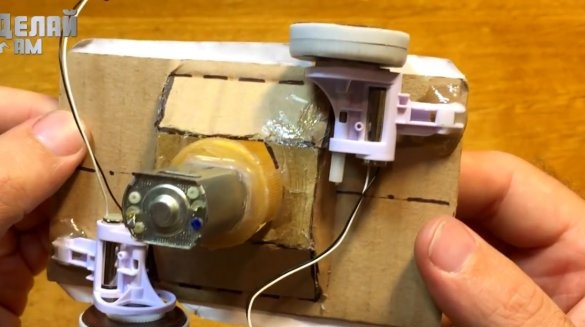
The resulting design is glued to the base.
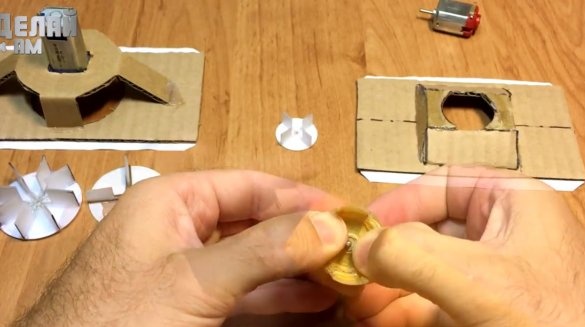
The turbine itself is put on the motor shaft, and in order to prevent it from slipping on it, you need to drop a little second glue on the junction.
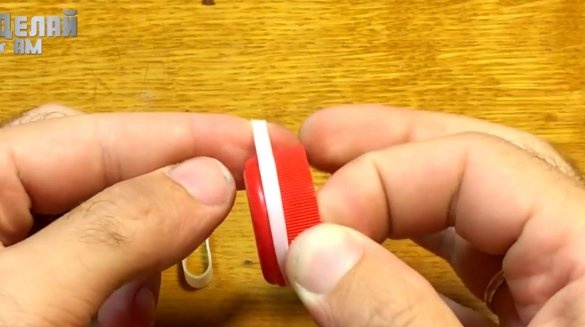
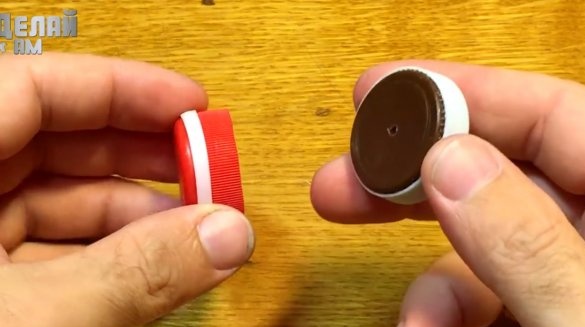
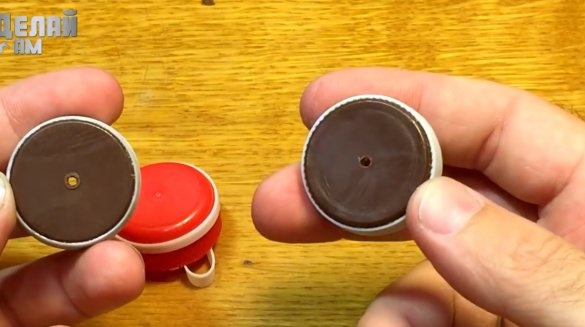
Wheels for cars are also just made from corks. They should wear elastic and cut the cork into two parts.
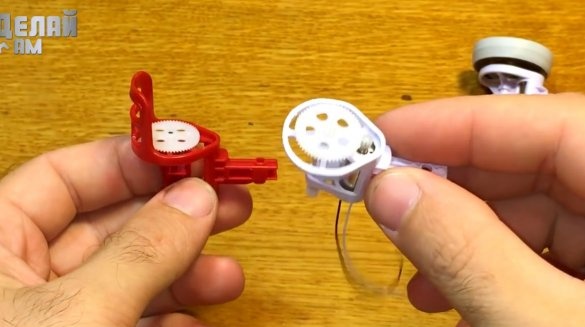
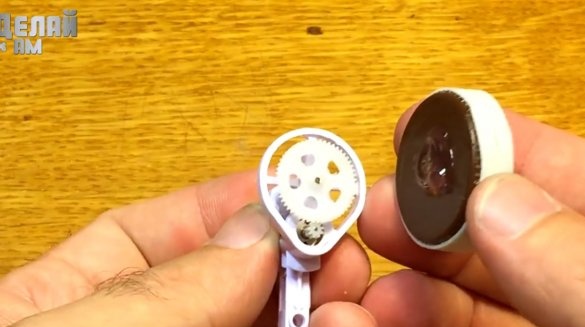
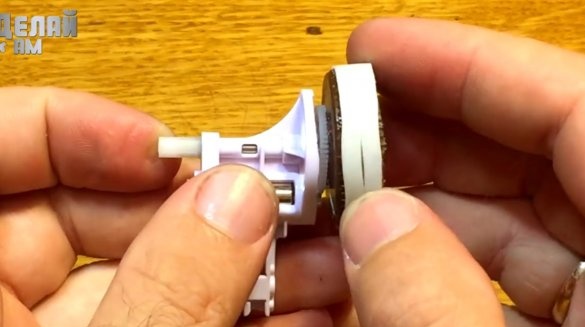
As a drive for wheels, the author will use a pair of engines with a gearbox. The wheels stick directly to the gears.
The author glued the gearbox frame to the base, placing the wheels diagonally from each other.
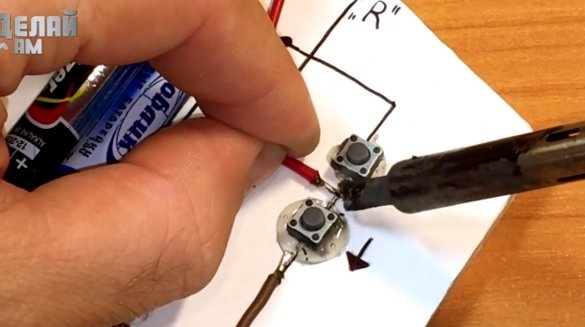
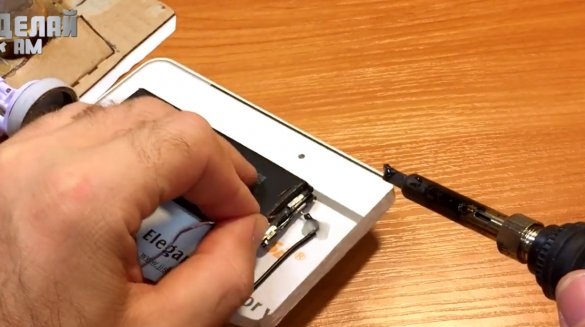
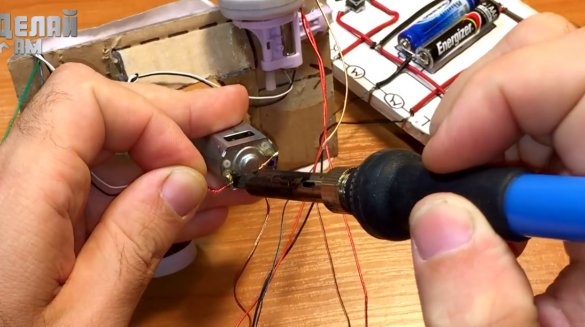
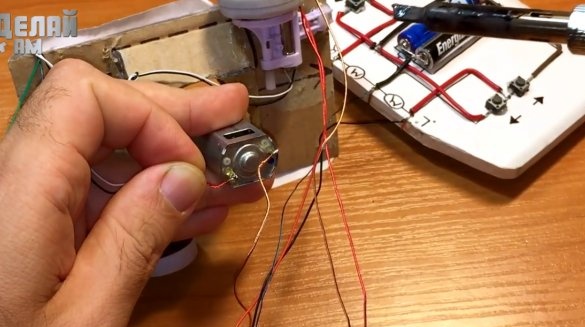
Then he soldered the power wires to the wheel motors.
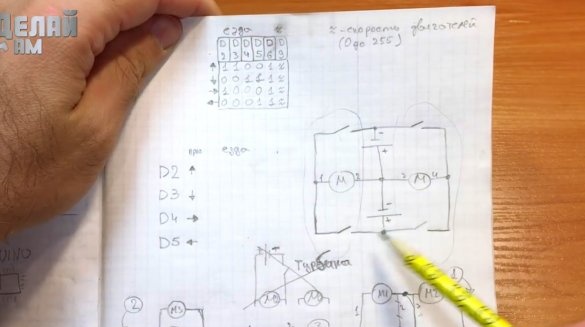
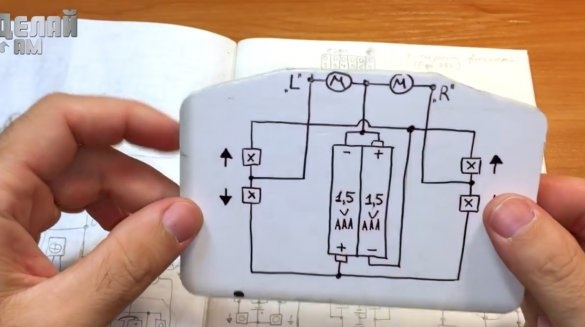
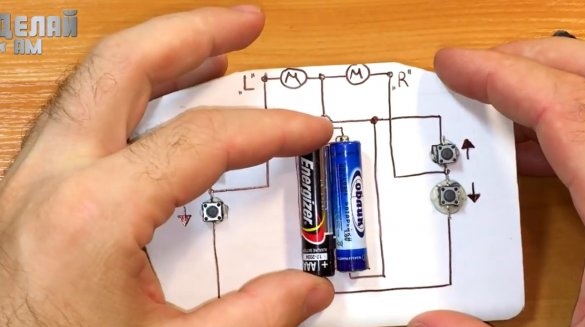
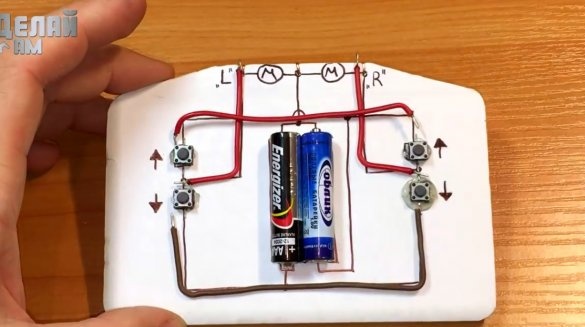
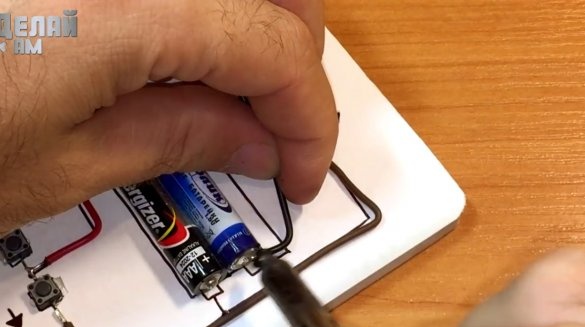
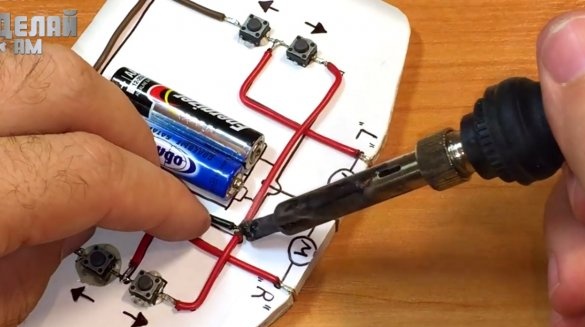
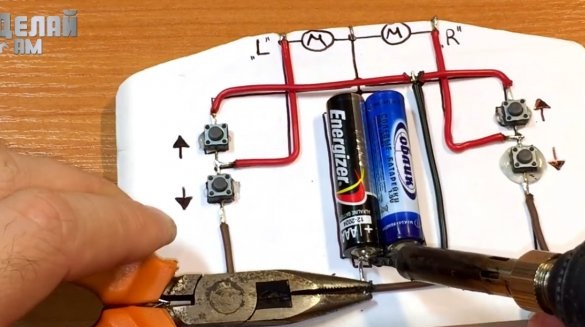
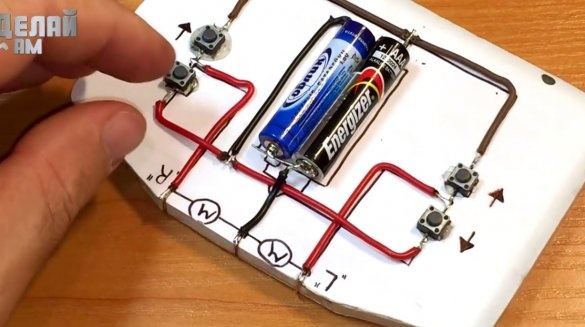
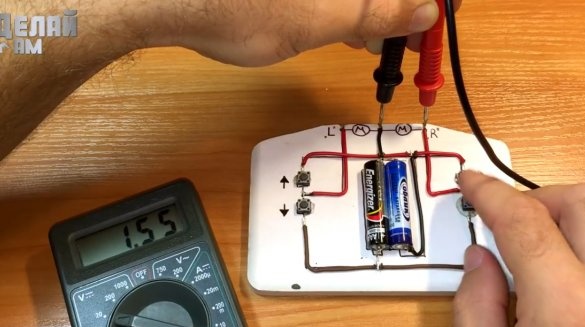
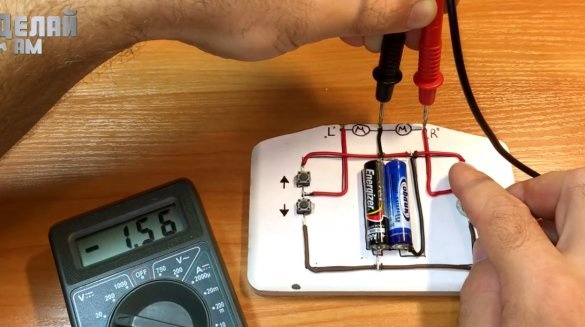
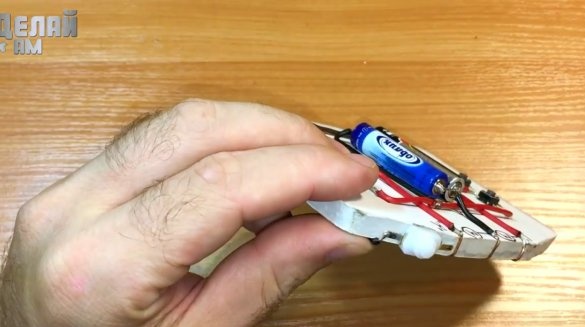
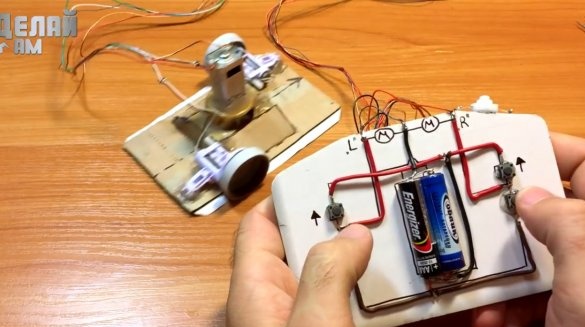
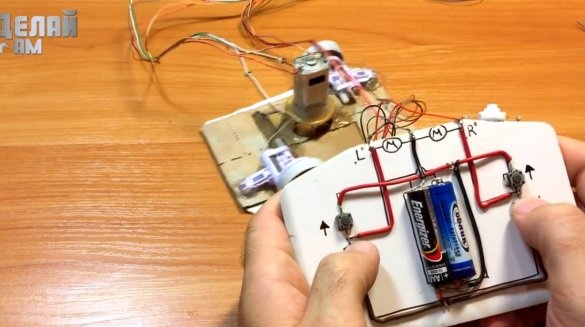
The author decided to make the control panel as clearly as possible. To do this, he transferred the electrical circuit to a polystyrene scrap.
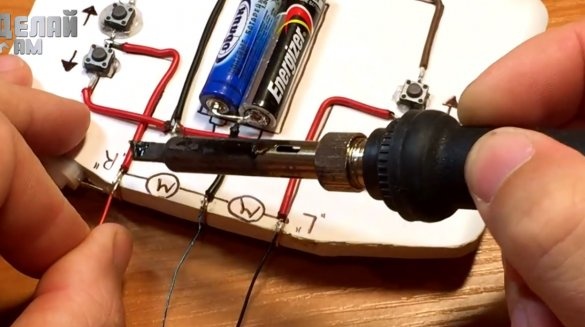
Then he fixed the clock buttons and batteries, laid out the necessary wires.
The wires are soldered to the elements according to the scheme.
In this scheme, when moving forward and backward, different batteries will be used, so the engine will be powered by only 1.5 Volts. Everything is functioning properly.
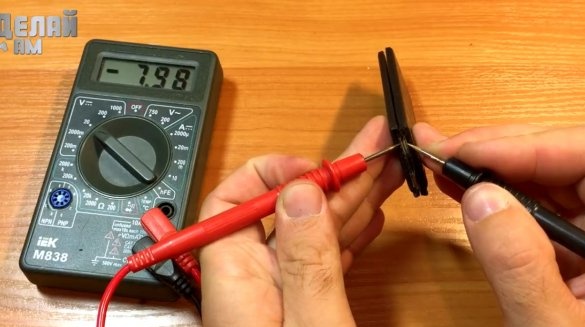
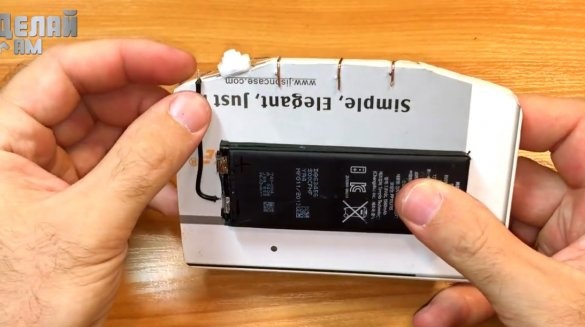
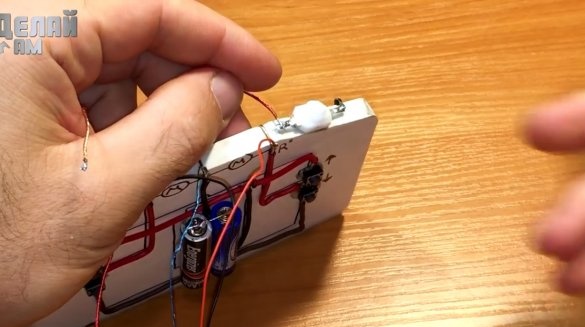
To power the turbopump engine, the author decided to use two batteries from the phone, connected in parallel. He fixed this set of batteries on the back of the remote control.
To turn on the turbo pump, I attached a latching button to the remote control.
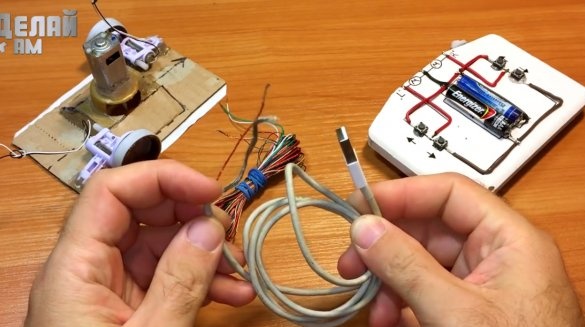
Connect the remote control and the machine should be a light thin wire. An old USB cable or similar will do. 3 wires are used to control the wheel motors, and only two will go to the pump.
The reciprocal part of the wires is soldered already to the machine.
Check on the table with the pump turned off. Everything is pretty playful.
Now you can vacuum the ceiling, and drive the spiders!
Thanks to the author for the simple idea of a very unusual toy!
All good mood, good luck, and interesting ideas!
Author video can be found here.

