
Today we have a very interesting idea with a diorama. This idea belongs to the author of the YouTube channel "DreadCraftStation".
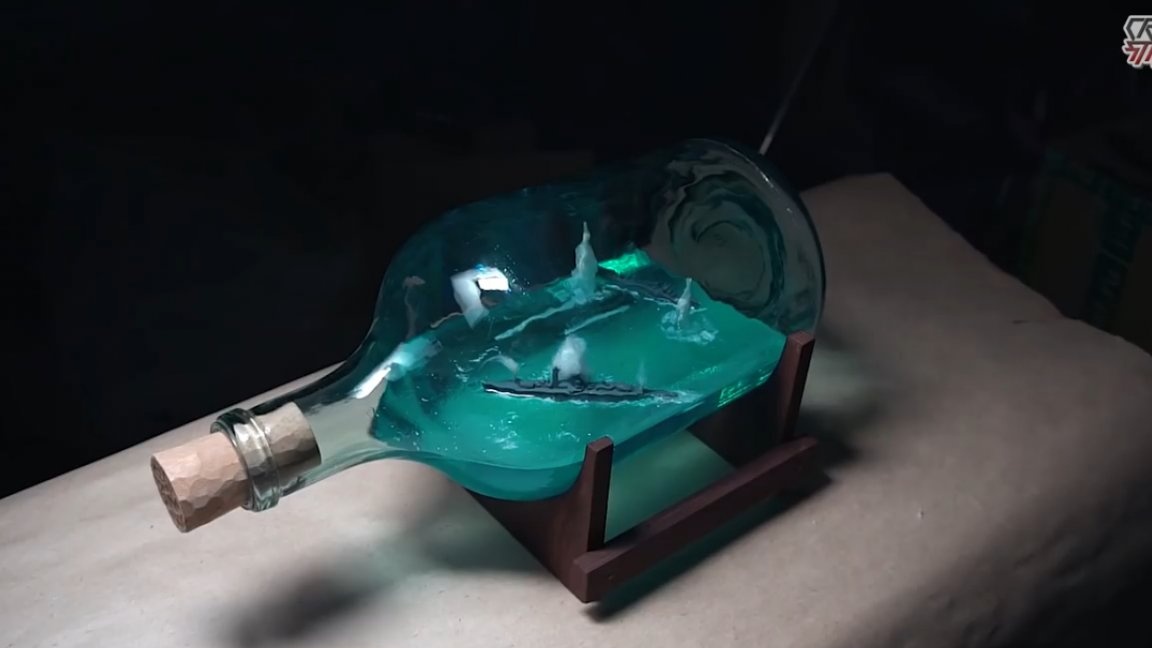
The author has been hatching this idea in his head for a rather long time, and now the moment has come and today we will stir up the battle of ships in a glass bottle.
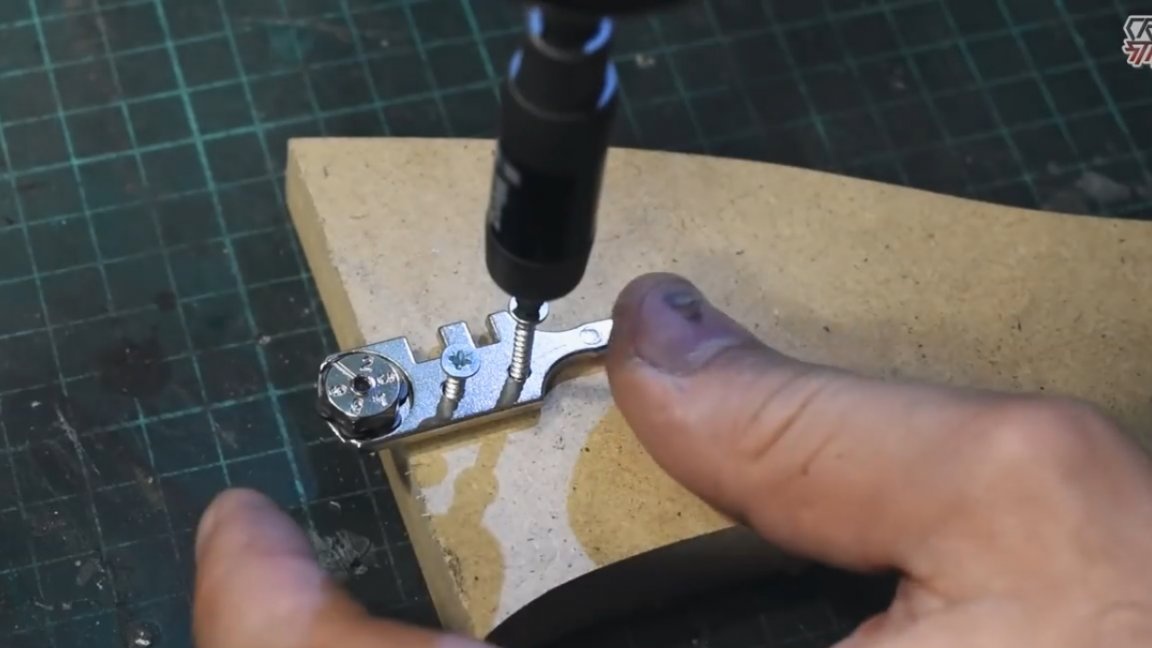
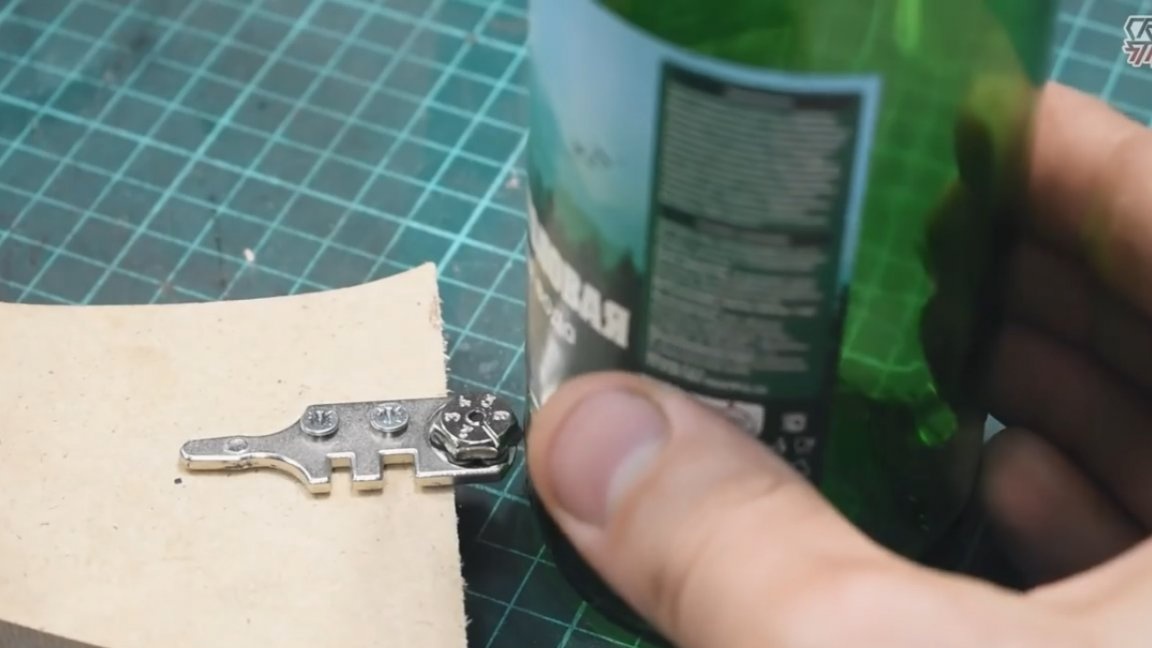
But first you need to take care of the tool, namely it will be necessary to purchase such a glass cutter:
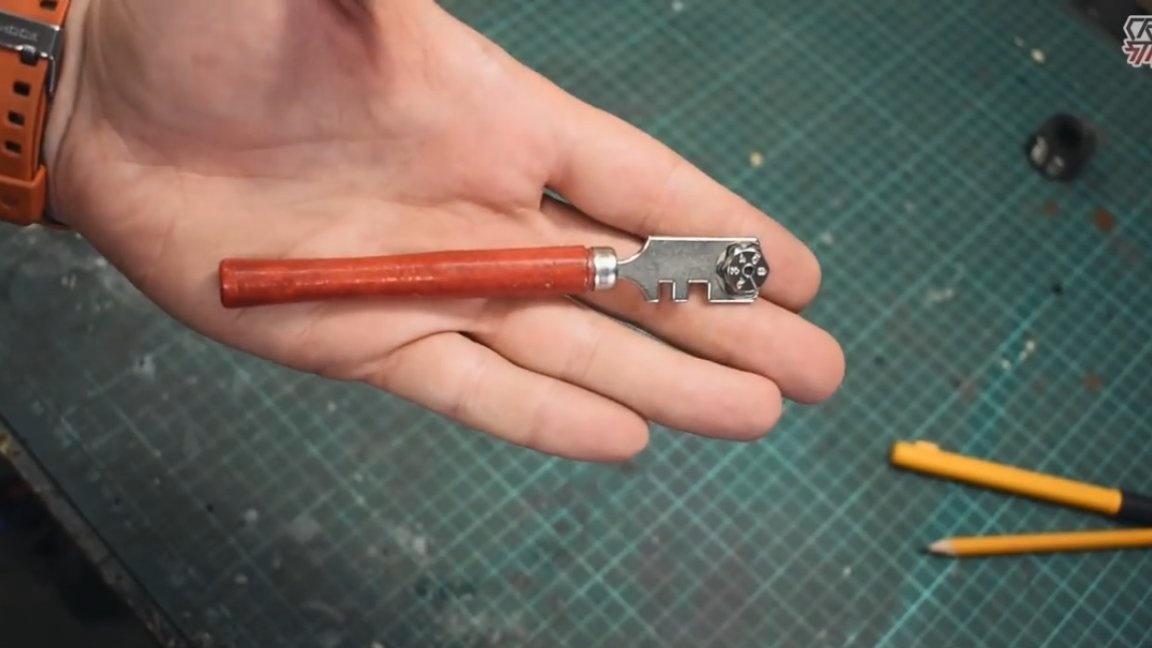
Glass cutter is needed just like that and no other. There are still some oil glass cutters and so on, but they are not suitable for this project.
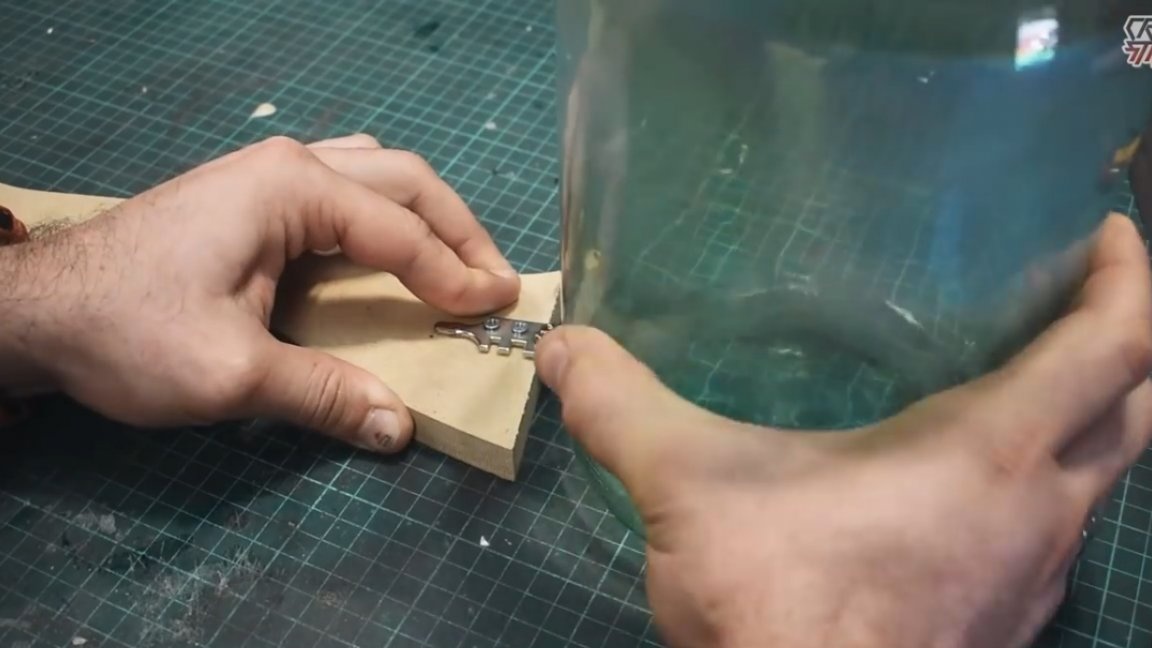
The first step is to separate the handle from the glass cutter.
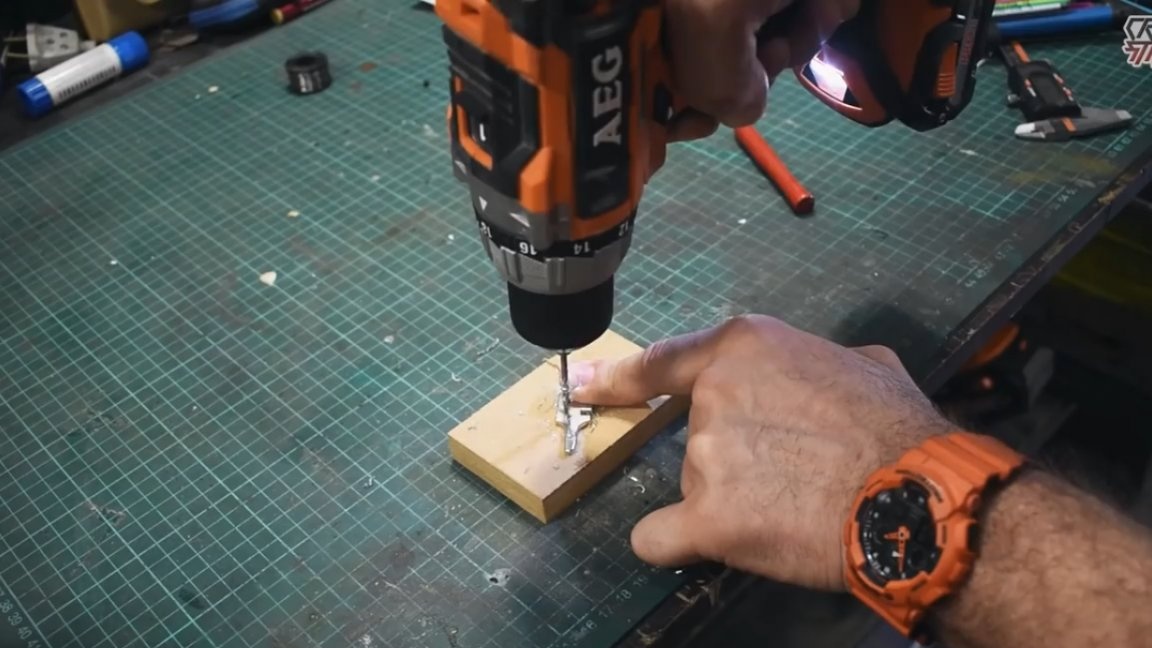
To make the cut quite smooth in the glass cutter, you need to drill a couple of holes and screw it, for example, to a piece of 16 mm MDF.
As you might have guessed, we need a glass cutter in order to separate the bottom from the bottle, in which we will build our original diorama.
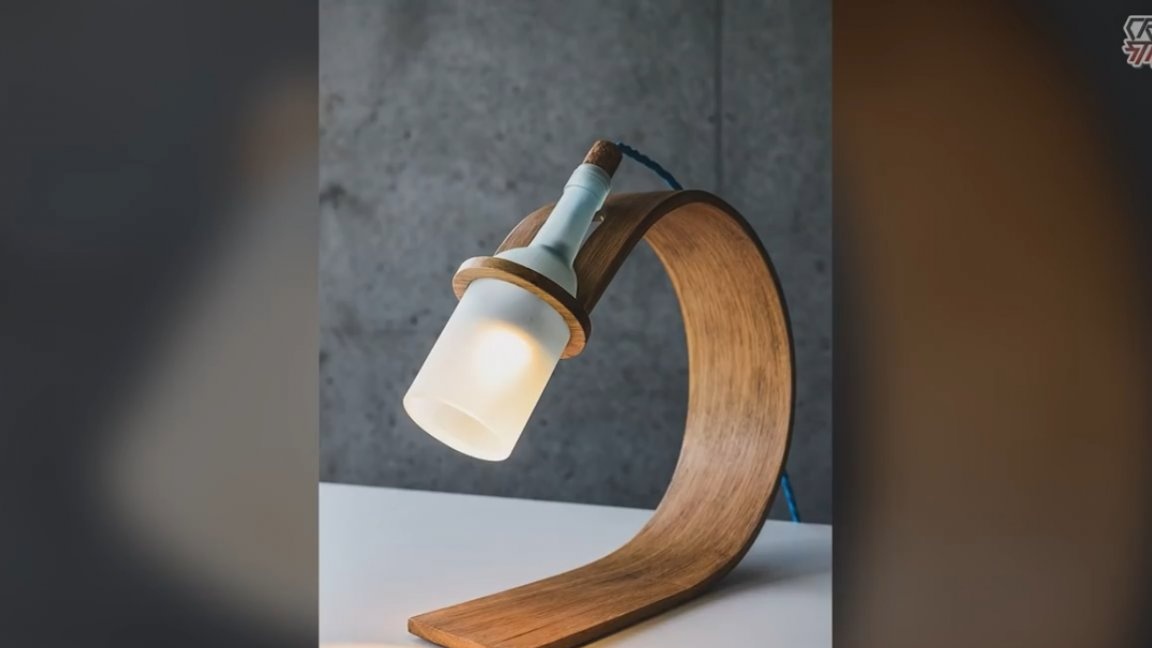
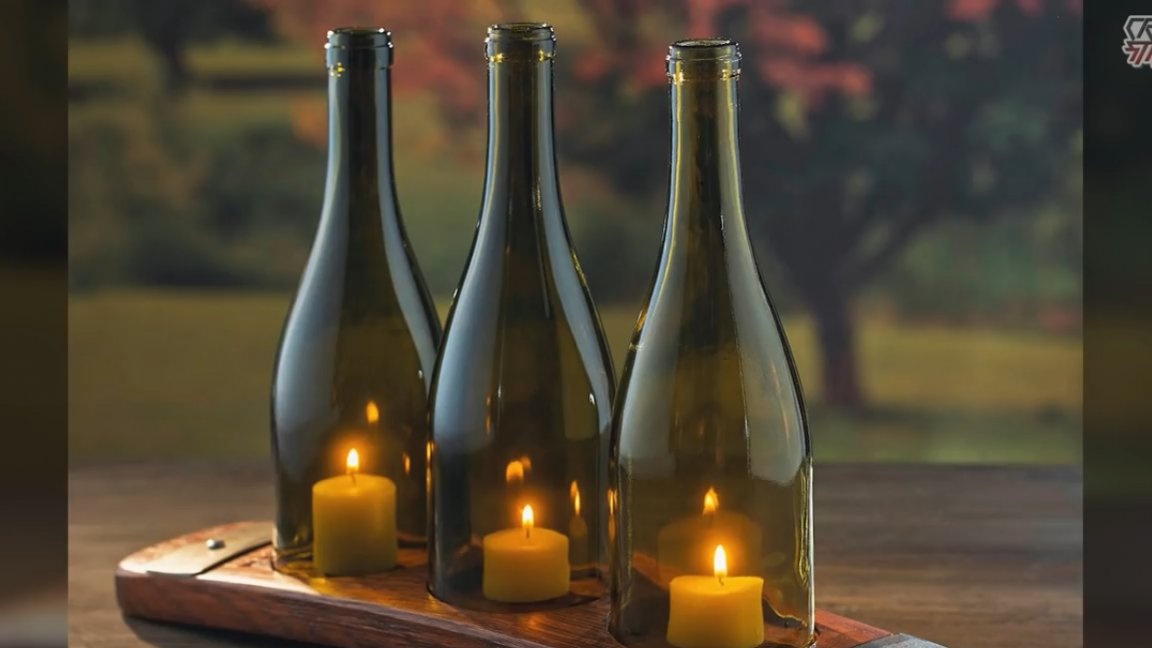
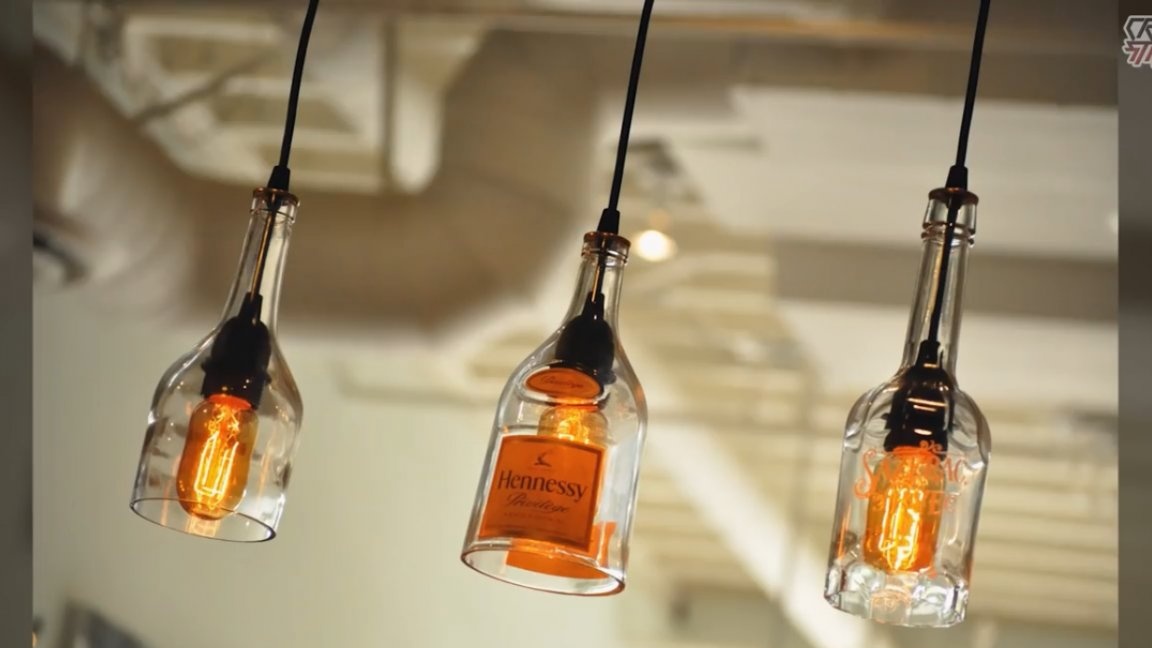
This technology, by the way, is suitable not only for the construction of various kinds of dioramas, but, for example, by the same principle it is possible to make some kind of chandelier from bottles, or something similar.
Let's first practice and, so to speak, hone the technology on some empty glass bottle. No, of course, this bottle will not work for further work, for the manufacture of the diorama we will take another bottle, and this is just an experimental sample.
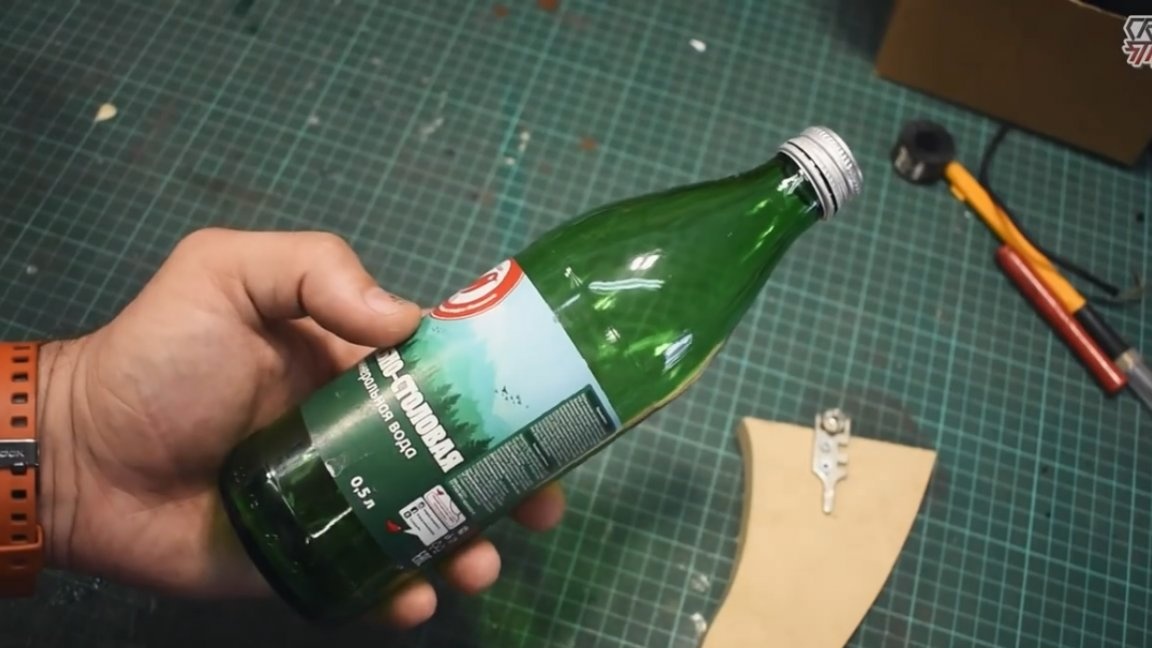
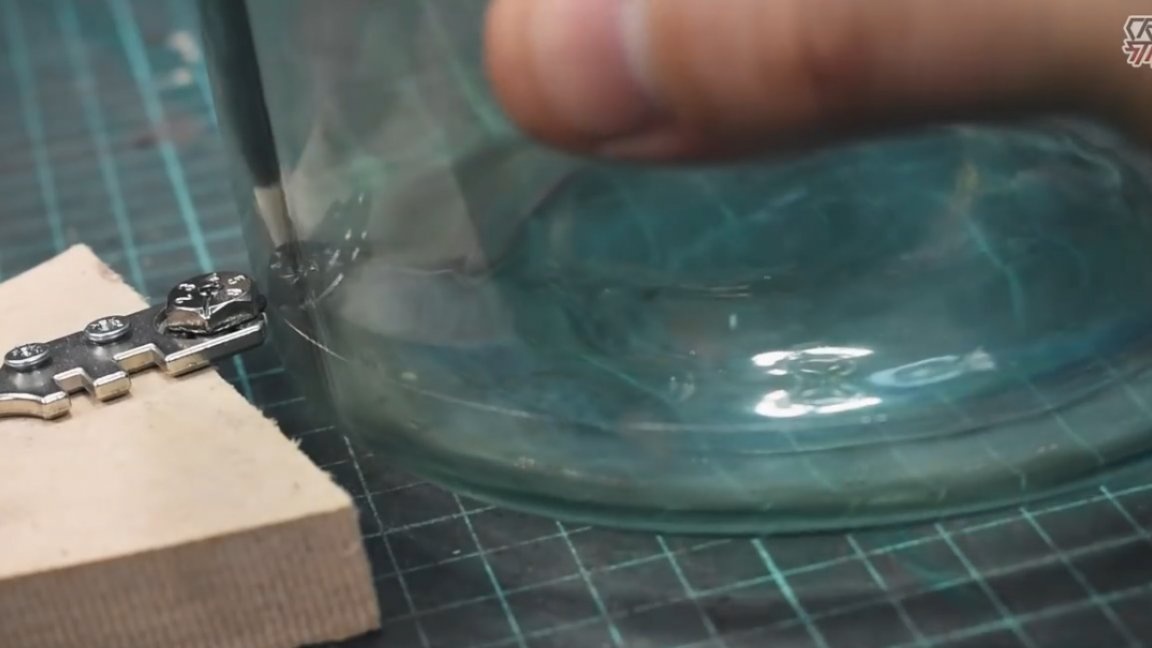
So, as mentioned above, on this bottle we will hone the technology. We put the bottle on the table and use the glass cutter to make an incision.
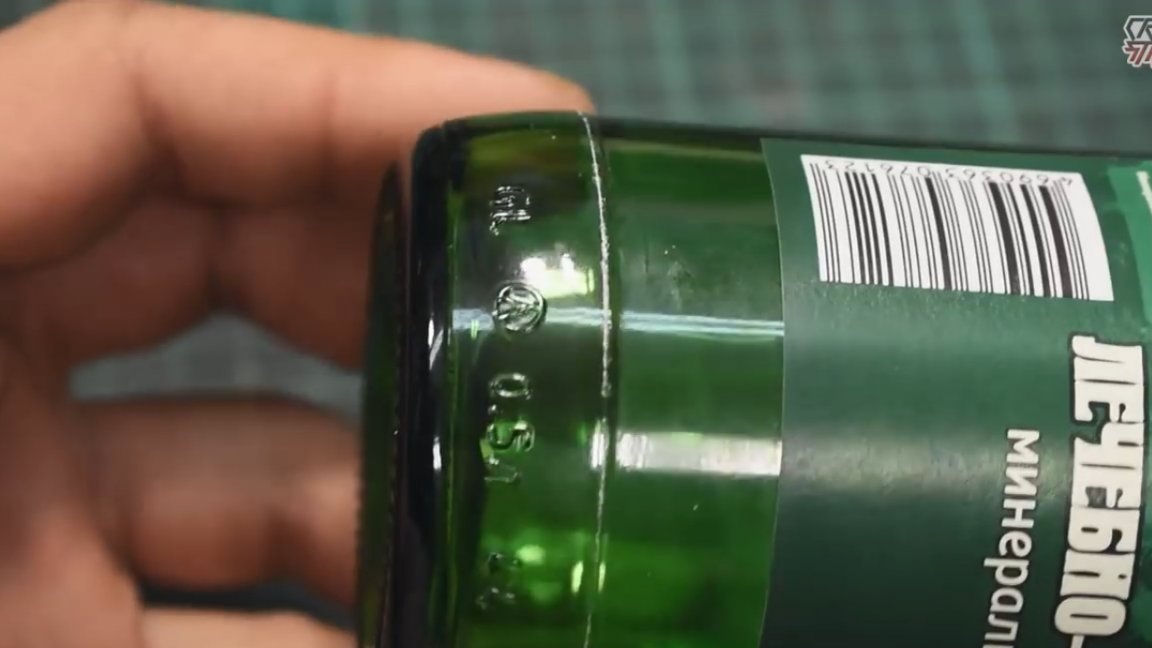
The notch should be clearly visible, it is very important for an even cut. For further operation we will need.
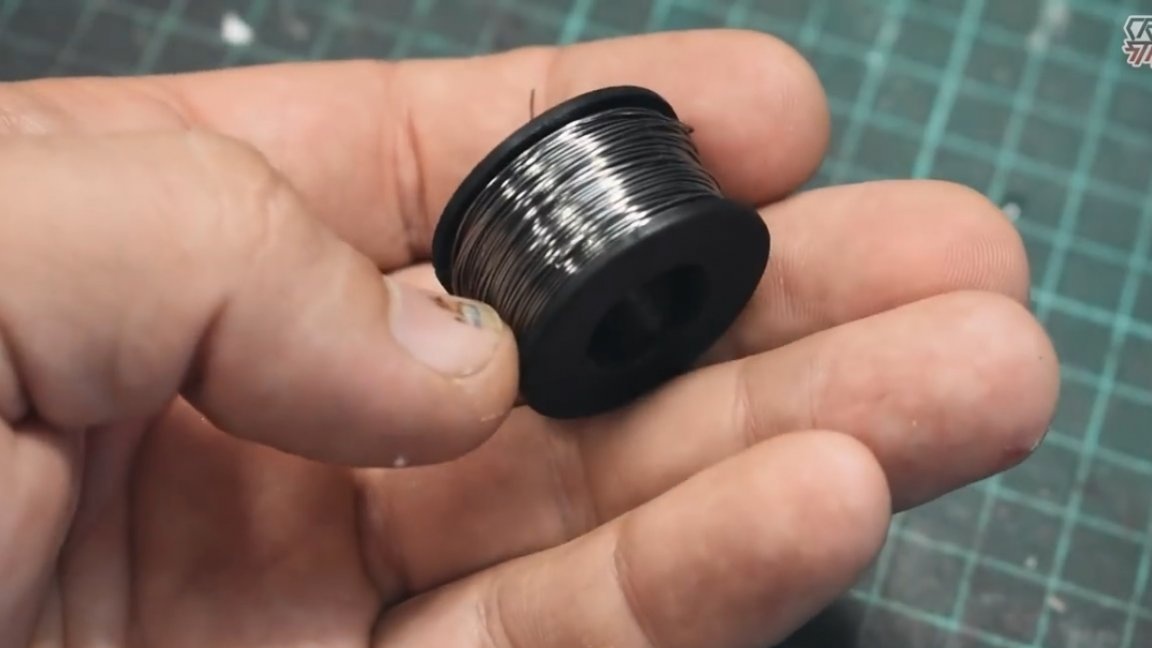
Such a skein can be ordered on, the wire will cost about 200 wooden.
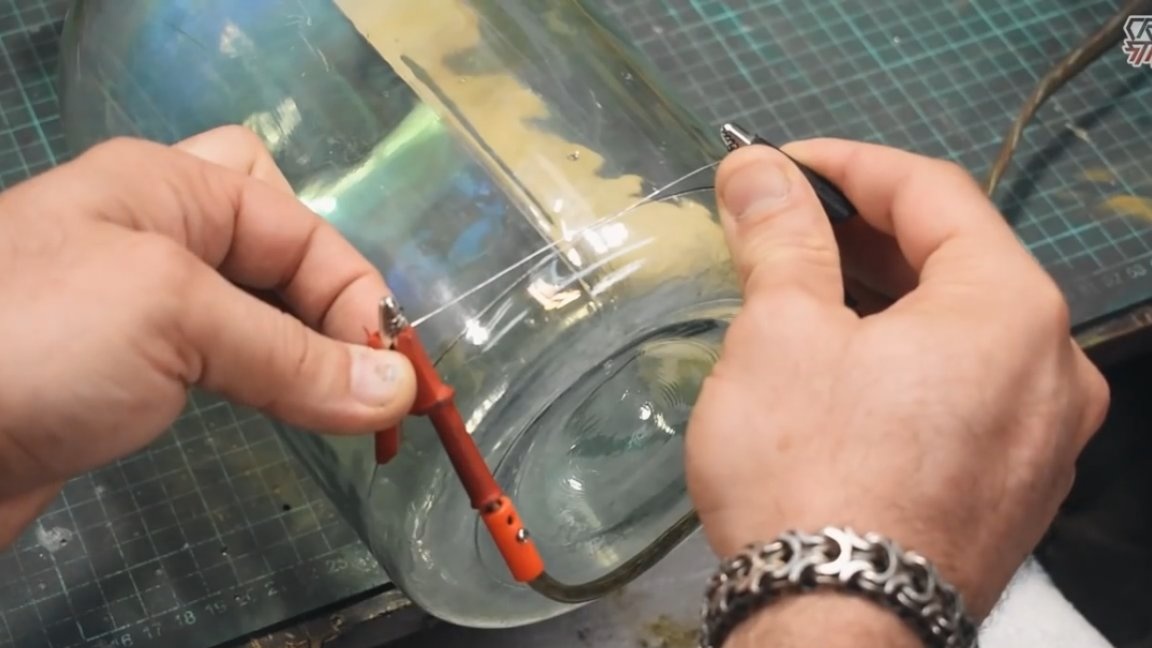
From a nichrome wire we make a ring and connect it to a conventional power supply. Plus (+) on one end, minus (-) on the other.
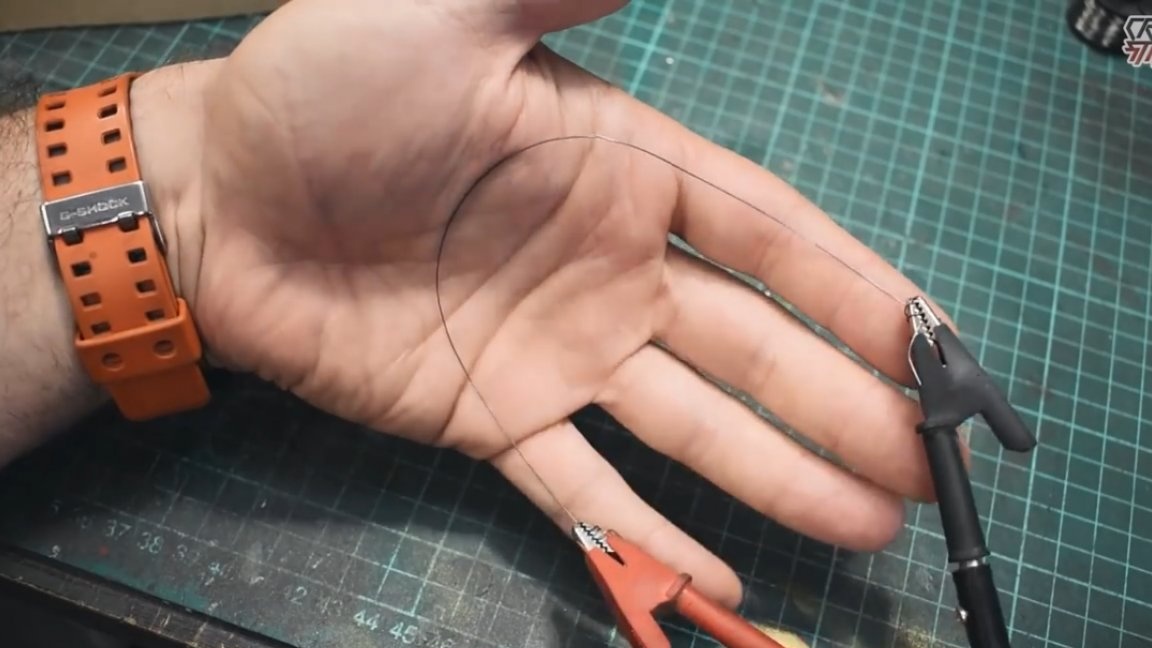
Then we lay the wire exactly along the previously made incision and turn on the power supply.
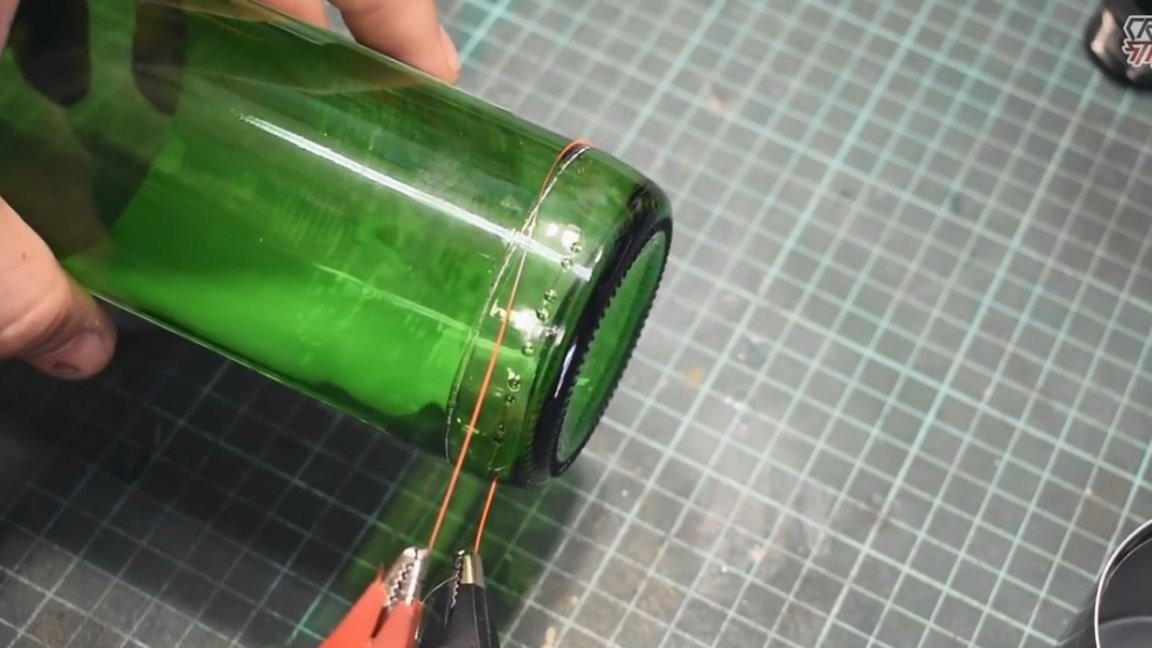
We wait until the wire heats up and then for about one minute you will hear 4-5 clicks of glass. That's it, now put the wire aside, wait a while and let the bottle cool.
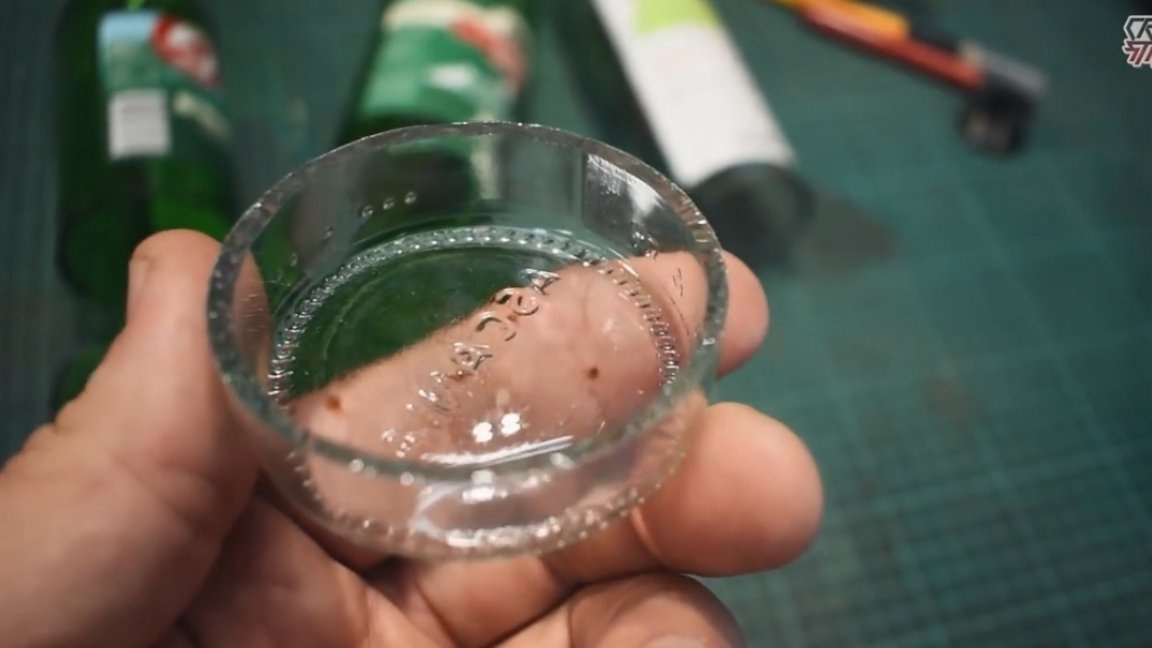
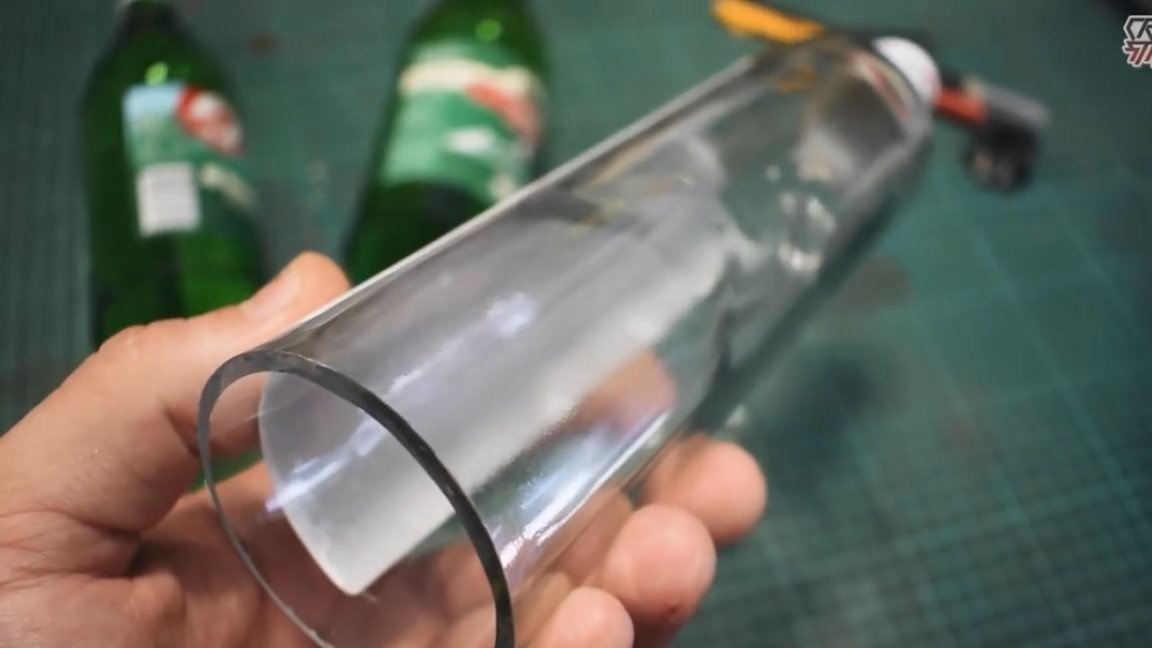
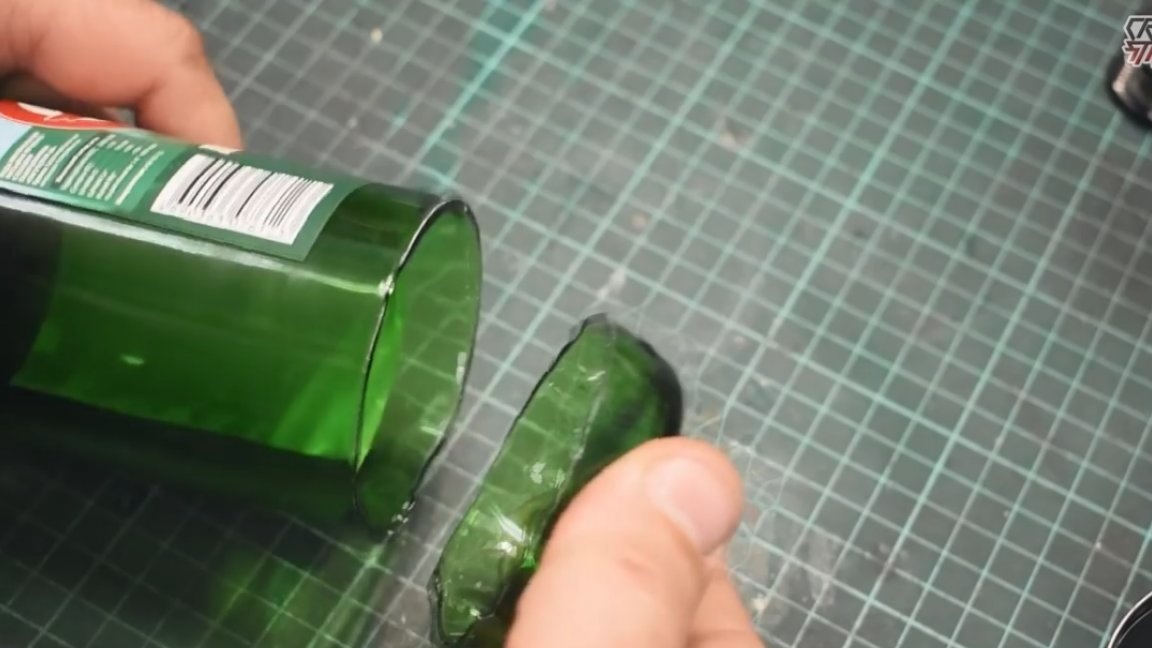
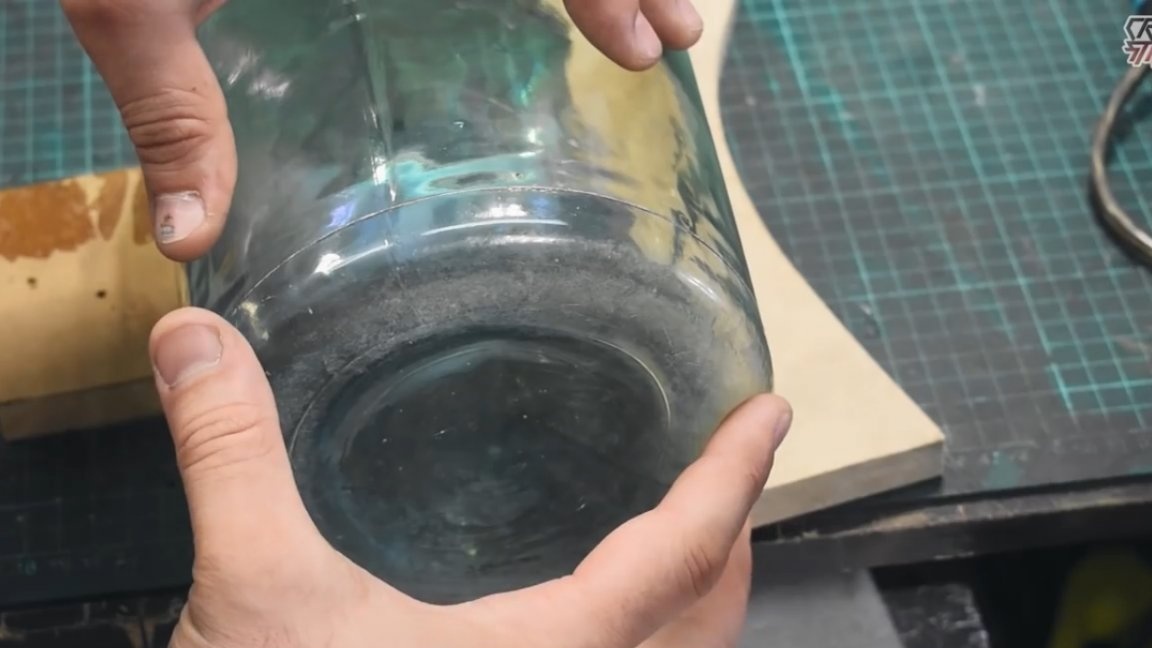
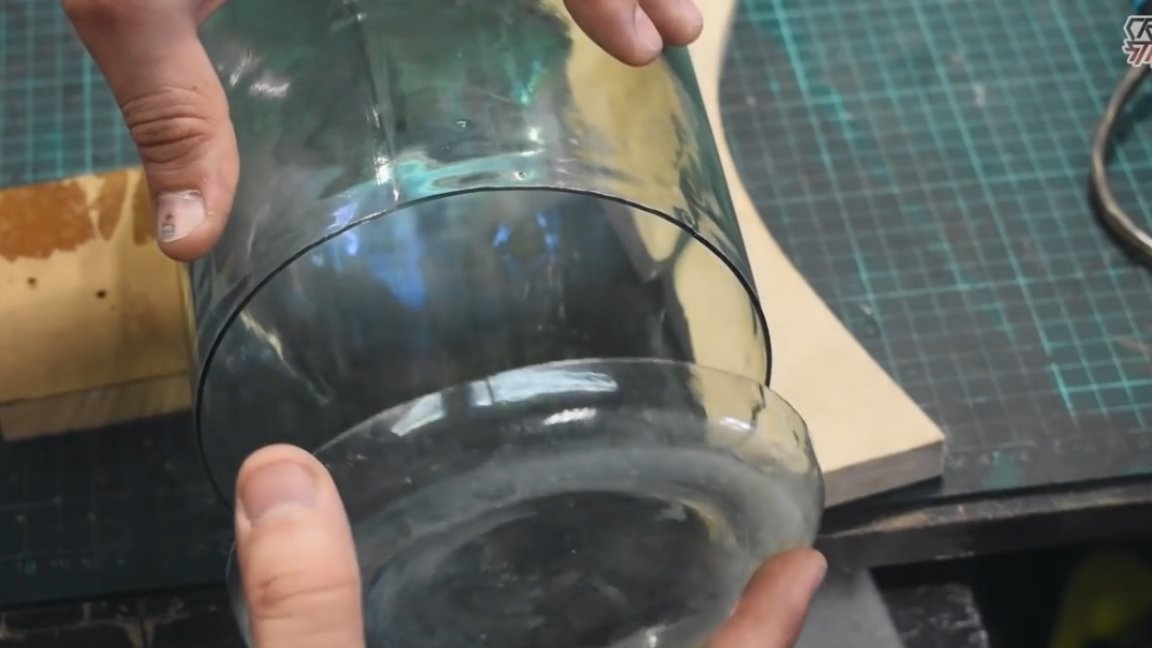
And everything is ready, in such a simple way, we separated the bottom from a glass bottle.
It is not necessary to cool the bottle in water or by some other means, it will cool itself, and the bottom will bounce evenly as it cools.This is probably one of the simplest and fastest methods for cutting the bottom of a glass bottle.
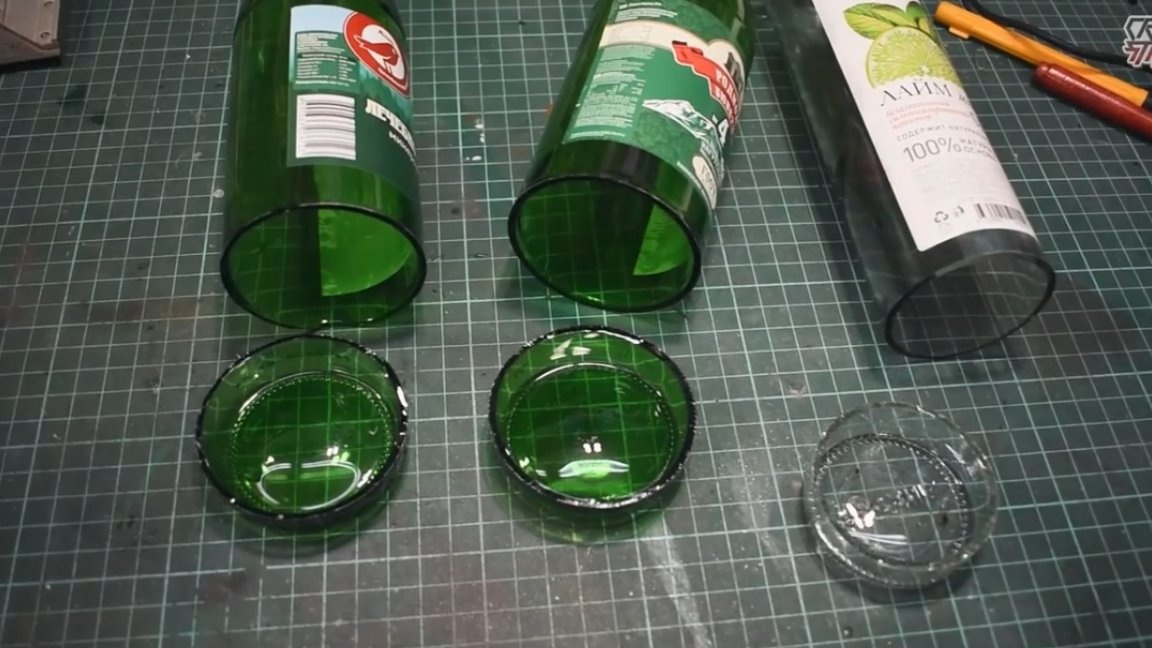
The author performed this operation on several different bottles with different glass thicknesses, and in 90% of cases everything turned out perfectly.
So, the skill is honed, now you can start separating the bottom on these bottles.

These are 5 liter bottles that were produced back in the USSR. Pretty rare thing. For these instances, the author had to drive to a neighboring city.
With this bottle we do exactly the same, i.e. according to the already developed technology, we carefully cut the bottom. But there really is a slight nuance. Since the diameter of this bottle comes from the Soviet Union more than usual, then the nichrome wire, respectively, will need a little more, and of course the power supply should not be taken at 12V, which the author used to cut a small bottle, but more powerful, in this case, the author used the block kicking on 18V.
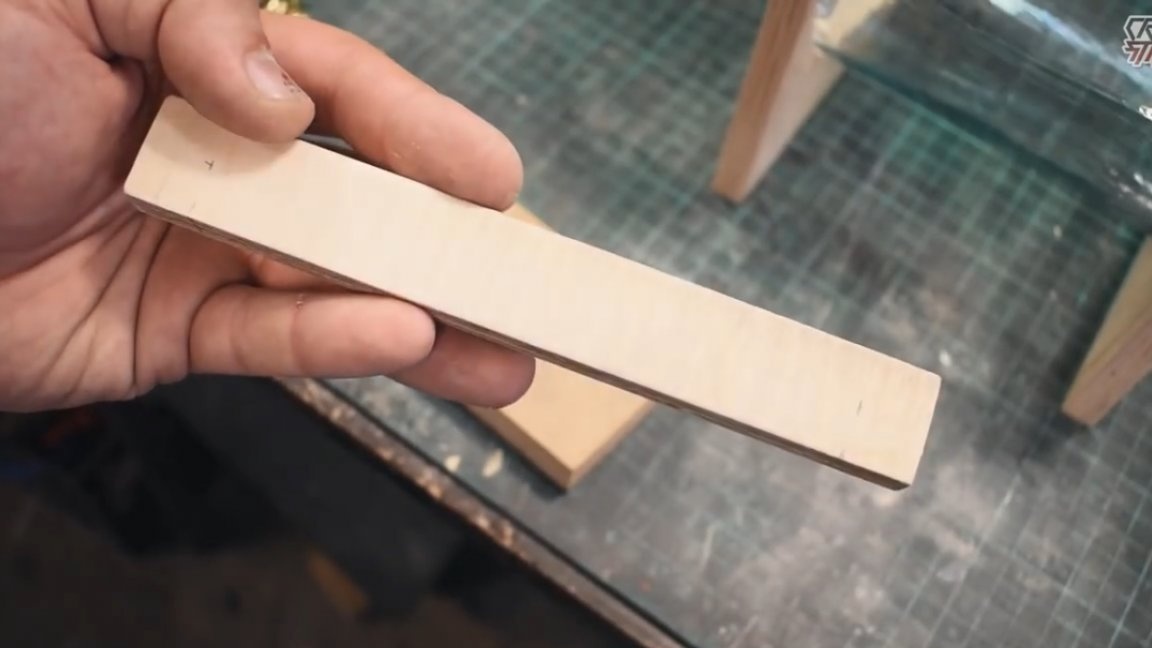
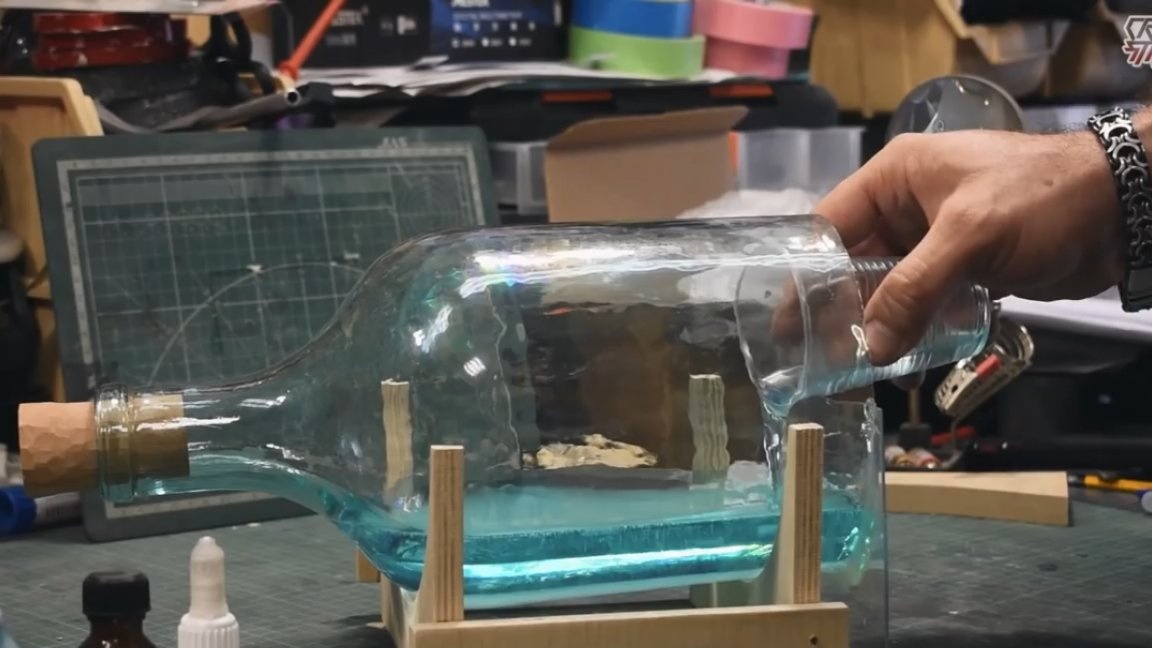
So, the bottom has been successfully separated, now you can start creating a stand for the bottle. This is also an important detail, because the stand should be flat enough for the bottle to stand confidently and level in it.
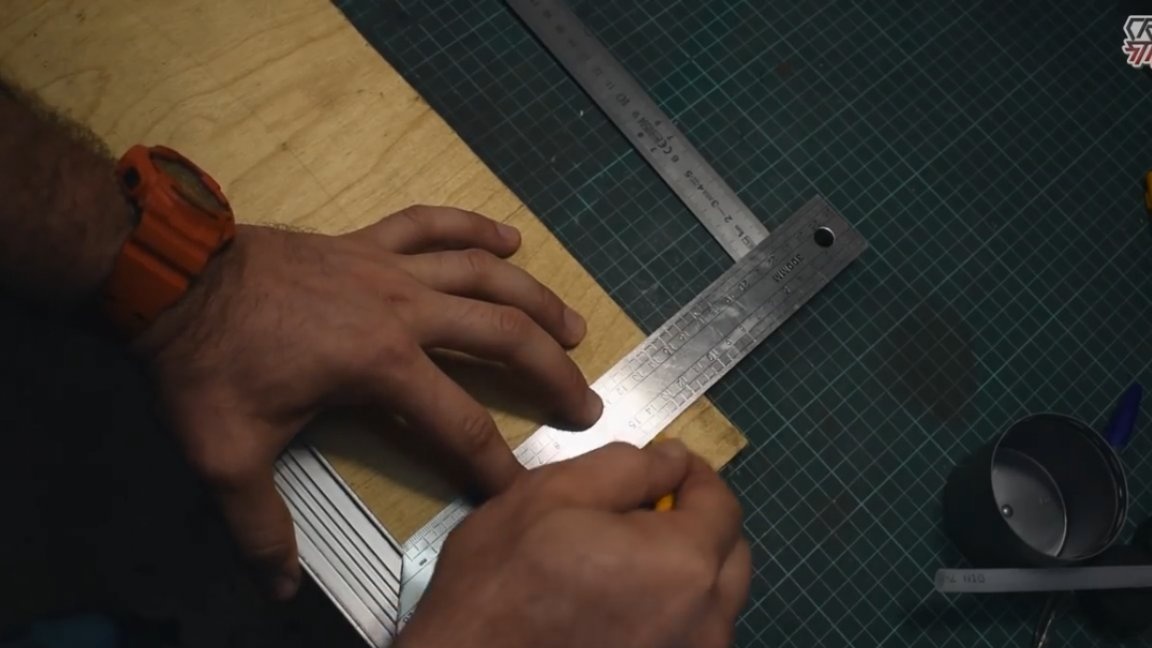
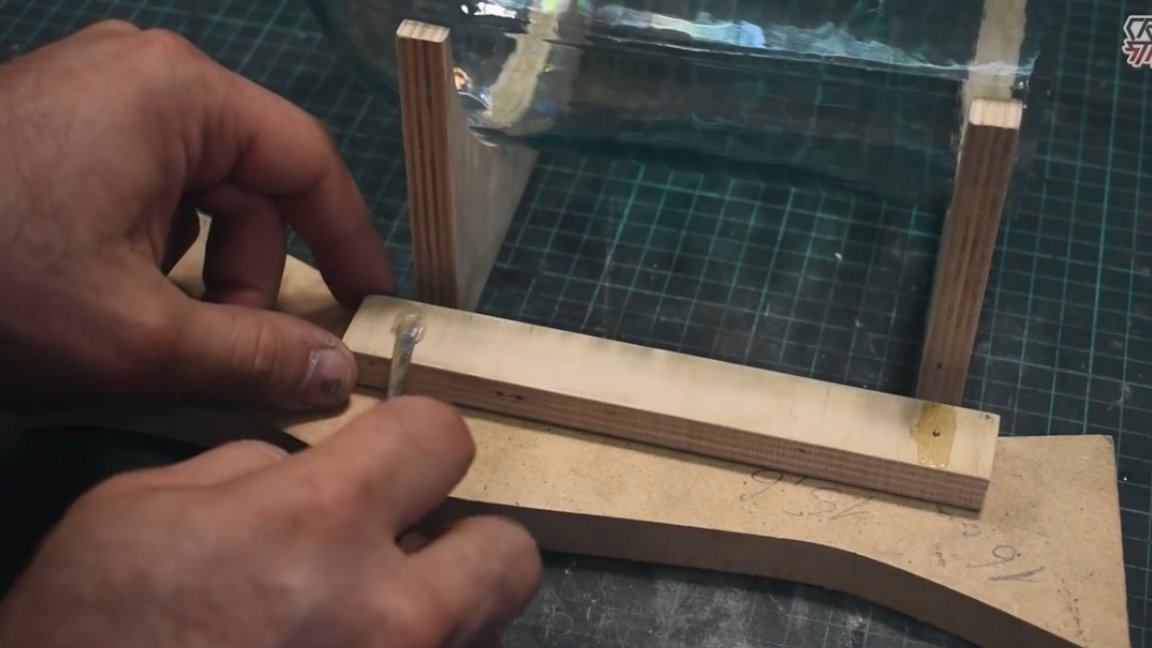
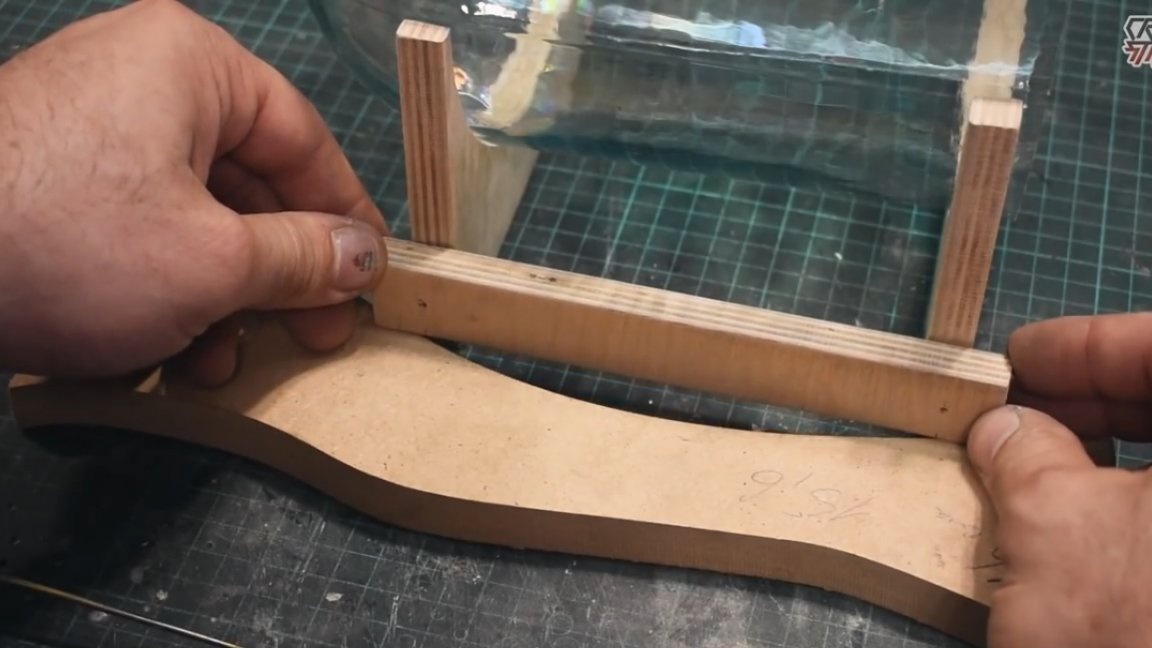
The stand itself will be made of 10 mm plywood. We mark the diameter of the bottle and cut out all the details.
The details of the stand must be glued using epoxy, and in the joints, for greater reliability, it will not be superfluous to hammer in small finishing cloves.
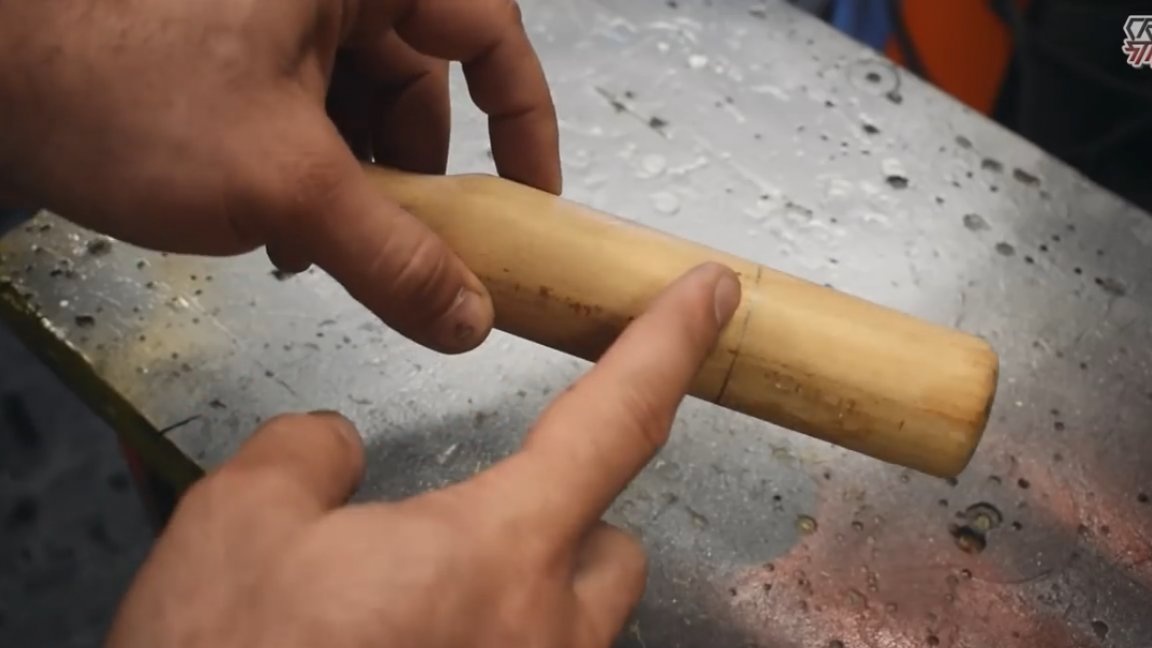
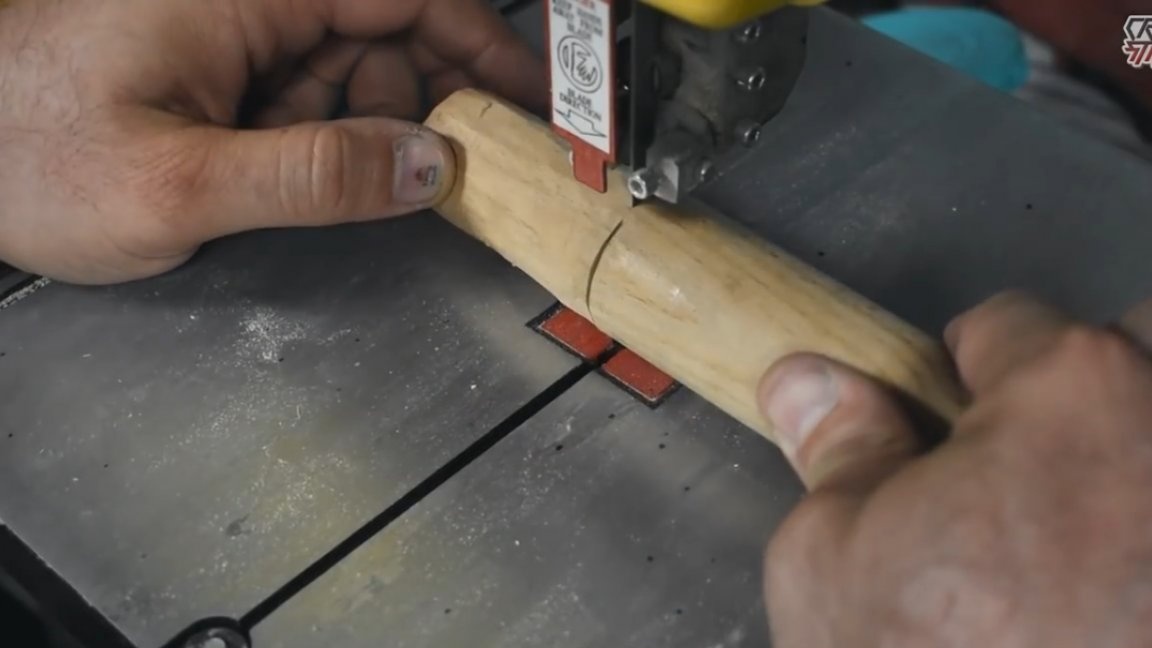
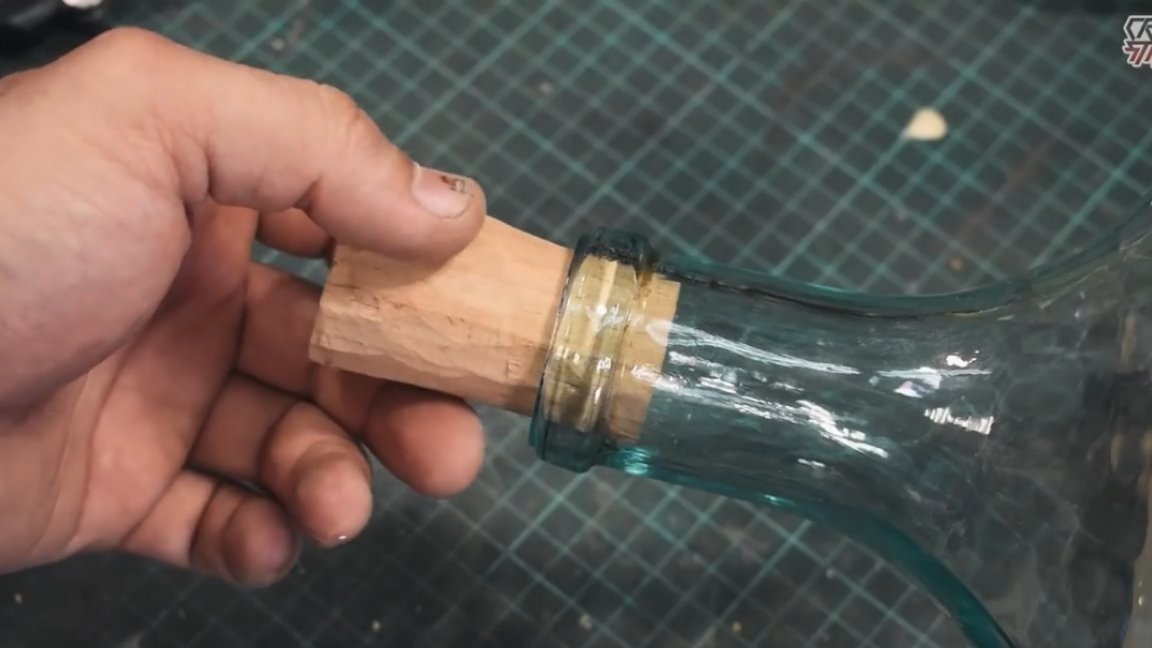
Now it's time for traffic jams. We will make a stopper for a bottle from a beechen crush. It practically coincides in diameter with the neck, so just cut the required length and slightly grind the workpiece with a knife.

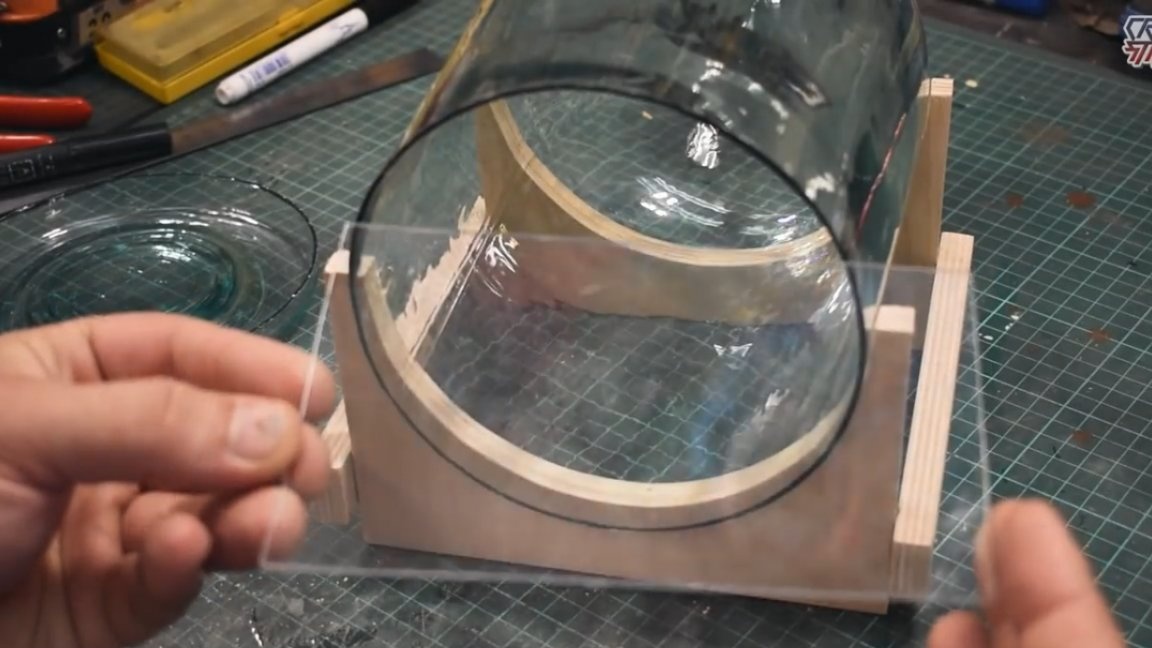
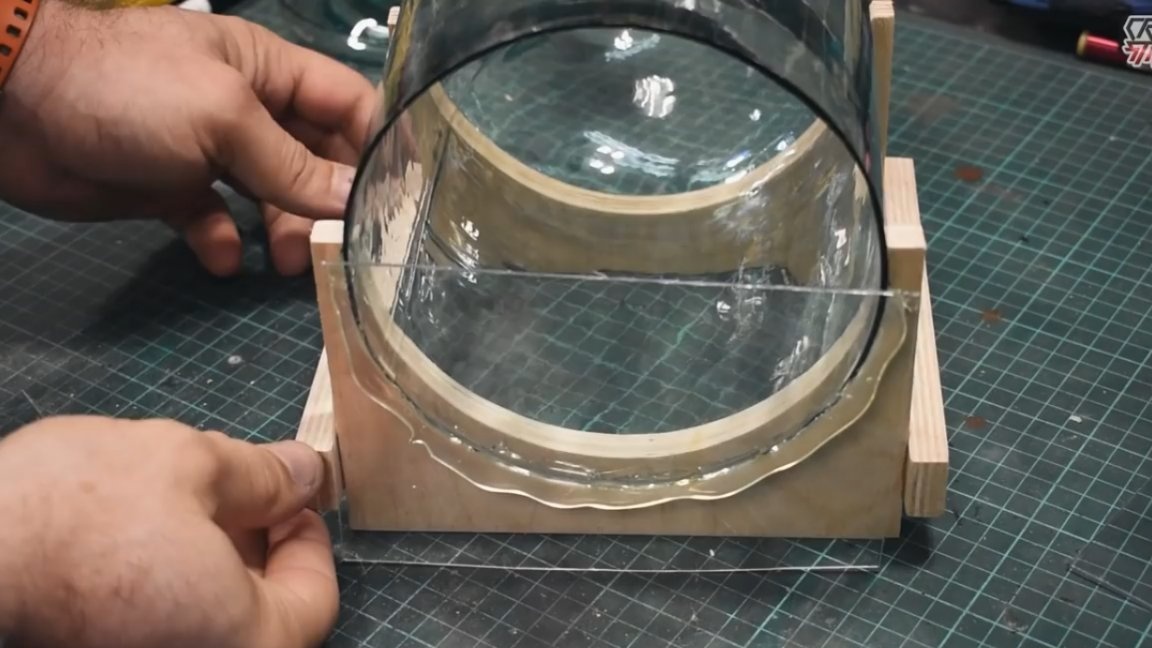
To fill, you have to make the formwork. It can be cut out of plastic, waxed and glued to hot melt. It is better to use silicone sealant, of course, but the author did not have it.
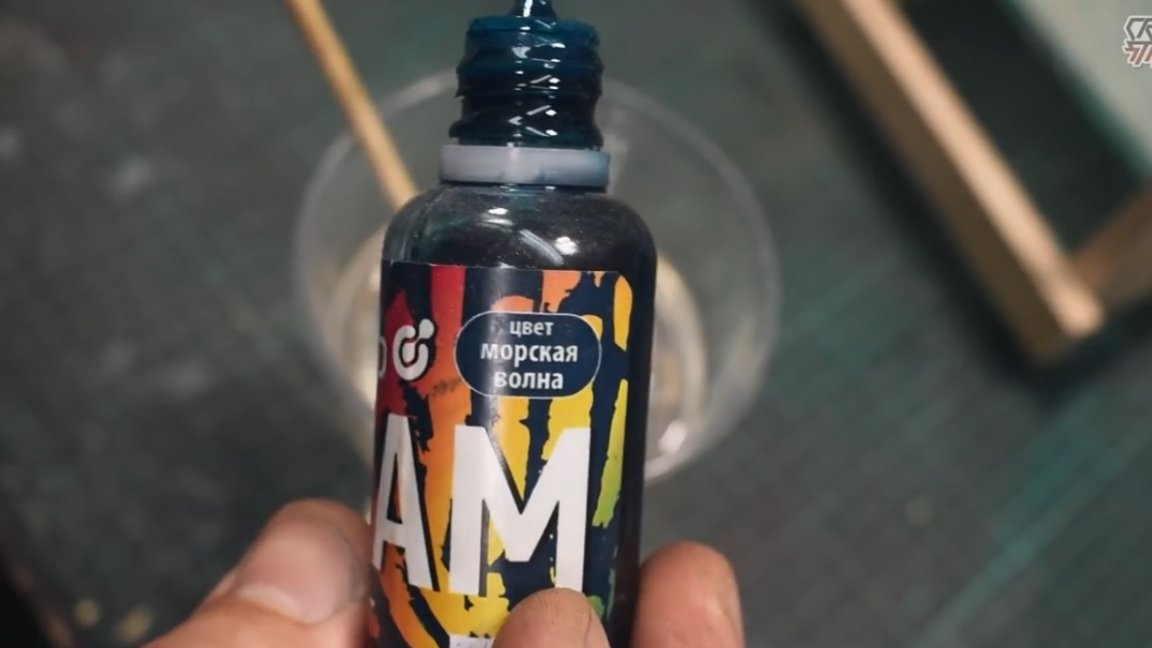
Everything is ready, you can proceed directly to the fill. We’ll fill it with this resin:
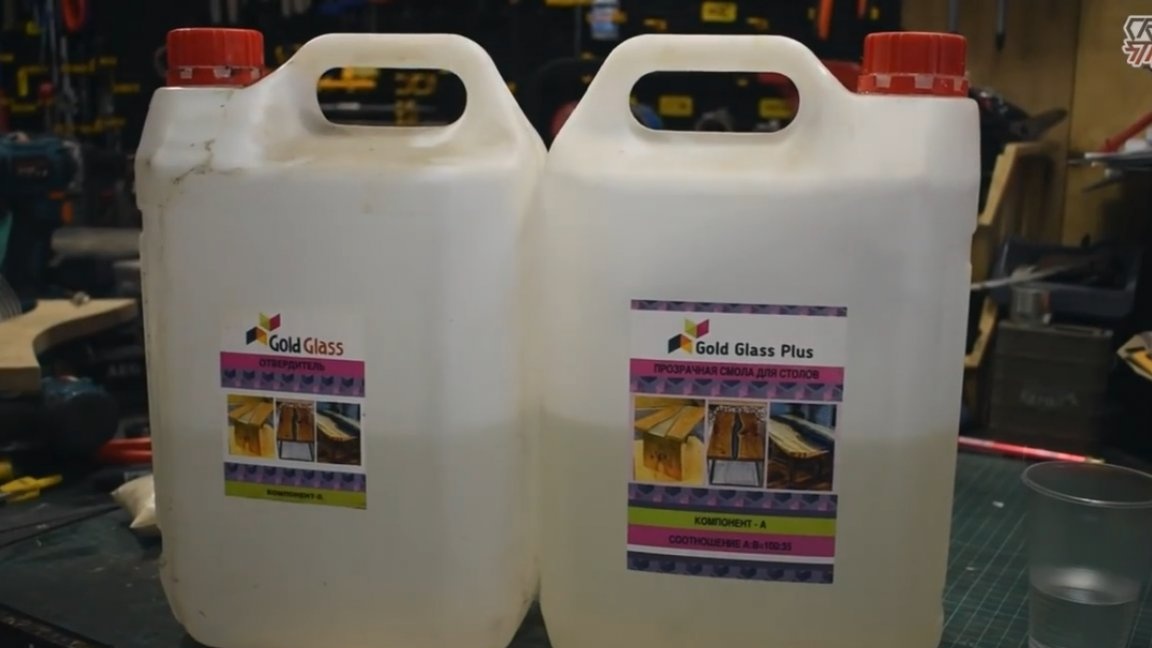
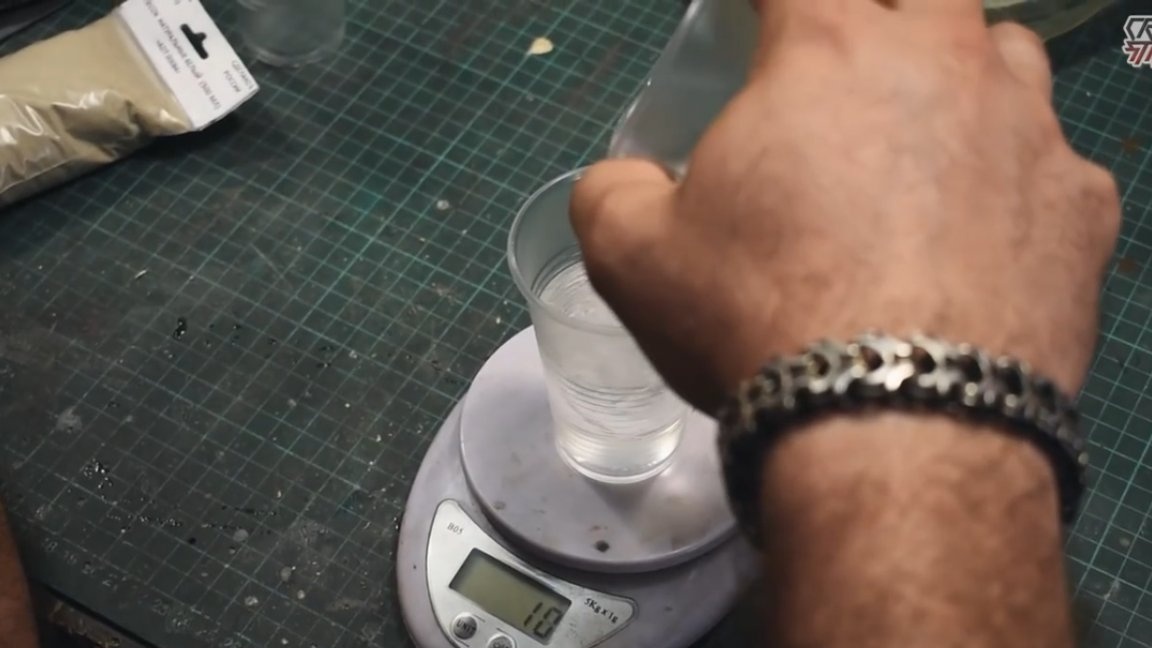
This resin is quite transparent, but dries 72 hours. Mixing it is necessary in a ratio of 100: 35, this is 100 grams of component “A” and 35 g of component “B”.
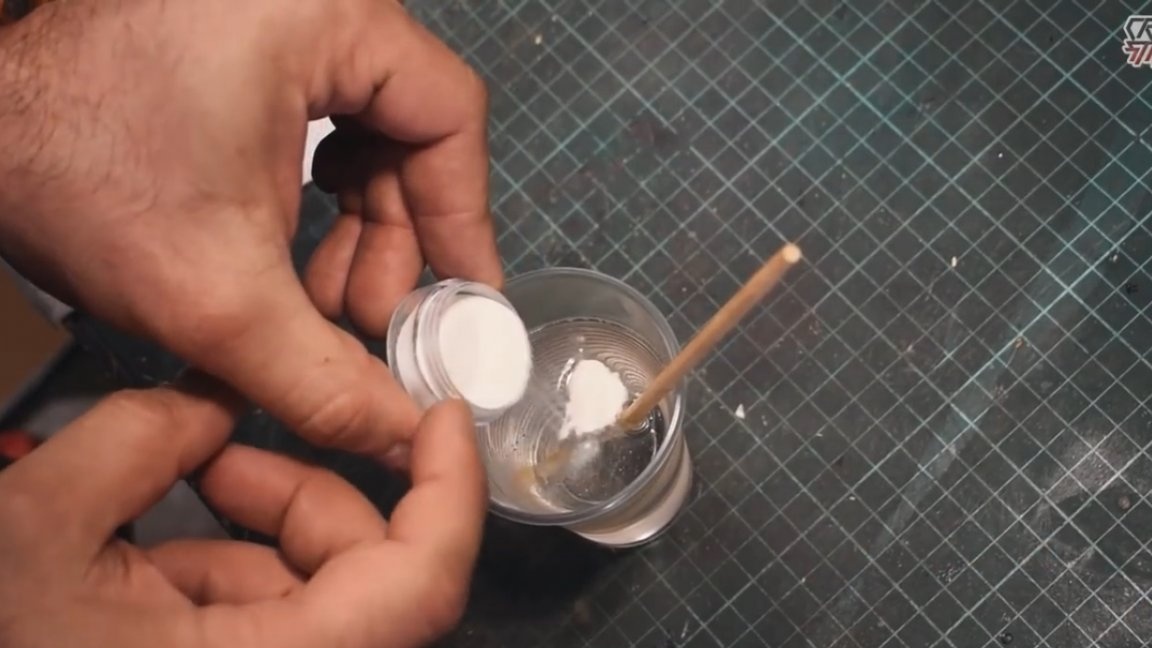
It was decided to add a little luminescent powder to the first layer of the fill, so that when the light is off, our diorama would still glow for a while.
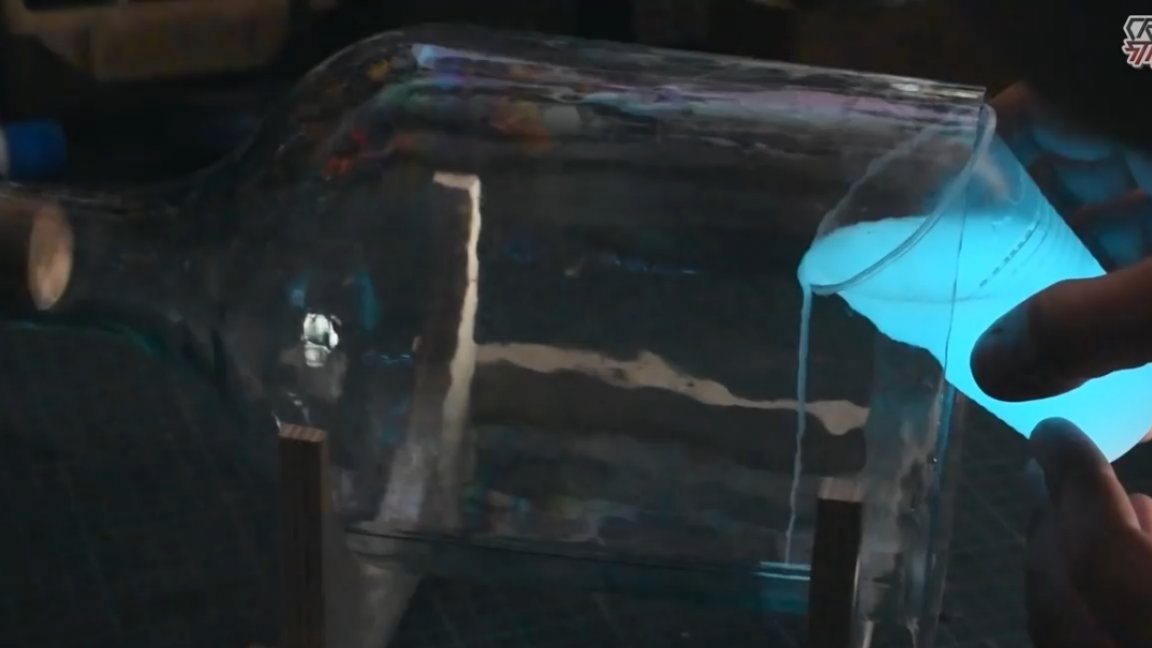

Now it remains to wait a day, and then you can begin to fill all subsequent layers.

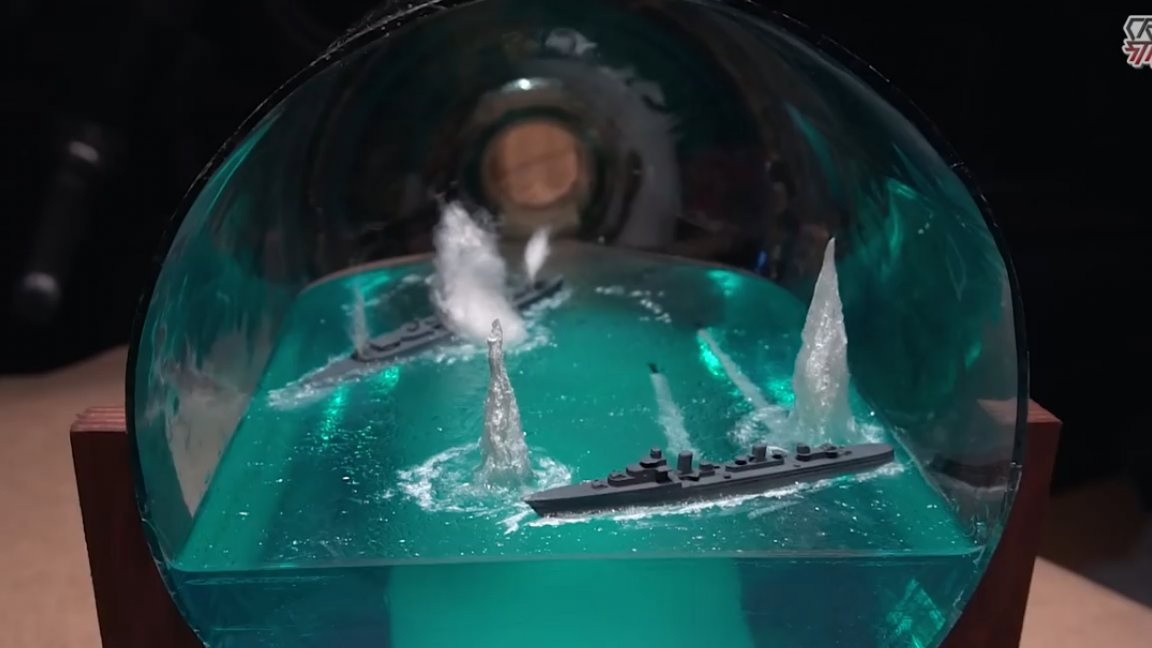
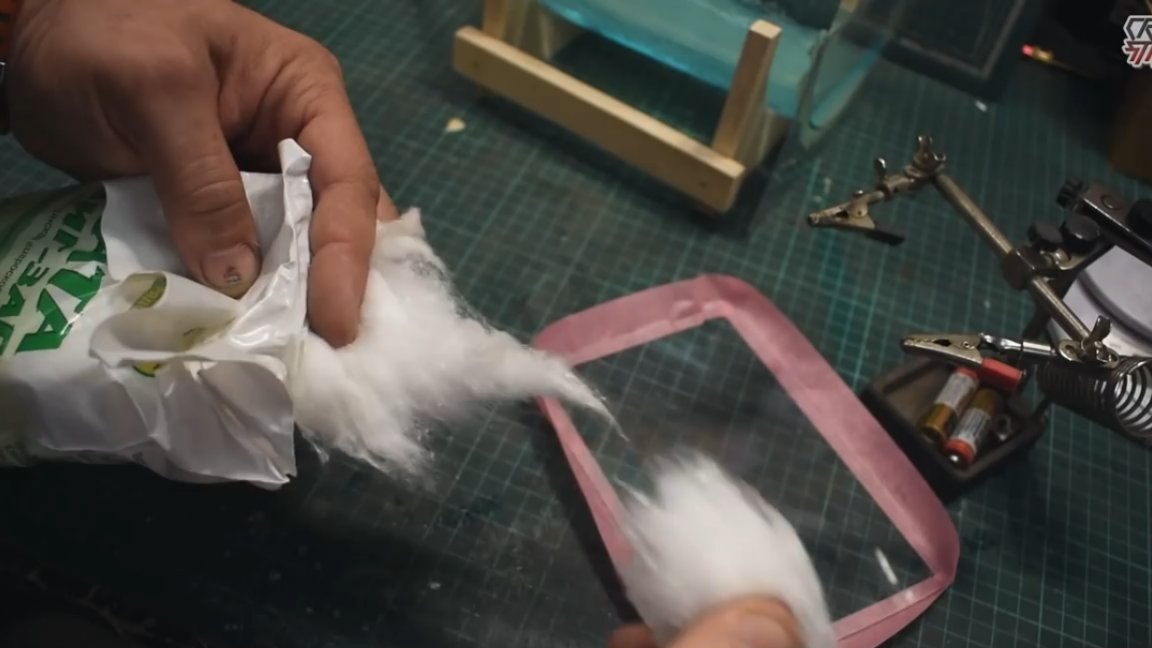
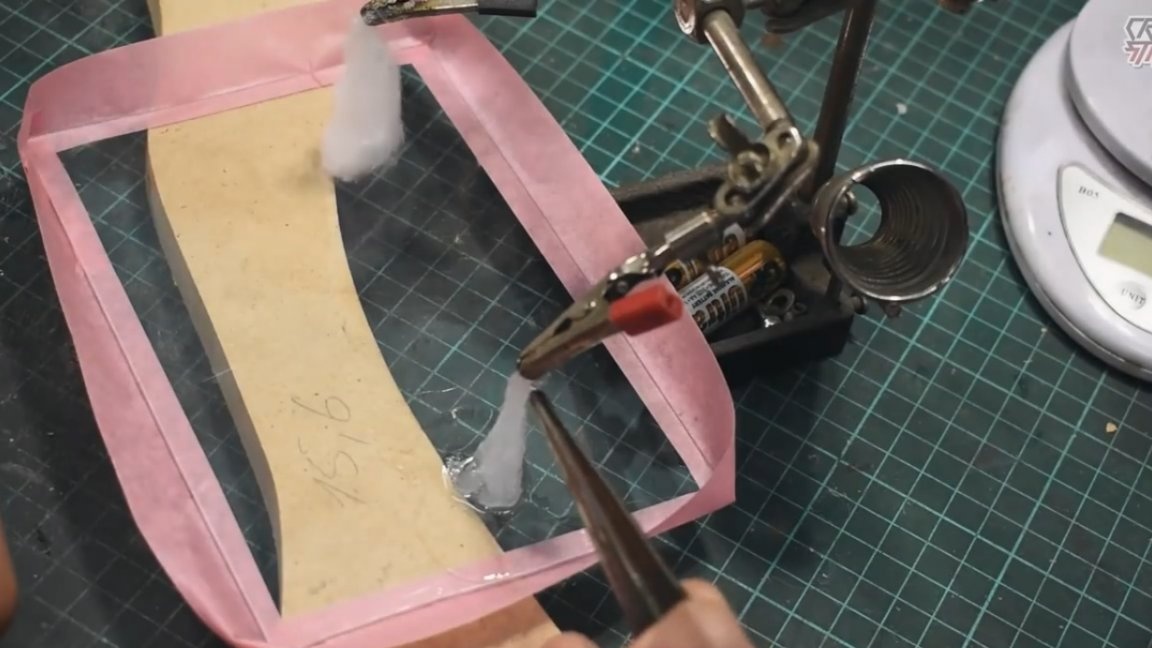
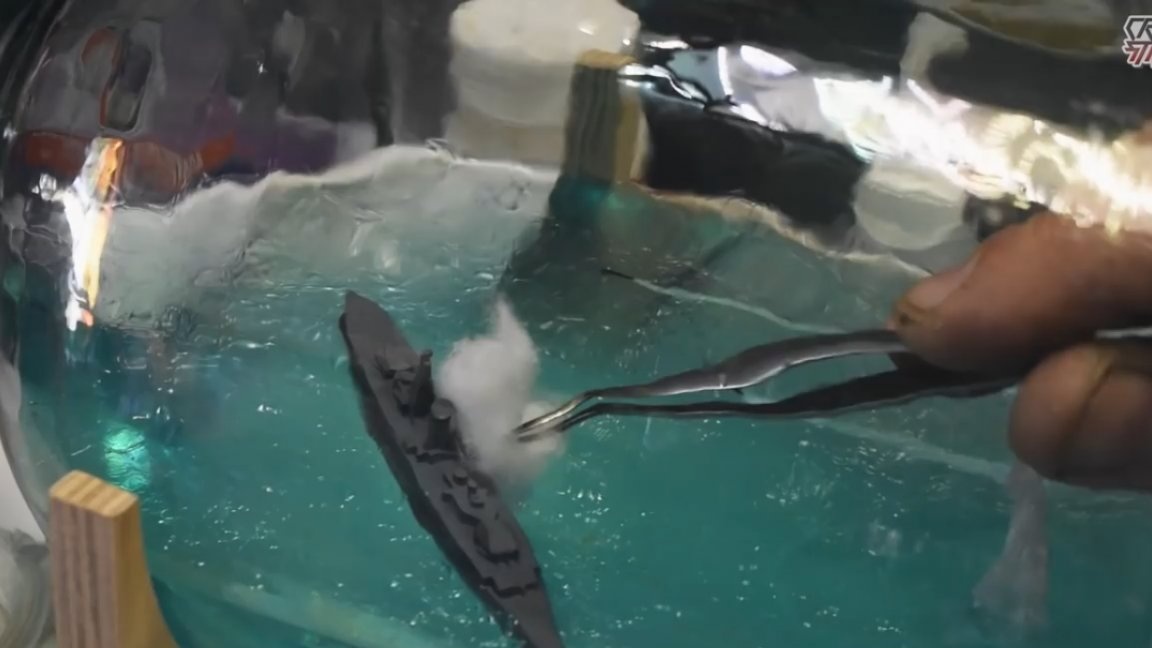
In the meantime, all the main layers of the fill dry out, we will imitate a column of water from a shell. These elements can be made from a small amount of the most ordinary cotton wool soaked in epoxy.
The only difficulty here is to figure out how to fix the cotton wool in an upright position. The author used a third hand for soldering for this task, but it is quite possible to get along with an ordinary thread.
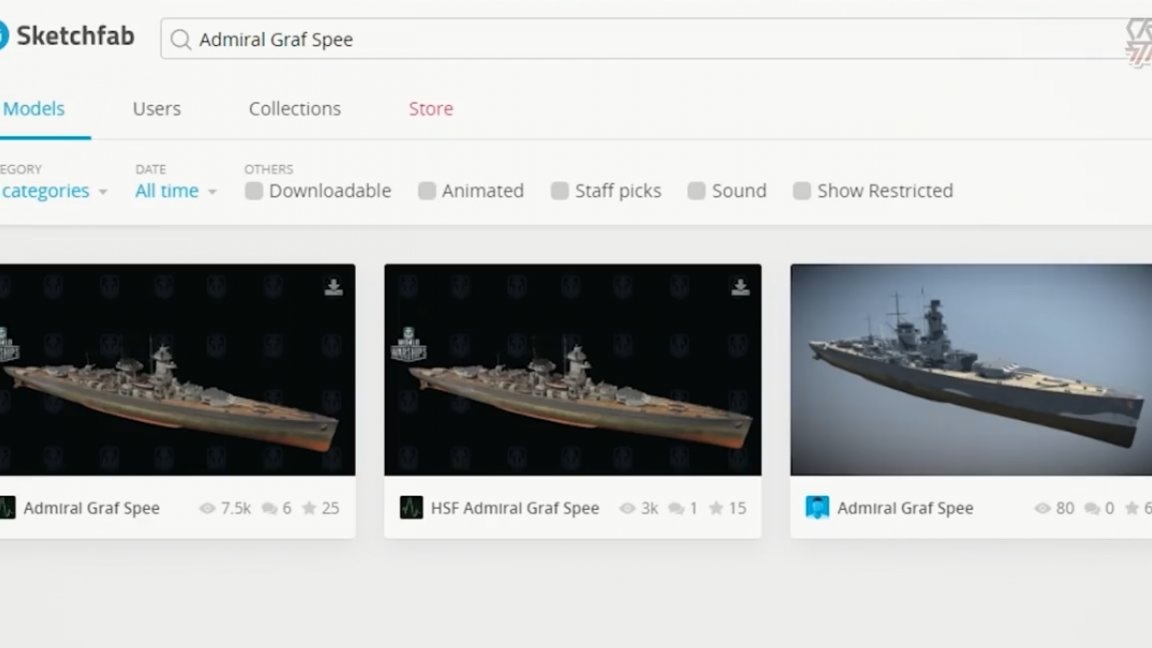
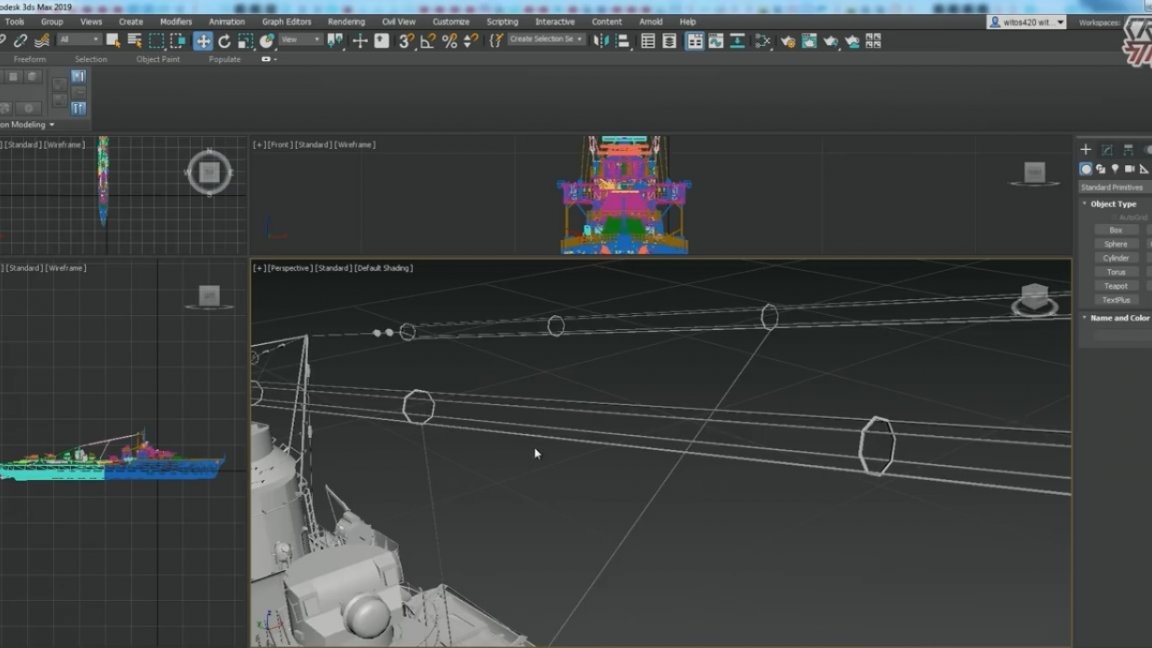
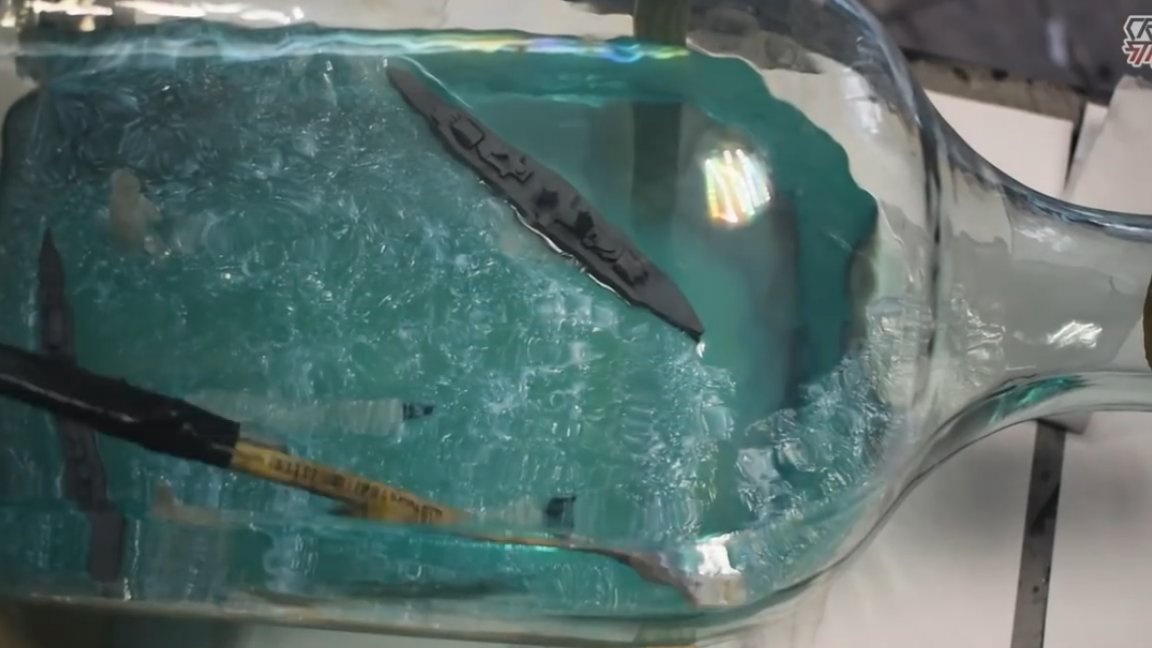
So, now let's get down to the most important part of today's project - the ships. Since the bottle used for this diorama is small, then the ships should be approximately on a scale of 1: 1600. The problem is that there are no such ships in the models, and the author came to the decision to print the ships on a 3d printer.
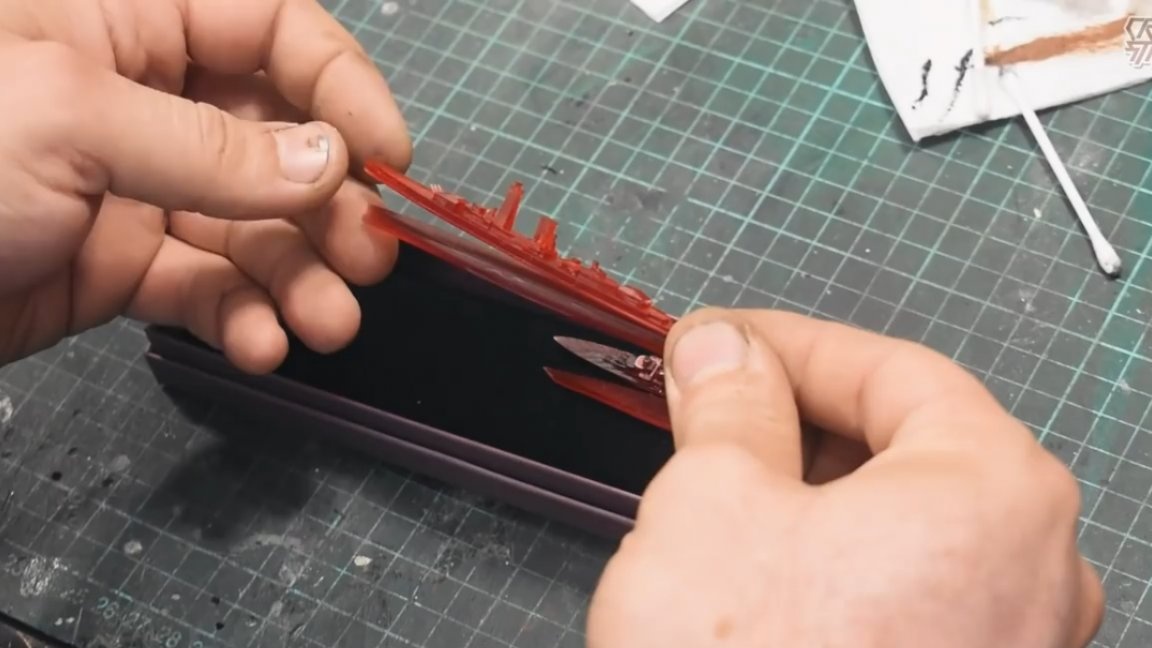
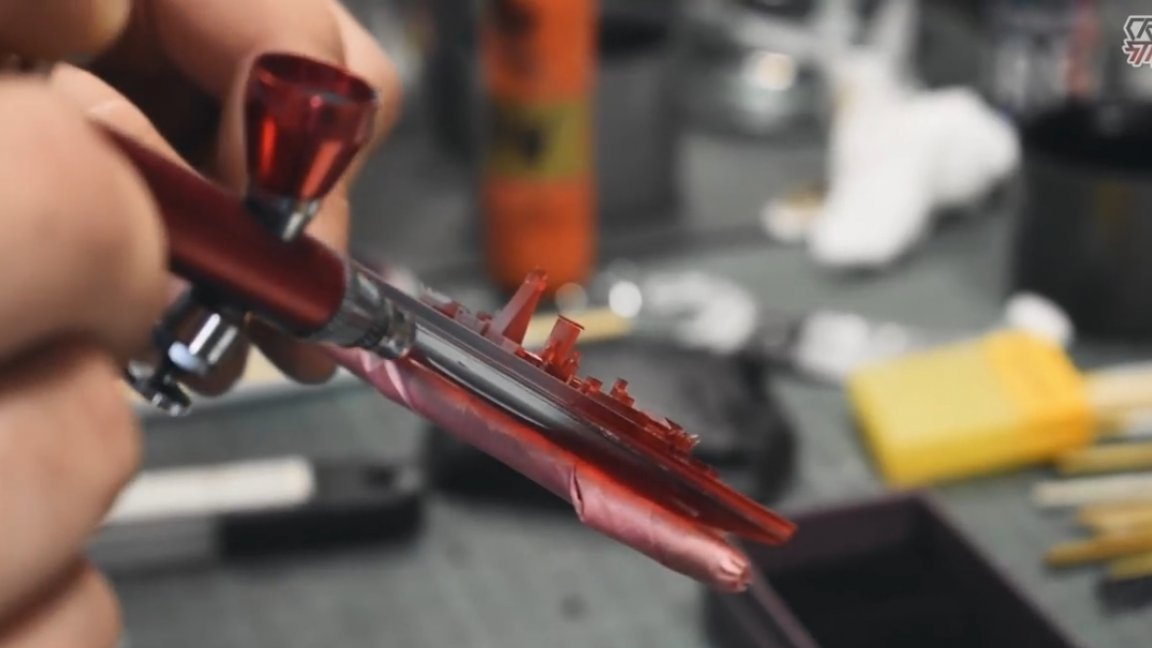
The resulting models should be painted.
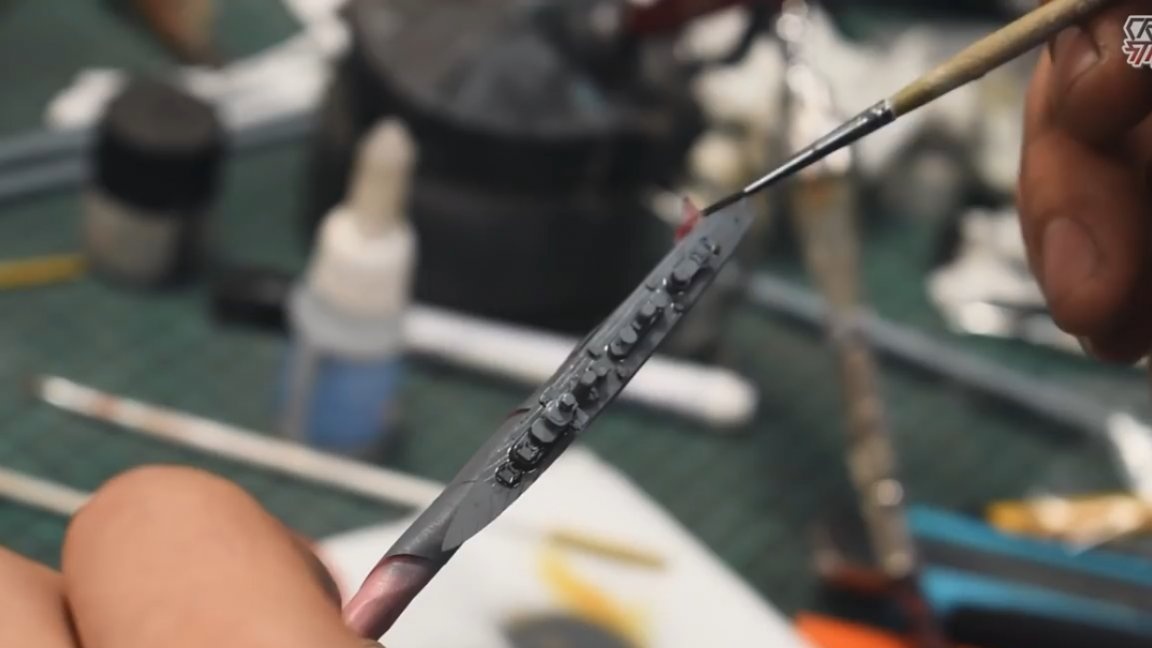
Well, now you can stick our micro-boats in their places.
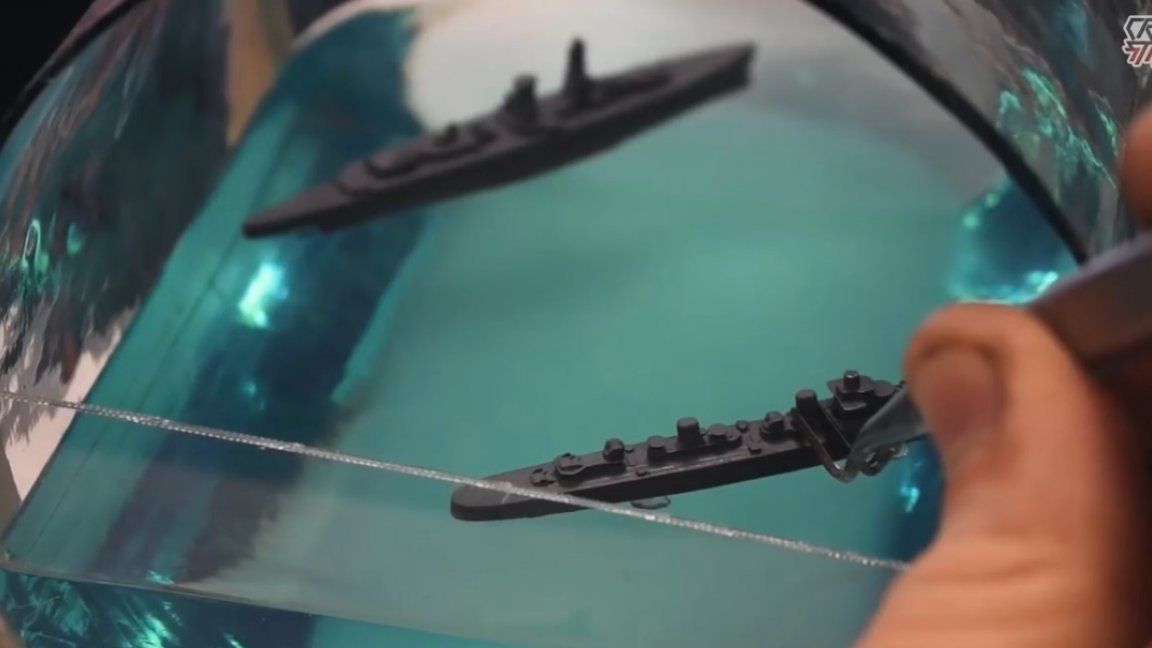
So, the idea is this: a German crashes from hitting torpedoes launched by a destroyer. But torpedoes do not always go strictly on target, and a couple of pieces, it was decided to drown in water. Our French destroyer turned out to be very lucky, and the cruiser did not hit it as much as 2 times.
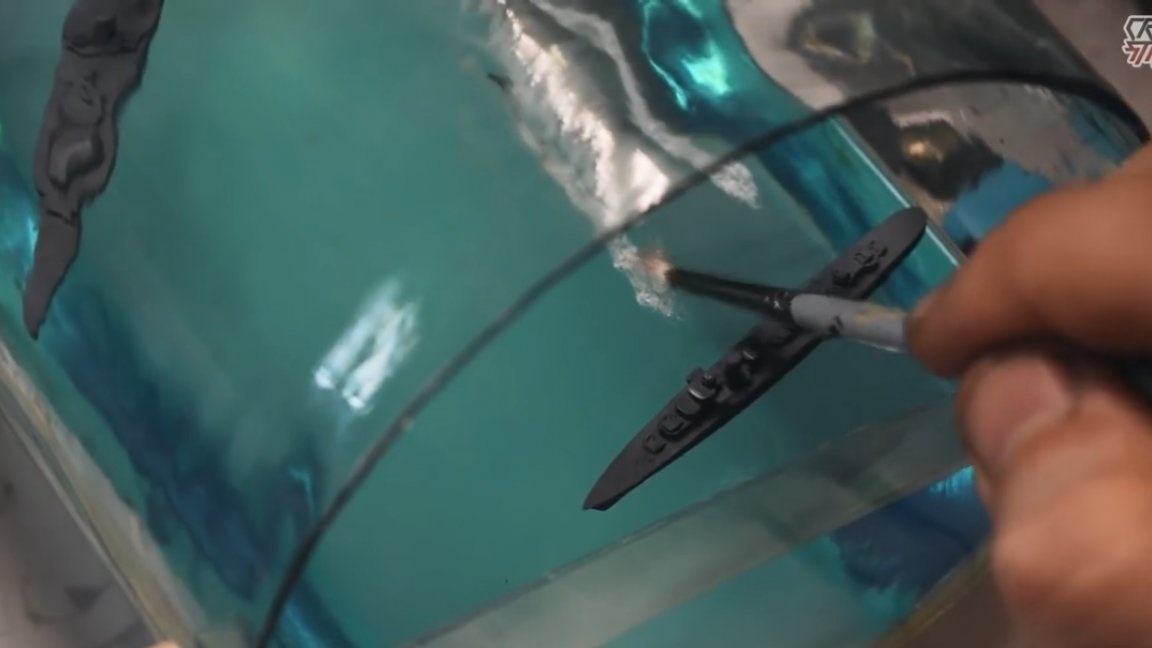
All parts are glued, now you can fill the last layer of epoxy and wait 72 hours. We will make ripples on the water with a modeling gel.
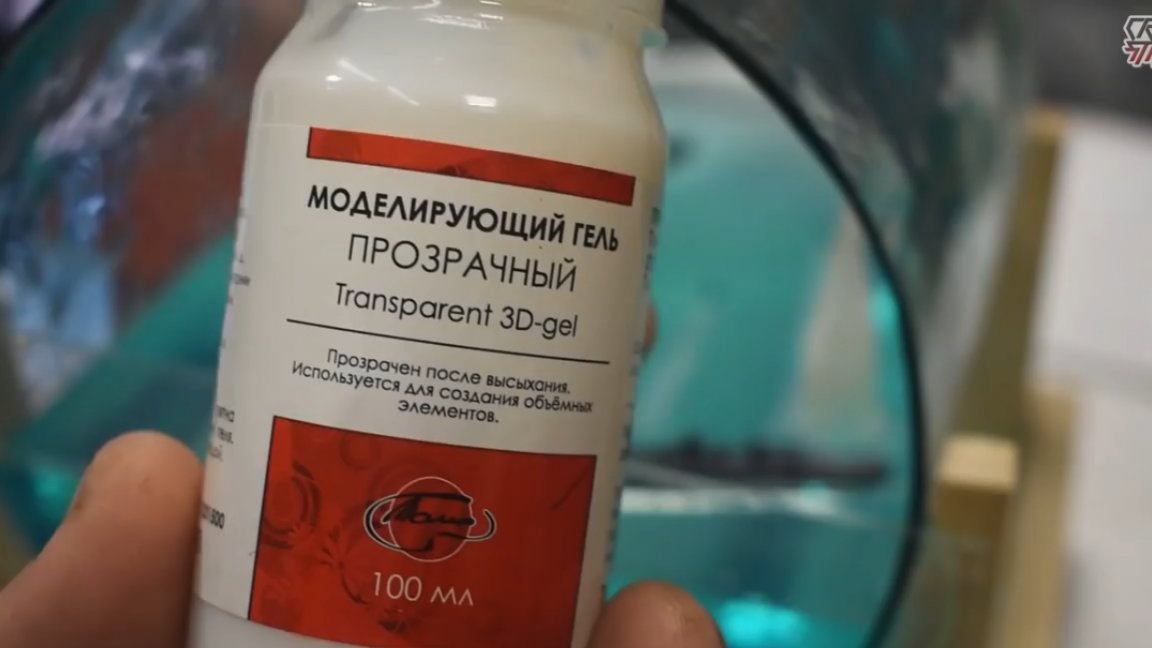
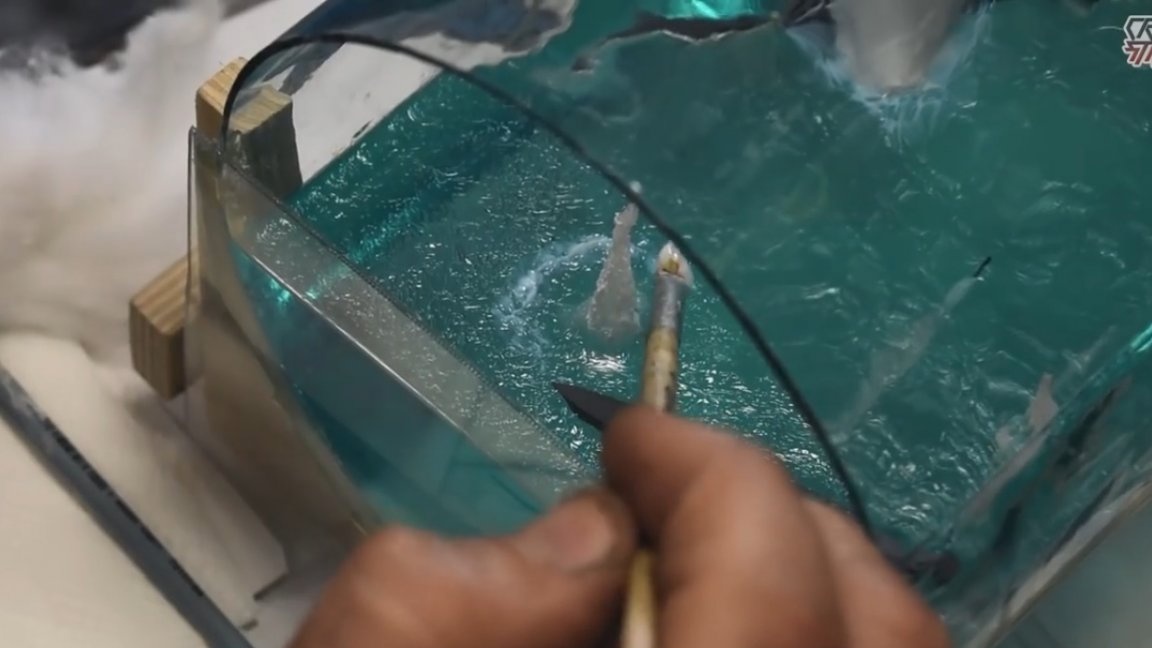

The gel should be applied without fanaticism, remember the scale.
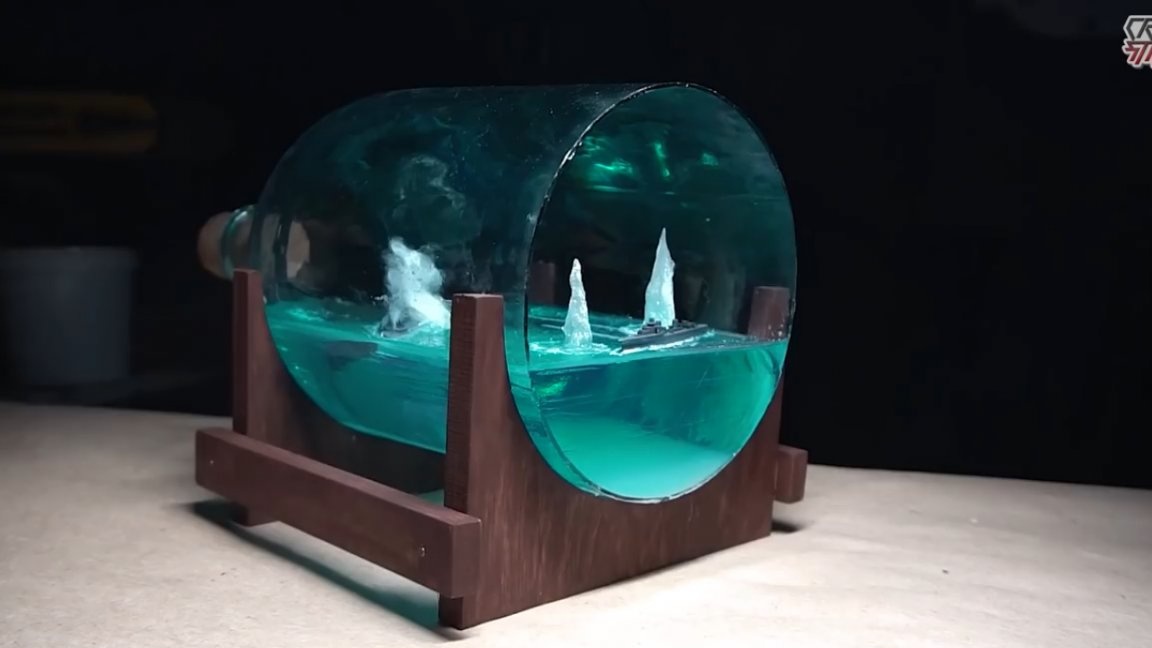
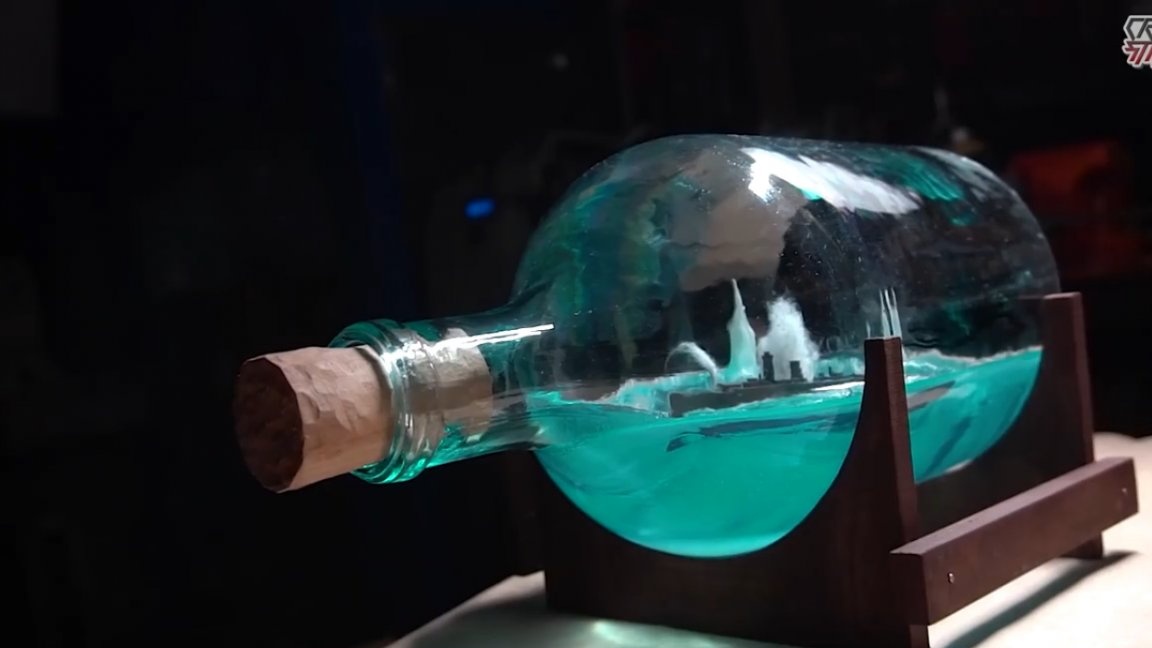
Here is such a diorama from an epoxy in a bottle. Thank you for attention. See you soon!
Author's video: