
Surely many of you like stylish and unusual interior items.
In this article, the author of the Hassan Abu-Izmero YouTube channel will tell you how he made an exclusive hand dryer.
A dryer in this design is perfect for decorating a restroom in a rock club, or bikers bar.
Materials
- Wooden cover from the old box
—
- Household hair dryer
- Steel pipe
- copper pipe
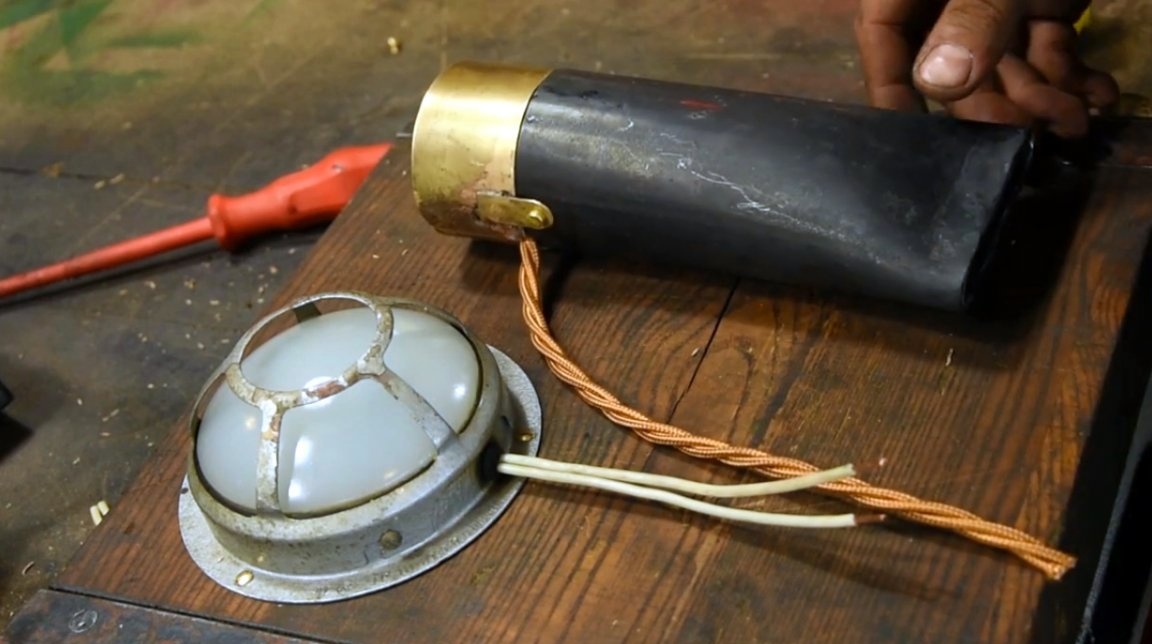
- Wall lamp
- Heat-resistant wire, heat shrink tube
- Tin box
- Brass sheet
- Flux, solder
- Spray paint
— .
Instruments, used by the author.
—
—
—
—
—
—
—
—
—
- Blacksmith forge, ticks, anvil
- Metal scissors, file, file
- Vise, nippers, hammer, mallet, screwdriver, square, ruler, pencil.
Manufacturing process.
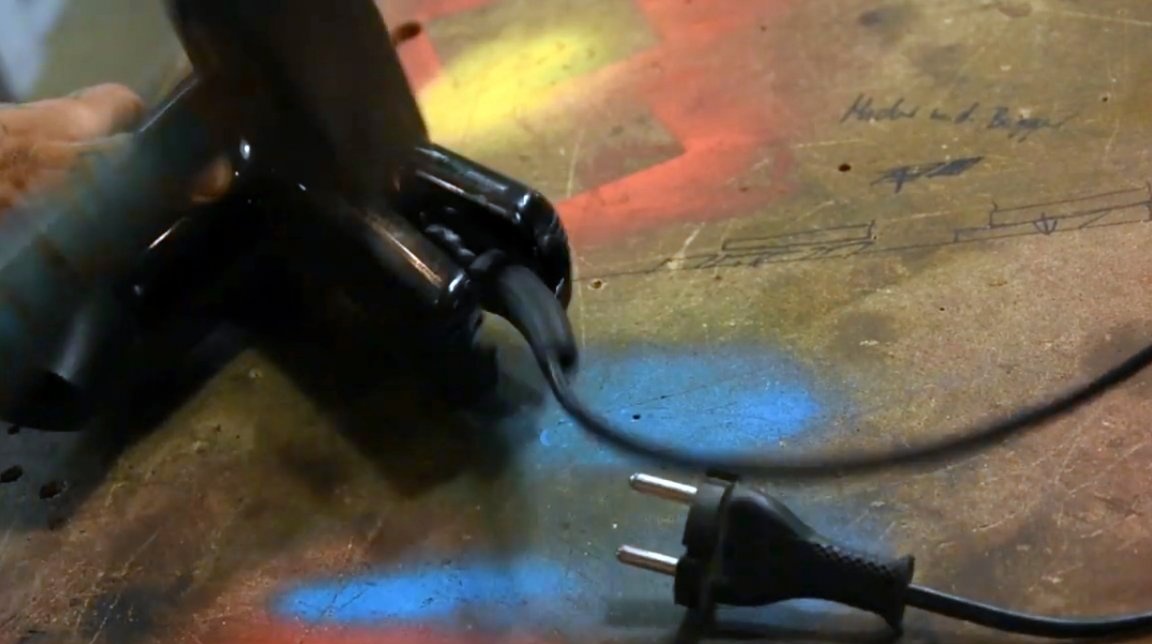
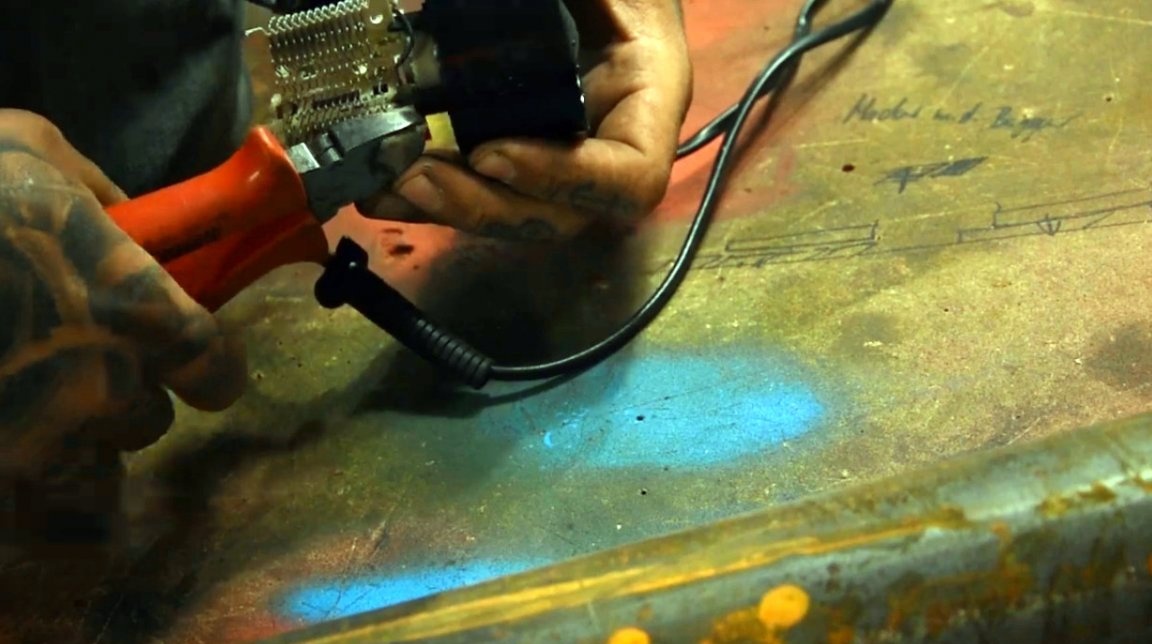
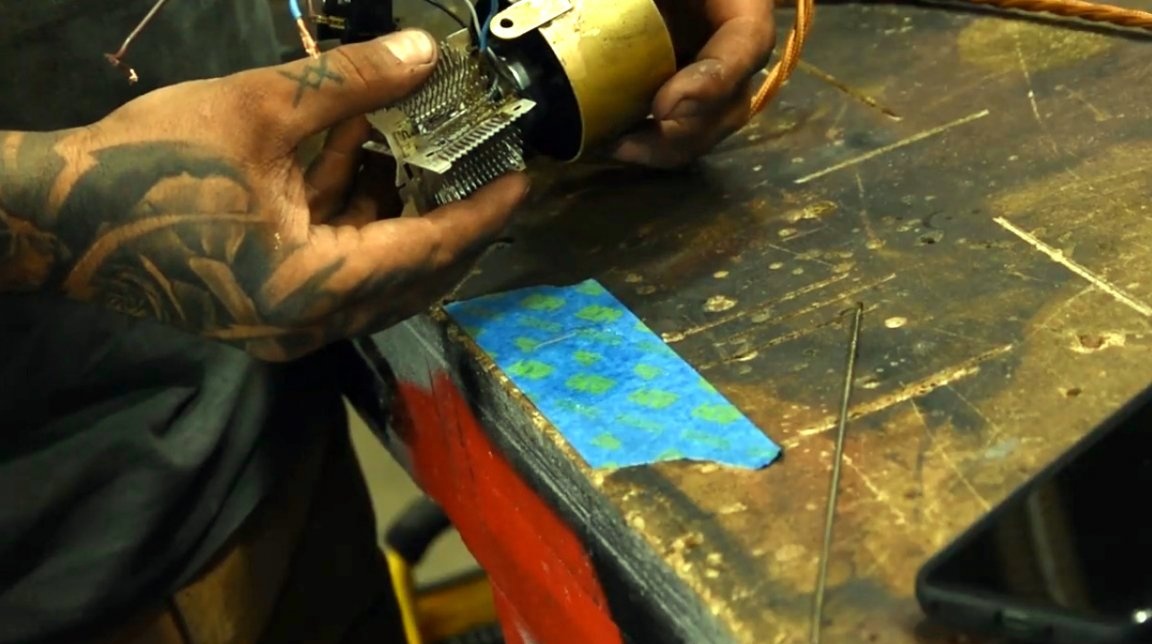
Since the main electronics a hair dryer in this homemade product is not required, but only a turbine with a heating spiral is needed, the author carefully parses the hair dryer with a hammer.
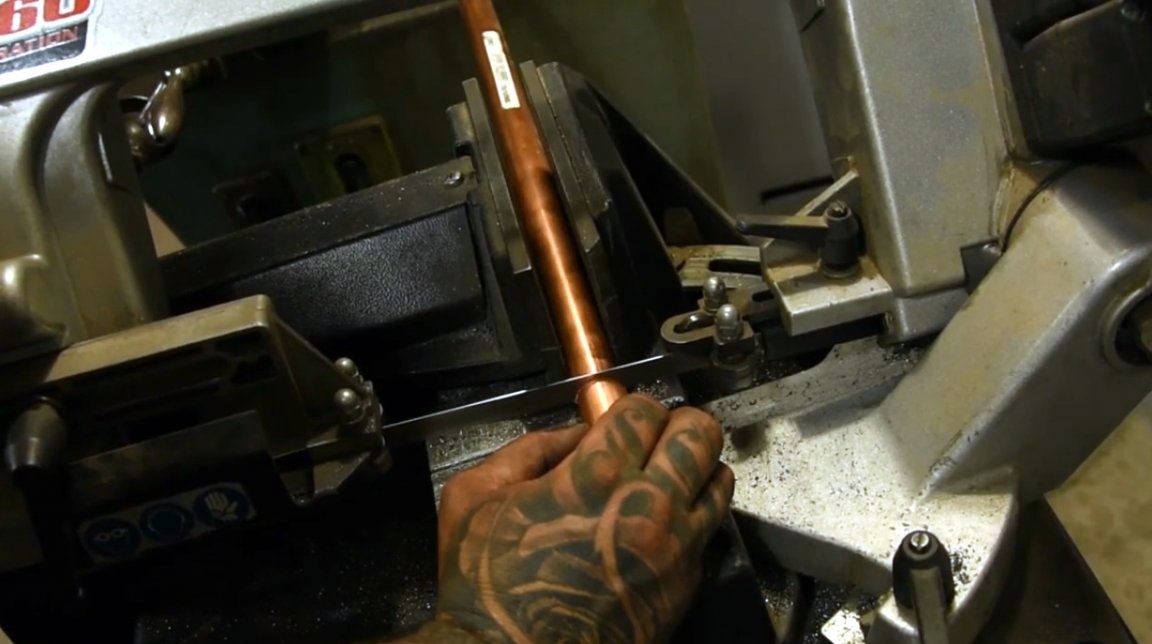
Now you need to adjust the design of the heater to the inner diameter of the pipe, slightly shortening the spacers. Typically, such heaters have a diameter of 60 mm. In addition, you need to mark the pipe for the manufacture of the bell.

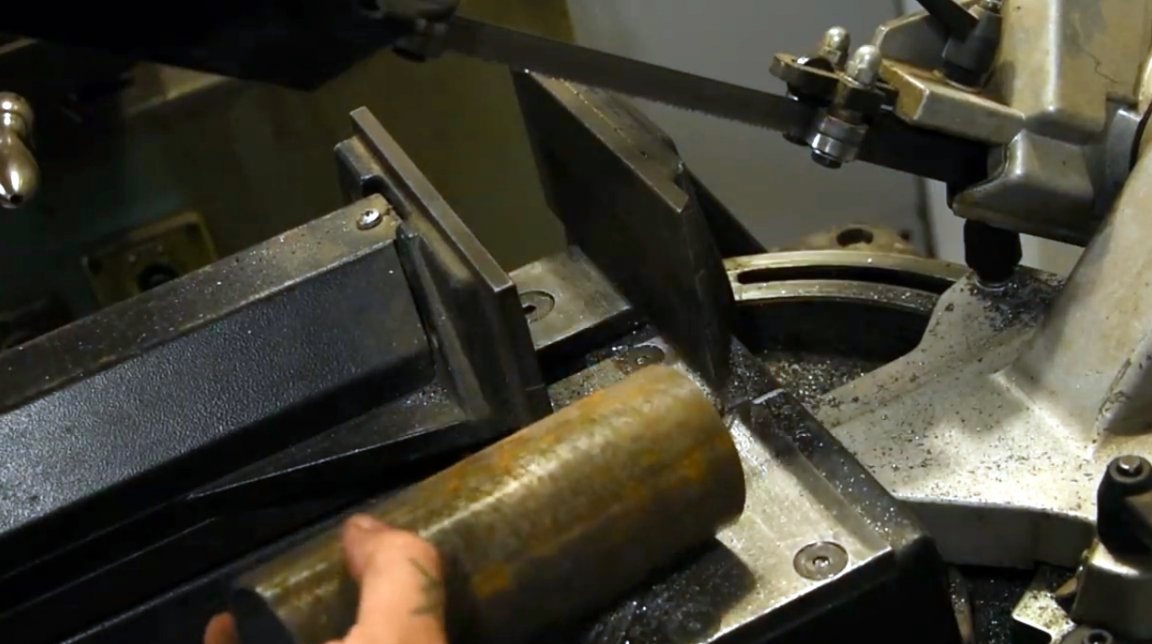
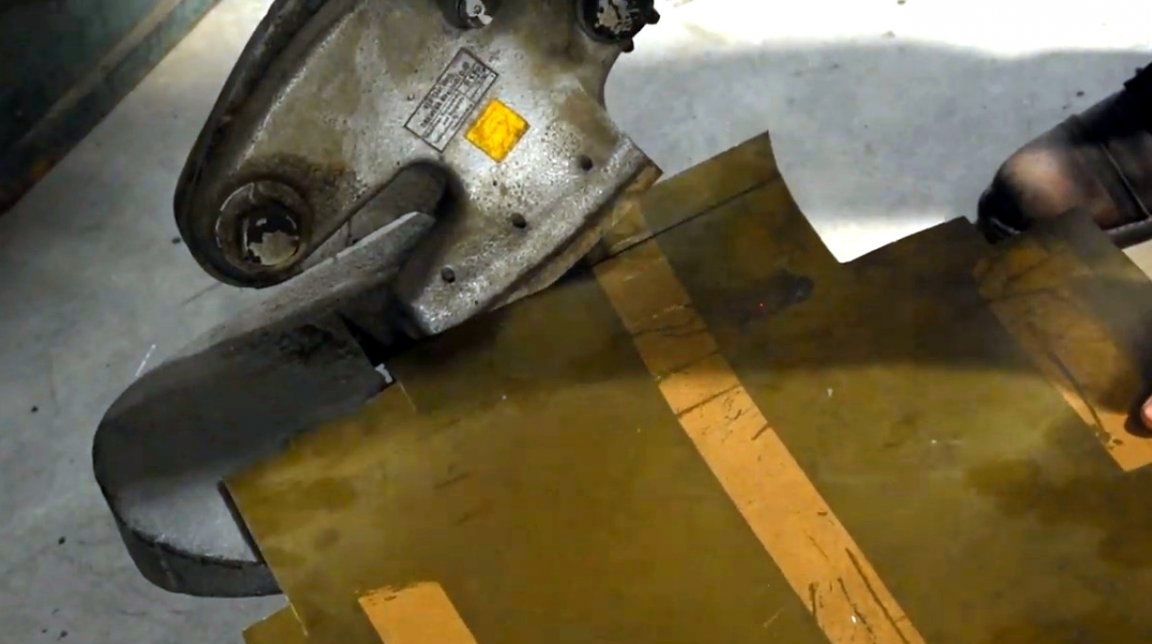
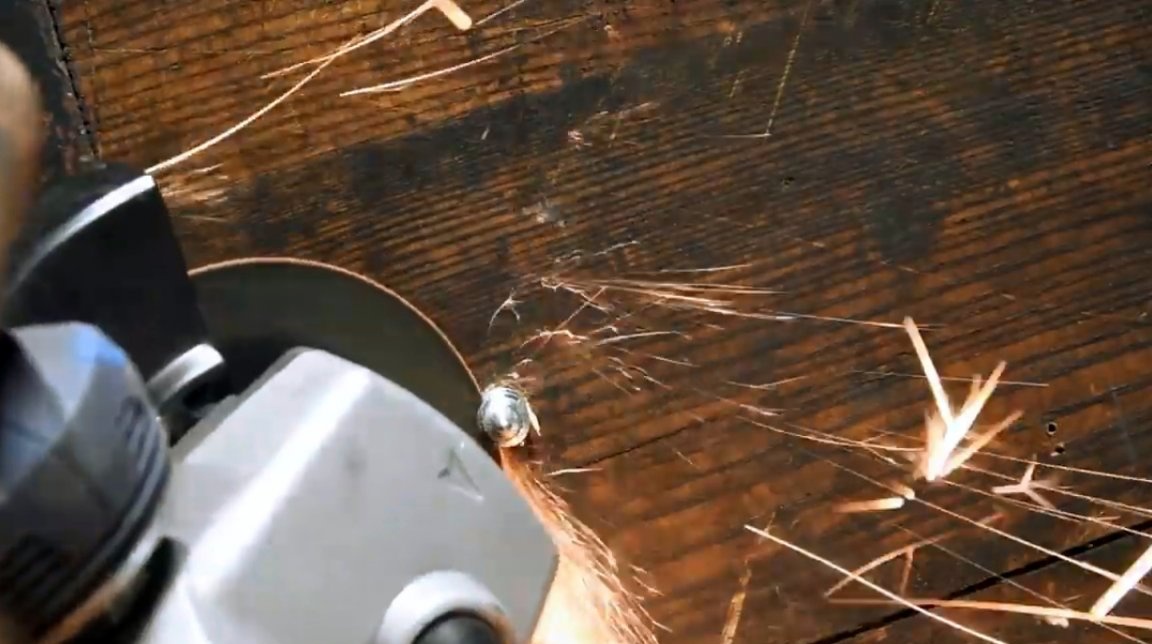
The master cuts off the necessary piece of pipe with a band saw, although a grinder will do.
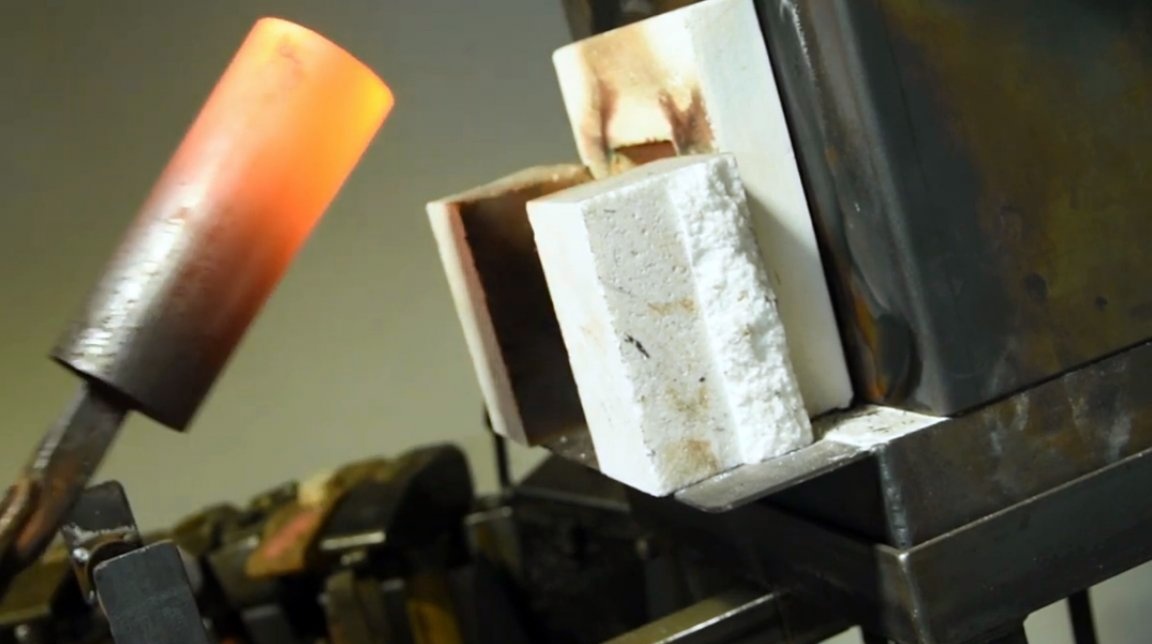
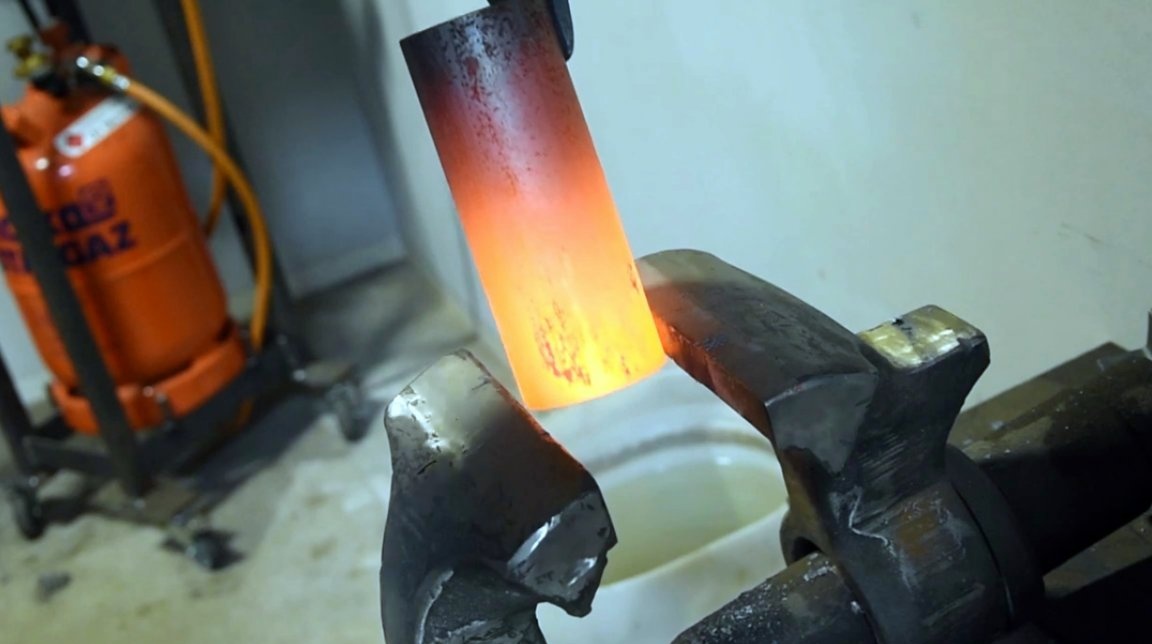
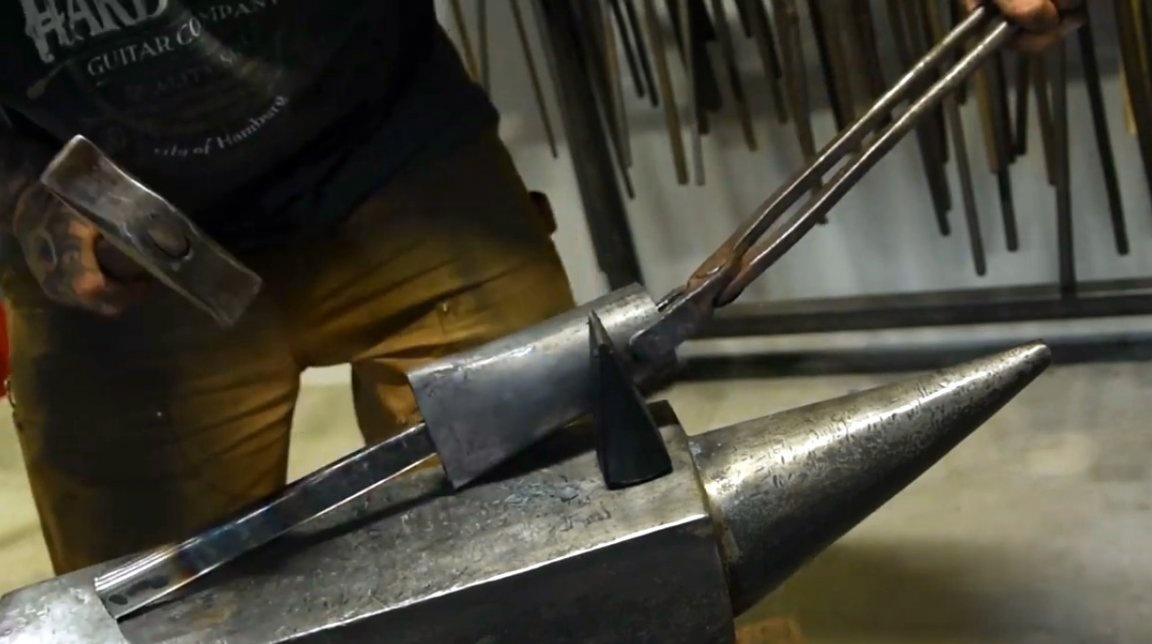
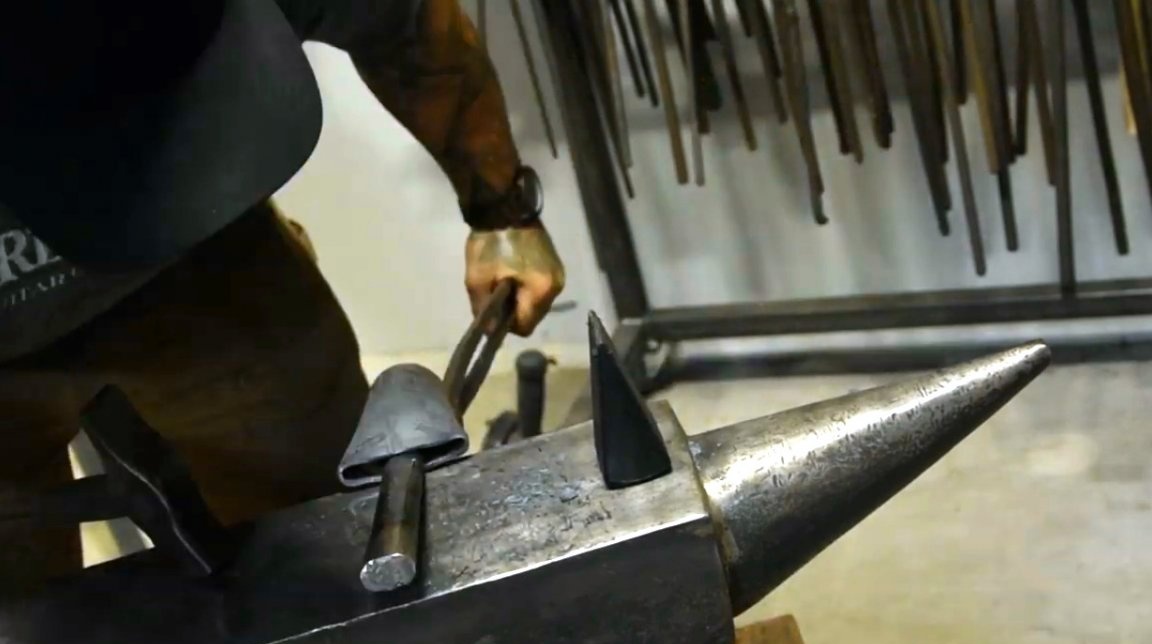
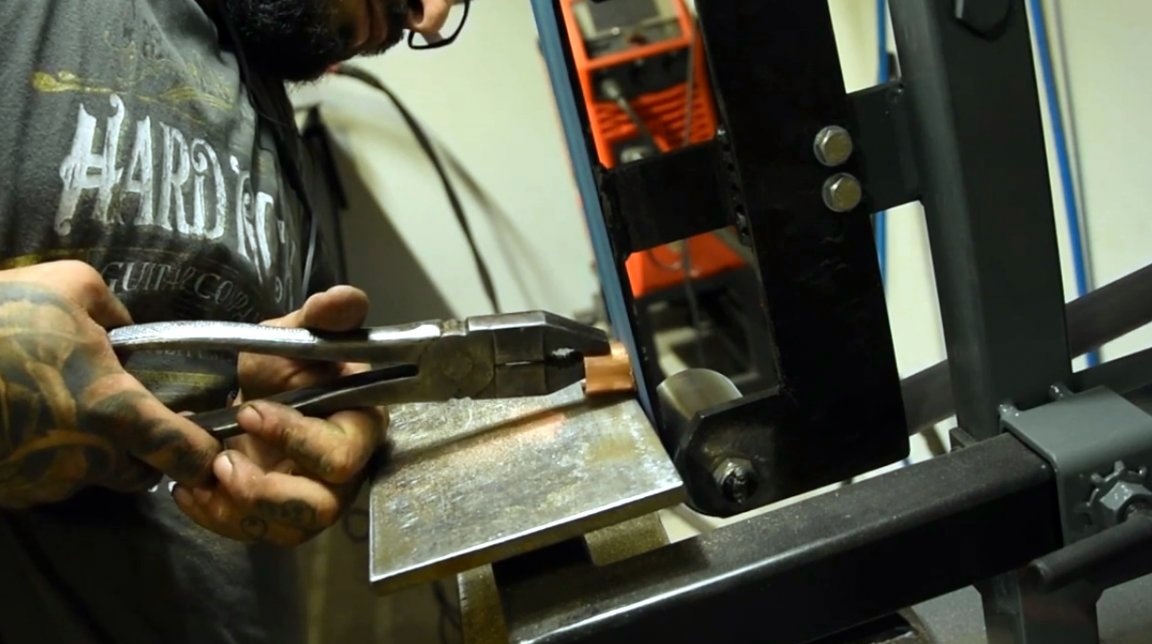
The author heats one end of the pipe in a gas furnace, and flattenes it with a vice.
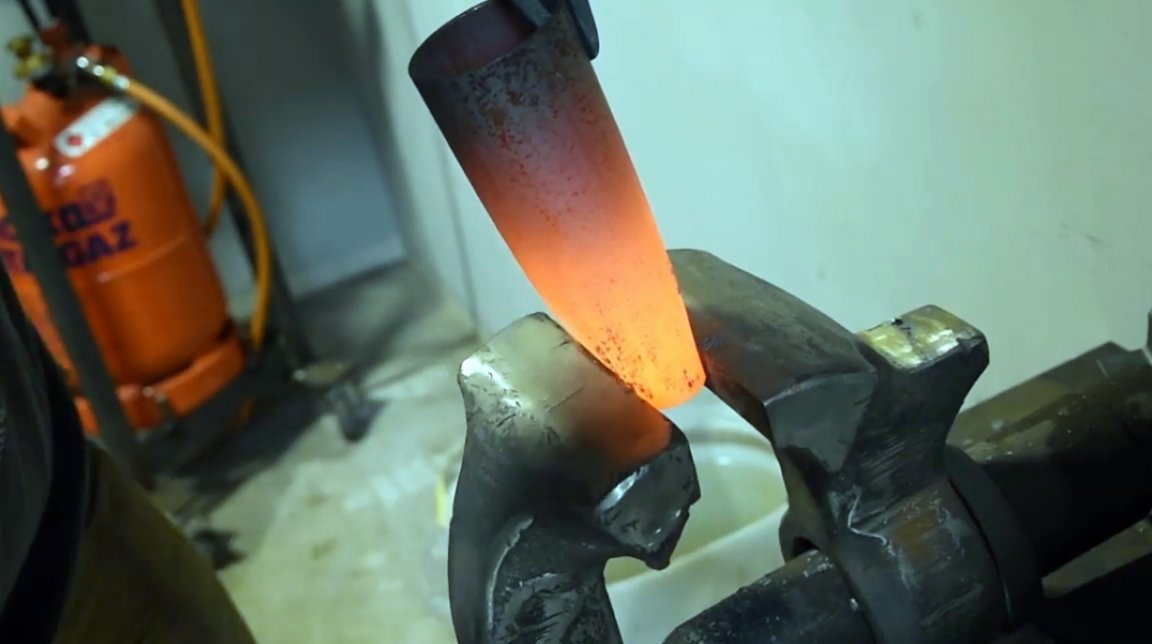
The outlet of the socket is aligned on the anvil.
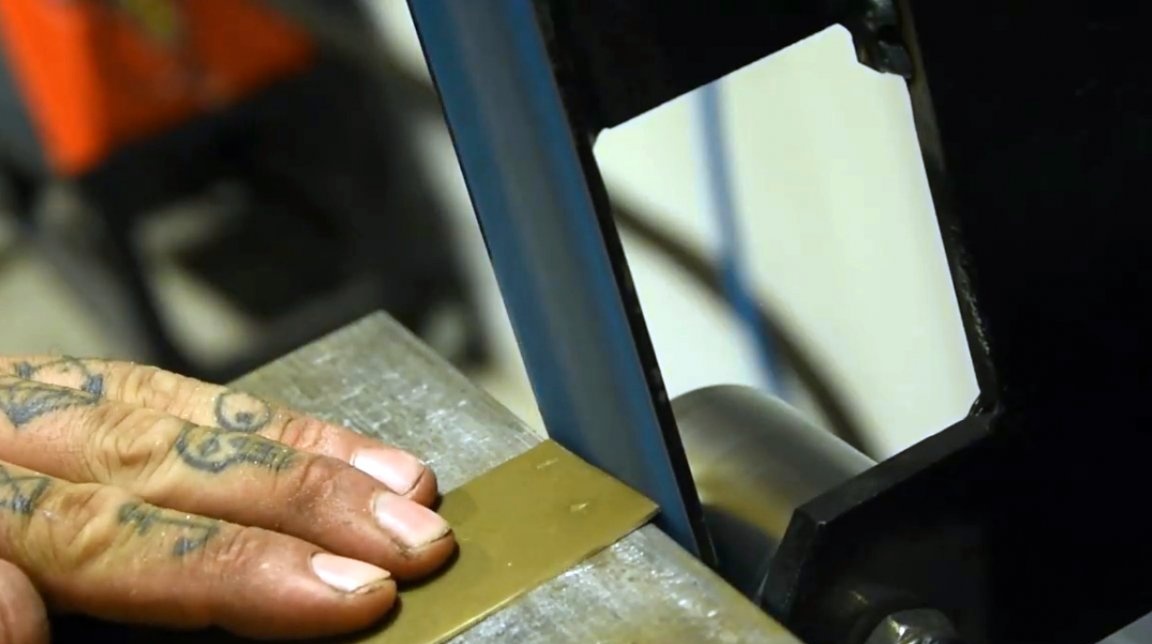
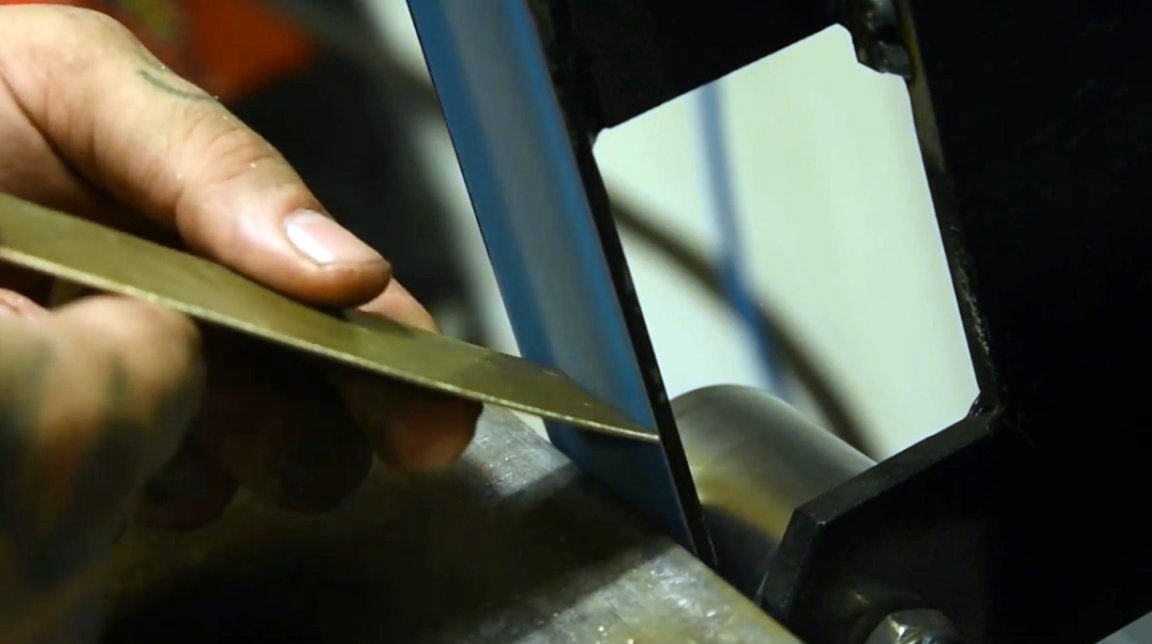
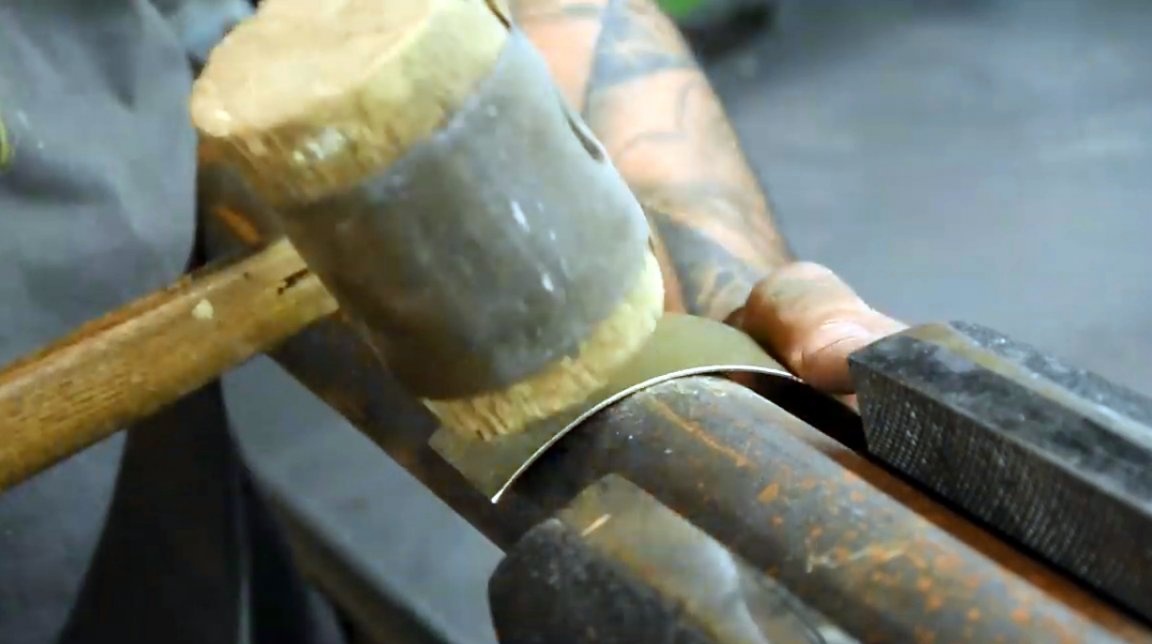
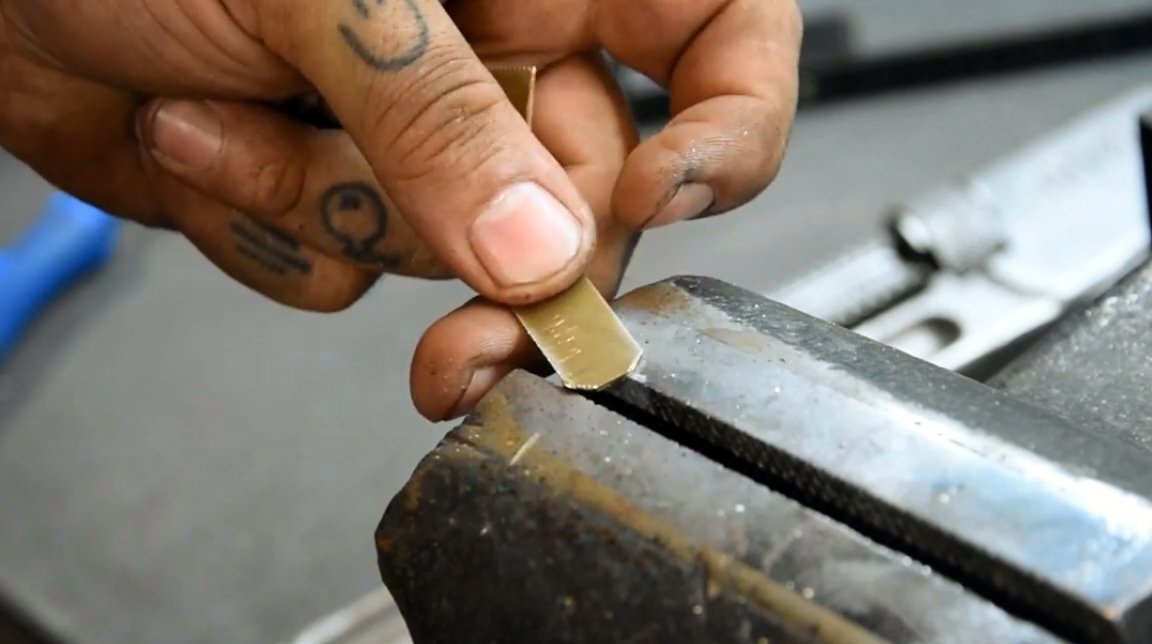
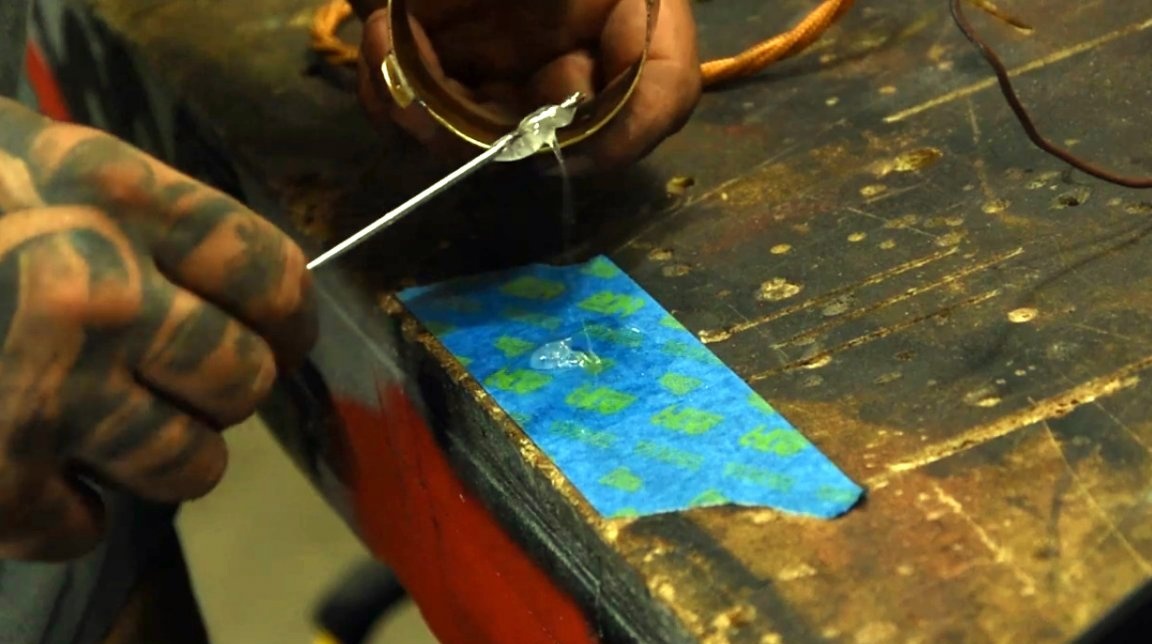
Now he cuts a strip of brass sheet across the width of the turbine, and cuts the edges on a belt grinder.
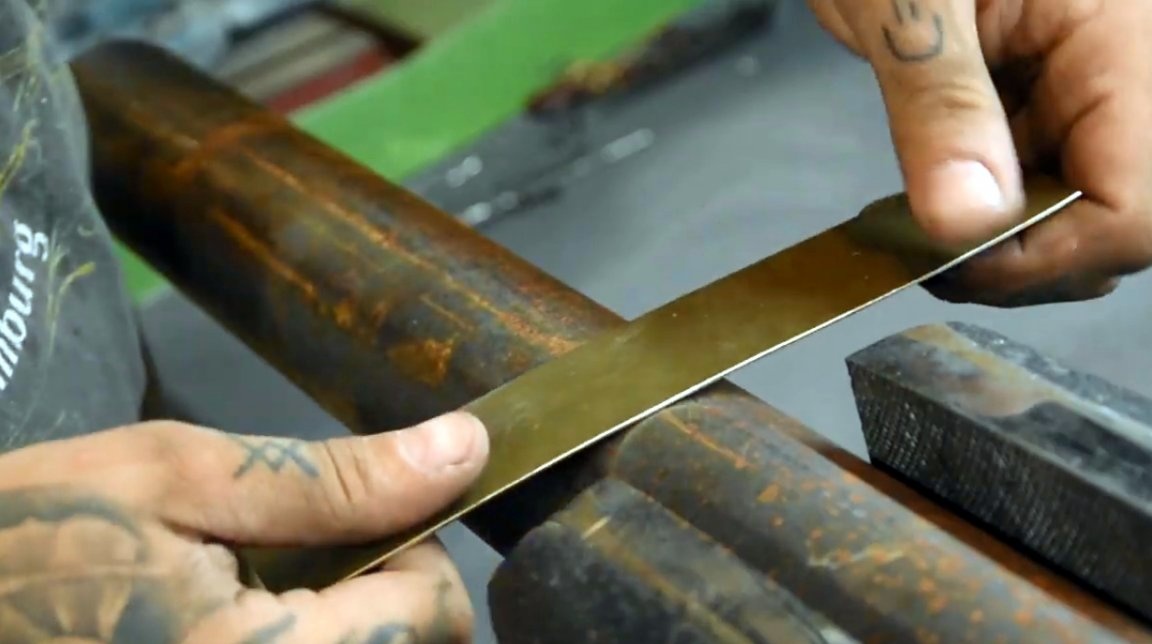
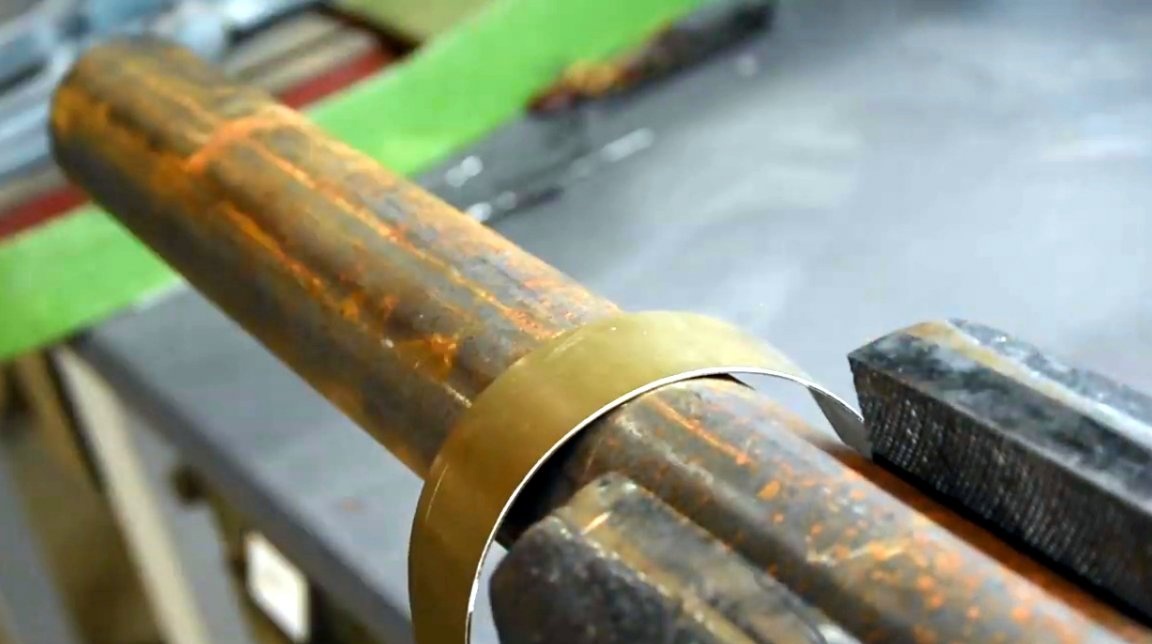
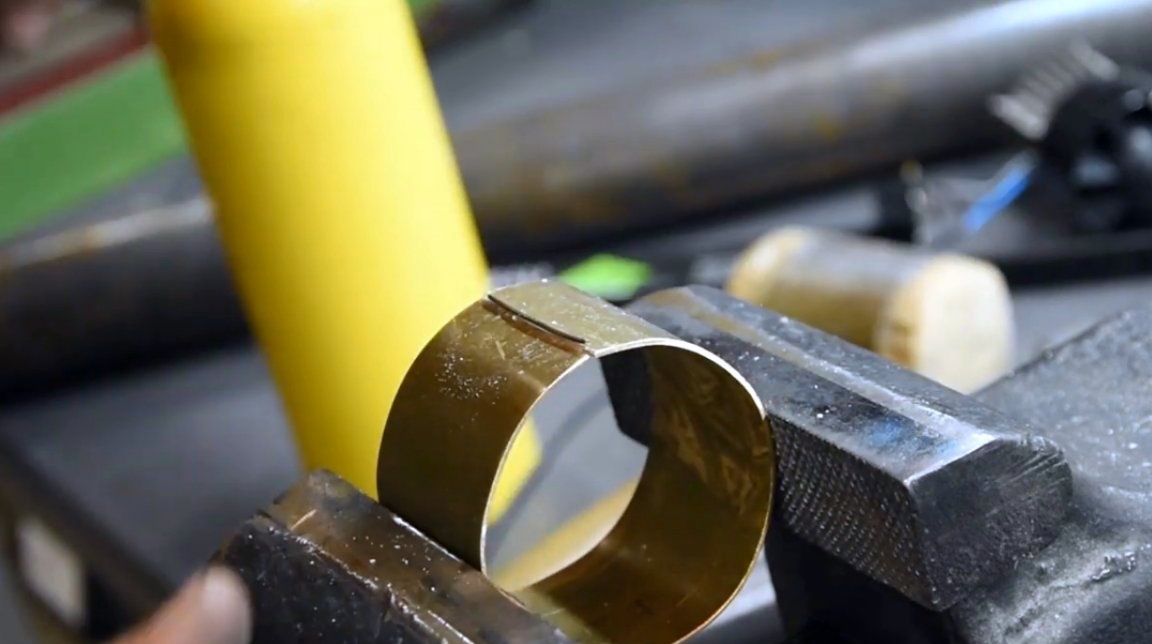
Clamps the pipe in a vise, and folds the strip into a cylinder.
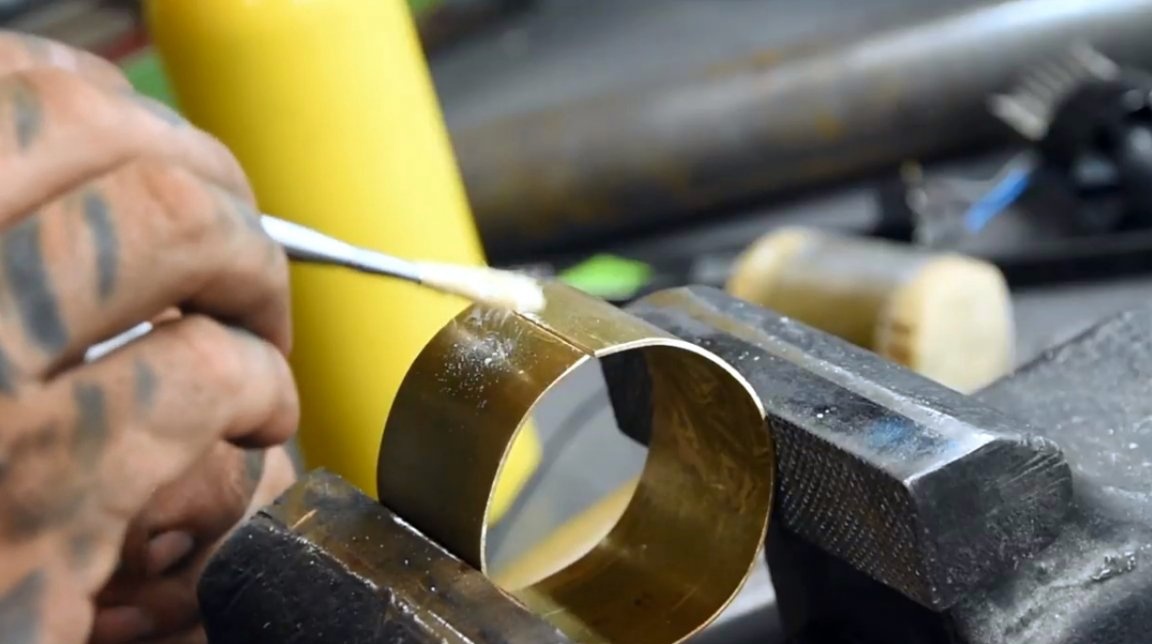
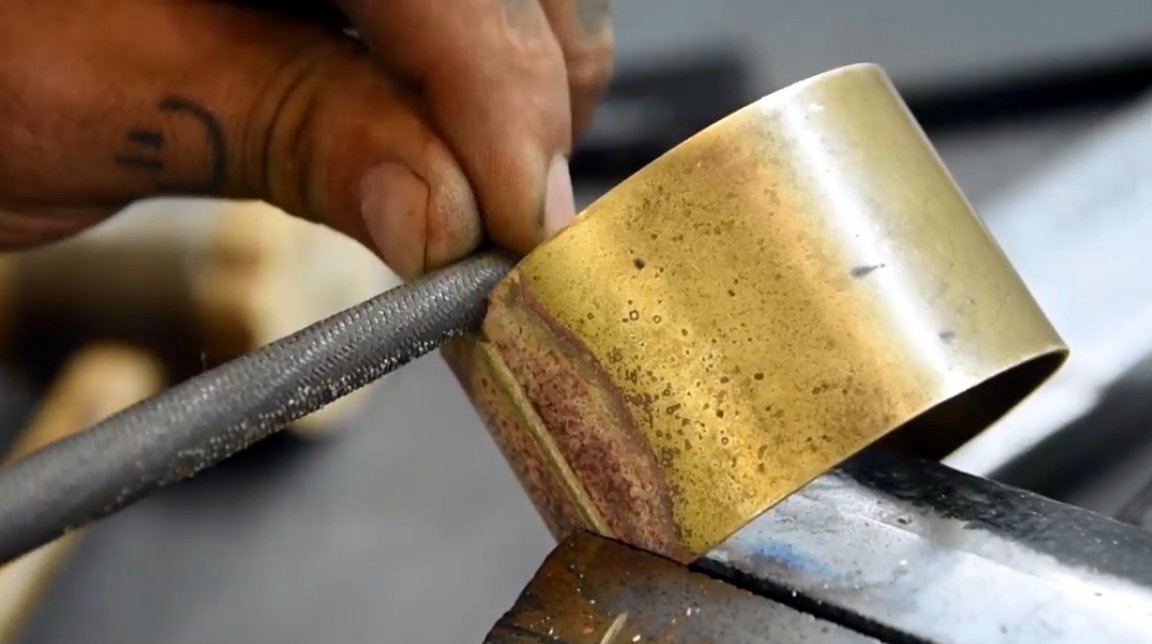
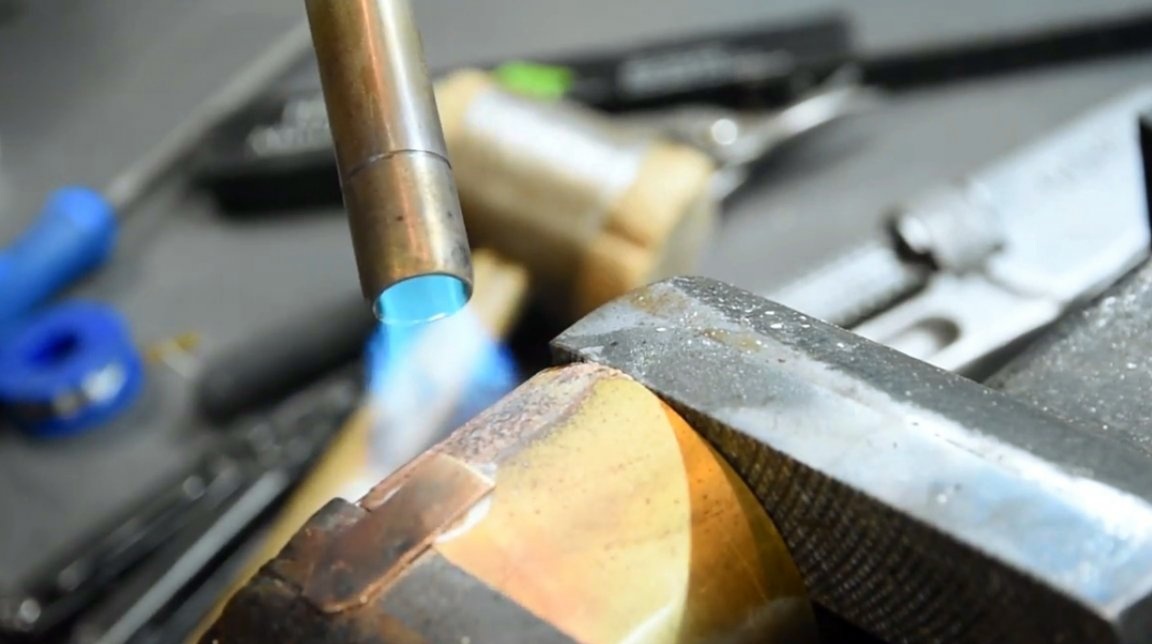
It fixes the workpiece in a vice, lubricates the seam with flux, puts a piece of solder, and heats the joint with a gas burner.
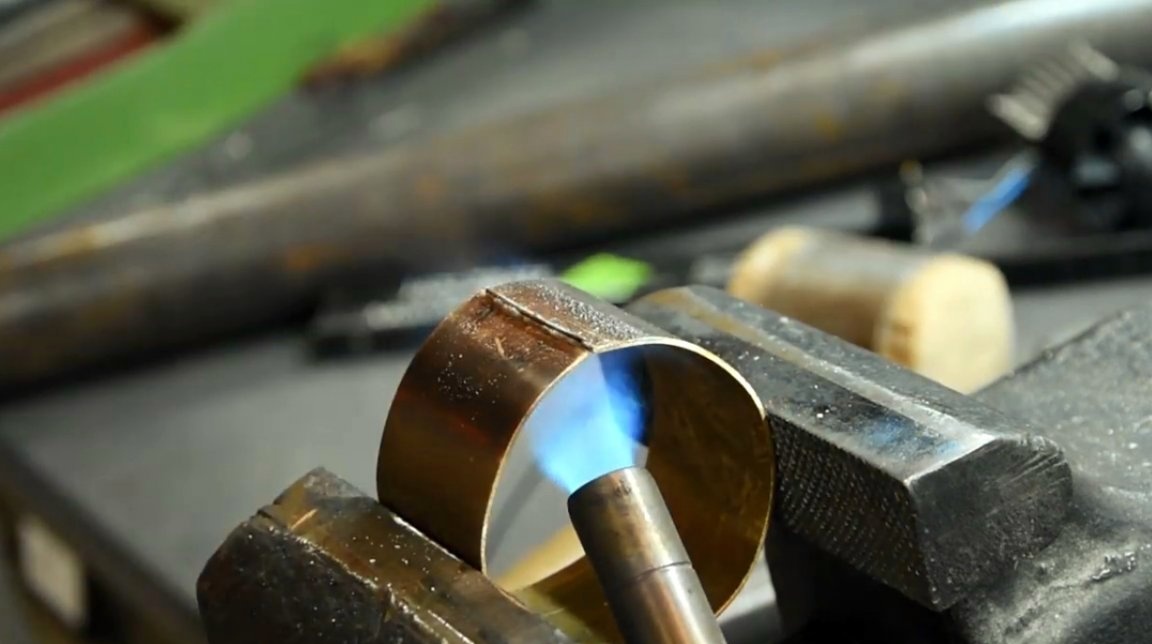
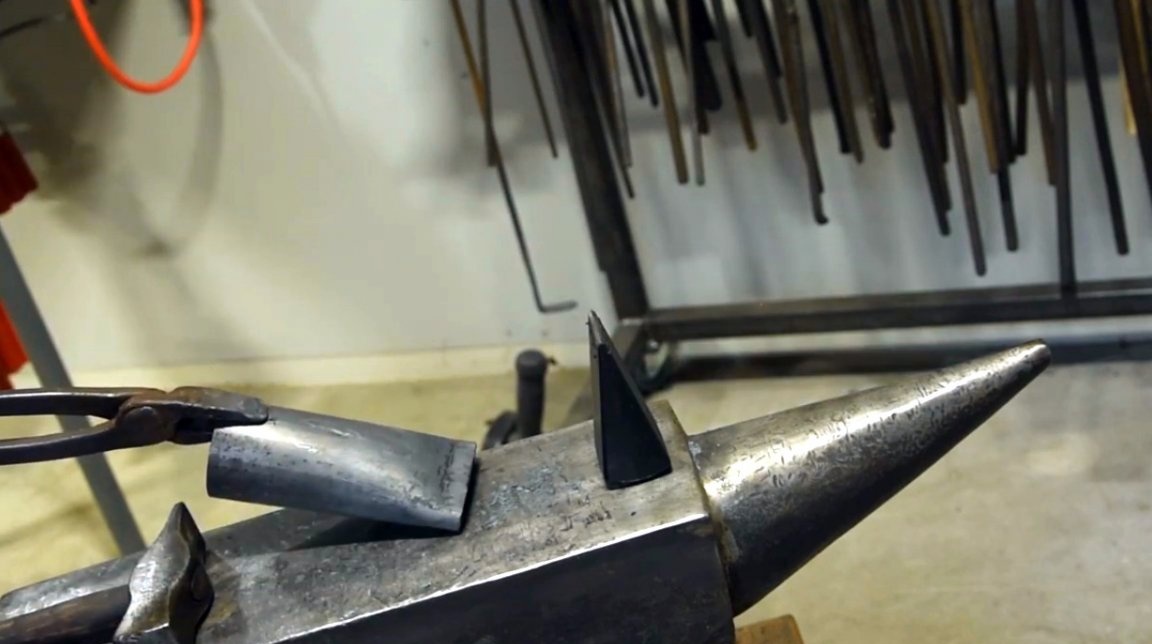
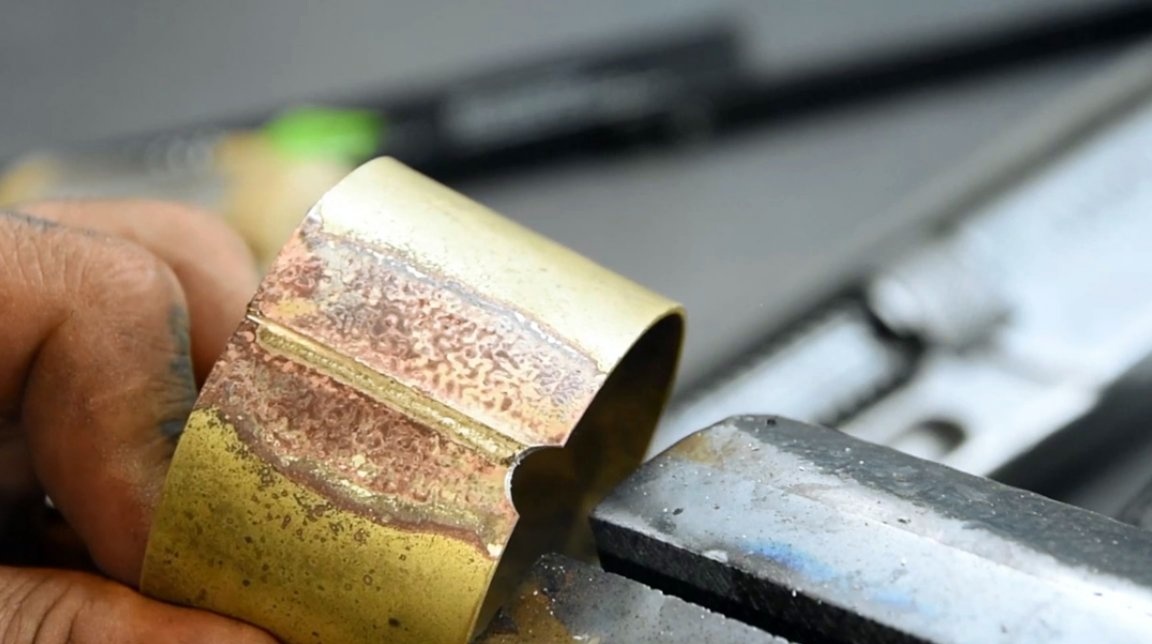
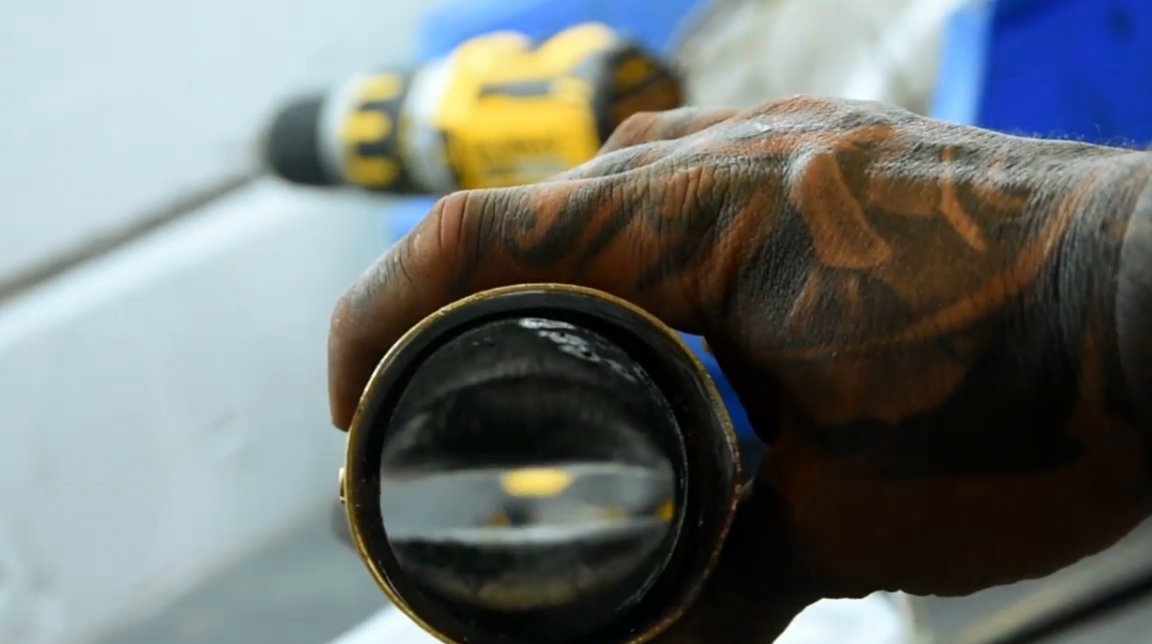
The workpiece is soldered, it can again be straightened with a mallet.
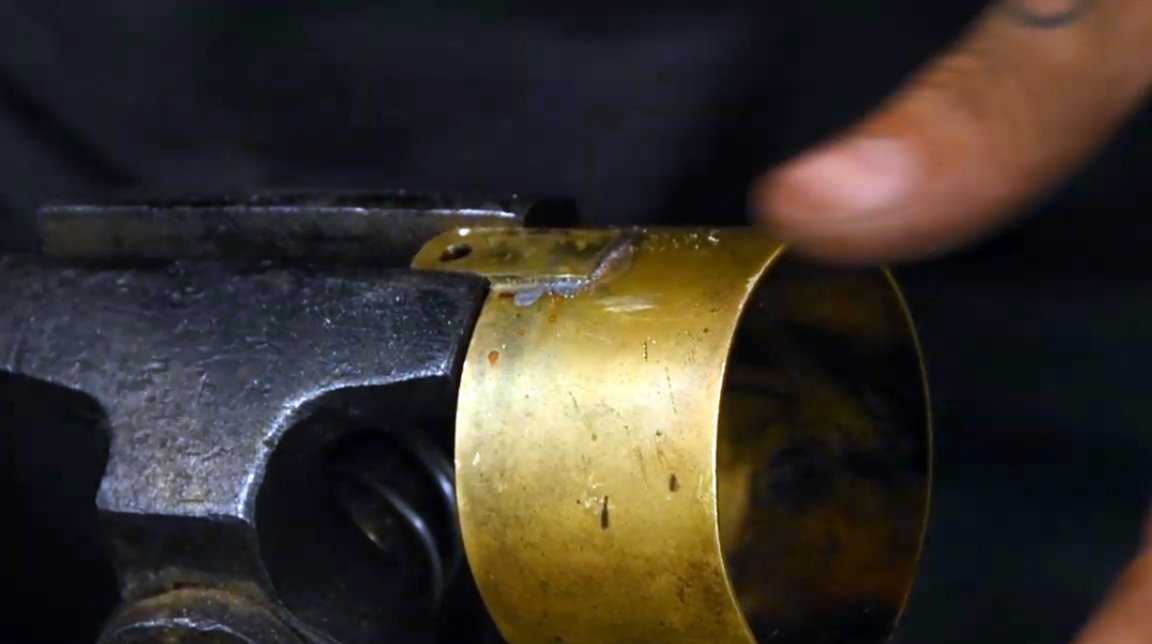
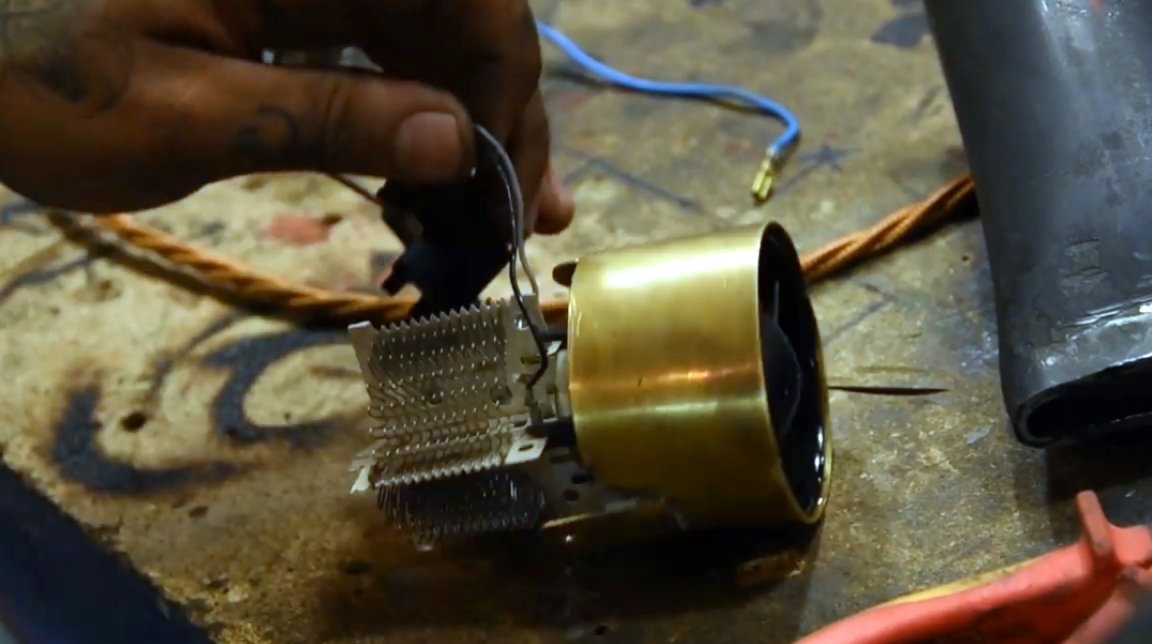
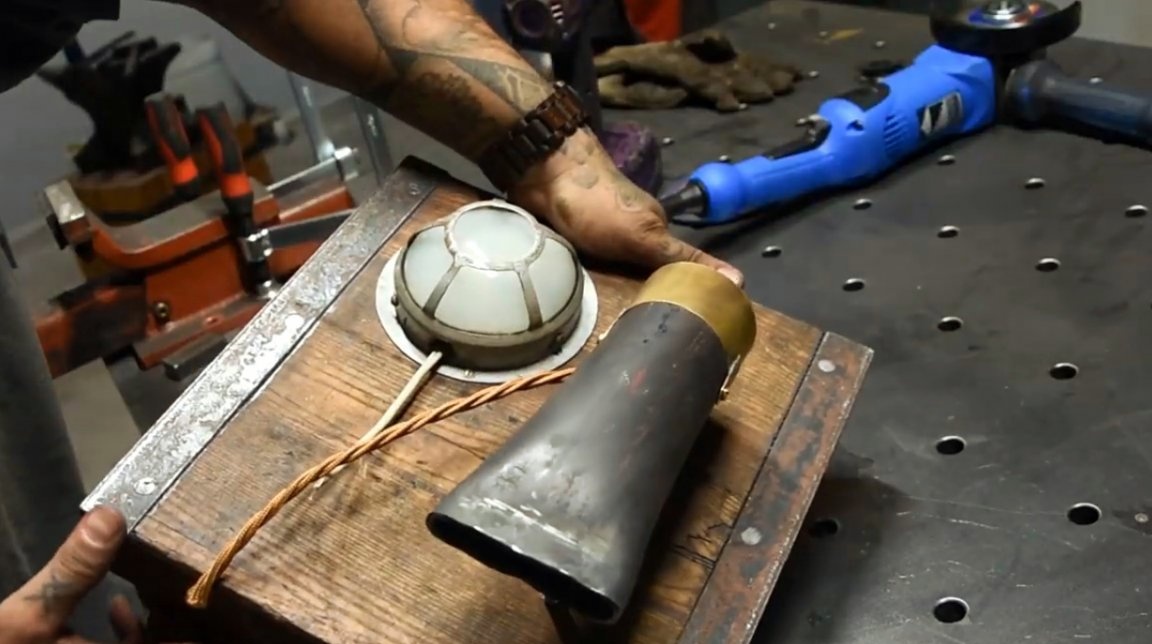
Here is a heater with a brass casing turned out.
The author made a round file for cutting the cable.
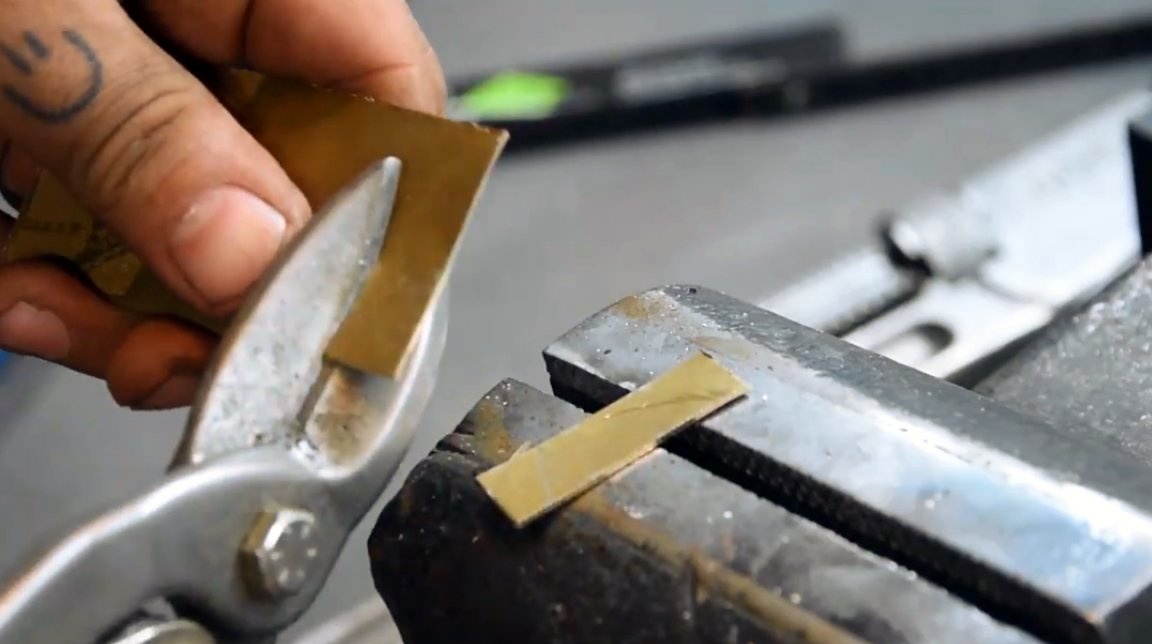
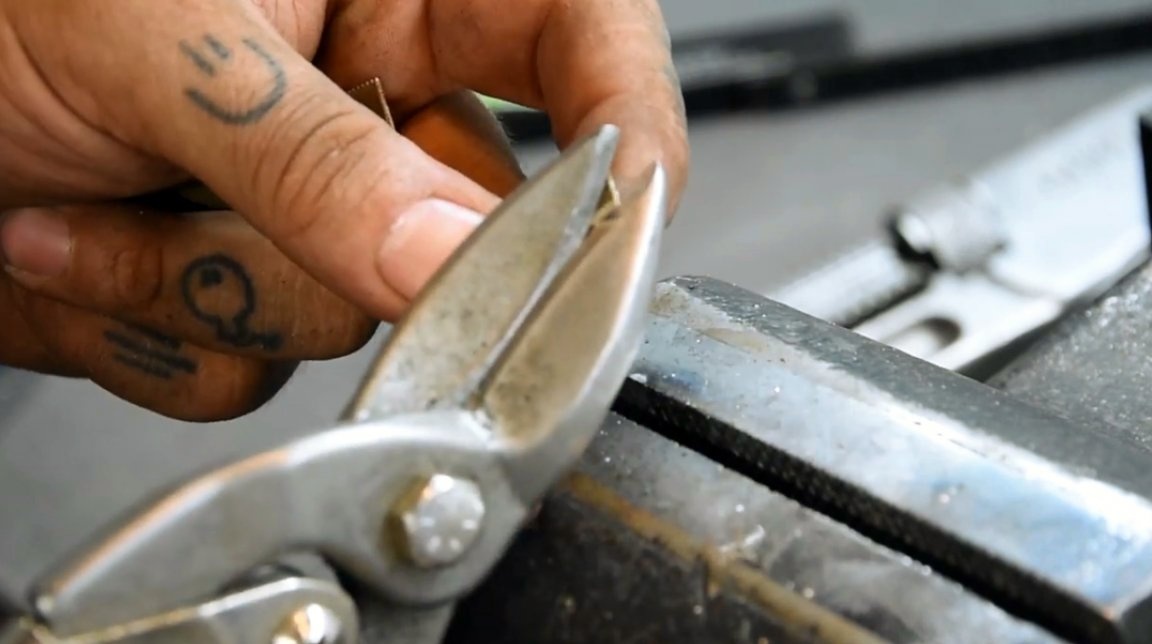
I cut two small plates with metal scissors and removed the corners on one side.
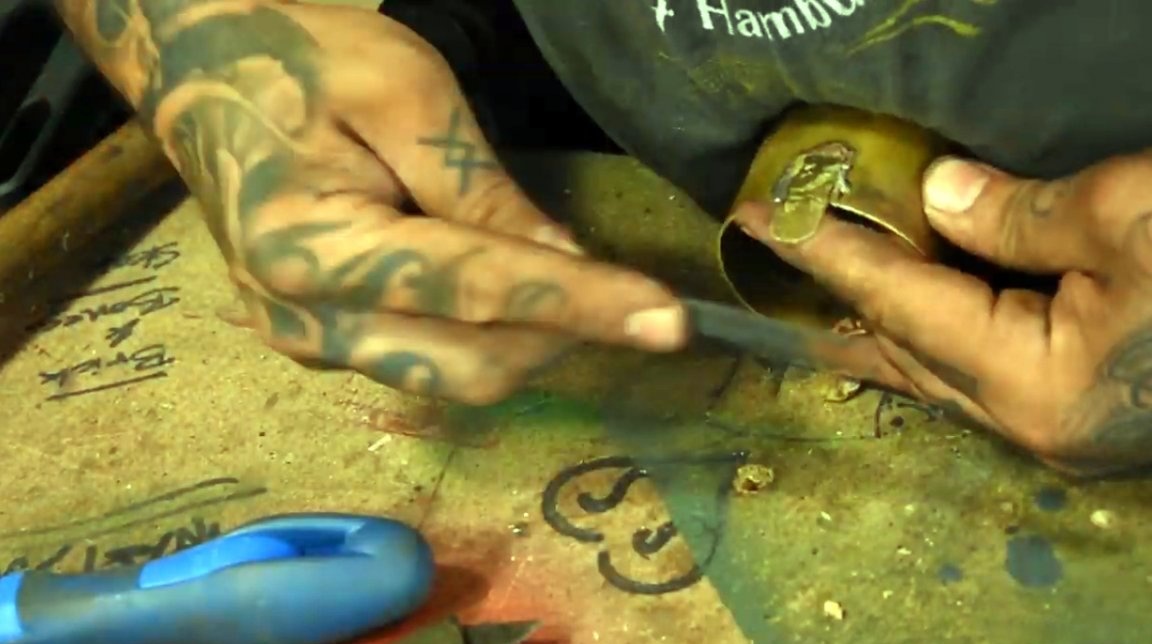
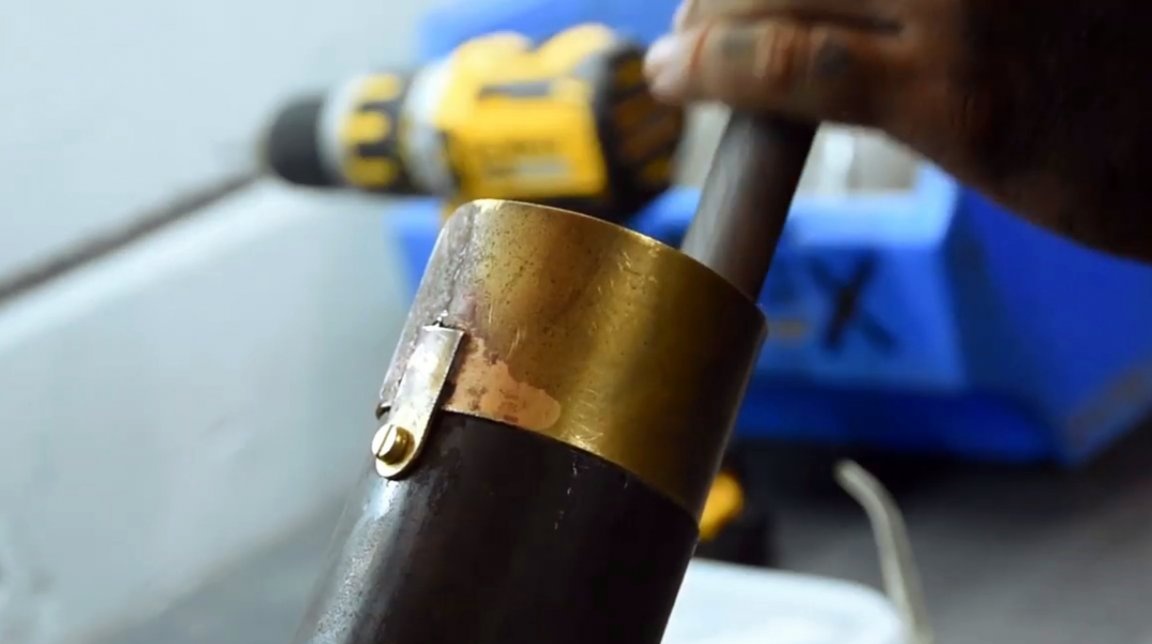
The resulting plates are slightly bent in the form of a brass plate, and soldered to it.

The edges of the ears are rounded off with a file, and a hole for fixing is drilled into them.
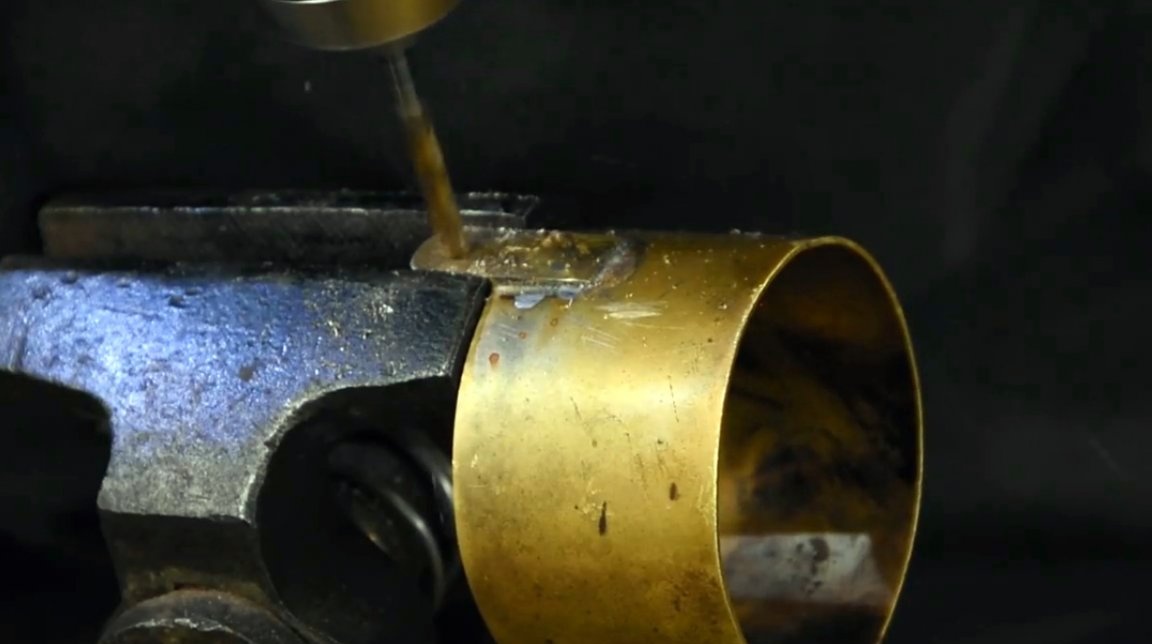
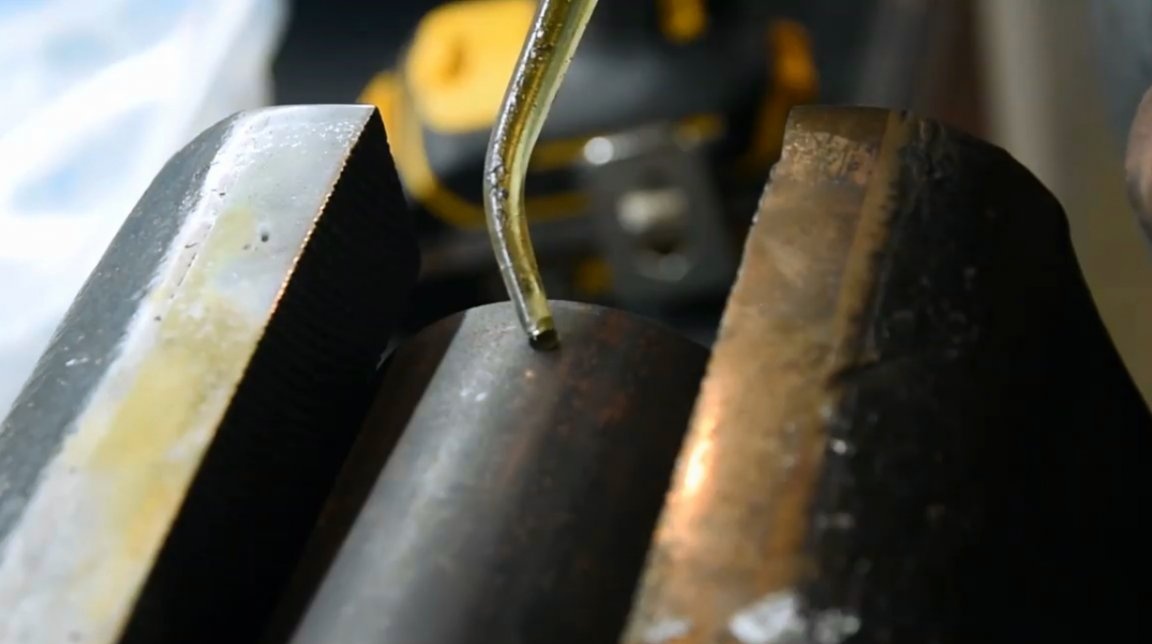
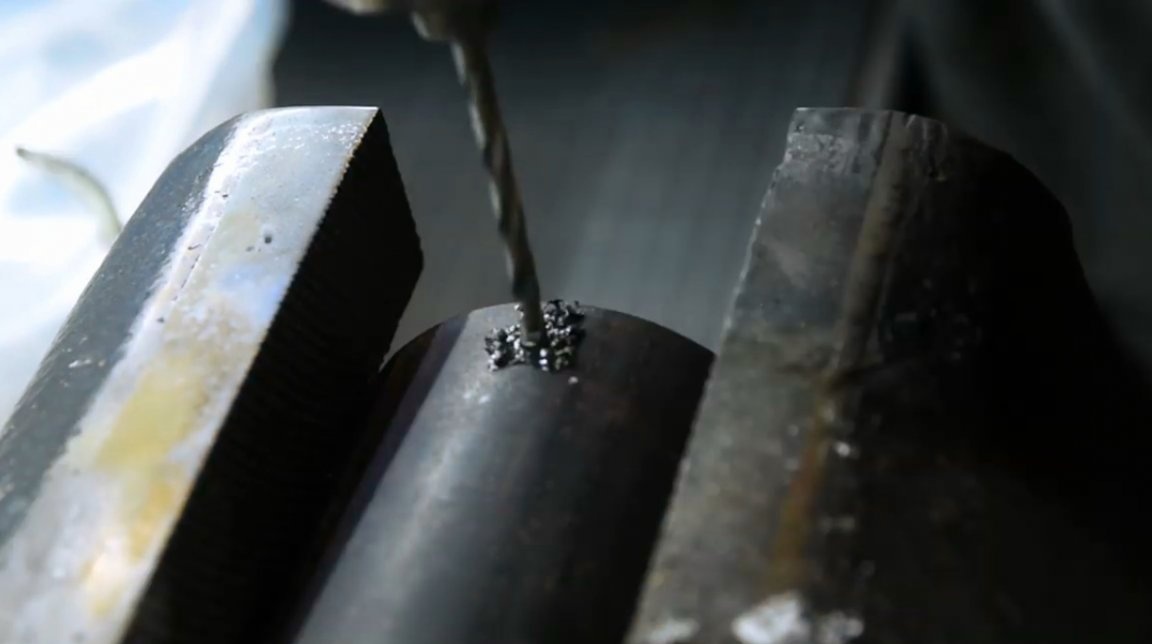
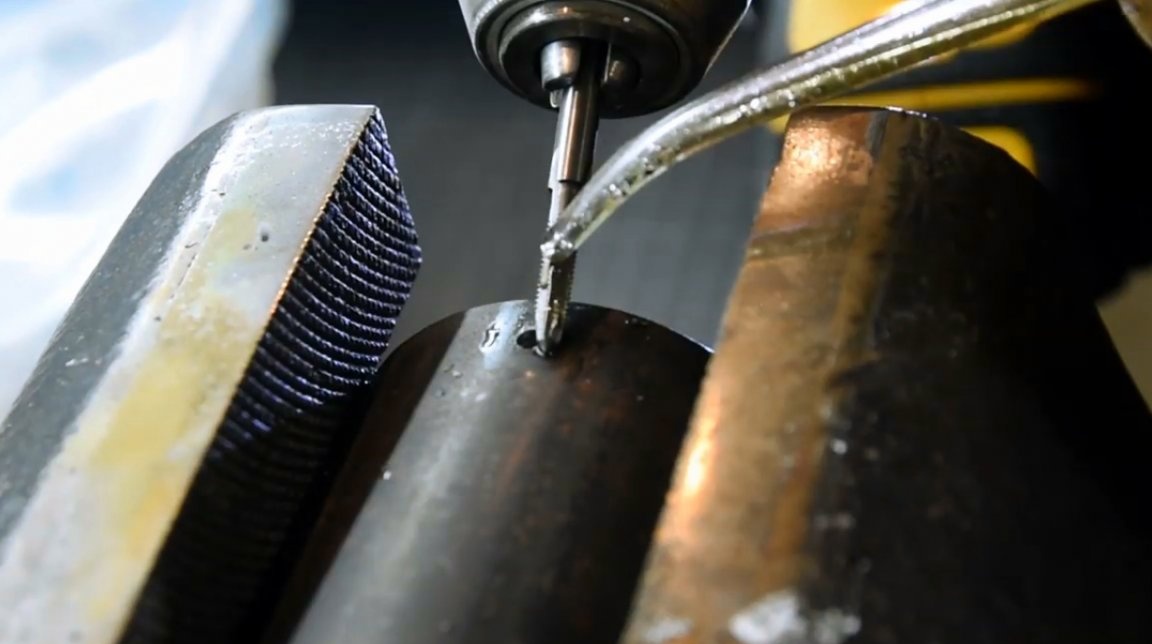
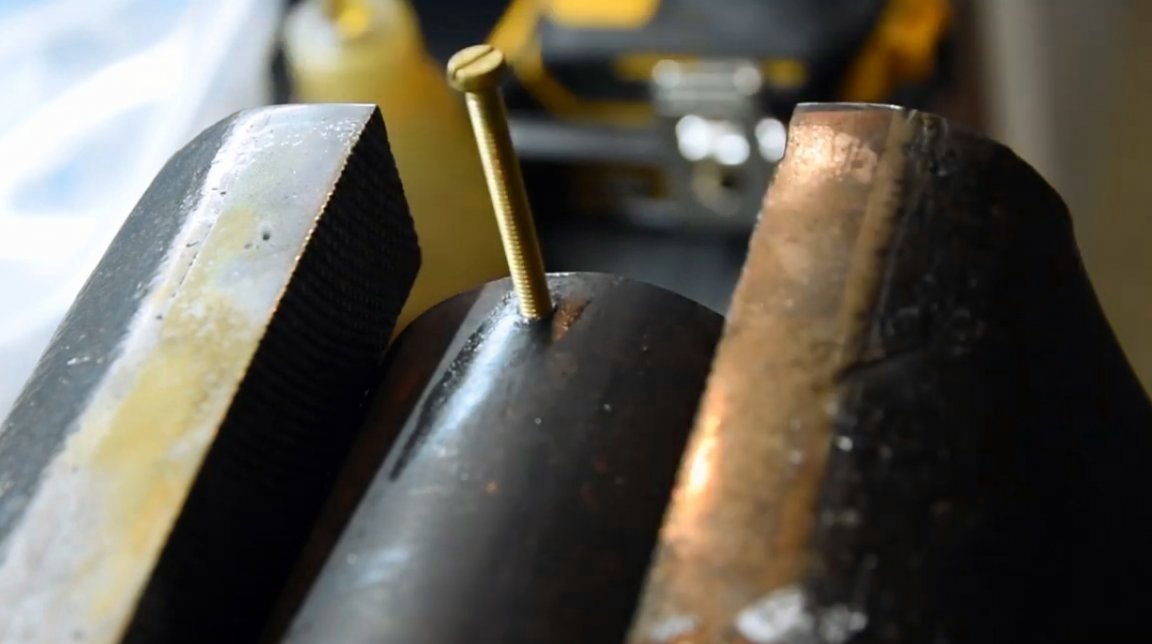
Mating holes are drilled in the bell itself, a thread is cut into them. The pipe is quite thick, so it is necessary to use small revolutions, lubricating the cutting tool with oil.
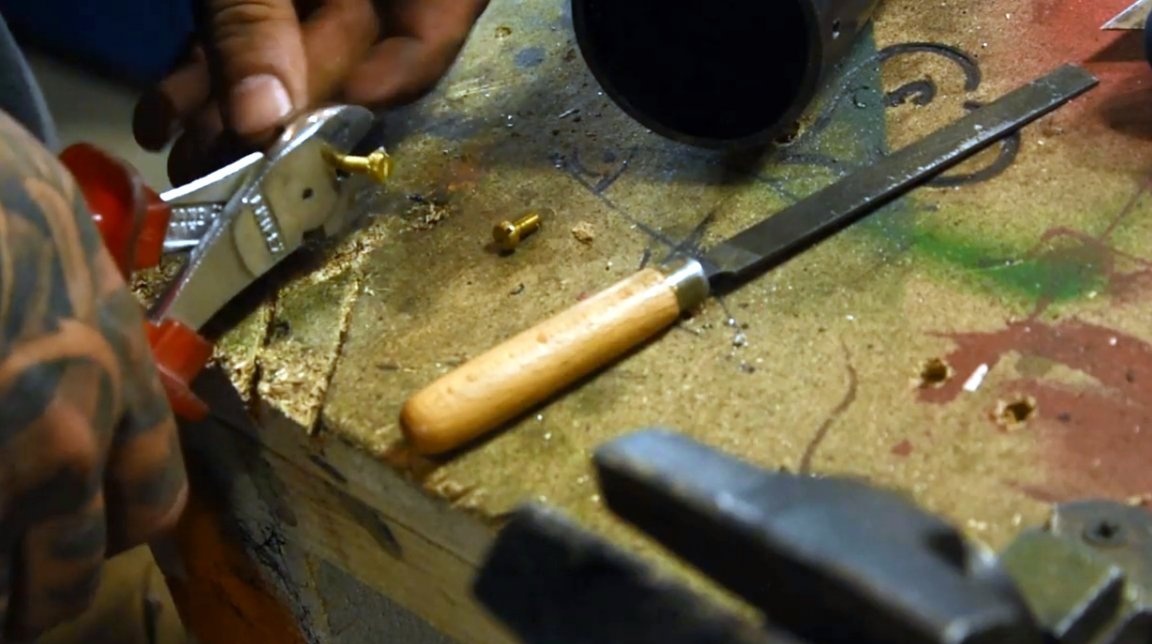
The author’s brass bolts were too long and had to be cut.
Having screwed the plate to the socket, the internal parts of the cogs are additionally filed.
The casing of the turbine is glued into the patch using two-component adhesive.

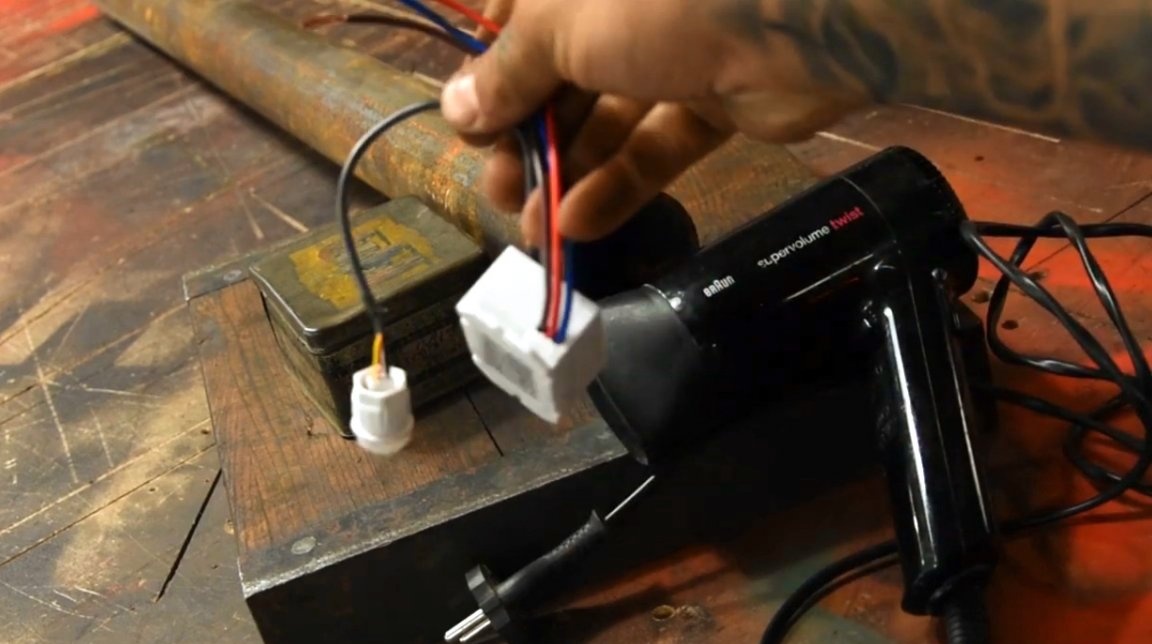
All excess electronics is removed, there are only two wires of power supply to the spiral. The ends of the wires are stripped.
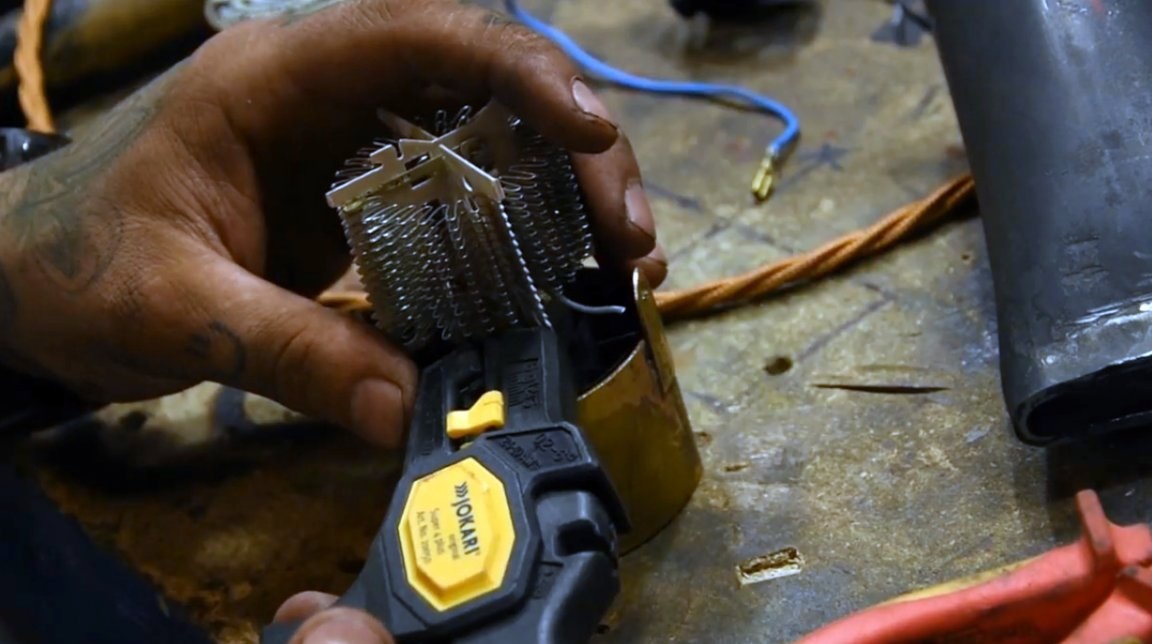
Heat-resistant wires are soldered to the wires of the spiral, the connections are additionally protected by a heat shrink tube.
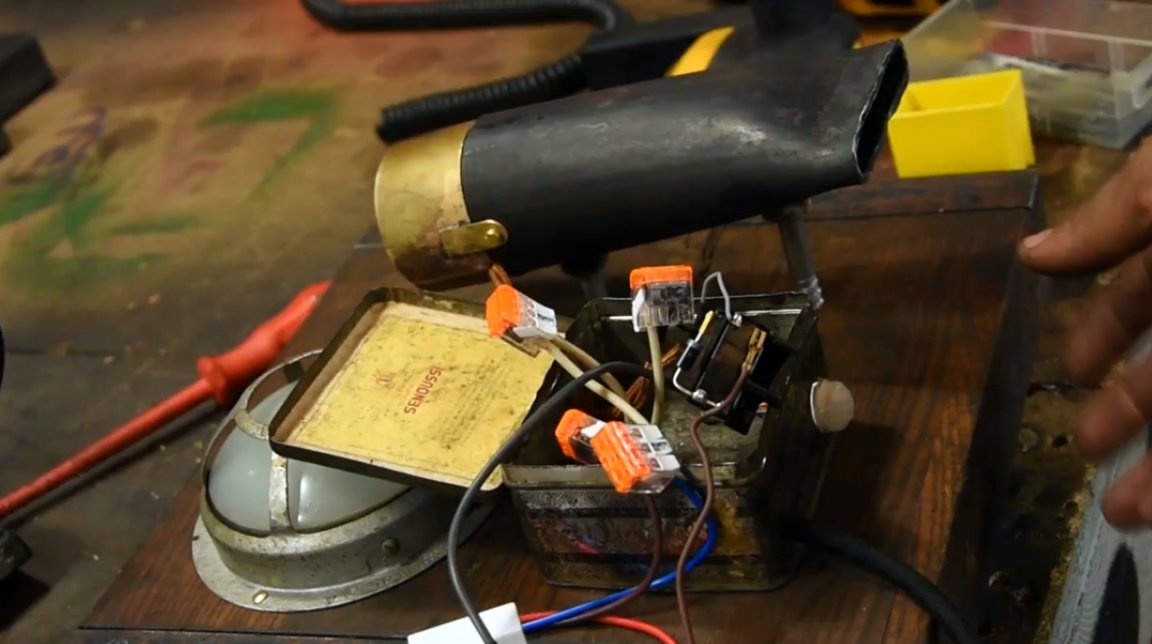
Now you can completely assemble the heater body.
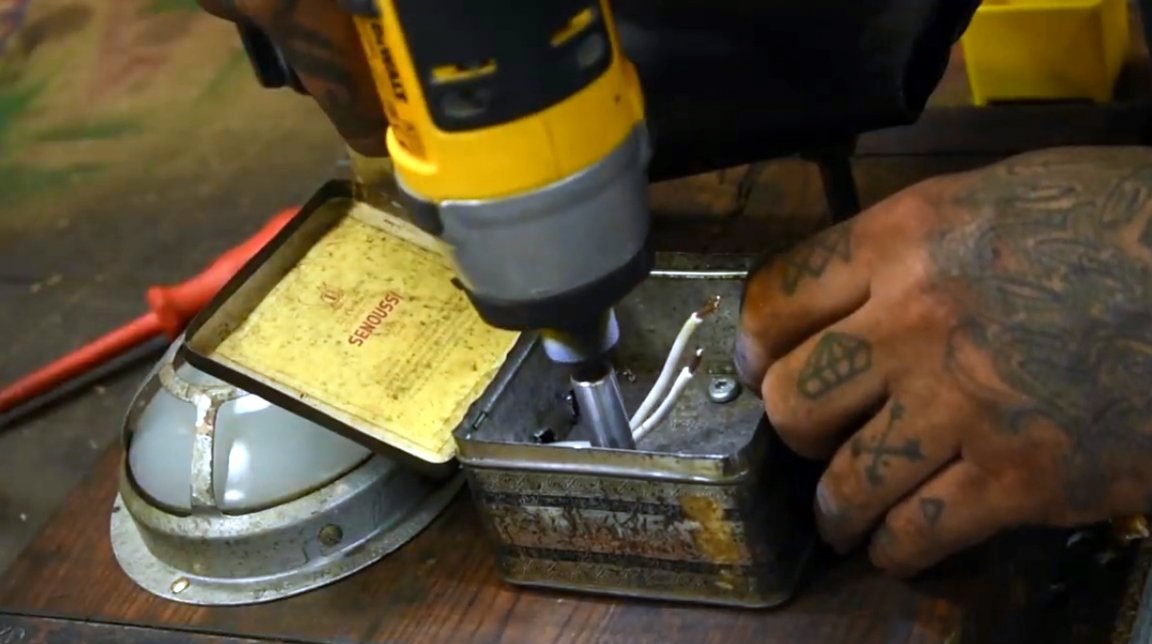
A hole for an infrared motion sensor with a step drill is drilled in a square tin box. The sensor is installed in its place.
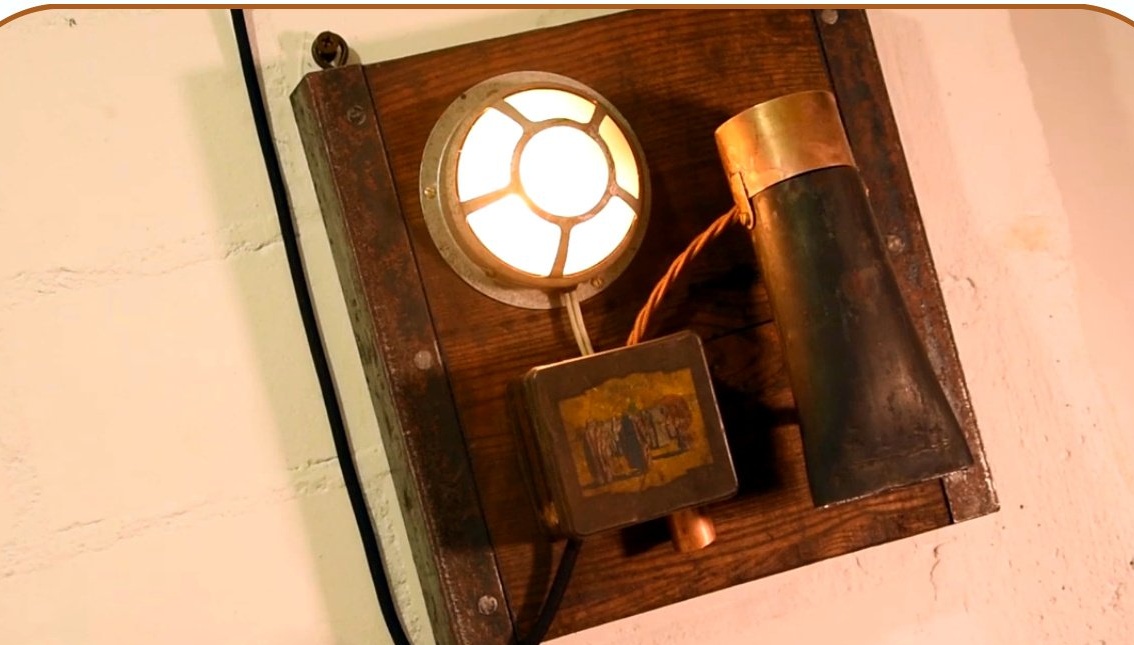
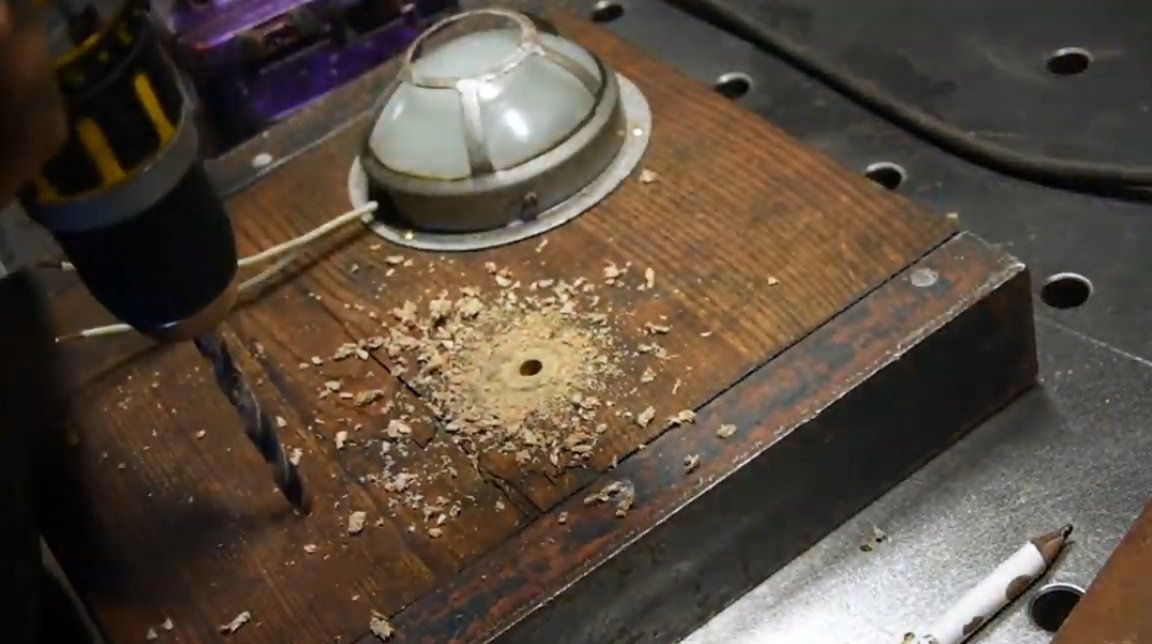
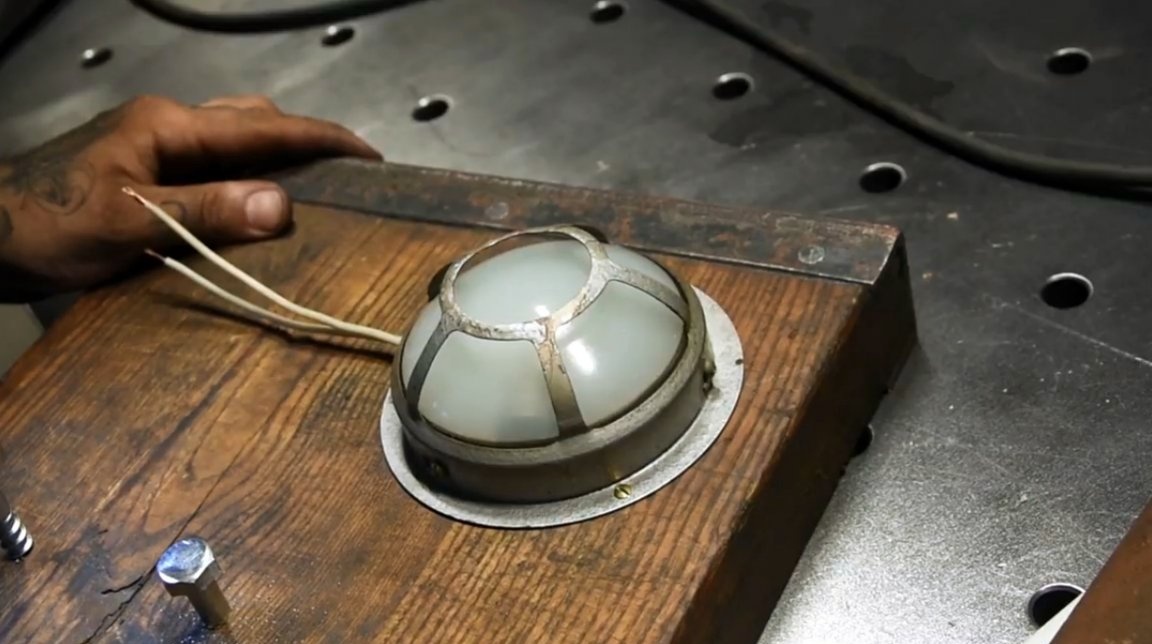
As the basis for the dryer, the author will use the lid from the old box. He screwed the old lamp to her.
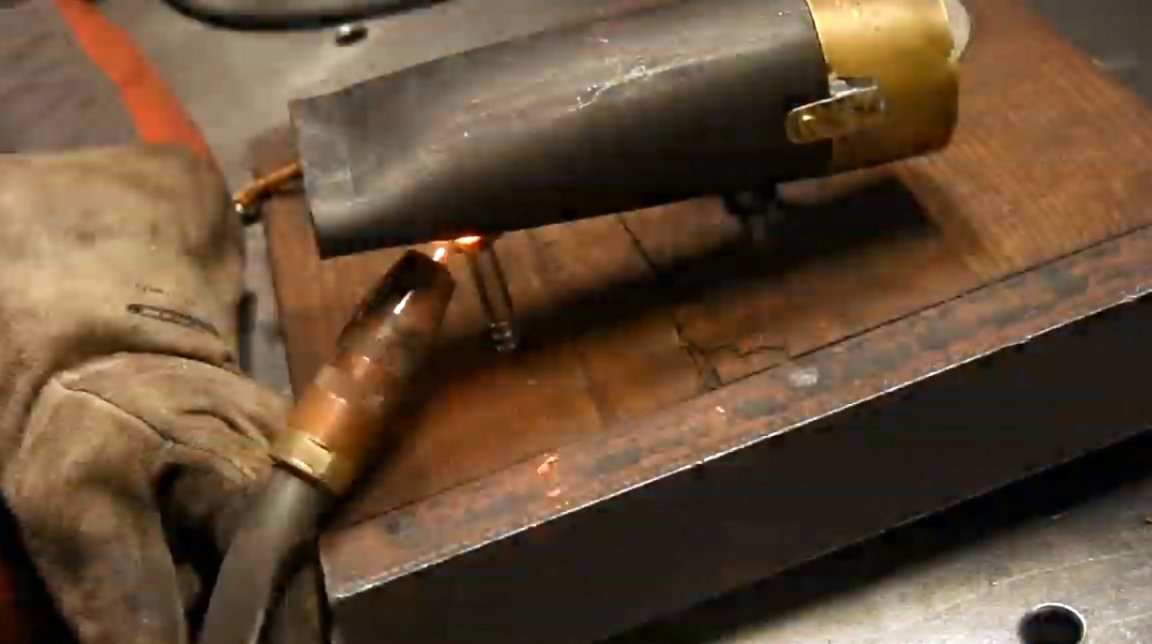
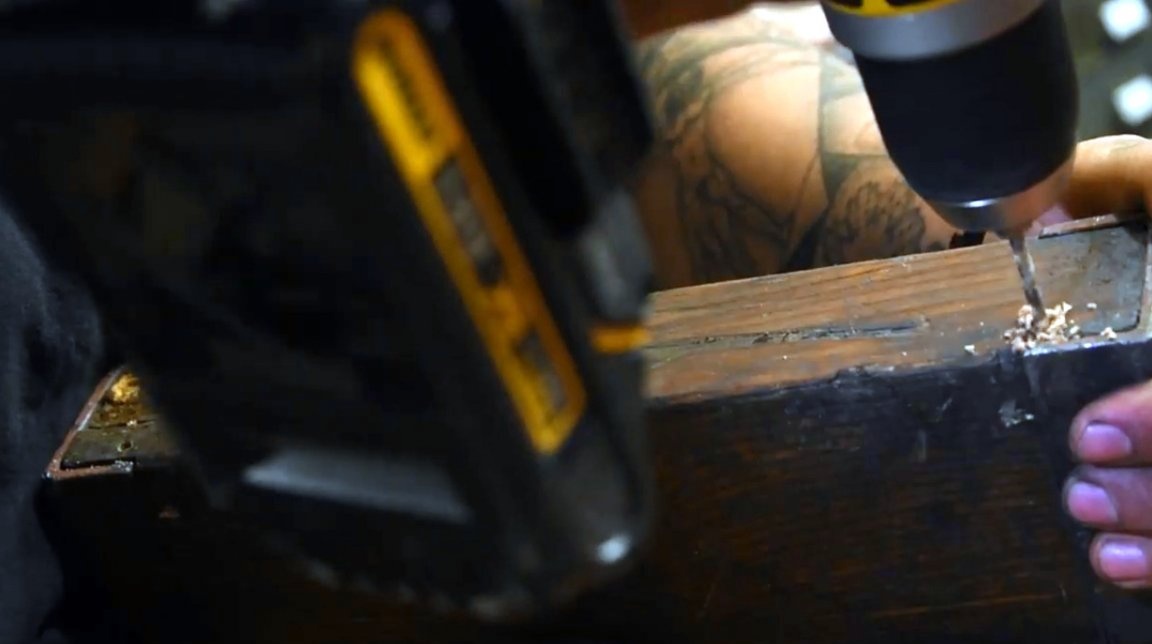
He tries on the heater itself, drills two holes in the base, and tightens the screws in them.
The heater body is welded to the screw heads, the excess screws protruding from the back are cut off by the grinder.
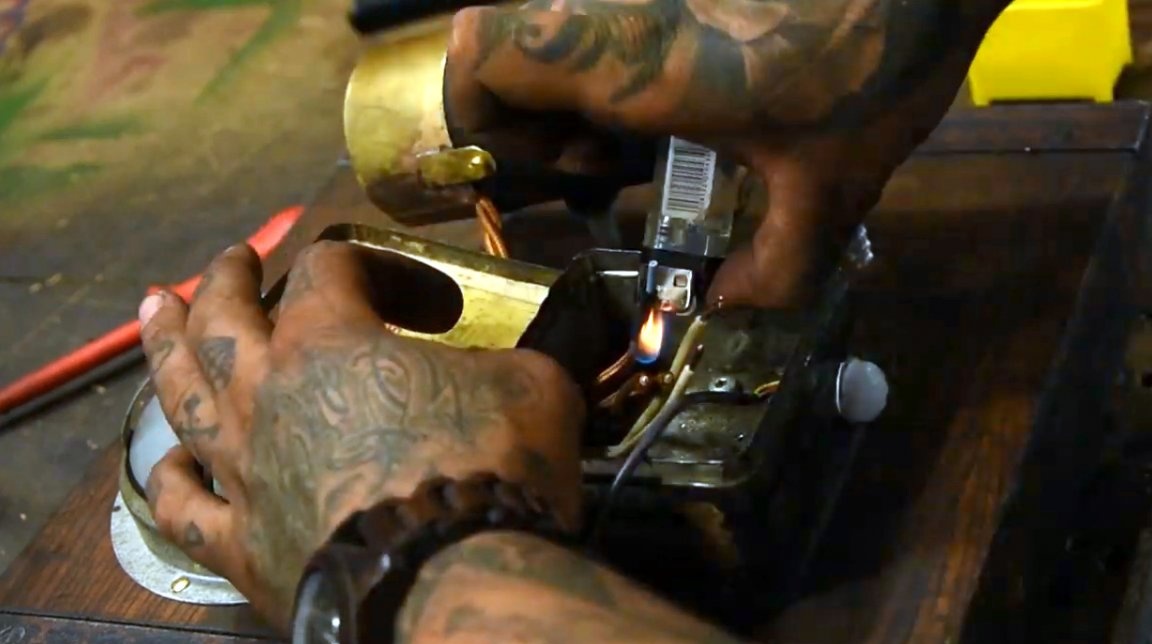
Now it fastens the junction box, leads wires into it, installs a relay, makes the necessary connections.
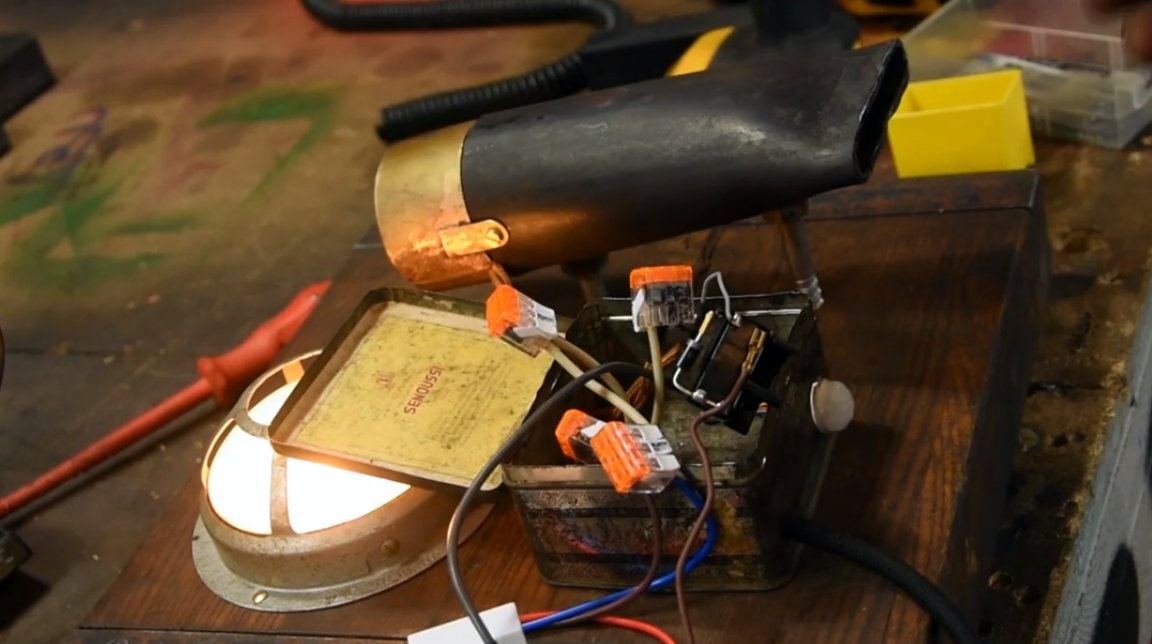
You can connect the device to the network, and check the operation of the sensor.
The viewing angle of the sensor was too large, and the author decided to limit it. To do this, he cut off a small piece of a copper tube of suitable diameter, and grinded one of its edges at a slight angle.
The tube is glued to the body with second glue. Now it limits the view to the sensor, and it will respond only to the presentation of hands in the drying zone. The delay time of the device is regulated on the relay itself, it can be at least 10 seconds.
To adhere to the general style, the author paints the fasteners with bronze spray paint.
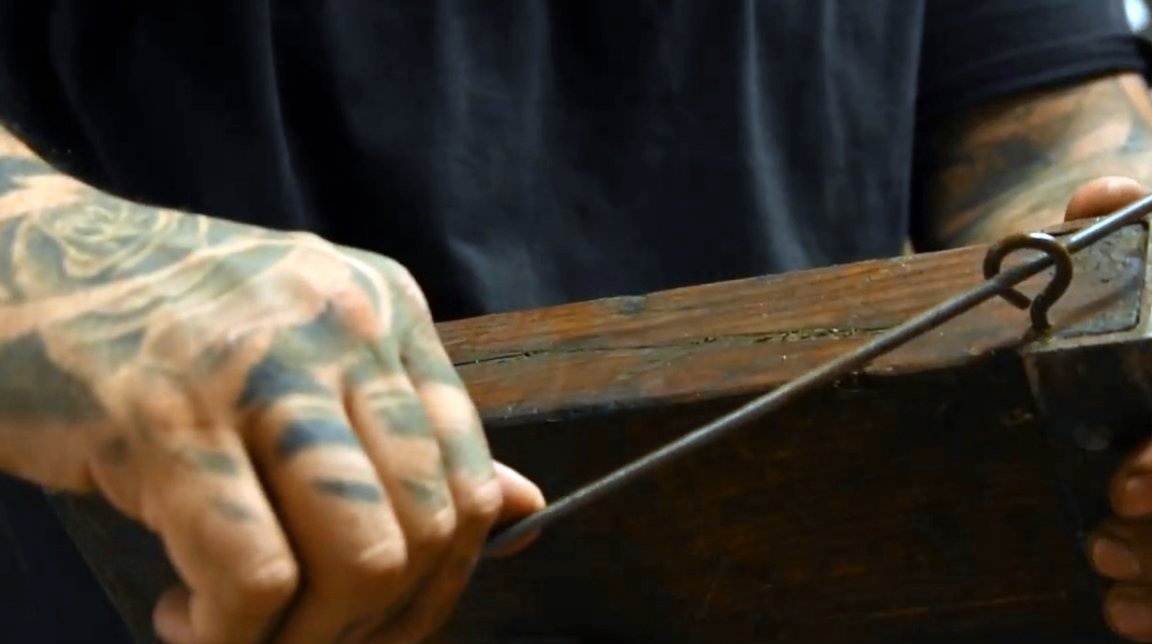
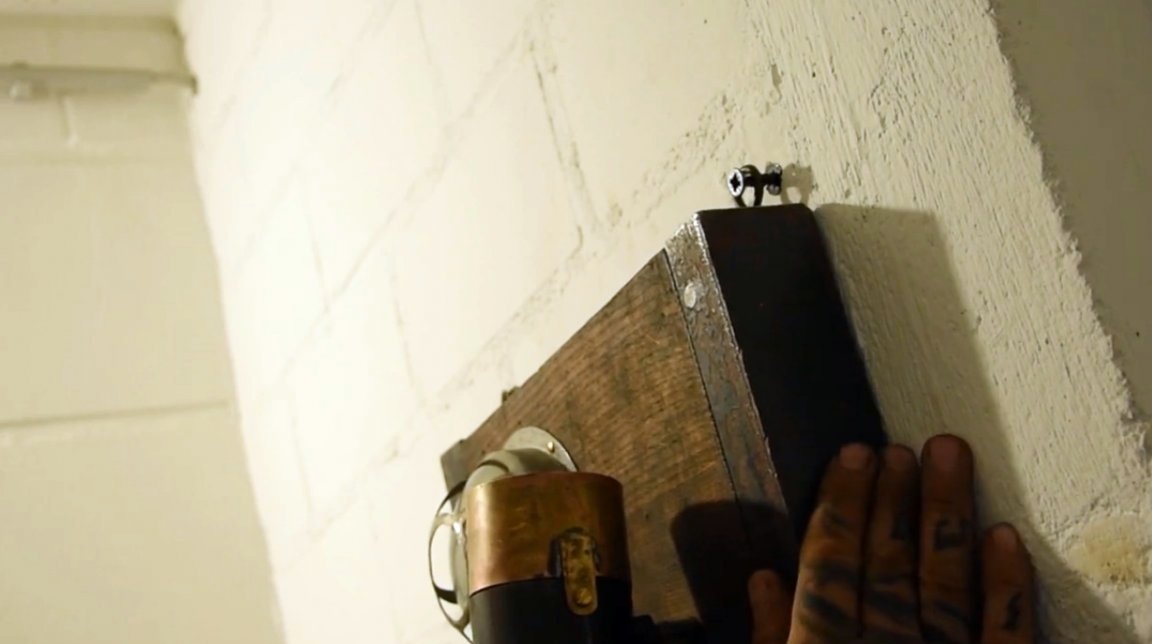
Screws two screws with rings into the upper part of the housing.
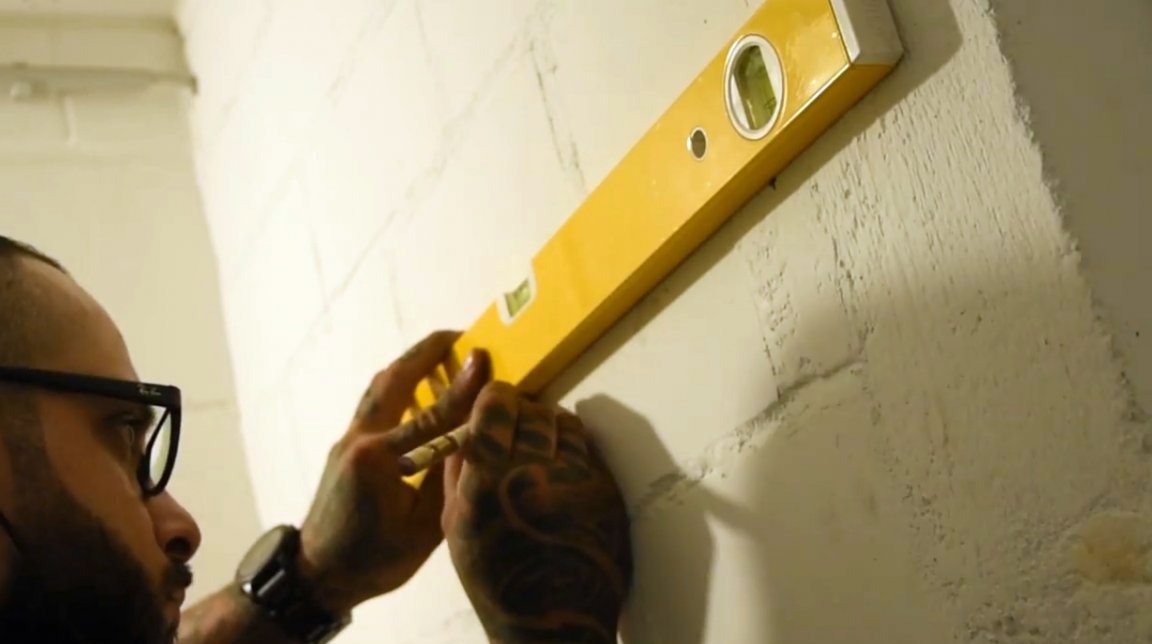
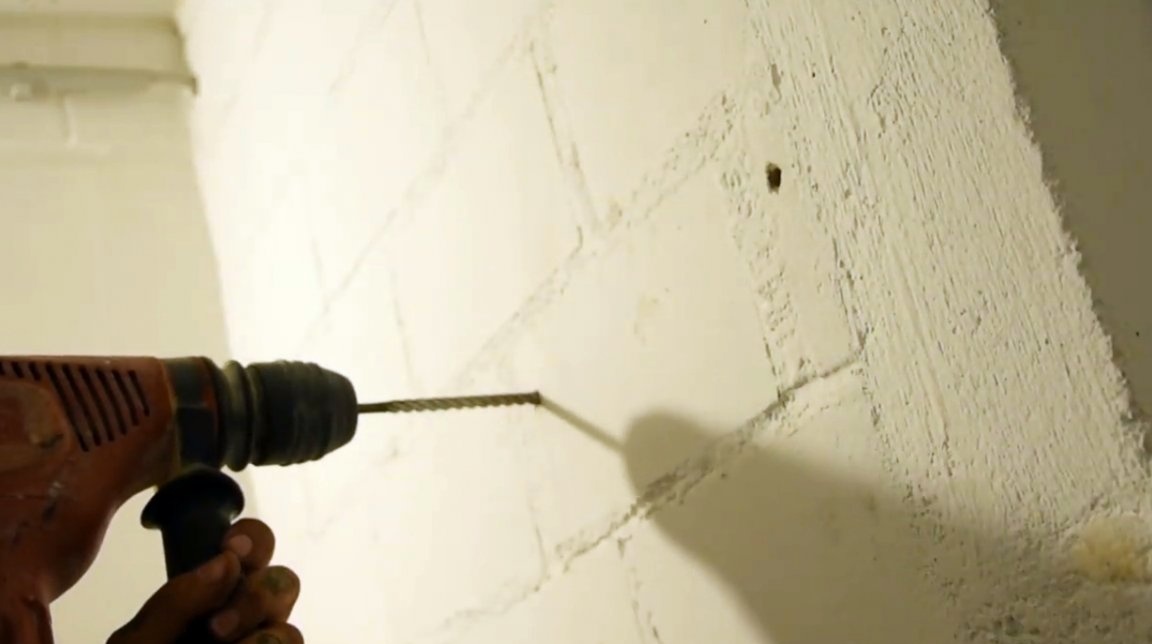
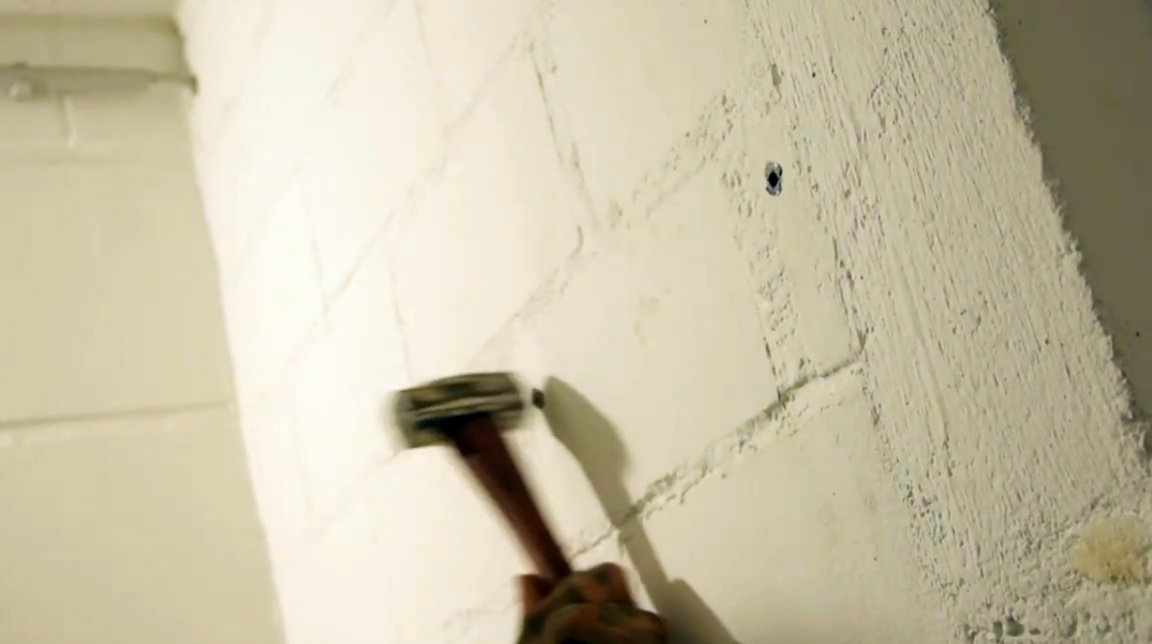
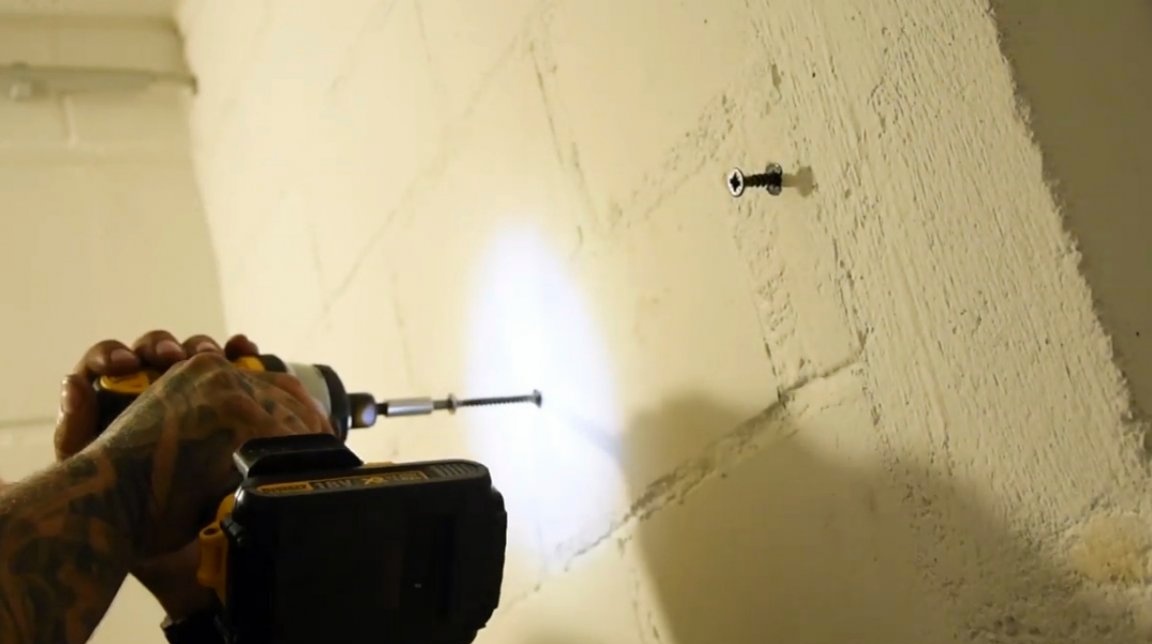
Marks and drills the necessary holes on the wall. Tightens the screws, and suspends the device in its place.
Everything is ready, you can dry your hands!
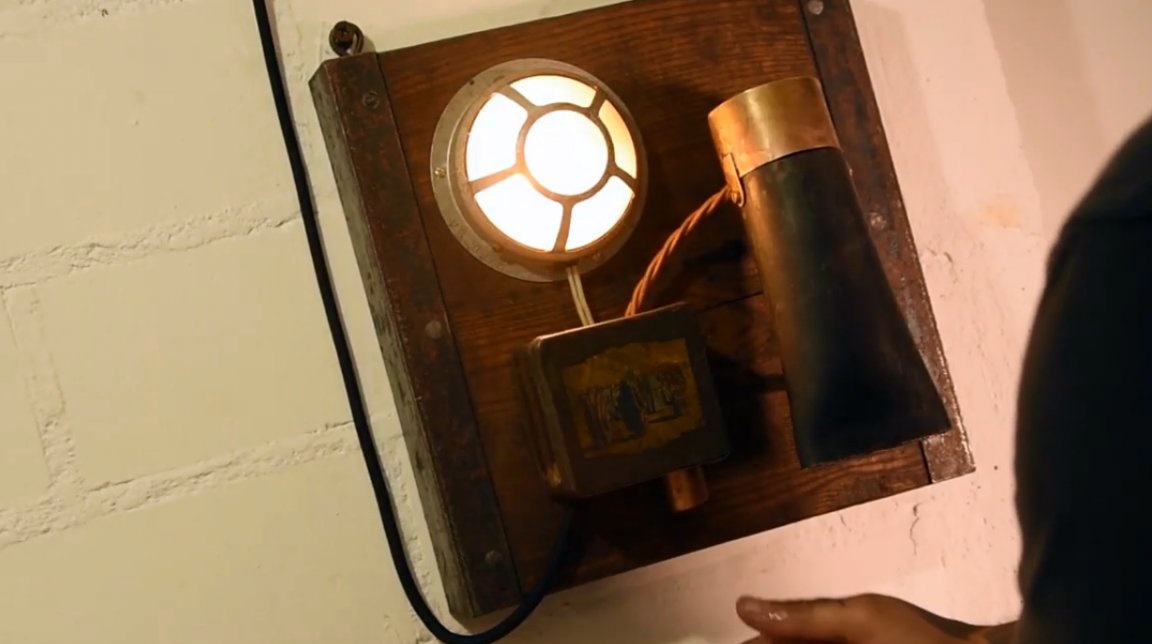
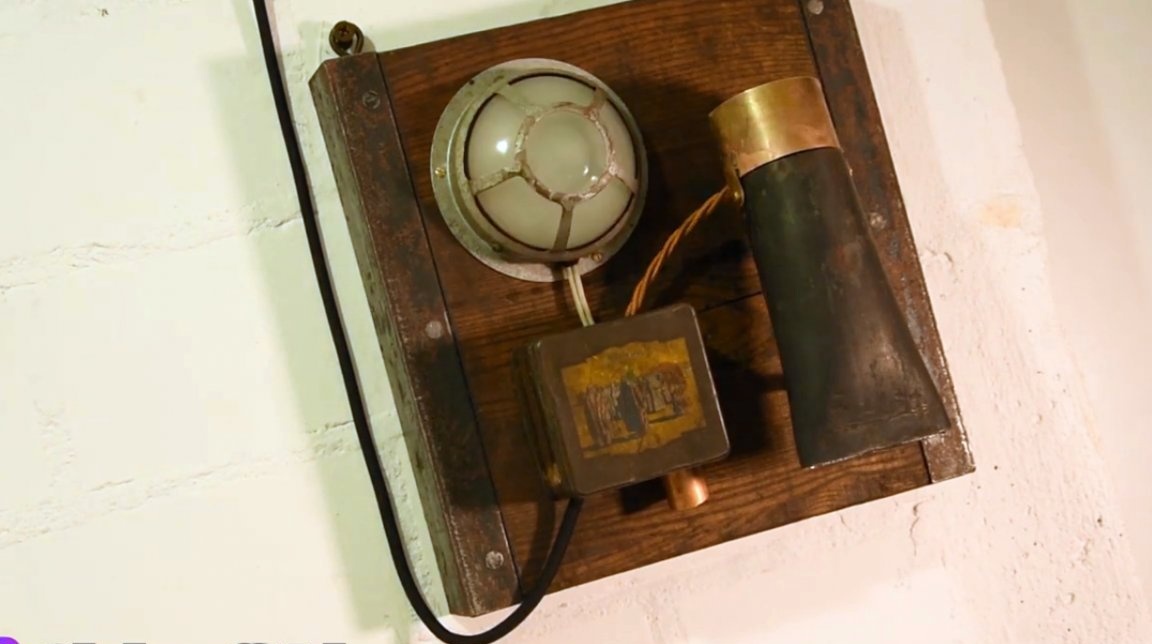
Thanks to the author for the unusual idea of making a steampunk hand dryer!
All good mood, good luck, and interesting ideas!
Author video can be found here.