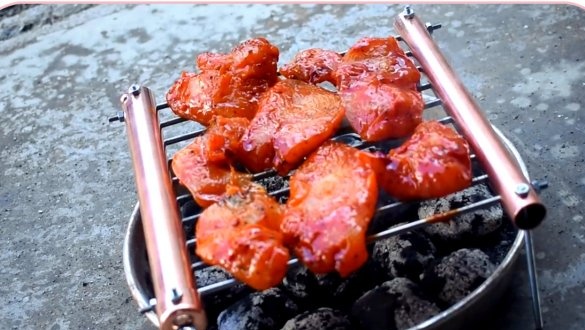
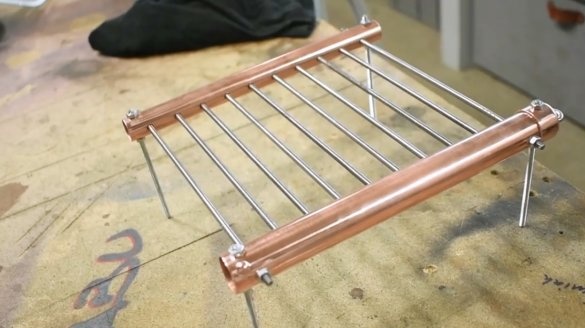
In this article, YouTube author Hassan Abu-Izmero tells you how he made a foldable pocket grill.
This homemade product will be a great gift for any tourist, or a lover of outdoor recreation.
Materials
- Copper tubes, plugs
- 4 mm stainless steel bar
- Solder, flux
- Carabiner, key ring
- nuts
— .
Instruments, used by the author.
—
-, cutting disc
- Belt sander
—
- Drilling machine
- Lerka, hacksaw for metal
- Countersink nozzle, metal drill
—
- Grinding machine, polishing disc
- Vise, file, file, jigsaw
- Ruler, marker.
Manufacturing process.
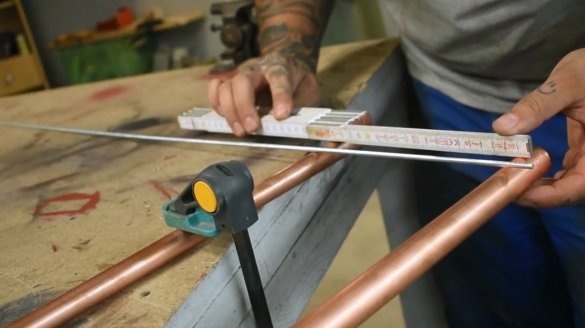
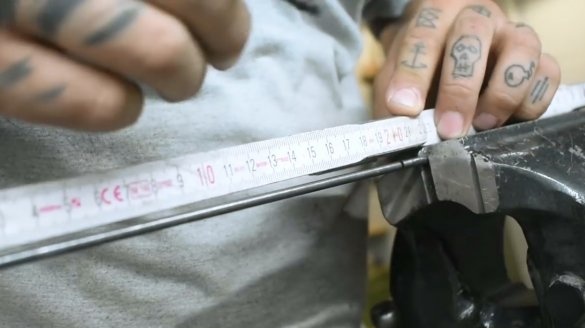
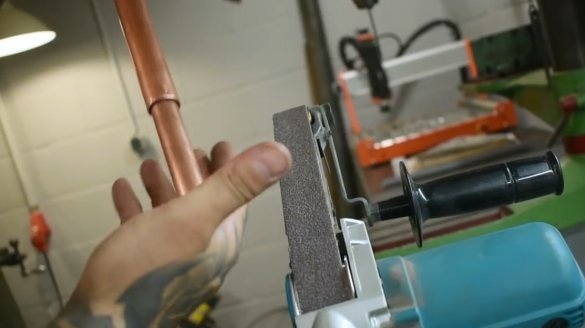
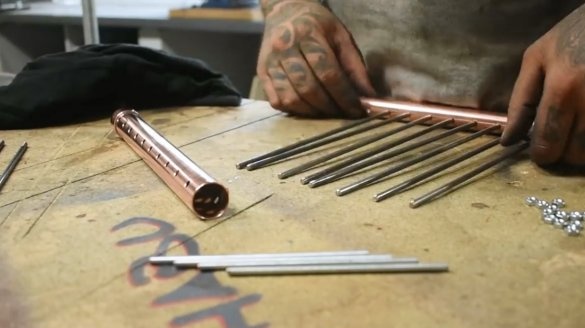
So, two copper tubes with a diameter of 22 and 20 mm will serve as the basis for the body of the mini grill. The author cuts two tubes 240 mm long.
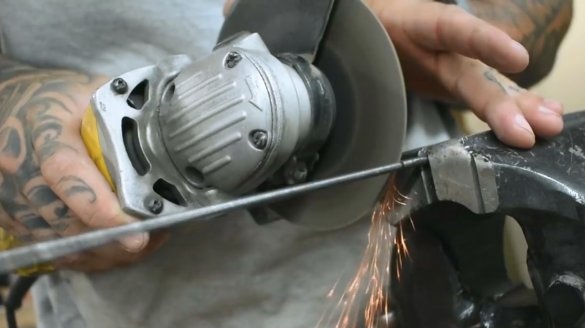
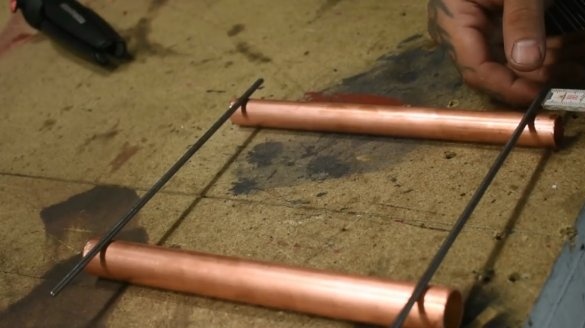
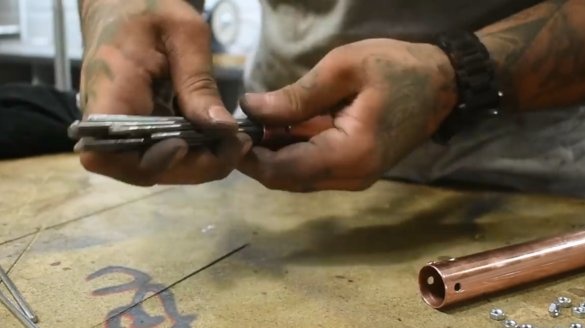
Now you need to cut from the steel bar blanks for the lattice, fixing rods, and legs.
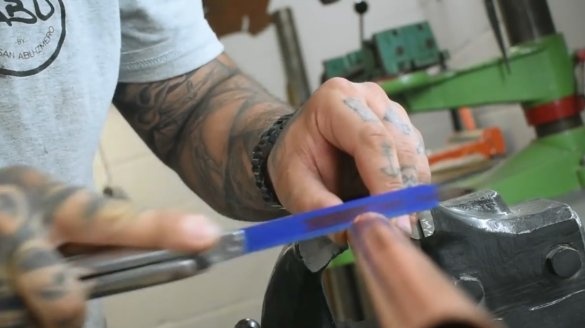
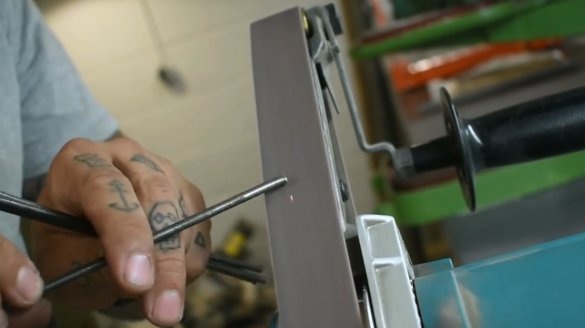
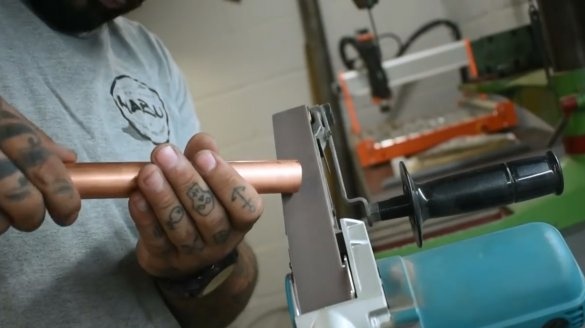
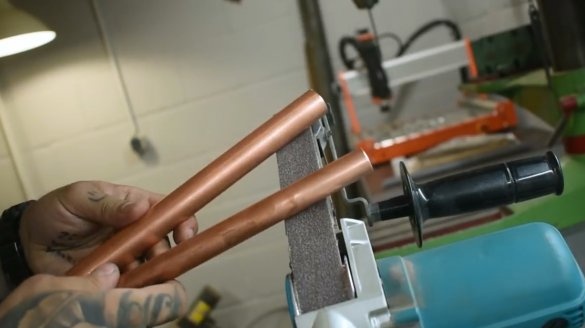
The edges of the rods and tubes are processed on a belt grinder.
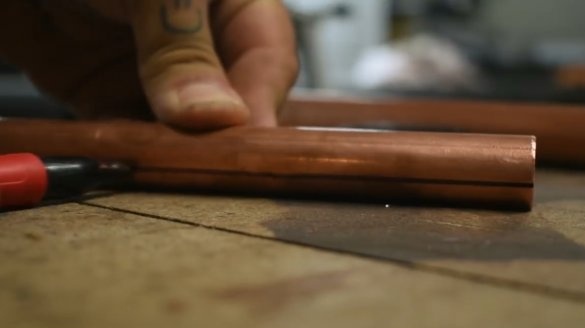
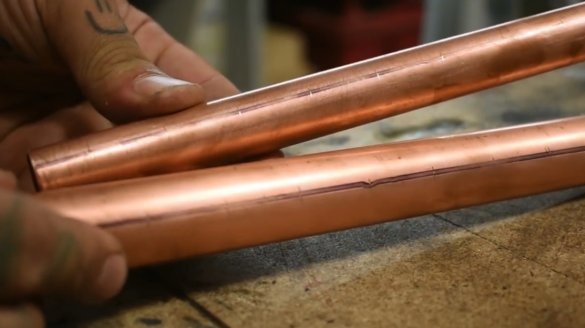
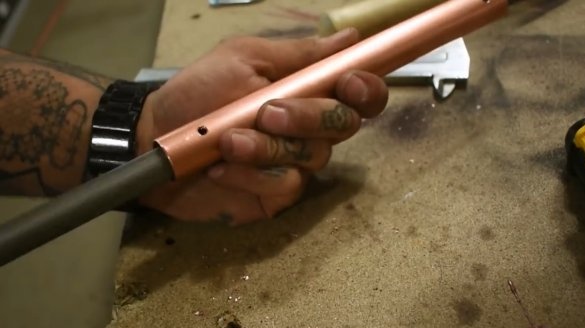
This is how the case of two tubes will be folded.
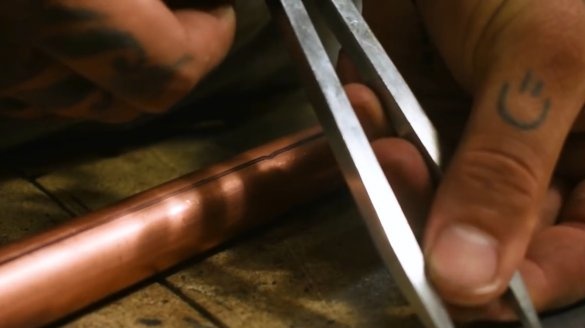
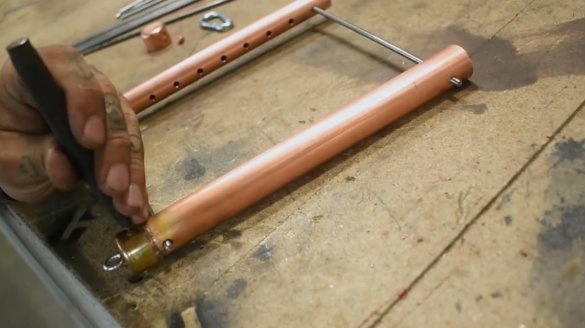
Next, the author pre-folds the structure, and marks the holes for the tightening rods.
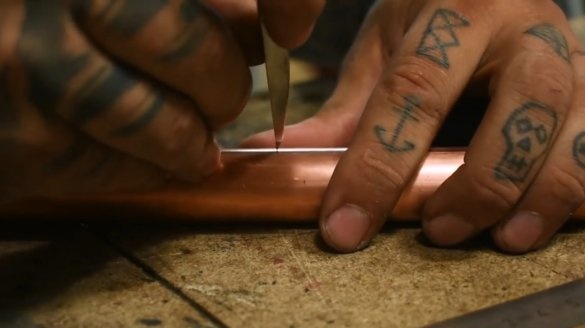
Then he marks the holes for the grill.
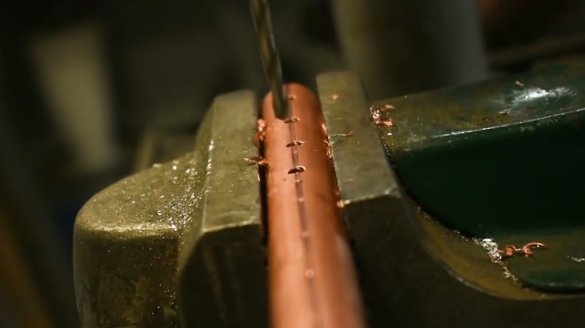
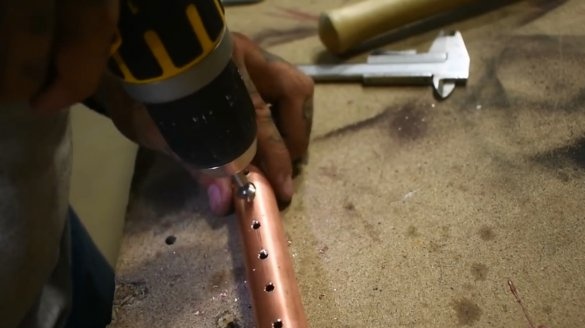
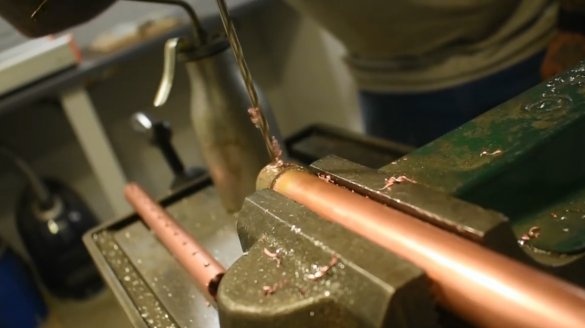
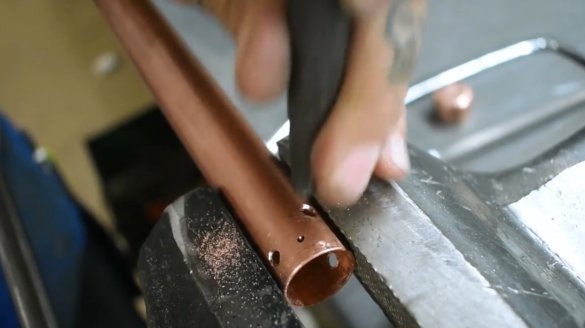
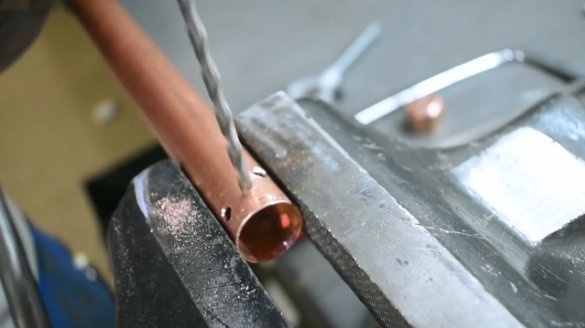
In both tubes, drills a series of holes for the grill.
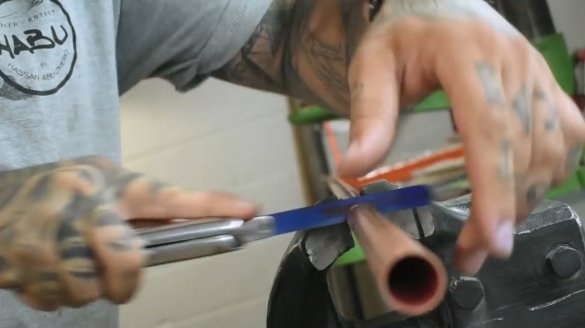
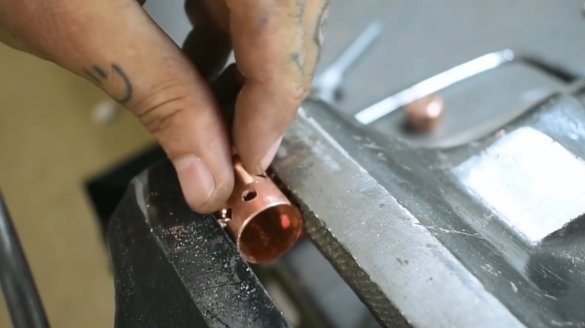
The resulting holes are countersunk from the outside, and processed by a file from the inside. This removes burrs.
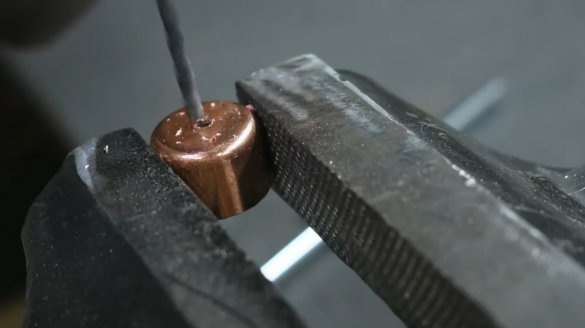
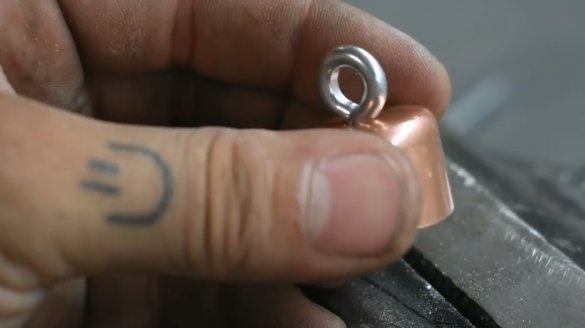
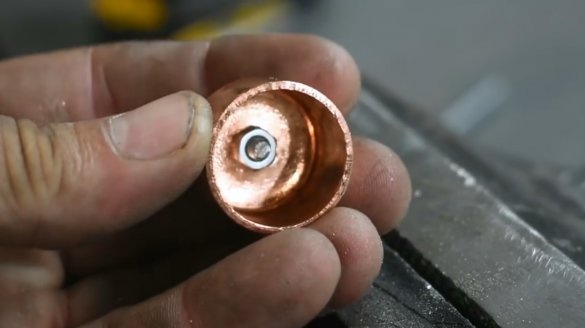
In one of the plugs, which will be rigidly fixed to the outer casing, a hole is drilled and a screw with a ring is fixed in it.
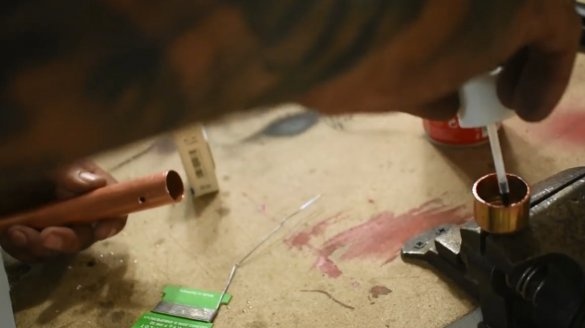
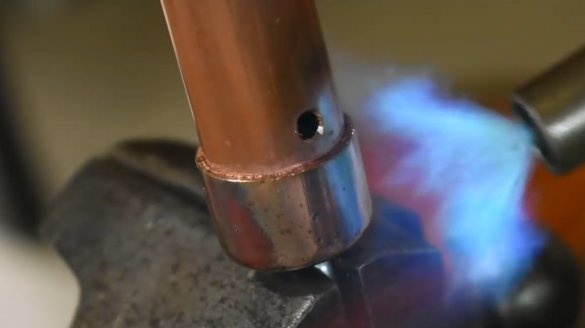
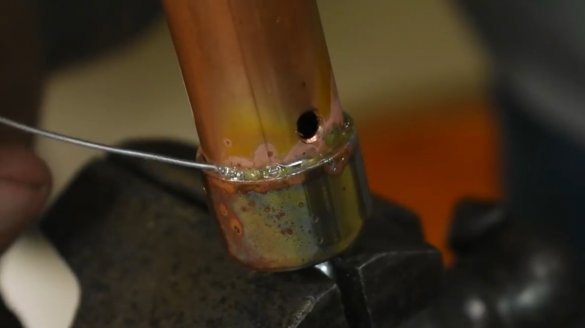
The inner surface of the workpiece is lubricated with flux, a tube is inserted into it, and carefully soldered with a gas burner.
At the edges of the tubes, the author turned and drilled through holes for the legs.
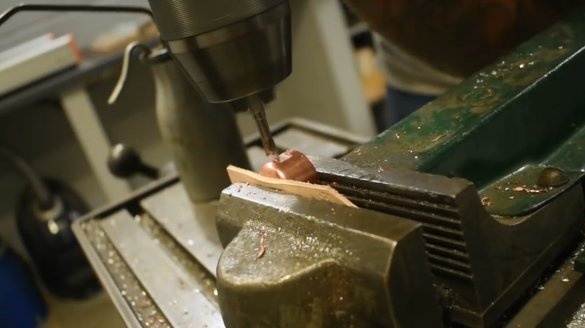
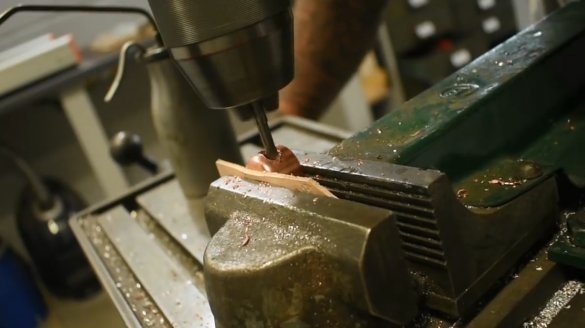
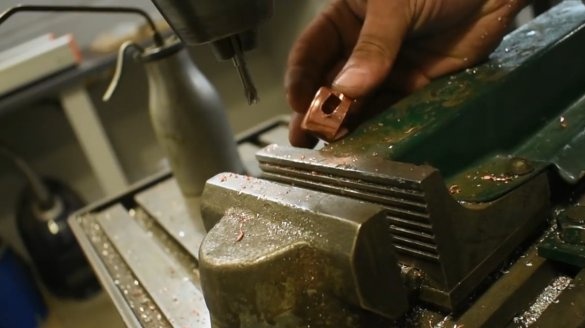
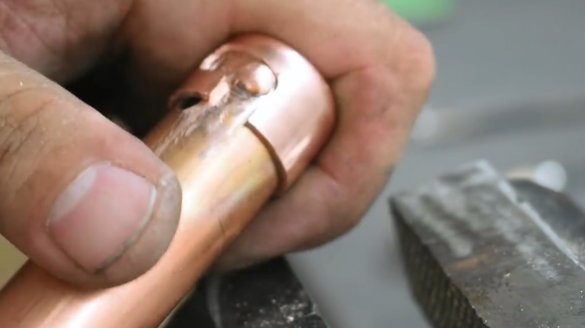
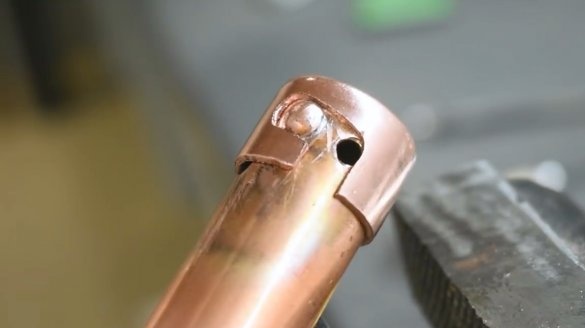
In the second plug, the diagonal hole of the latch is milled.
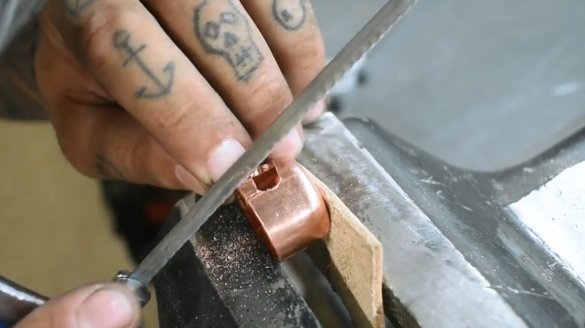
The place for entry of the pin is sawn with a jigsaw.
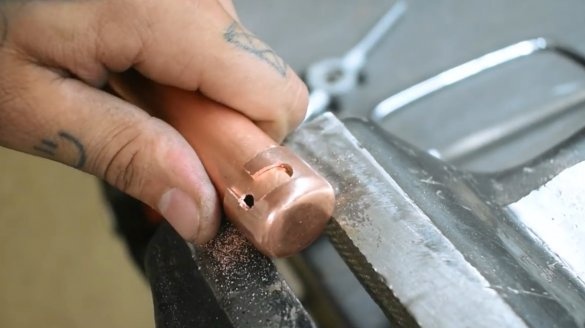
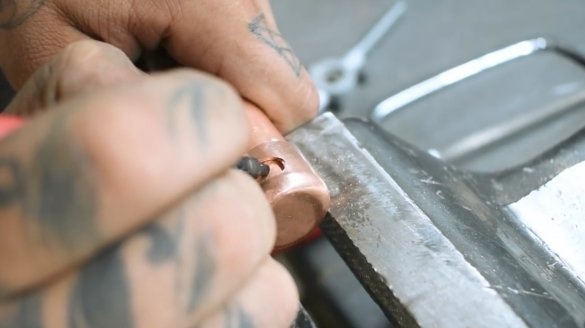
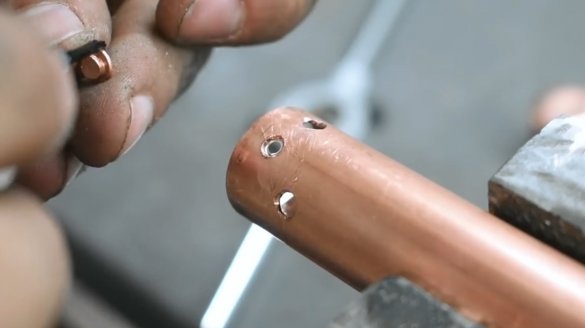
Now a hole for the rivet is drilled, and it will serve as a retainer.
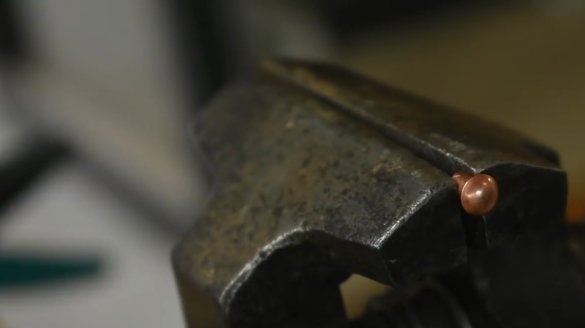
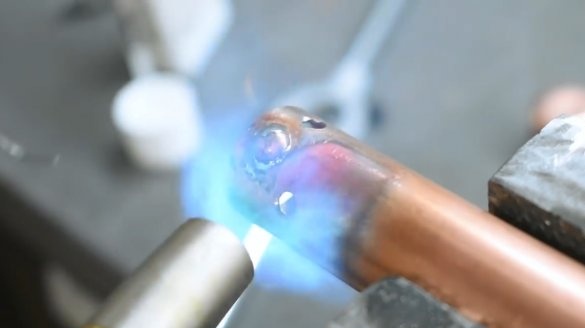
The rivet leg is too long, it must be cut to the thickness of the tube wall. She solders to her place.
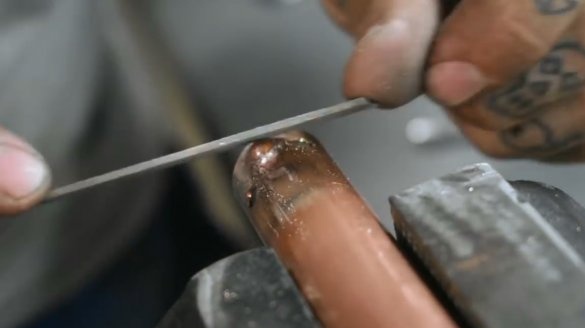
The seam is neatly filed.
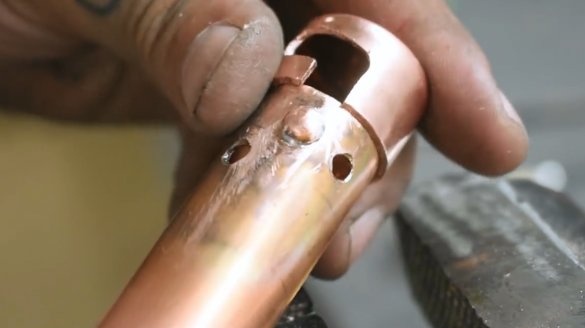
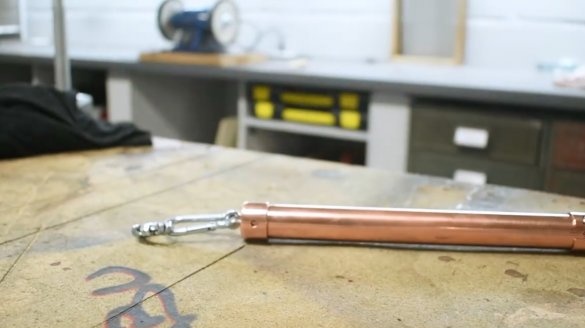
This is how the housing cover closes. To prevent it from rotating, the petal on the cork can be slightly bent inward.
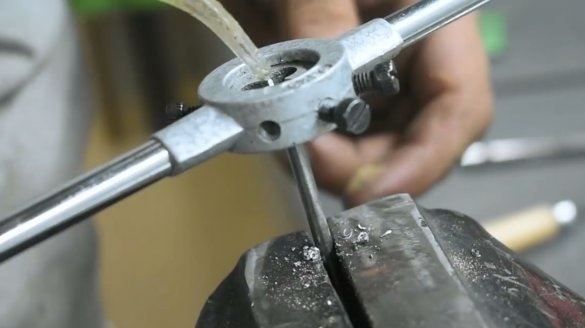
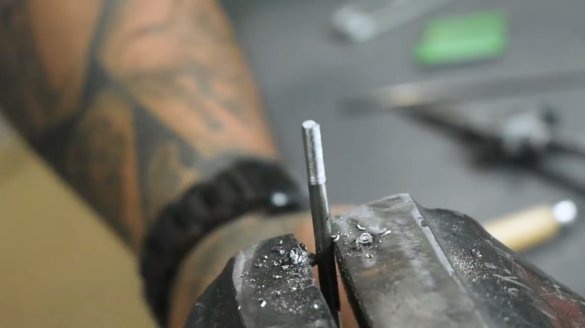
Next, the master needs to cut the thread on four rods for legs, and two tightening rods.
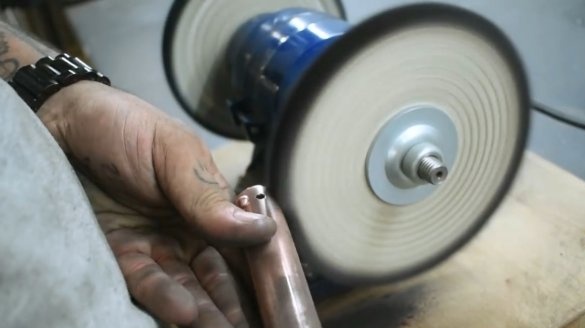
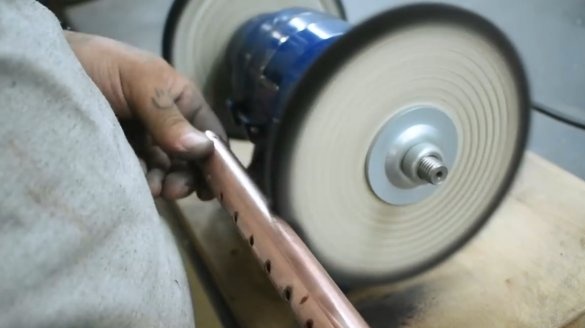
The surfaces of both tubes are carefully polished on the machine using abrasive polishing paste.
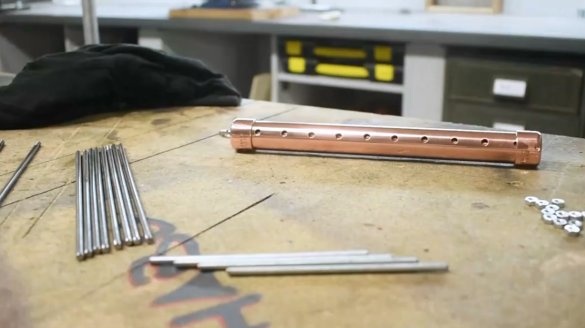
That's all, the whole set of mini grills is ready.
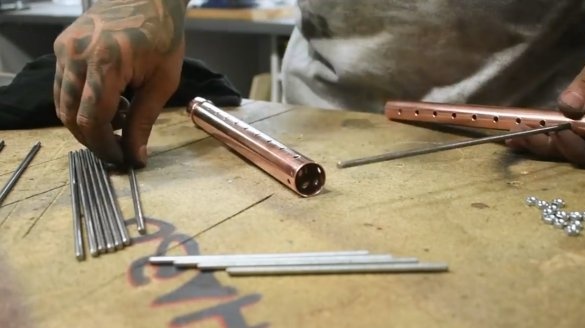
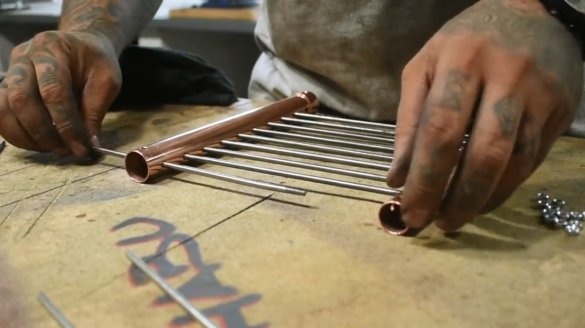
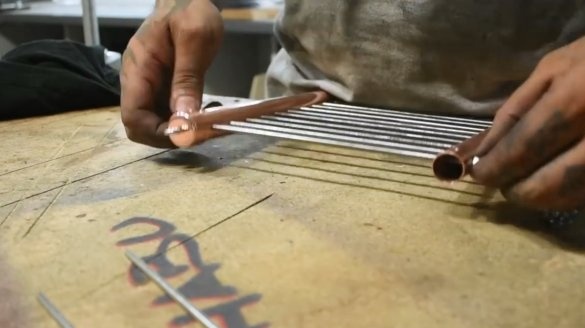
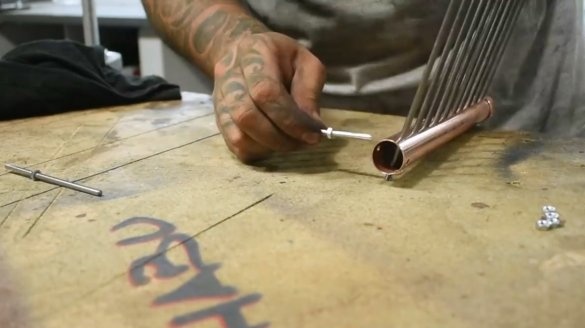
Now about how to assemble it. First, eight bars of the lattice are inserted into one of the tubes, and a return tube is put on them.
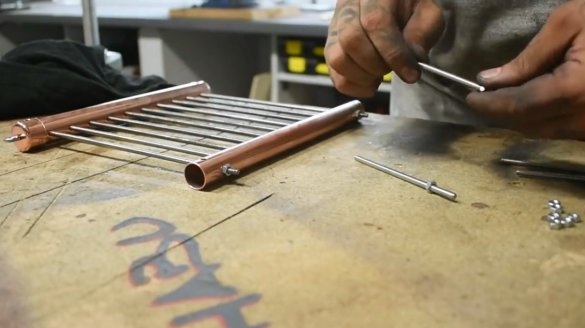
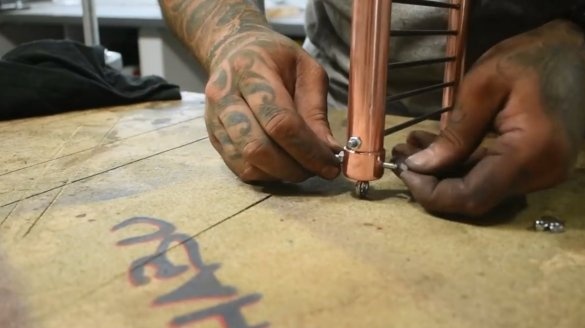
Both tubes are pulled together by two studs at the edges.
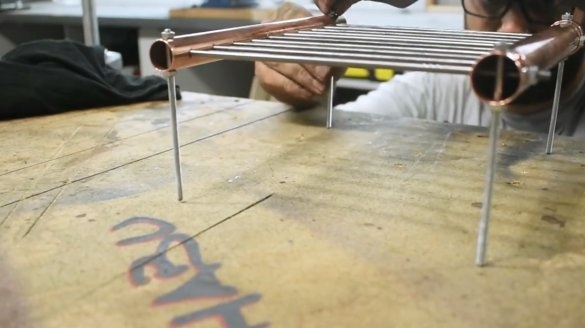
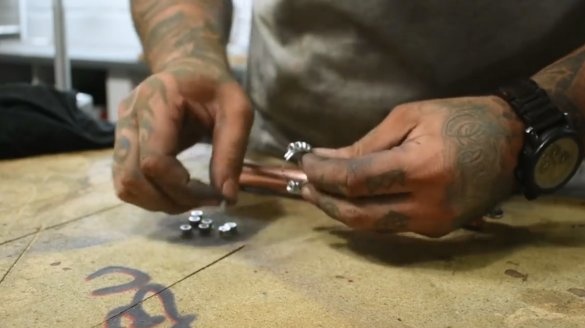
Screwed onto the threads of the legs along the support nut. The legs are inserted into the holes, and are fixed with another nut. The author used ordinary nuts, they are not very convenient when assembling such a design. Better to use the wing nuts.
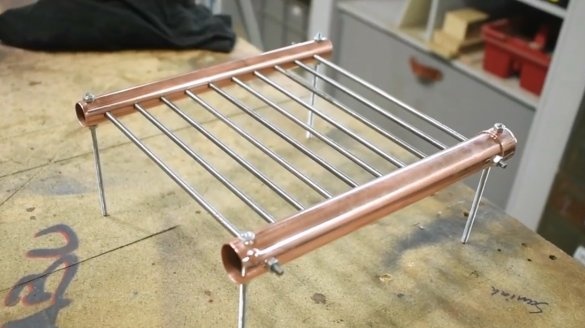
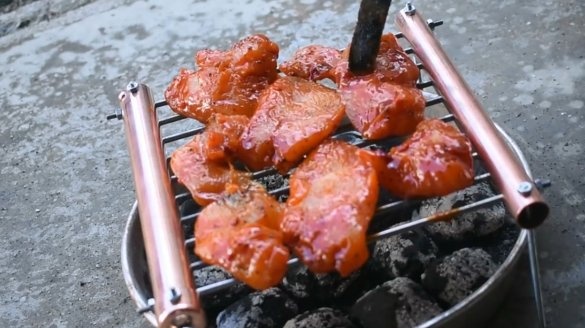
So, the mini grill is assembled. It turned out very beautifully.
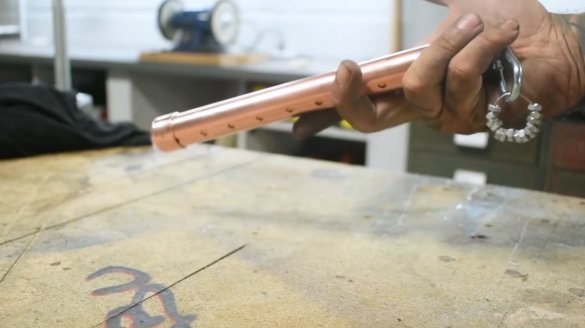
When assembling, you need to insert a thin tube into the body, then insert the rods and legs into it. Nuts are conveniently threaded onto a regular key ring. So they will not get lost.
The lid closes, a carabiner fastens to it. The ring with nuts is also fixed on the carabiner.
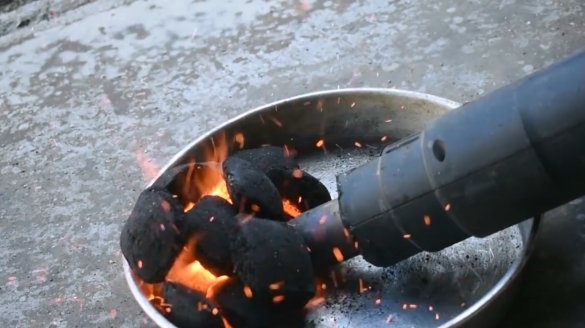
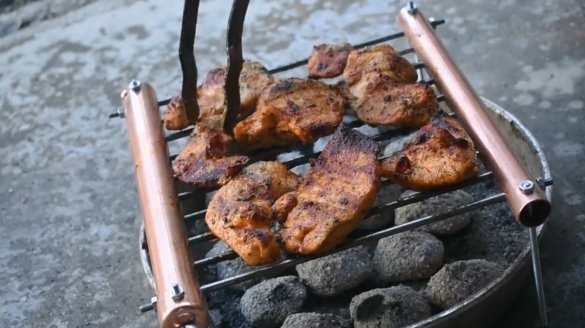
After the homemade product is ready, it must be tested in real conditions, and a little snack.
I thank the author for the great idea of making a pocket grill! Undoubtedly, such a homemade product will be a great gift!
All good mood, good luck, and interesting ideas!
Author video can be found here.

