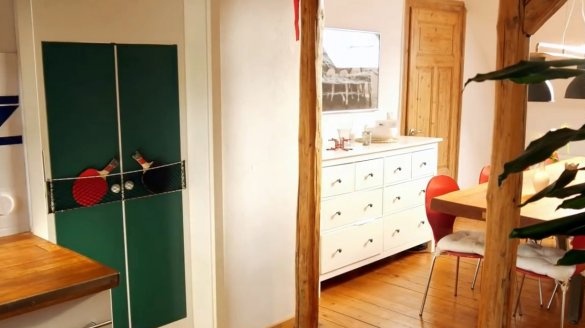
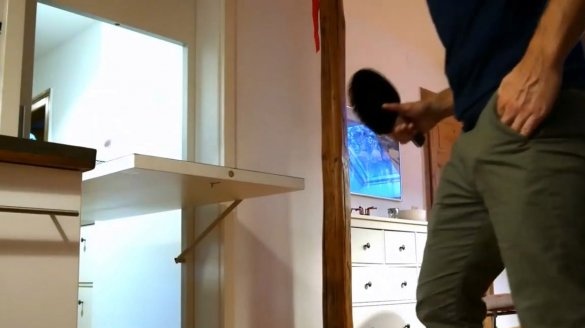
Do you like to play table tennis, but you do not have enough space for this at home?
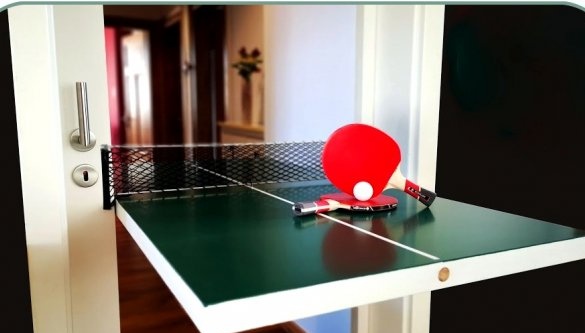
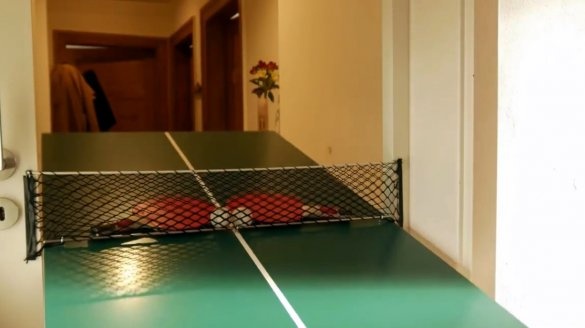
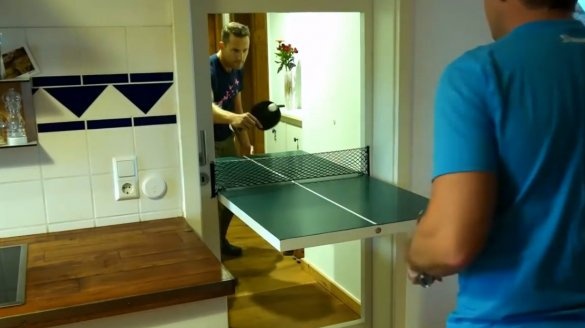
In this article, the author of the “create” YouTube channel tells you how he built a table tennis table into a regular interior door.
Materials
- Interior door with honeycomb
- Wooden beam
- steel bar
- rubber tube
- PVC pipe, wooden round timber
- PVA glue
- masking tape
- Wood screws
- Acrylic paint (white and green).
Instruments, used by the author.
—
—
—
—
—
-, cutting disc
- Belt sander
- Chisel, plane, knife, hammer, tape measure, ruler, pencil
- Paint roller.
Manufacturing process.
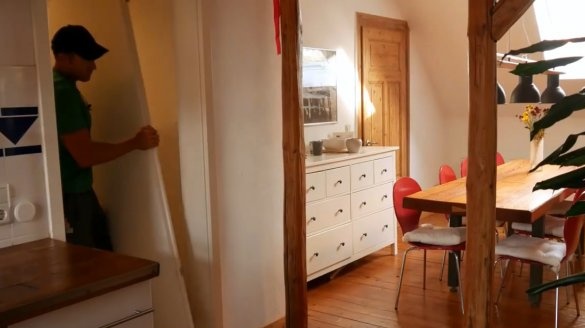
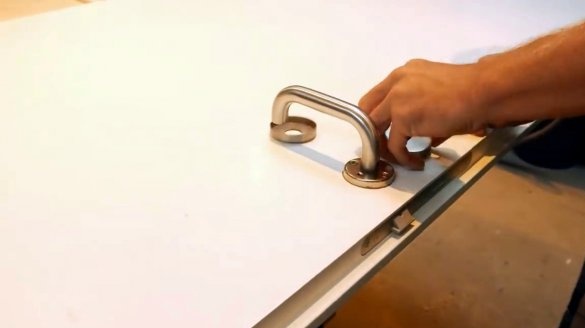
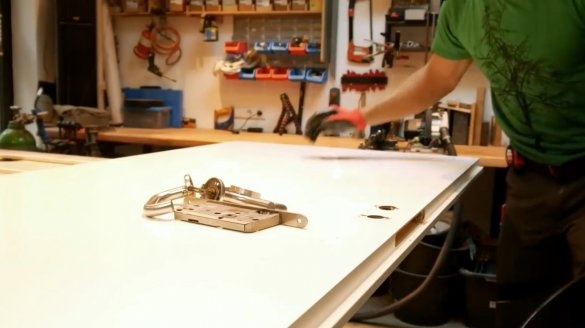
So, the author dismantles the interior door, transfers it to the workshop, and removes the lock mechanism.
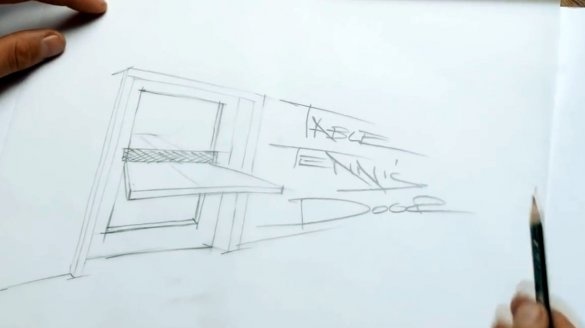
He makes a preliminary sketch of his idea.
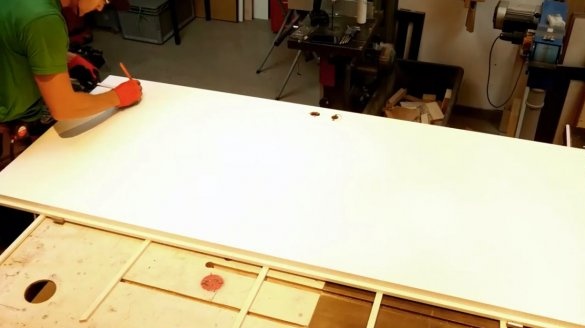
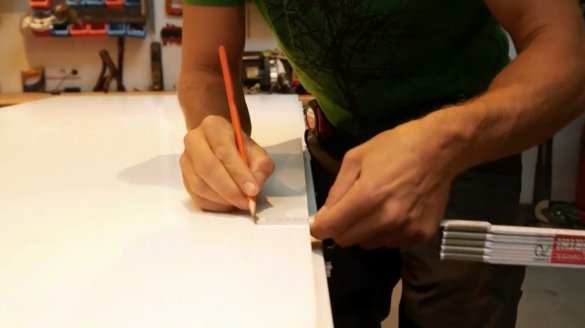
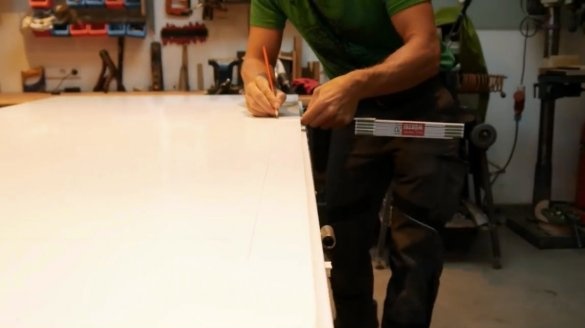
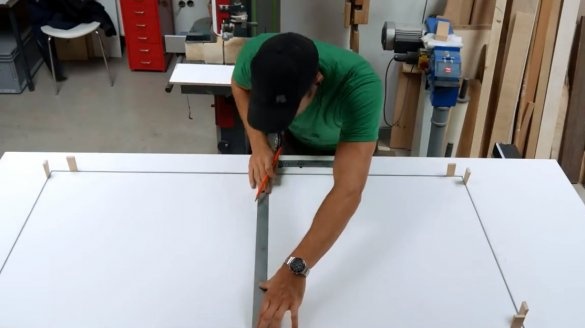
Marks the necessary cut lines, given the width of the lock mechanism, and internal stiffeners.
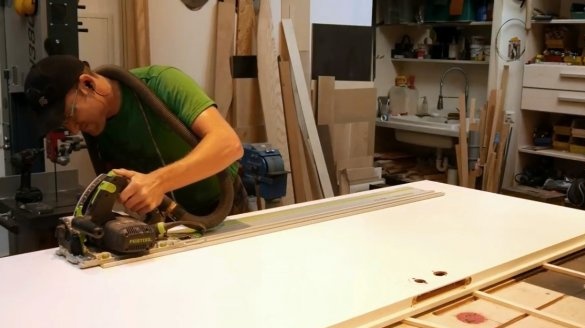
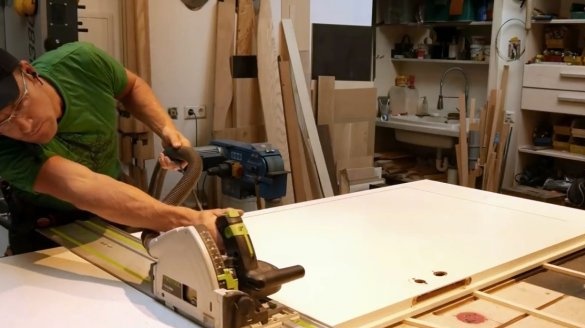
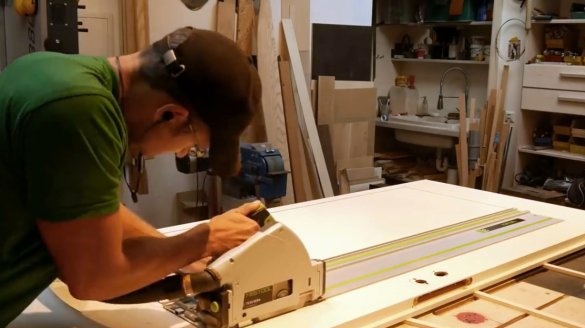
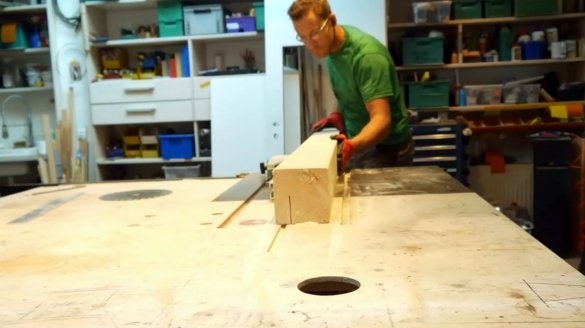
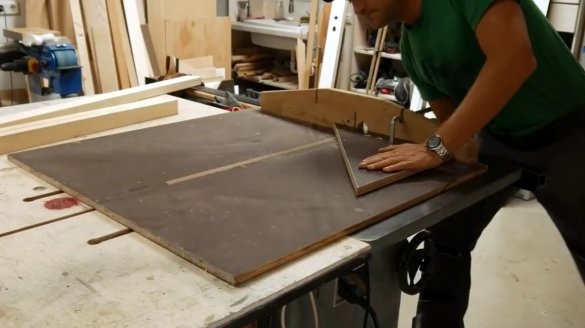
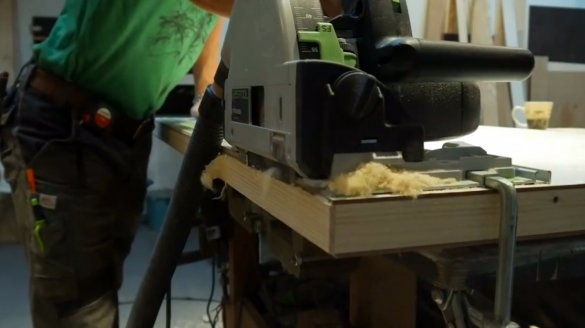
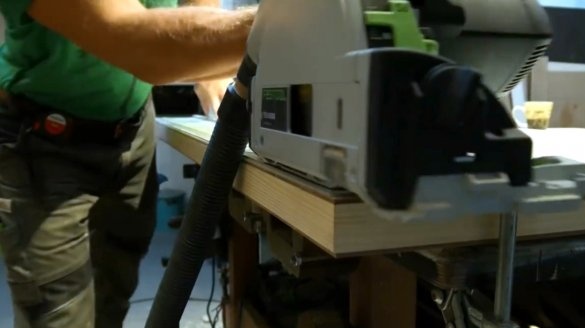
Using a circular saw with a guide bar makes the main cuts.
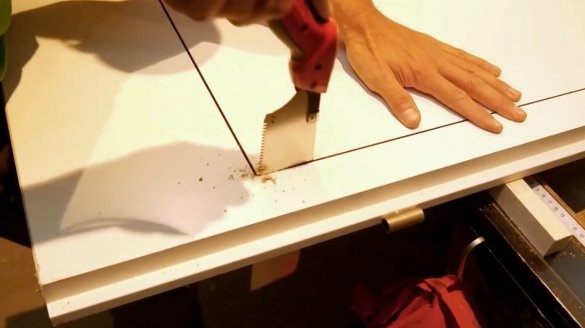
In the corners, the circular saw did not reach, so the master cuts them with a Japanese saw.
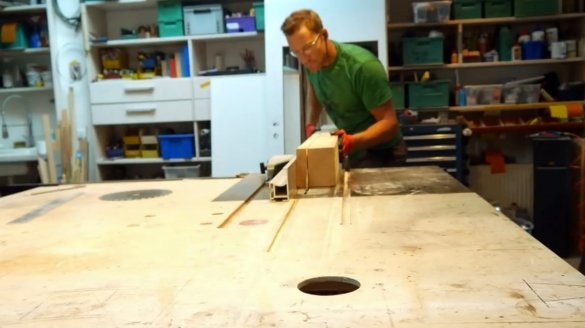
The author regrets that he did not acquire a suitable timber in advance, and he had to dissolve such a huge bar on the slats.
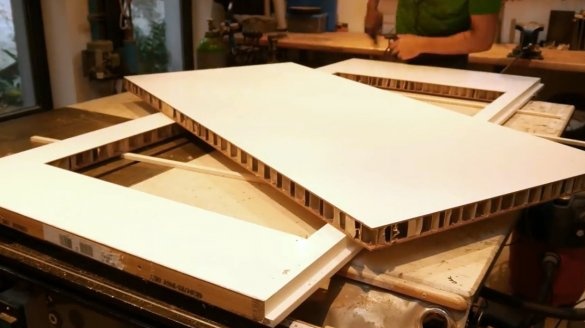
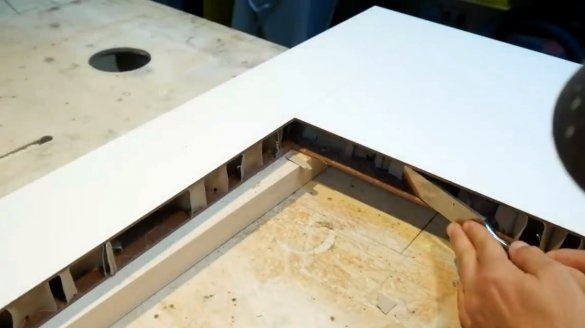
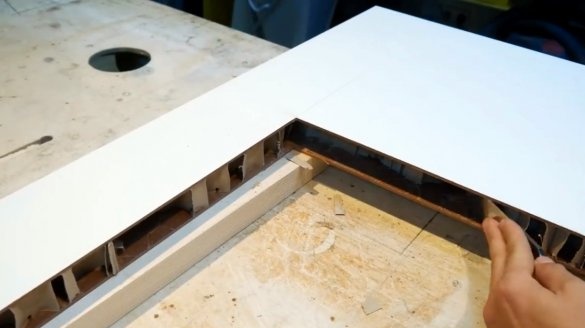
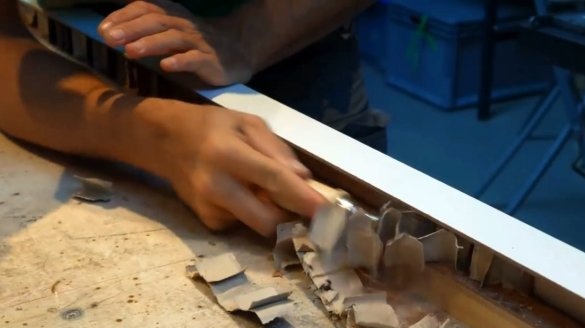
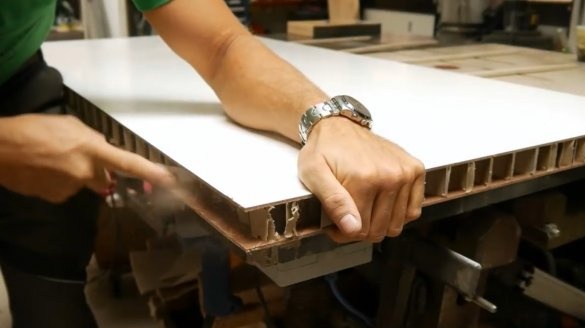
Now he crushes the cardboard honeycombs with a chisel, and simply cuts them out on the vertical sides.
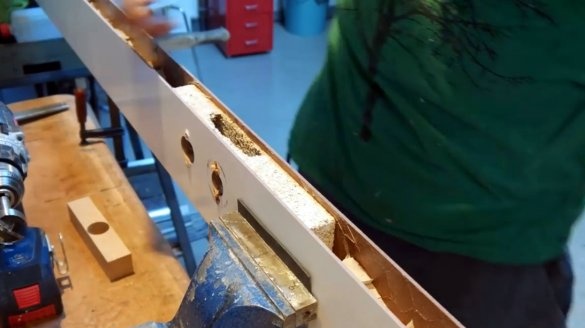
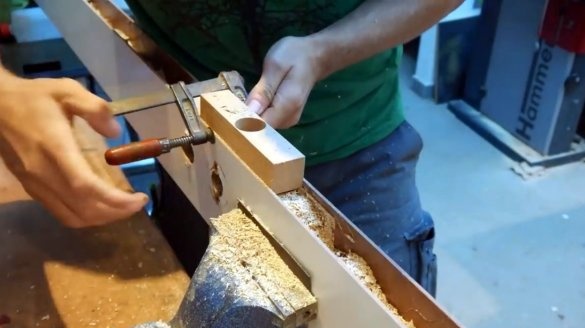
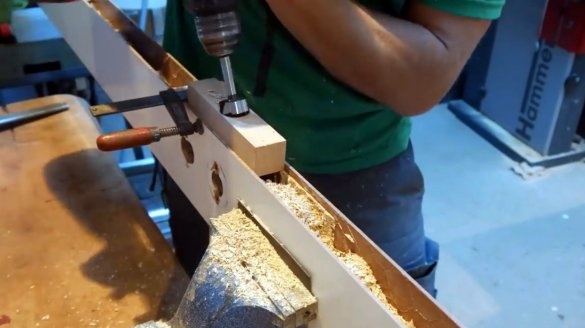
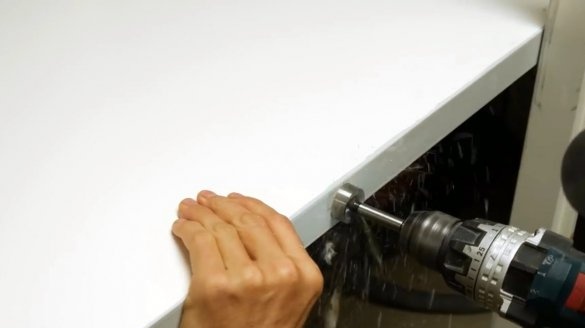
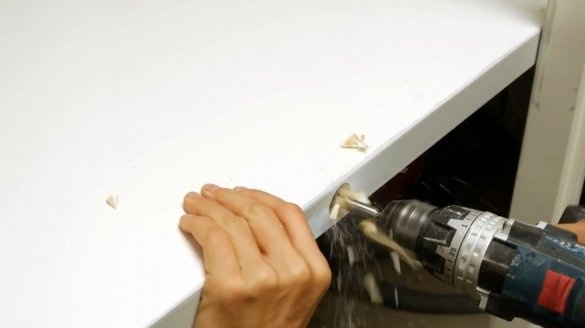
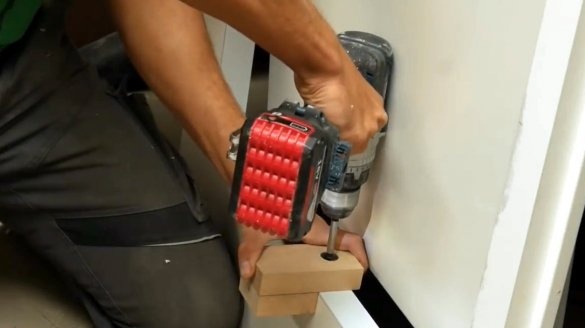
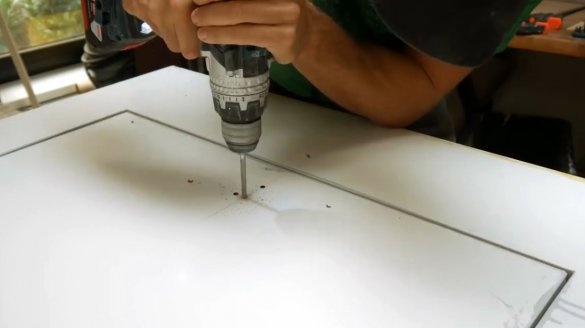
The insert in which the lock mechanism was installed will also have to be removed. First he drills it with a Forstner drill using a jig. This is necessary so as not to damage the outer layers of the door.
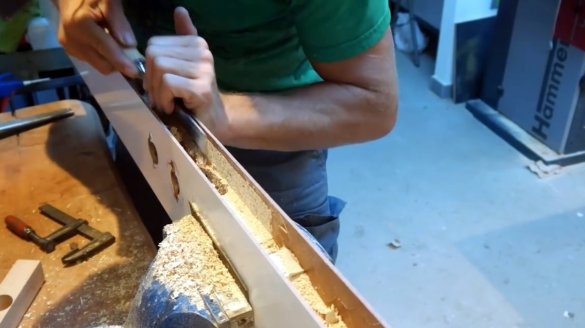
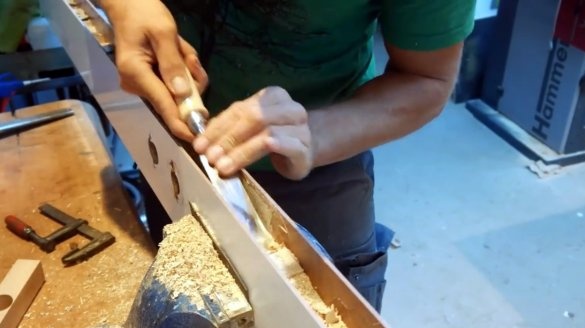
Residual material is removed with a chisel.
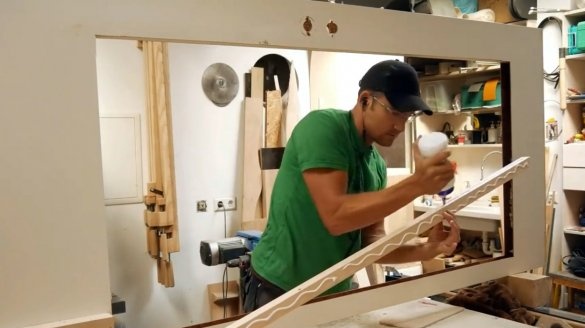
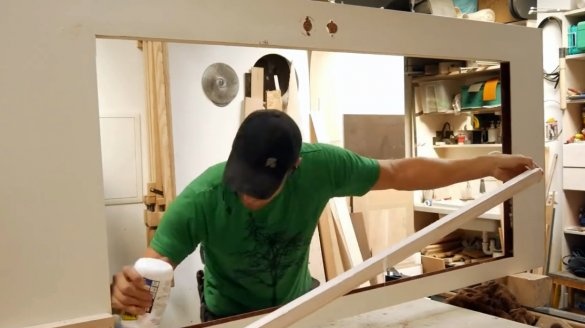
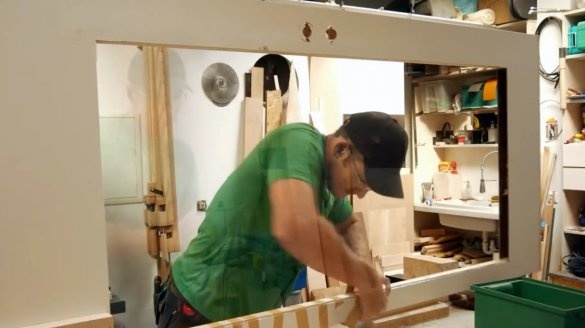
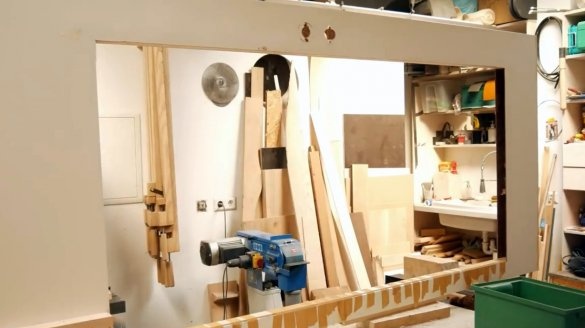
Glue is applied to the prepared beam, and distributed with a piece of carpet.
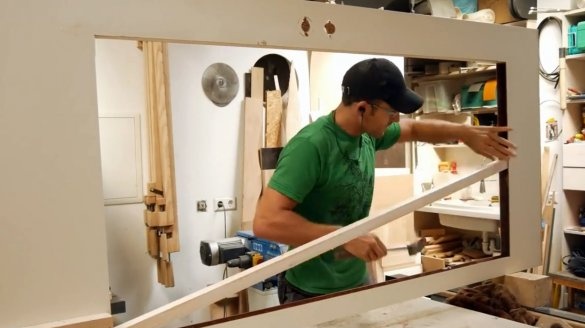
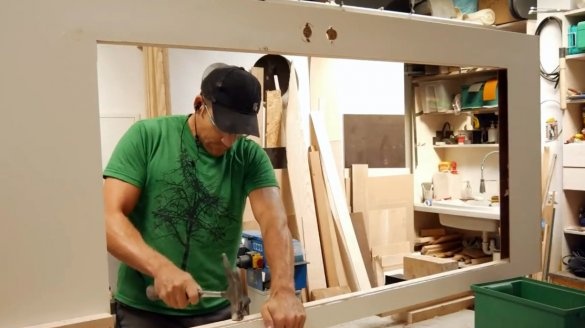
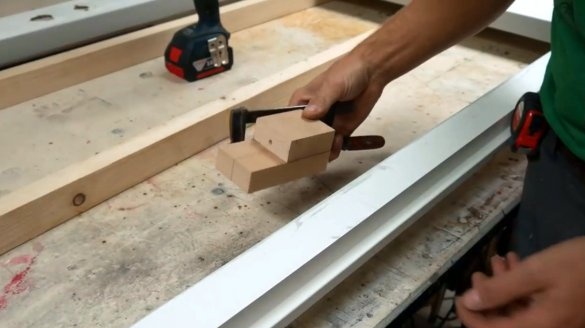
Glue is applied to the inside of the door, then the block is hammered into place.
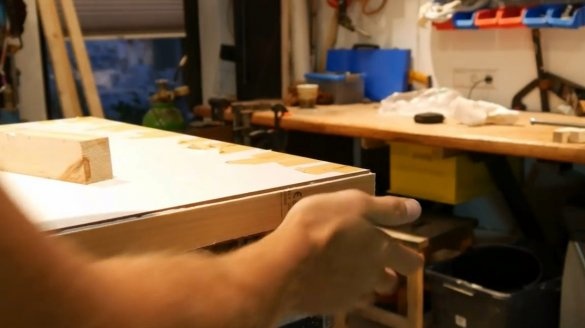
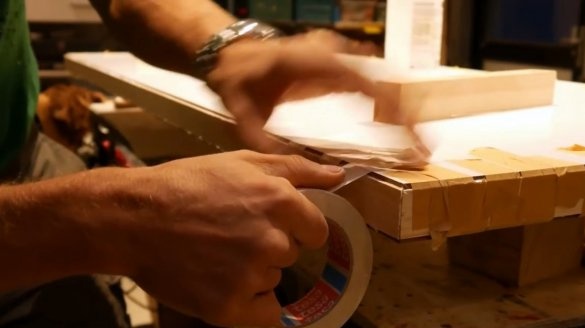
For tight bonding, the master preferred to use a masking tape, tightly pulling together the parts.
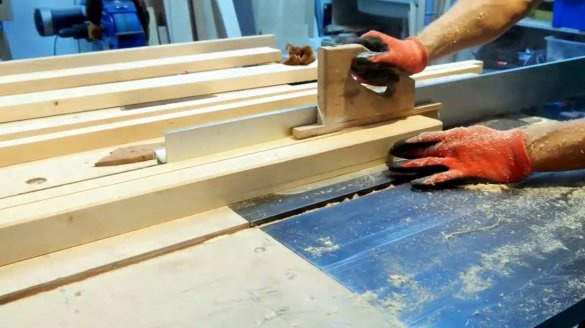
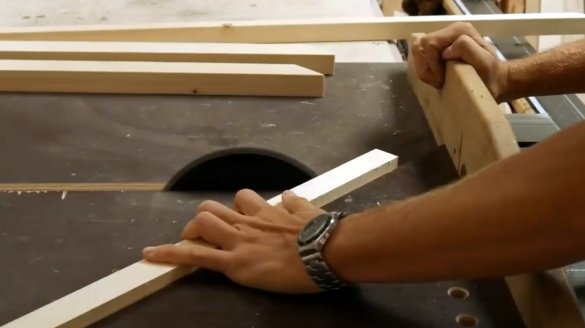
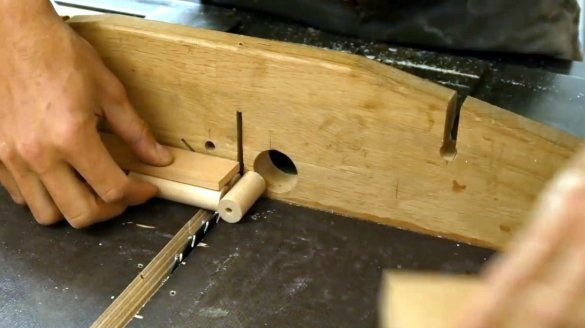
Now you need to prepare the slats for making the frame of the table itself. The ends of the planks are trimmed on a circular saw at 45 degrees. For this, the author uses a special carriage.
Prepares the grooves in the door leaf, crushing the honeycomb to the desired depth.
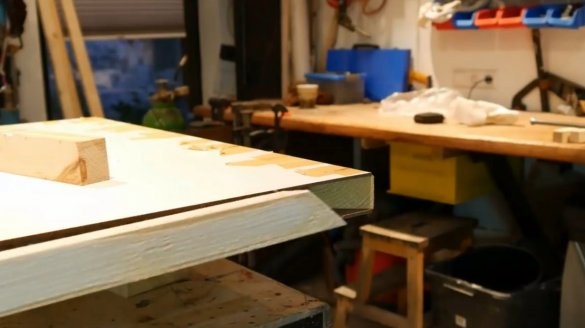
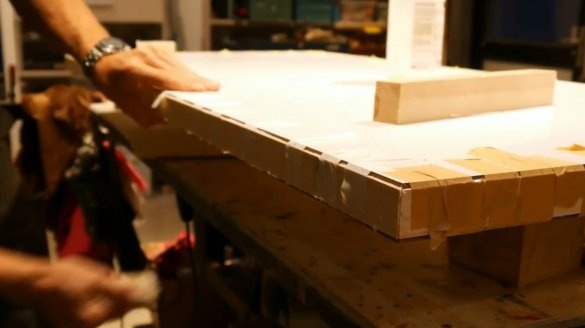
The strips are glued around the perimeter, and are fixed with a masking tape.
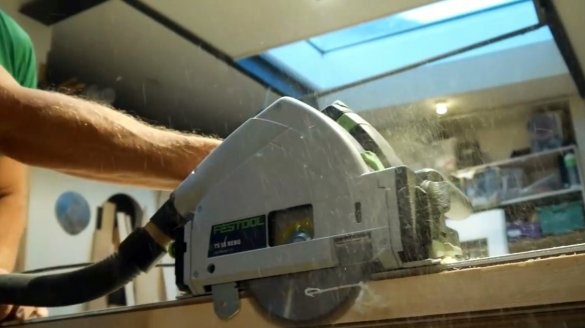
After the glue dries, the master removes the masking tape, and processes the ends with a circular saw, cutting off the protruding parts of the planks.
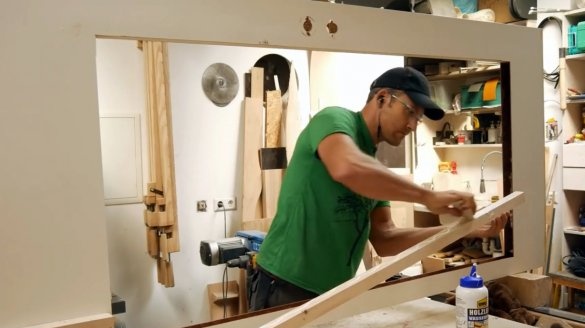
Sharp edges are planed.
Inserts the table into place, wedges it in the door leaf, and marks the center line.
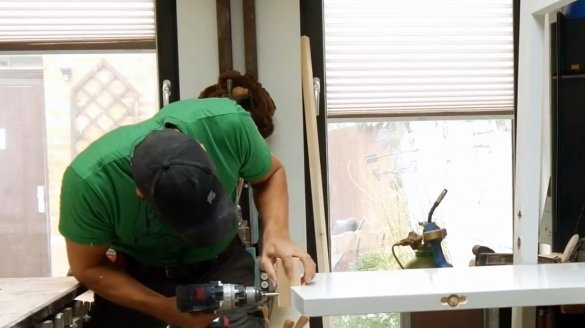
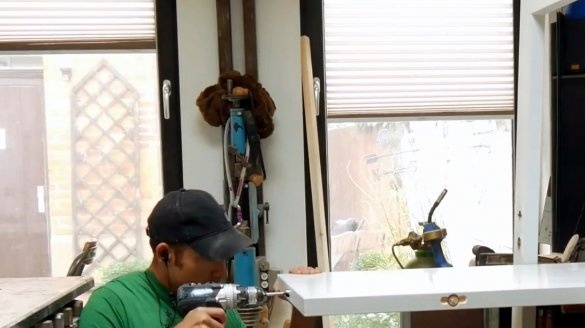
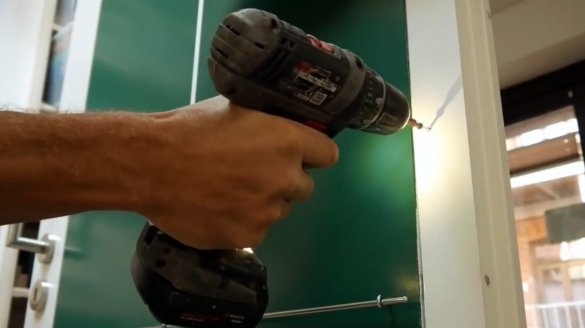
Using a conductor, a through hole for the axles is drilled in the door leaf. This operation is performed on both sides of the door.
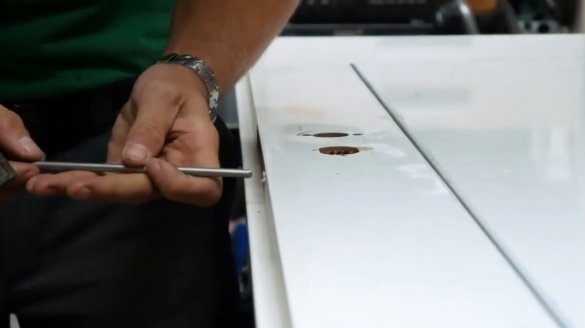
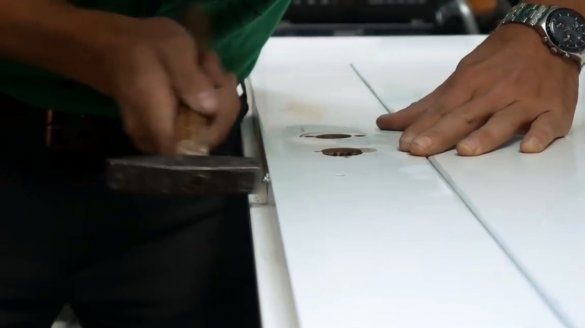
Again, sets the table in place, and drills holes in it. Then it clogs the axles from the steel bar.
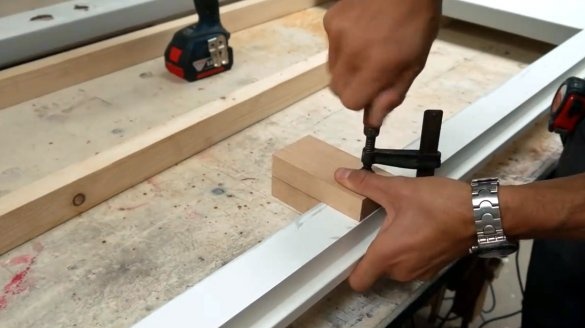
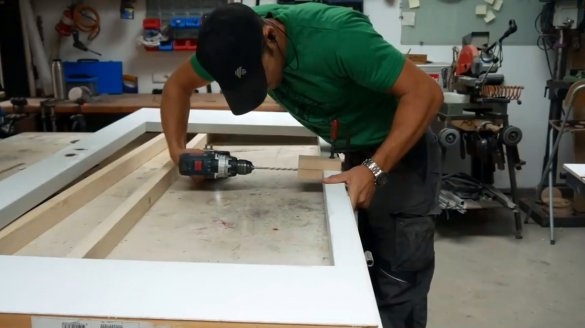
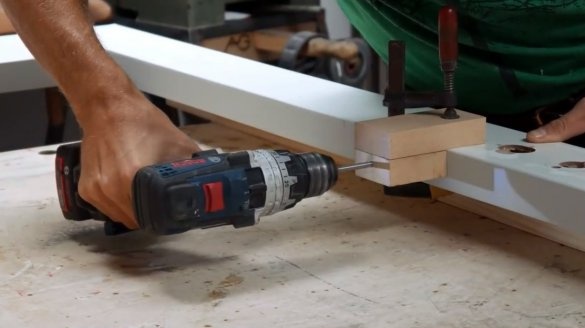
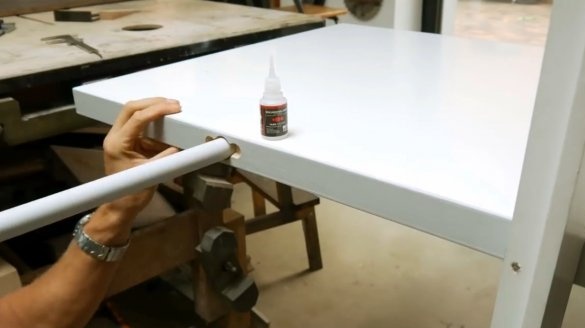
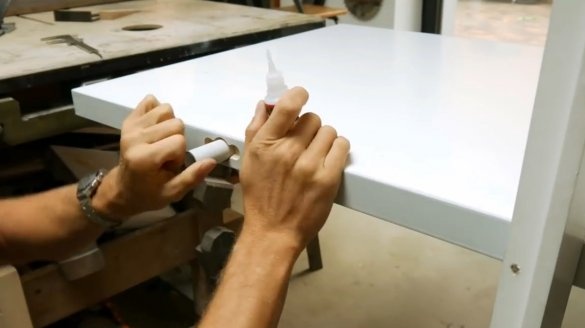
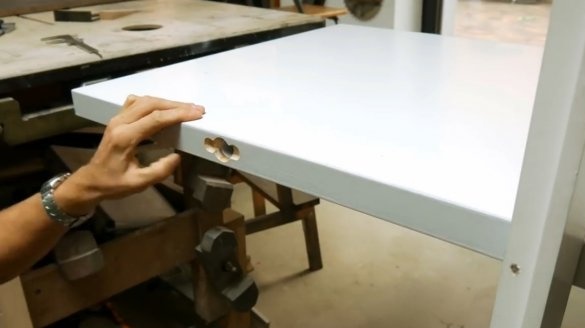
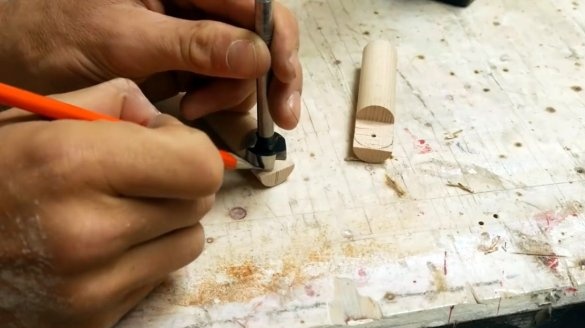
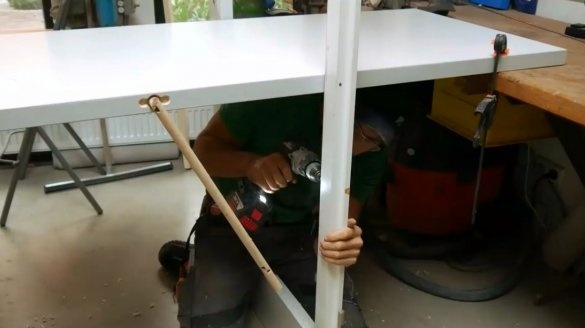
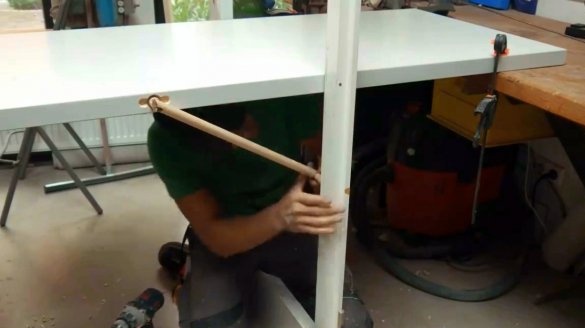
He opens the table, fixes it to the workbench with clamps. Drills a hole for a folding support with a Forstner drill.
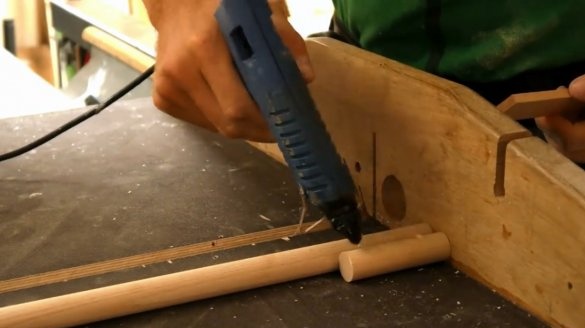
Inserts a thin-walled PVC pipe into the hole, the edge of which is glued using a second glue.
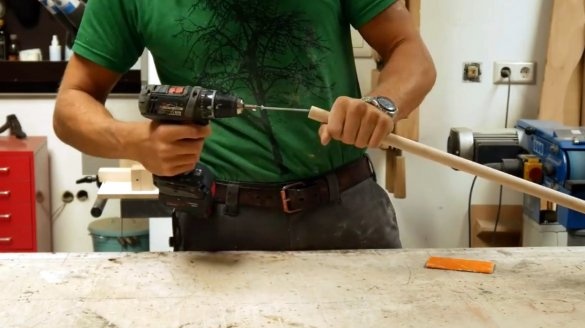
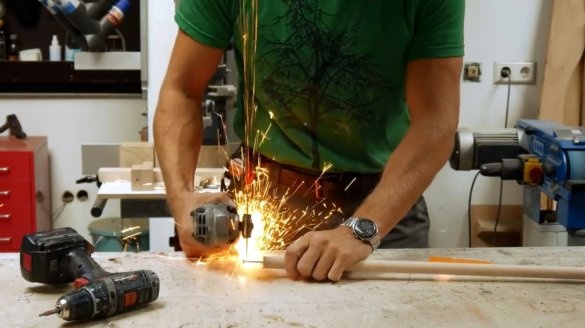
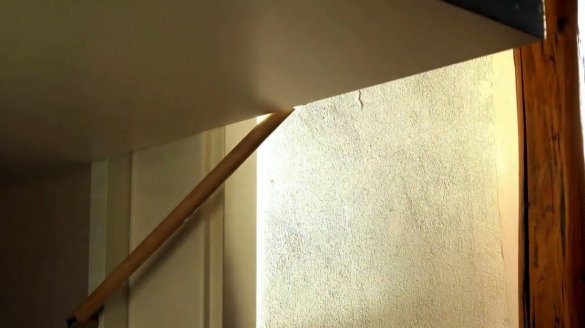
The author proceeds to the manufacture of the prop itself. A self-tapping screw is screwed into the end of the wooden round, and cuts off his hat with a grinder.
Now the screw is clamped in the screwdriver's chuck, and the round timber is processed with sandpaper. In this way, the master adjusts the diameter of the round timber so that it freely enters the tube.
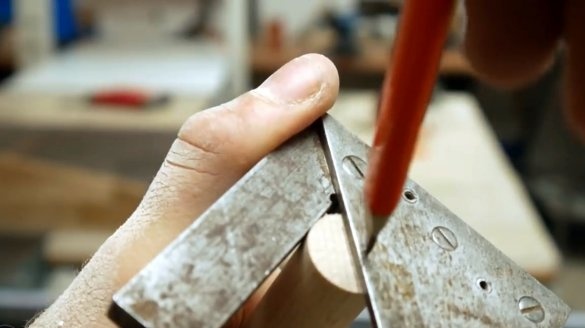
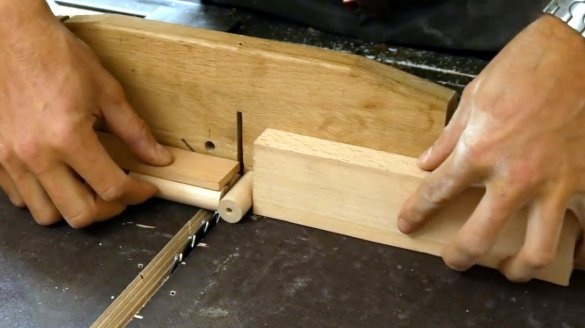
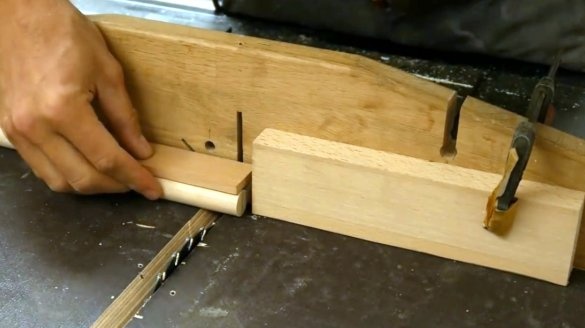
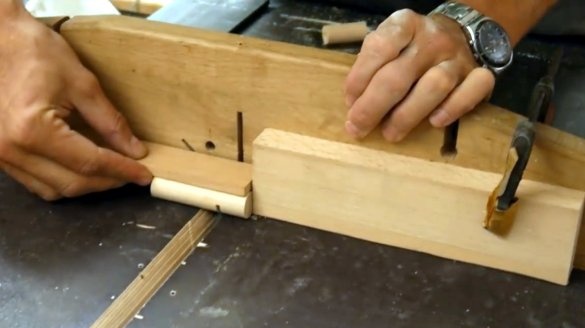
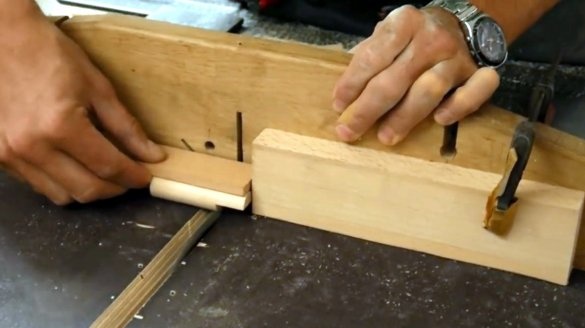
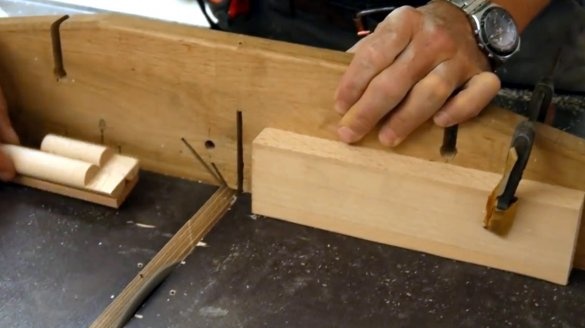
Using a square, he finds the middle of the round timber, and sets the height of the saw blade.
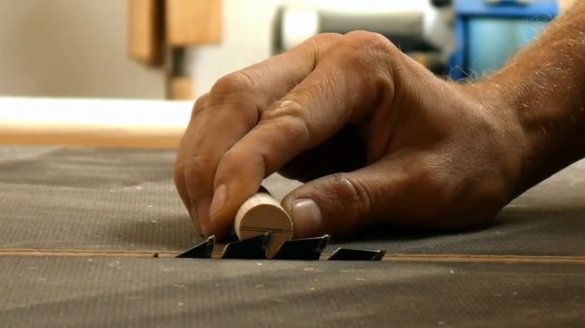
For a swivel, he needs to cut half the thickness of the workpieces. Sets the stops on the carriage.
Now, in a few passes, these are the parts to back up.
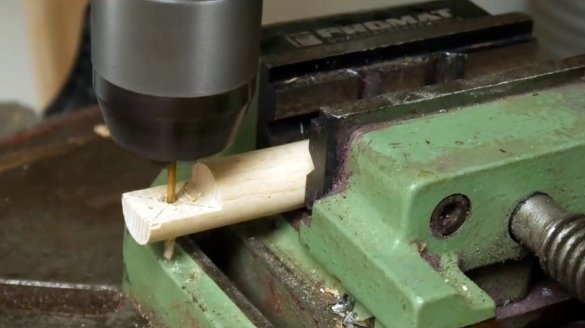
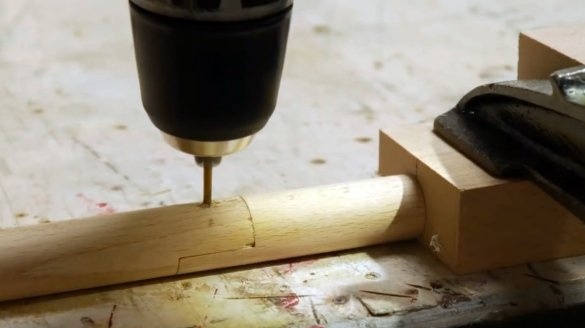
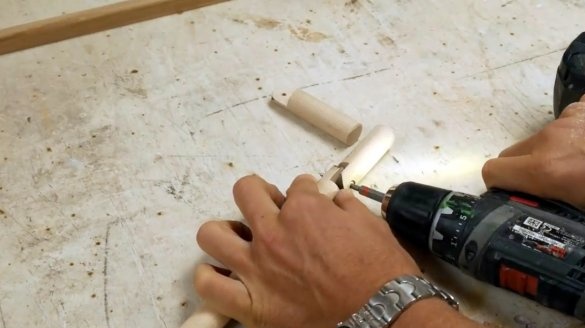
They drill holes for the connecting screw.
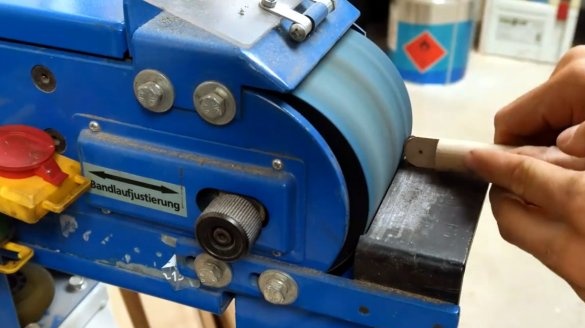
The edges of the workpieces are marked and rounded off on a belt sander.
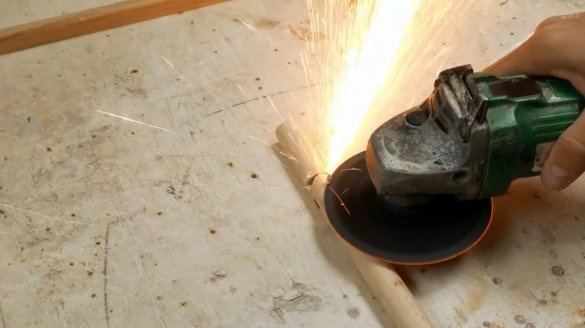
Now you can tighten the connecting screw, and cut off the excess with a grinder.
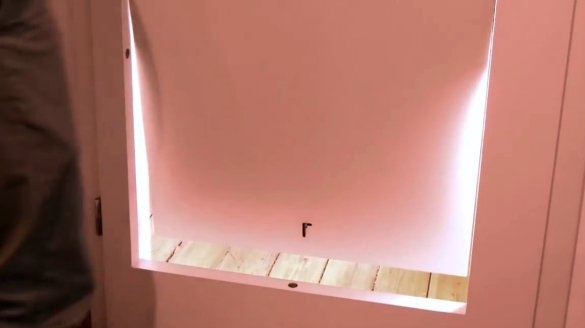
A hole for a backup is drilled in the door.
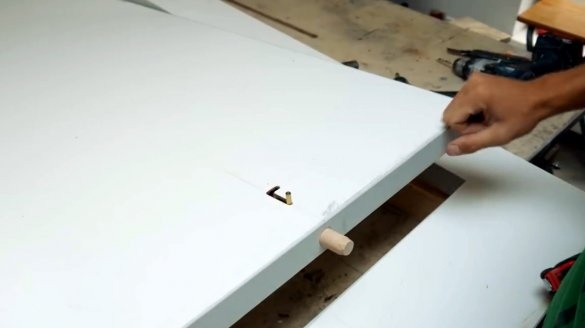
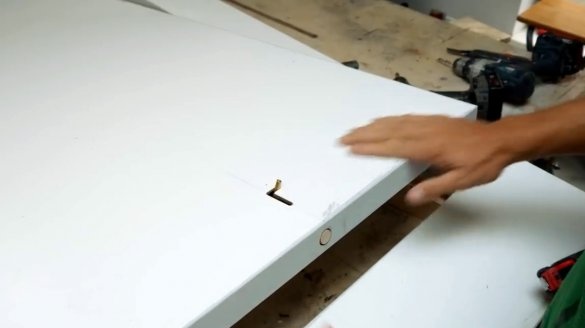
Next, the master is taken for blocking latches. Drills holes in the lower and upper parts of the table and door.
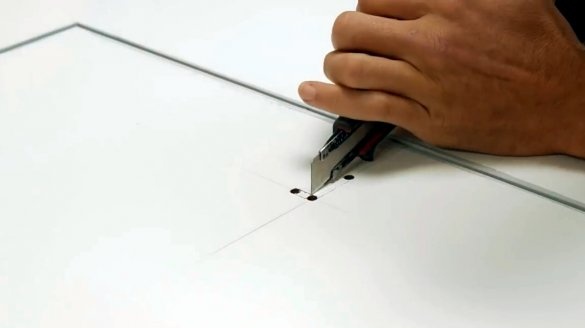
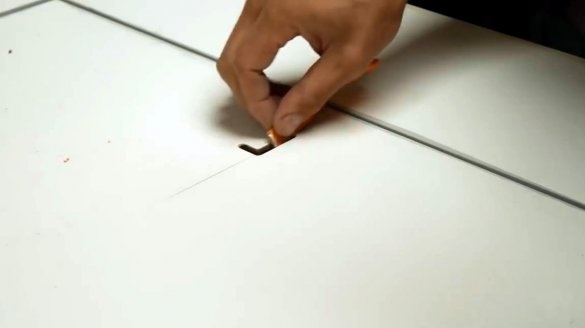
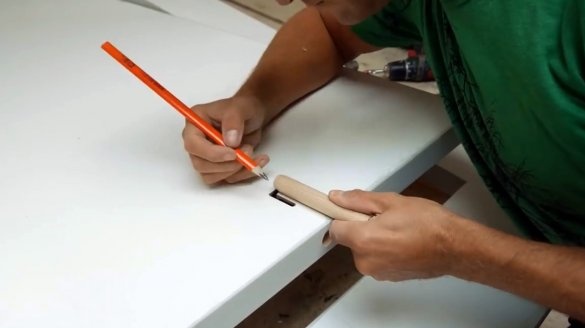
Makes a slot for the tail of the latch.
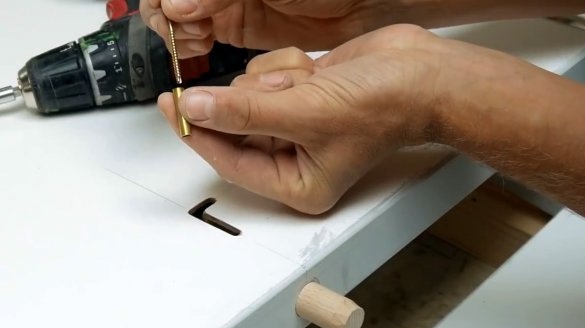
As a tail, he uses a self-tapping screw with a sleeve. Twists it in a bolt.
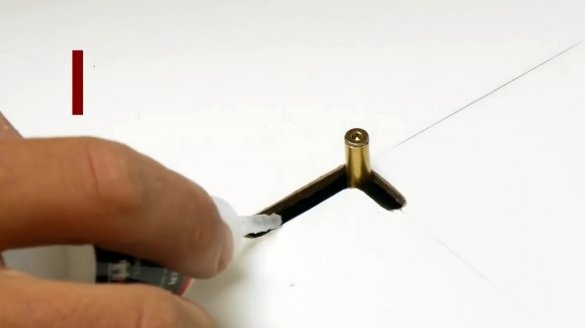
The mechanism is working. To strengthen the edges of the hole, the author impregnates them with second glue.
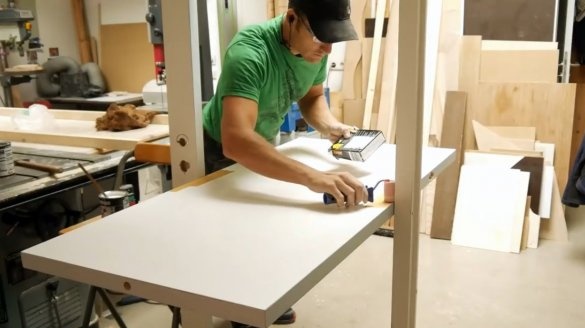
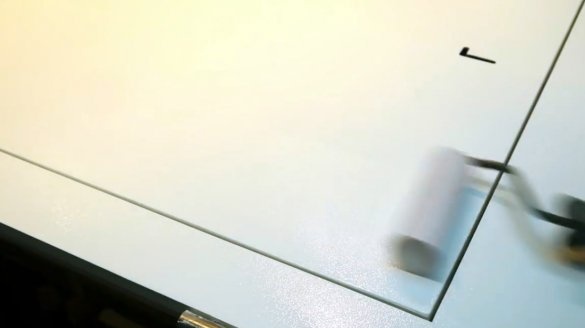
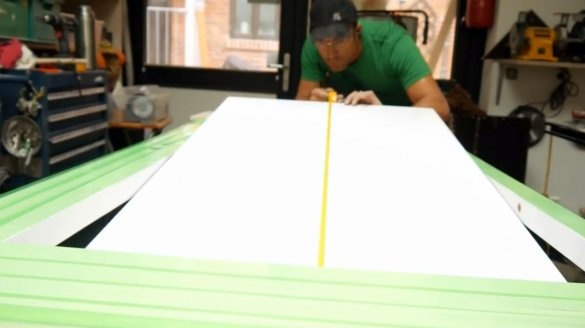
The next step is the master paints both sides of the door with white acrylic paint using a roller.
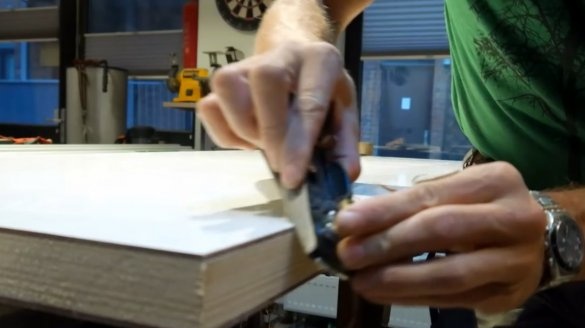
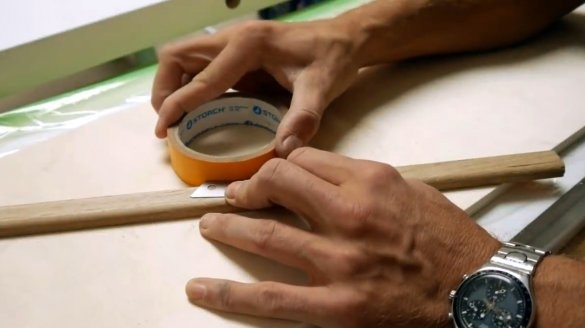
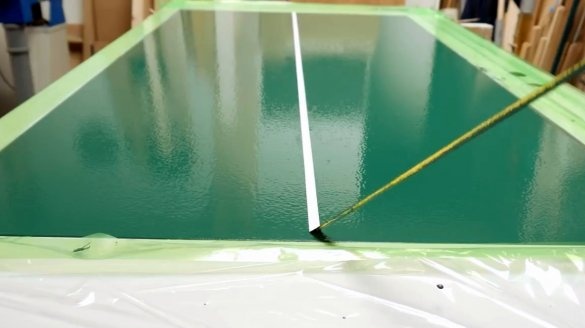
With a knife blade, she cuts the masking tape, getting a strip of the desired width, and glues it along the center line of the table.
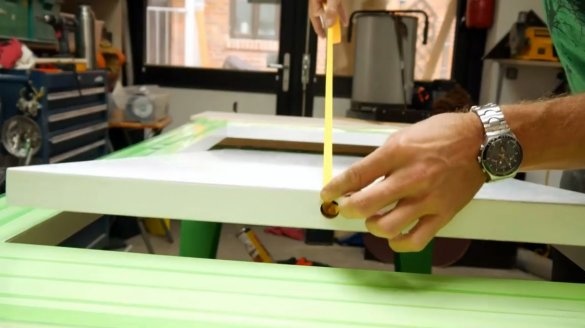
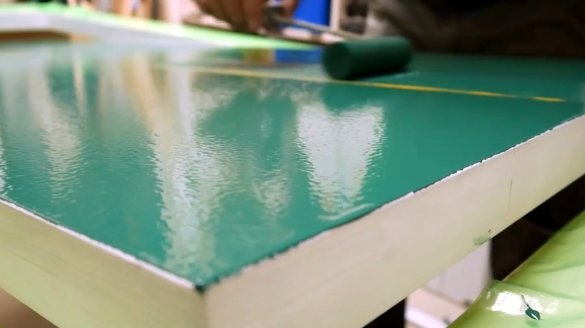
It puts a layer of green paint on the table, waits for the paint to dry, and removes the protective elements.
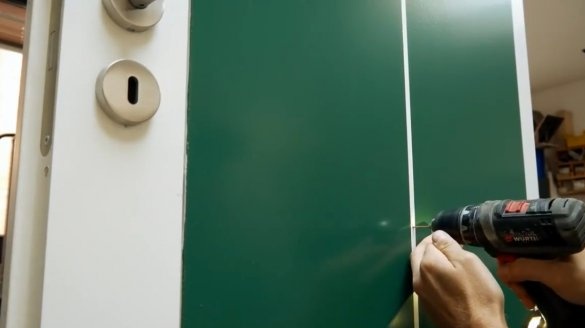
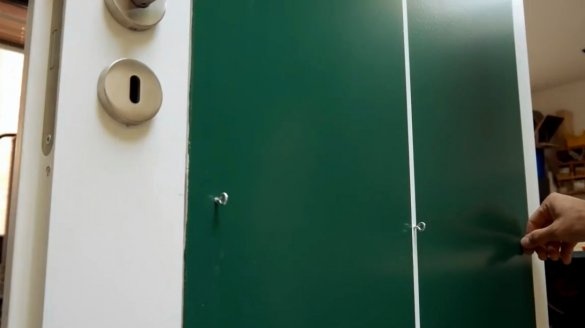
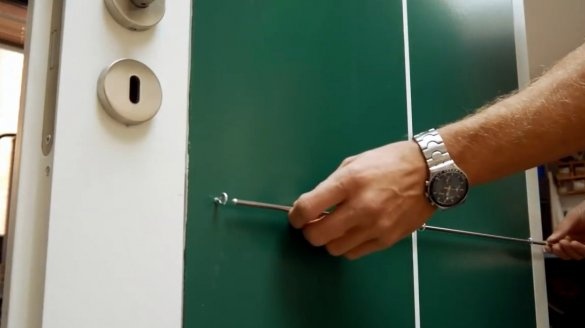
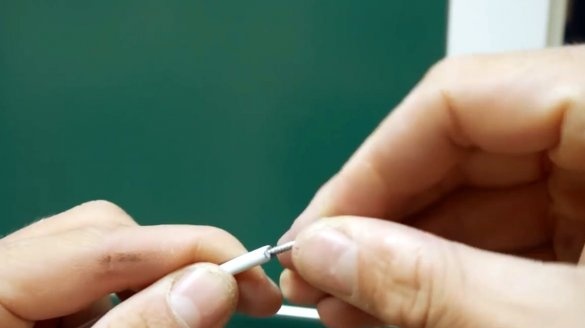
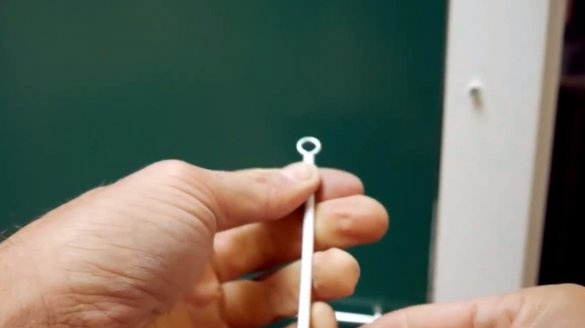
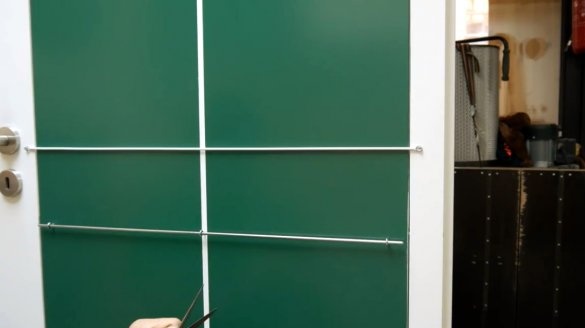
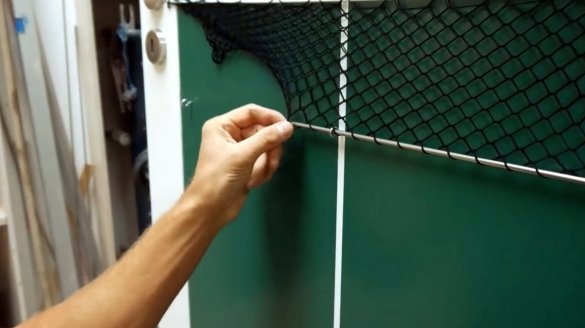
Along the central axis of the table, three screws with ears are screwed into it, and a steel bar is inserted into them.
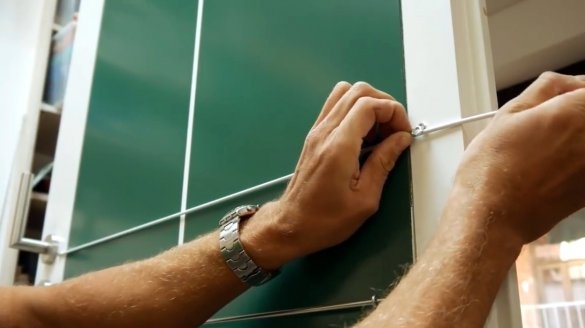
A couple of screws screw into the door. Then it pulls on an elastic band, into the edges of which screws with rings are twisted.
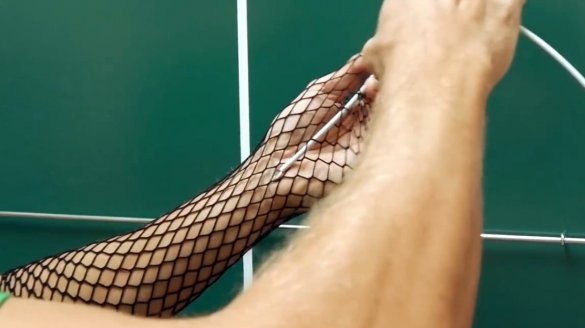
The master decided to make a mesh out of female stockings. She cuts off the necessary strip, throws an elastic band, and a bar through its edges.
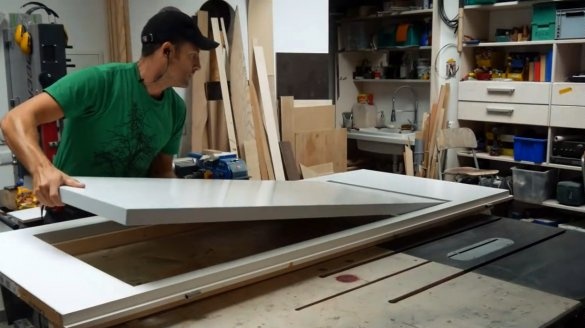
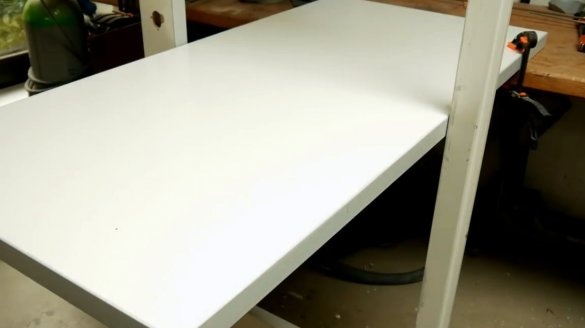
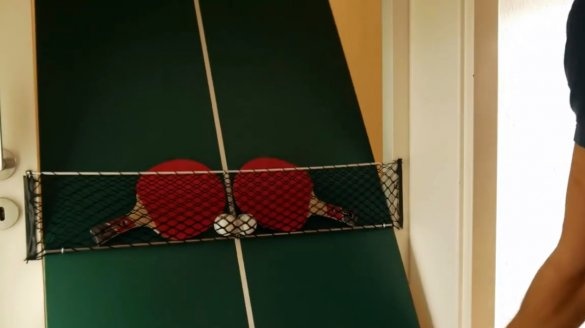
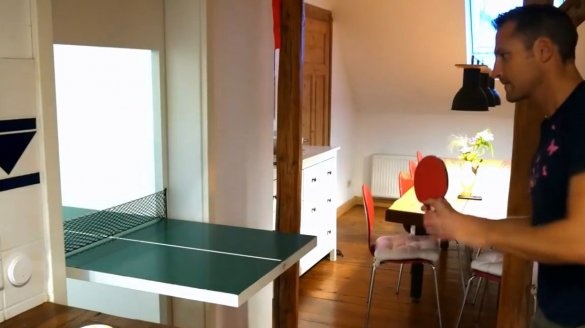
Sets the door in place and you're done! Now you can open the latches, and lay out the table. The mesh itself becomes in the desired position.
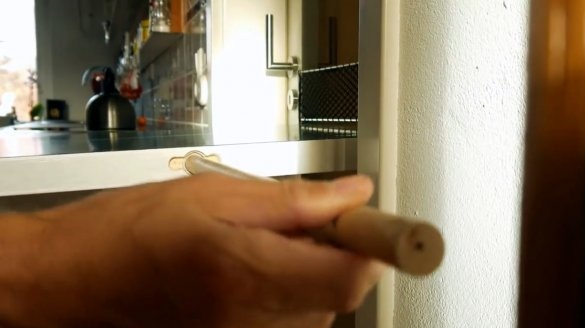
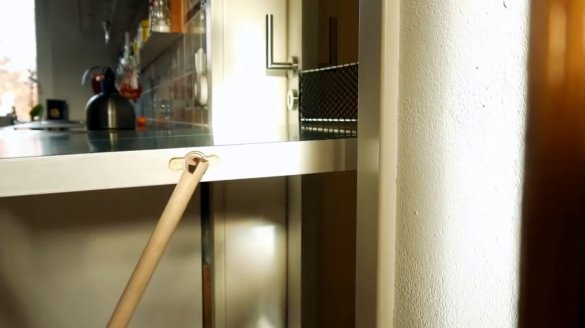
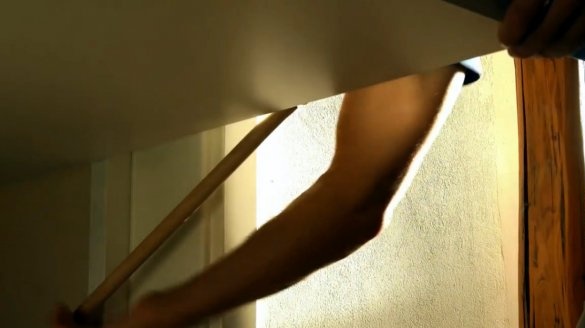
He takes out a hidden support from the table, opens it, and inserts it into the hole in the door.
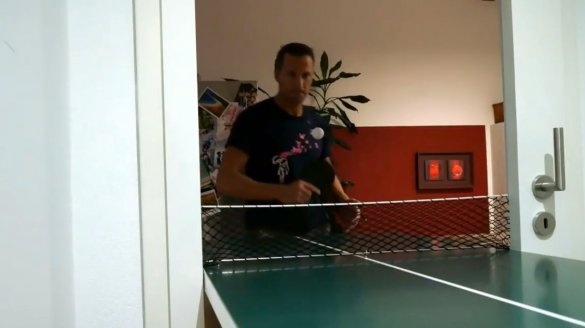
That's all, you can play "inter-door" tennis!
I thank the author for the great idea of embedding a tennis table in the door! Now his guests will always find a good entertainment!
All good mood, good luck, and interesting ideas!
Author video can be found here.

