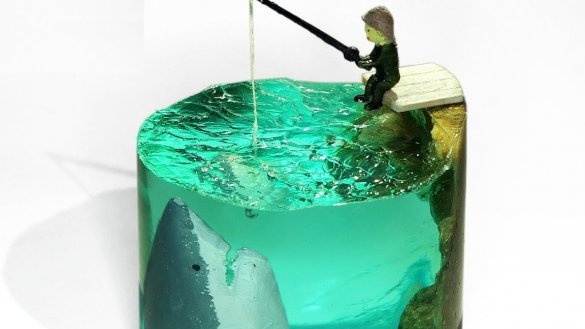
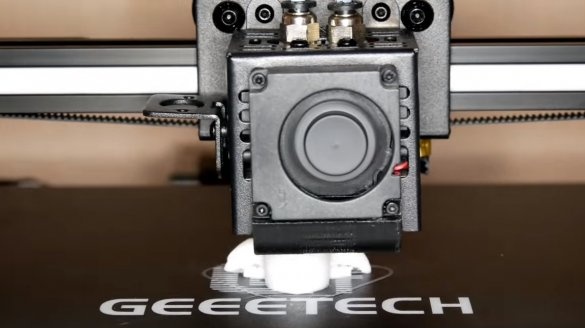
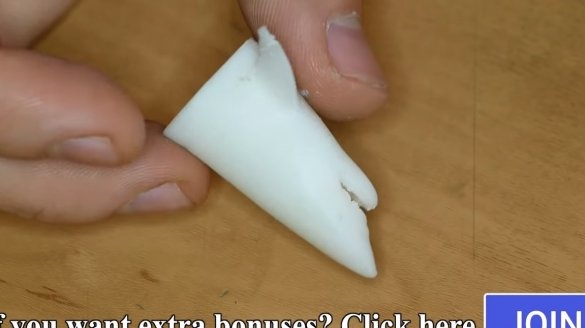
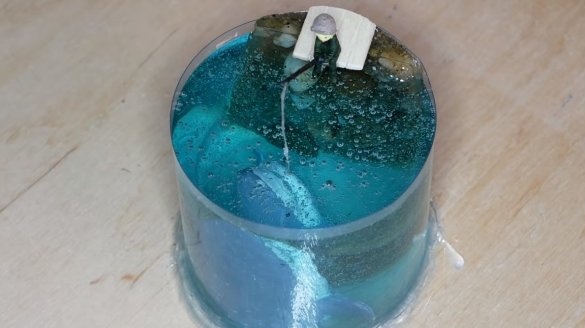
Hello to all art lovers, this time we will work with epoxy, and we will produce an interesting picture with a fisherman. Everything looks very interesting and exciting, but in the manufacture of the project is quite simple. Of course, the author printed the shark and the fisherman on a 3D printer, but no one bothers you with making parts from polymer clay or even a regular salt test. One way or another, if you are interested in the project, I propose to study it in more detail!
Materials and tools used by the author:
Material List:
- sand with pebbles;
- epoxy resin for pouring;
- paints;
- acrylic gel;
- a little dye for resin;
- a piece of the formwork bottle.
Tool List:
- glue gun;
- adhesive tape;
- electronic Libra;
- stationery knife.
Manufacturing process homemade:
Step one. Preparing the base for pouring
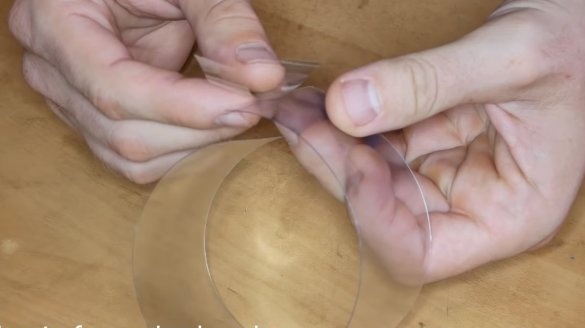
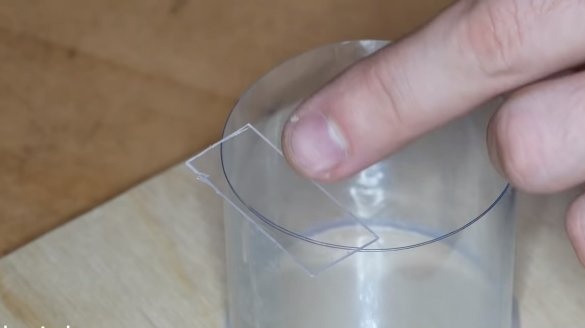
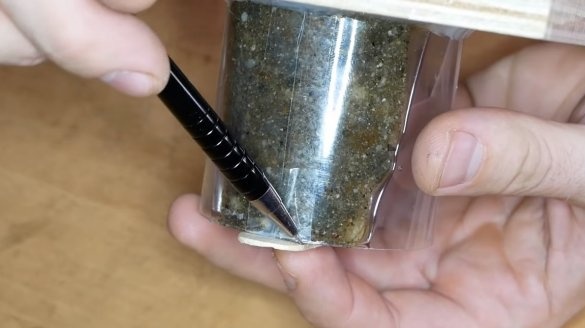
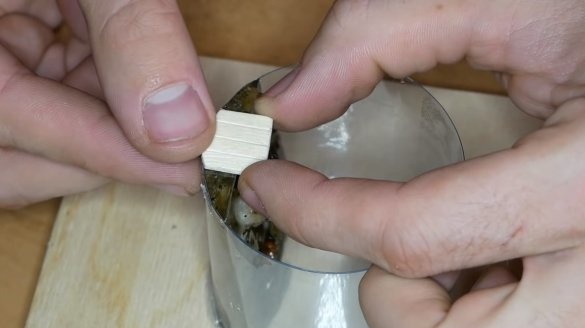
First of all, we will make the formwork, here we need a piece of a regular PET bottle, it is highly recommended not to cut the bottle, the formwork should be solid.
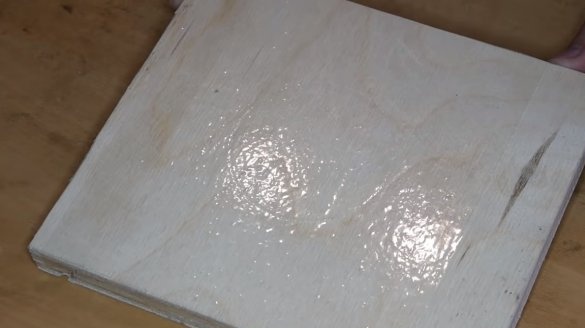
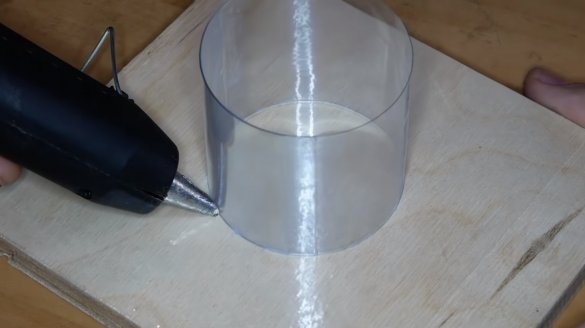
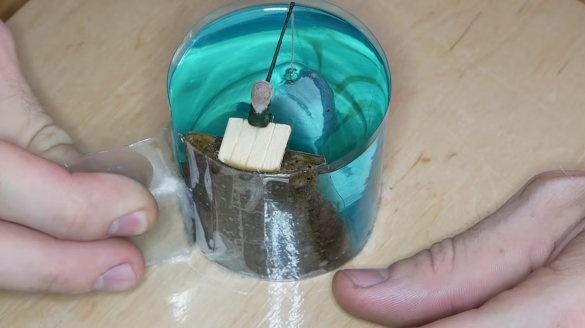
The formwork is installed on plywood or another plane, which is pre-glued with tape. Neither the bottle nor the tape will stick to the epoxy. Carefully glue the formwork to the base with hot glue, there should be no gaps, otherwise the resin will leak.
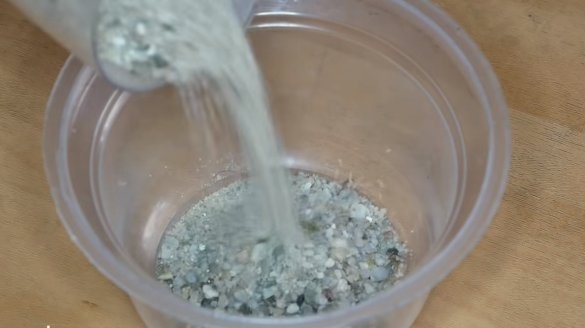
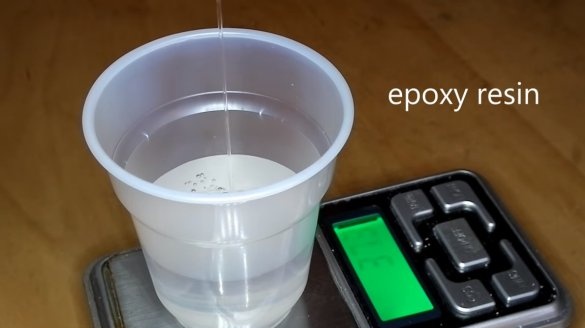
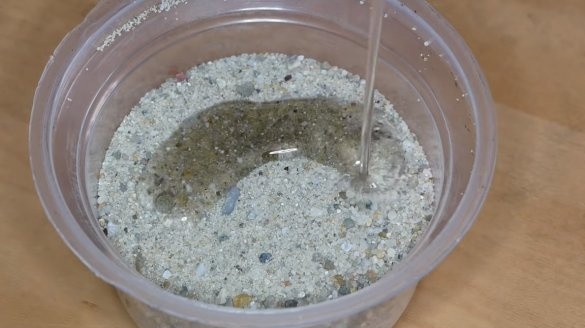
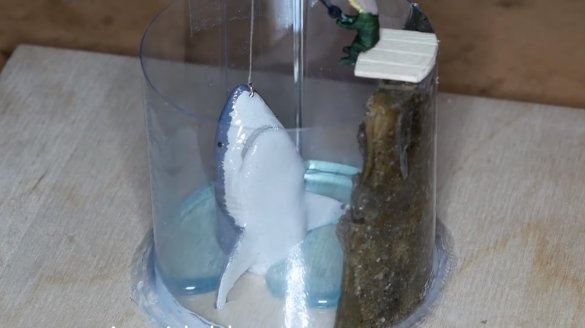
Next, in a separate cup, stir the resin with sand, pebbles will not be superfluous in the sand. The resulting mixture is laid in the formwork, laying it on its side. The result should be an imitation of rock under water. We leave the whole thing to dry.
Step Two Detail
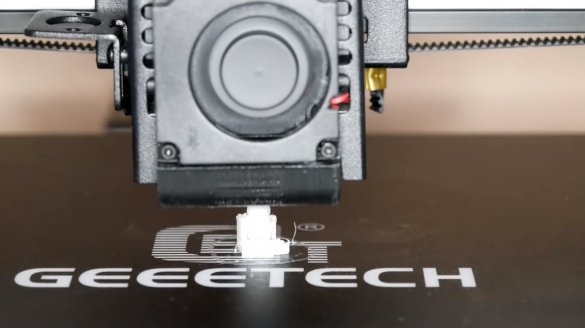
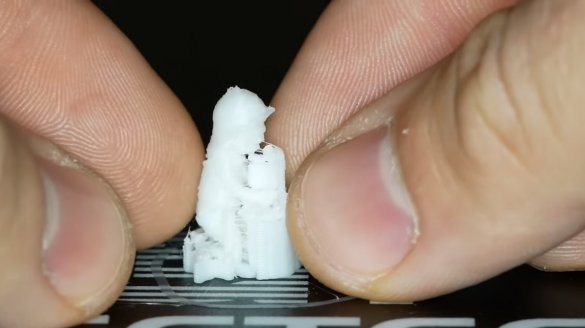
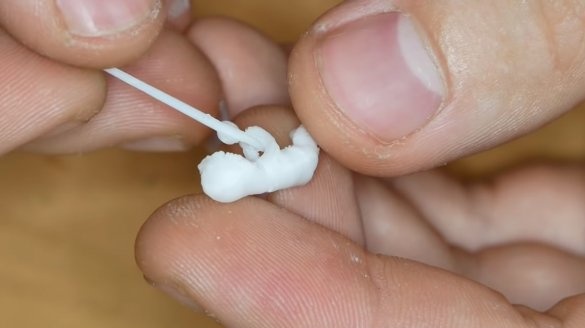
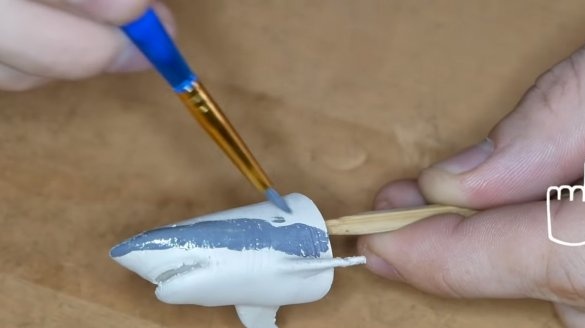
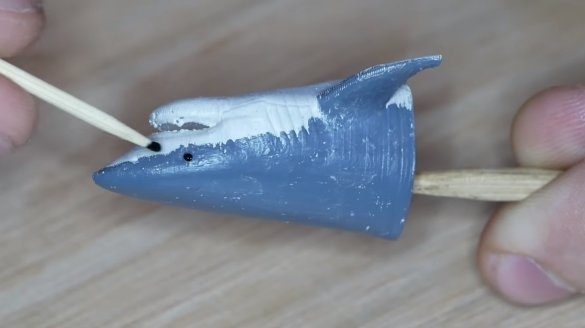
As for the fisherman and the shark, their author printed on a 3D printer, but you can make sculptures from polymer clay, starch with glue or other similar compounds, which are full on the Internet.
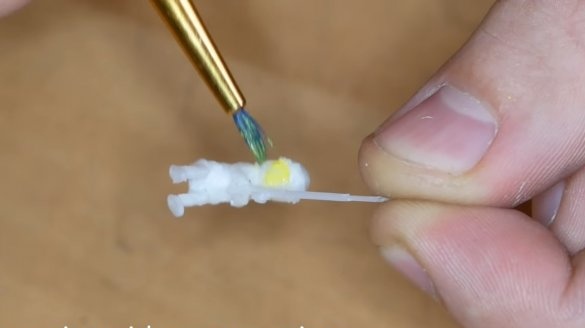
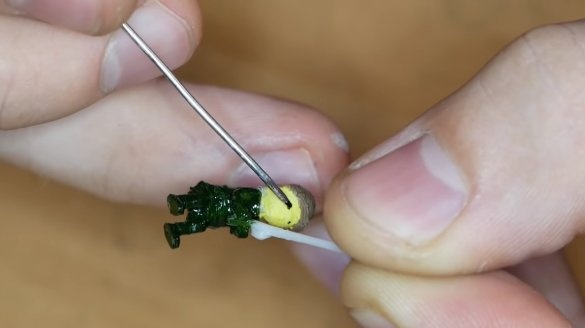
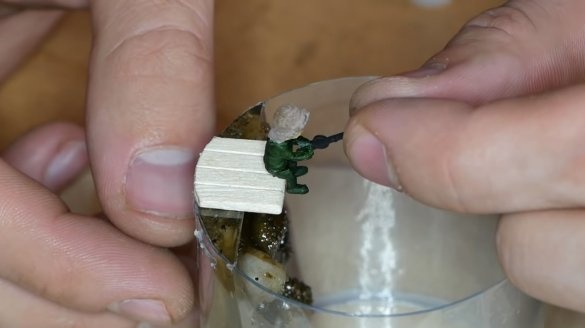
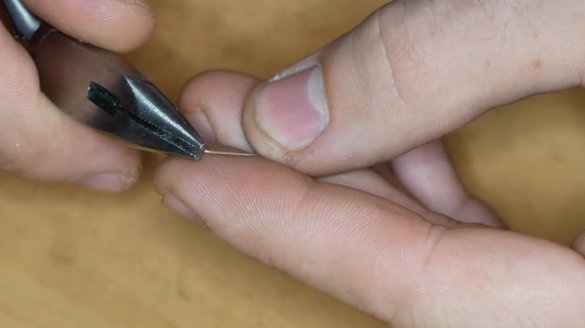
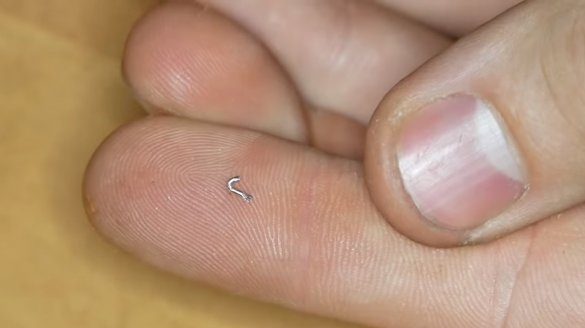
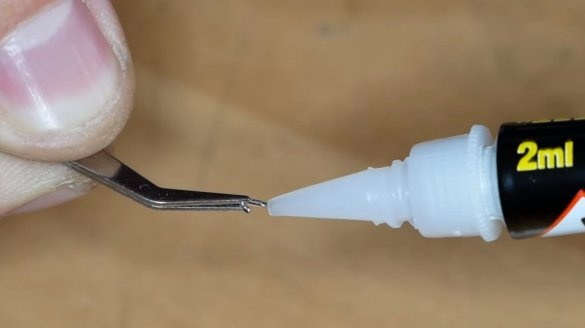
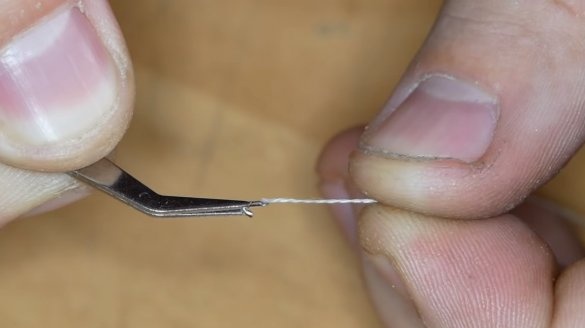
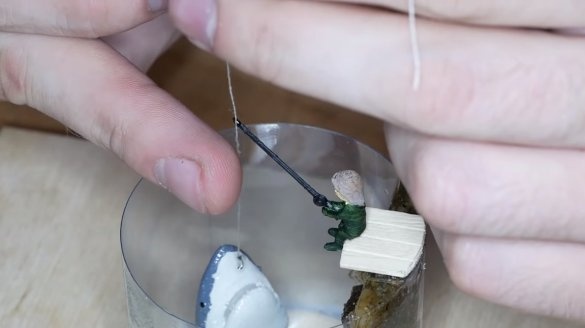
We paint the received details with paints. Also for the fisherman we make a fishing rod, fishing line and hook. The author adapted the rope as a fishing line, and the hook was bent from a wire. Glue the fisherman to a piece of the board, which simulates a bridge.
Step Three Pouring
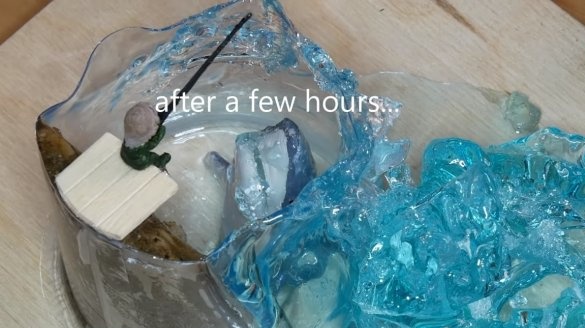
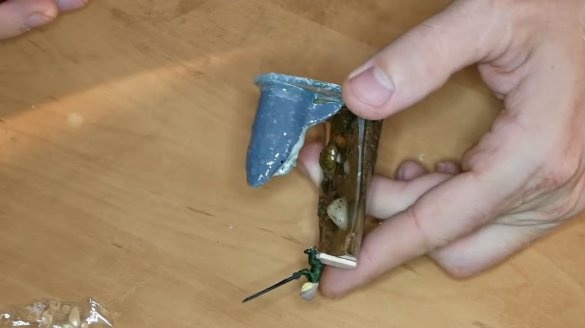
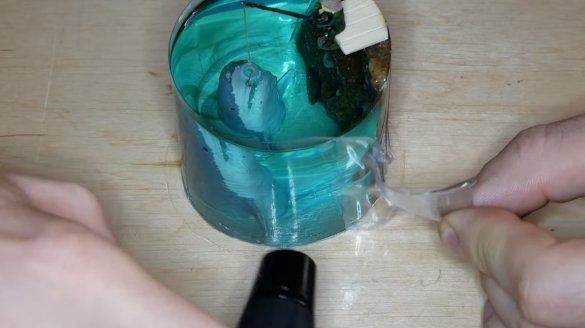
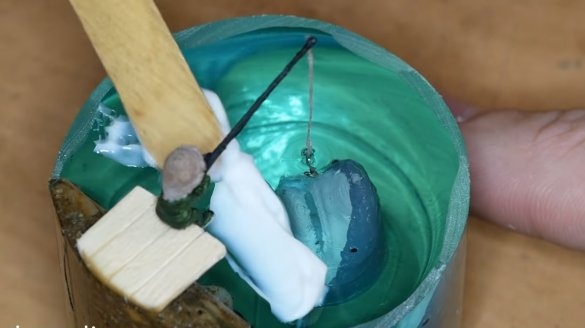
Having set all the details in their place, we mix the resin with the dye and pour into the formwork. The author did not get the first fill, the resin flowed out through the slot. As a result, I had to cut off the excess pieces of resin and fill it all over again, in an already more reliable and tight formwork.
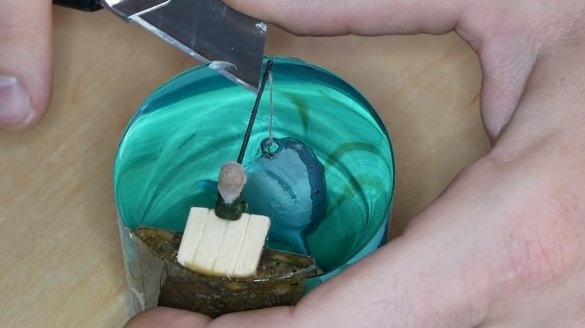
After setting the resin, remove the formwork and cut off the defects pouring with a clerical knife.
Step Four Waves and foam
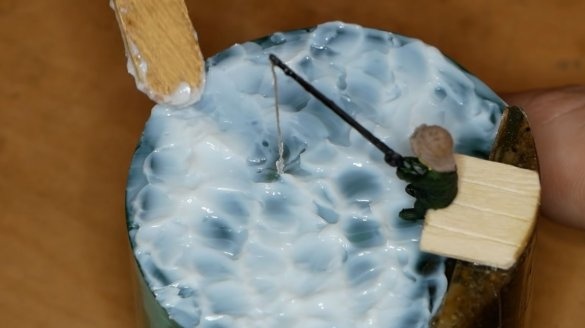
In the end, we make waves and foam on the surface of the water, here you will need an acrylic gel. That's all, now the homemade product is ready, everything looks great, if you wish, you can make the backlight.
This homework is completed, I hope you liked the project, and you found useful thoughts for yourself. Good luck and creative inspiration, if you decide to repeat this, do not forget to share your ideas and homemade things with us!

