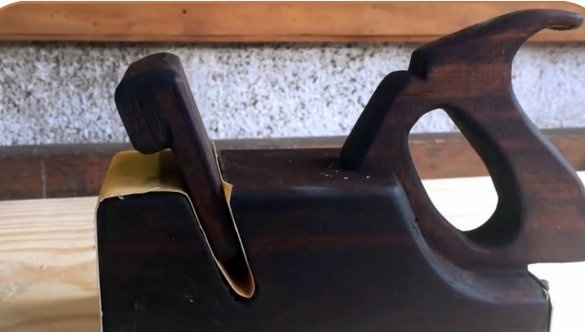
Many of you have to process the workpiece with sandpaper, using holders of various shapes for this.
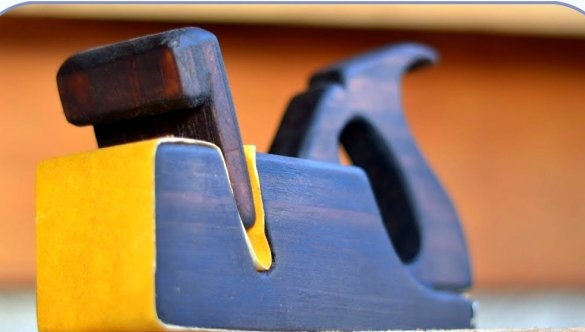
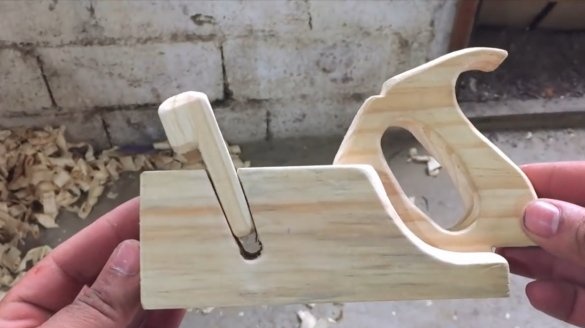
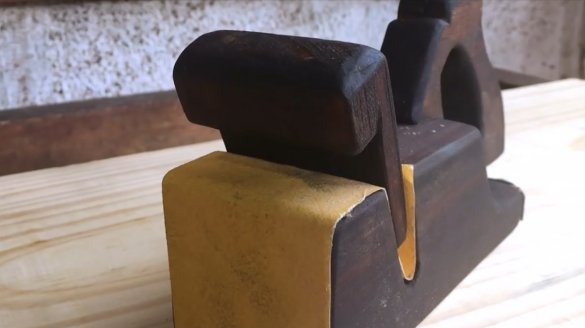
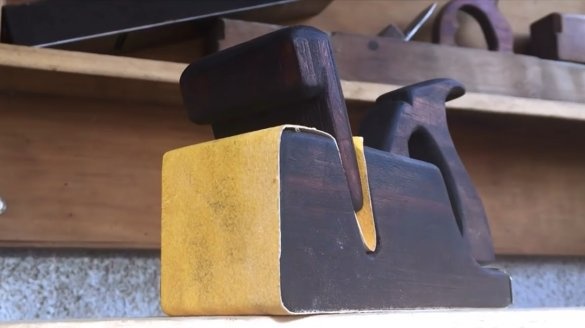
In this article, Elias, the author of YouTube channel Elias Maximiliano, will tell you how to make a holder for sandpaper, which has the shape of a plane.
Materials
- Pine beam
- PVA glue
- Mortise furniture nut, M8 screw
- steel plate
- Sandpaper
- Stain.
Instruments, used by the author.
-, wood drill bits
—
- Workbench
—
—
- Marking surface gage, vice
- Hammer, mallet, Allen key
- Corner, ruler, pencil
- Japanese saw, hand planer, rasp, chisels.
Manufacturing process.
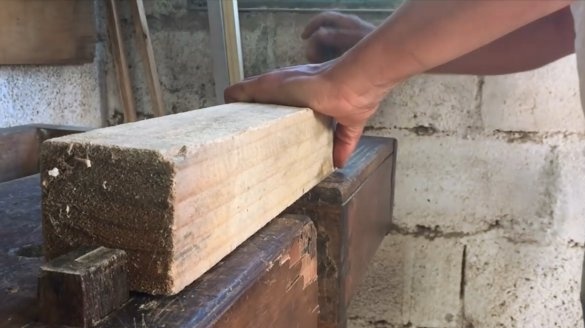
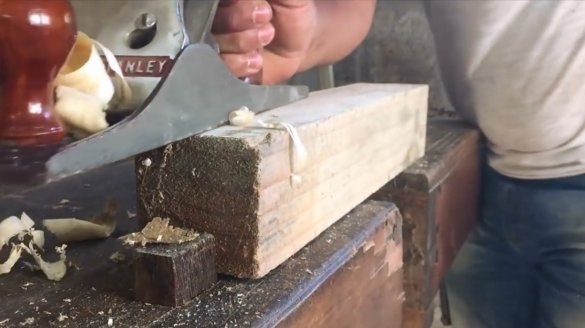
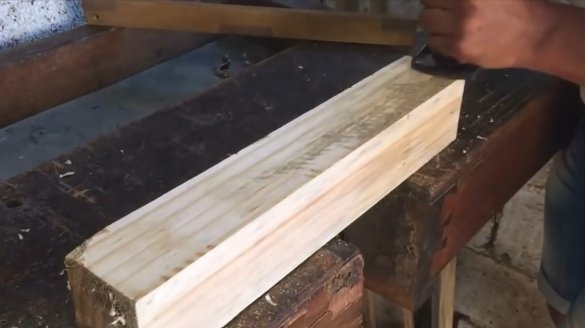
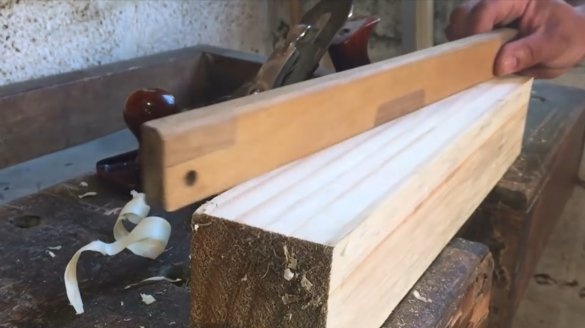
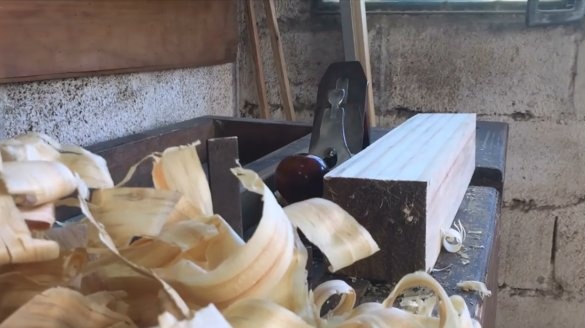
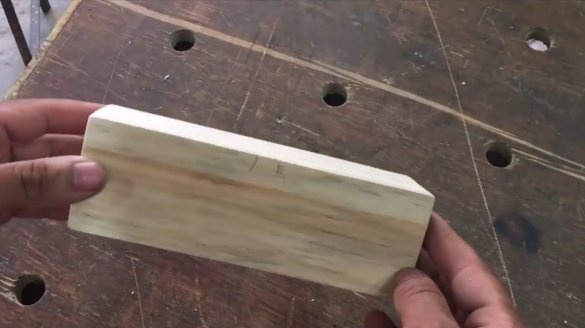
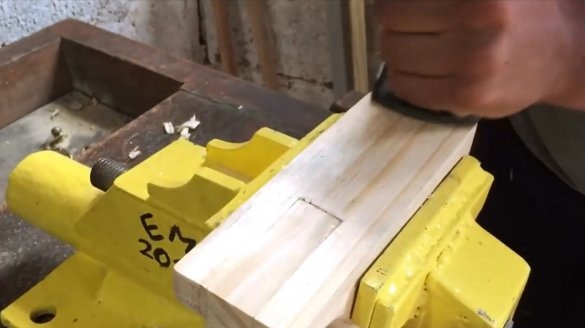
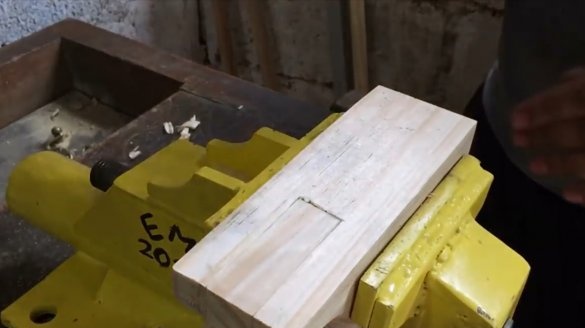
So, for starters, the master fixes an untreated pine block in the workbench. First, he aligns one side with a planer.
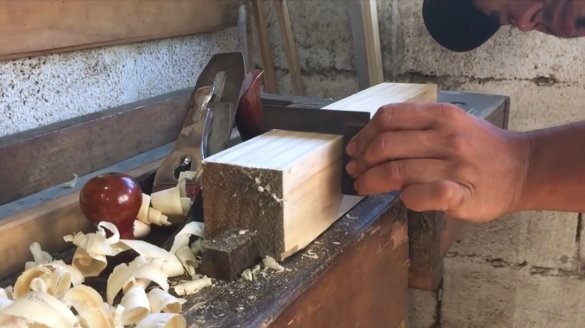
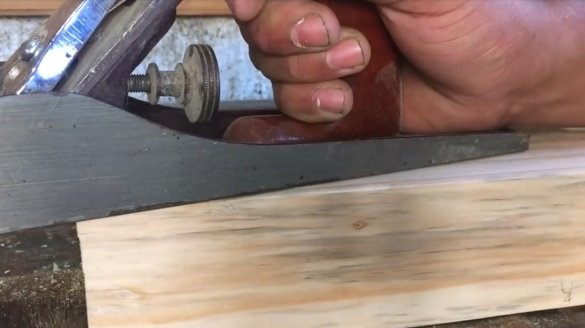
Turns the workpiece 90 degrees, and aligns the second side.
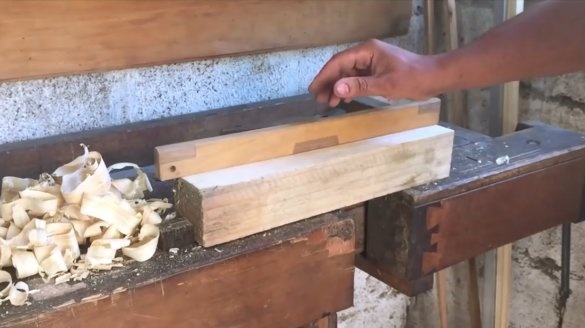
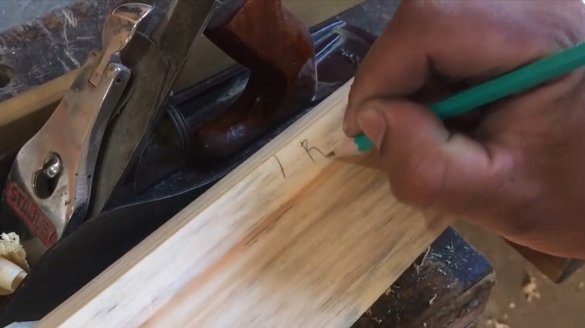
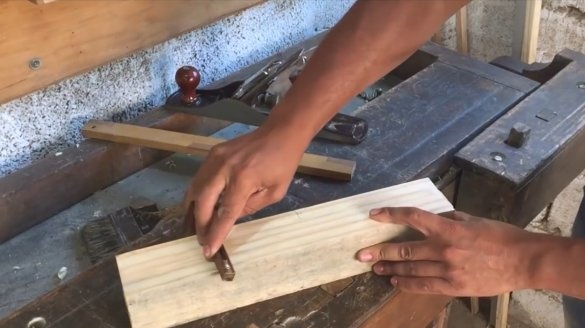
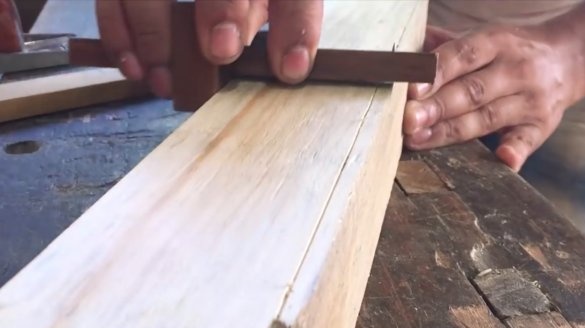
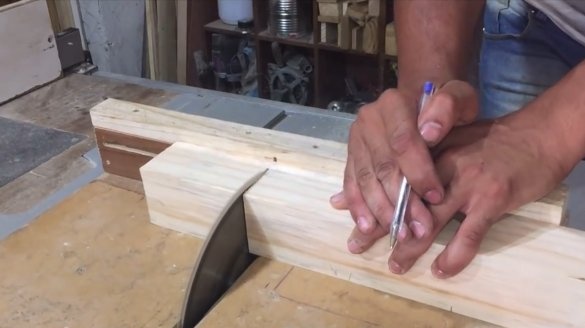
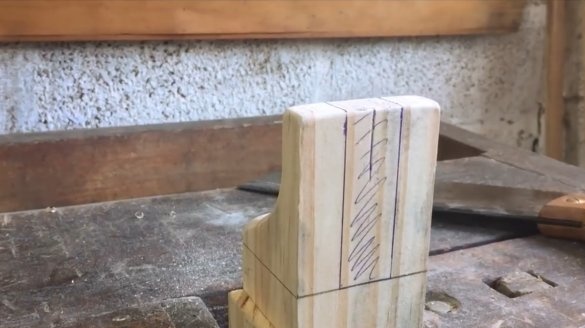
So, the two sides are ready, and are at right angles to each other. To process the two remaining, the master uses a marking surface gage, and marks the layer that must be removed.
Now you can cut an even box from a bar.
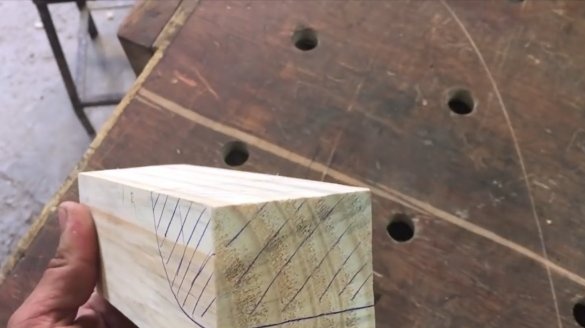
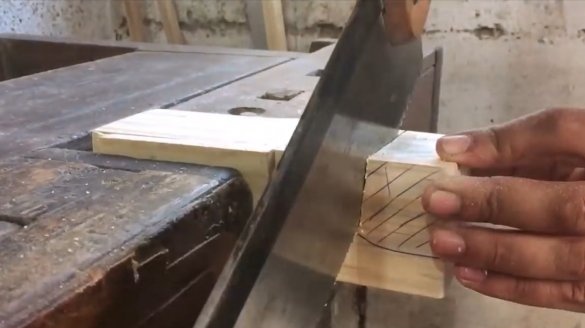
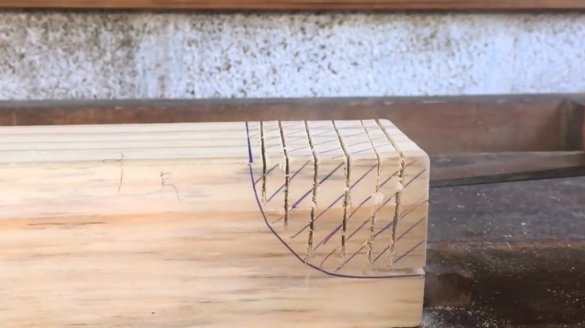
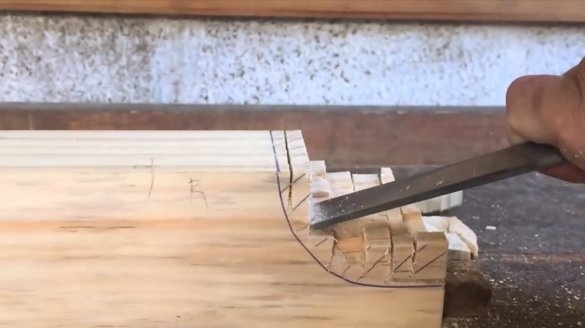
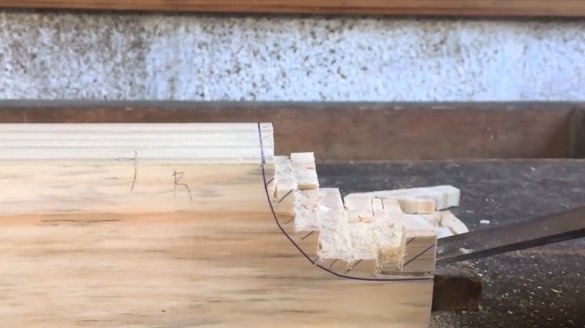
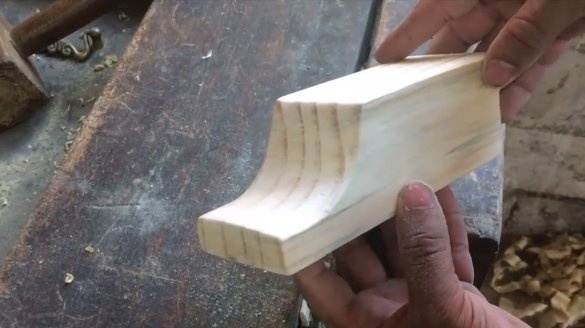
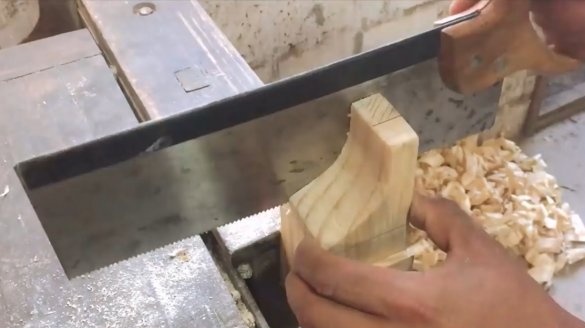
From one end it is necessary to make a selection.
The author cuts the material to be removed into several sections.
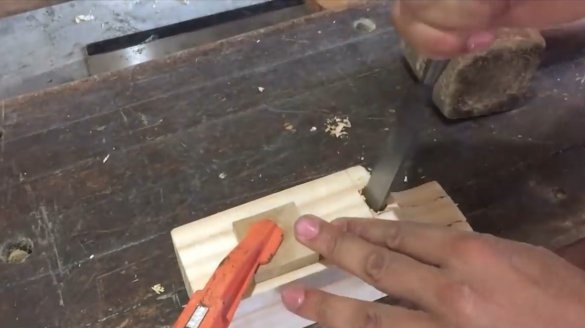
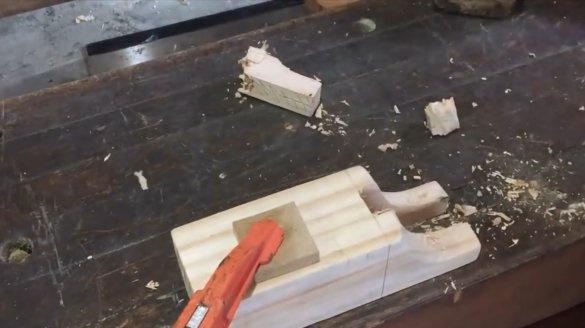
Now excess material is easily removed with a chisel.
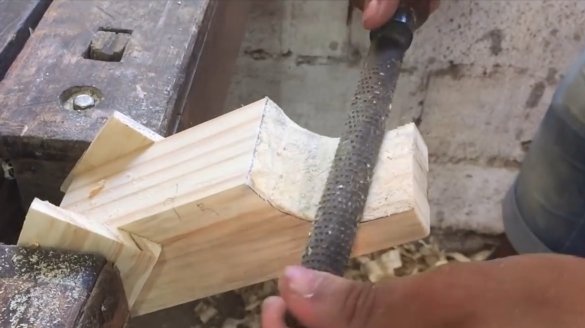
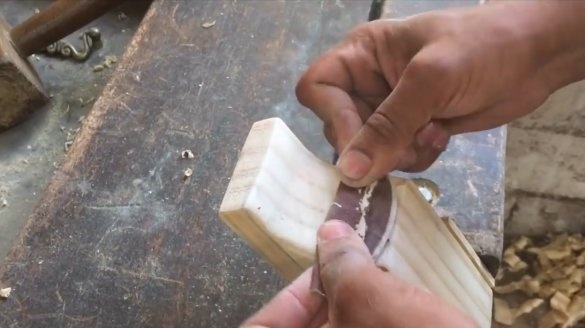
To level the surface, the master uses a rasp, and then polishes with sandpaper.
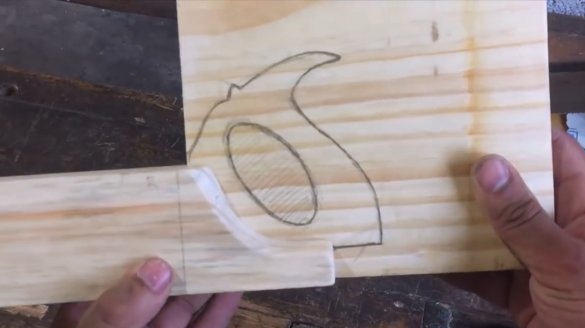
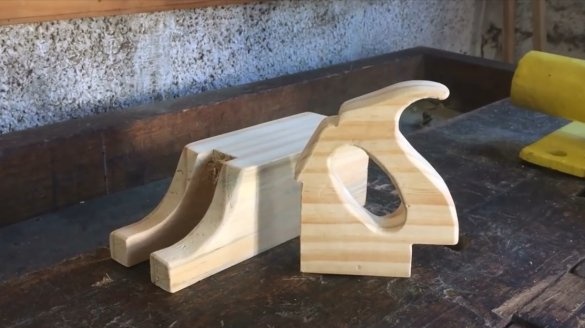
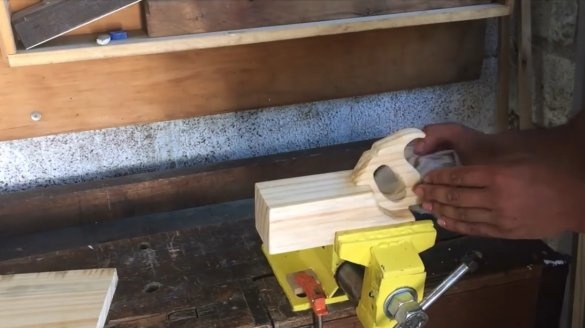
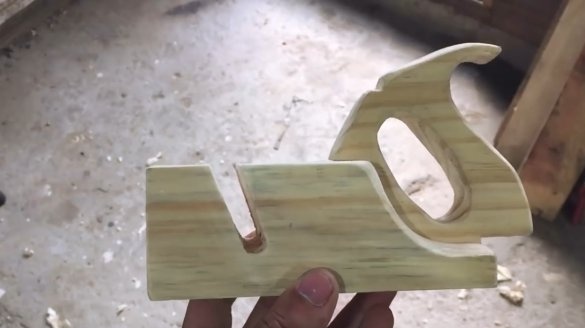
The following recess is for installing the handle.
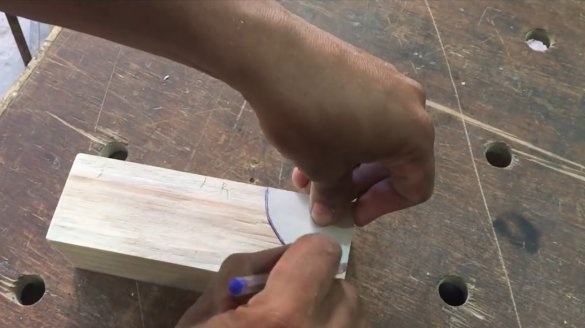
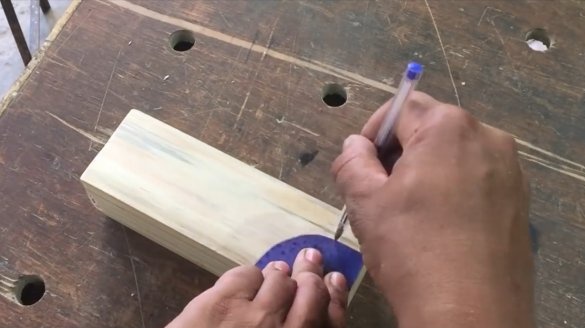
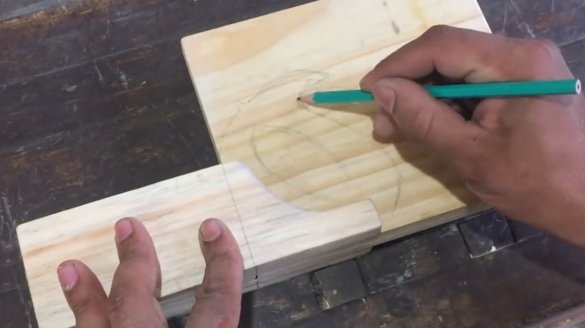
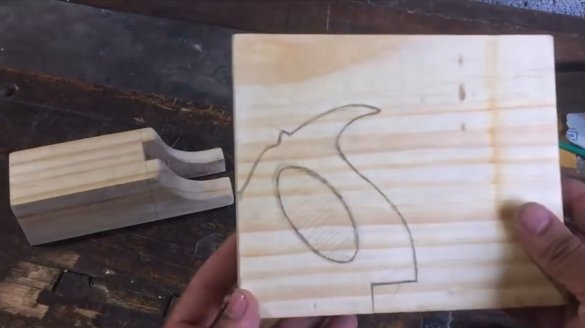
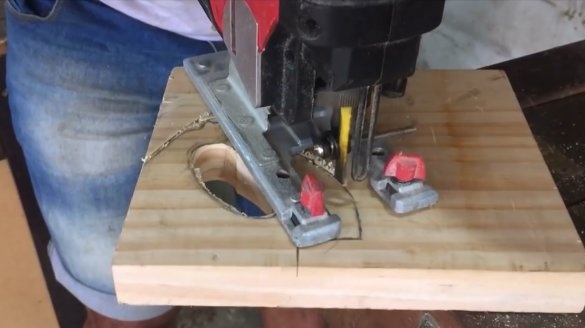
The author makes a sketch of the contours of the future handle on a board of suitable thickness.
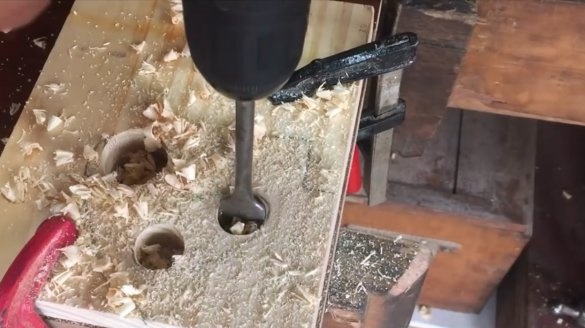
Complex shapes are drilled with pen drills, the contours are sawn with an electric jigsaw.
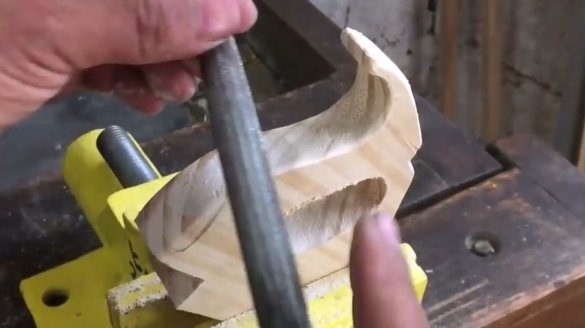
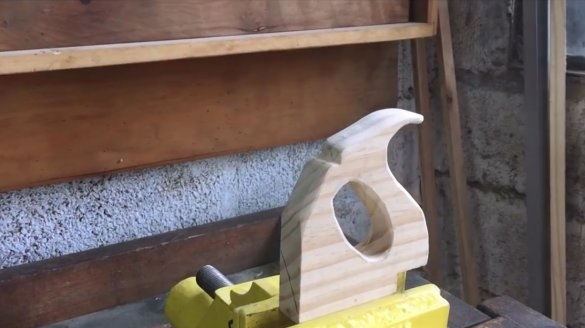
All faces are rounded with a rasp, and polished with sandpaper.
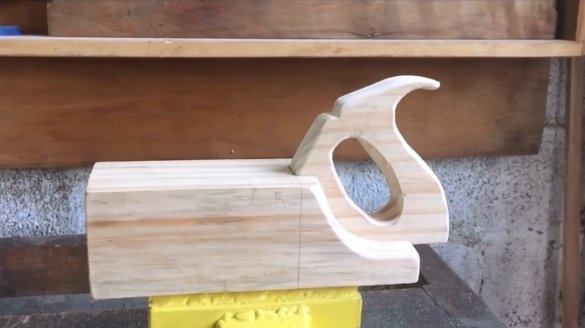
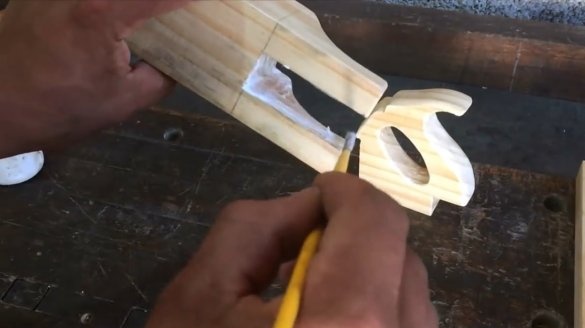
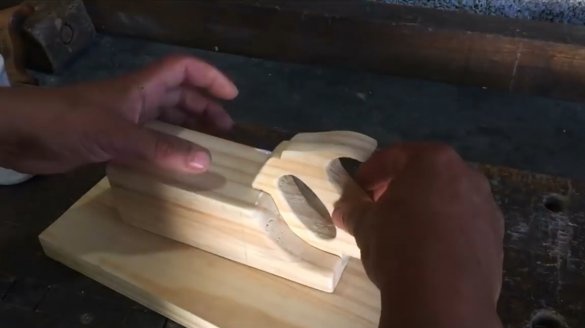
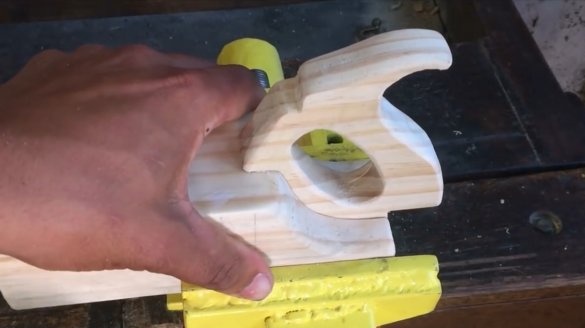
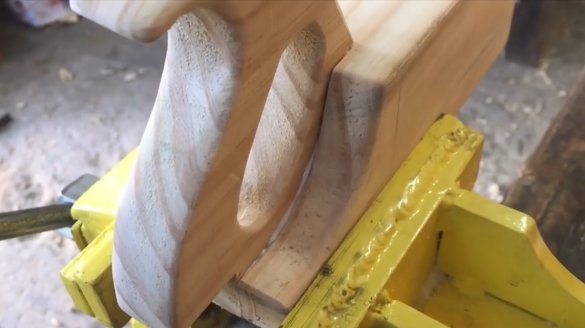
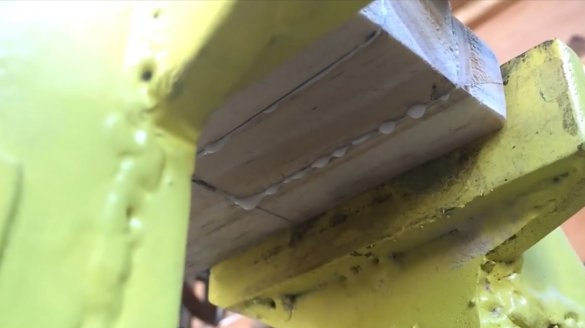
Having lubricated the recess with PVA glue, the master sets the handle in its place, and clamps the product in a vice.
Excessive adhesive can be removed with a cloth.
Now the future tool is turned over, and its working surface is once again processed by a planer.
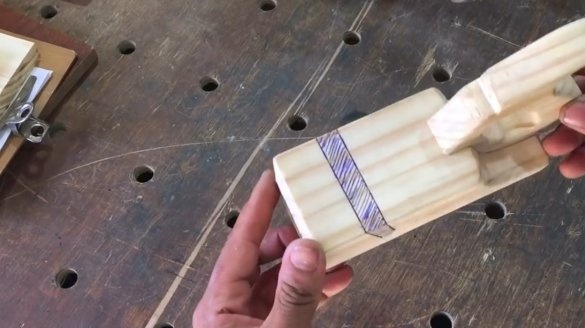
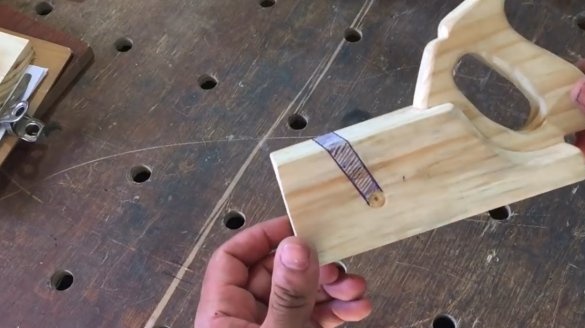
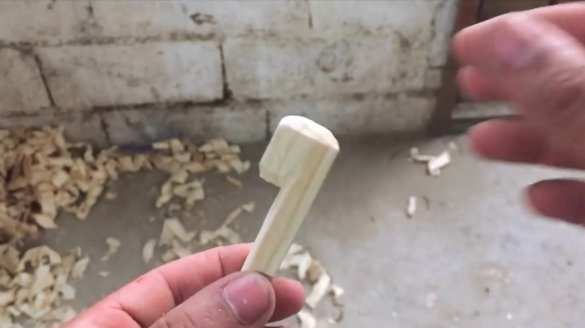
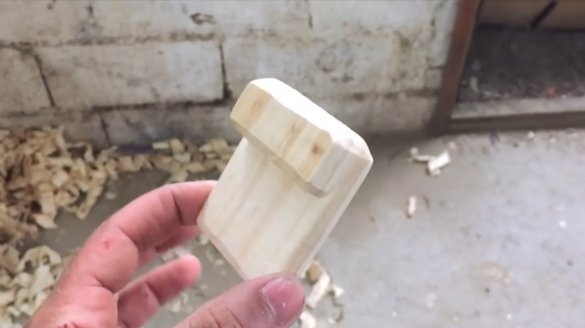
The next step, the author needs to make a groove for the wedge, which will fix and pull the canvas of sandpaper.
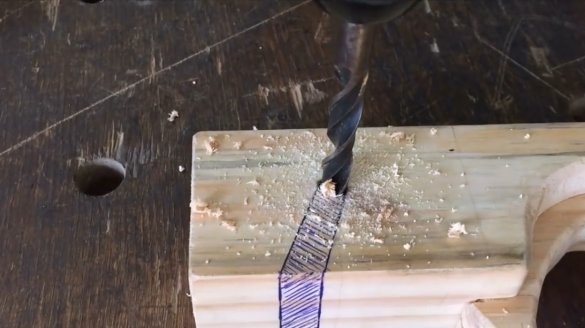
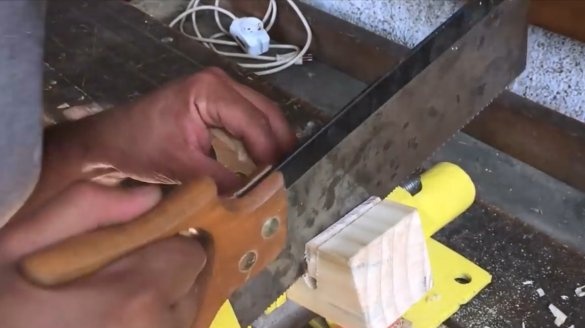
First, the edge of the groove is drilled, then the remainder of the material is cut.
This wedge shape is just right.
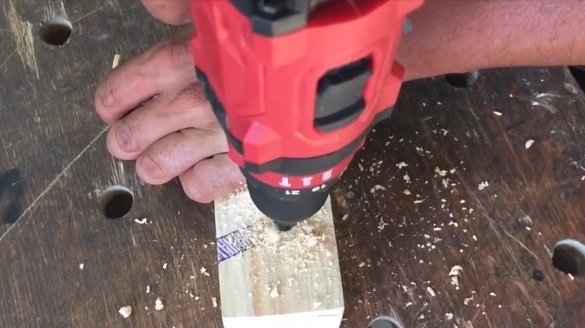
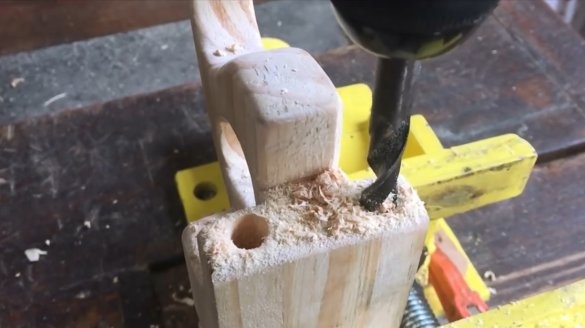
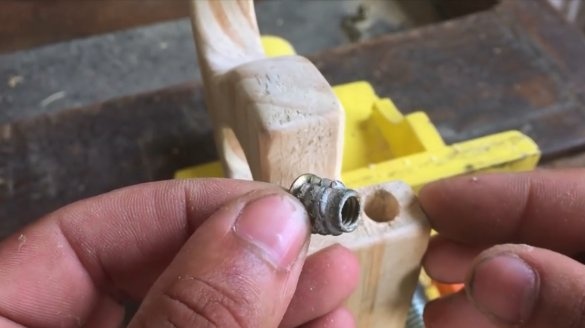
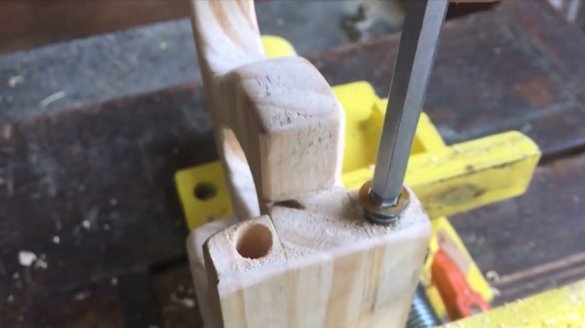
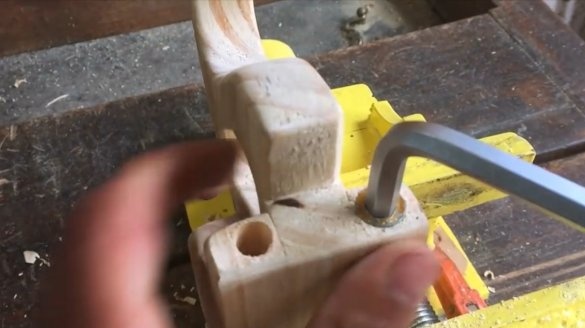
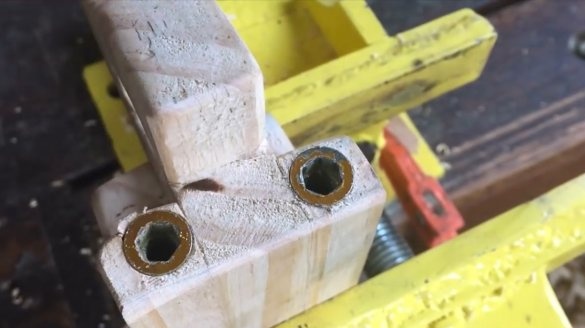
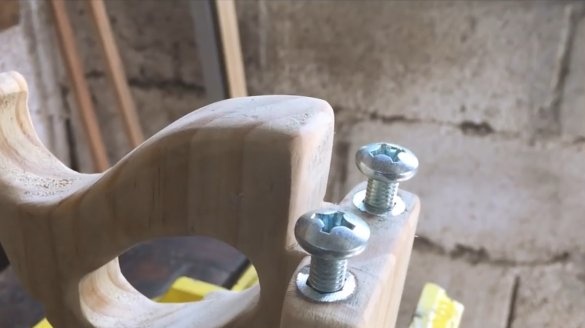
Holes for M8 mortise nuts are drilled in the heel of the tool.
Now the nuts tighten into place.
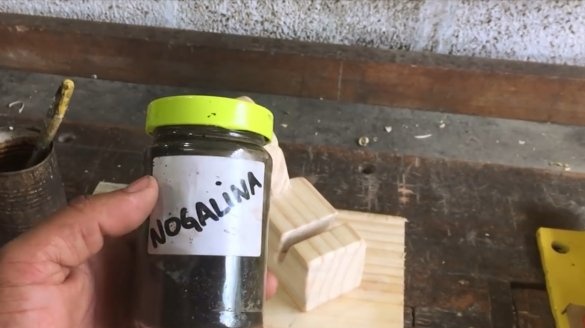
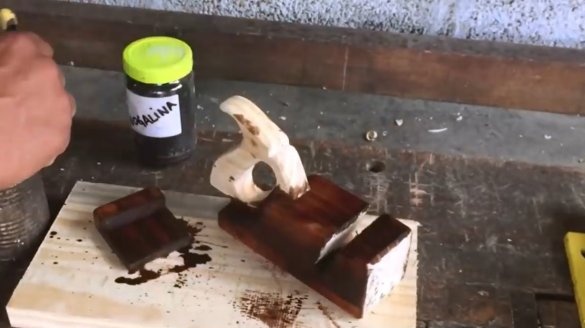
All surfaces of the product are impregnated with stain, and covered with linseed oil.
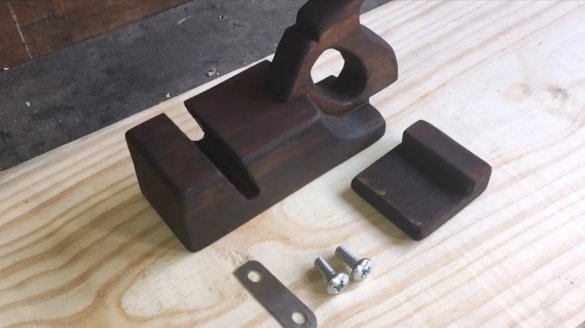
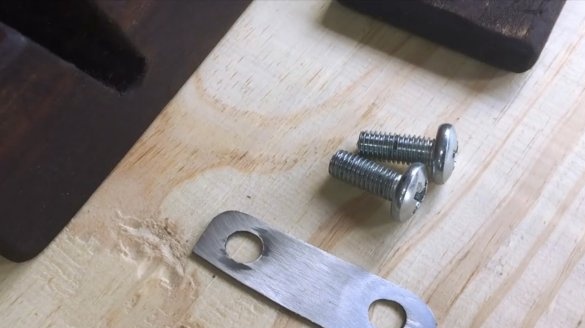
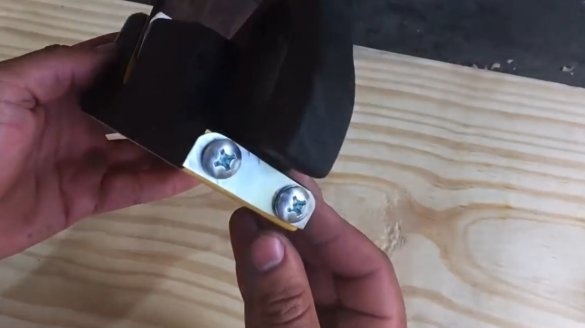
The author also made a steel pressure plate.
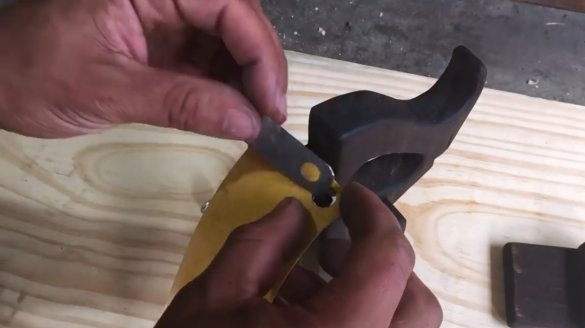
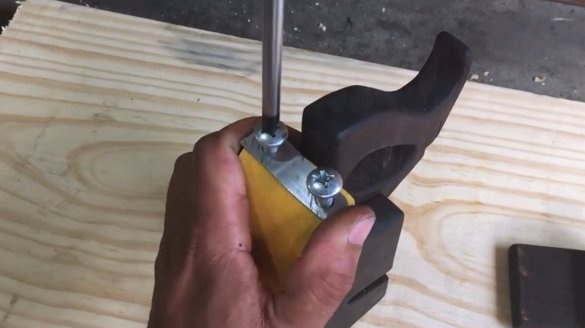
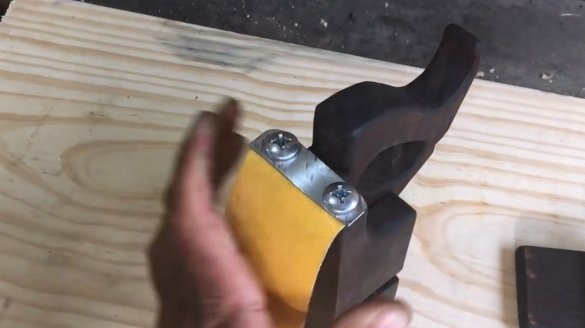
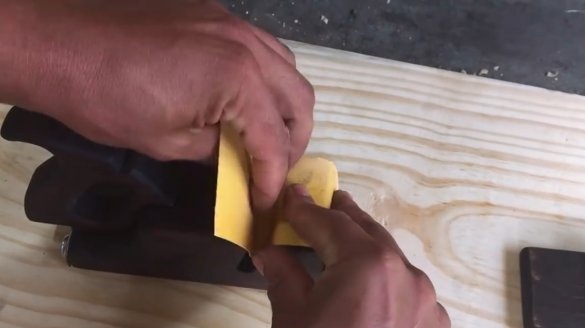
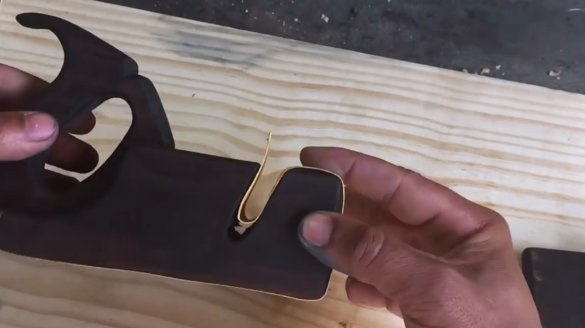
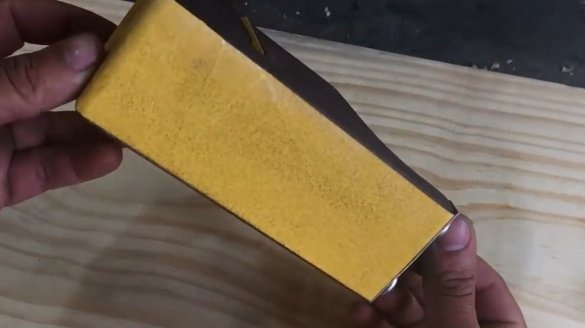
Having cut a strip of sandpaper suitable for the length, he fixes its edge with a pressure plate.
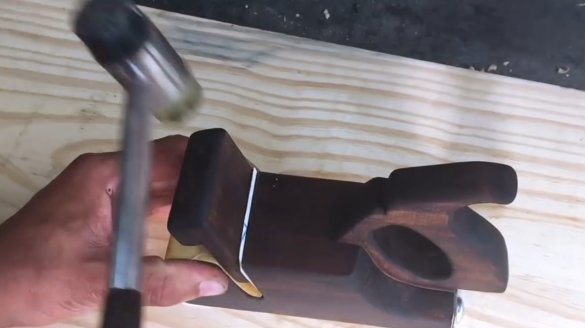
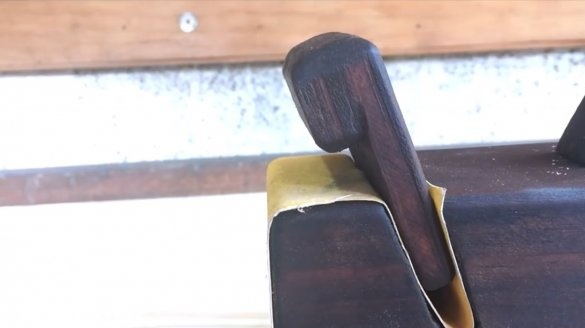
The second edge of the paper is loaded into the groove, and when the wedge is clogged, the work area is very well stretched.
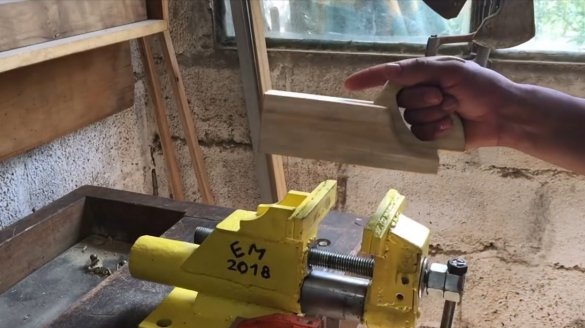
That's all, the tool is ready to work.
I thank the author for the idea of a simple but useful fixtures for the workshop!
All good mood, good luck, and interesting ideas!
Author video can be found here.

