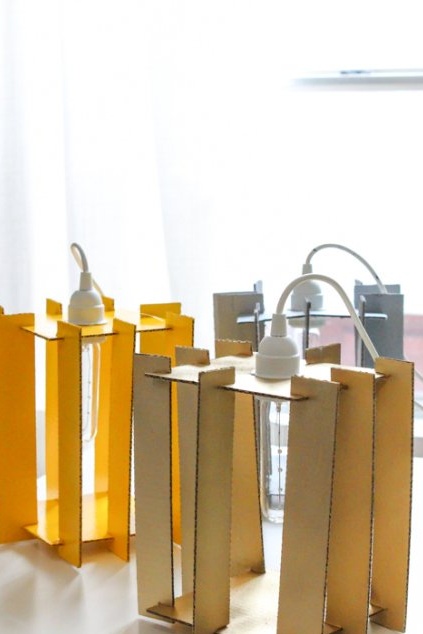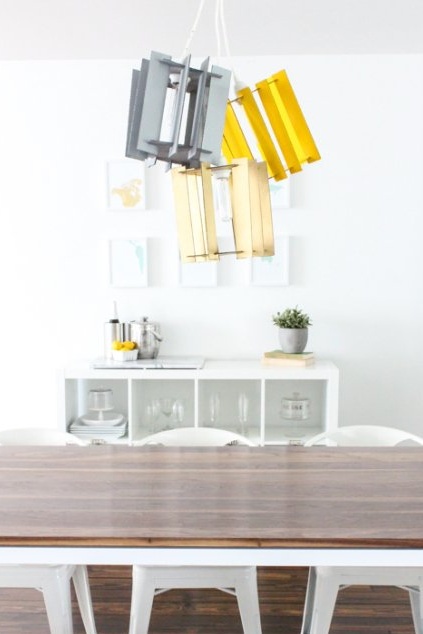
I present to you the interior homemade - a chandelier from cardboard boxes!
This homemade product has a number of significant advantages:
- easy to manufacture do it yourself
- has a fantastic unearthly look
- made of waste material - cheap
- the second is the bright life of cardboard boxes))
What is necessary for manufacturing:
- 1 medium-sized cardboard box or sheet of cardboard
- Scissors or stationery knife
- Pencil and ruler
- An incandescent light bulb is not more powerful than 25 W (a more powerful one will heat the cardboard and a fire will occur) or any "energy-saving" (best)
- Suspension holder (threaded) for light bulb
- Insulating tape or molar tape for decoration.
DIY steps for making a cardboard chandelier
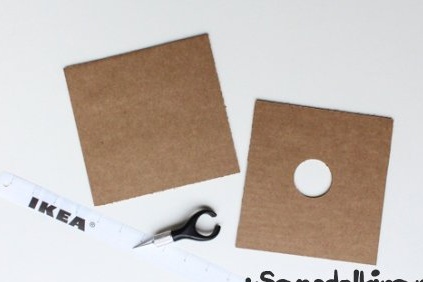
1) Mark and cut out two squares of 15.5 x 15.5 cm and in the center a hole with a diameter of 4 cm. The hole is most easily cut with a knife, but if it is not there, then you need to make cuts in the shape of an “X” in the circumference with scissors and only then it will be easier cut a neat hole along the line.
2) Next, cut out 8 strips 4.5 x 24 cm in size from which the chandelier walls will consist.
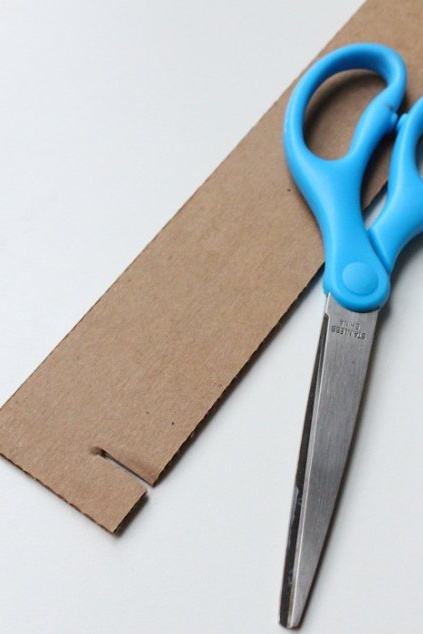
3) Make cuts at each end of the strips, the length of the slits is about 2 cm, and the distance from the edge is 1.5 cm. To speed up the process and accuracy of dimensions, use the first strip as a template for the following. Do so that the strips fit into the square with an interference fit.
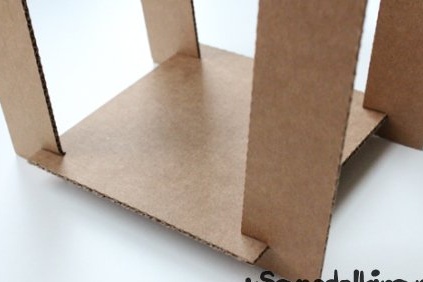
4) Connect all the strips with squares as shown in the photo. It is best to put them on glue.
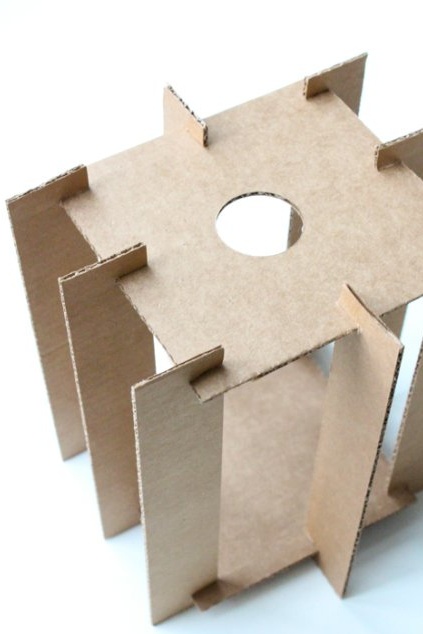
5) At this stage of the assembly of the cardboard chandelier, the very thing is to do the painting. I advise you to immediately make several chandeliers and paint them in different colors, so it will look more beautiful.
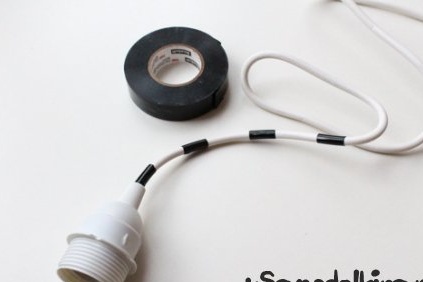
6) When the paint has dried we connect the cartridge with the chandelier and screw the bulb. To taste, you can add decorativeness to the wire by wrapping it with colored electrical tape or scotch tape.
A homemade cardboard chandelier is ready! We admire the result))
