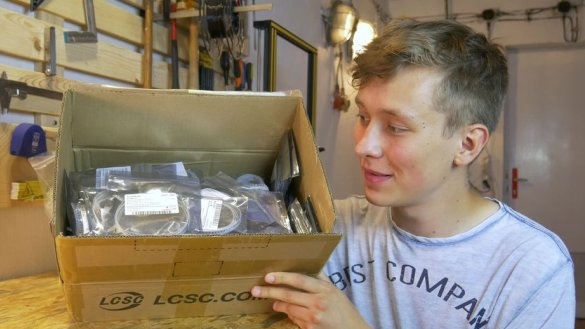
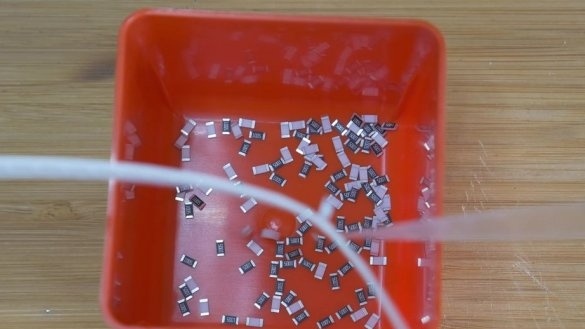
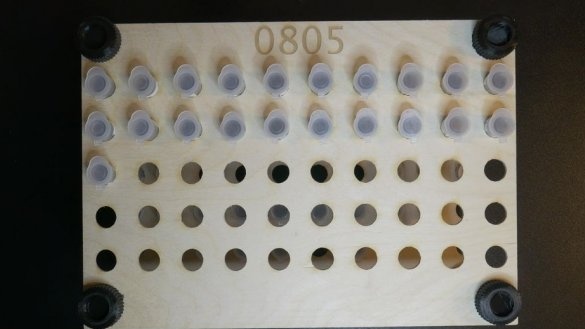
The question of organizing an injury to SMD components arose with the master when, for the implementation of his projects, their number exceeded one hundred. SMD components for various purposes, with different characteristics, tolerances, packaging, maximum power, voltage, capacitance, resistance, color. When it became difficult to navigate in this variety, the master came up with the idea to make an organizer.
Tools and materials:
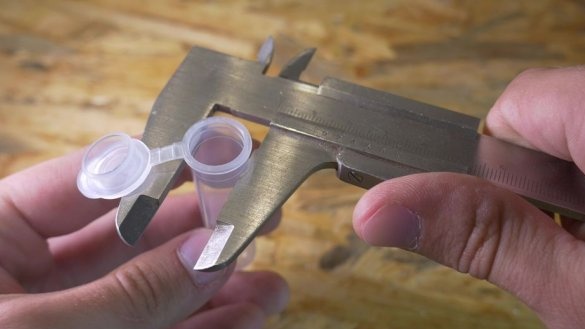
-Plastic test tubes with a cap;
-Plywood;
-Laser cutter;
-3D printer;
The laser cutter can be replaced with a drill with a drill of the appropriate diameter, and parts printed on a 3D printer with any suitable fasteners.
Step One: Design
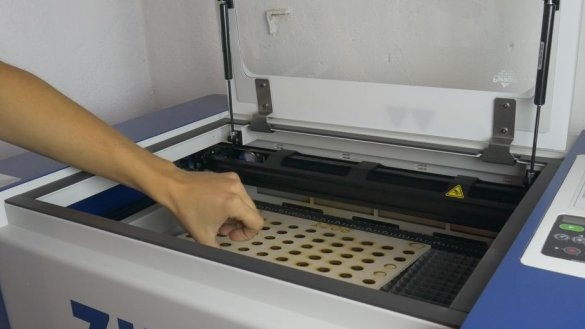
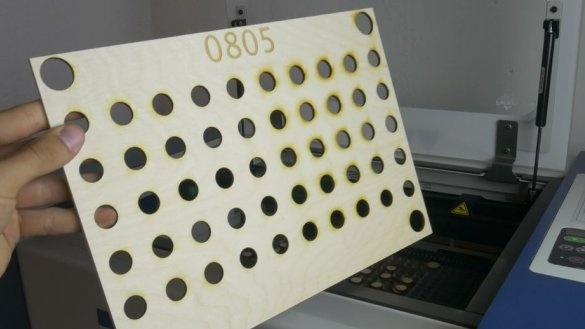
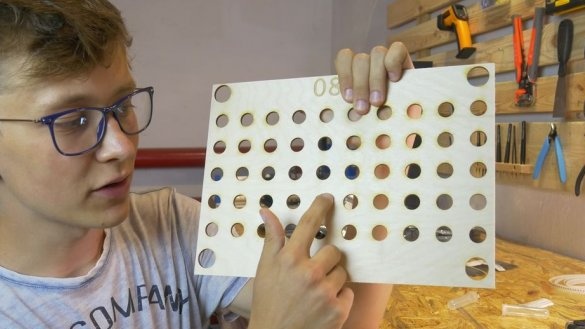
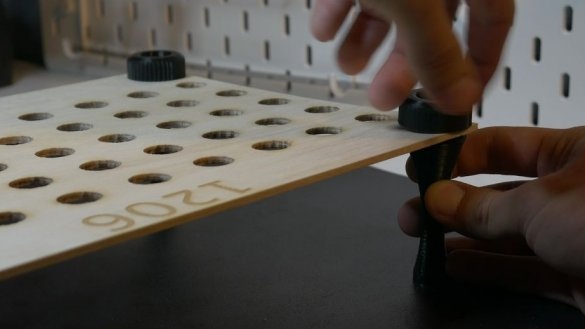
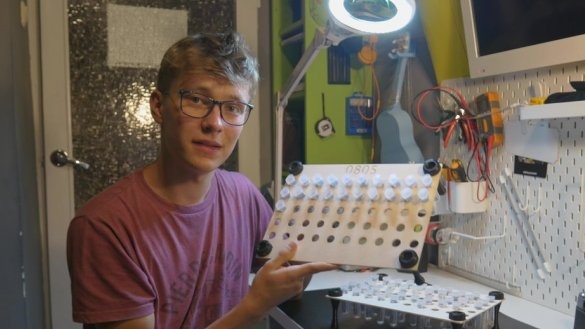
The main goal of this project is to simplify the organization electronic components. Thanks to the plastic tubes, you can organize their storage, but you also need something to store these tubes. The master decided to cut a series of holes in the plywood sheet along the diameter of the tubes. Each sheet will also be engraved with the designation of the components. At first, the master wanted to engrave each value under each tube hole, but for each component there were so many different values that he decided to simply arrange them according to the size of the package. So, for example, in the organizer, marked as 1206, he wounds the resistors and capacitors of this series and arranges them in ascending order.
Step Two: Laser Cutting
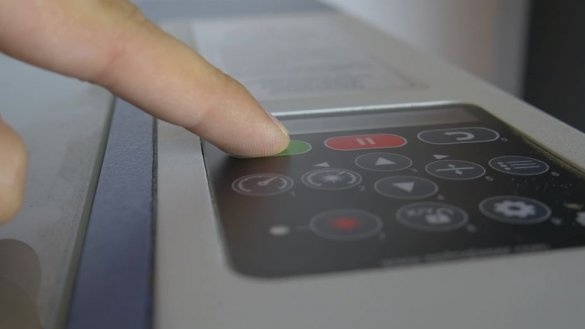
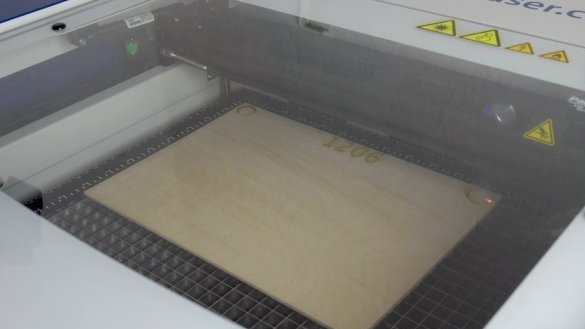
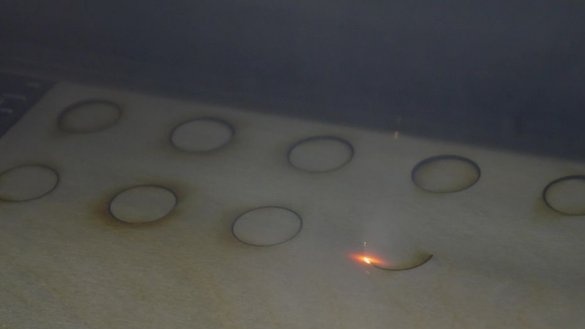
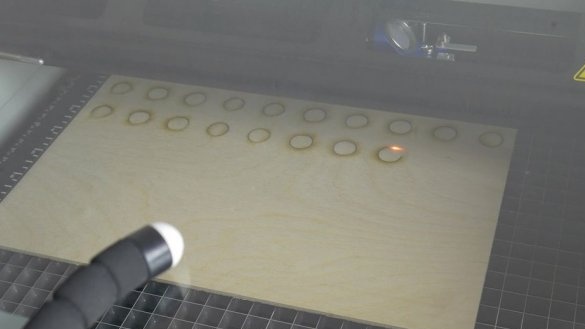
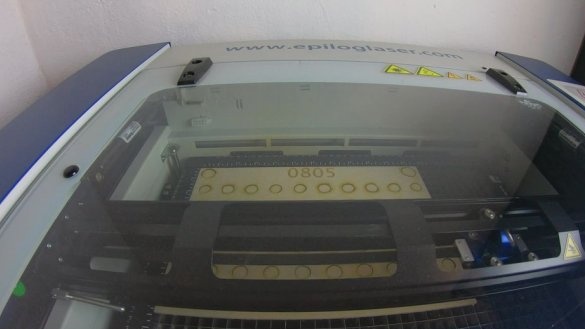
Further, the master places a sheet of plywood in the machine and cuts out the holes according to the plan.
Download files for cutting below.
0805.svg
1206.svg
Step Three: 3D Printing
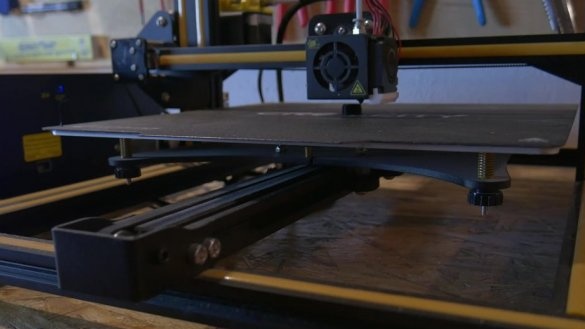
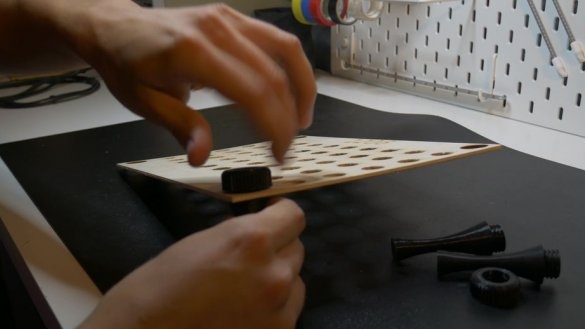
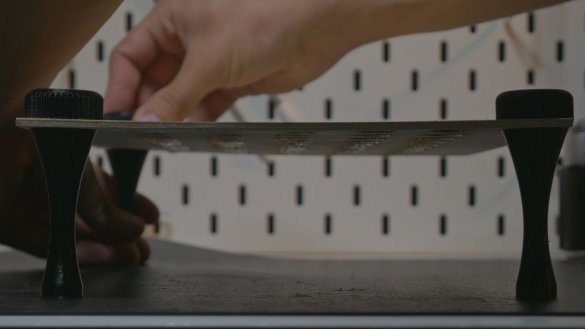
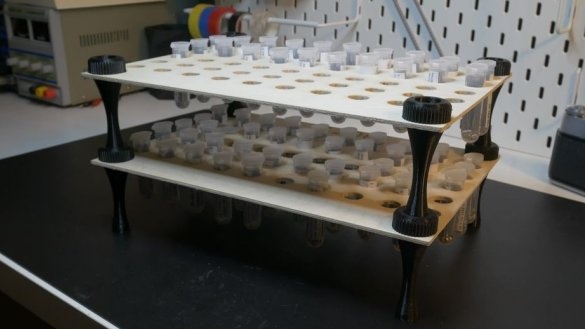
On a 3D printer, the master makes parts with the help of which he connects two sheets of plywood, and they also serve as the legs of the organizer. The legs are designed so that you can install the organizer on top of each other in several rows.
Files for printing can be downloaded below.
leg.stl
nut.stl
Step Four: Build
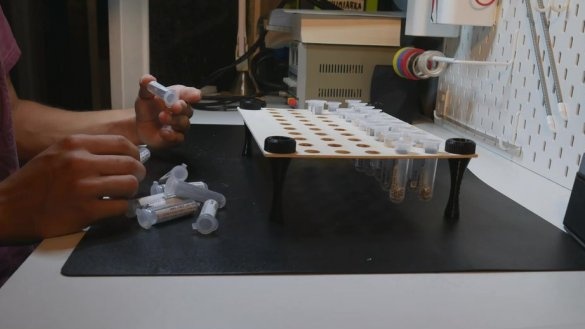
Now that all the details are ready, you can start assembling the organizer.
Step Five: Labeling Tubes
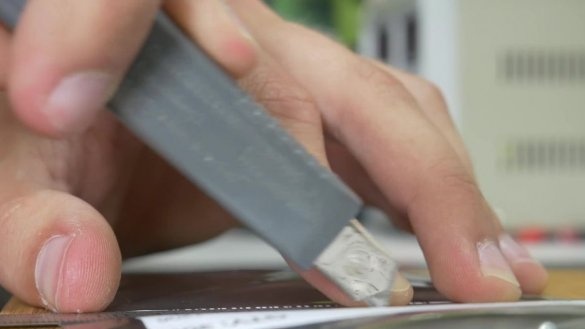
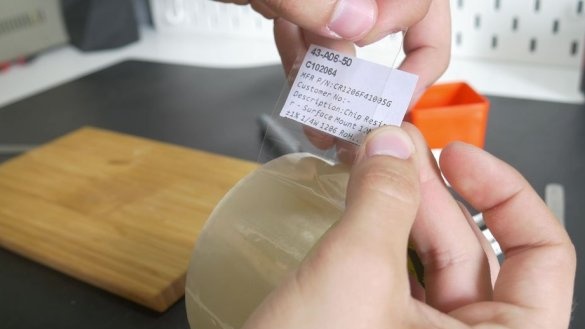
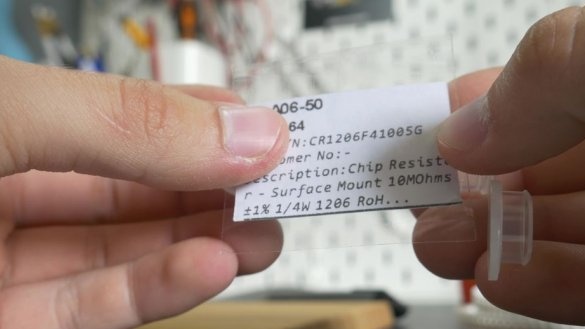
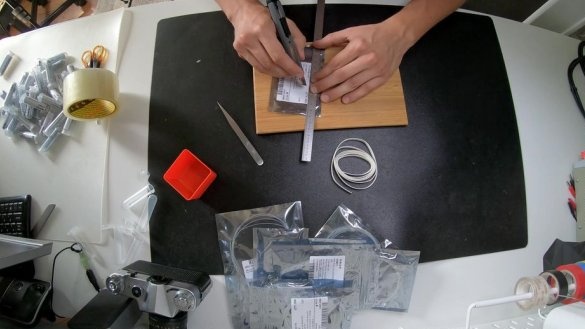
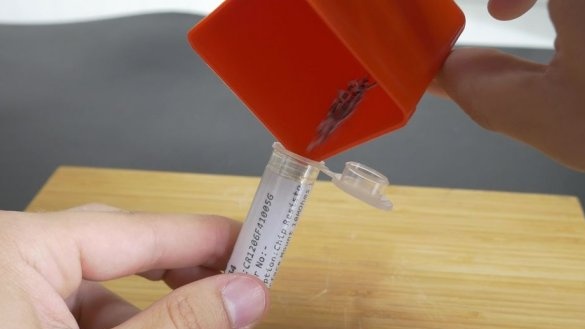
To label the tubes, the master simply took information sheets from each package with SMD components and pasted them onto the tubes.
Now you need to pour parts into each tube according to the face value.
And put the tubes in place.
All is ready. So, with the right approach, you can organize your workplace.
The whole process of making a mono organizer look at the video.

