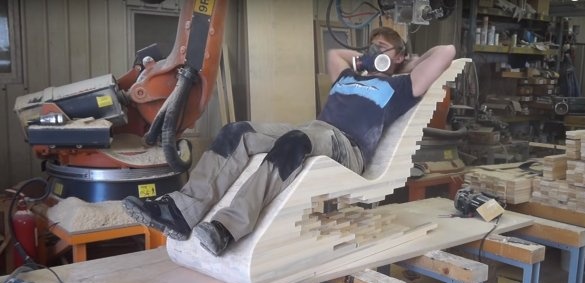
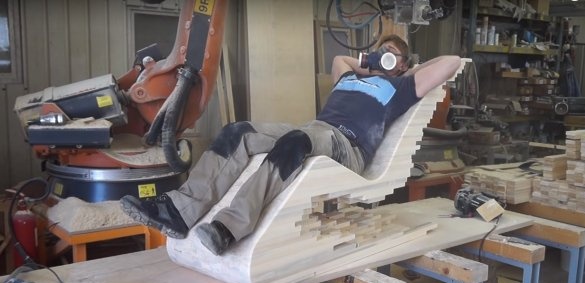
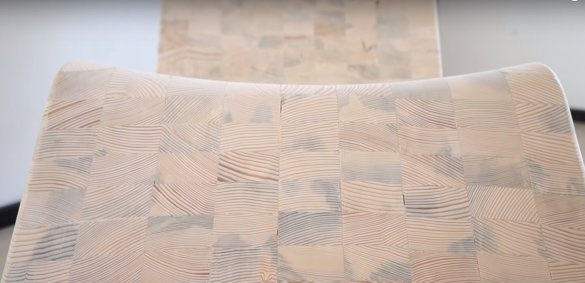
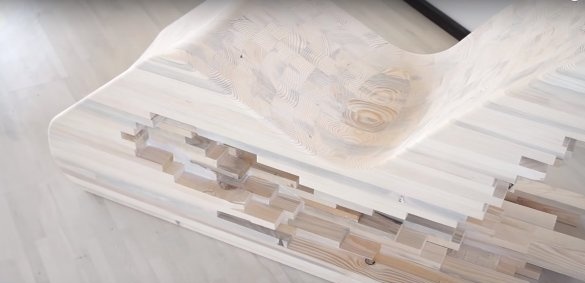
Furniture from garbage is a great idea for those who would like to free their workspace from scraps of lumber. The author of this master class for several days selected for his miracle chair defective slats with wormholes, blue and dropped knots. Sometimes the use of such materials is simply not possible due to the design and class of furniture produced. Therefore, they are often burned.
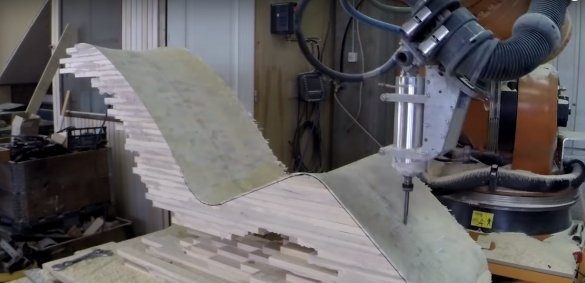
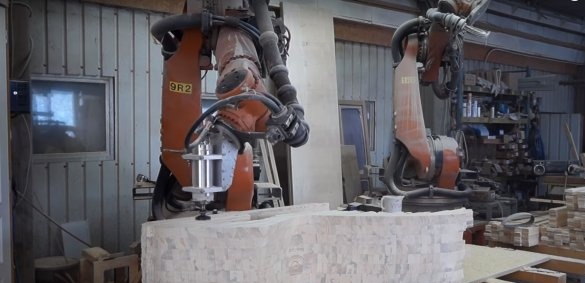
But even with such material, you can truly create unusual products. The manufacturing process to the ugliness is simple, however, processing the chair to give it shape can take a lot of time and effort. The author used a computerized woodworking technique, so everyone could enjoy the work of modern milling robots.
Of course, you can give the desired shape to the chair with the help of household power tools. It’s enough to stock up on a decent baggage of patience and time. In order to make a glued chair out of slats, it was necessary:
Materials:
- wooden slats unsuitable for other purposes;
- two-component melamine adhesive - 10 kg;
- putty on wood;
- a flat base for assembling a chair;
- release agent based on silicone or wax.
Instruments:
- robotMilling machine - a work of art in the field of woodworking machinery;
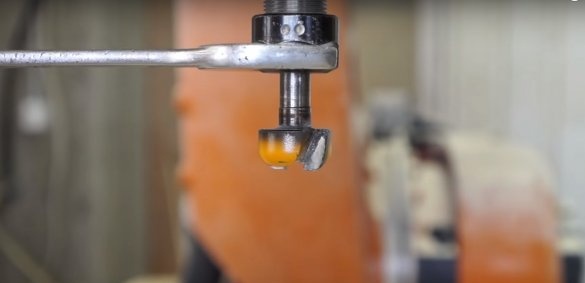
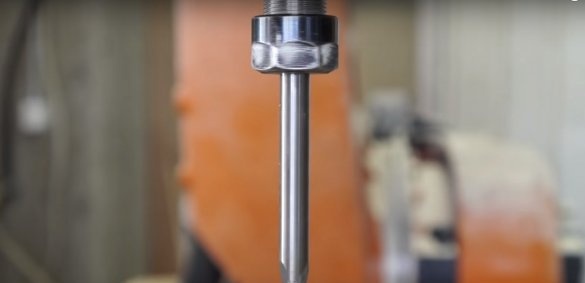
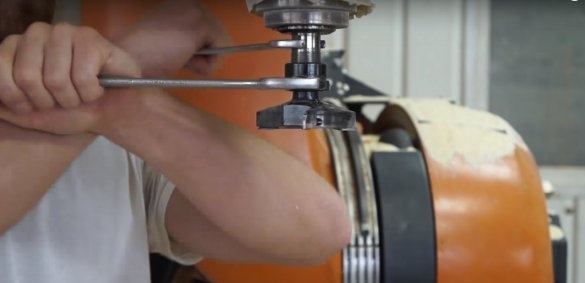
- several milling cutters on wood;
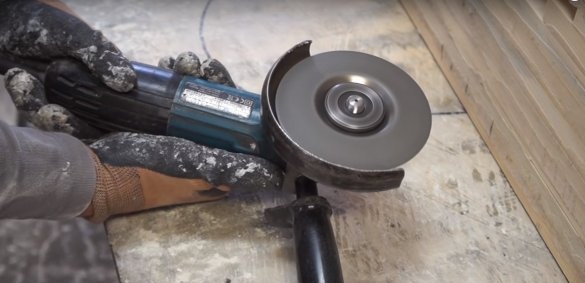
- a grinder or an orbital grinder with a grinding wheel;
- Thicknessing machine;
- manual frezer;
- construction mixer for mixing glue;
- scales for the preparation of glue;
- mount;
- square, construction line;
- putty knife;
- brush for glue;
- marker.
Manufacturing process
Step one: material selection and pretreatment
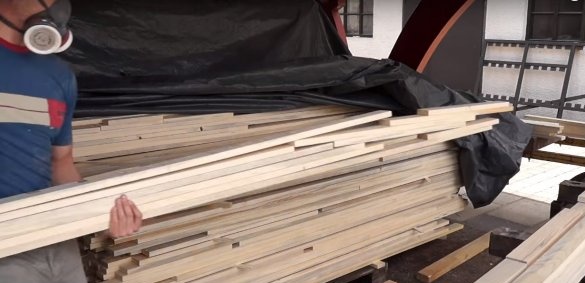
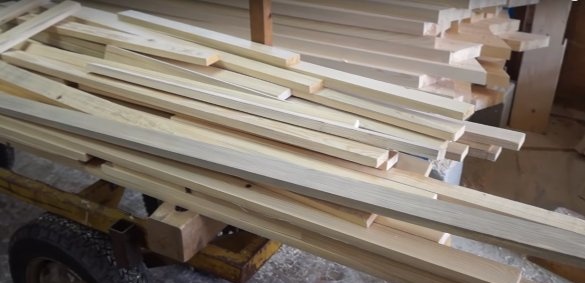
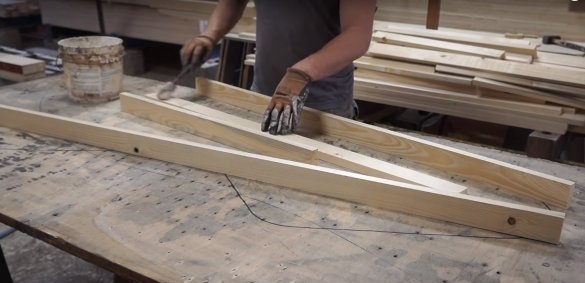
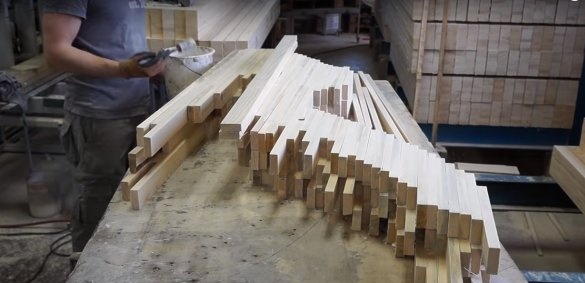
To make a chair, the author uses a wooden rail - substandard, with blue areas, knocked out knots and other defects. In the product, of course, defects will not be visible, and the blue will even give the chair an additional twist.
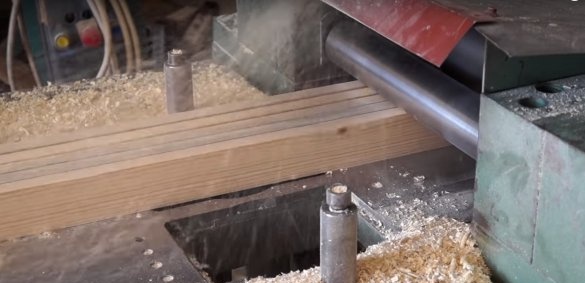
Reiki needs to be processed on a thicknessing machine, in order to fit them in cross section and at times simplify the process of assembling a chair.There were already rails of the most varied lengths available, so there was no need to measure and cut anything.
Step Two: Preparation of the Pattern Base
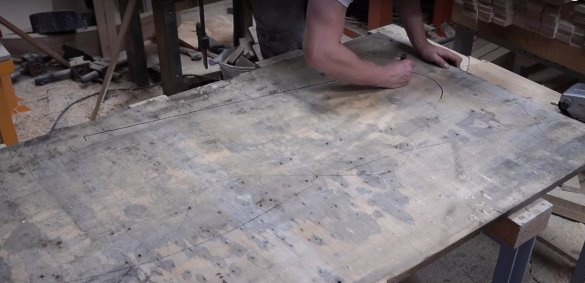
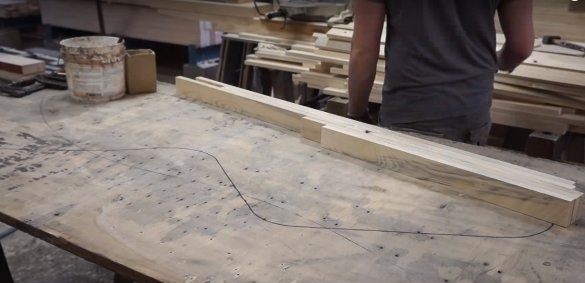
As a base, a sheet of plywood, particleboard or laminated MDF is perfect. Here, the author sketched the outline of the chair in profile, because it is in this position that it will be assembled.
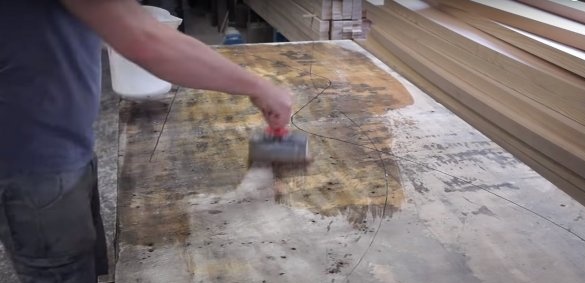
In order to make it possible to tear off the finished chair from the base, the latter was treated with a special release agent. Such compounds are made on the basis of silicone or wax - a specific key element for a certain kind of materials.
Step Three: Preparing the Adhesive
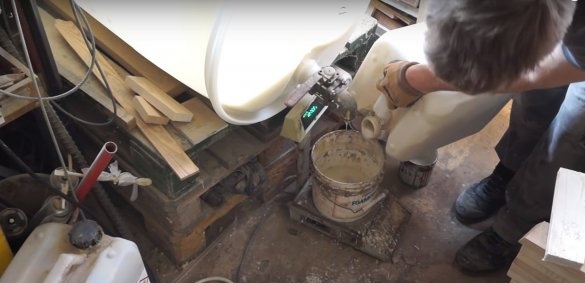
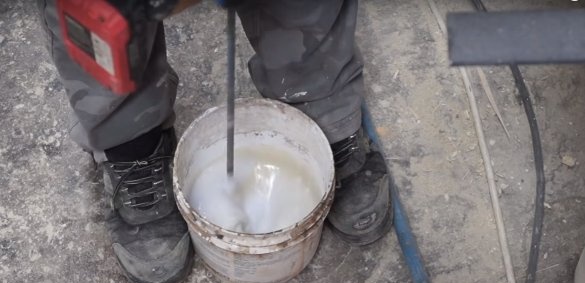
For bonding, the author chose a two-component melamine, which gives a fairly strong connection, even despite the lack of pressure. The glue is mixed according to a layout of two components and kneaded with a mixer, after which it is ready for use and for some time retains its working properties.
For this project with its 90 kilograms, 10 kg of glue was needed.
Step Four: Build a Chair
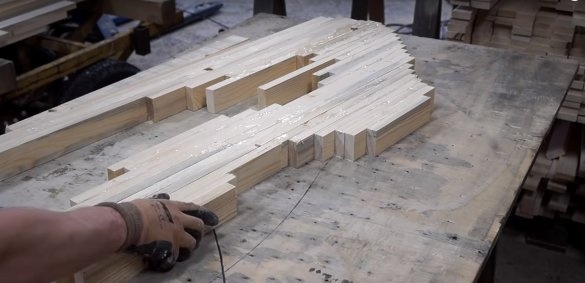
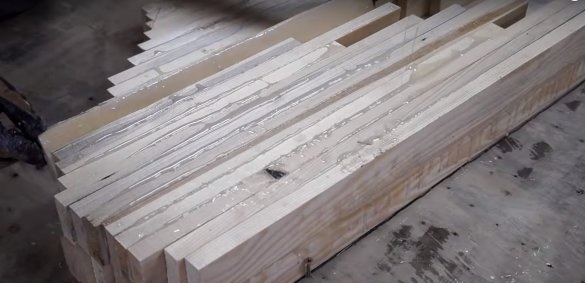
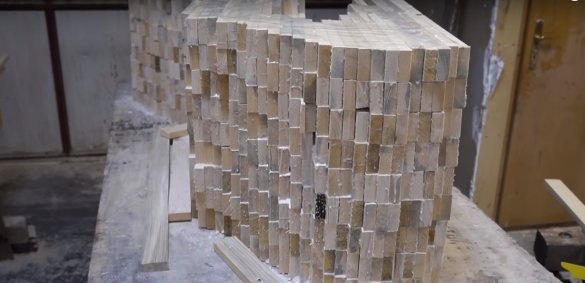
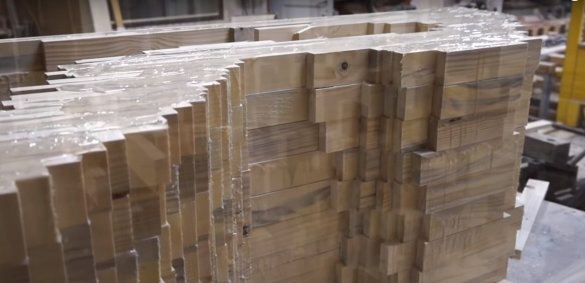
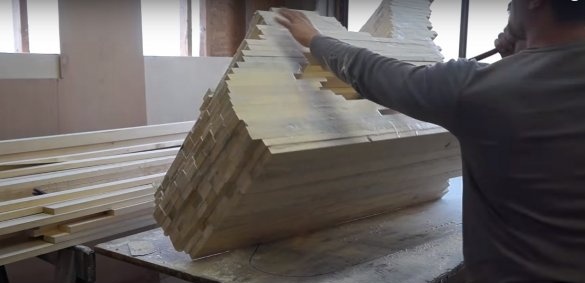
The assembly of the chair is carried out in layers. Each part is coated with glue and fixed in a row. Clamps in this case are not used, since it would take a huge amount of all kinds of clamps and even more time. However, the properties of melamine glue, applied in excess, allow gluing parts not as tightly as we used to do it usually.
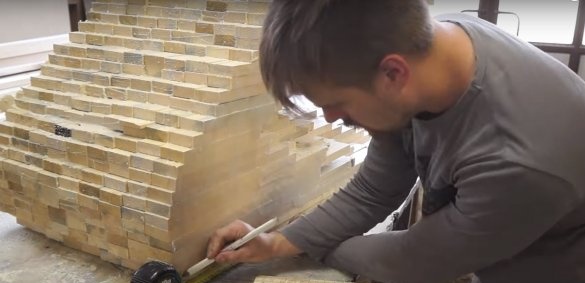
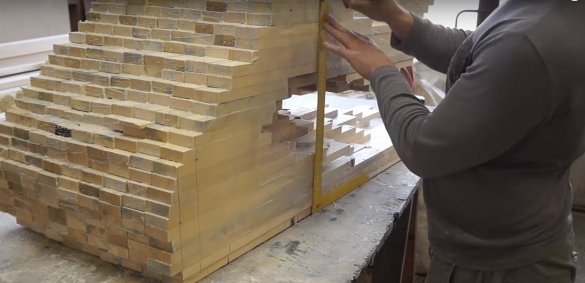
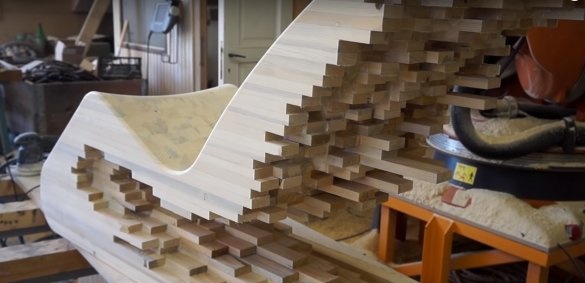
Reiki are drawn in rows from the seat line, forming an unusual profile of the chair. After the work is completed, it will take how many days before you can detach the chair from the base and continue to work.
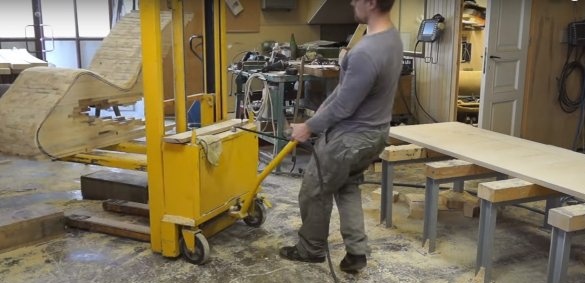
Thanks to the separation composition, the separation process is more or less easy, as much as possible, given that the untreated chair weighs about 100 kg.
Step Five: marking the shape of the seat and preparing for milling
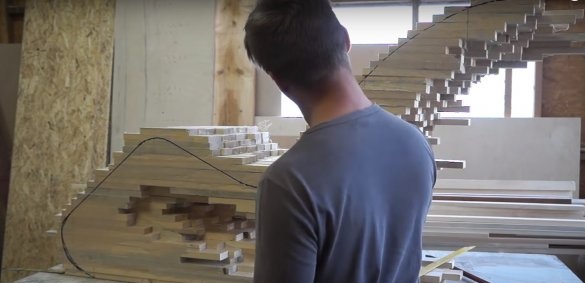
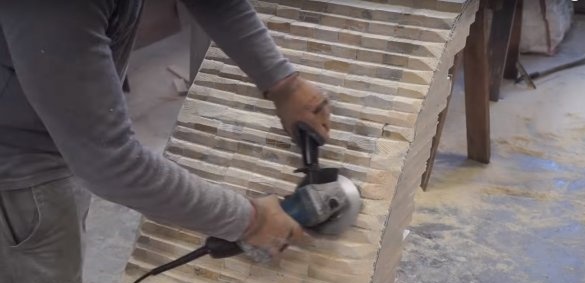
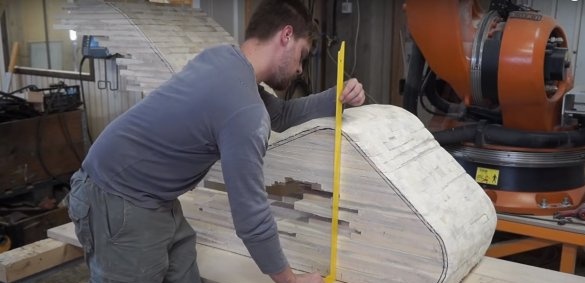
The author marks the seat line with a marker. Everything above is subject to deletion. The main milling work will be done by robots, but it prepares the surface by removing the protruding corners of the rails. A grinder with a hard grinding wheel on wood helps to cope with this task.
Step Six: Chair Milling
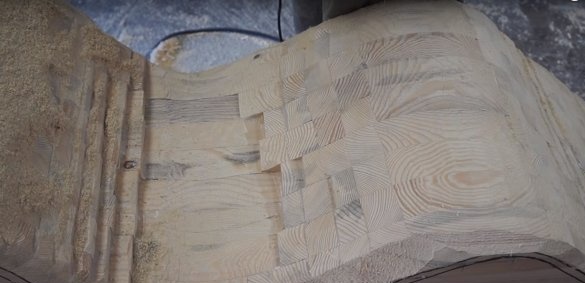
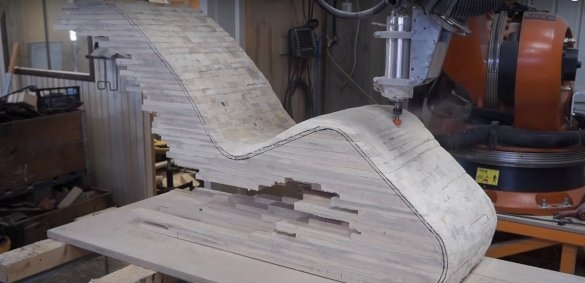
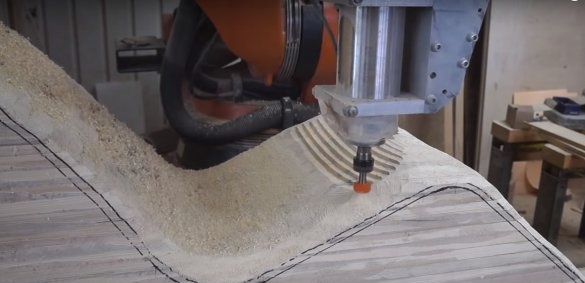
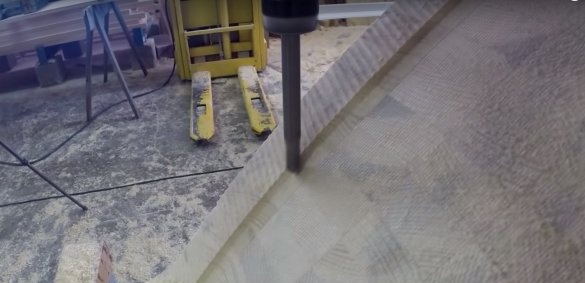
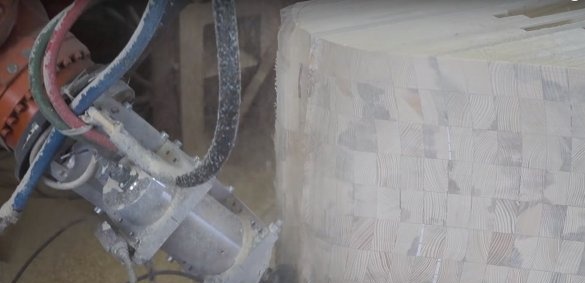
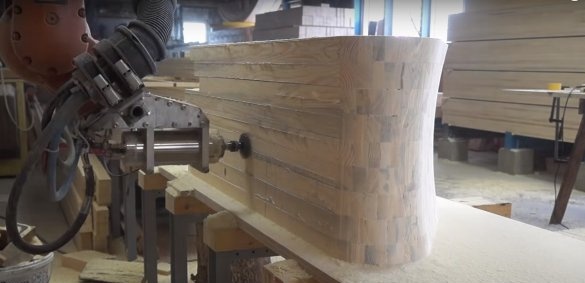
Further, all the work to give the final shape to the seat is performed by robots. For starters, they sample along the central axis, making it concave for greater comfort. Thus, the milling takes place first across, and then along the seat. After that, the robot processes the side planes and the lower part of the chair.
Seventh step: finishing the product
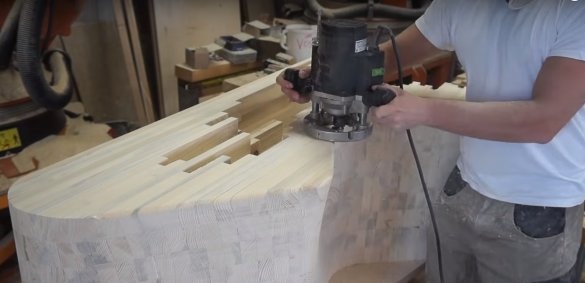
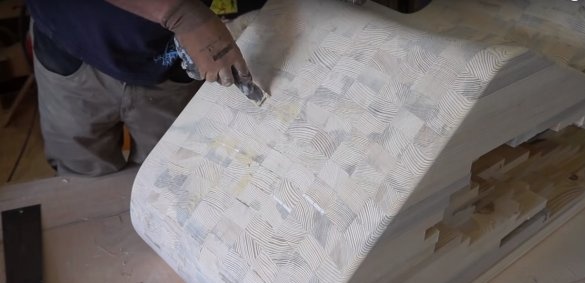
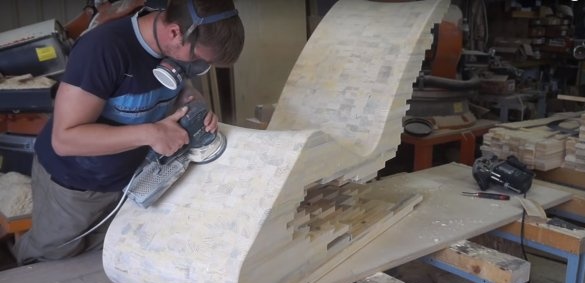
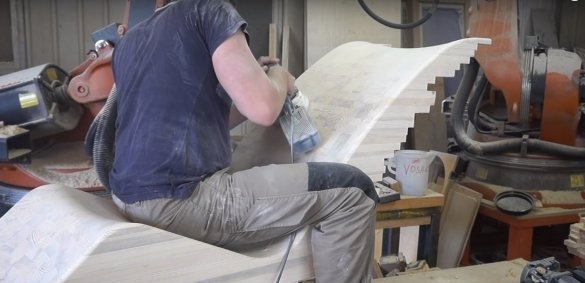
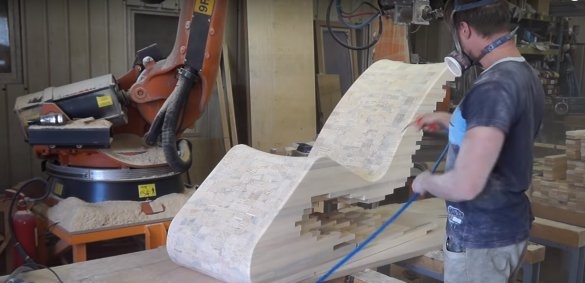
Finishing of the chair was performed by the author himself. To do this, with the help of a manual milling cutter, he rounded the corners of the chair. Next, it is necessary to grind the surface of the seat, as well as its lateral planes, with an orbital sander. But before he putty filled all the holes and bumps.
The finished chair can be oiled, varnished or tinted. The back side of the chair with protruding elements should be processed from a spray gun and, based on this, select suitable paints and varnishes.
Is it possible to make such a chair without the participation of a milling robot? Of course, you can, but it will take much more time and effort. And the technology and the procedure should be thought out in advance. After all, even robots took 10 hours to complete their work. The author, by comparison, spent twice as much time.

