
In this article, David, author of the YouTube channel Make Something, will tell you how he made a bowl of wood and acrylic without using a lathe.
Materials
- Mahogany slab
- PVA glue
- Impregnation for wood, wax
- Sandpaper.
Instruments, used by the author.
—
- Drum sander
—
—
—
- Reysmus
—
-, clips, clamps.
Manufacturing process.
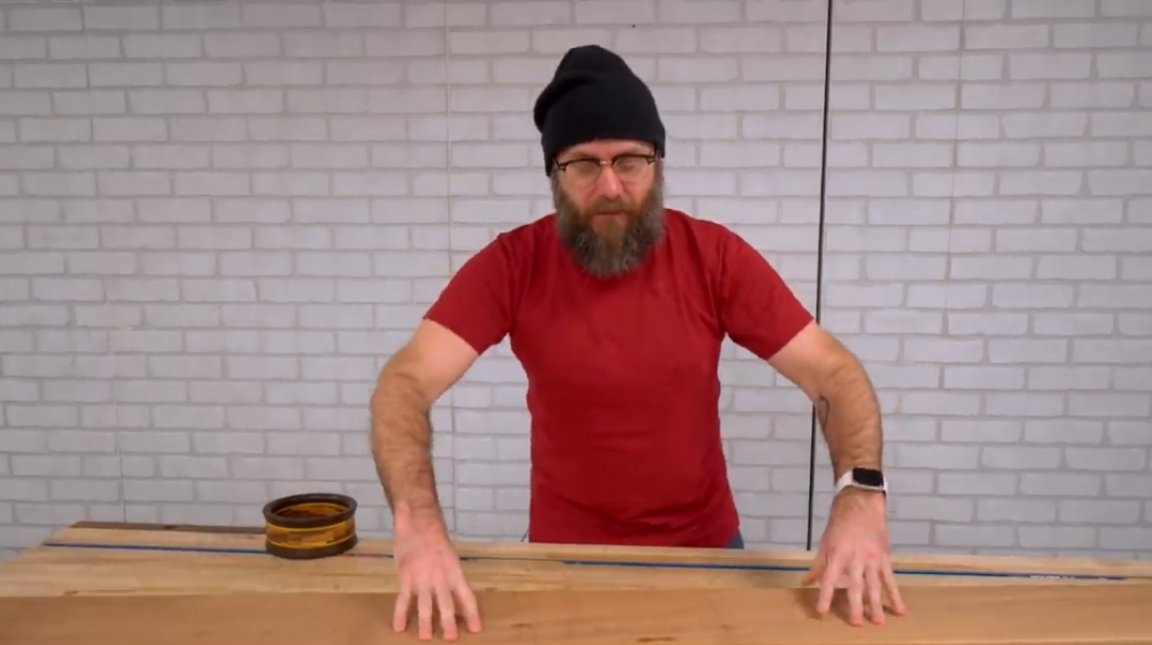
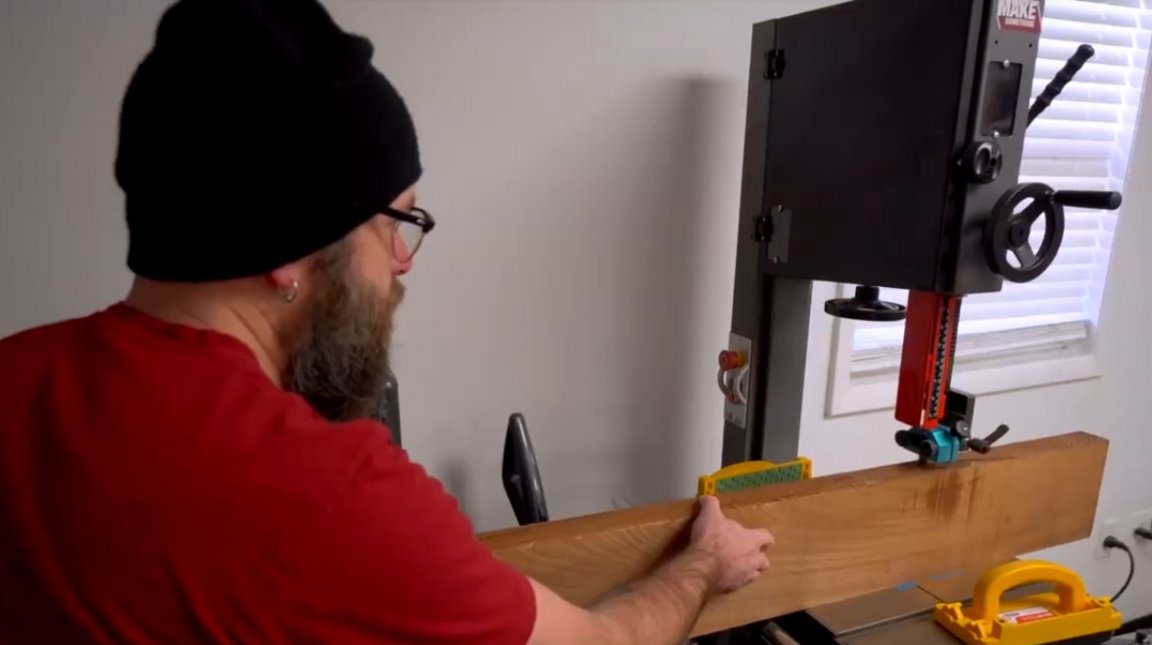
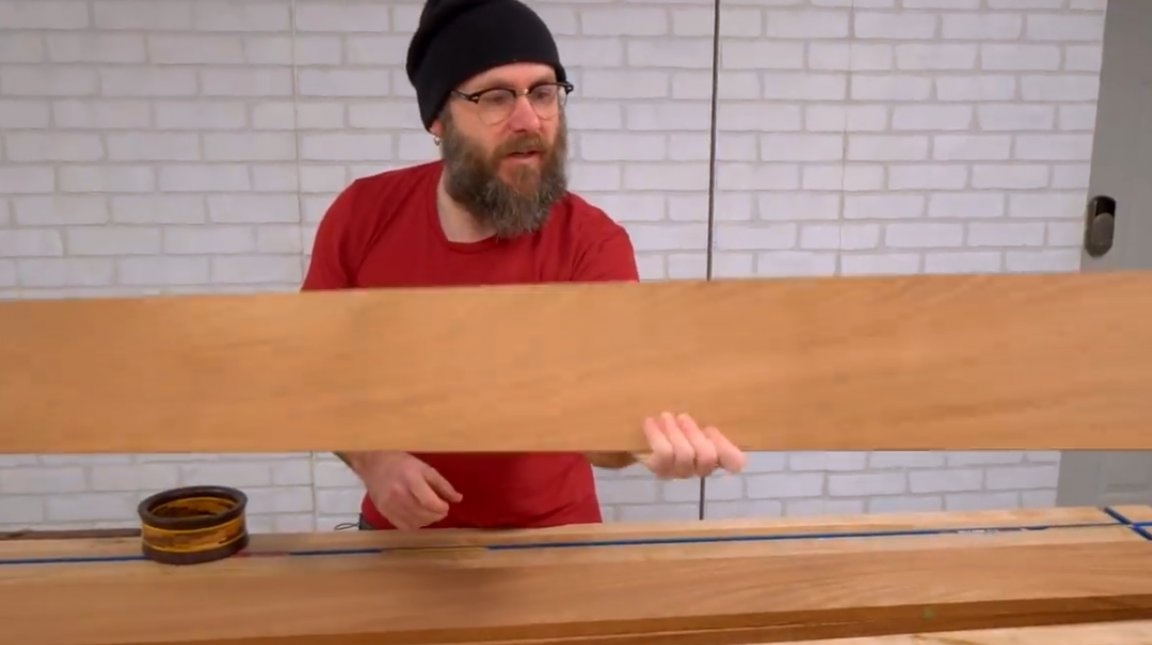
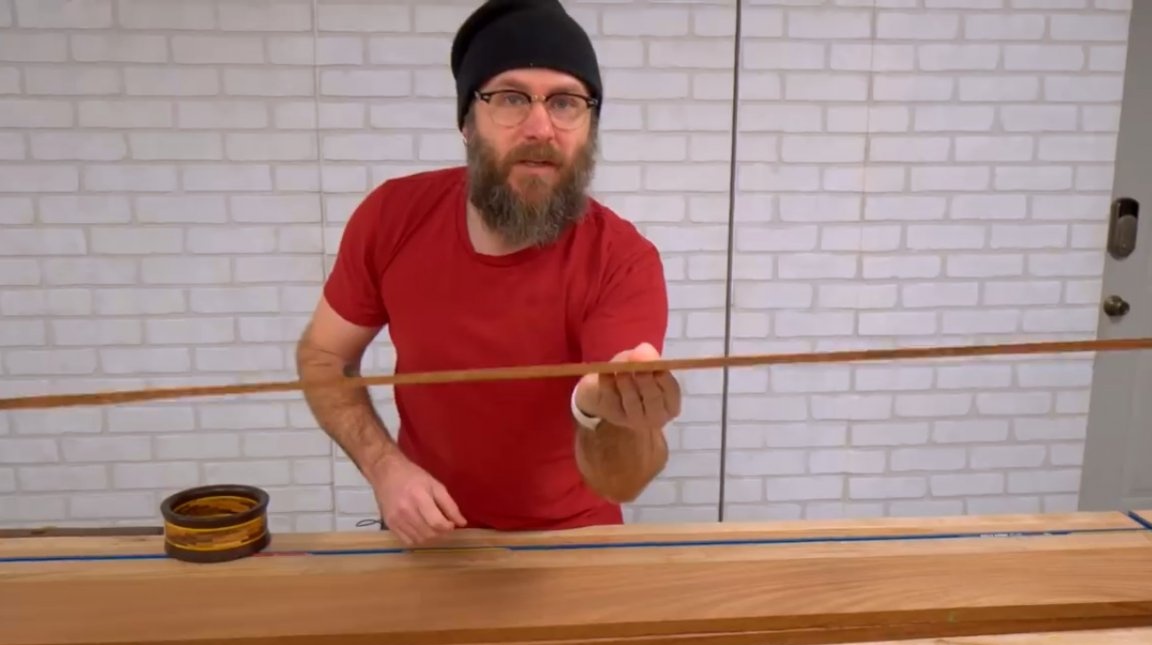
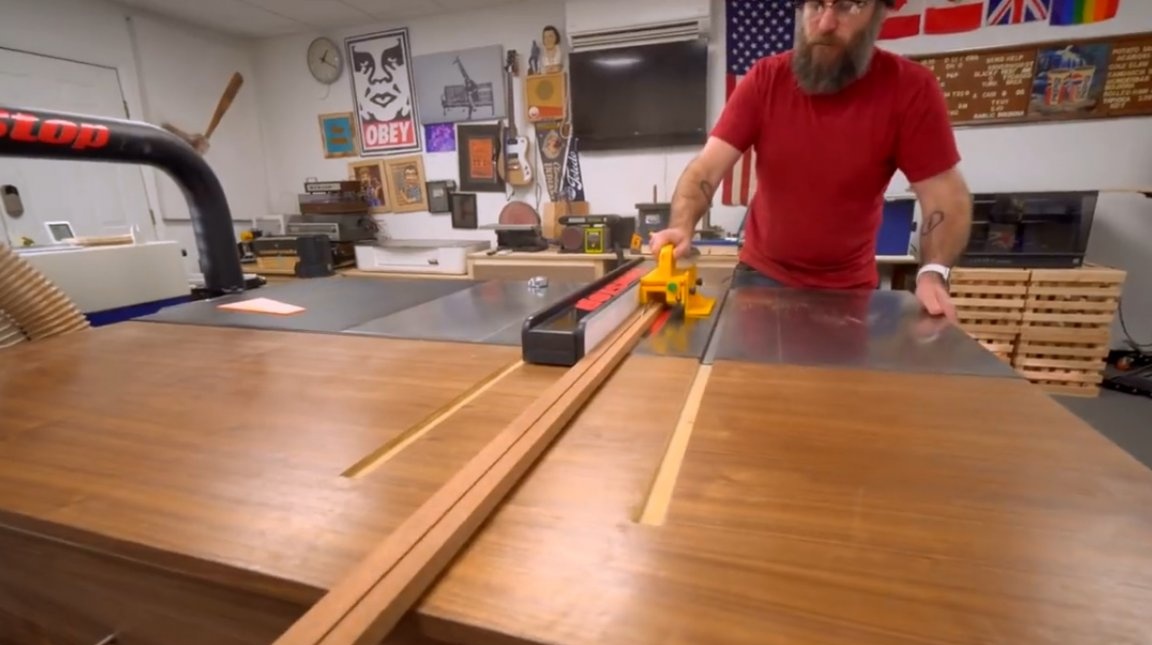
So, the author got an amazing mahogany slab. He saws it into rather thin and neat boards with a band saw.

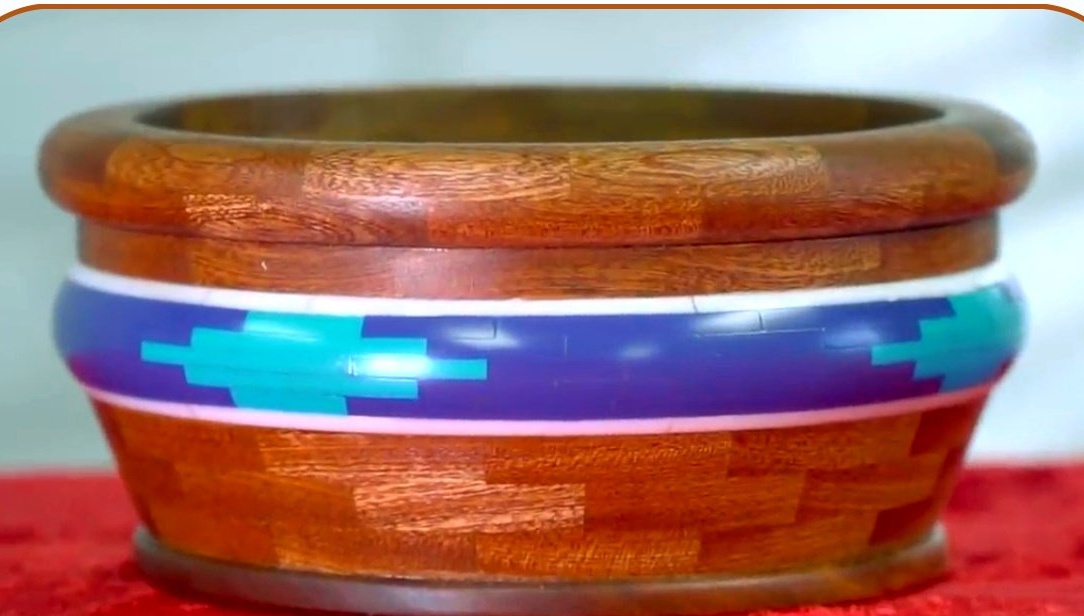
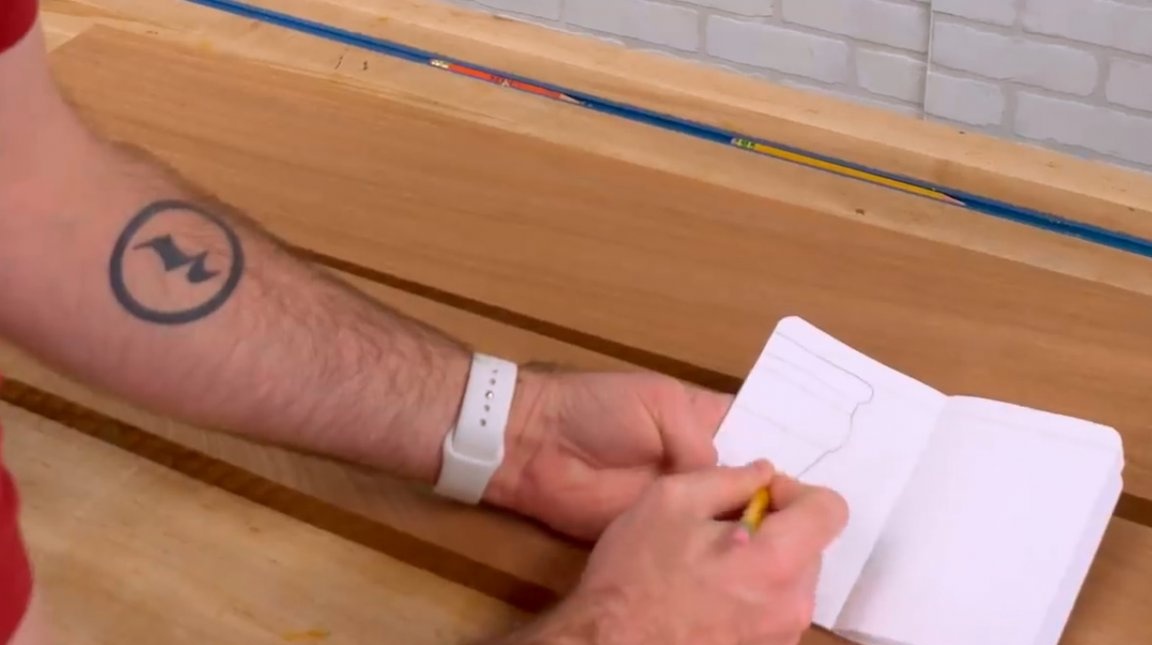
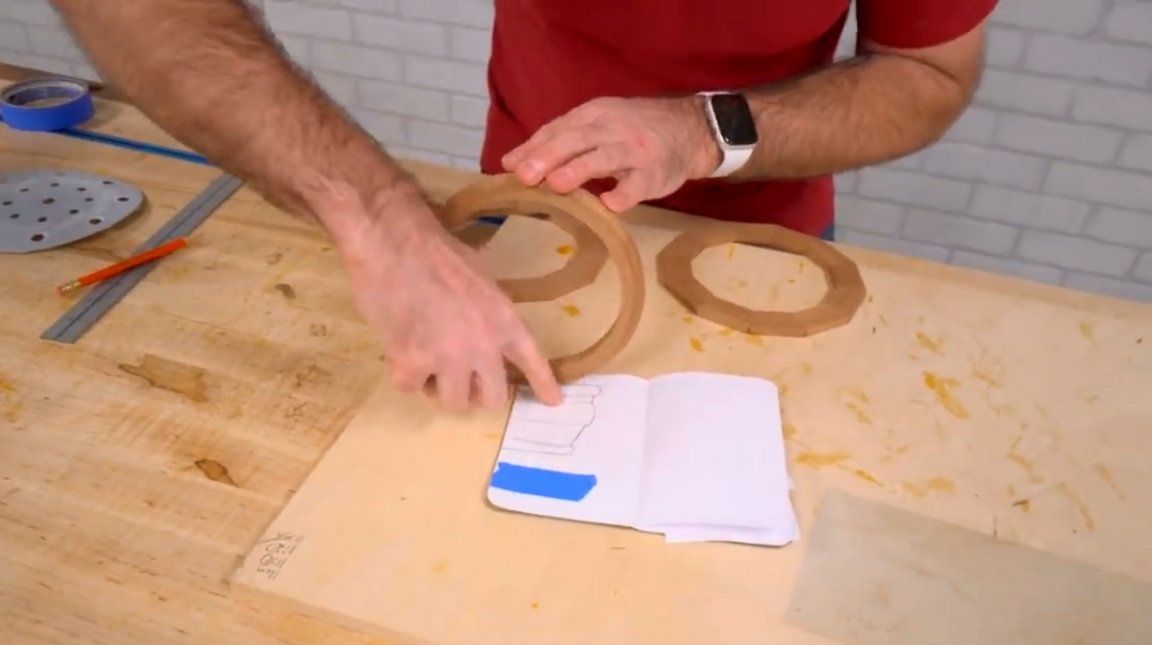
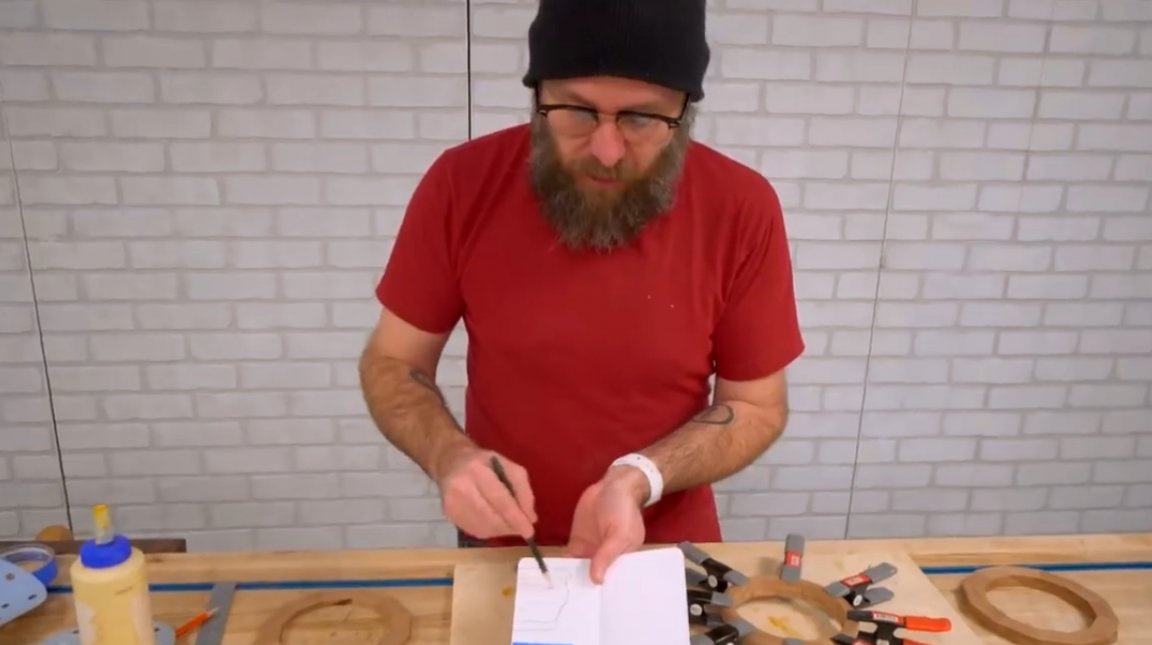
Here is the profile of the future bowl. The author sketches the outlines of the constituent elements. There will be 4 sections in total. After all four are done, David will glue them together.
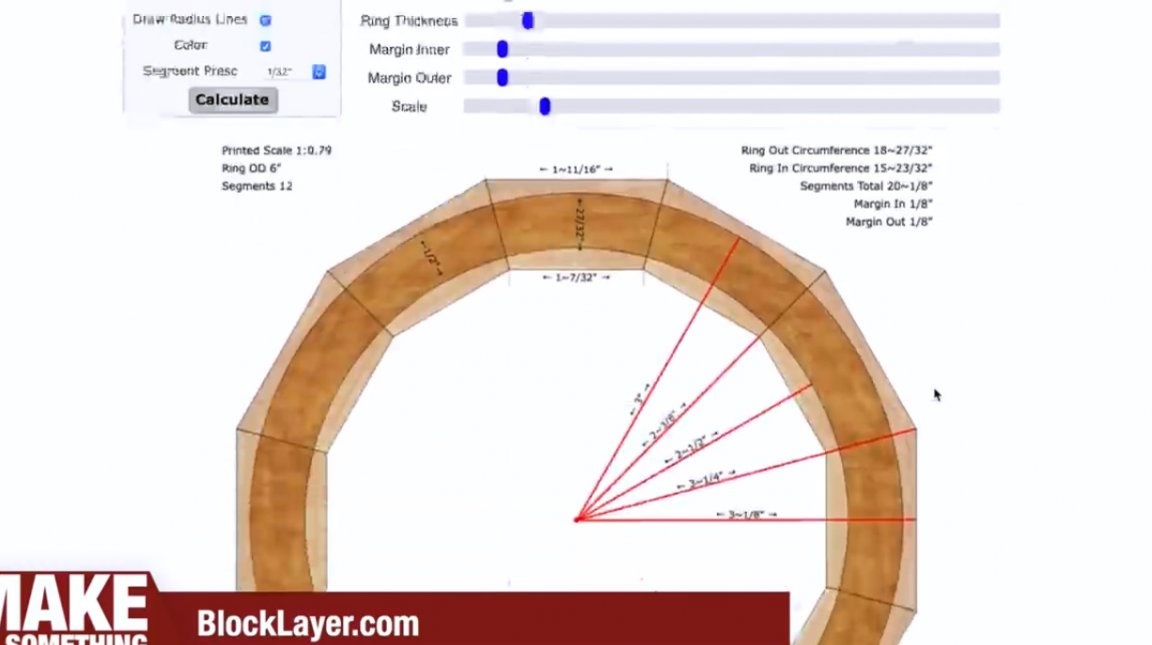
So, there will be a total of 12 segments with a radius of rings of 80 mm. The thickness of the ring will be 12 mm.

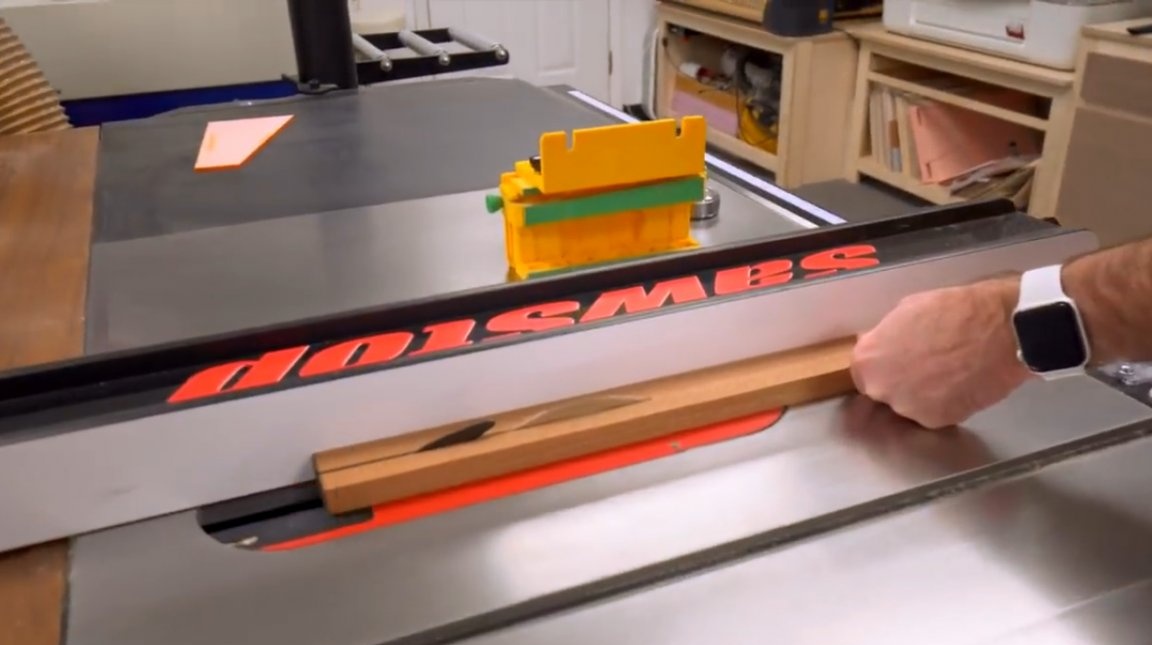
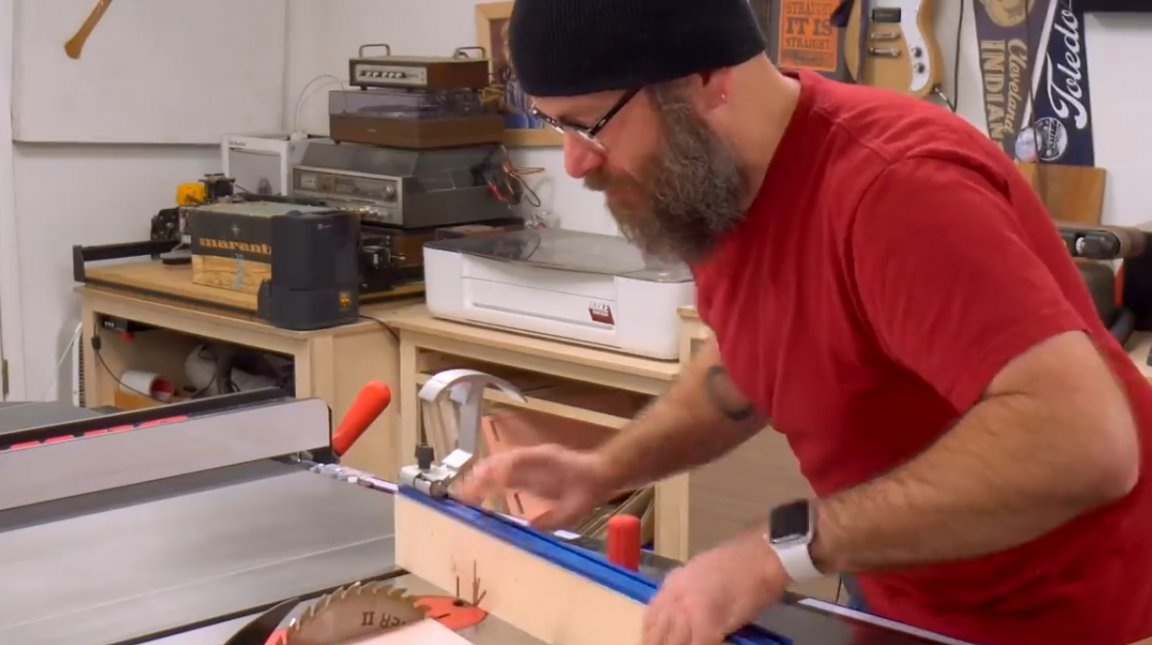
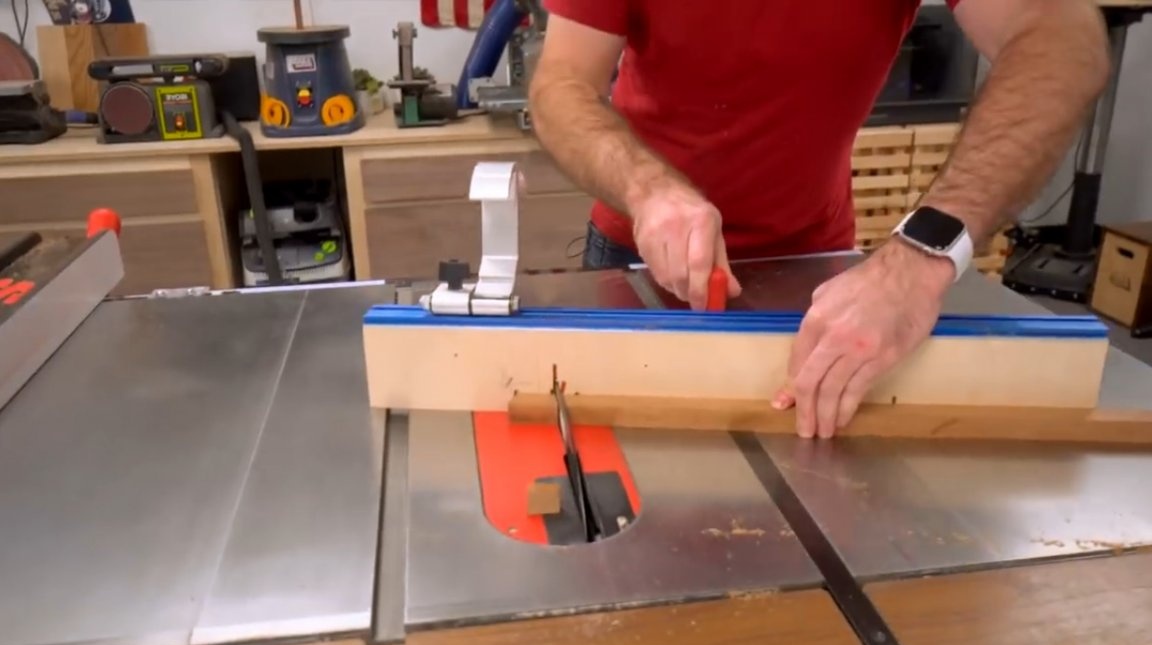
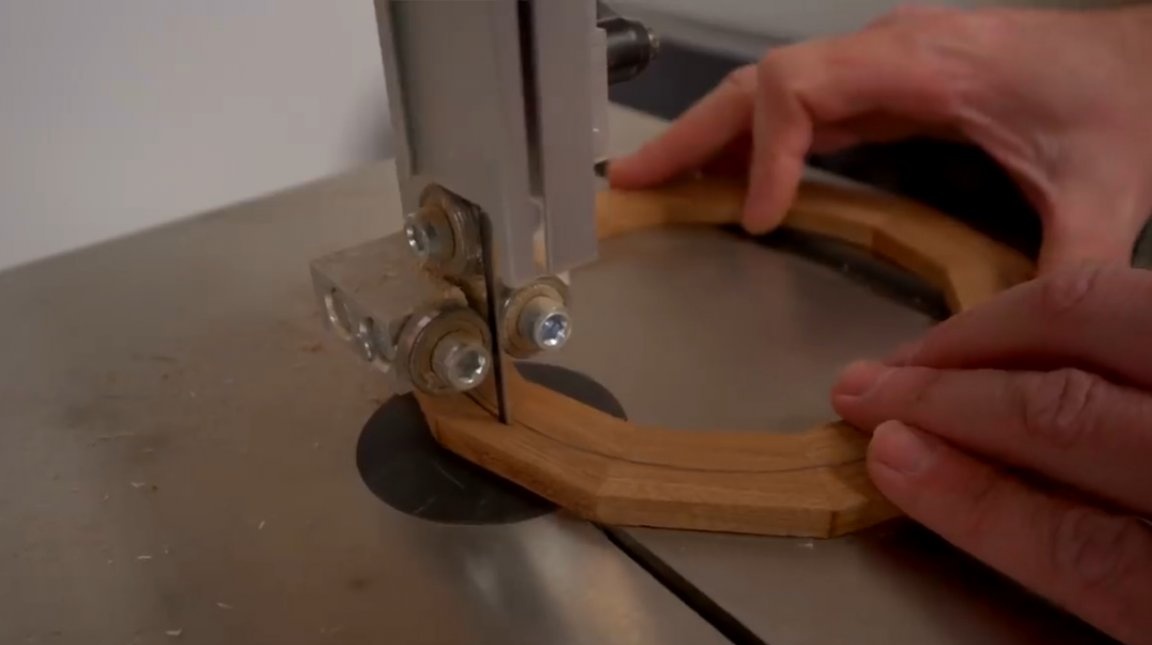
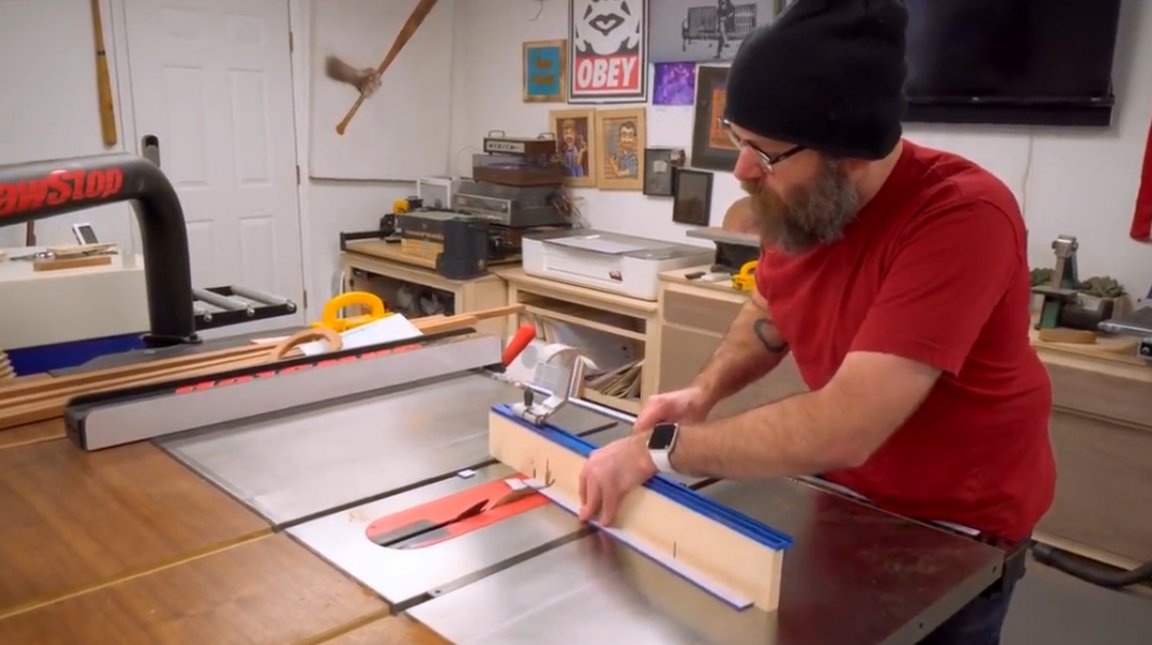
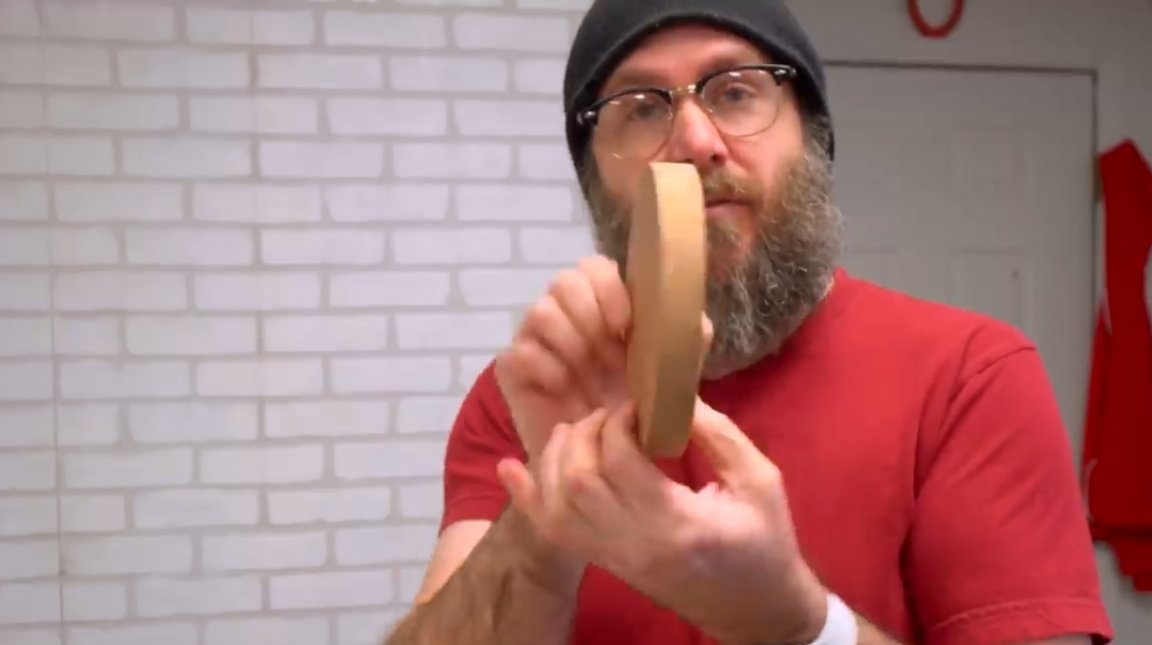
Now the author starts cutting out the segments themselves. He did this hand devicewith which he puts emphasis clearly at 15 degrees. You can also use a digital goniometer.
The emphasis is set, pressed, measured and sawed off segment. The bar is turned 180 degrees, and the whole procedure is repeated as many times until the desired number of segments is typed.

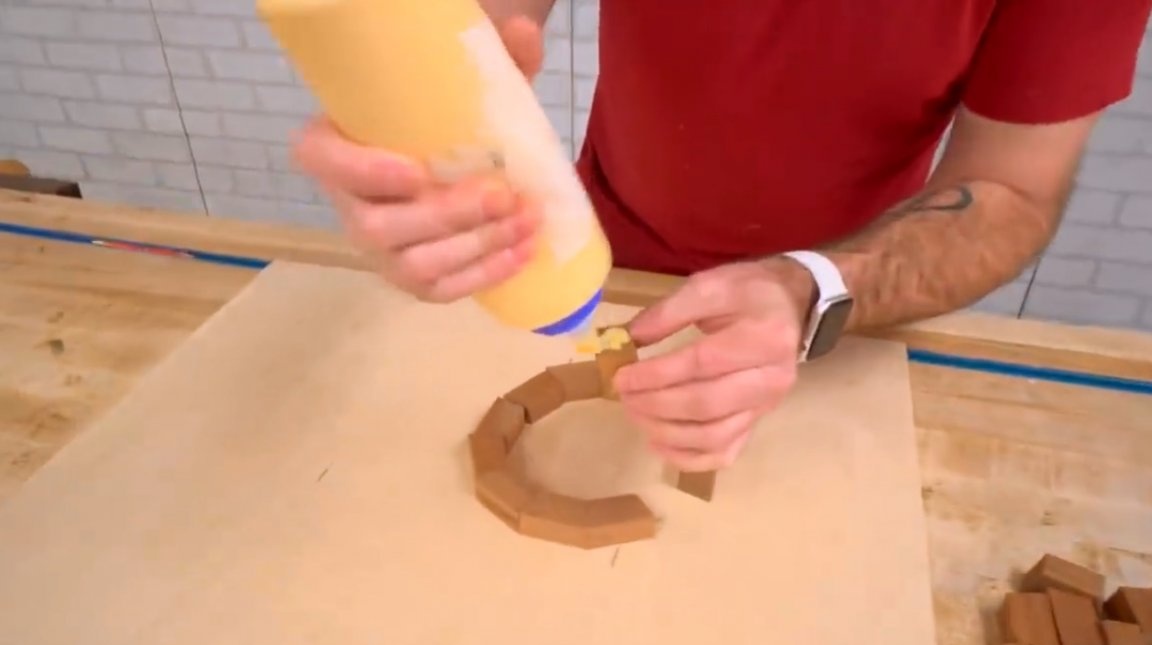
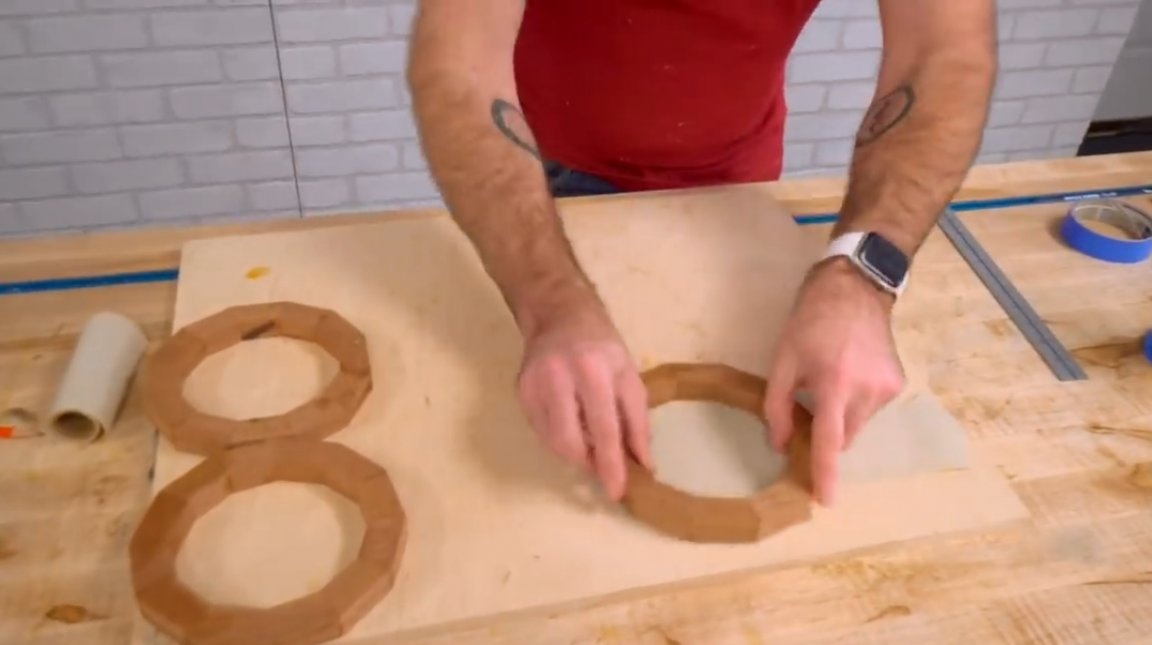
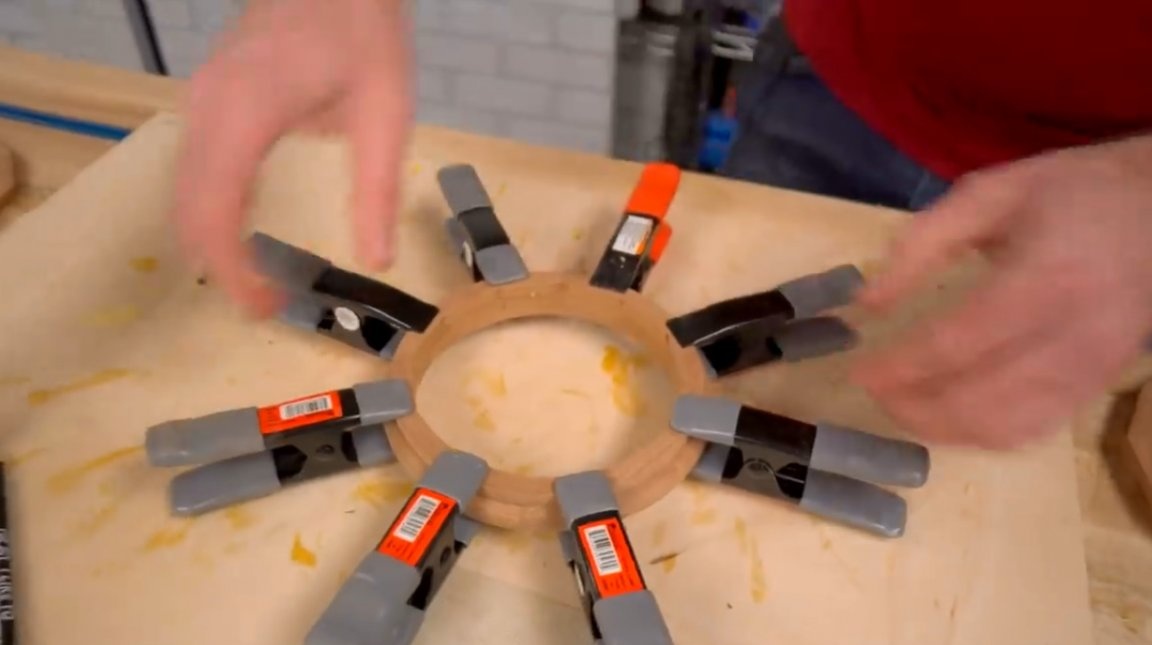
Now the first ring of 12 segments is laid out.
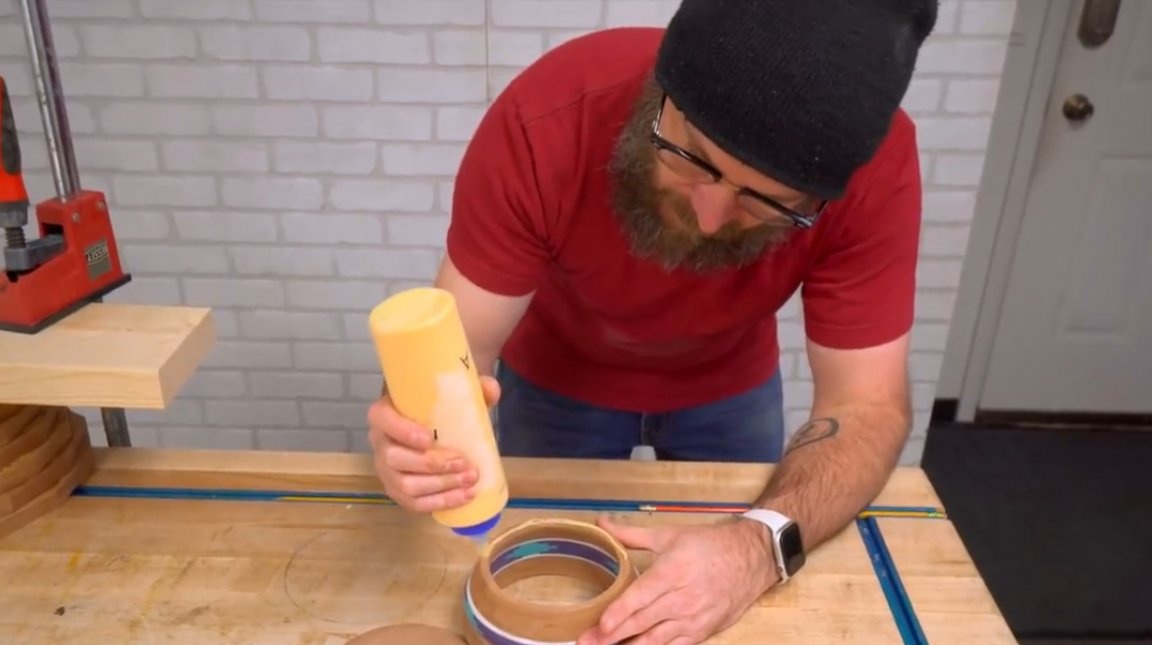
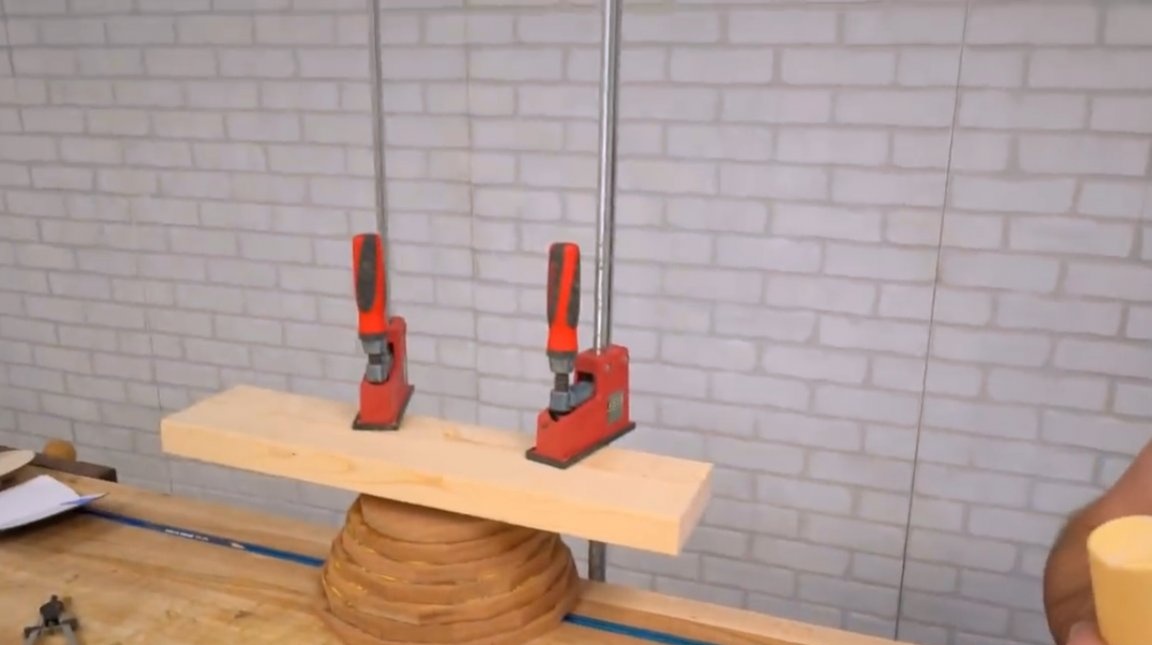
All of them immediately stick together and are pulled together with a clamp. Of course, the joints of the fibers cut across are glued, which in itself does not give great strength. But the same strength will be achieved due to the number of layers.
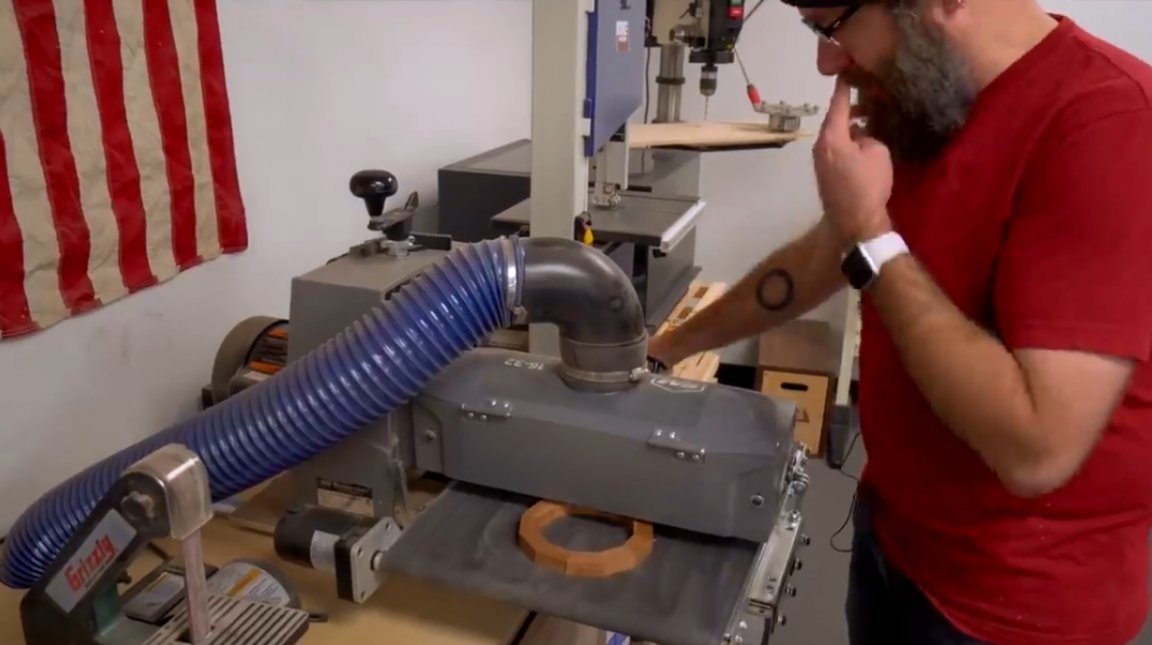
When the glue has dried, it drives the workpiece through the thicknesser.
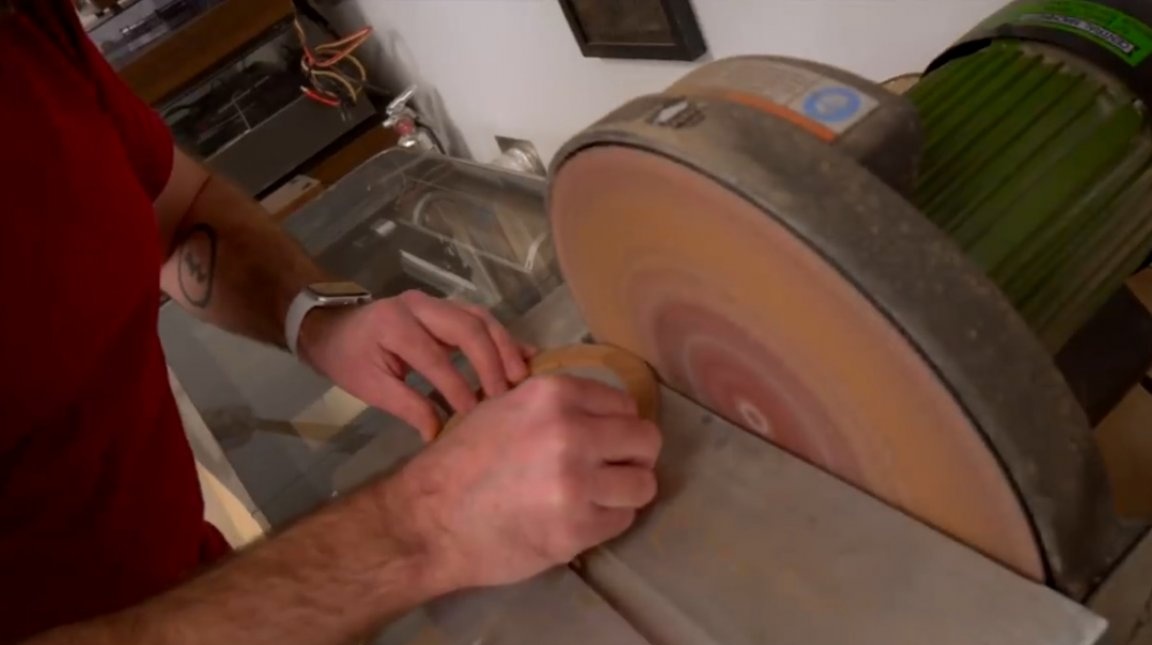
Now, on a band saw, he cuts each ring lengthwise into two thin ones, and wipes the surface. To do this, the master has sandpaper on an adhesive basis.

Then the rings are glued together again. But, connecting them, David each time rotates them a little along the axis so that the seams do not match. Such a trick should give rigidity and strength to the structure.
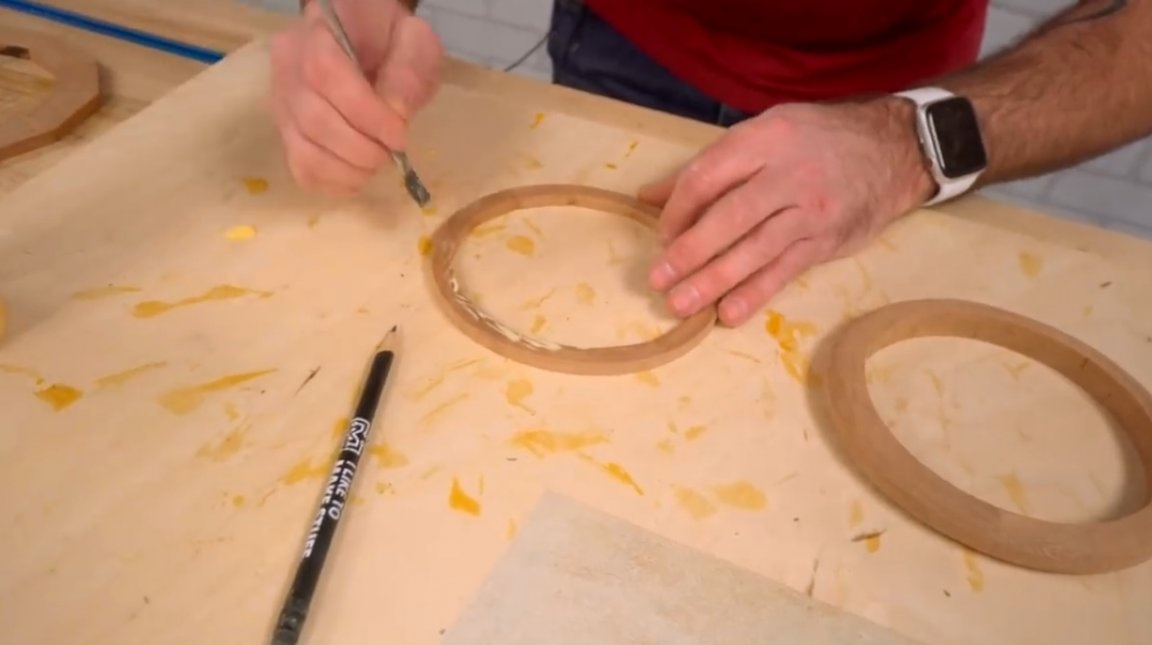
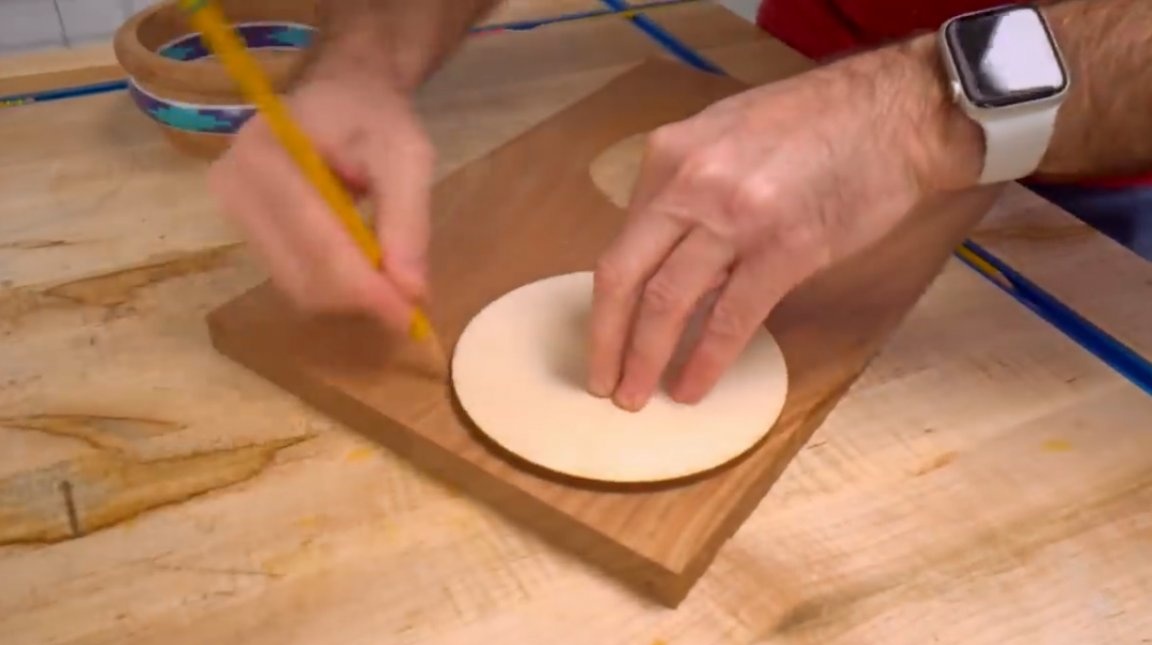
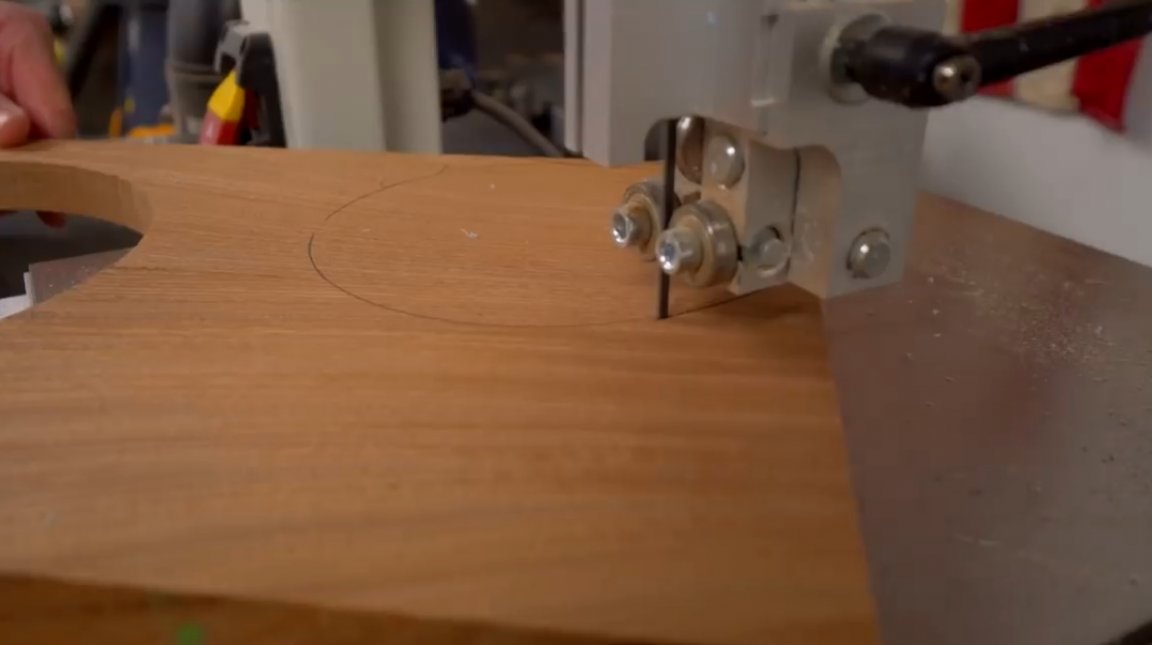
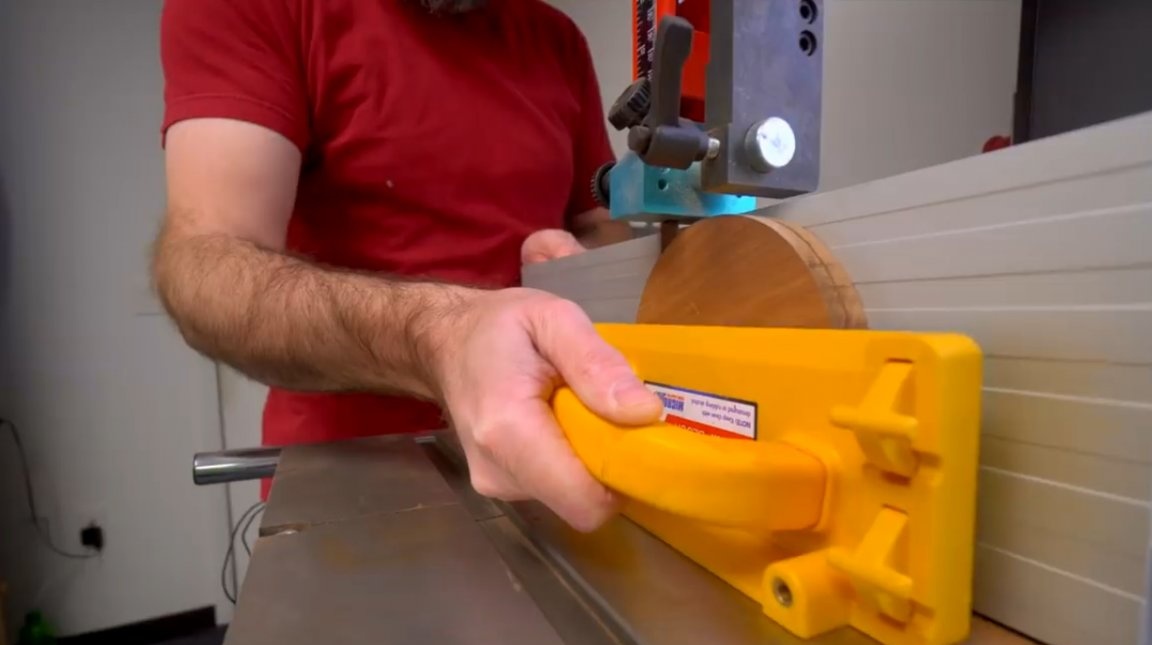
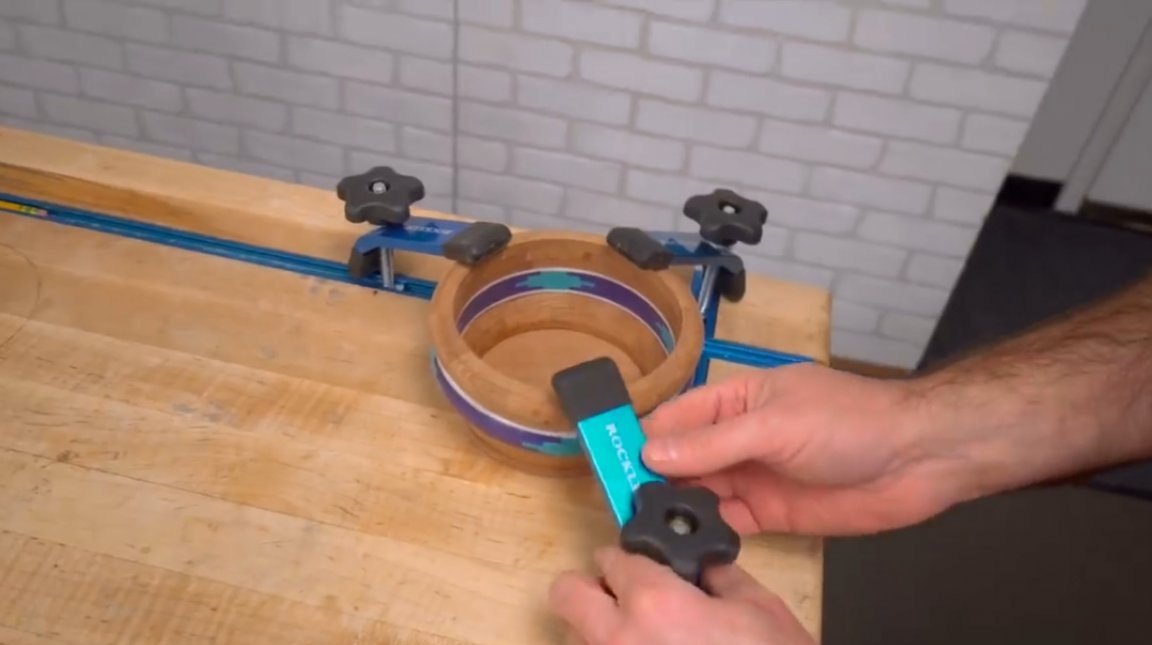
Now you have to draw a circle on the ring, along which you can cut a perfect circle on the band saw. The master prepared a template for this purpose.
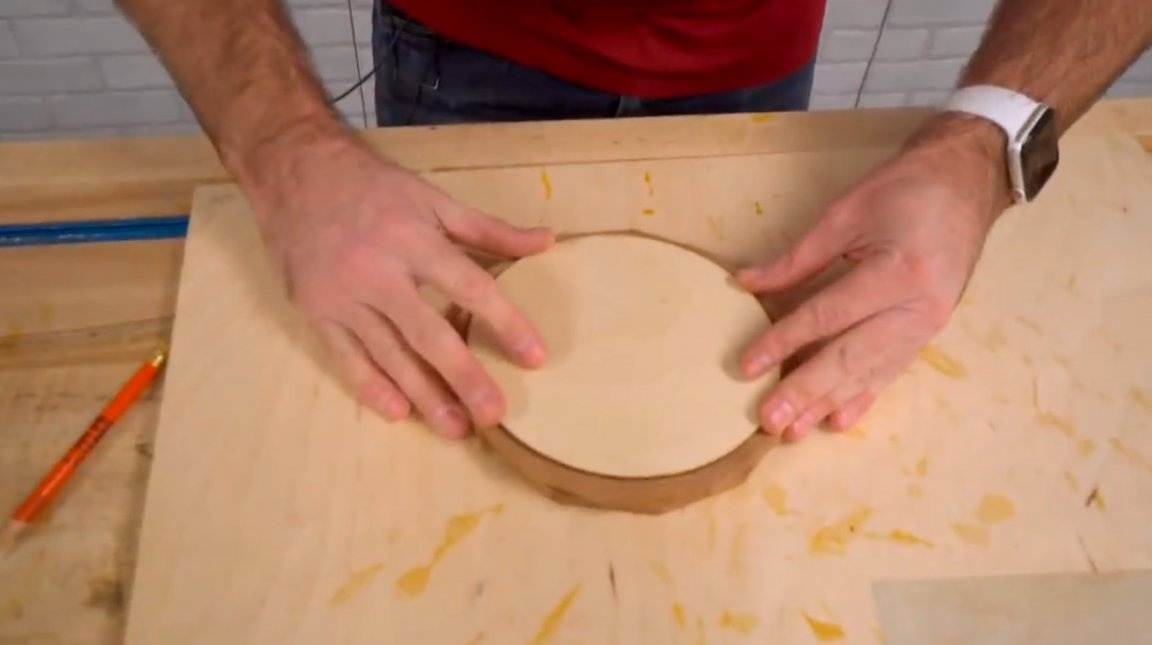
He circles a circle and cuts it out on a band saw.

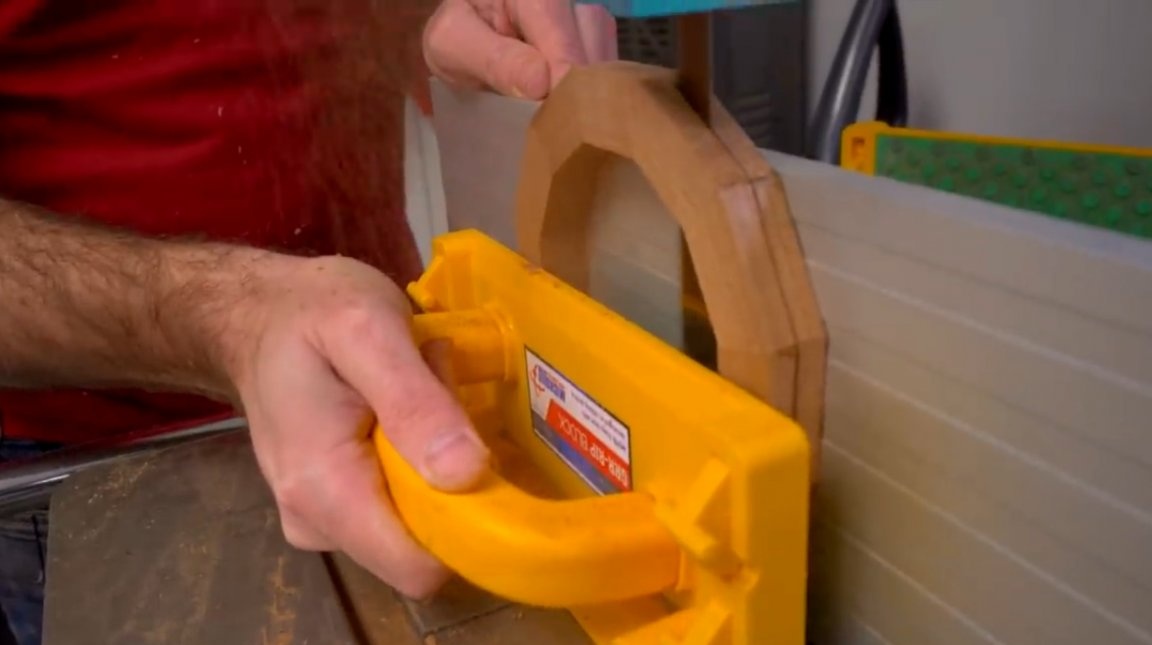
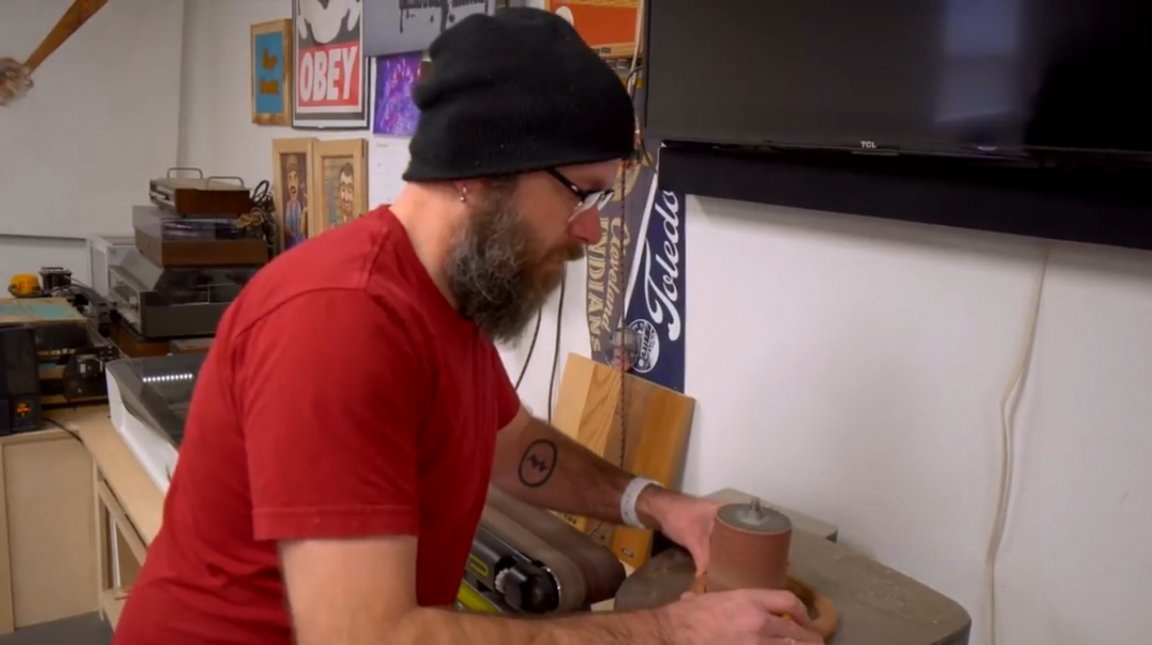
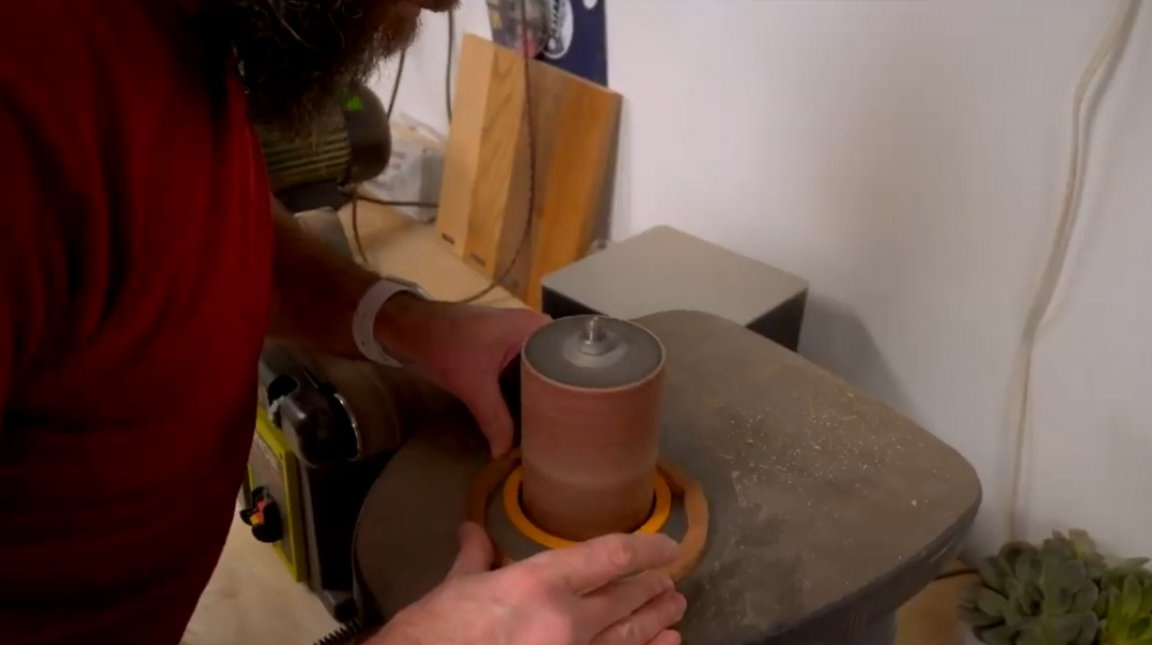
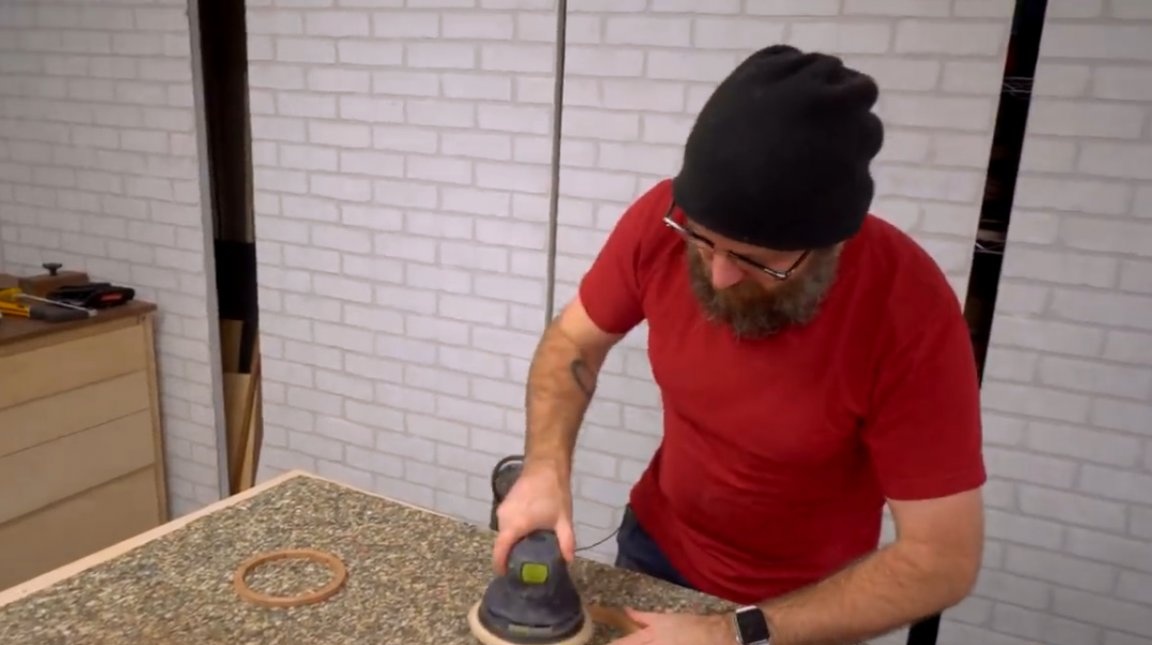
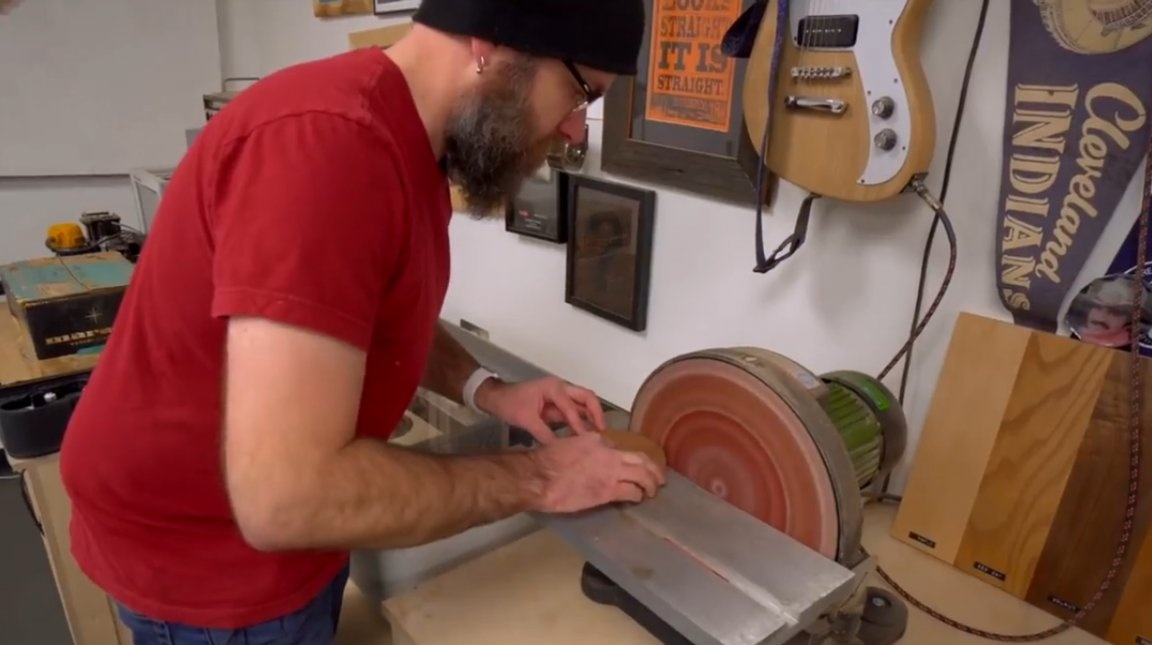
The outer edges of the workpiece are ground on an orbital machine.
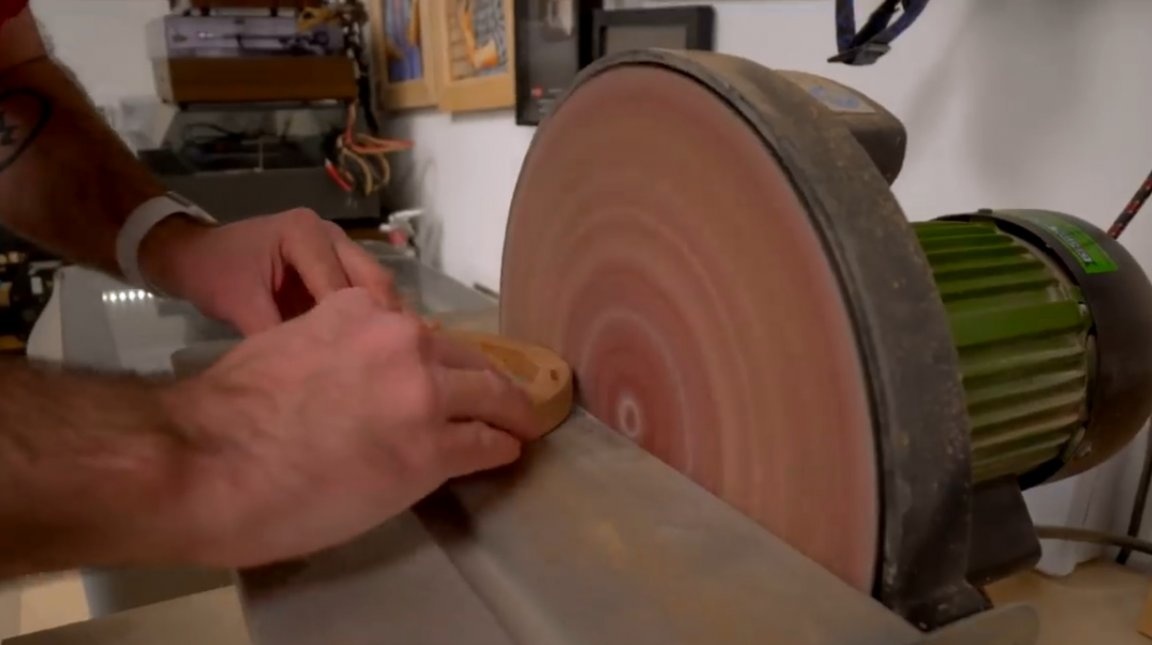
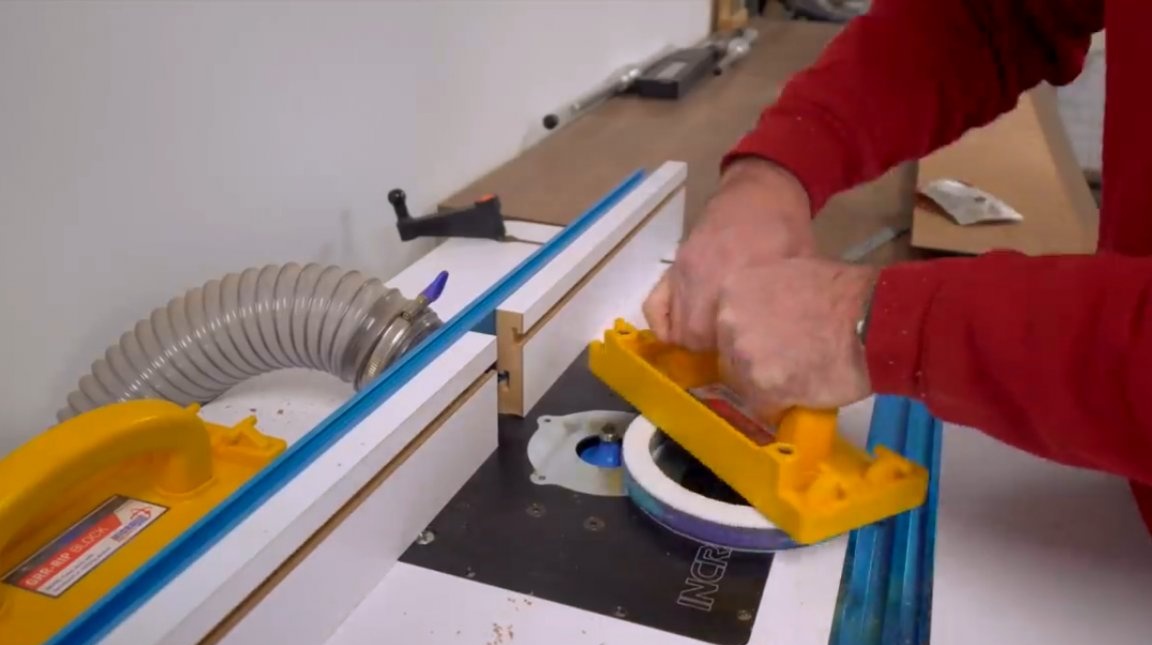
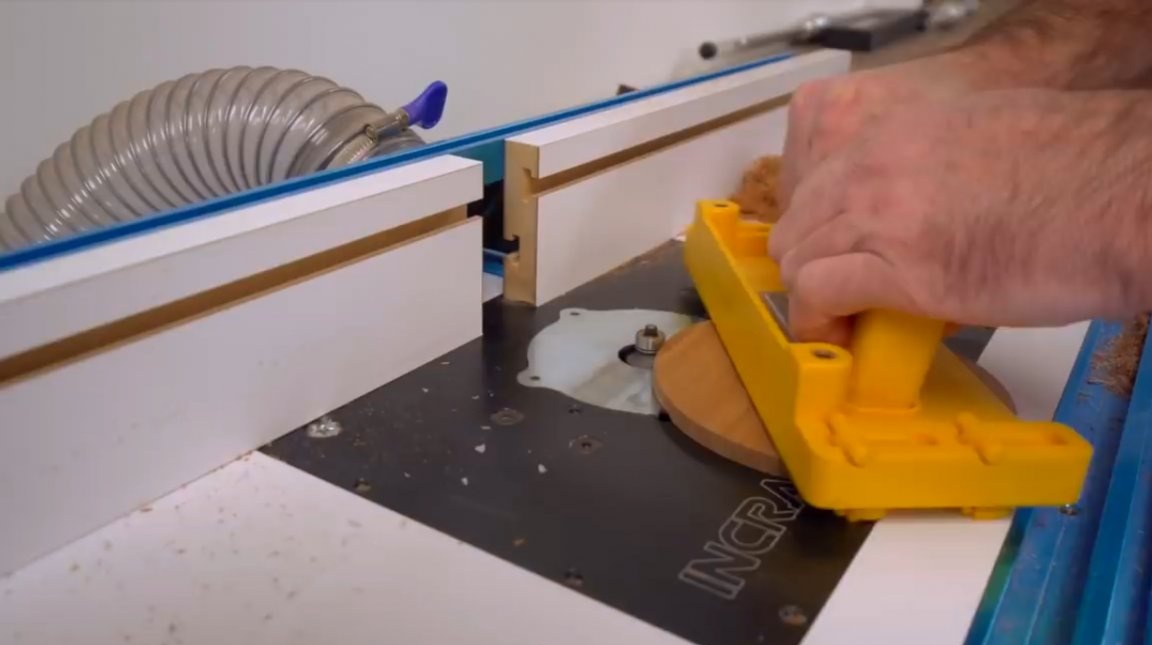
Then, on a milling machine, using a radius cutter with a thrust bearing, the master processes the edge of the circle, achieving a rounded shape.
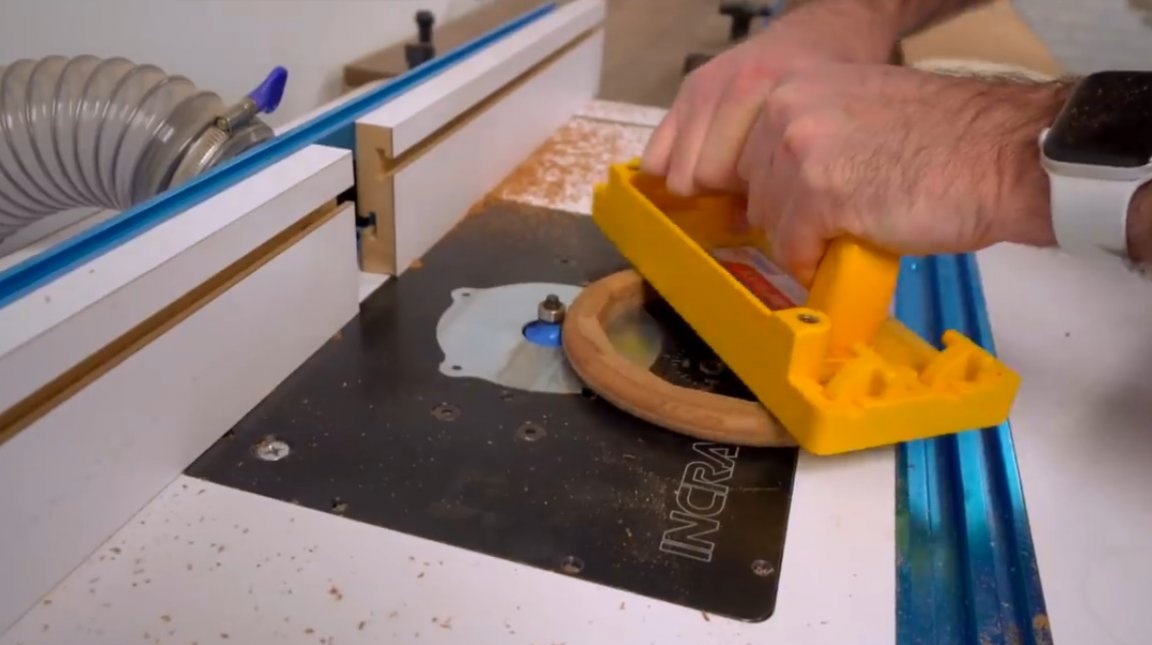
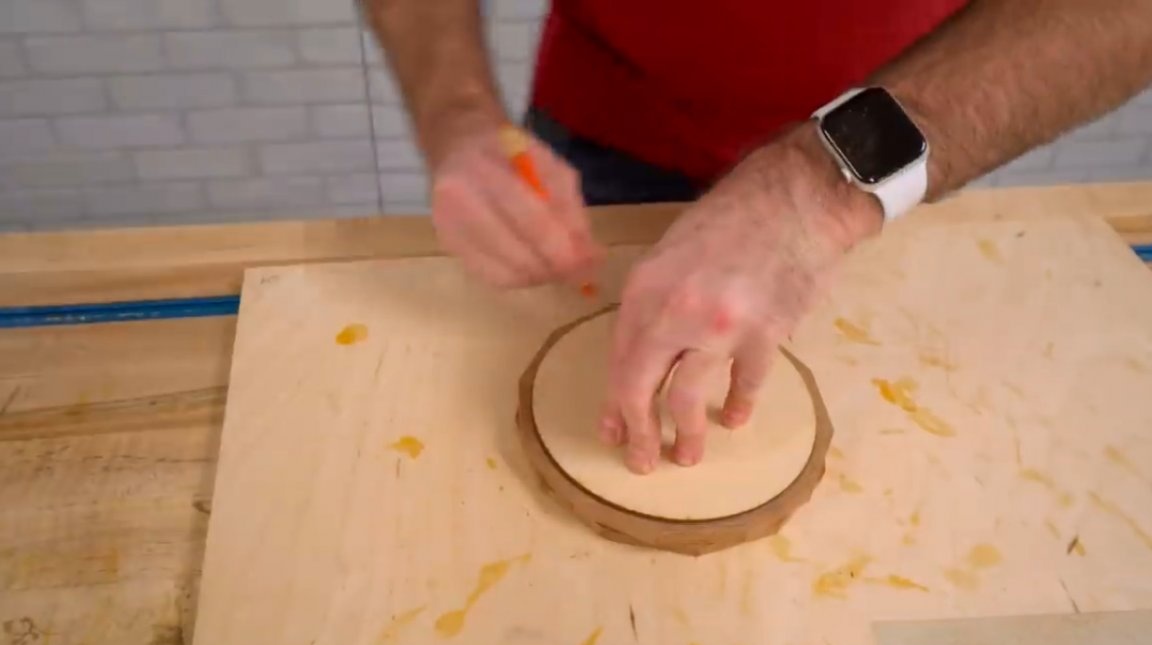
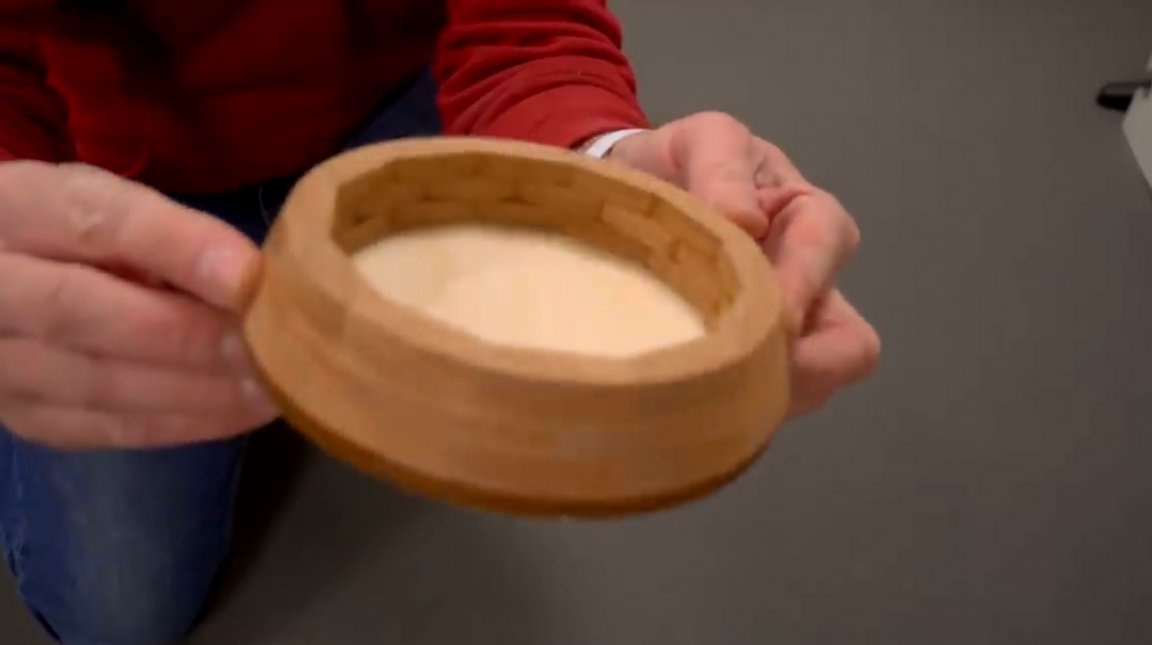
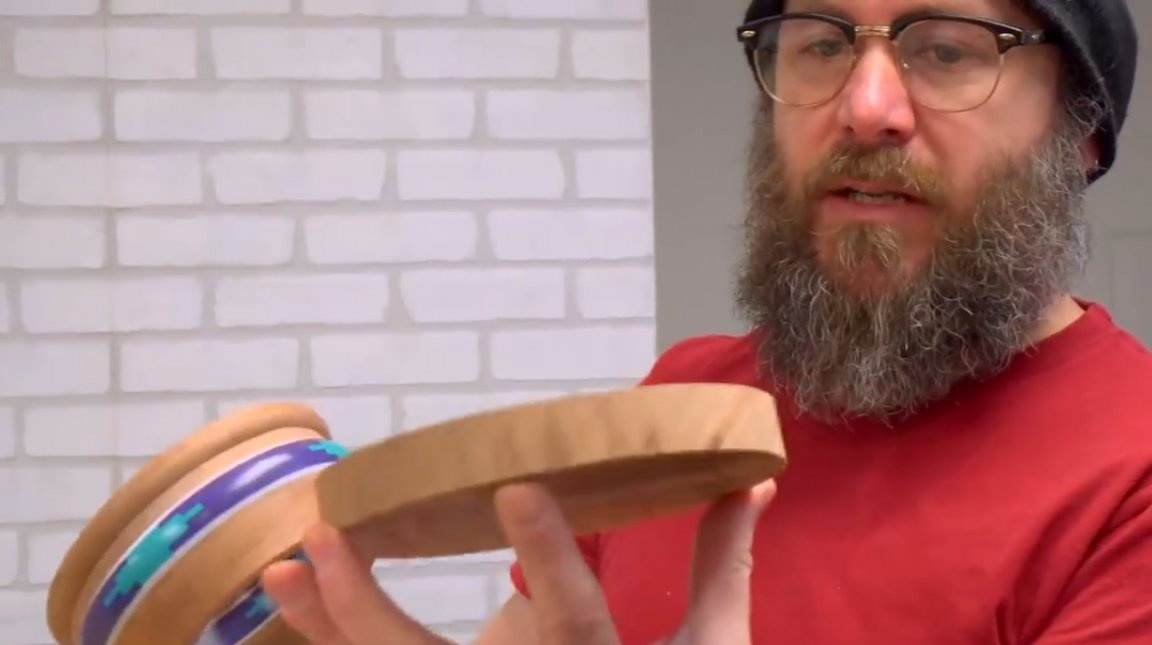
And a bit of polishing (the final one is coming). The first layer of the bowl is ready.

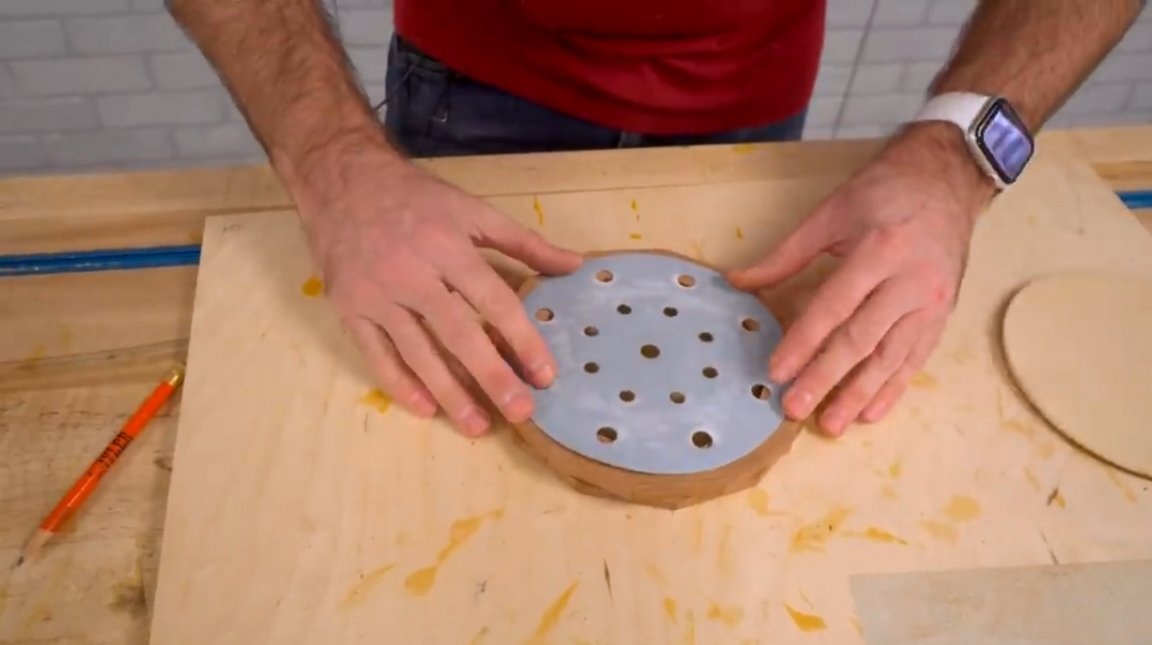
Next, look at the picture - the next layer is this one. Here you can get by with a single ring. It will have a smooth edge, and slightly smaller in comparison with the first ring.
And again processing on a band saw.
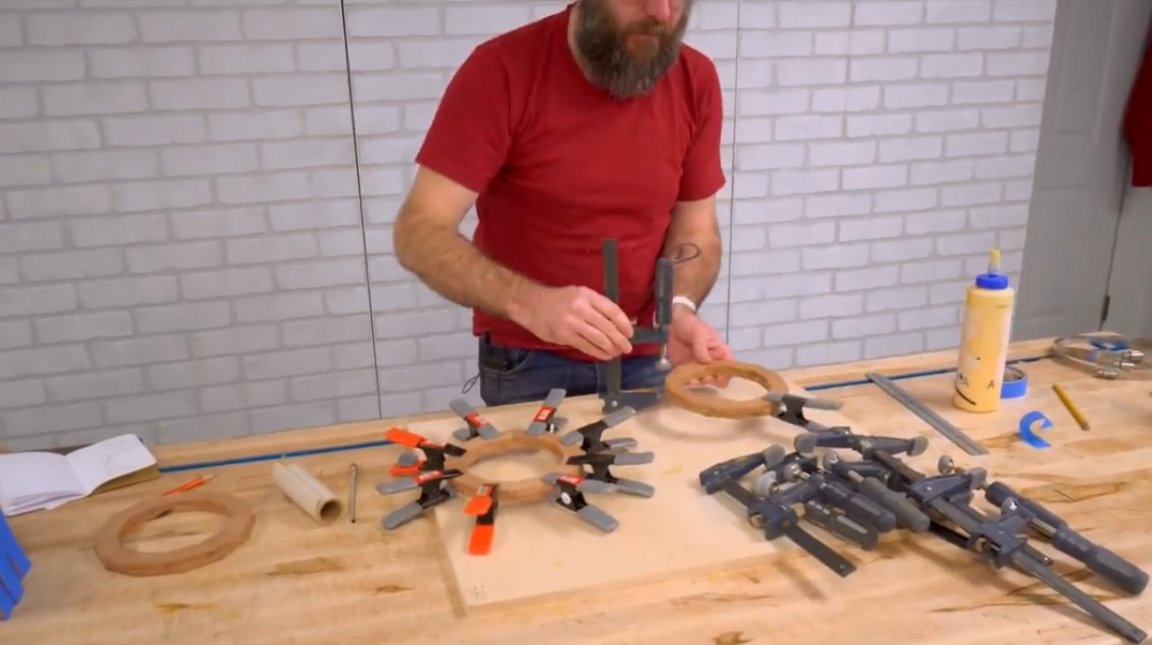
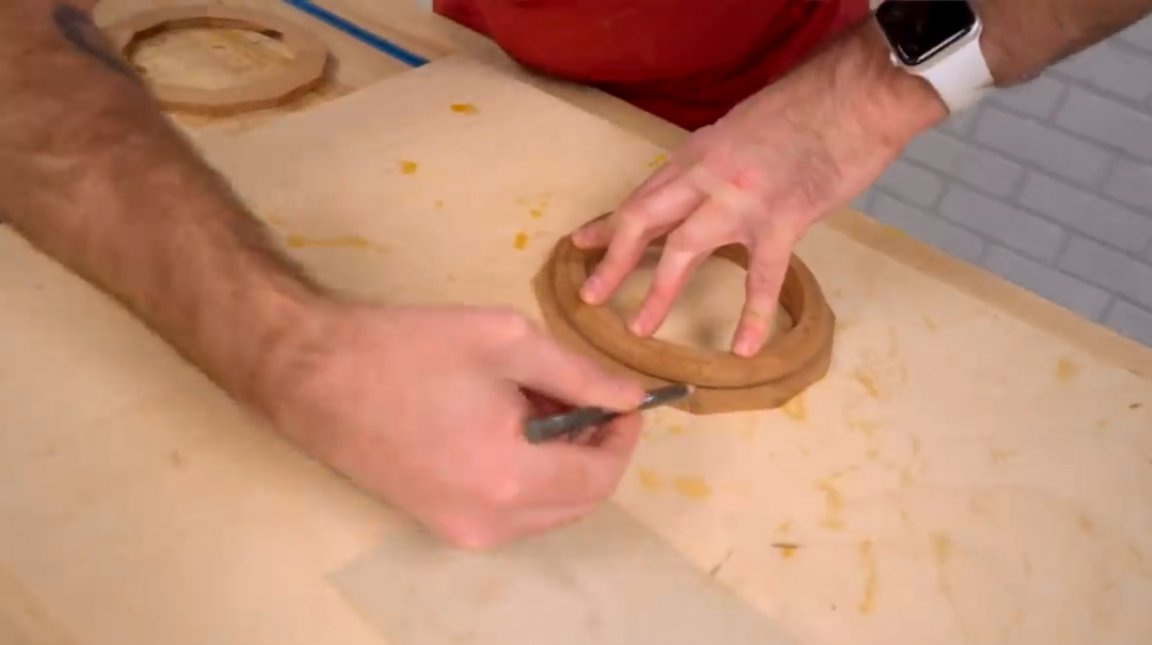
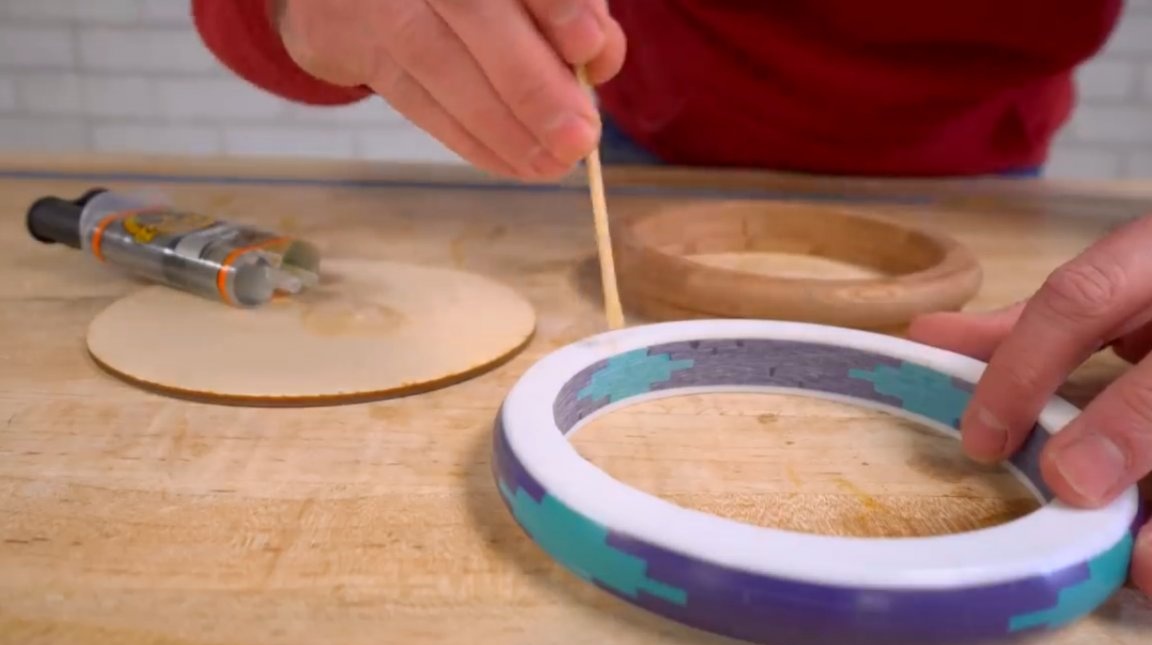
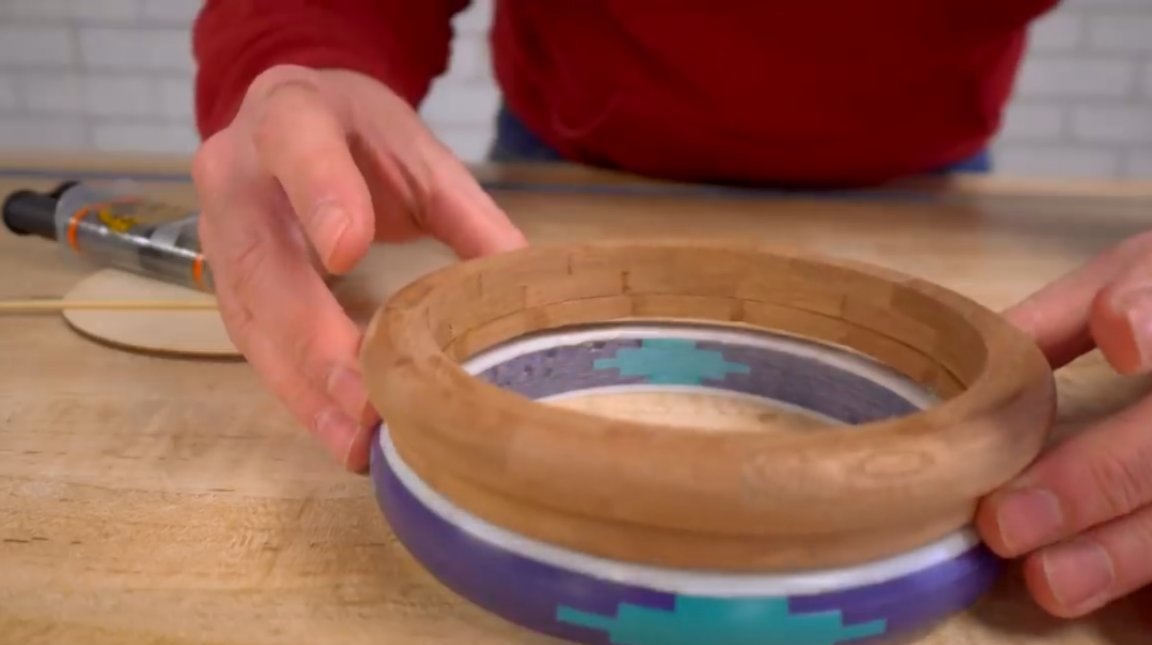
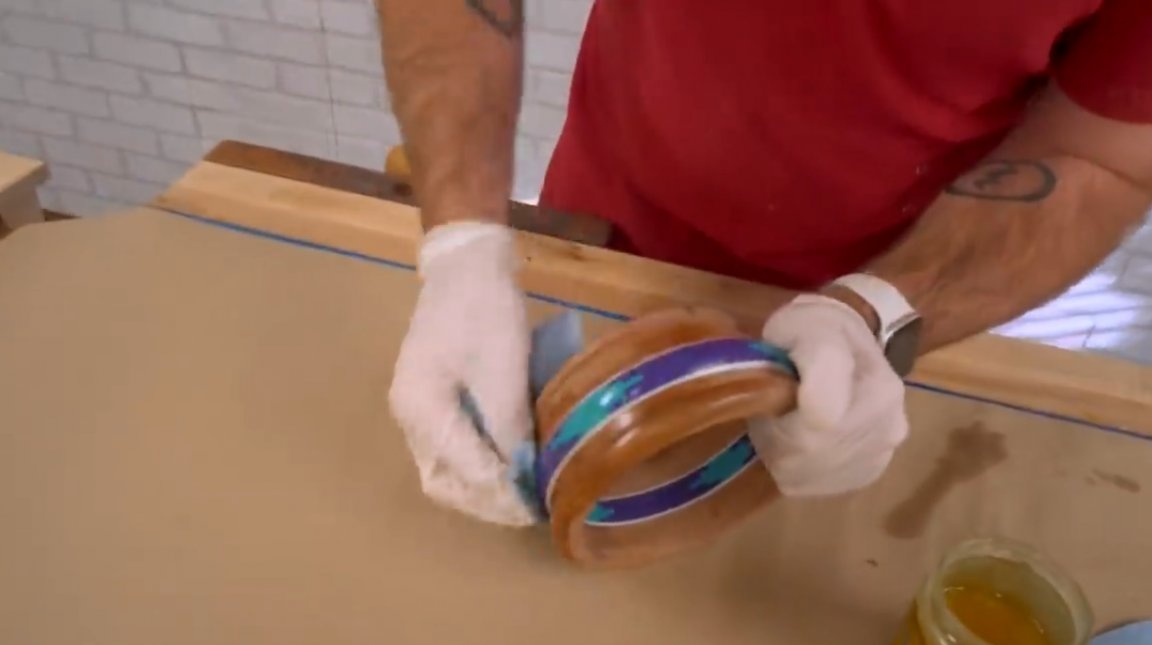
Now the two rings are glued together. But before grinding using various machine tools and an orbital machine. This will be difficult to do later.
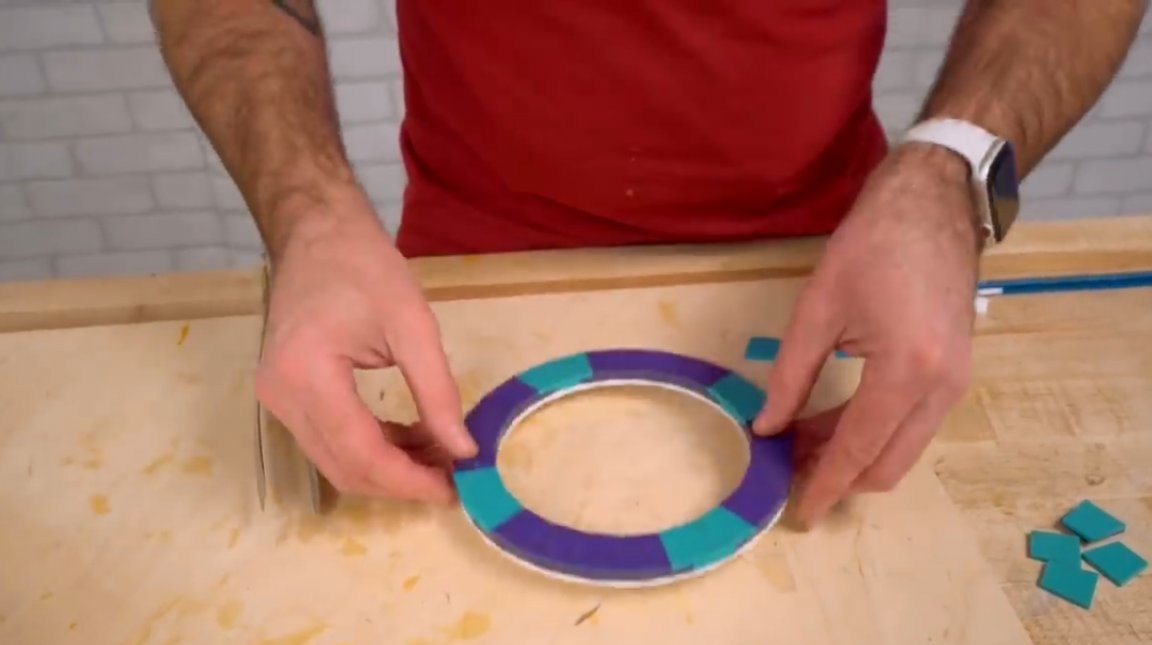
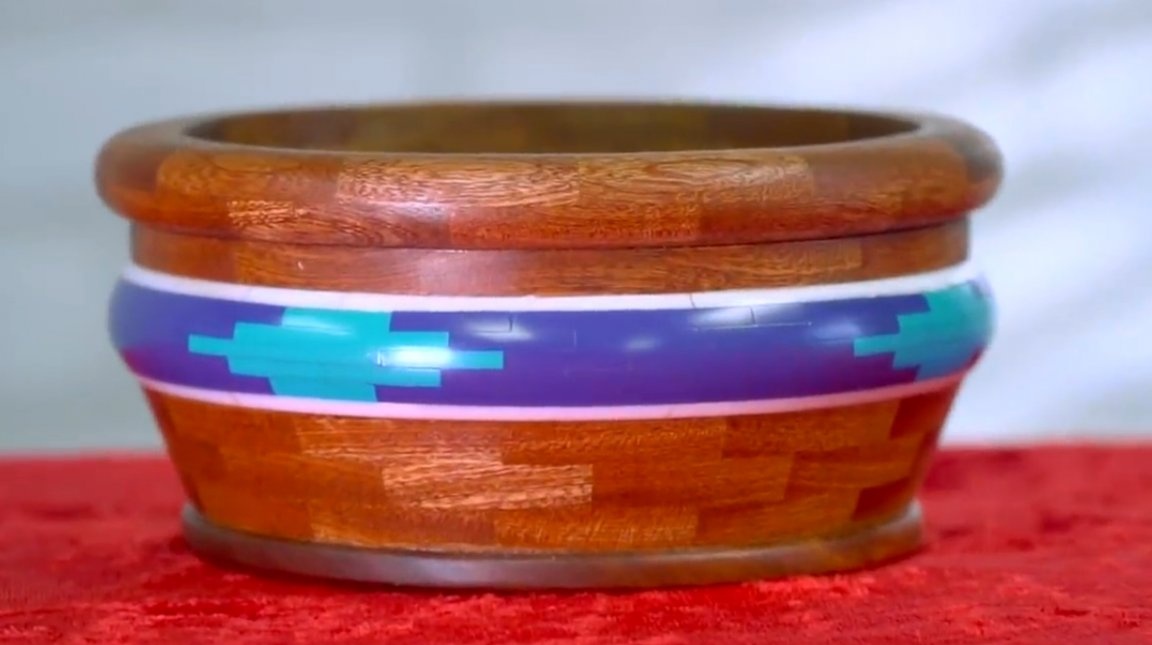
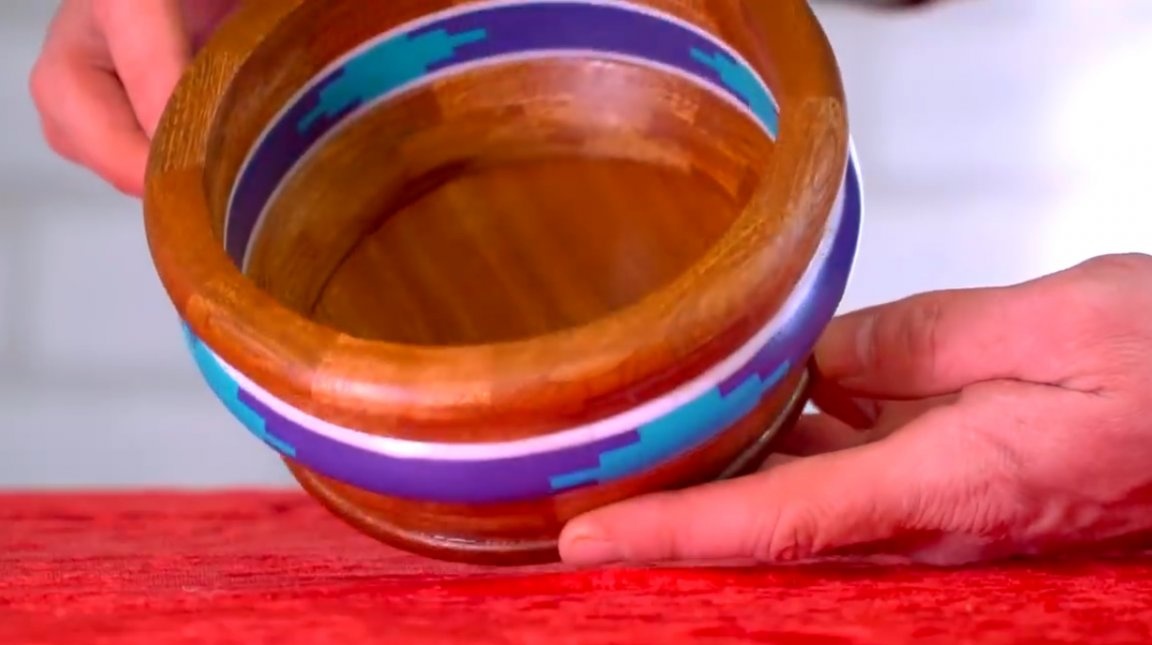
The author proceeds to the next ring, the one on which the ornament will be located. The craftsman makes it no longer of wood, but of colored organic glass. As with wood, David cuts several segments on a circular saw. This time there will be more, not 12, but 24. And they will be two times smaller.
On reflection, the author decides to switch to a laser cutter, since holding your fingers at such a small distance from the saw blade is a rather risky task.
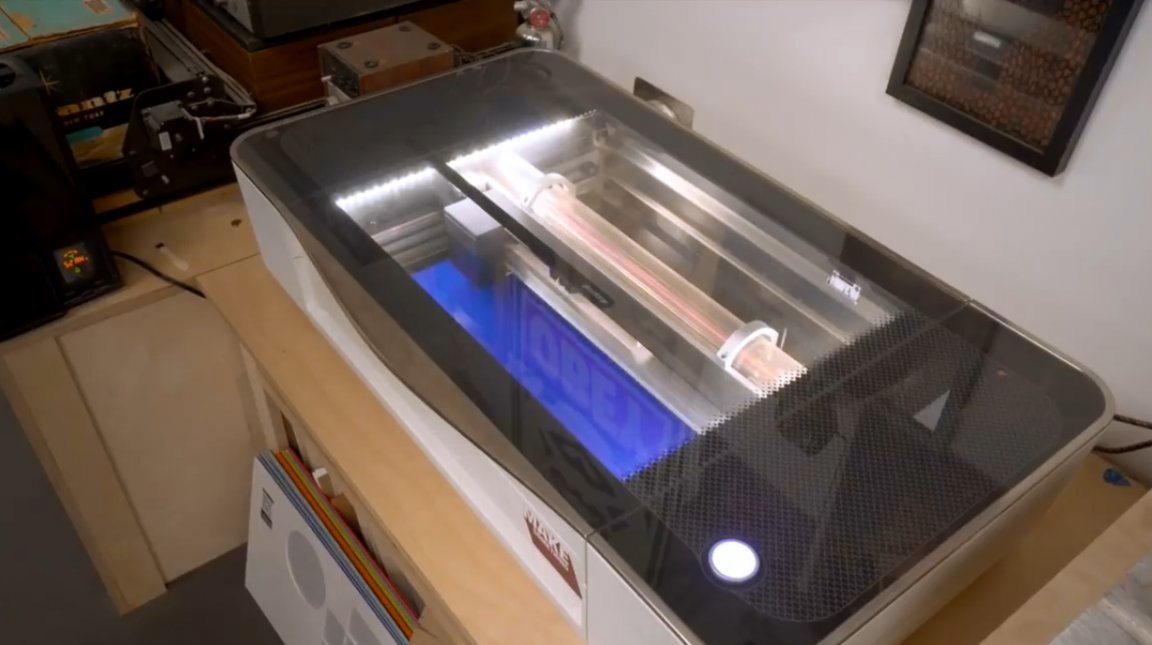
And here is a full pot of small multi-colored plexiglass segments.
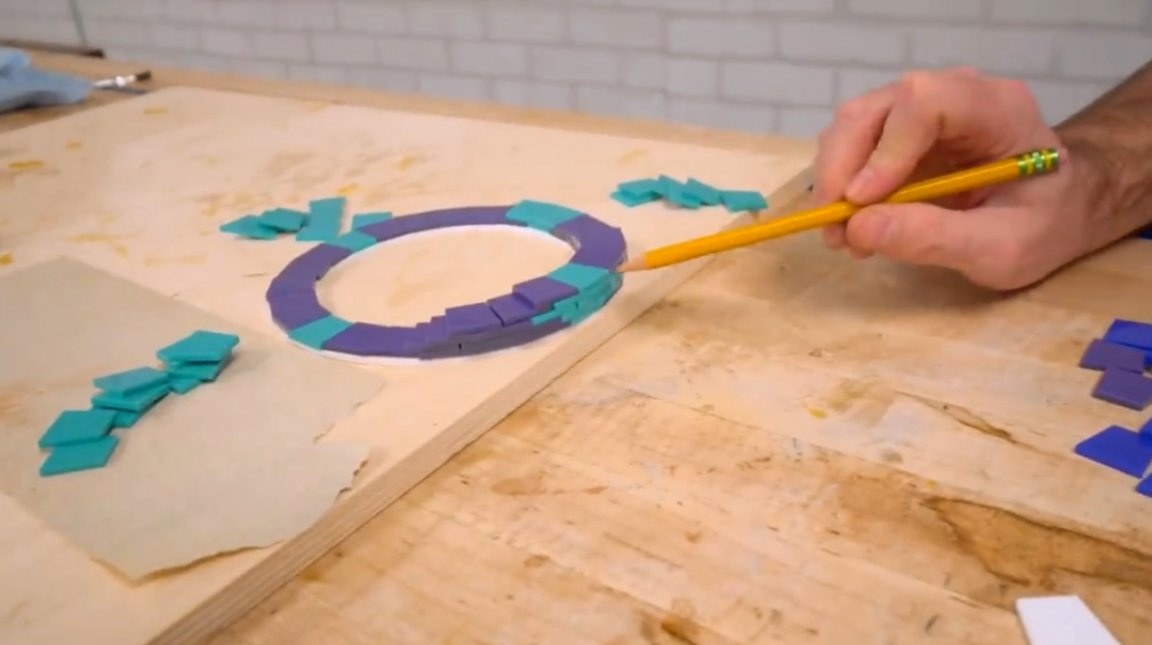
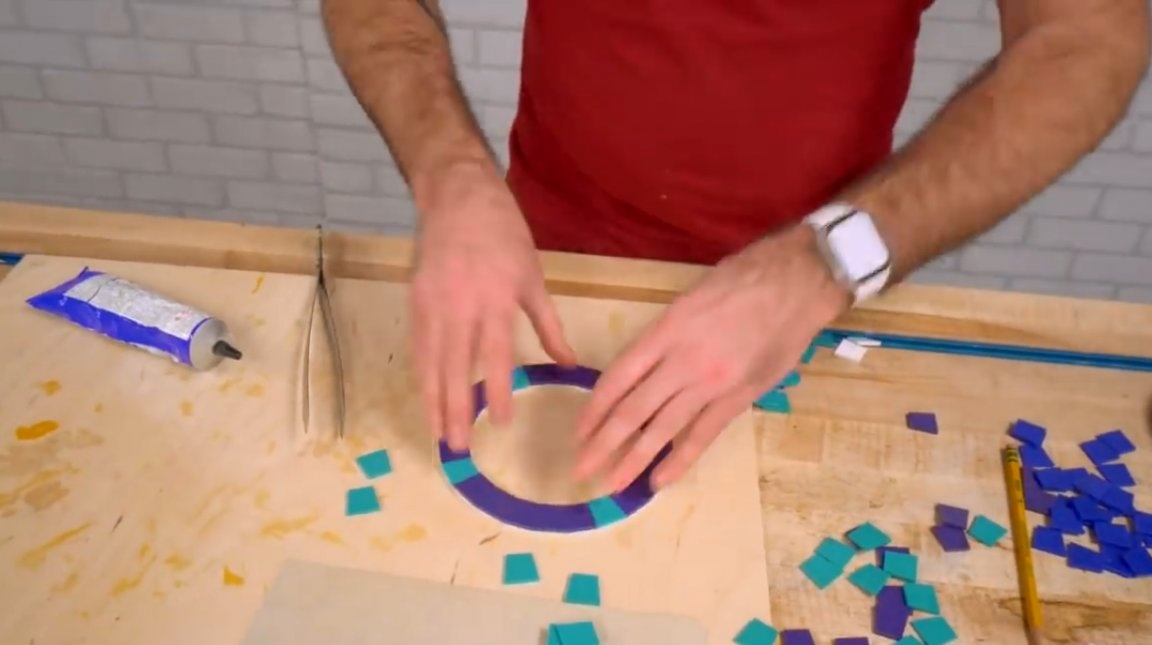
The next stage of the work is art mosaic. The author first spreads a white layer of material to emphasize the contour of the ornament. Then on top of it spreads the following, multi-colored layers, arbitrarily forming a pattern. And he completes again with a white layer, emphasizing the finished pattern of the ornament.
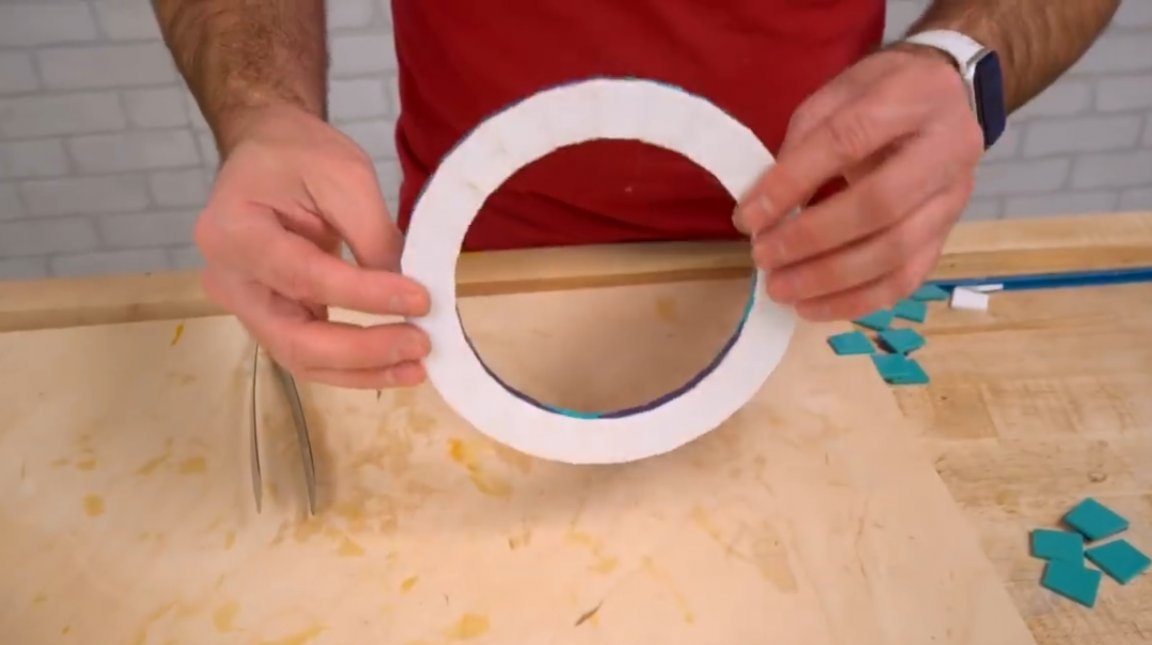

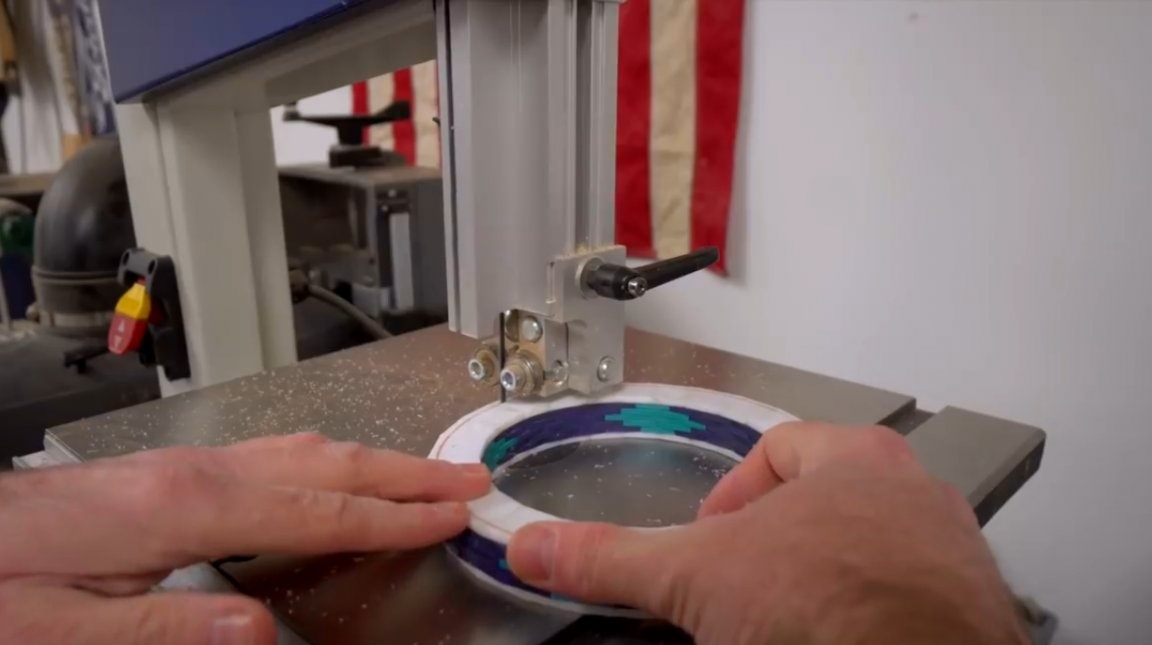
Now the finished ring is also processed on a band saw, and then on a milling machine.
Thin single-layer blanks should not be cut on the router. It's not safe. But in this case, we have segments from several layers, so everything is in order.
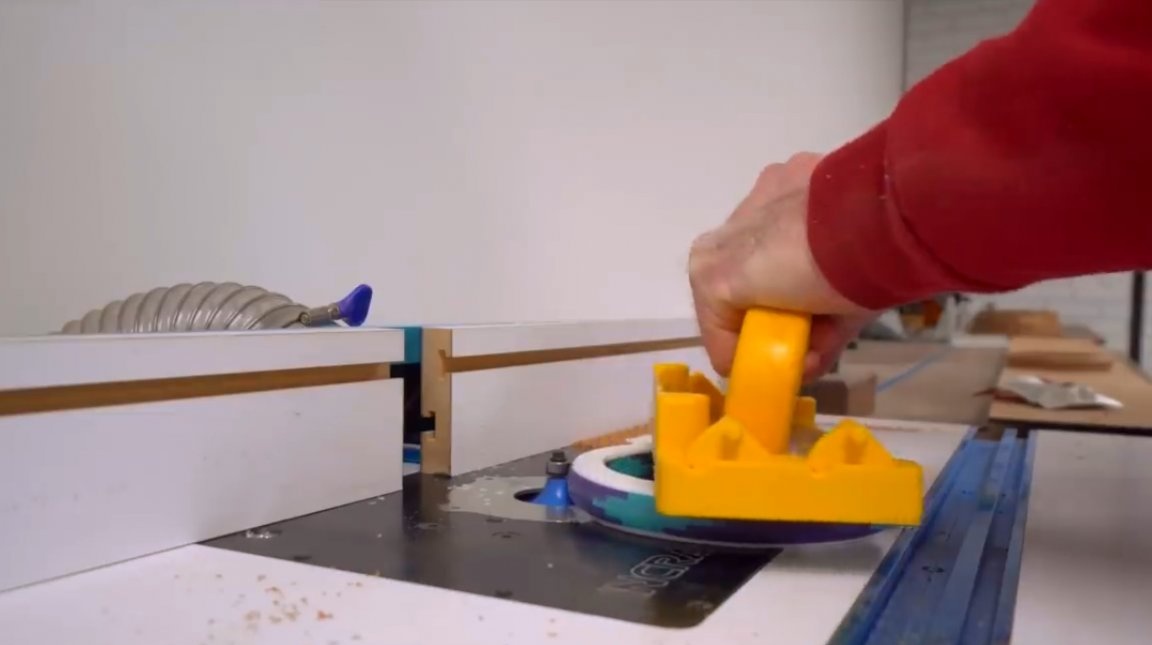
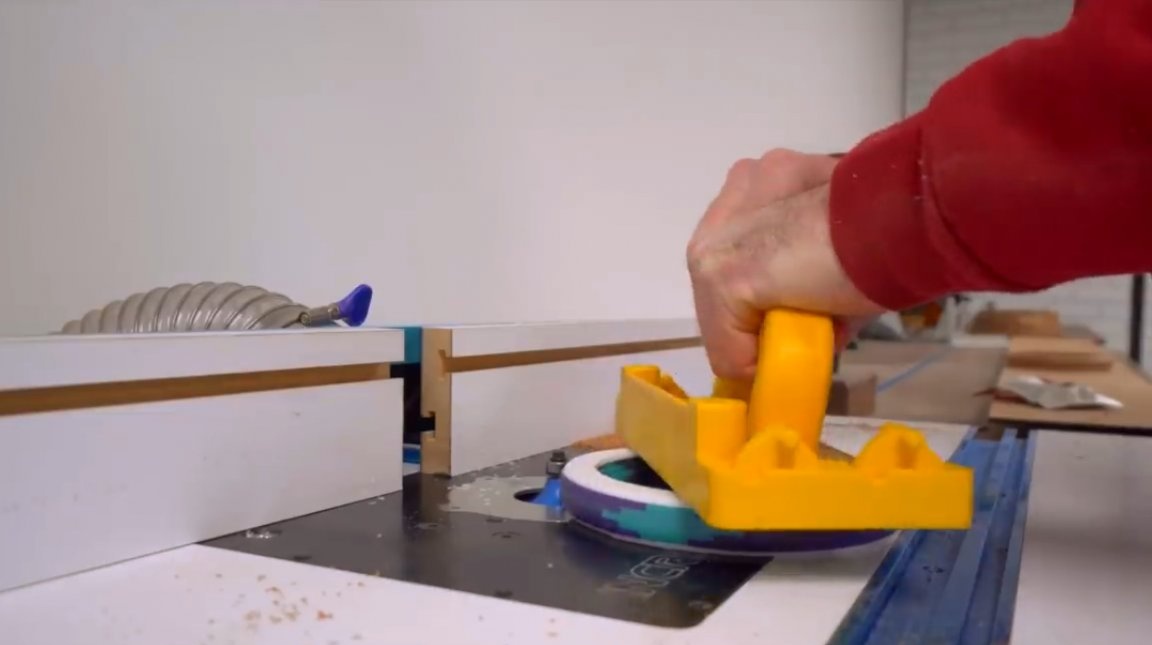
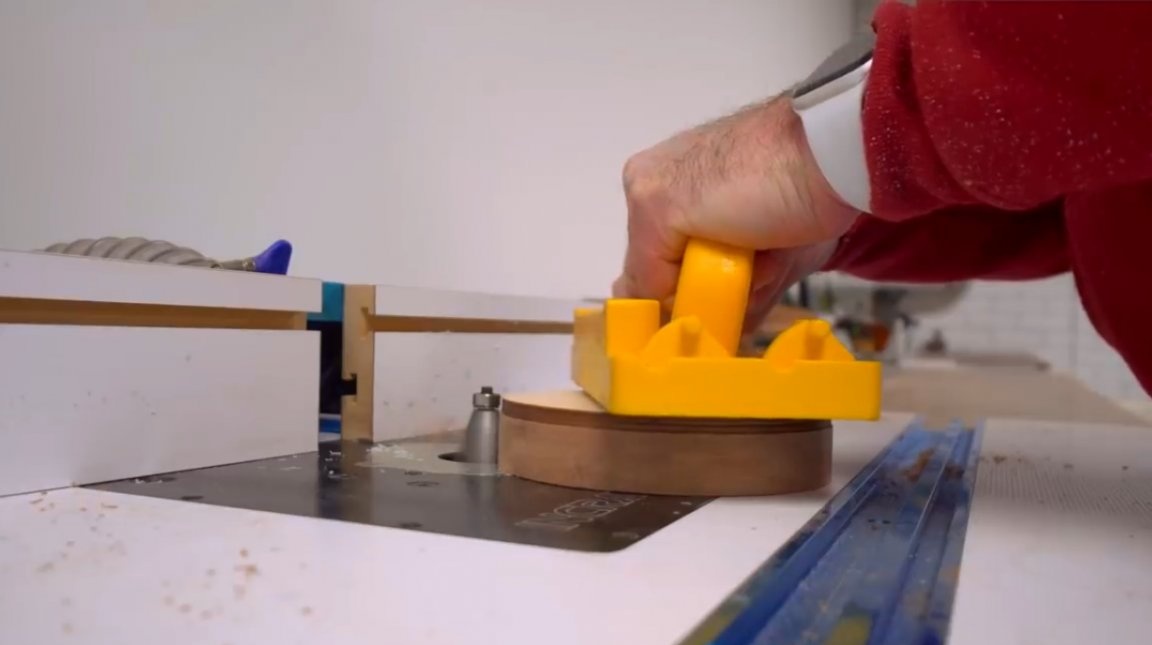
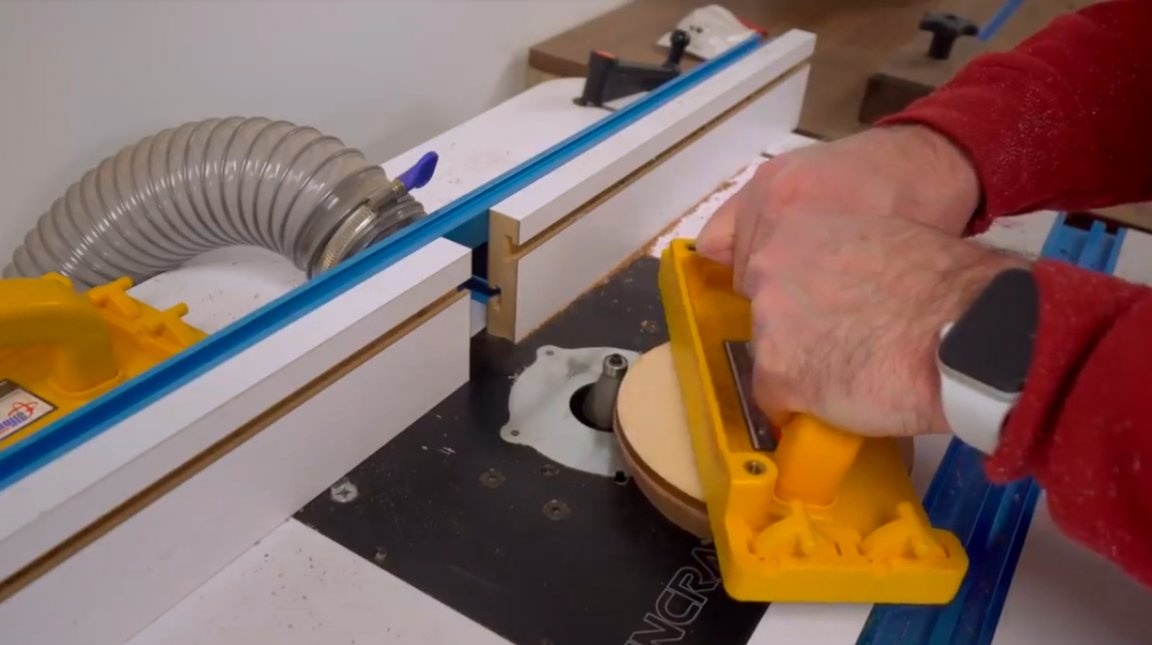
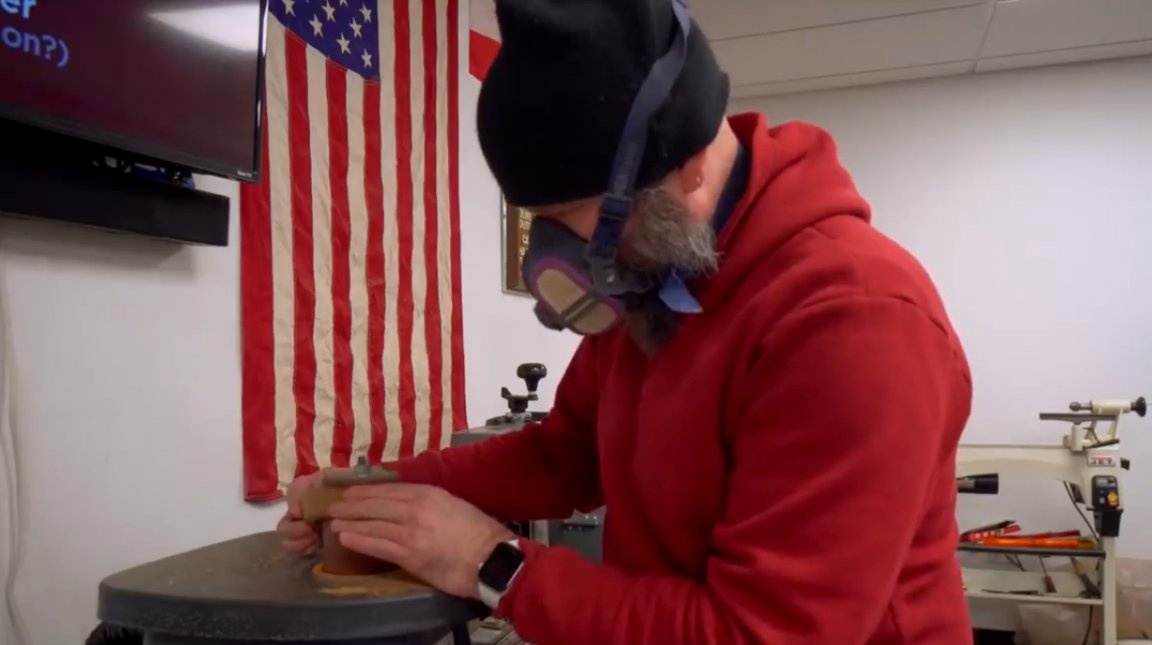
Next, the master proceeds to processing the workpiece on a milling machine. It should give the product the necessary profile, a recess from the bottom. This will be the base of the bowl, its bottom part. It uses double-sided tape to connect parts for processing.
It is time for the bottom of the bowl. The author uses the template again, outlines, and then cuts along the contour on the band saw, and aligns the edge with grinding.

It turned out a bit thick. Will have to cut a little. Cutting circles on a band saw, the author notes, is somewhat dangerous, because a blade can grab wood, draw it by the fibers, and damage the hand.
The bottom sticks to the base of the bowl.
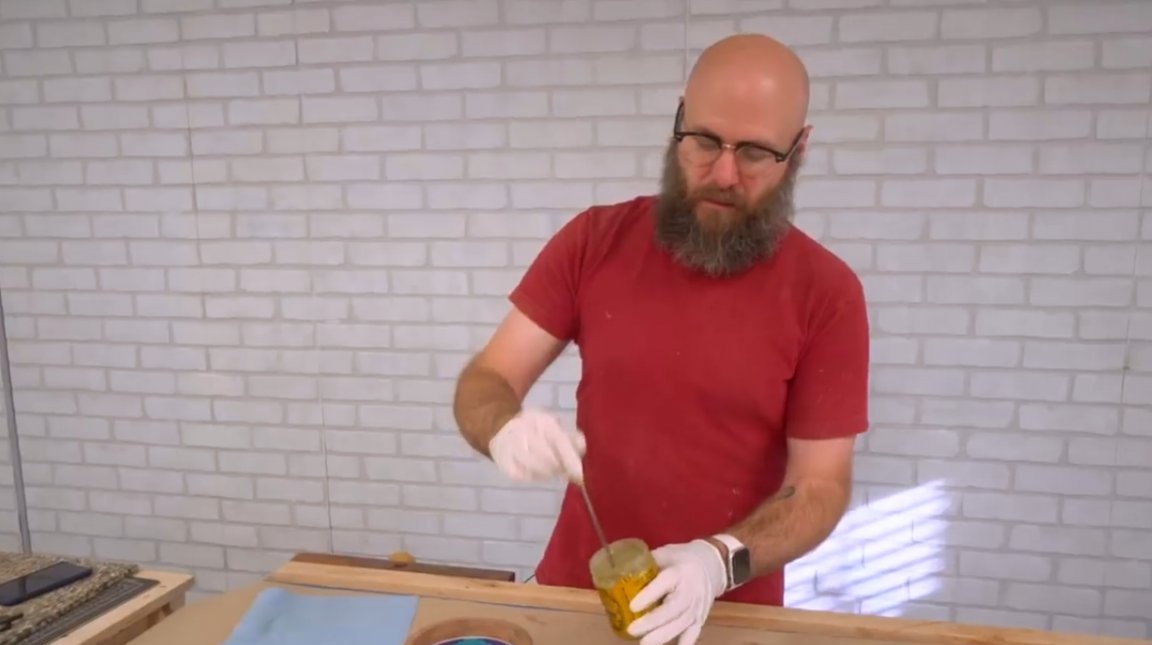
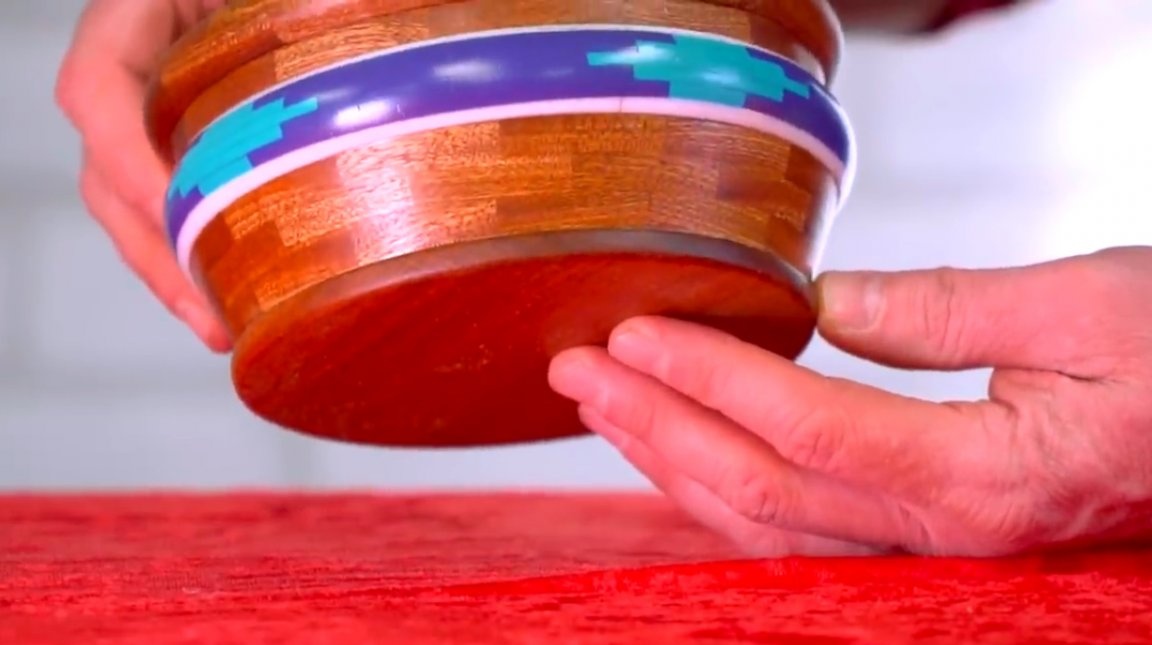
The final chord - the dish is processed with a finish that will protect the product from moisture, and will show the texture of the wood, namely - oil-wax impregnation.
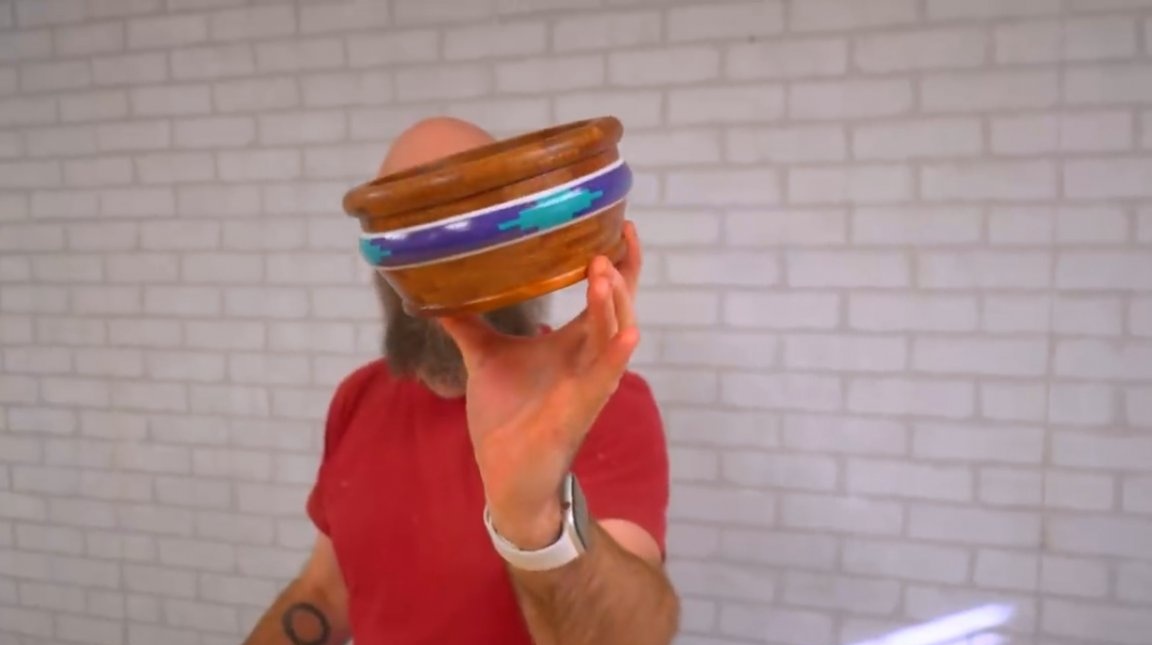
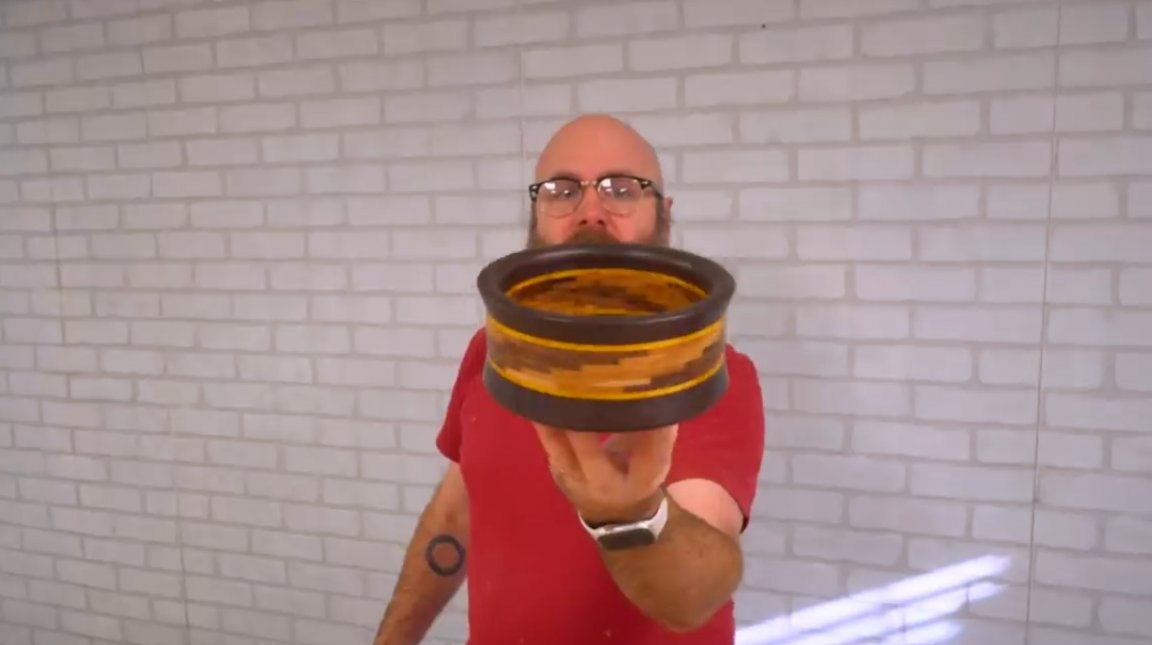
Amazing product turned out!
I thank the author for the unusual technique of making a combined bowl!
All good mood, good luck, and interesting ideas!
Author video can be found here.