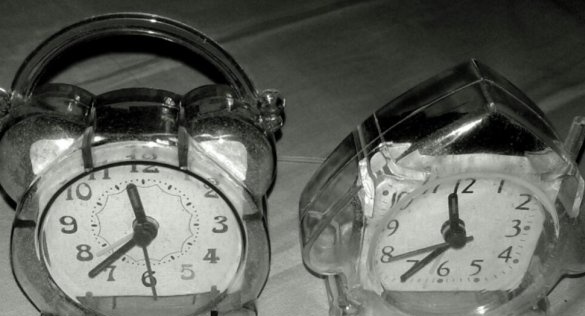
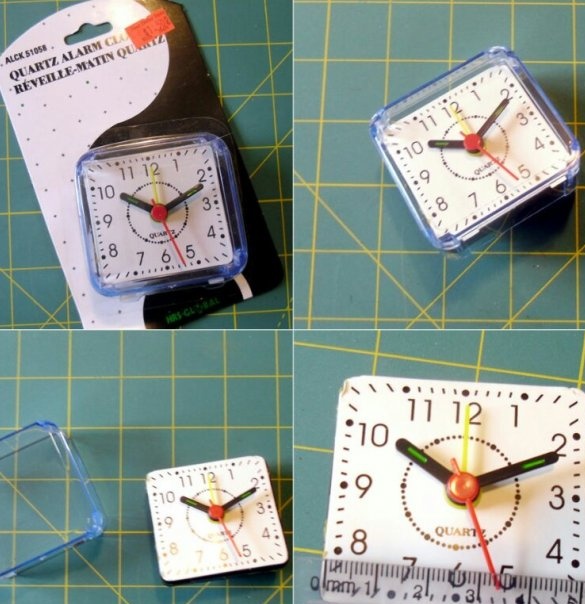
This simple homemade The author of Instructables under the nickname mikeasaurus is interesting in that it allows you to get a funcional analogue of a very expensive product - watches with disks instead of arrows at minimal cost. The master takes the watch purchased in a store similar to the Fix Price as the basis for the design. In "Fix Price" such watches are also found, but more often - in cases of bizarre shapes: a house with a pipe, a classic alarm clock with bowls, etc., and less often in such a minimalistic, square one. Despite the flagrant budget, they have been working with the translator for a year and a half already, there are no signs of wear on plastic gears.
The master removes the watch from the package, and then pulls the mechanism out of the case, which is also the front panel - no tools are needed for this, just pull it:
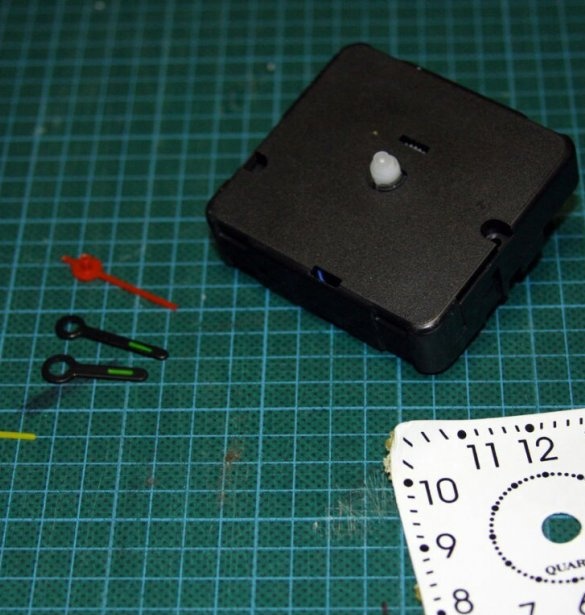
Then he removes the clock from the watch, after which he unsticks the dial. All arrows, except for indicating the alarm time, the wizard saves - they will be needed later. Well, the clock will lose the alarm function after the alteration (more precisely, there will be nothing to display the time of its operation), so the corresponding switch on the back of the mechanism needs to be turned off and not turned on anymore. And the electromagnetic sound emitter can be picked up for use in other designs.
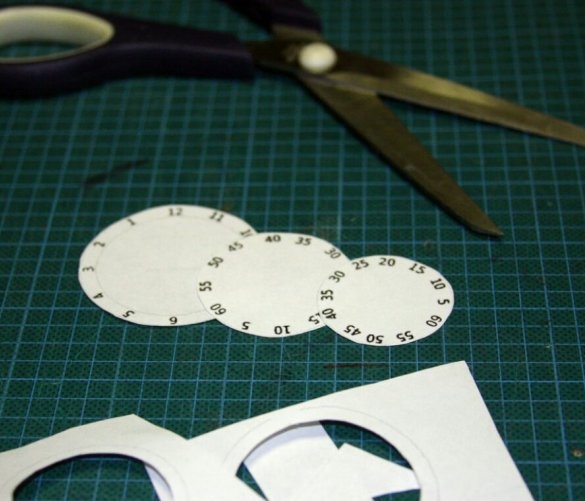
Then the wizard draws in a graphical editor and displays the image below on the printer. Will you print after him - choose the appropriate scale.
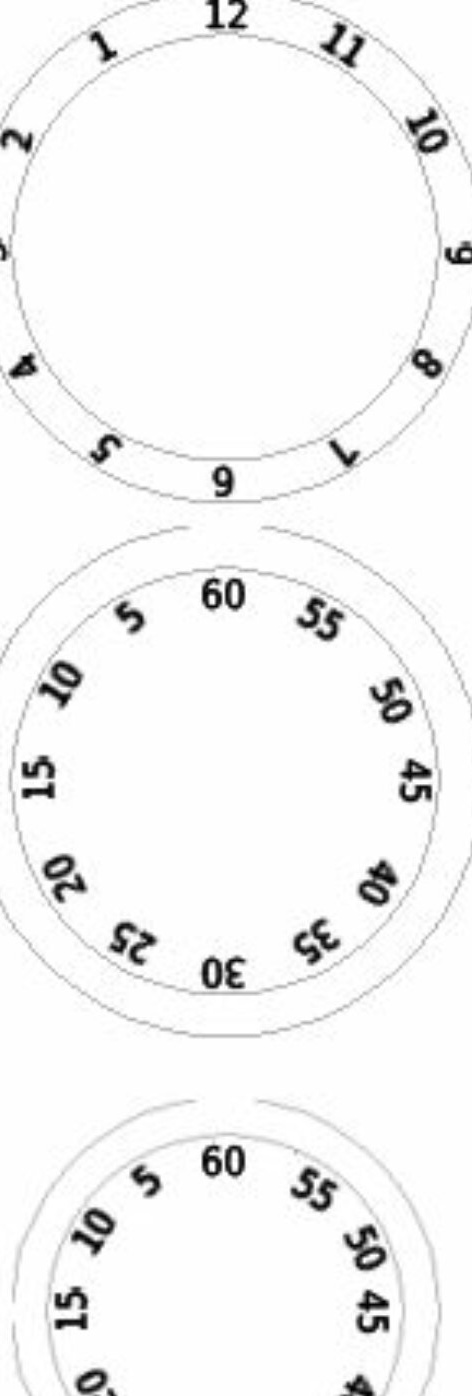
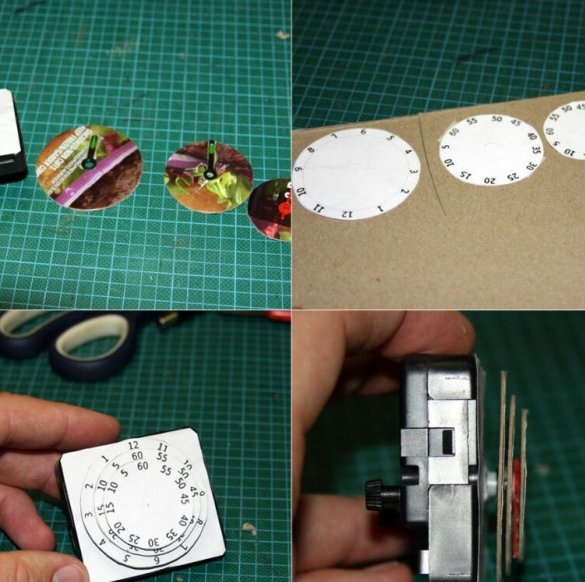
He sticks the printout on cardboard. Corrugated will not work - just dense, but thin. If the printer is inkjet, it is better to glue with glue-pencil, if laser, you can take PVA. There is no printer at all - you can draw discs manually using a compass and a protractor. After waiting for the glue to harden, the master cuts out all the disks: hour, minute and second, from the resulting paper and cardboard “sandwich”:
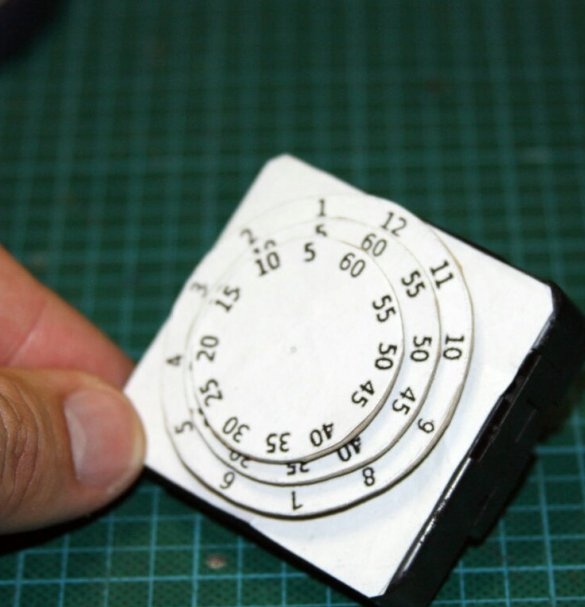
Exactly in the center of the first and second disc, the master makes holes. But it is impossible to make them of such a diameter so that they hold well on the shafts, in cardboard. This is where the arrows previously stocked come to the rescue.The master makes a hole in the cardboard slightly larger in diameter than necessary, and glues the arrow on the back so that the hole in it exactly matches the center. PVA glue is not suitable here: it needs both surfaces to be porous, and the arrows to be plastic. It is possible to glue with "Moment", "Octopus", "Monolith" and their analogues, as well as hot melt adhesive. The master sticks the corresponding hand to the second disk in the same way, only without making a hole in the cardboard. Having made sure that the disks do not bend, the master puts them on the shafts intended for the arrows glued to them, avoiding distortions. It also shows a side view after the correct installation of disks without distortions. It is also important that the numbers 12 on the hourly dial and 60 on the minute and second after installation are directed straight up. At the same time, there should be no battery in the watch so that the second disk does not move.
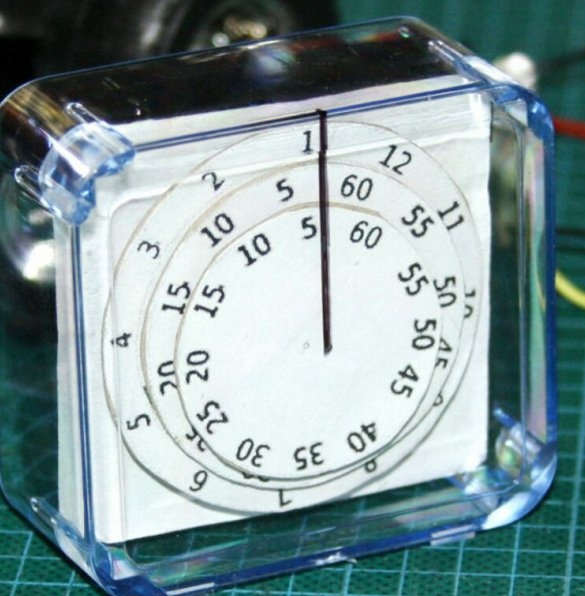
Assembly result near:
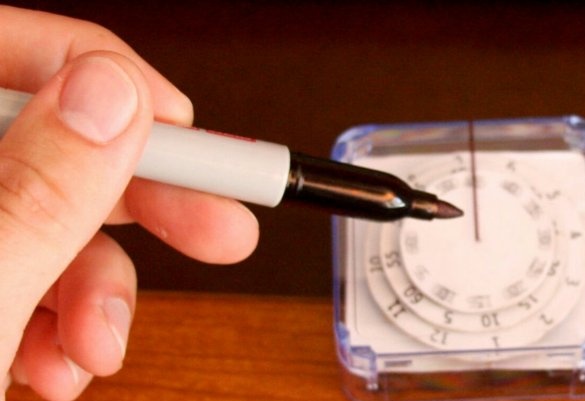
Then the master returns the watch mechanism to the case and draws along the ruler a thin vertical strip with which the numbers on the disks will be combined. But it is better to hold this strip before the mechanism returns to the case - on the reverse side, so that it does not erase.
Having placed the battery in the watch, the master sets the current time, and now on his desk, and possibly on yours, is simply an amazingly budget analogue of an expensive thing - a disk clock. And it works no worse.

