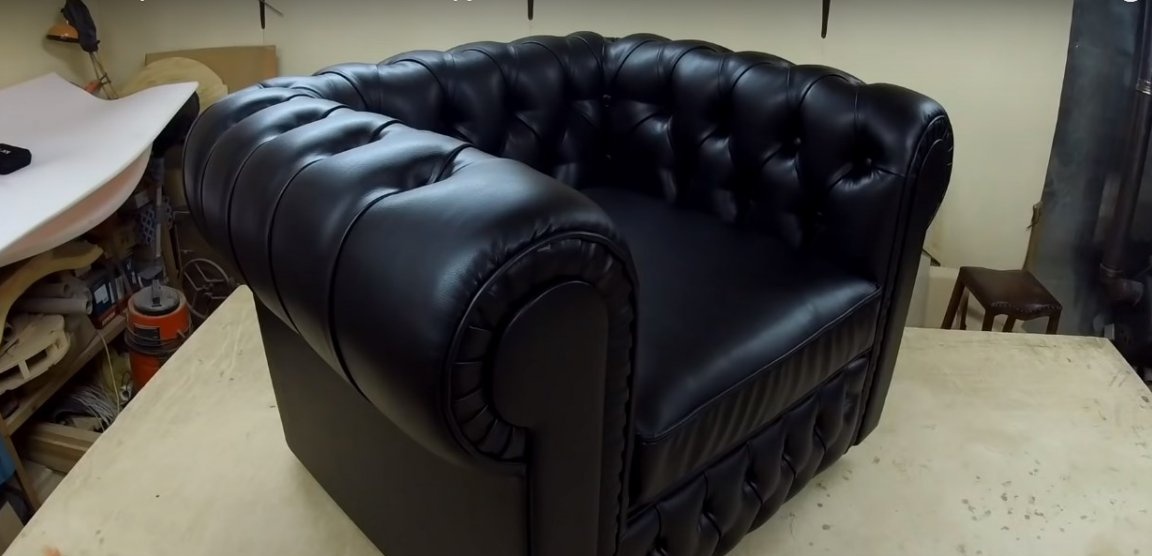
Chair Chesterfield (Chesterfild) - classical model, the hallmark of which is extraordinary softness and comfort. In addition, it is distinguished by close fitting in the carriage coupler technique. Traditionally, genuine leather was used for the manufacture of such chairs, but recently more and more often they prefer high-quality leatherette.
Making sofas and armchairs in the Chesterfild style is not an easy task that requires experience, skills and scrupulousness, but the result of the time and effort spent is worth it. The Chesterfield chair consists of a hollow frame and does not have visible elements of wood, metal, etc.
So, in order to make a Chesterfield chair do it yourself you will need:
Materials:
- plywood 12-15 mm thick;
- plywood 20-30 mm thick;
- thin plywood with a thickness of about 5 mm;
- board thickness 20-25 mm;
- bars with a section of 40 x 40 mm;
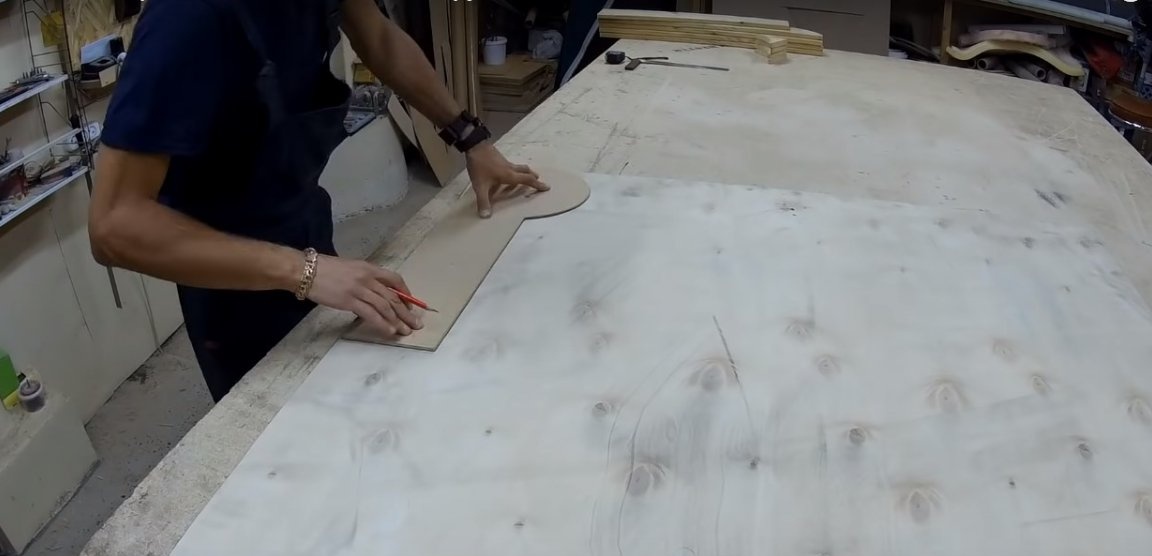
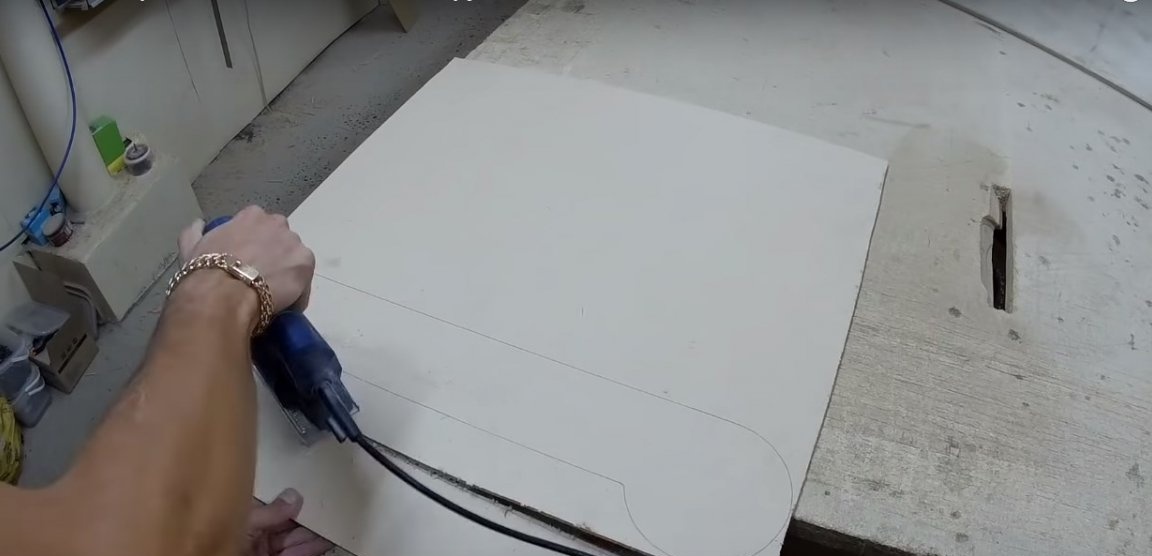
- fiberboard or thick cardboard for the manufacture of patterns;
- glue;
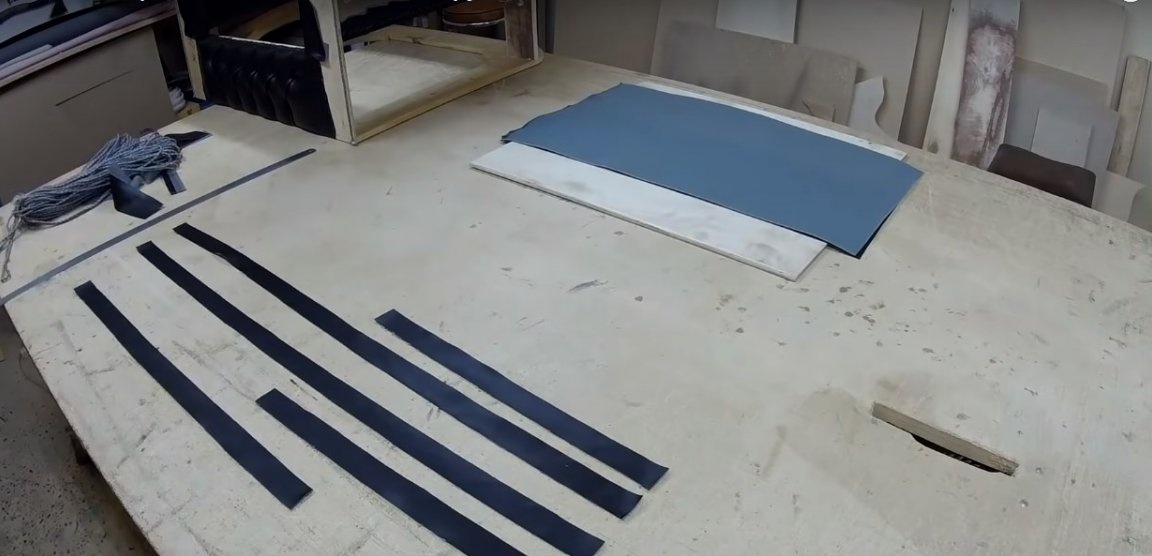
- textile furniture tape or furniture belt;
- leatherette for carriage screed and processing the bottom of the chair;
- buttons in tone of leatherette for carriage screed;
- furniture foam 50 mm thick;
- foam rubber with a thickness of 20 mm;
- synthetic winterizer or foam rubber 5 mm thick;
- furniture metal buttons;
- furniture cord with a diameter of 10-12 mm;
- furniture edging;
- kapron cord for carriage screed;
- dowel-nail for attaching the facade to the past;
- untreated wooden legs;
- a metal rod with thread for attaching legs and metal fittings with internal thread;
- paint for wooden legs;
- resistant glossy varnish for legs;
- furniture screws.
Instruments:
- jigsaw;
- a milling machine or a stationary milling machine;
- pneumatic furniture stapler;
- drill;
- screwdriver;
- spray gun for glue;
- Bulgarian with a cutting wheel for metal;
- grinder;
- hammer;
- scissors, clerical knife;
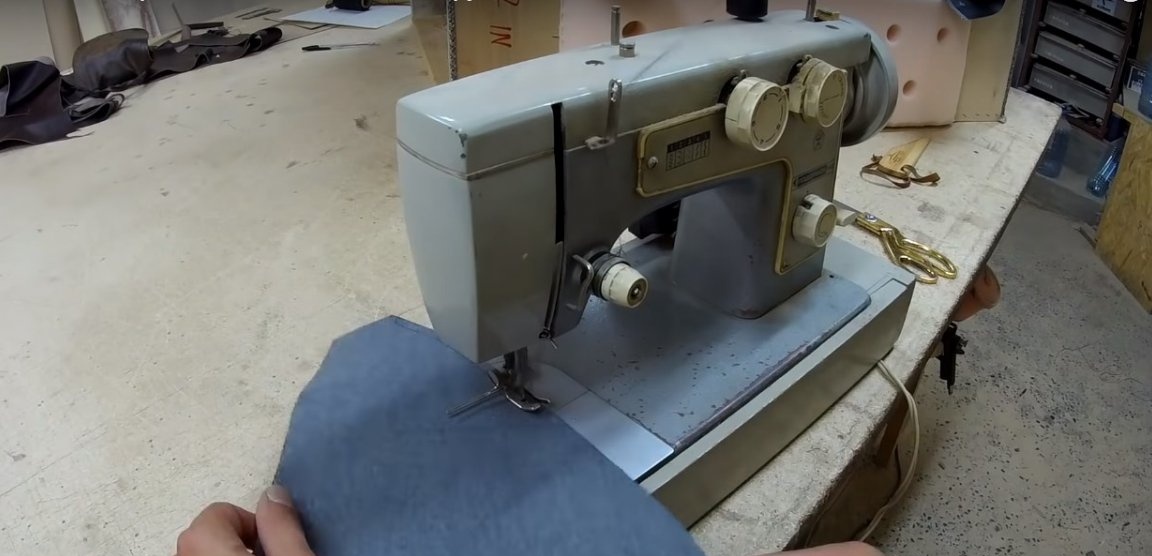
- sewing machine;
- device for skin-tightening buttons;
- a large gypsy needle;
- ruler, square, construction tape;
- marker.
Manufacturing process:
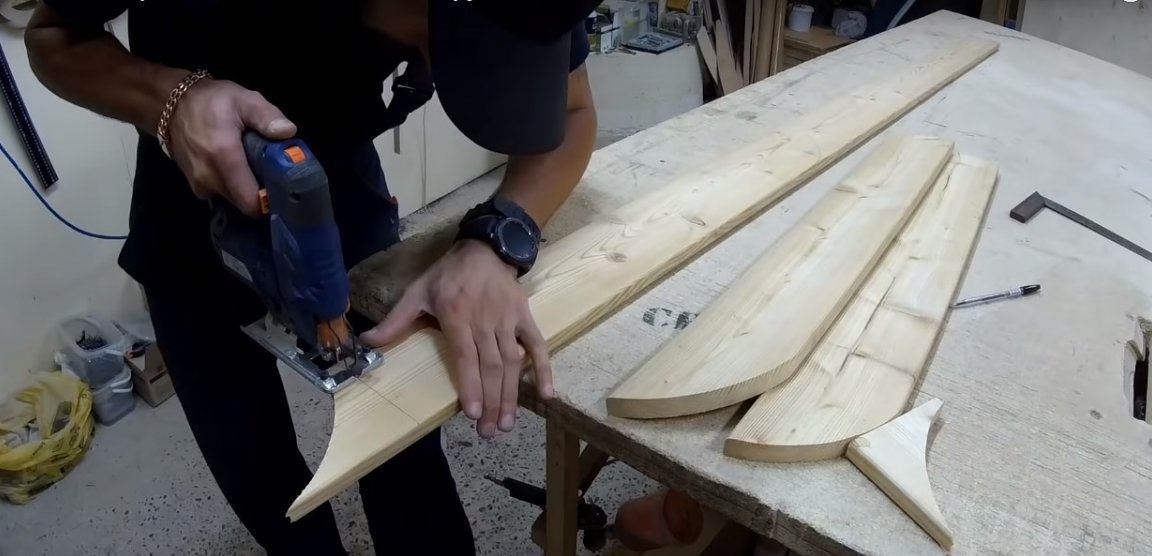
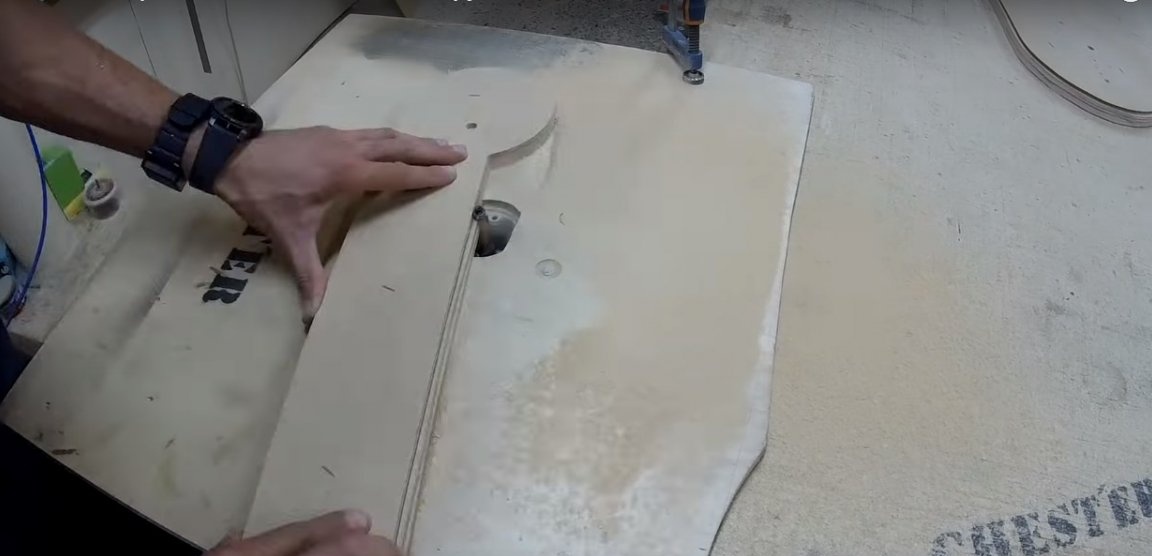
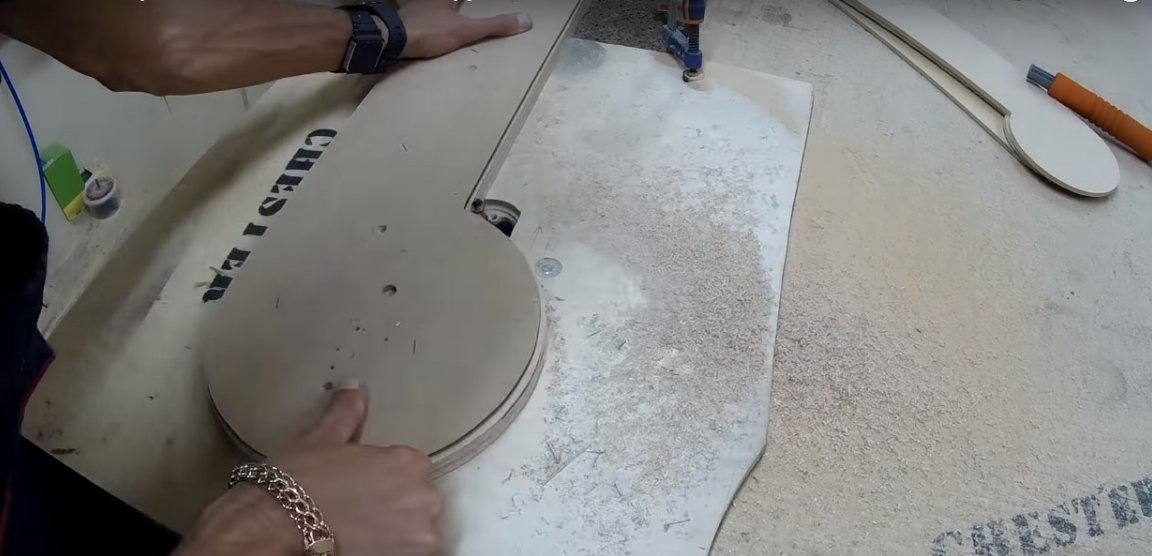
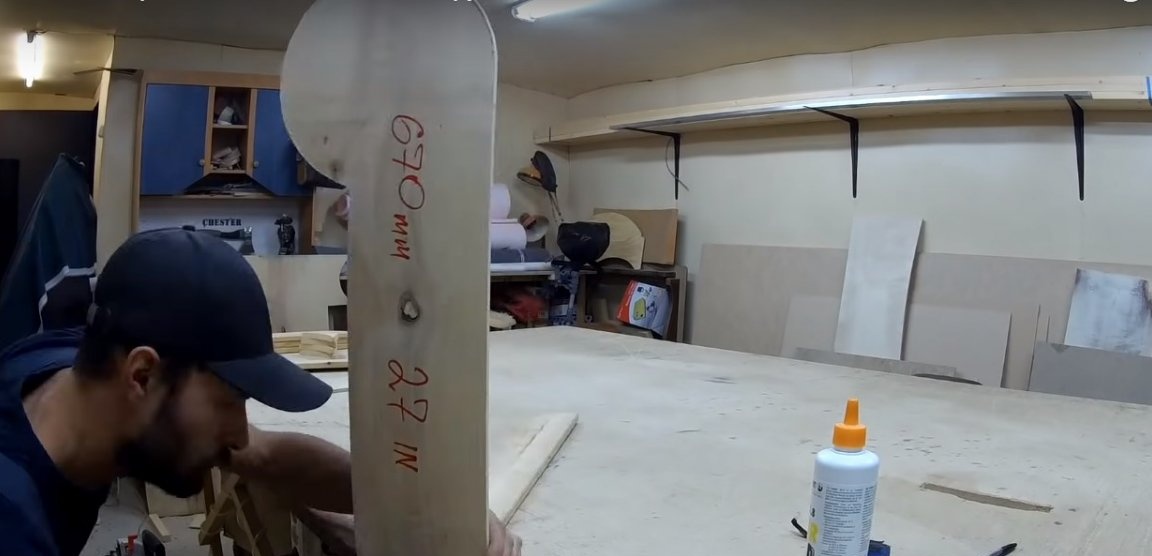
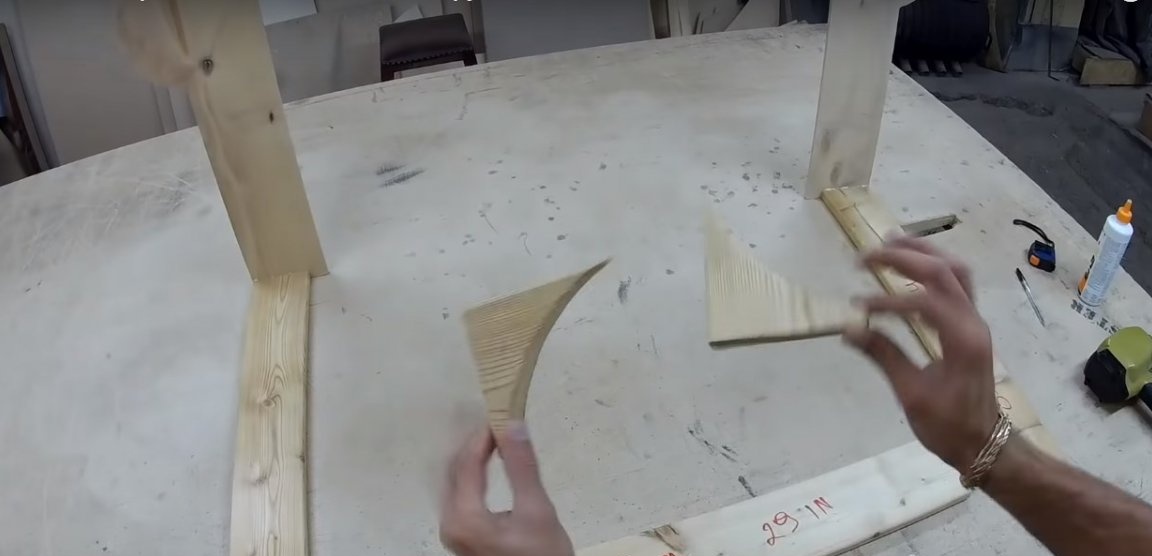
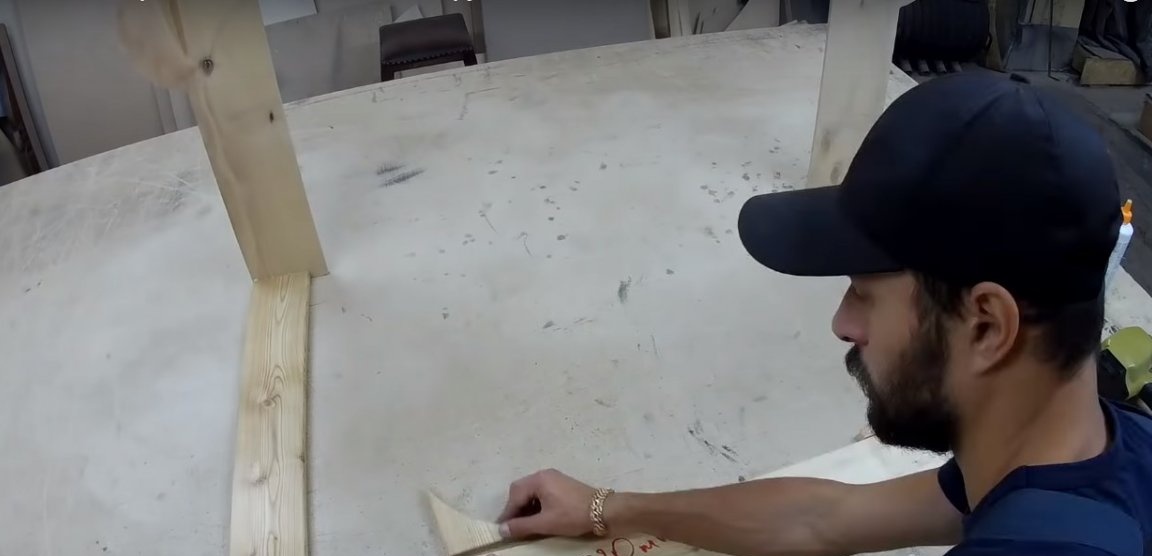
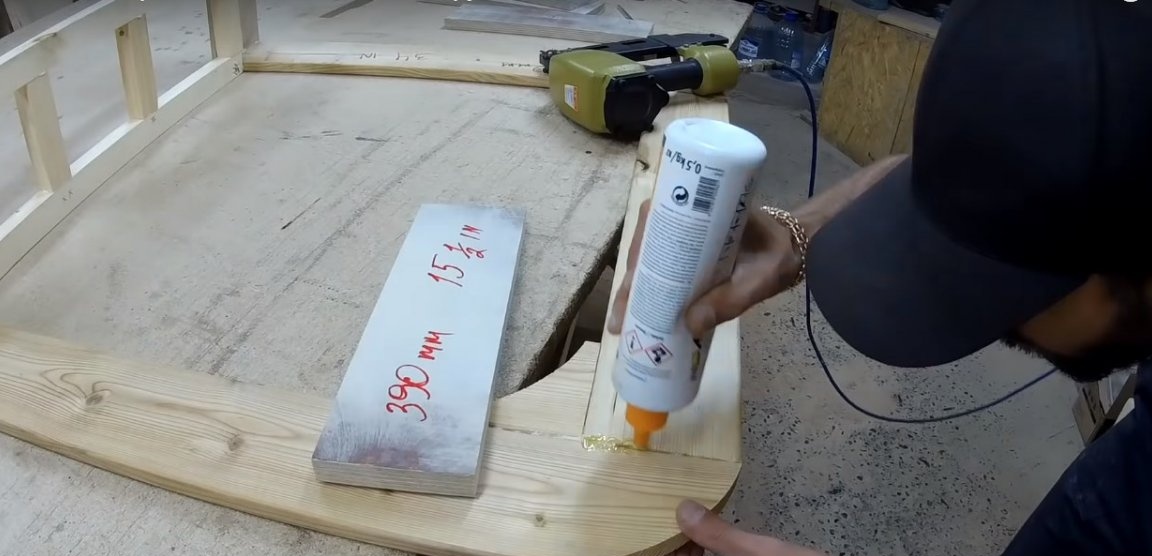
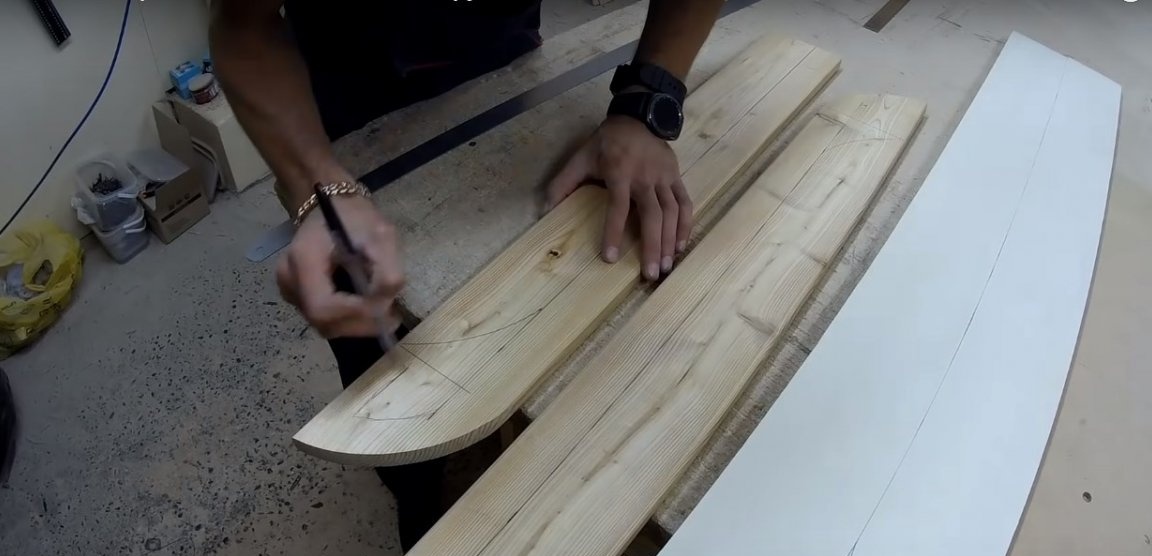
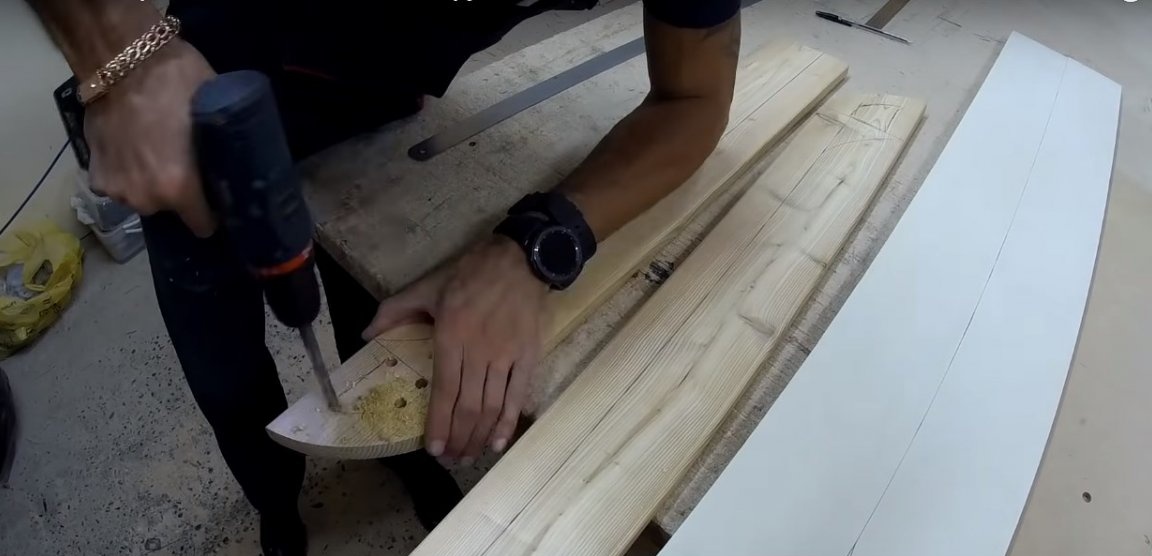
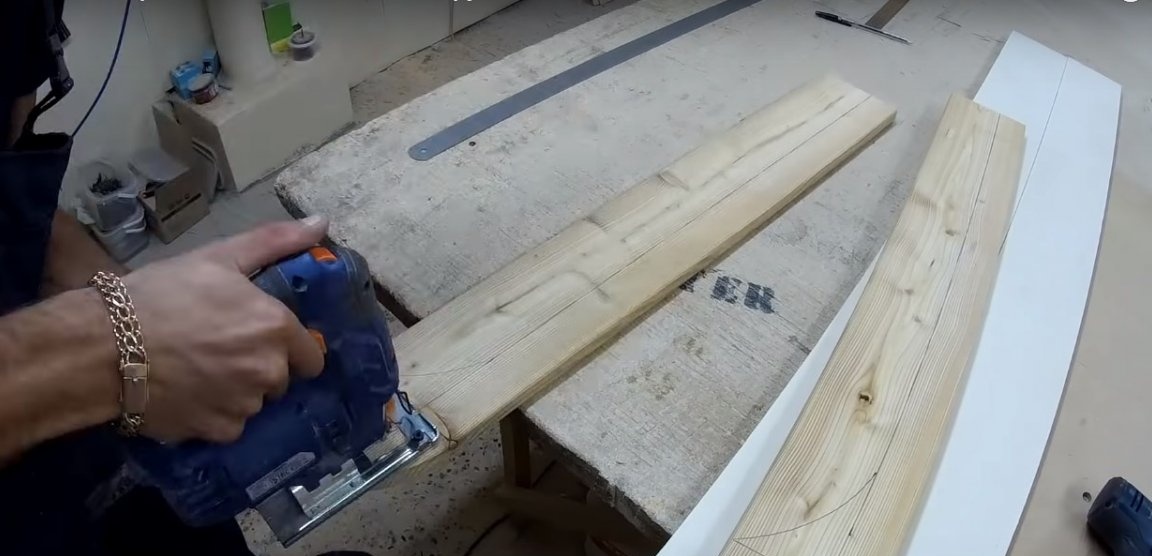
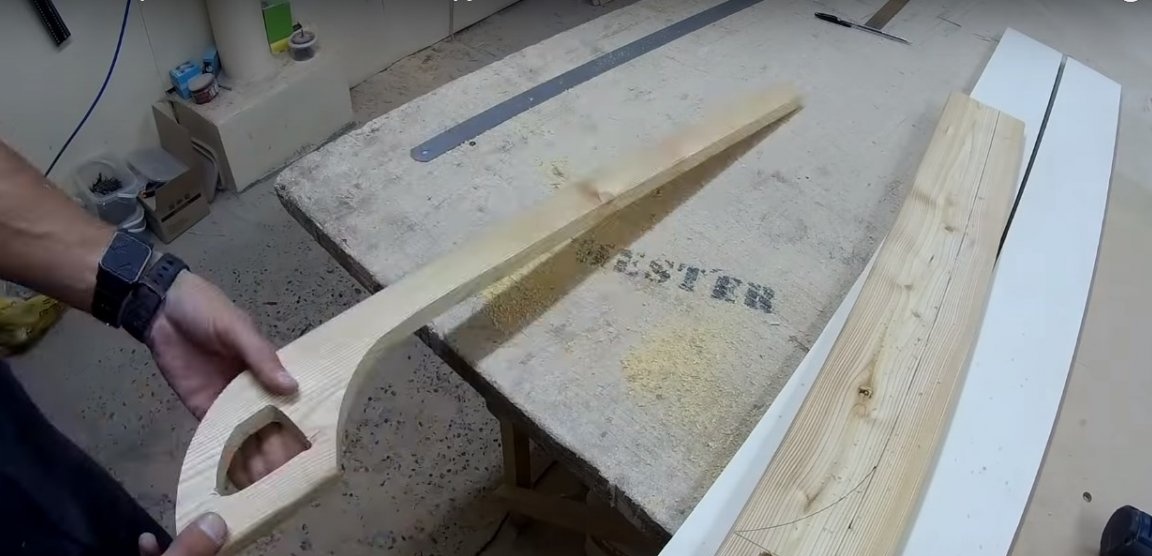
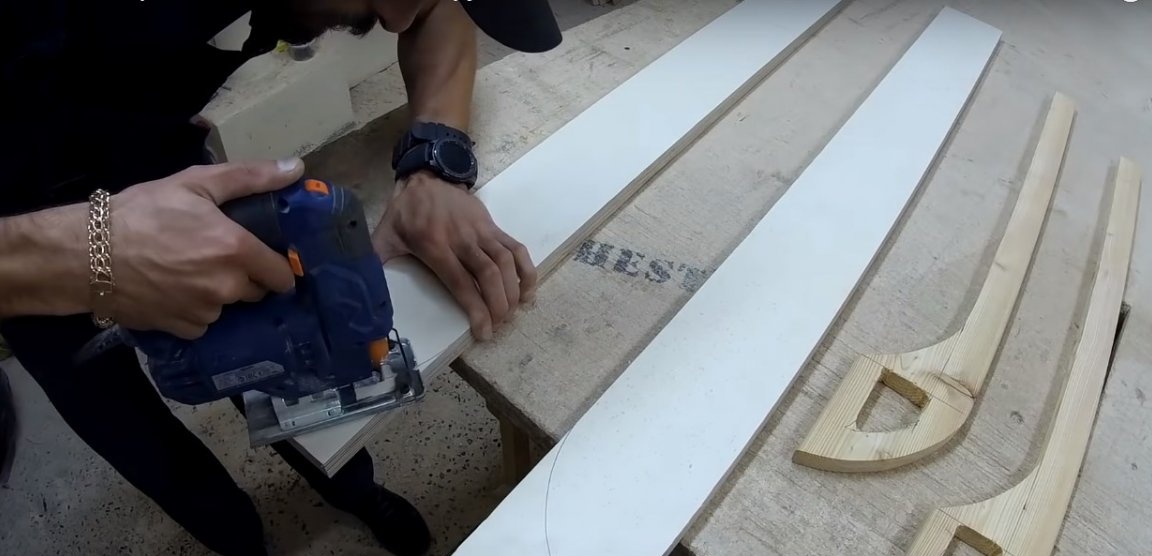
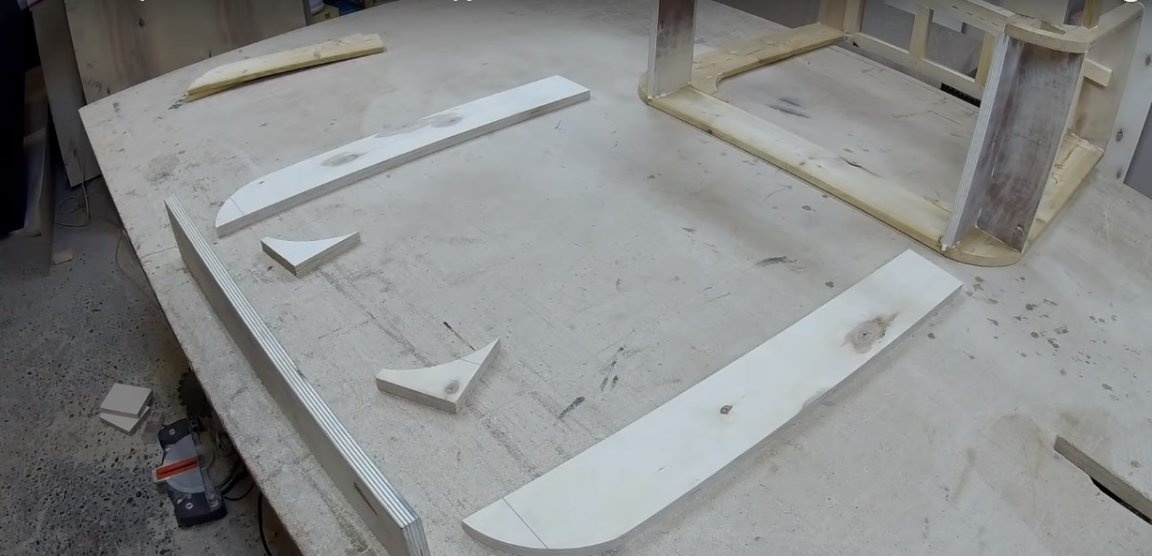
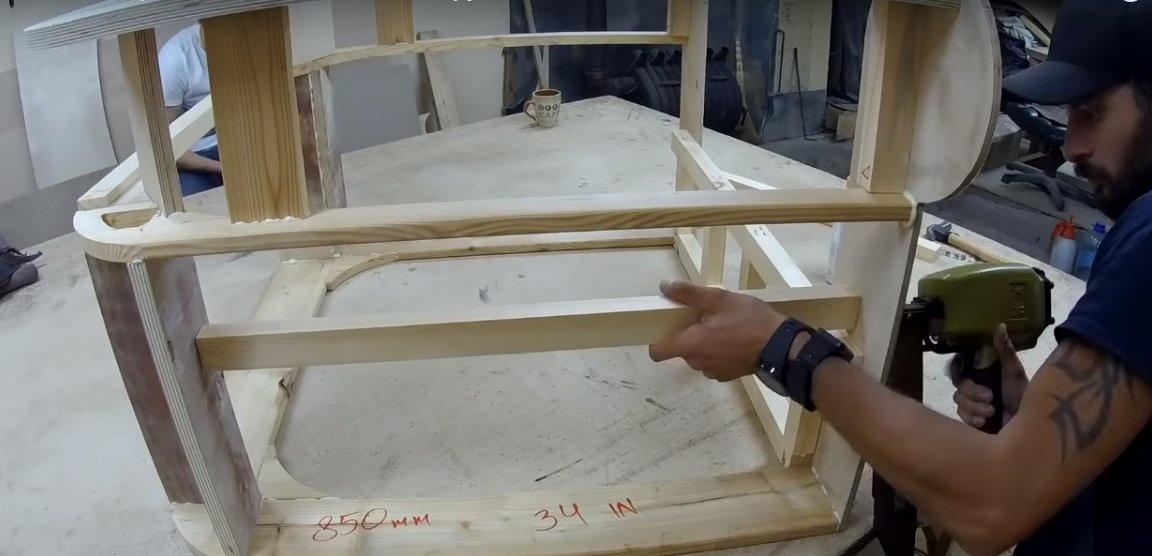
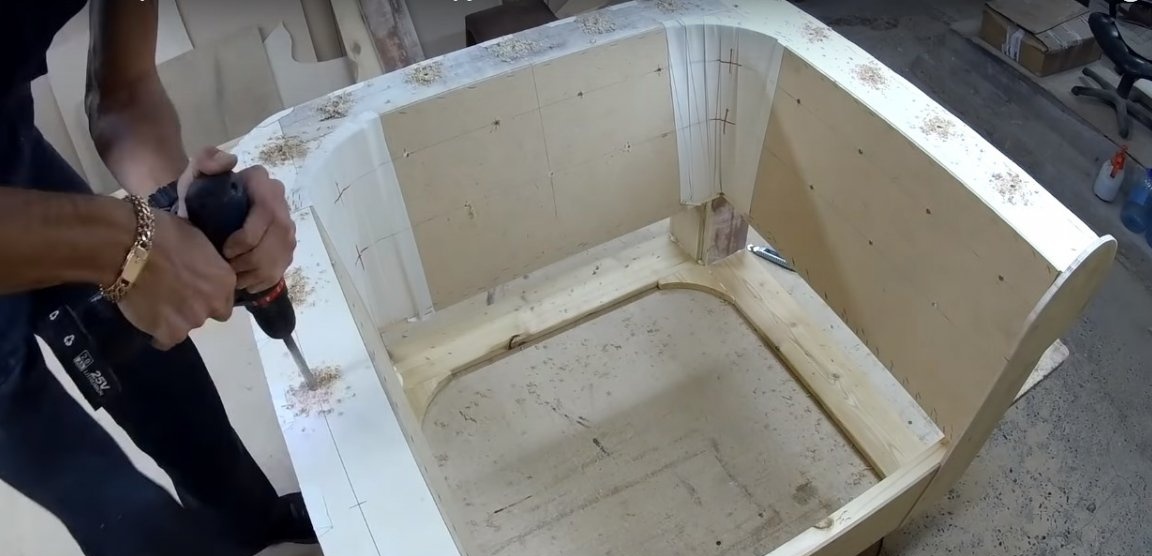
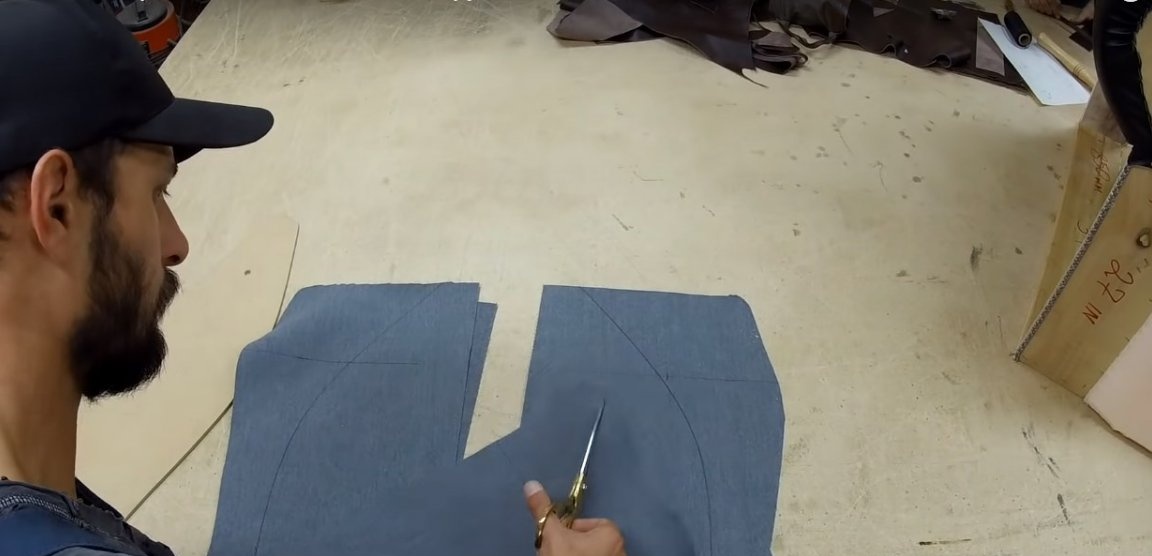
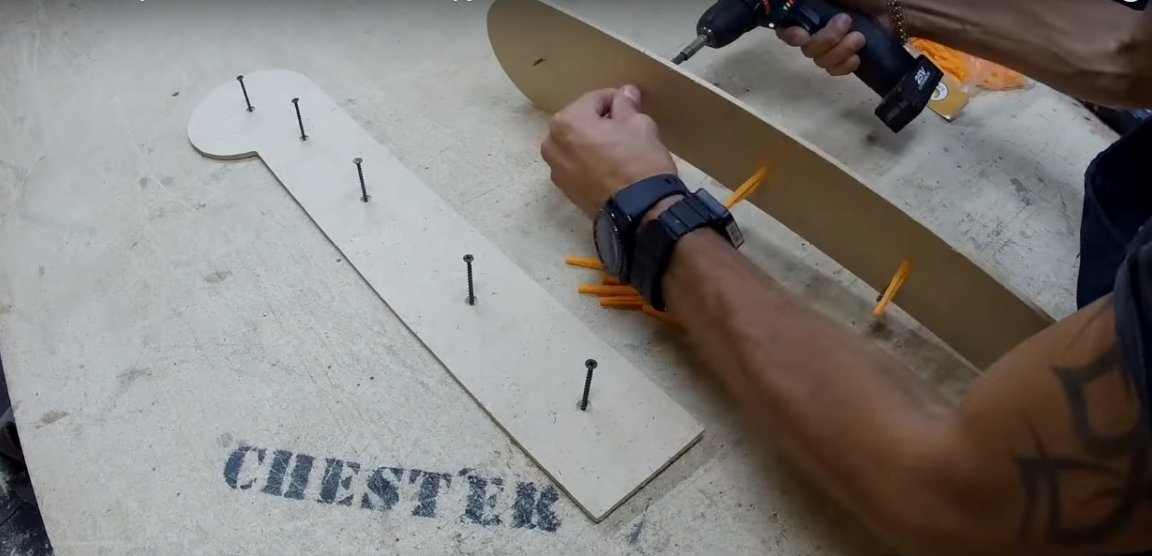
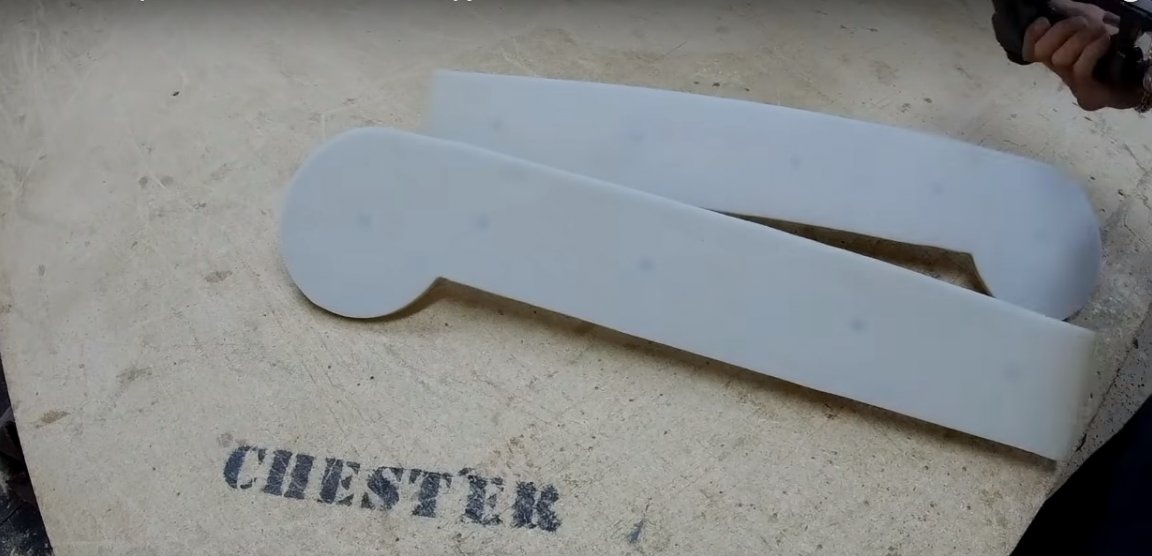
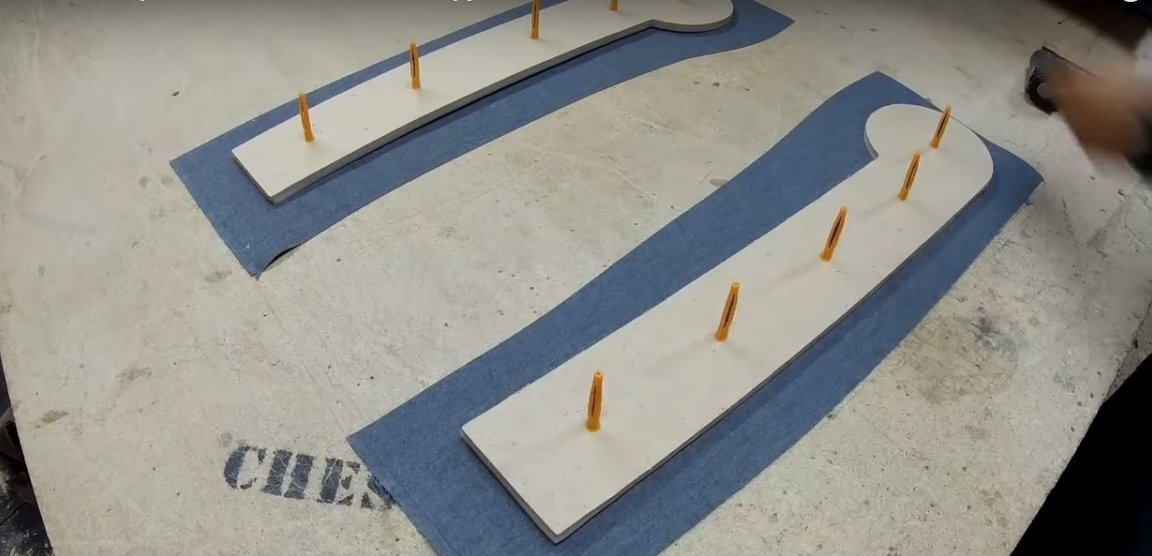
Step One: Preparing Frame Parts
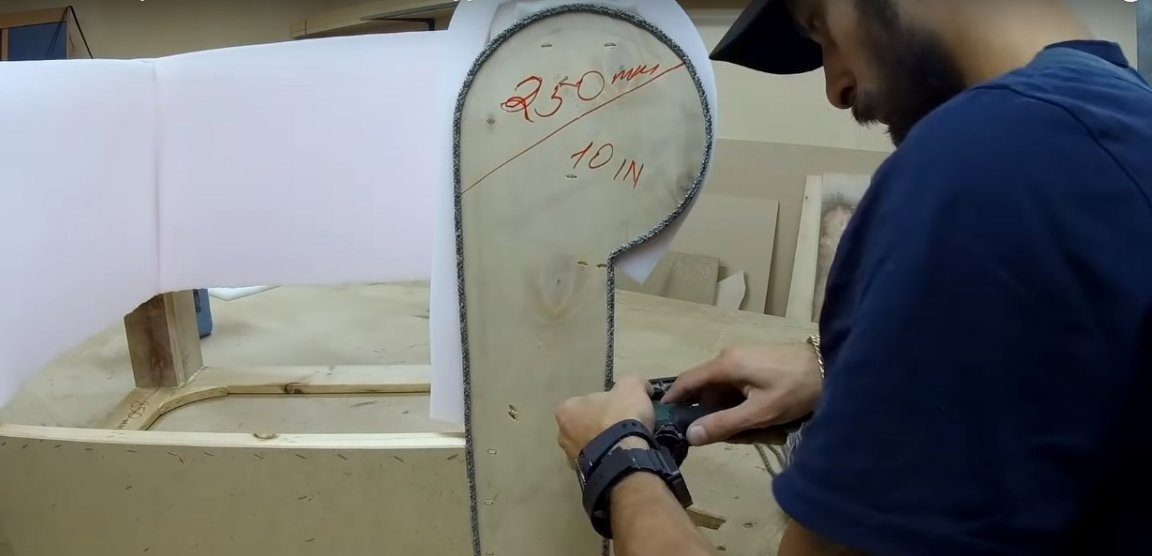
Mark out the main parts of the frame on plywood and wooden boards. The author uses pre-prepared patterns from fiberboard. Cut workpieces using a jigsaw. To correct the shape, the author uses a home-made milling machine. Partially, you can use a grinder to edit the edges.Grind curly elements manually.
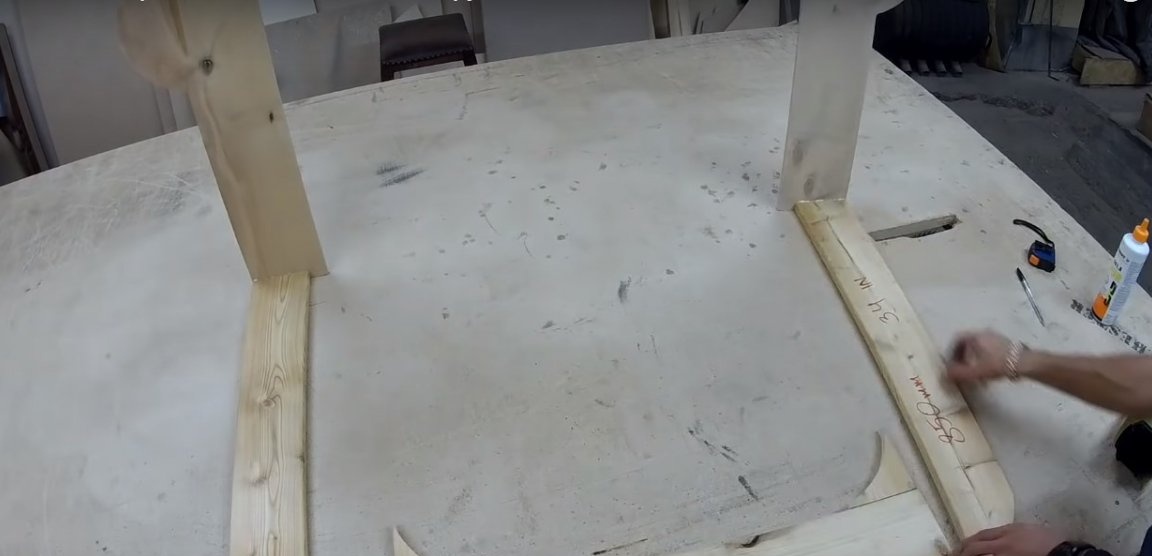
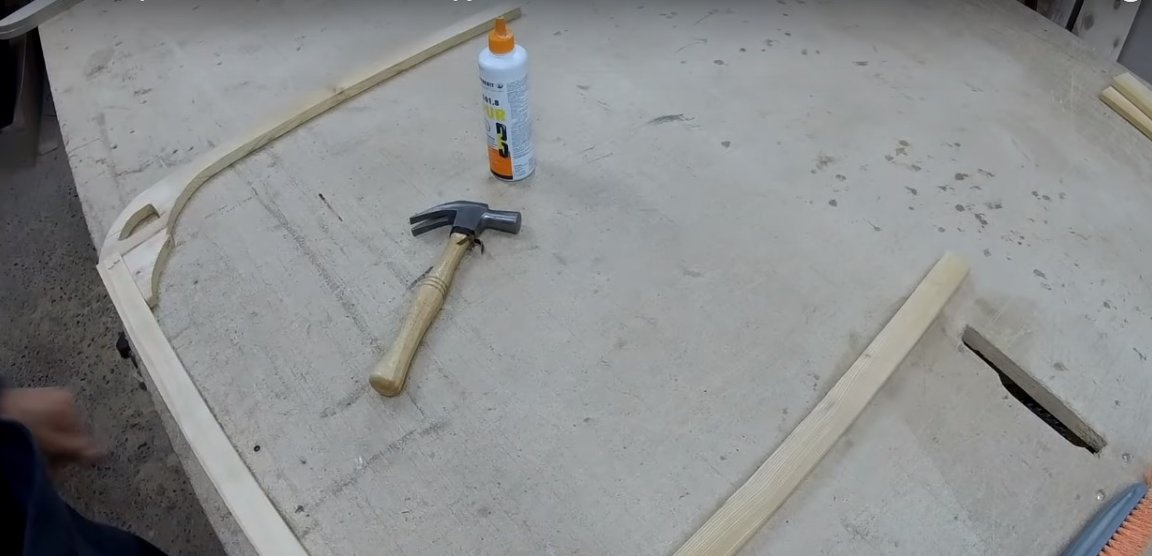
Step Two: Assembling the Chair Frame
Frame parts are connected with glue and furniture screws. In fastenings on parts made of natural wood, pre-drill holes so that the wood does not crack.
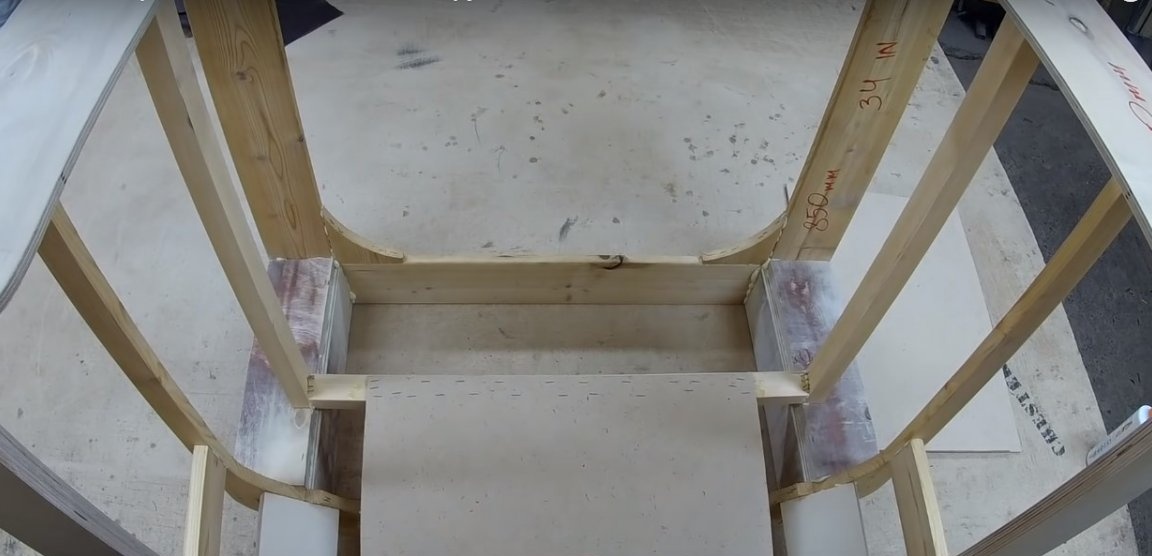
Assemble the lower harness and fasten the bylts details. Fasten also the front frame of the chair from wooden blocks.

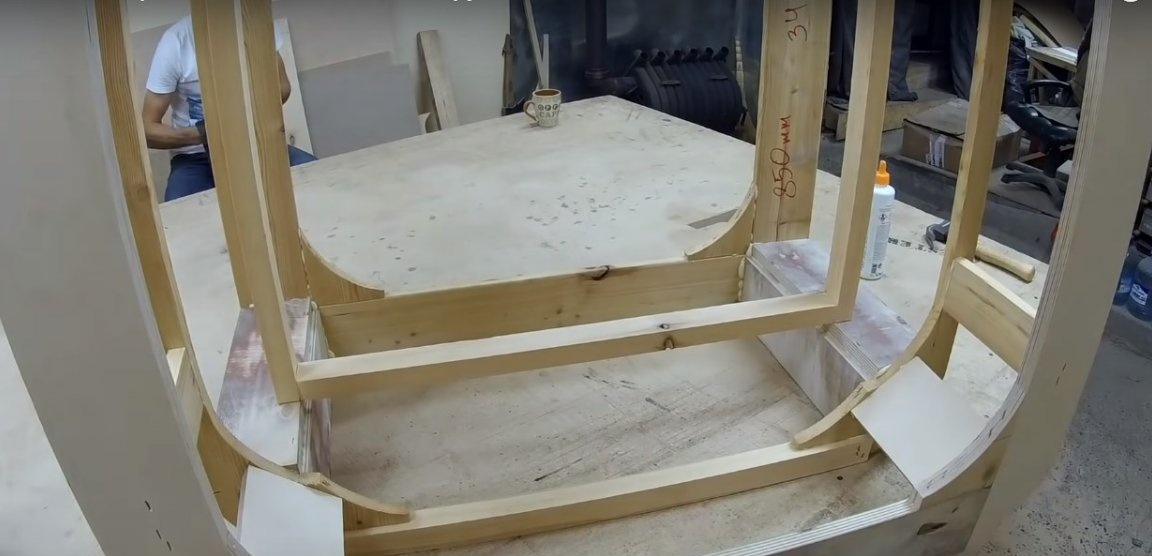
Prepare the strapping of the second tier, pre-installing the corner parts from thick plywood.
In the same way, assemble and secure the upper trim of the chair.

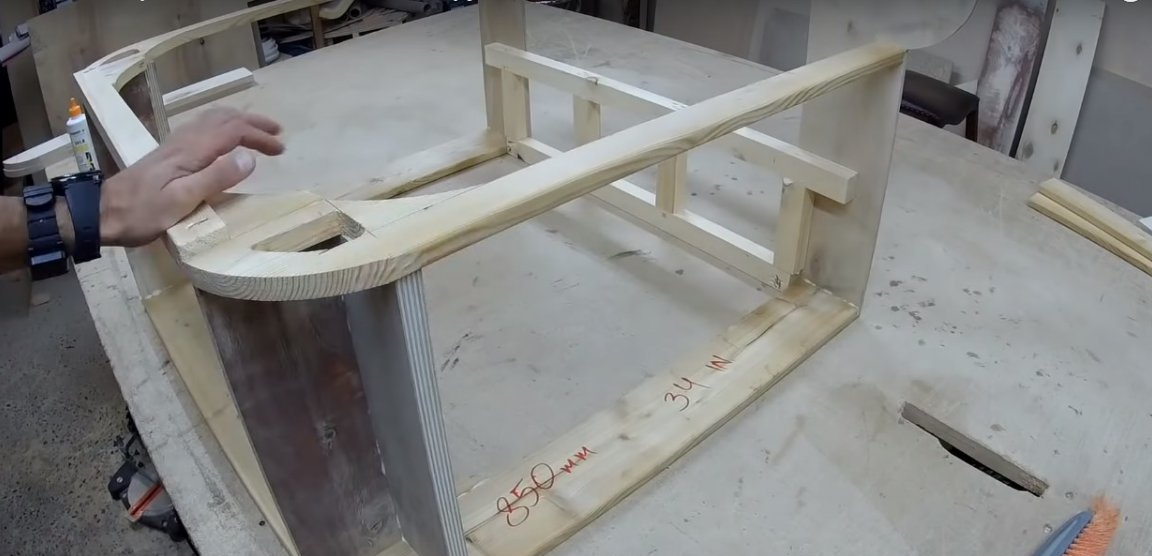
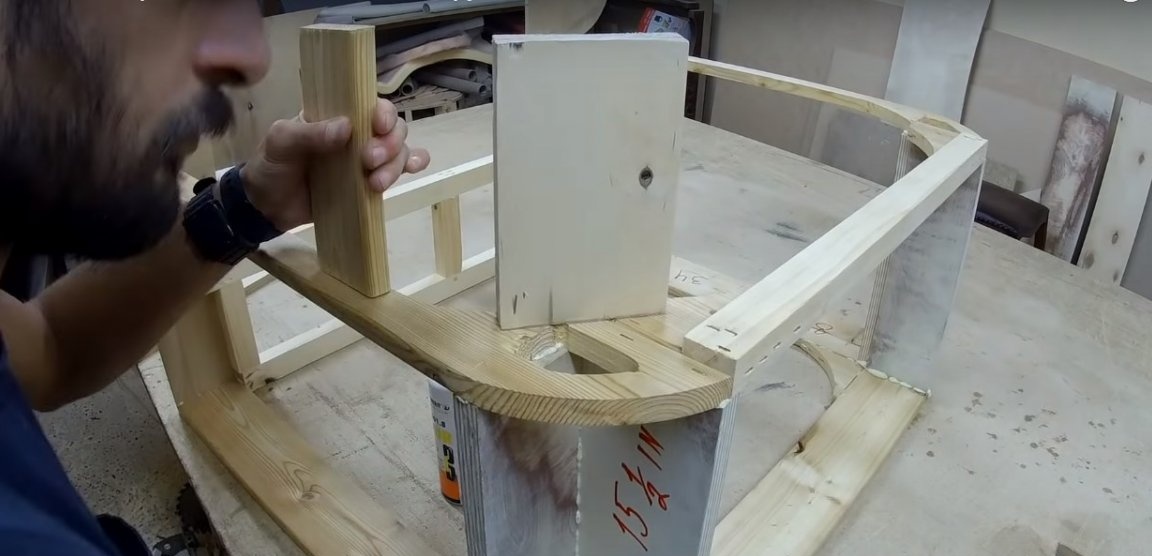
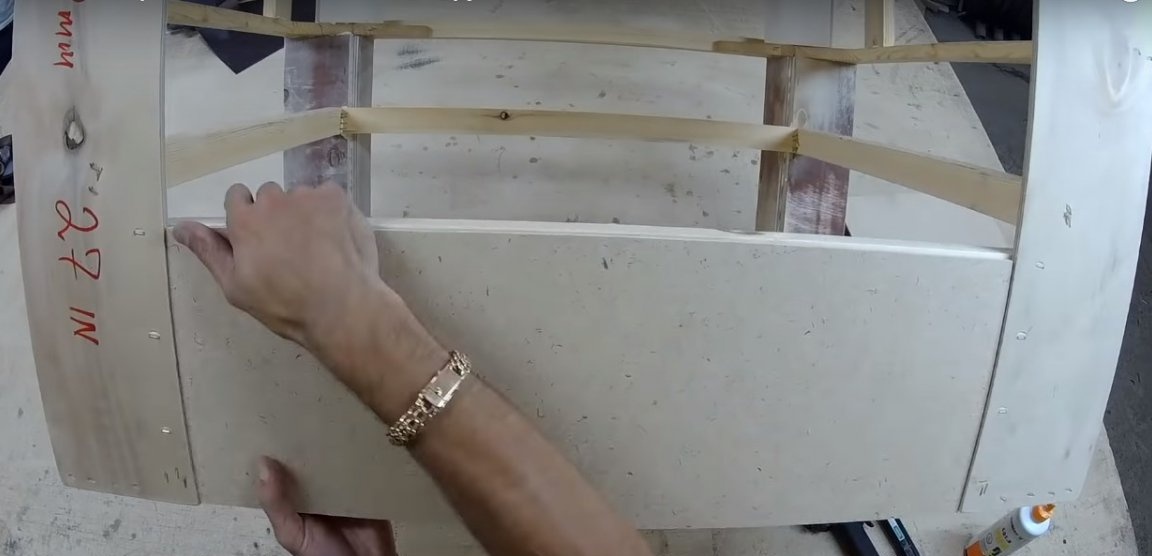
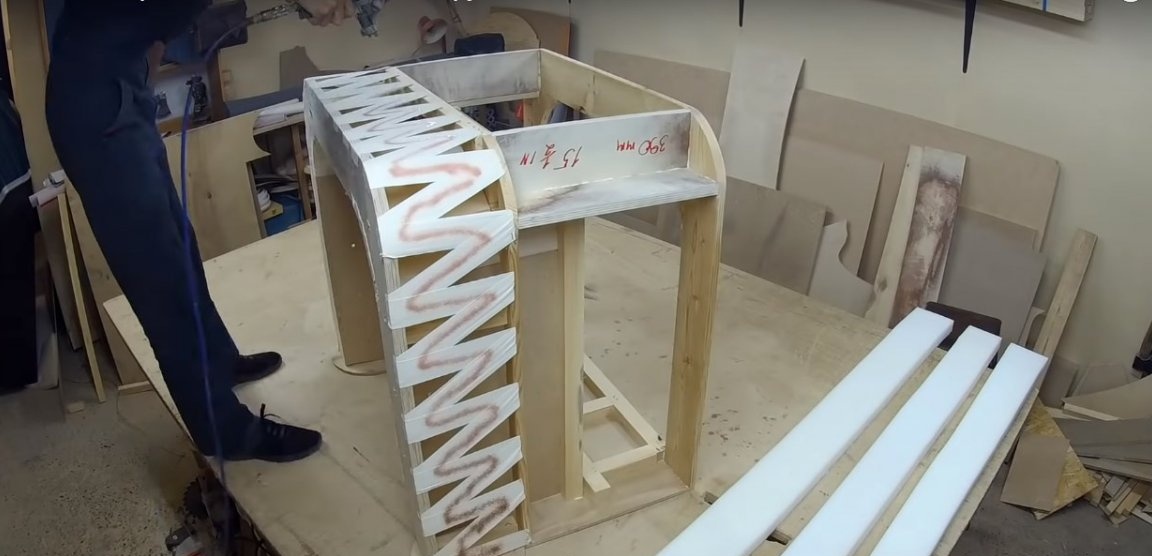
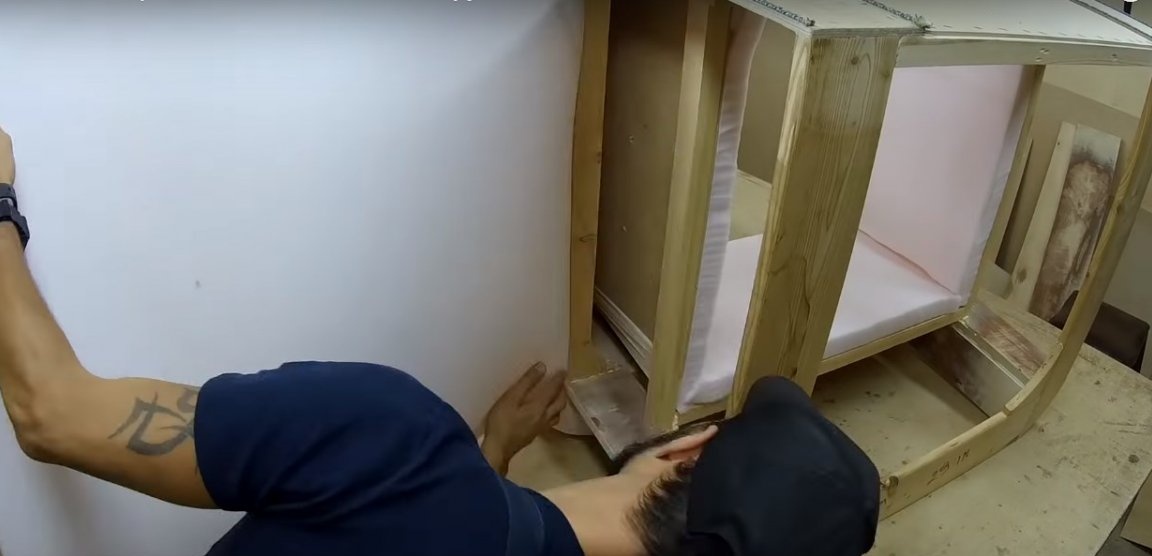
Install the stiffeners of the frame from a wooden block as shown in the photo.
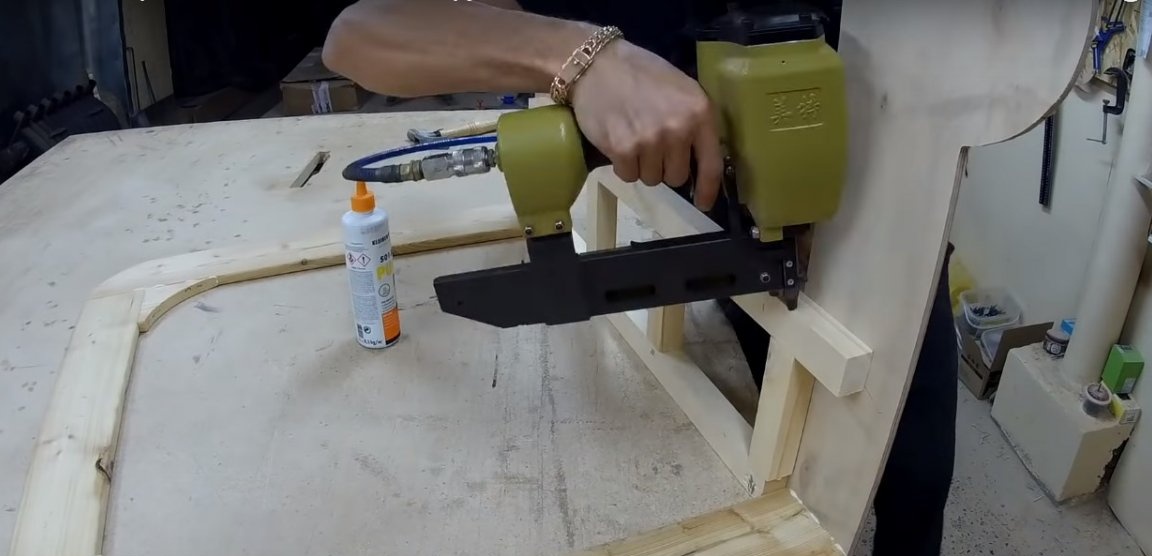
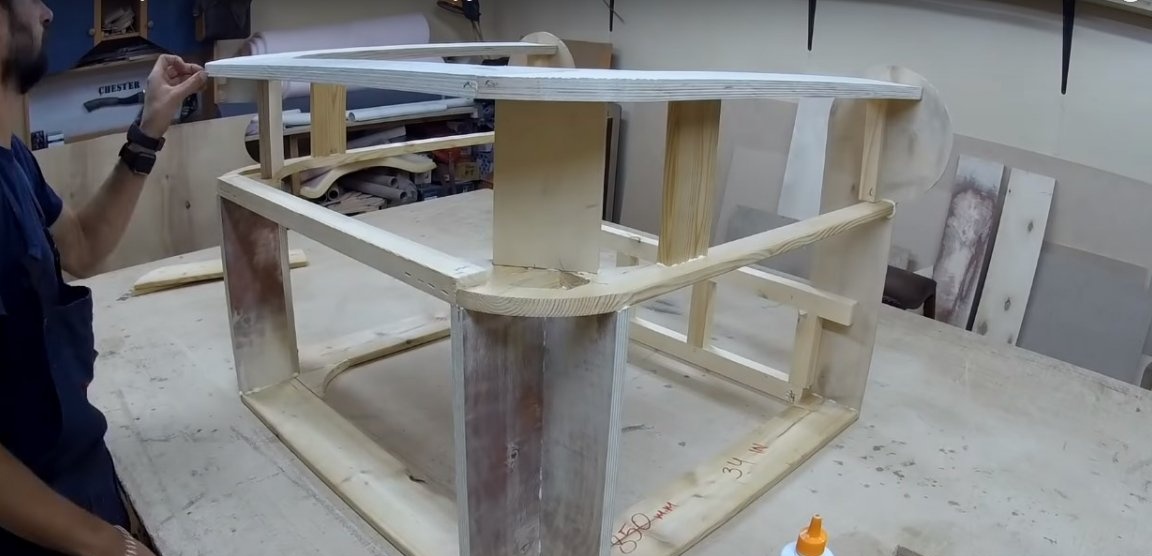
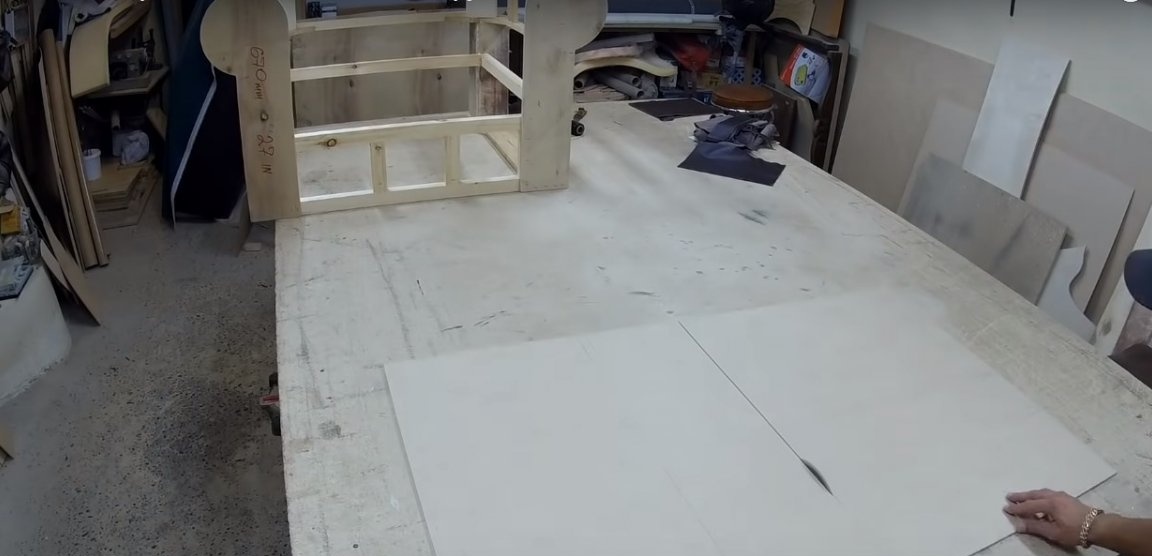
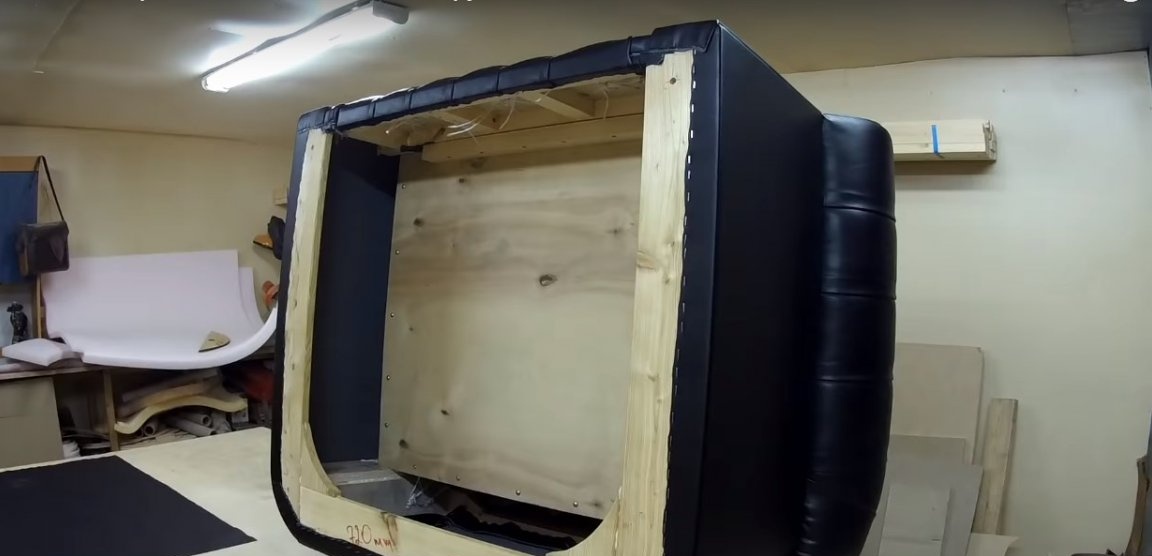
Step Three: Covering the frame with plywood and furniture tape
Carefully polish the frame of the chair, paying particular attention to the edges of the plywood parts.
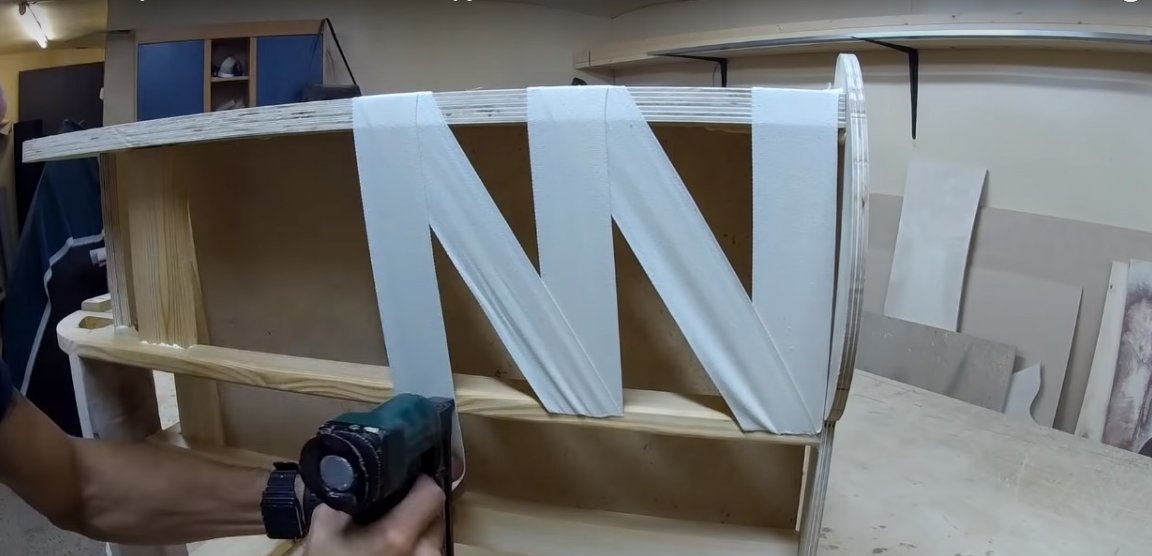
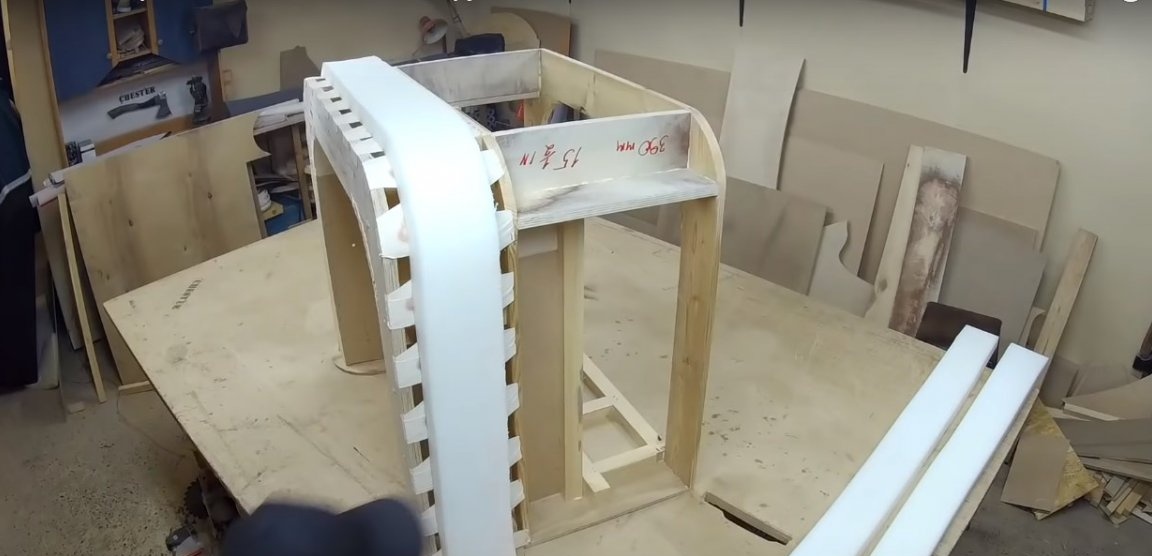
To cover the frame, the author uses thin plywood with a thickness of not more than 5 mm. It bends easily, repeating the smooth forms of the frame. The casing is attached to the case with metal brackets, and for the strength of the connection, the author used glue.
In places where this is permissible and where there are no other options, the author made the lining of textile furniture tape.

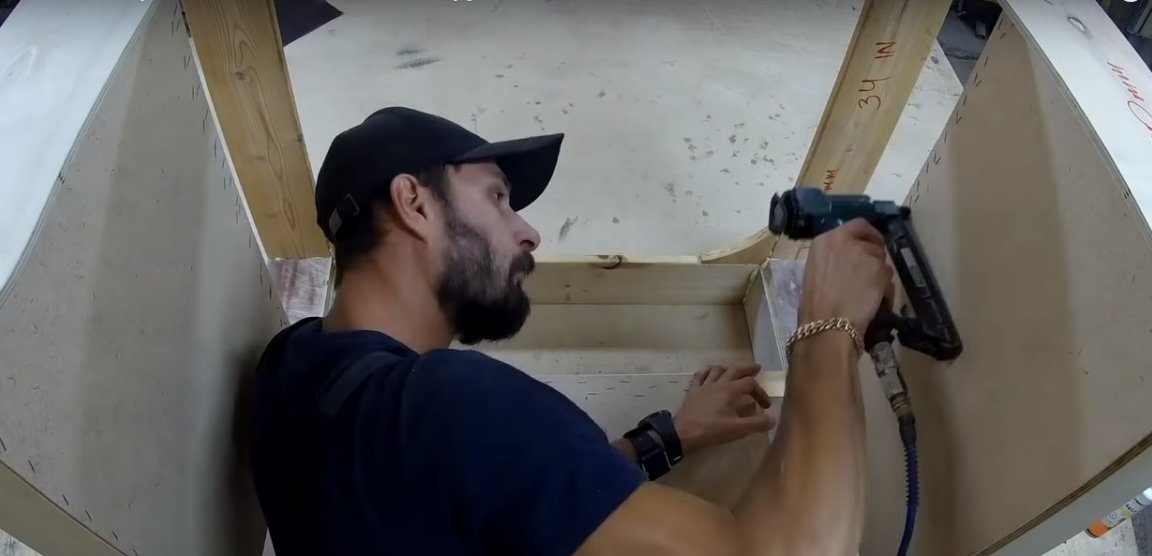
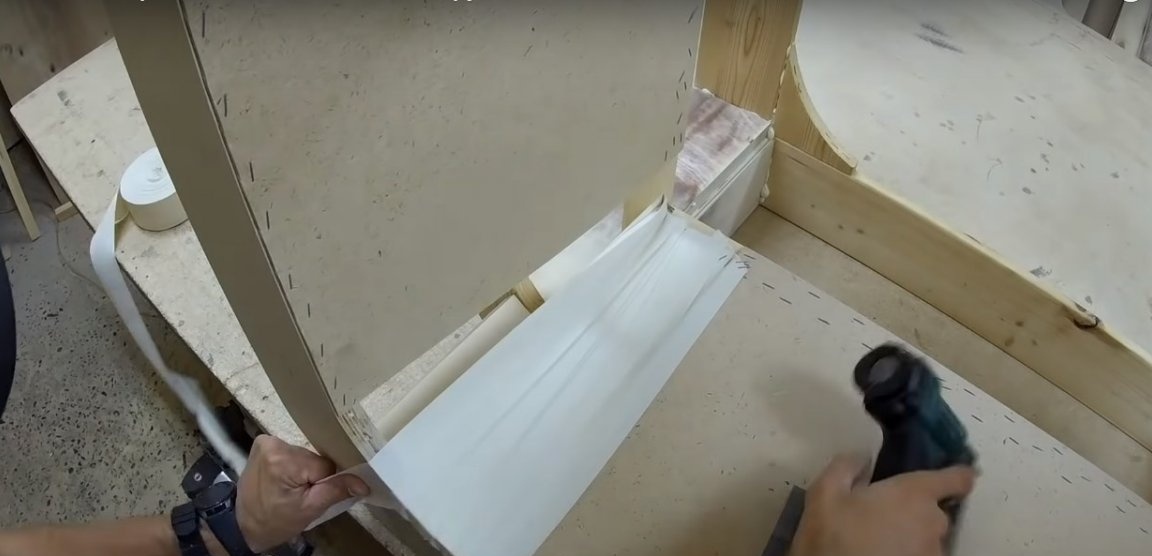
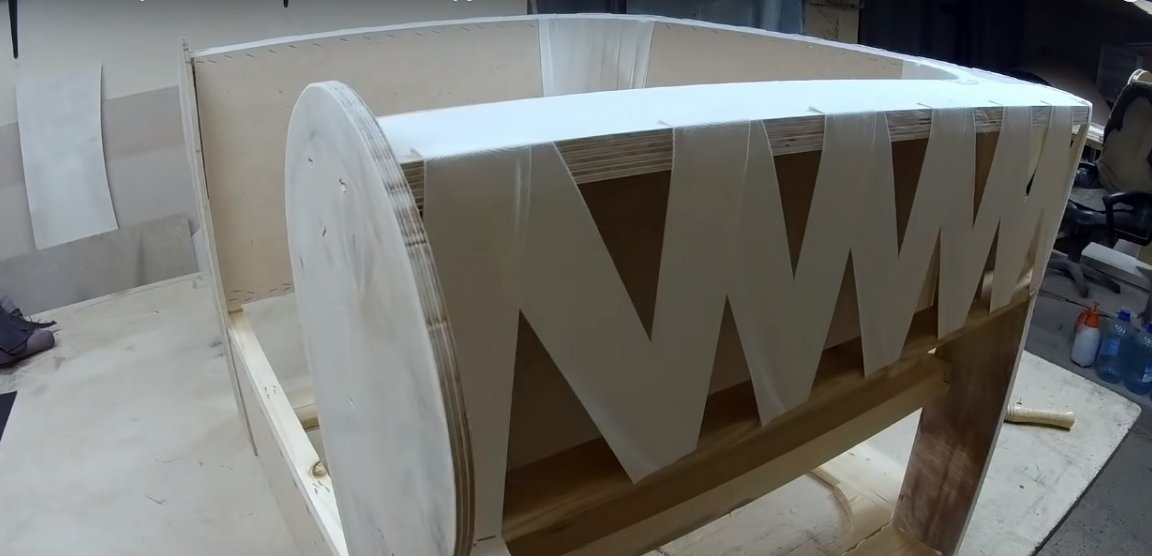
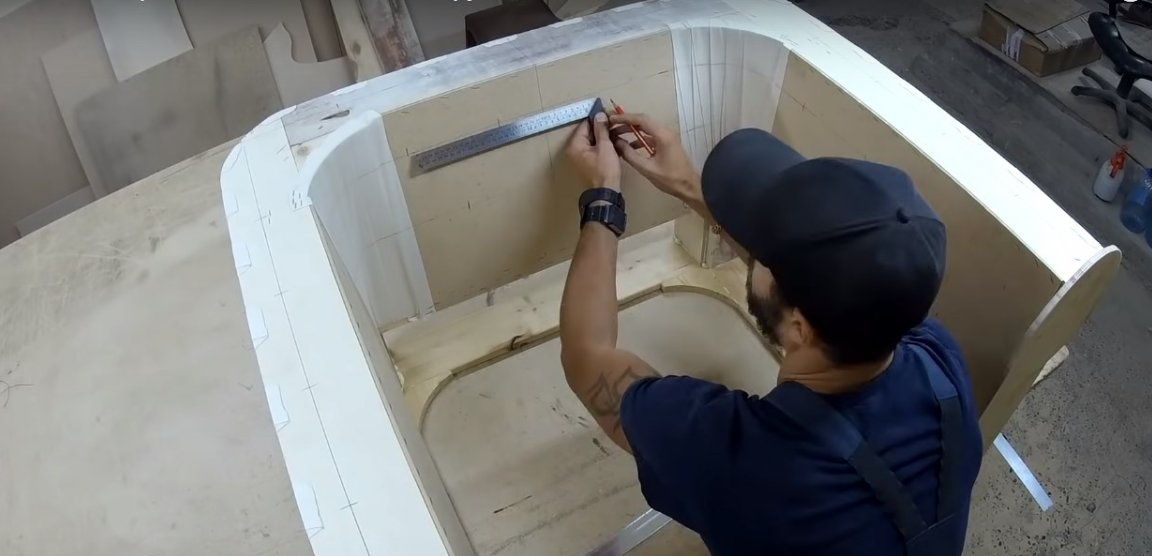
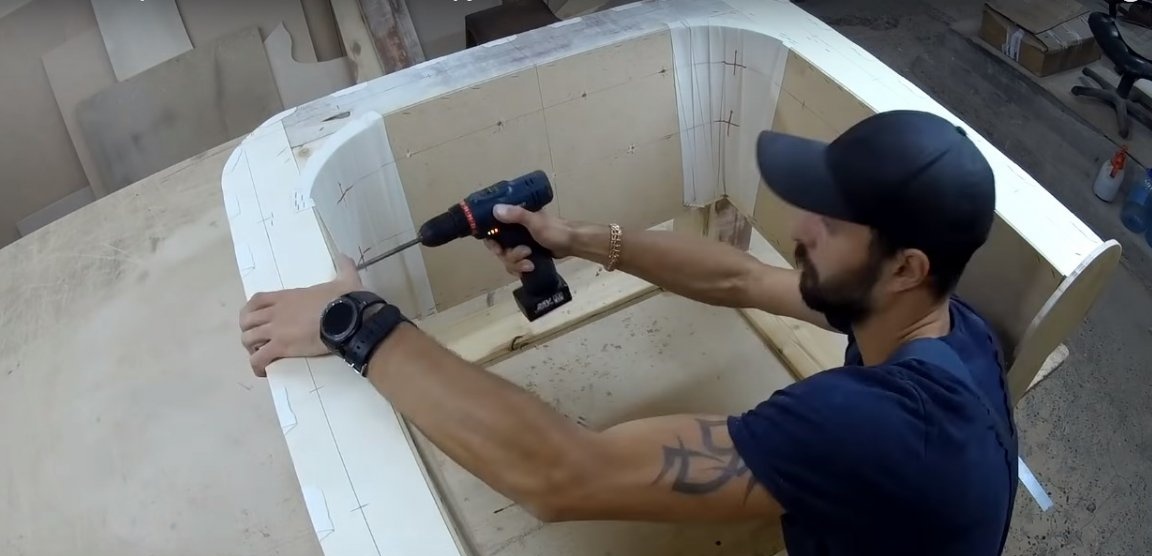
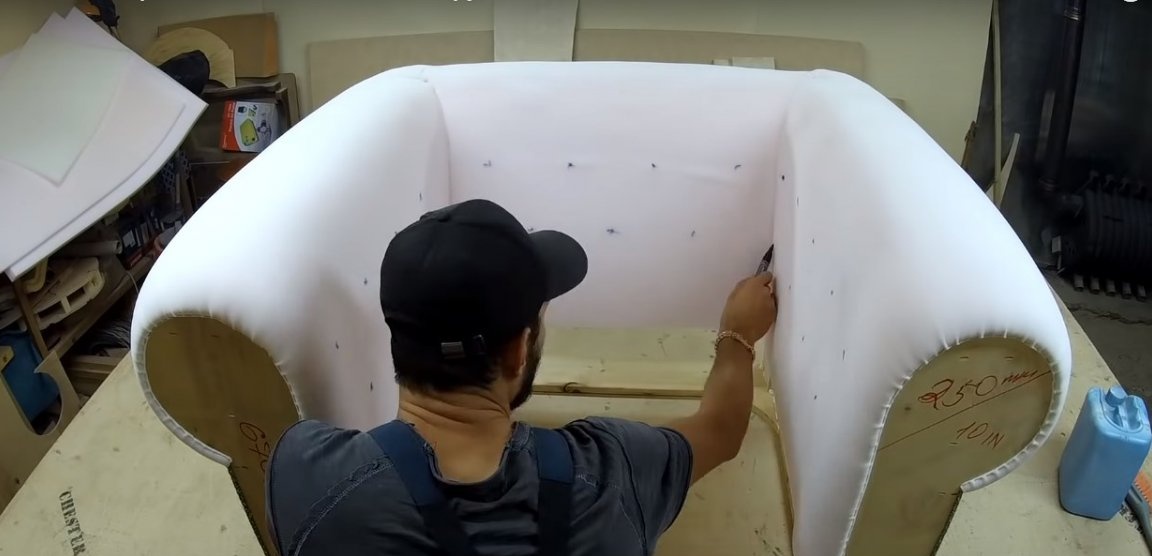
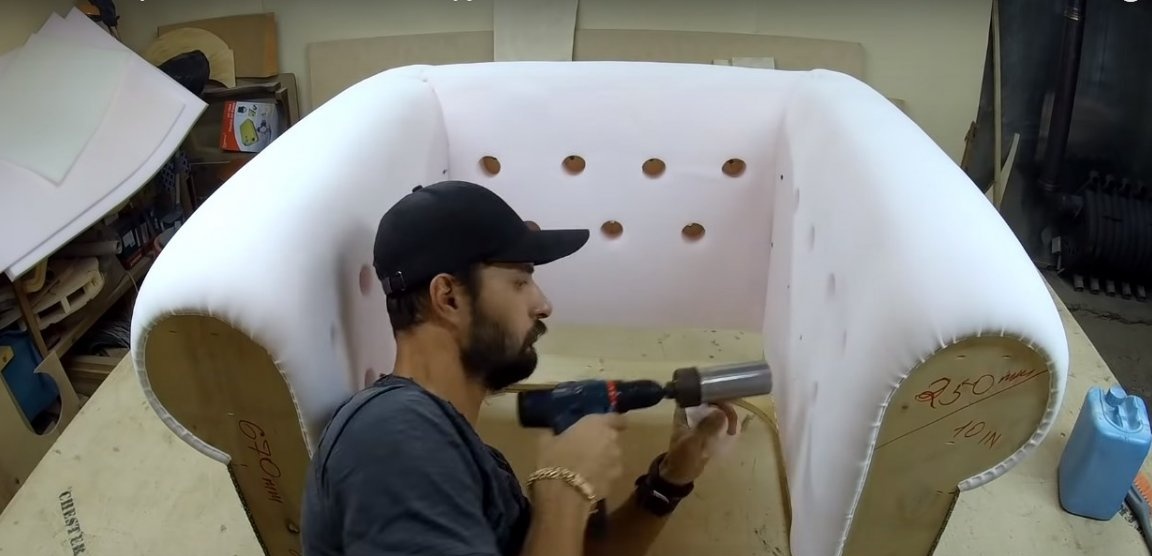
Mark the holes for the carriage coupler and drill them using a drill.
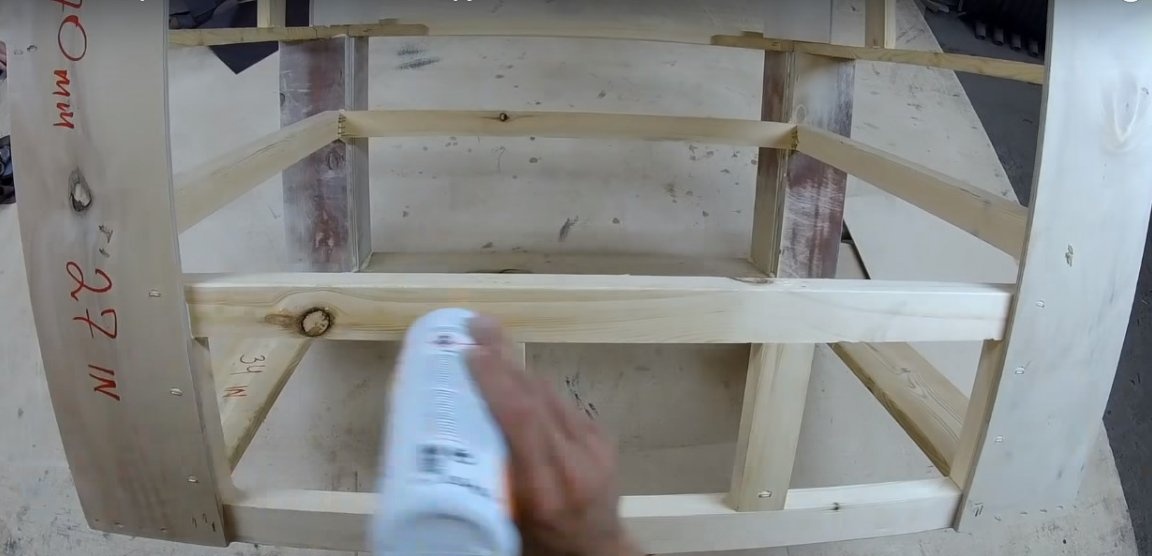
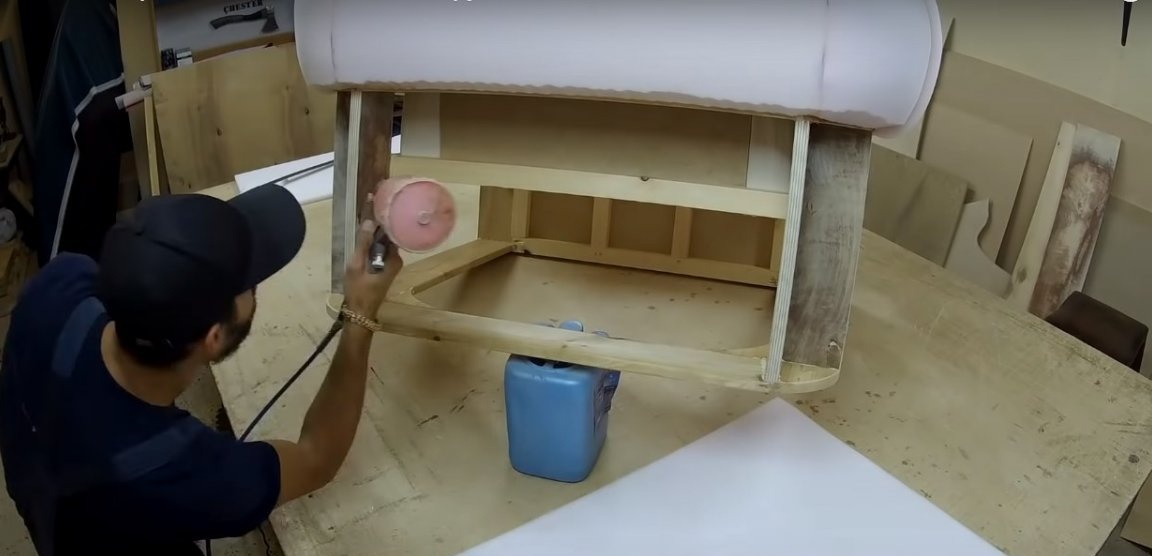
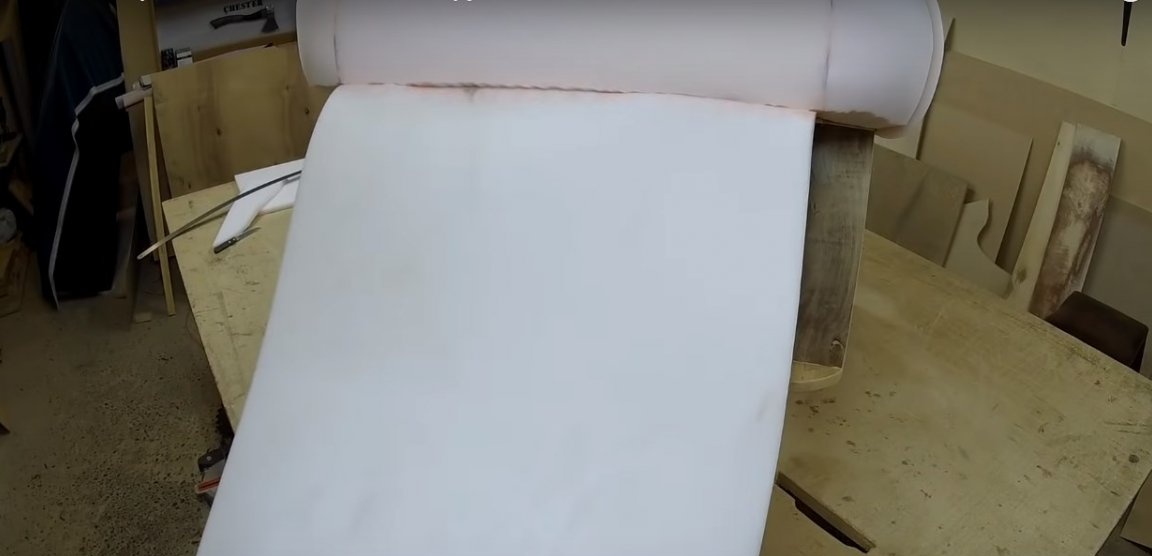
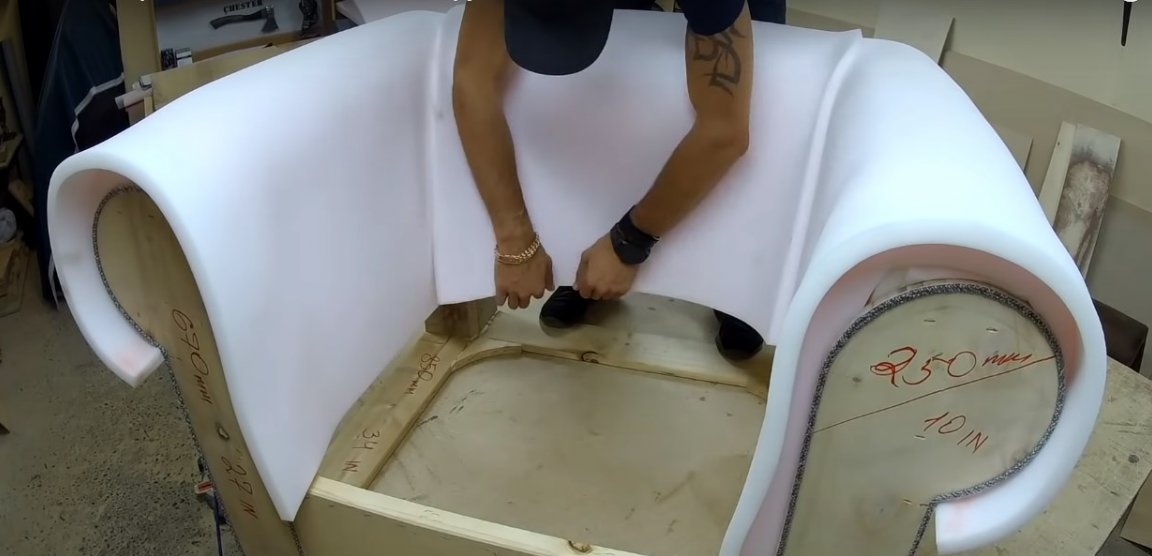
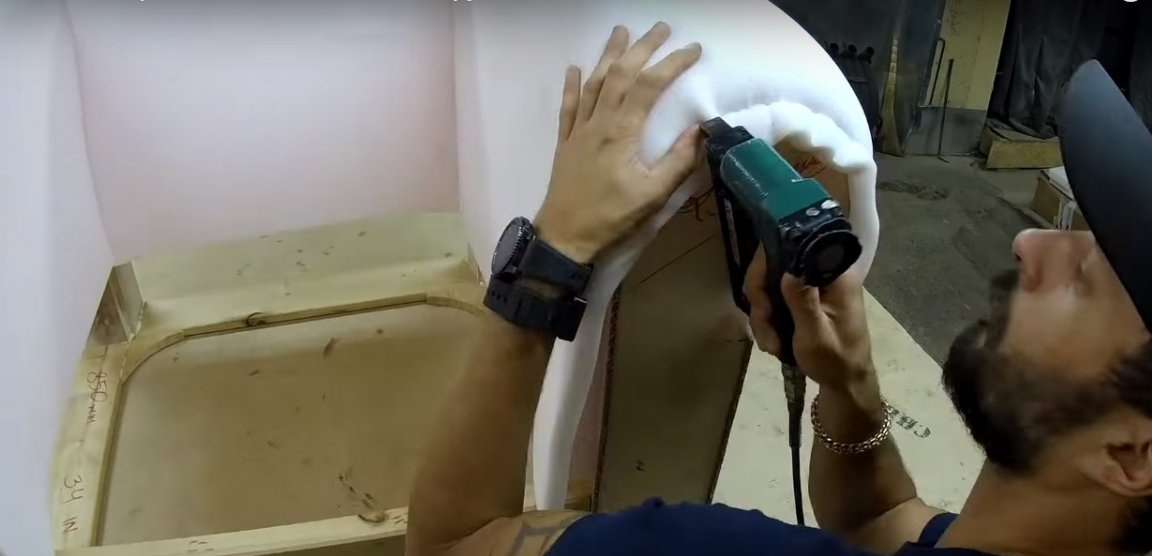
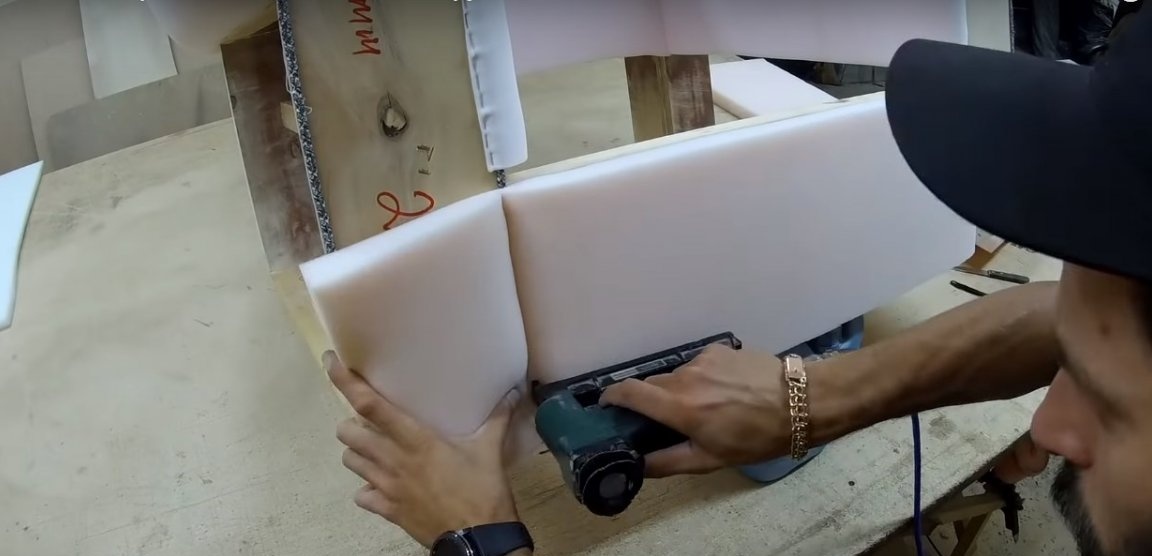
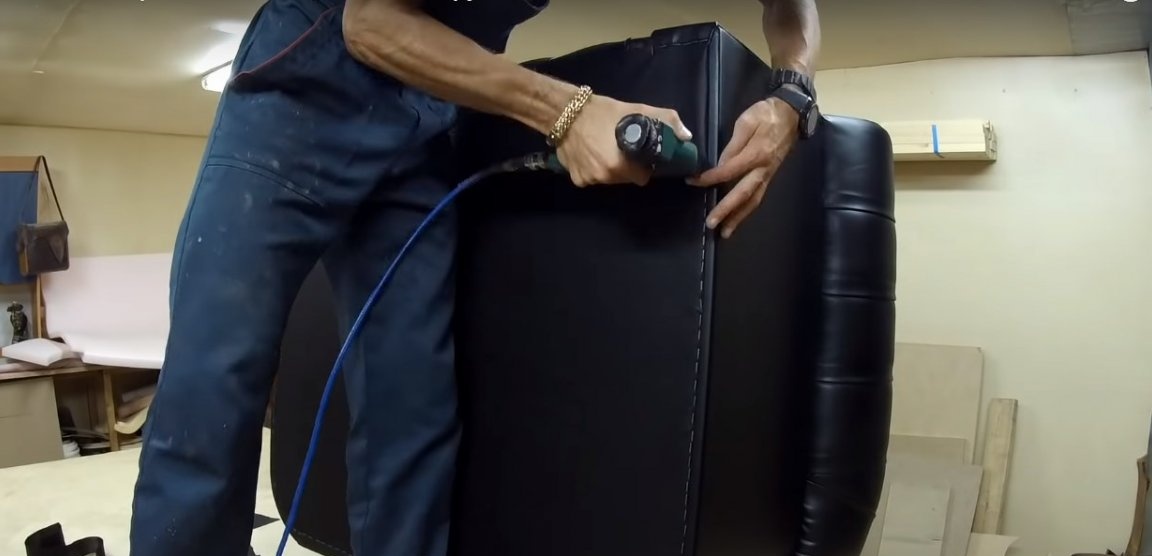
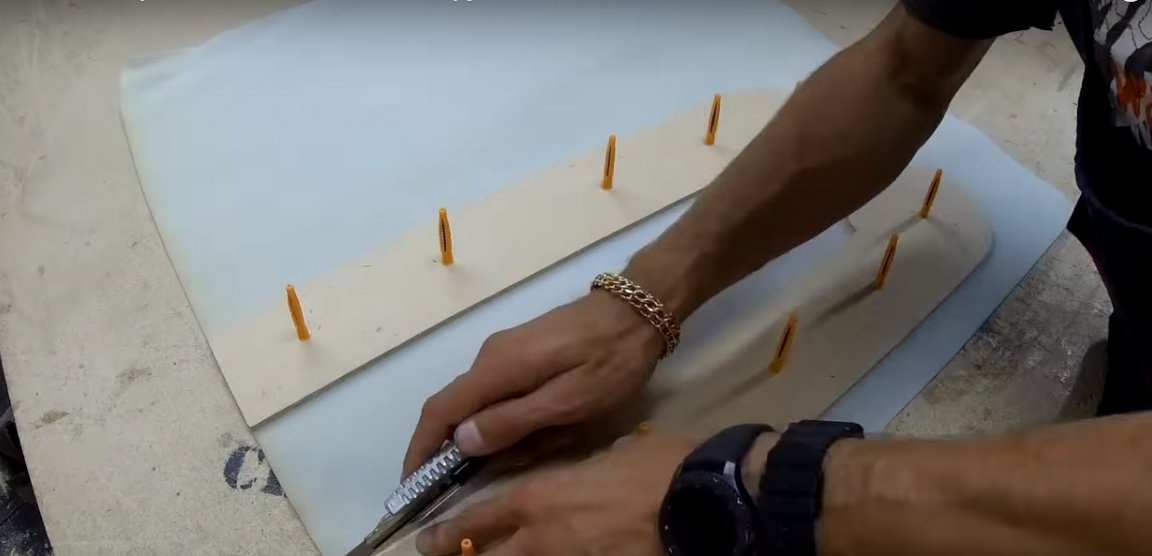
Step Four: Prepare the foam base
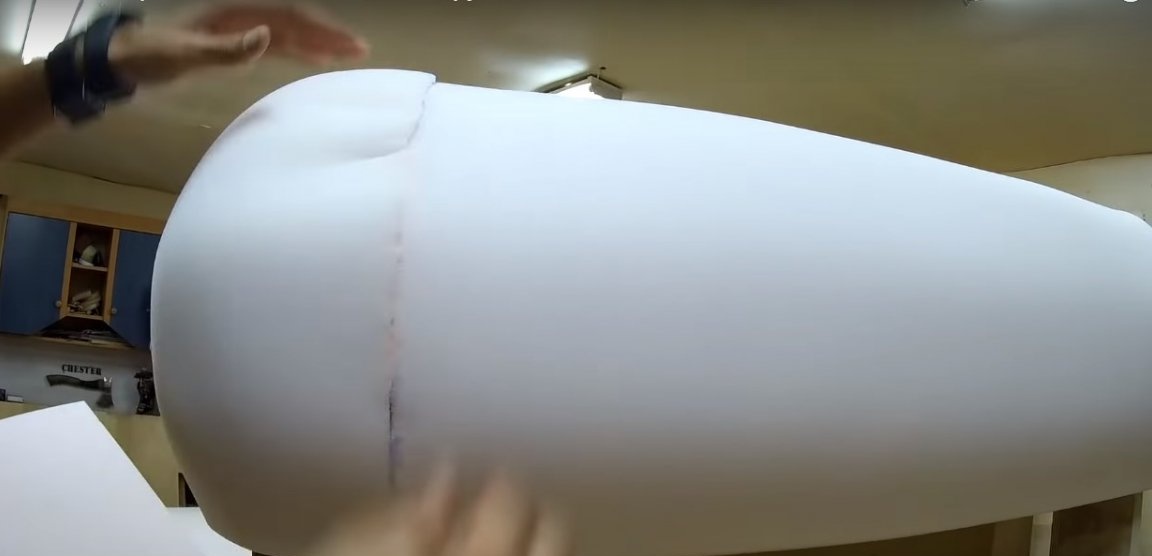
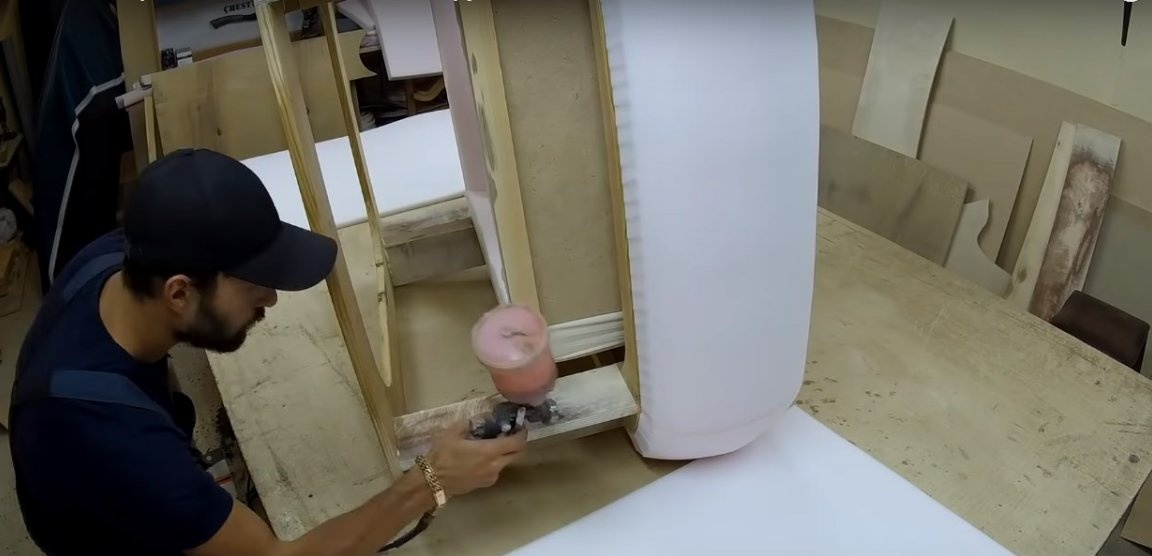
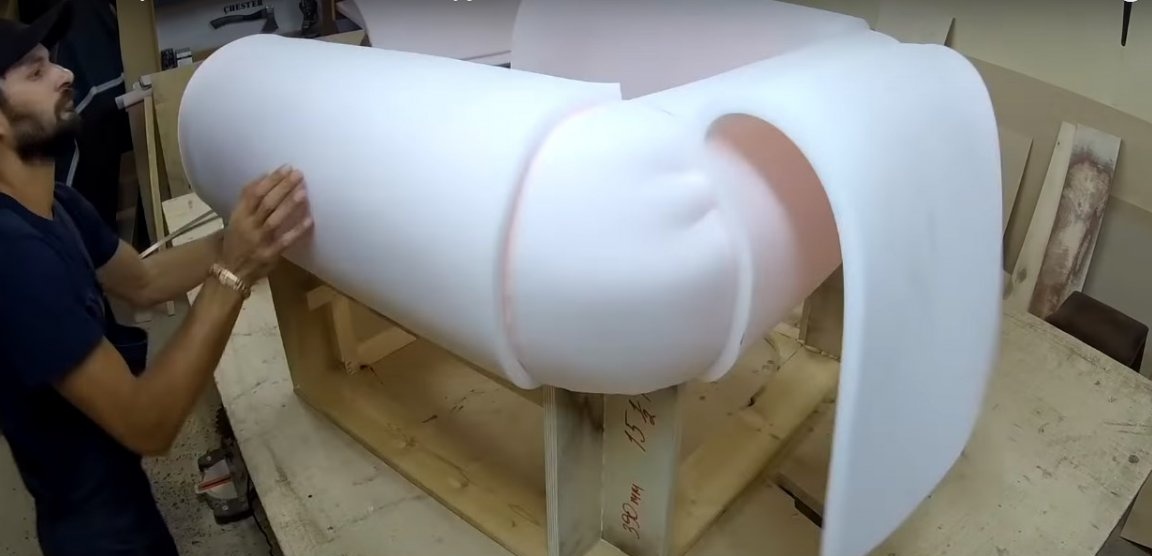
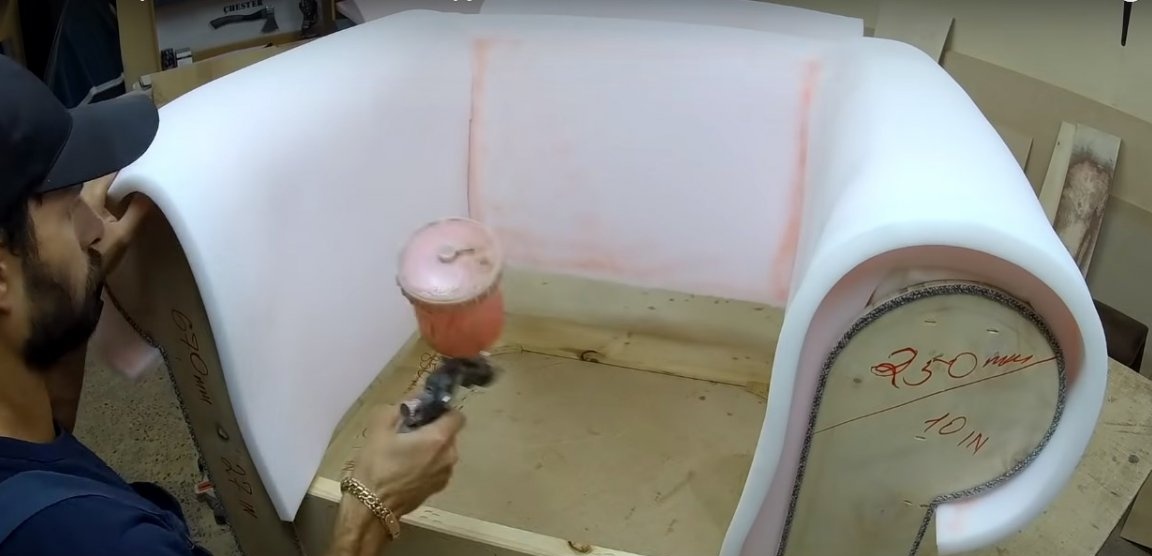
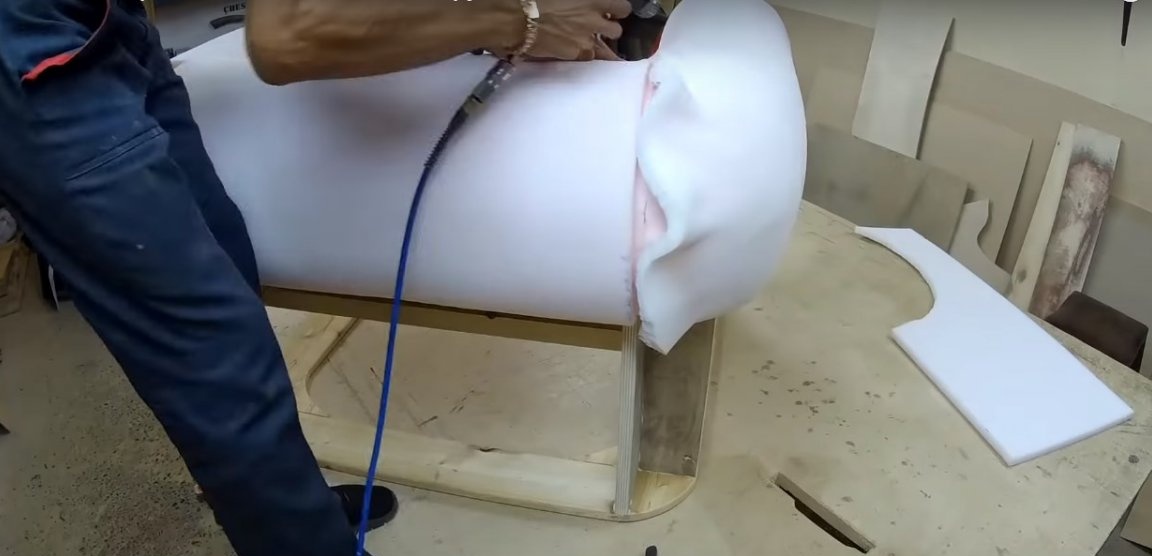
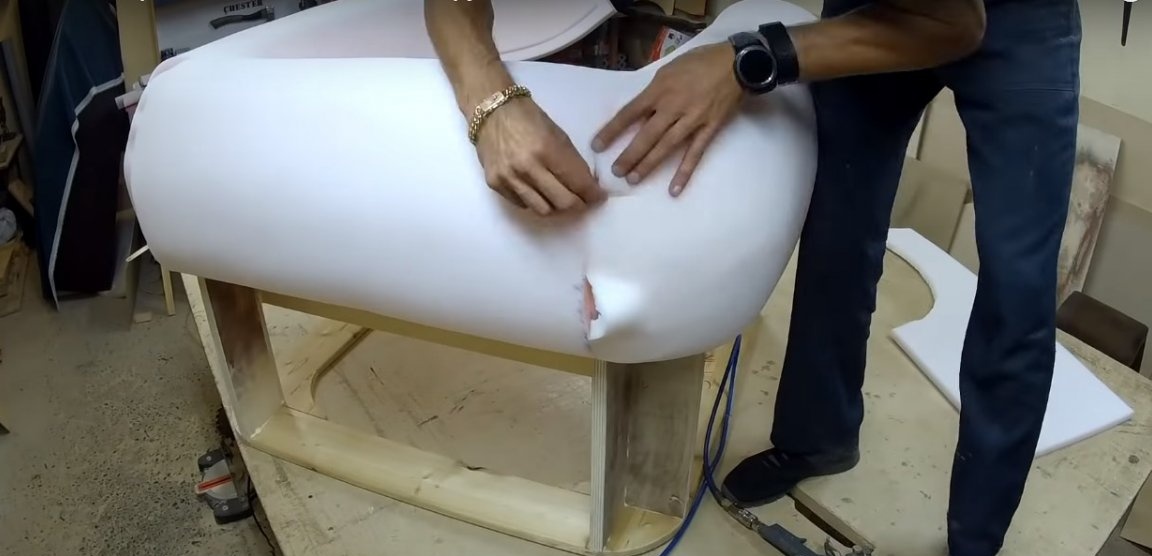
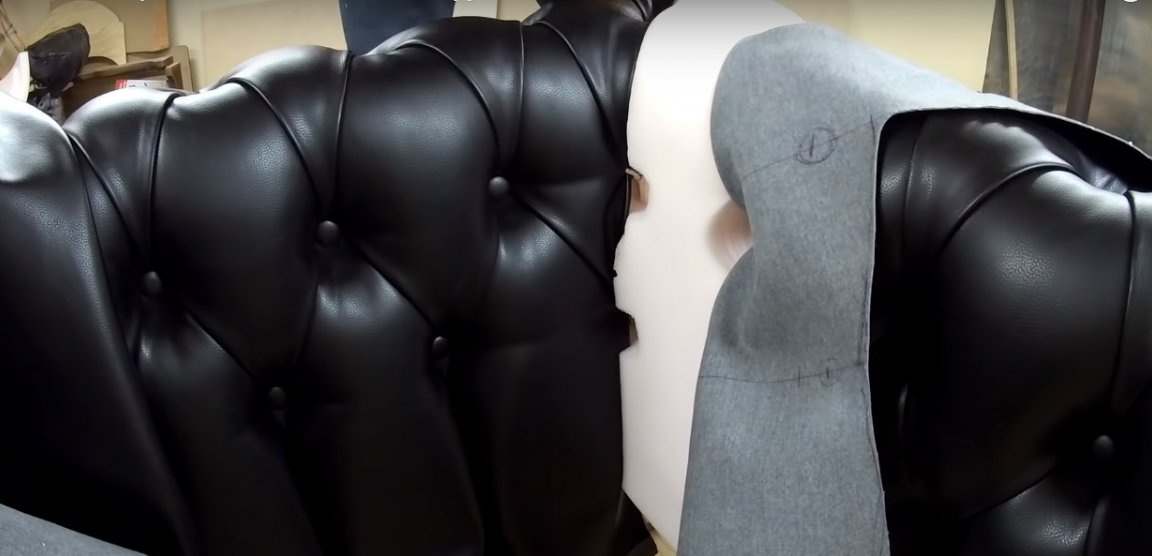
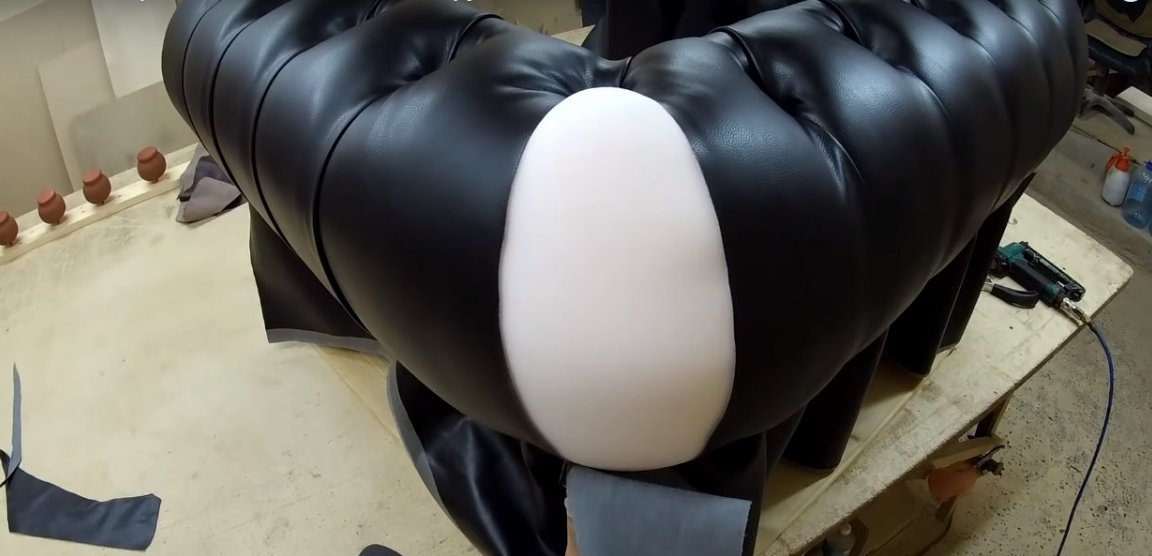
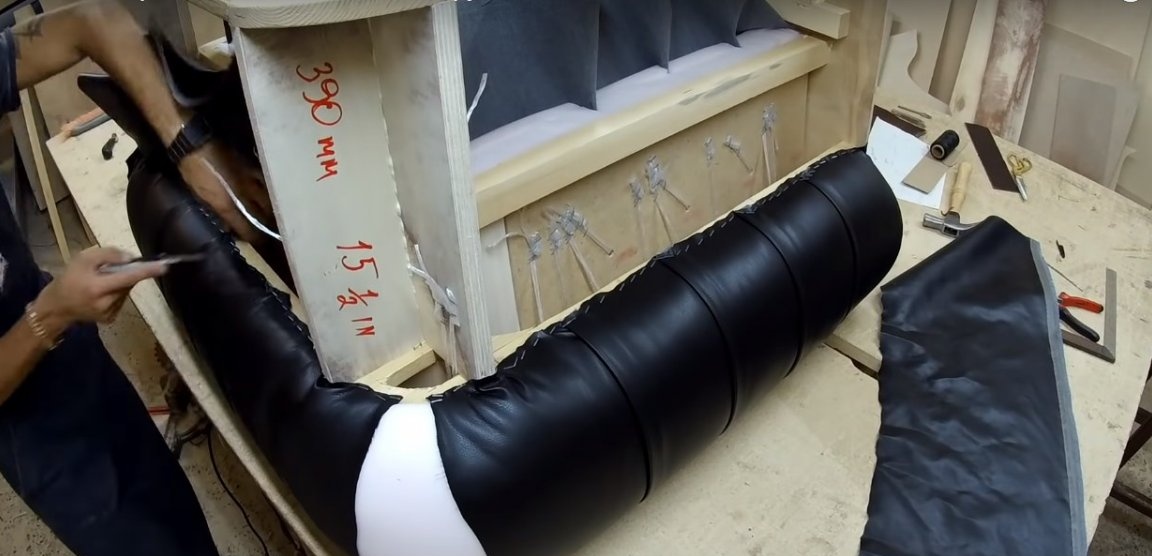
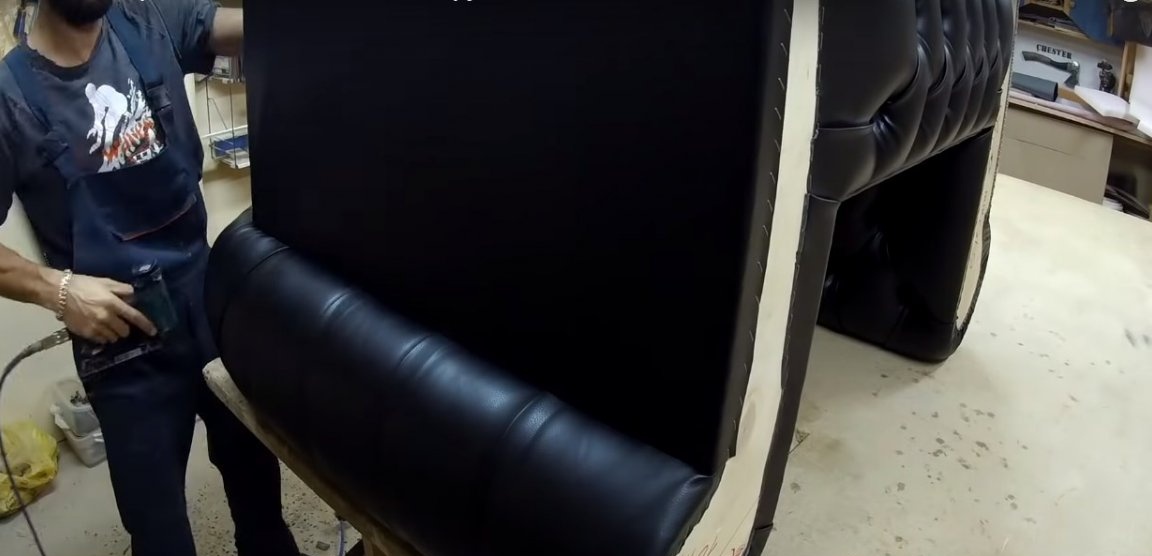
To give volume, the author pasted a strip of foam rubber on the outside of the back and on its top. Glue the upper tier of bylts and backs with whole sections of foam rubber, bending them inwards.


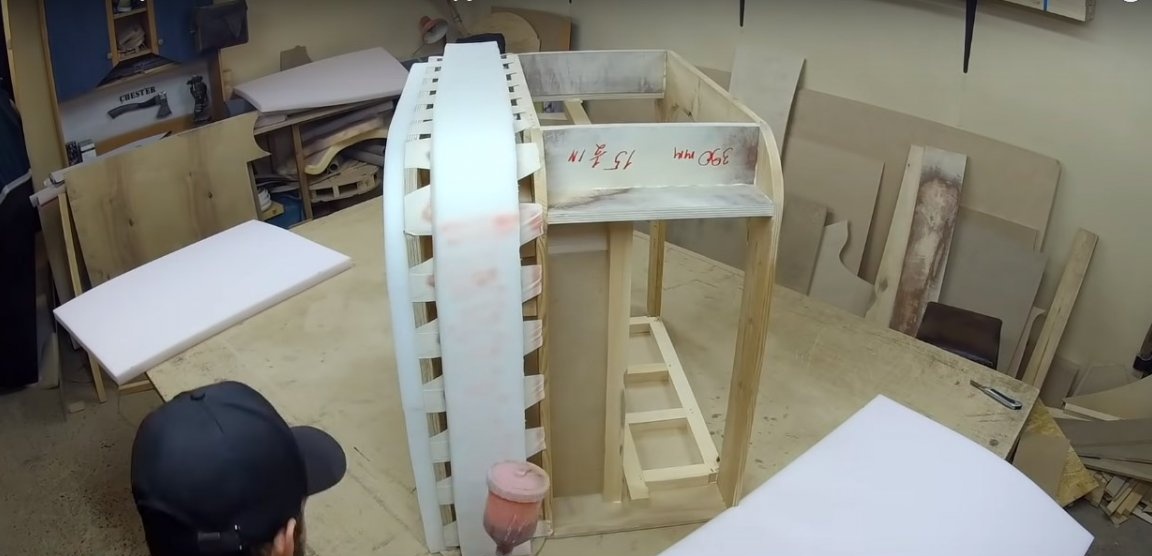
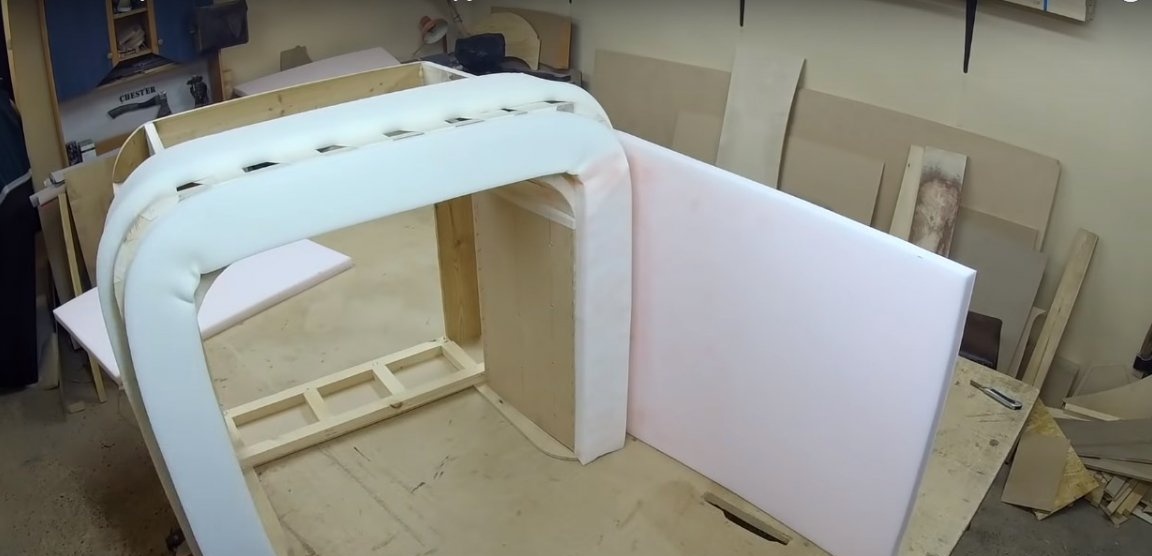
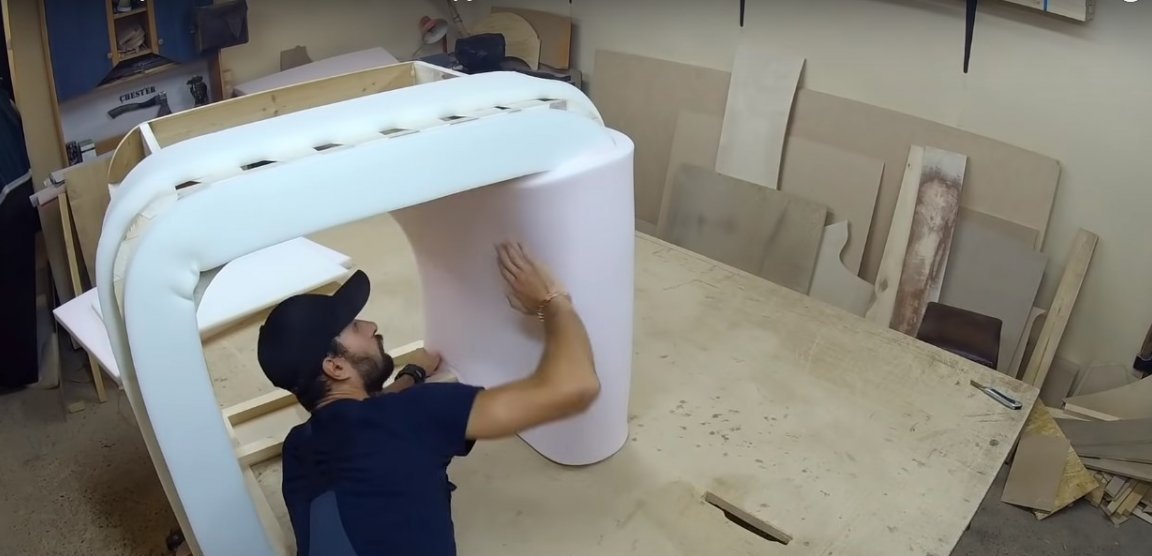

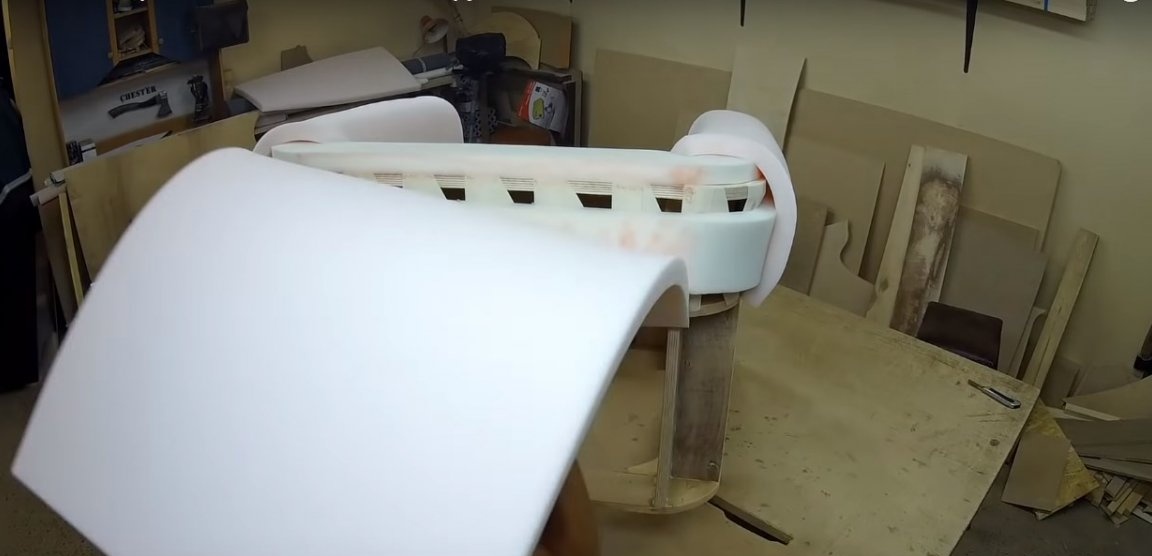
Paste foam on the outer corners of the back. You can cut out the details of the desired shape right on the spot from a single piece of foam.
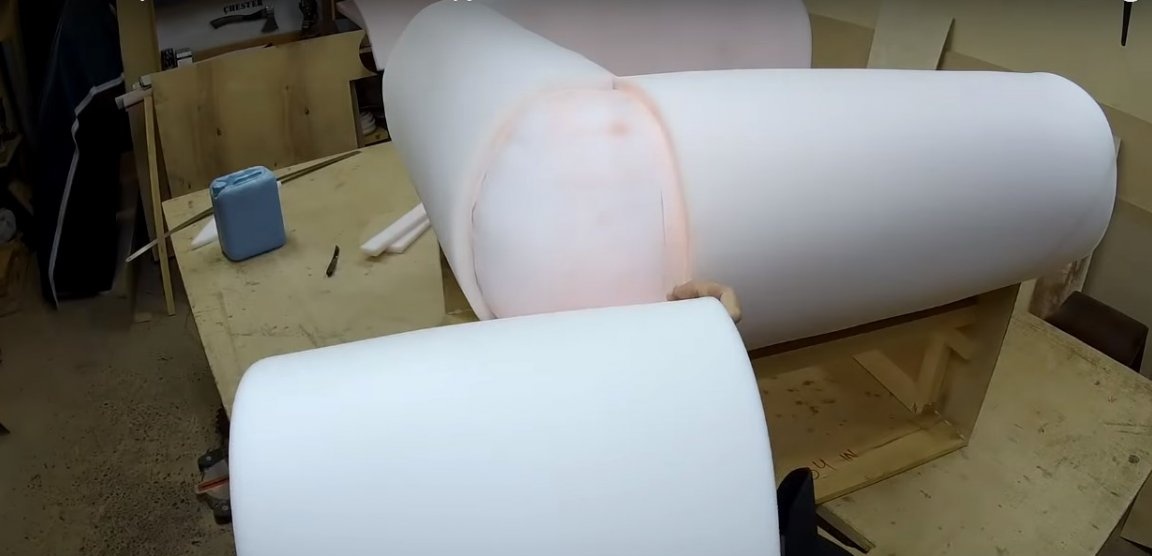
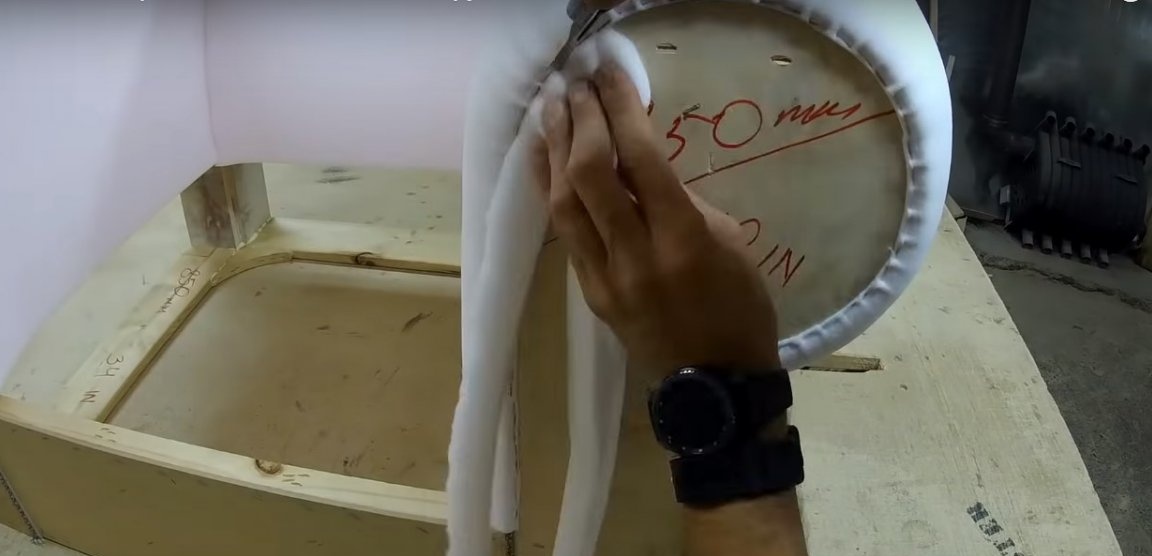
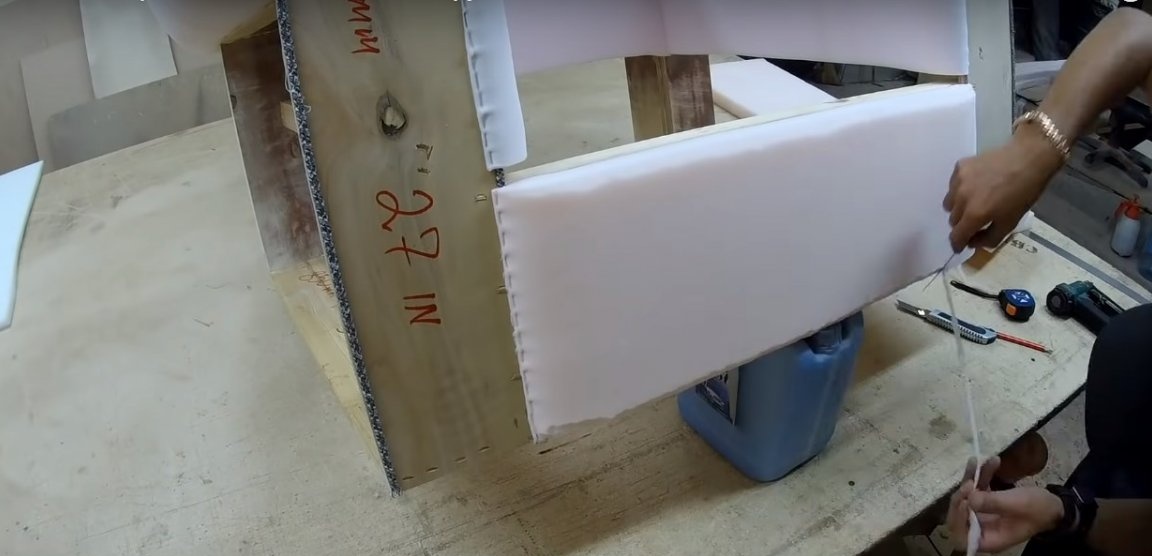
On the facade of the former with the help of metal brackets, fix a thick synthetic cord.
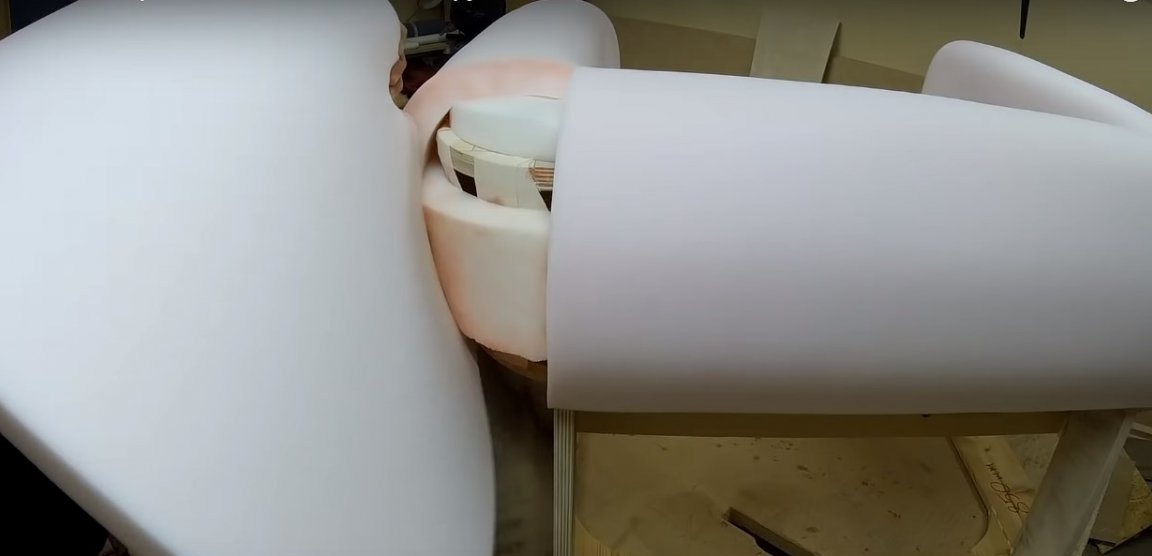
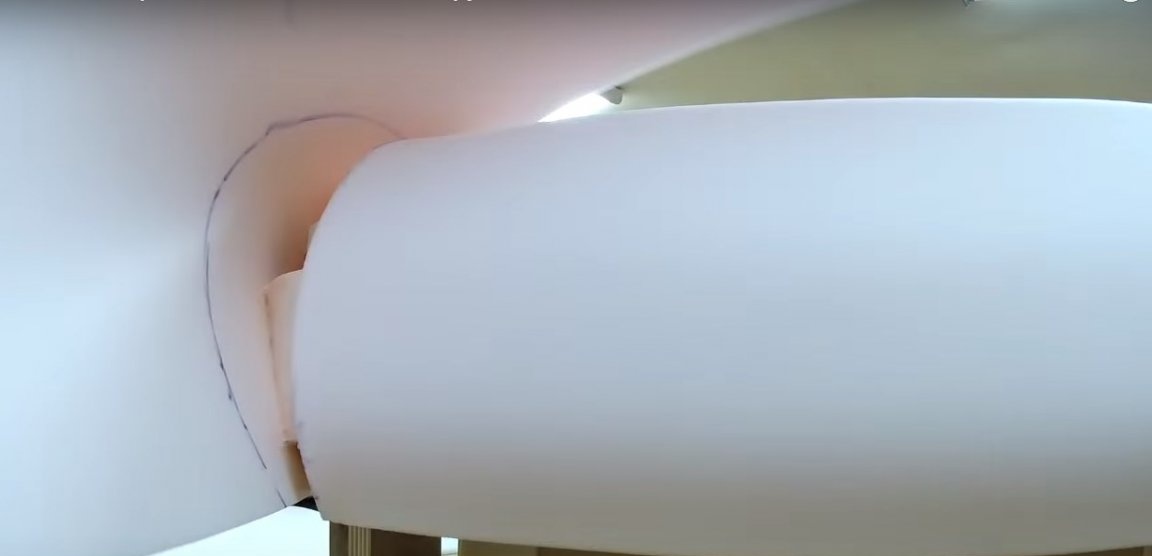

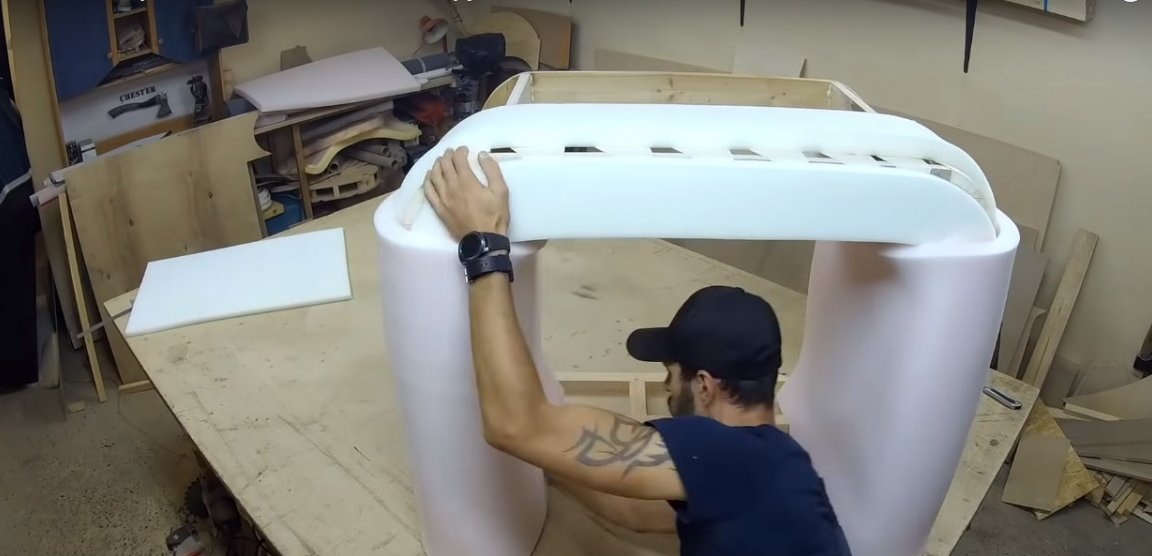
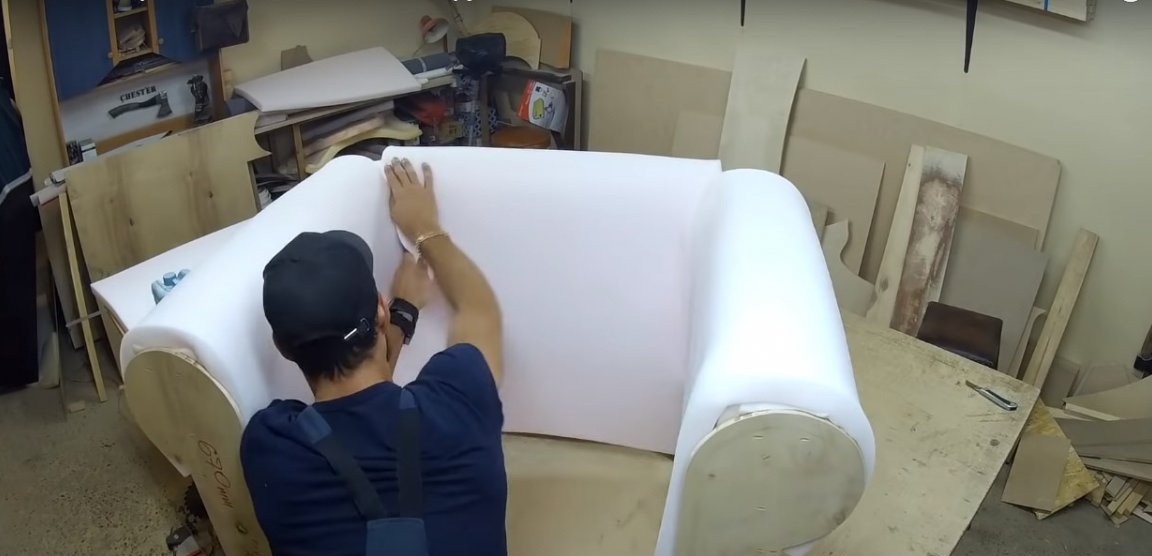
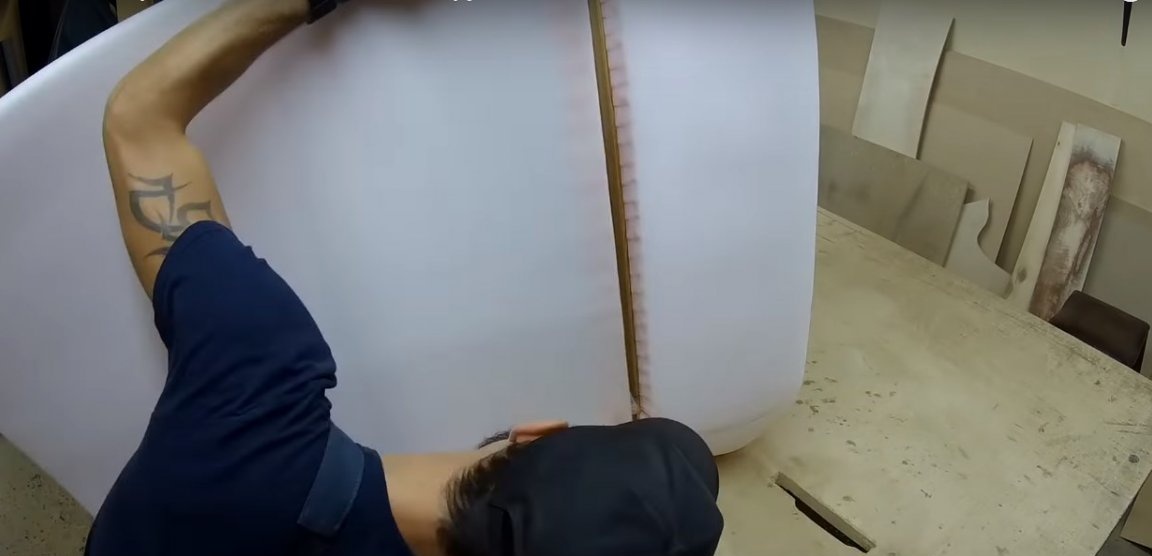
Cover the upper tier with a new layer of foam rubber as follows. as shown in the photo, and close the outer corners of the back in the same way as for the first time.
Fix the foam lining with brackets, cut off the excess.

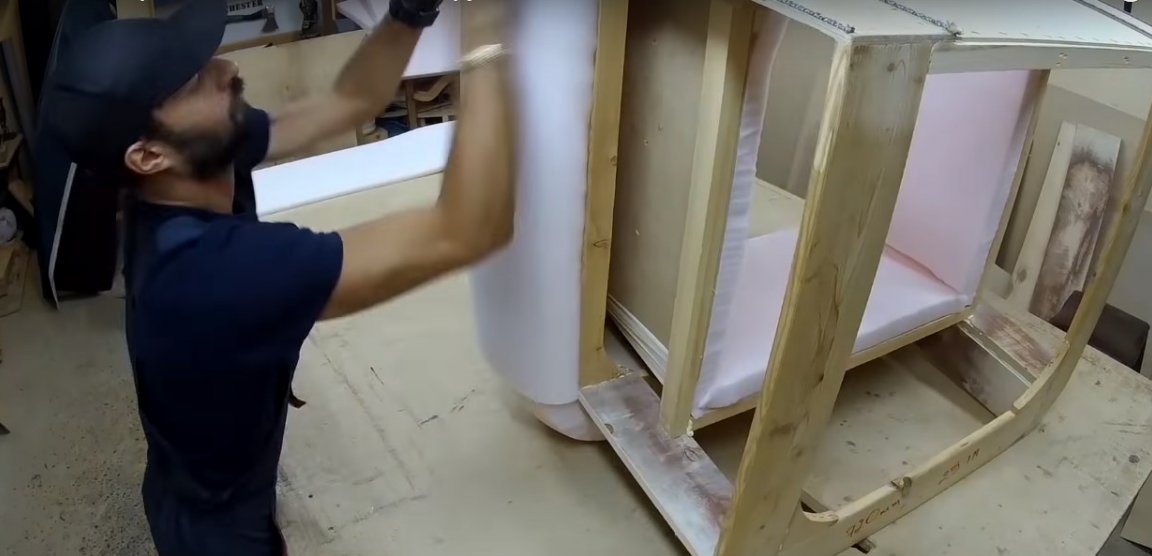
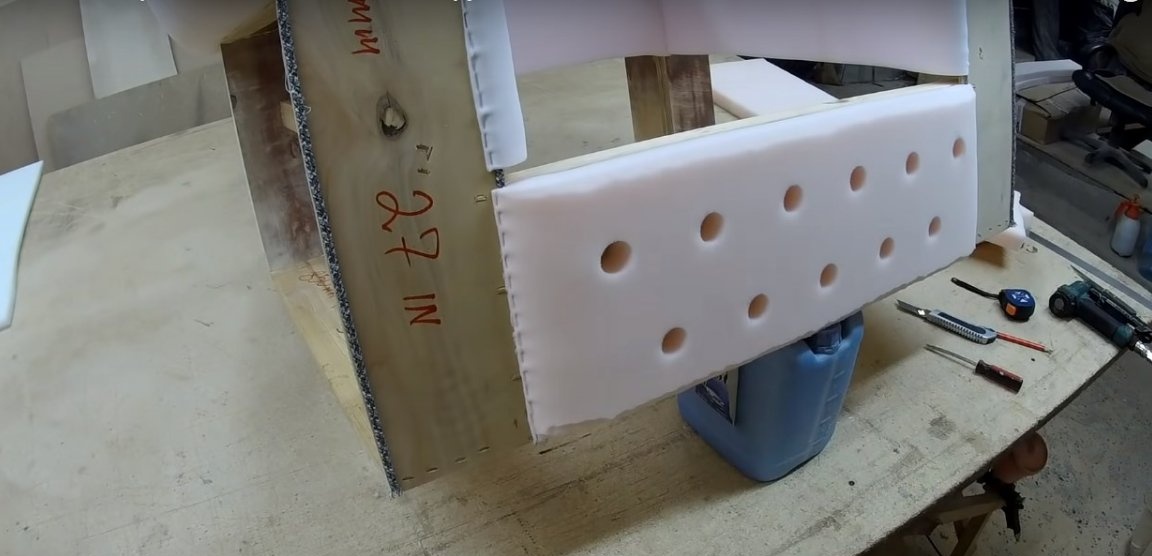
Paste foam on the bottom of the chair in front.
Mark the holes for the carriage coupler and drill them with a drill and a drill bit.
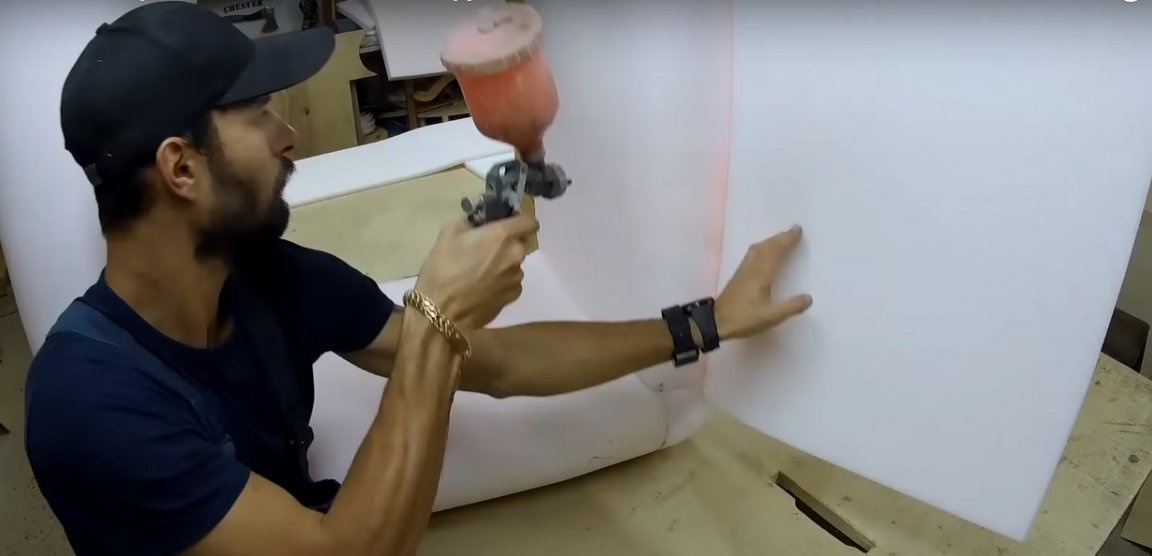
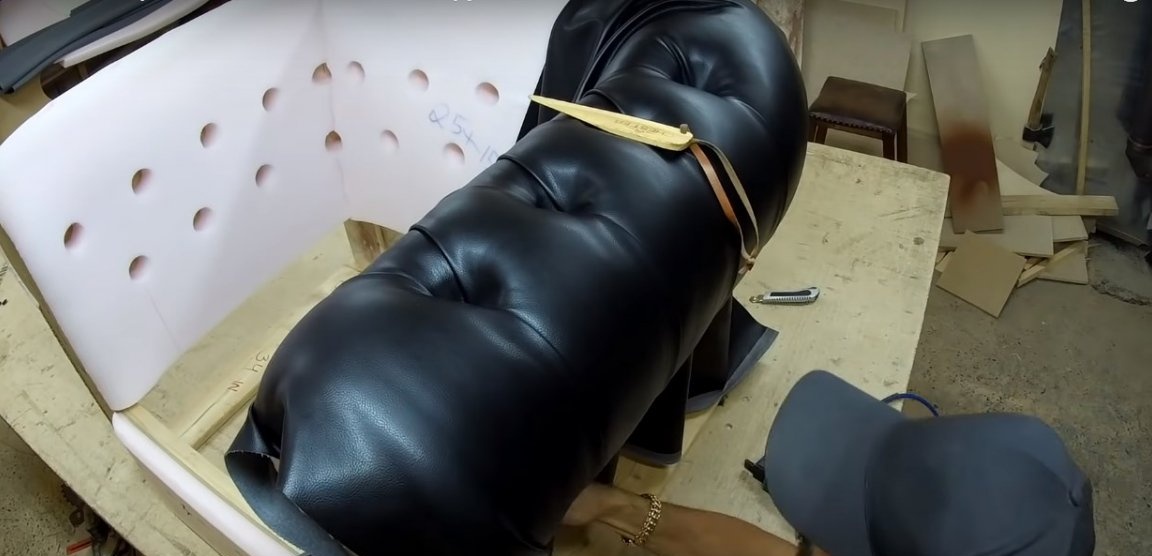
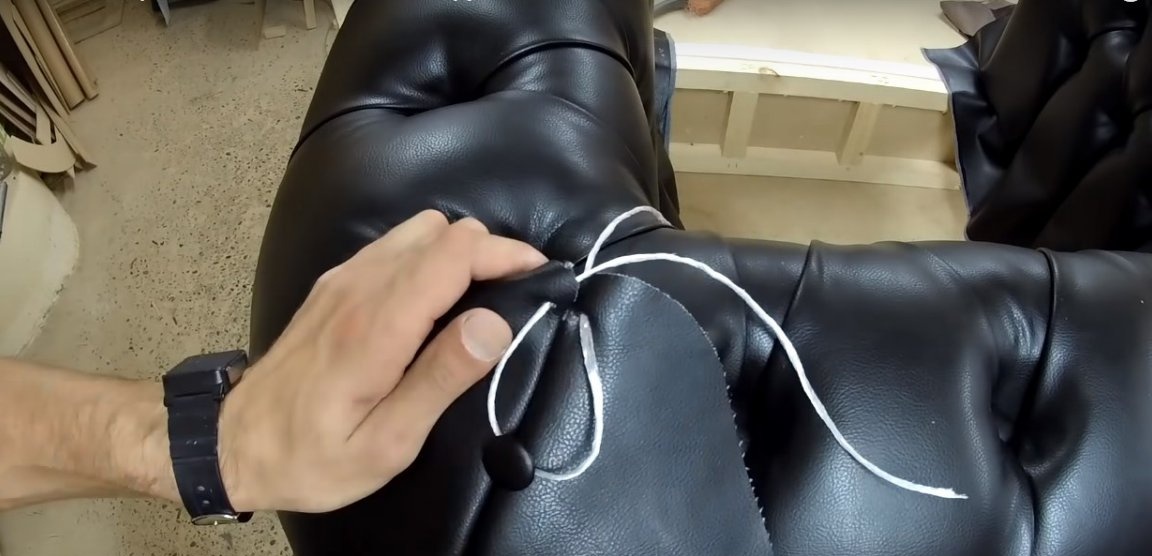
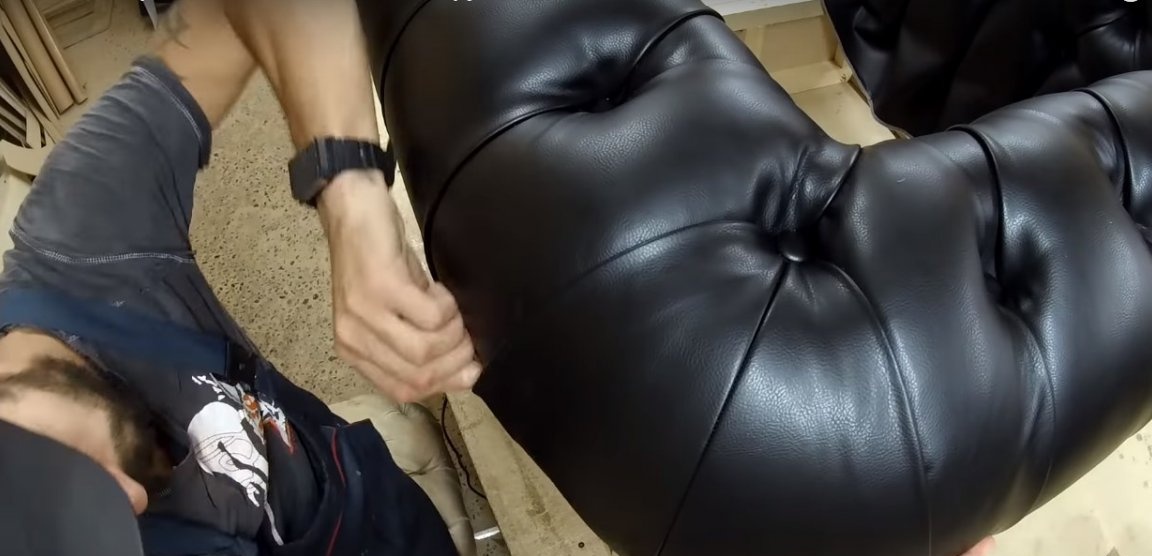
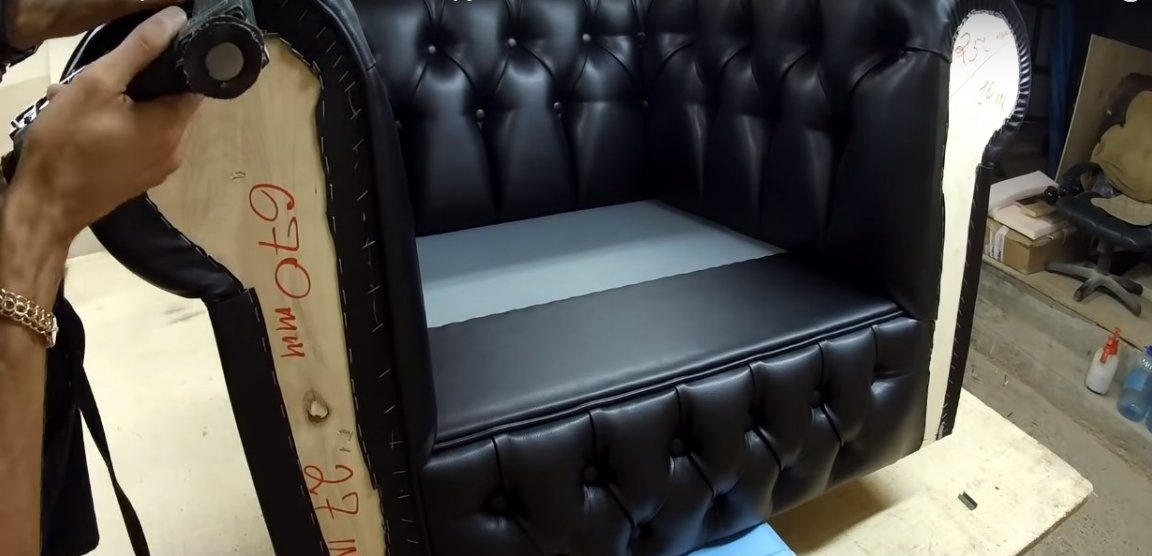
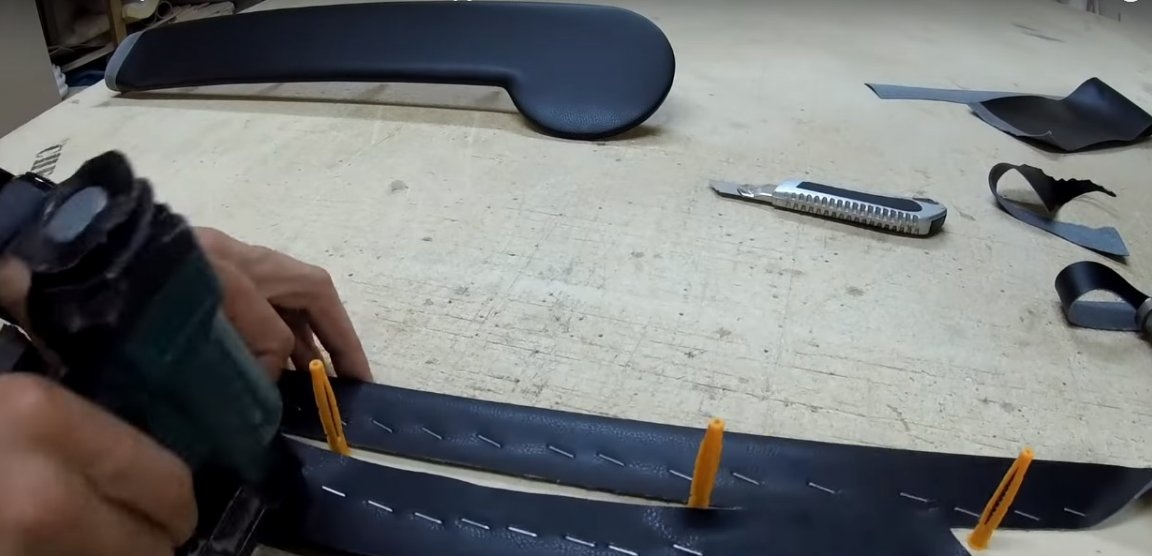
Step Five: Carriage Tie
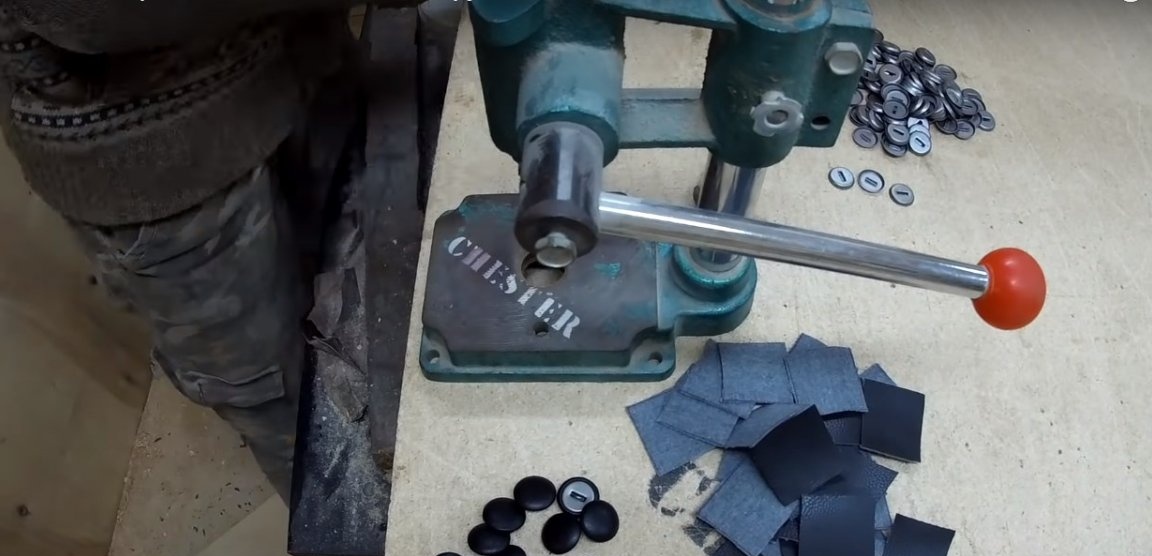
Prepare the buttons for the carriage tie. The author uses buttons on the leg of his own production, which he made using a special mechanical device.
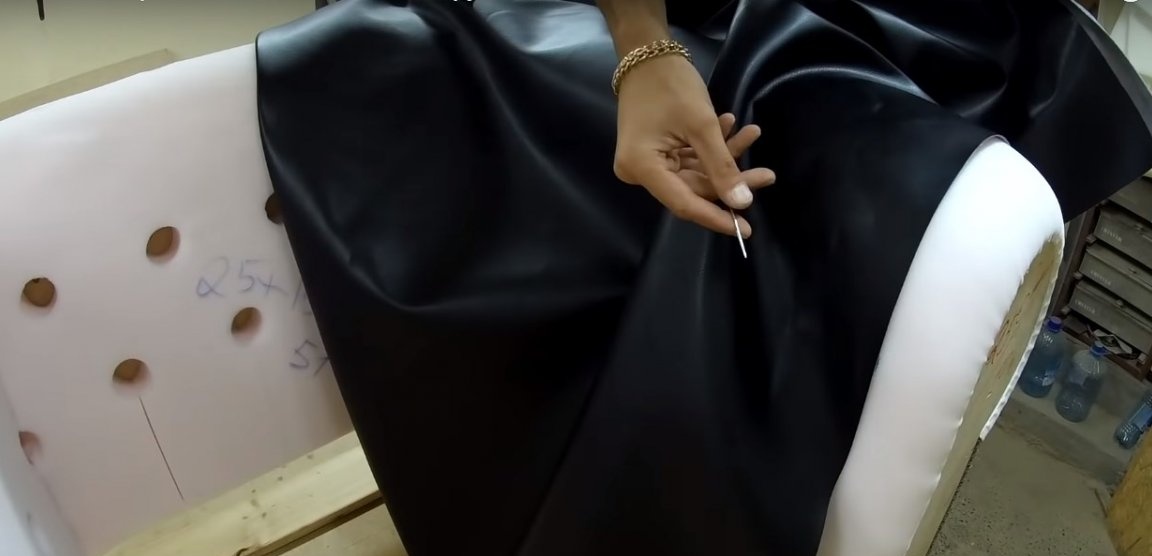
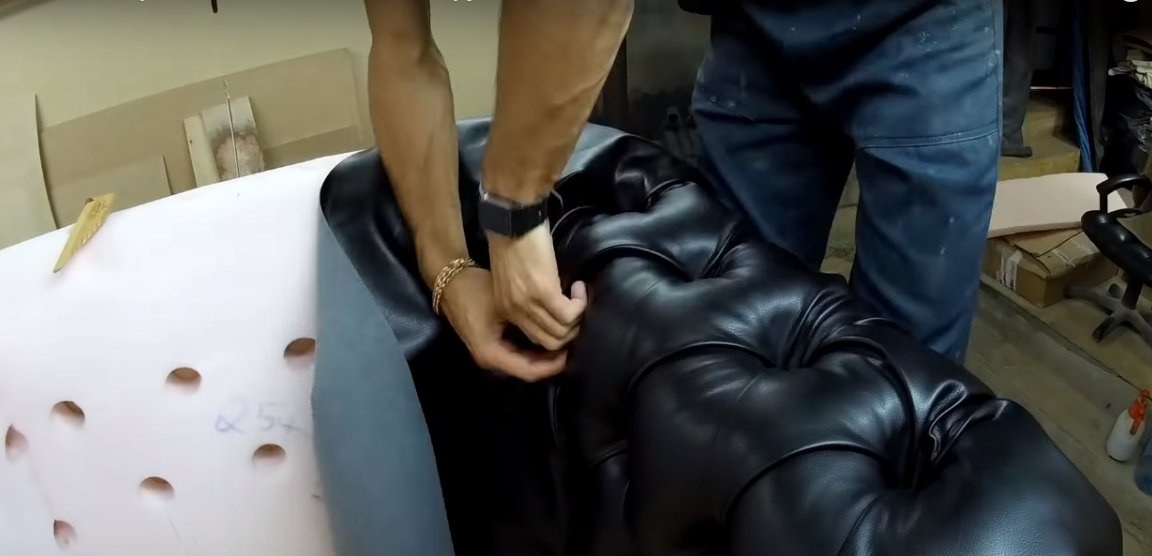
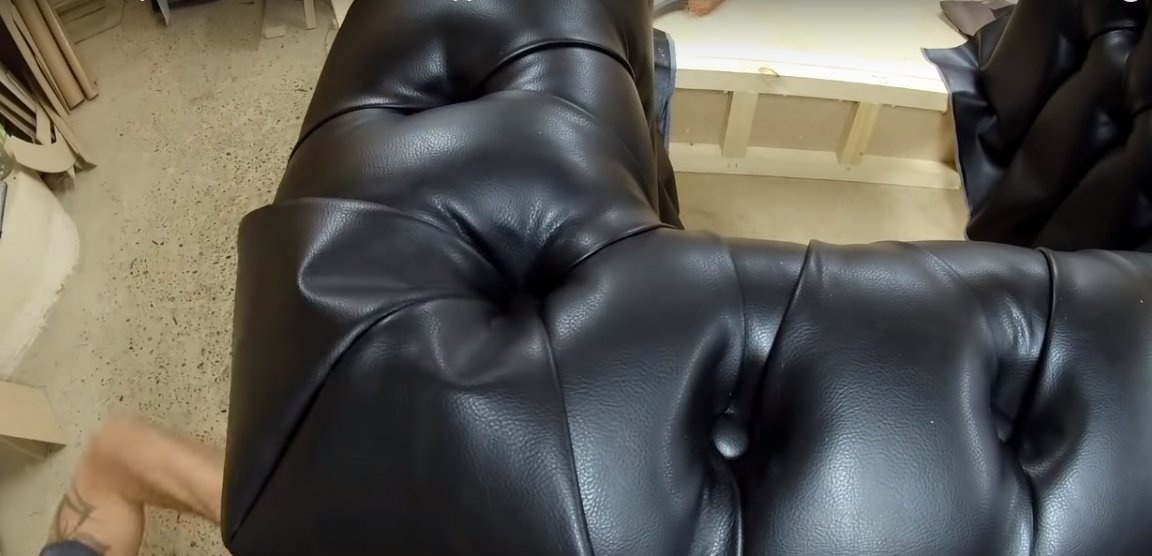
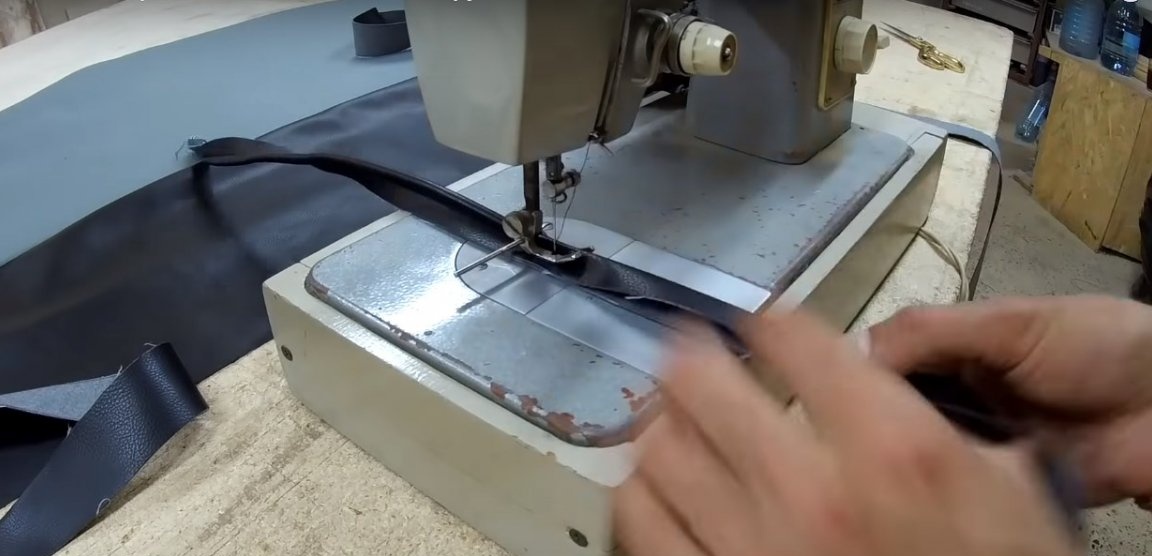
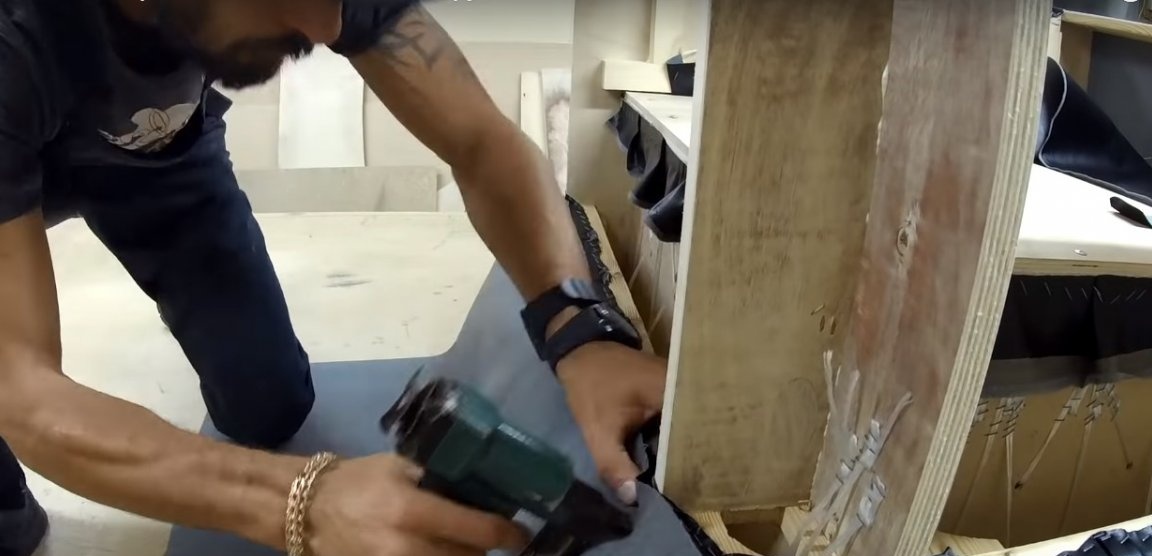
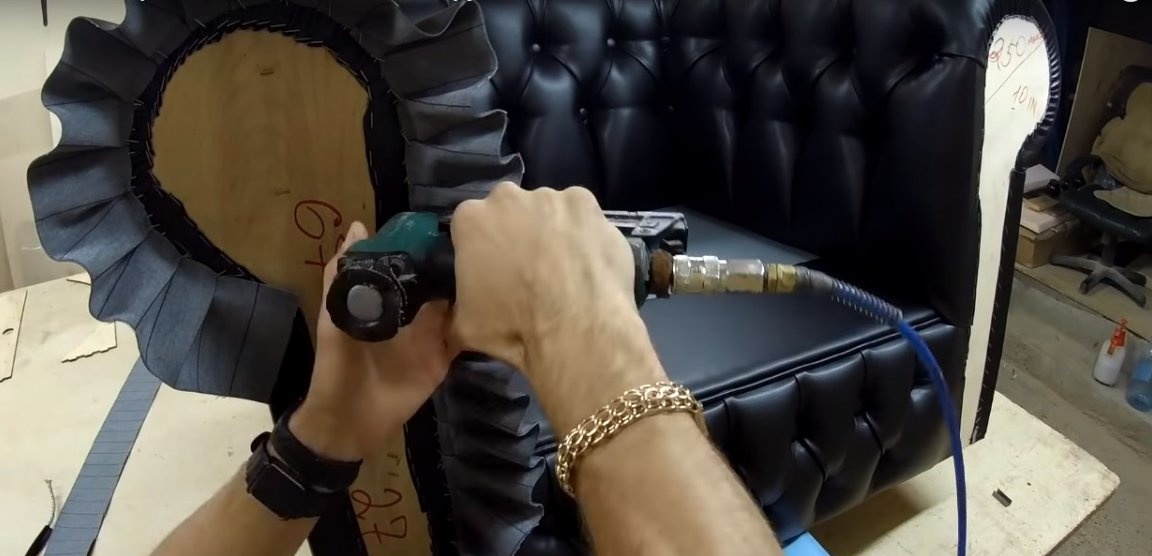
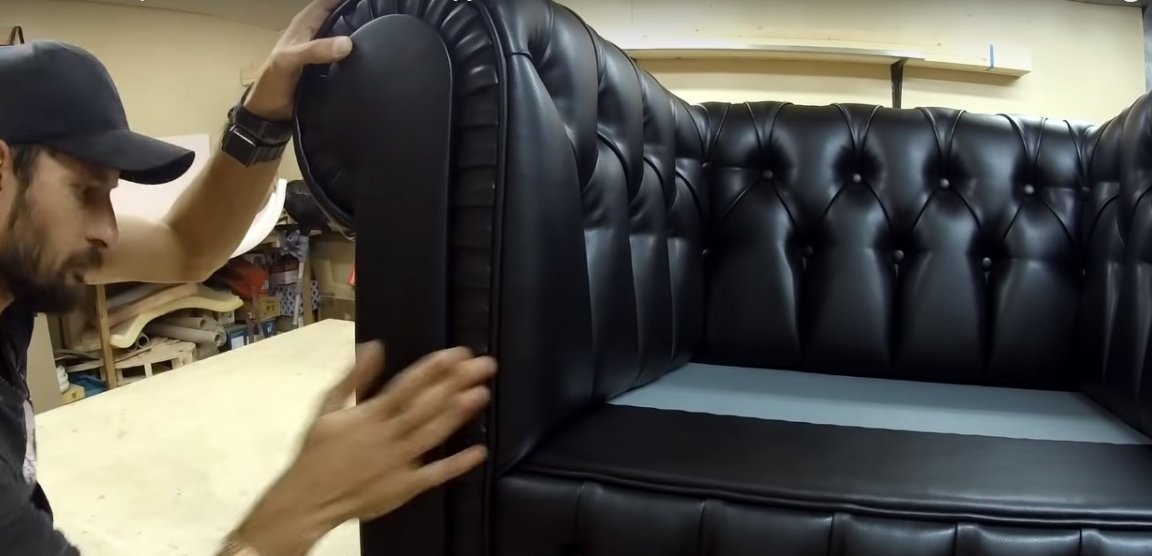
Carry out a carriage tie on the side of the back and only then tighten the center of the back. Sheathing is carried out from individual leatherette sections without first stitching the parts.
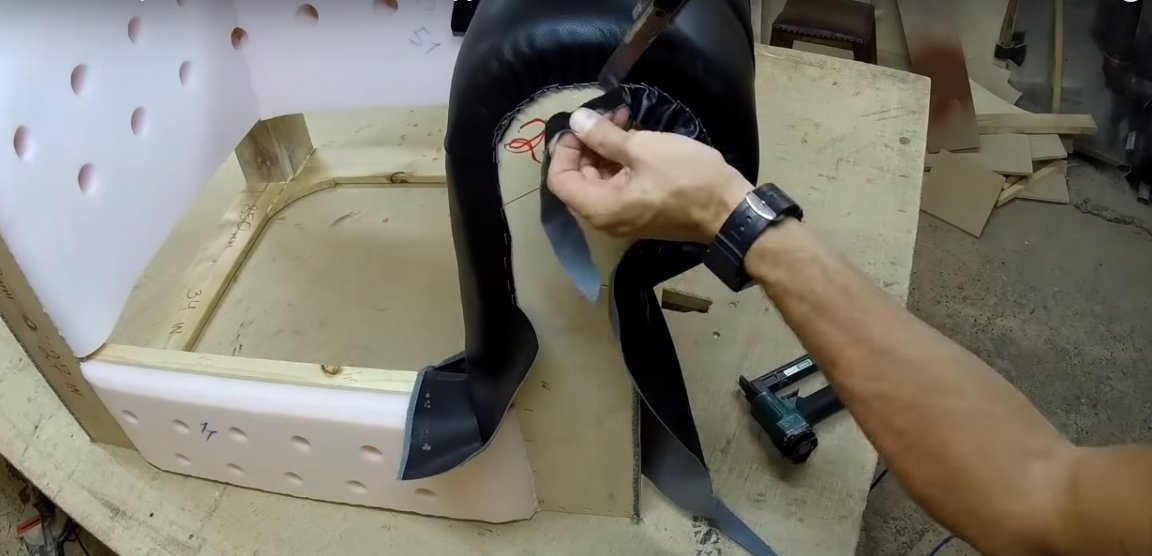
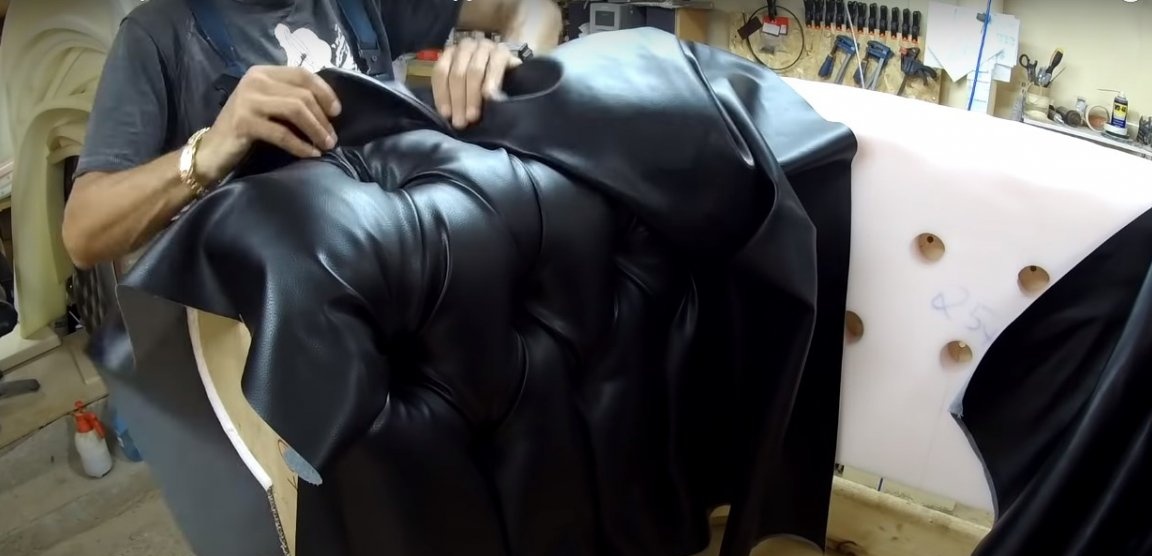
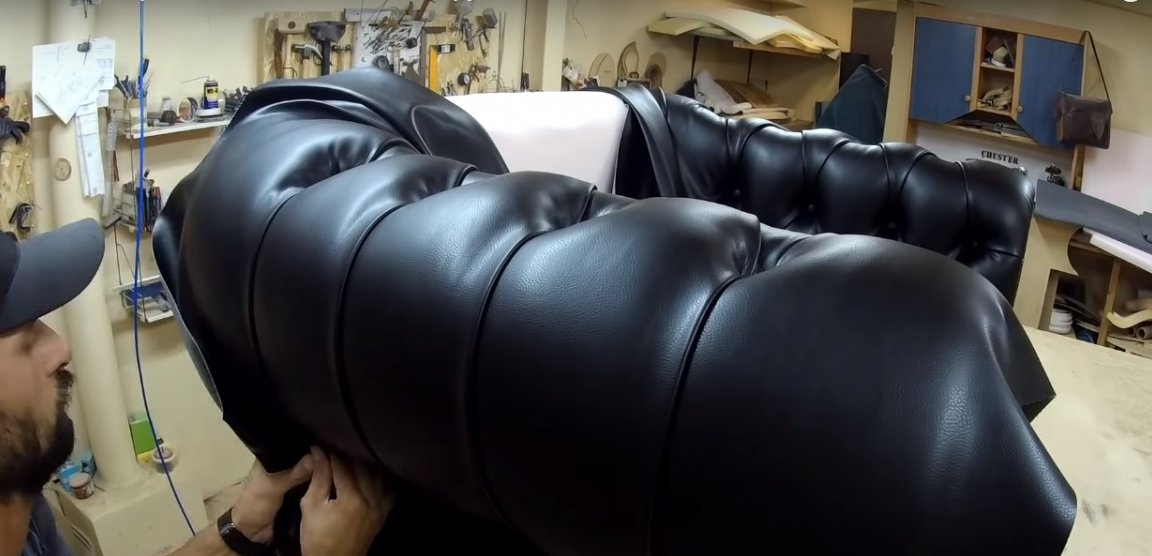
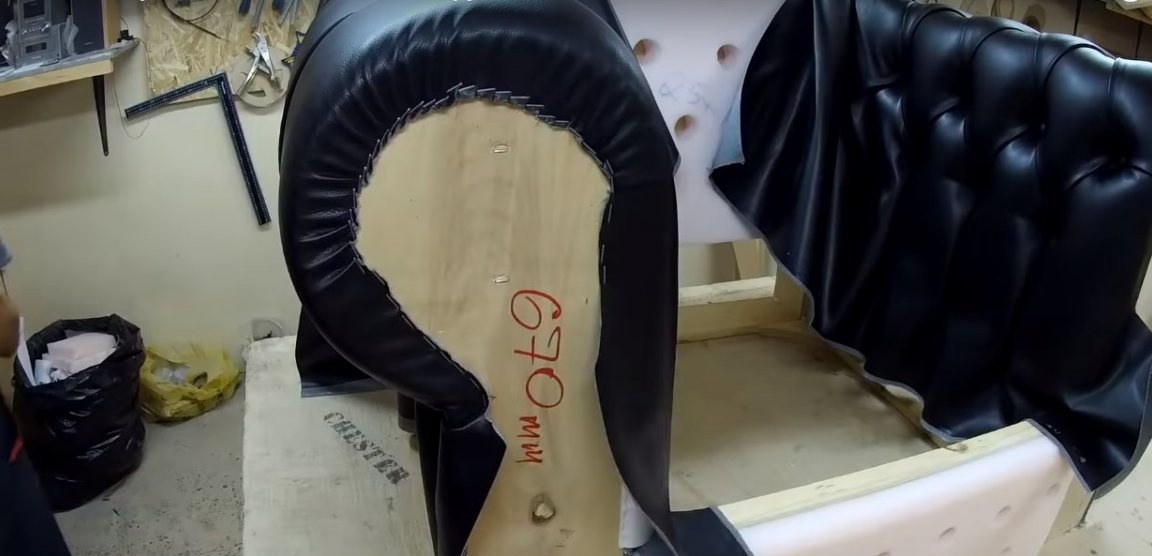
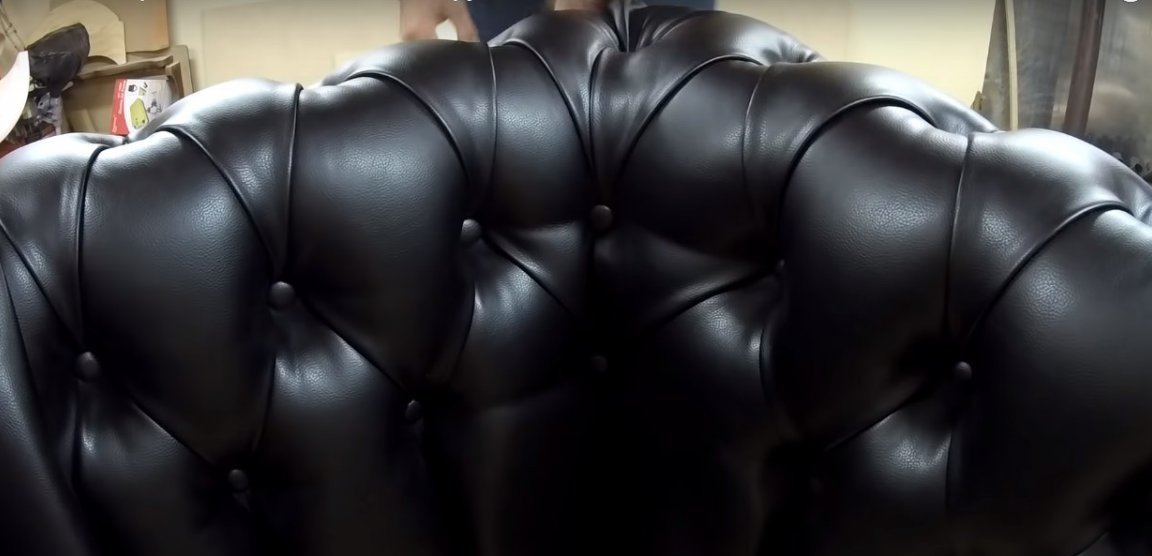
The external corners of the back are sheathed with curly-shaped details sewn from two leatherette elements.
Carry out a carriage coupler in front of the chair. Secure the leatherette with staples, trim the excess. Make also the bottom of the back, pre-laying the folds.
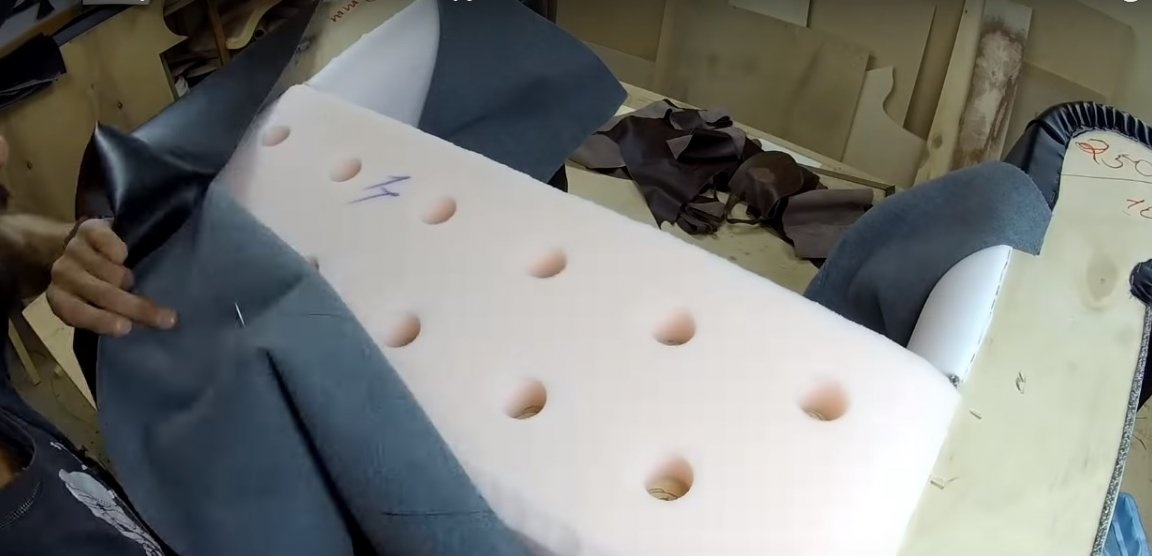
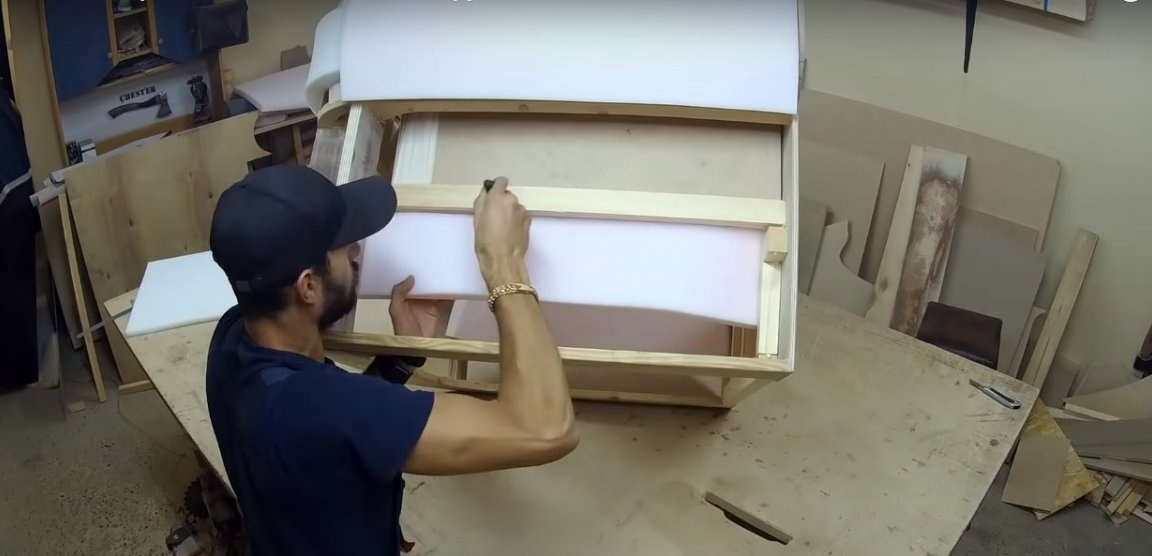
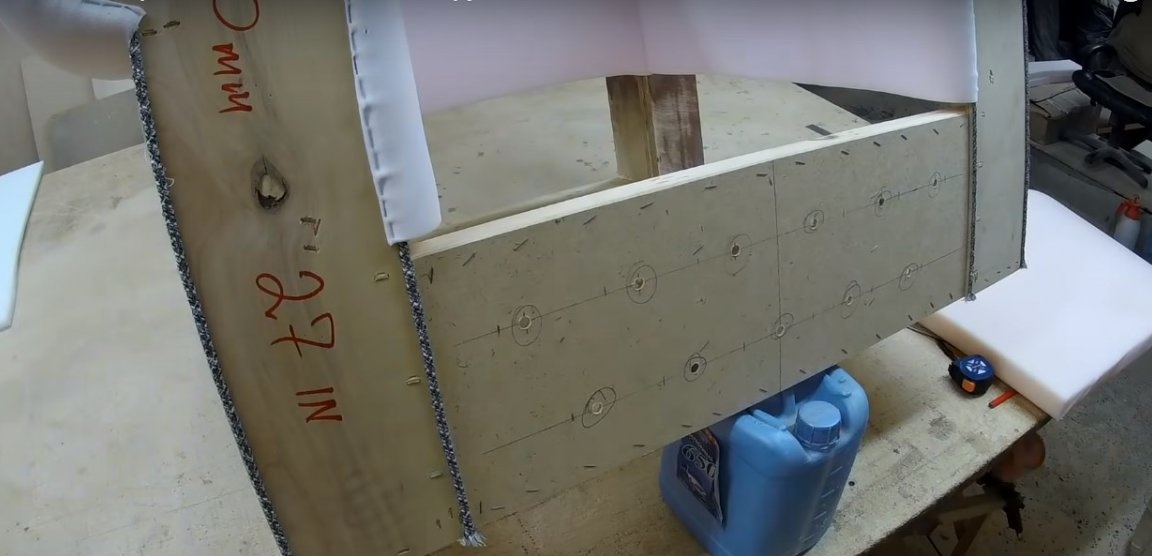
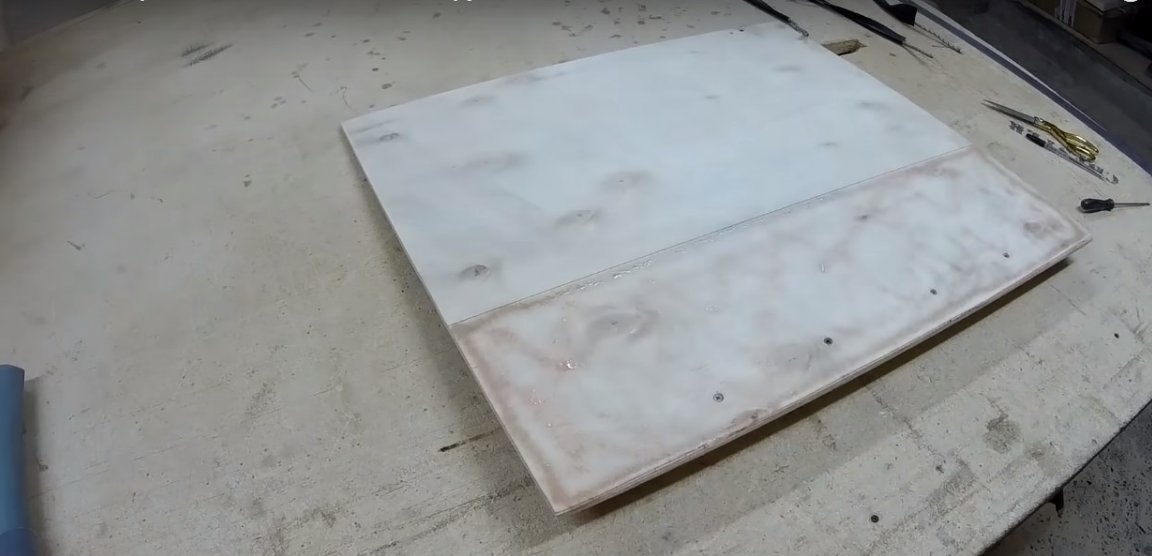
Step six: fabrication and installation of the base of the seat
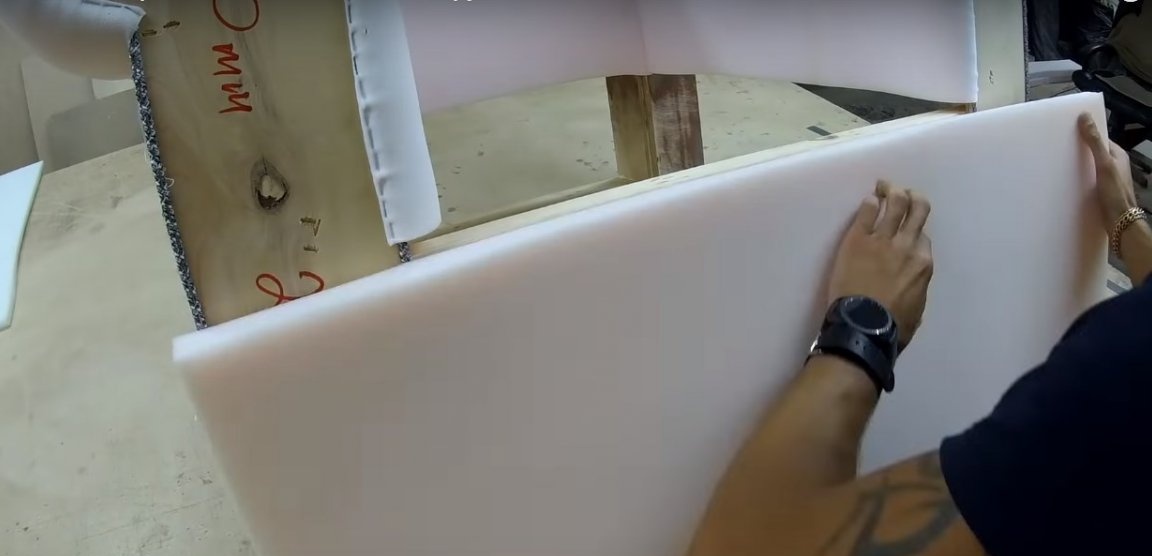
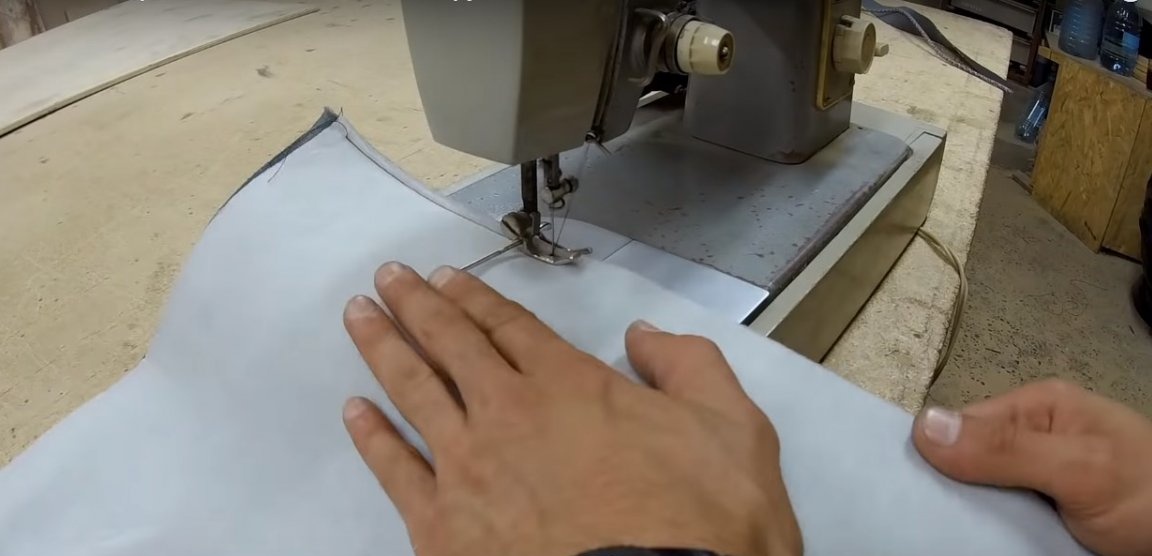
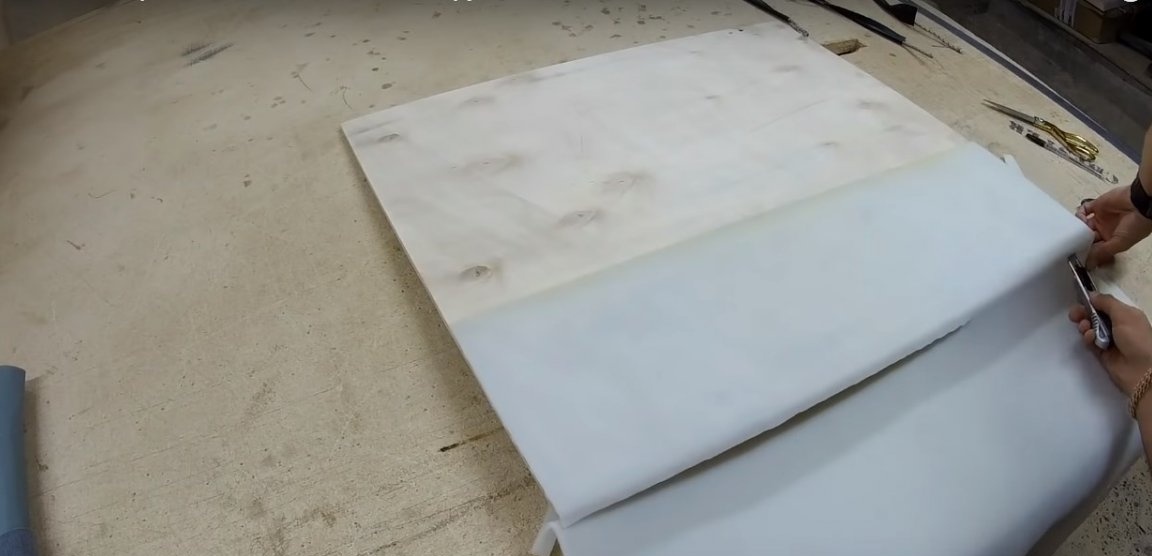
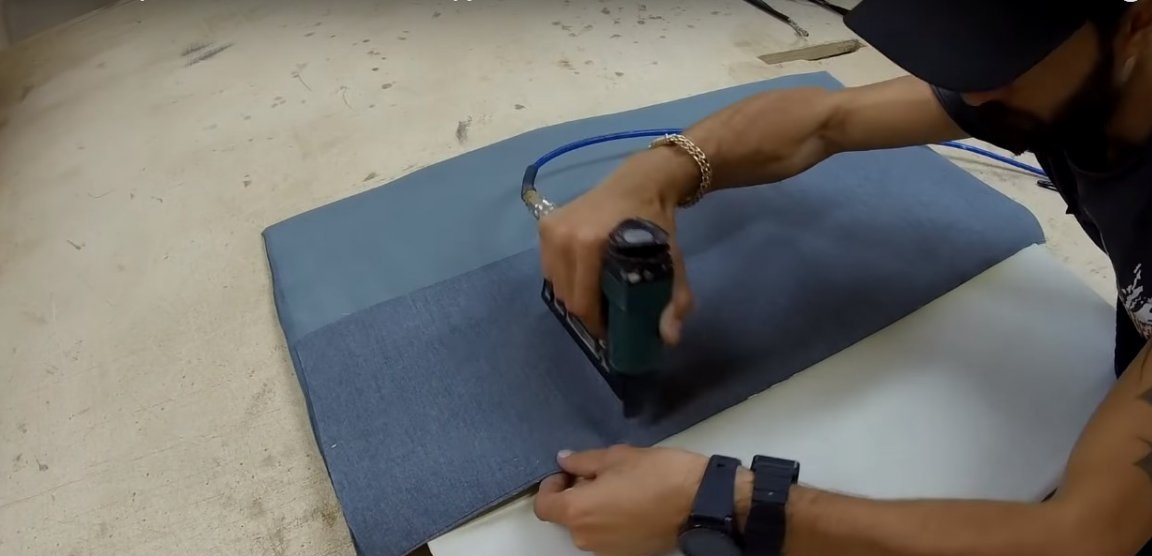
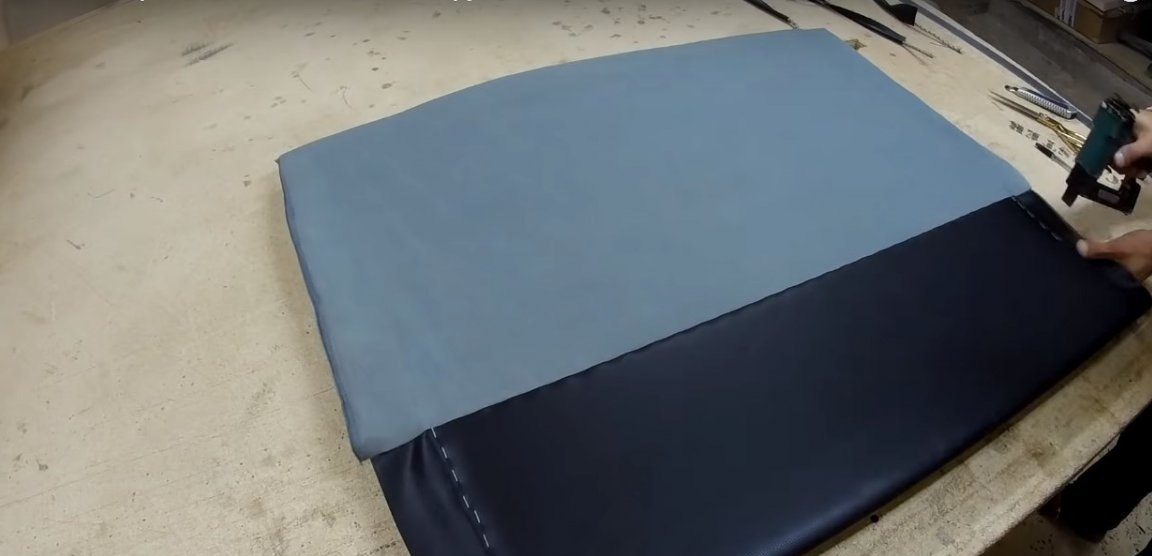
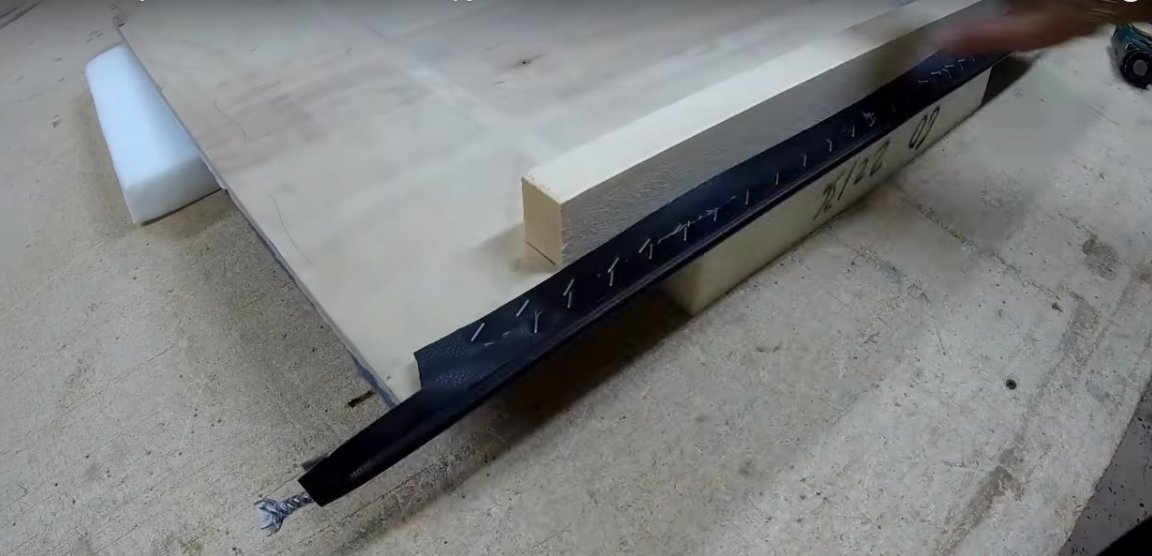
Prepare the furniture edging, as well as the base of the seat, made of plywood shield and bar. Sew a piece of tight raincoat fabric and leatherette to process the base.
Stretch the base of the chair and secure the furniture edging.
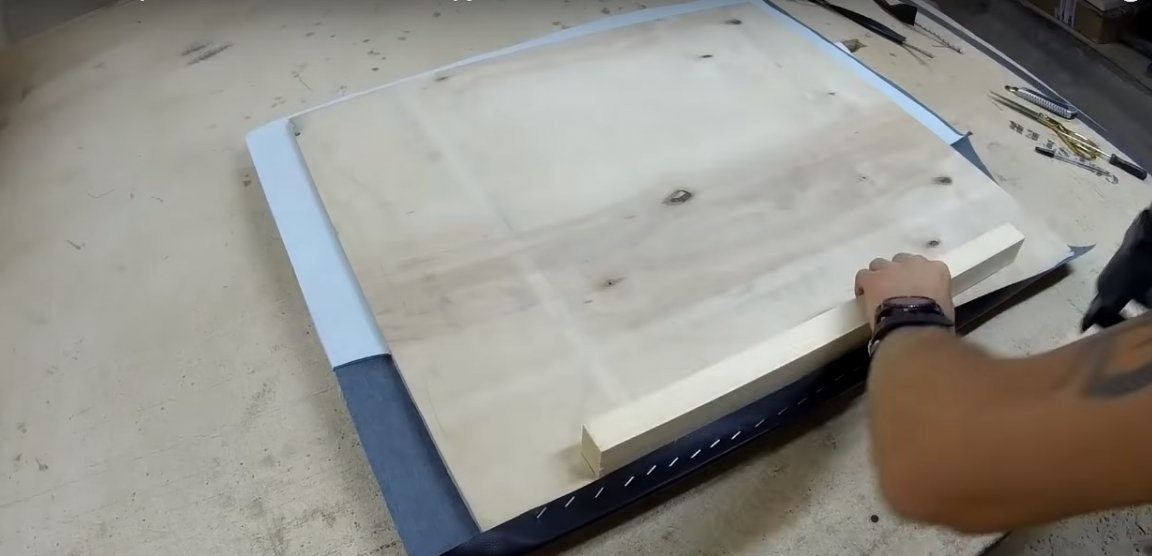
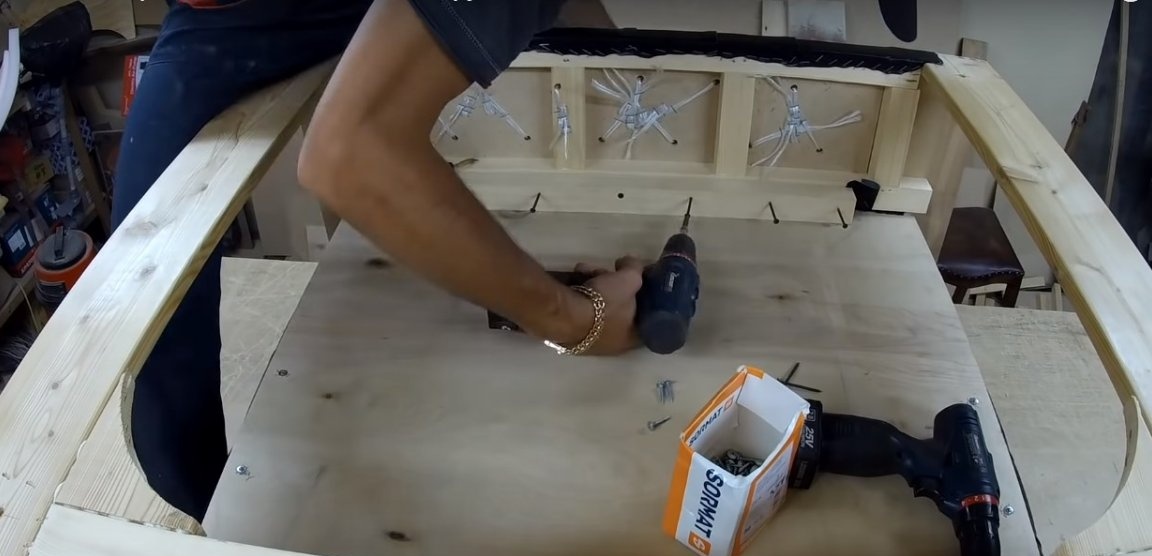
Install the seat base on the frame of the chair, securing it with furniture screws.
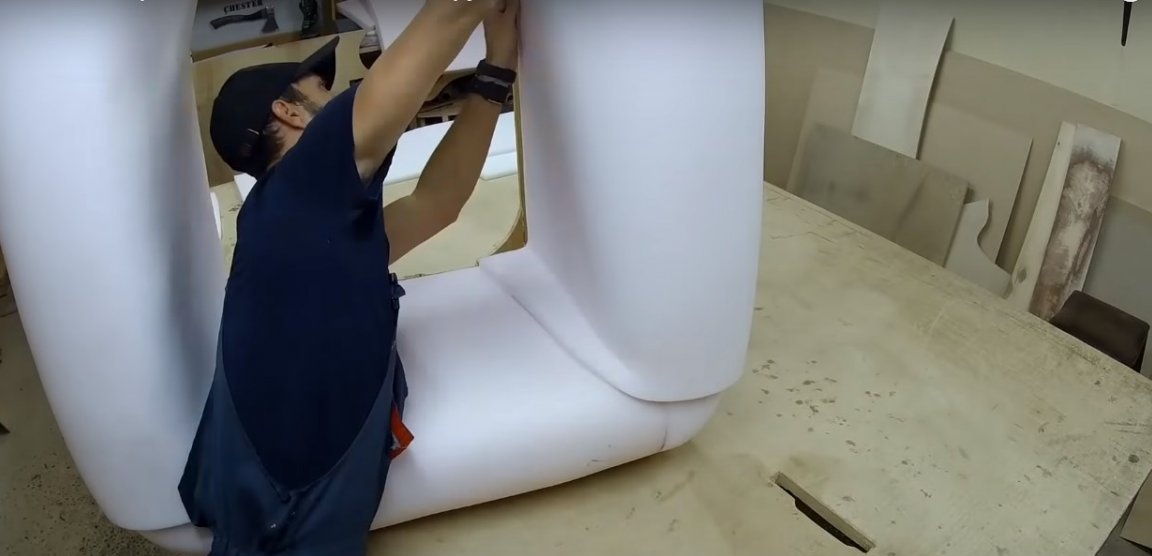
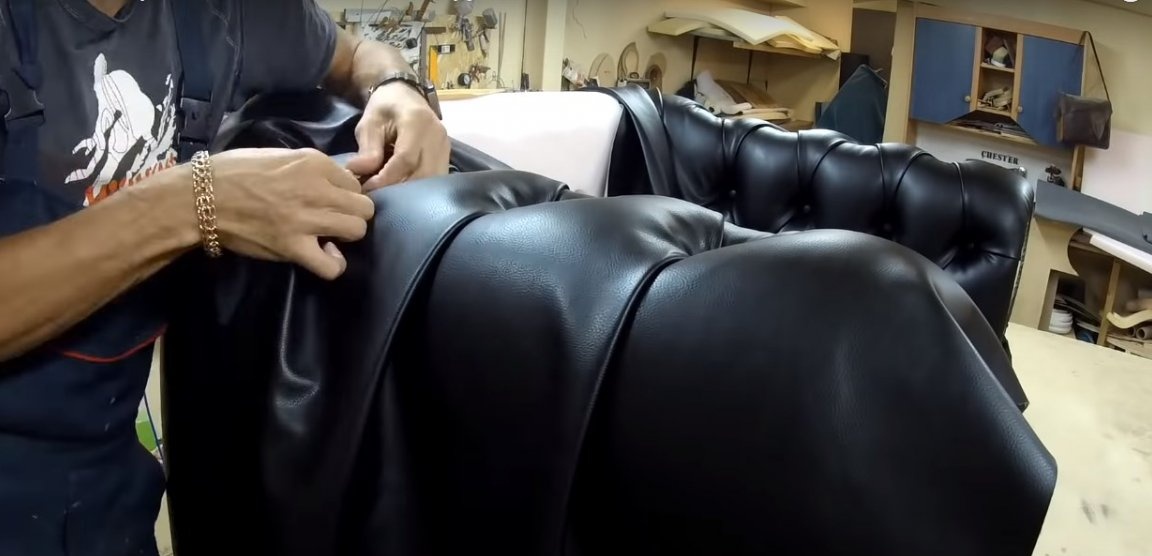
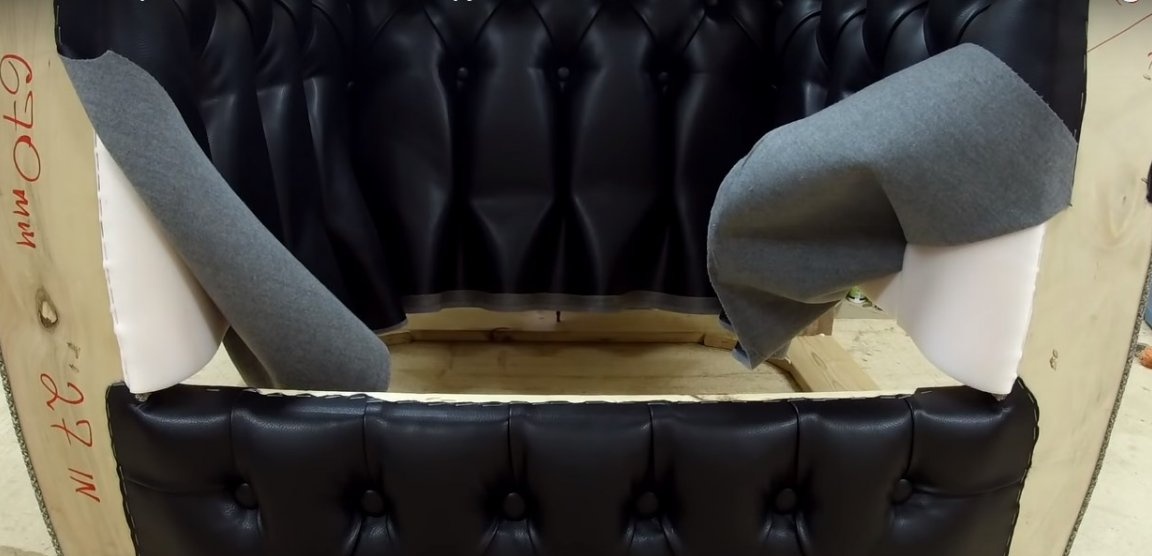
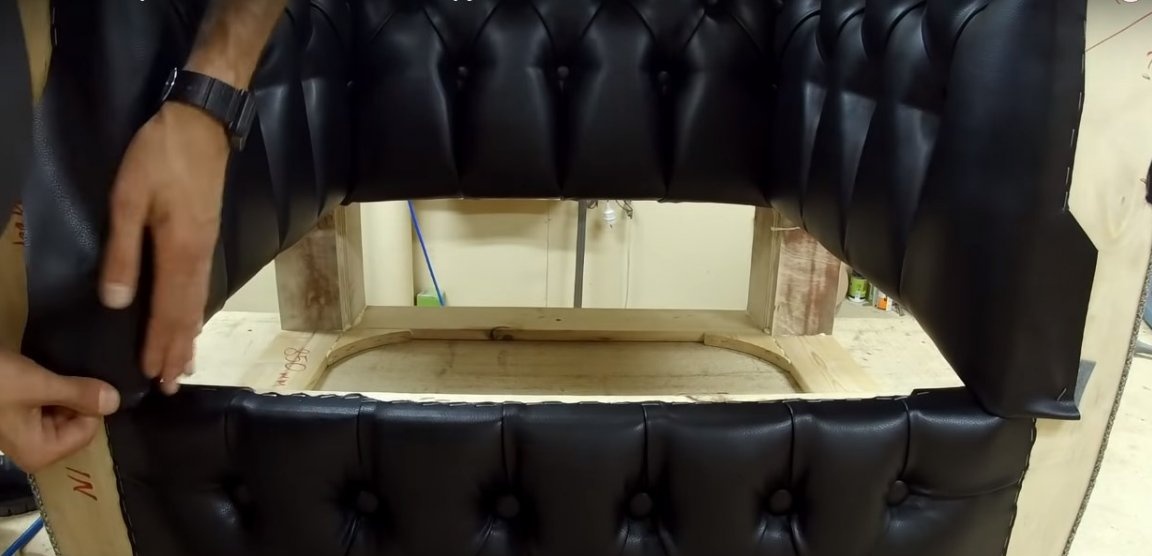
Seventh step: covering the frame with leatherette
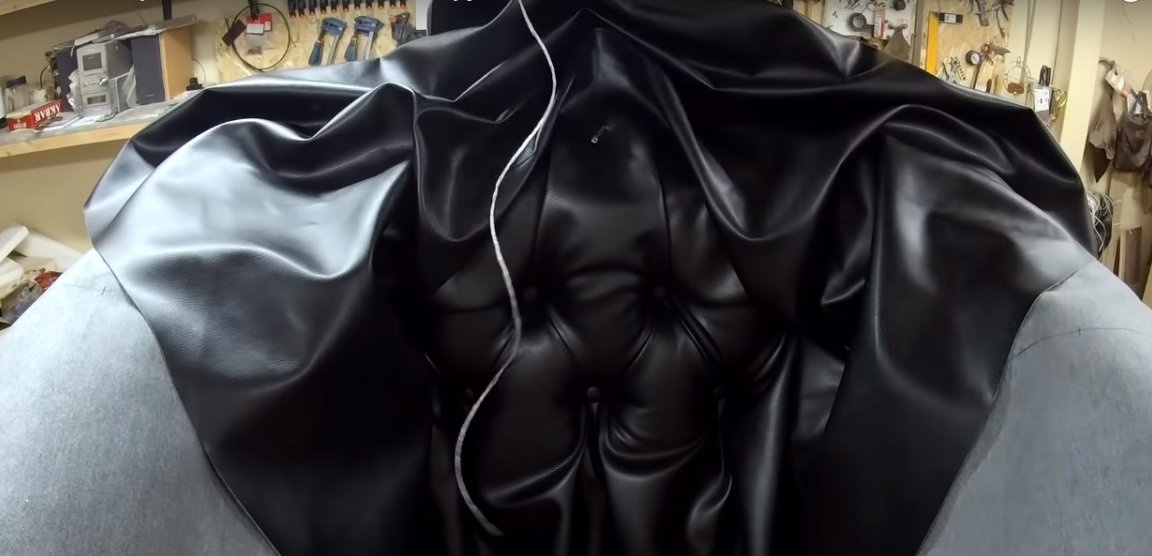
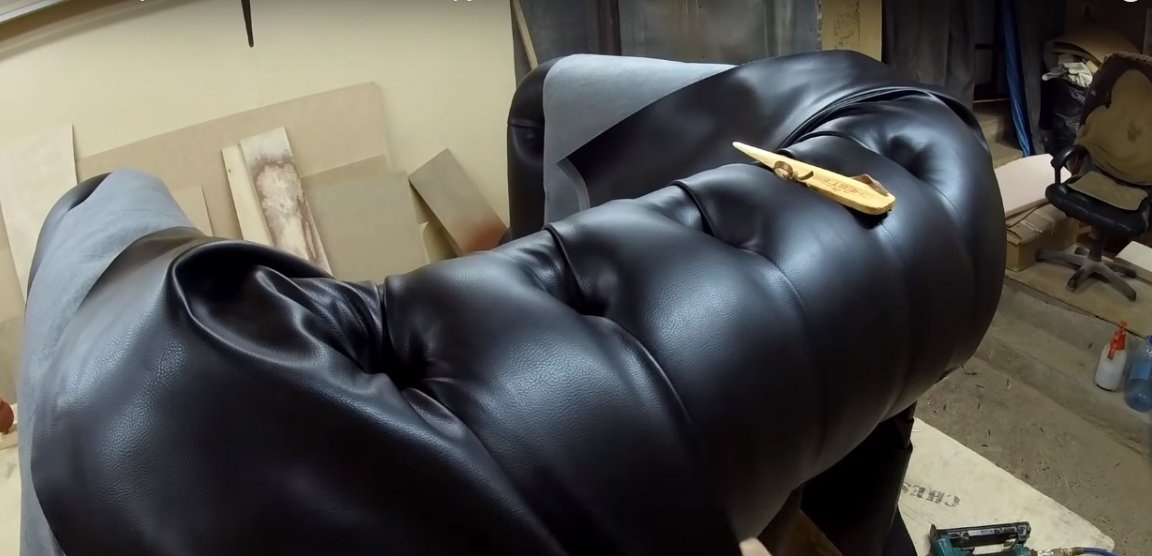
Stretch the outer side of the chair body with a leatherette, securing the material at the base of the bylts face to face. Fix the joints of the cover parts with metal buttons.
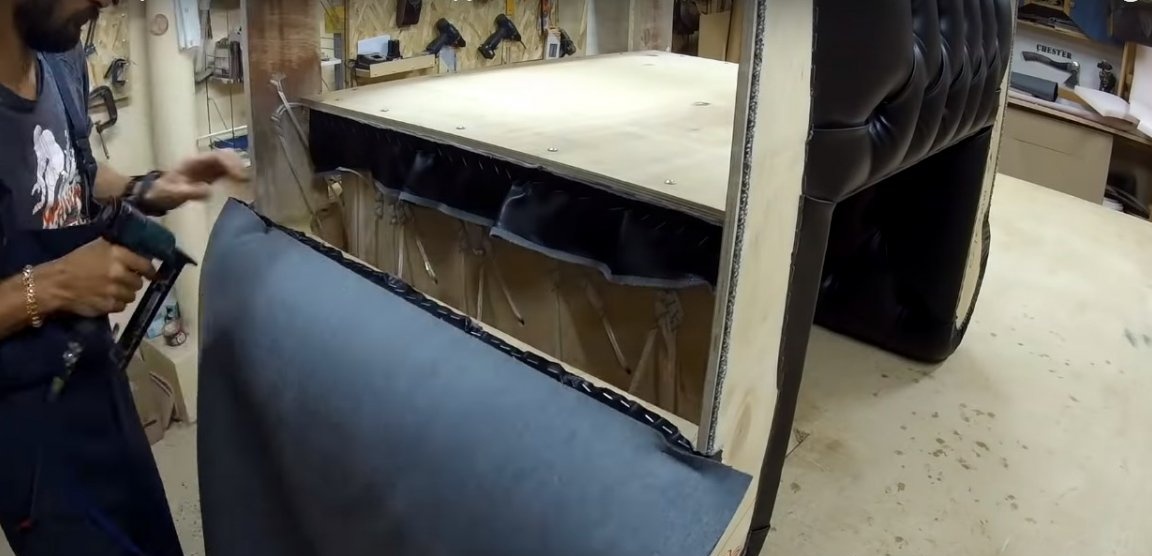
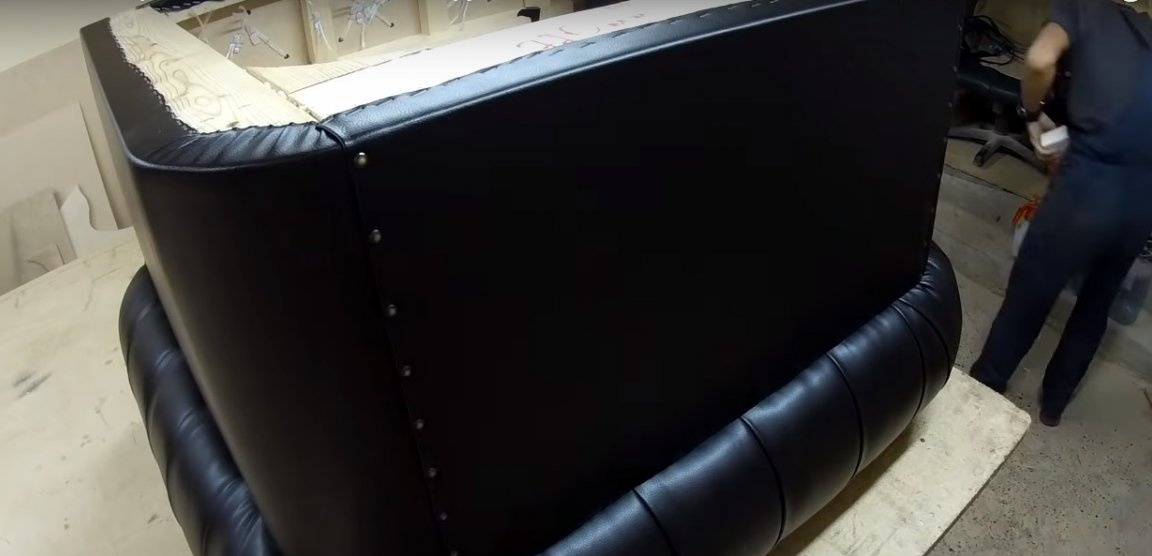
On the same principle, process the bottom of the chair.
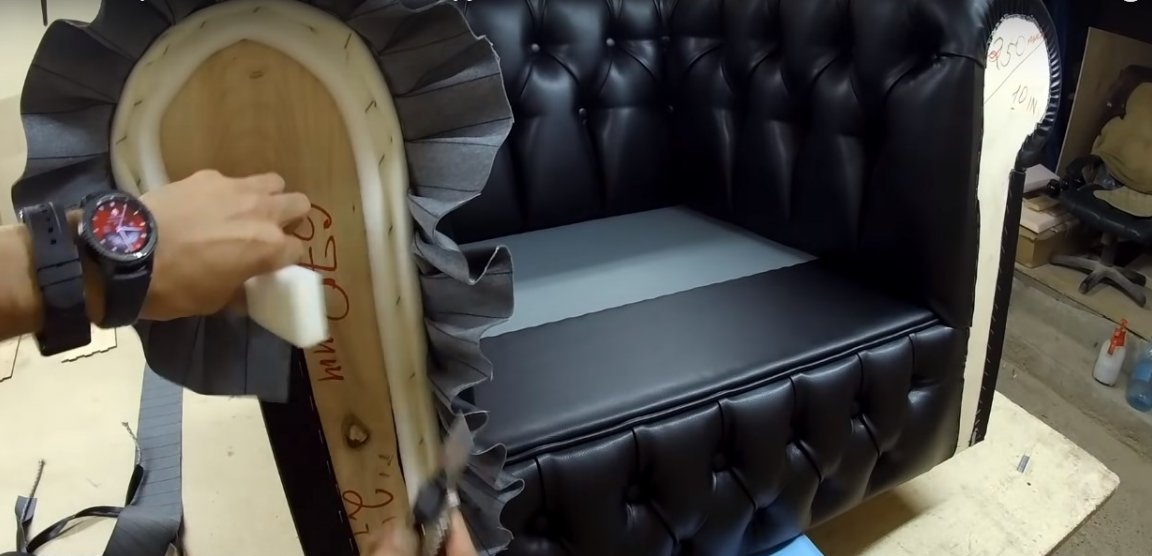
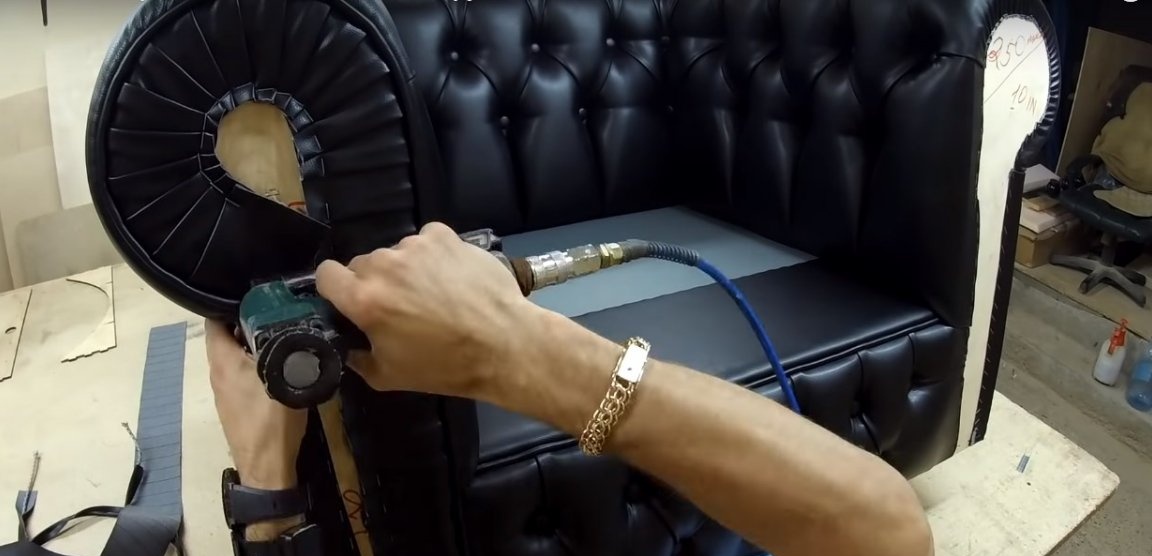
Step eight: design of the facade of the chair
Fix the furniture edging on the past. Secure the leatherette strip, forming folds around the perimeter. Glue the facade with a strip of foam and fasten the leatherette, laying the folds.
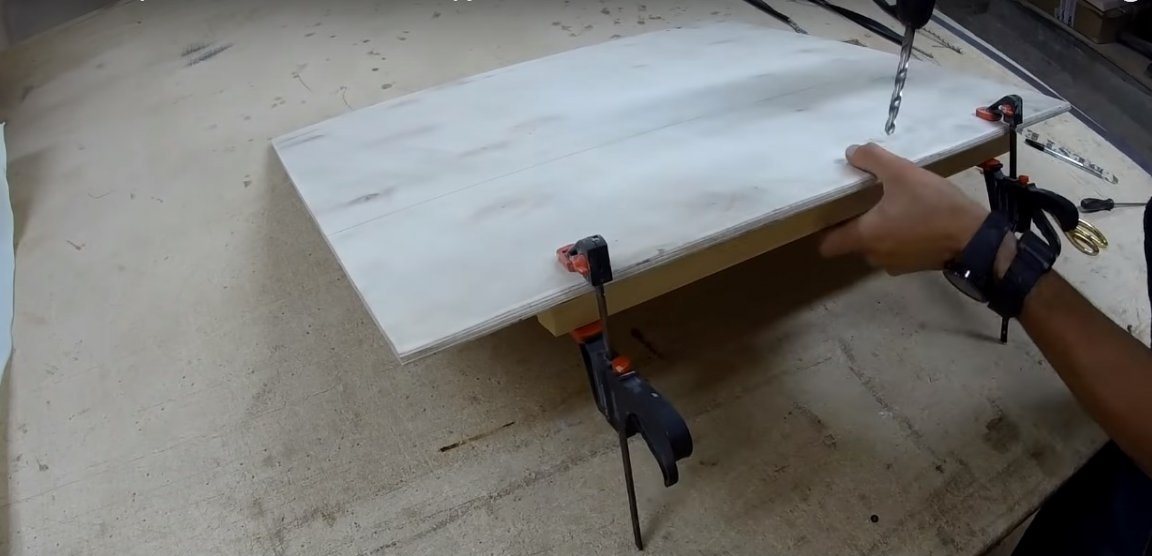
Drill the plywood base of the facades and install the anchor nails in the holes. Glue a layer of thin foam rubber or synthetic winterizer on the workpieces and tighten with a leatherette. Install the facade elements on the dowel nails.

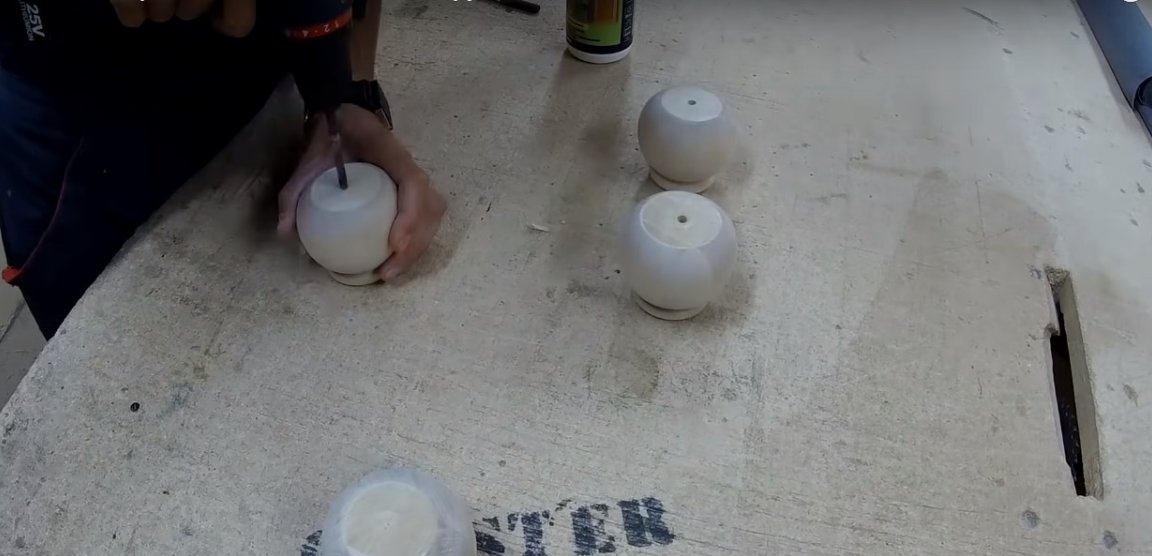
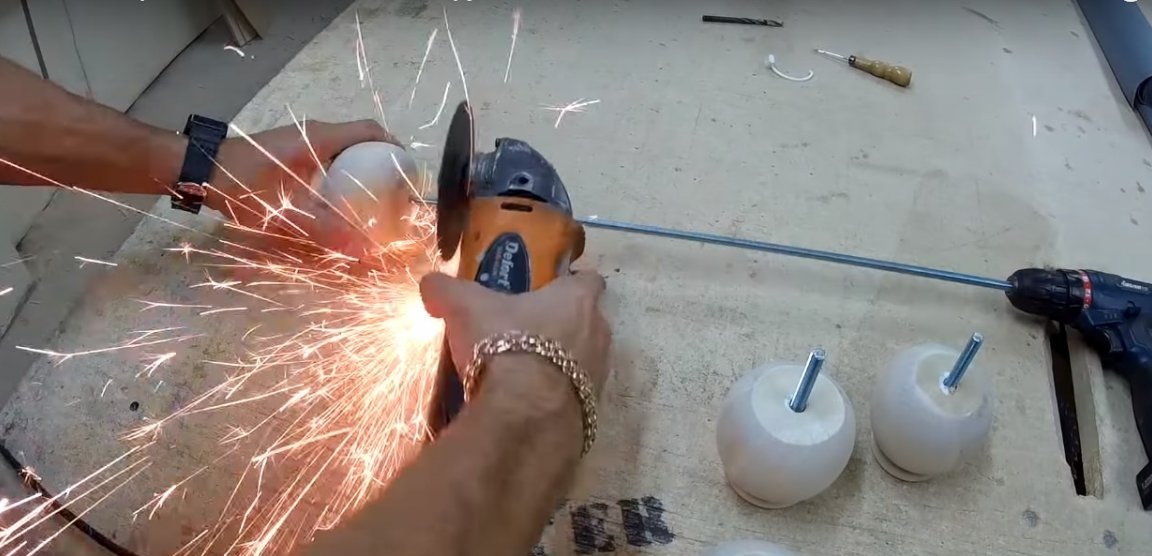
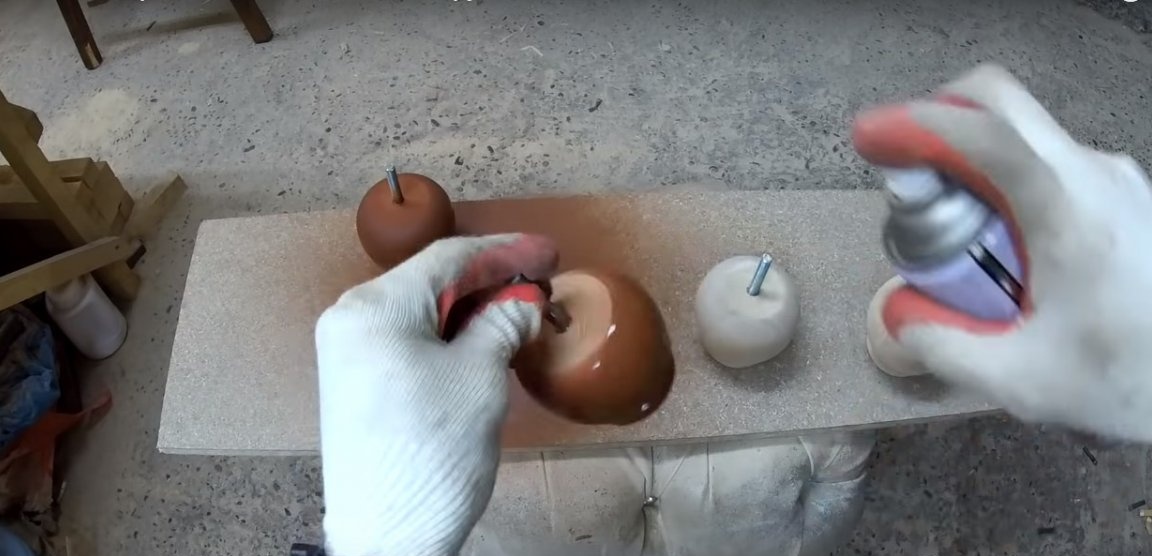
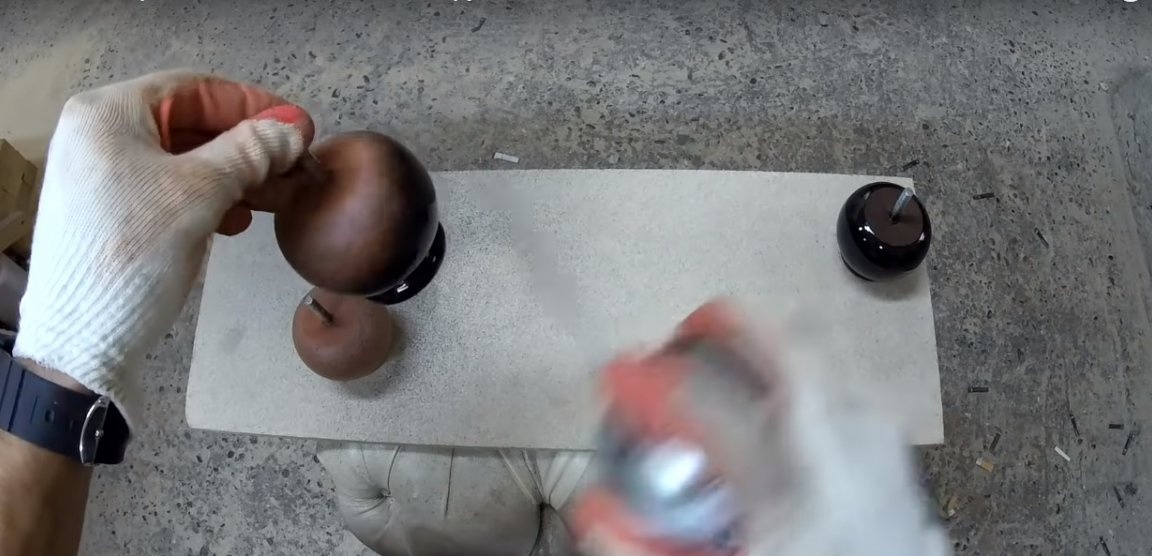
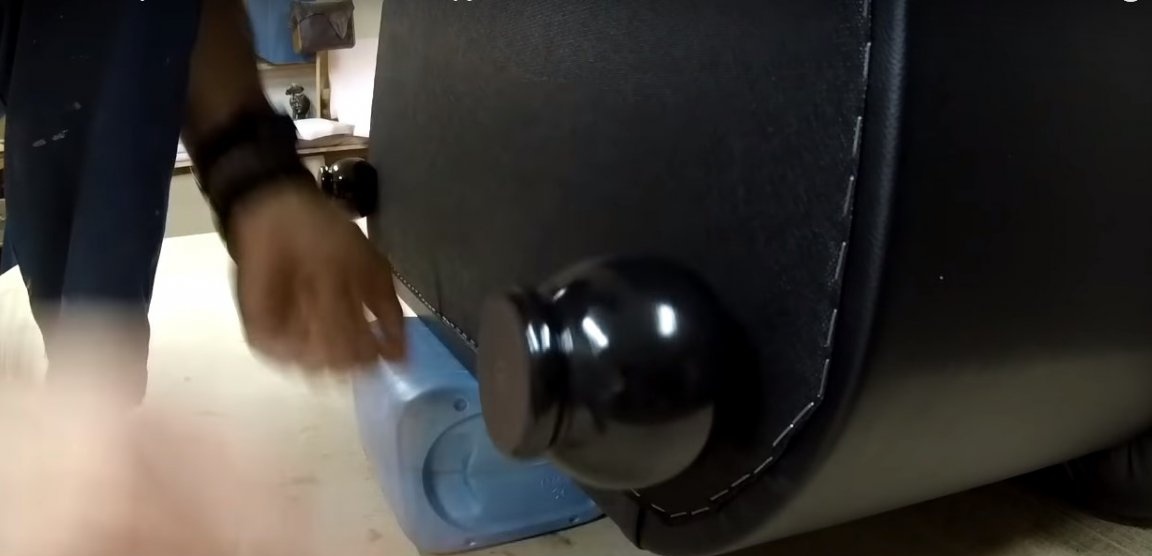
Step Nine: Preparing and Installing the Feet
Grind the finished wooden legs and paint with spray paint from a spray can.Let the paint dry and apply a coat of glossy, durable varnish.
Drill holes in the legs and glue a metal rod with a thread, previously cut into pieces of the desired length. Install the legs on the chair body.
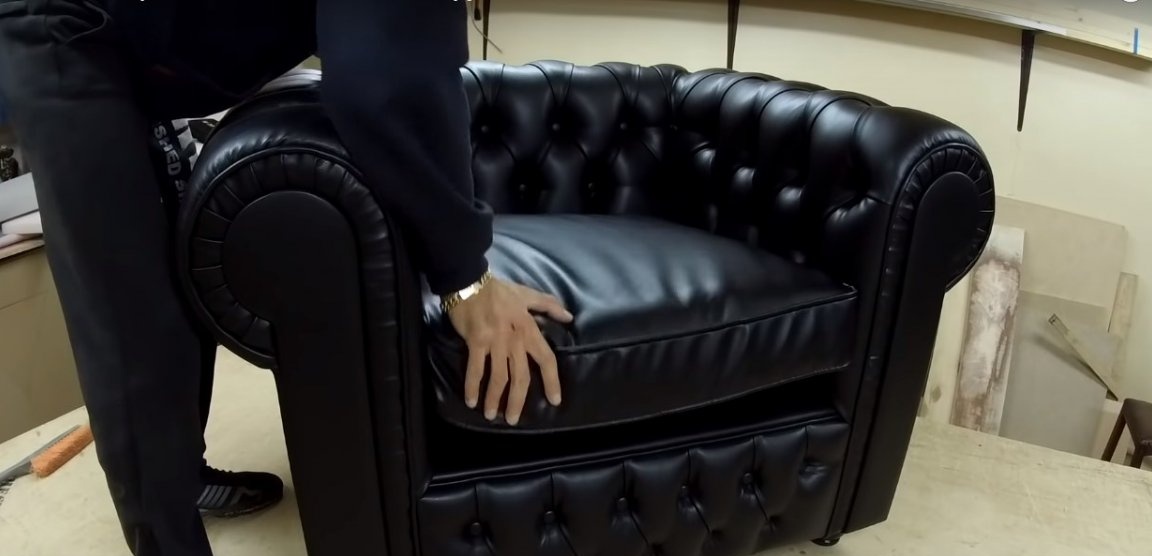
It remains only to lay a pillow on the seat - and the Chesterfield chair is ready!