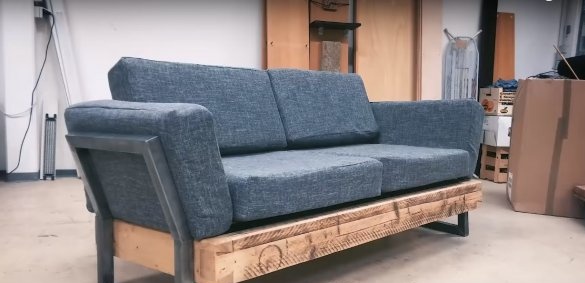
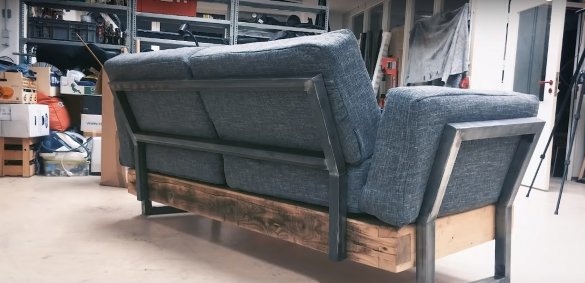
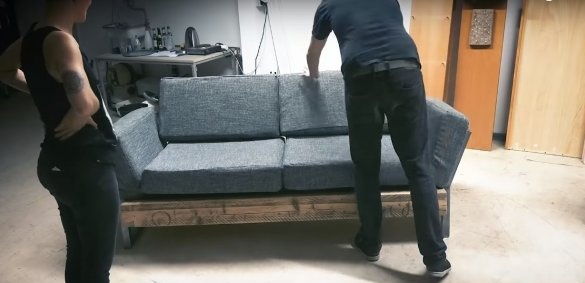
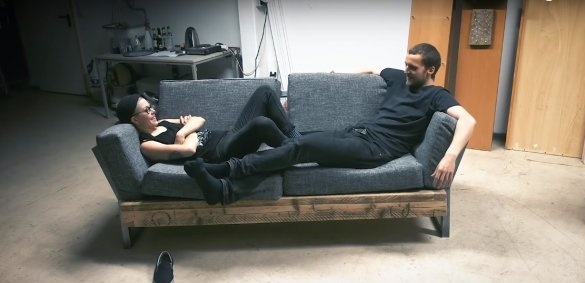
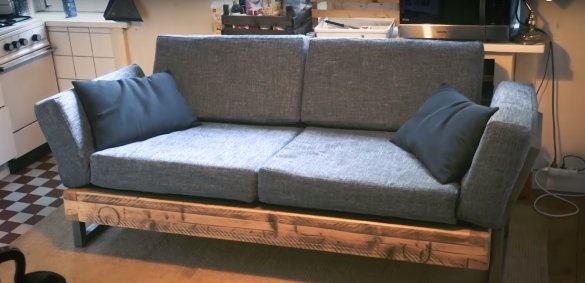
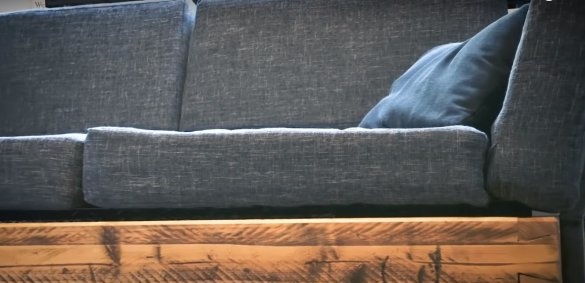
The combination of natural wood, metal and leather is always a win-win. Such furniture is universal, however if you are in search of a sofa idea for the garage, workshop or service station - here he is, a dream sofa.
The author used in his work old high-quality foam rubber and a used spring block. A beam of not the first freshness also went onto the frame, which ultimately played into the hands.
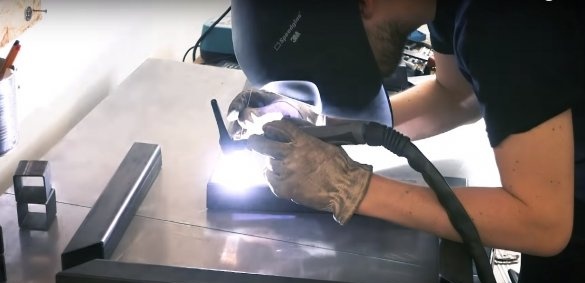
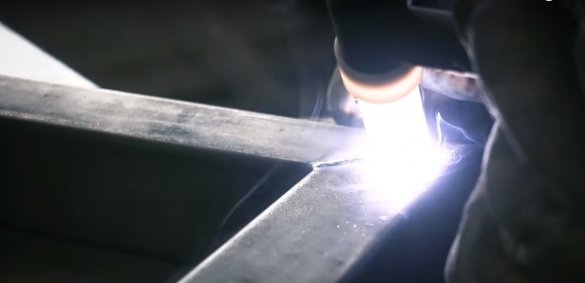
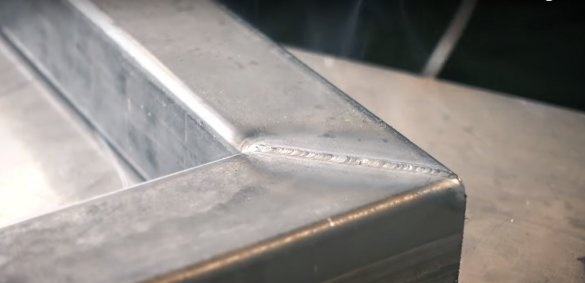
For welding, a laser welding machine was used. Thanks to him, welds do not require any additional cosmetic treatment. However, if you are a happy owner of a spot welding machine, then he is able to work miracles in the skilled hands of a master.
In order to do it yourself To make a sofa for a garage or workshop you will need:
Materials:
- a wooden beam of rectangular cross section 50 x 100 mm for tying the frame;
- a metal pipe 50 x 50 for the manufacture of the base under the spring block;
- a sheet of OSB, chipboard or plywood as the base for the spring block;
- spring block;
- thick furniture foam rubber 100 mm thick or two layers of foam rubber 50 mm thick;
- a metal pipe of a square profile 45 x 45 or 50 x 50 mm;
- a round metal pipe and nuts in size for the manufacture of threaded connecting pipes;
- bolts and washers for attaching metal elements to the sofa;
- fabric furniture and hidden zippers for the manufacture of pillow covers;
- thin foam rubber or synthetic winterizer;
- oil-based coating: oil stain or any quick-drying oil;
- glue for gluing foam rubber;
- furniture screws.
Instruments:
- hand circular or ordinary hacksaw for wood;
- drill;
- screwdriver;
- grinder;
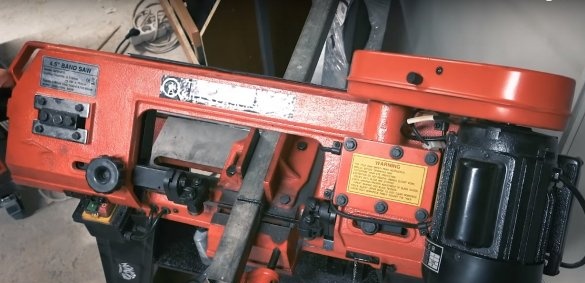
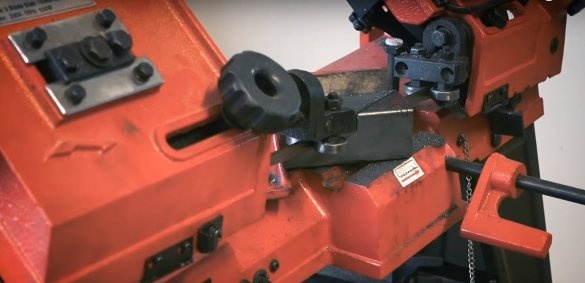
- Bulgarian (the author uses a pipe-cutting machine);
- welding machine;
- manual frezer;
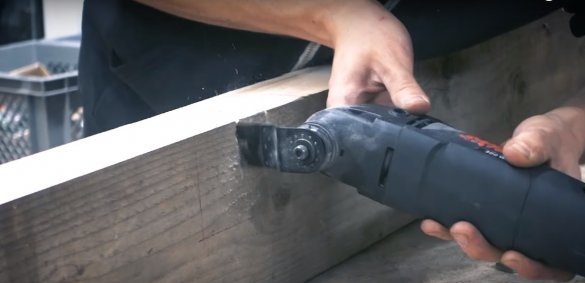
- a vibrating saw (renovator) for cutting grooves in a wooden beam;
- reciprocating saw for the manufacture of grooves of the type Dovetail;
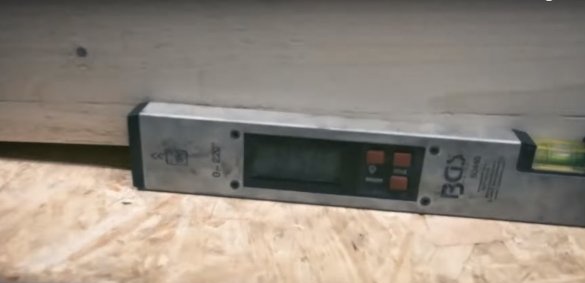
- building level;
- clamps;
- a chisel;
- nippers;
- ring wrench with ratchet;
- hammer, mallet;
- sewing machine, tailor's meter, scissors;
- cardboard groove lacal;
- marker.
Manufacturing process
Step one: the manufacture of strapping the frame from the timber
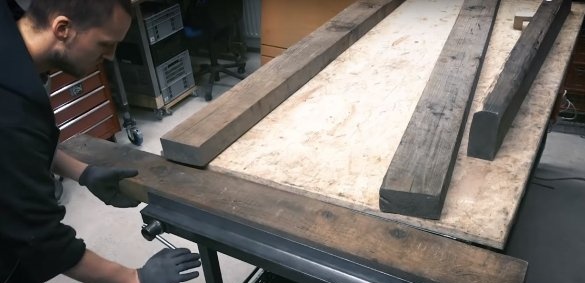
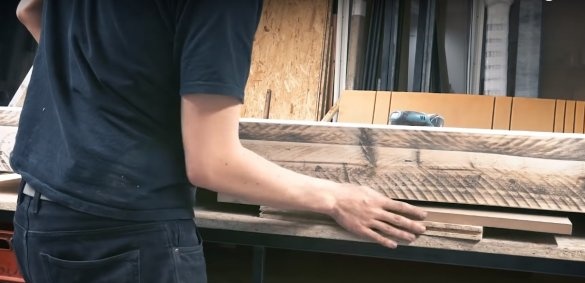
The frame of the sofa frame is made of a beam of rectangular cross section 50 x 100 mm. Due to the fact that the material was not planed, it retained its natural texture, which in this case was very appropriate.
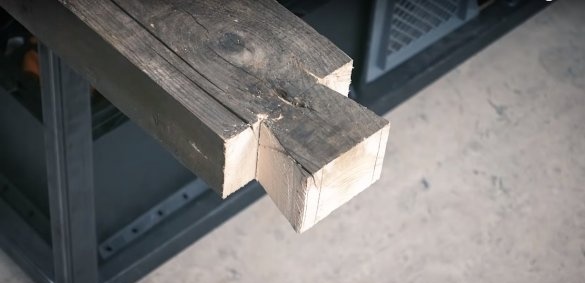
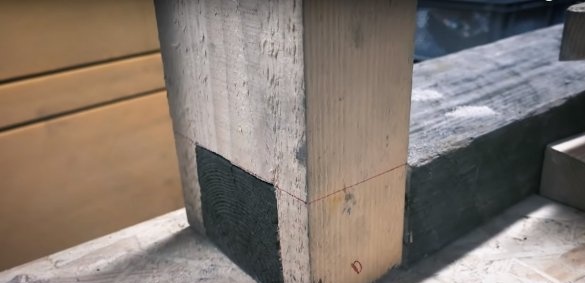
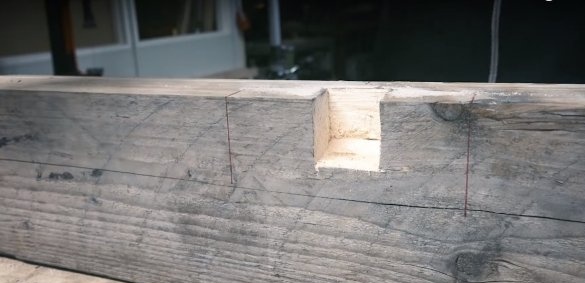
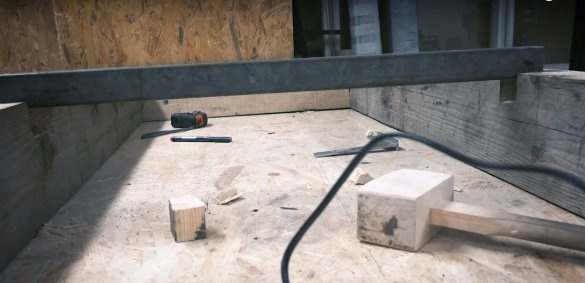
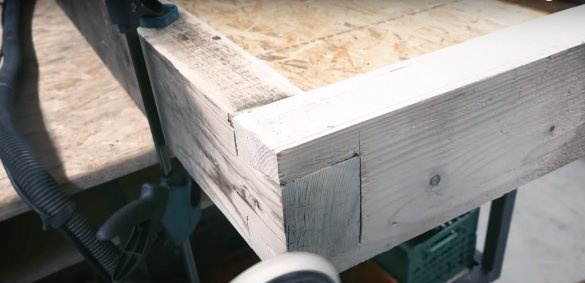
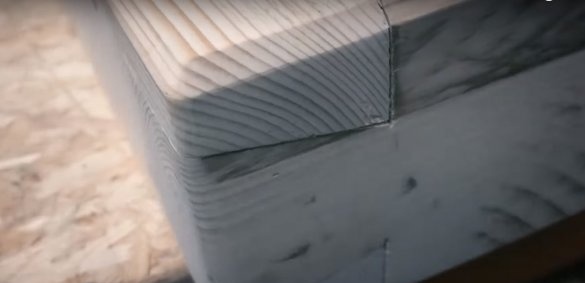
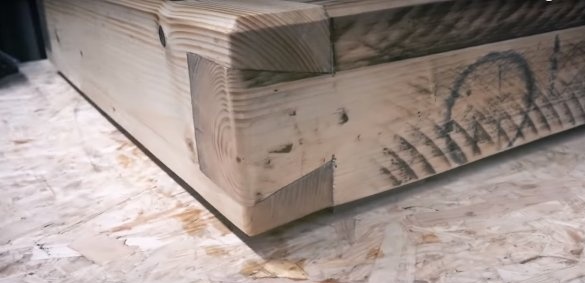
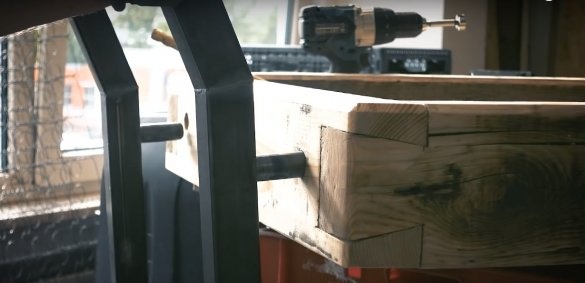
The wooden base of the frame has a simple rectangular structure. Its parts are joined without glue and screws into the groove of the Dovetail.
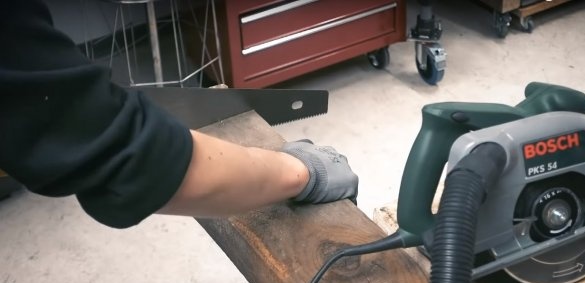
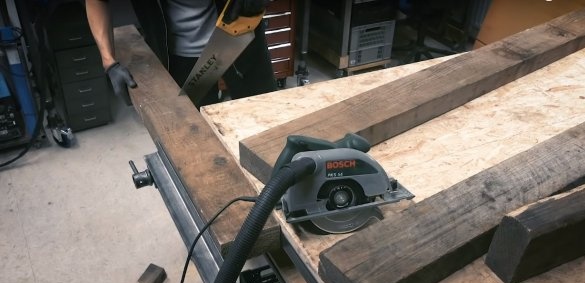
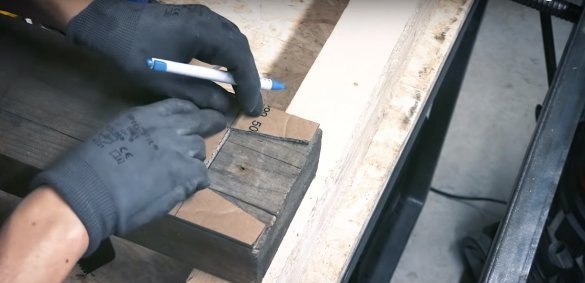
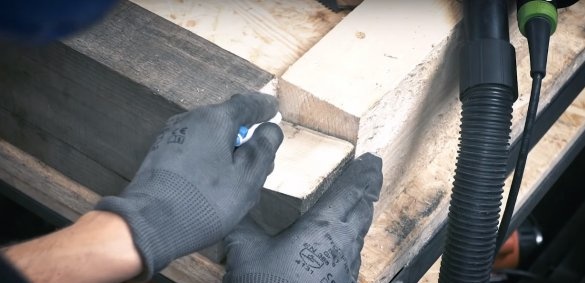
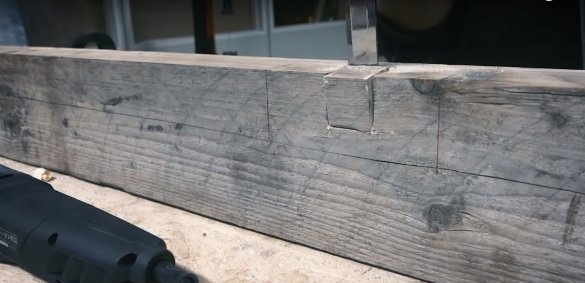
Mark out the details of the frame and saw off pieces of timber of the desired length. For marking grooves, it is most convenient to use a homemade cardboard pattern.
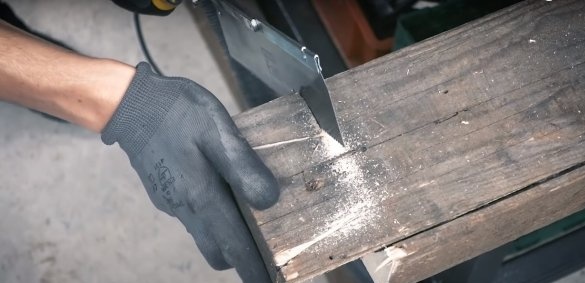
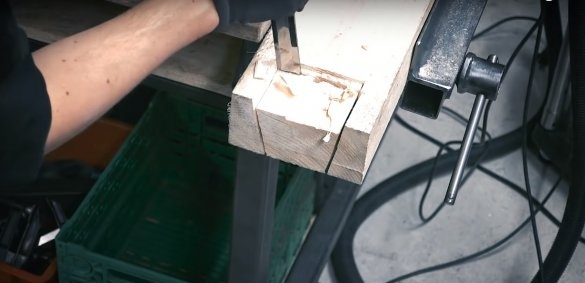
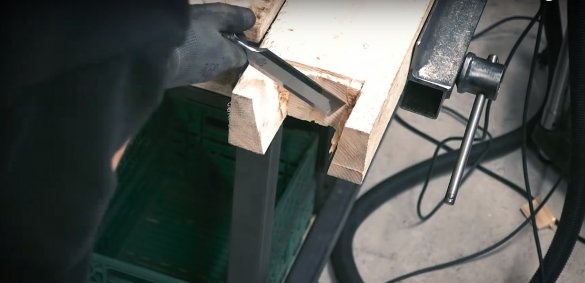
Saw the grooves along the marked lines. The author uses a saber saw for this. An ordinary hacksaw, a hole saw or even a jigsaw will do just fine. Use the chisel to edit the connections.
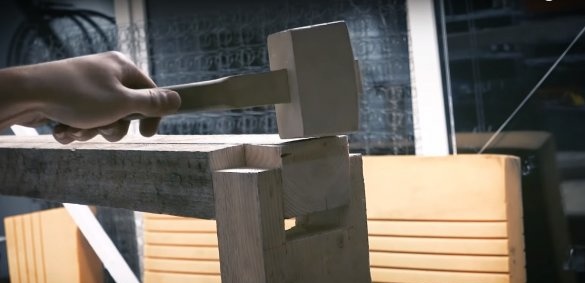
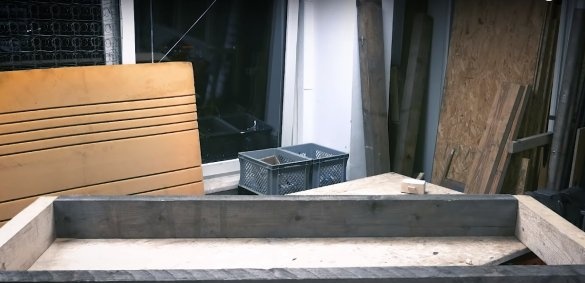
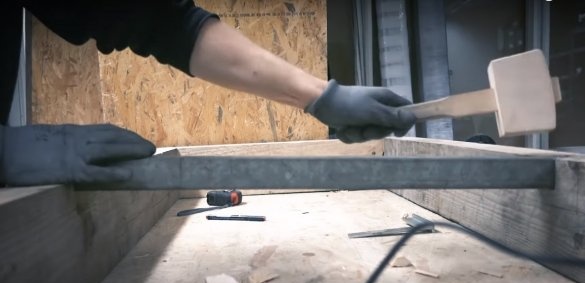
Connect the frame trim parts. A mallet will help you with this, because if the grooves are made correctly, the spike goes into the groove quite tightly.
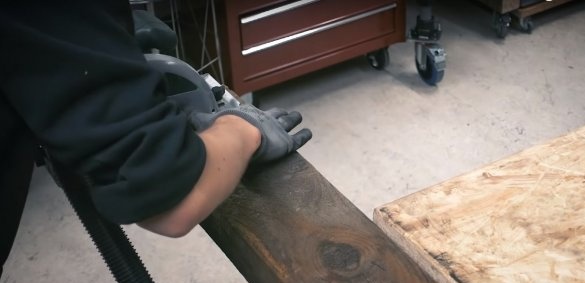
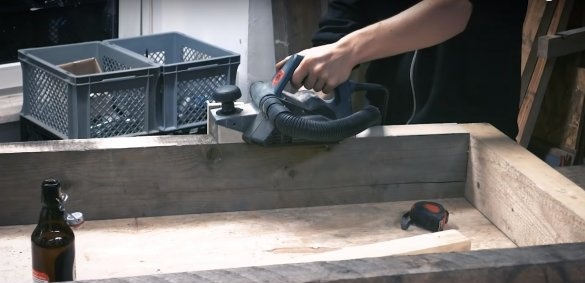
From above, where the wood will not be visible and where a flat surface is needed, the author went through an electric planer to remove the top layer of wood.
Step Two: Assembling the Sofa Frame
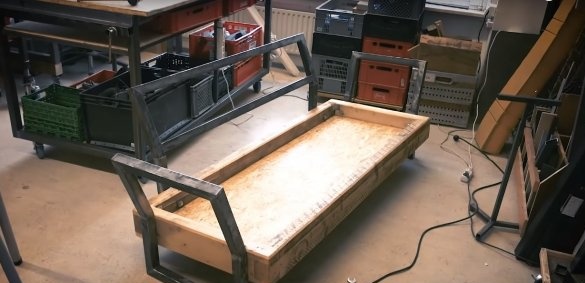
In addition to wooden parts, the sofa frame also consists of metal elements. You will need pieces of a square metal pipe, which will serve as the basis for the OSB sheet.
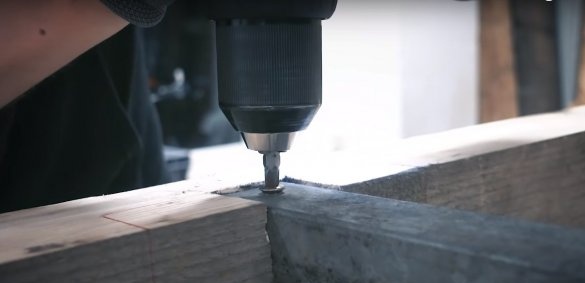
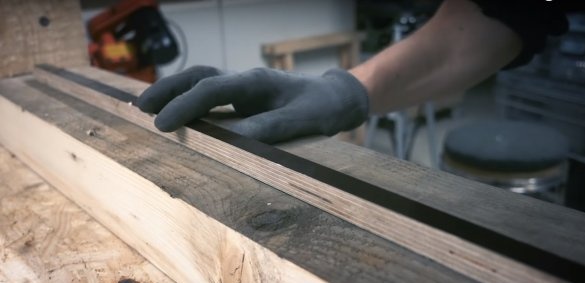
Mark and cut the grooves for the pipe. The author coped with this task very quickly, thanks to the vibrating saw or renovator, as it is commonly called. Bring the grooves to mind with a chisel and place a metal pipe in them. For fixing, drill through holes and screw one screw on each side.
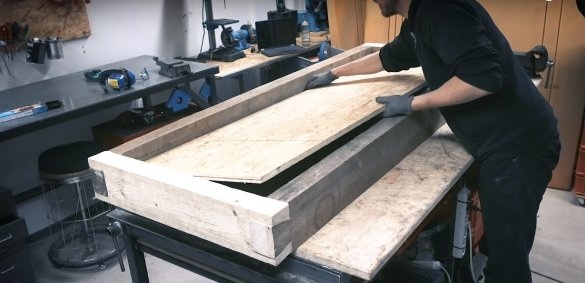
From wooden planks or strips of plywood, make additional ledges-limiters for the base of OSB. Finally, cut the OSB plate of the desired size, lay on metal spacers and secure with screws on the edge.
Step Three: Preparing Foam and Spring Block
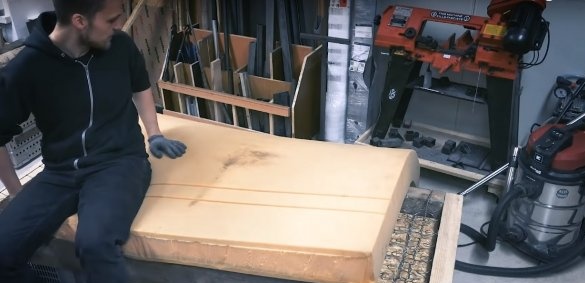
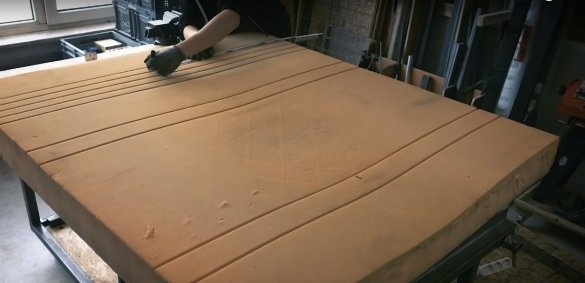
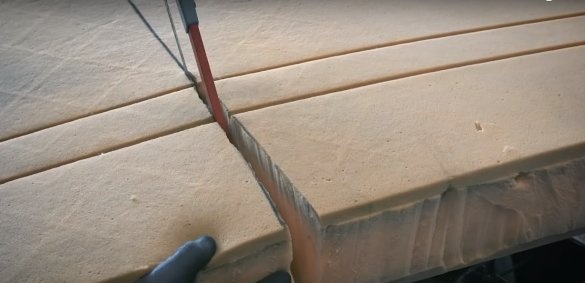
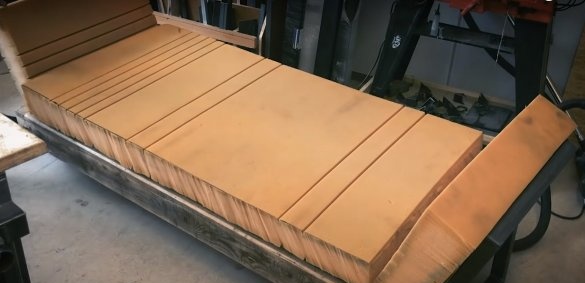
The author uses foam rubber and a used spring block. Use only high-density furniture foam rubber for furniture. In this case, it turned out to be 10-centimeter 3-layer foam rubber with memory.
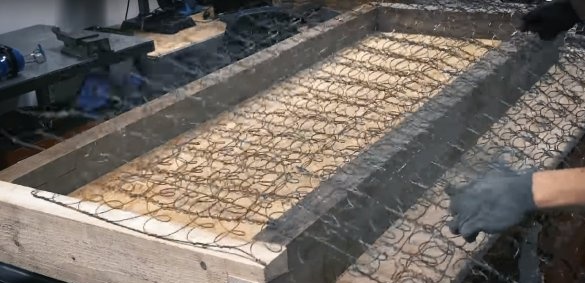
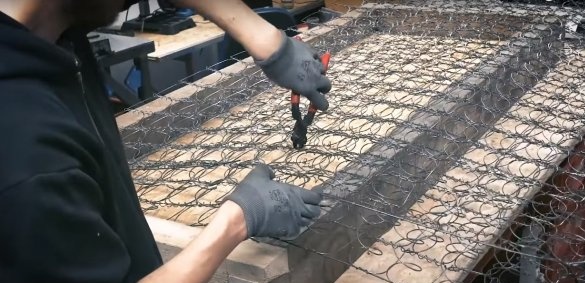
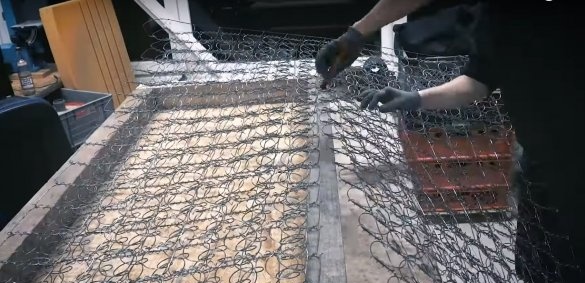
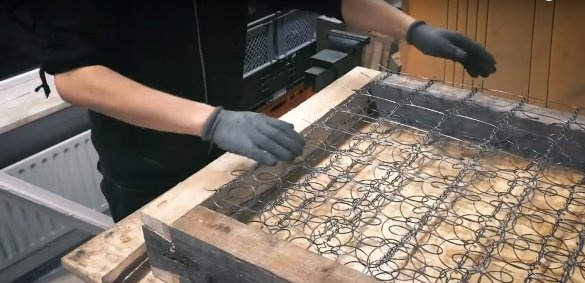
You will also need an old spring unit with dependent springs. You can easily fit it in size, cutting out the area of the desired size. Use nippers for this.
Step Four: Wireframe Processing
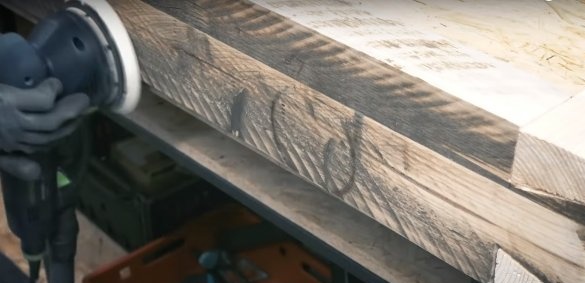
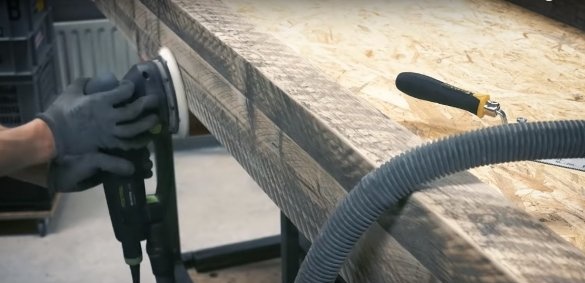
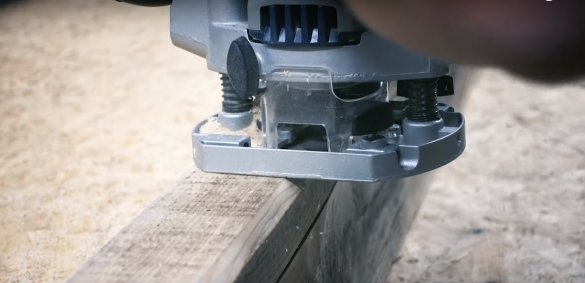
Sand the wooden frame slightly to remove dirt and refresh the wood. Pay special attention to the methods of joining parts. Process the outer edge of the frame with a manual milling cutter and round the corner.
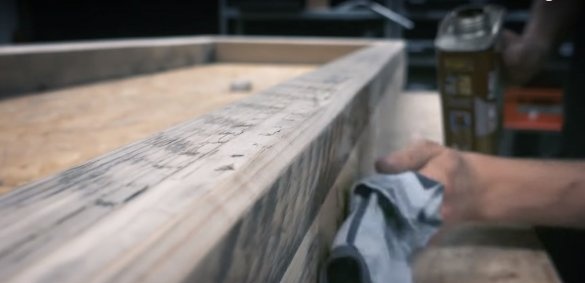
Cover the wood with a layer of quick-drying oil. It will help the tree maintain its original appearance, protect it from moisture and give a more noble tone.
Step Five: making metal bylts and the back of the sofa
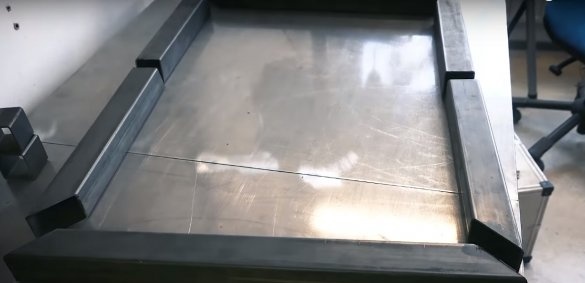
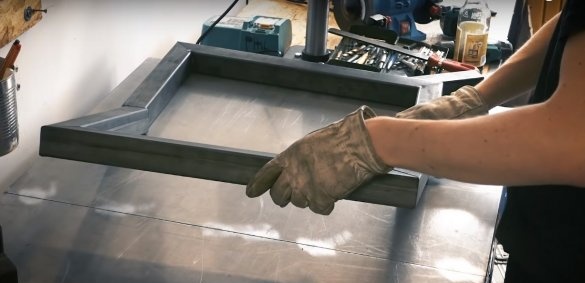
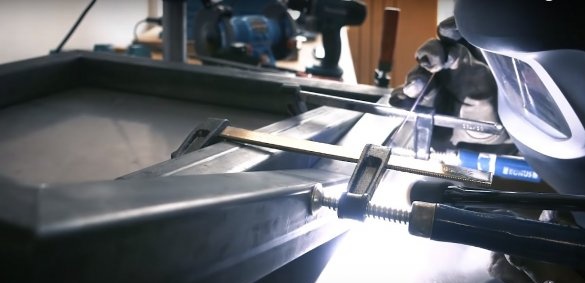
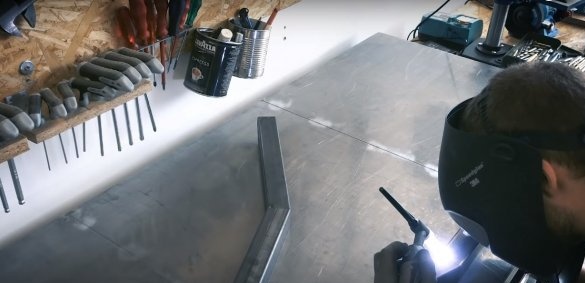
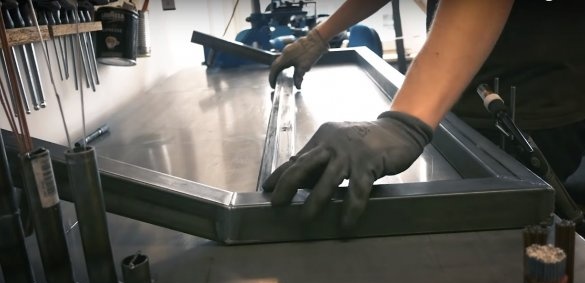
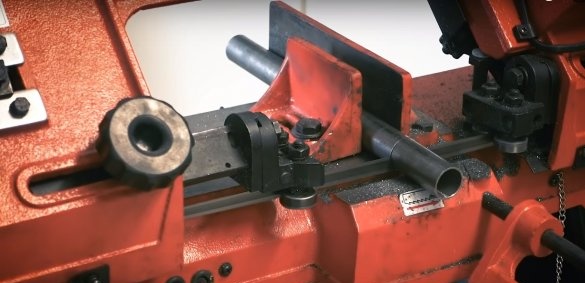
Mark the metal pipe and grind it into pieces of the desired length. In the finished version, both the butt and the back have a curved shape, so when welding parts, you will need clamps to fix all the parts in the right position.
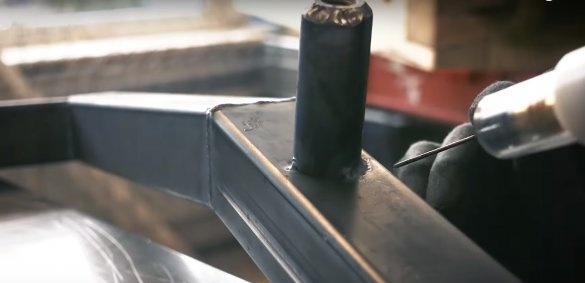
The author uses a laser welding machine, welds after which are usually not subject to correction. If you do not like the appearance of the seam, grind the weld points with a grinder.
Step Six: Installing the Metal Elements of the Sofa
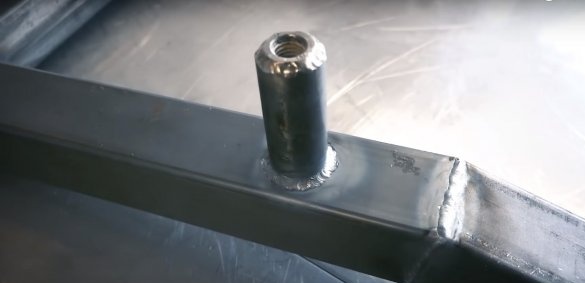
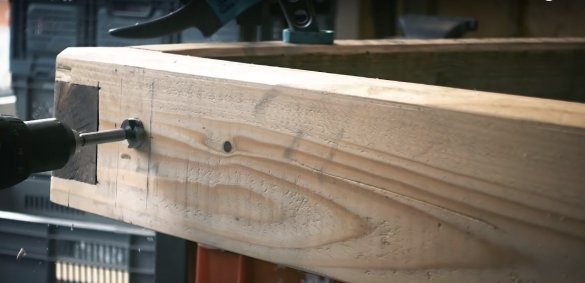
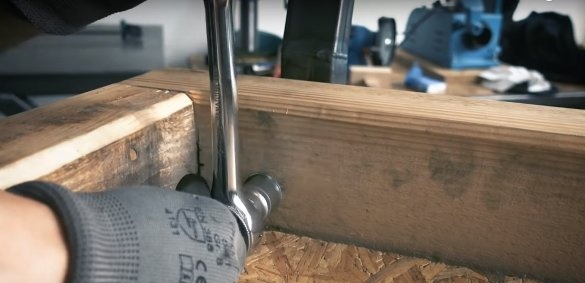
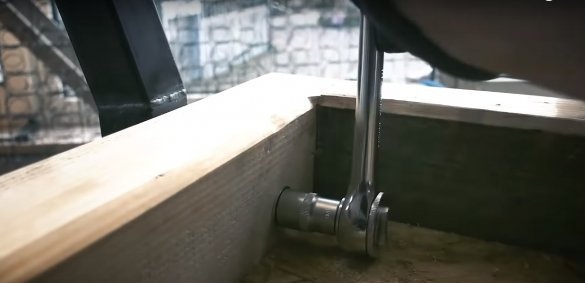
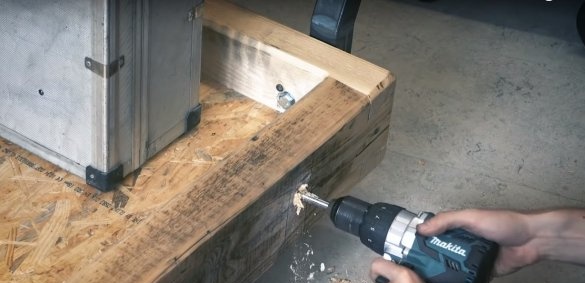
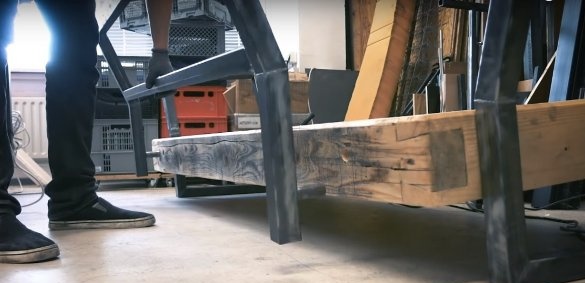
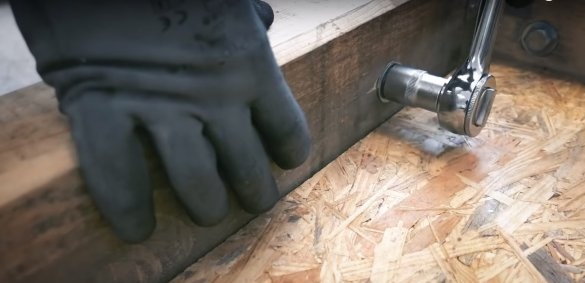
All the metal elements of the sofa are attached to the wooden case by means of metal pipes. The nozzles are made of a round pipe in which the nut is welded. The pipe passes into the hole in the wooden beam and is fixed on the back with a bolt. To do this, you need a spanner. Ideally, with a ratchet.
Seventh step: making soft pillows
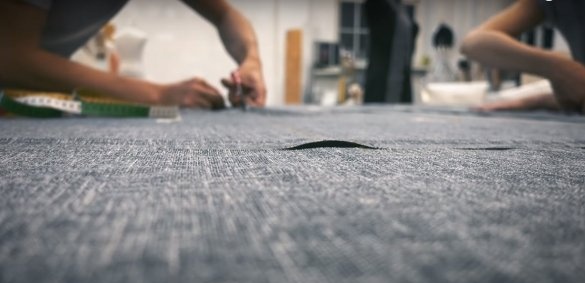
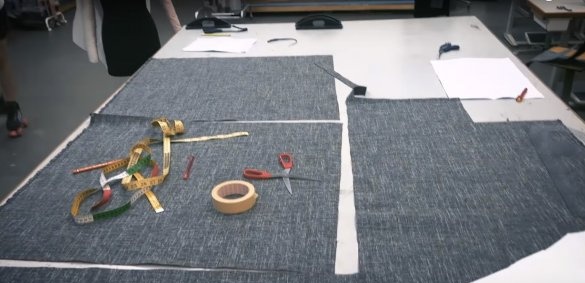
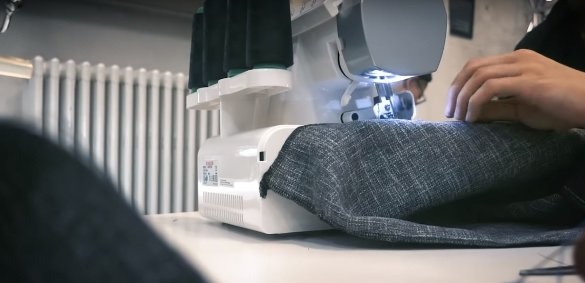
In the process of making soft pillows you can’t do without a sewing machine. However, tailoring of covers on an individual size can be ordered in any studio from your own fabric. For covers choose a dense furniture fabric that is resistant to some types of dirt.Without elastic fibers, with a large admixture of polyester or even made of polyester.
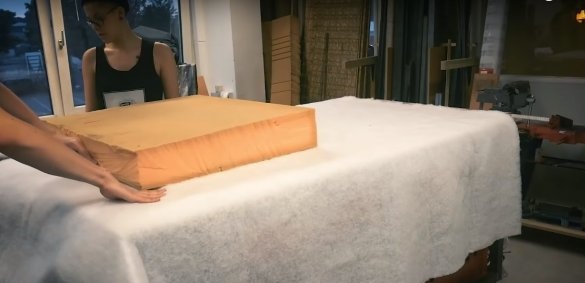
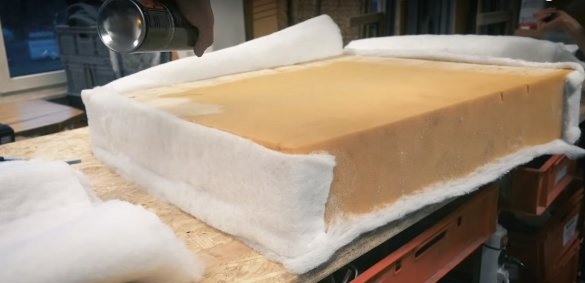
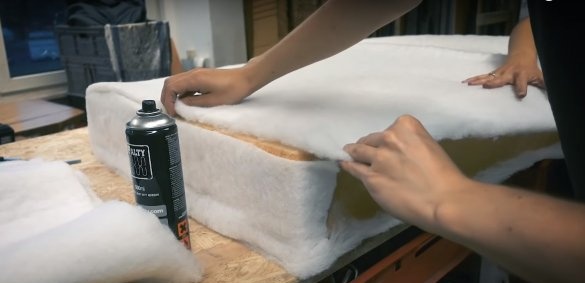
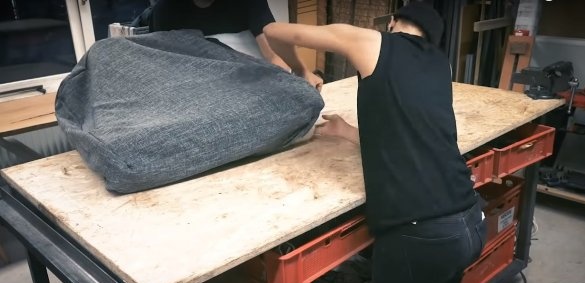
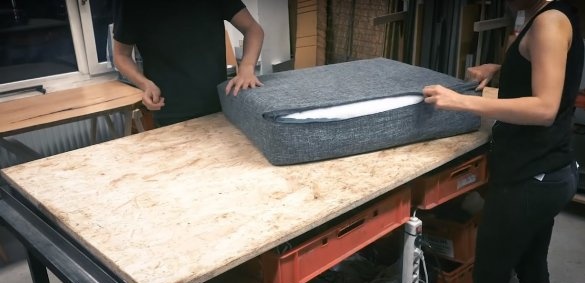
Cushion covers are equipped with a hidden zipper, so that in case of emergency they can be removed and washed. Before you put the foam rubber cuts in their covers, wrap a layer of thin foam rubber or synthetic winterizer with a thickness of 5-7 mm. To ensure that this entire structure does not delaminate and does not move, use glue.

