
The author of Instructables, under the nickname llaven, has accumulated quite a few boards with dynamic heads from radios:
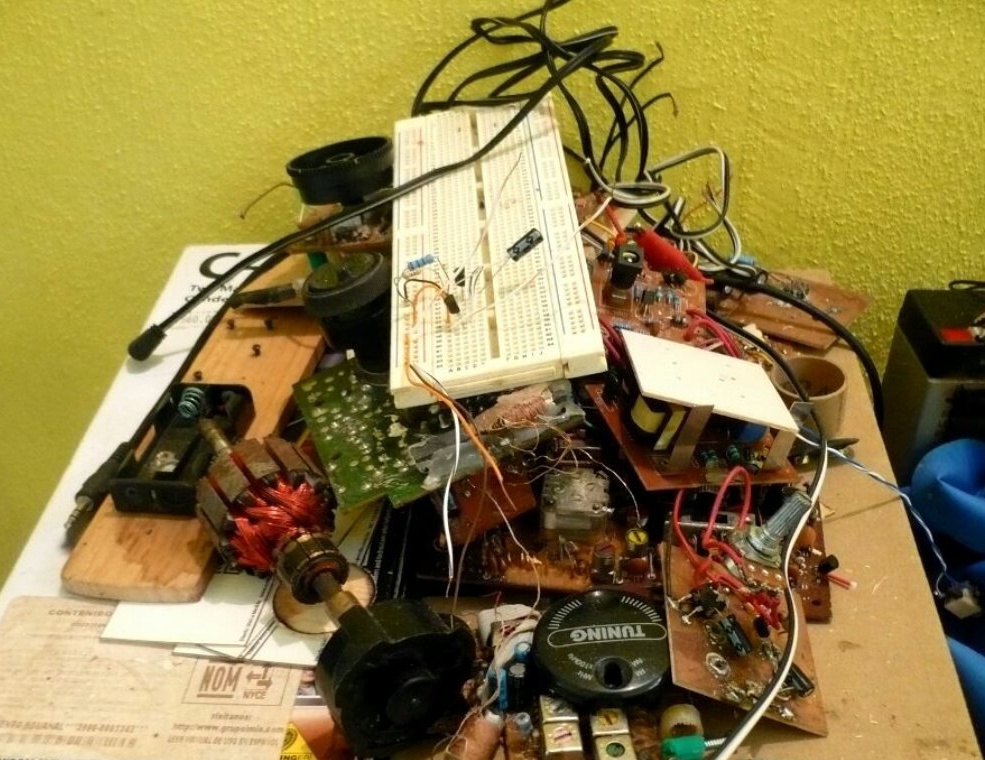
Here is one of these kits:

The master decides to place it in a wooden case with a mouthpiece. This kit is good in that it comes with a separate standard battery compartment. More often, the compartment is part of the case, and their master prefers not to store it. In any case, adding a compartment in its absence is not difficult. The main thing is to determine the polarity of its connection by an electrolytic capacitor connected in parallel with the power supply, or guided by the pinout of the chips used in the radio receiver. By the datasheets of microcircuits, you can also determine the supply voltage.
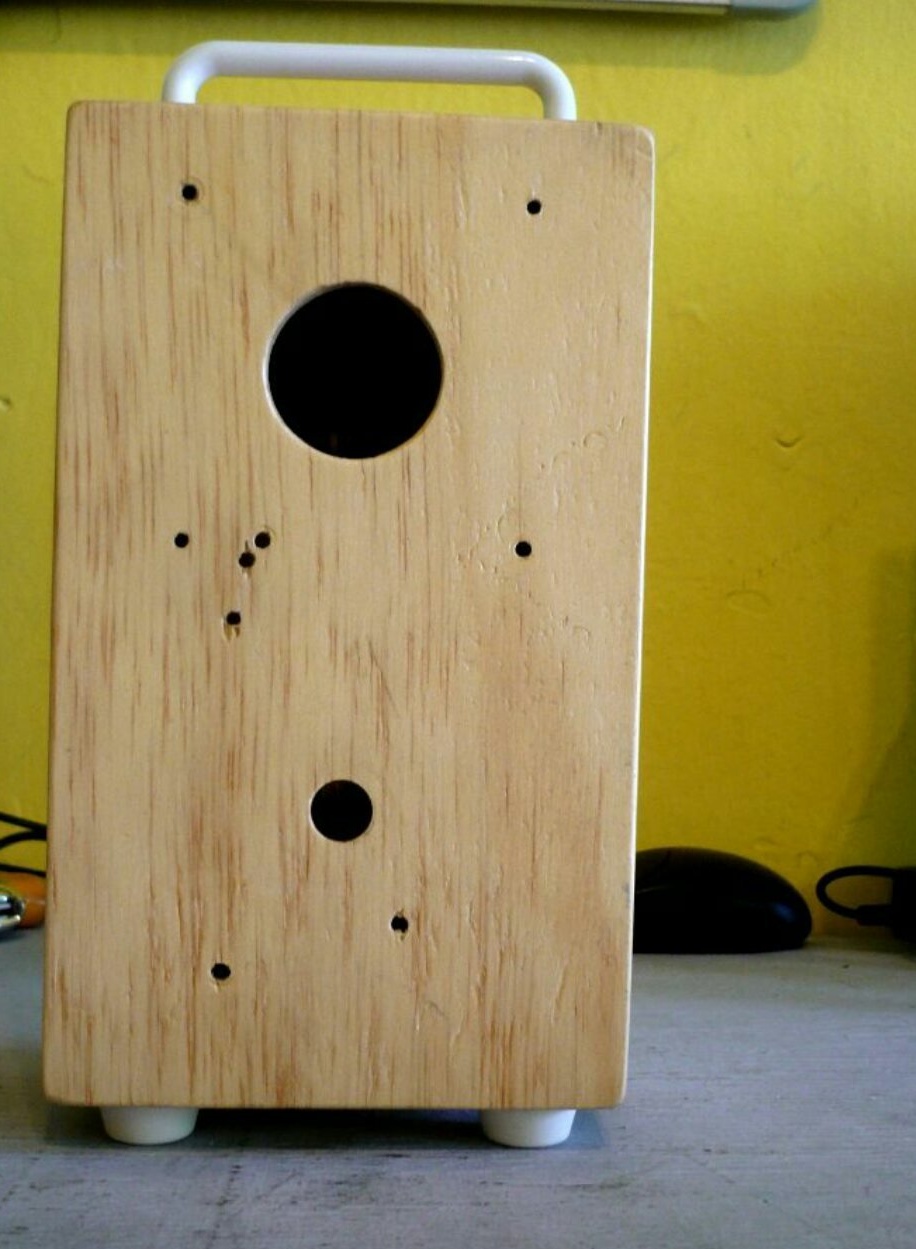
The master takes the wooden box ready, with loops connecting its halves, he did not photograph it before making holes, in connection with which it is further shown already with them. He also takes a small carrying handle and two self-tapping screws.
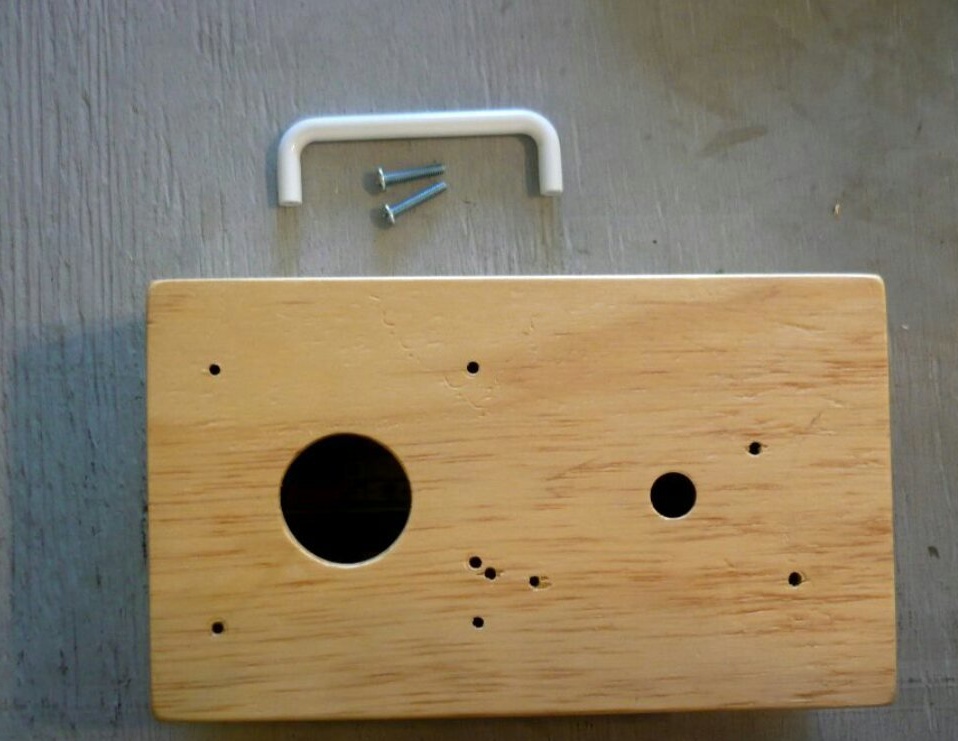
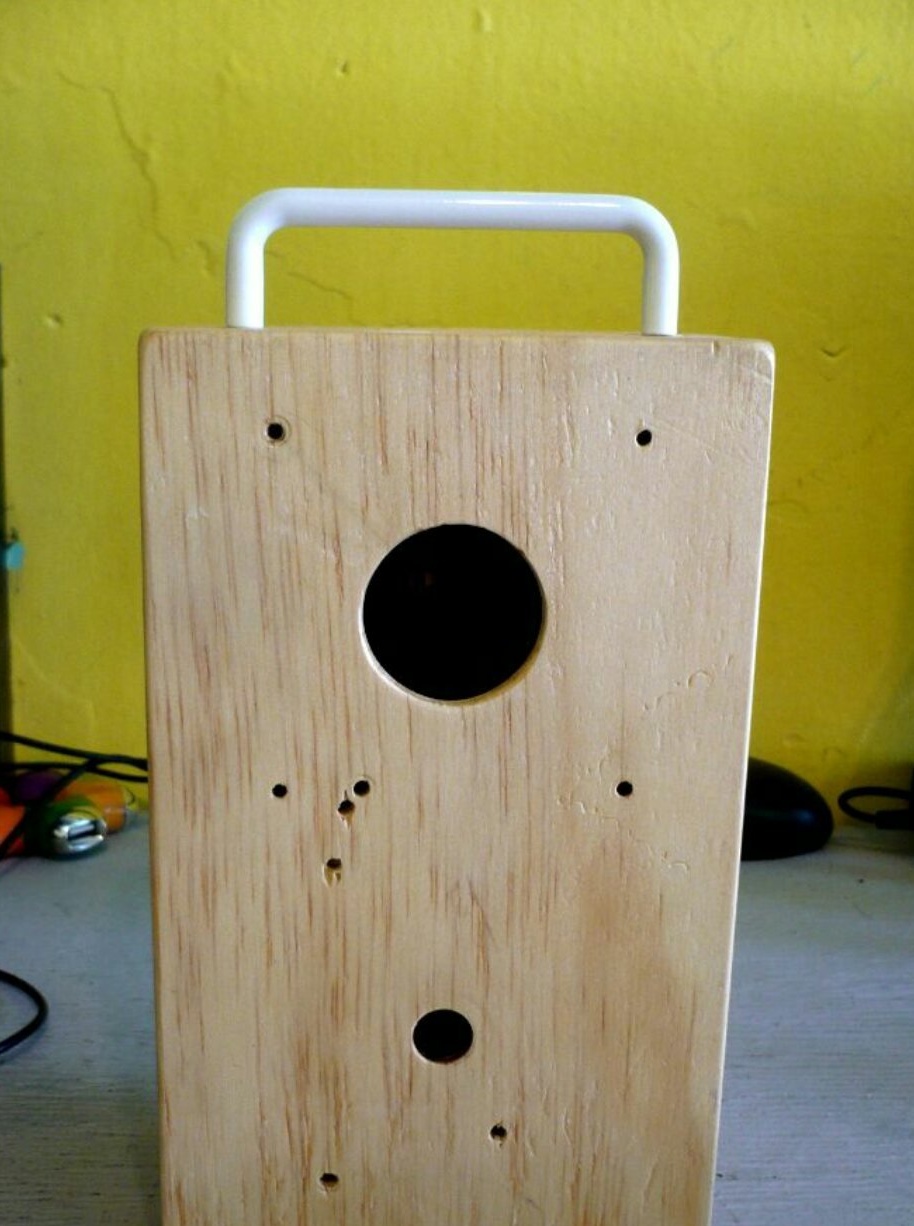
The master installs the handle on the box:
And where the handle is, there are the legs:
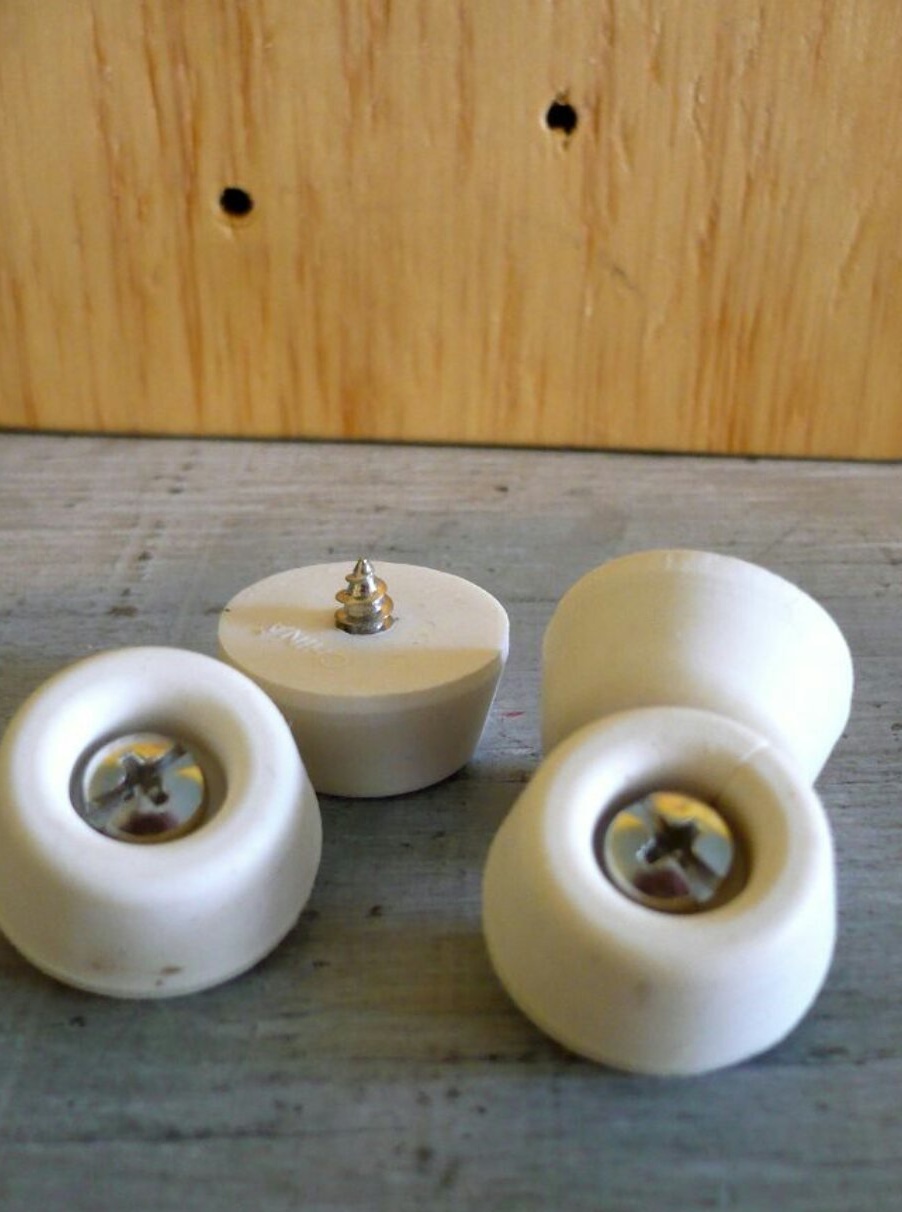
And here they are - also on the box:
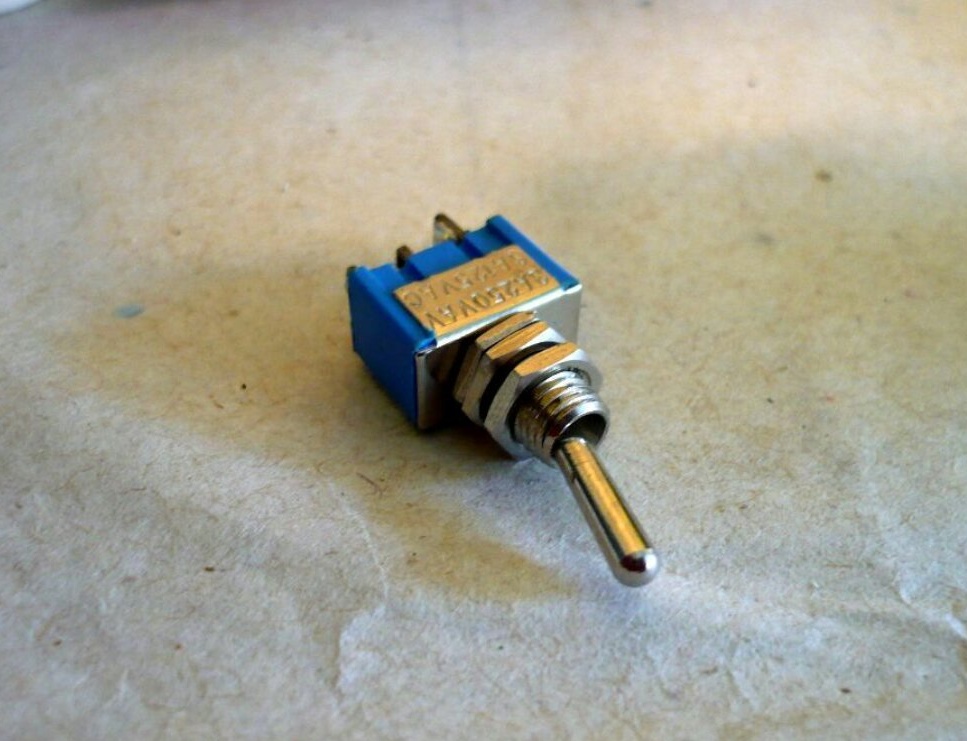
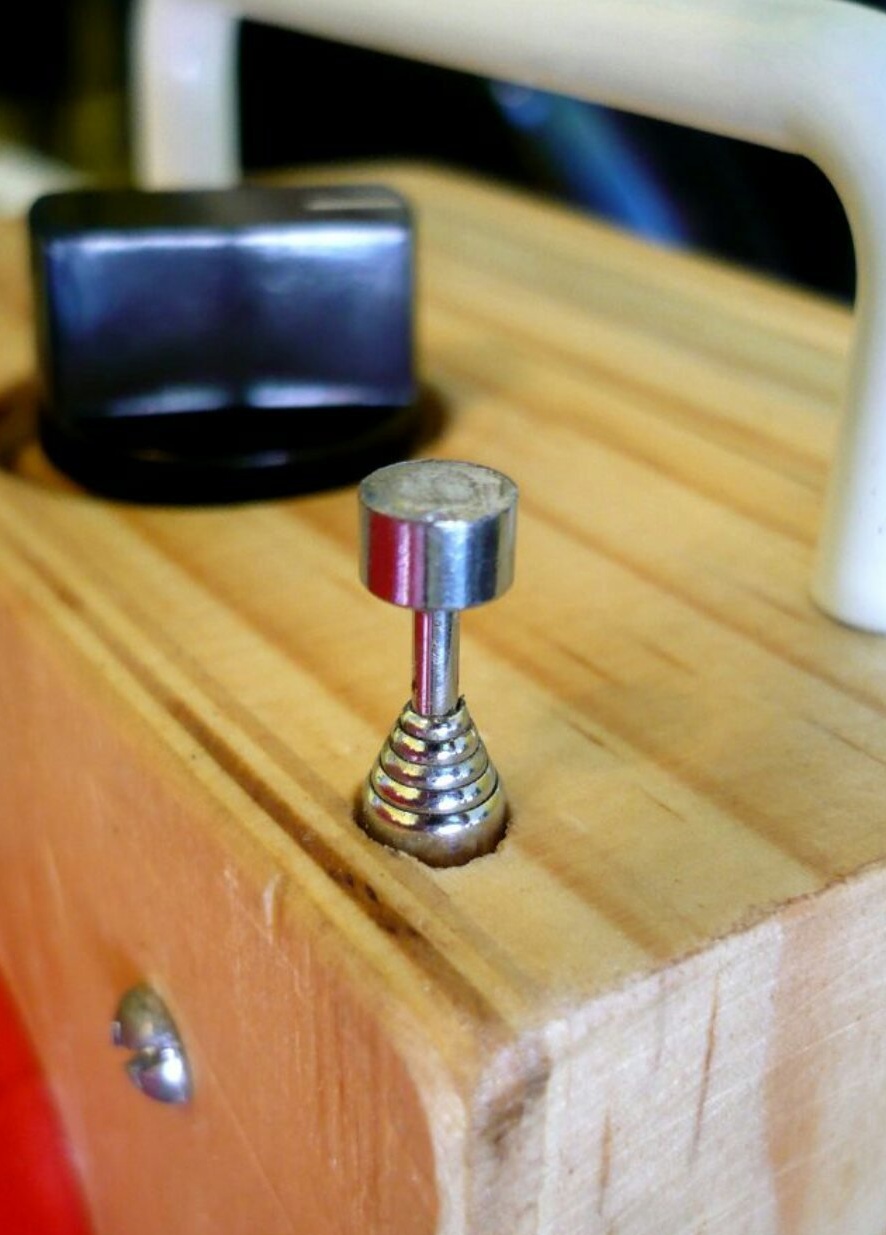
The miniature variable resistor with a switch on the receiver board replaces the master with a separate toggle switch and an ordinary variable resistor close to the original resistance, preferably with characteristic B. Having made a step hole in the box (part of the depth is one diameter, part is another), he takes the switch:
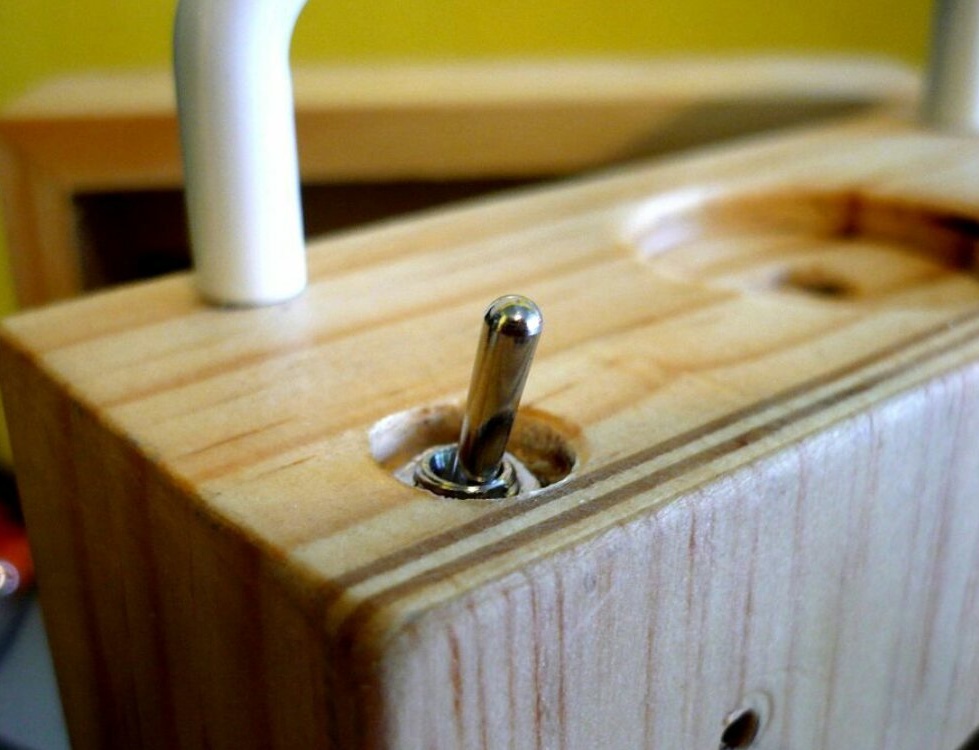
Which places in this hole, and next makes another one, also stepped, for a variable resistor with a suitable handle:
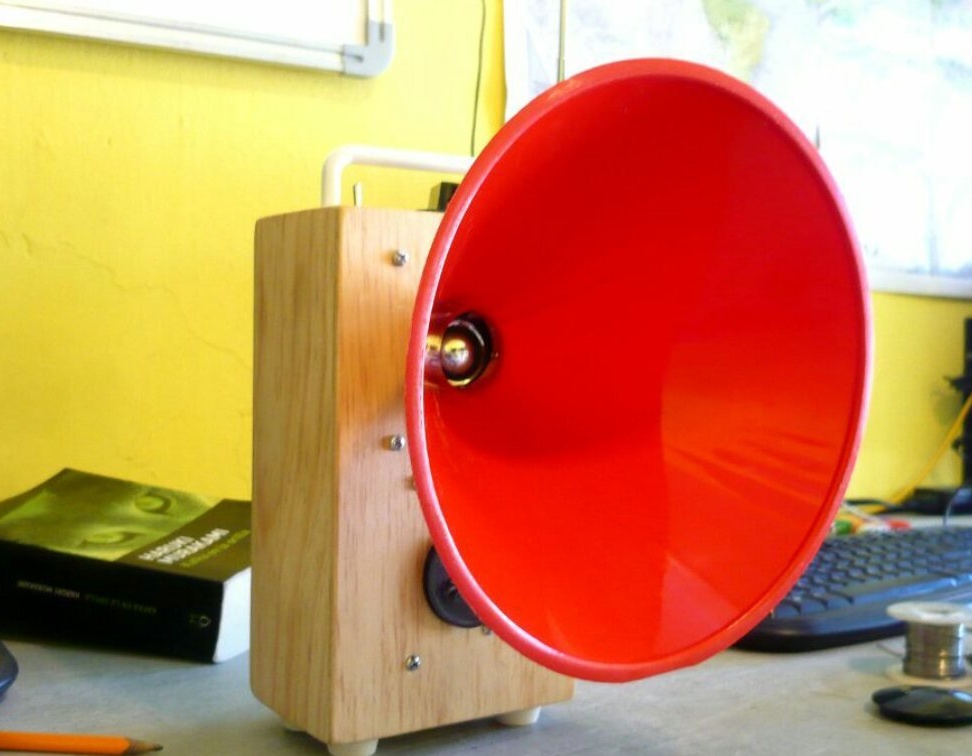
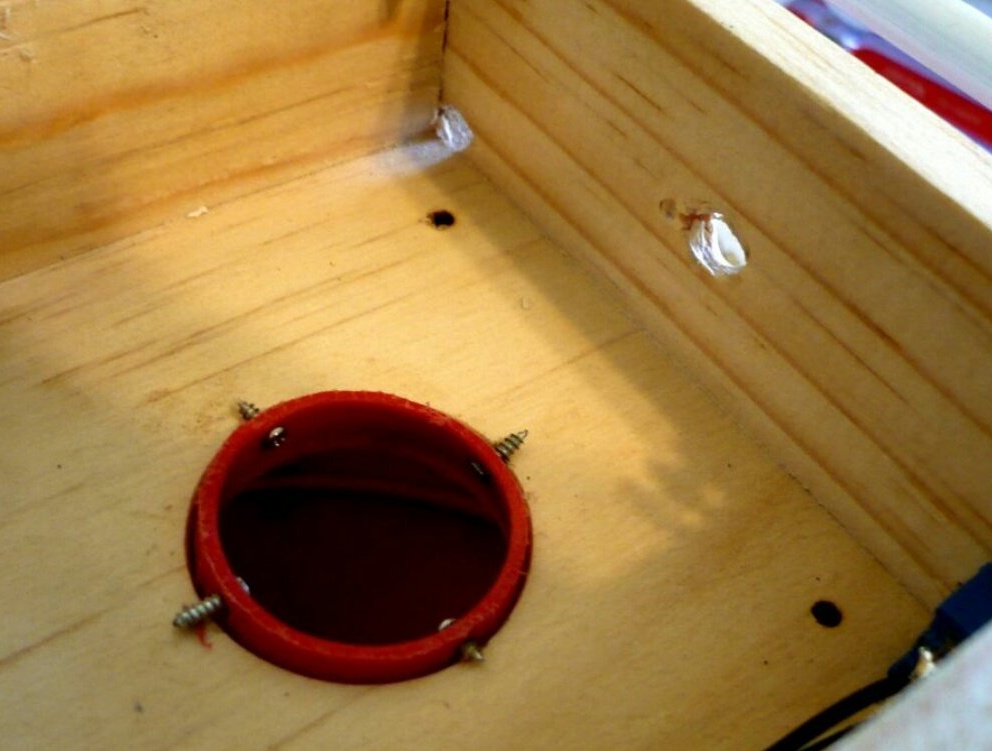
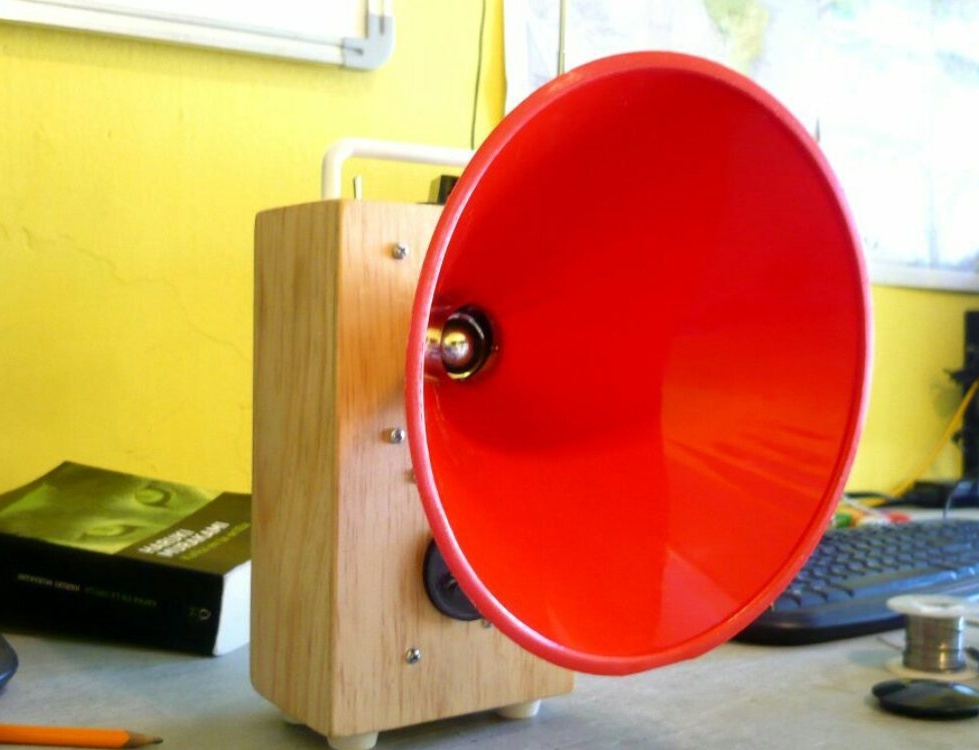
A funnel becomes the mouthpiece in the hands of the master, a somewhat unusual way of fixing it from the inside using self-tapping screws is shown below. You can figure out how and from what to make a more effective and equally compact folded shout.
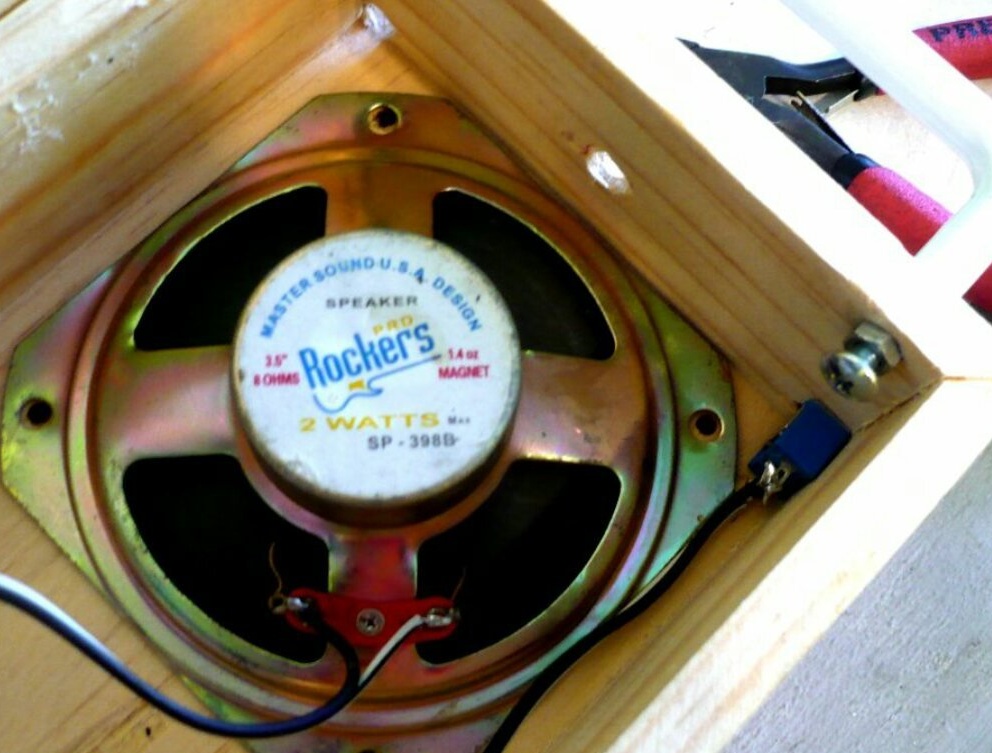
The master places the dynamic head in such a way that it is directed into the horn, and also installs a telescopic antenna:
Installs a variable resistor and adds a control knob to it:
The radio card is placed in the housing so that the shaft of the variable capacitor passes through the front panel.Also secures the battery compartment connected to the board:
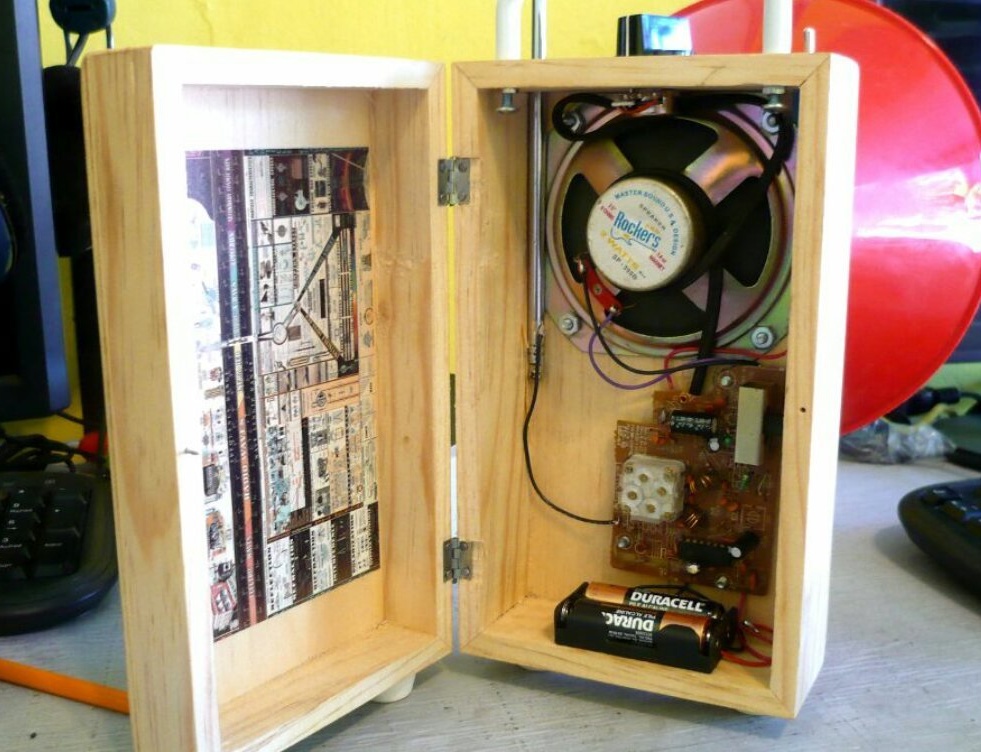
Puts a handle on the variable-capacity capacitor shaft, and the assembly is completed:
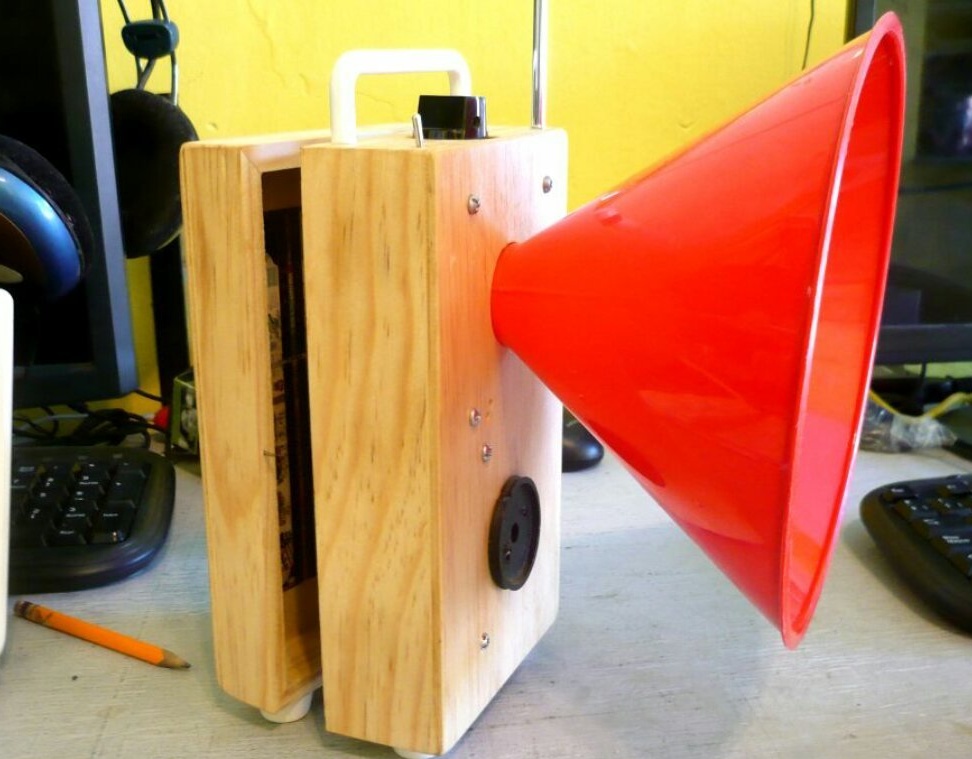
Homemade ready to go. The case can be left as is, but it can be painted, varnished or veneered, depending on your desires and capabilities.