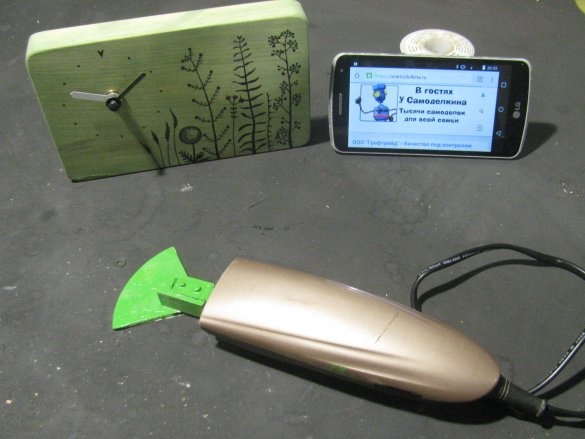
Greetings to all, today we will look at how, without much effort, to make an excellent vibrating grinding machine out of use. Initially, I did not particularly like this idea because of the very low power of 8 watts. I climbed on the Internet, it turned out that people already do and use these, I decided to try it myself. The machine is perfect for fine grinding, the surface of the wood is very smooth and looks good. Moreover, I conducted an experiment with rough wood, which was not polished at all before. Of course, you can grind not only wood, but the machine will pull the paper bigger, I set the 400th. If you are interested in the project, I propose to study it in more detail!
Materials and tools that I used:
Material List:
- ;
- steel plate;
- small screws with nuts and screws;
- a small piece of the board;
- compact disc;
- sandpaper (from 240 and smaller).
Tool List:
- superglue (you can and without it);
- hot glue;
- soldering iron;
- drill or file;
- grinder or hacksaw;
- stationery knife;
- drill or drilling machine;
- a screwdriver.
Manufacturing process homemade:
Step one. Disassembly
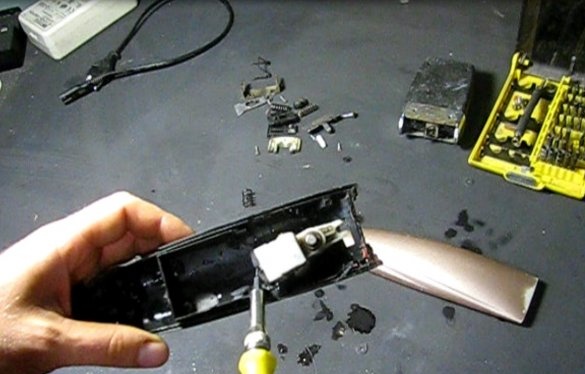
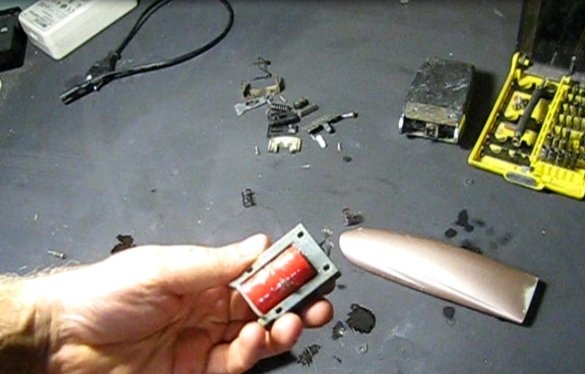
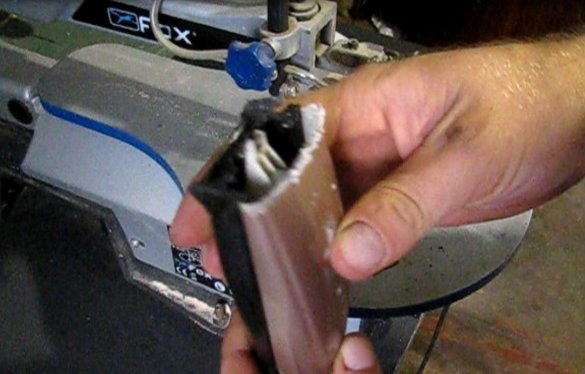
We disassemble, we need a version with a coil inside, it is simple and reliable. You can redo the version with the motor, but there may be a more complex design. By the way, if desired, the coil can be rewound, the machine can be made more powerful.
First, he dismantled a very ancient razor “MIKMA-101”, issued by the USSR, it has two coils, and the moving “core” is simply made of steel. Turned on, this razor works very well, at least its power is 9 watts.
Further, I already disassembled it, with a power of 8 watts, it works 3 times better, and all because the “core” is magnetic, it is made of steel itself, but powerful magnets stand under it. I decided to use this machine. Some devices may have adjusting screws that can be used to adjust the stiffness of the springs, you can play around with this option.
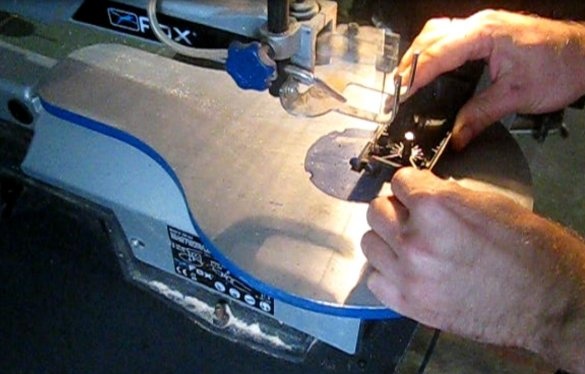
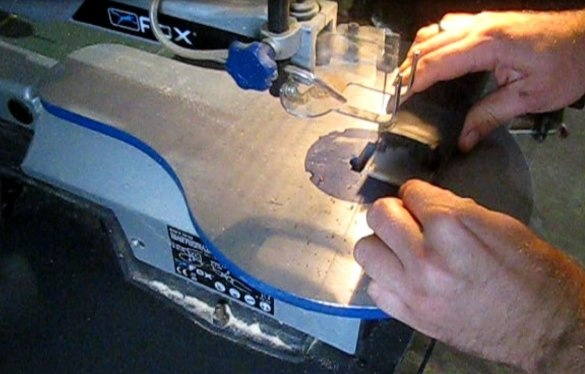
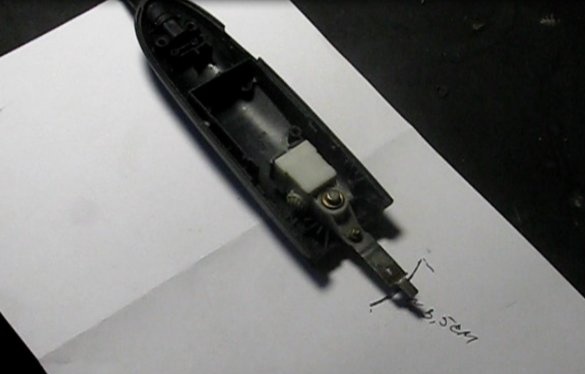
I cut off the nose of the machine, removed everything superfluous, you can cope with the task with a hacksaw or a soldering iron, then we cut off the burrs with a clerical knife.
Step Two Lever arm
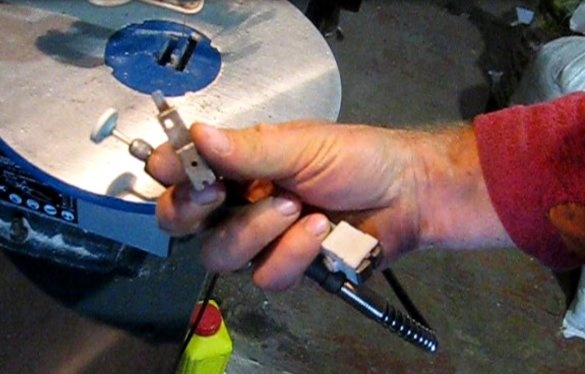
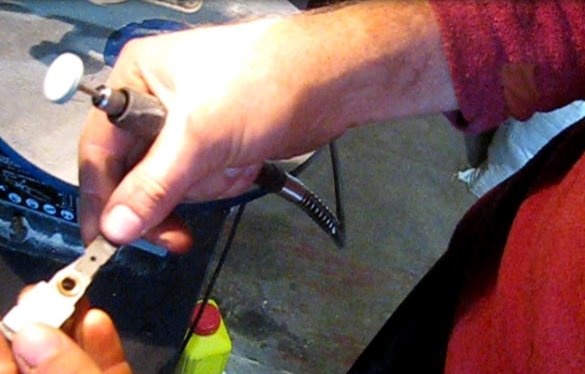
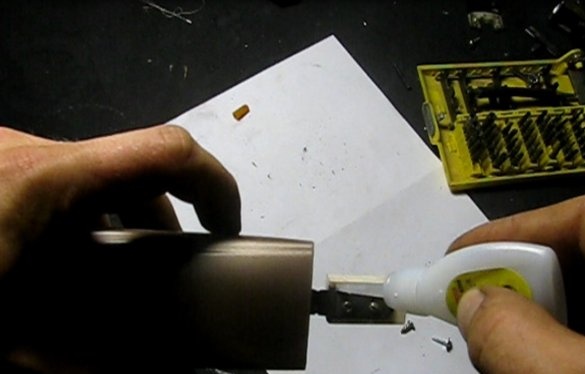
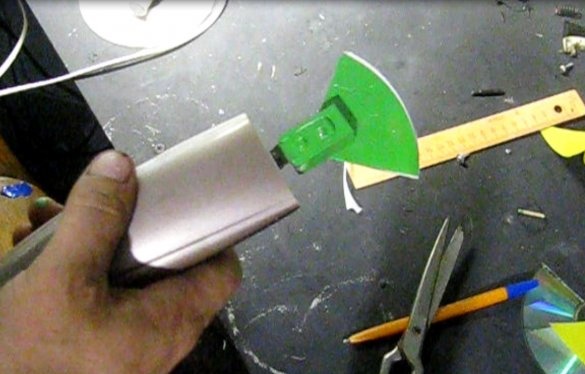
We make the lever on which the nozzle with sandpaper will be mounted. Found a suitable thickness of the steel plate, it seems, from some kind of relay. I slightly sharpened the part in shape, and then screwed it to the moving part of the machine using a screw and nut.The end of the lever simply rests on the plastic, so one screw was enough. I poured everything extra with superglue, including thread, so that this whole thing would not unwind from vibration.
Step Three Sanding nozzle
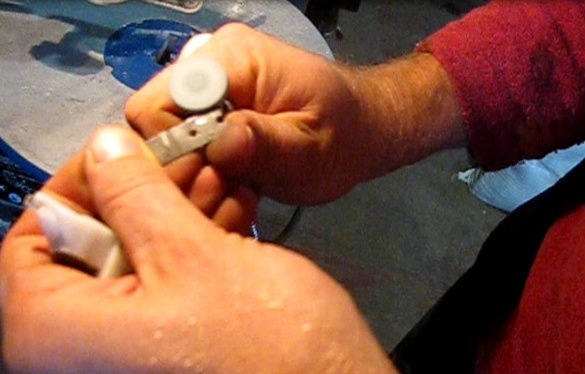
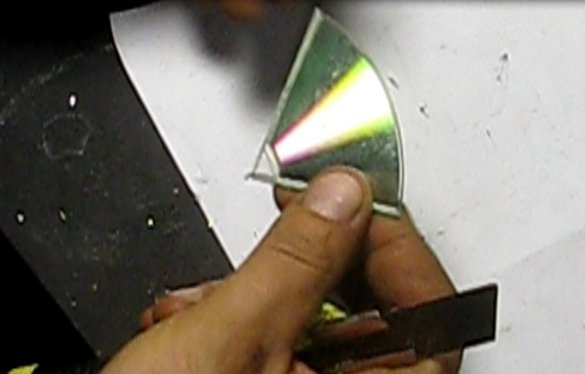
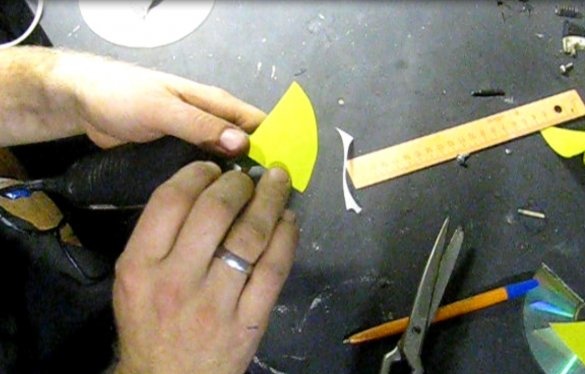
As a basis, where to glue sandpaper, I adapted a piece from the CD. In my opinion, the base must be bent, as a result, the machine can be pressed to the plane and it will not bounce. Also, all of our attachments should be as light as possible, otherwise the energy will go to unnecessary "mass swing".
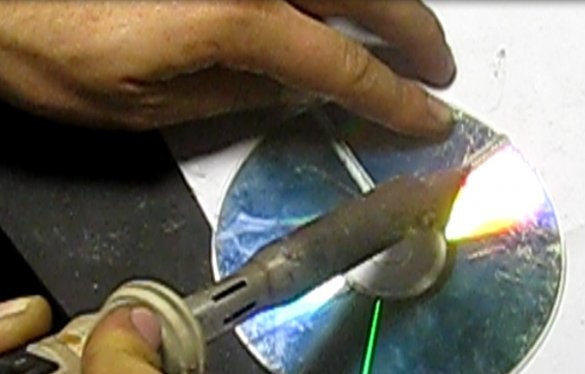
It’s just that the disk doesn’t cut, you can try cutting it with a grinder, but I cut it off easily and simply with a soldering iron, and then cut off the plastic influx with a clerical knife.
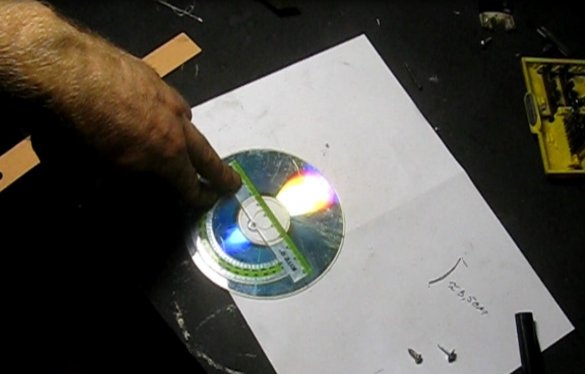
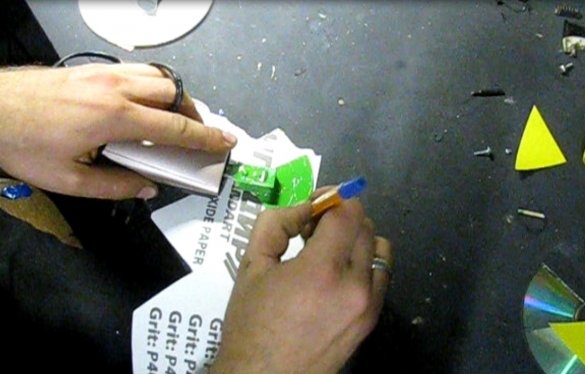
To make the part, we use a protractor, mark the angles of 40 degrees to the right and left of the angle of 90 degrees, that is, 130 and 50 degrees, respectively. The paint from the disc is peeled off, and the disc can also be carefully sanded for good bonding.
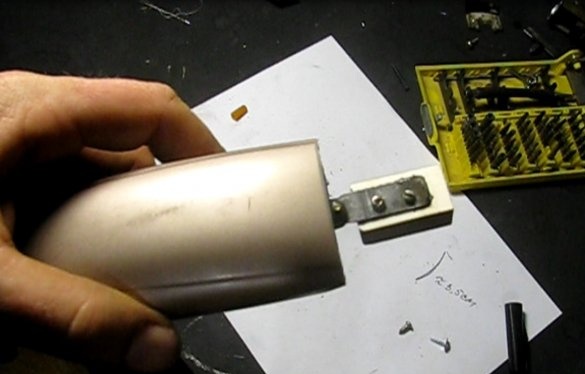
Next, we need to set the plane at some distance from the machine body, so that it does not interfere with grinding. We cut out a piece of the board, grind it and fasten the part to the lever made earlier. If you use good long screws or self-tapping screws, you can not use glue, well, just in case, I poured everything with superglue.
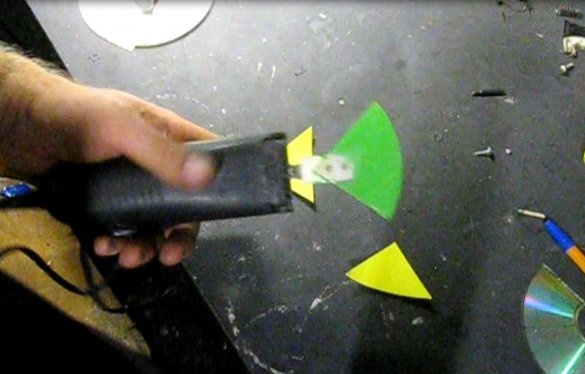
In the end, it remains to connect all the parts together. I did not use screws, since the heads of the boot protrude above the surface and will interfere. I used pieces of matches as pins, I filled everything well with superglue twice. In principle, it holds very tight, you’ll rather break the disk than tear it off. The disc must first be scratched carefully for good bonding.
Step Four Test
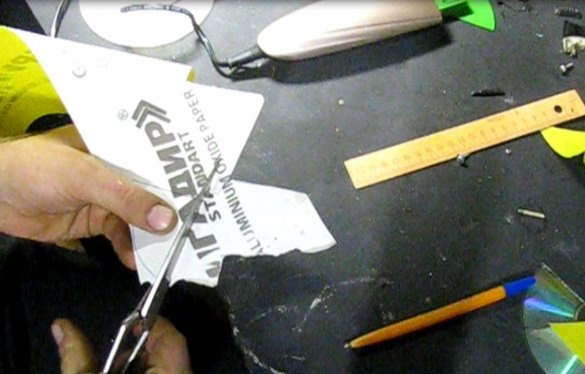
Cut out a piece of sandpaper in the shape of the base and fasten it with hot glue. To remove the paper, you can pour boiling water over the base or blow with a hairdryer, the glue will immediately become soft. The first launch surprised me a little and even scared me. The vibrations turned out pretty strong, and the move was excellent. And all due to the fact that the attached structure due to the additional mass leads to the formation of a wider amplitude, well, it seems to me.
He began to grind, under load the amplitude decreases, and as you press, you can completely stop the vibration. In general, it polishes perfectly, as for such a fine sandpaper, the surface from rough turns into very smooth.
Of course, it is better to make the nozzle removable, you can make a lot of nozzles with different paper so that you do not have to glue it often. In general, I am satisfied with the homemade product, I spent time well, the tool turned out to be useful. You can safely make such a tool, if your machine is not weaker than mine! This concludes the story, good luck and creative inspiration, if you decide to repeat this. Do not forget to share your ideas and homemade things with us!


